My first post here, so I hope I’m doing this right!
Adder was my first beetleweight, and only the 3rd robot I had built, after an antweight pusher and hammersaw.
It was December 2018 and I’d been inspired by bugglebots to build something I could actually bring to an event. As I worked as a sheet metal design engineer at the time, a laser cut and folded base seemed the most simple, and after about 20 minutes of research I decided to design a 1.5kg version of the Fingertech Viper kit on my lunch break (a trend I continue still on my current robots).
The basic design follows the same overall shape as the viper kit, but as I’d never actually fought at an event, the fasteners specified were what I would typically use on my work, so M3 nutserts was chosen as it was a similar build method to what Fingertech were using (not a great idea)
Some bribery to the laser operators and a few days later I was holding my first robot!
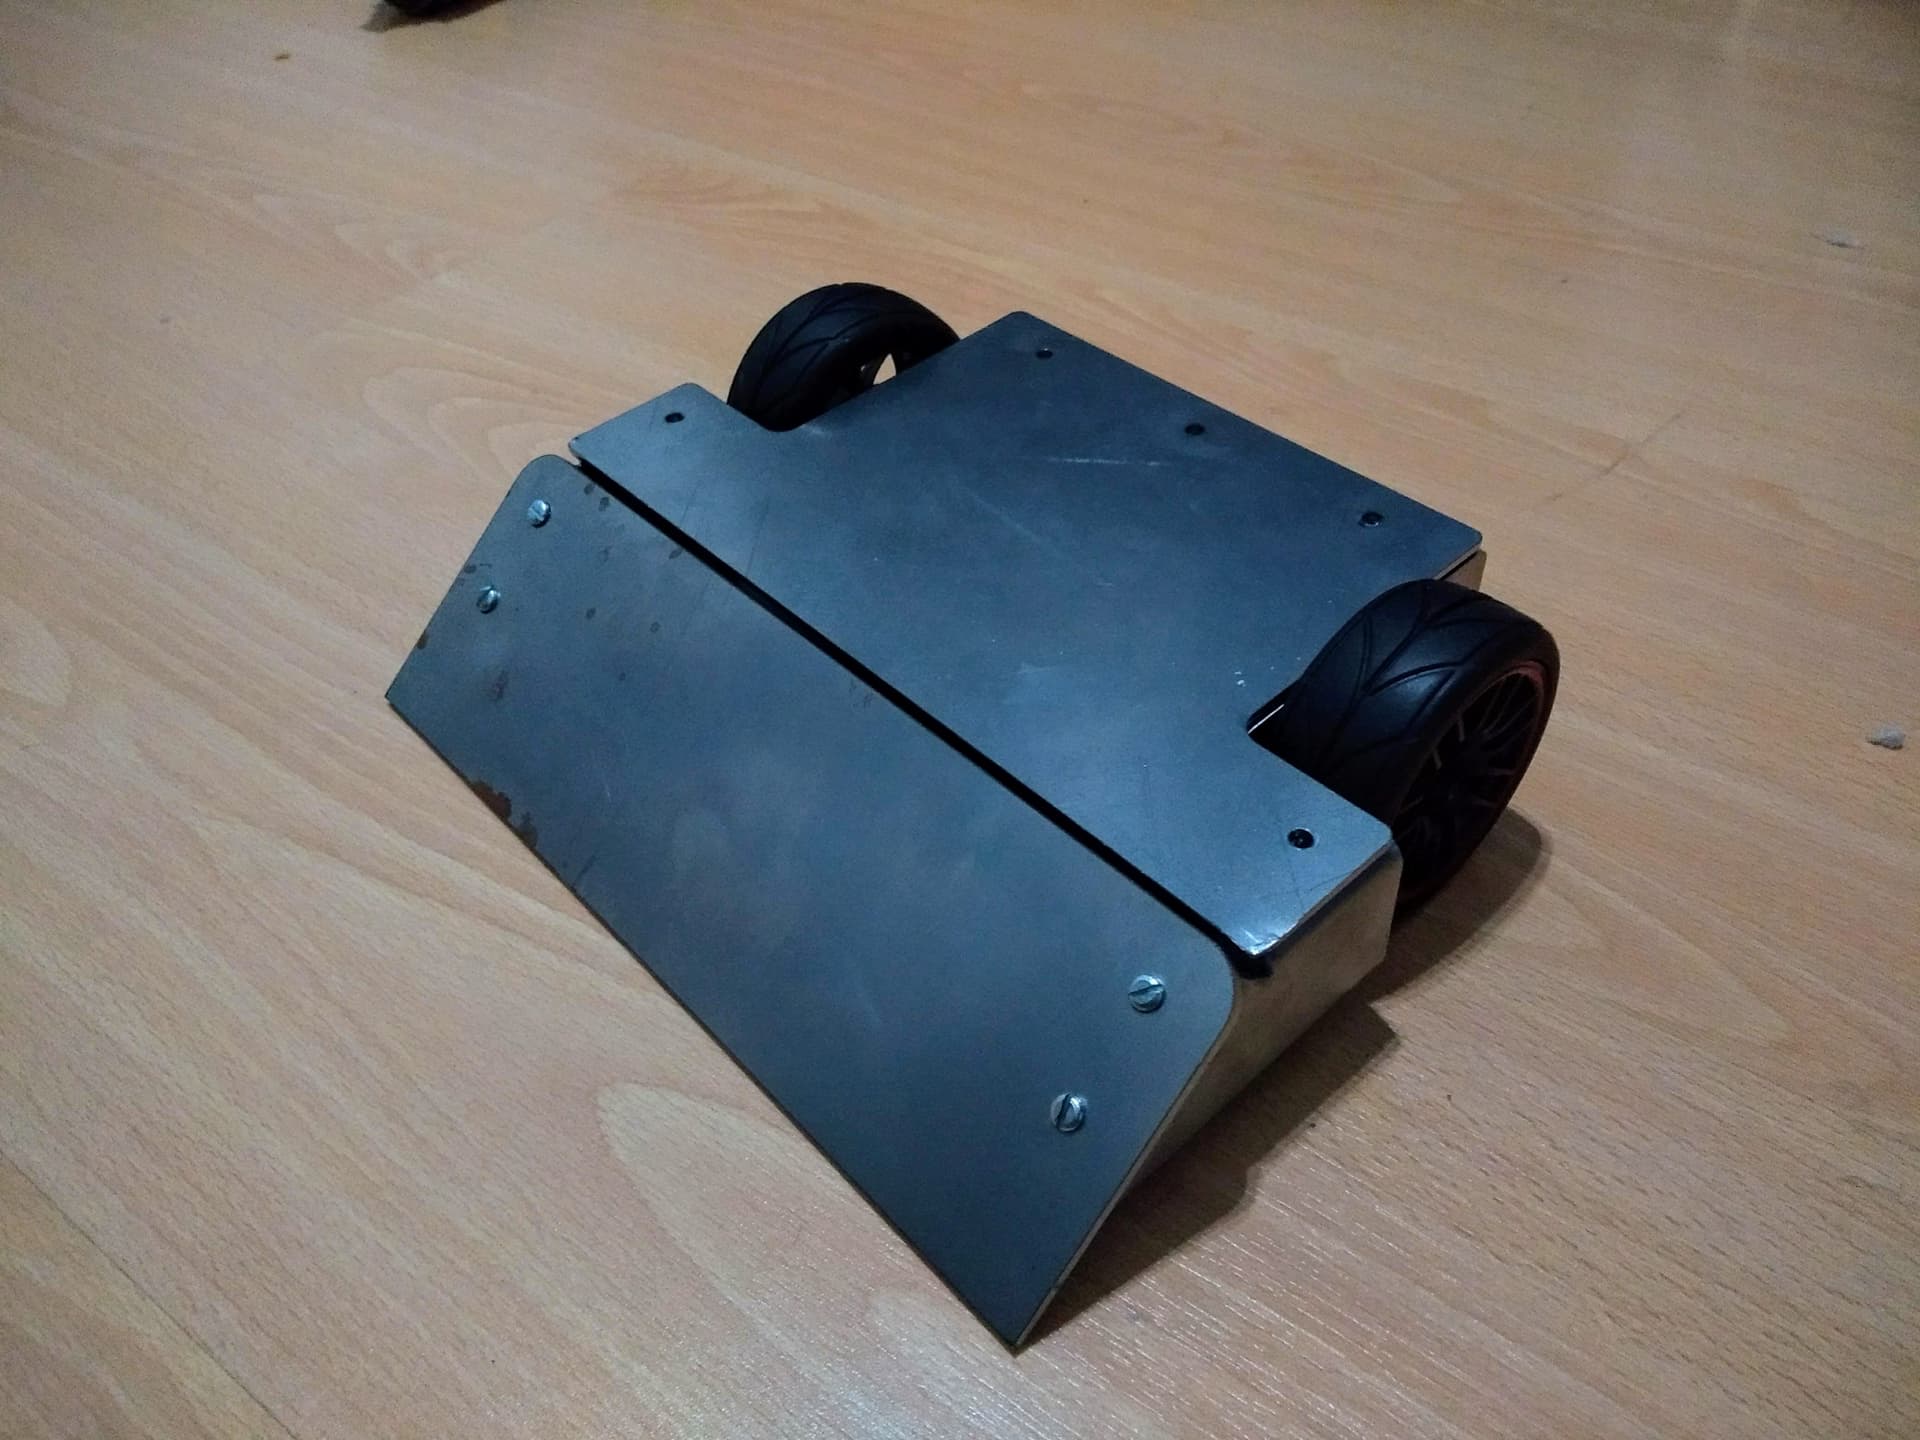
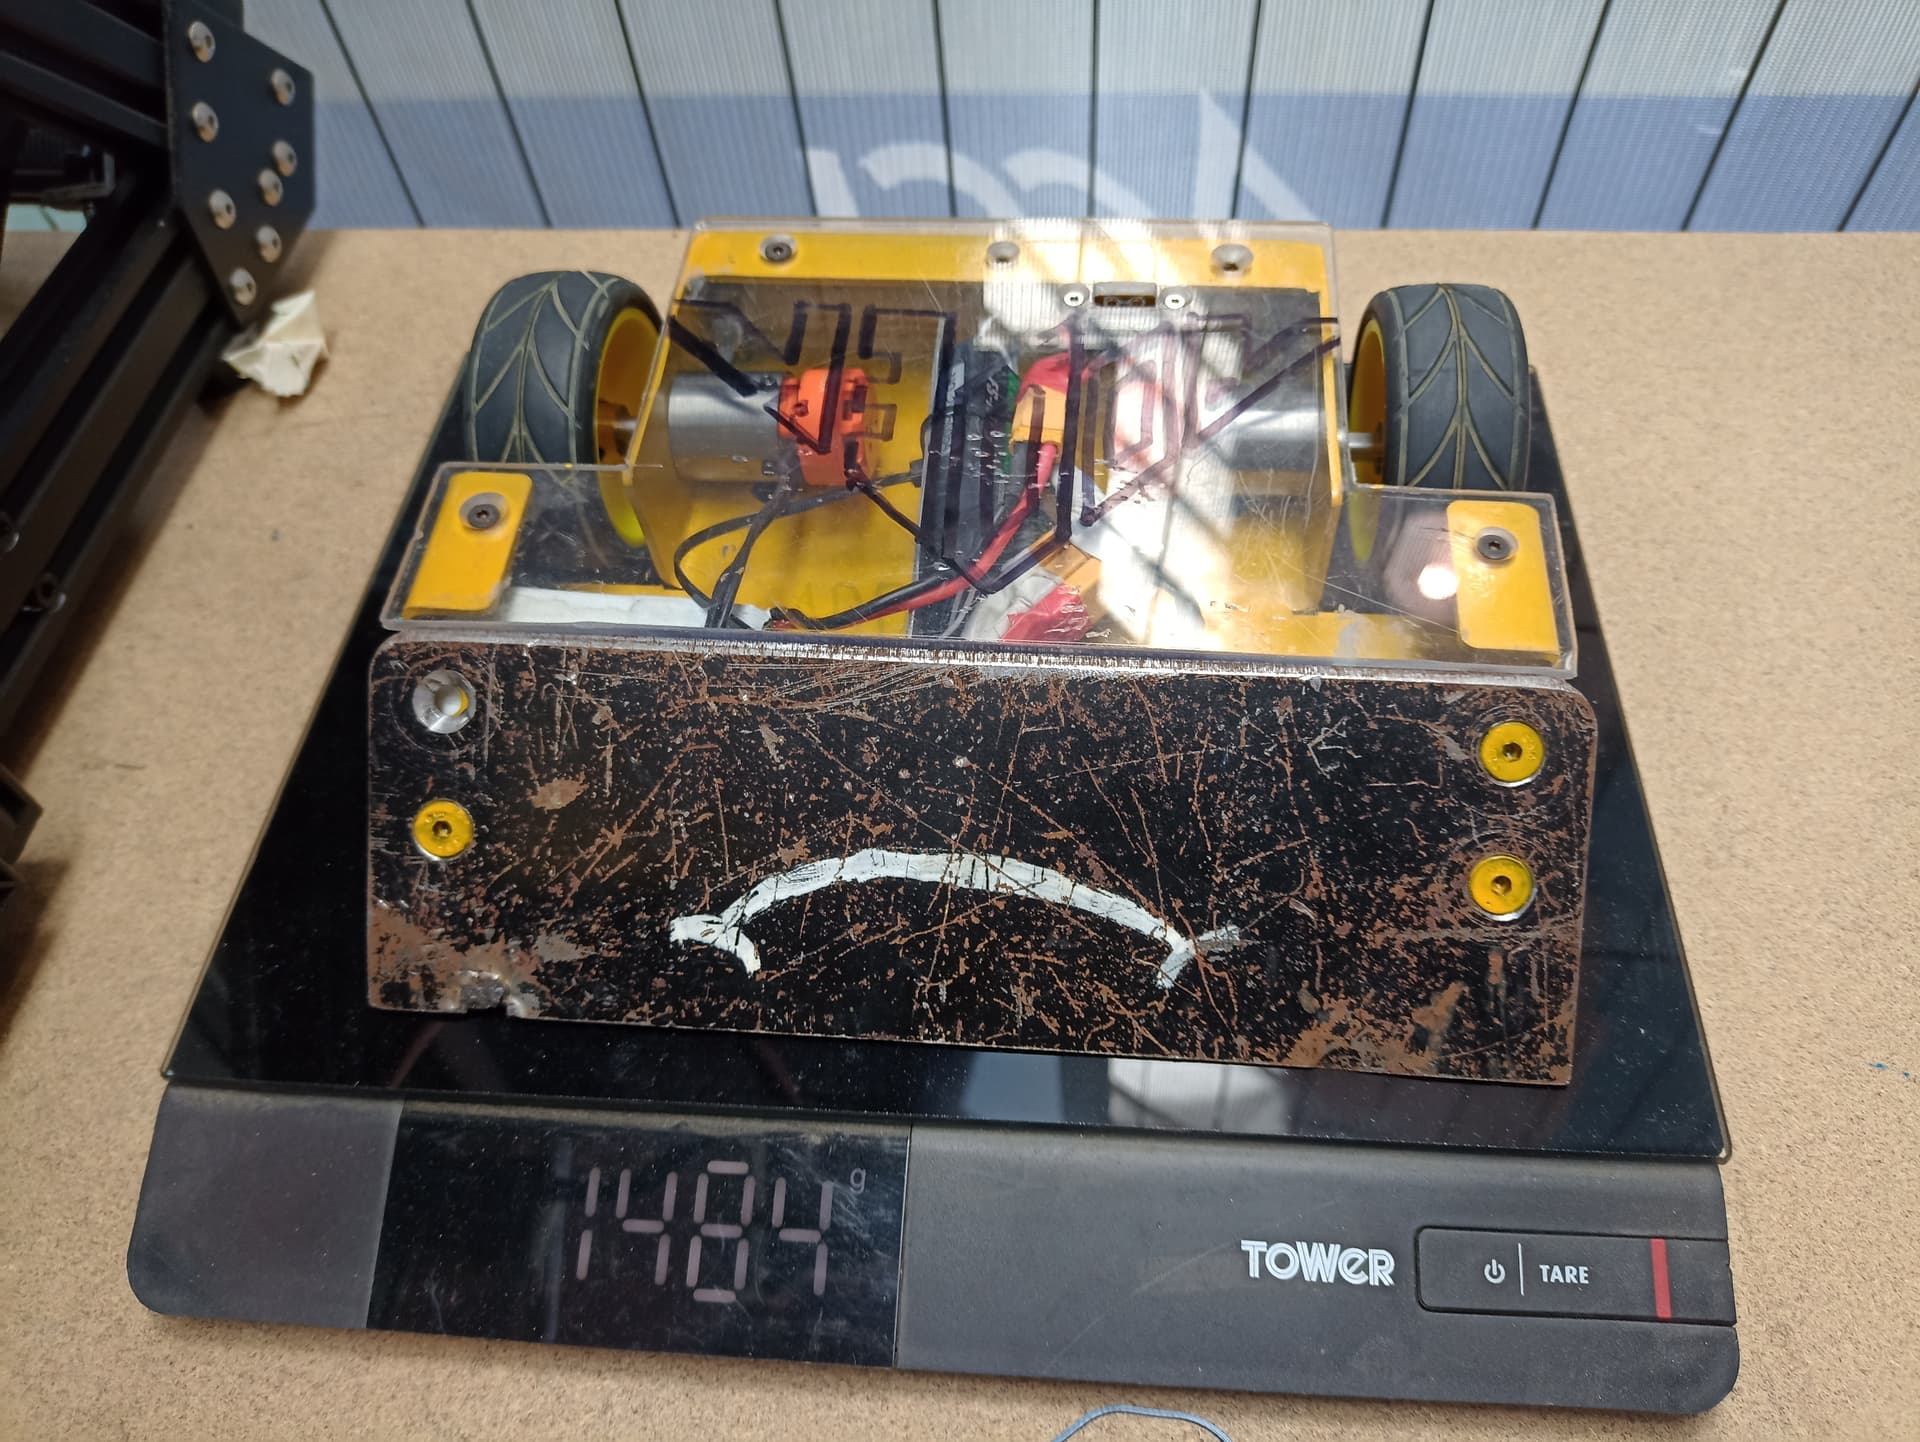
It was to say the least, heavy. 3mm thick steel body with a 4mm Steel wedge put me at 1560g without a battery!
But still it was enough to satisfy me and it happily drove around my workshop floor. If I remember correctly the ESC’s were those generic 10A red units, with a 500mah Lipo.
Sadly due to life and other commitments robots were shelved for a while, I did get some aluminum prototypes done a few months later, but they remain unbuilt.
Adder lived on a shelf for the next 3 years until we had a competition at work between the engineers to build and battle sportsman beetles, it acted as the house robot and performed well, despite having no maintenance performed (this will come to be an issue)
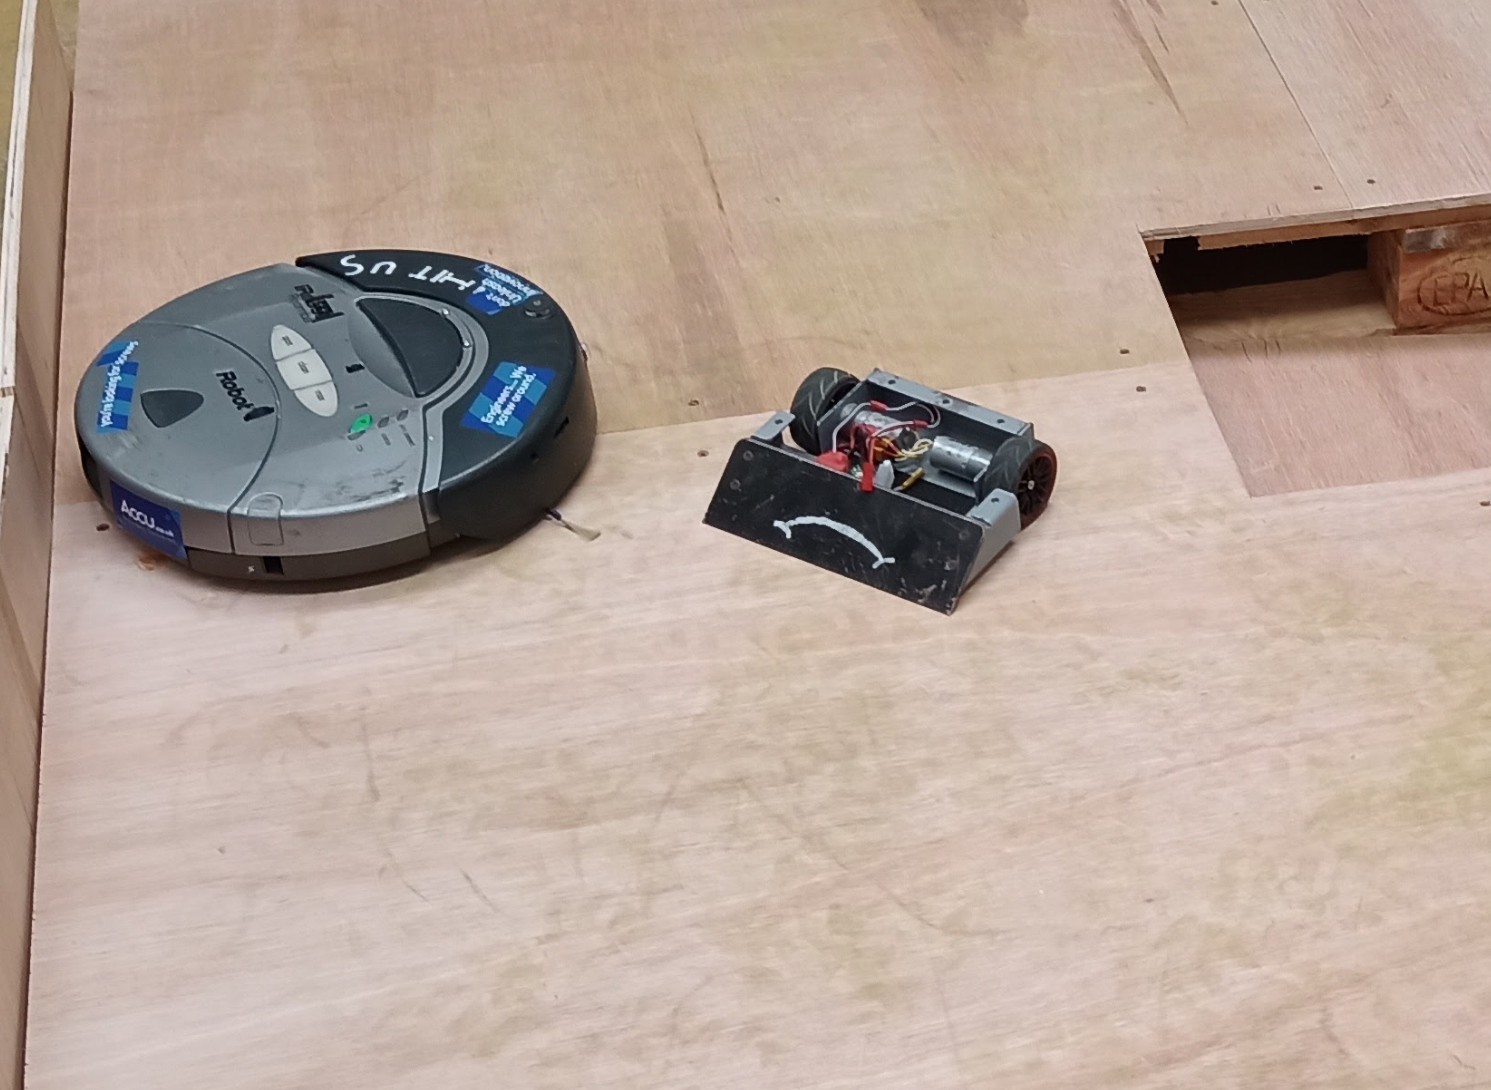
Again, it was shelved while I worked on other projects, including designing a new beetleweight. This continued until March where I decided to go along to SCeetles 2 to see what it was about, and with no robot ready had to dig through my bin of parts to see what I could run. I figured at least, this could be a nice final sendoff for my first robot.
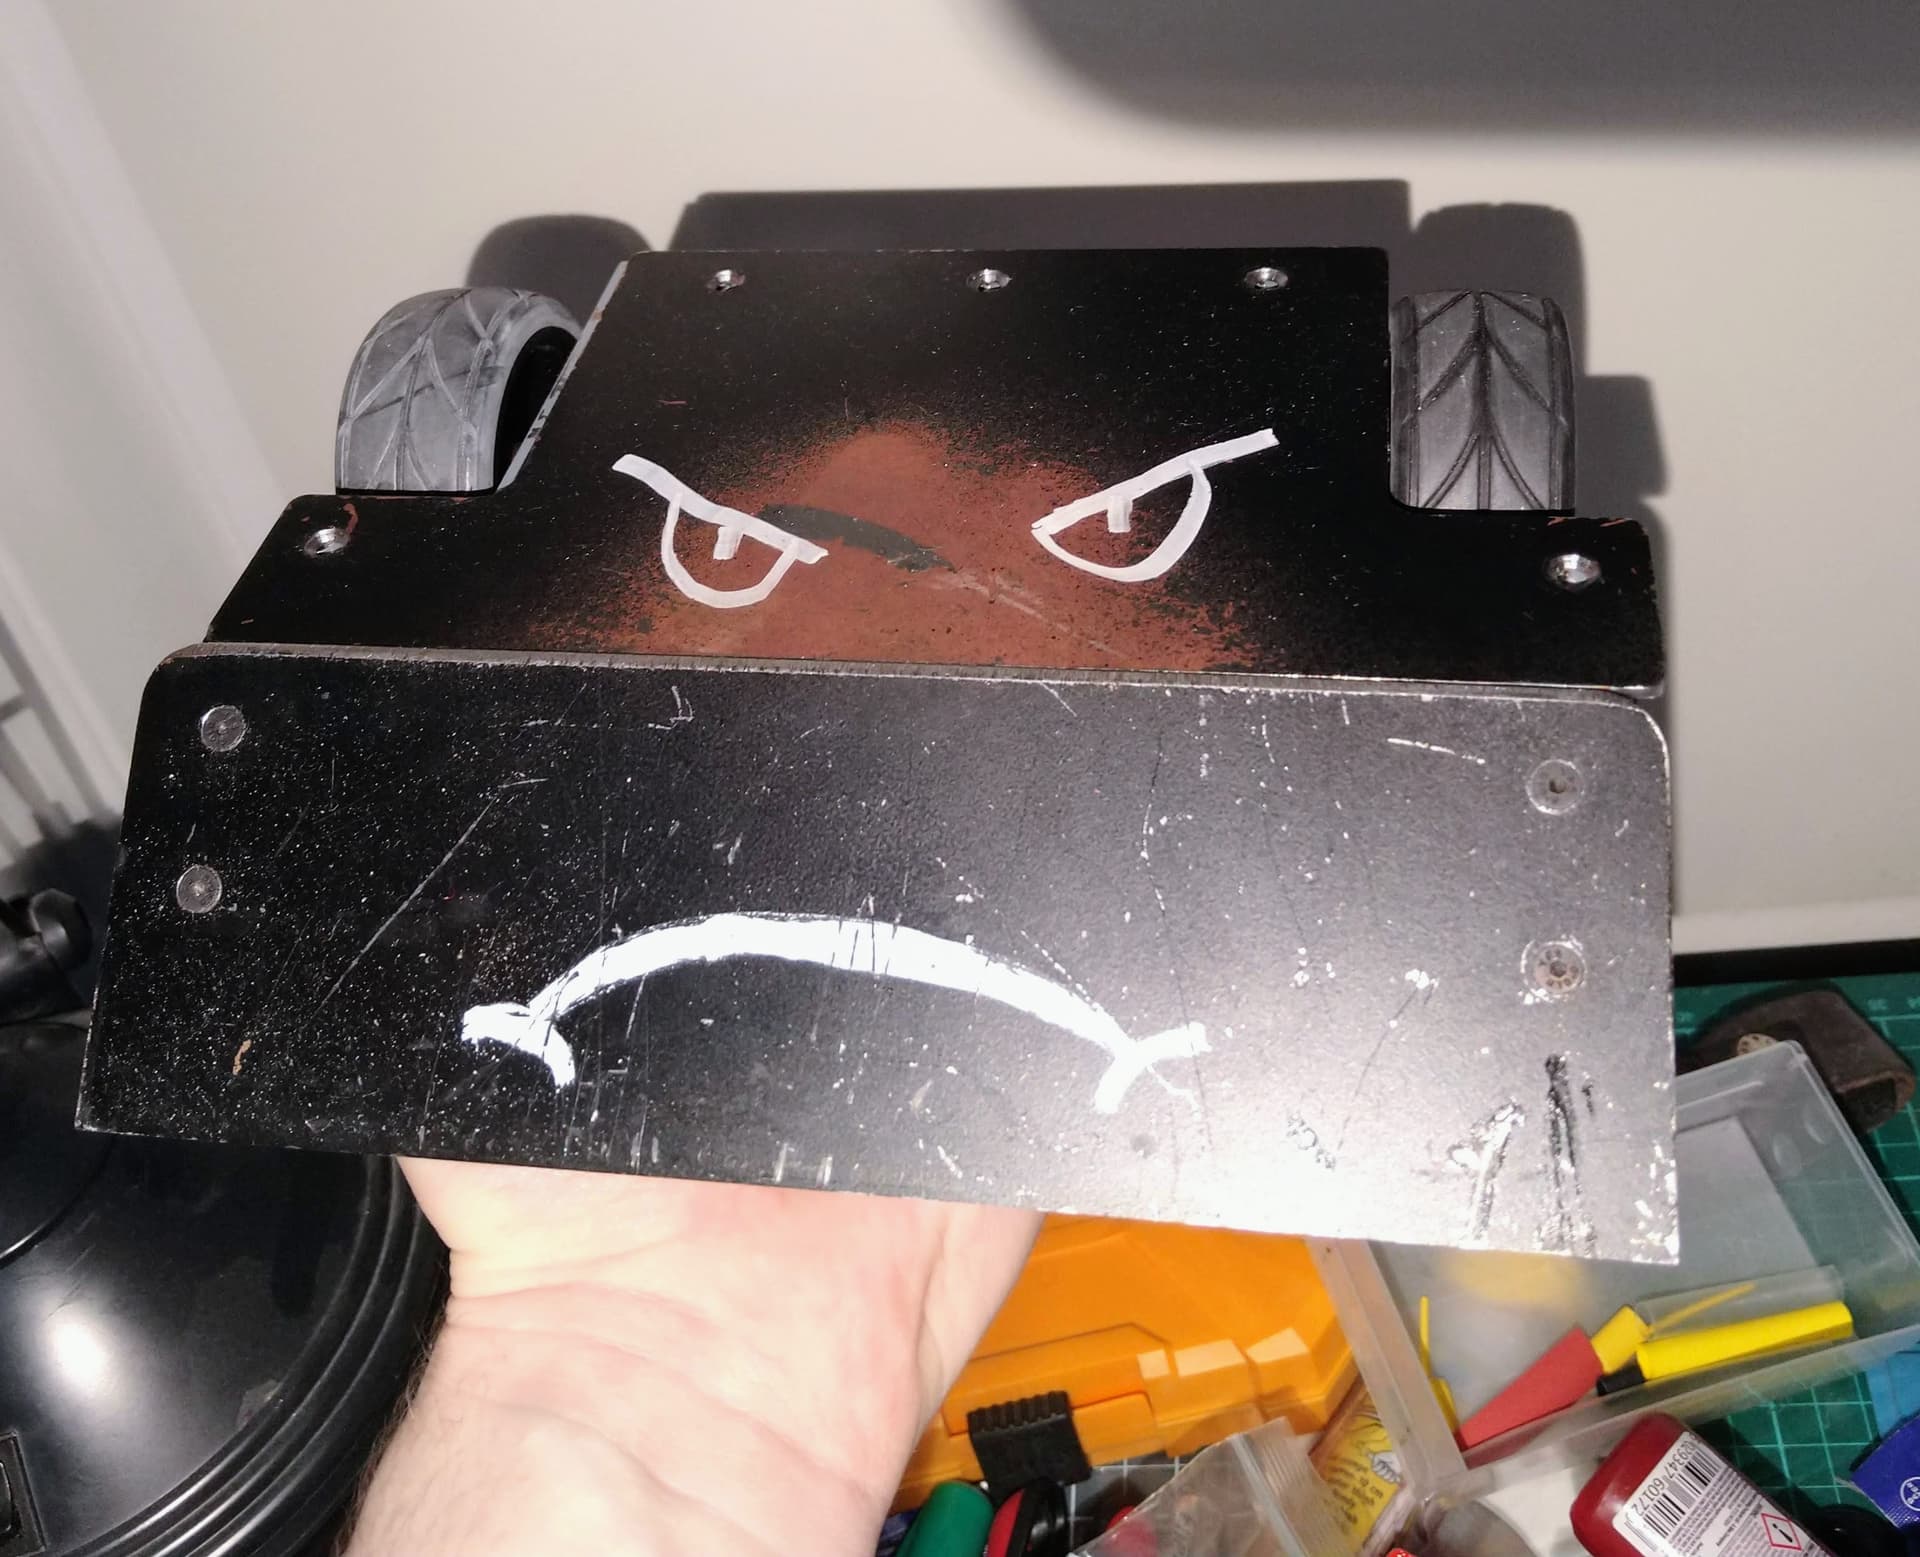
An evening with a power drill and some polycarbonate allowed me to add the link, lights and crucially lower the weight to an acceptable level, and after a test drive around the kitchen floor I was ready to head off to Sheffield.
I faced BBY Shrekt in my first fight and it might be my shortest fight to date, at 2 seconds from start to end. My boxrush was too slow to get to him before he span up, and he tossed me into the ceiling where my wedge fell off and link came out!
After the fight most of the damage seemed repairable, and I straightened it out ready for the second match.
In the second match, my 5 year old chinesium gear motor gave up the ghost when I was moving to my start zone, meaning the fight resulted in a quick and easy witness for my opponent. Another quick fix in the pits and I was ready for my final outing against a nasty looking hammer robot.
This was at least more entertaining, but I couldn’t seem to put down any power and it was an easy win for my opponent, after this fight it turned out that my motors had backed off the gearboxes, and wouldn’t drive at all!
A nice day out, but adder was once again relegated to an ornament while I worked on my other robots

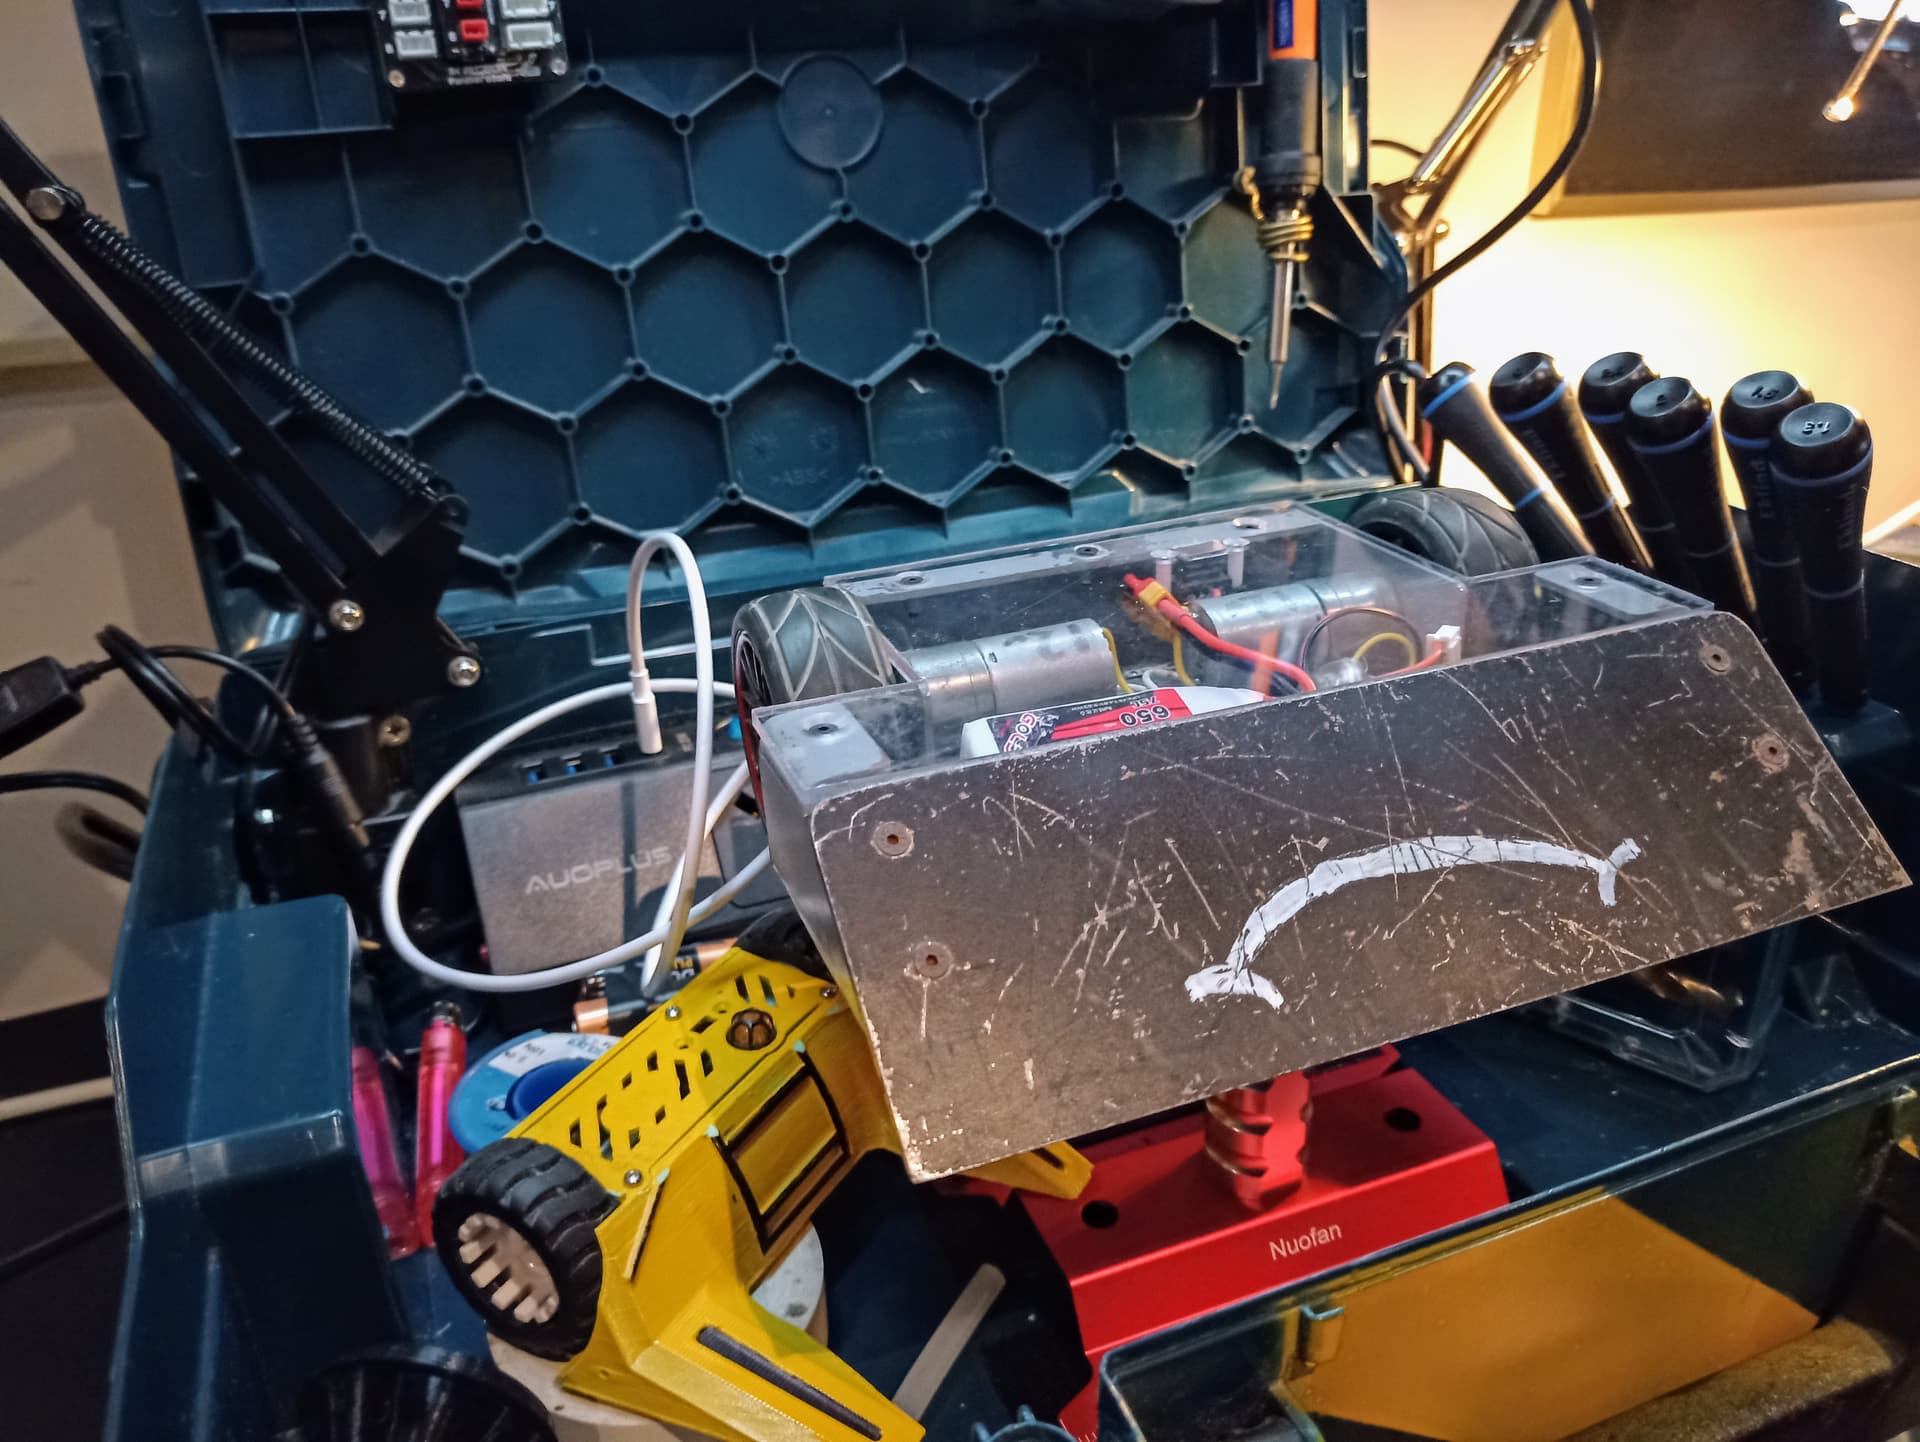
This leads us to the present day, where I needed to test some new ESC’s and a gyro setup, but I had nothing I could actually run, which has spiraled into me actually fixing issues with this robot and making it drive significantly better than it ever did before rather than working on things I should be doing.
To start with repairing the hidden damage done by BBY Shrekt was first on the agenda, due to a poor design dec
ision there is an area of the robot which isn’t stiffened by the walls - a natural seam which is prone to bending.
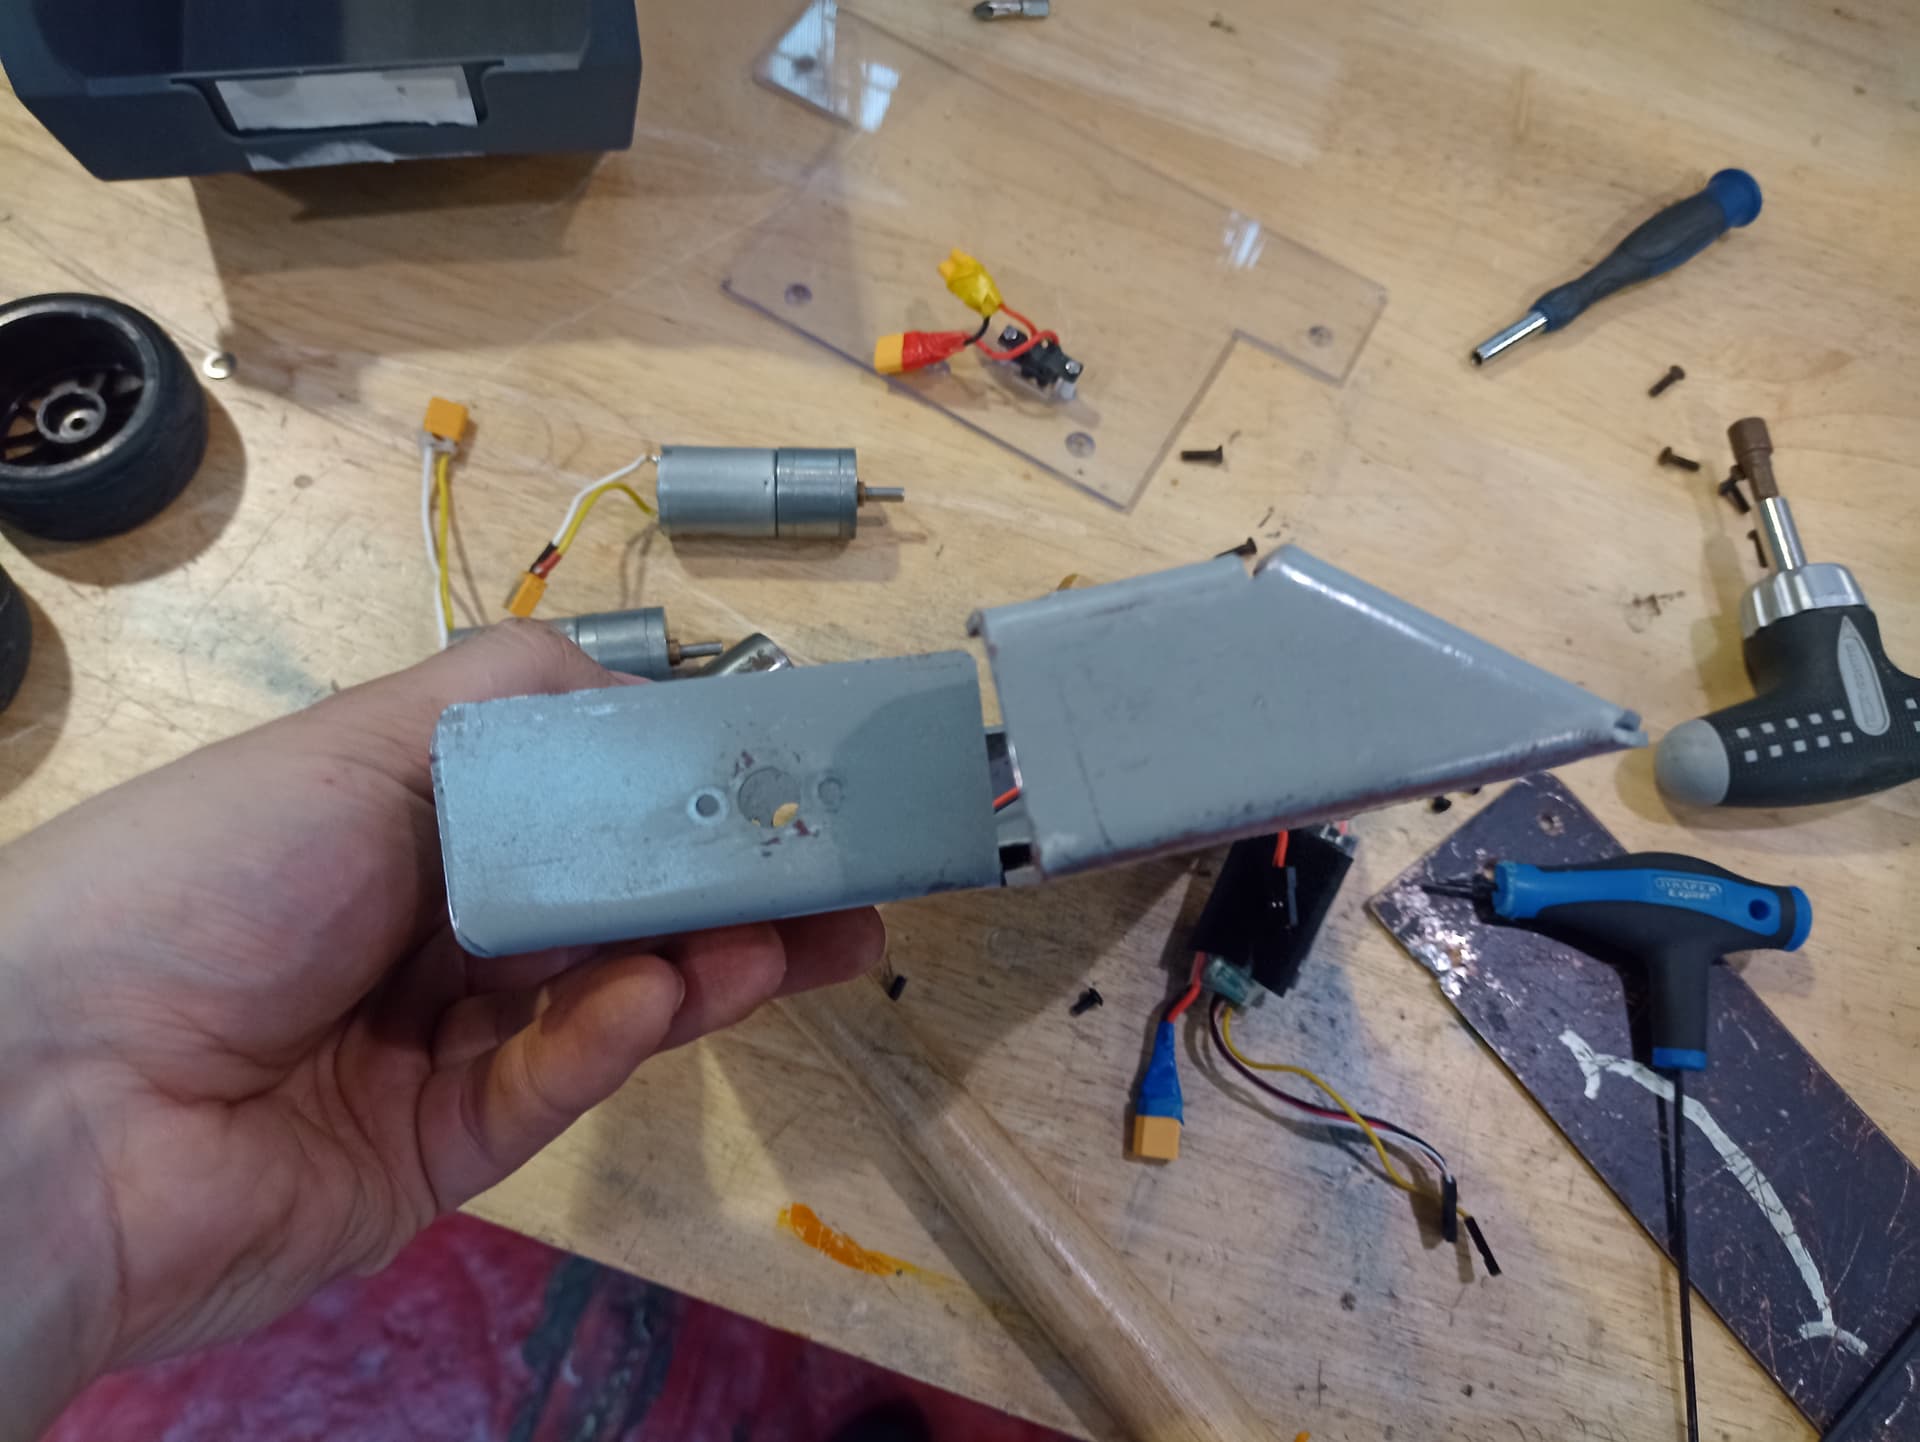
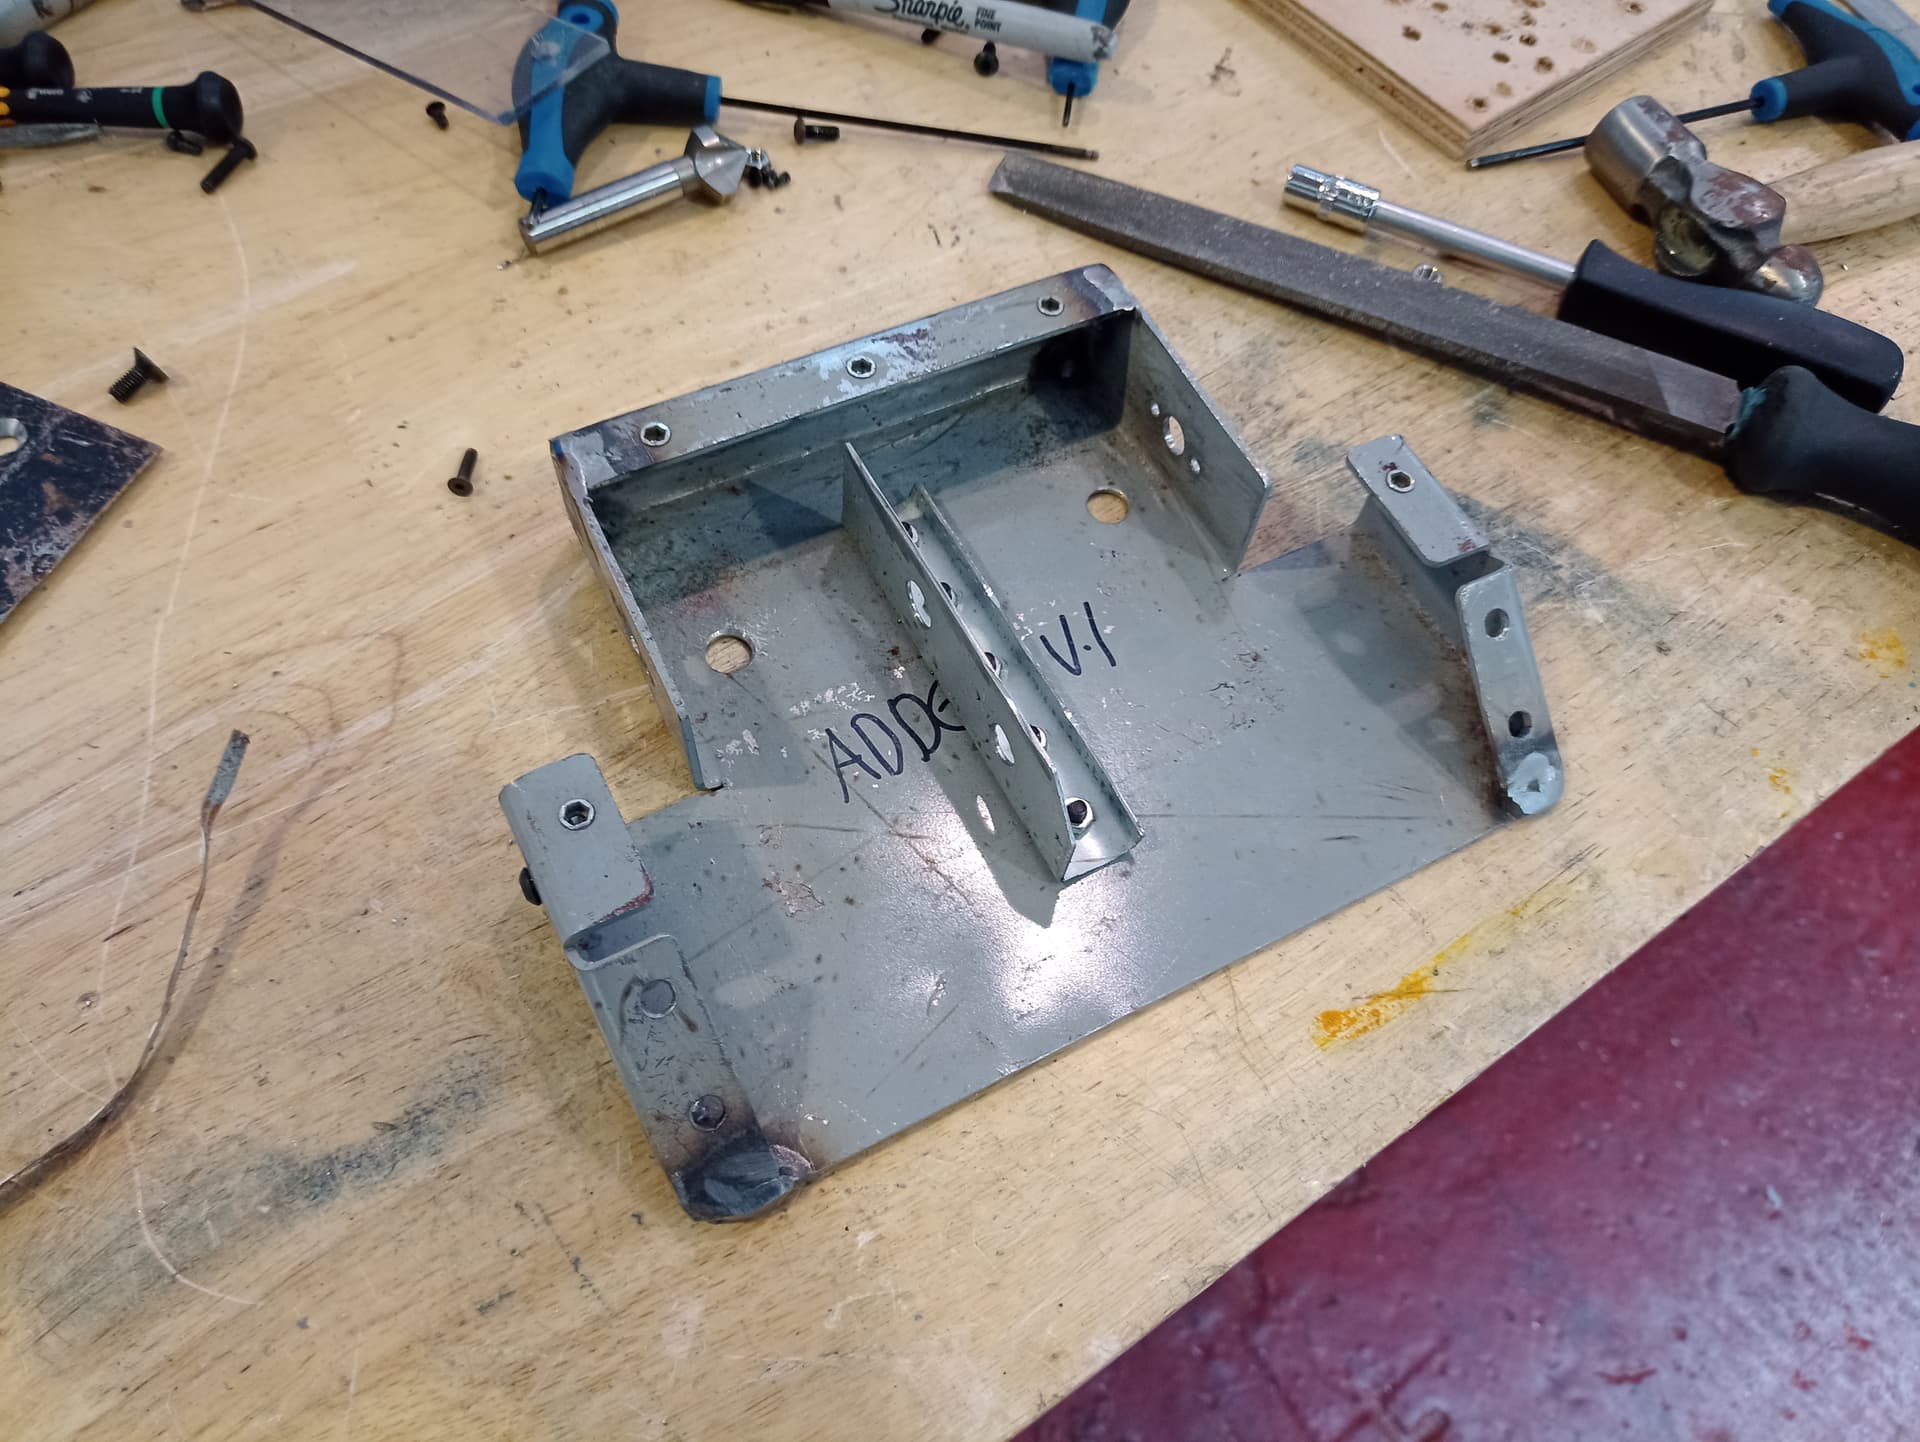
Some persuasion in a vice and this was fixed, with holes drilled for a stiffening brace to be added later on.

The next weak point was the wedge attachment, as M3 bolts just aren’t going to cut it, and my featherweight adventures have put me off using nutserts where not absolutely necessary, these were drilled out to M5 and the wedge countersunk to match.
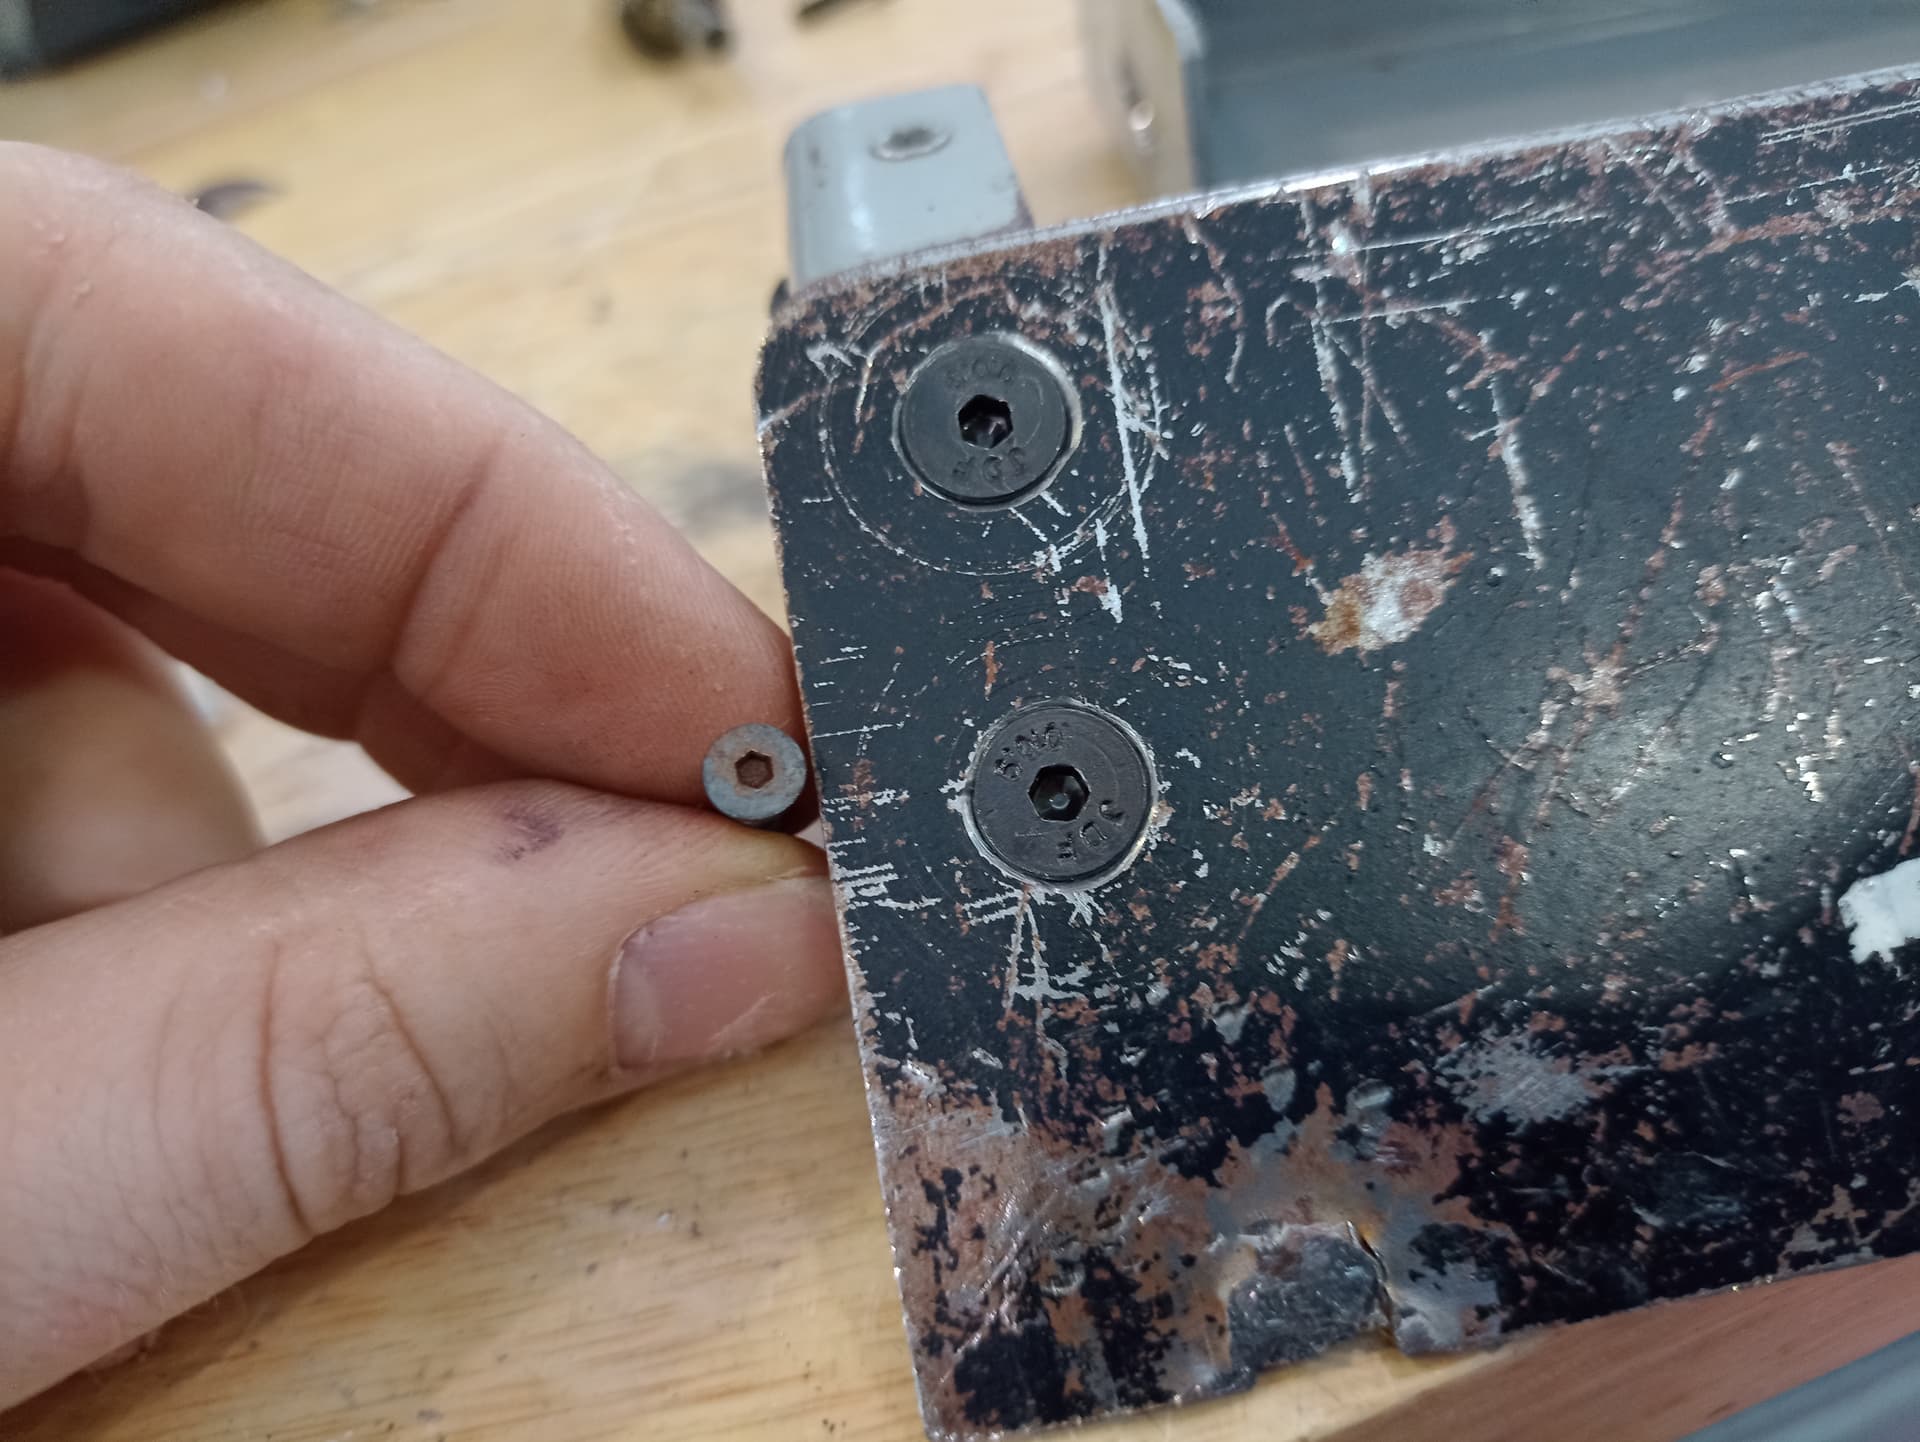
I also drilled and tapped a few holes around the edges for M4 button head screws to act as rollover features. The V1 design had 3 positions where it can get stuck with ease, and this has removed them all.
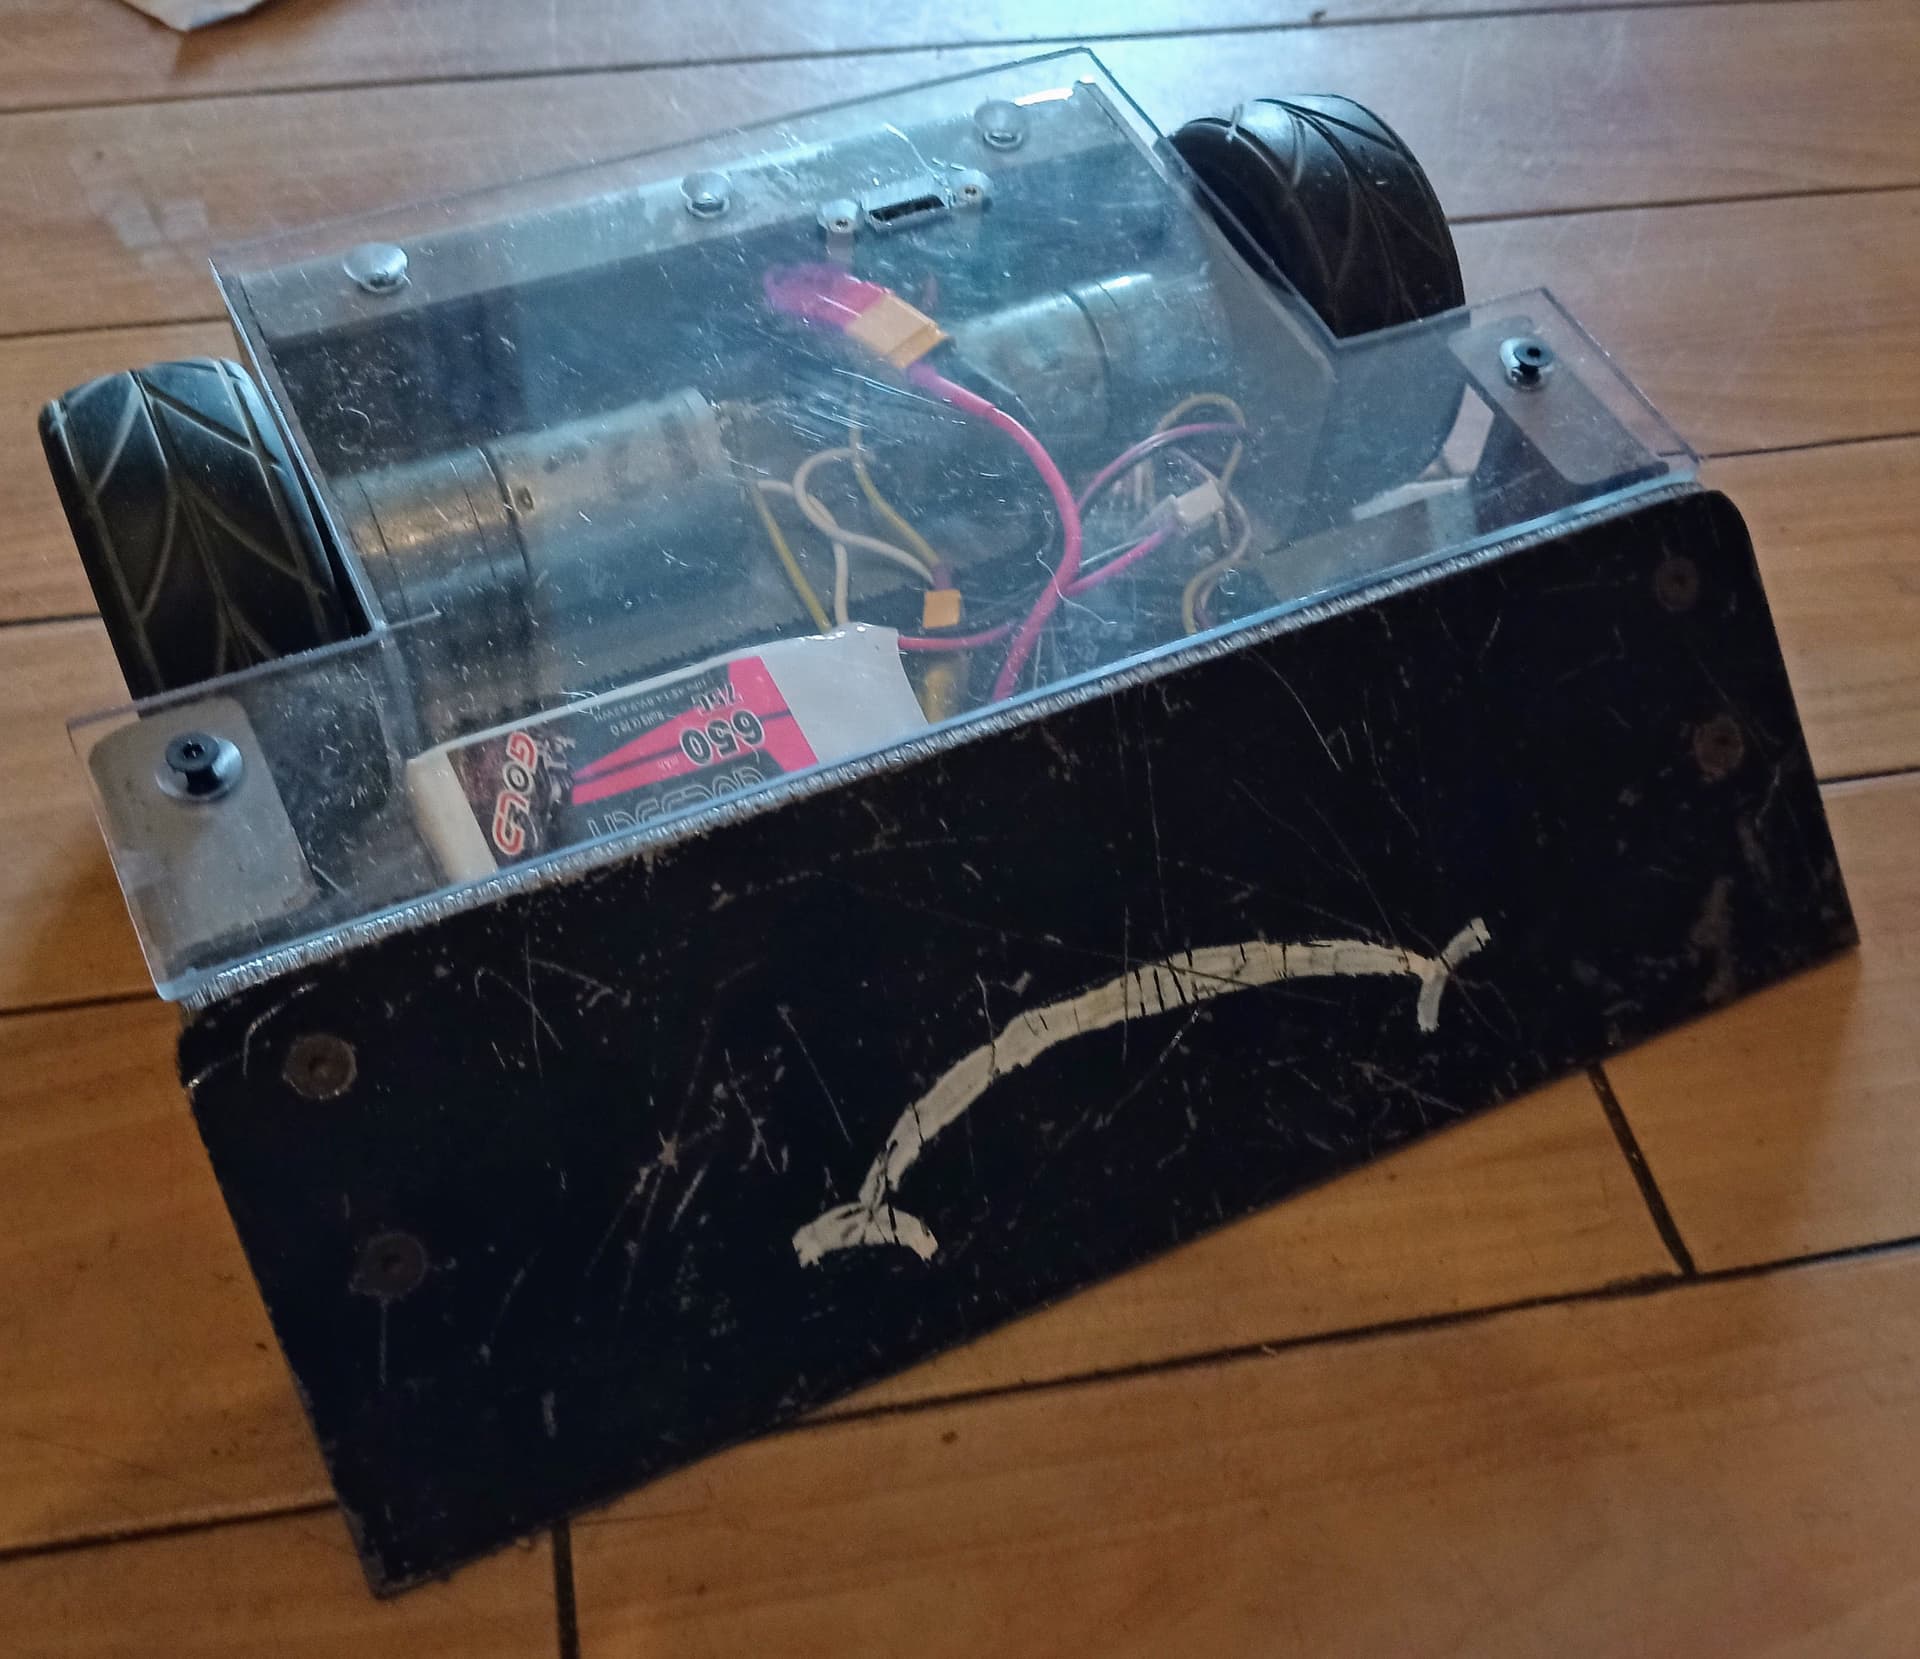
After that it was actually welding up the frame - this was always intended to be done, but I never bothered due to it being used as an ornament for the majority of its expected life.
After that it was just adding in some motors, some paint, new TPU tyre hubs to replace the original RC ones and just like that, I’ve successfully procrastinated working on my main project!
In all seriousness, I’ve once again become attached to this, and once I steal it’s internals back for my main bot I’ll probably end up rebuilding it again to act as a loan bot or even just driving practice.
Cheers, and thanks for reading!