I haven’t written a build log on here before and thought for my own interests I’d document my journey into bigger weight classes. If you are looking for something that hasn’t been done before then you will need to look elsewhere. Here you will find many ideas borrowed from other people.
I have been lucky enough to have the RoboDojo on my door step, that run a few ant, beetle,hobby and featherweight competitions a year. Here I have ran many ant and beetle weight bots with a complete mix of successes and failures. Of which the latter has driven my addiction of building robots even deeper to better myself at each competition.
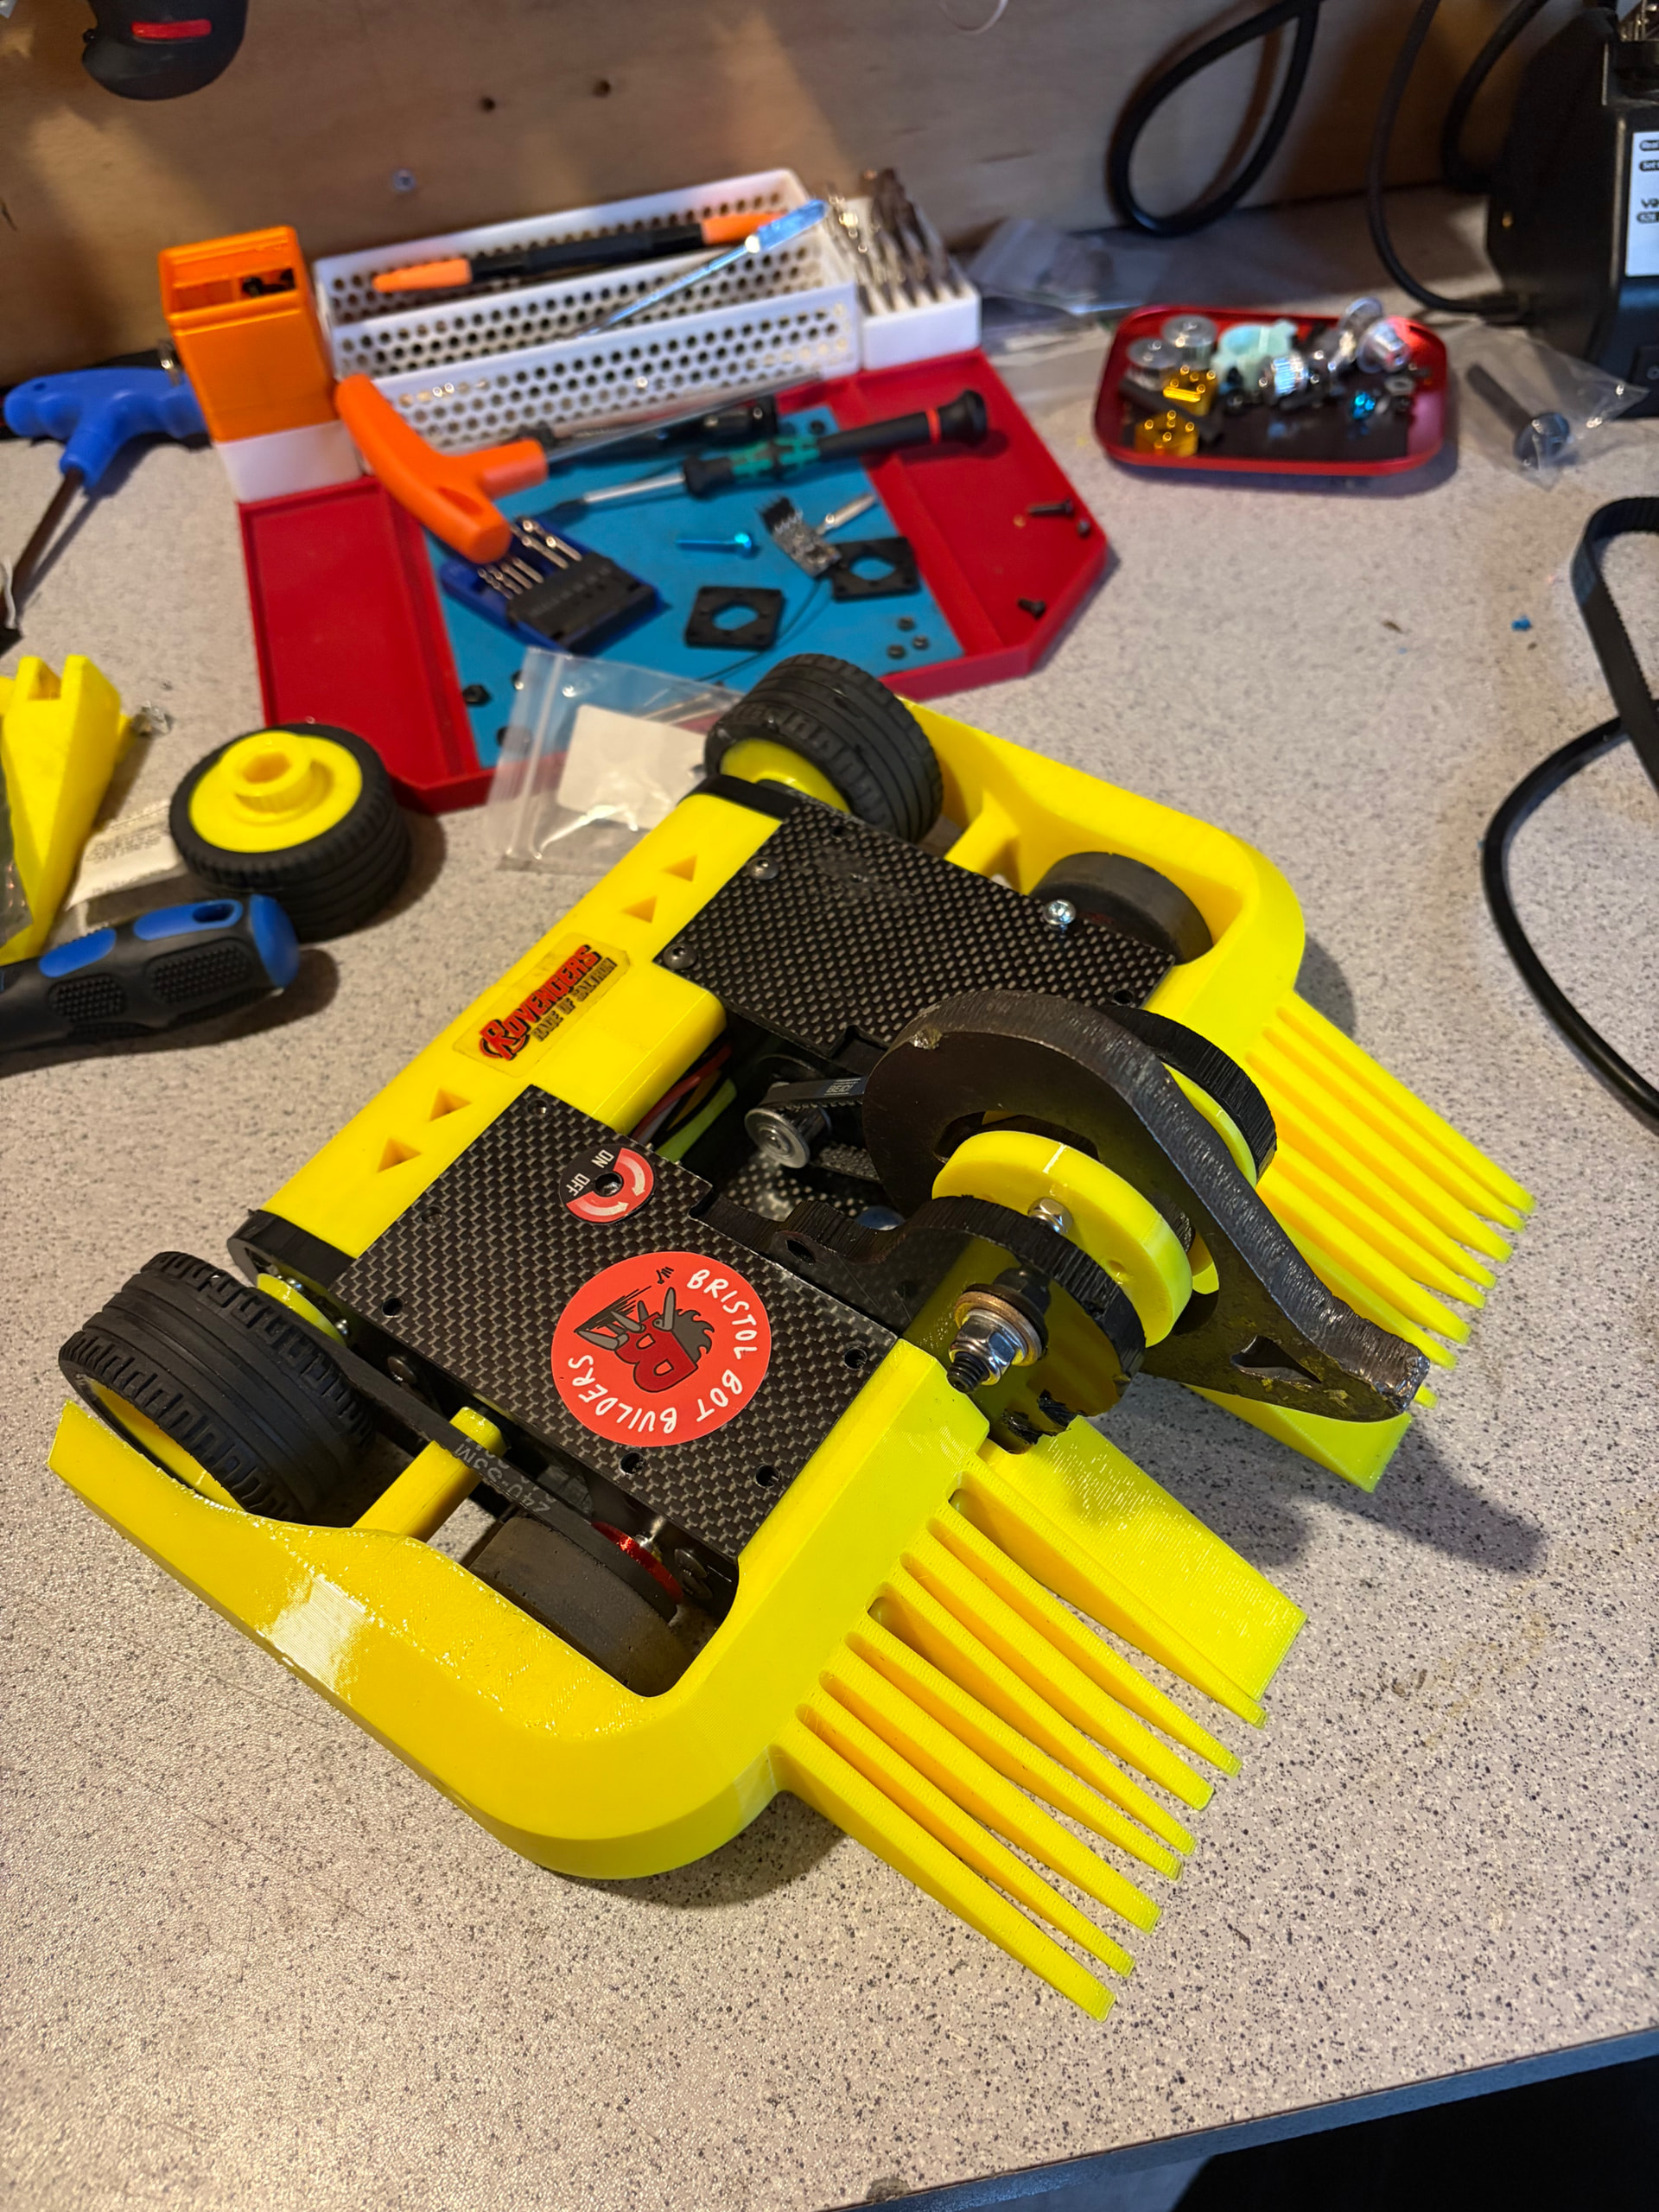
Using my beetle experience I am going to build a bigger version of my Targ-It vertical spinner.
My usual way of building is buy all the components I need first and then build around them. Maybe not the conventional way but each to their own.
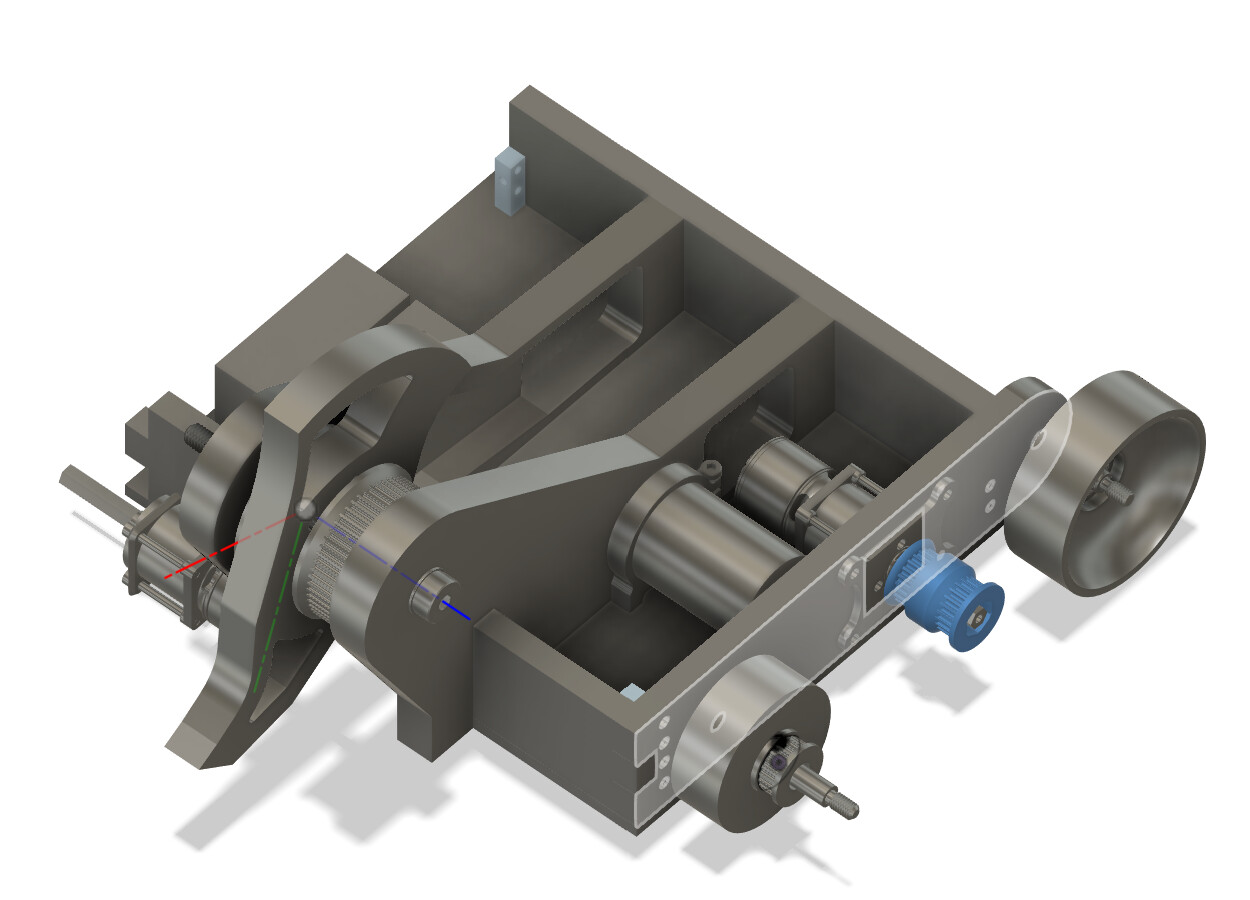
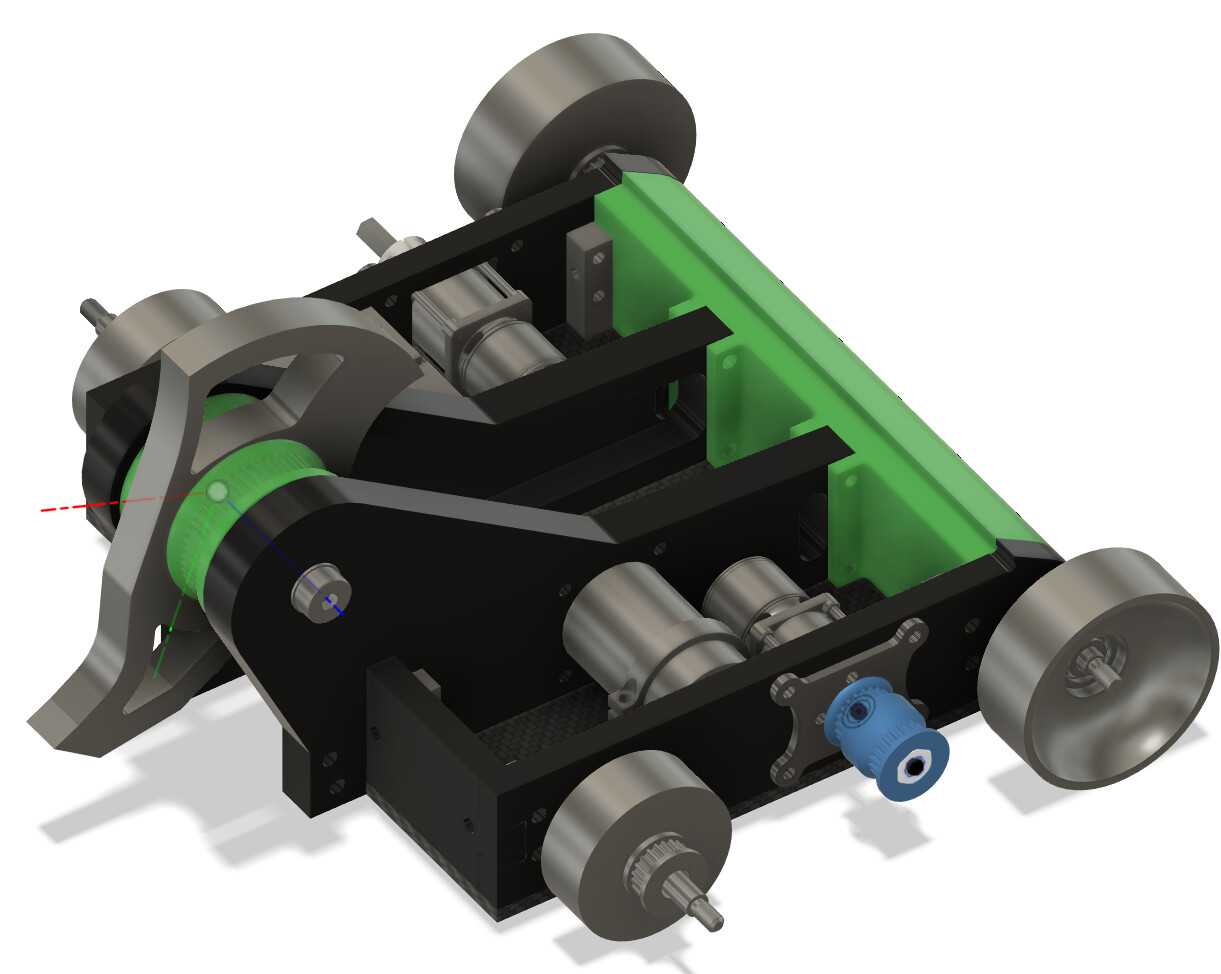
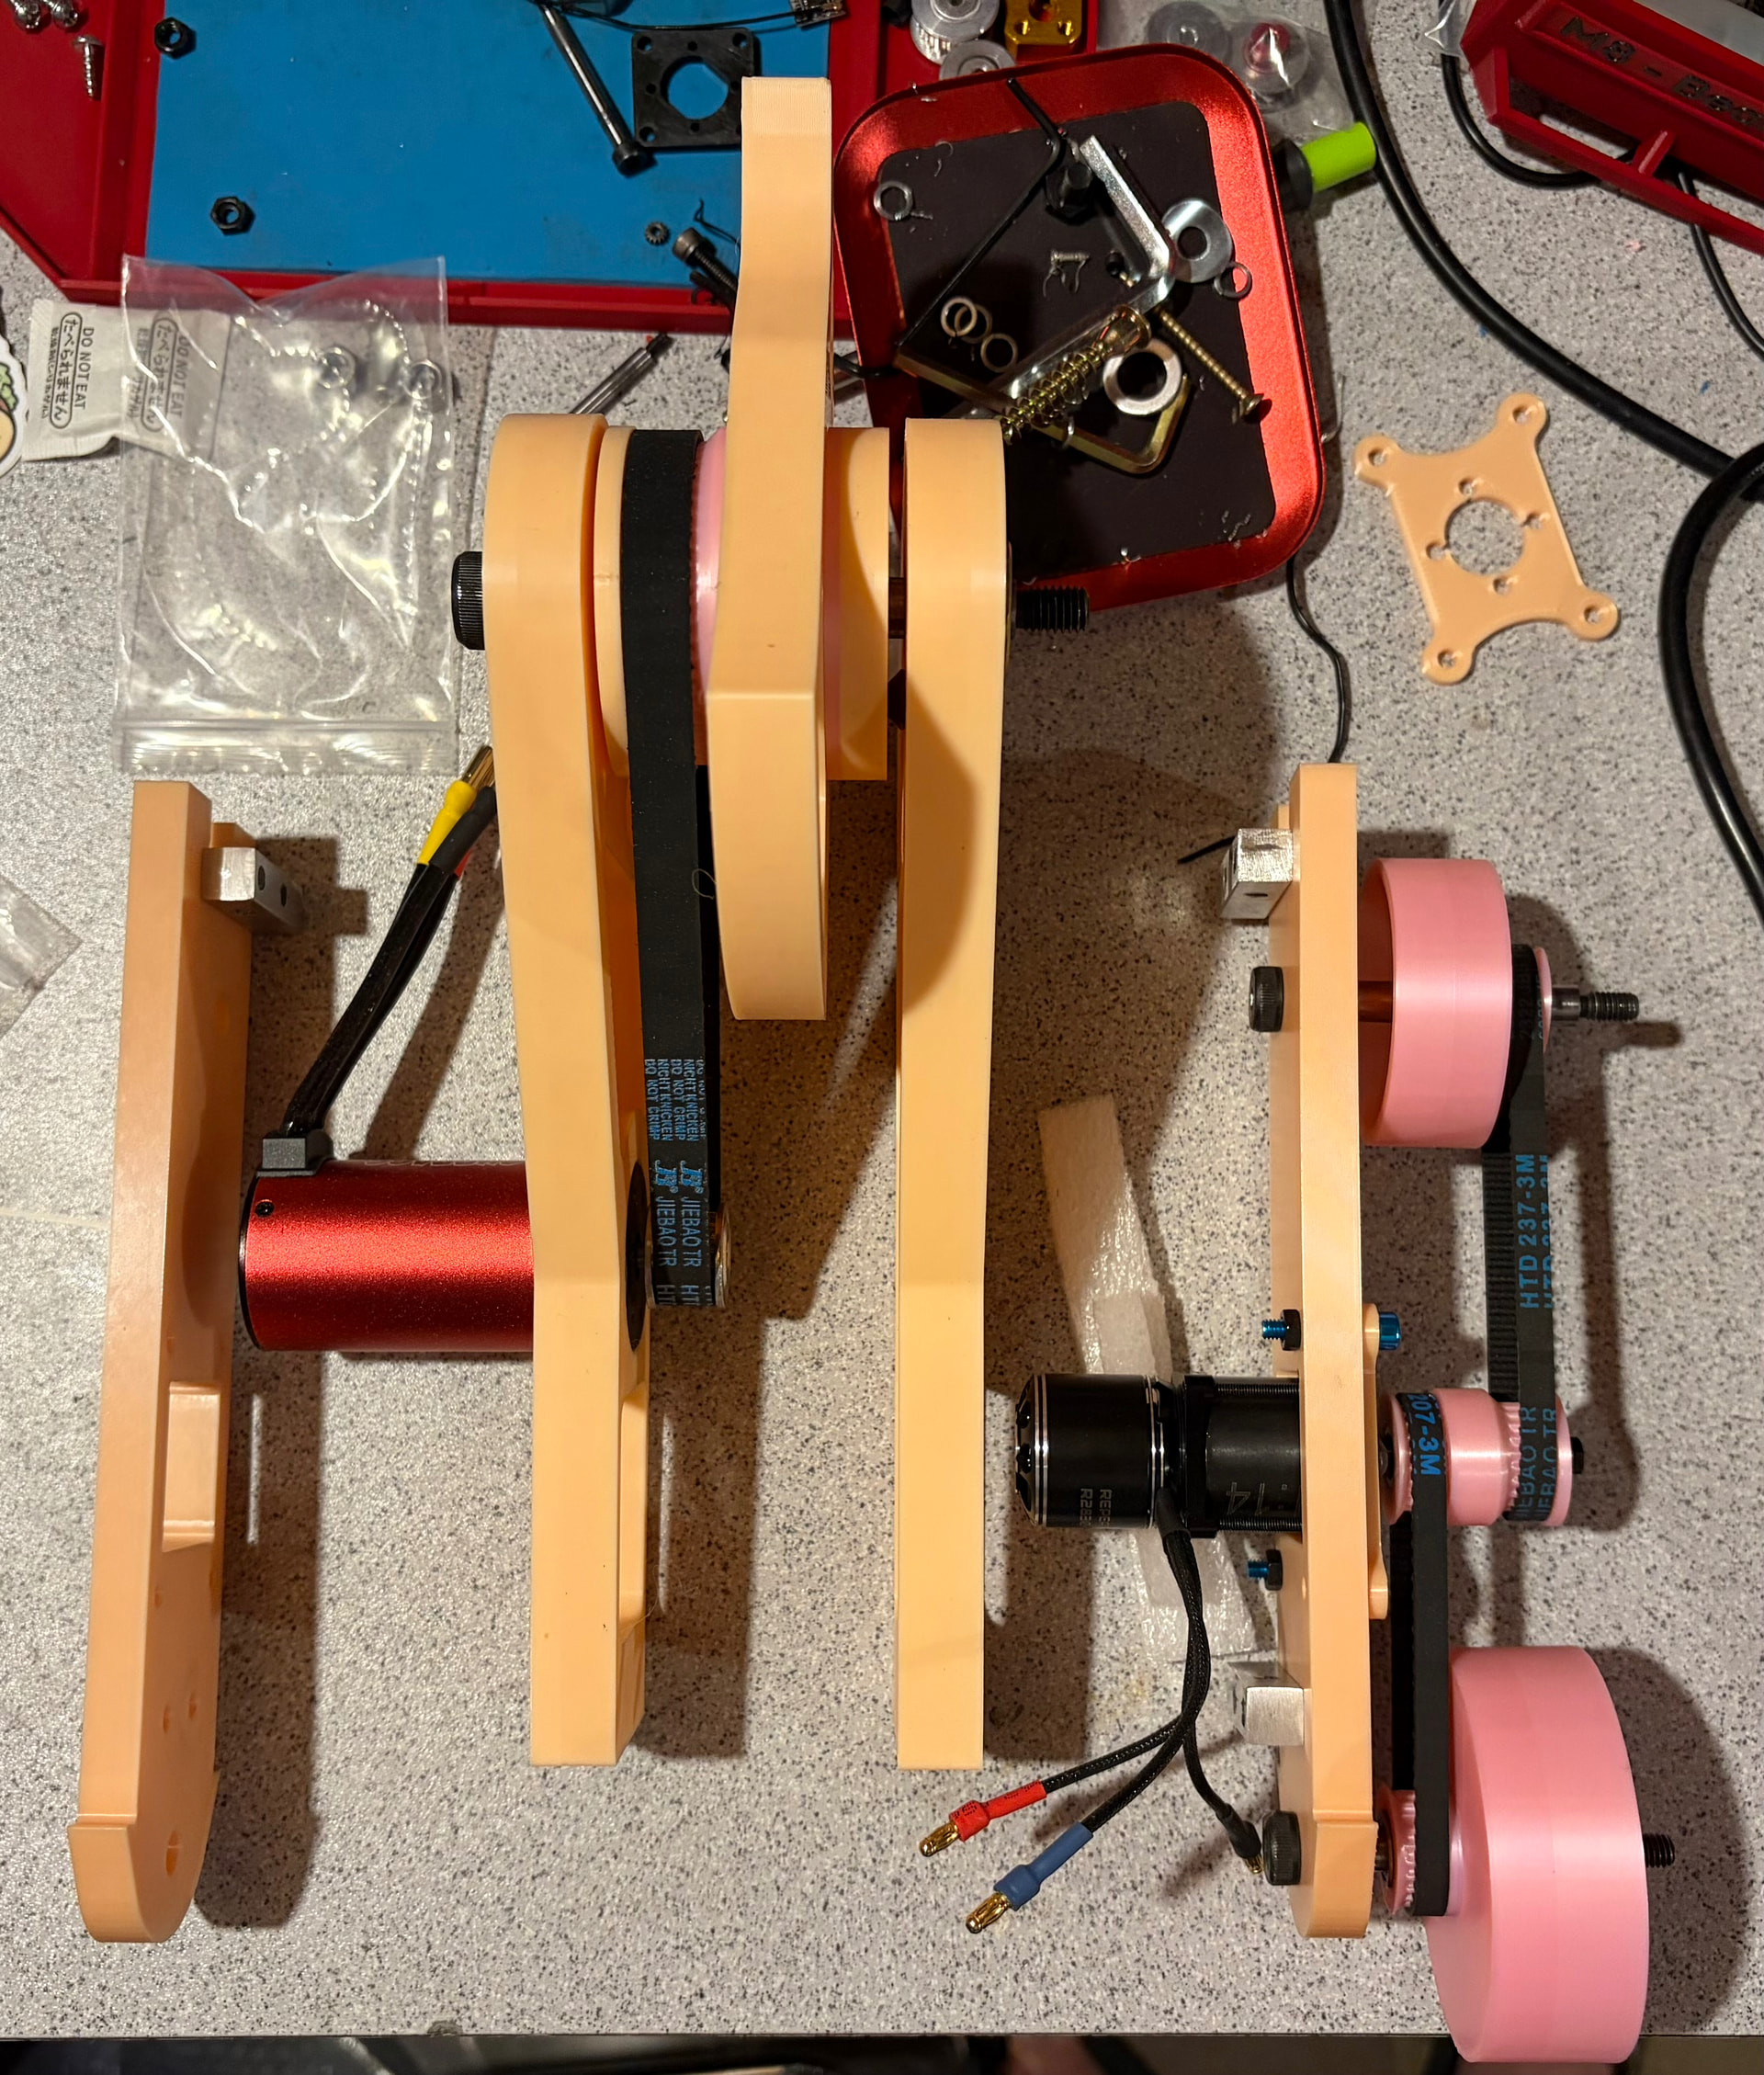
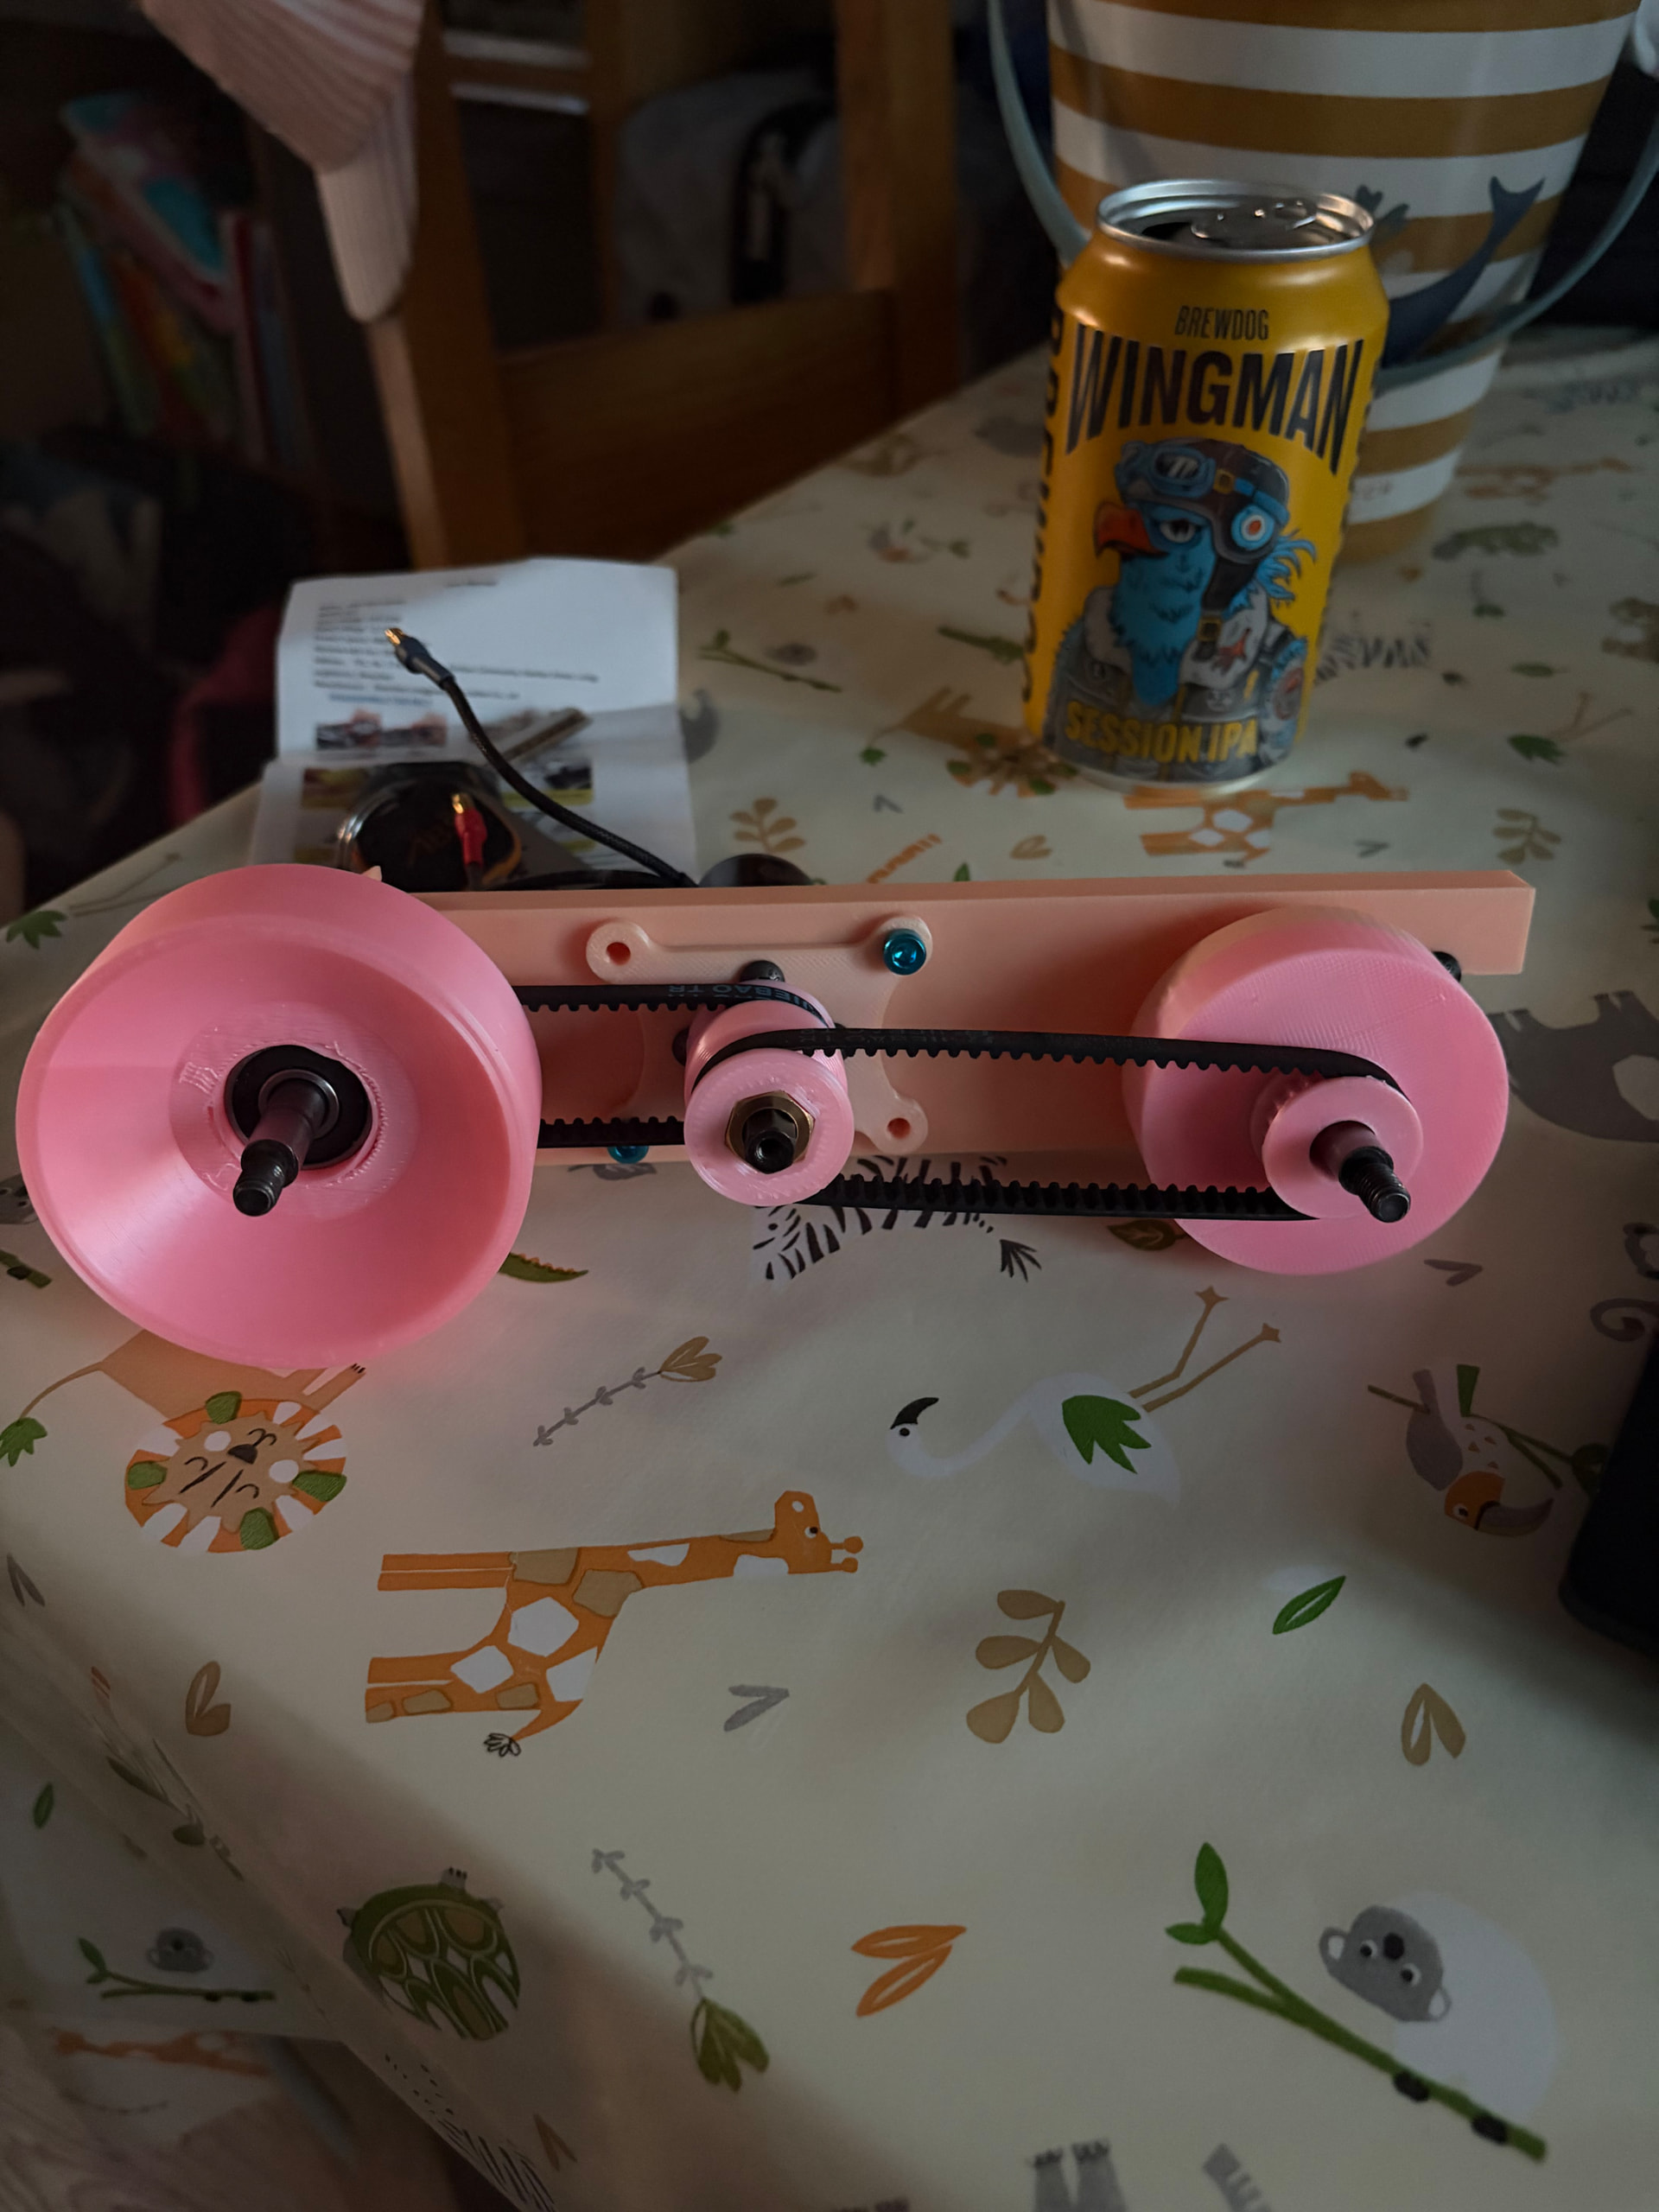
The only major changes other than size would be to run a double pulley system for drive instead of direct drive and pulley, 5s LIHV and a 179mm weapon.
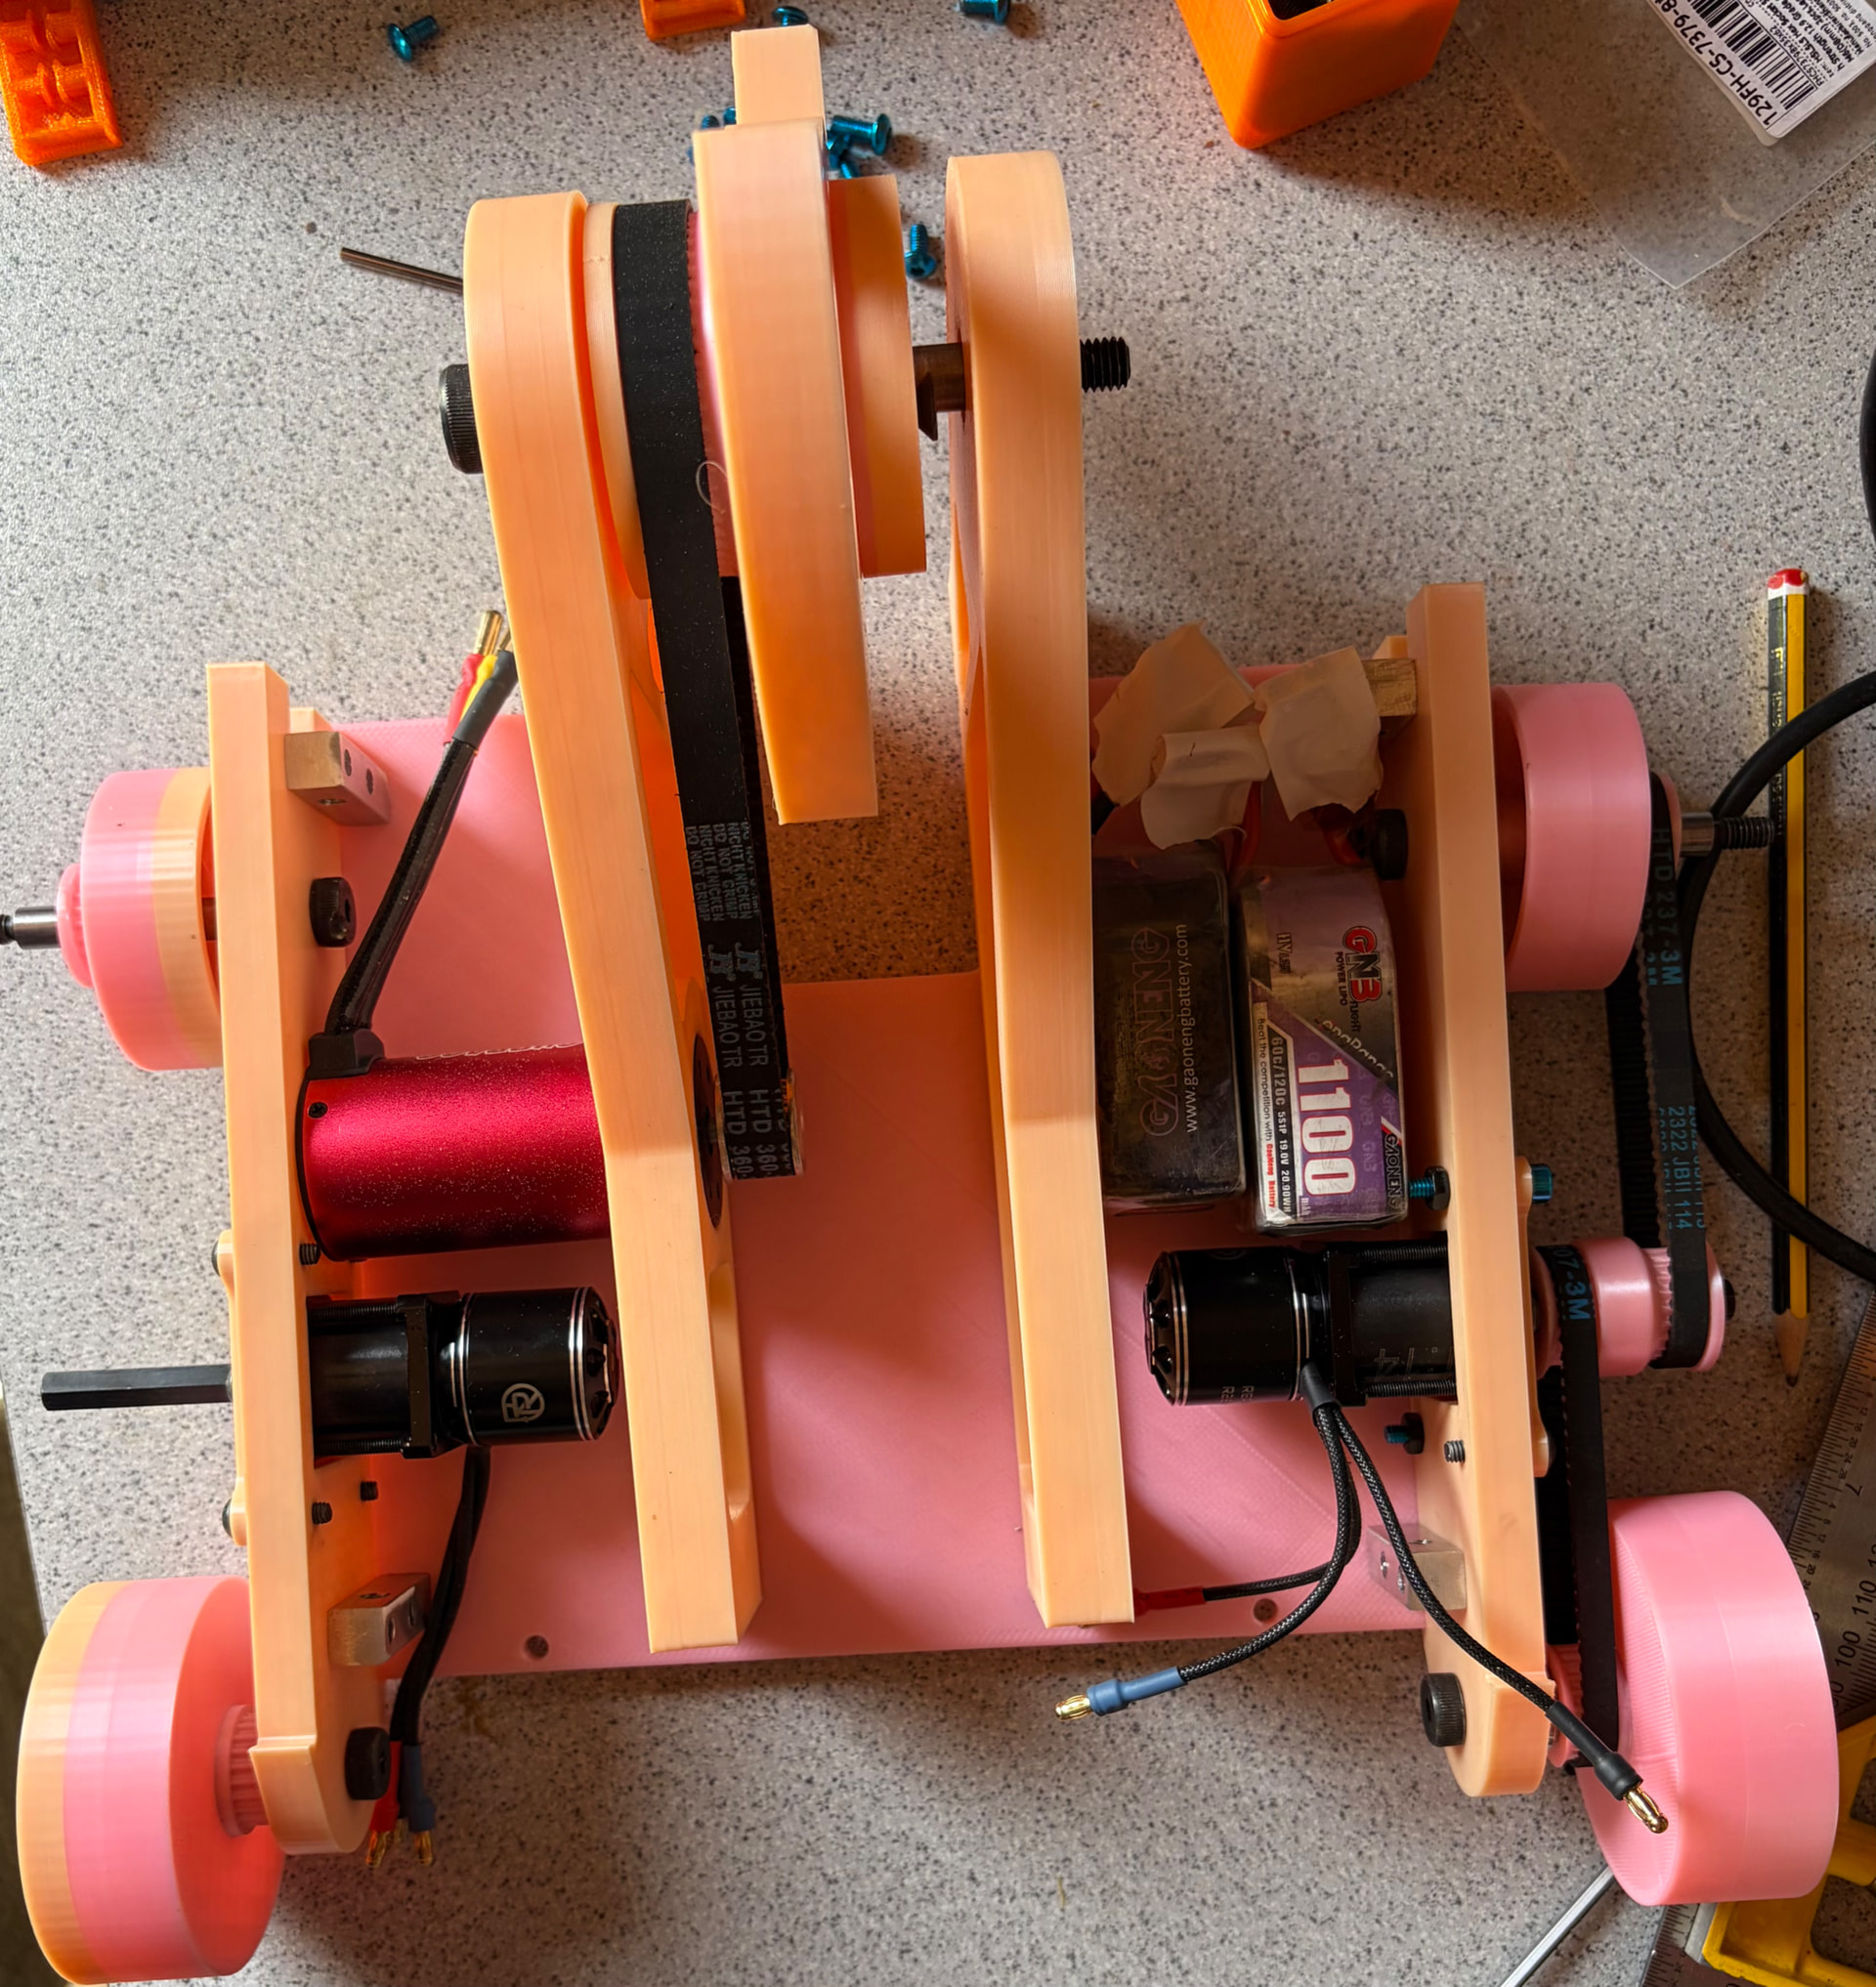
Got the layout pretty much sorted and going to print a test chassis to check all the belts drive distances work.
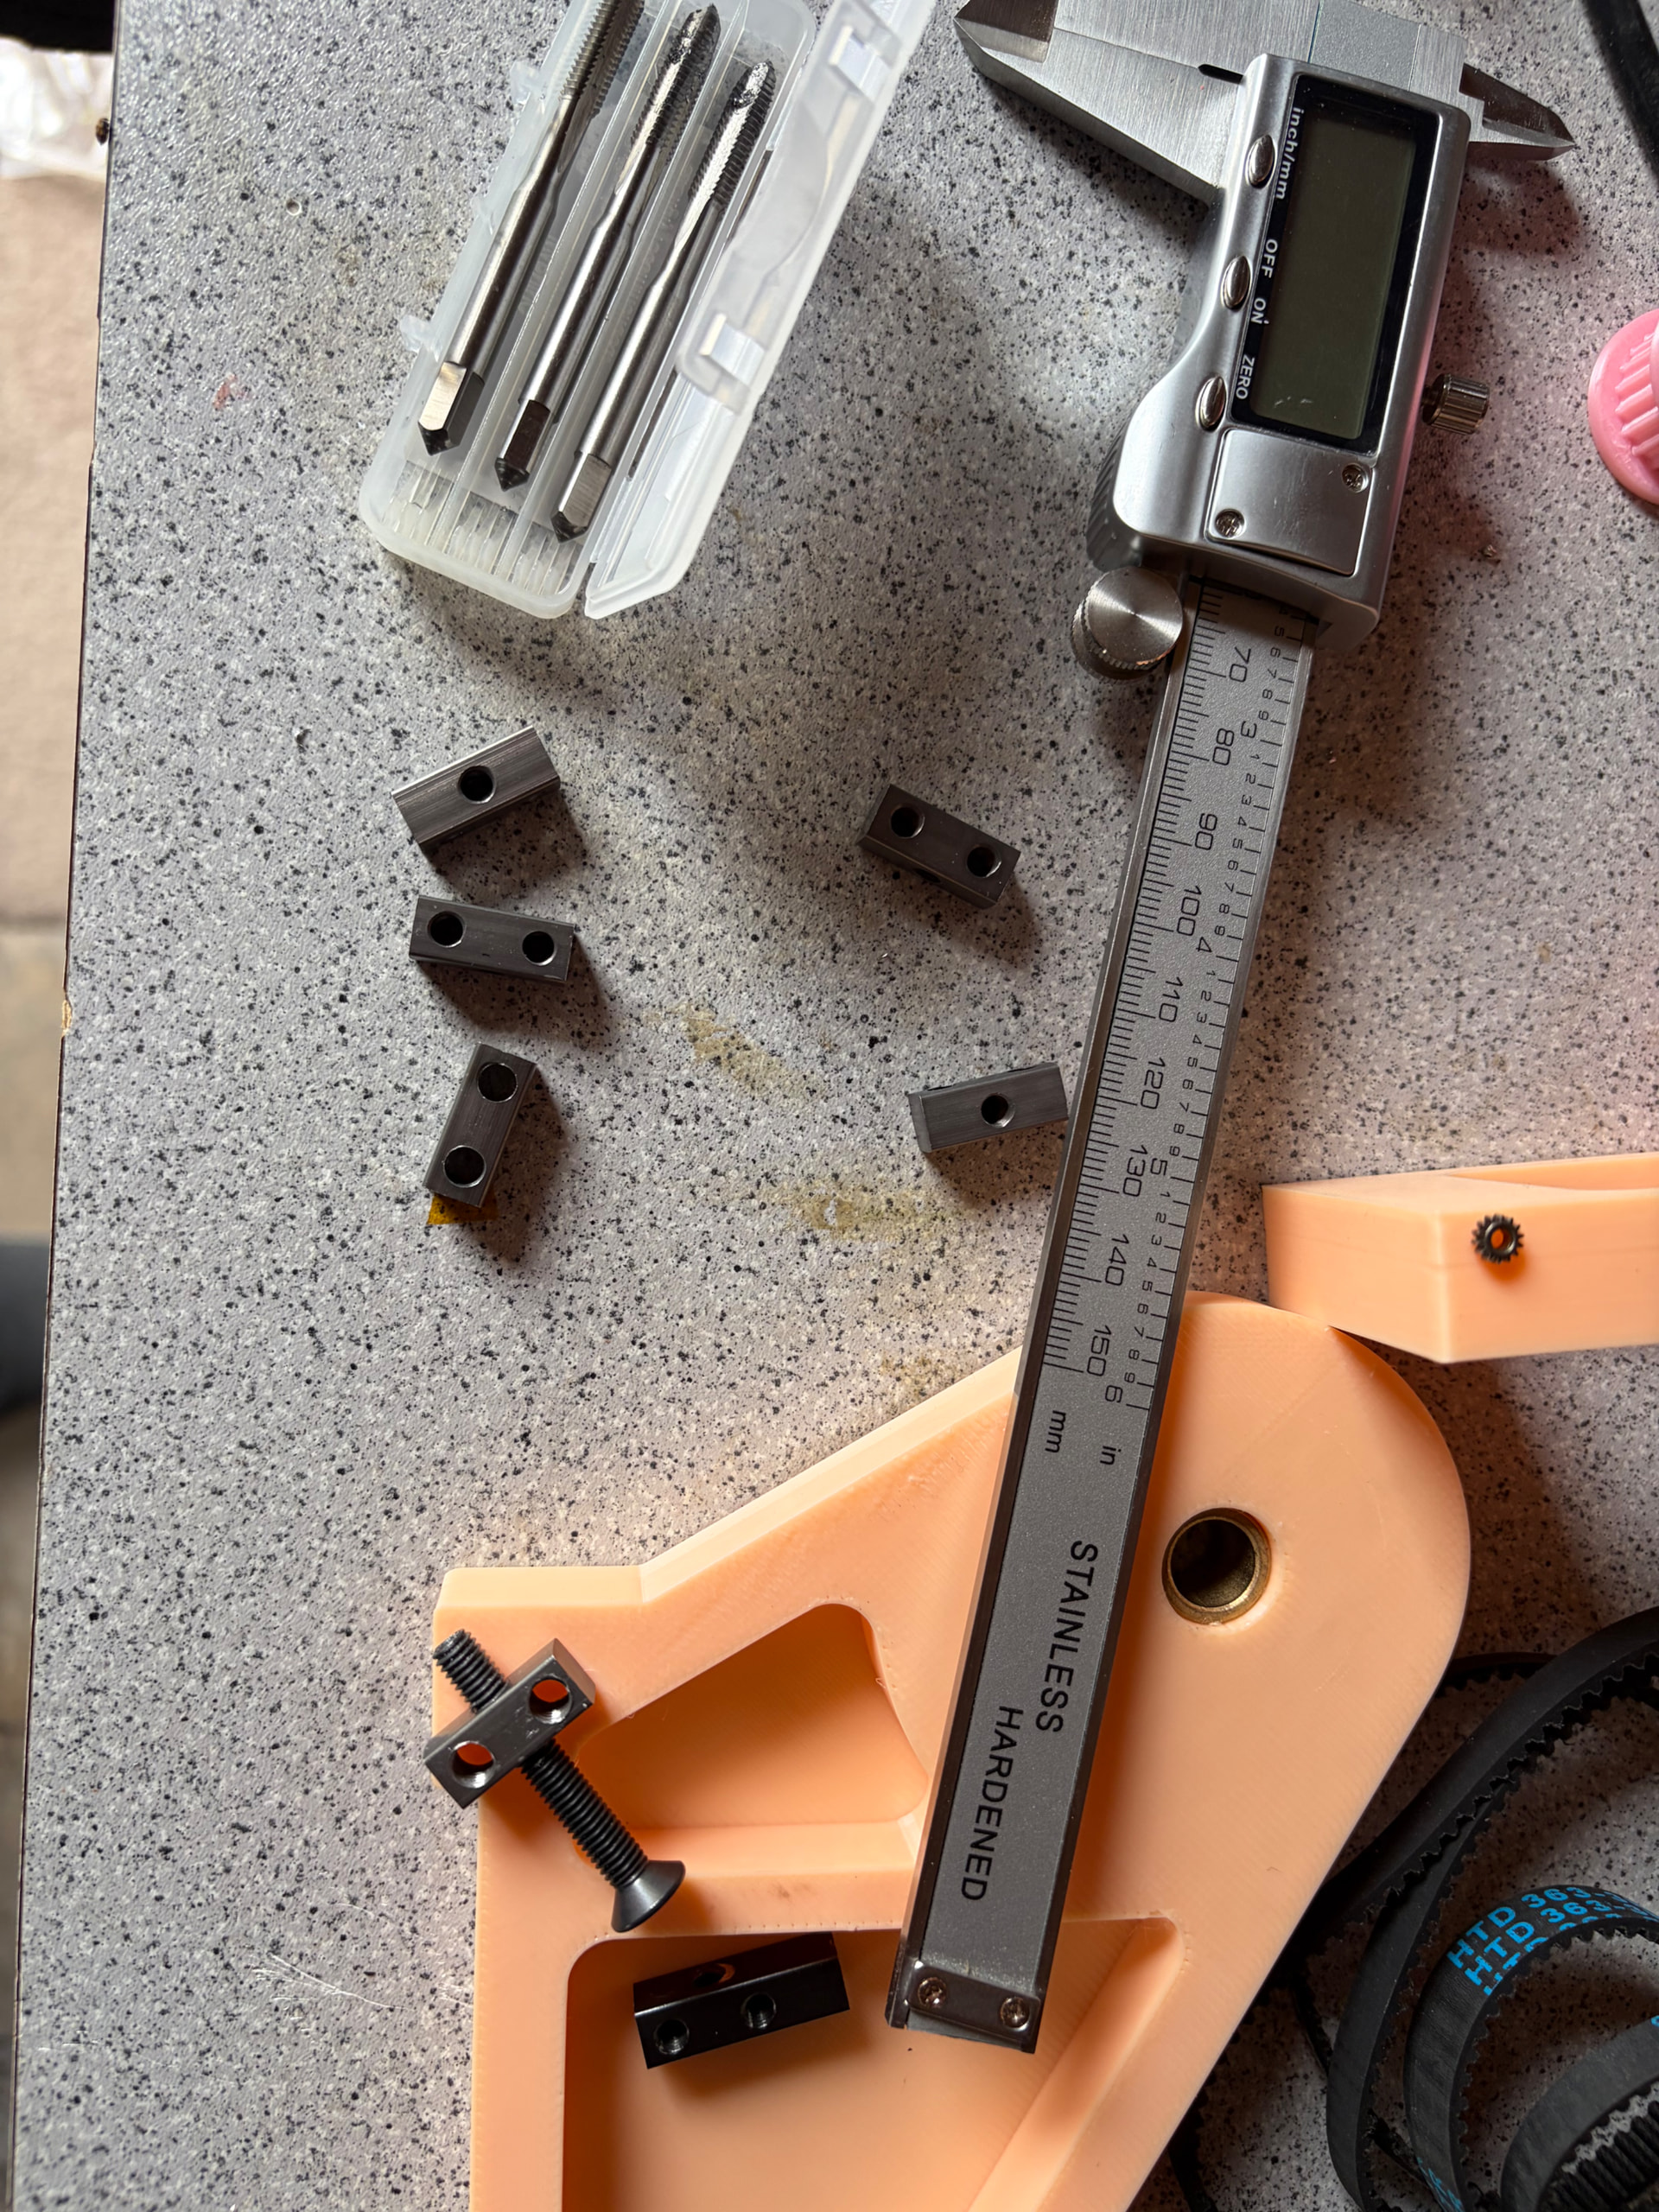
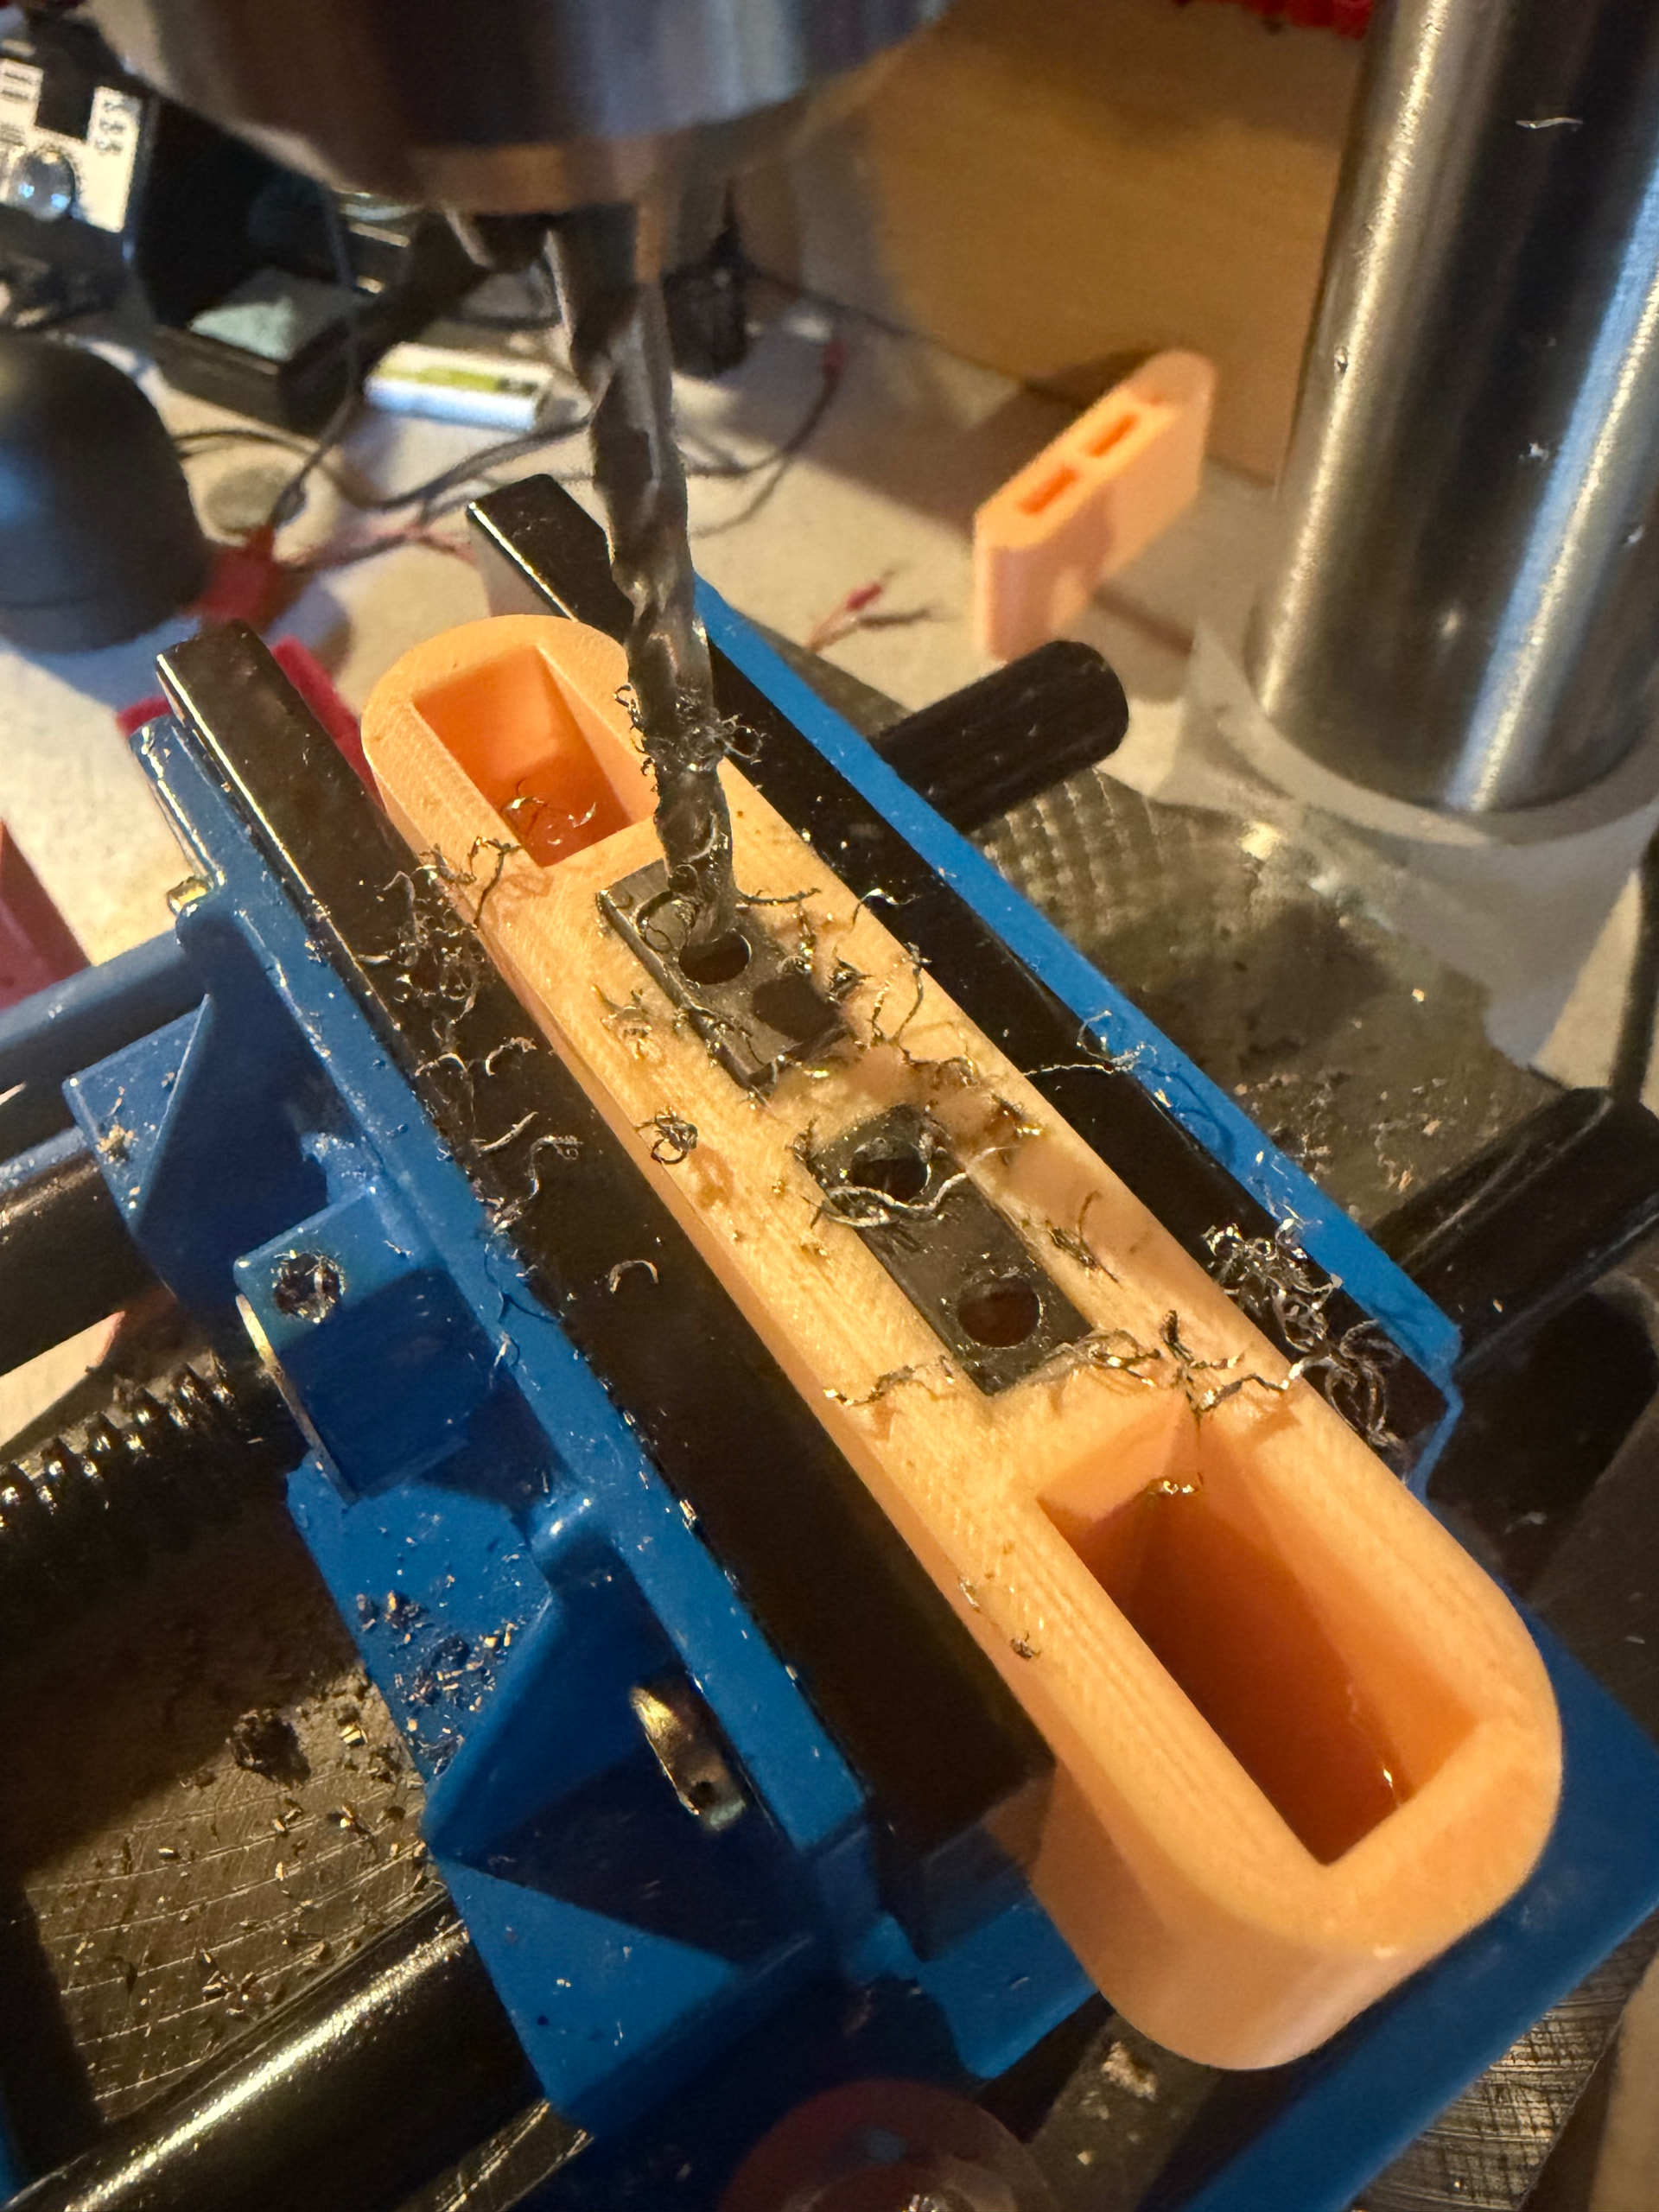
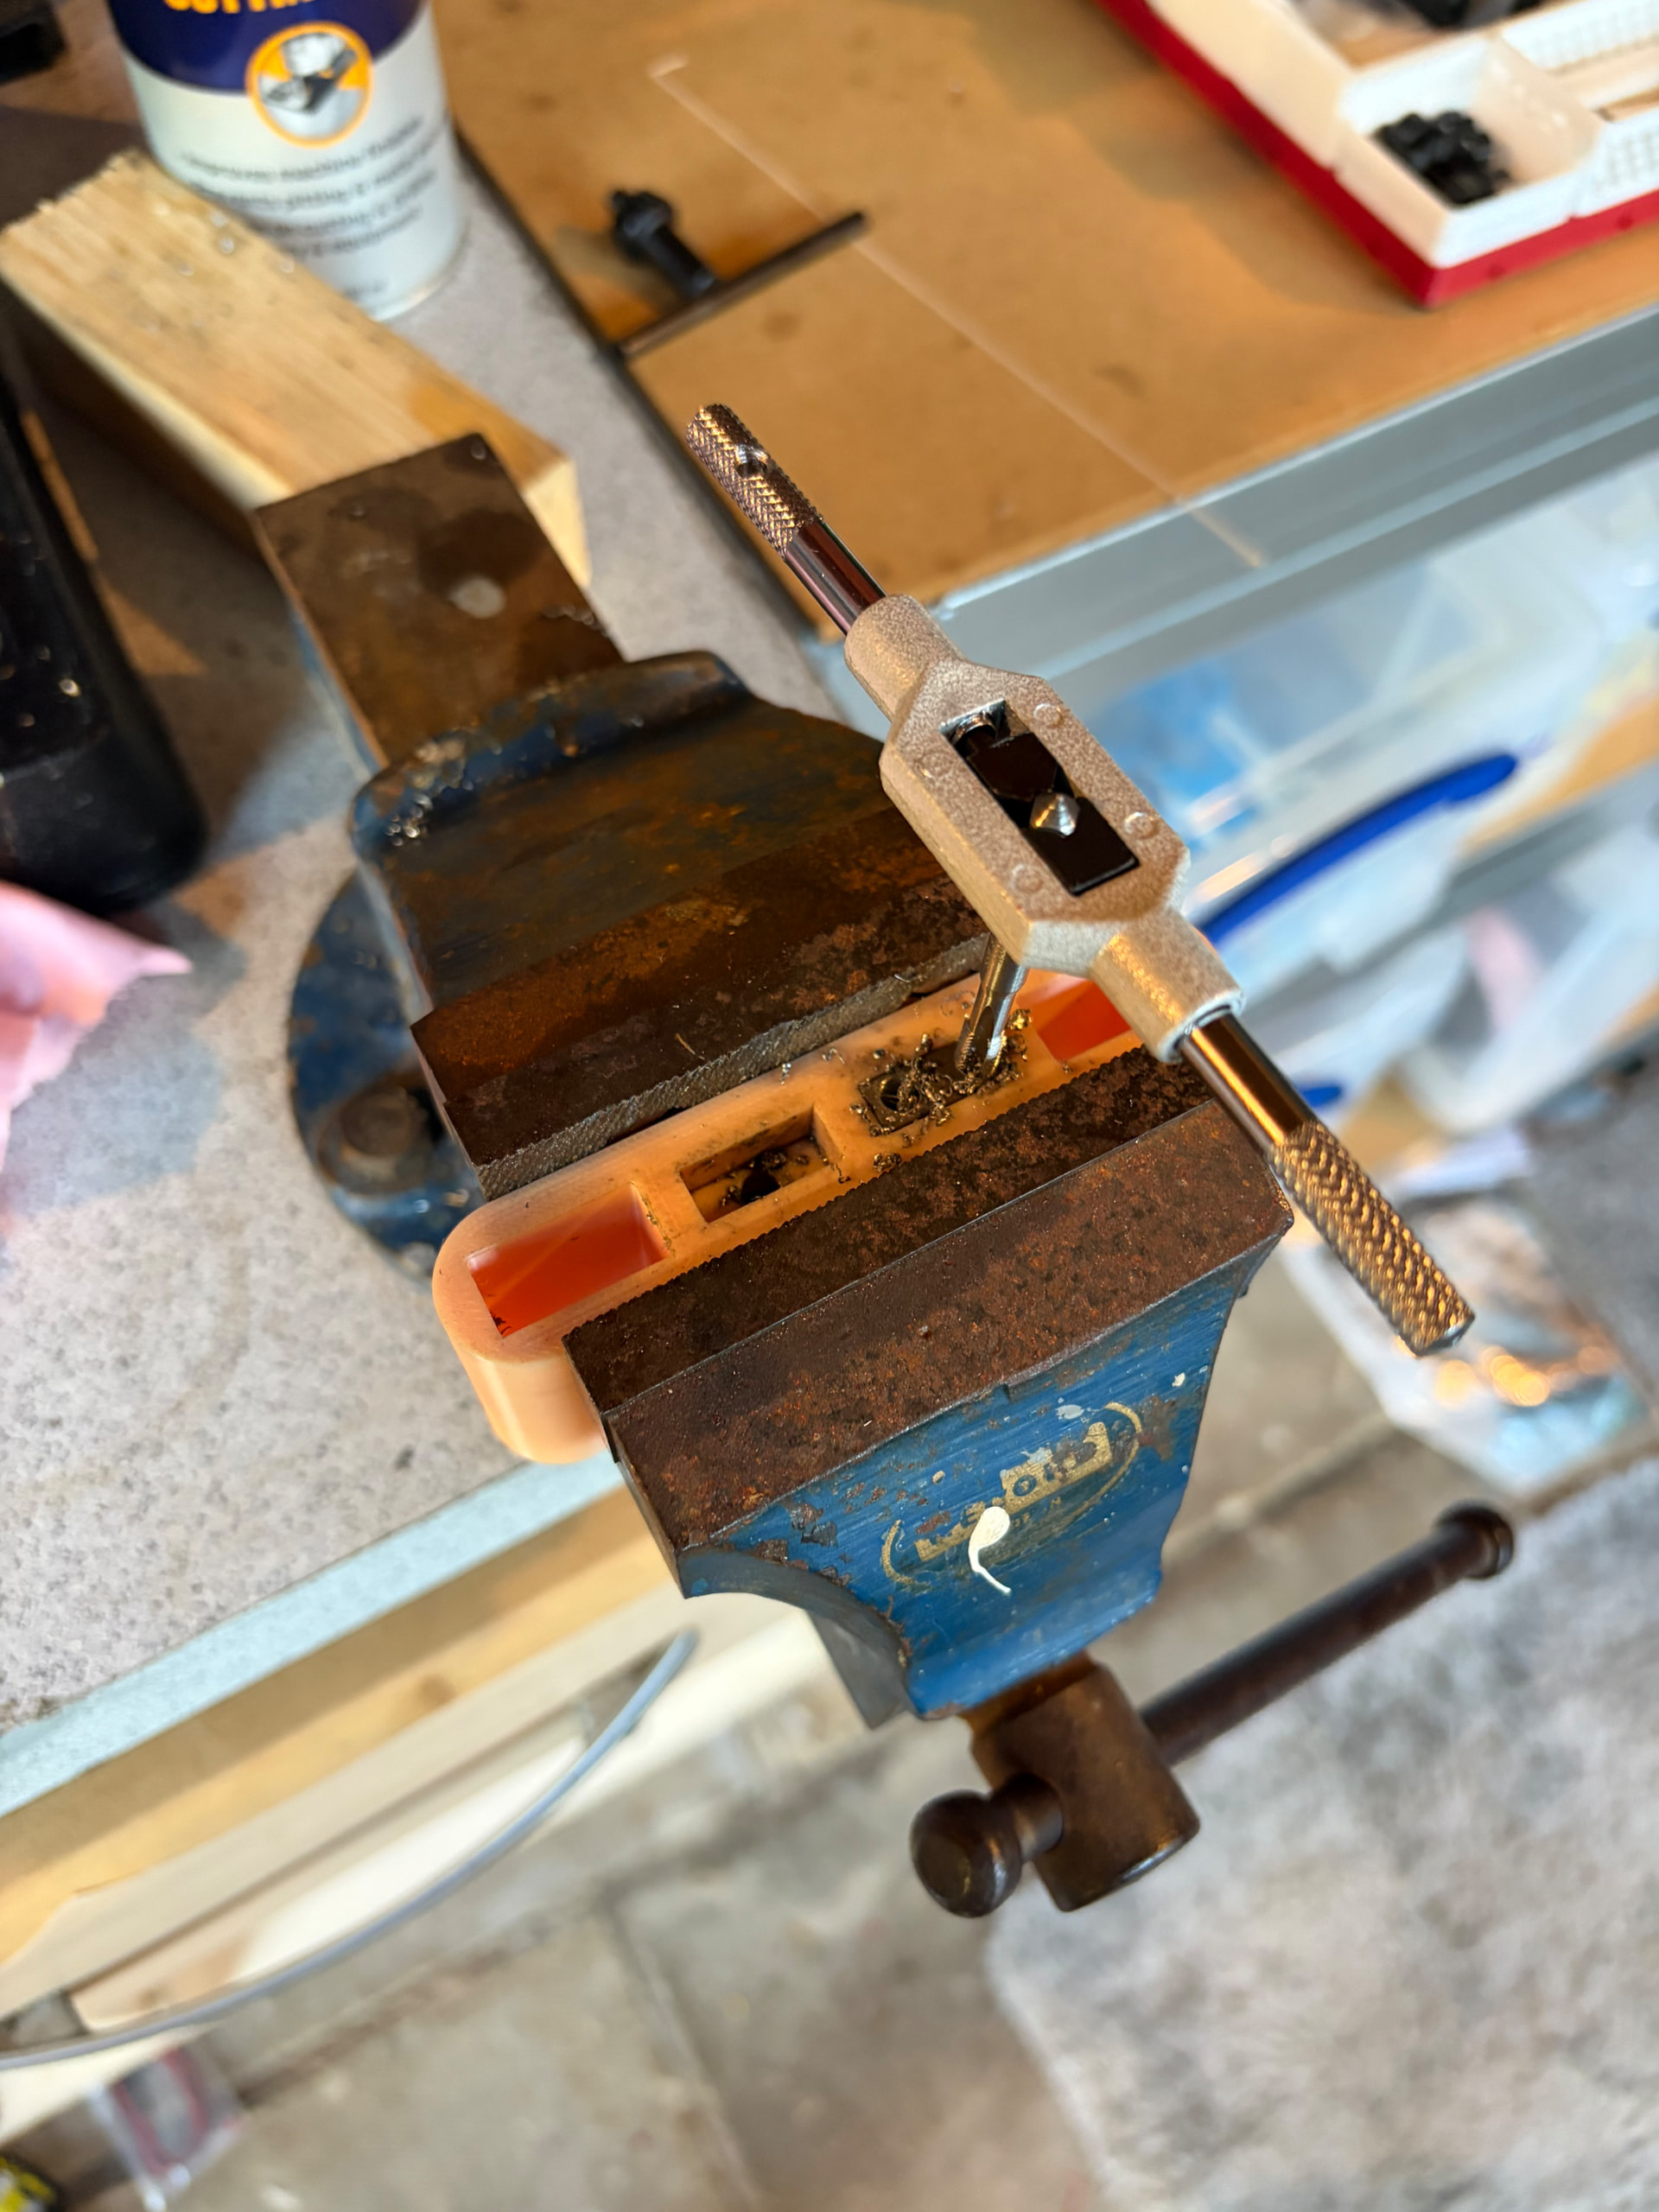
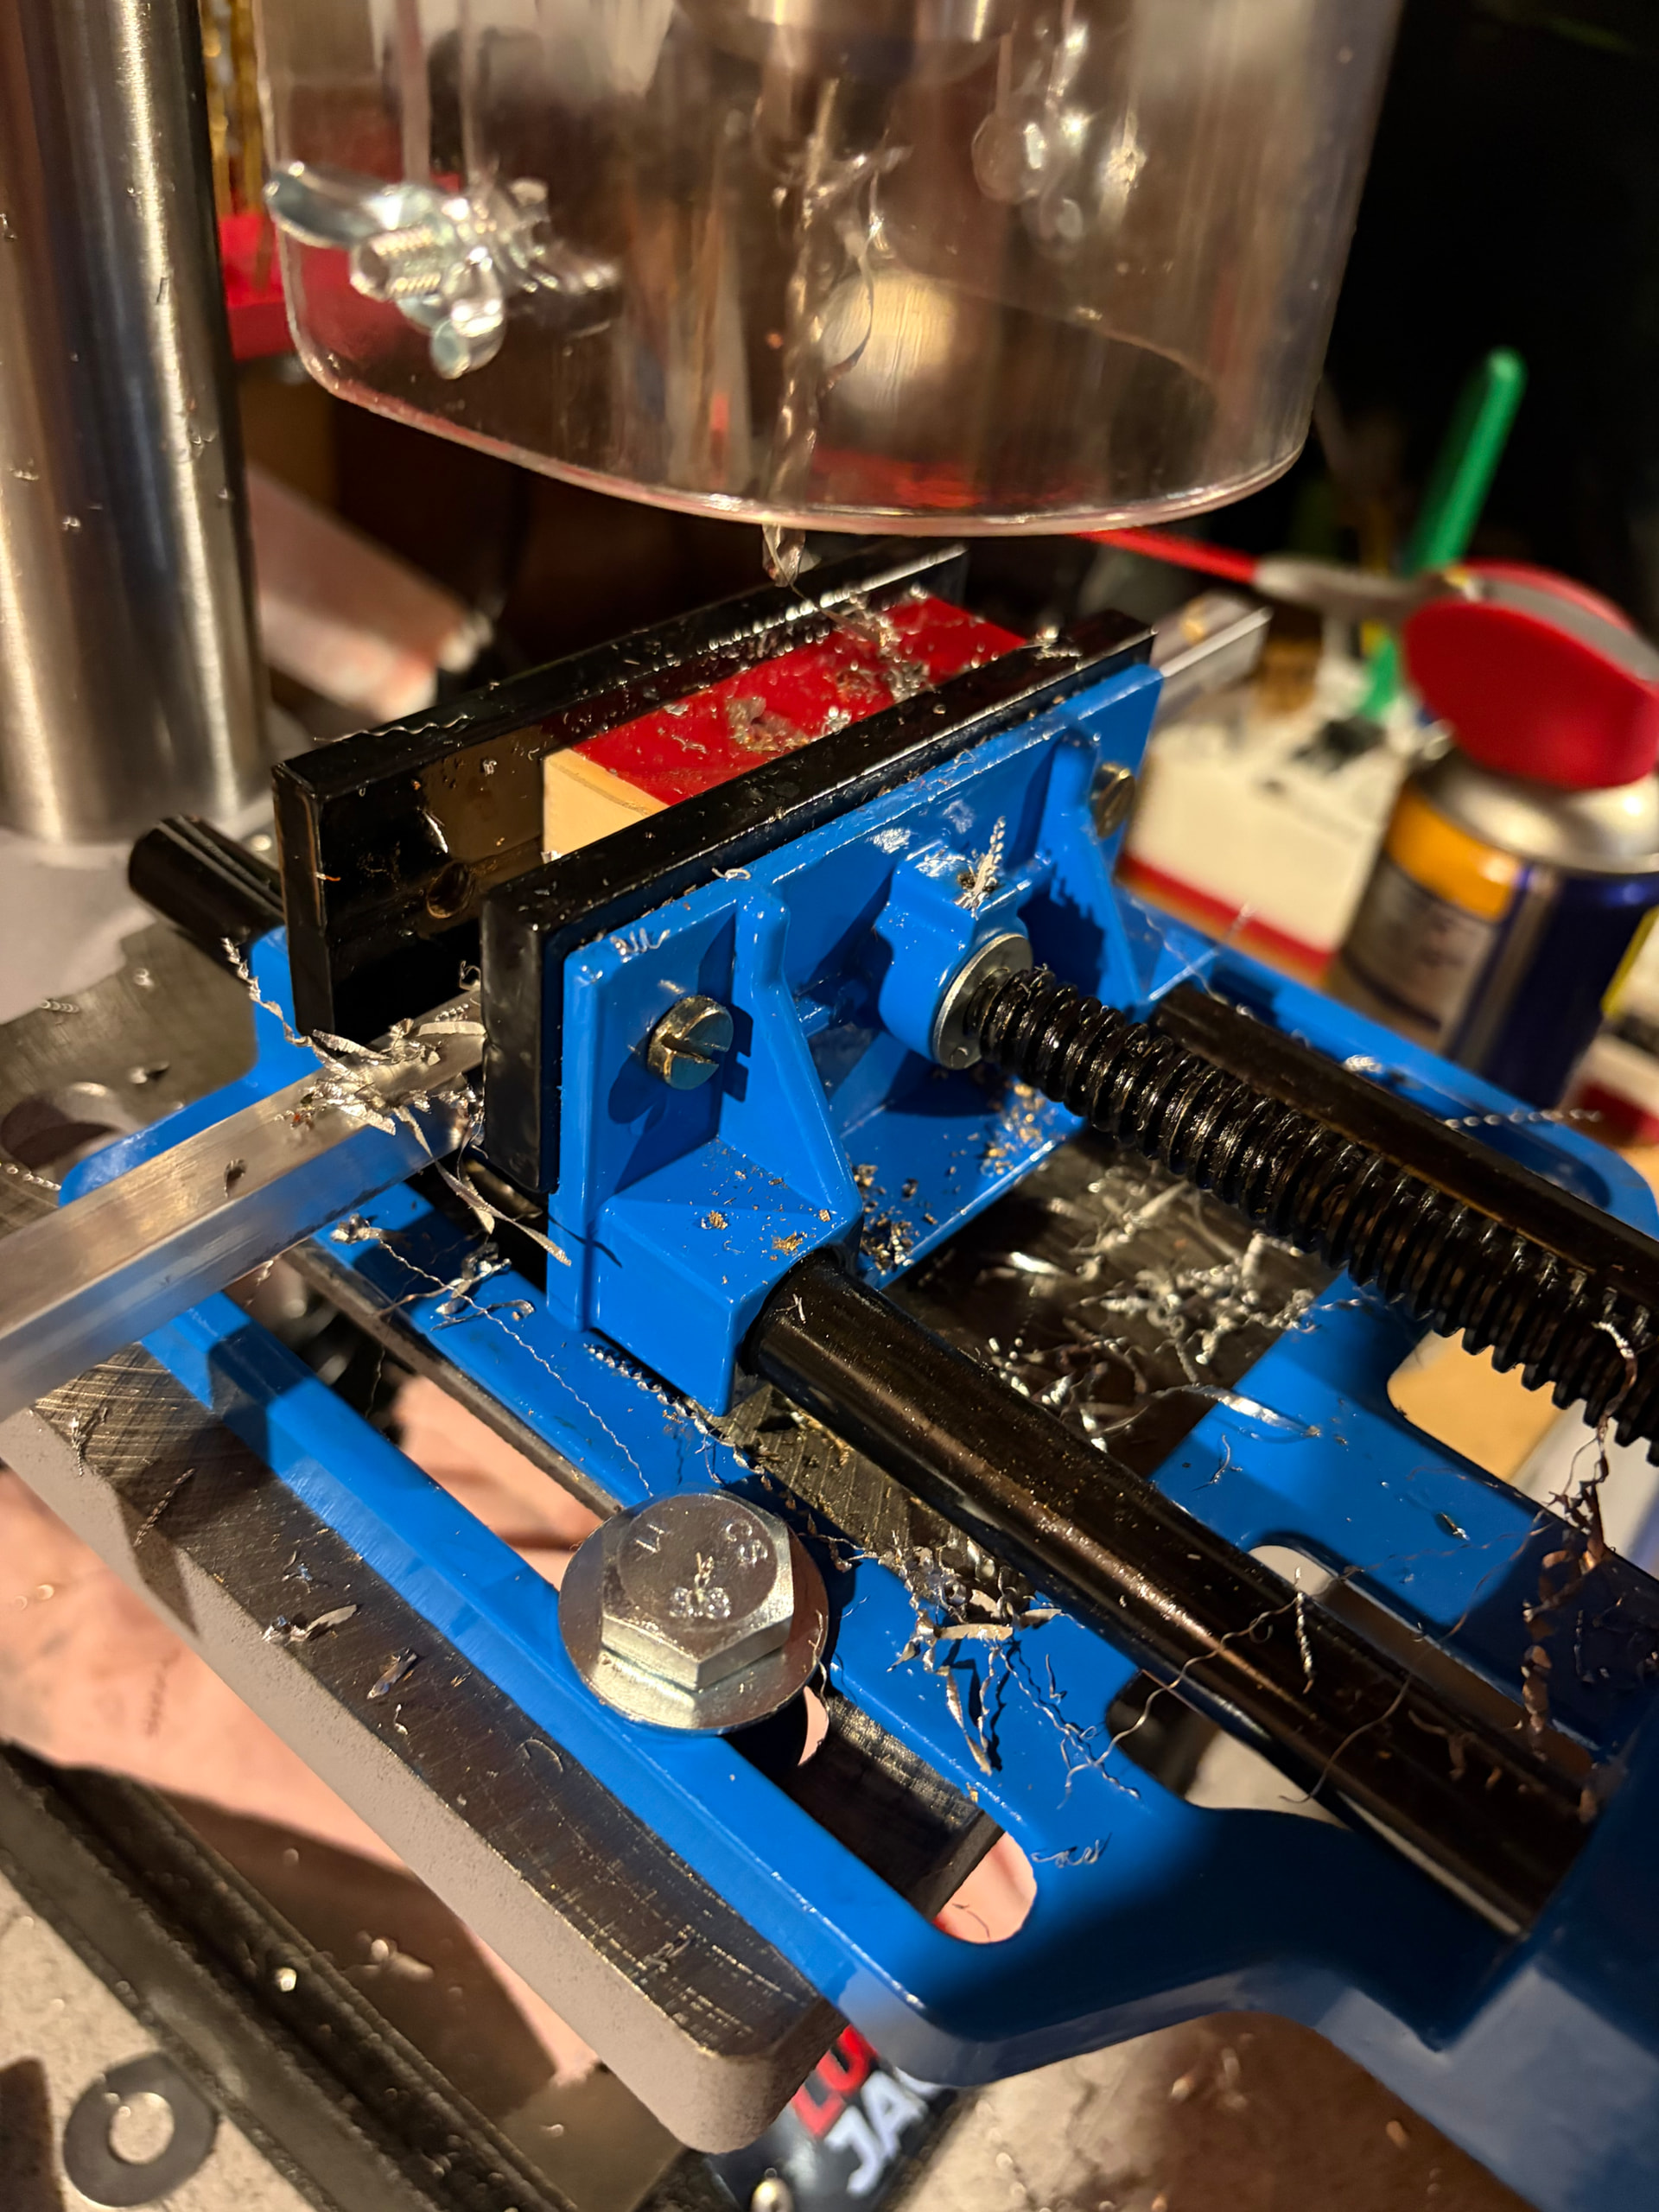
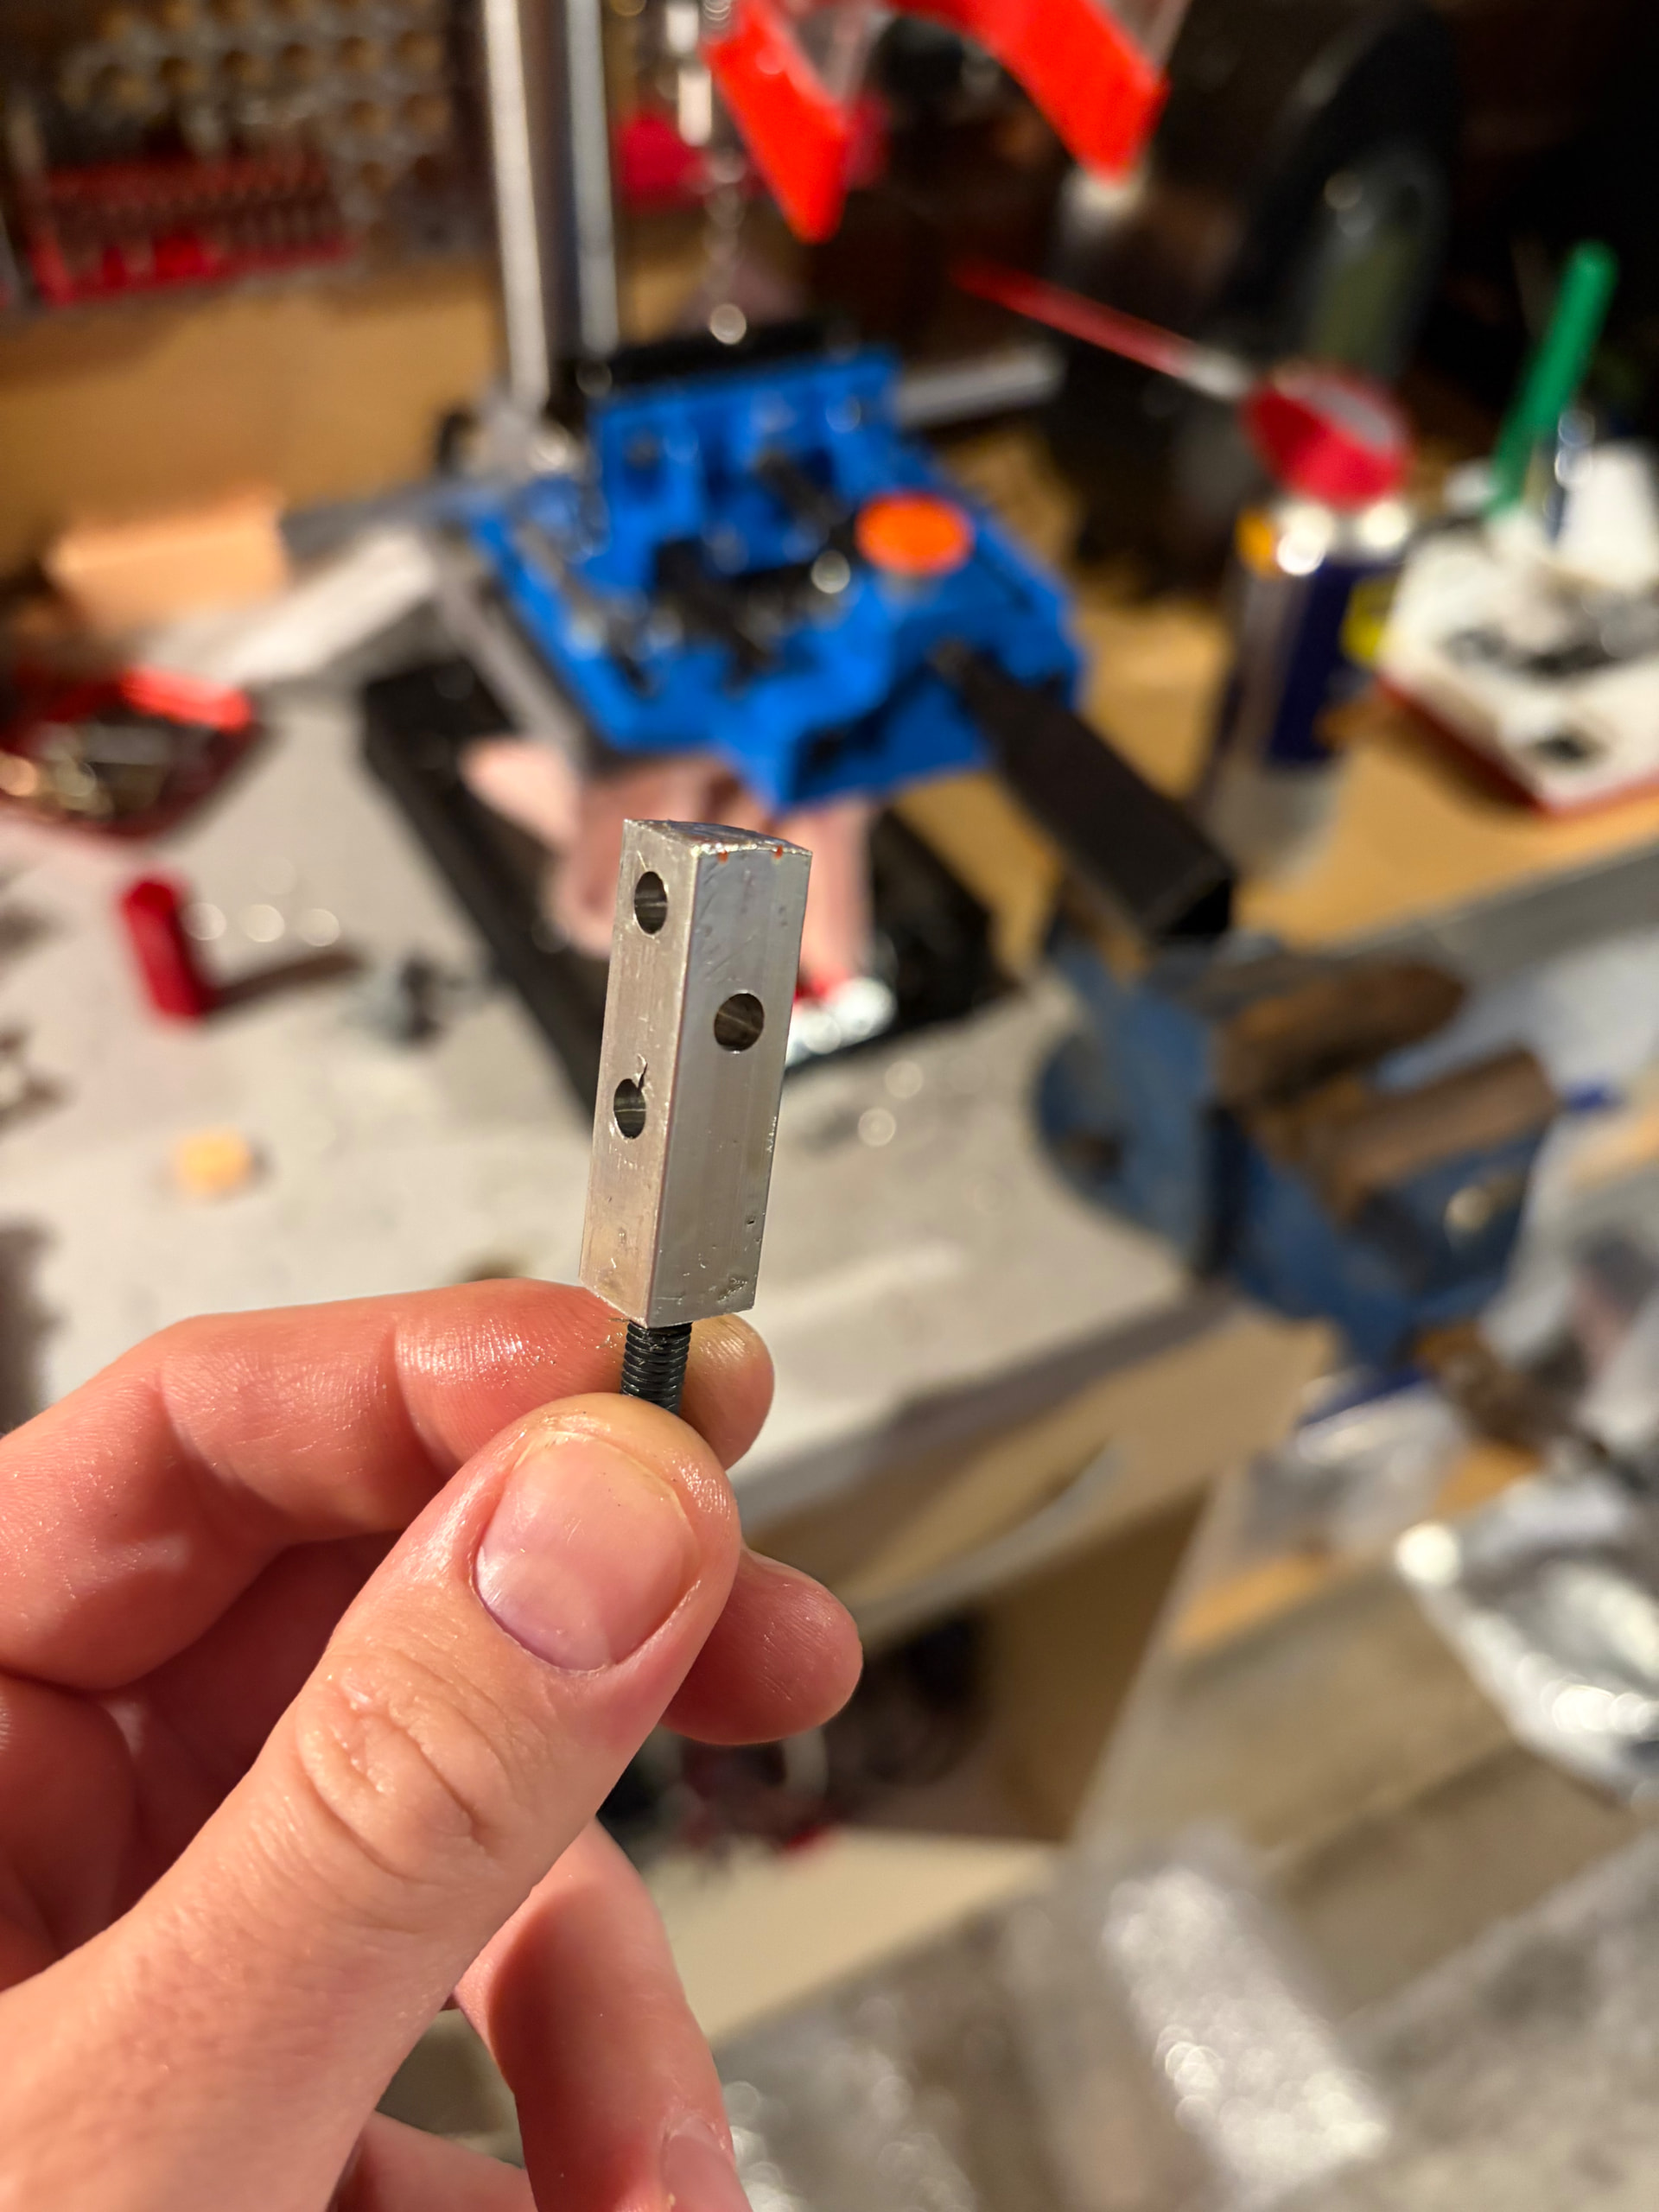
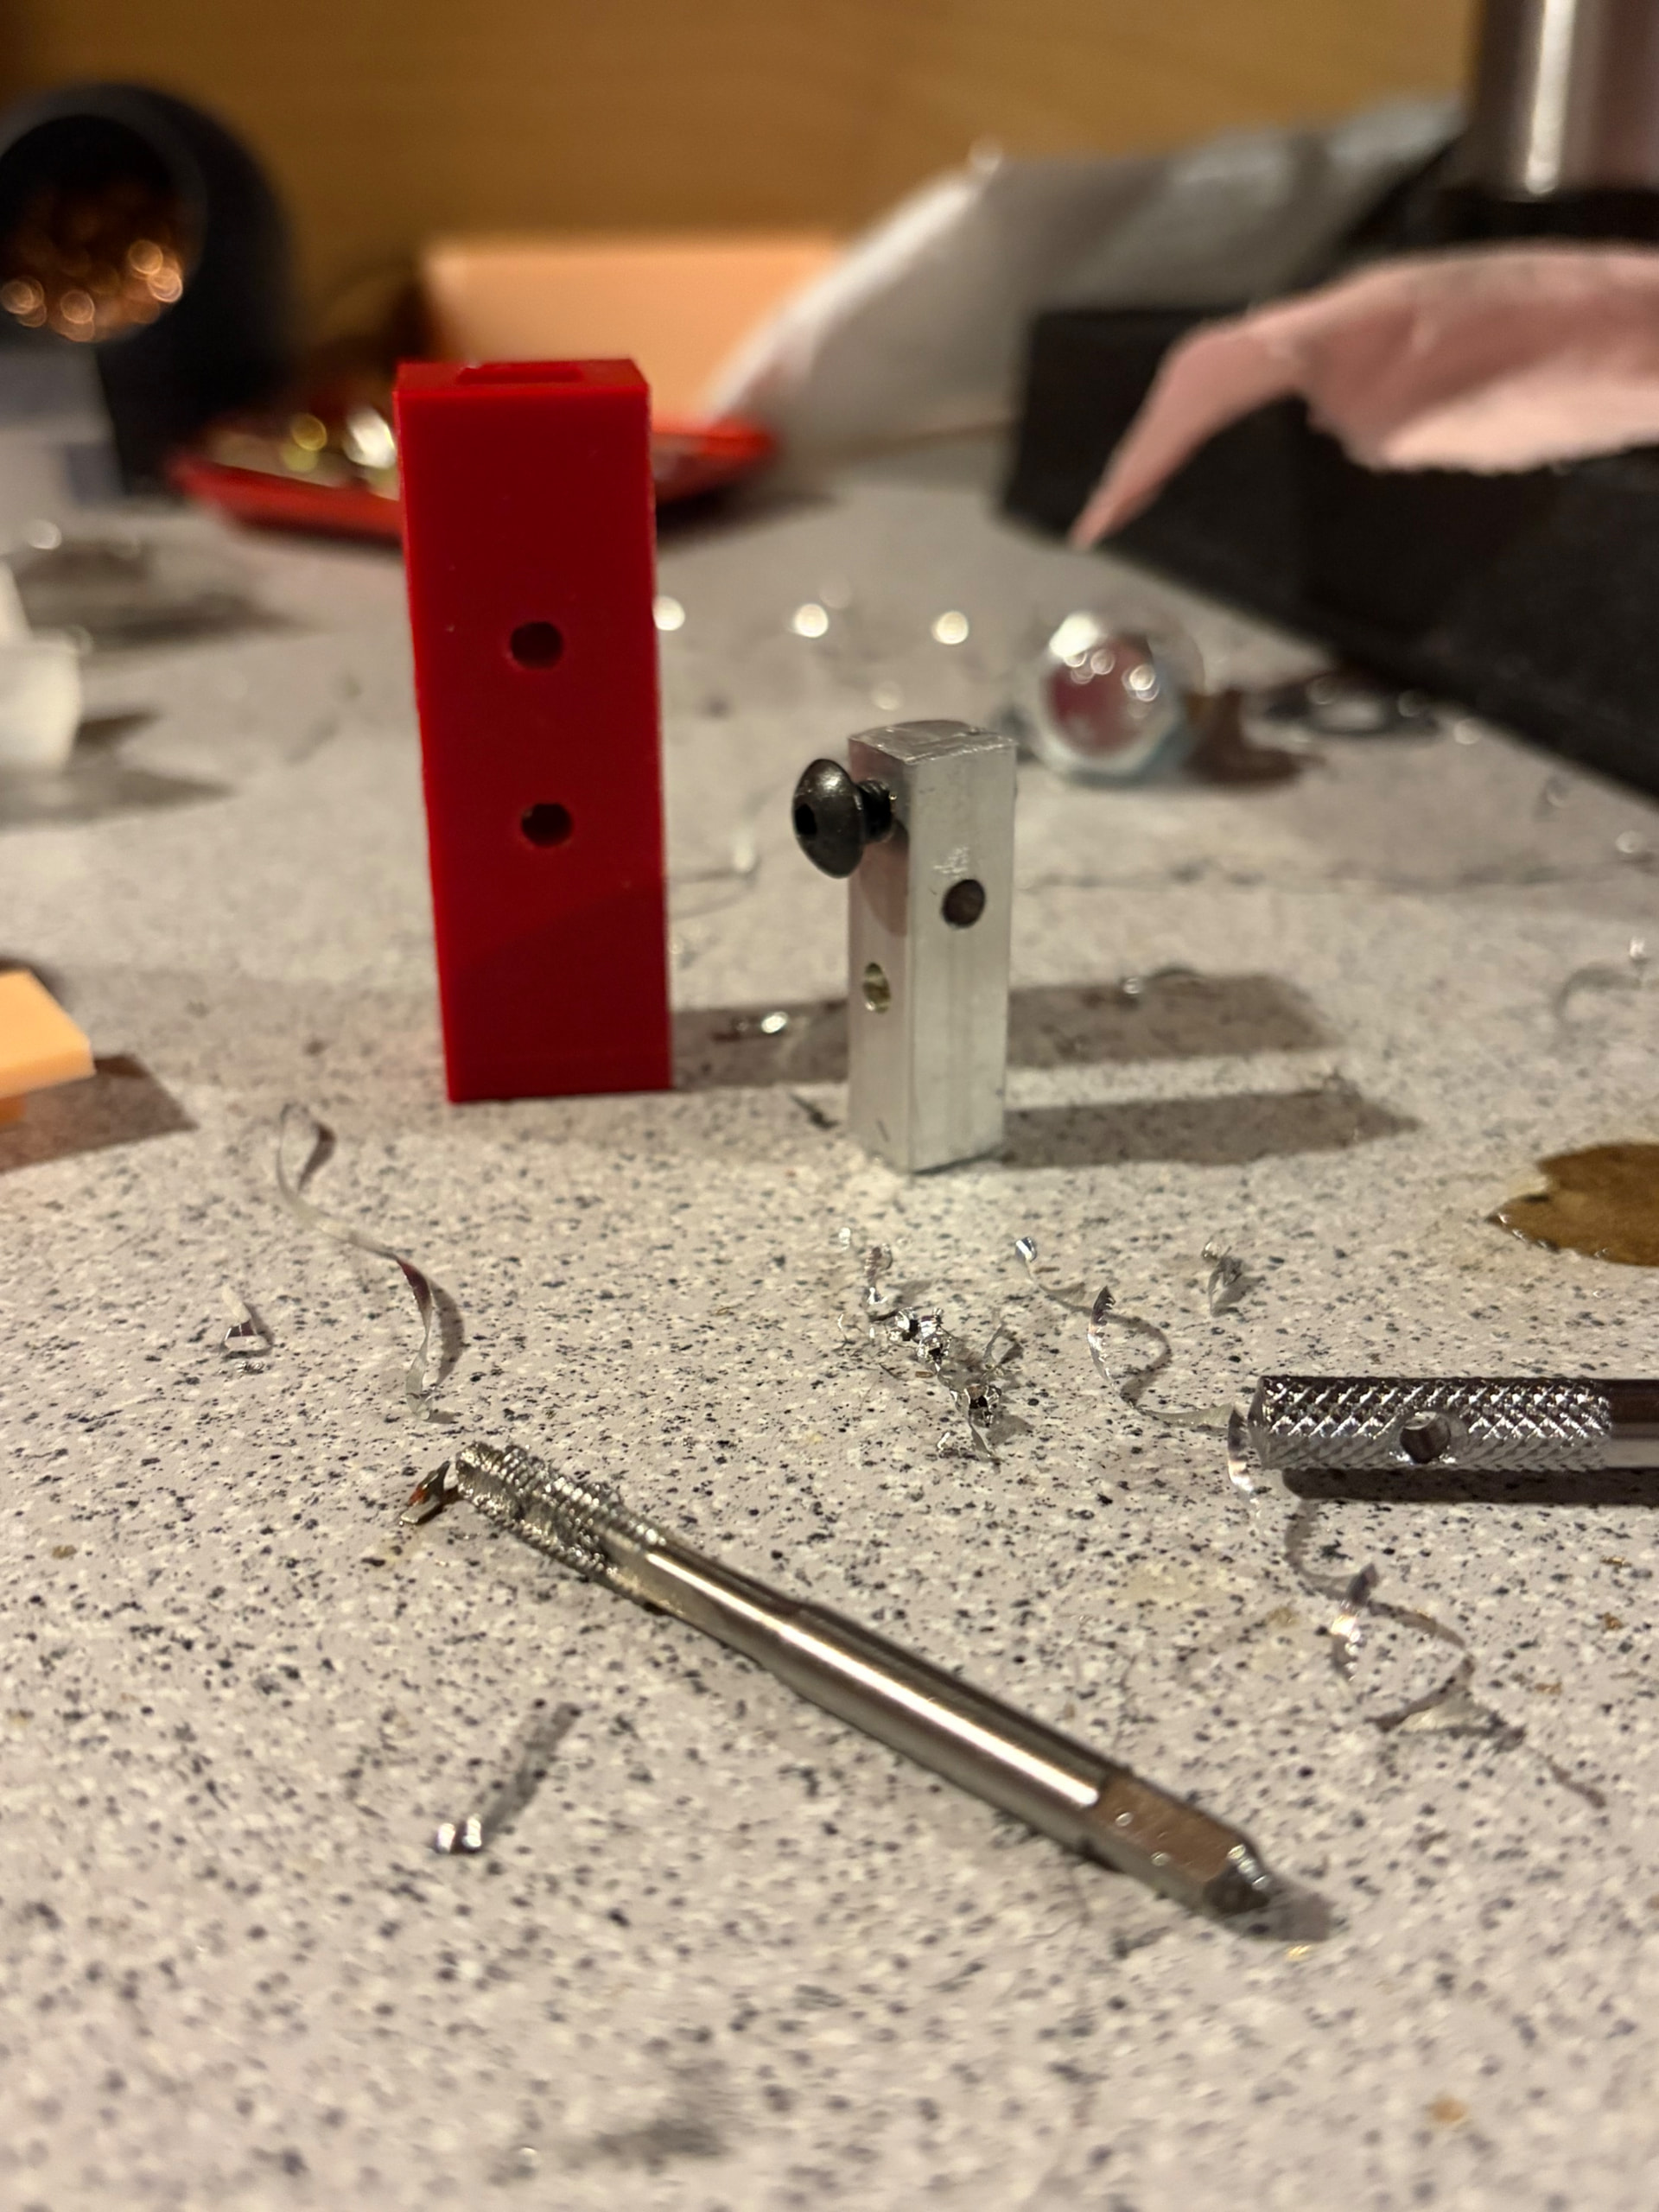
Decided to also have a good at making my own connector blocks.
I bought a 10x10mm extrude of aluminium. Designed and printed 2 jigs. 1 to cut 35mm lengths which could be slotted into the other jig with pilot holes. I drilled 4.2mm holes which I then tapped for m5 bolts.
These will be used in the 4 corners and 2 on the bulk head to hold the chassis together. This means I can CNC the hdpe with the bores I need and not worry about screwing in and out of hdpe when I need to change out parts. Or drilling inaccurate holes.
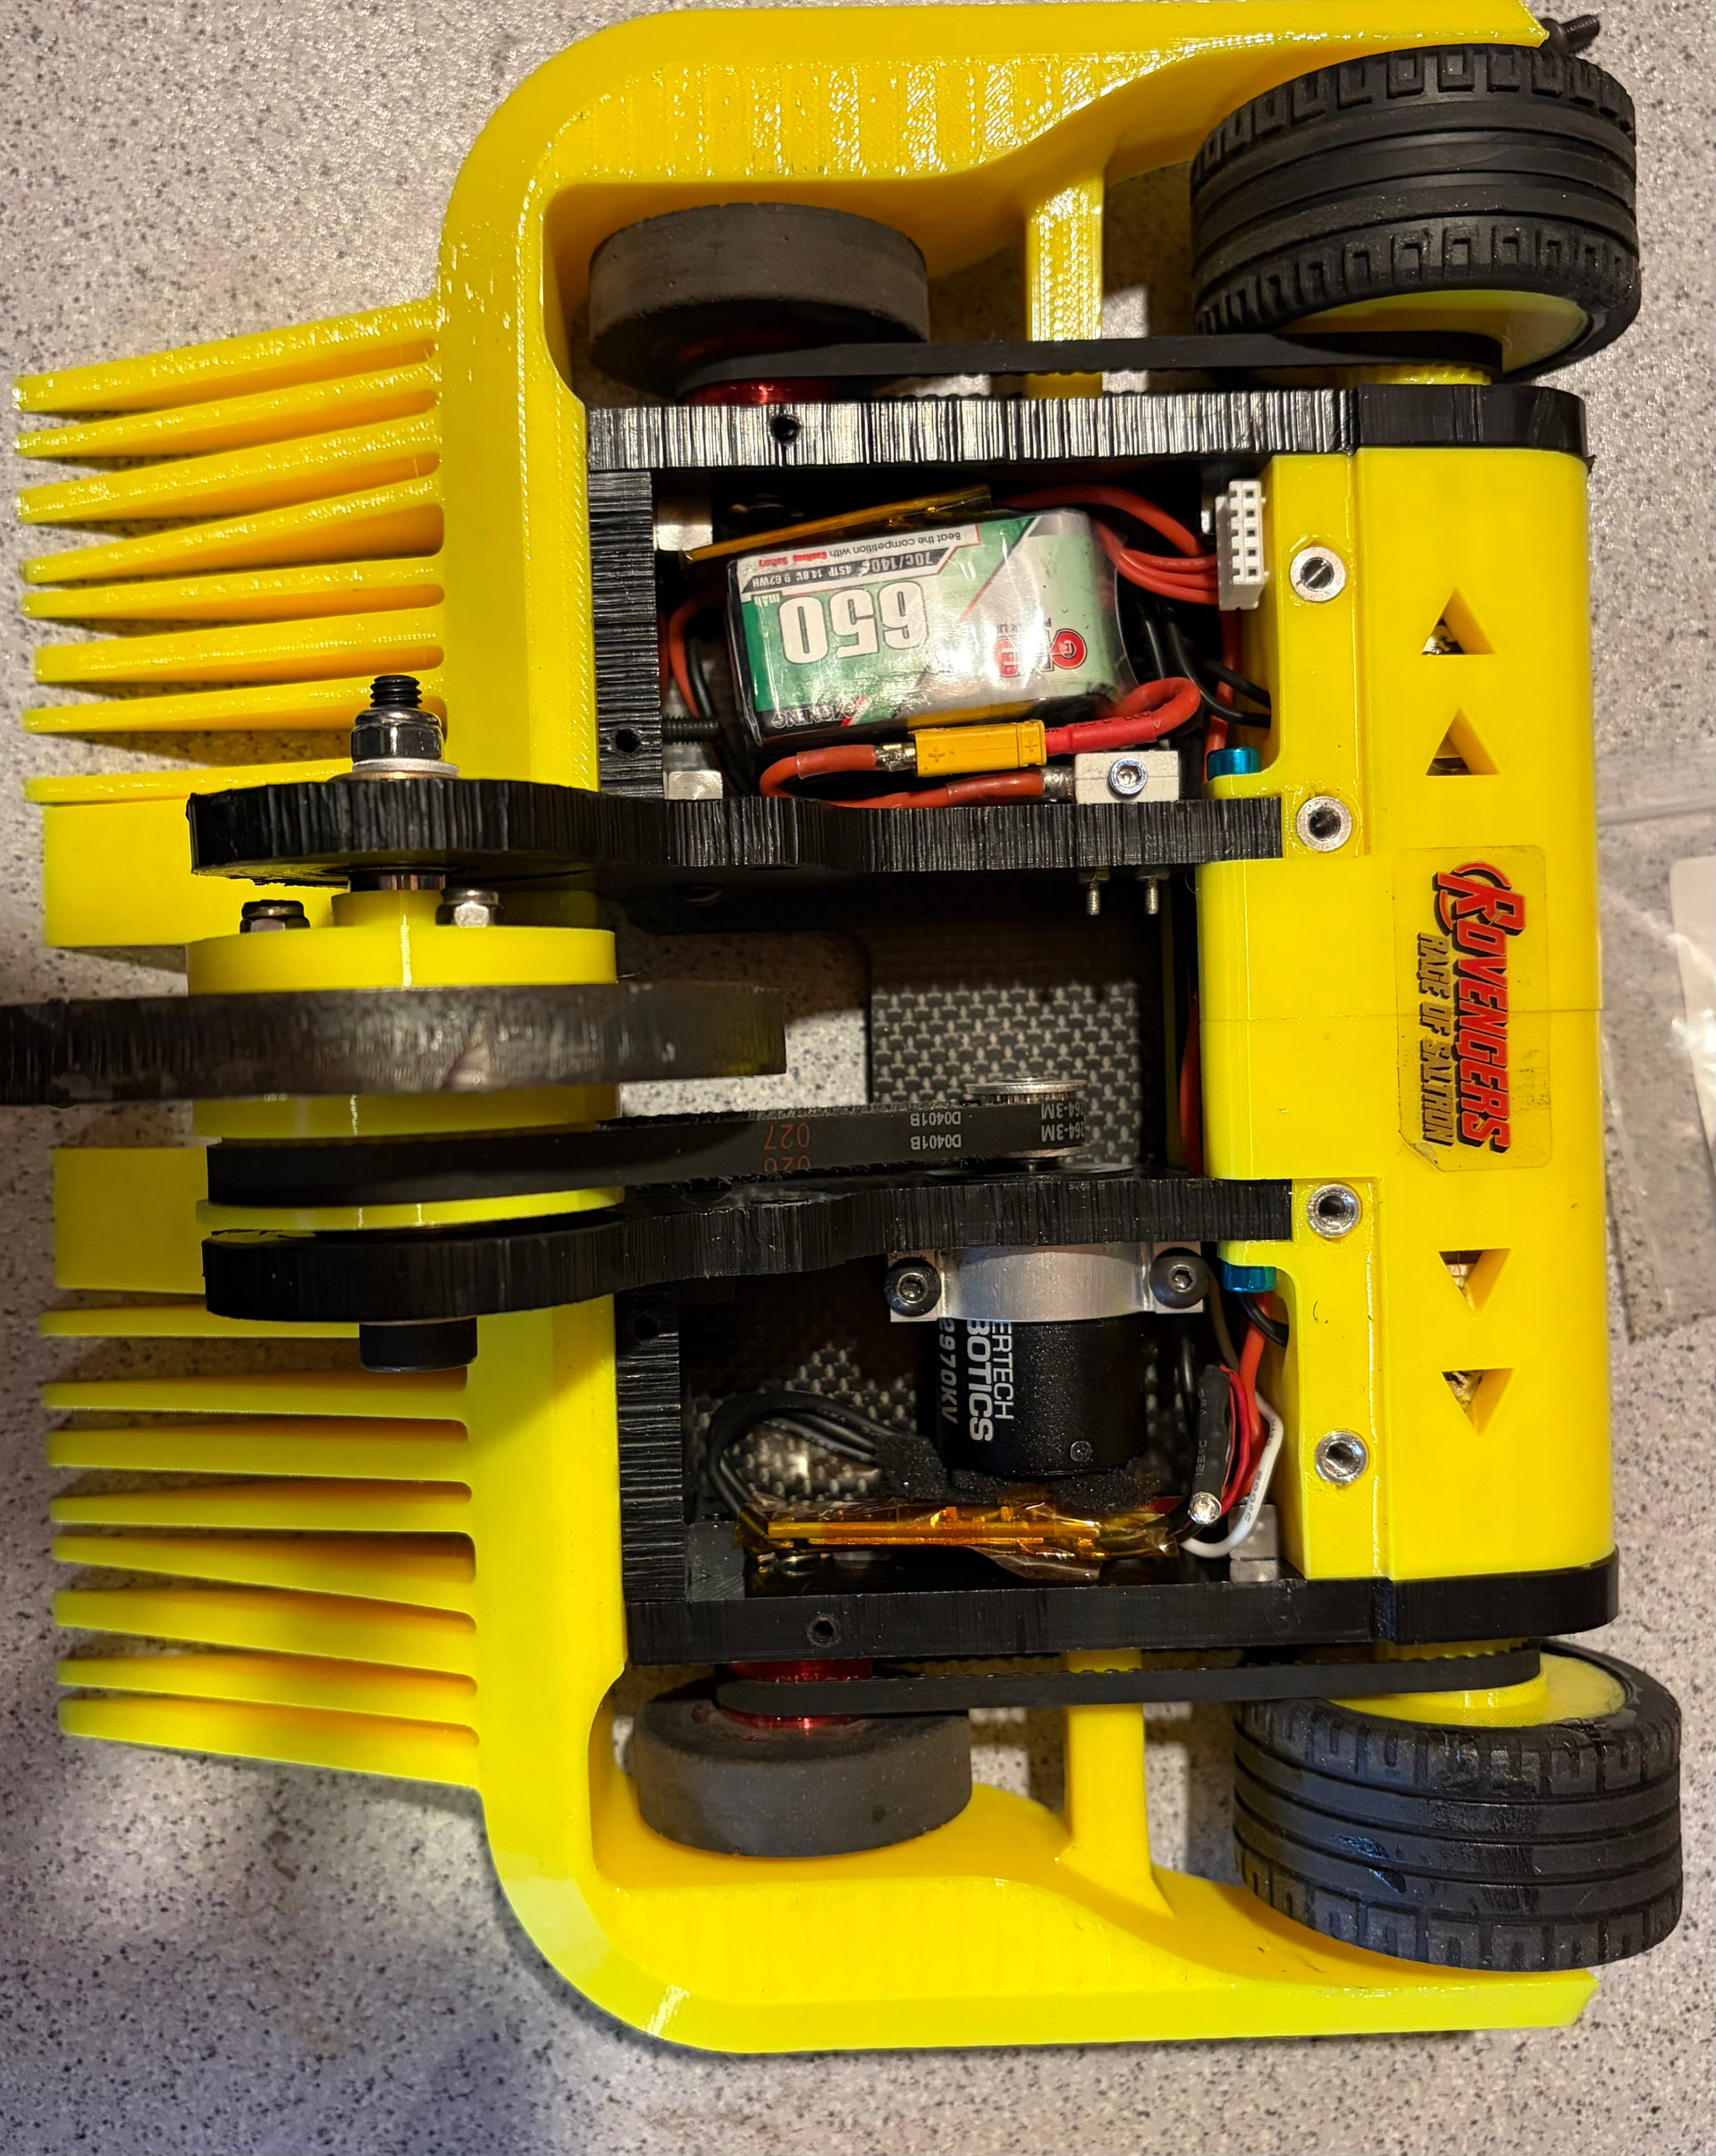
Wheels have 2 bearings in to mount onto shoulder bolts. A flanged small bear at one side to help keep it aligned and a larger 22mm “skateboard” bearing on the other. Eventually I will cast rubber wheels so the wheels could end up being quiet heavy but I’ll tackle weight issues later on!
Will run 2x 5s LIHV in parallel (kindly donated by Morgan) they seem to fit so far but will need to print something to protect the motors catching on loose wires. The battery choice is purely based on getting 2 free batteries. If it turns out to be overkill ill get a different ones.
Sadly I’ll have a pause in progress for a few weeks. Prep for Robodojo and an over due Holiday!