Boom Zoom MK5 Build Diary
Long time, no post! Boom Zoom MK5 has been retired for a while now, but life has gotten in the way whenever I’ve sat down to write about it. This version was a big departure from MK3 and MK4, as the core design was starting to really show its age. The main improvements I wanted to make were:
-
Add more drive power, and make the drive solution more durable.
-
Make the lifting arm more durable and easier to manufacture.
-
Increase the reach/leverage of the lifter.
-
Find a solution to the front armour mount points breaking.
-
Make the chassis easier to manufacture.
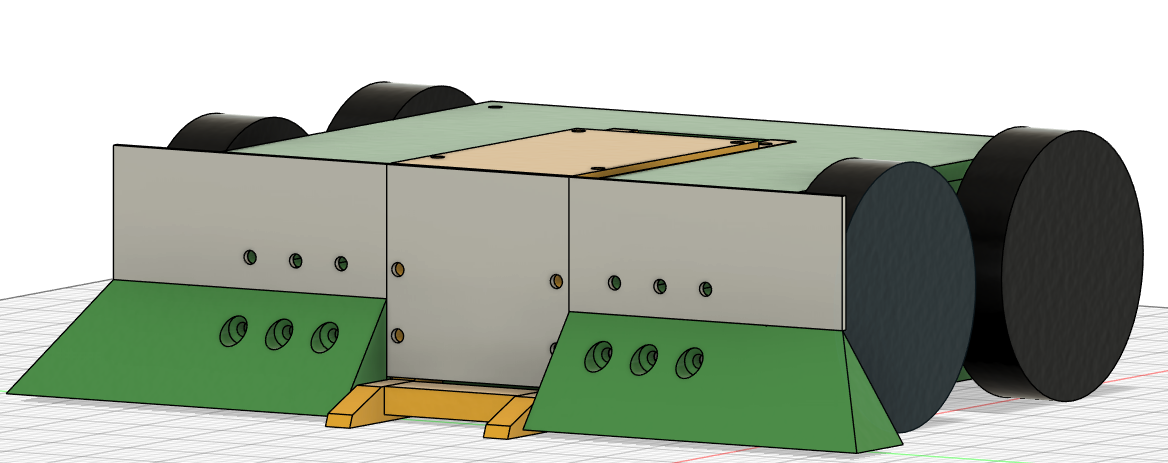
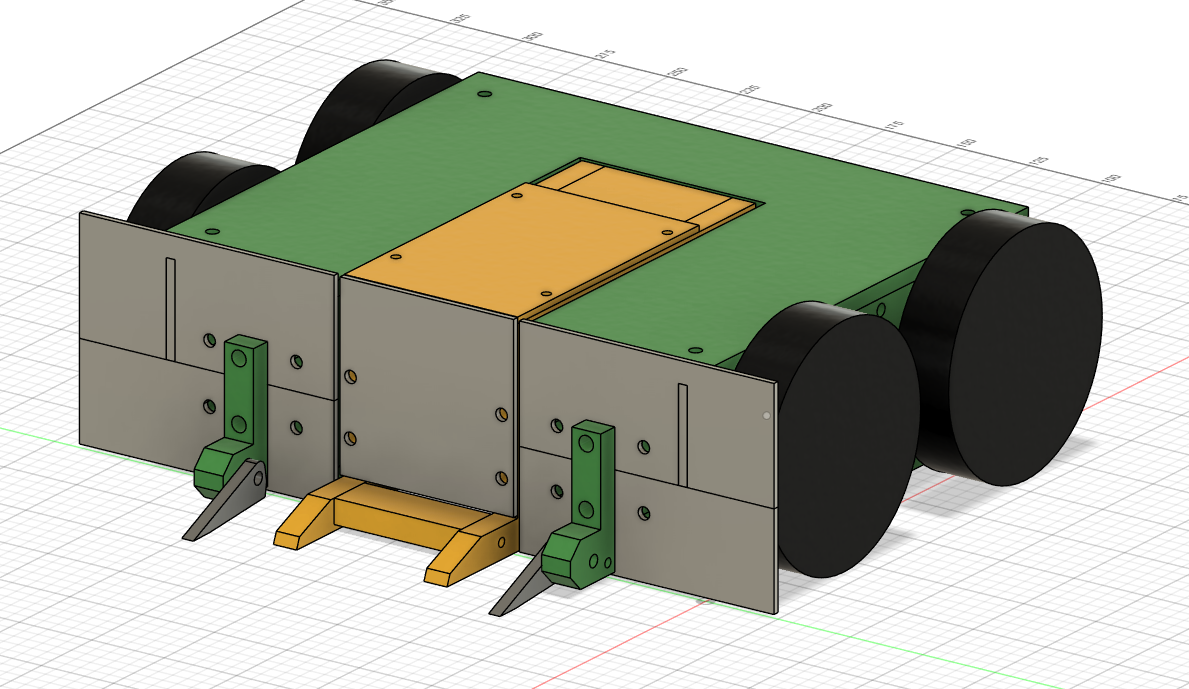
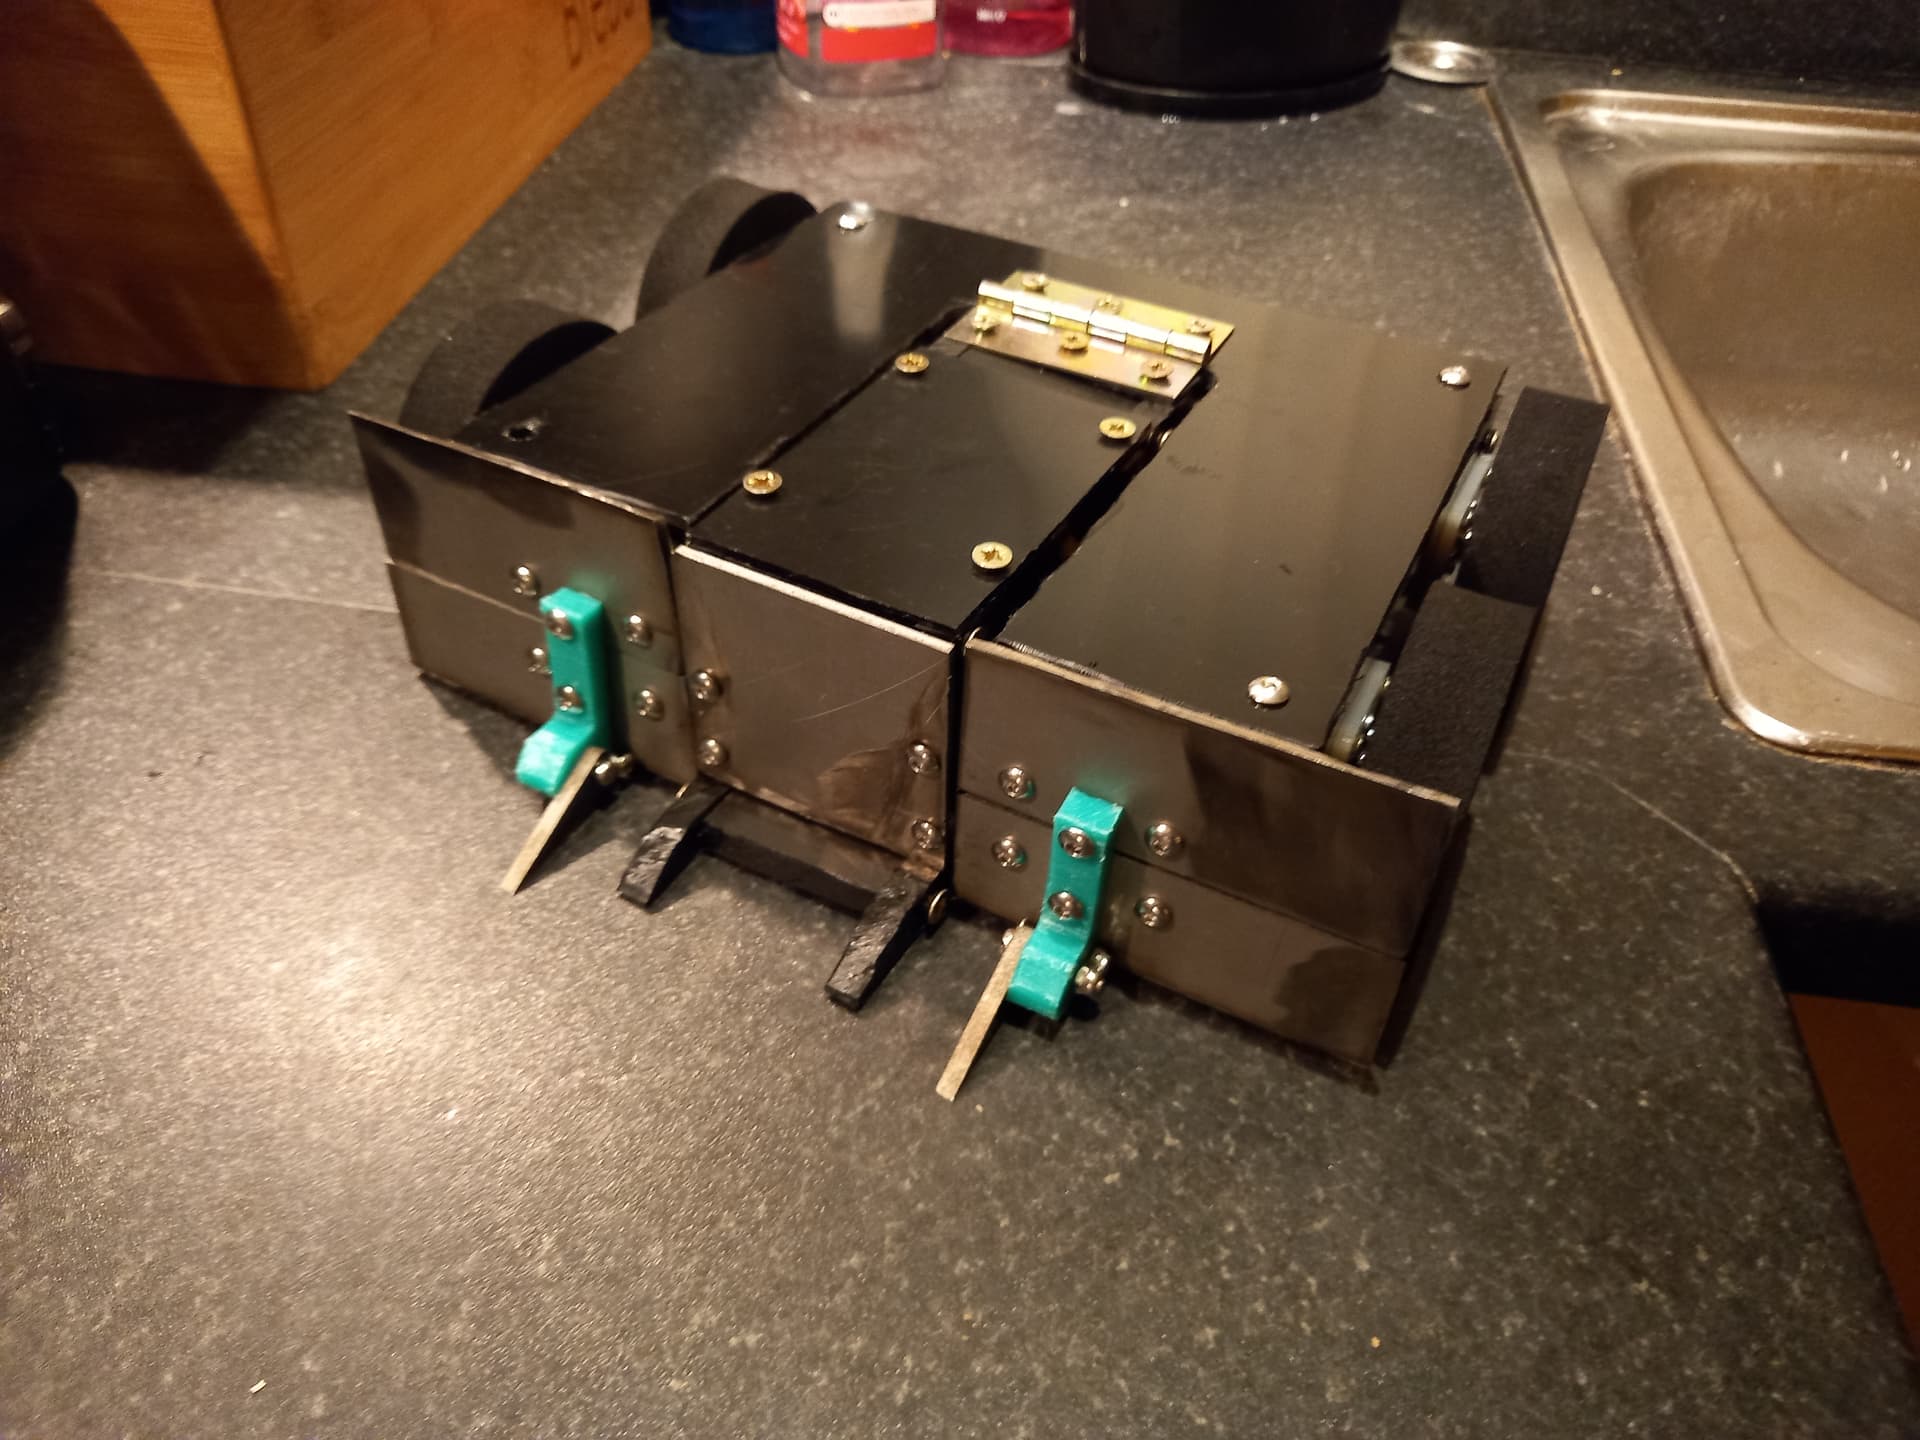
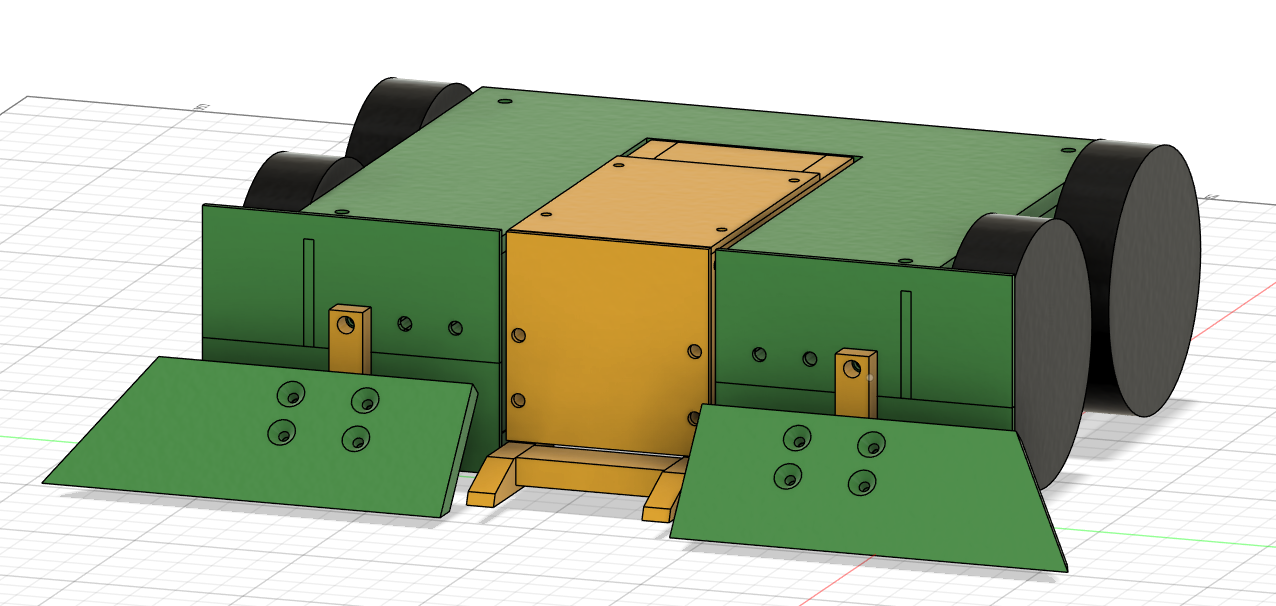
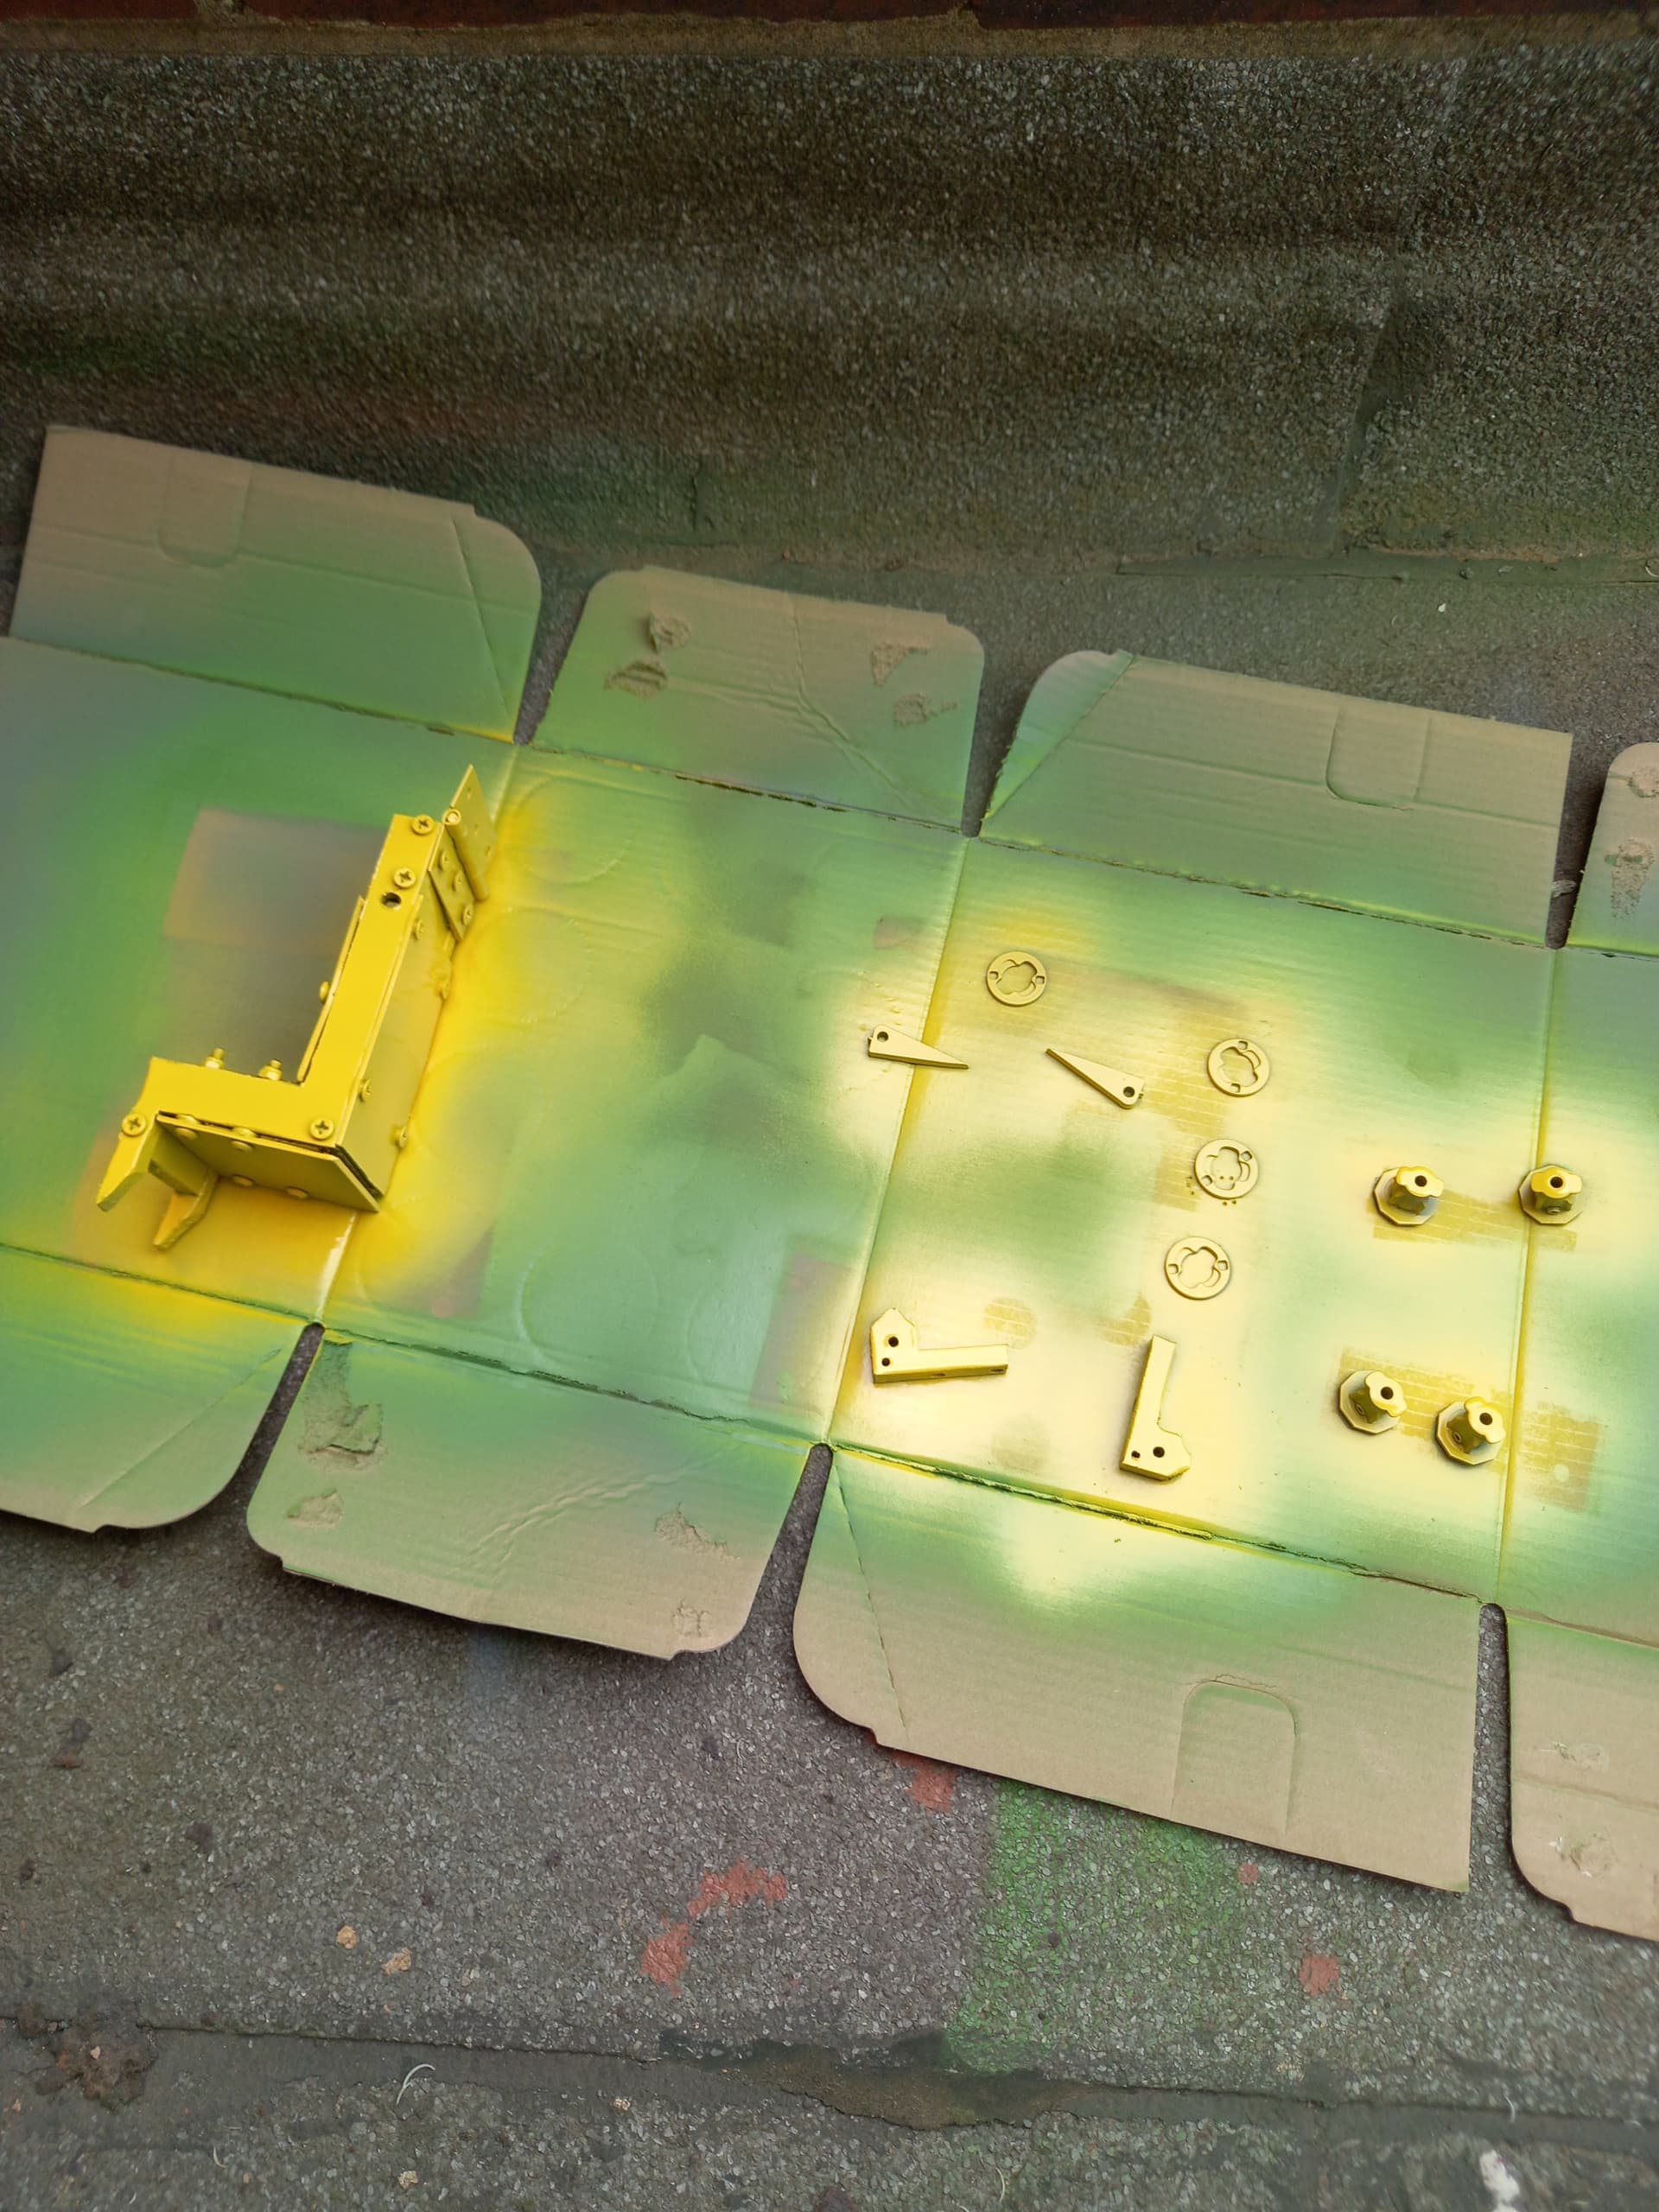
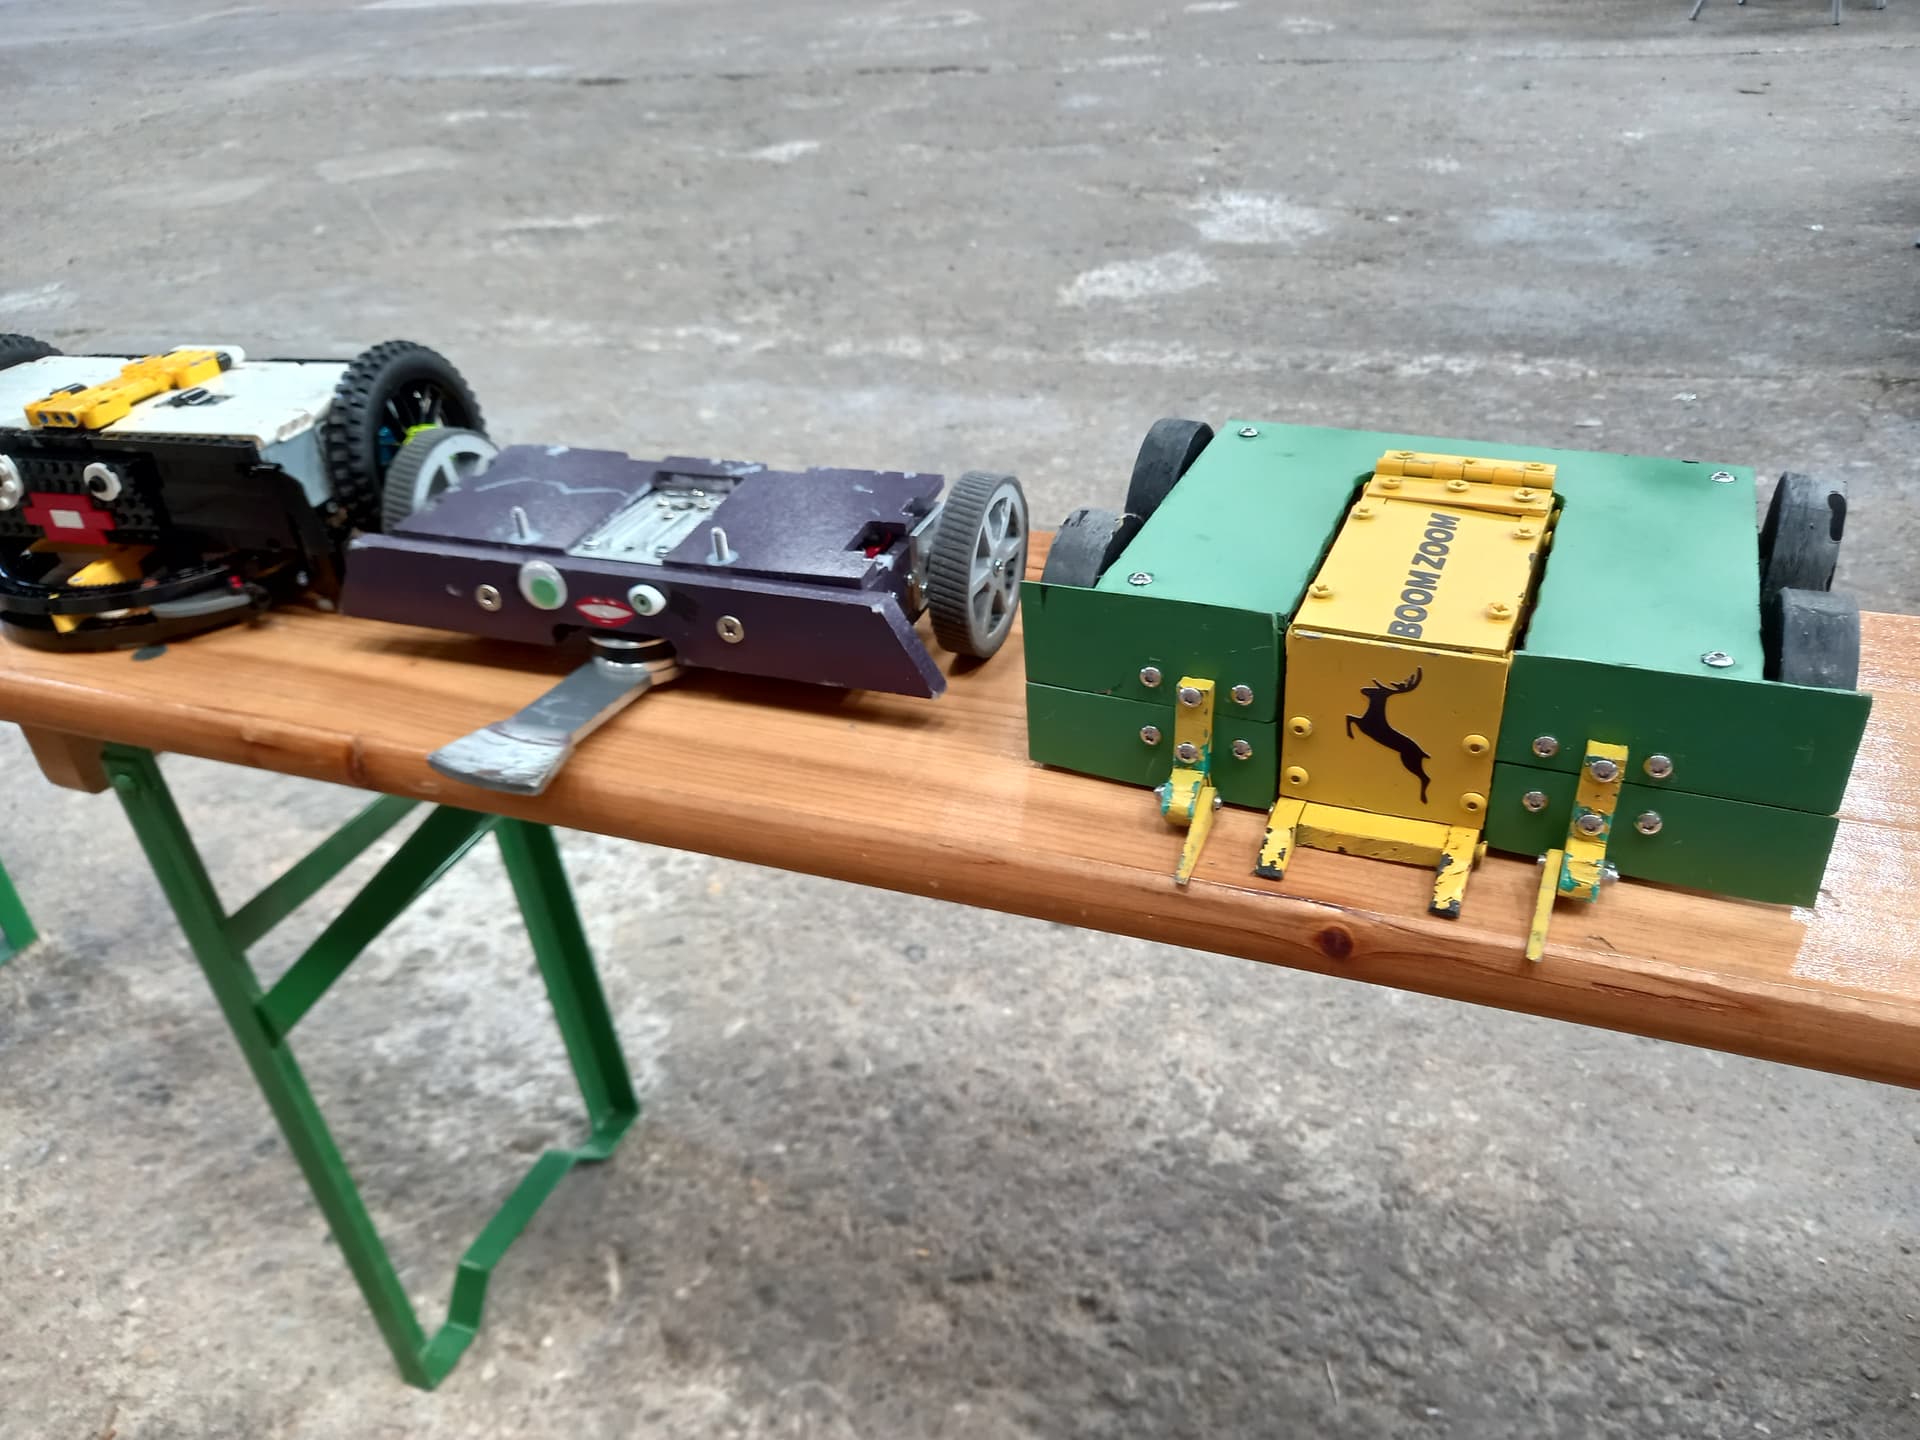
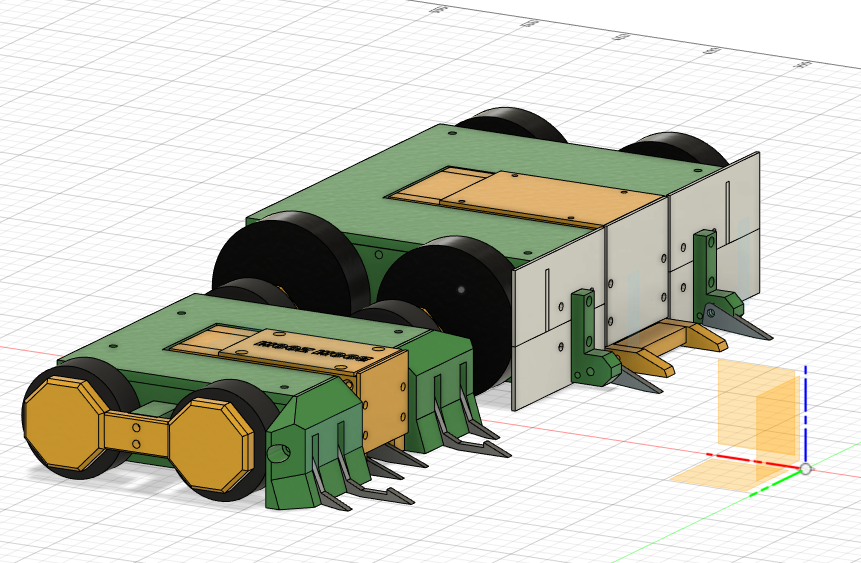
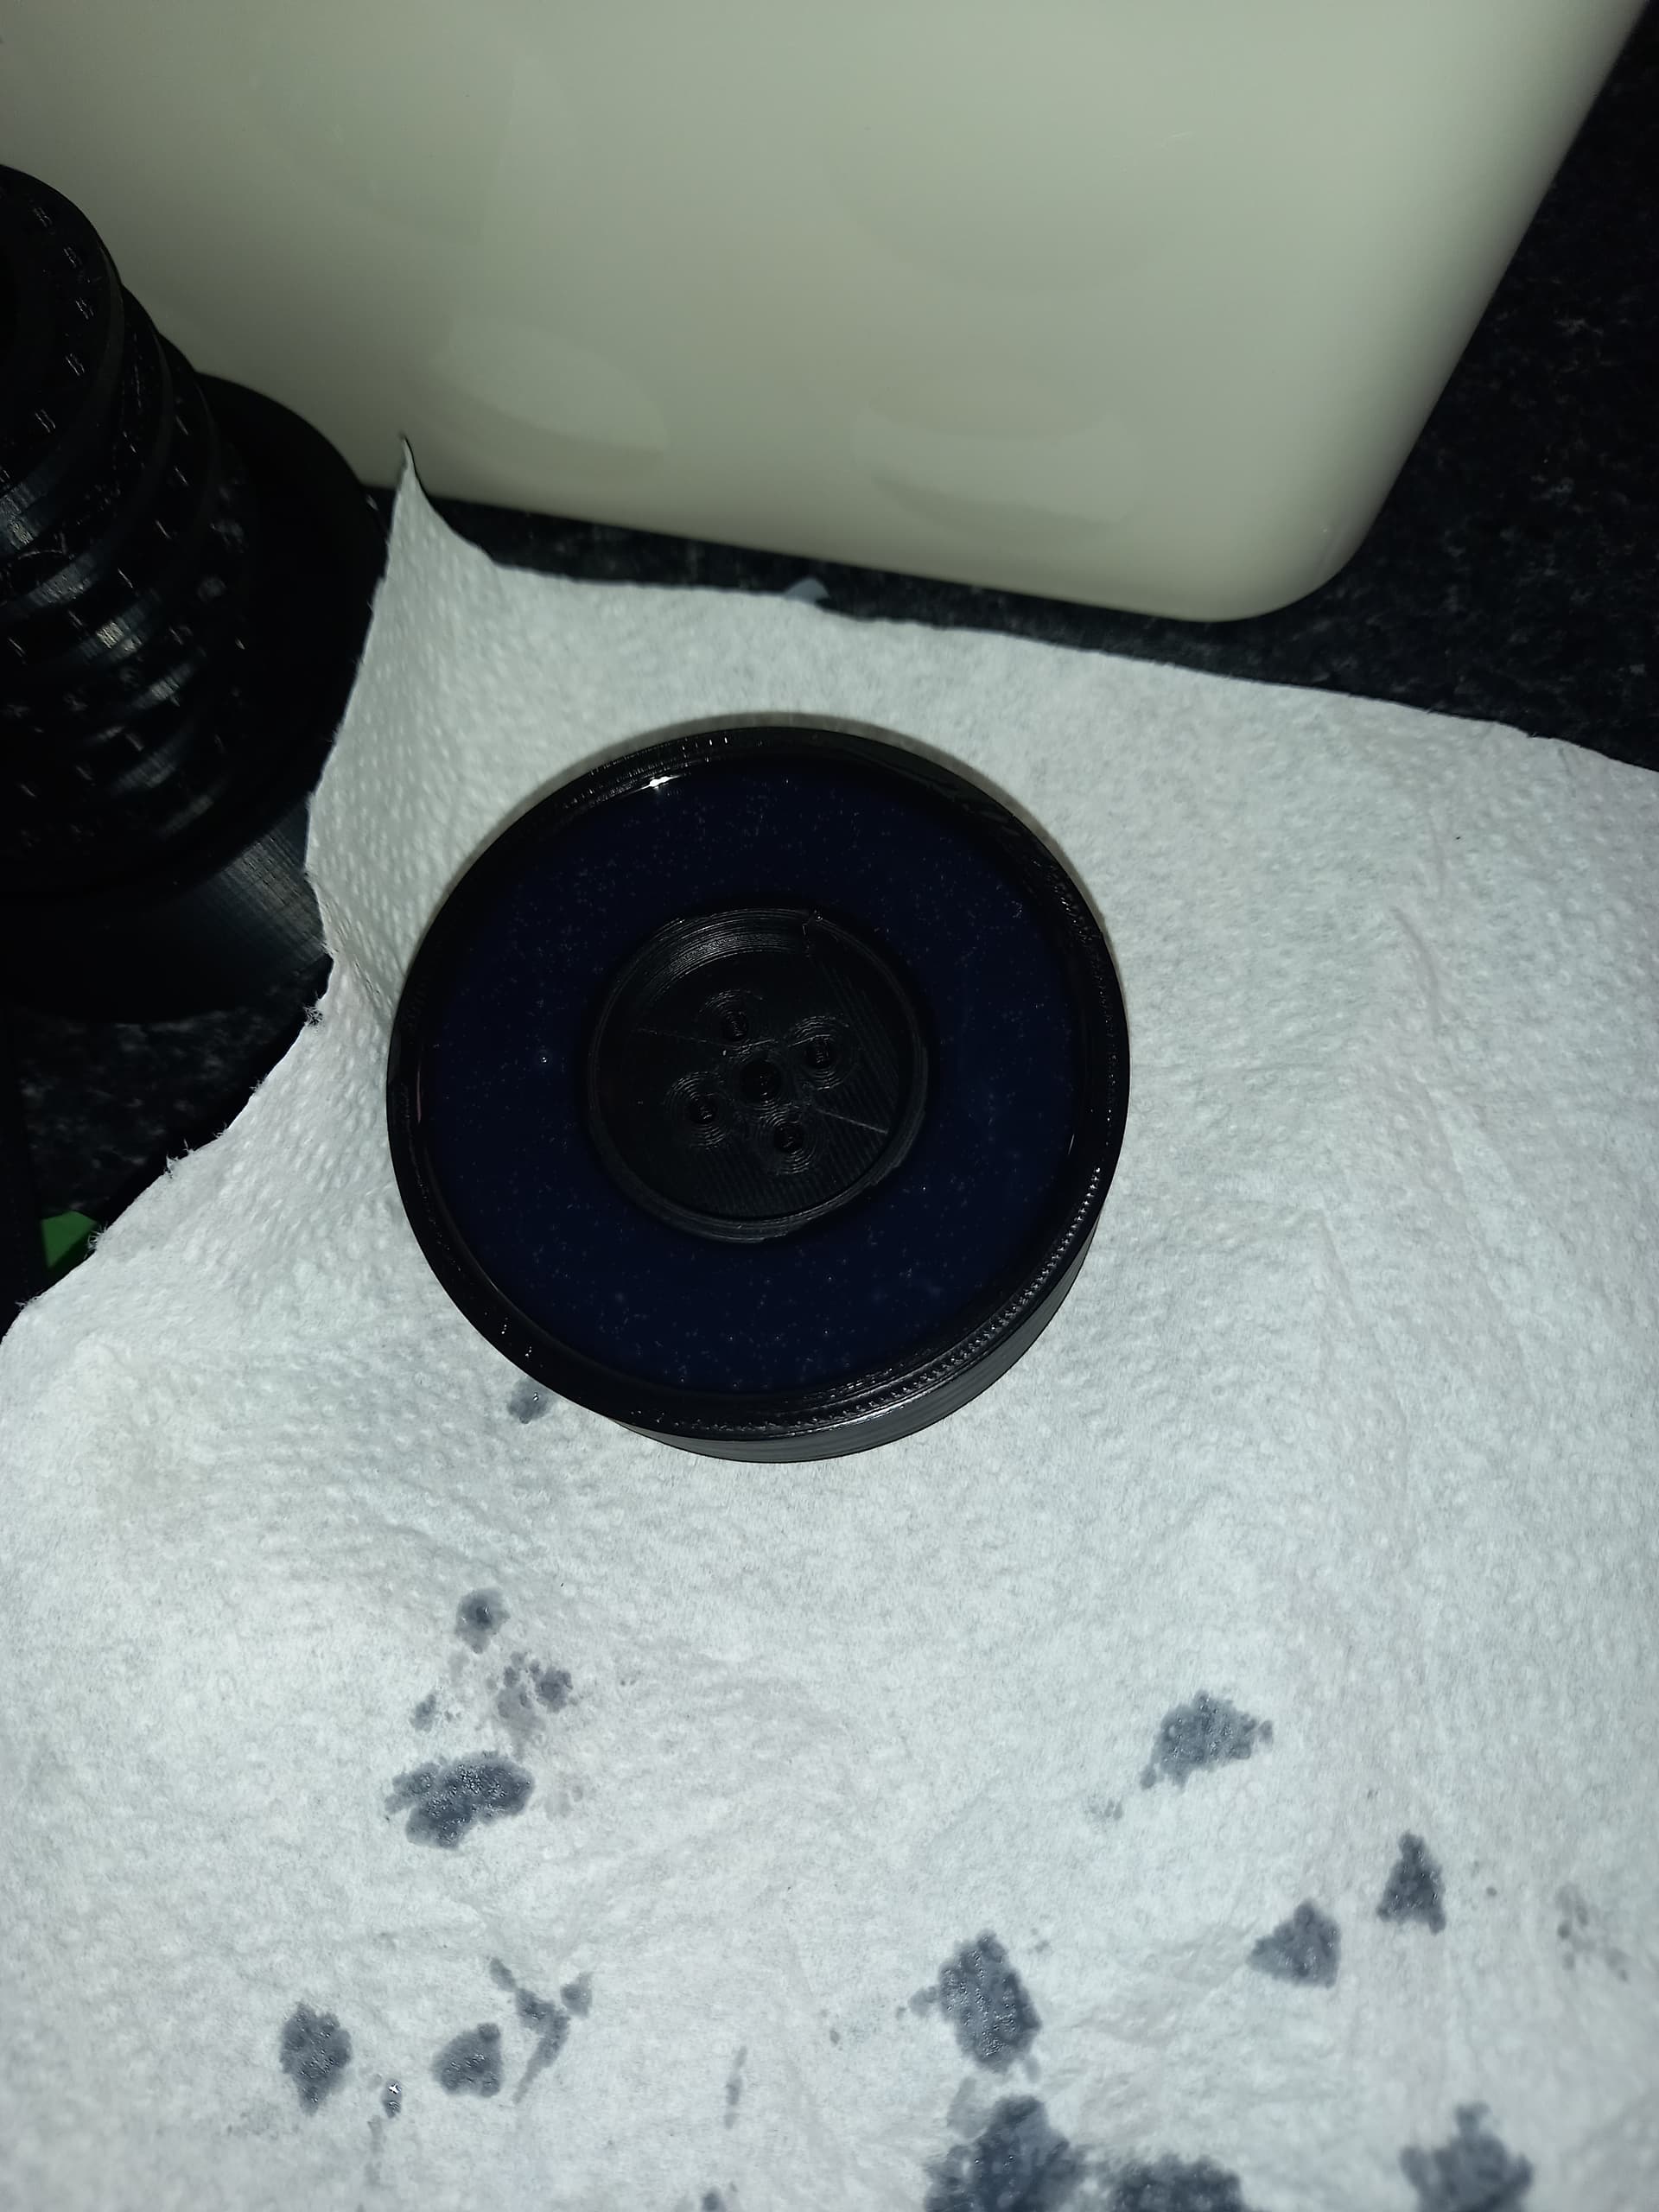
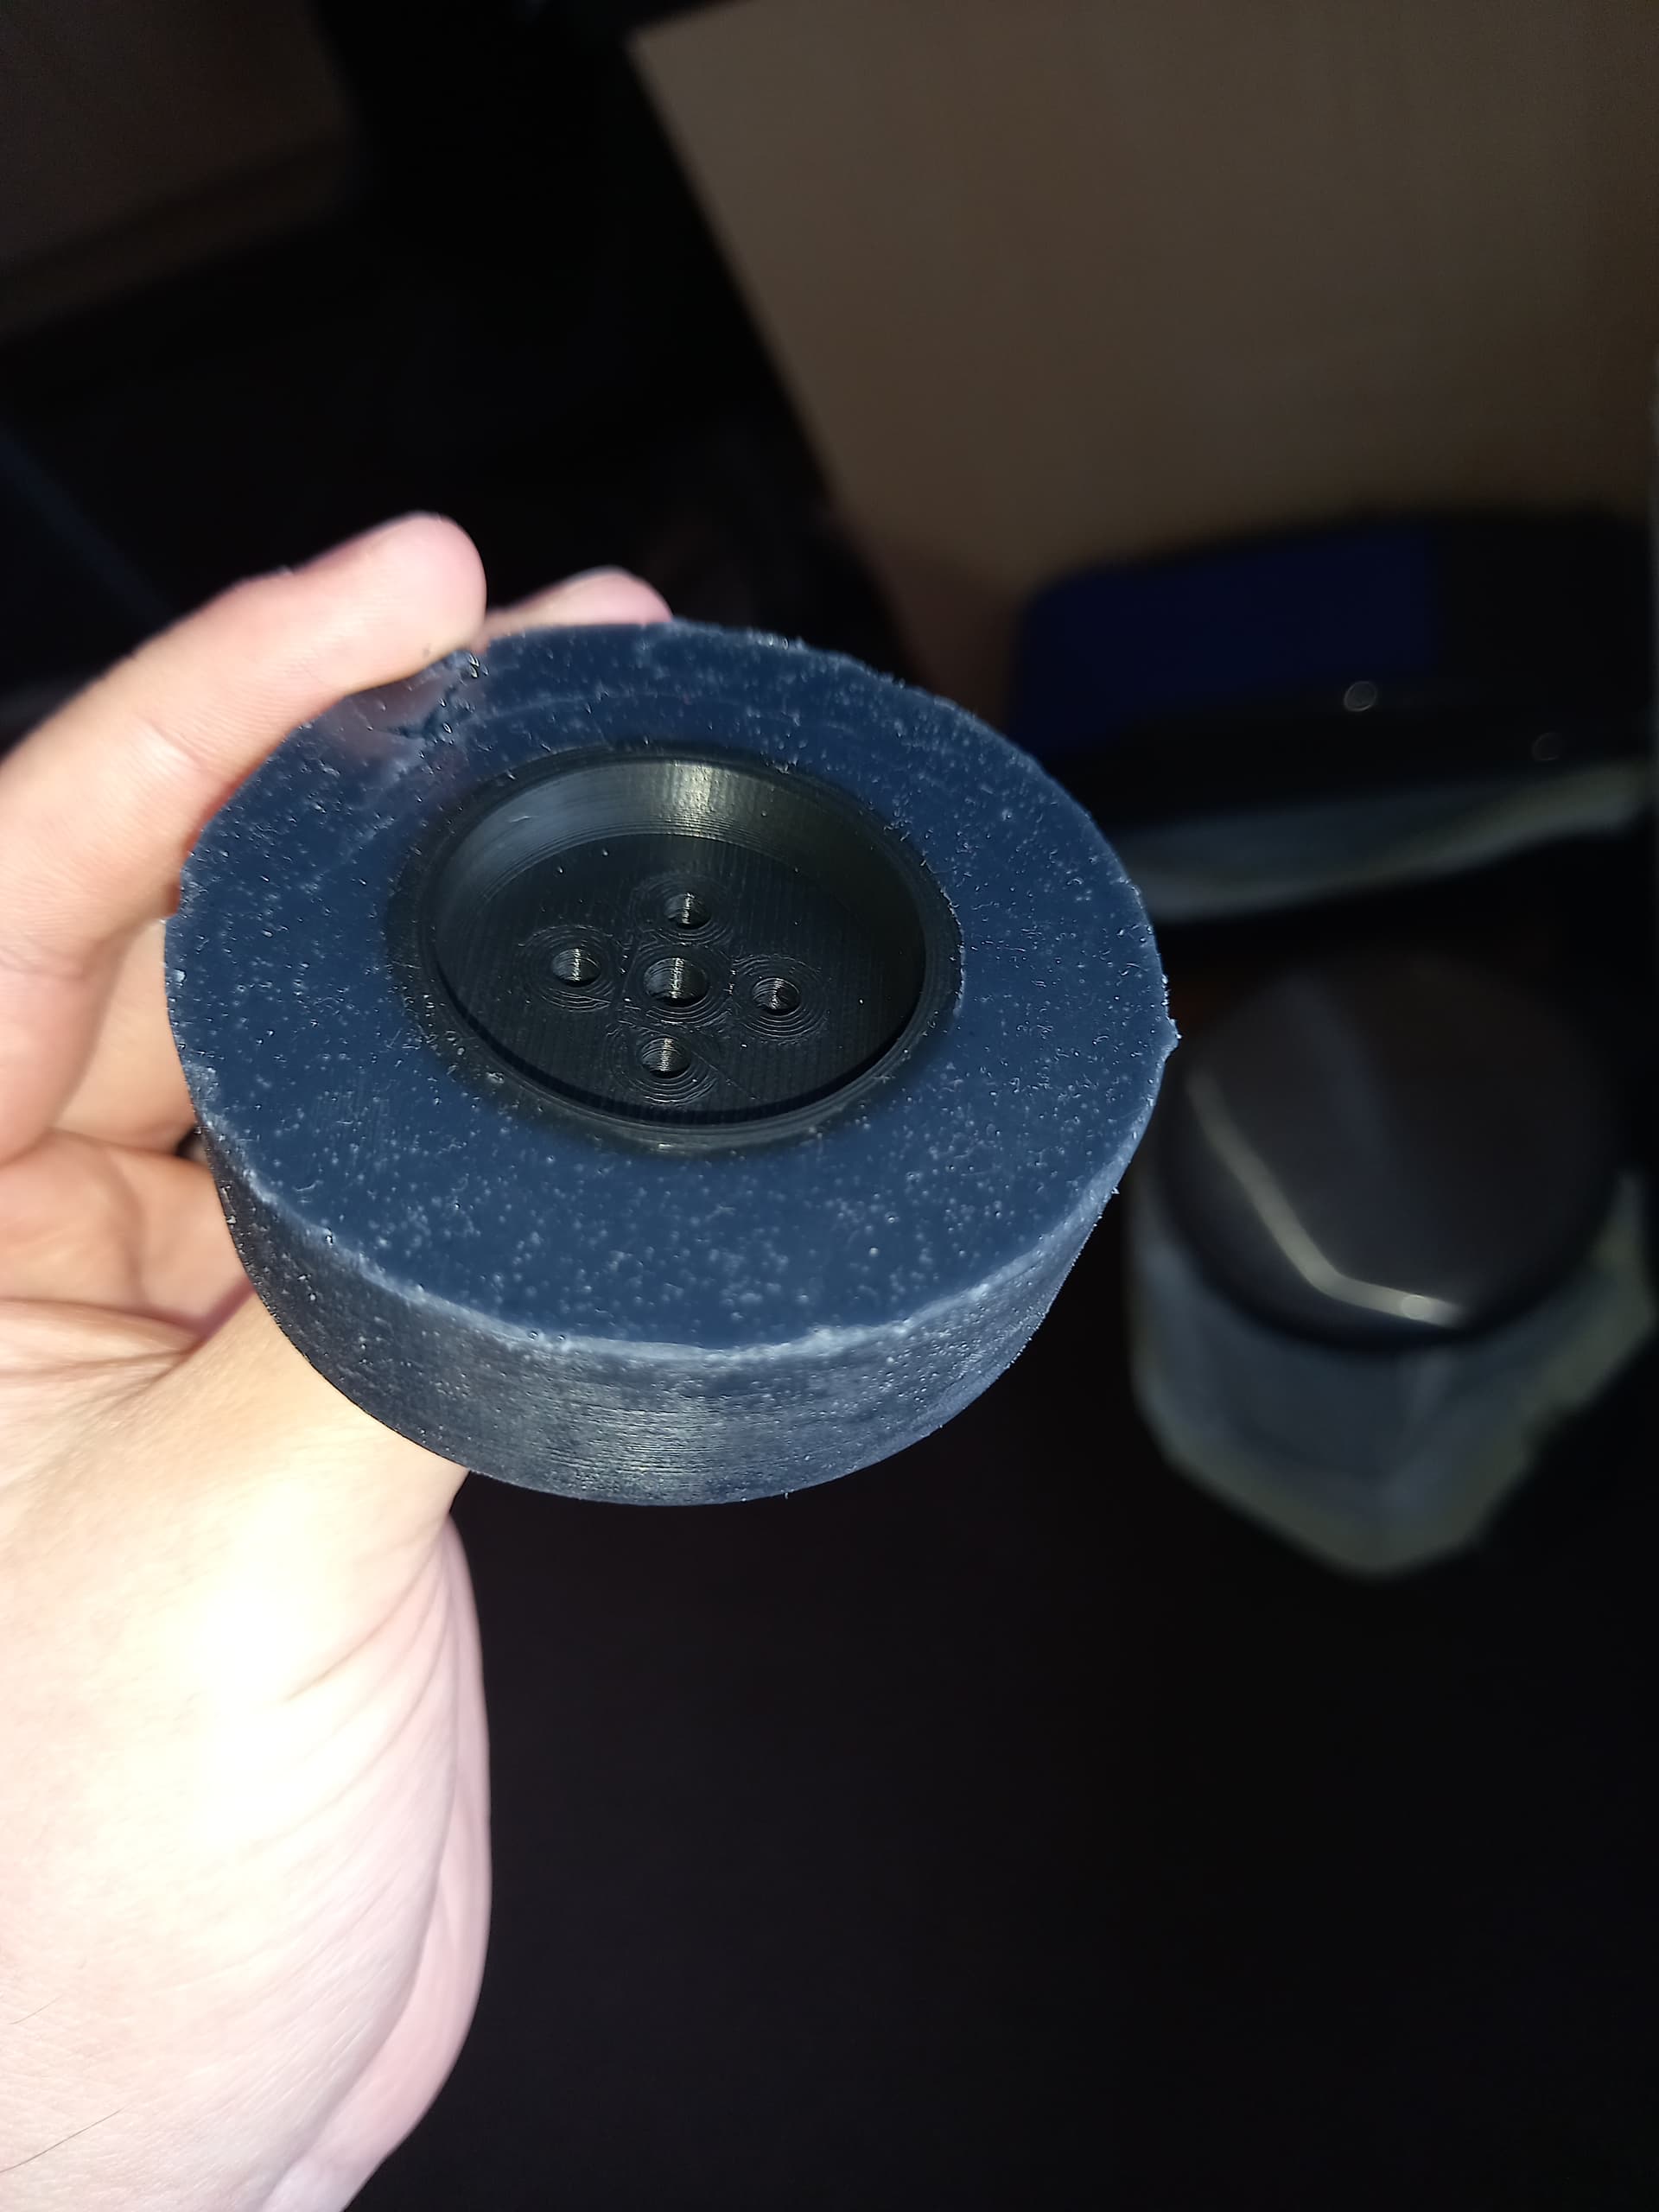
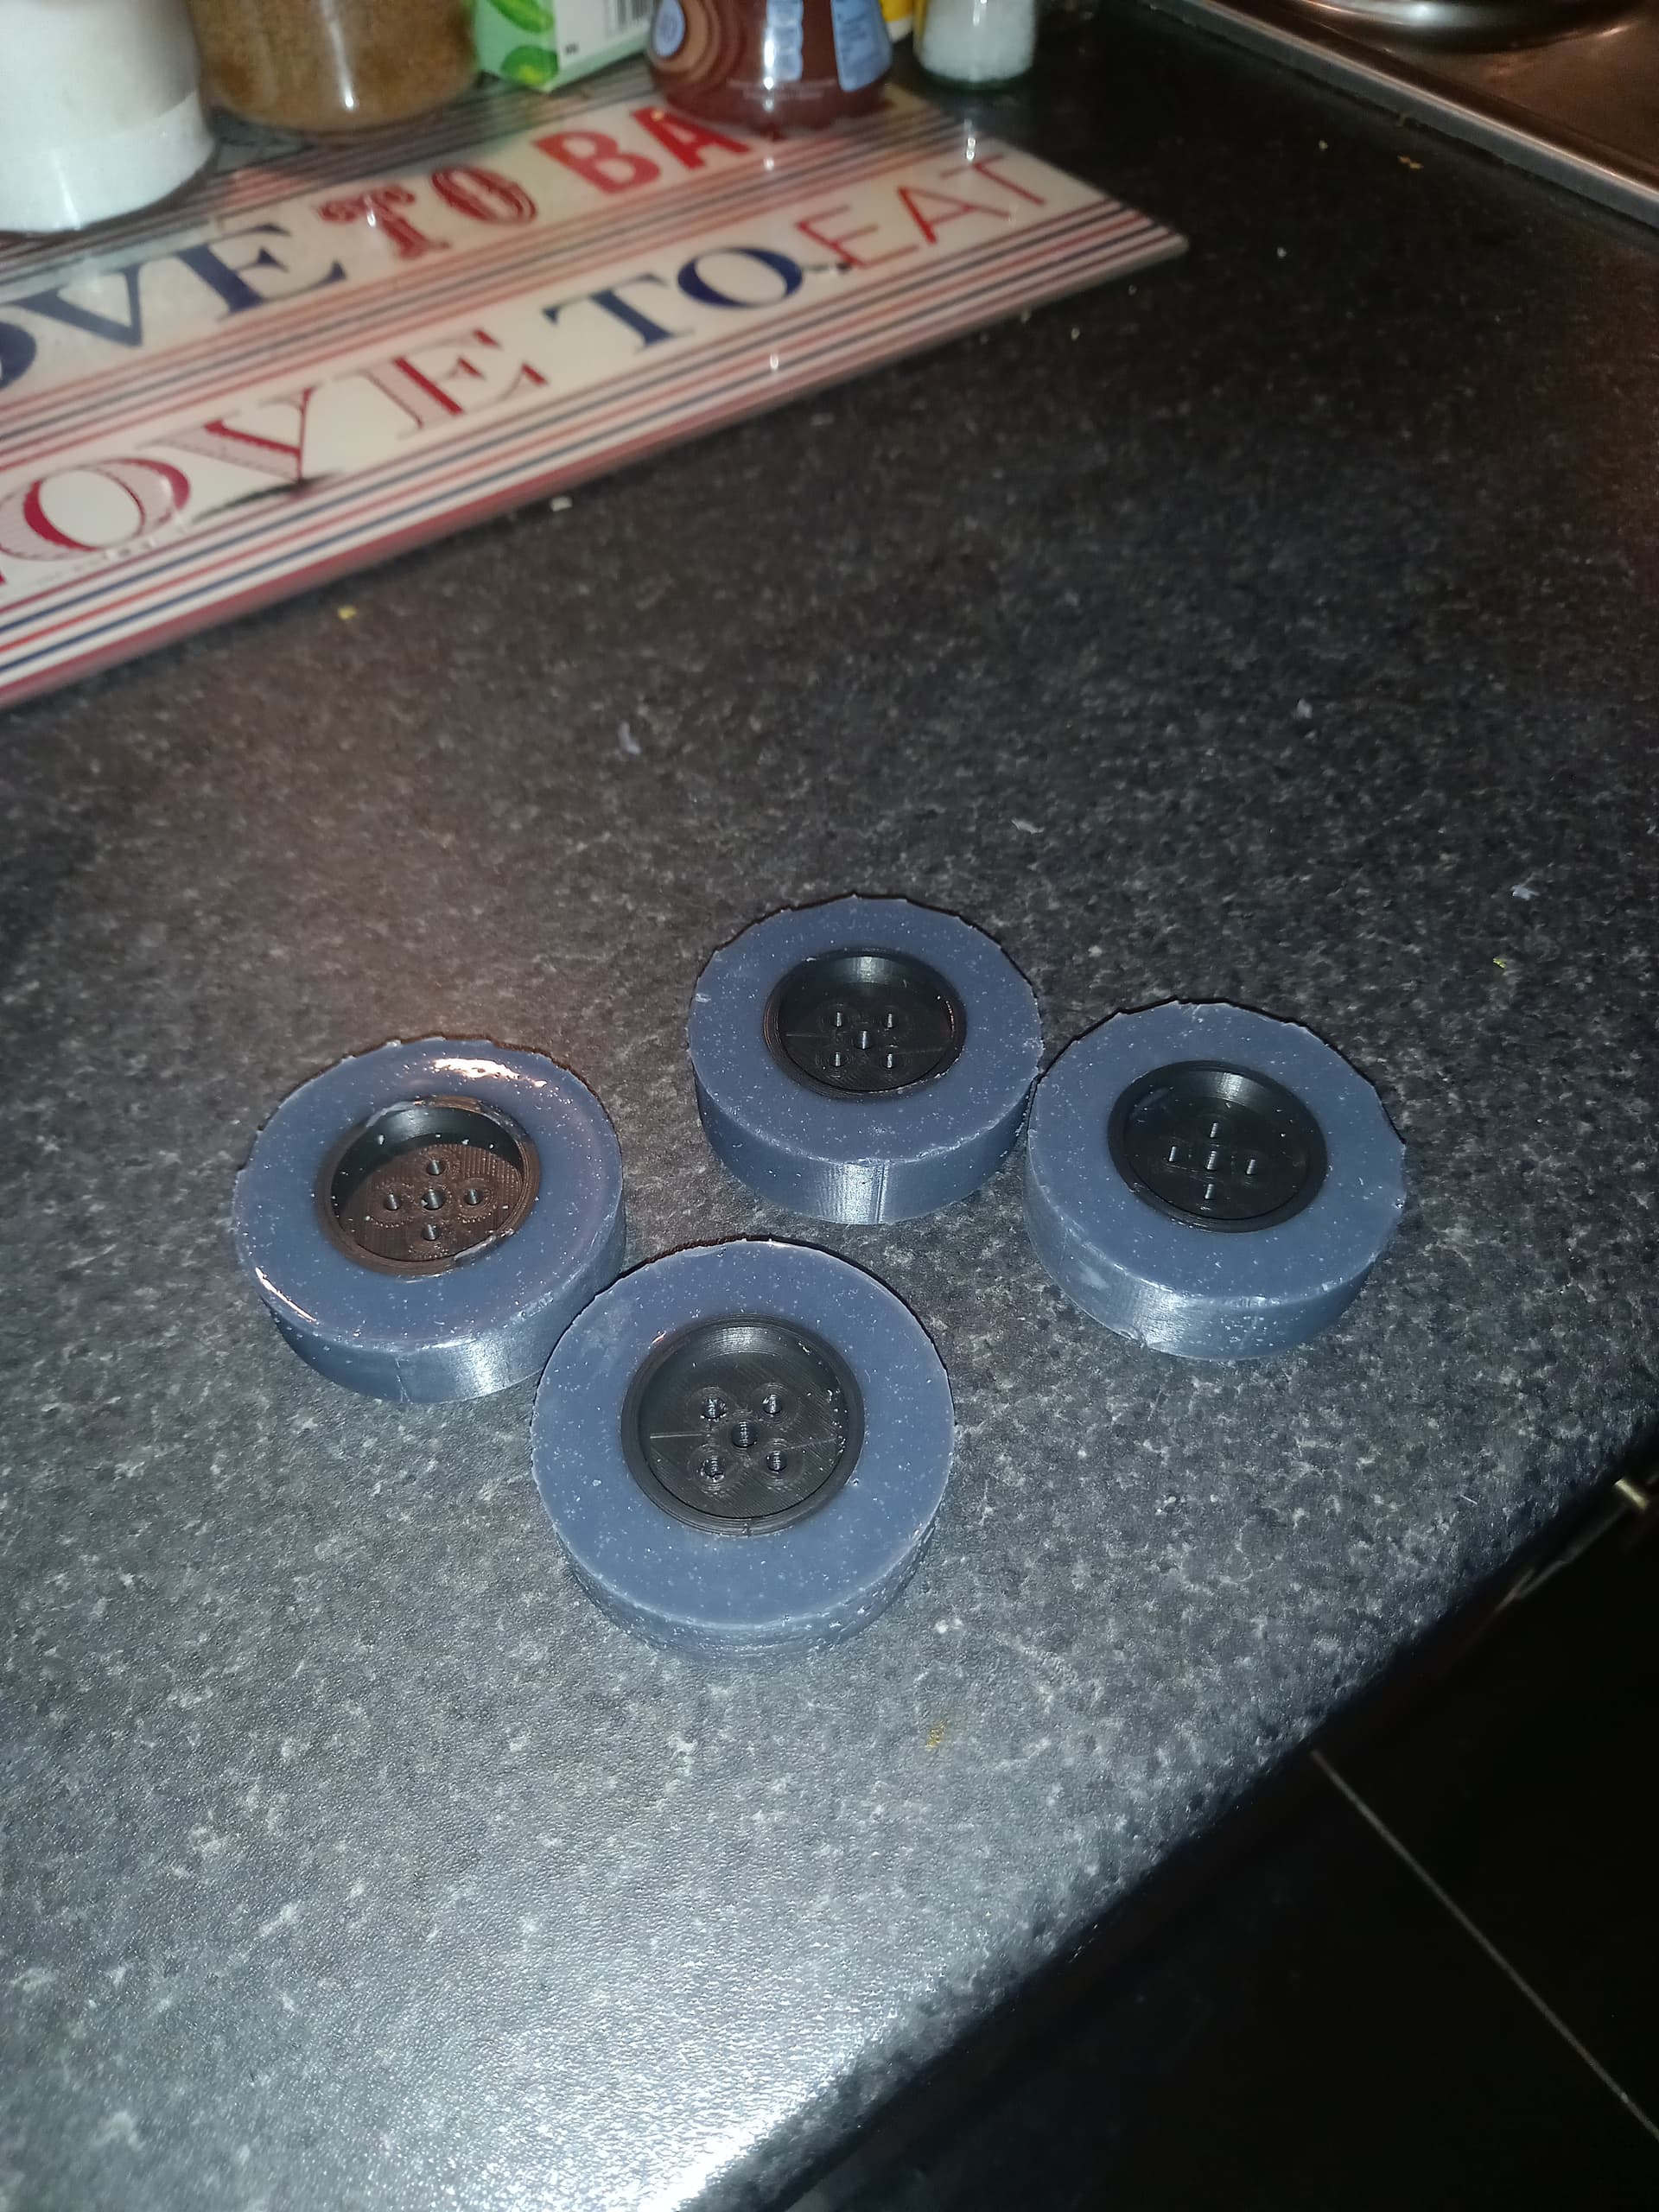
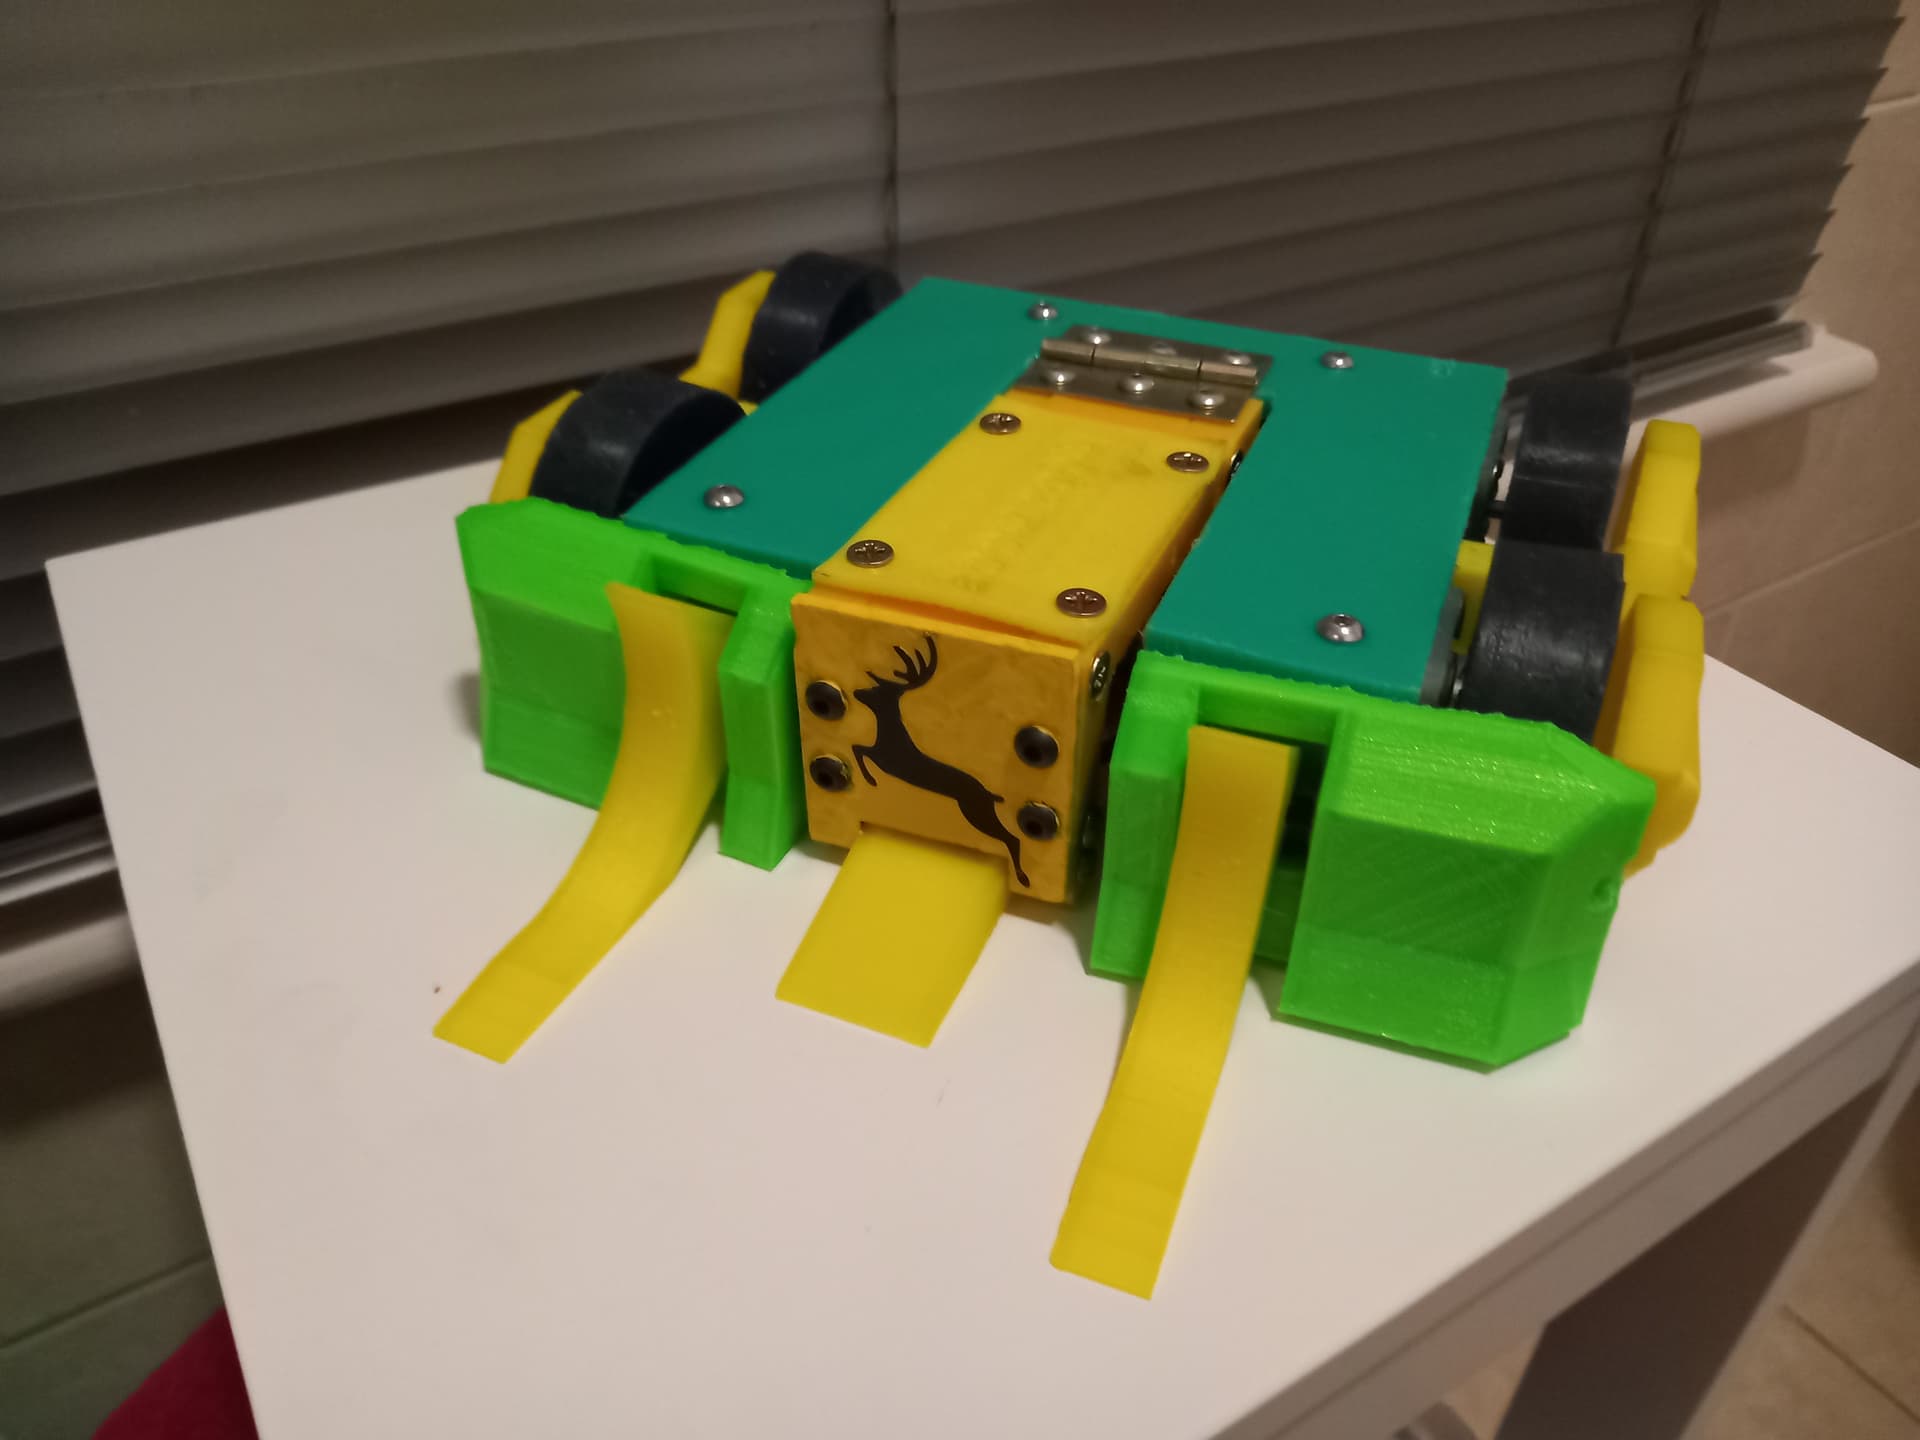
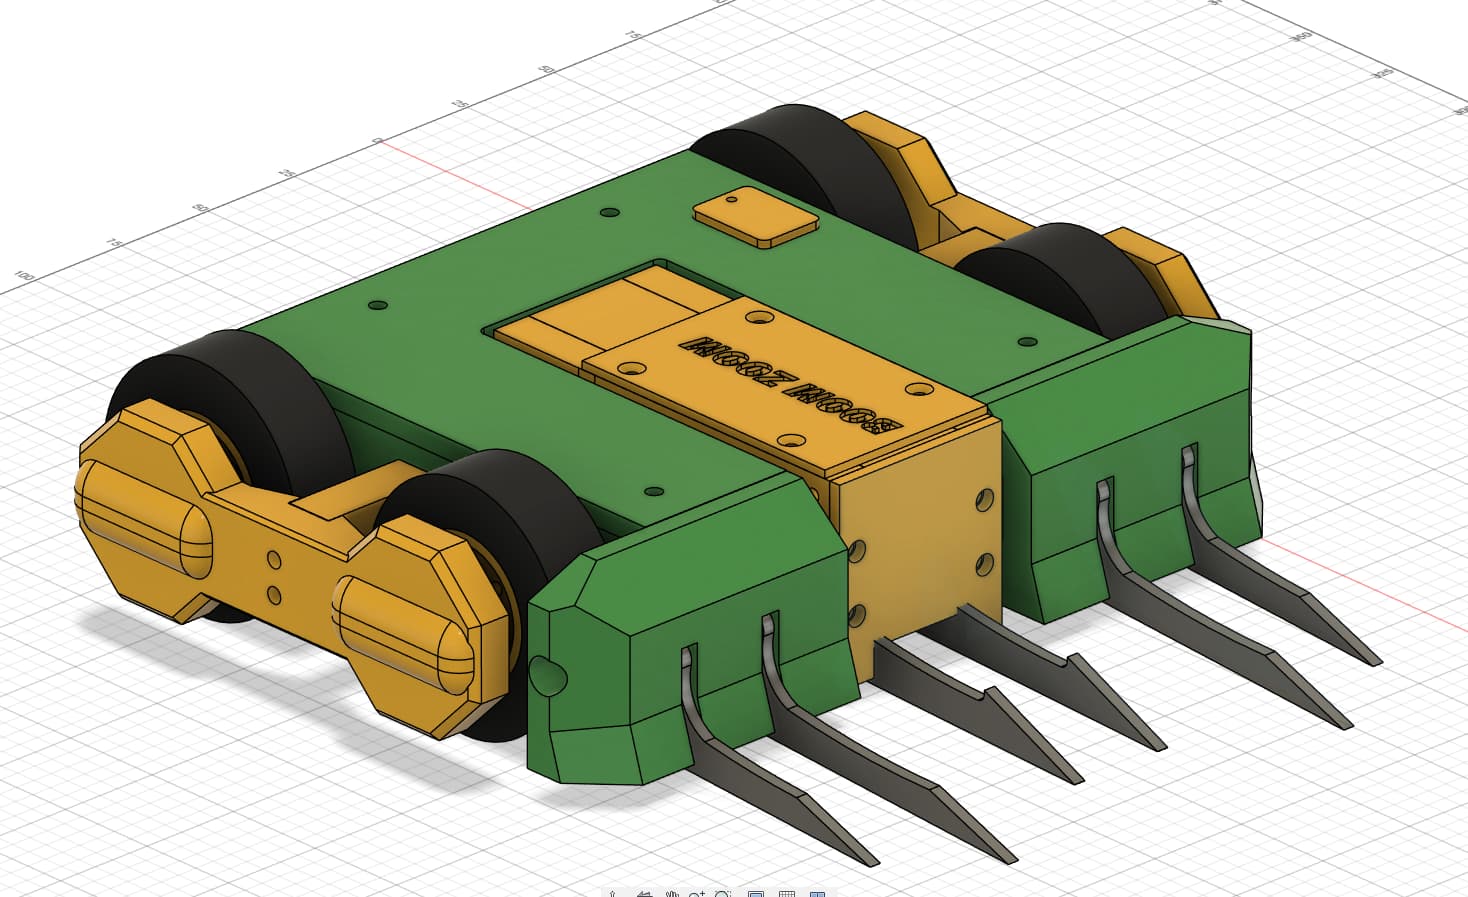
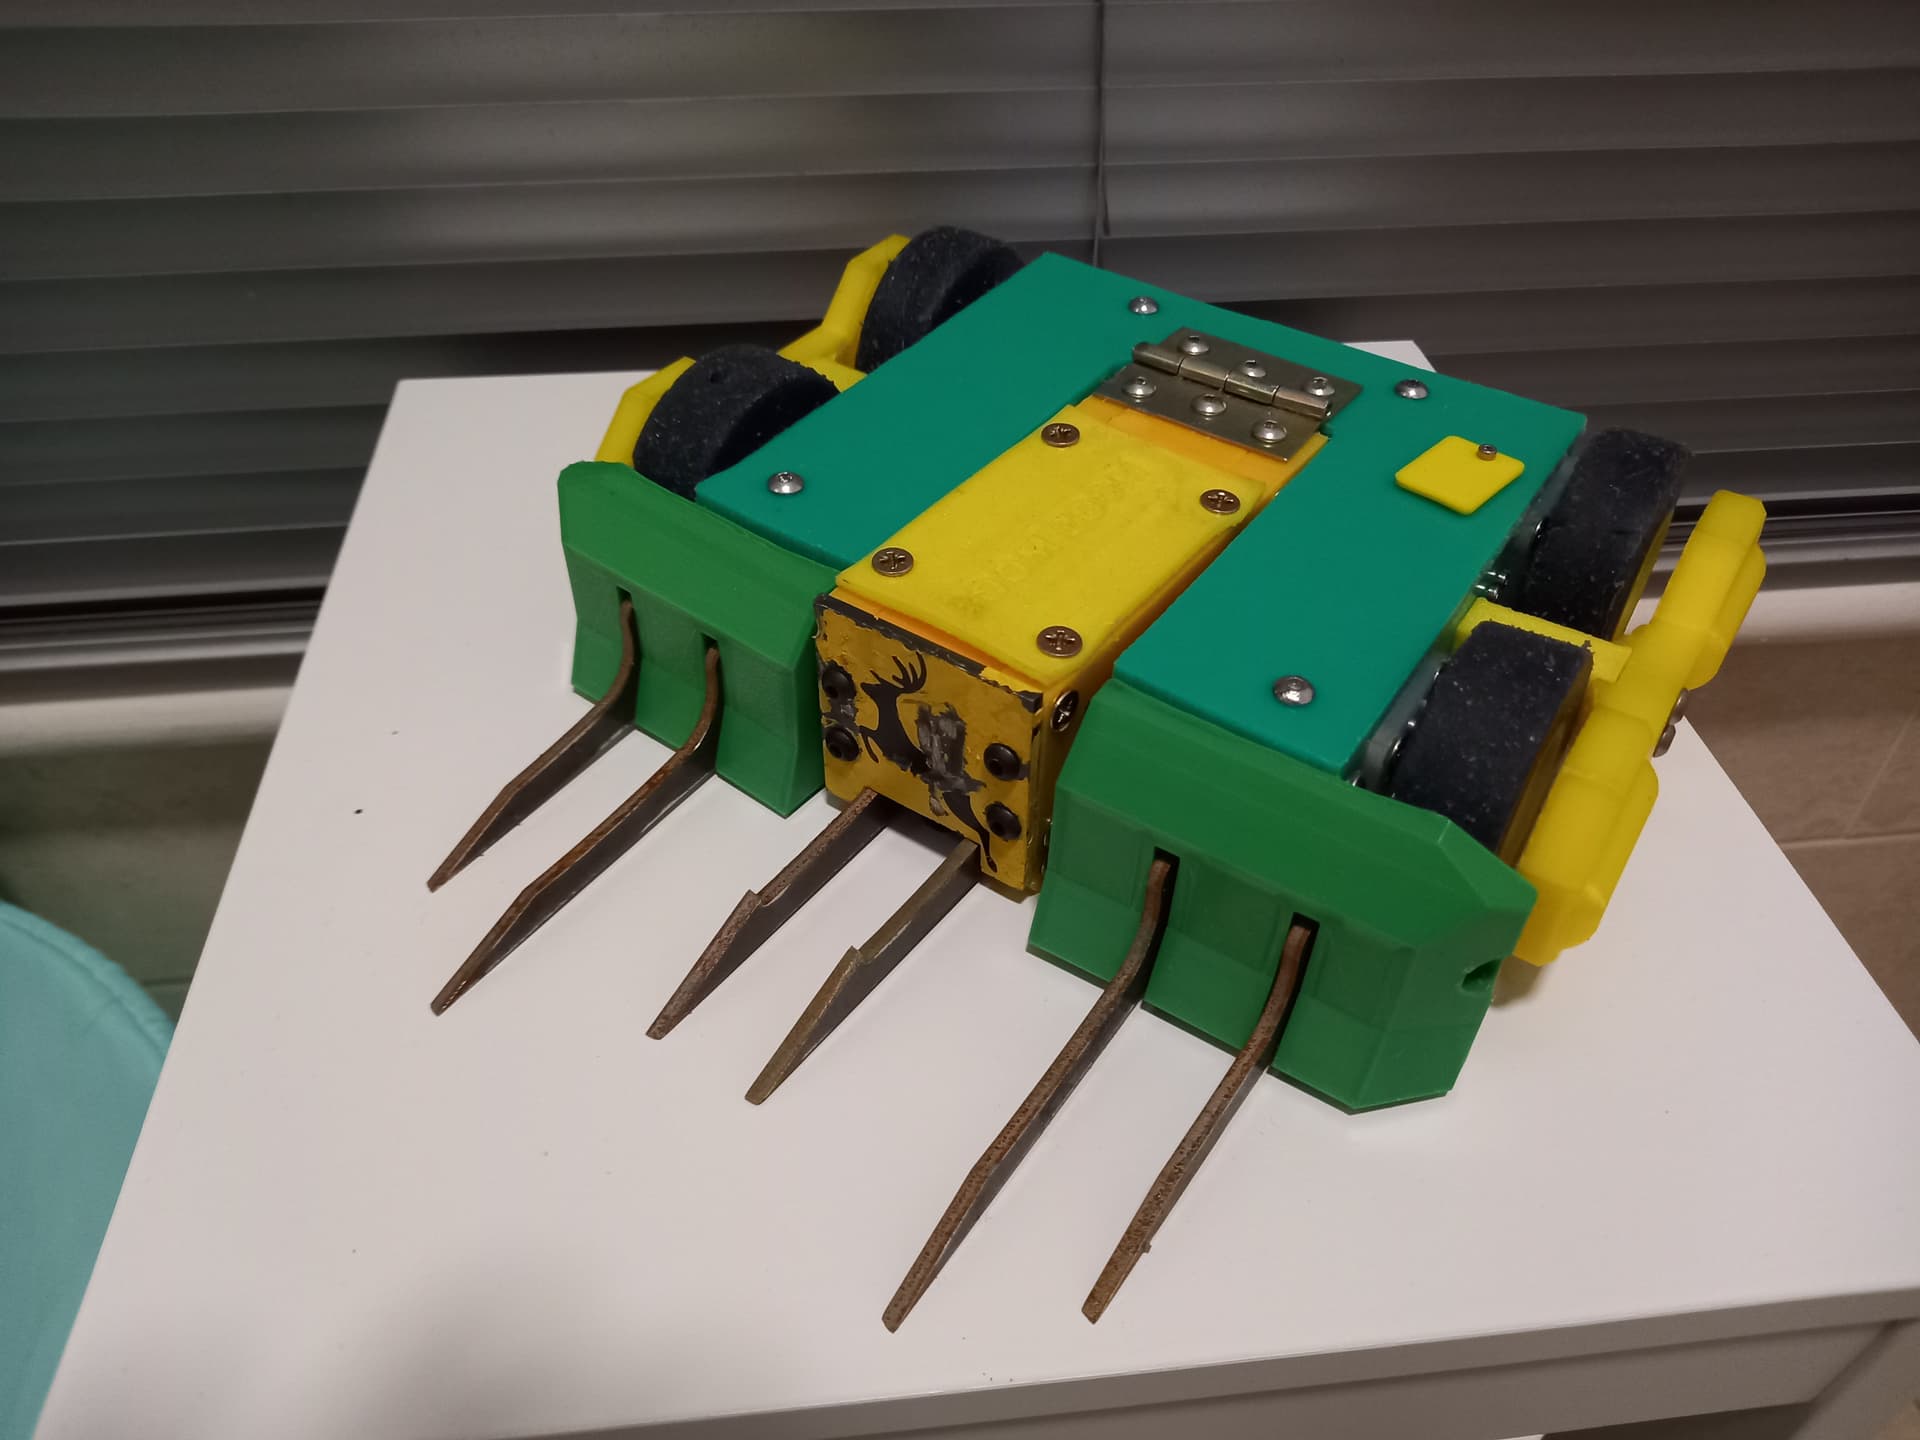
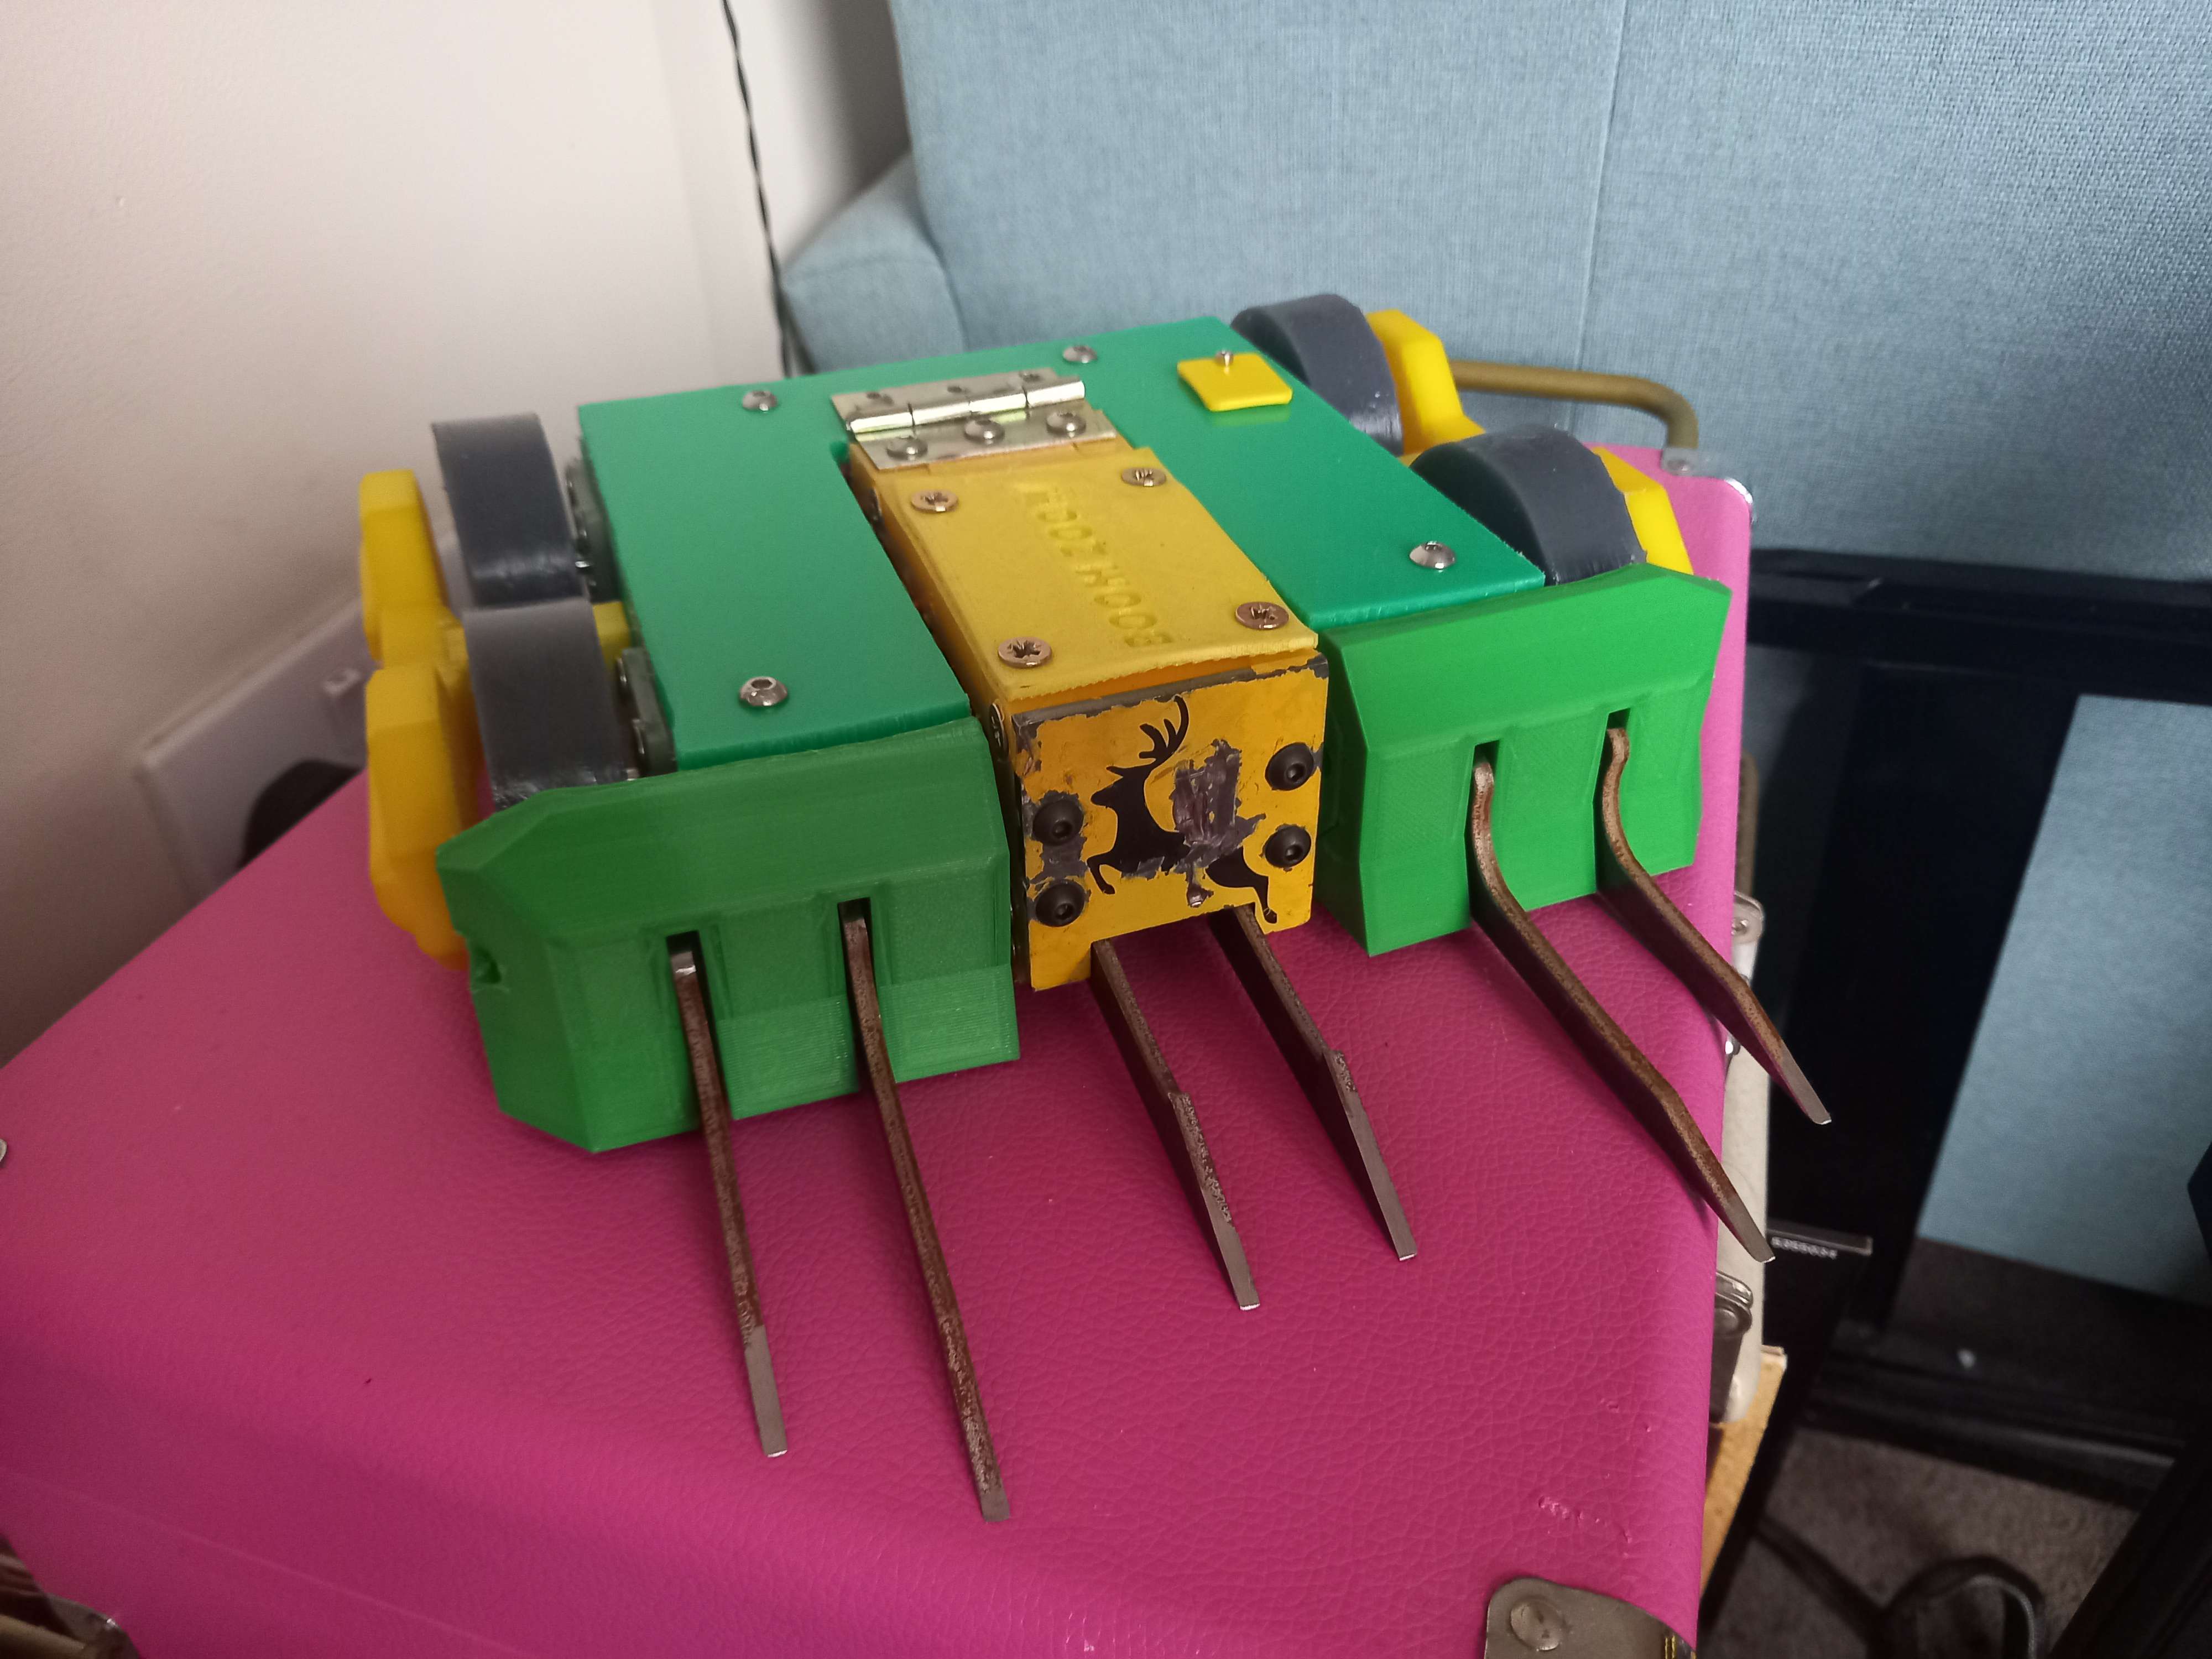
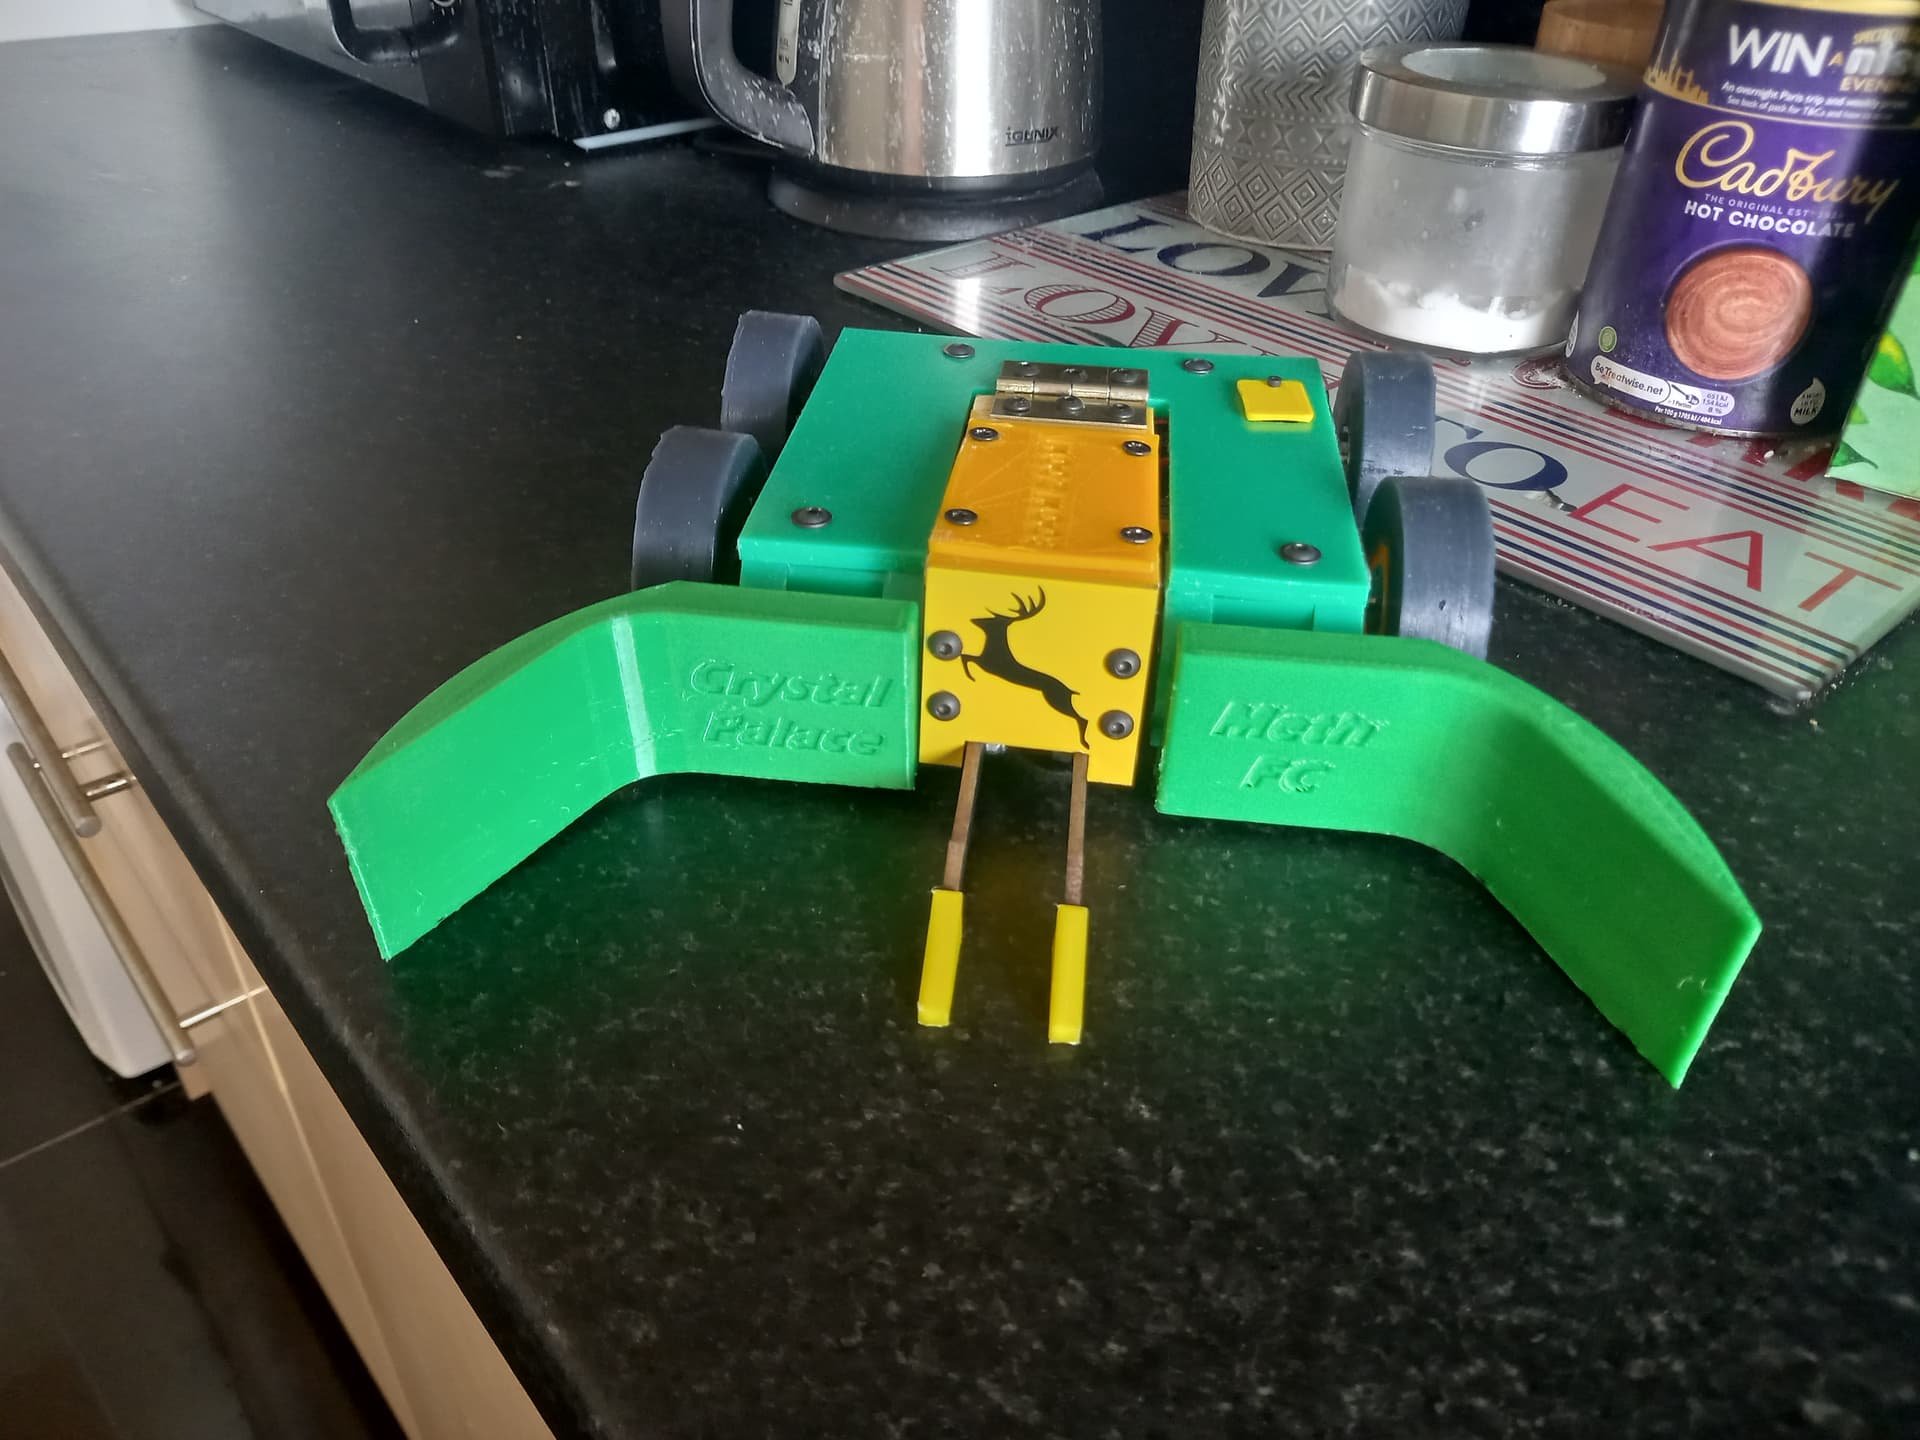
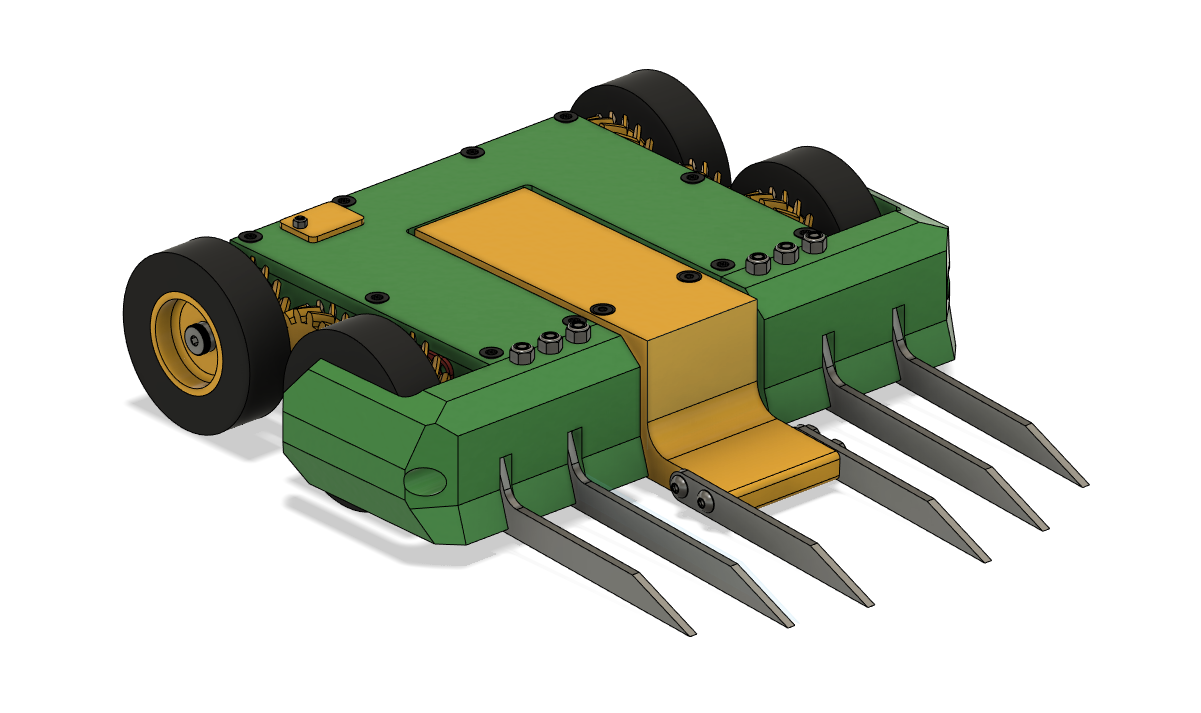
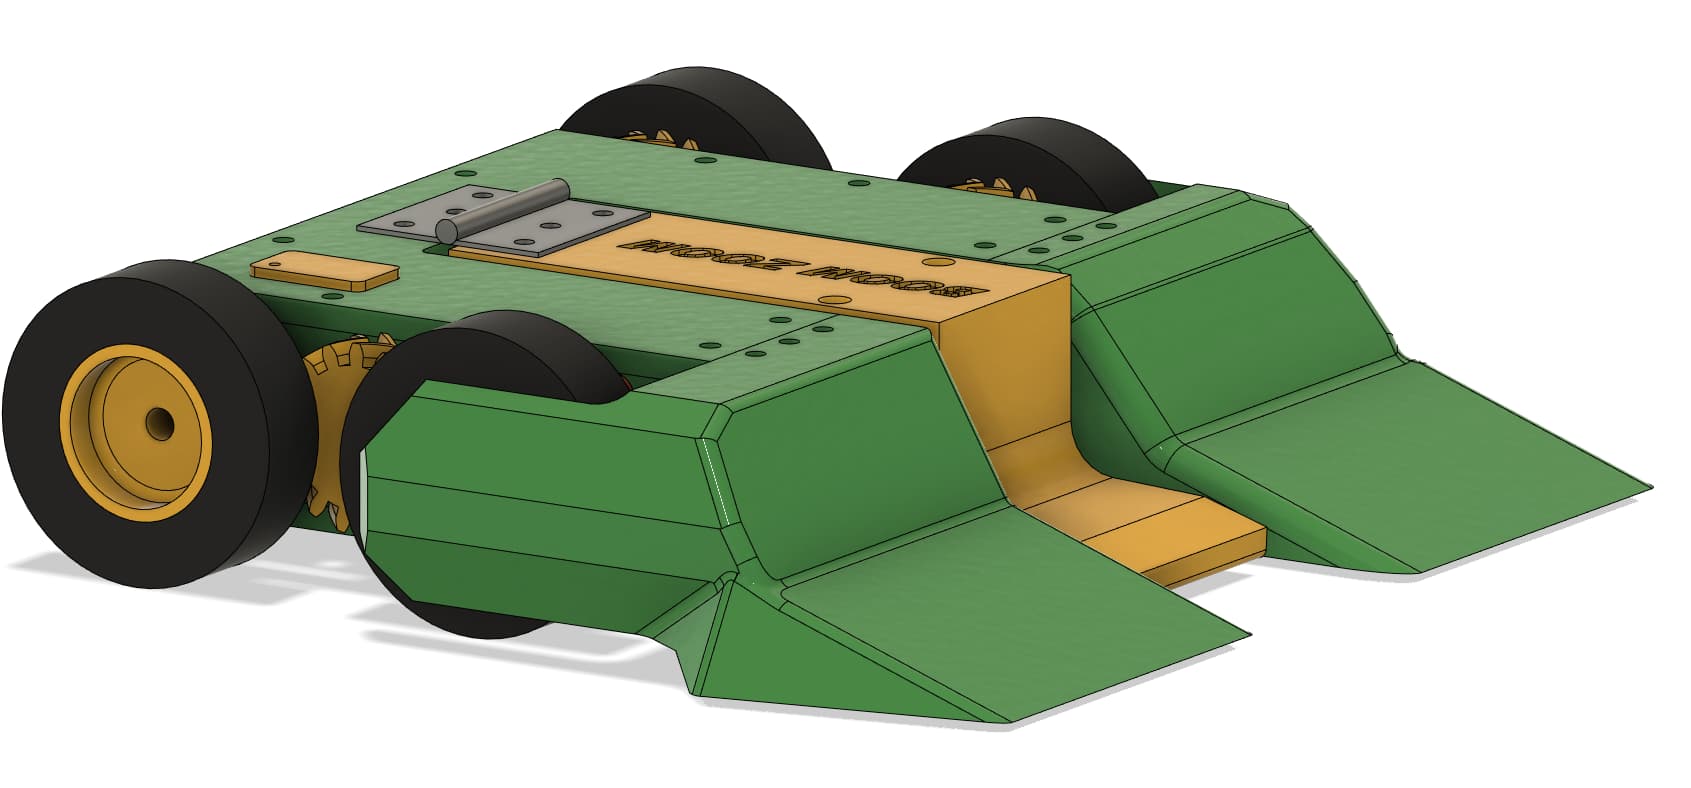
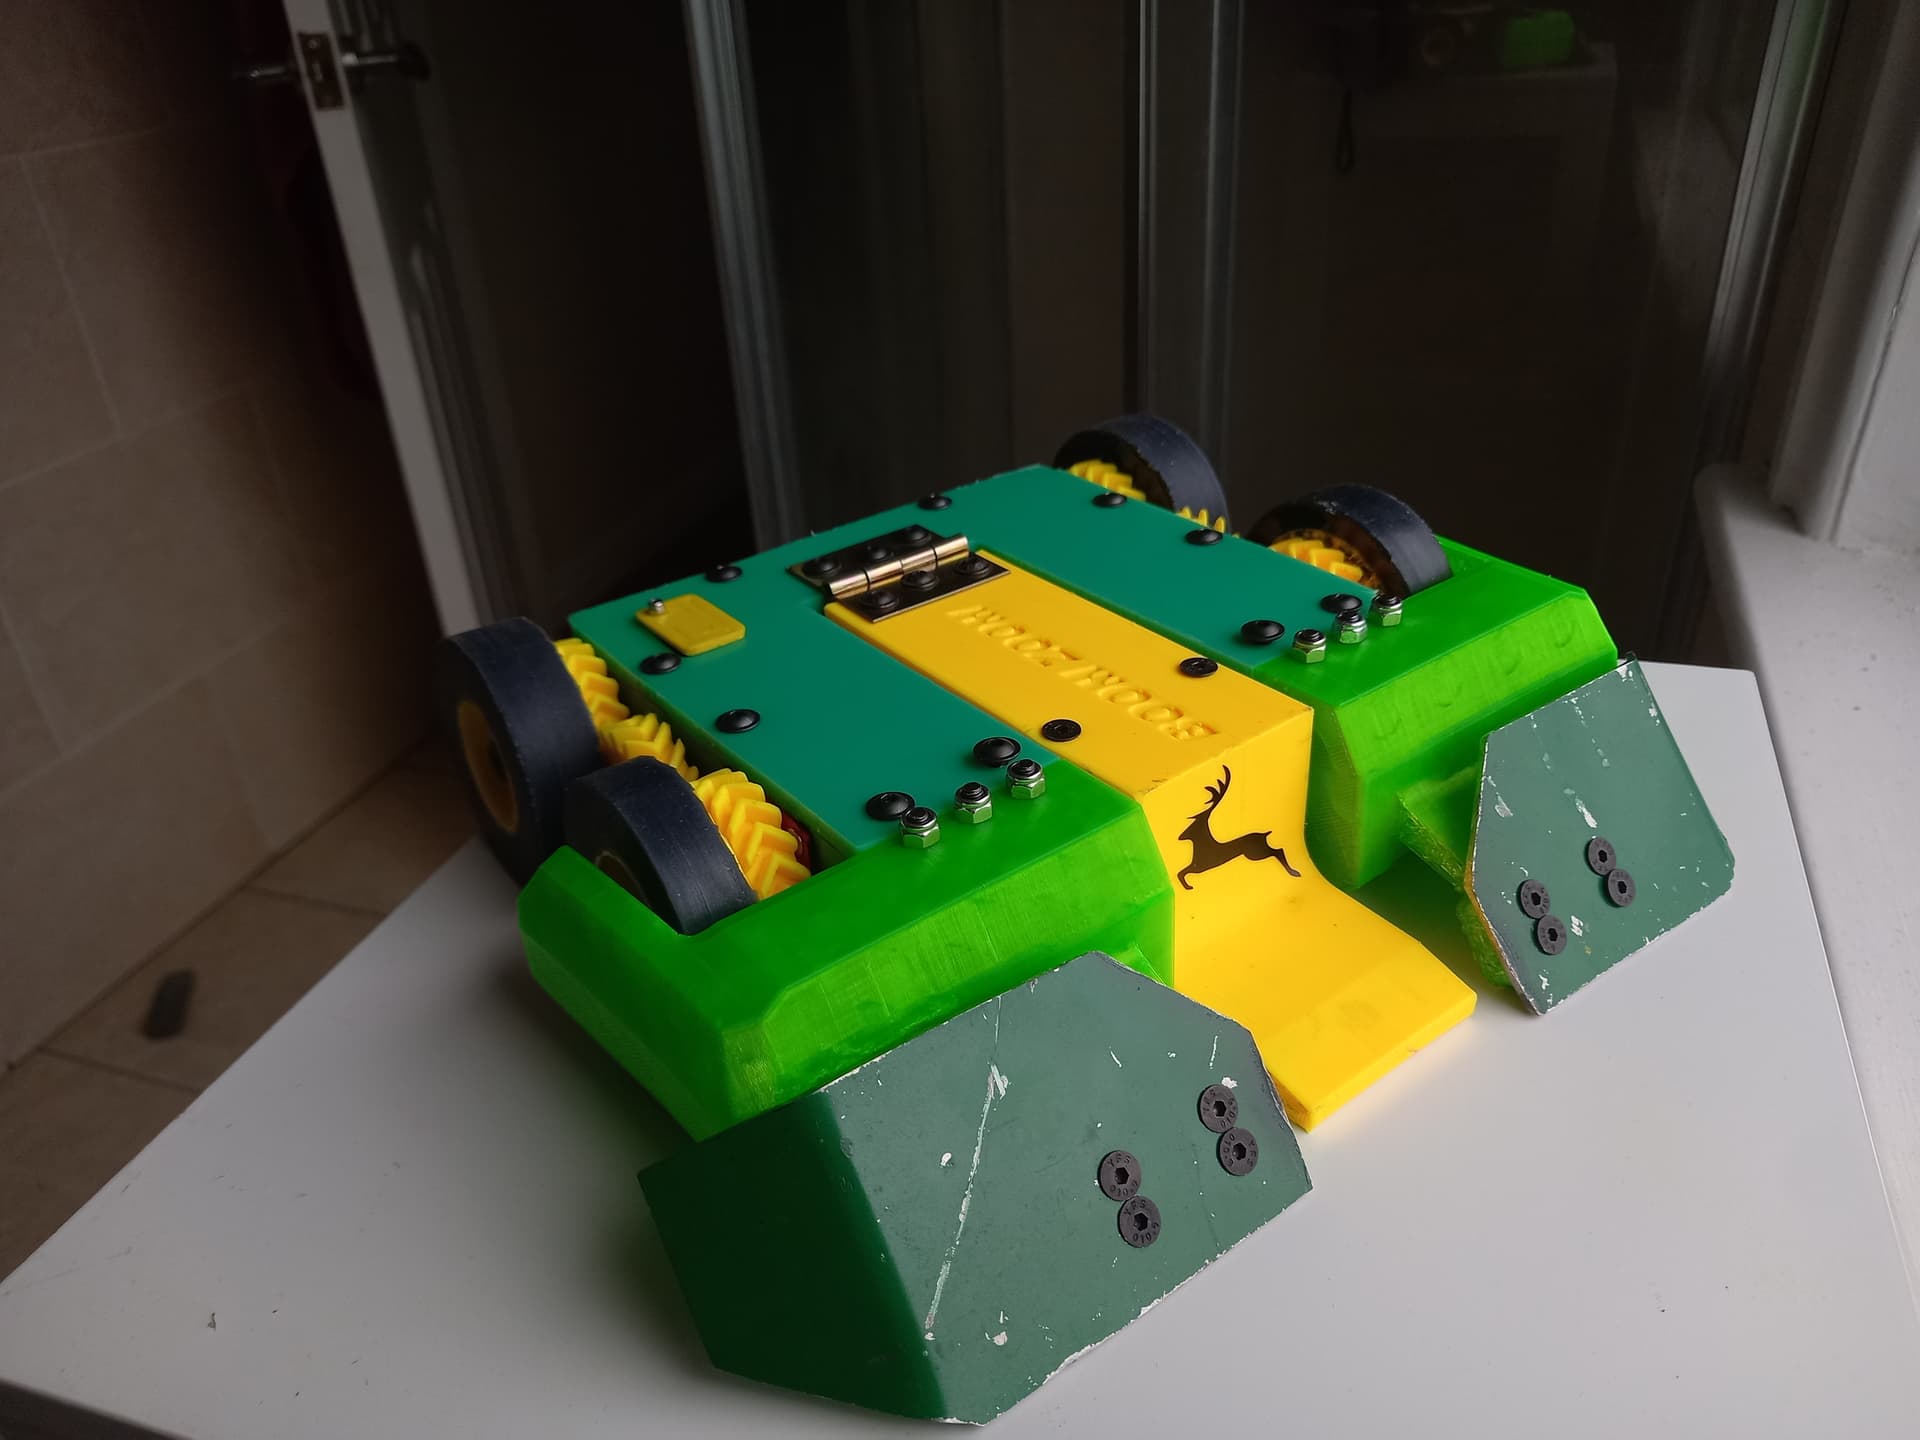
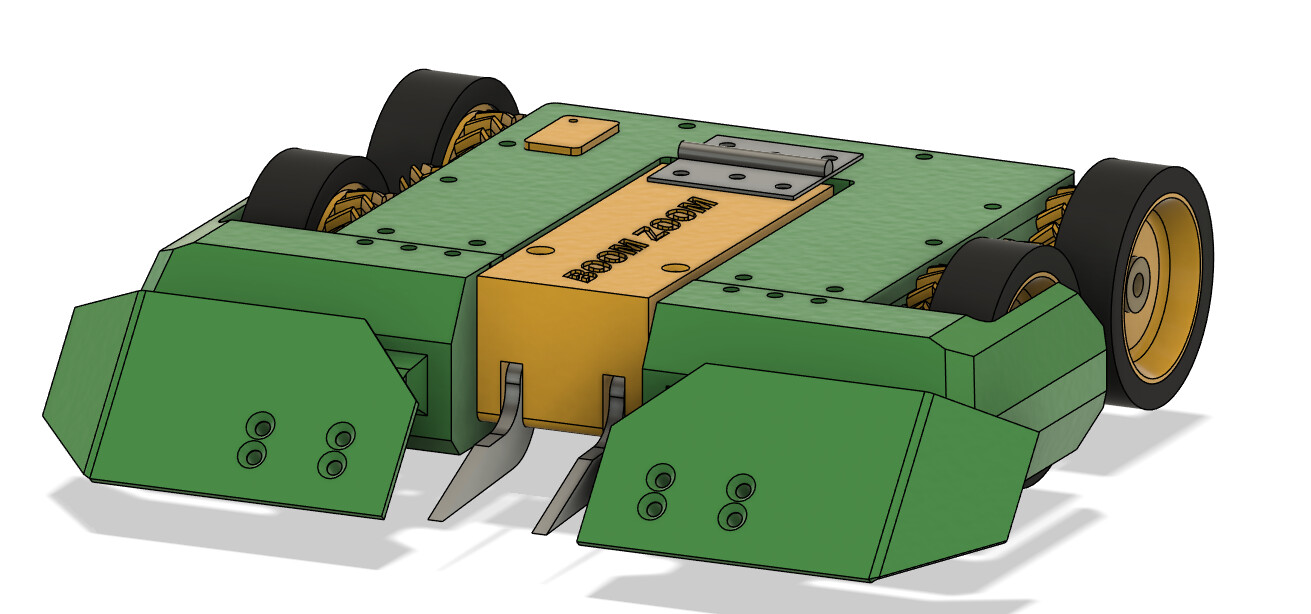
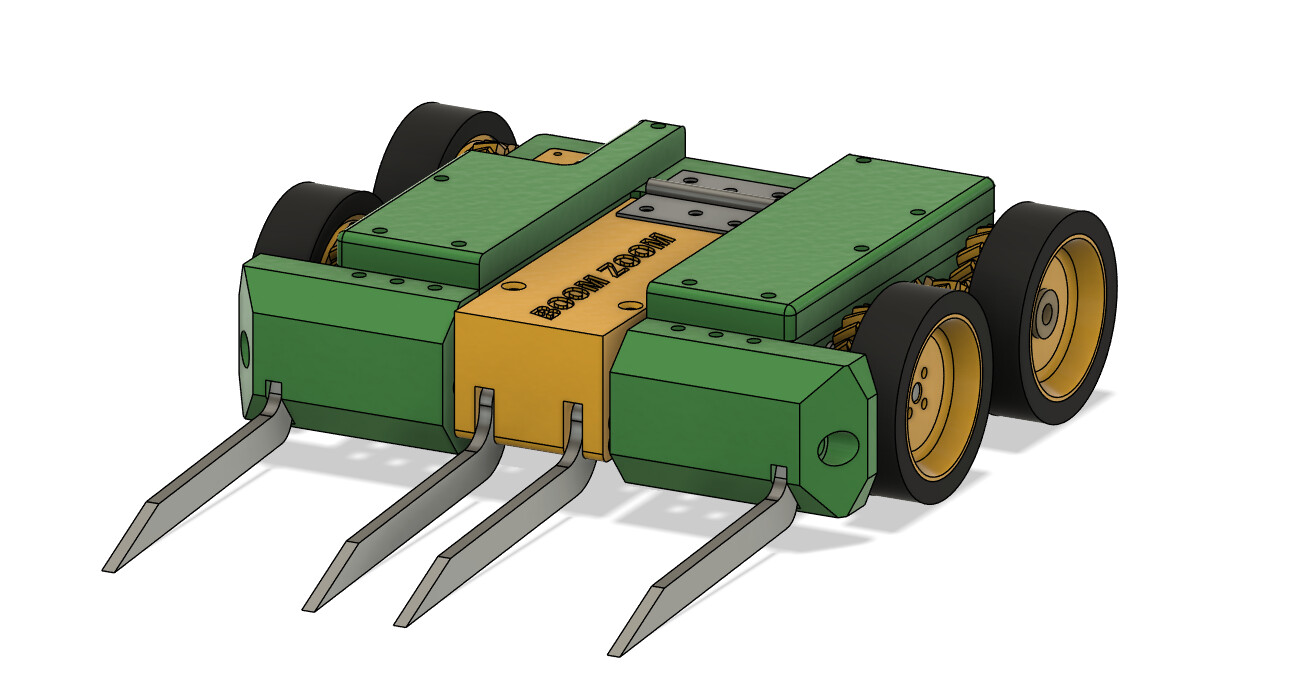
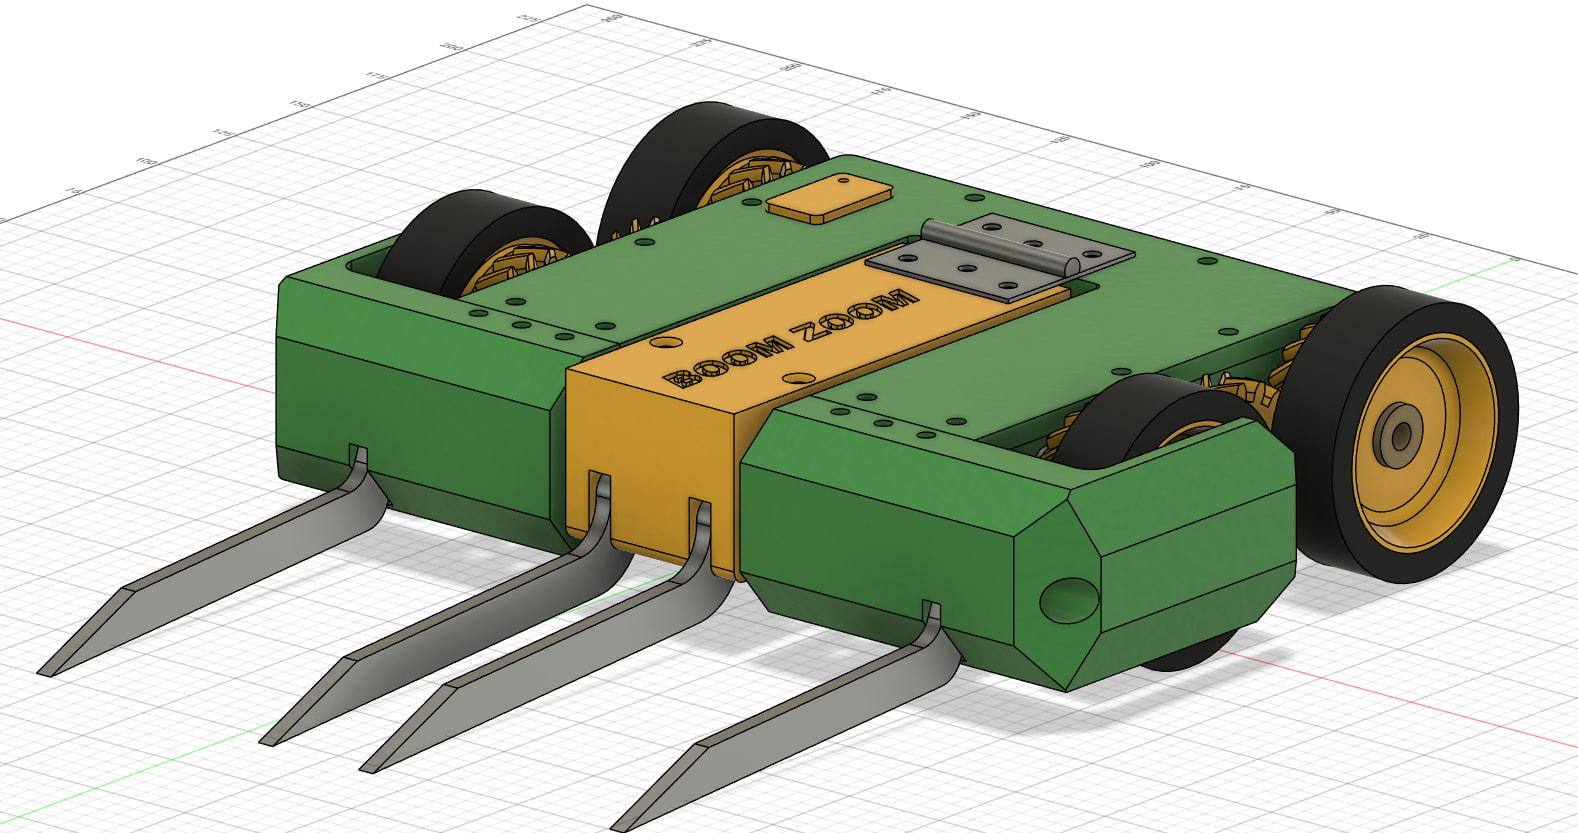
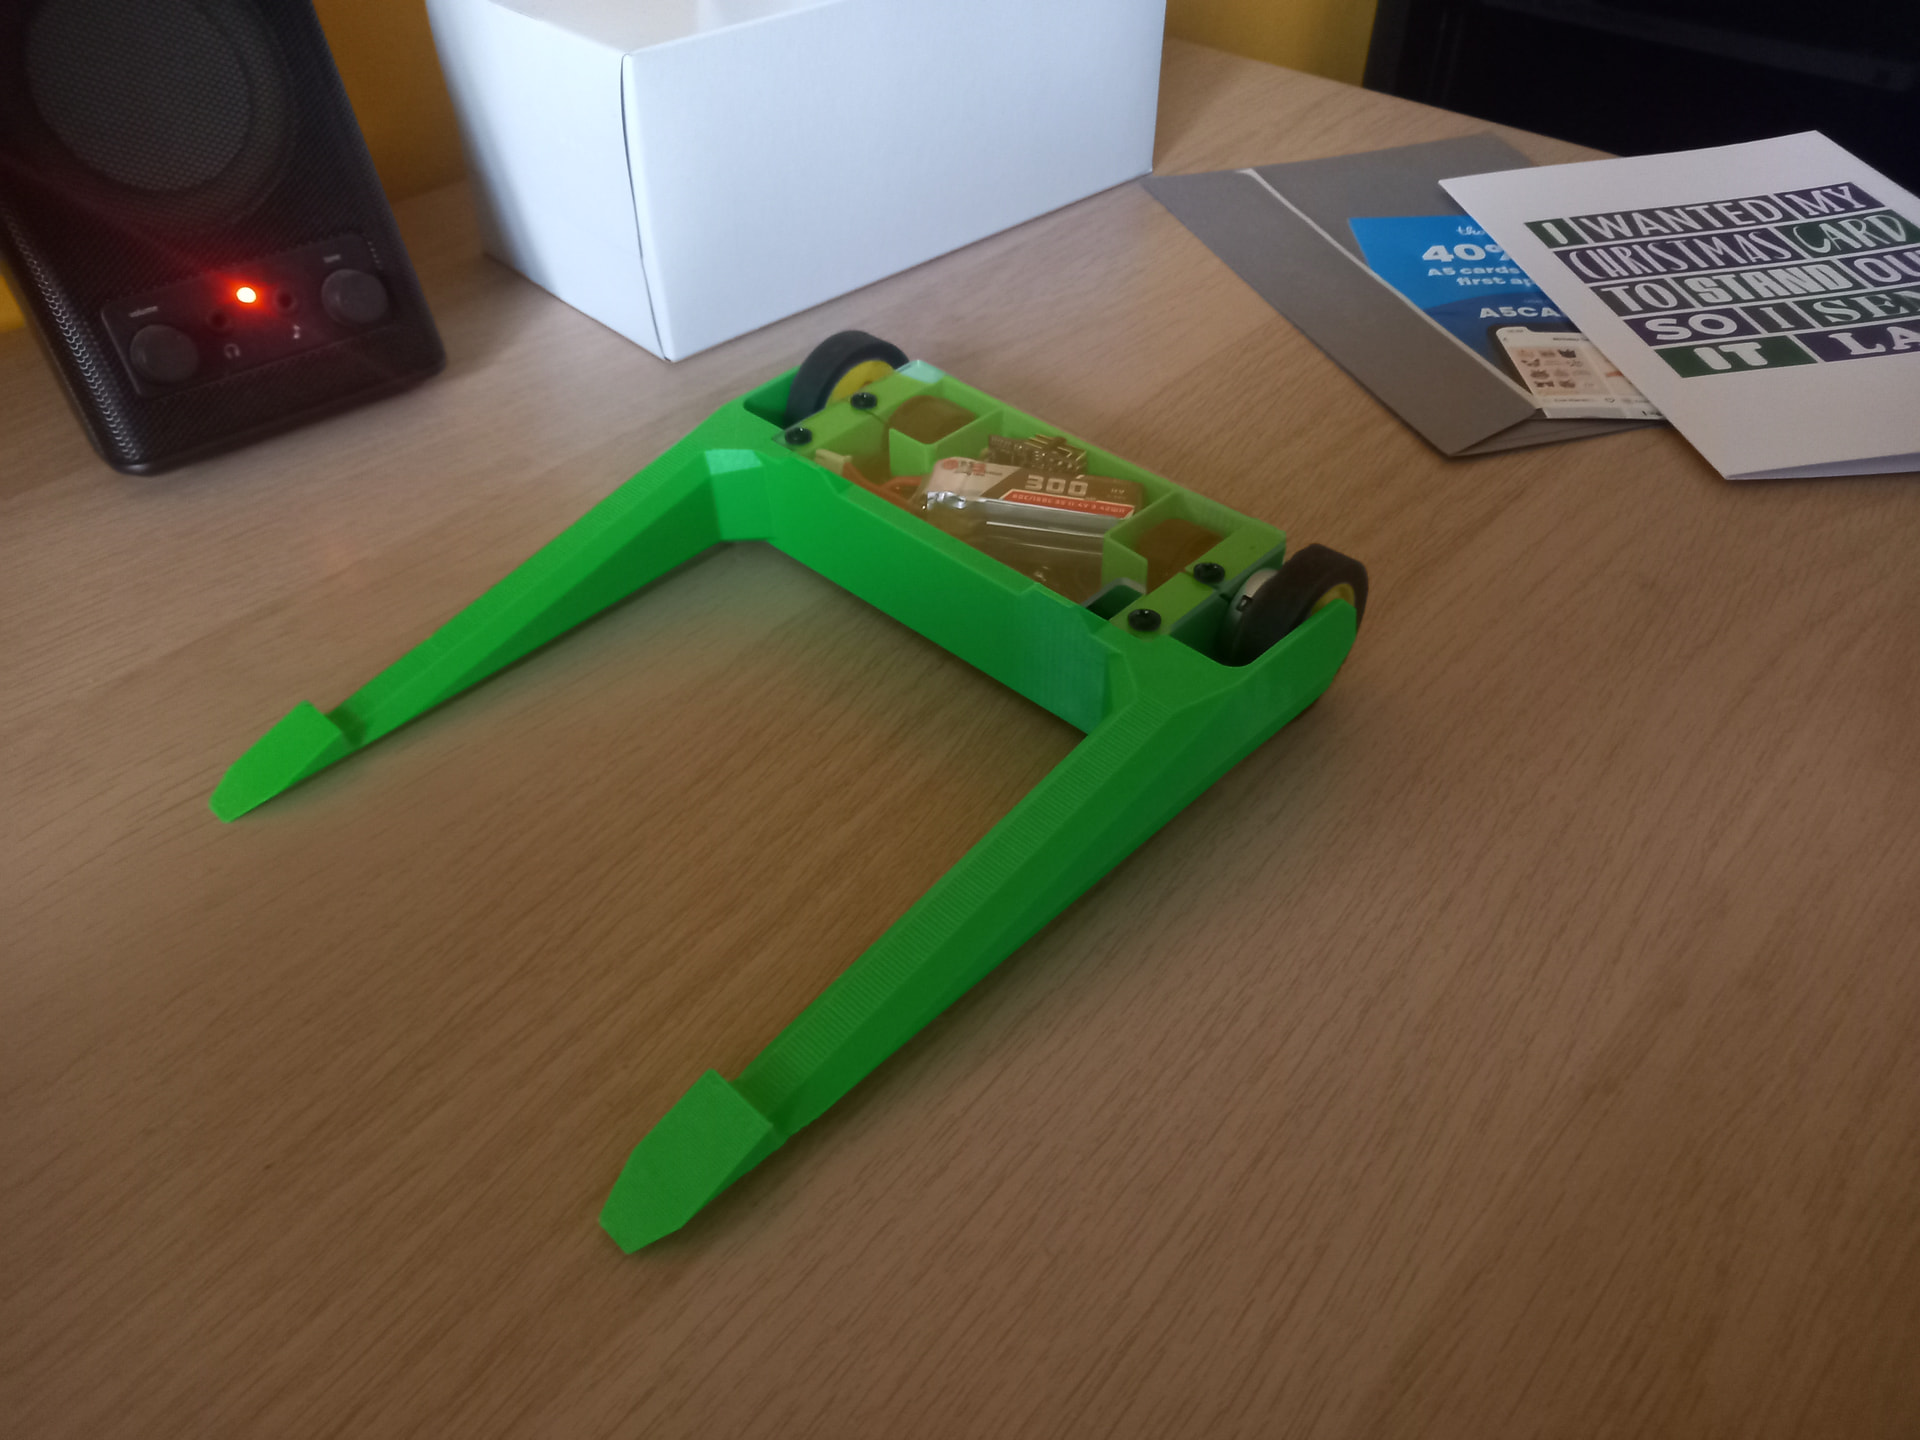
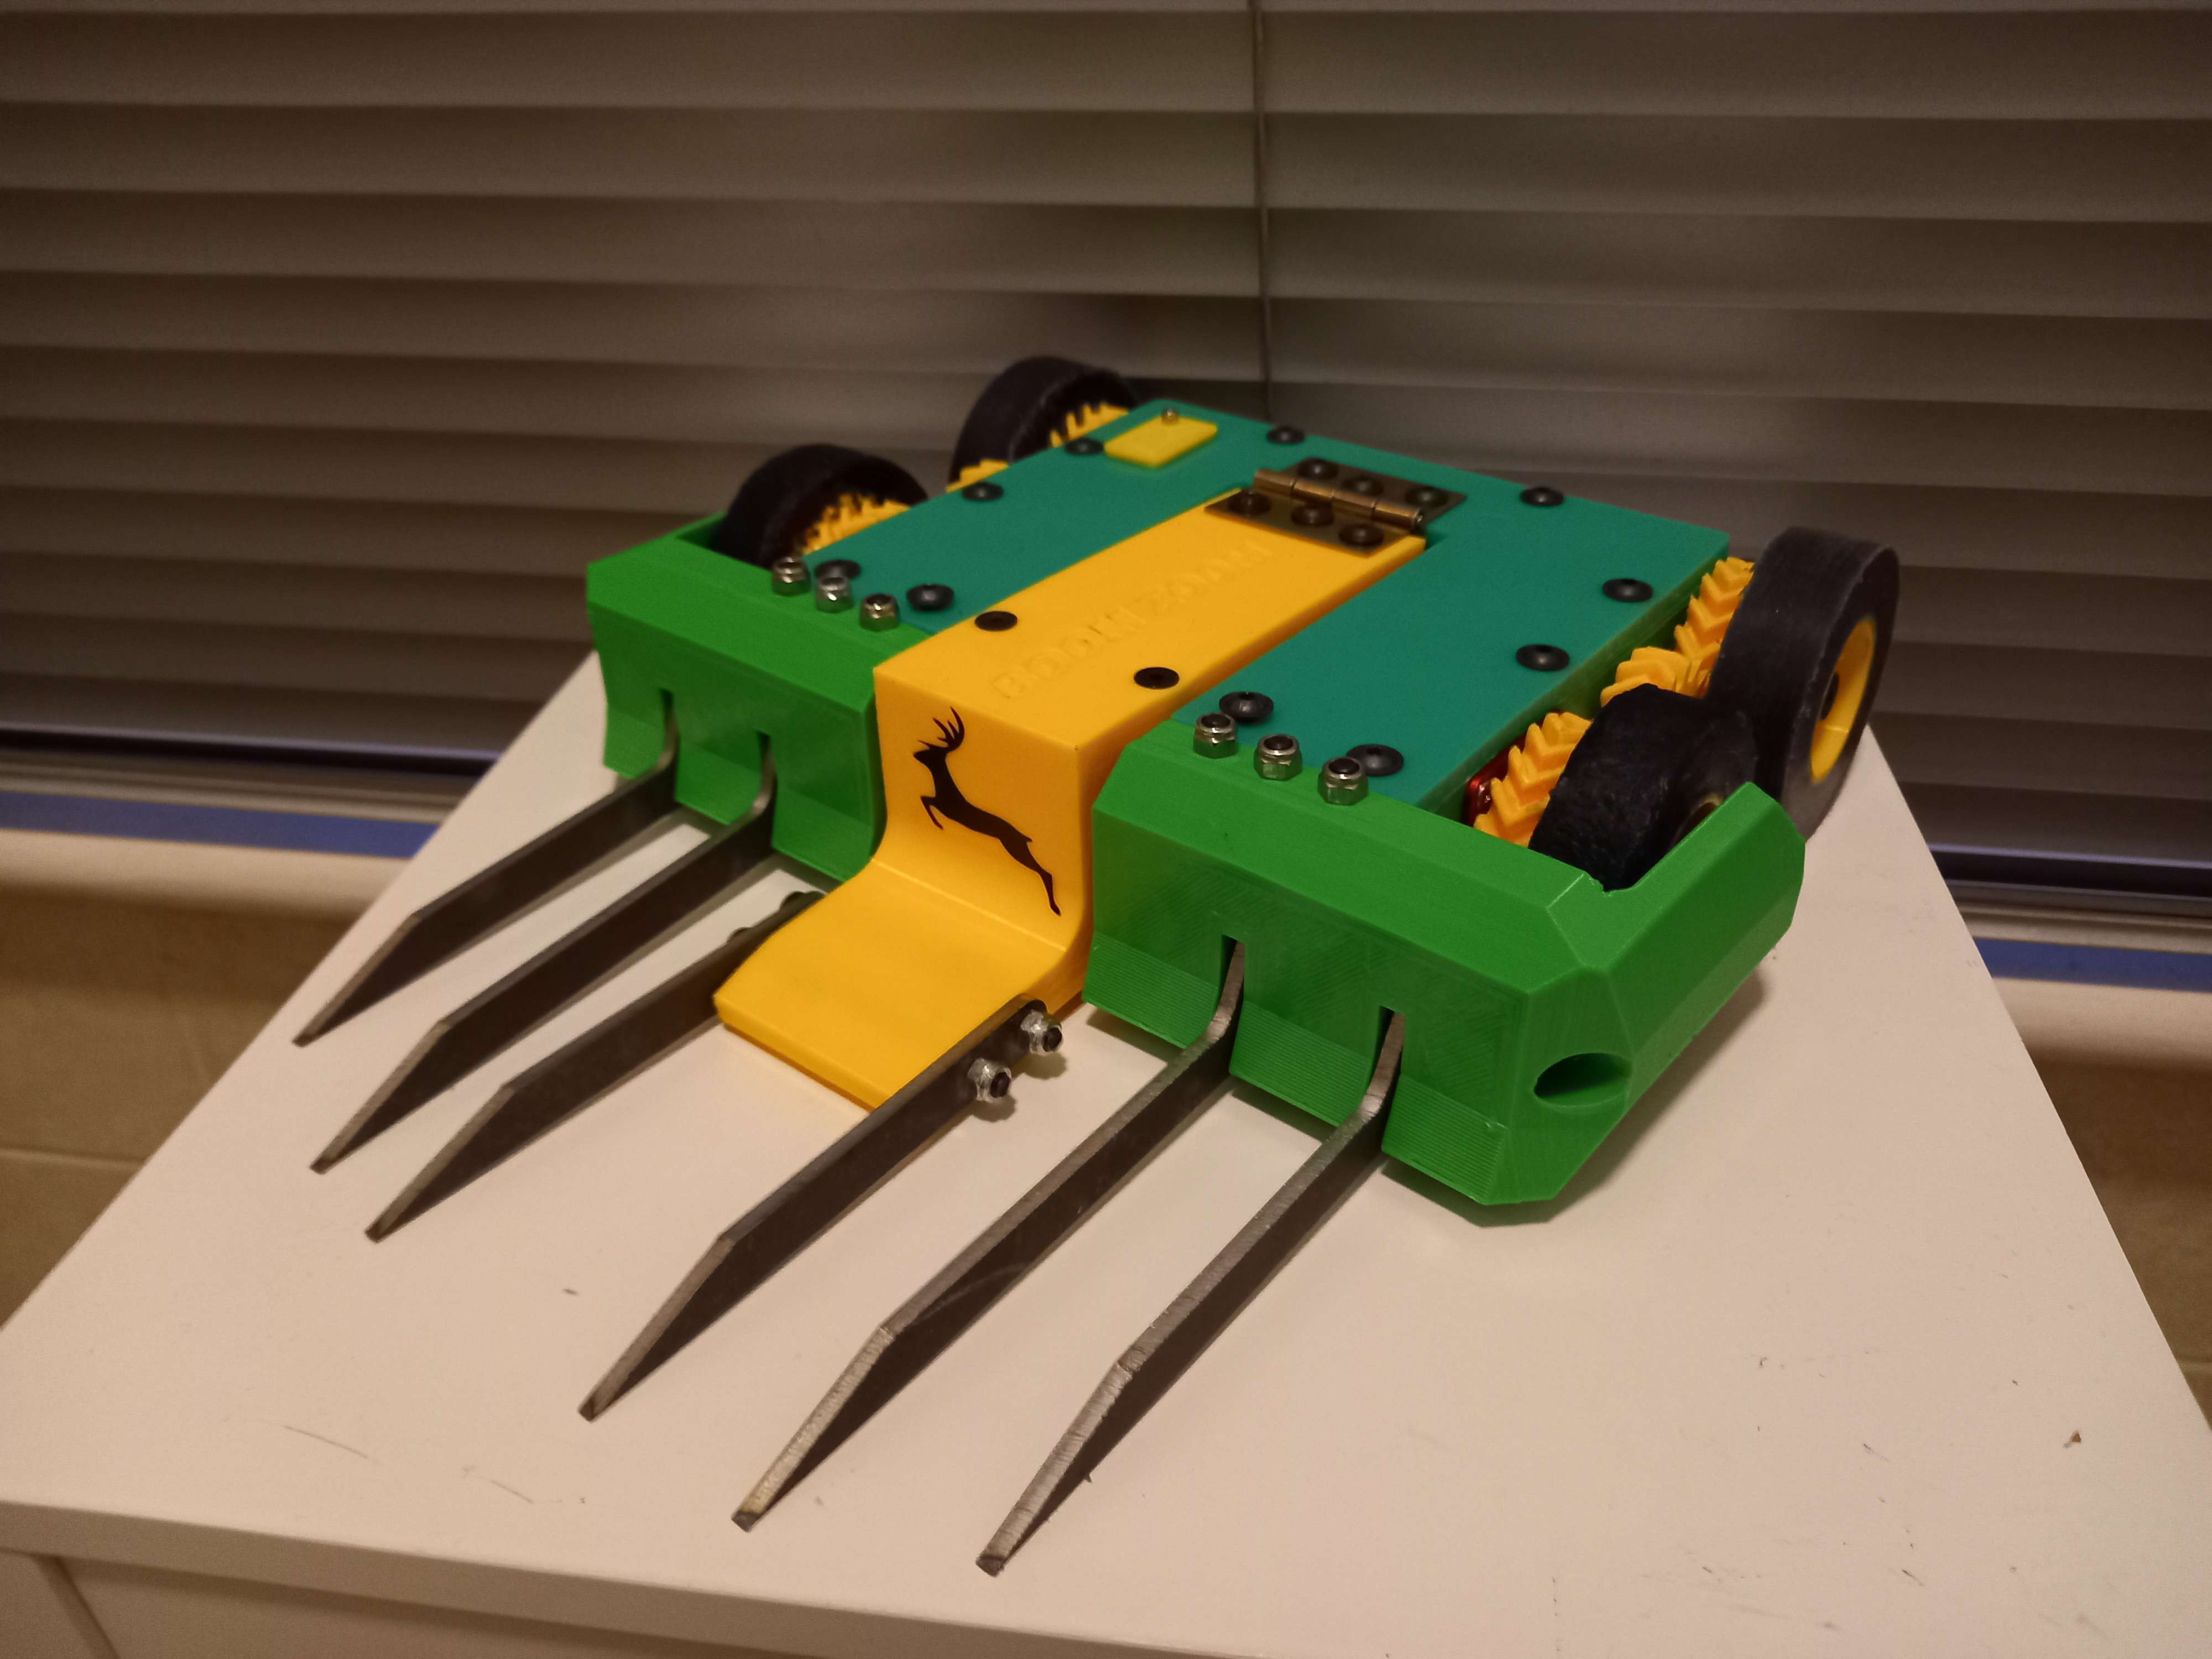
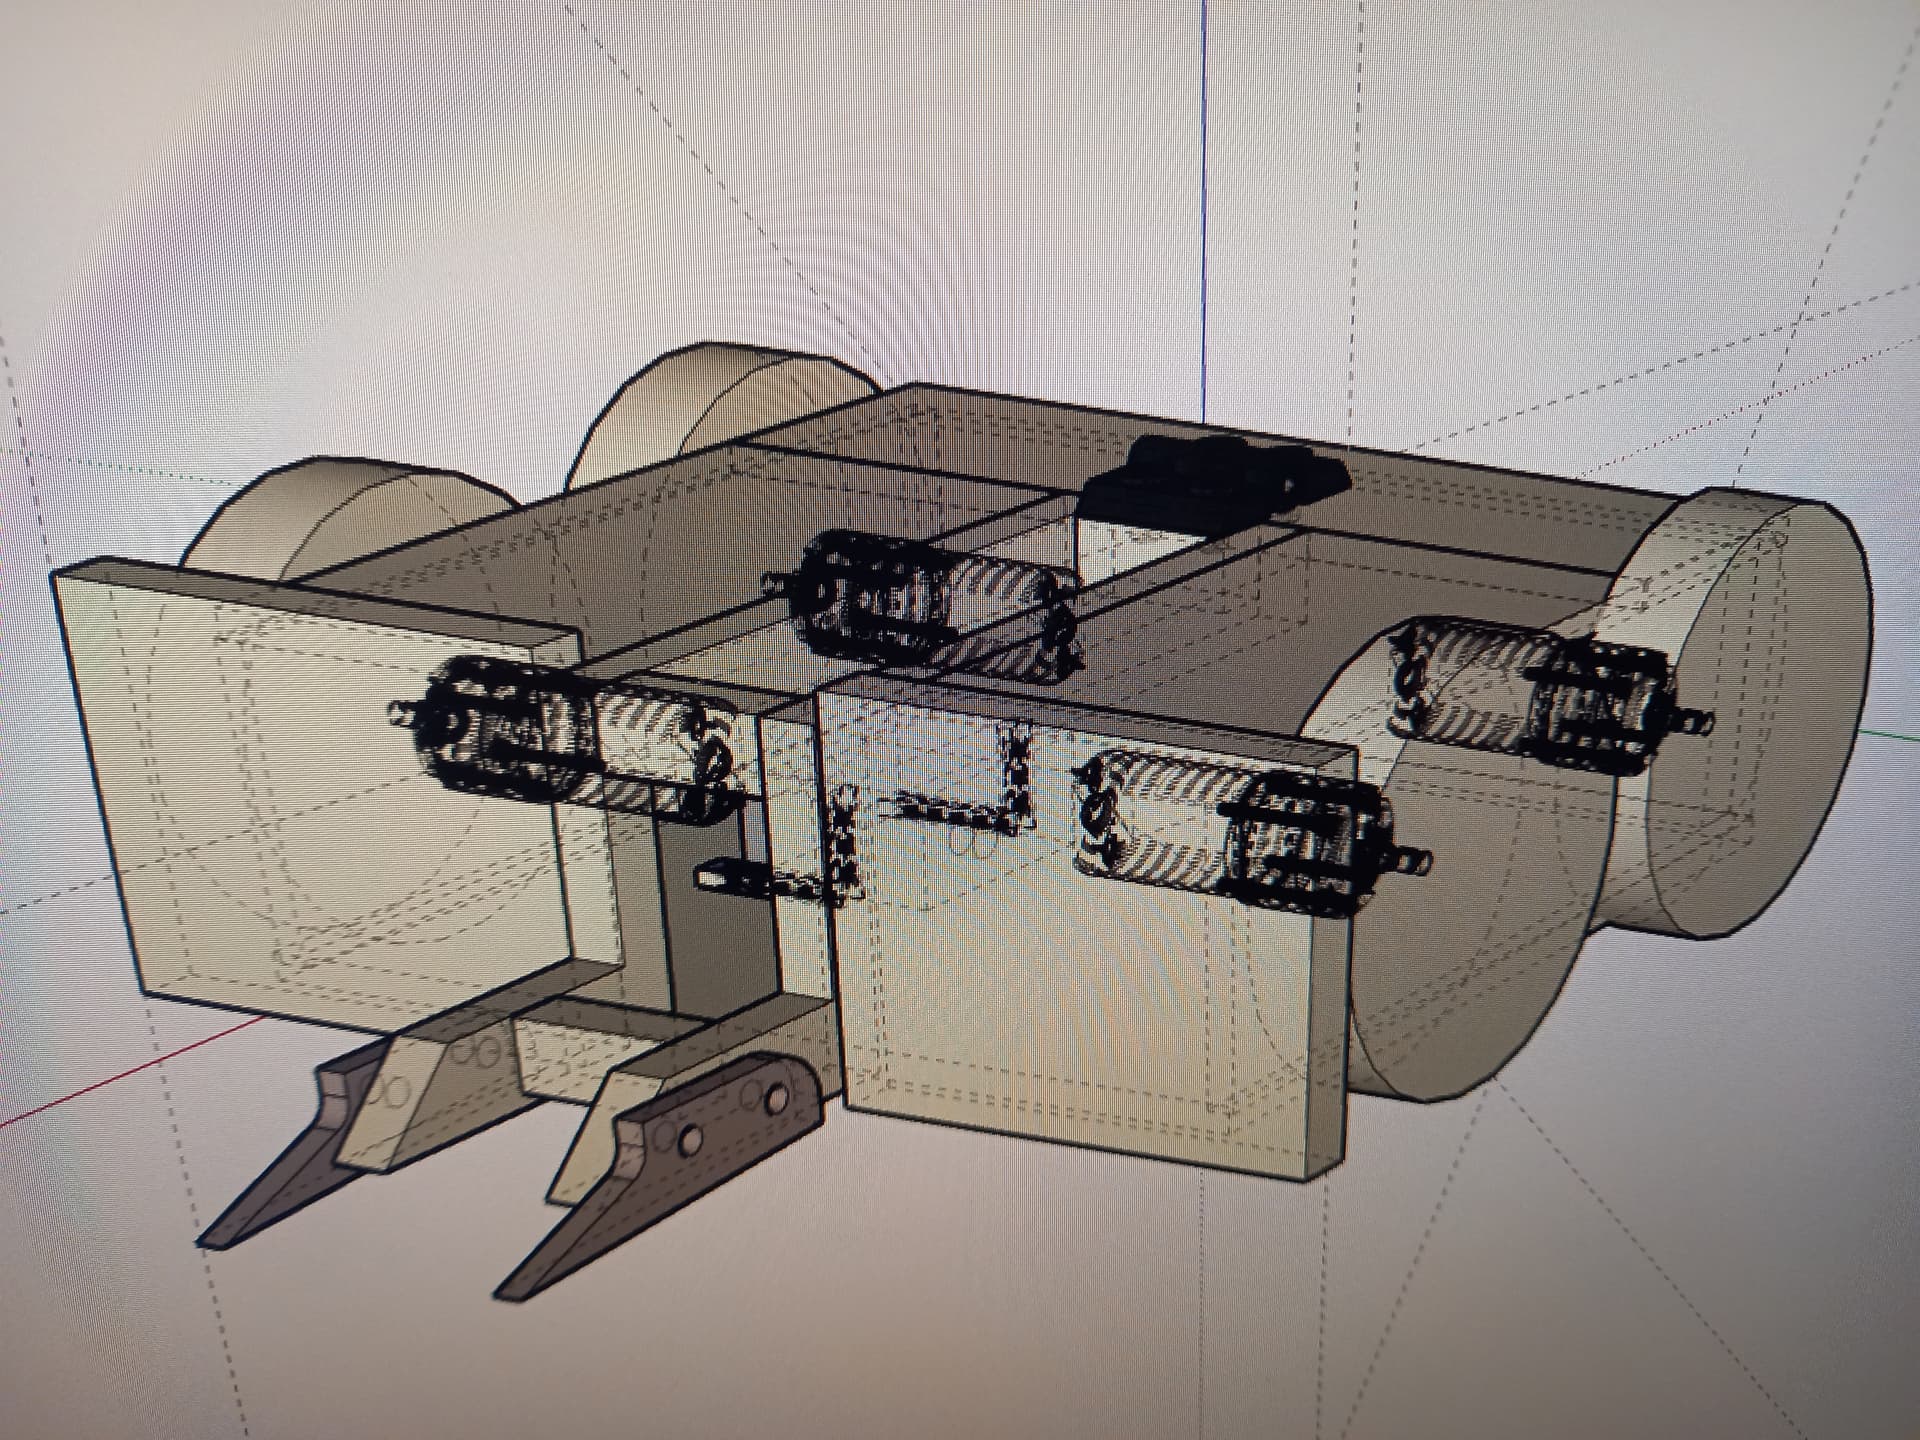
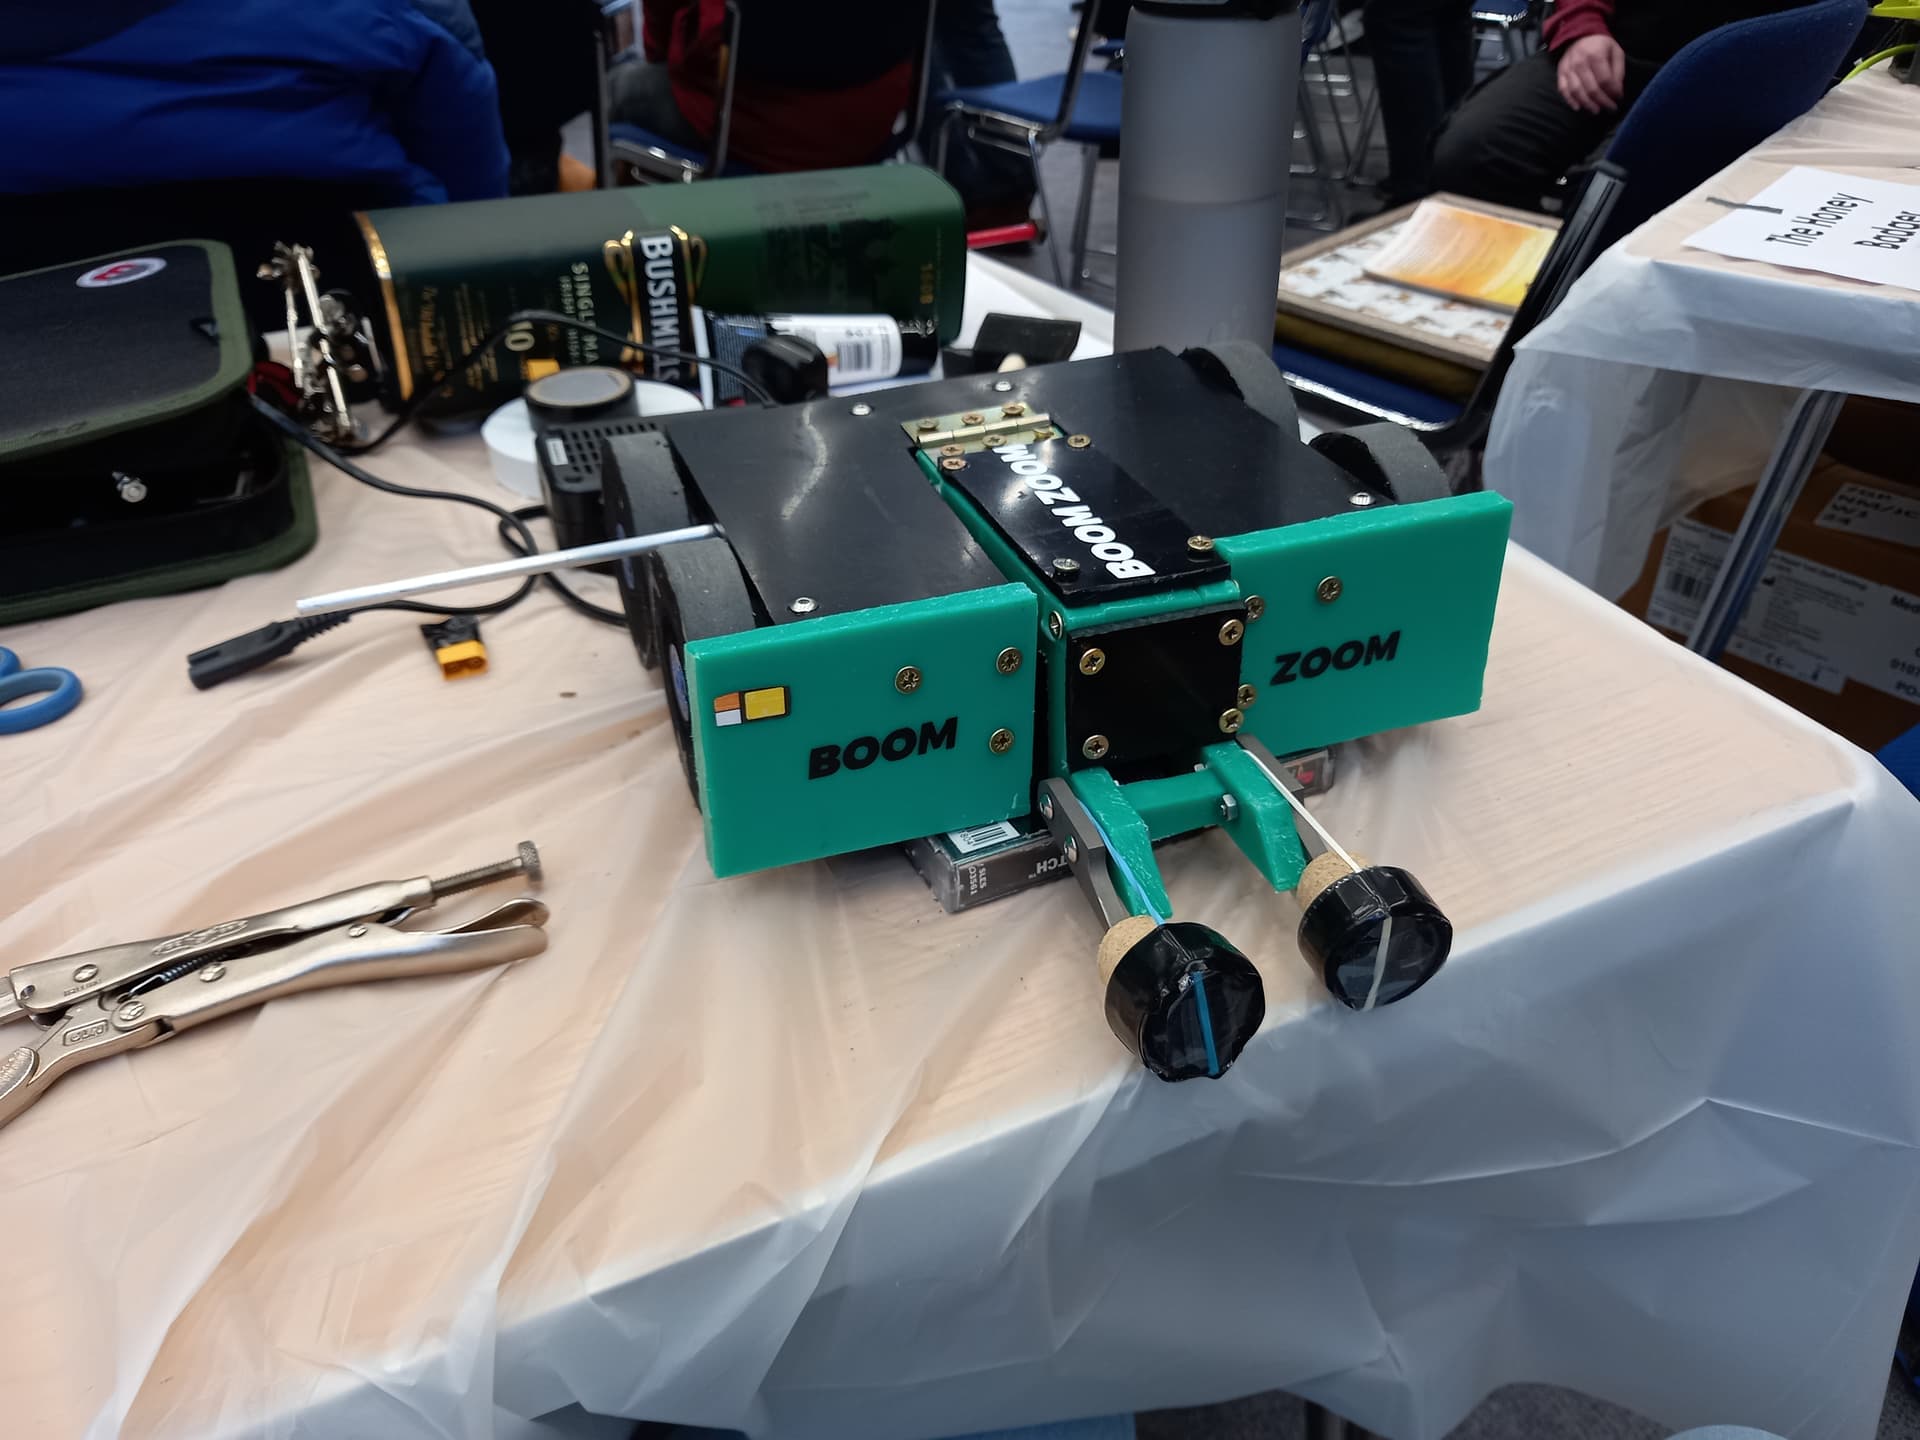
A few days in CAD later and I had this!
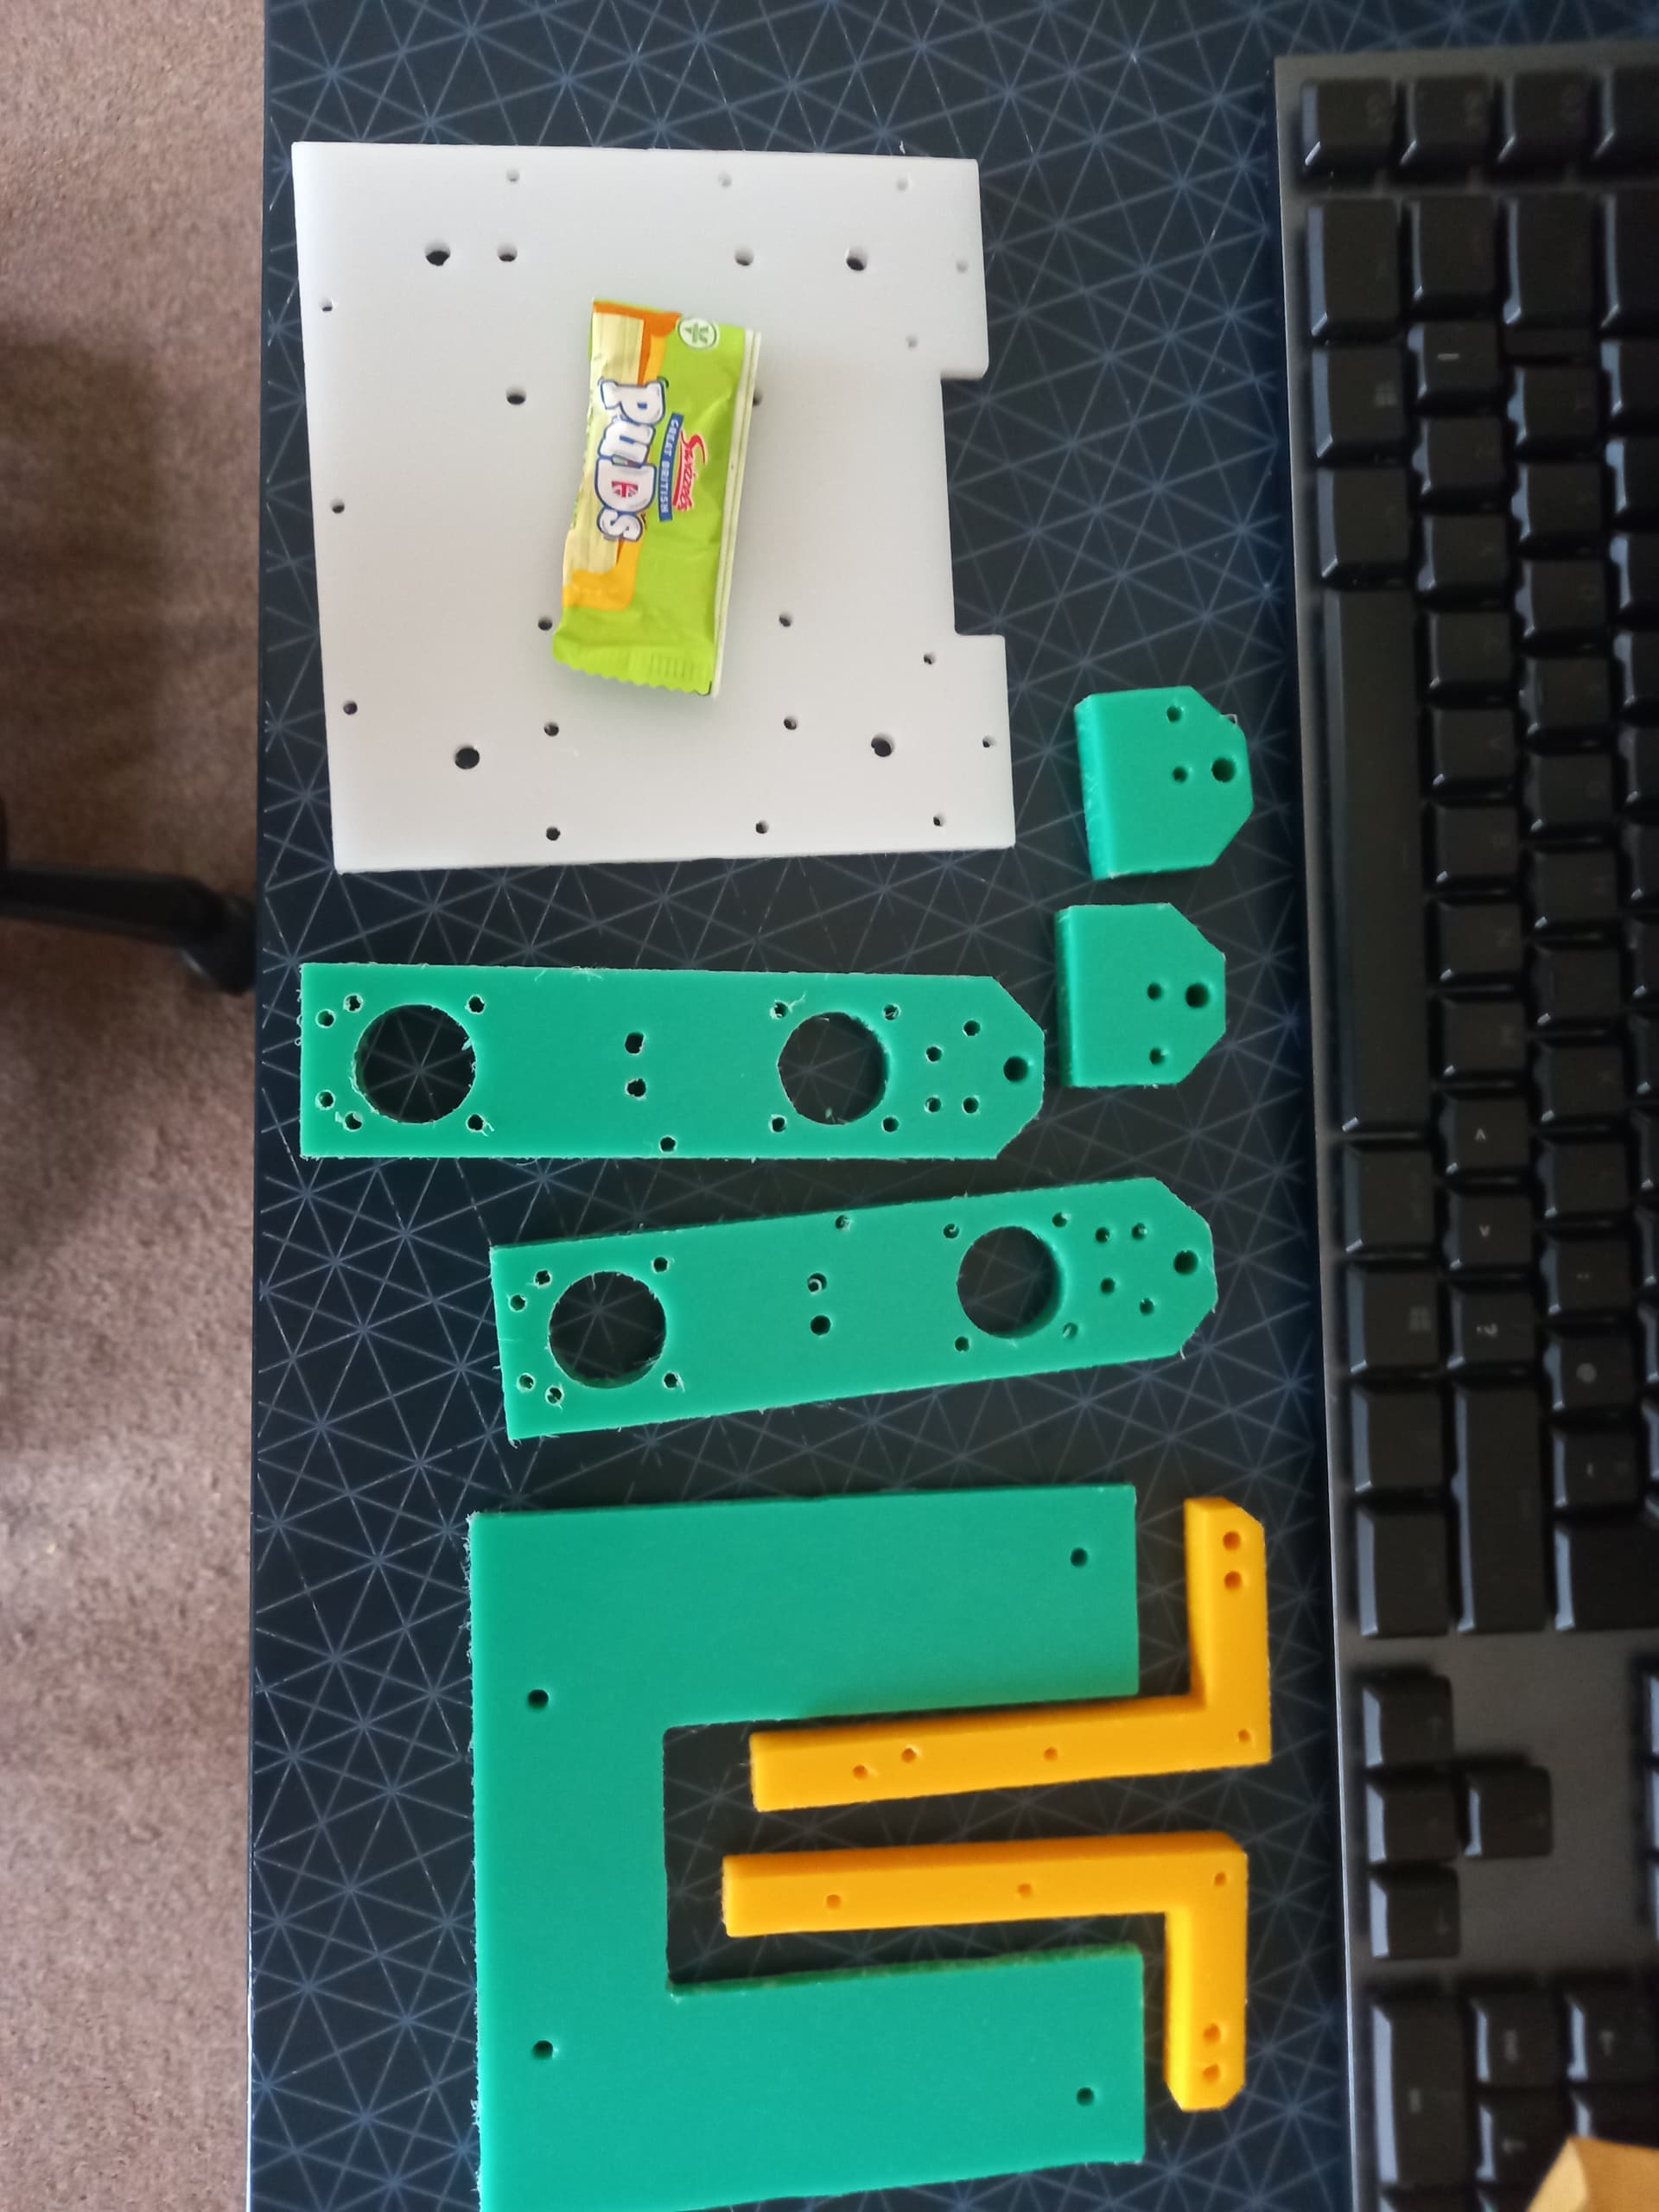
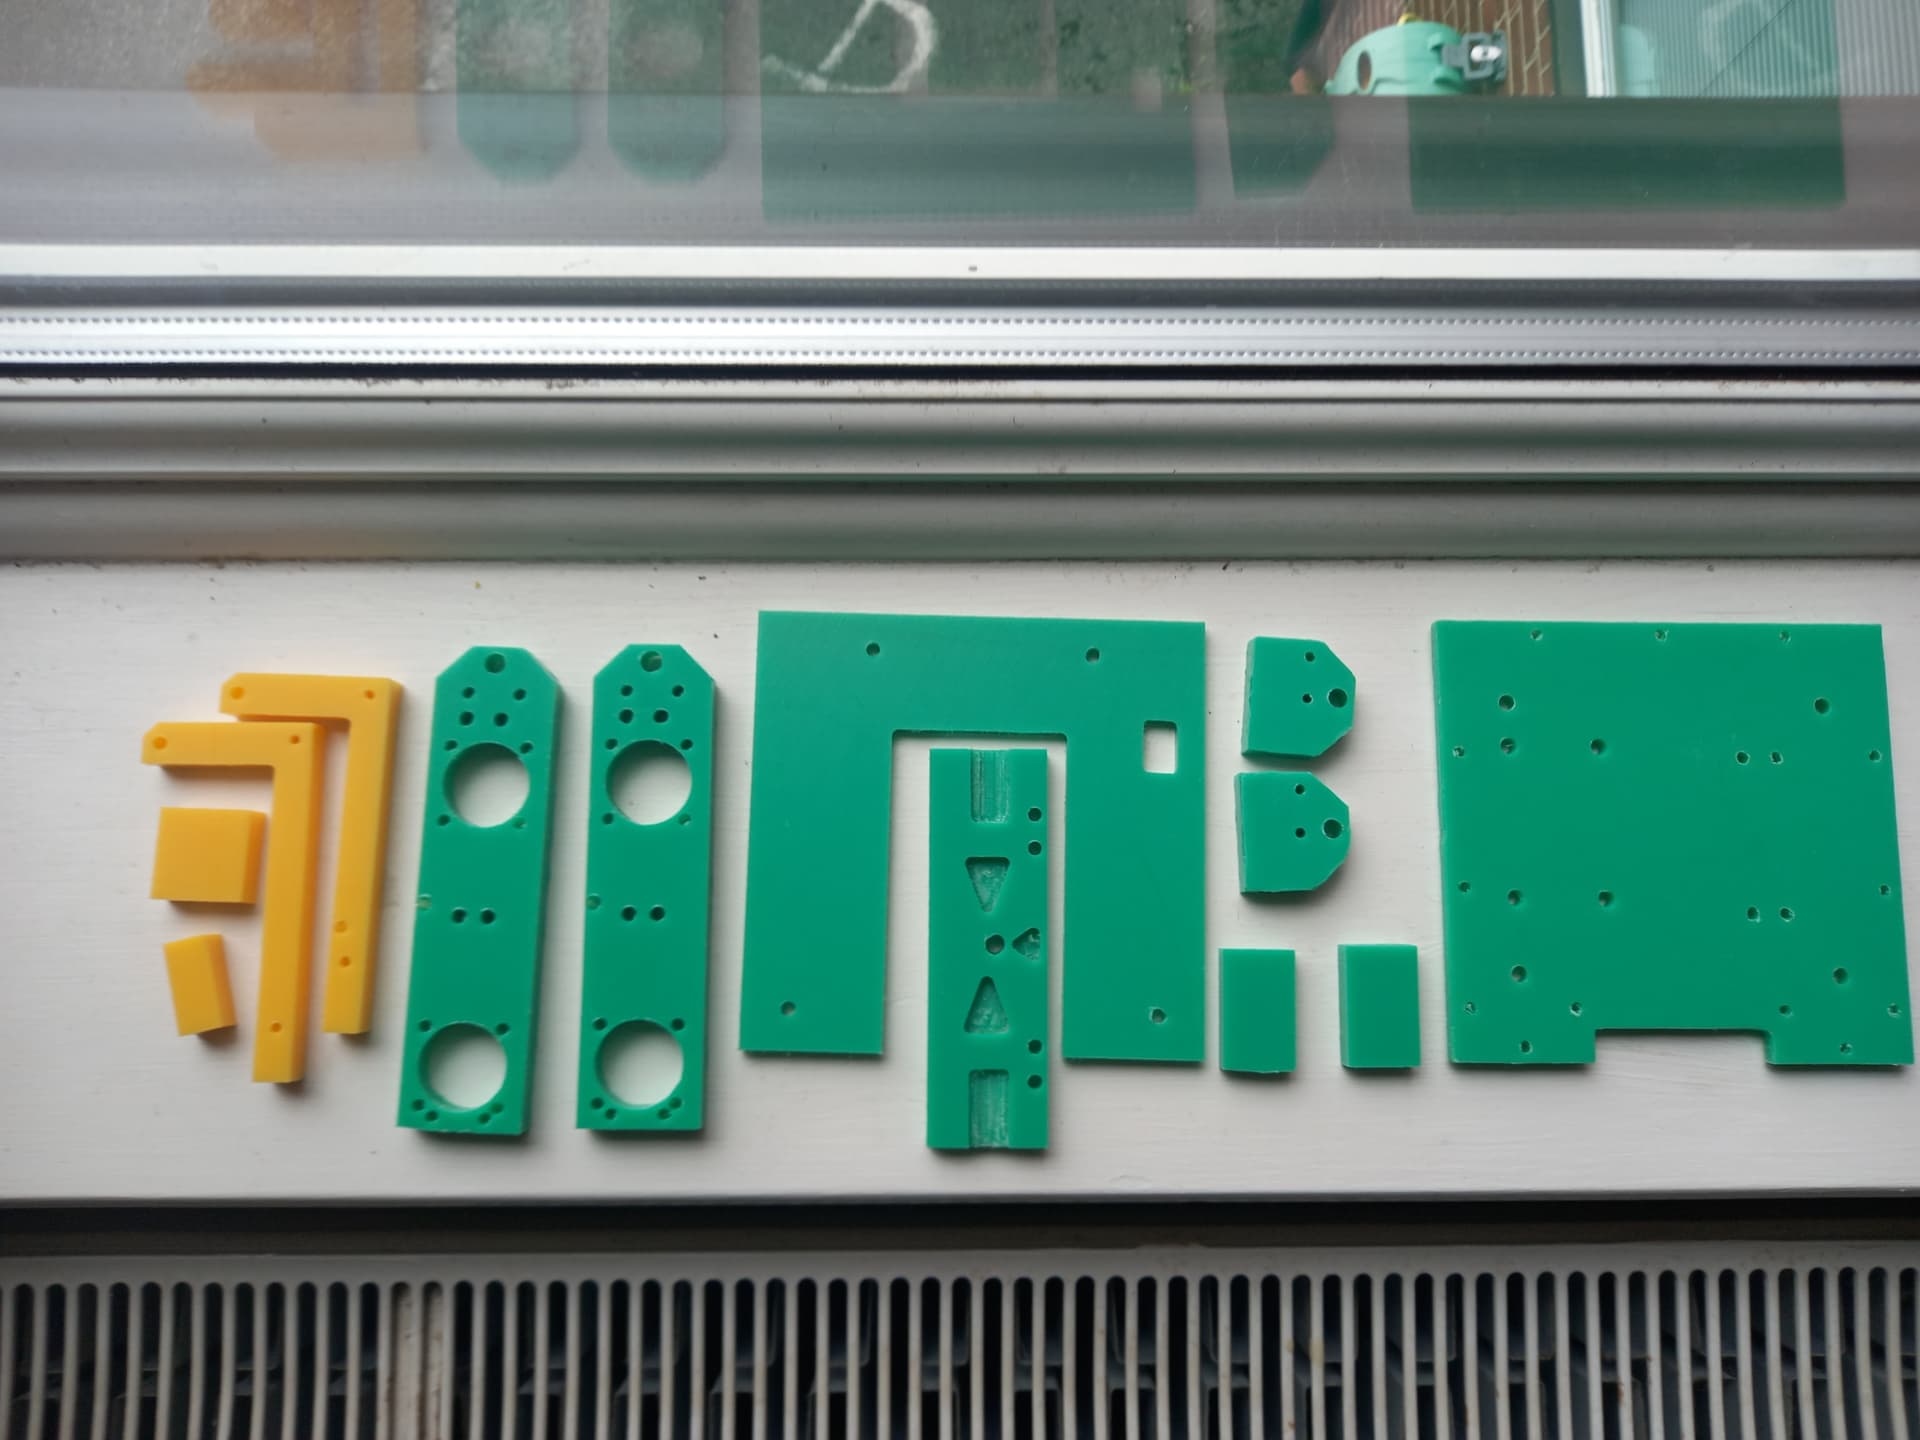
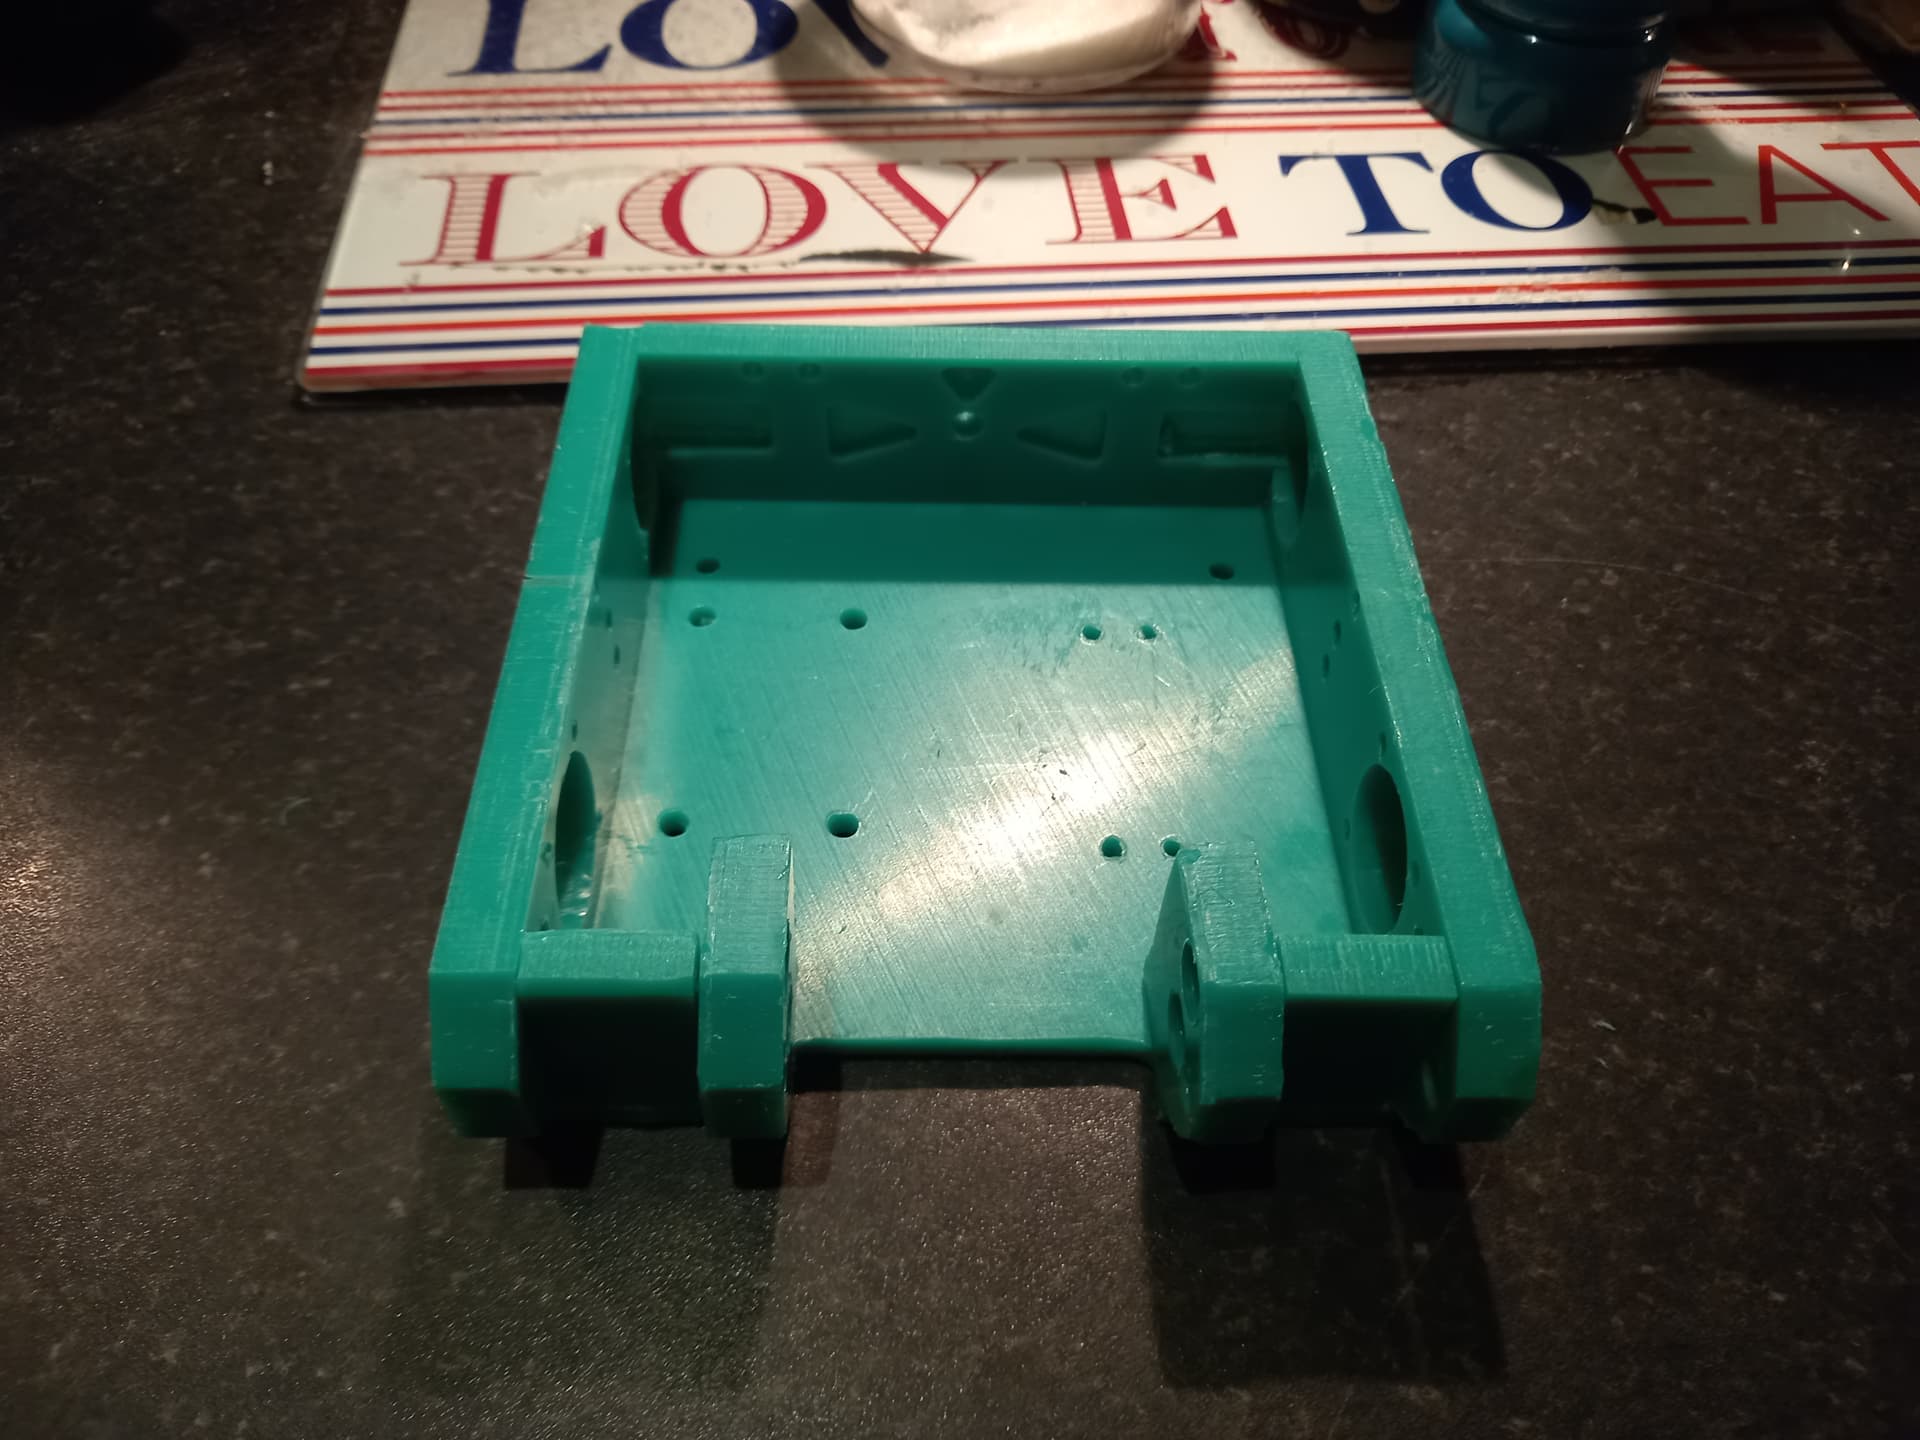
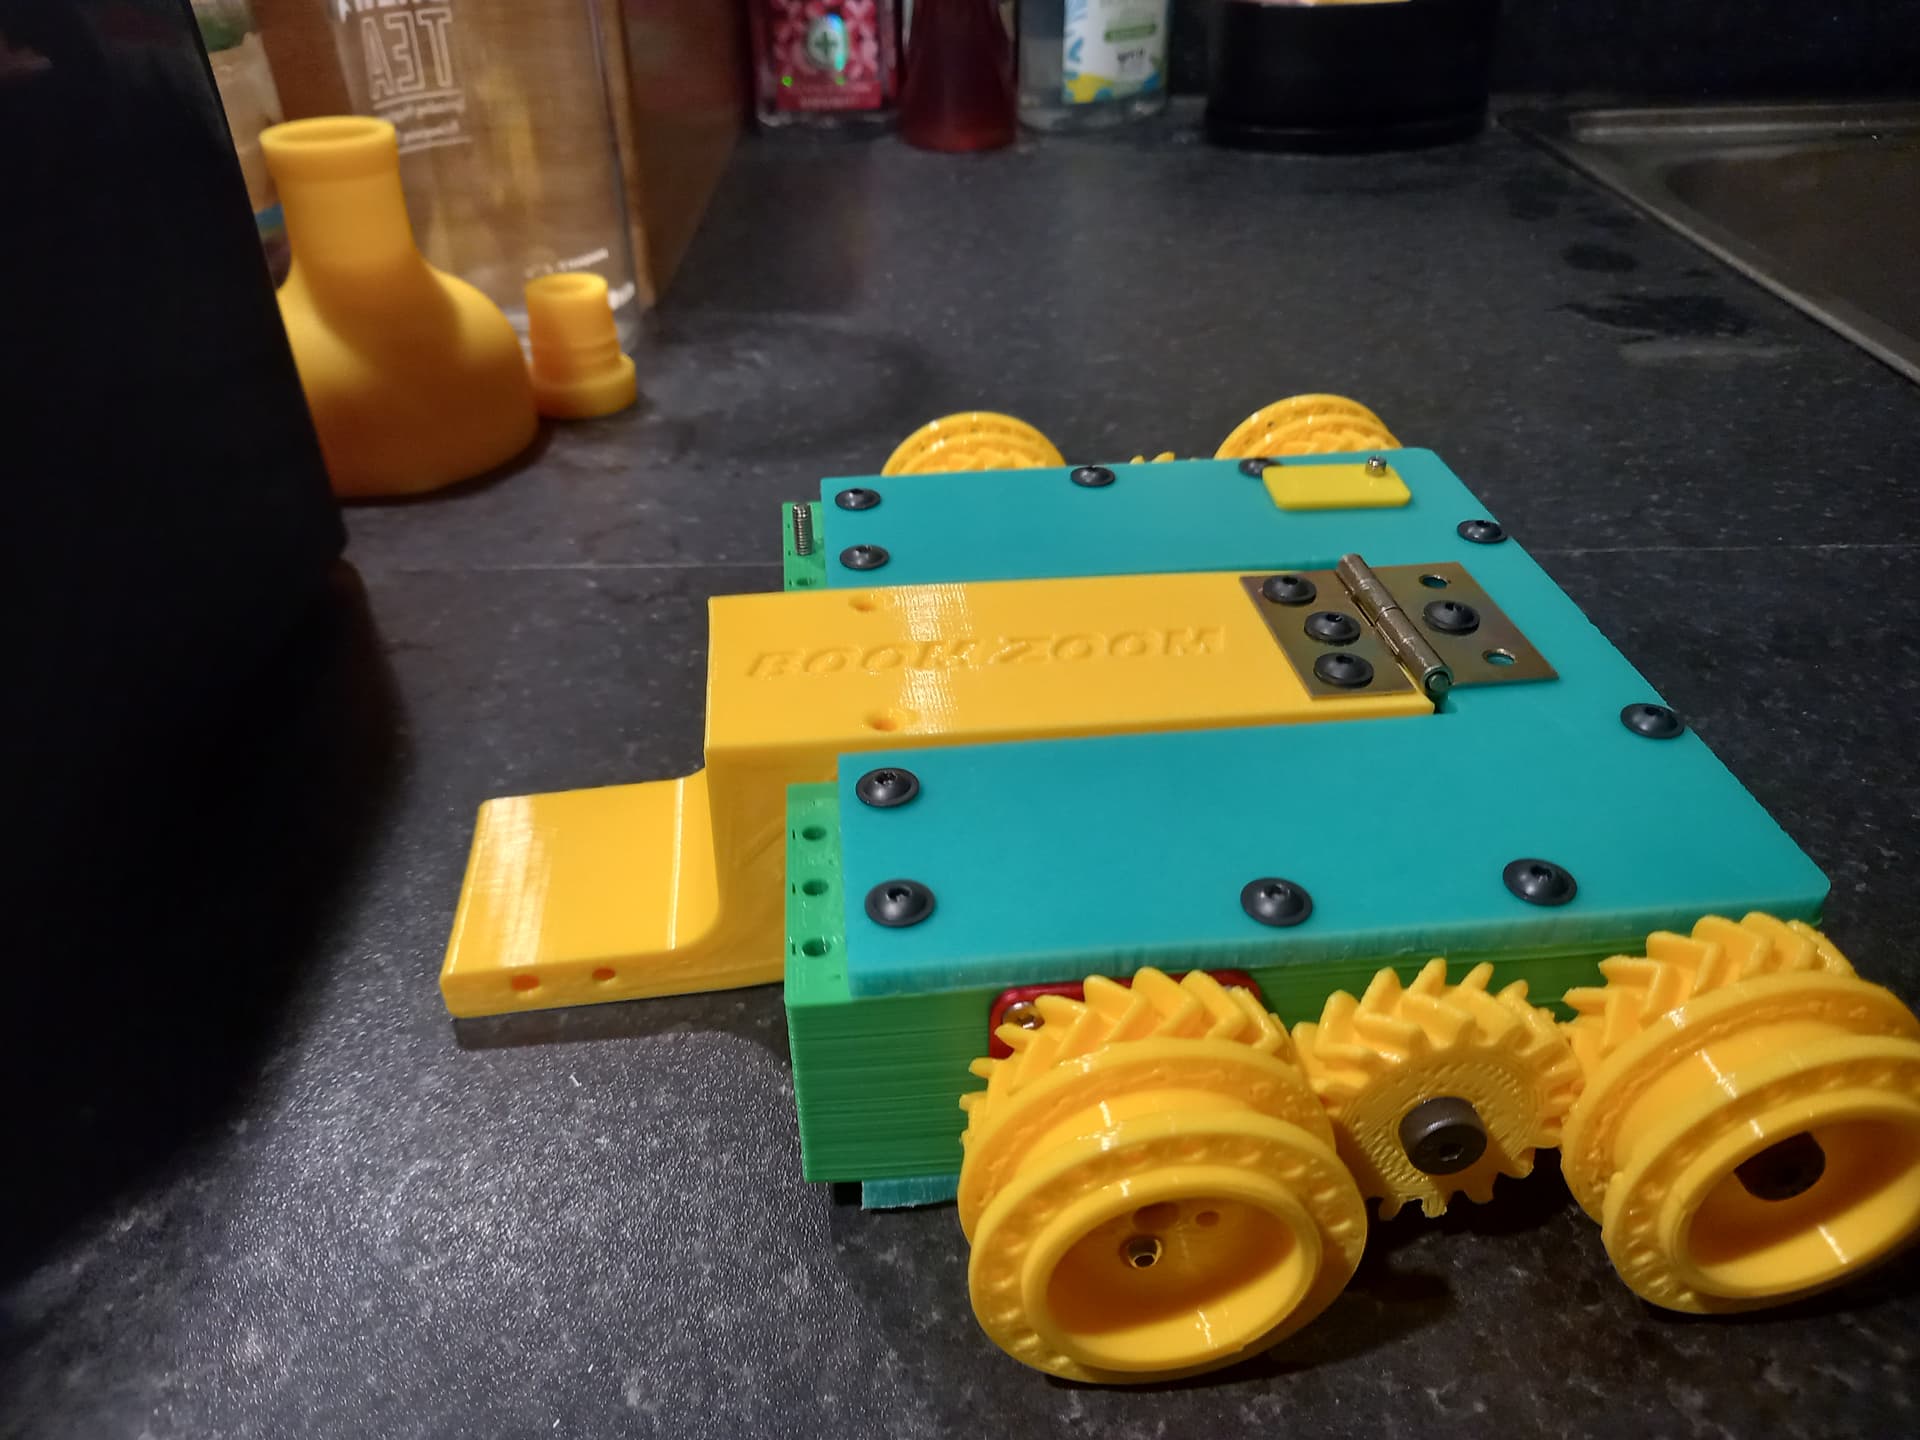
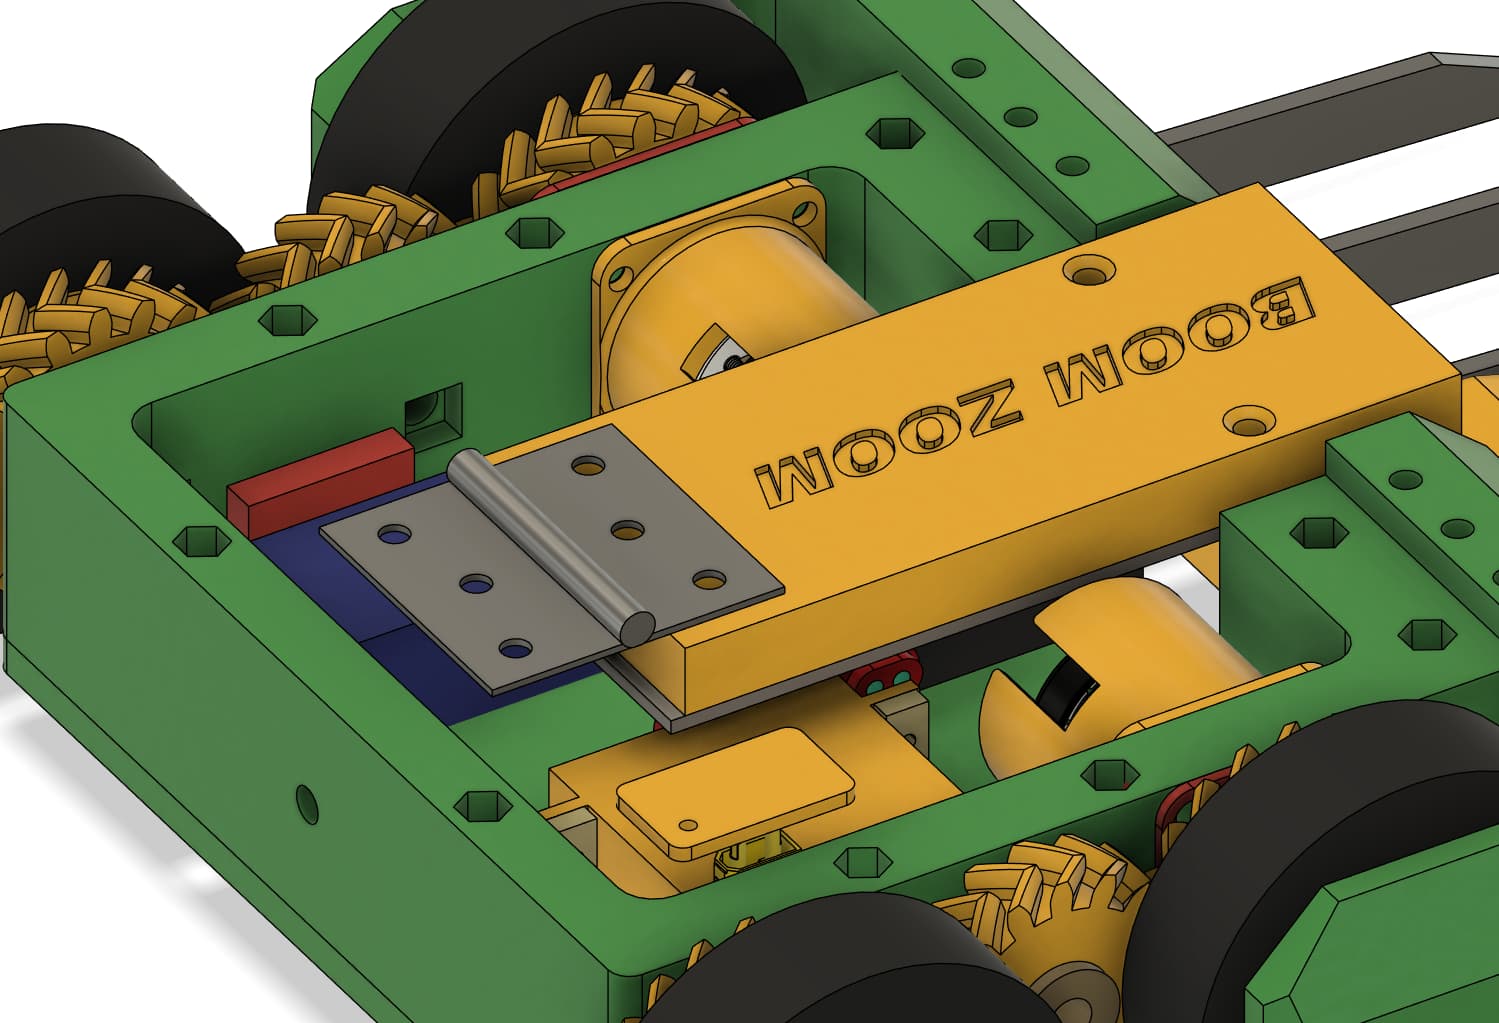
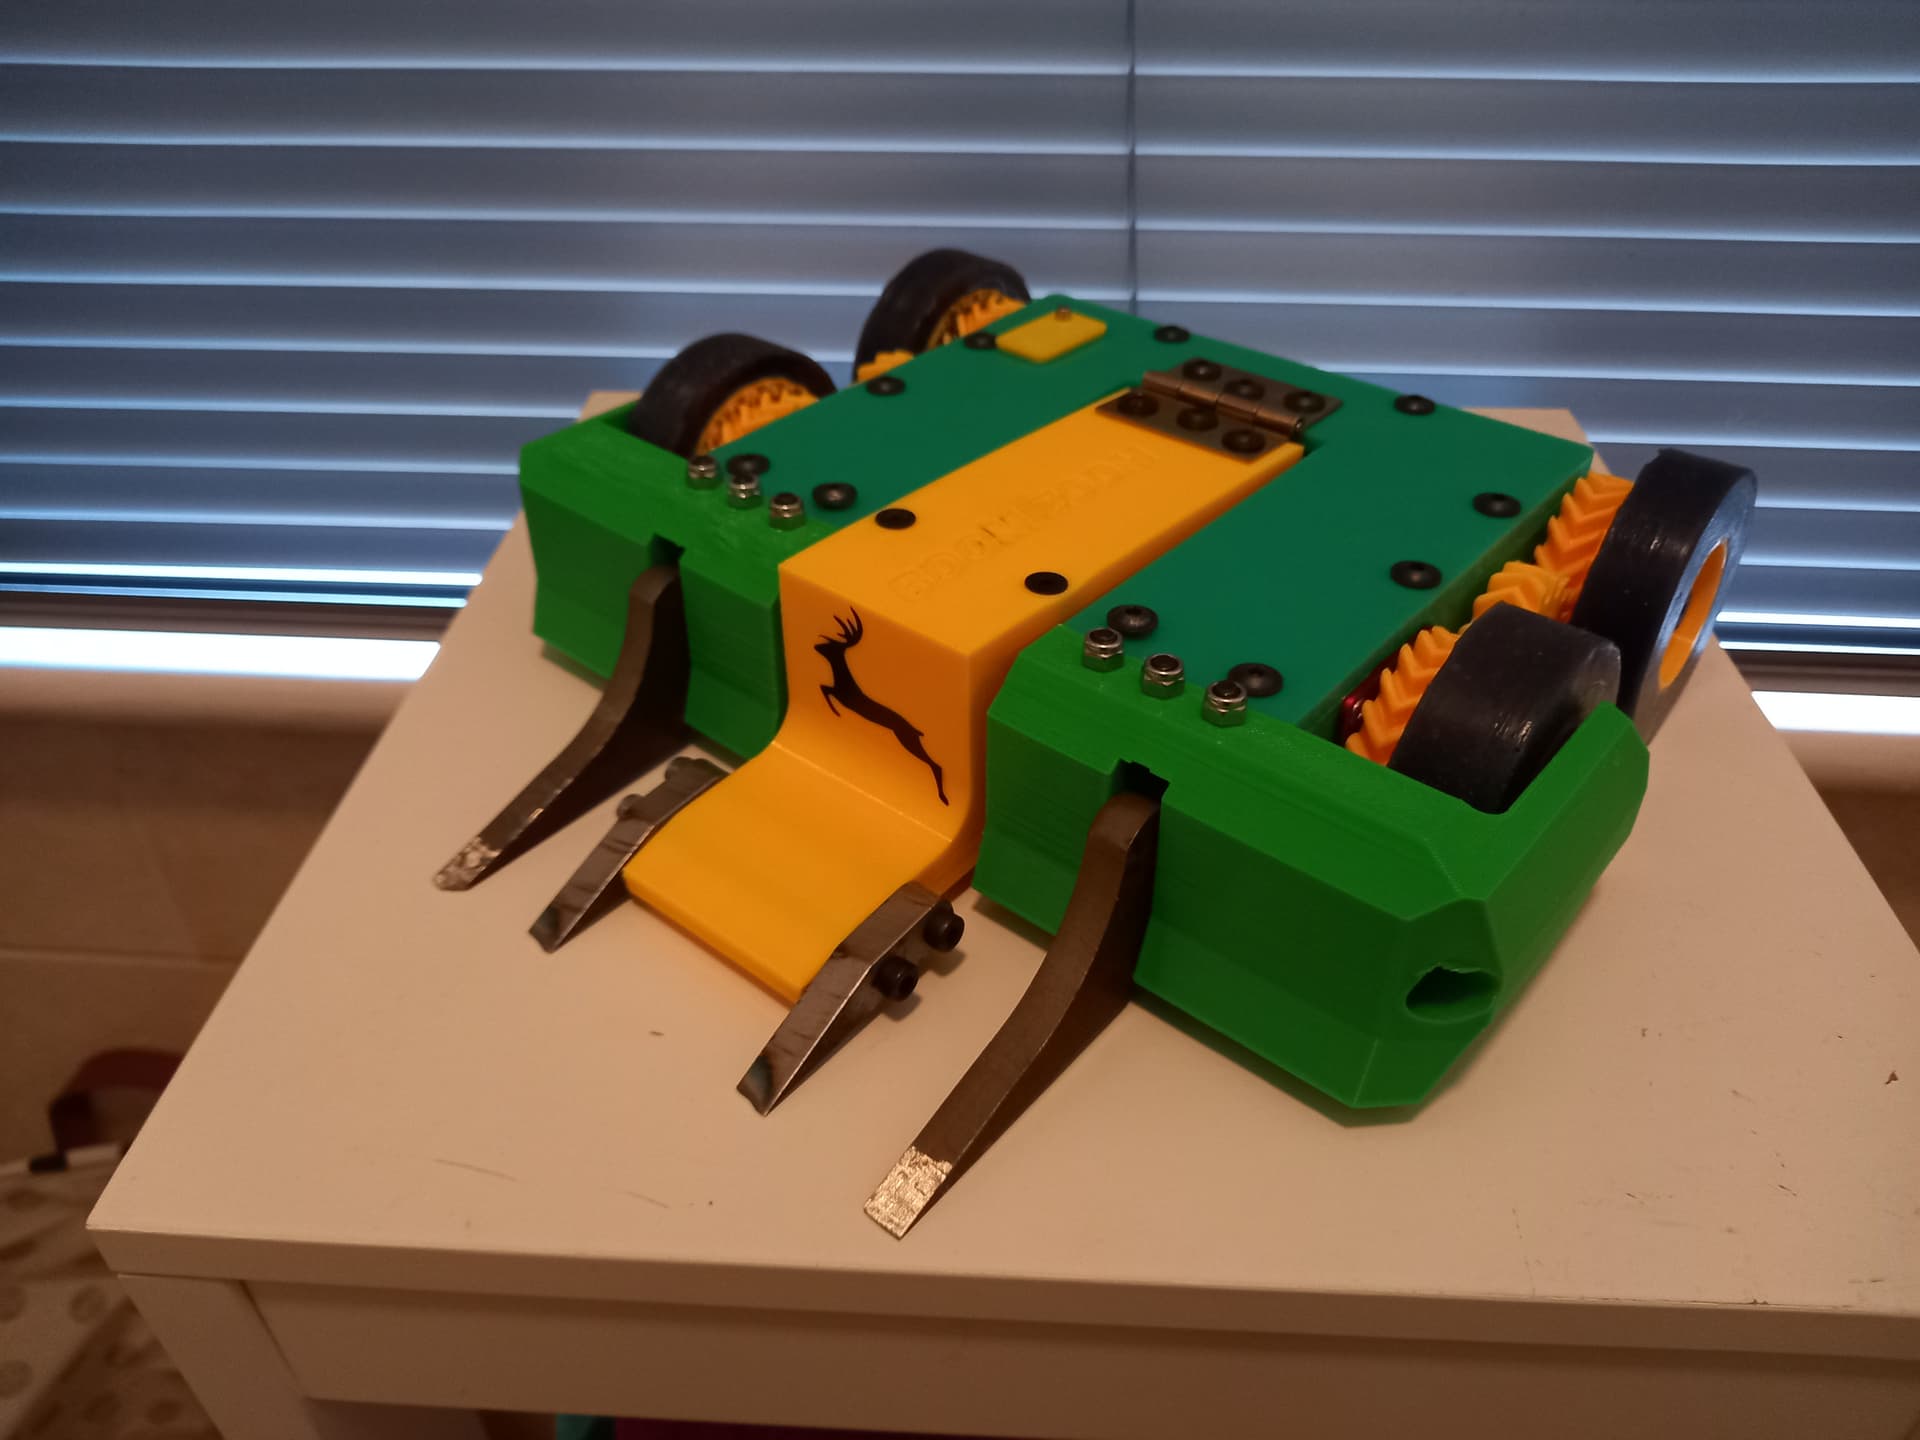
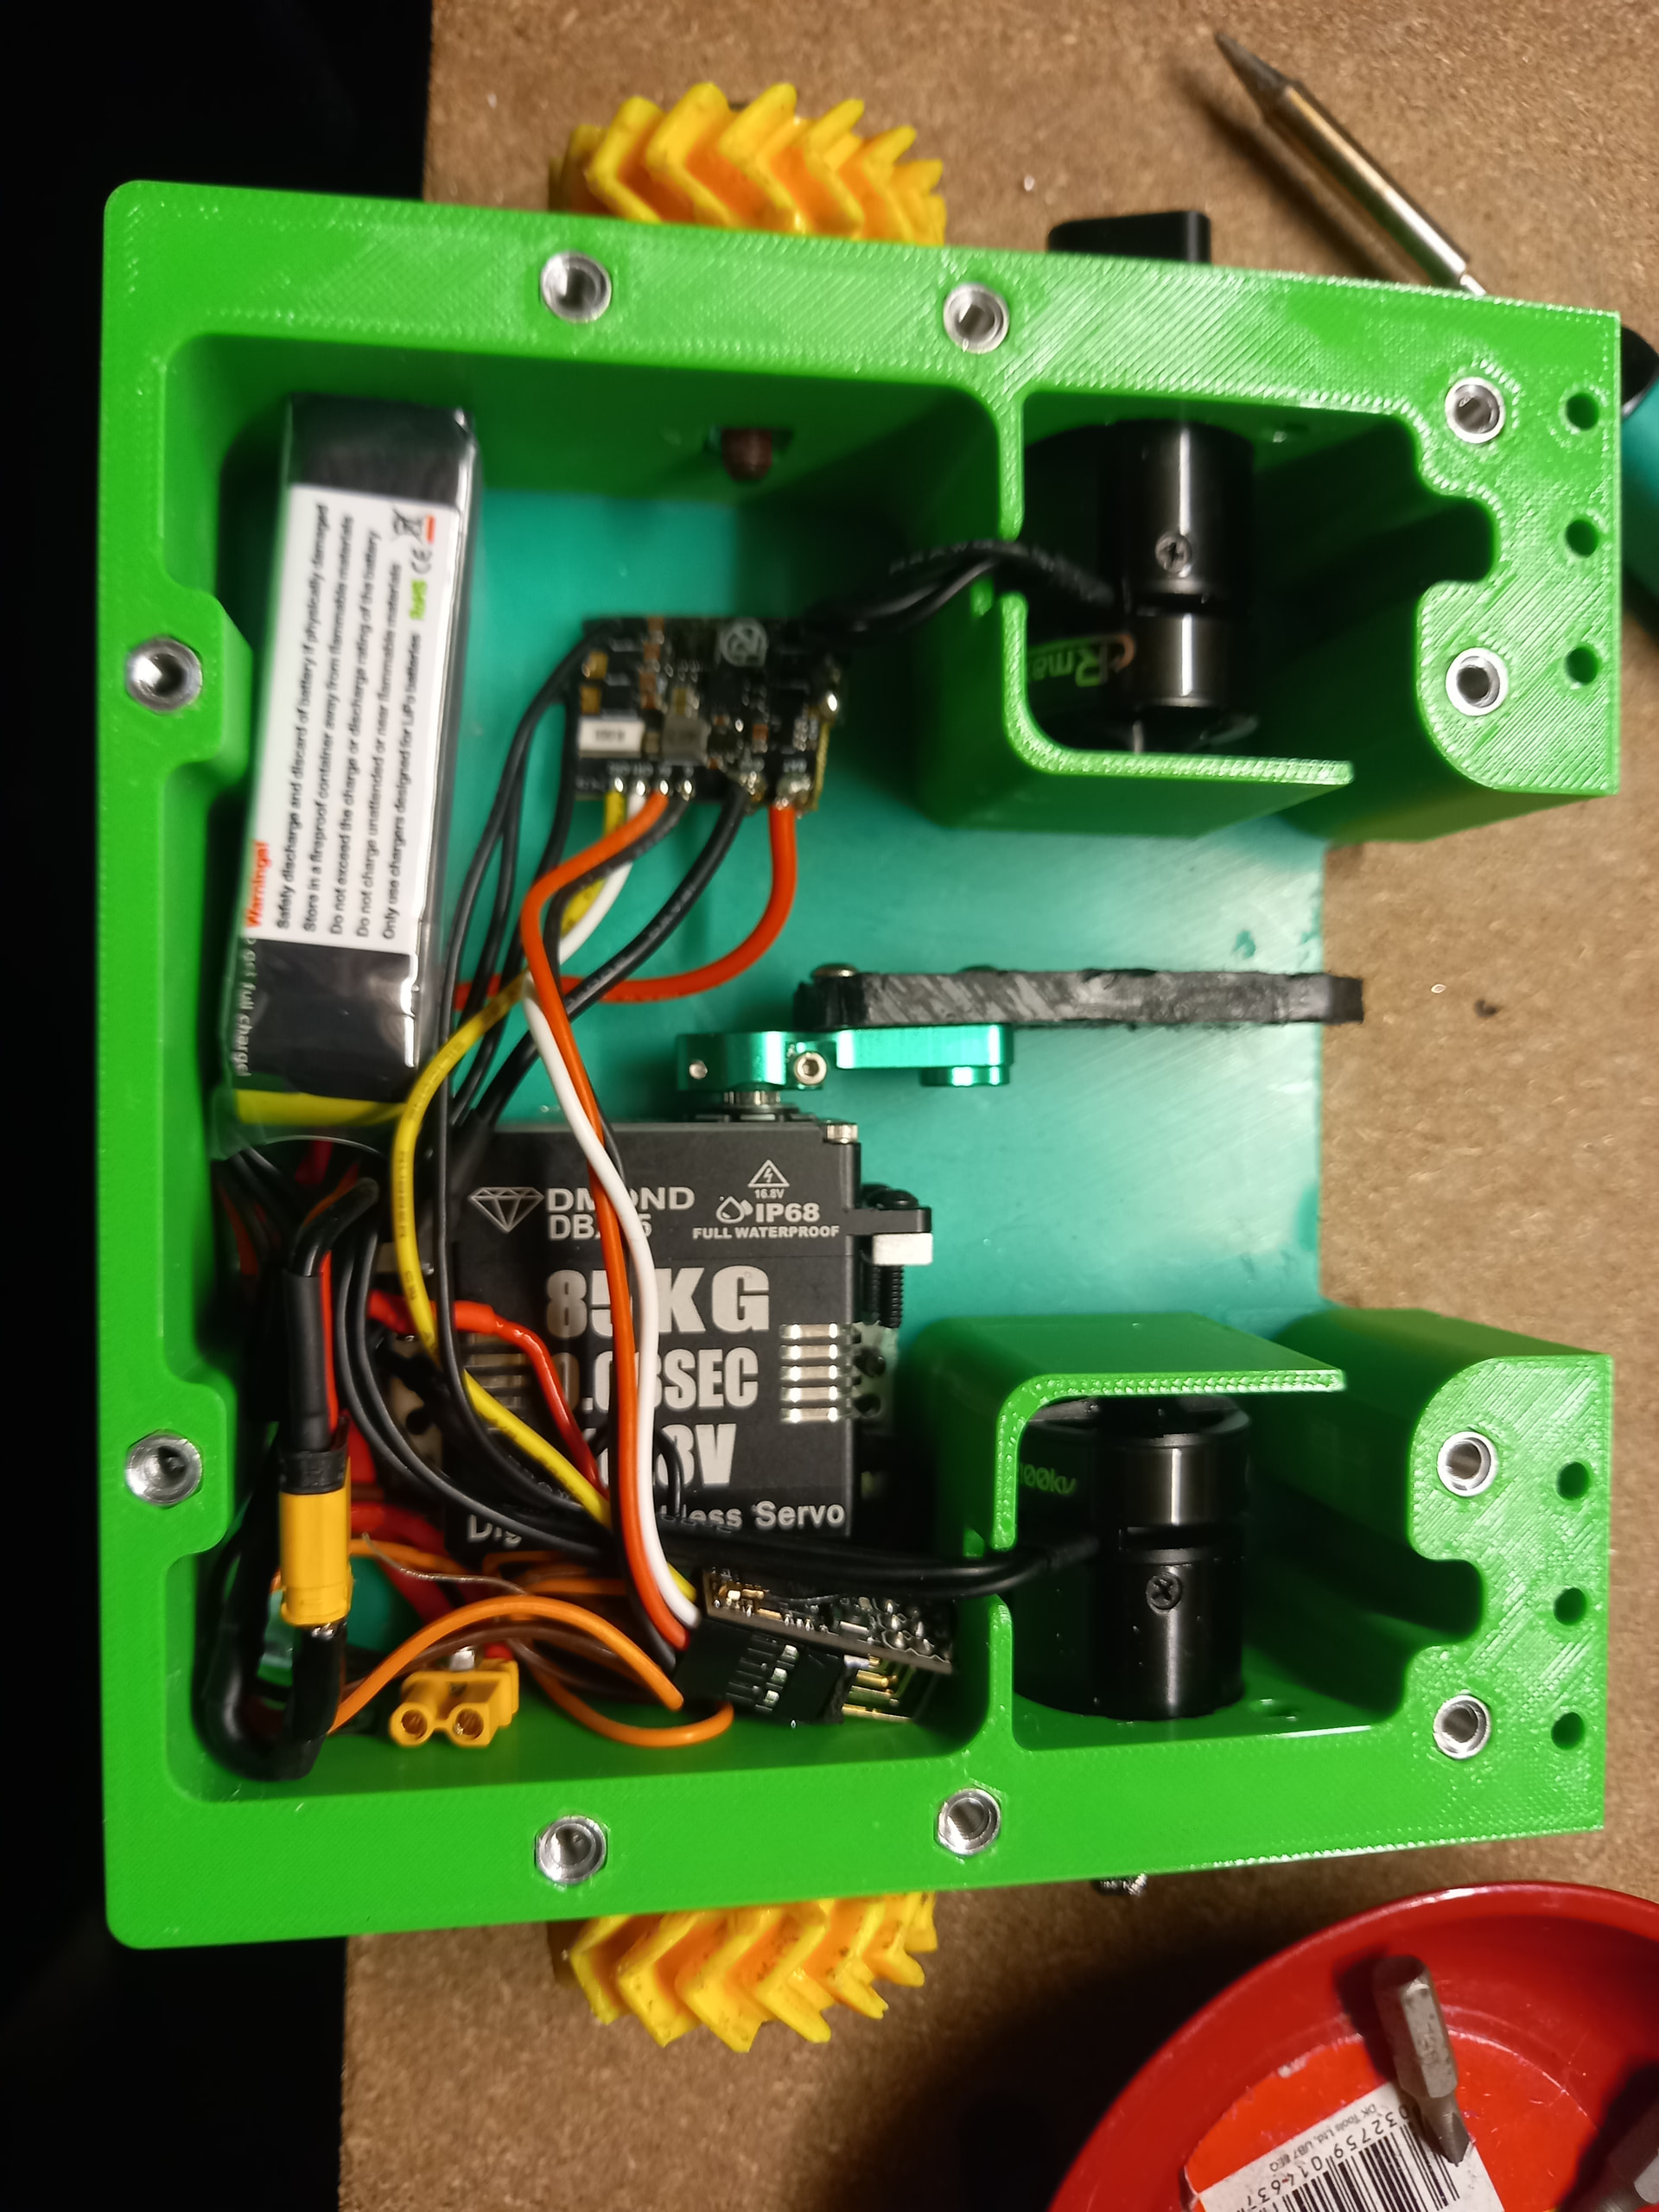
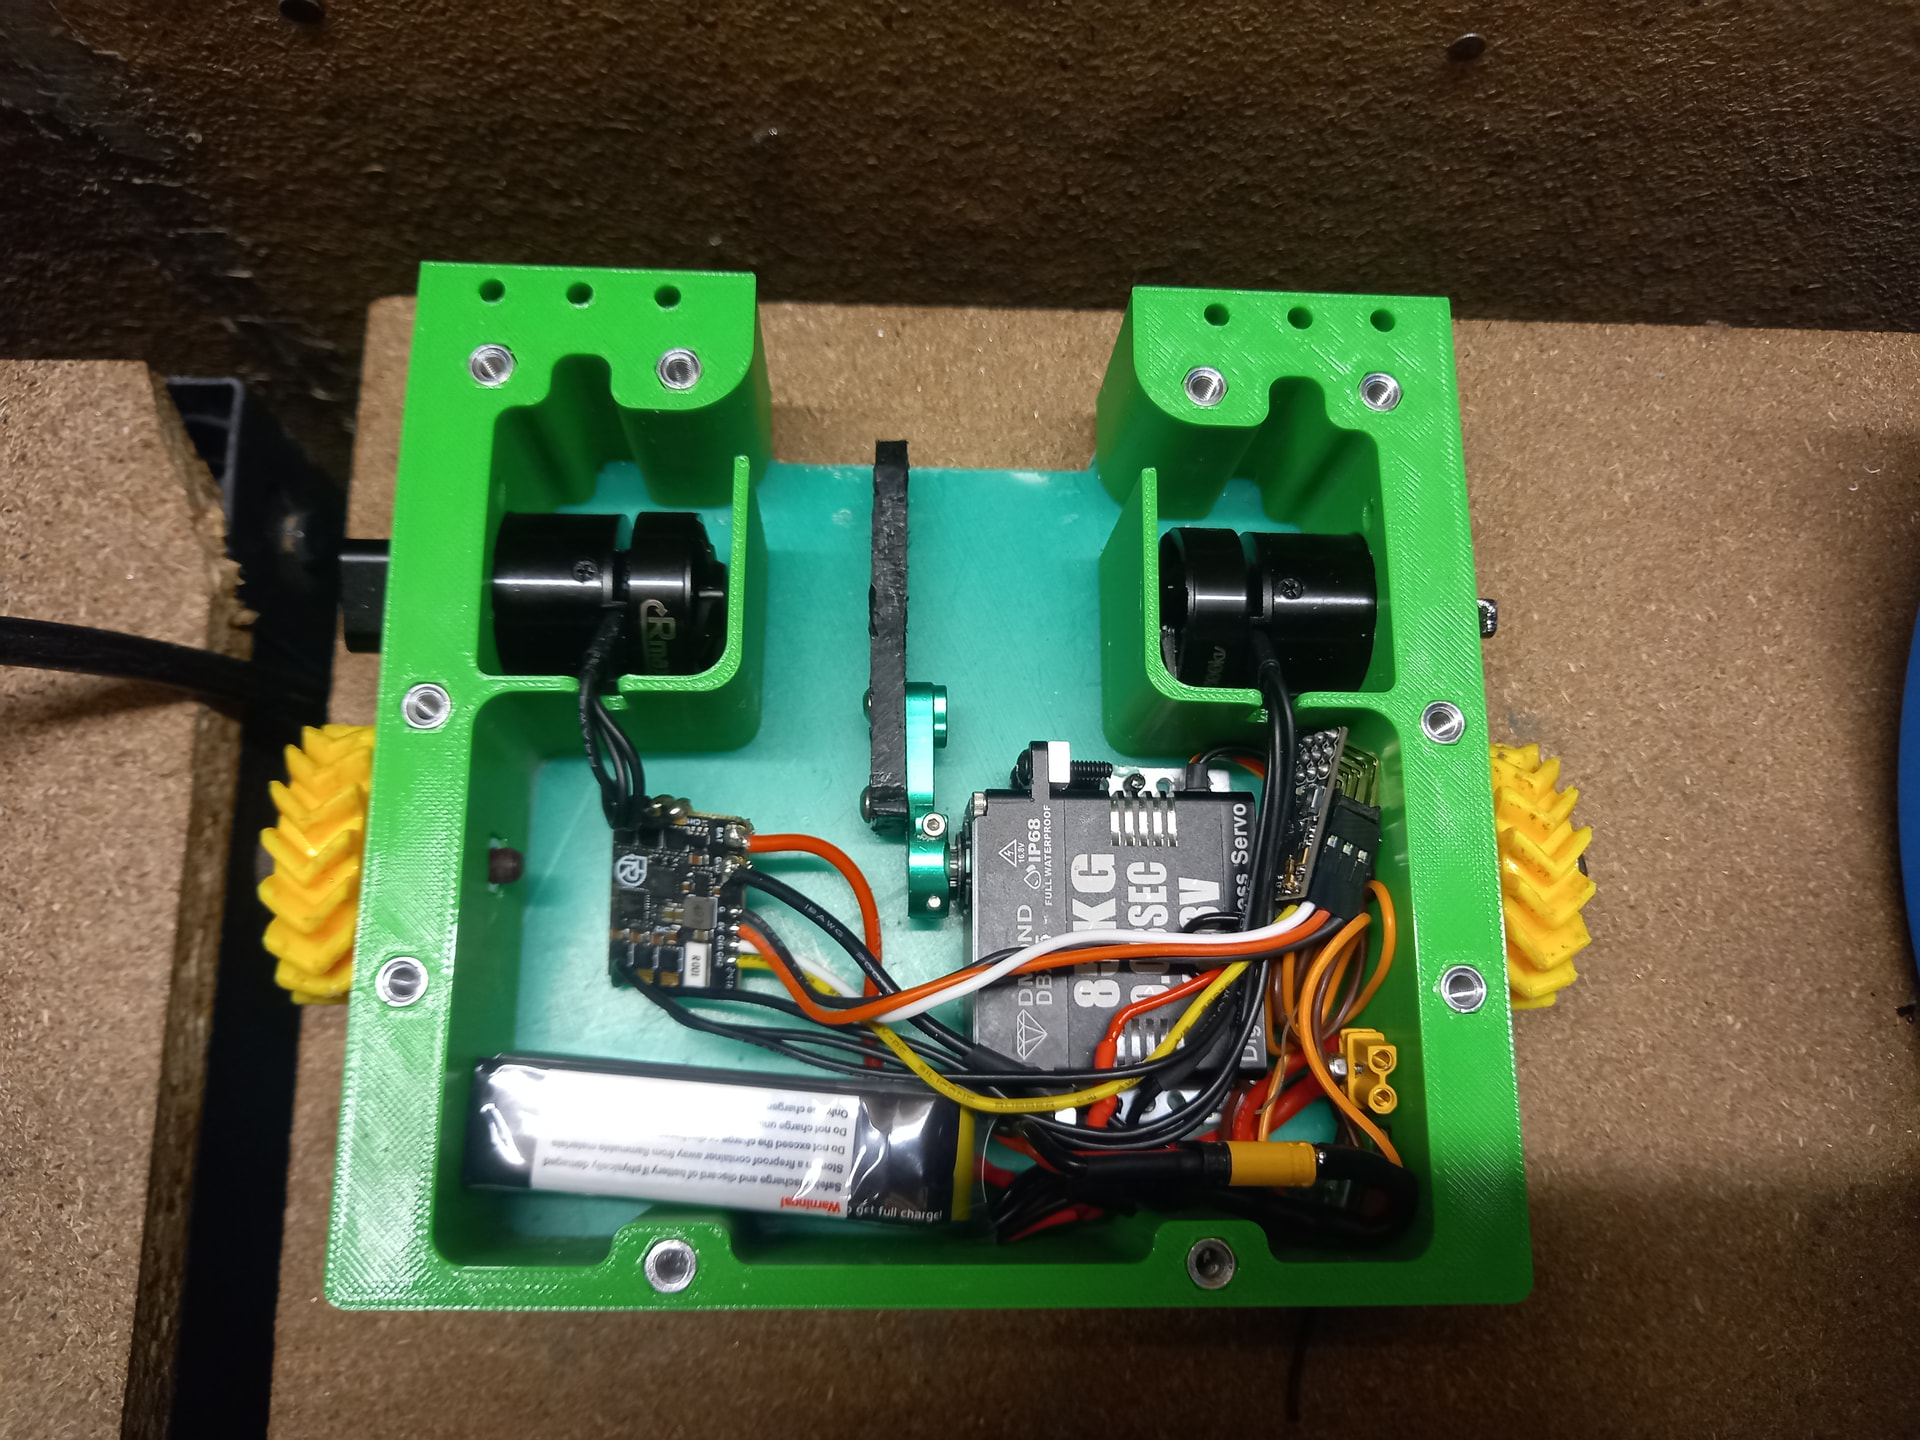
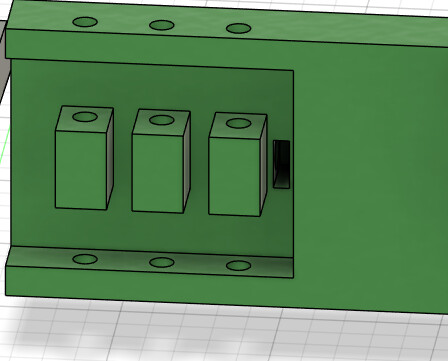
I’d been inspired by the construction methods I’d seen on other robots at events. I’d helped Scott work on Attitude Adjuster during his deep run at Robot Rebellion 2023, and seeing the way that was built was nothing short of game-changing to me. A TPU unibody with HDPE top and bottom panels, with aluminium hex inserts press fit vertically into the chassis. These provide rigidity for the TPU as well as a fastening point for the top and bottom panels. All this means a chassis which is much quicker and easier to make as it can be 3D printed as a single piece with no extra assembly required (aside from screwing on the lid and baseplate) rather than spending ages cutting multiple panels, making and using 3D printed jigs for the holes that the CNC can’t make, countersinking everything and putting it all together. It’s also much easier to make spare unibodies and iterate on the design going forward, so smiles all around!
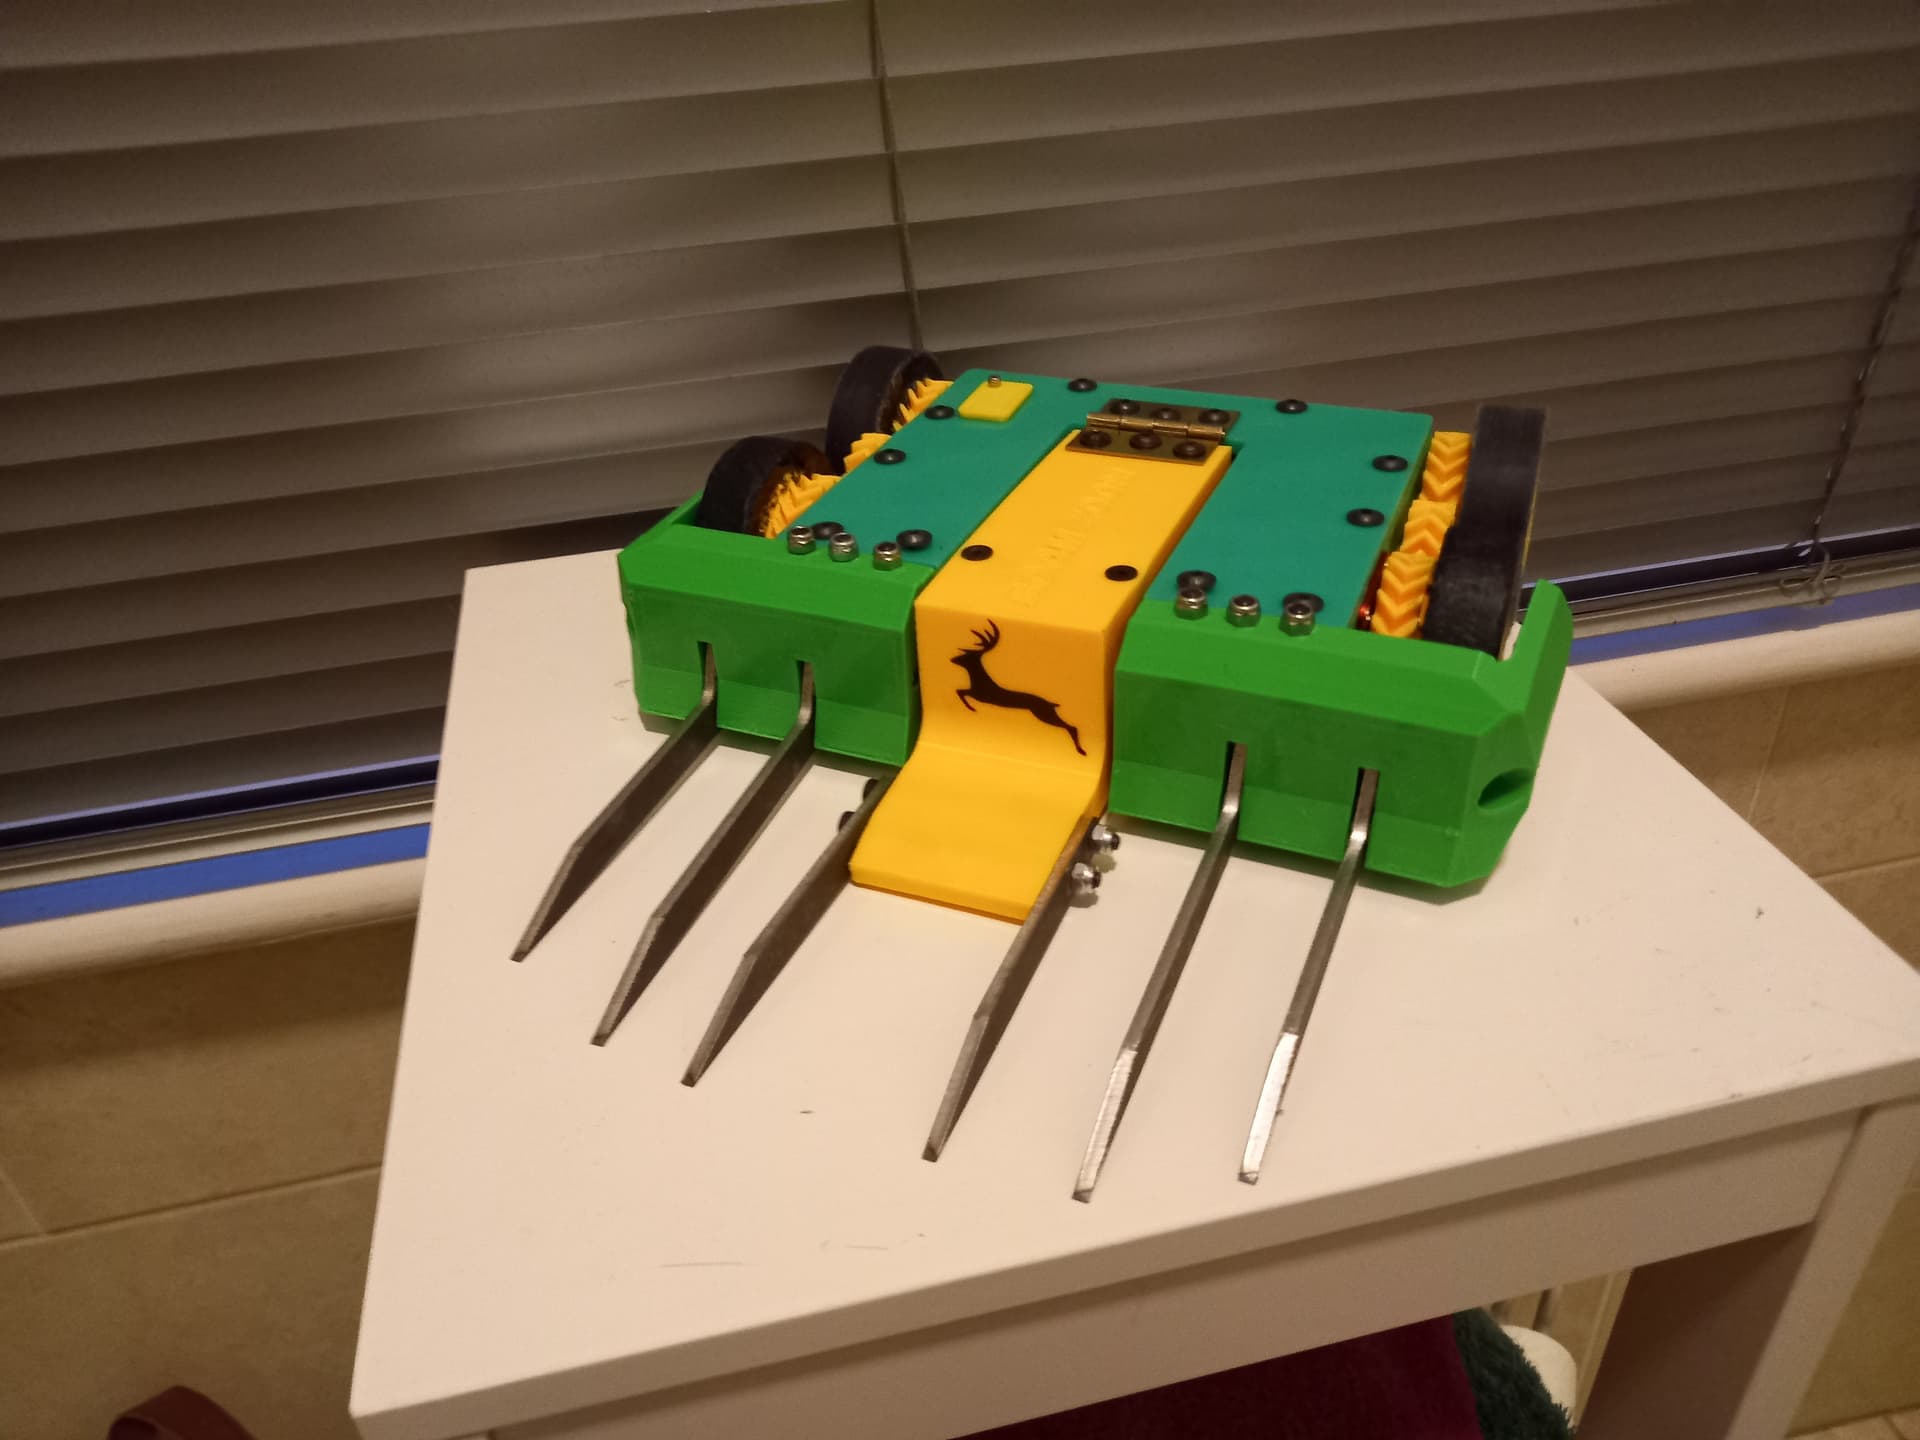
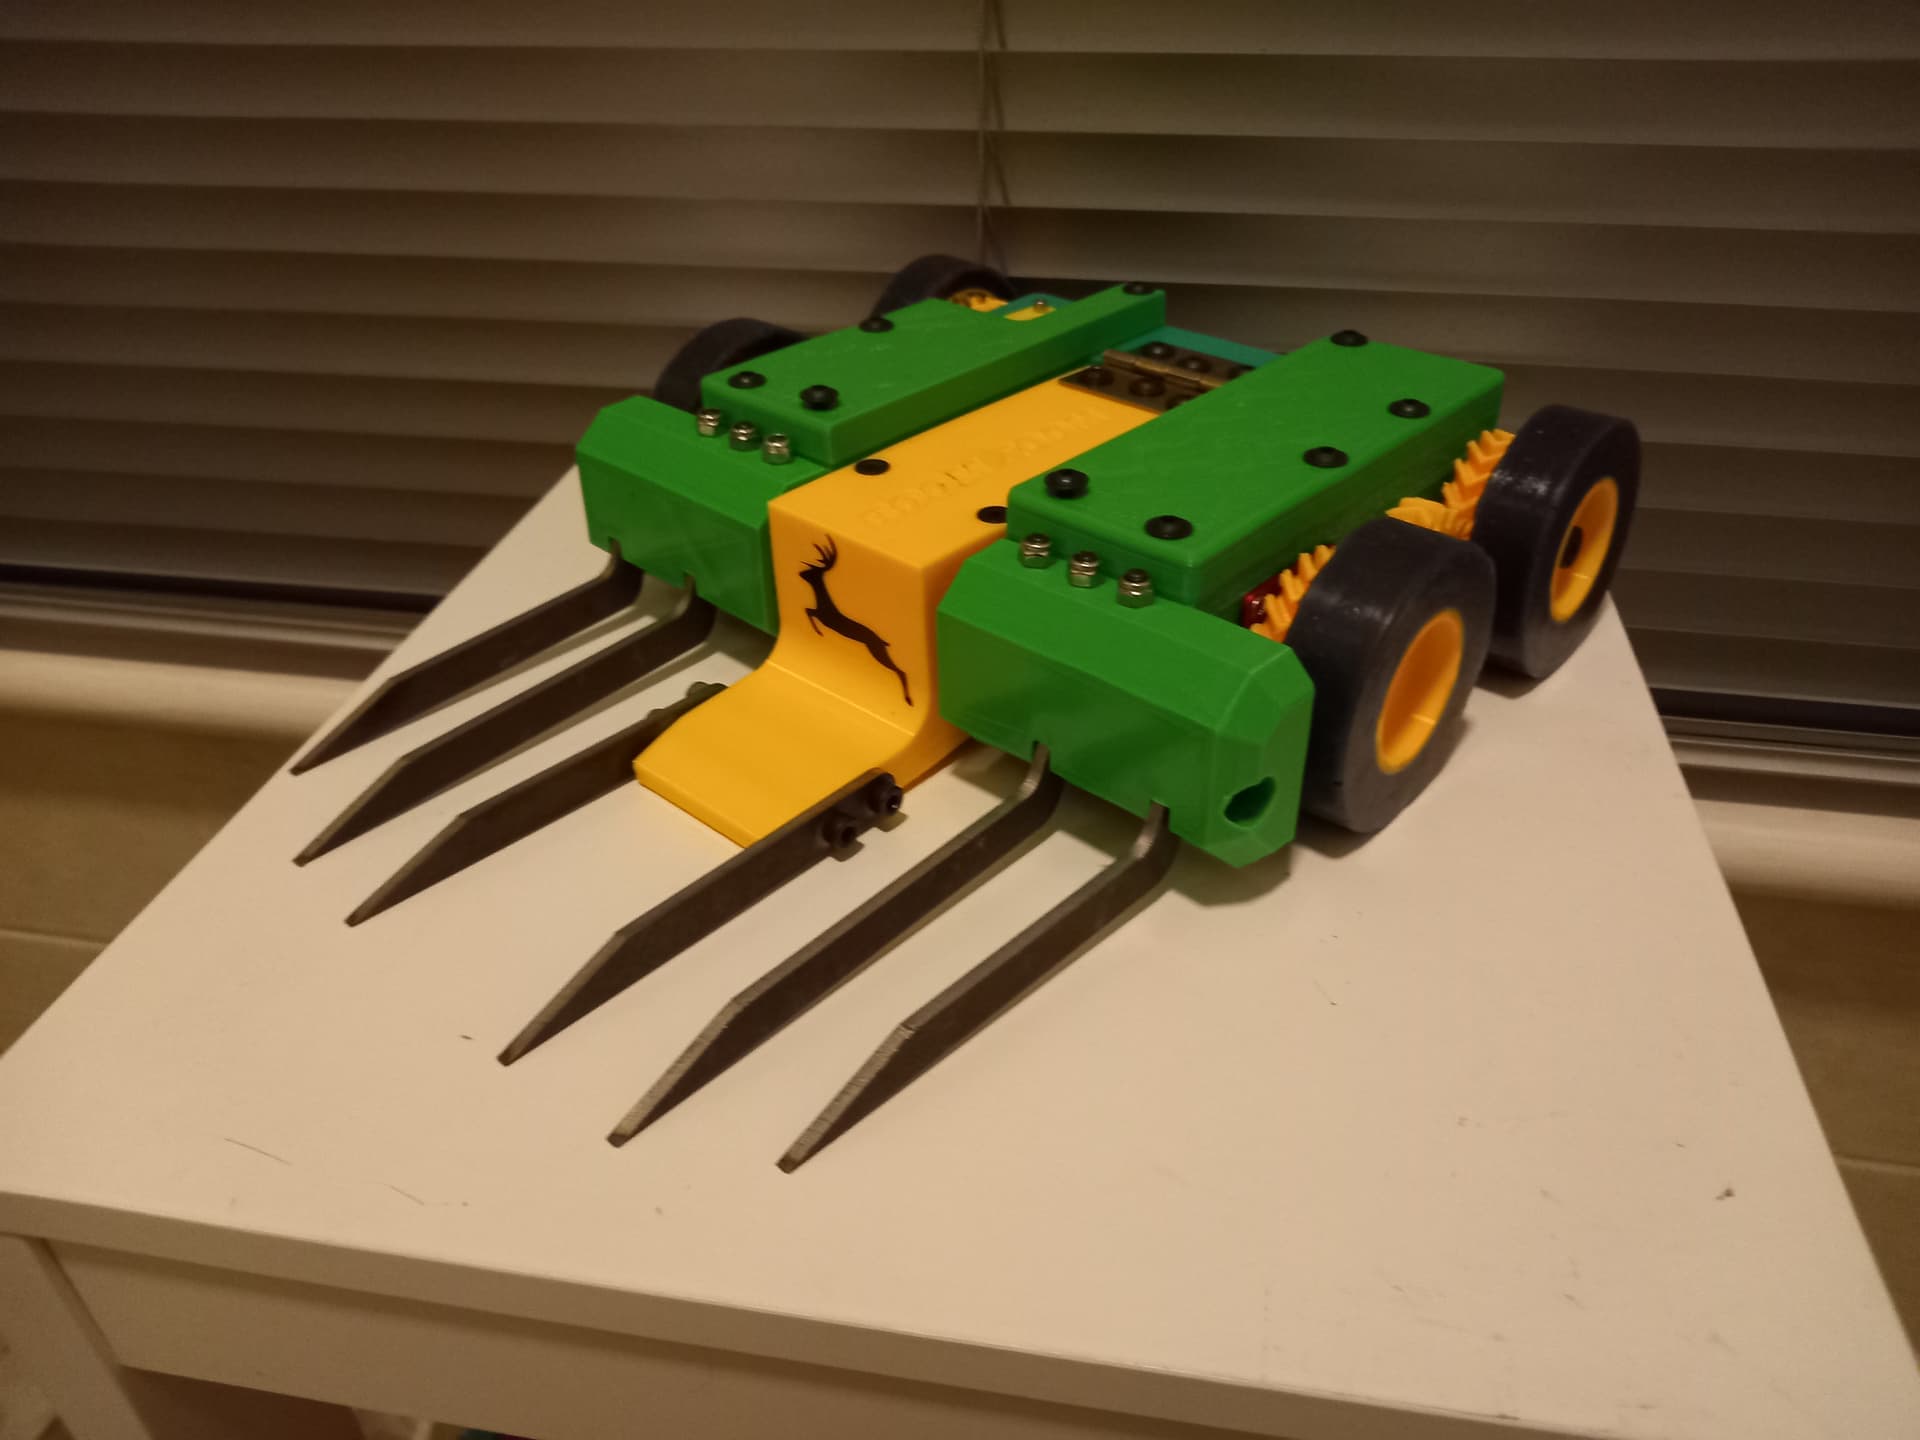
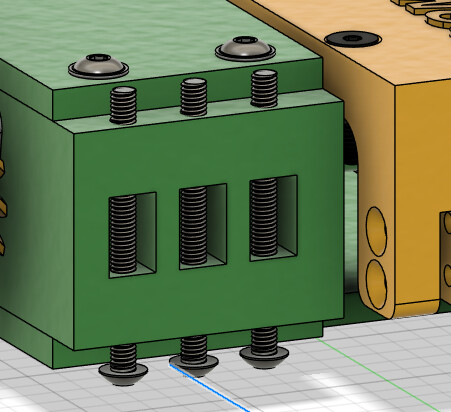
For the front mounting, I opted to simply thread 3 M4 bolts all the way through the chassis with a nylock nut on top. With the TPU chassis it should be a lot less likely to pull through than it was on MK4, and even if it does, the chassis is so easy to reproduce it’s much less of a problem.
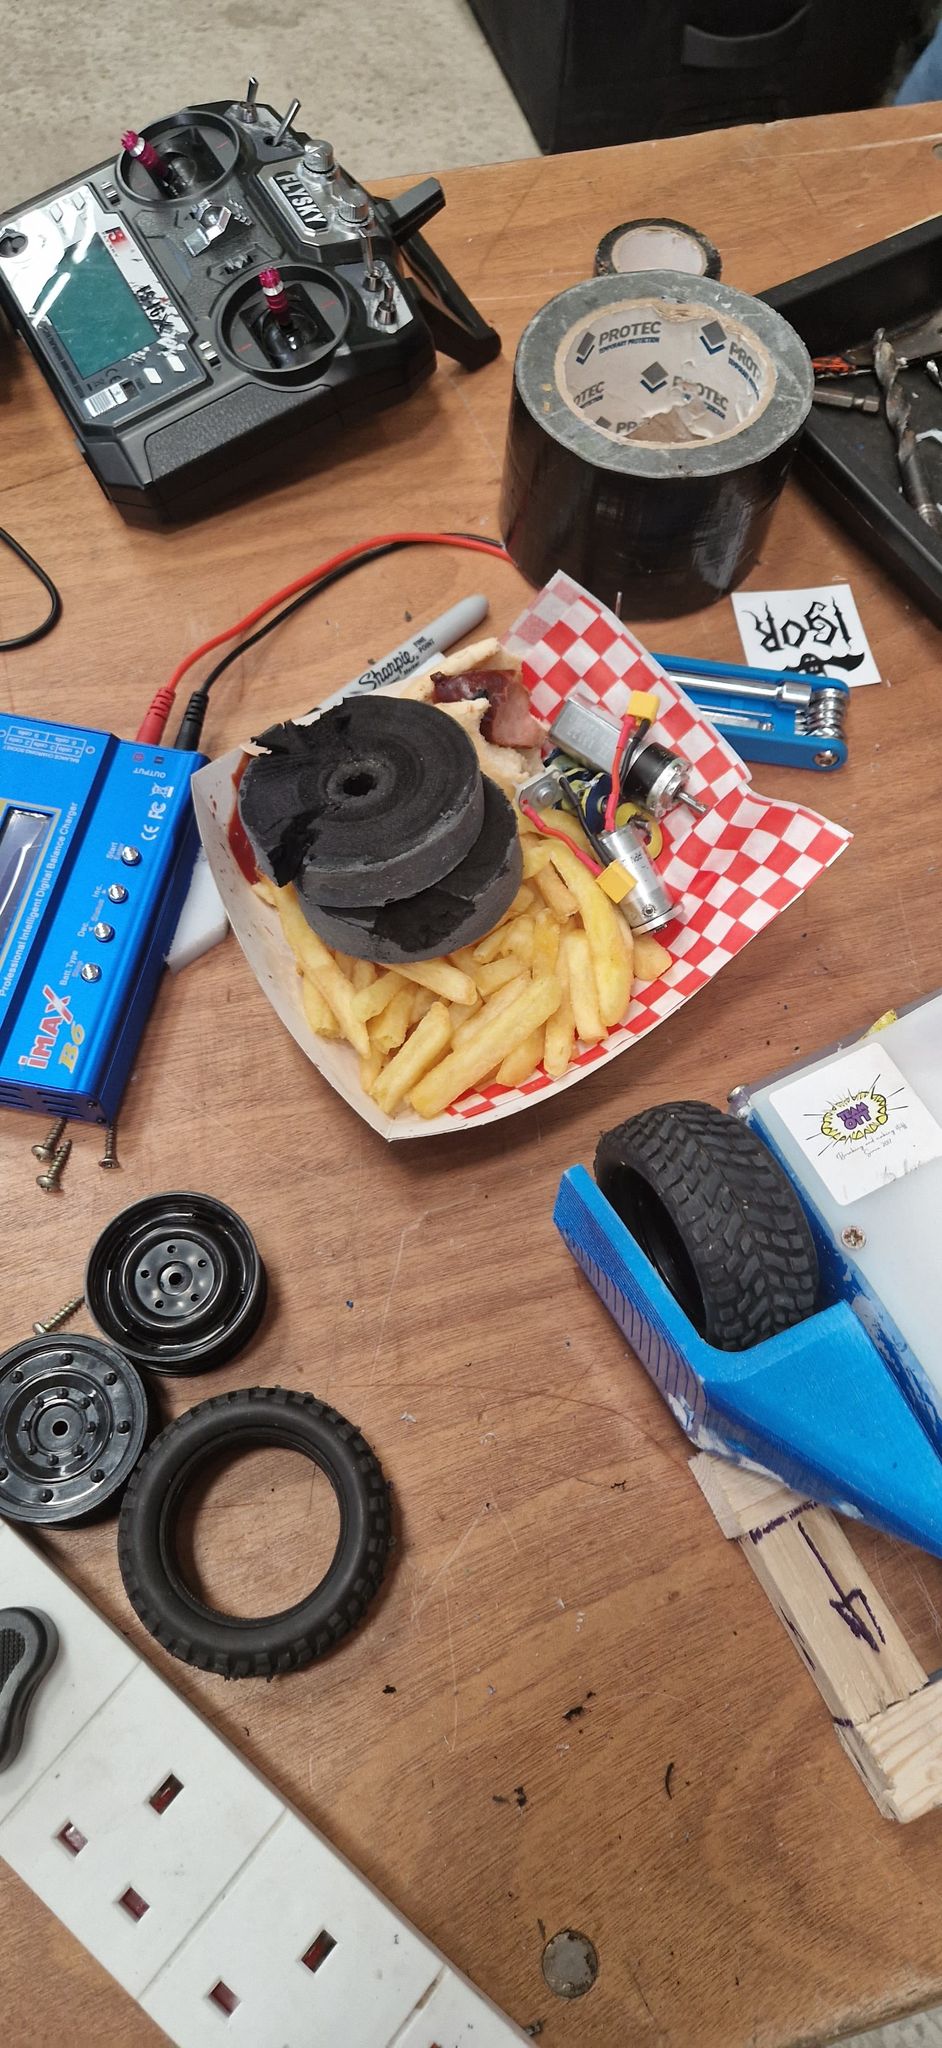
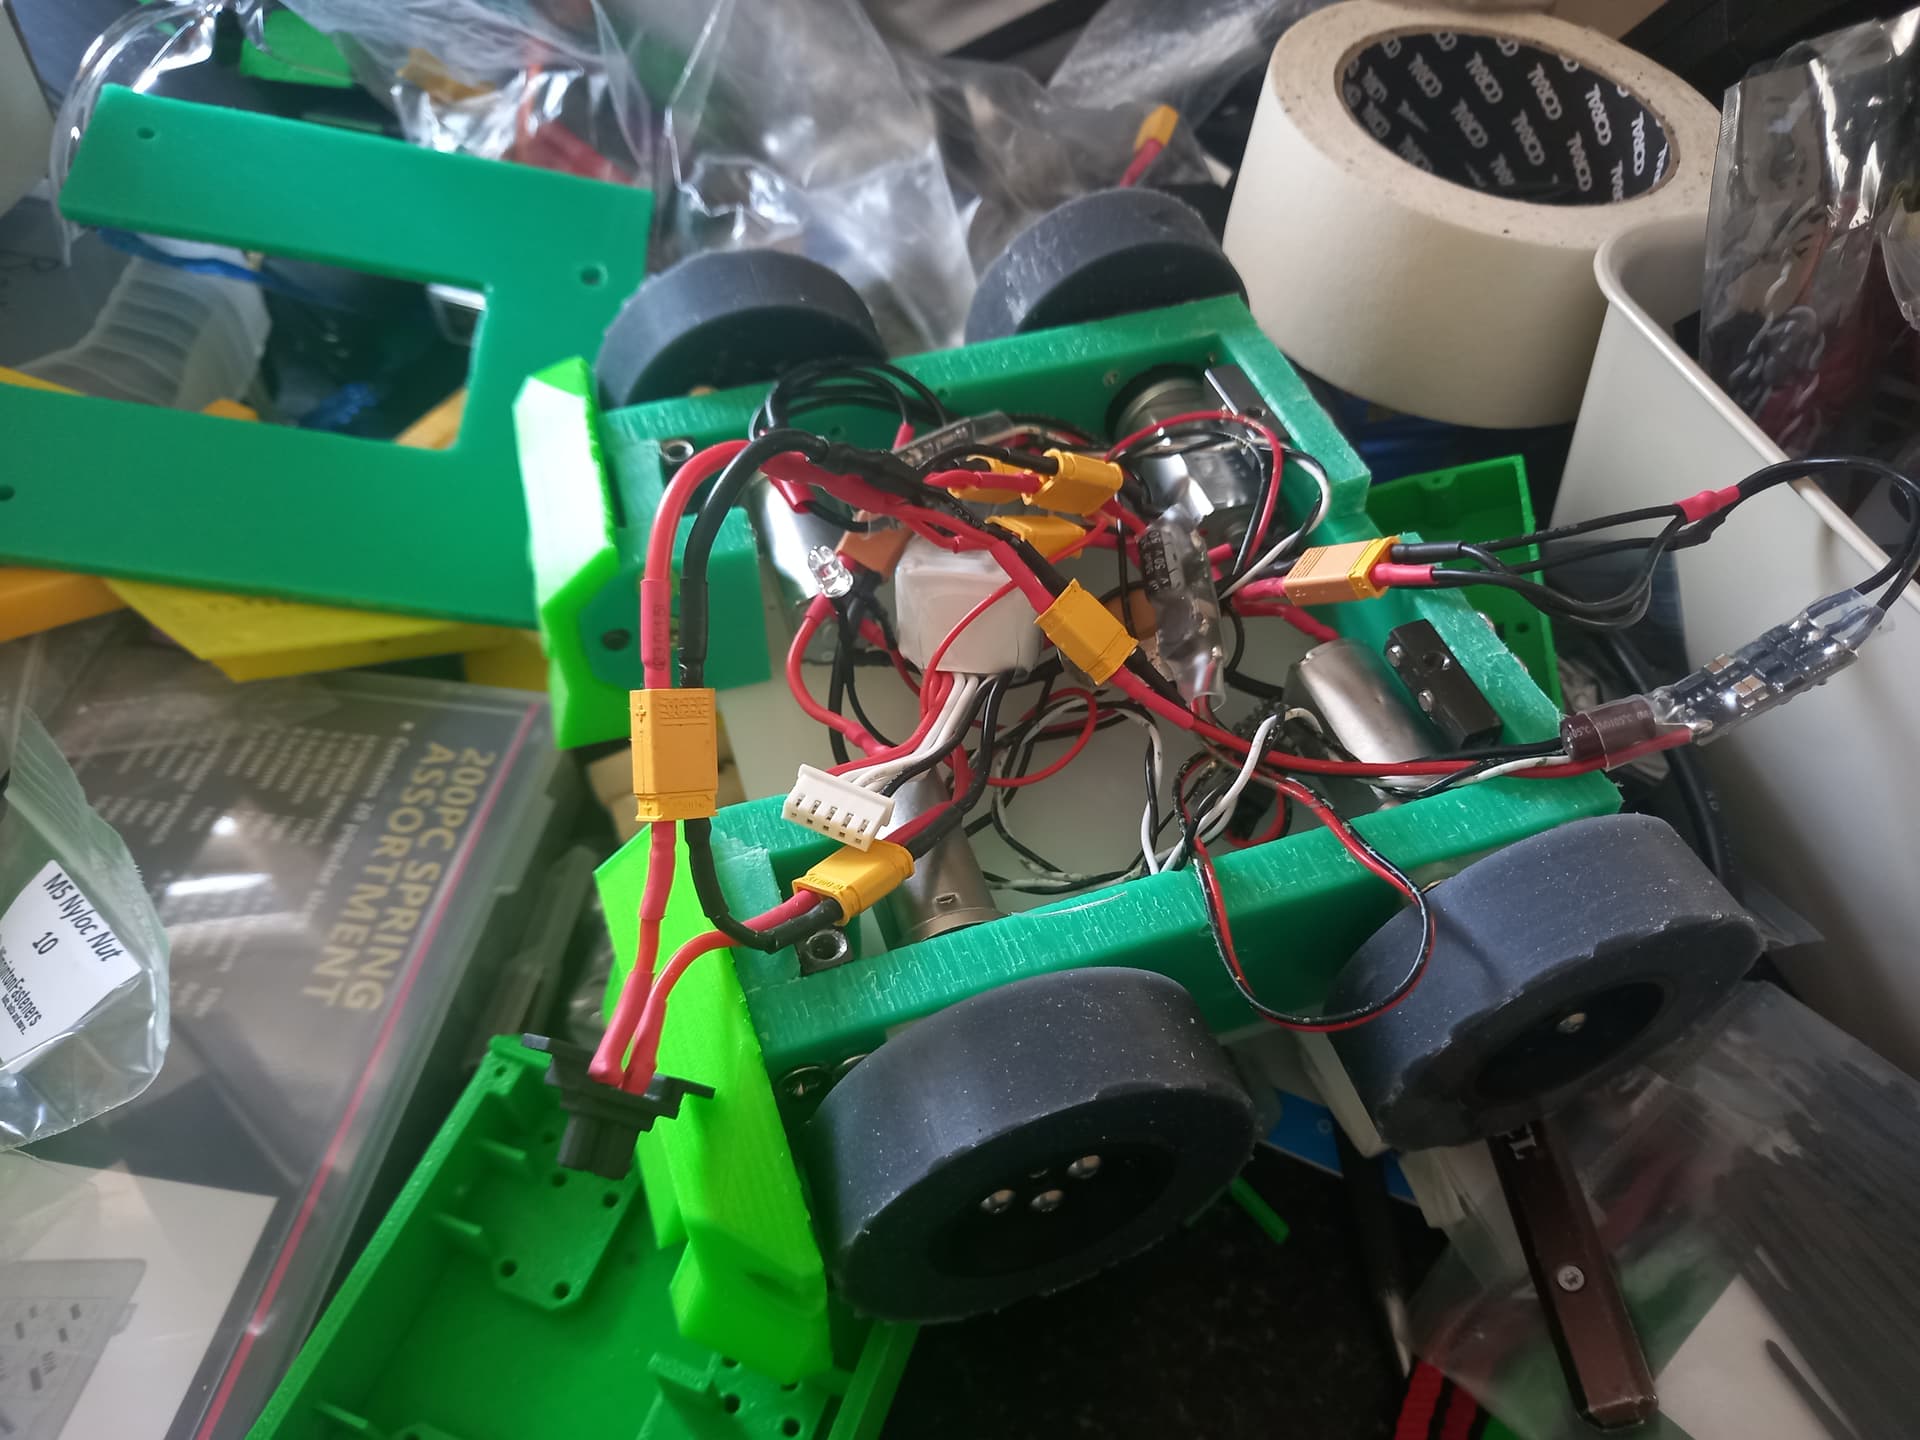
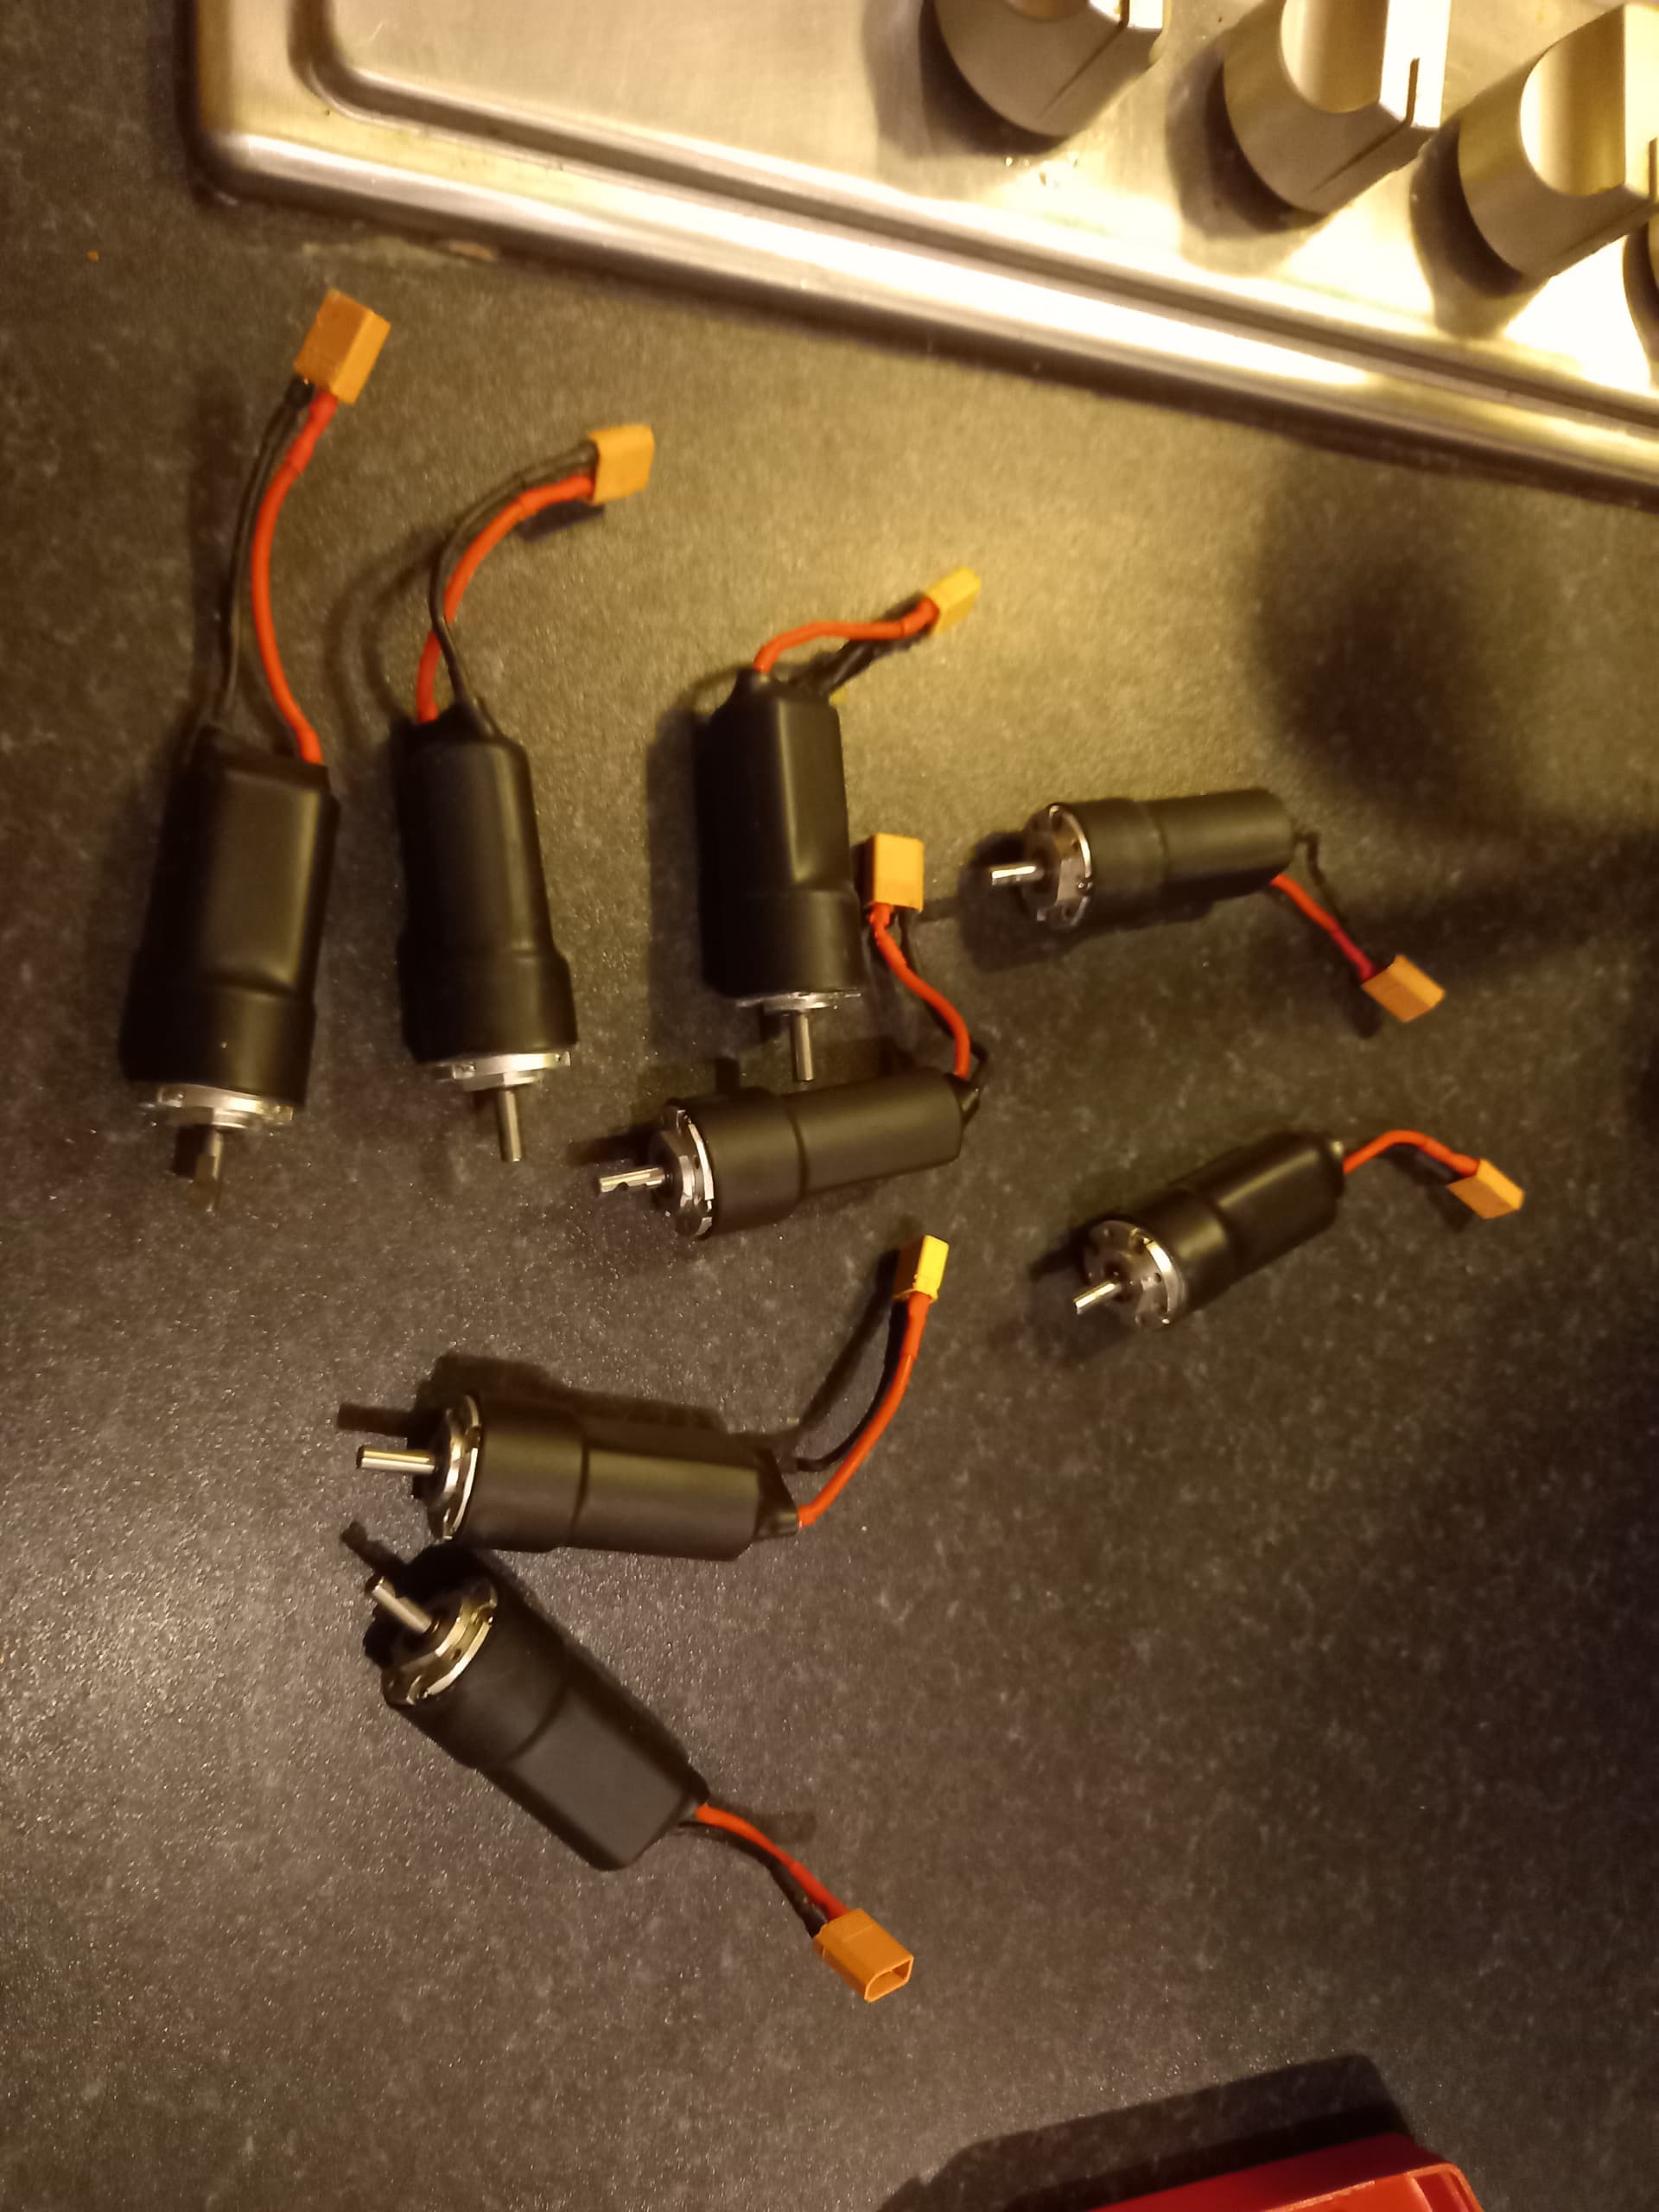
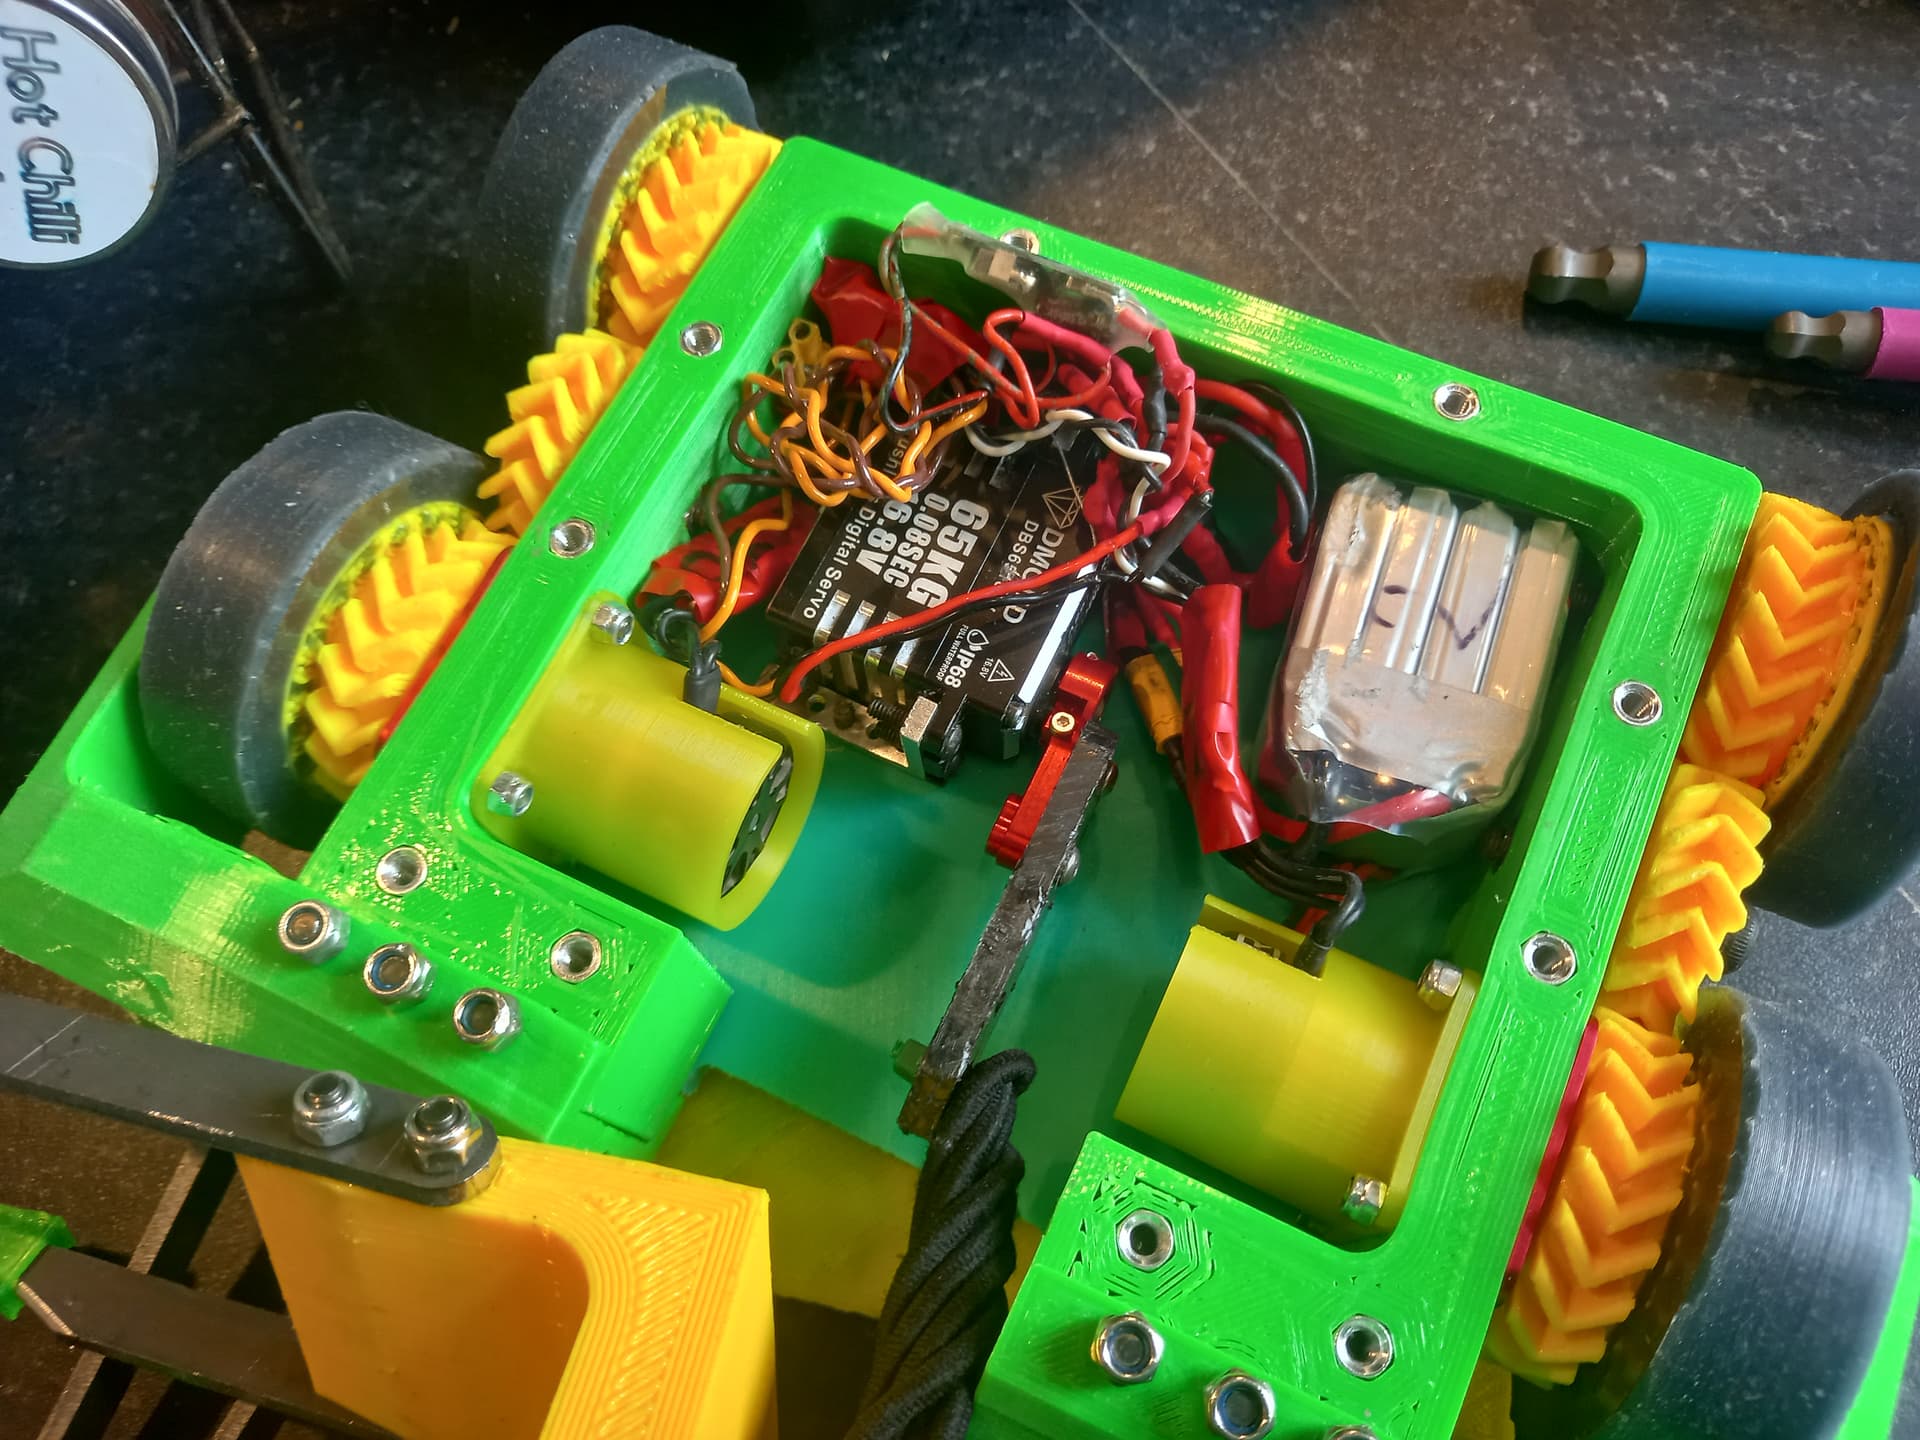
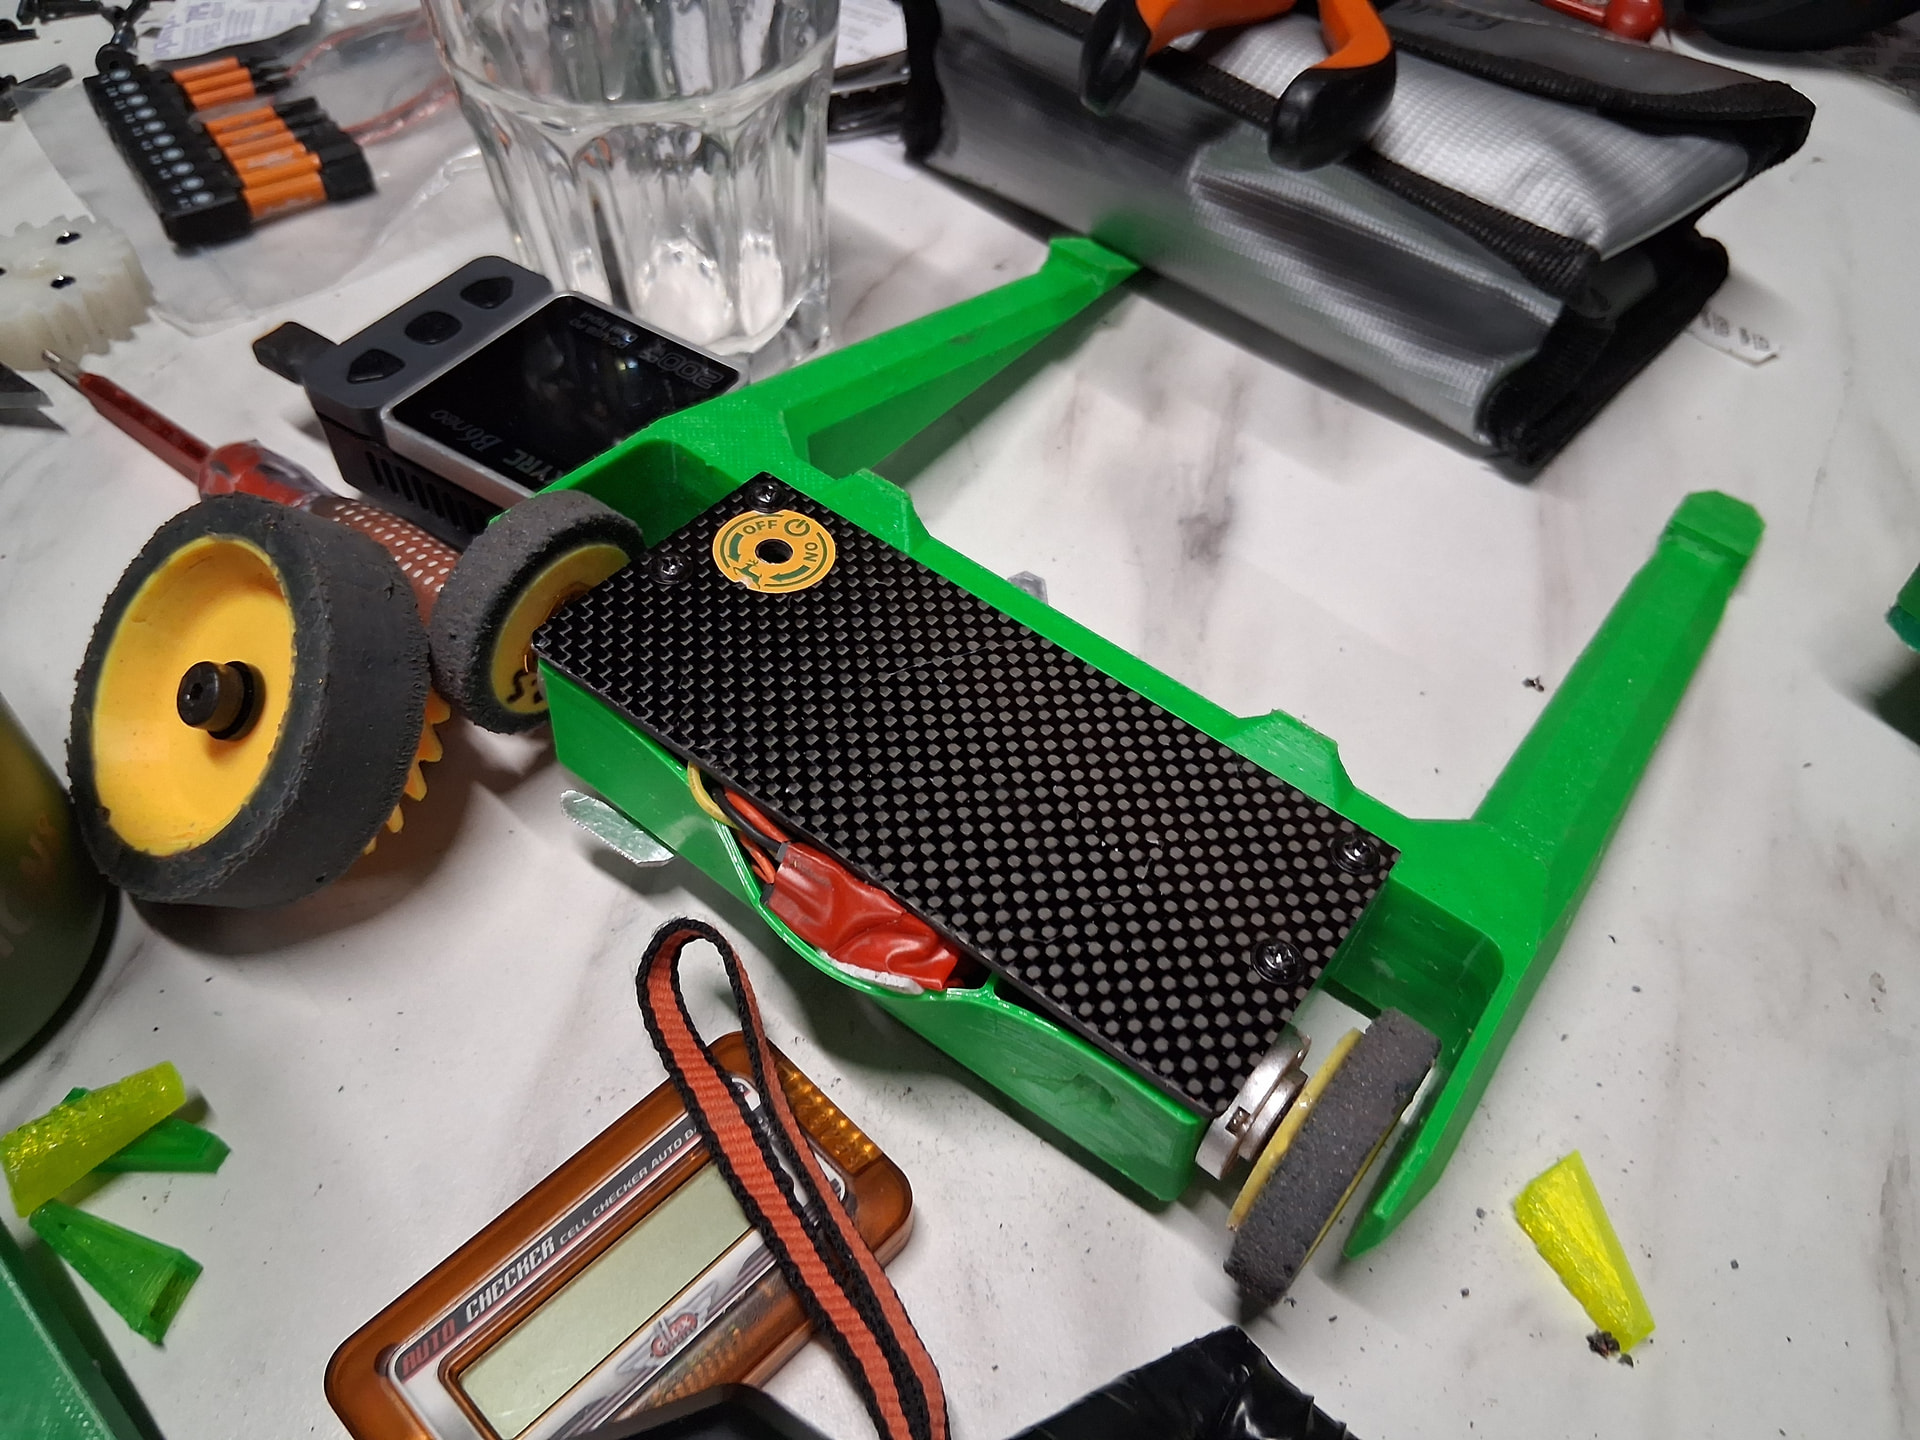
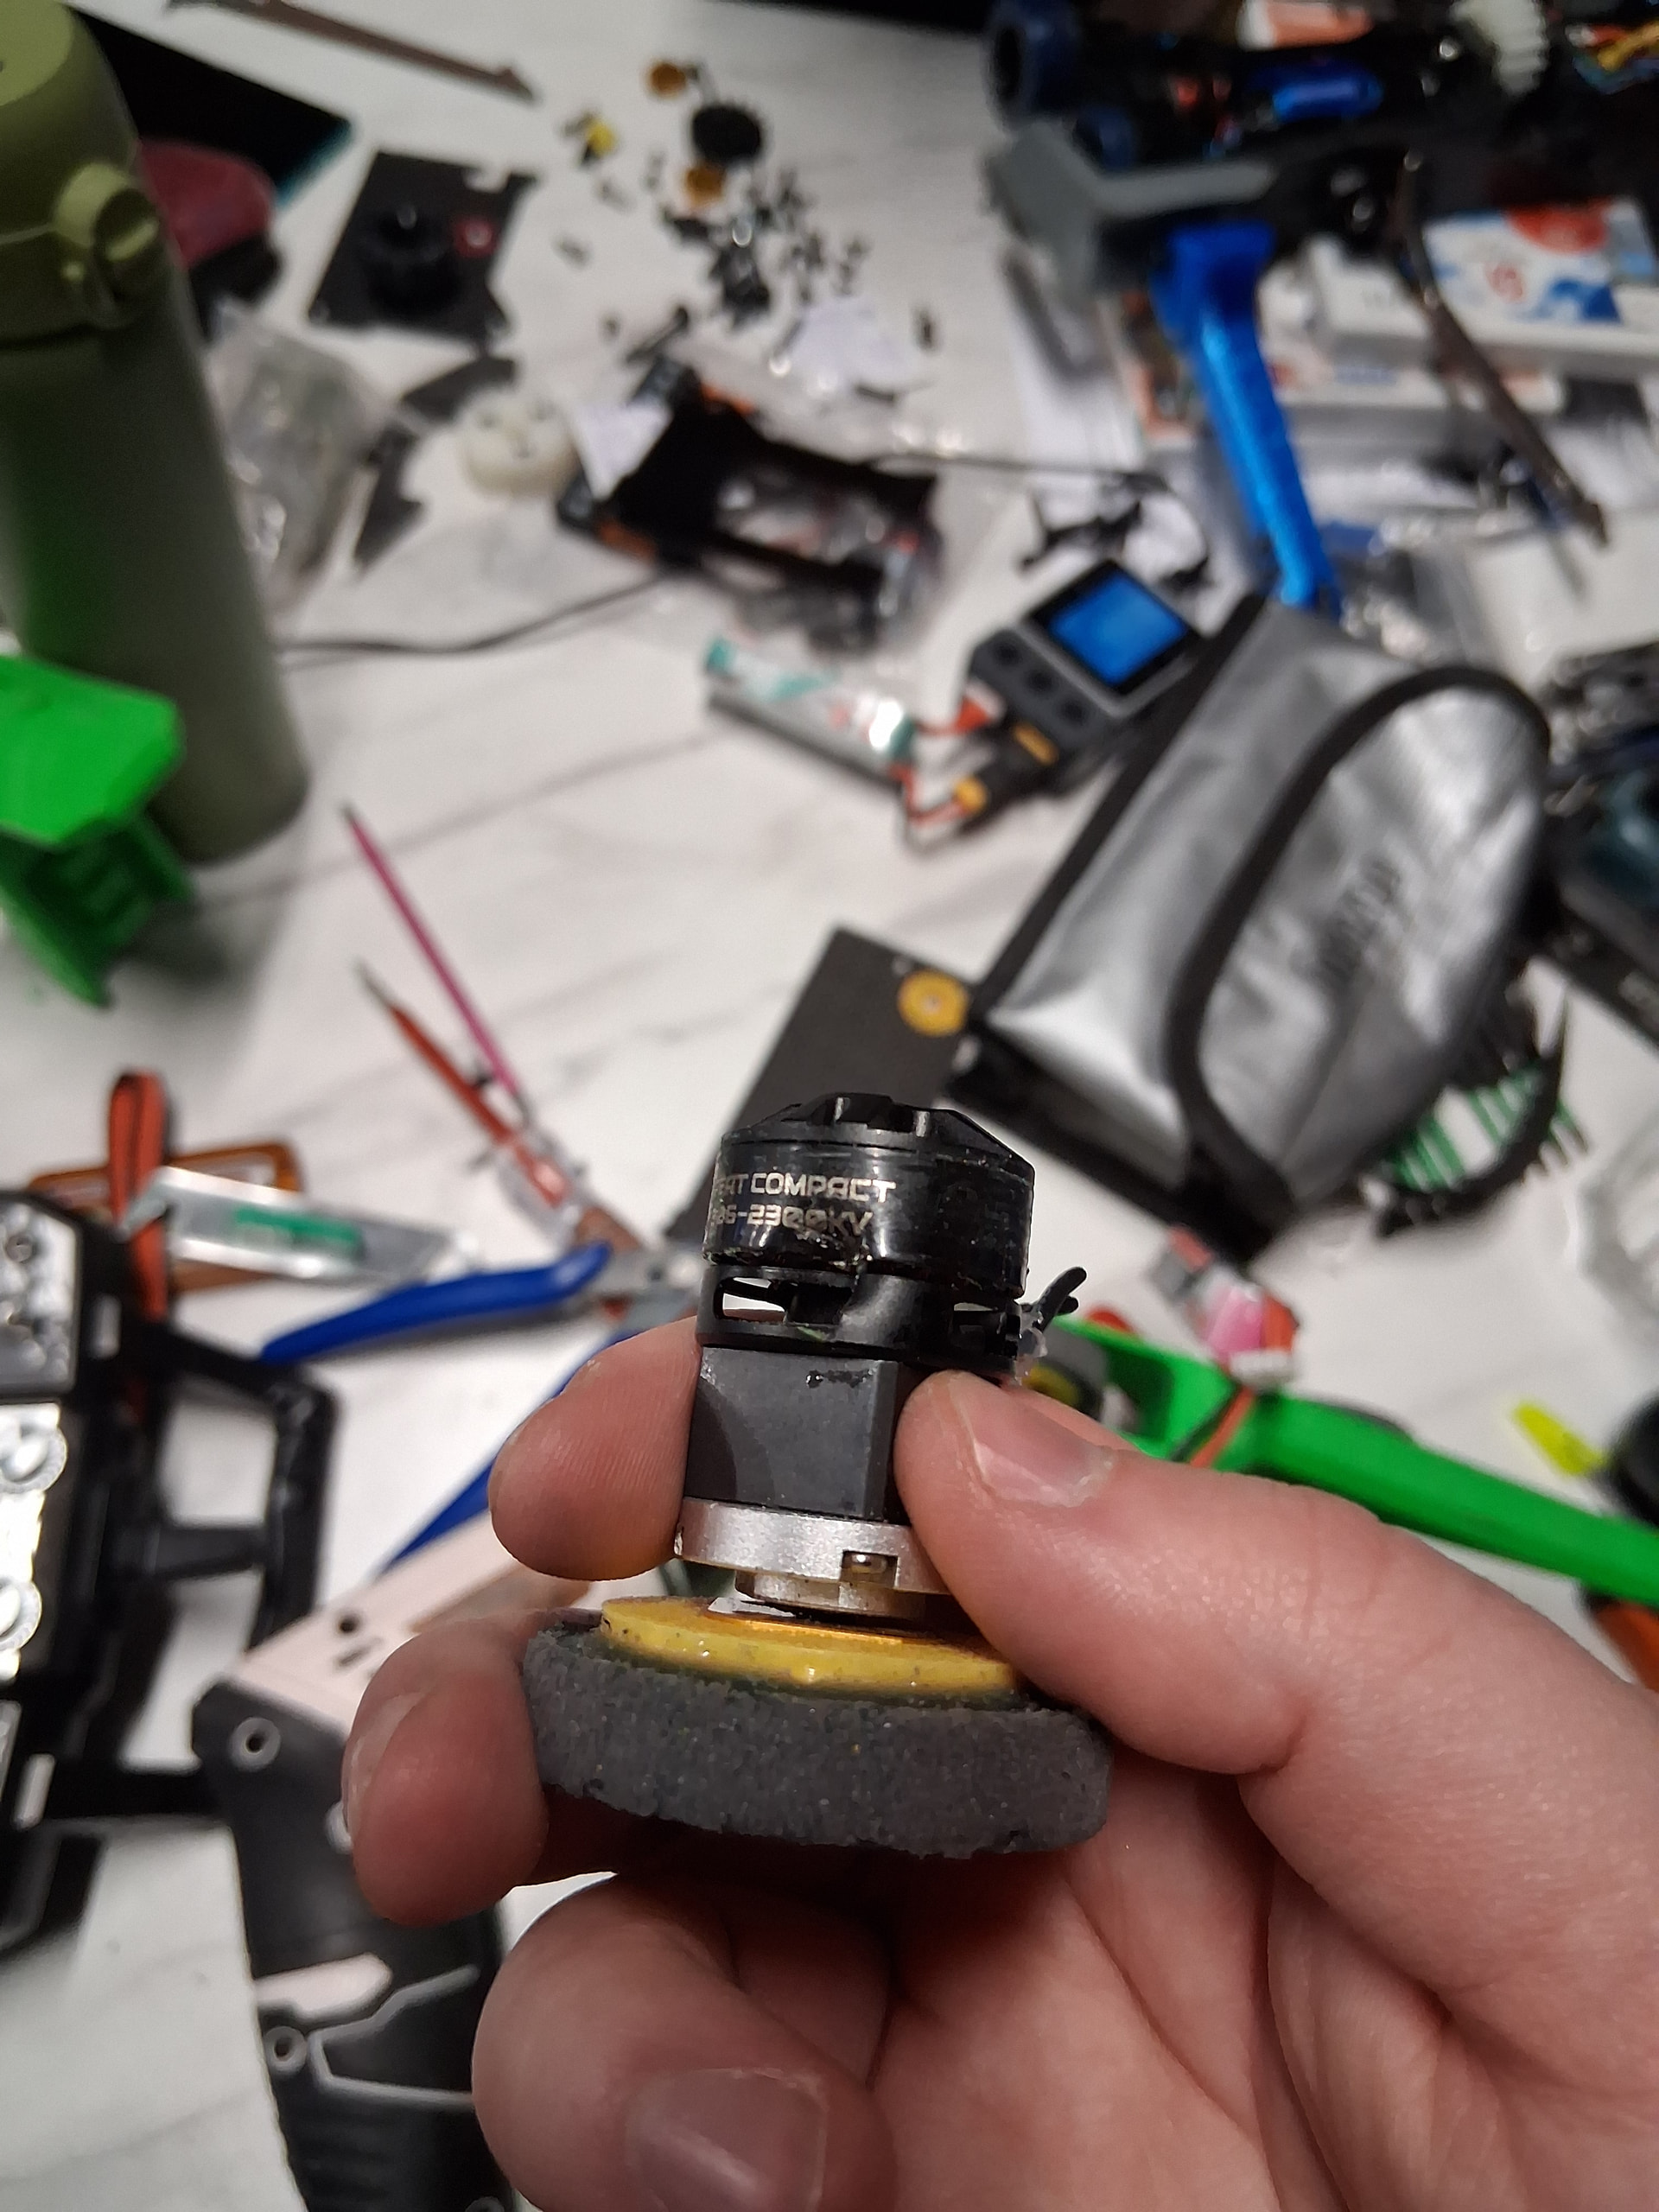
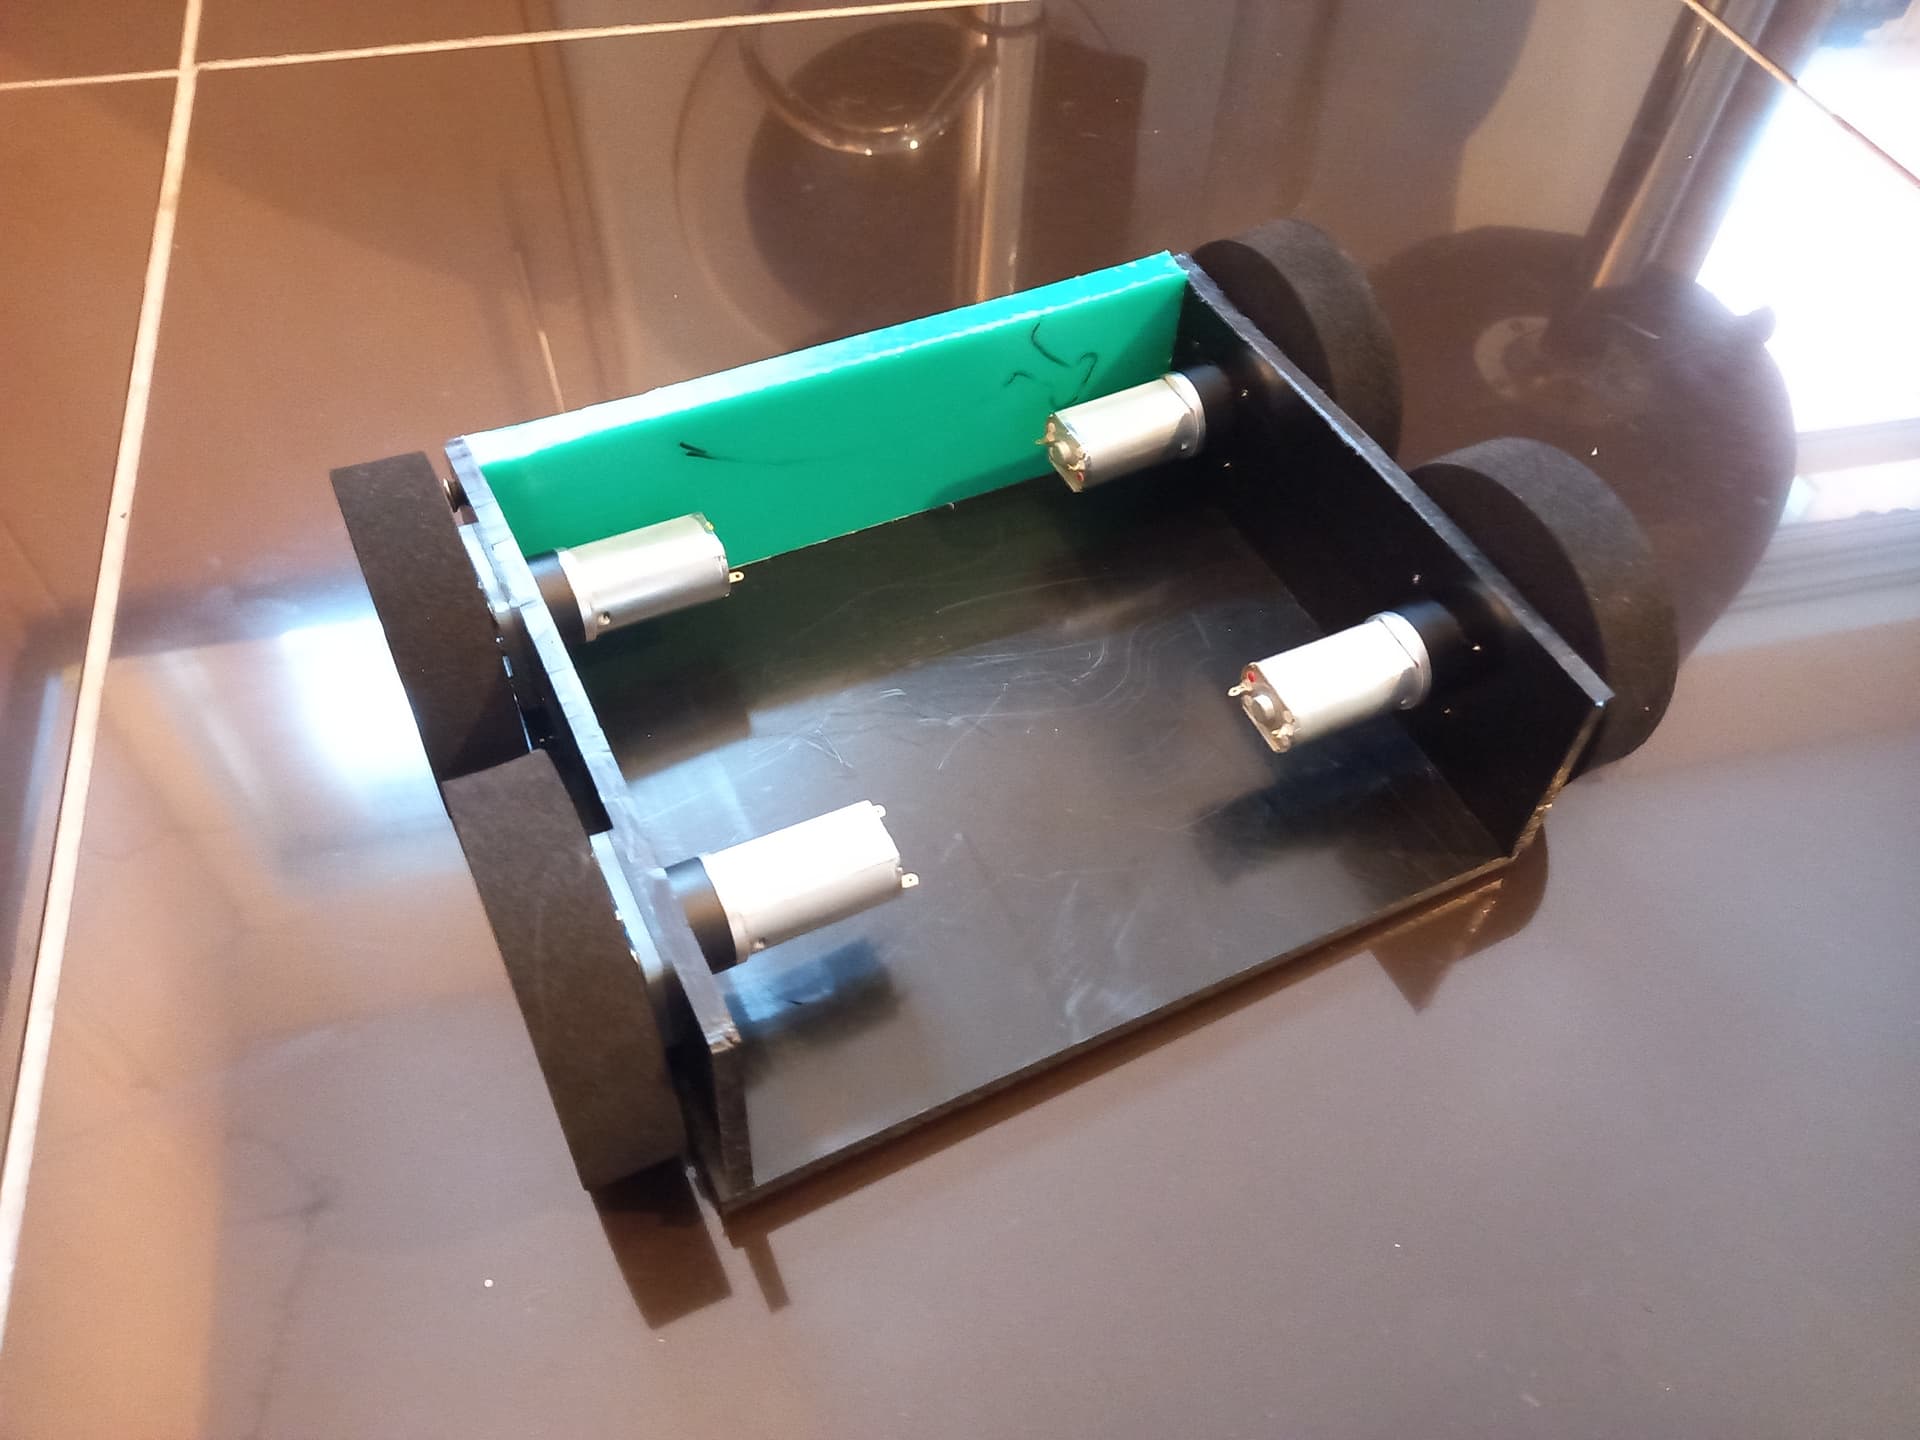
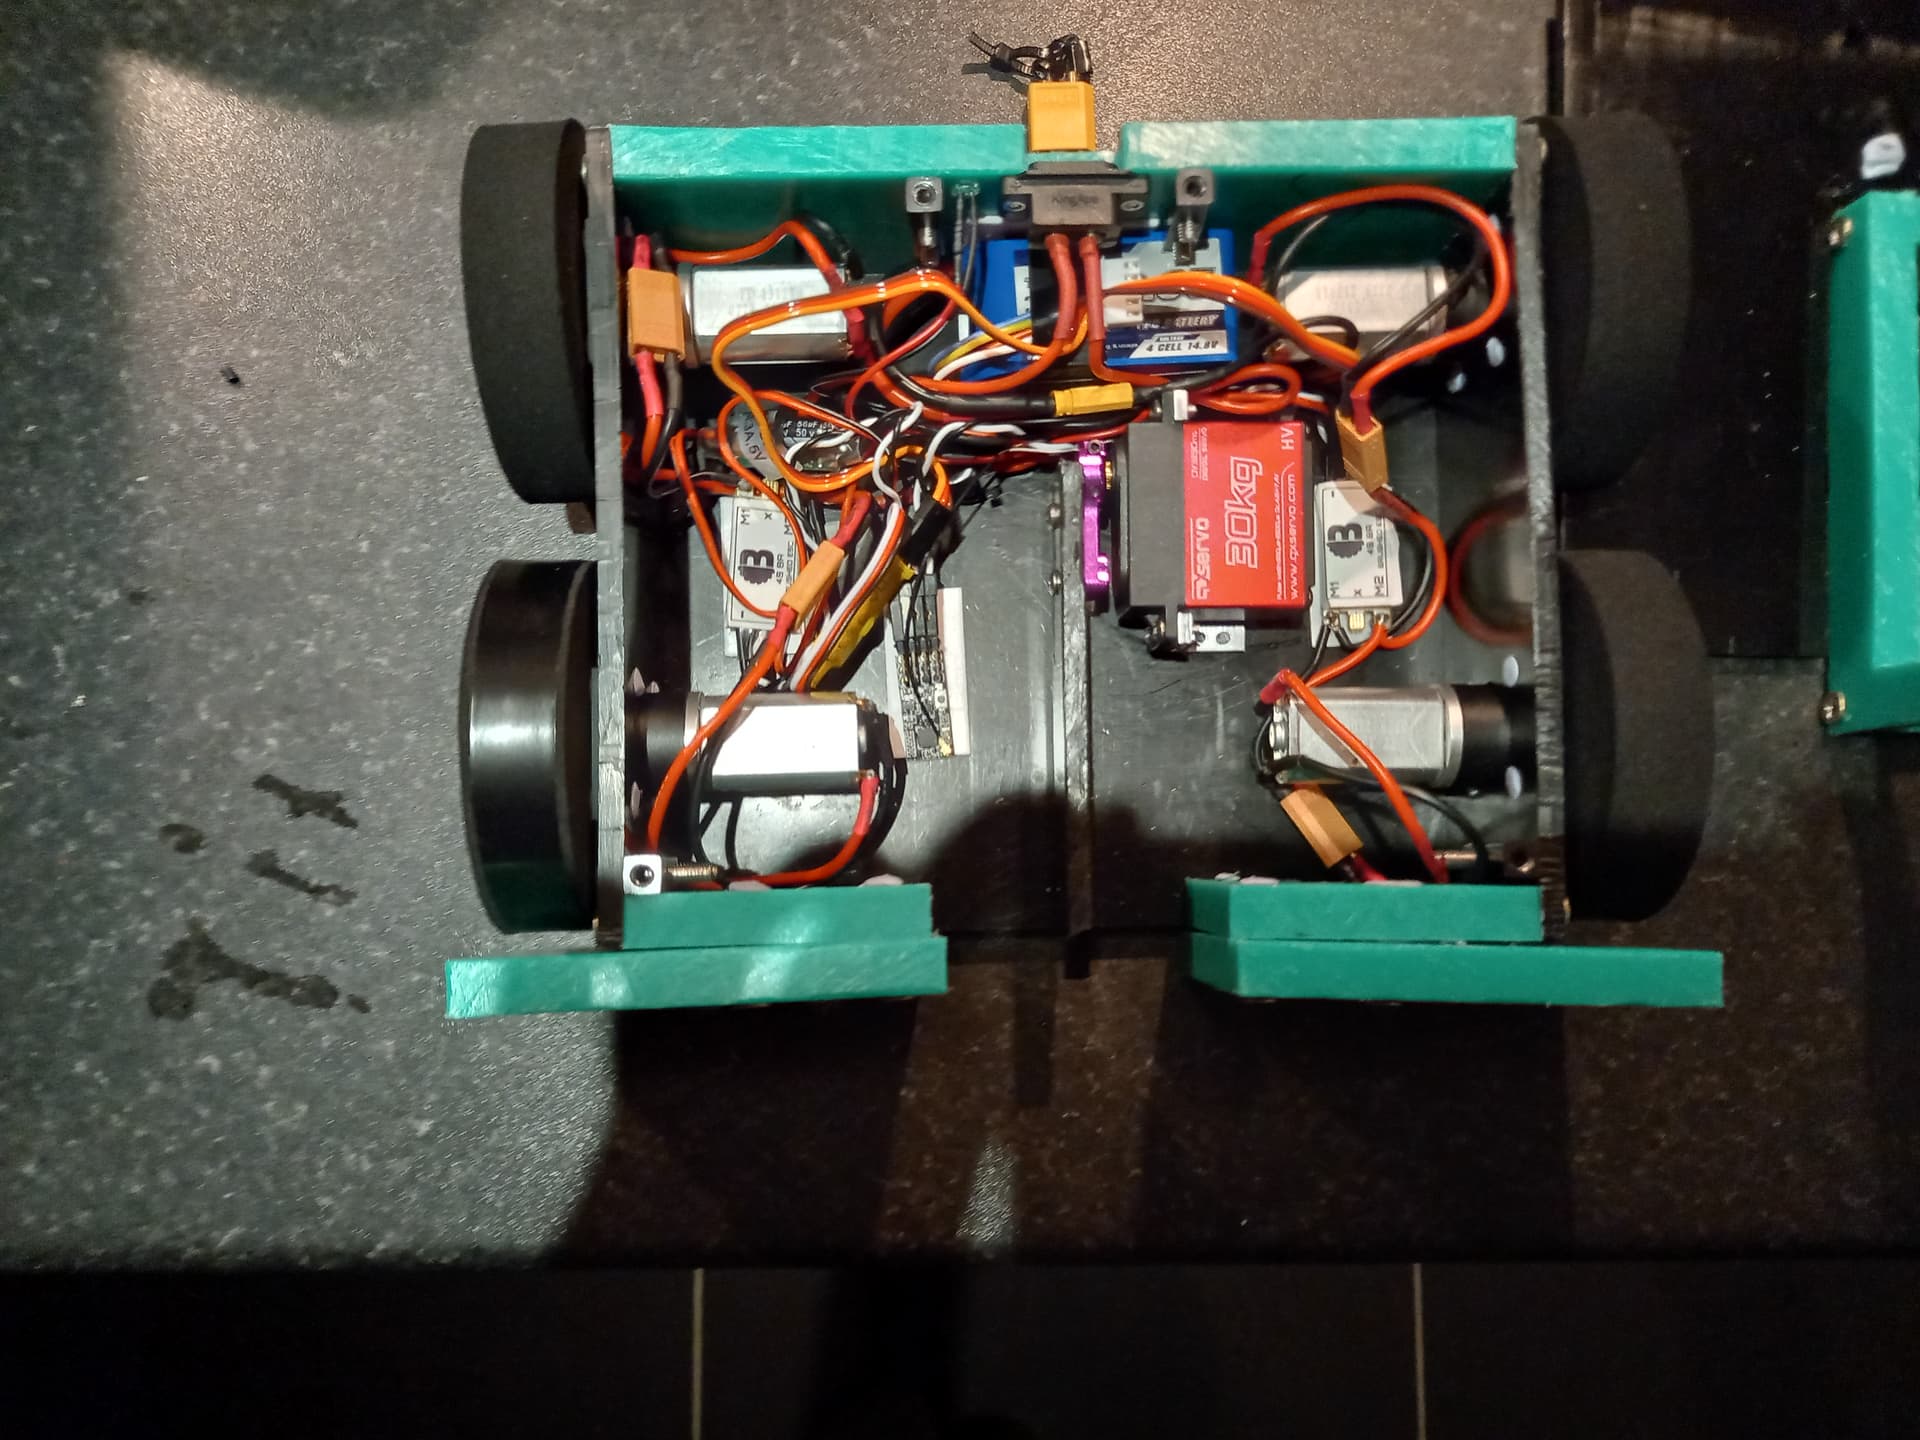
For adding more drive power, I decided to ditch the 22mm brushed motors. They’d served me well up until this point, but cramming 4 of them into the robot took up a lot of weight and space, and they were breaking with alarming regularity even when they weren’t being directly hit. I instead went for the Repeat Max motors, a much more expensive solution, but I figured I was losing my current motors at such a rate I’d soon make that cost back in replacements I’d be saved from having to buy.
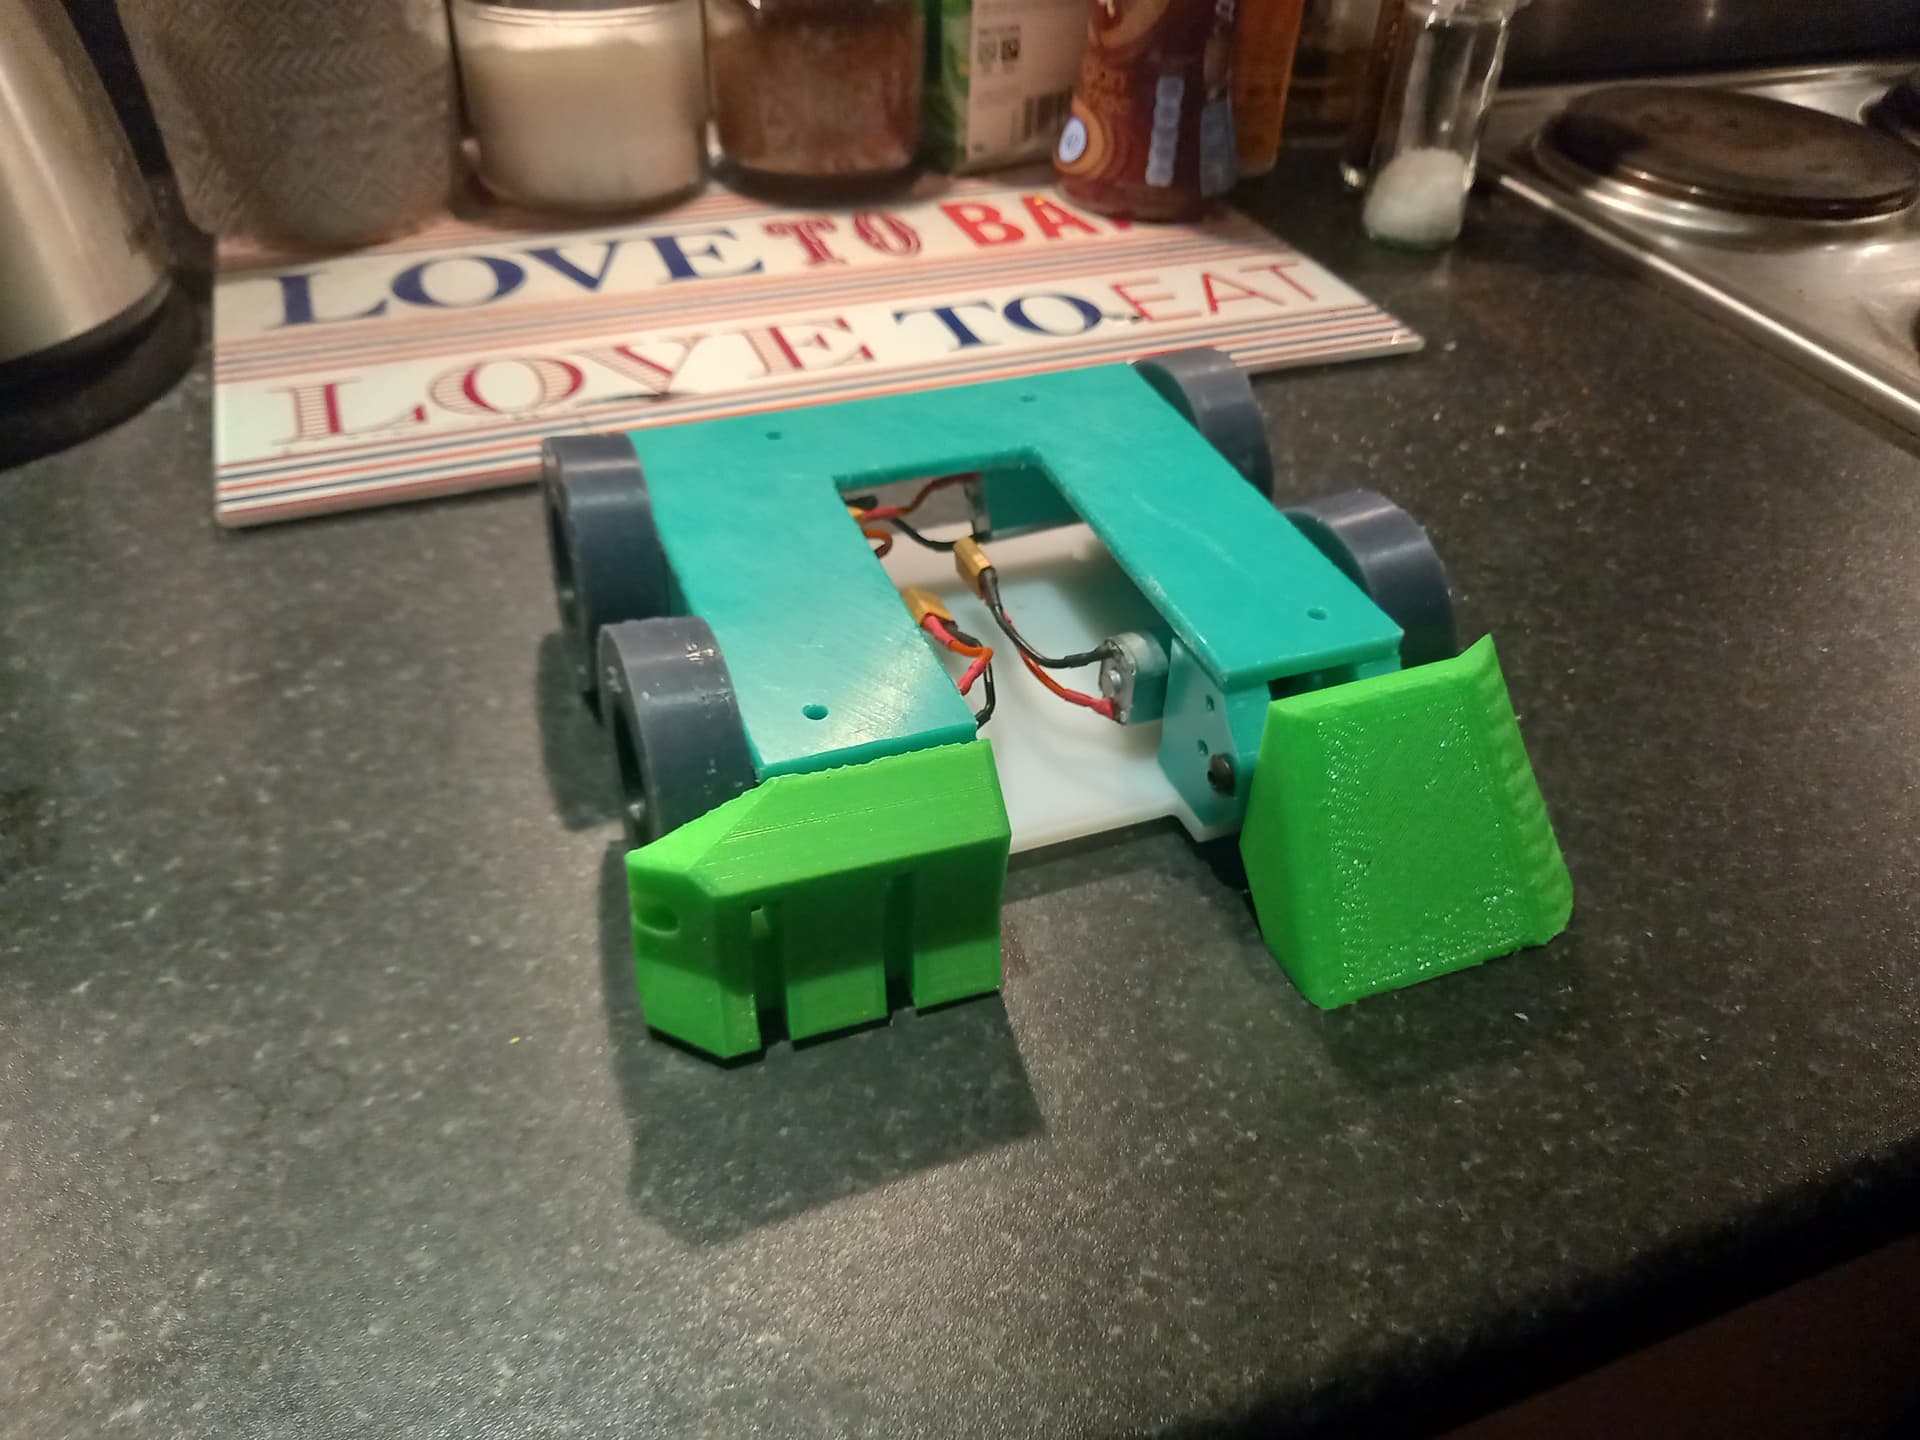
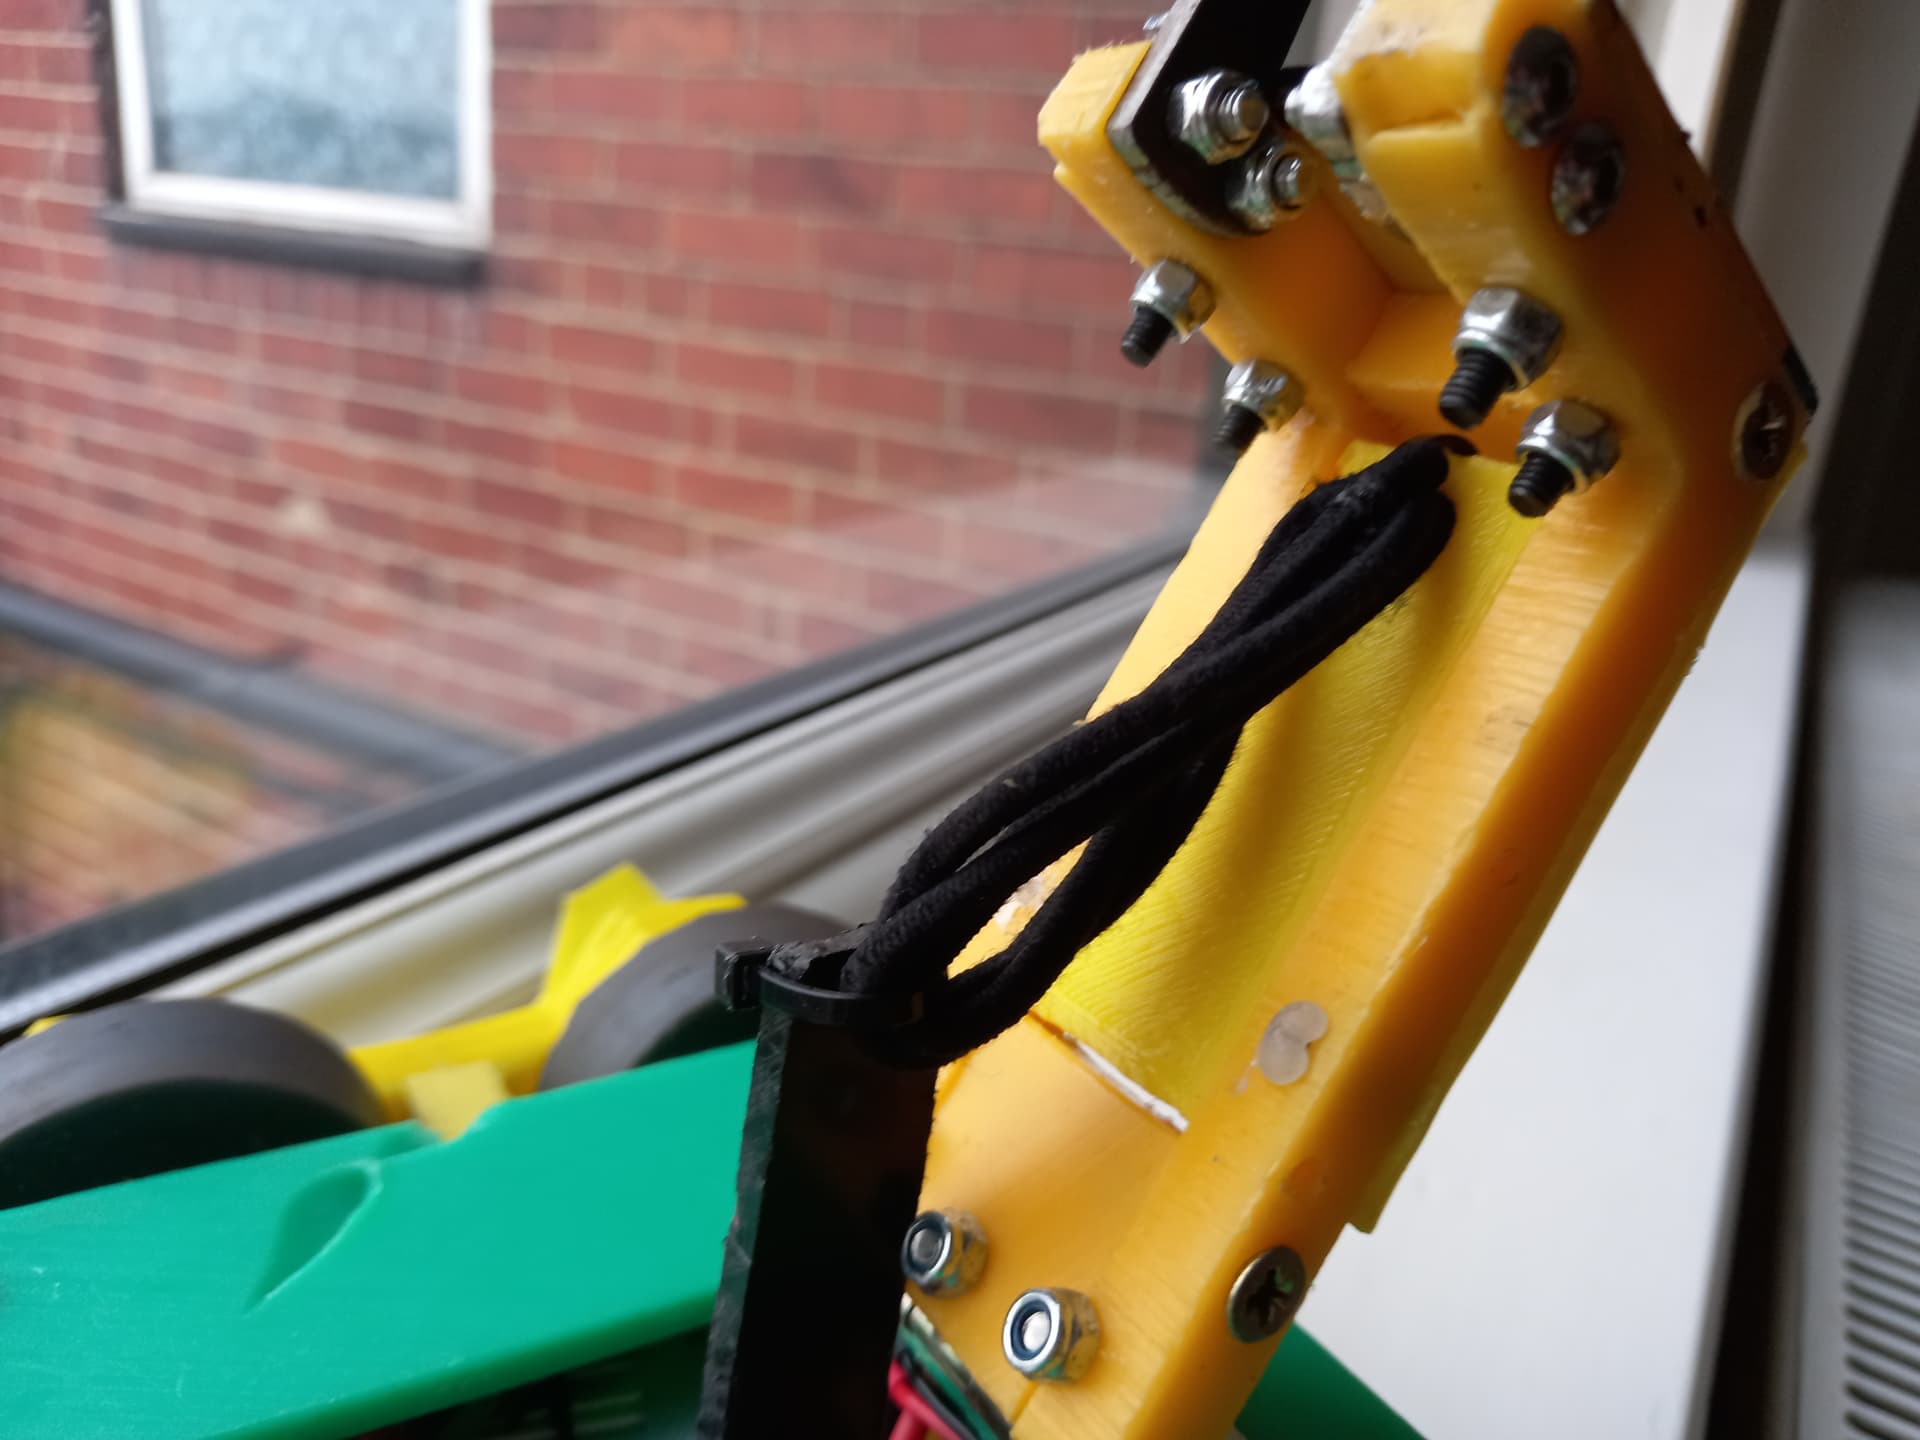
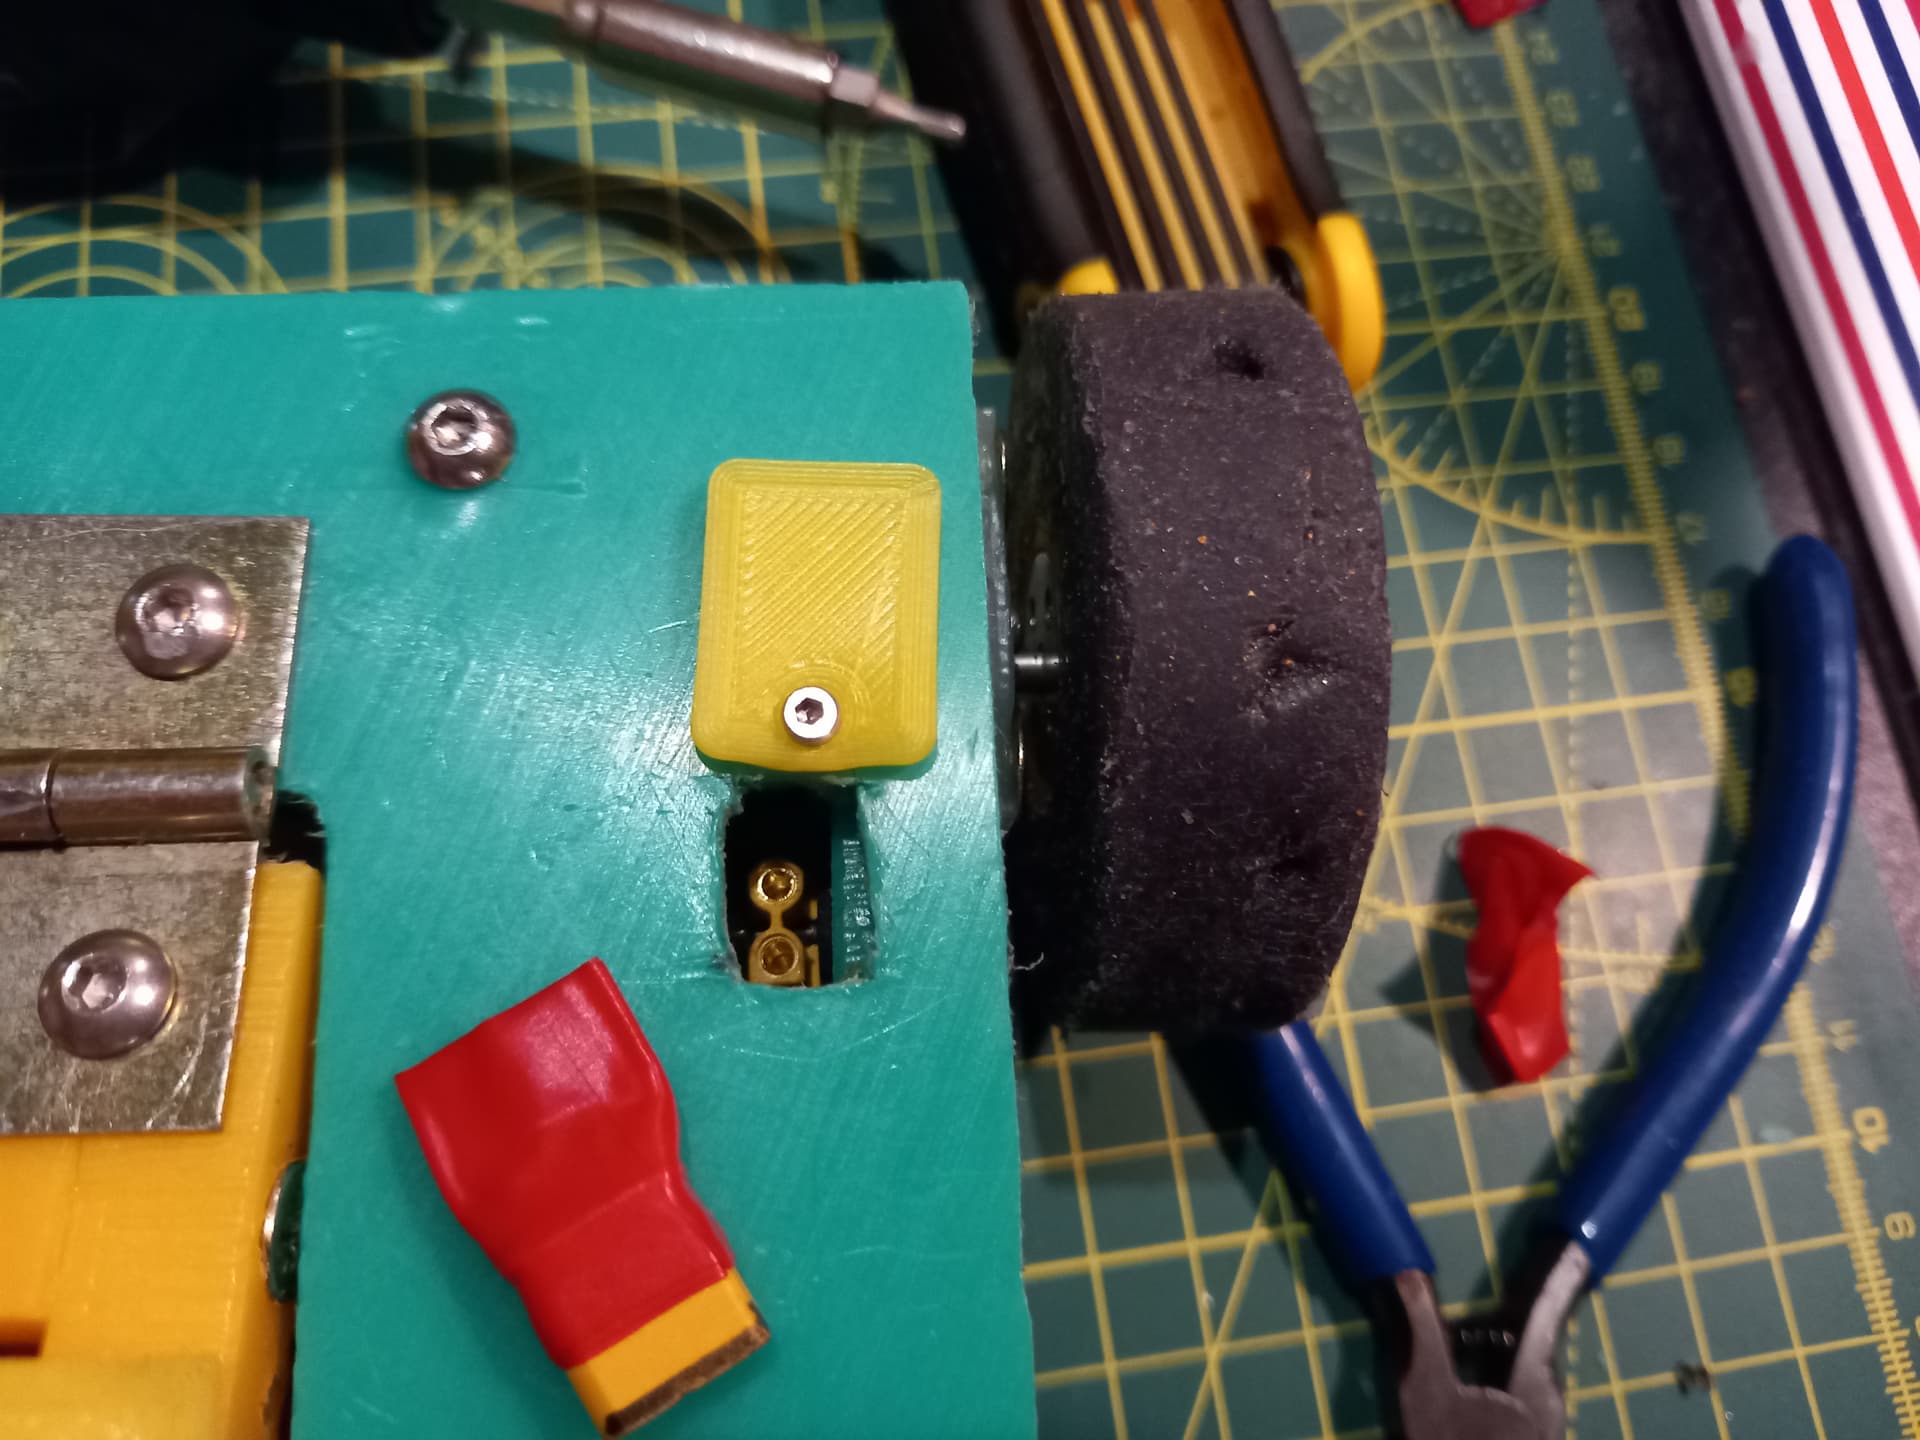
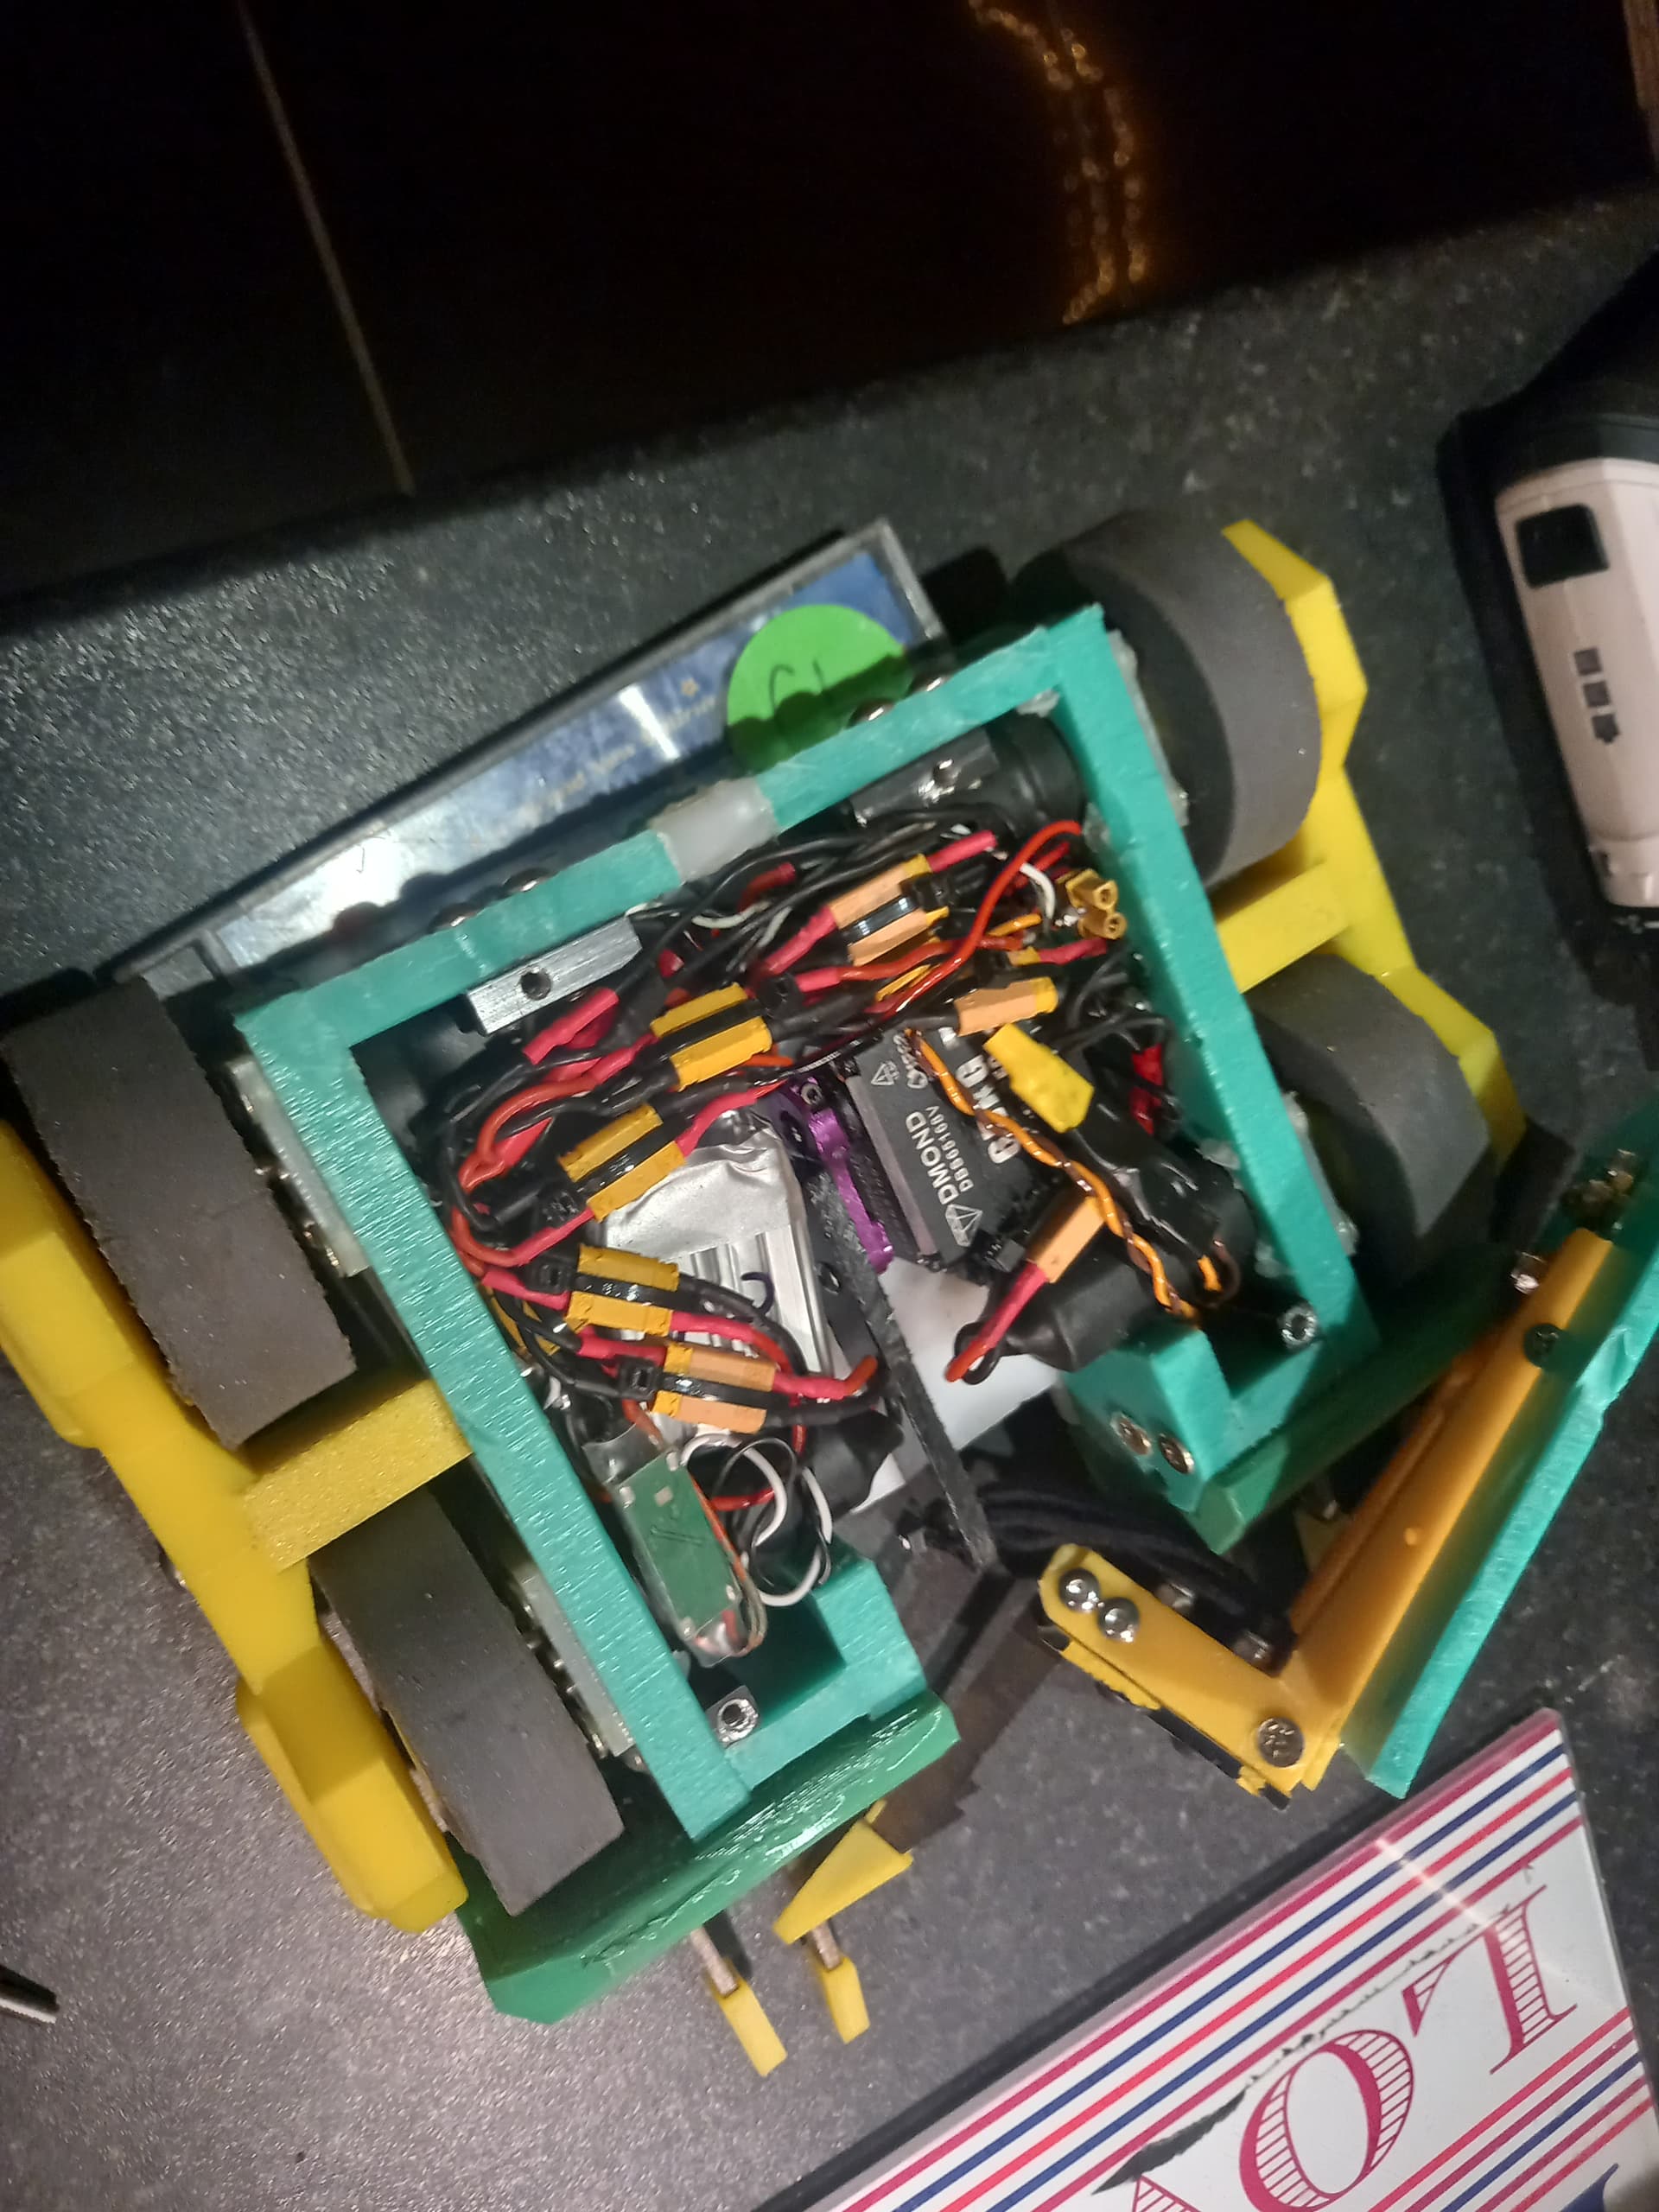
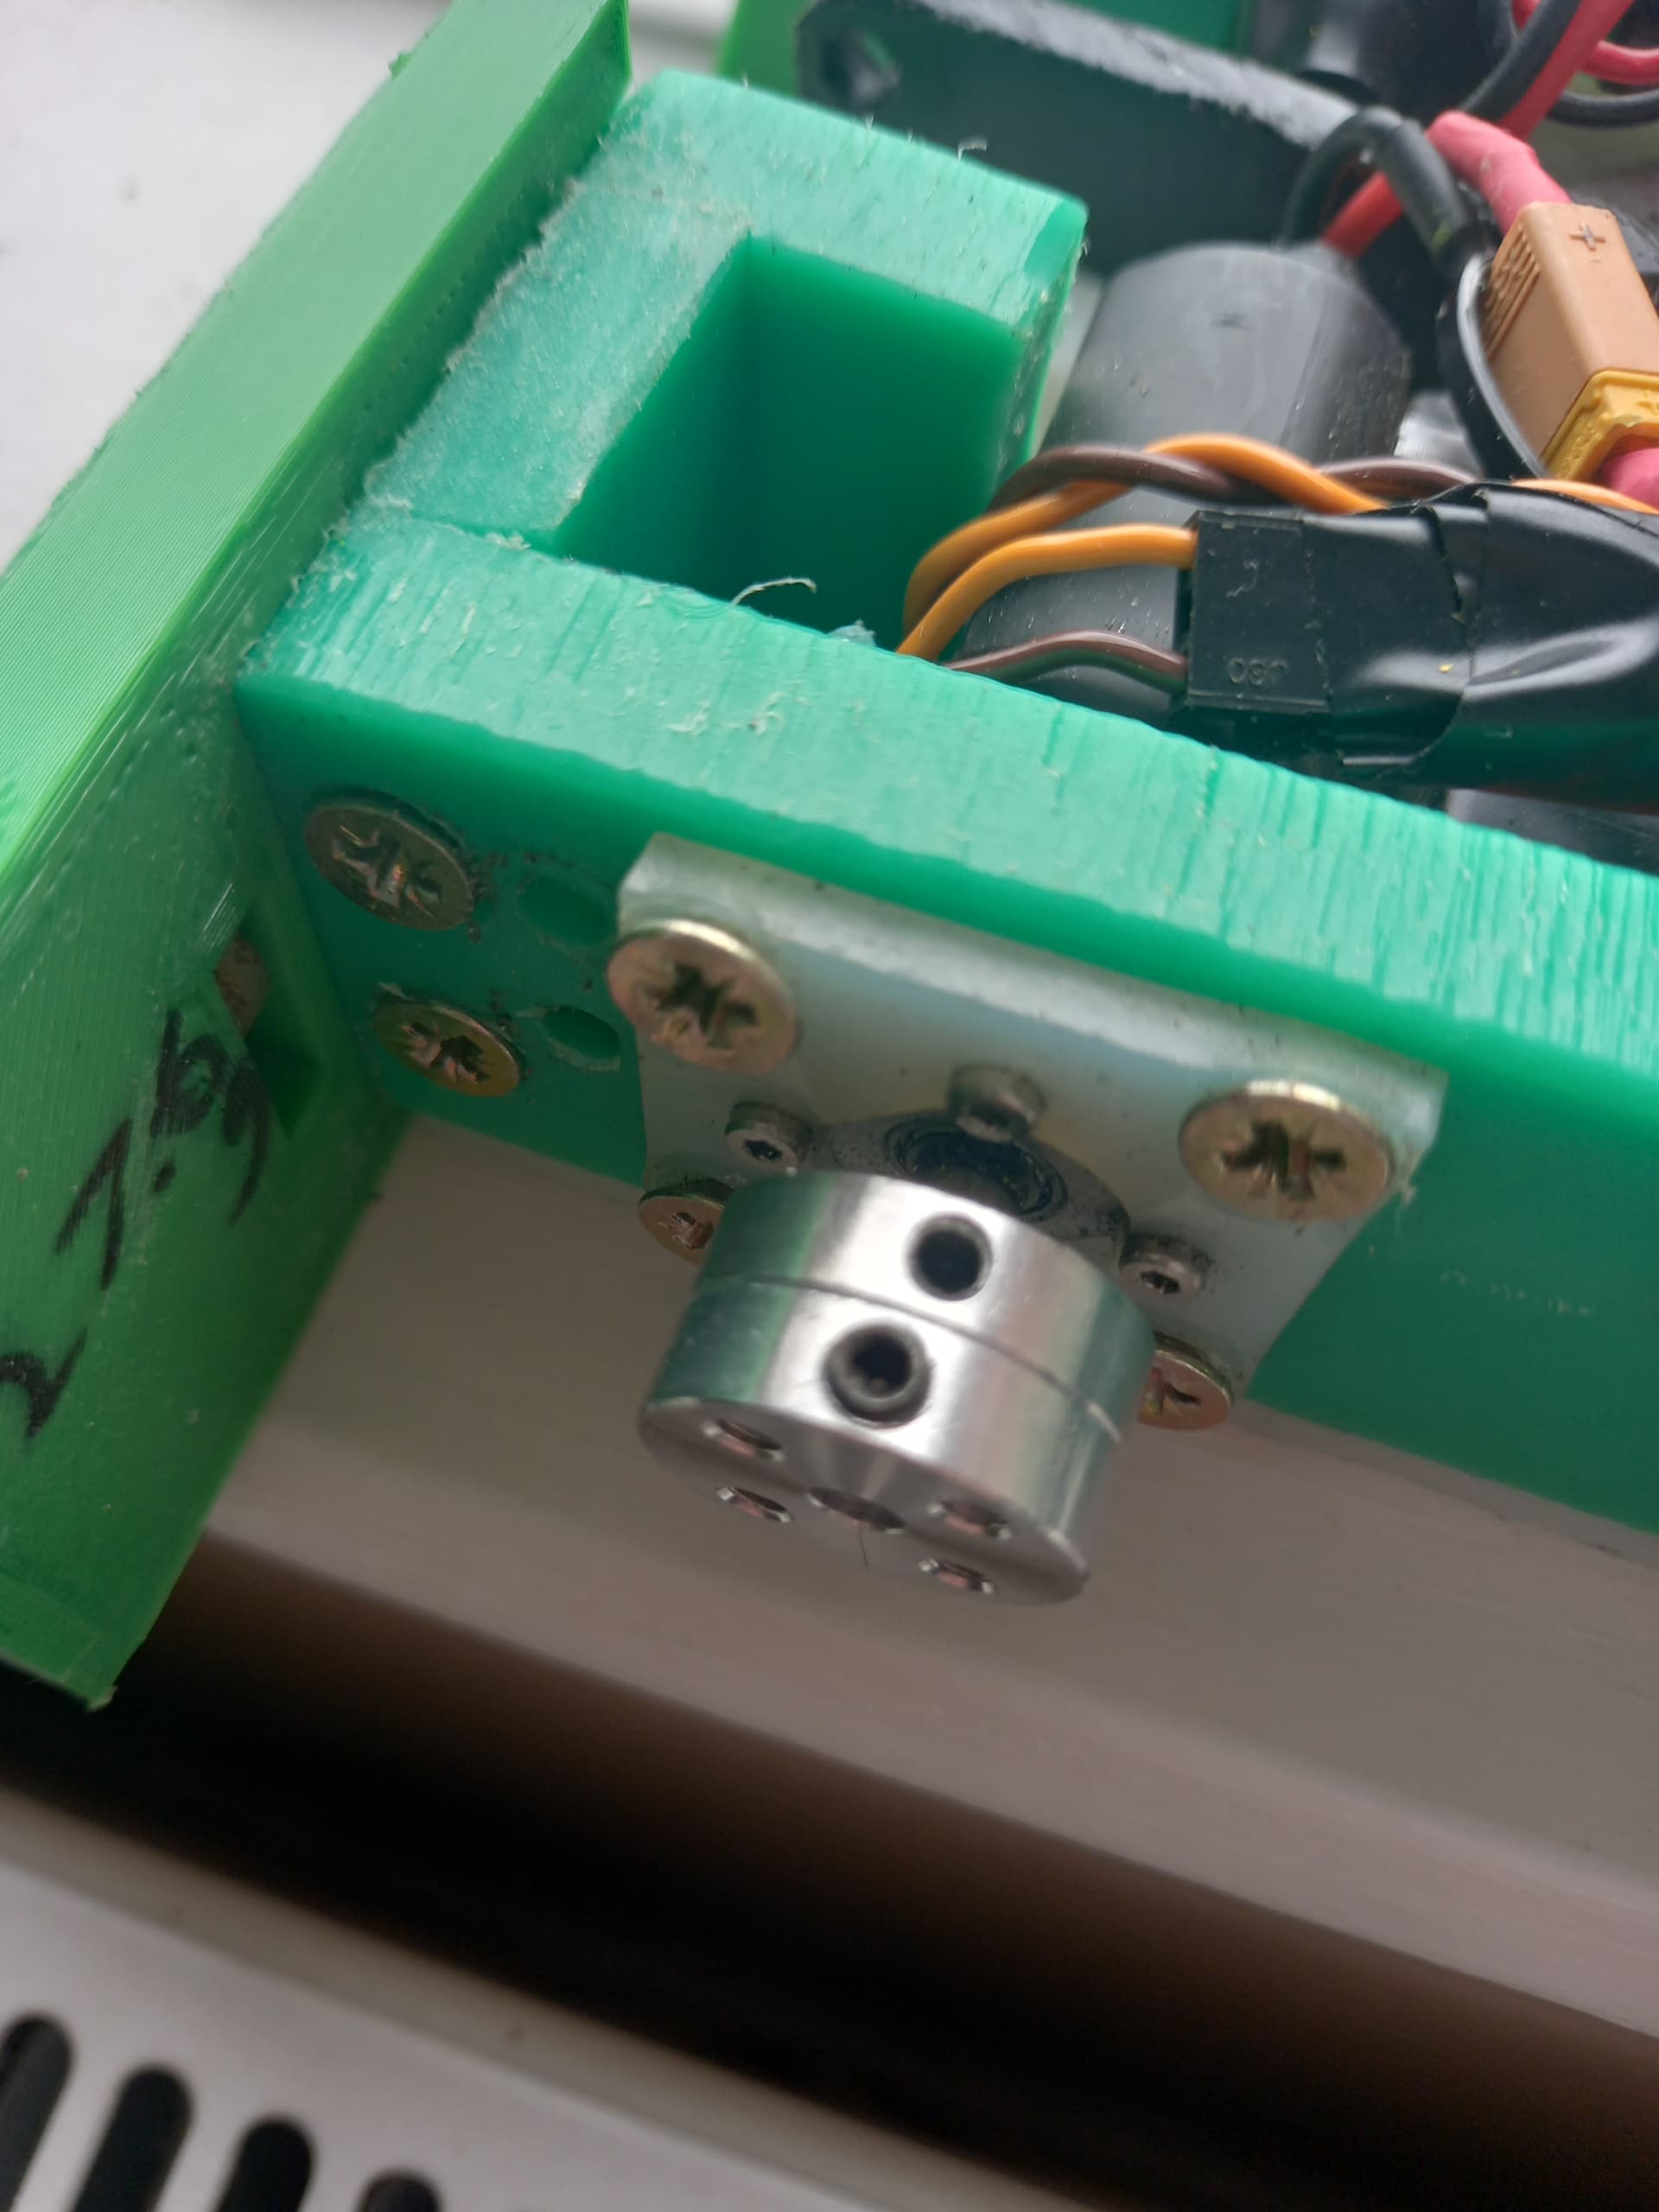
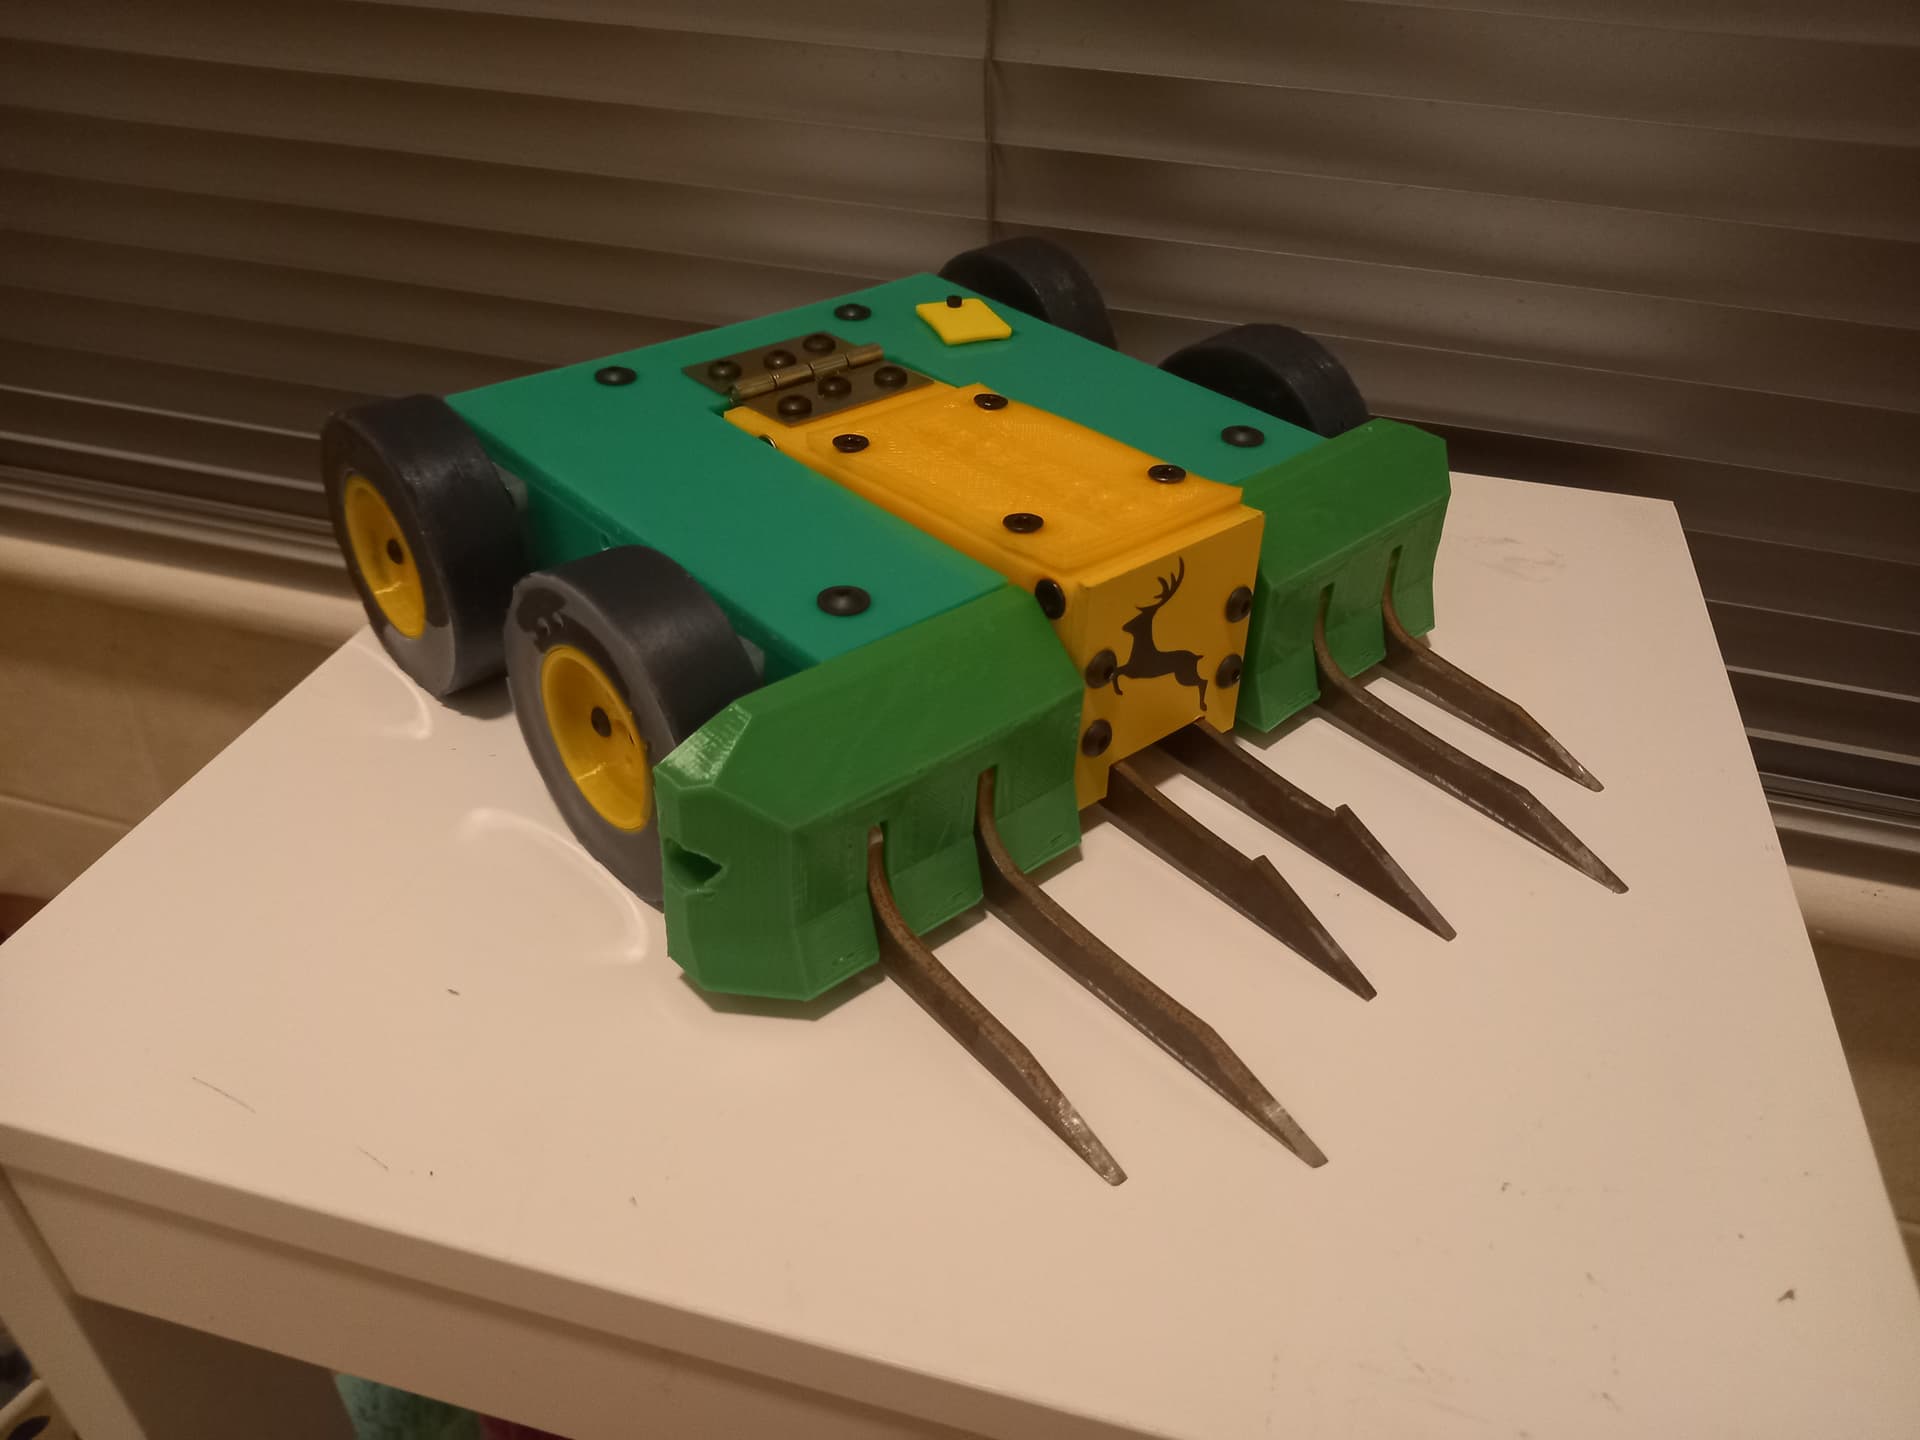
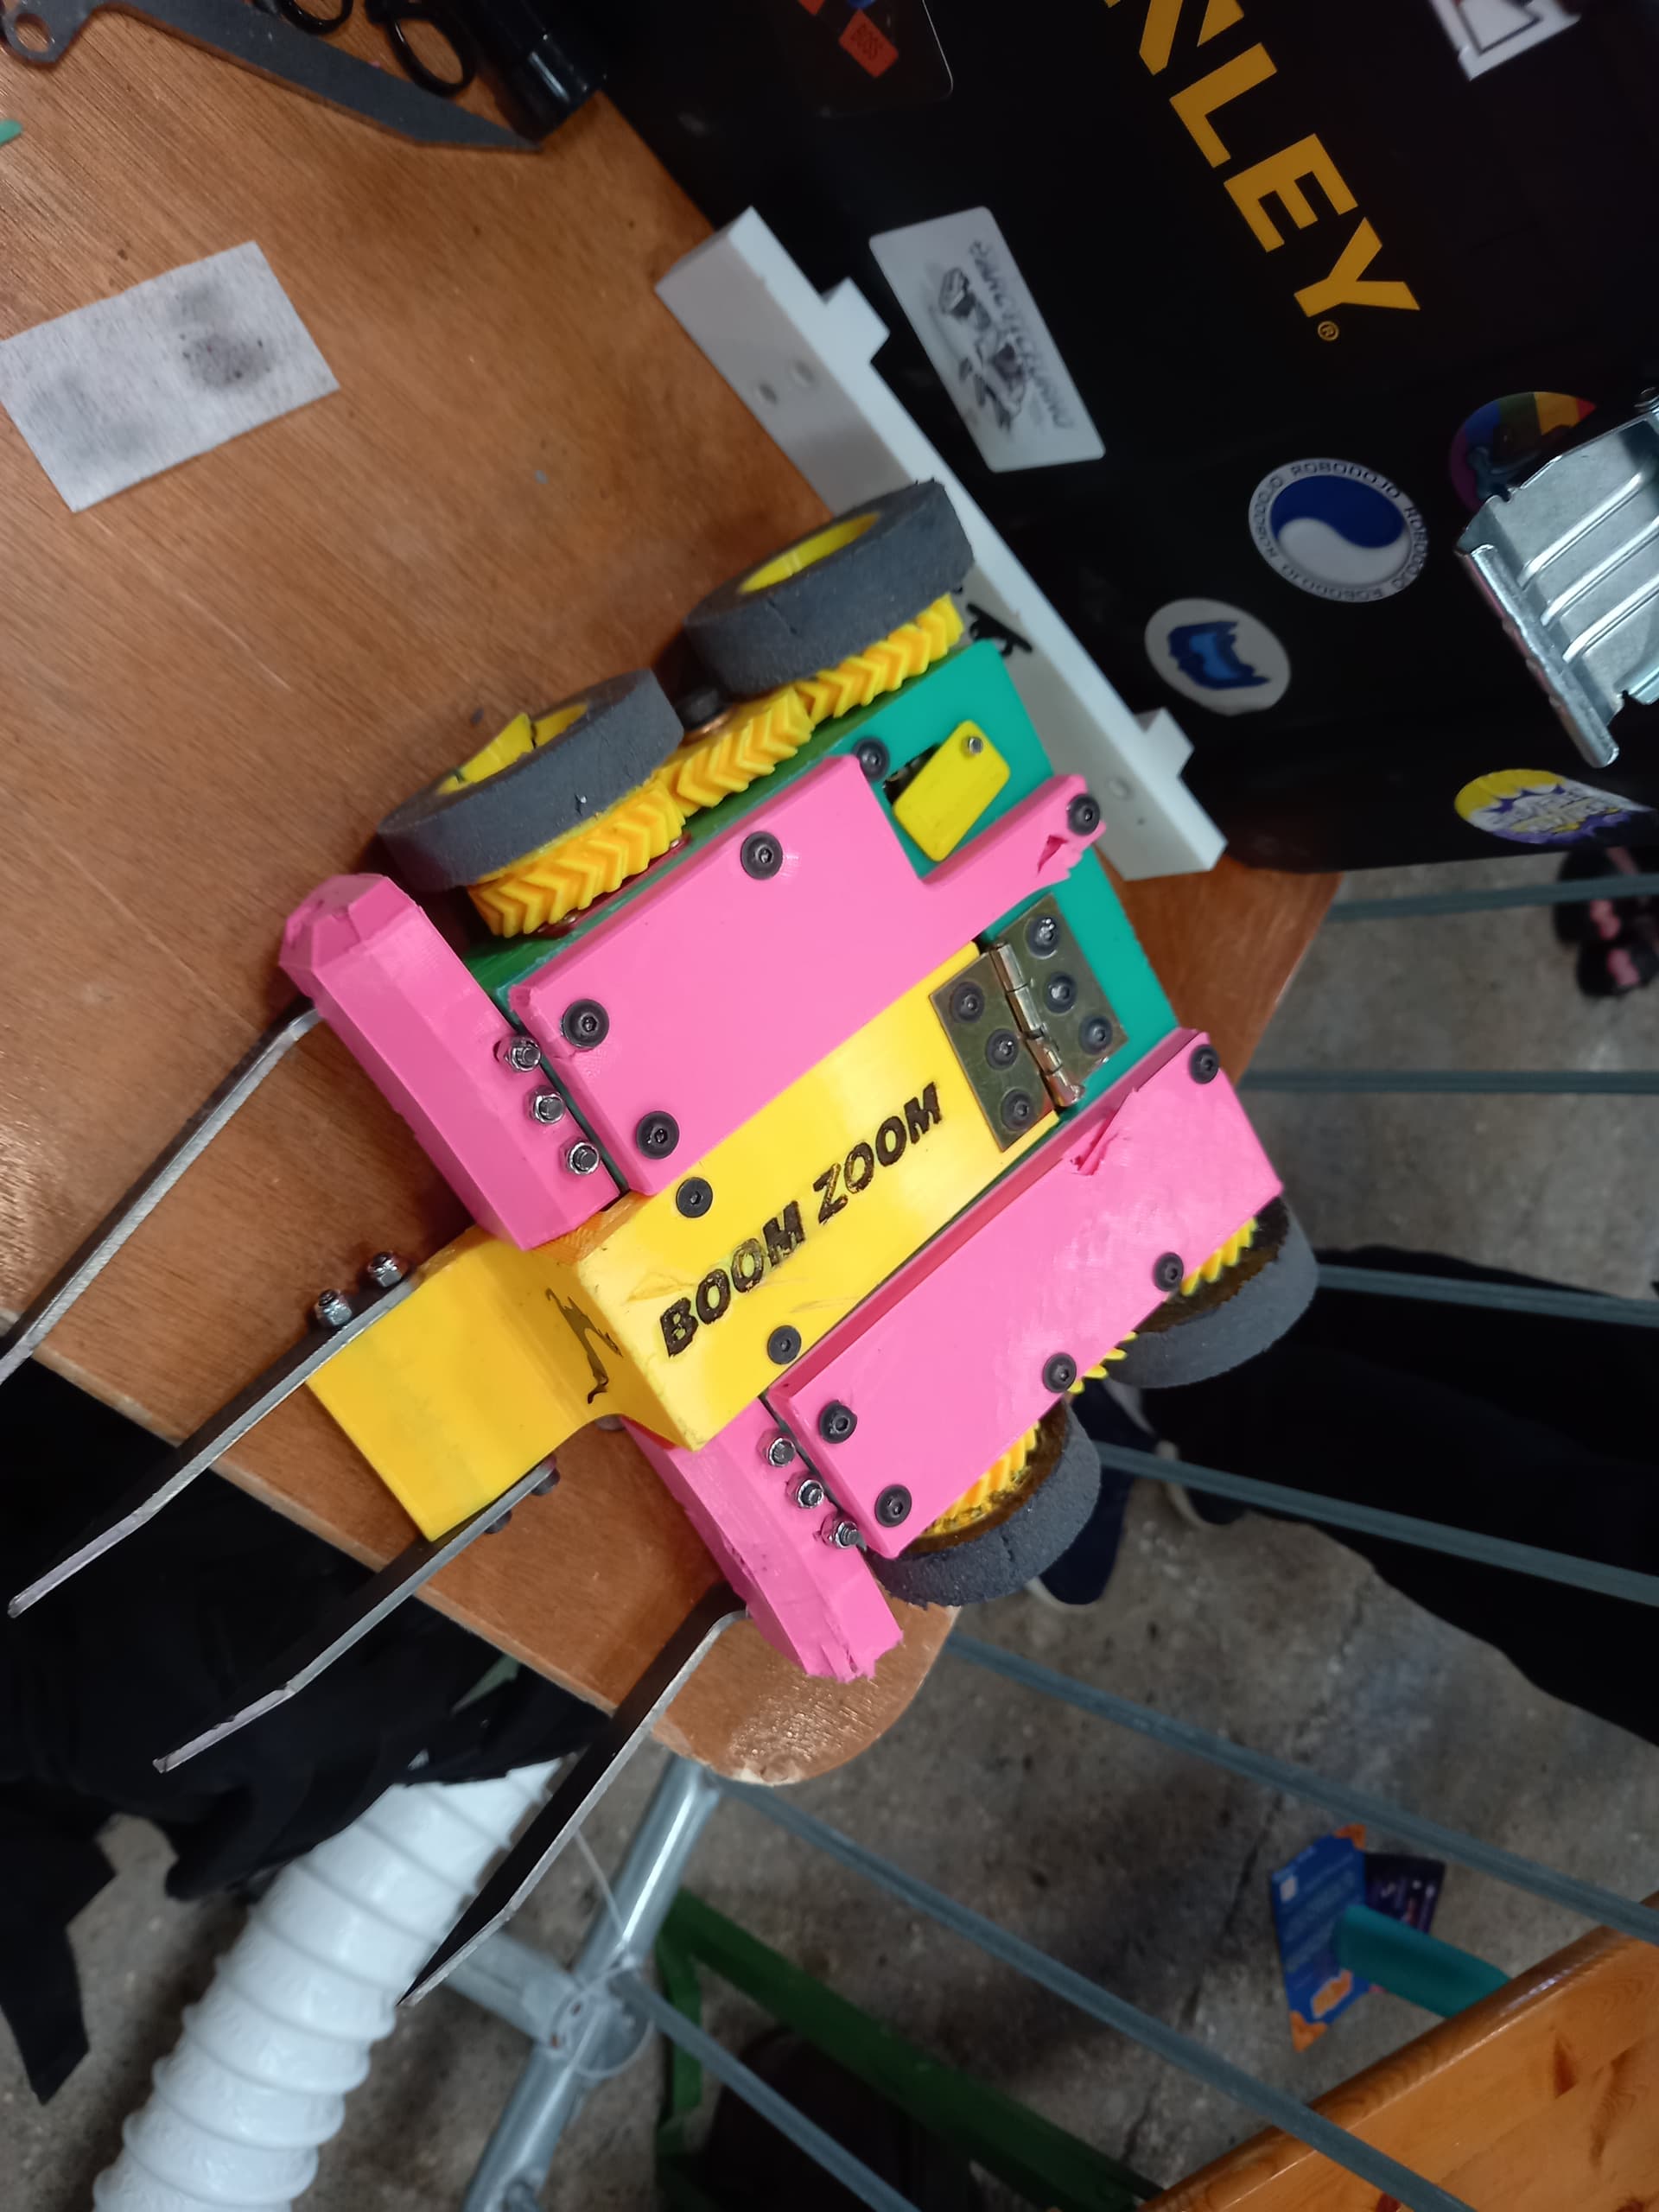
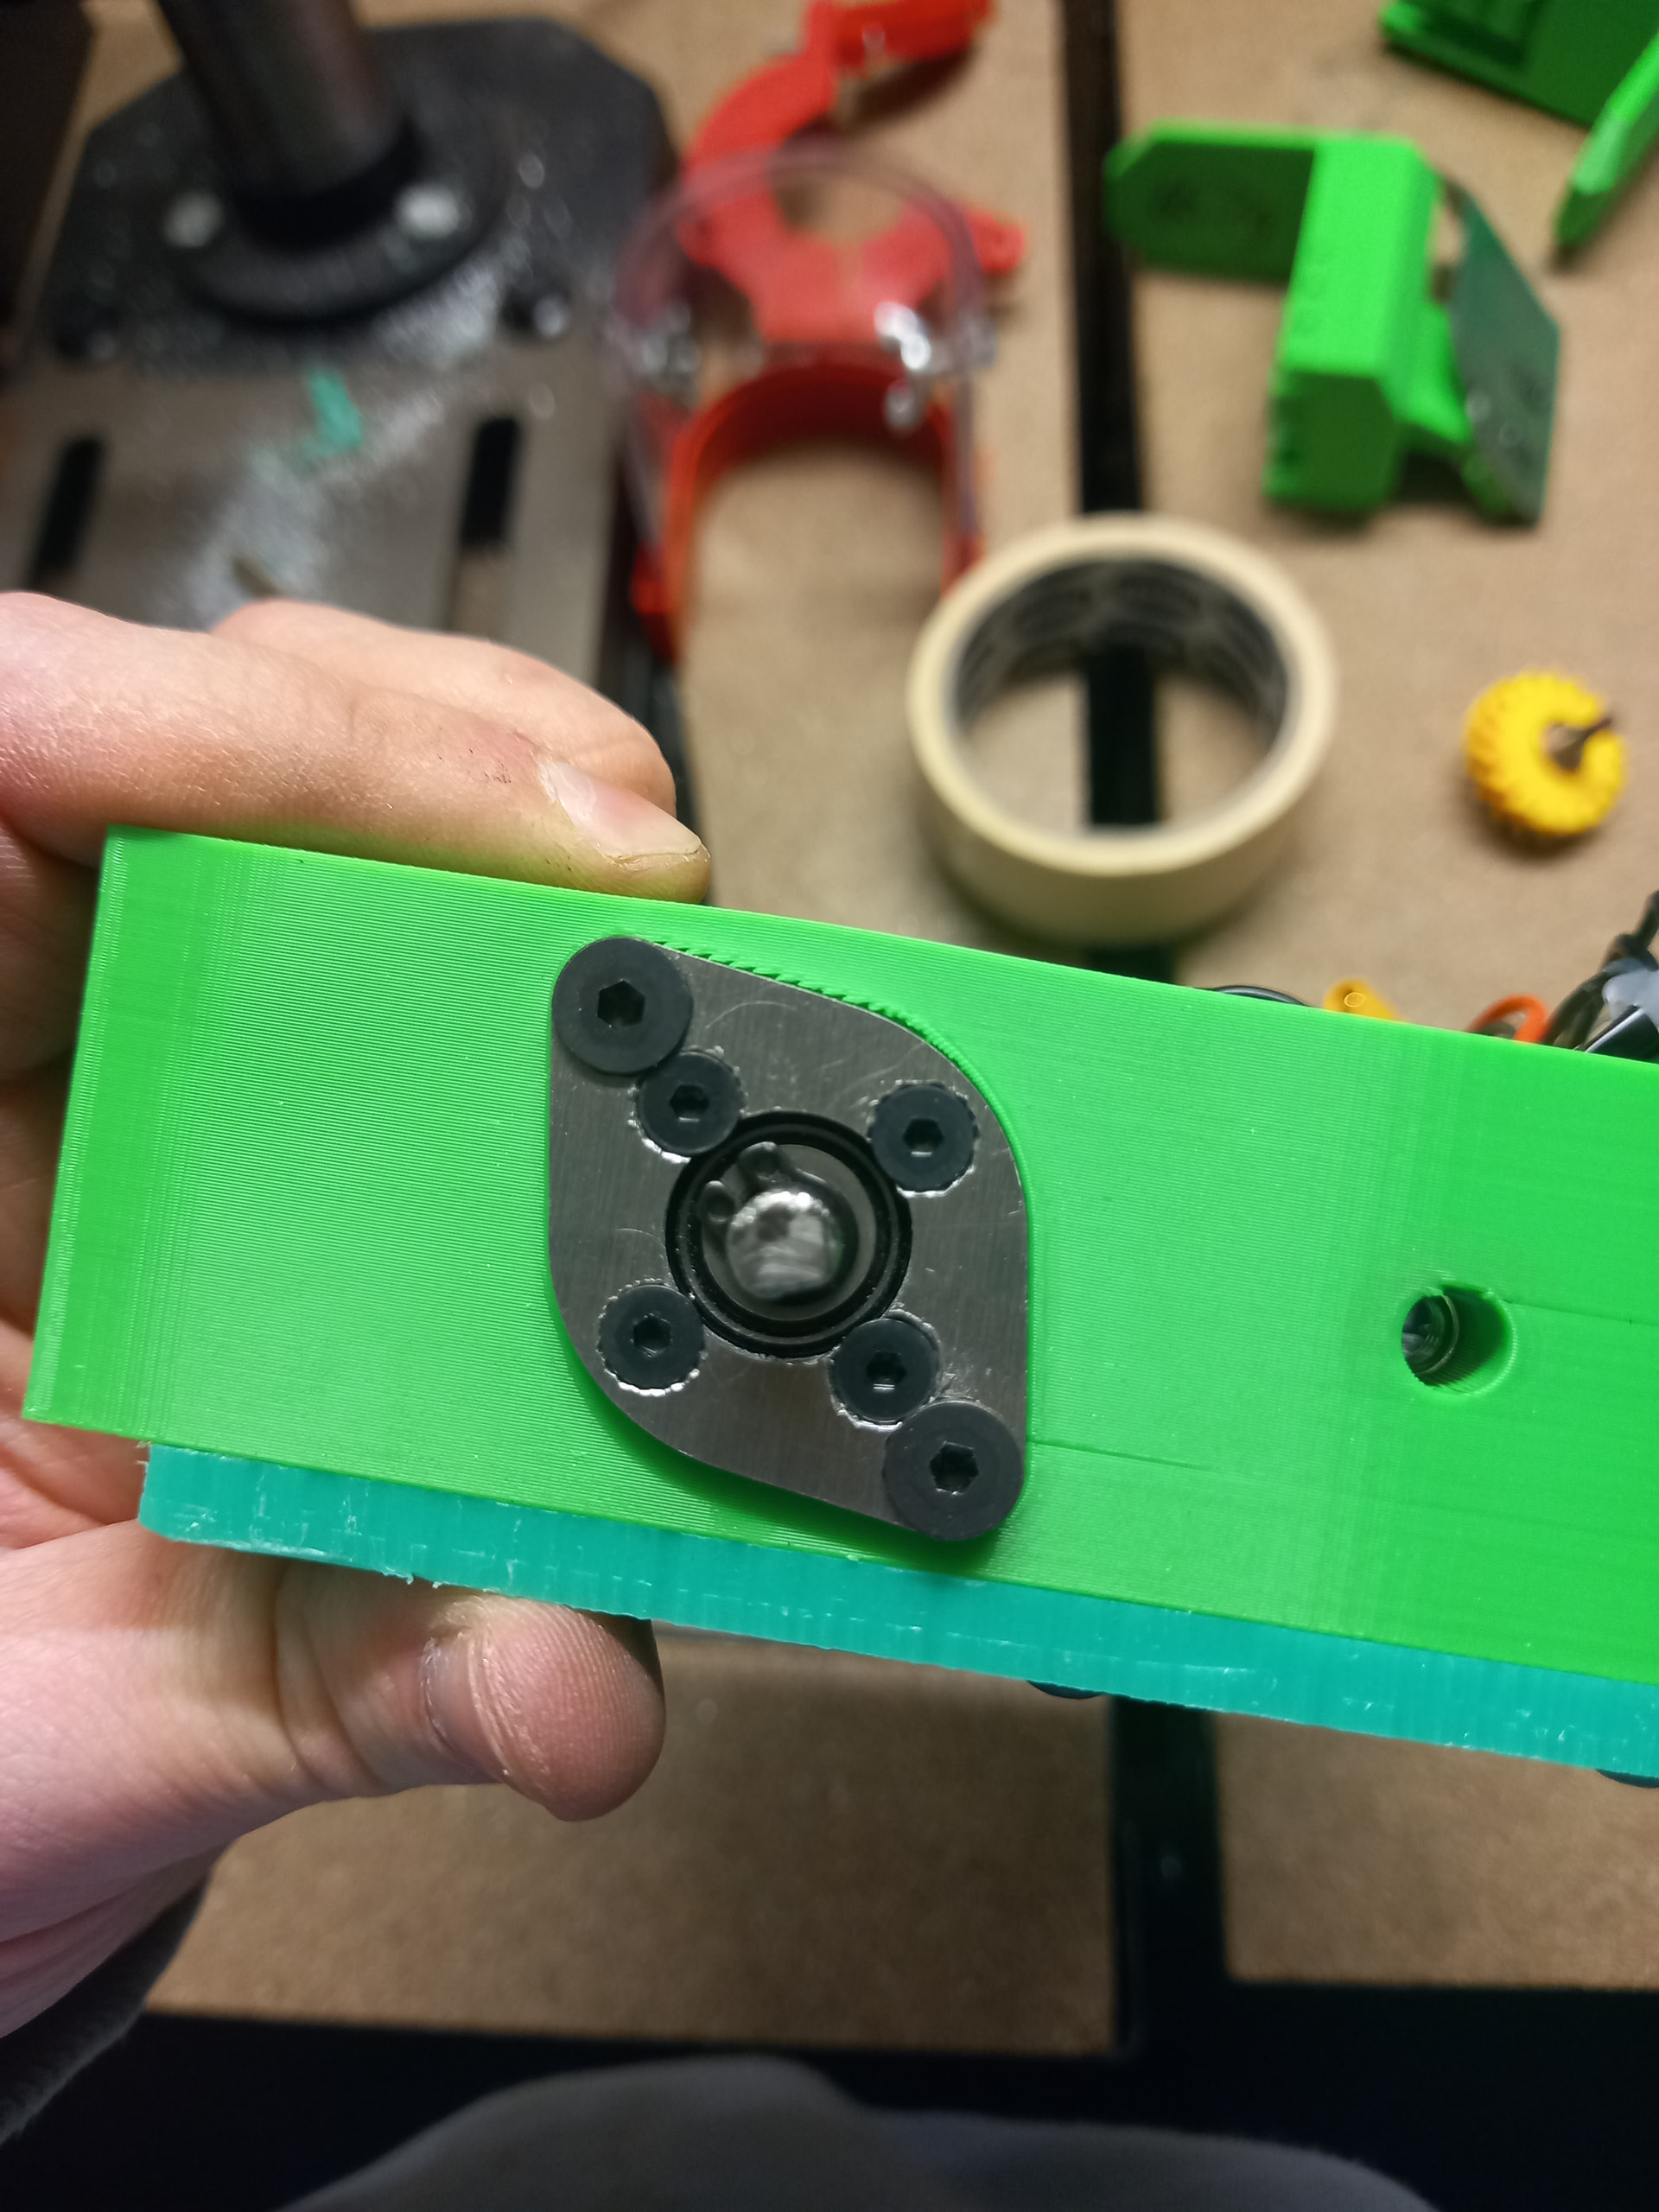
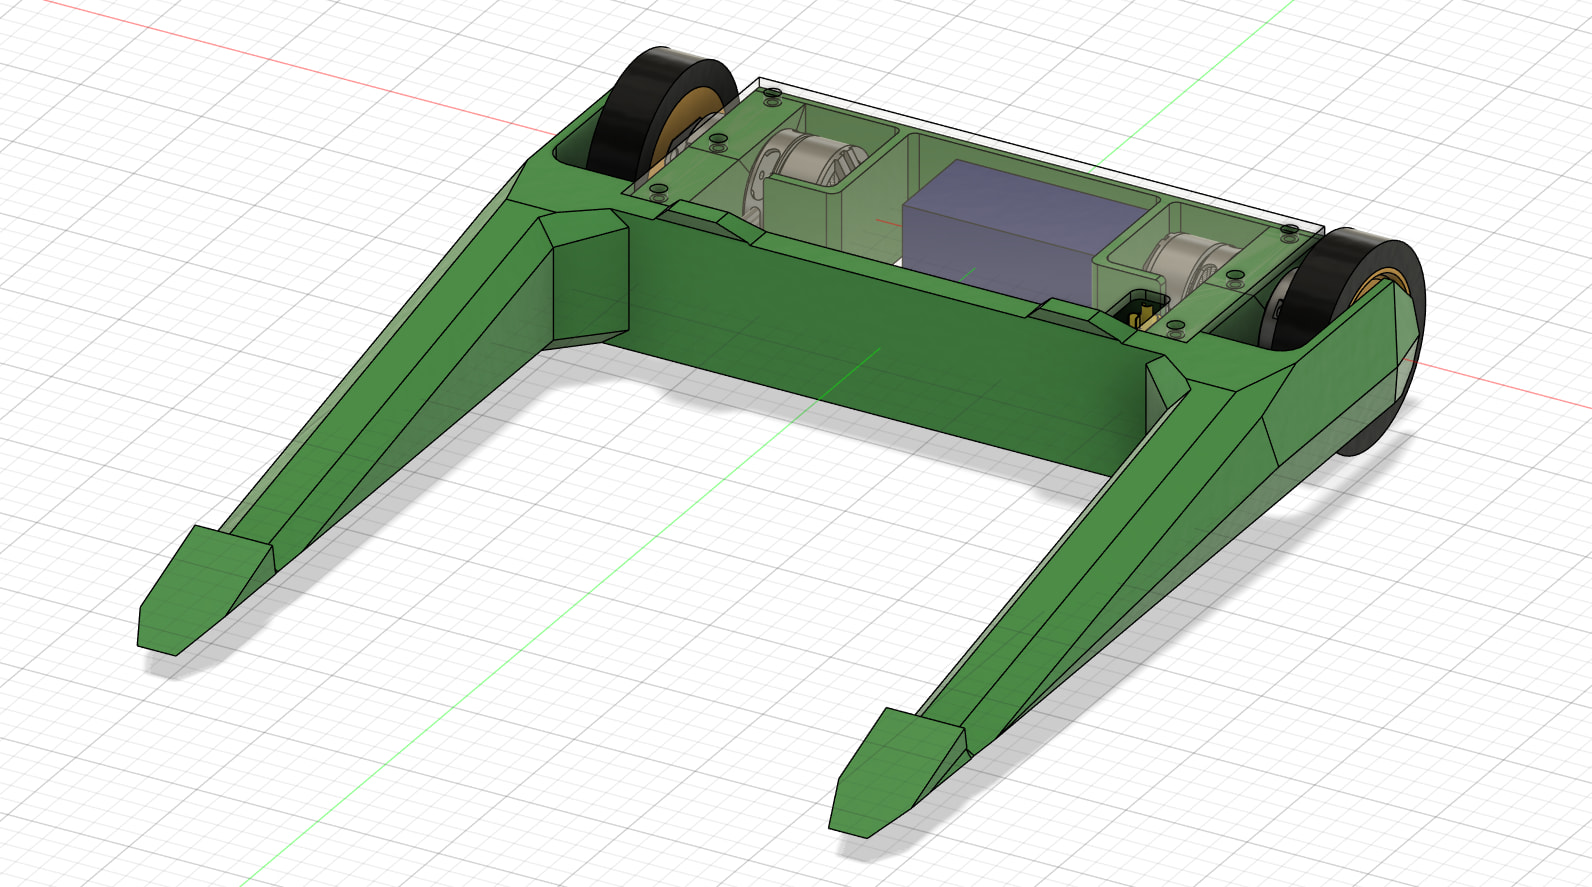
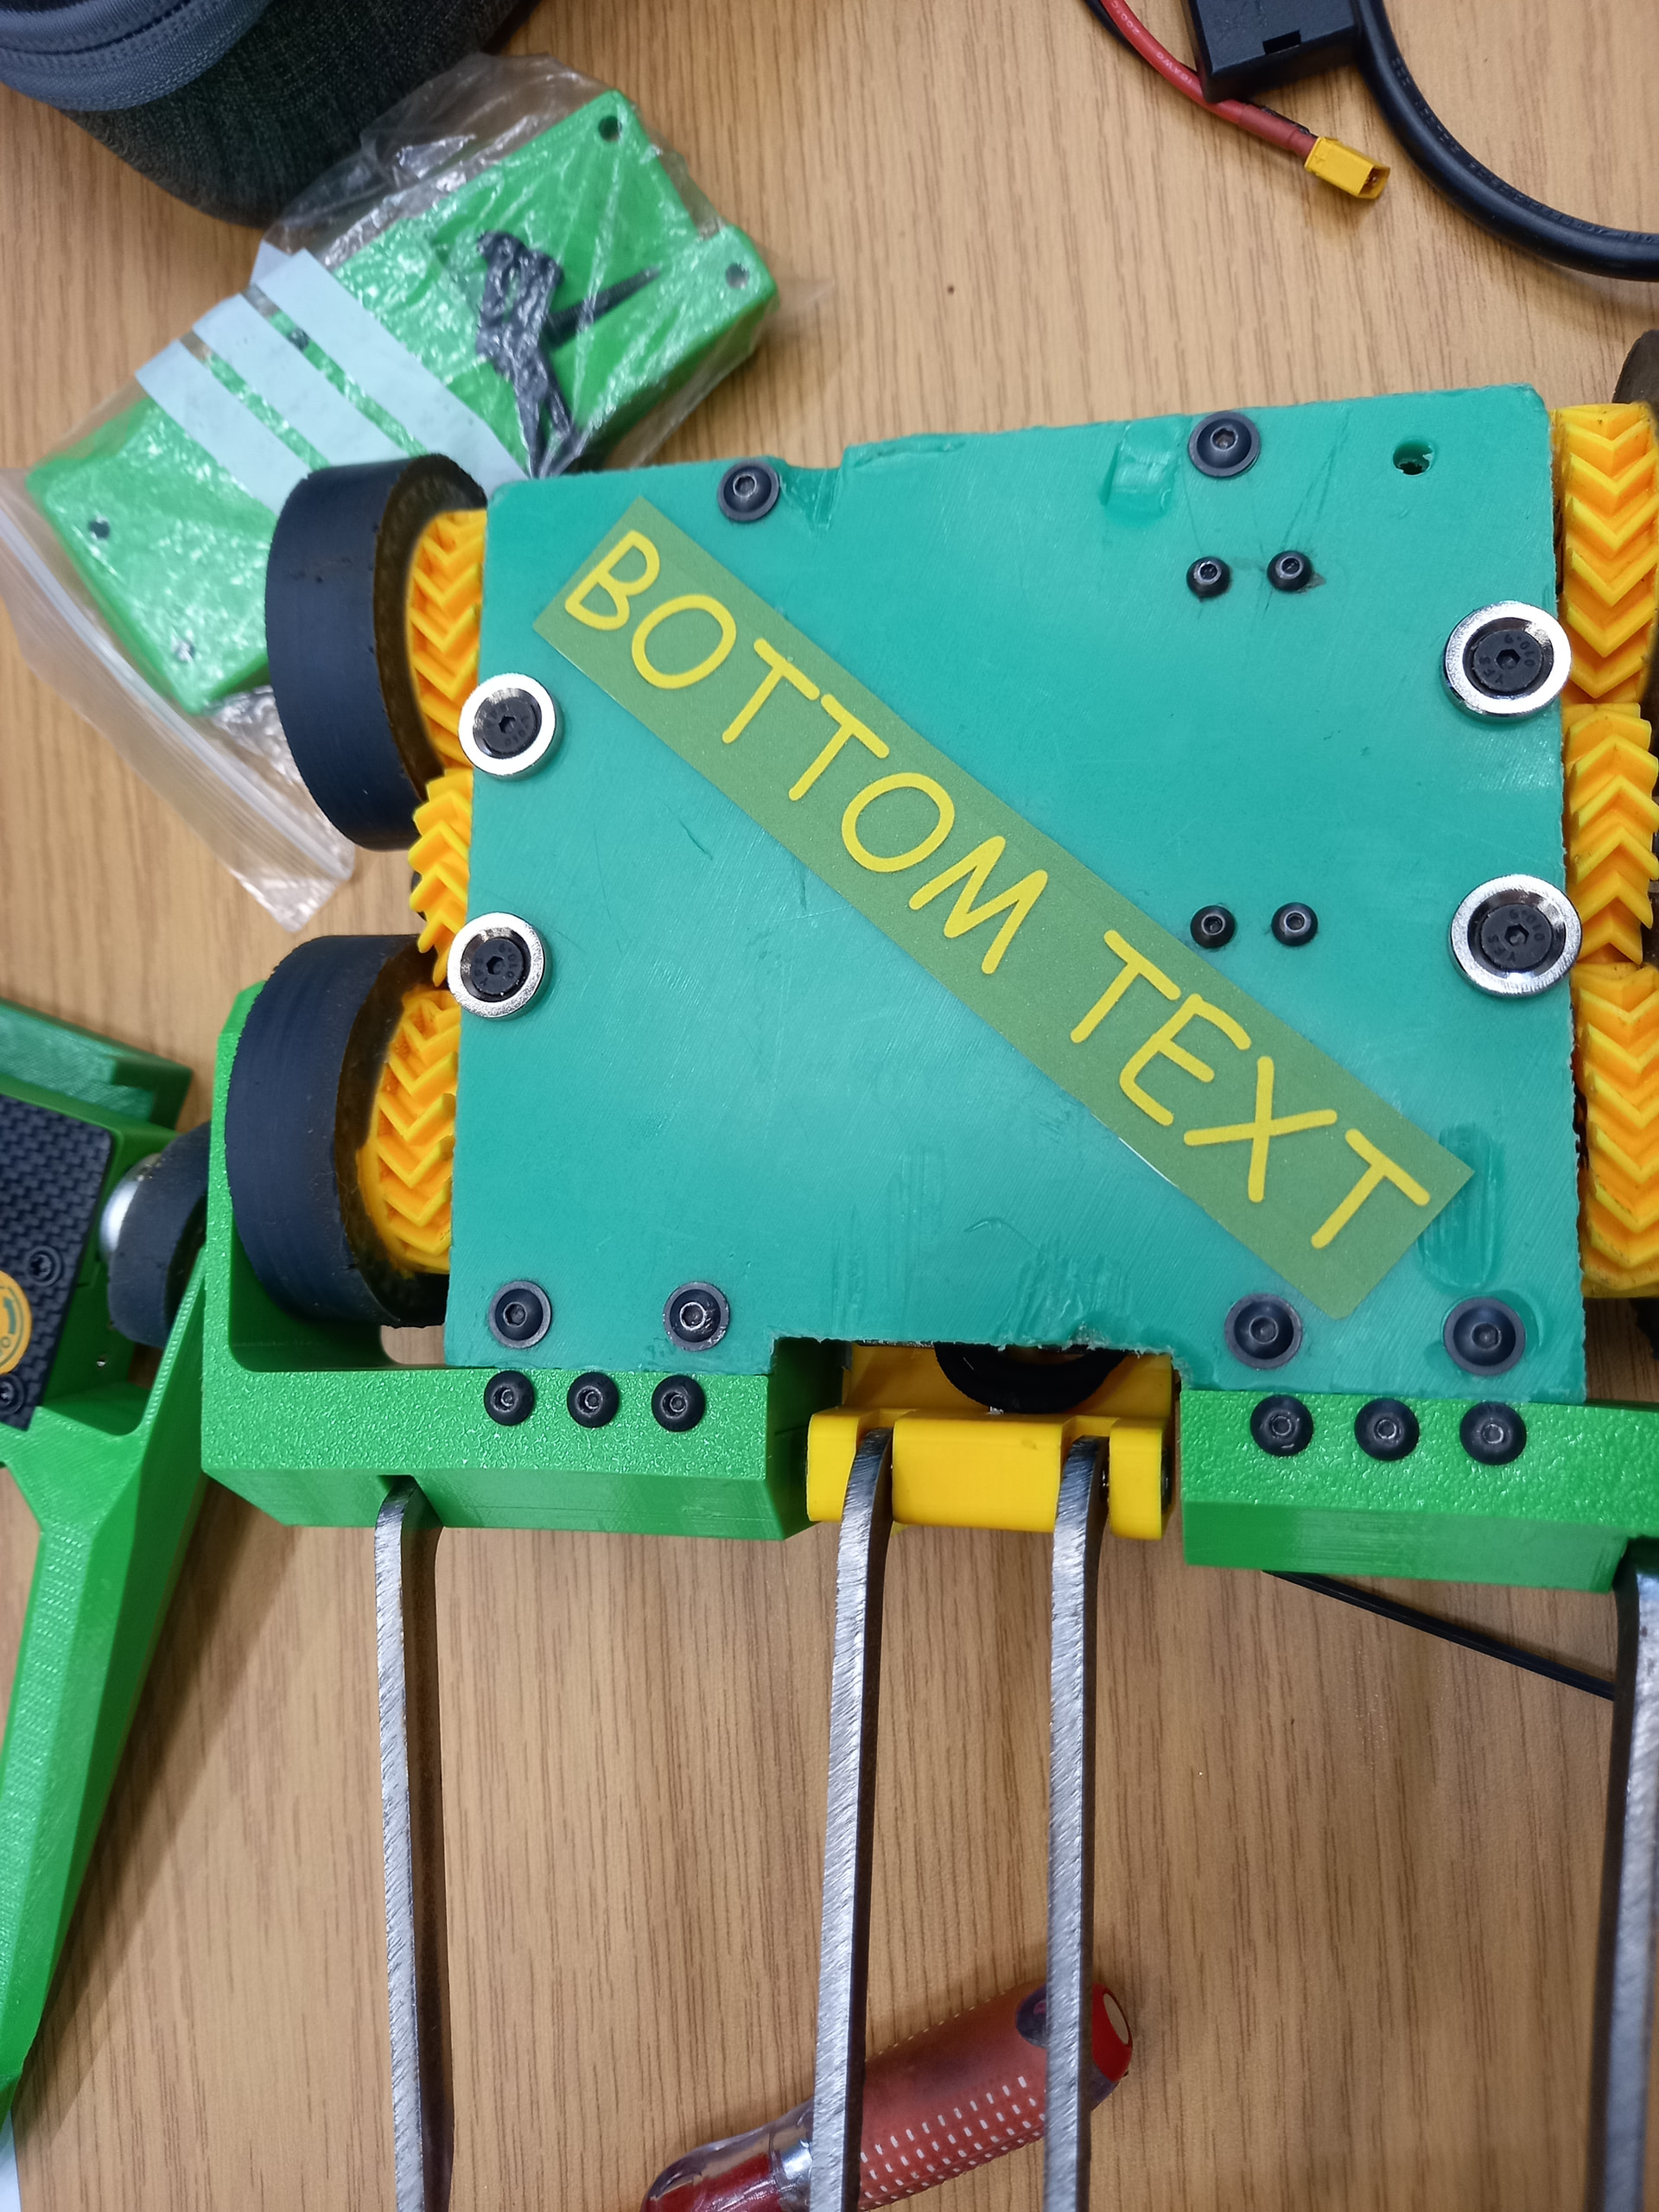
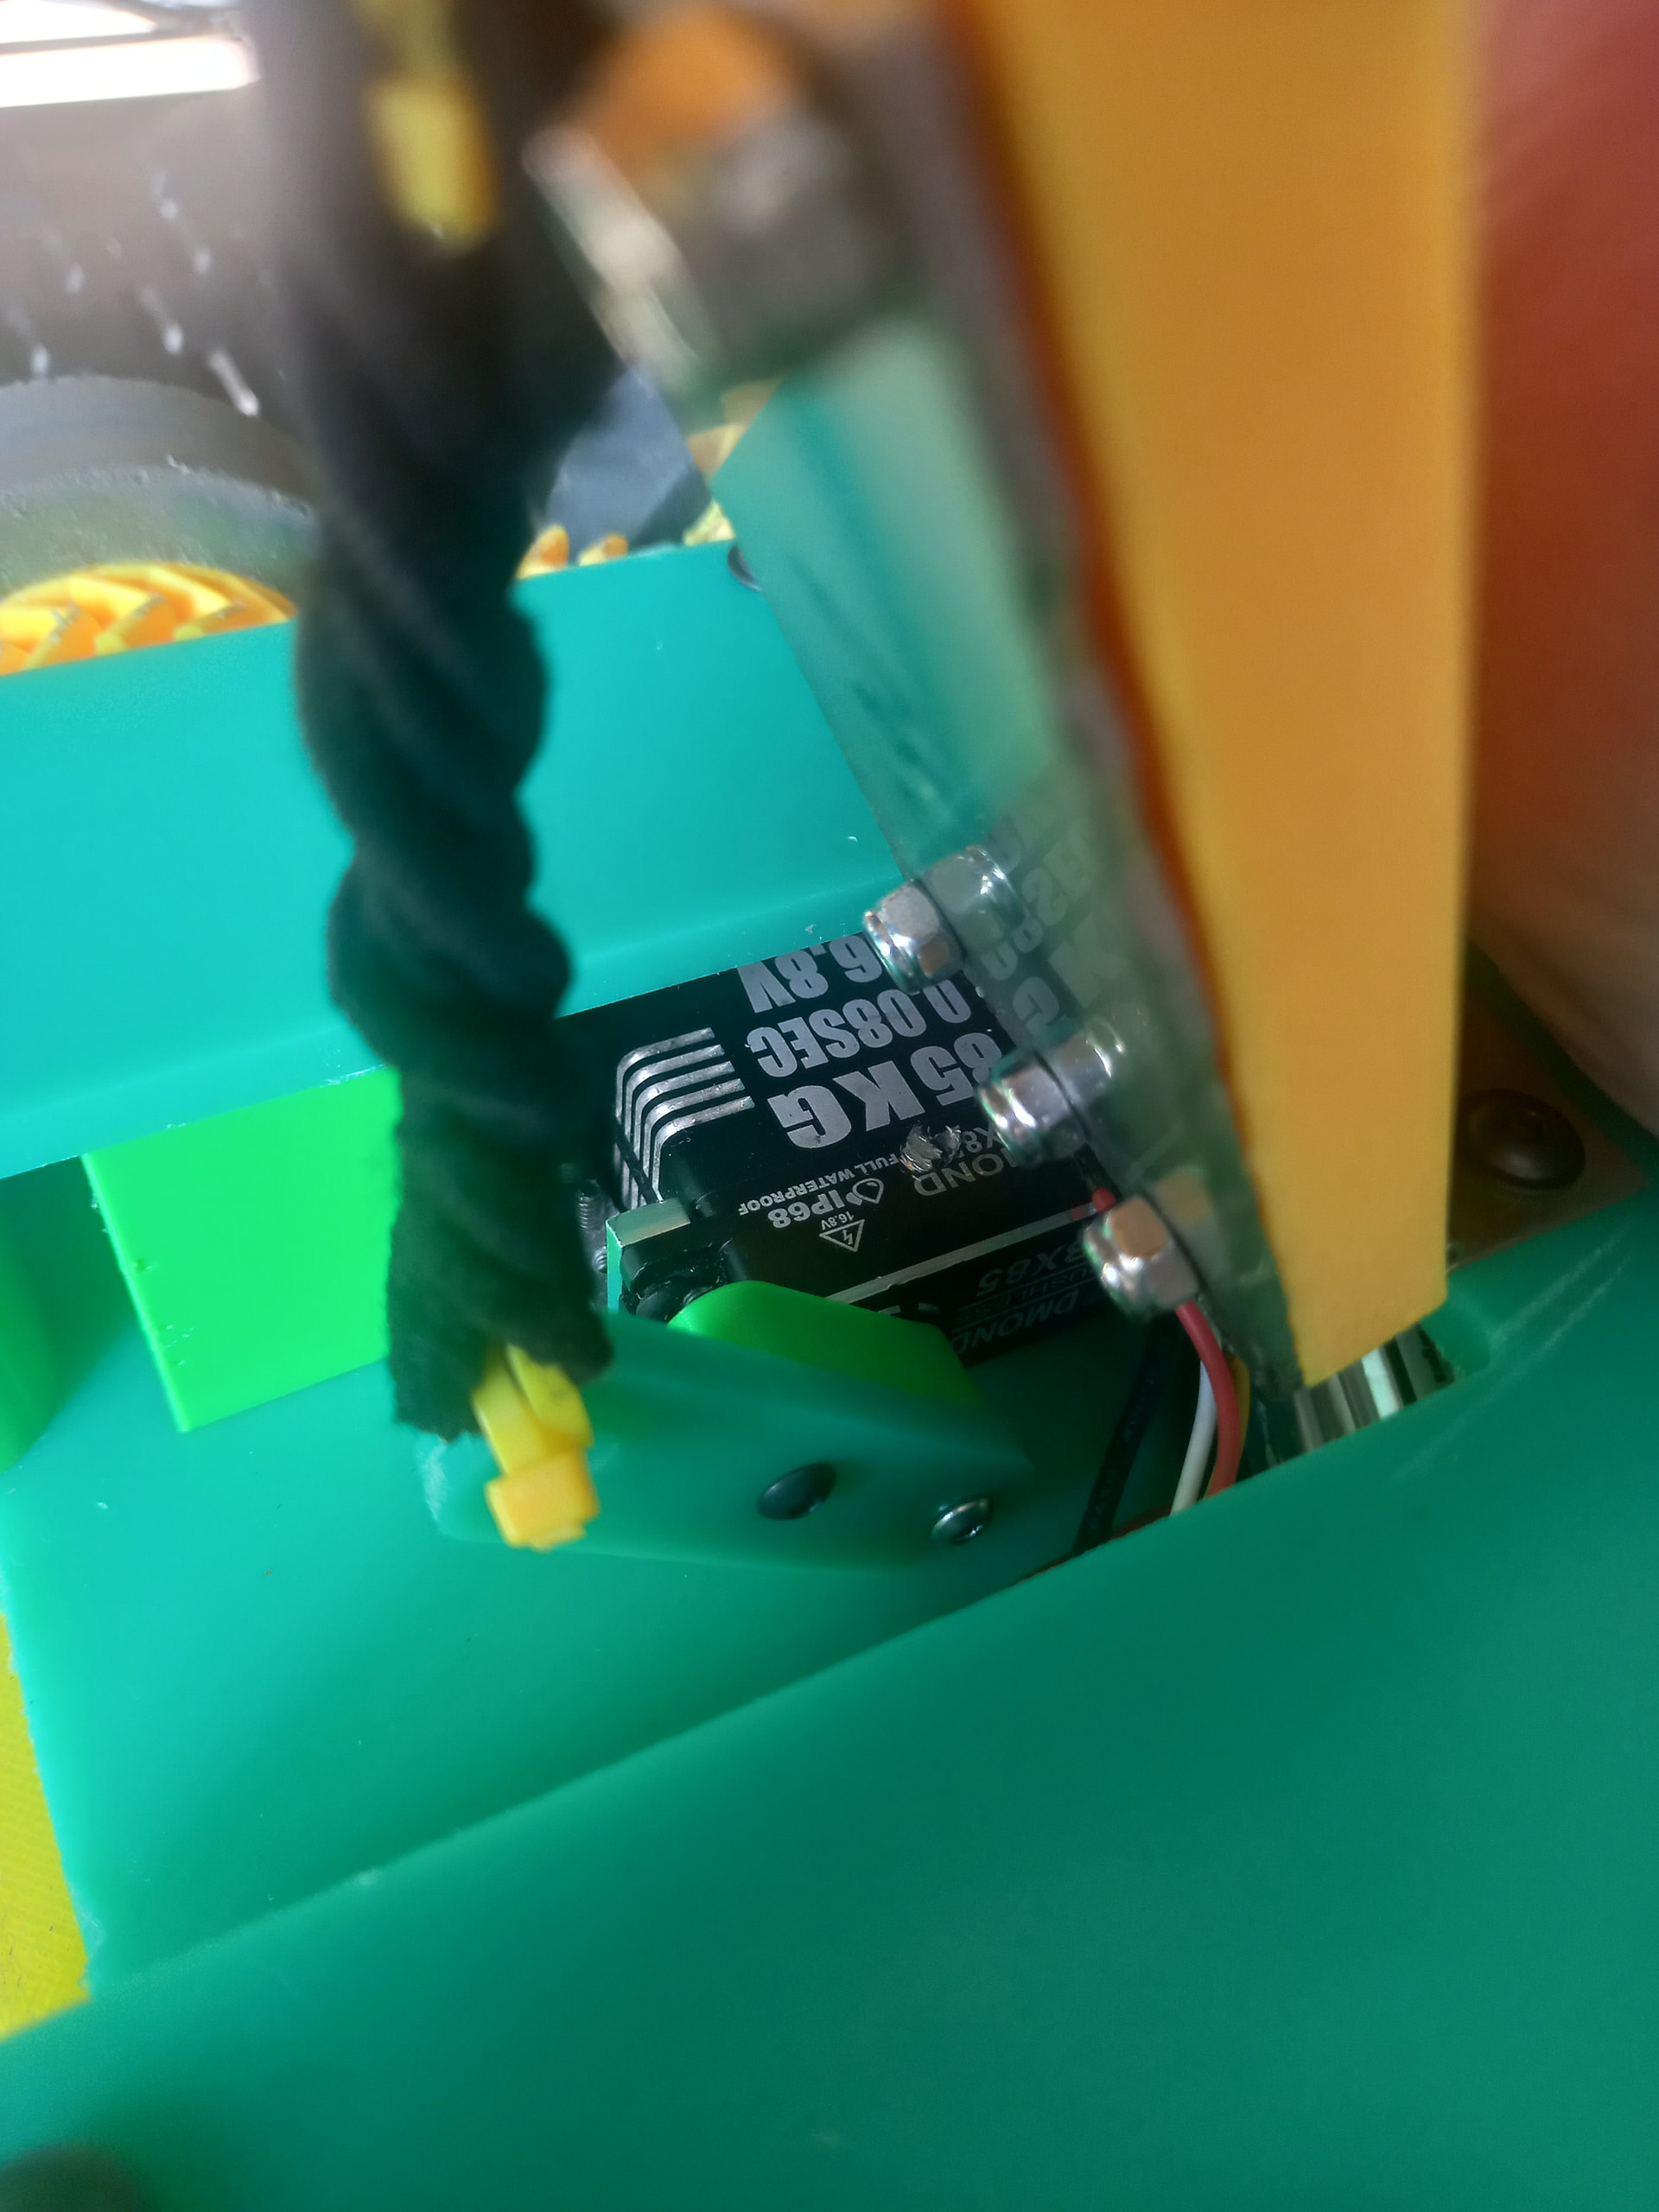
I paired these with some Repeat AM32 35A brushless ESCs as these seemed like a natural fit. These motors are a lot more powerful than their brushed predecessors, so I dropped to 2 drive motors instead of 4 in an effort to save weight and space. For transmission between the two pairs of wheels, I opted for gear drive as I hold a deep mistrust for all things belt-driven. Normally when gear driving a 4 wheel drive robot, builders will put the driven gear between the two wheels as this protects it much better, and offers a small reduction making for more torque/pushing power. This wasn’t an option for me thanks to where I put the servo powering the lifter, so I instead decided to directly drive the front wheel, and use an unpowered idler gear to transmit power between the front and rear wheel. I also 3D printed some guards for the brushless motors to prevent them from eating any wires, and used the Ranglebox Mars hubs to secure the wheels to the motor shafts.
For the gears themselves I “borrowed” the settings from another builder smarter than I, Jack Franklin. The gears were generated by Fusion 360’s GF Gear Generator and are double helical (so they transmit torque more smoothly and self-align) with a 45 degree helix angle and an MOD of 2mm. I used 6mm shoulder bolts for the axles threaded into square nuts press fit into the chassis and oilite flange bushings either side of the wheels/gears to make sure everything rotated smoothly.
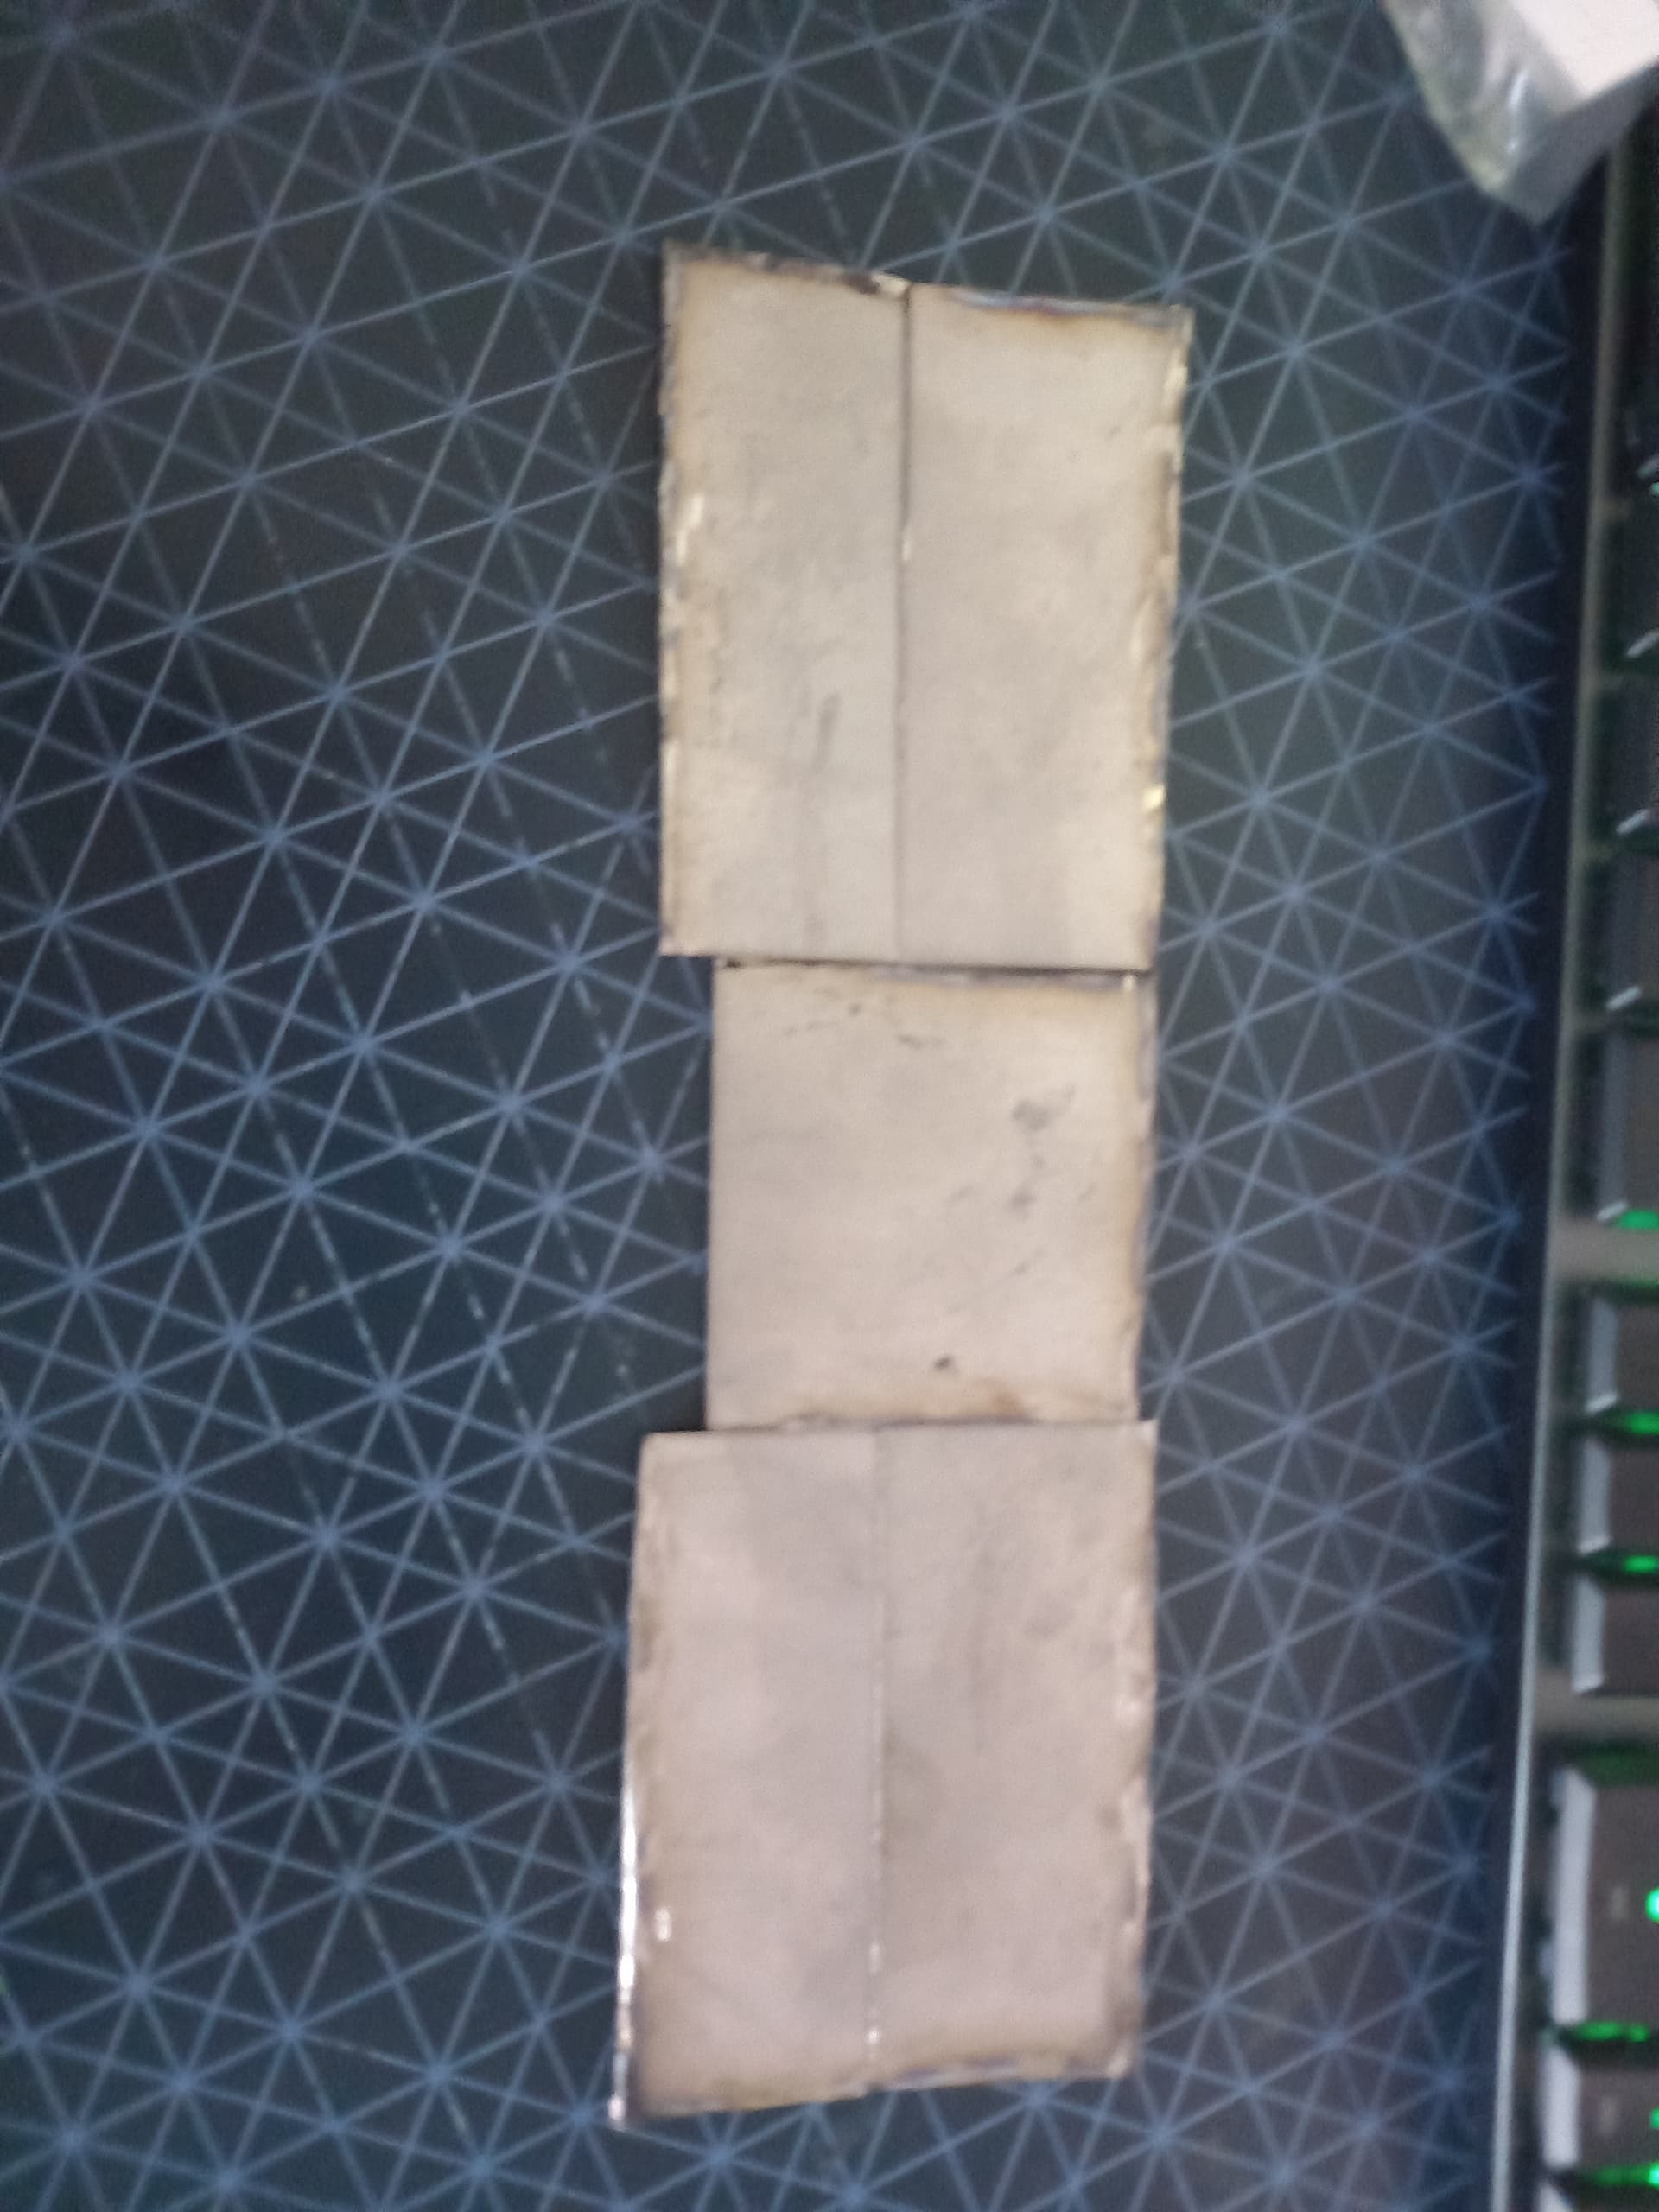
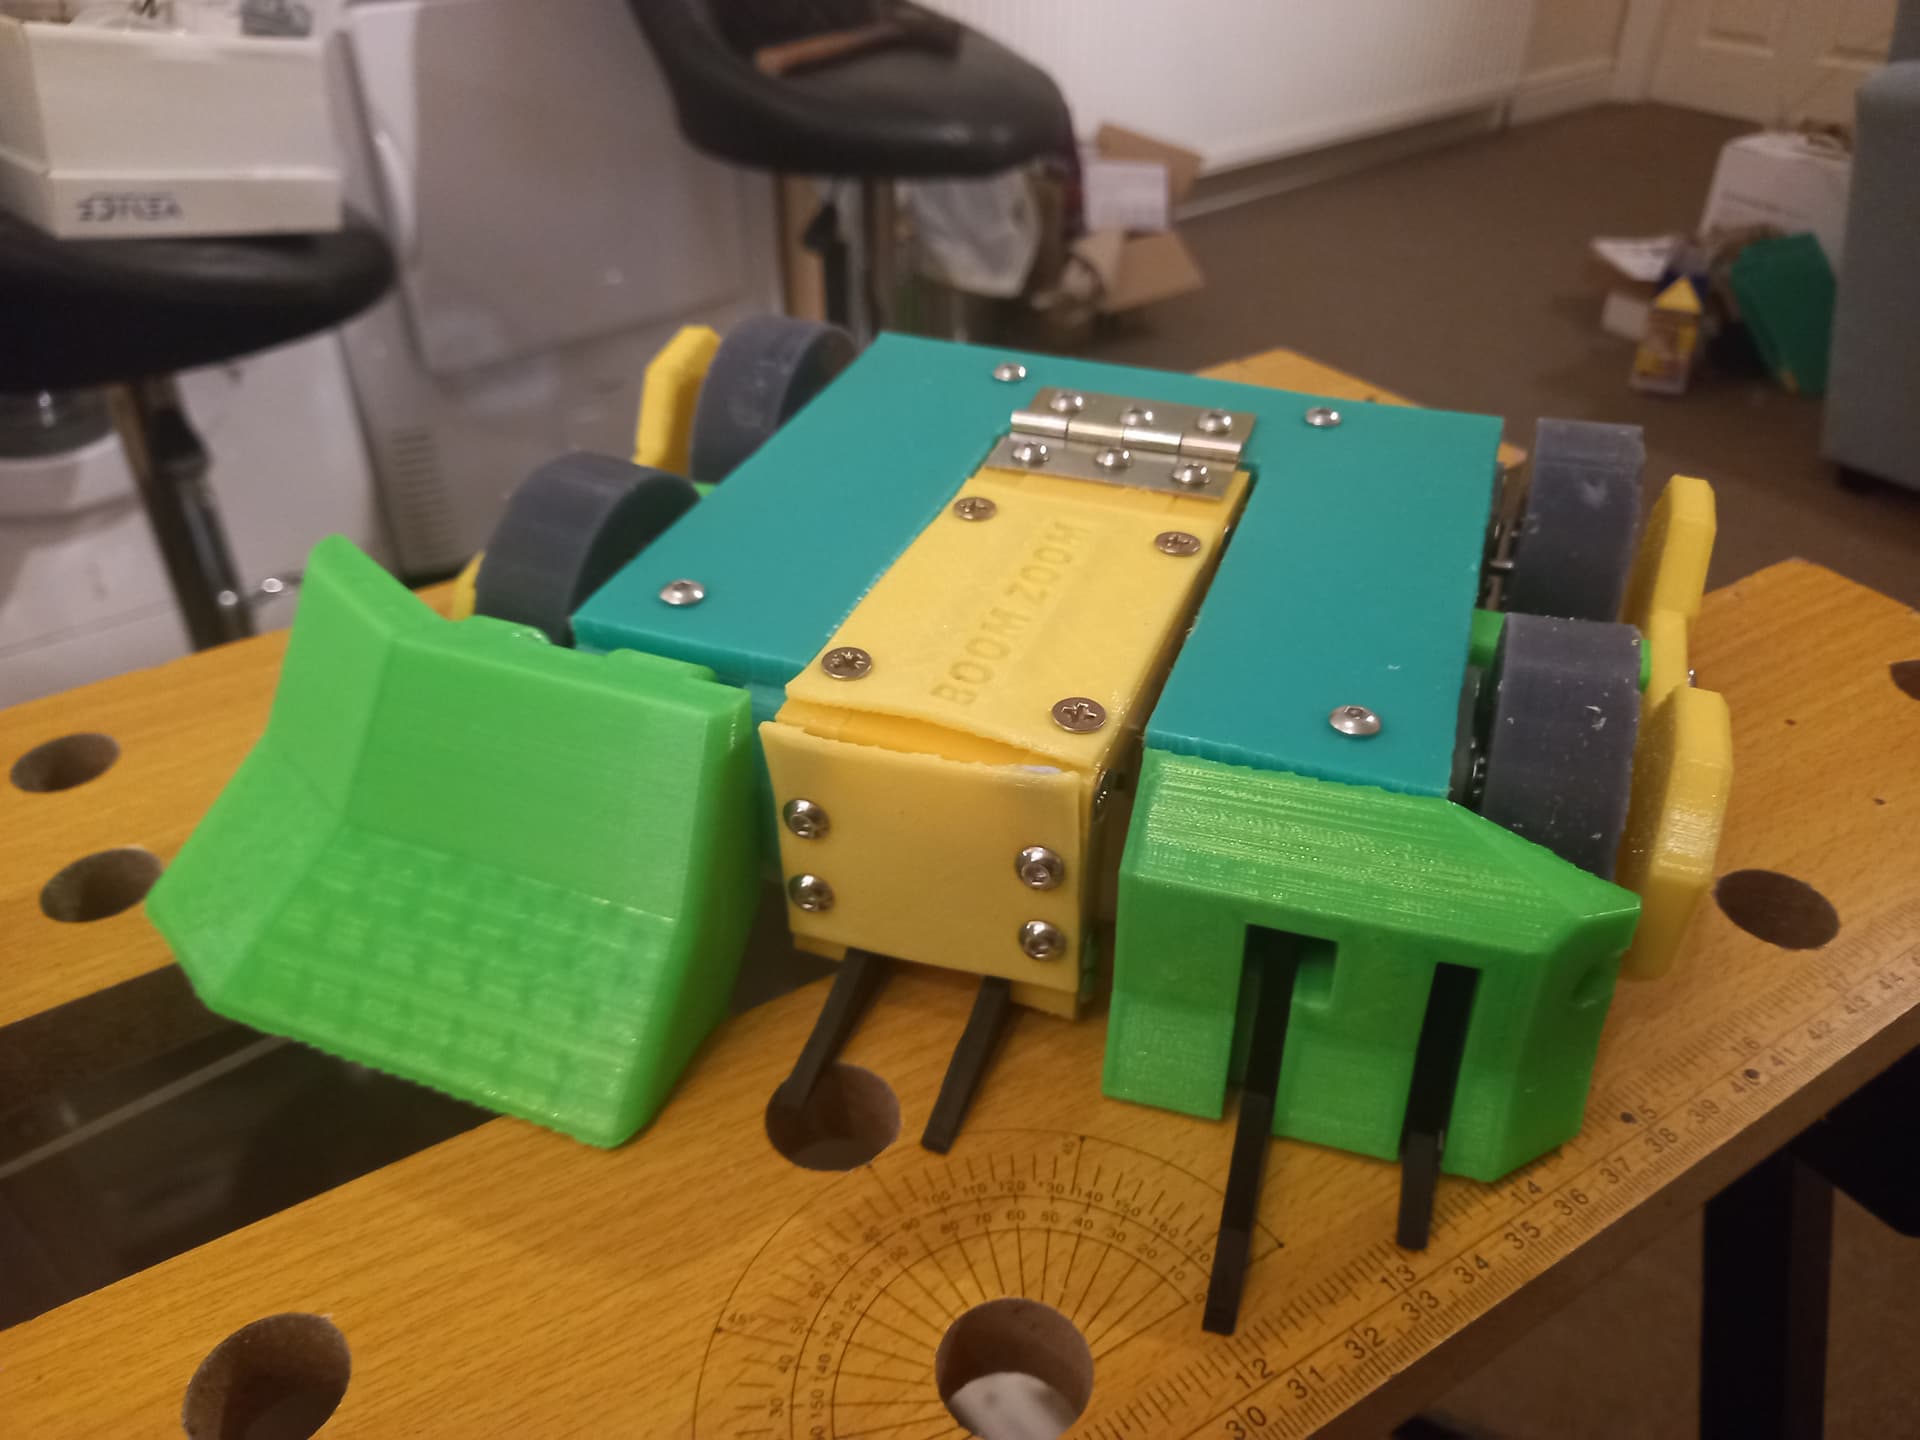
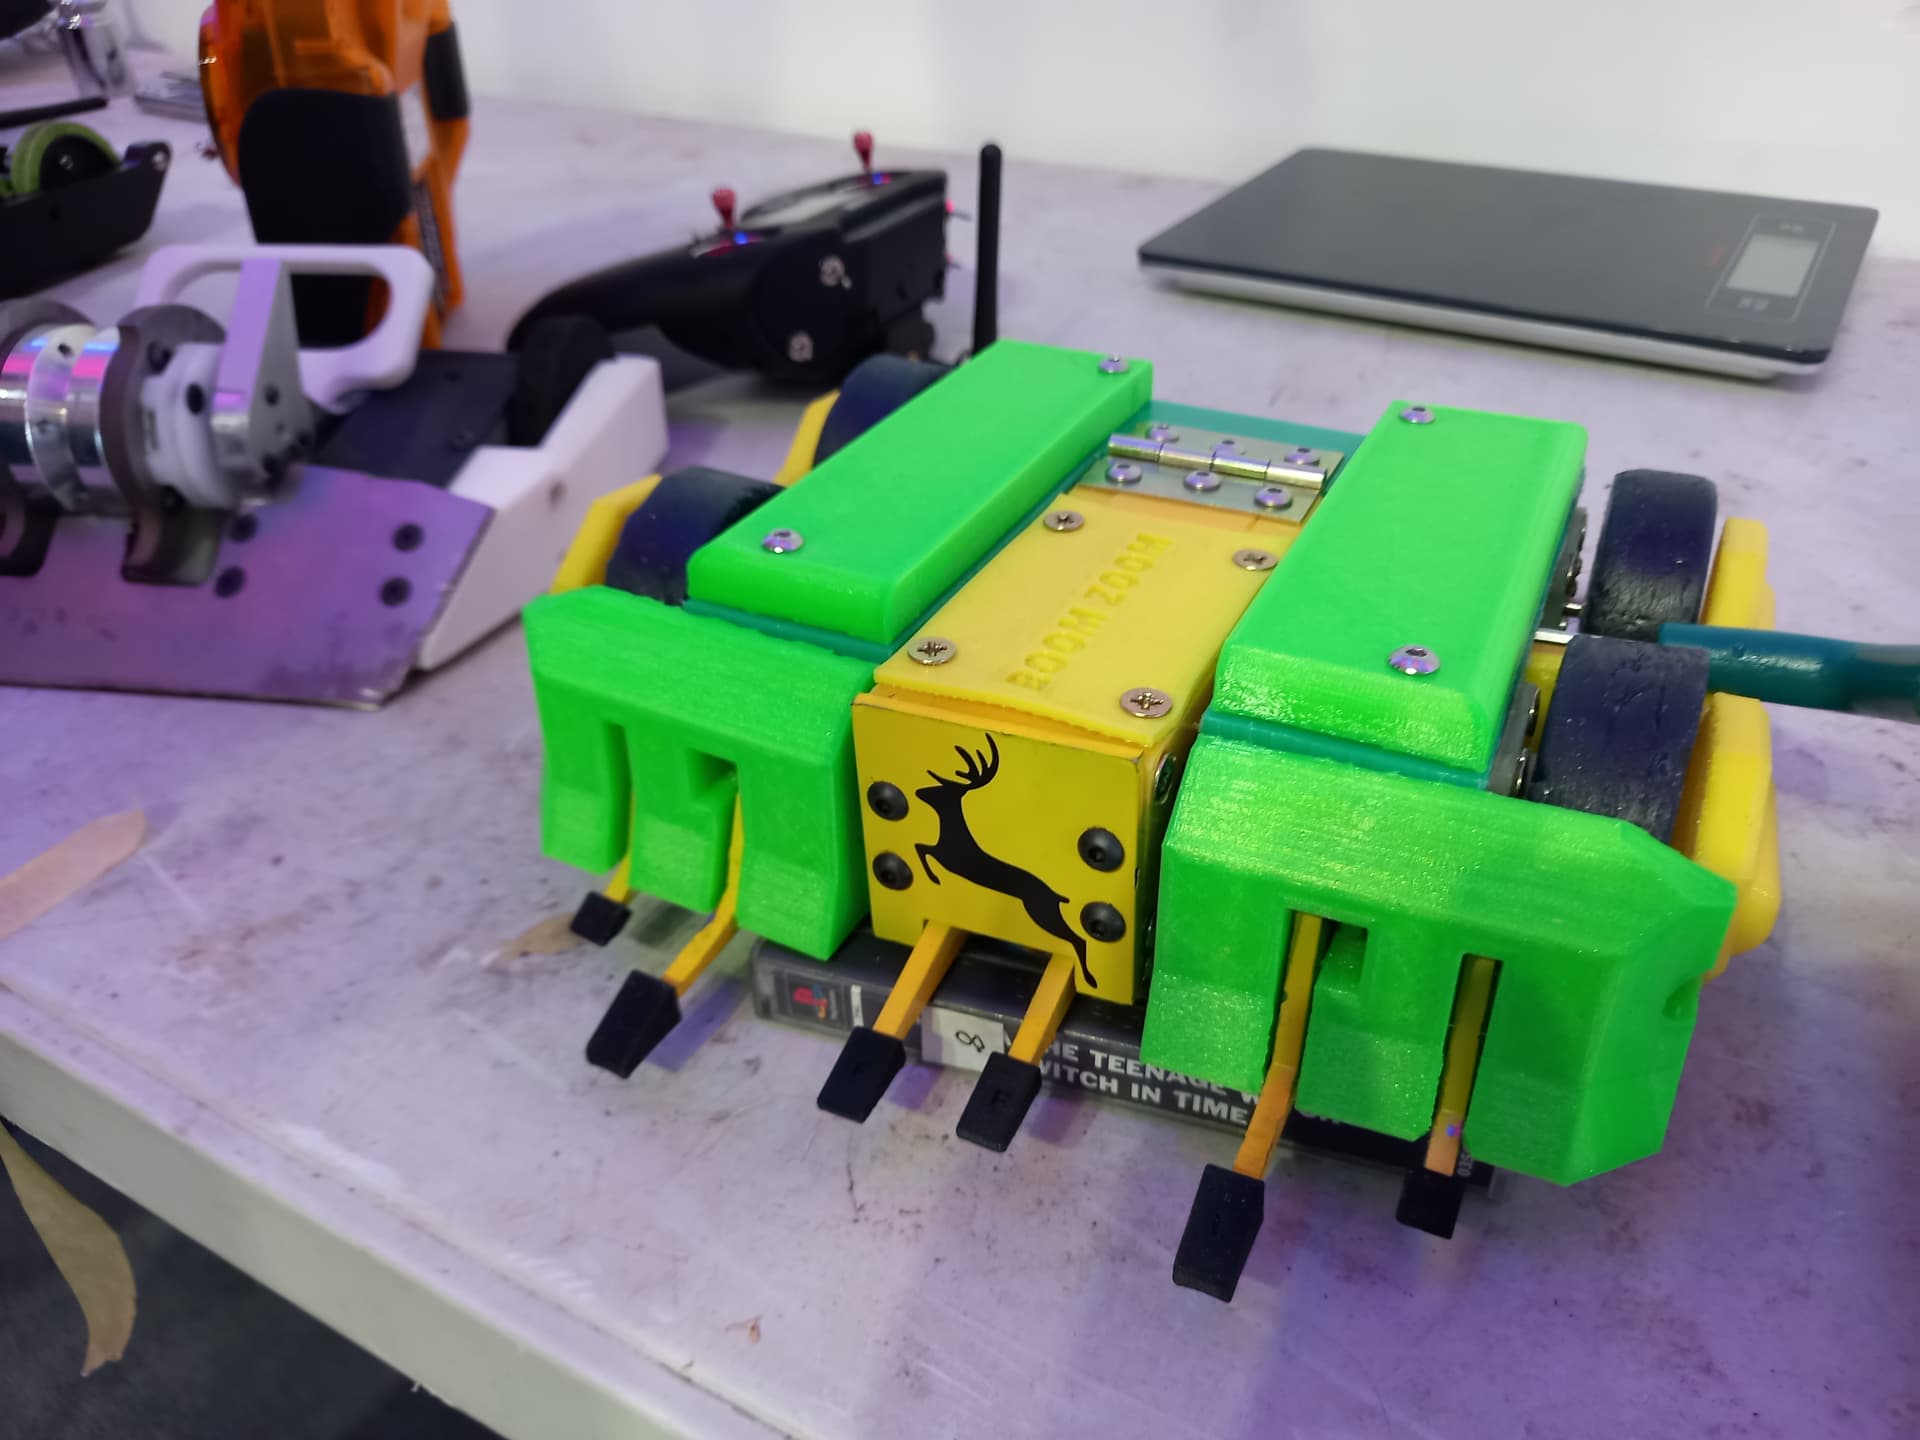
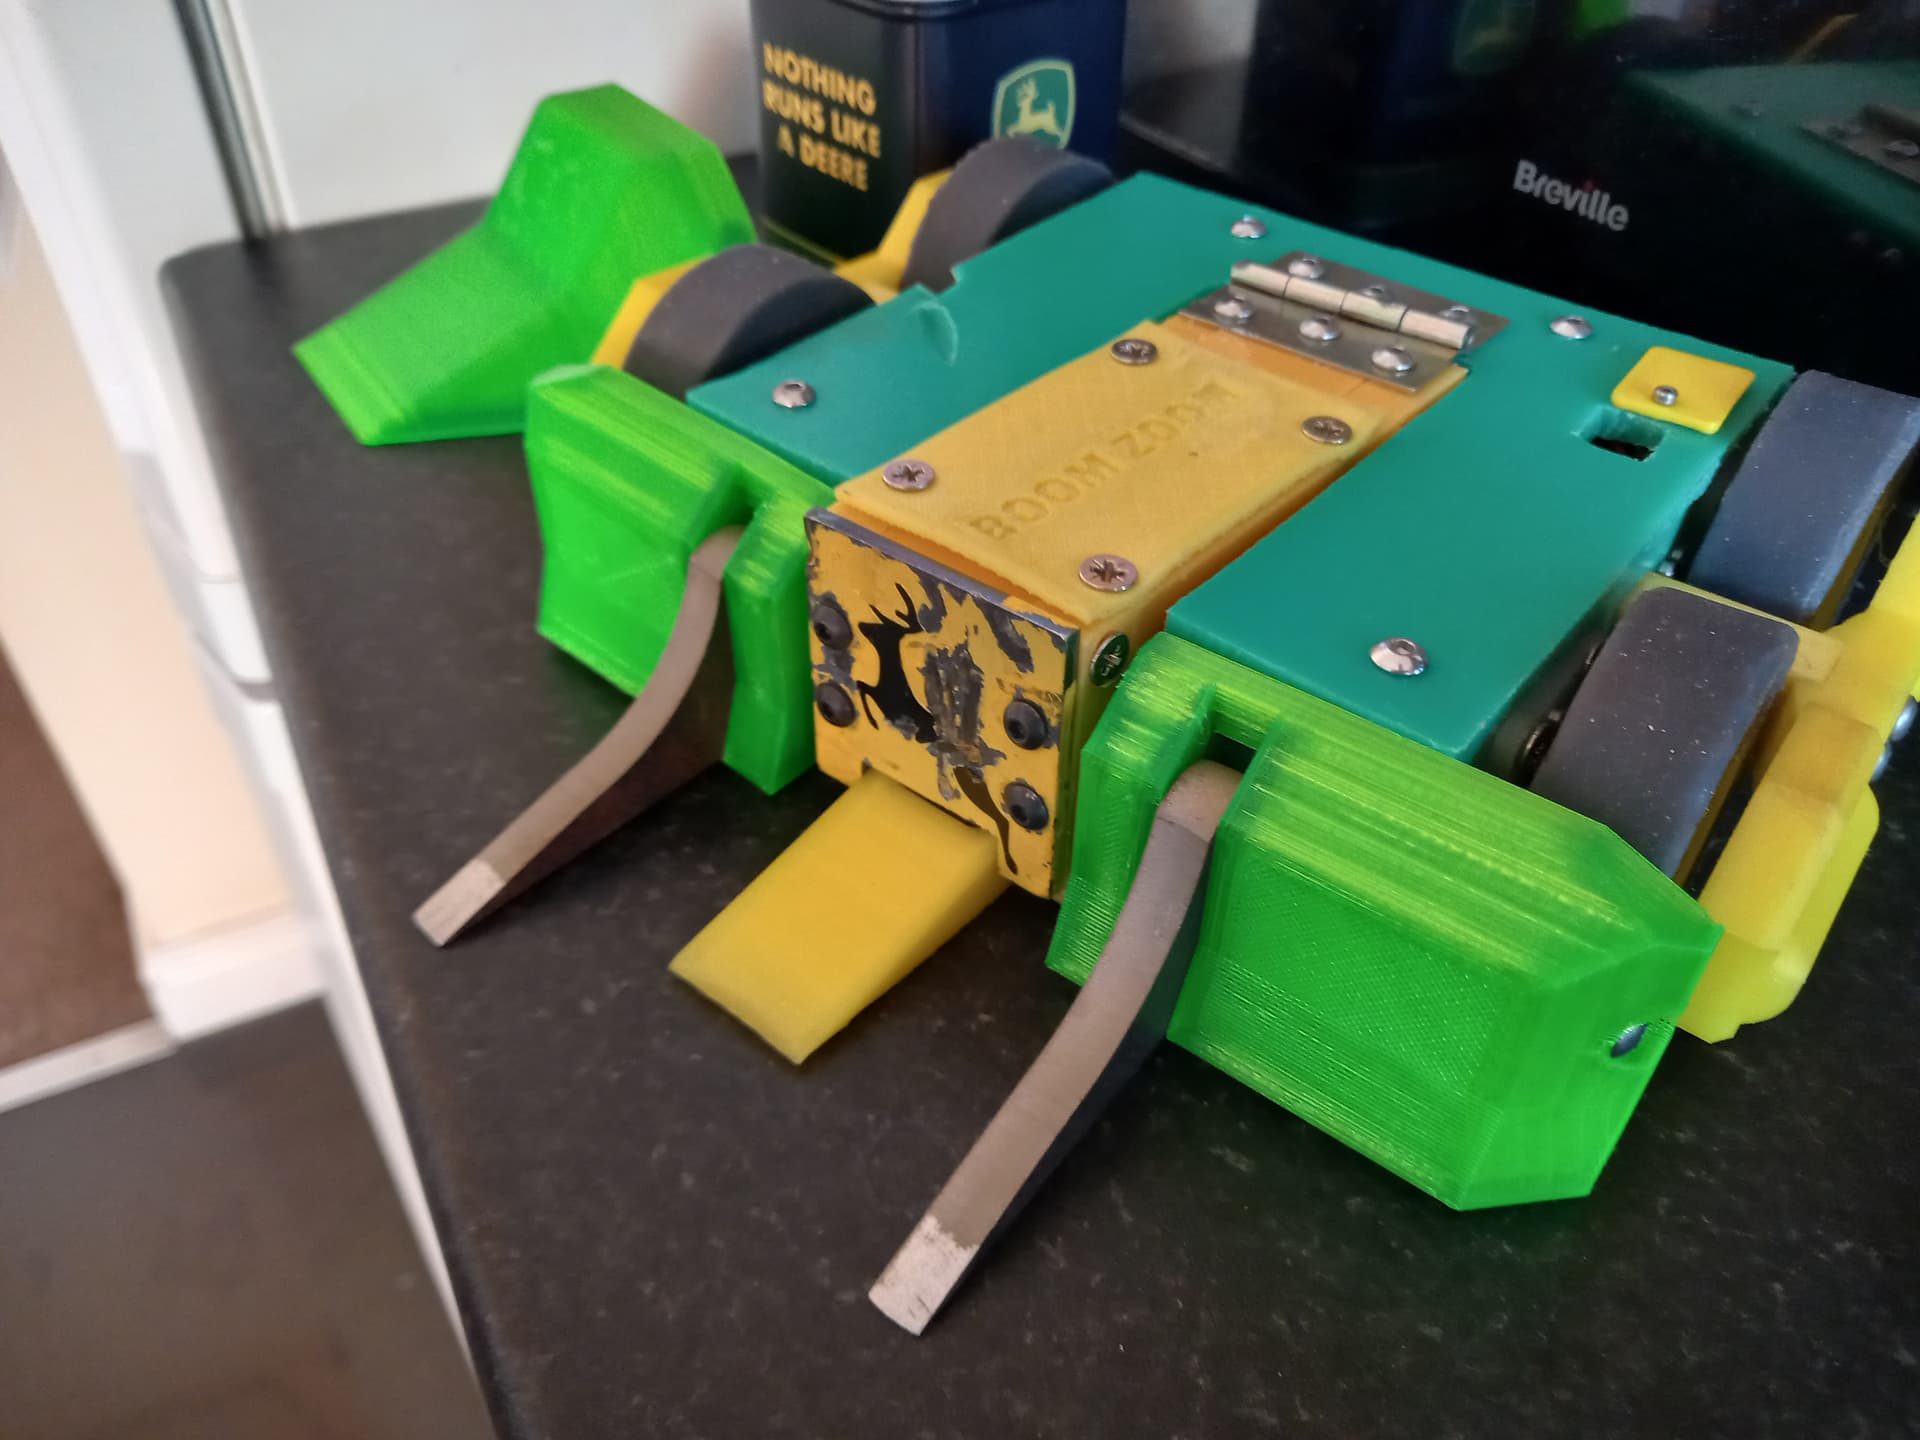
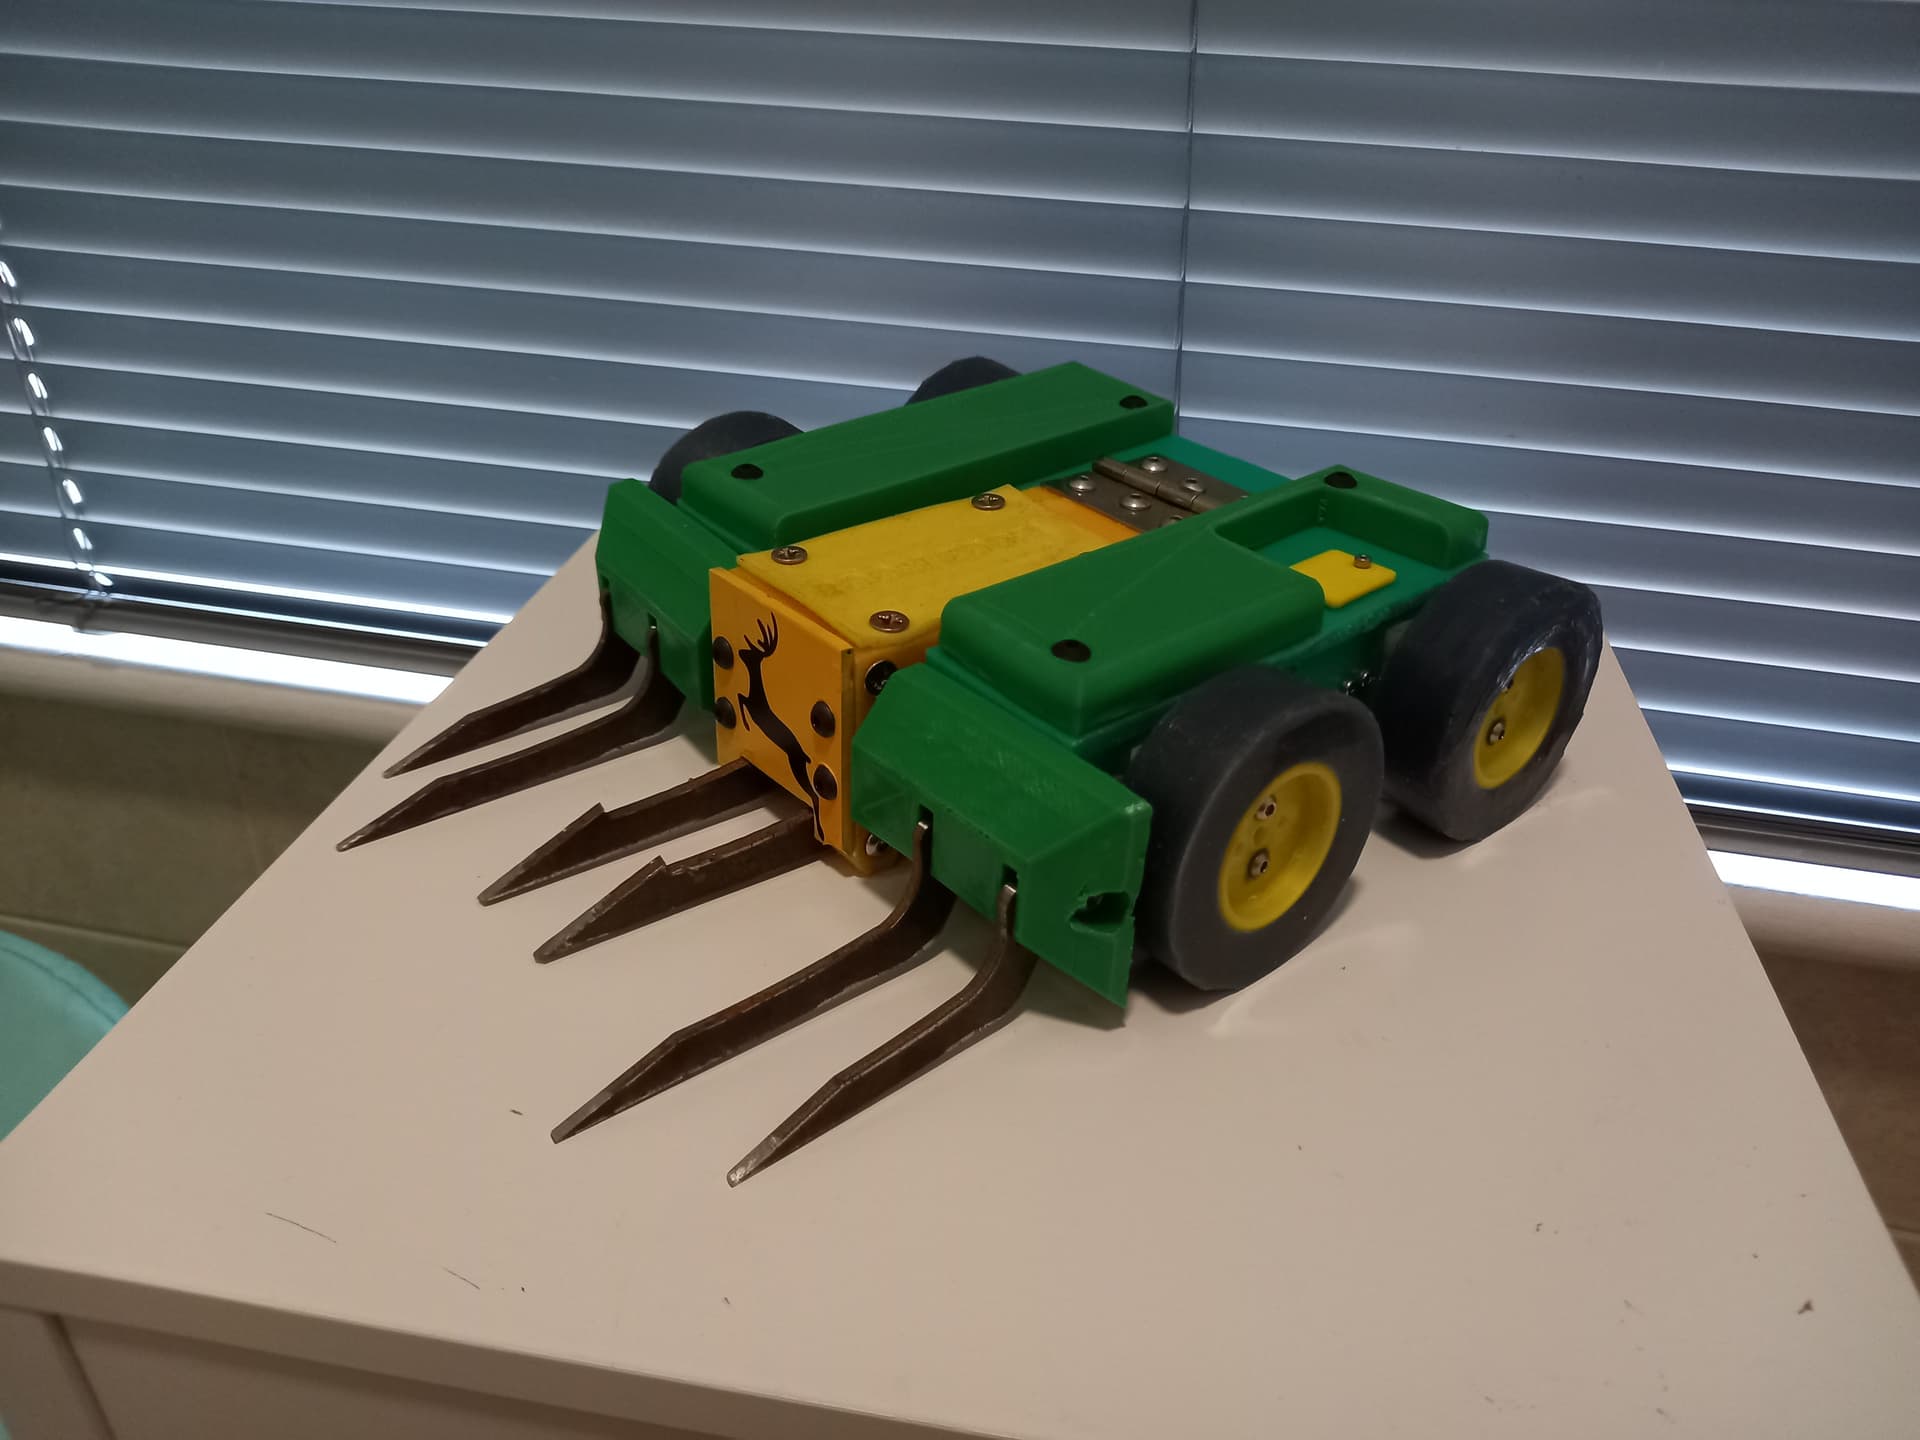
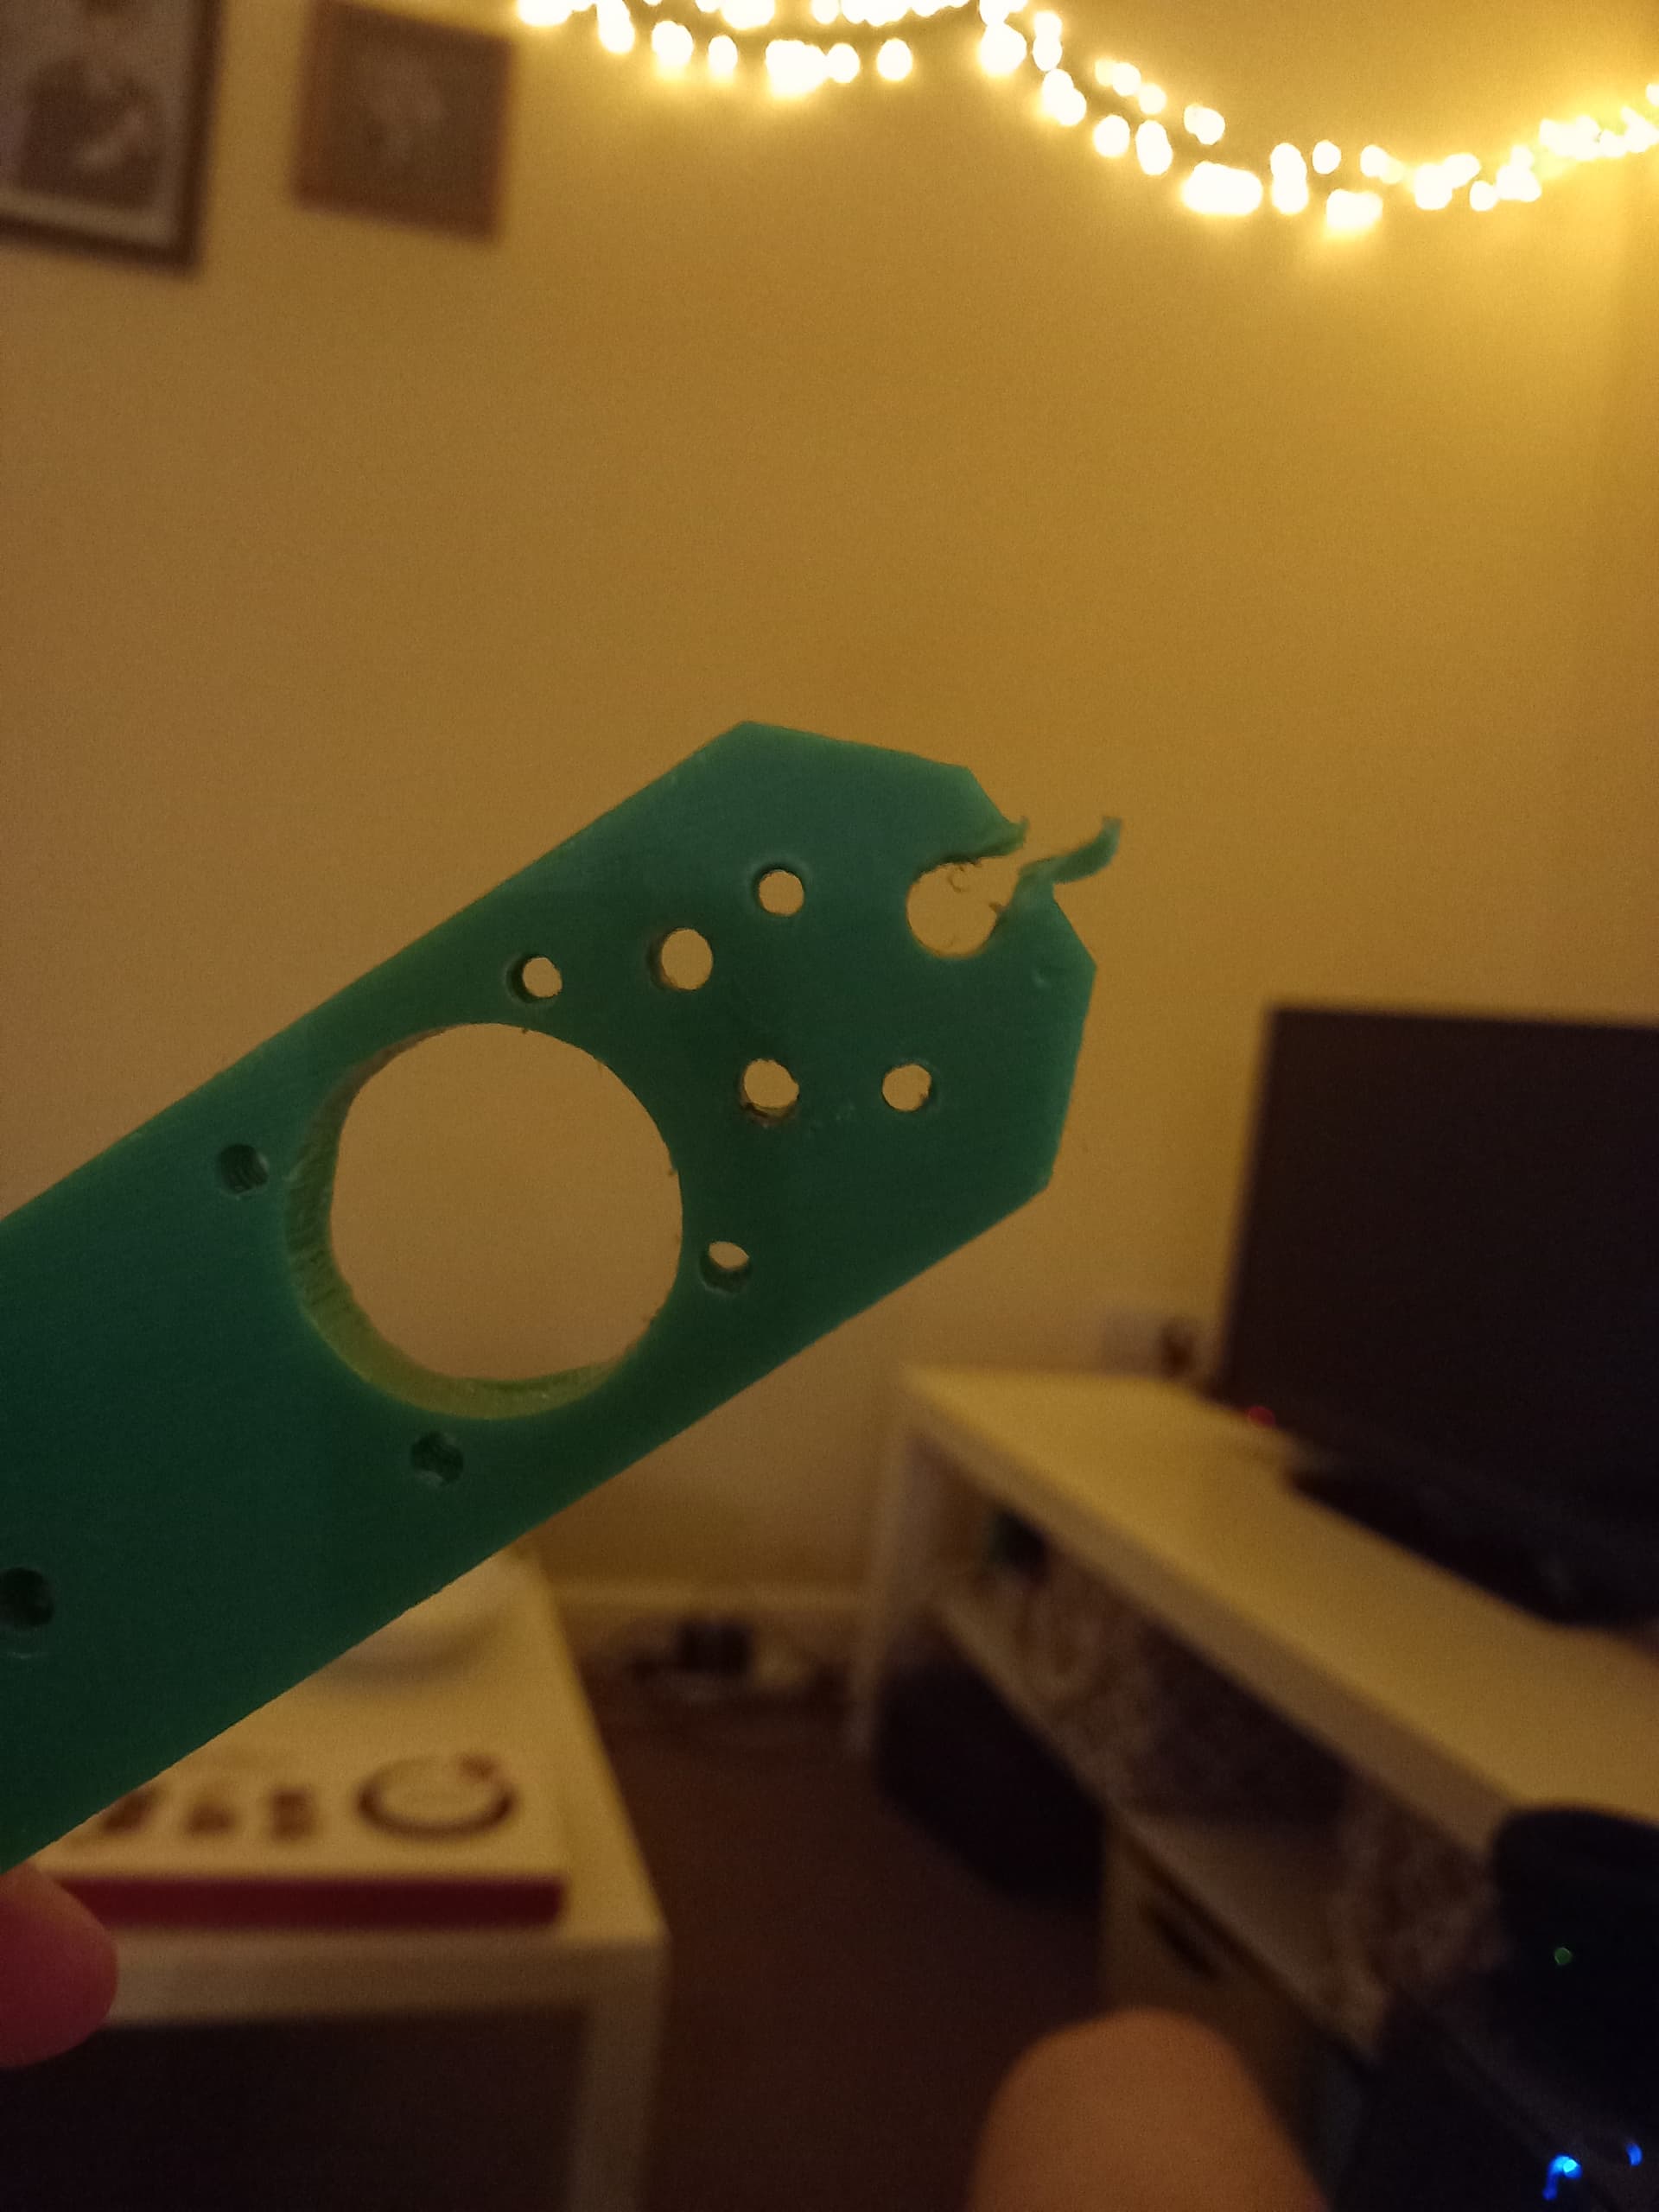
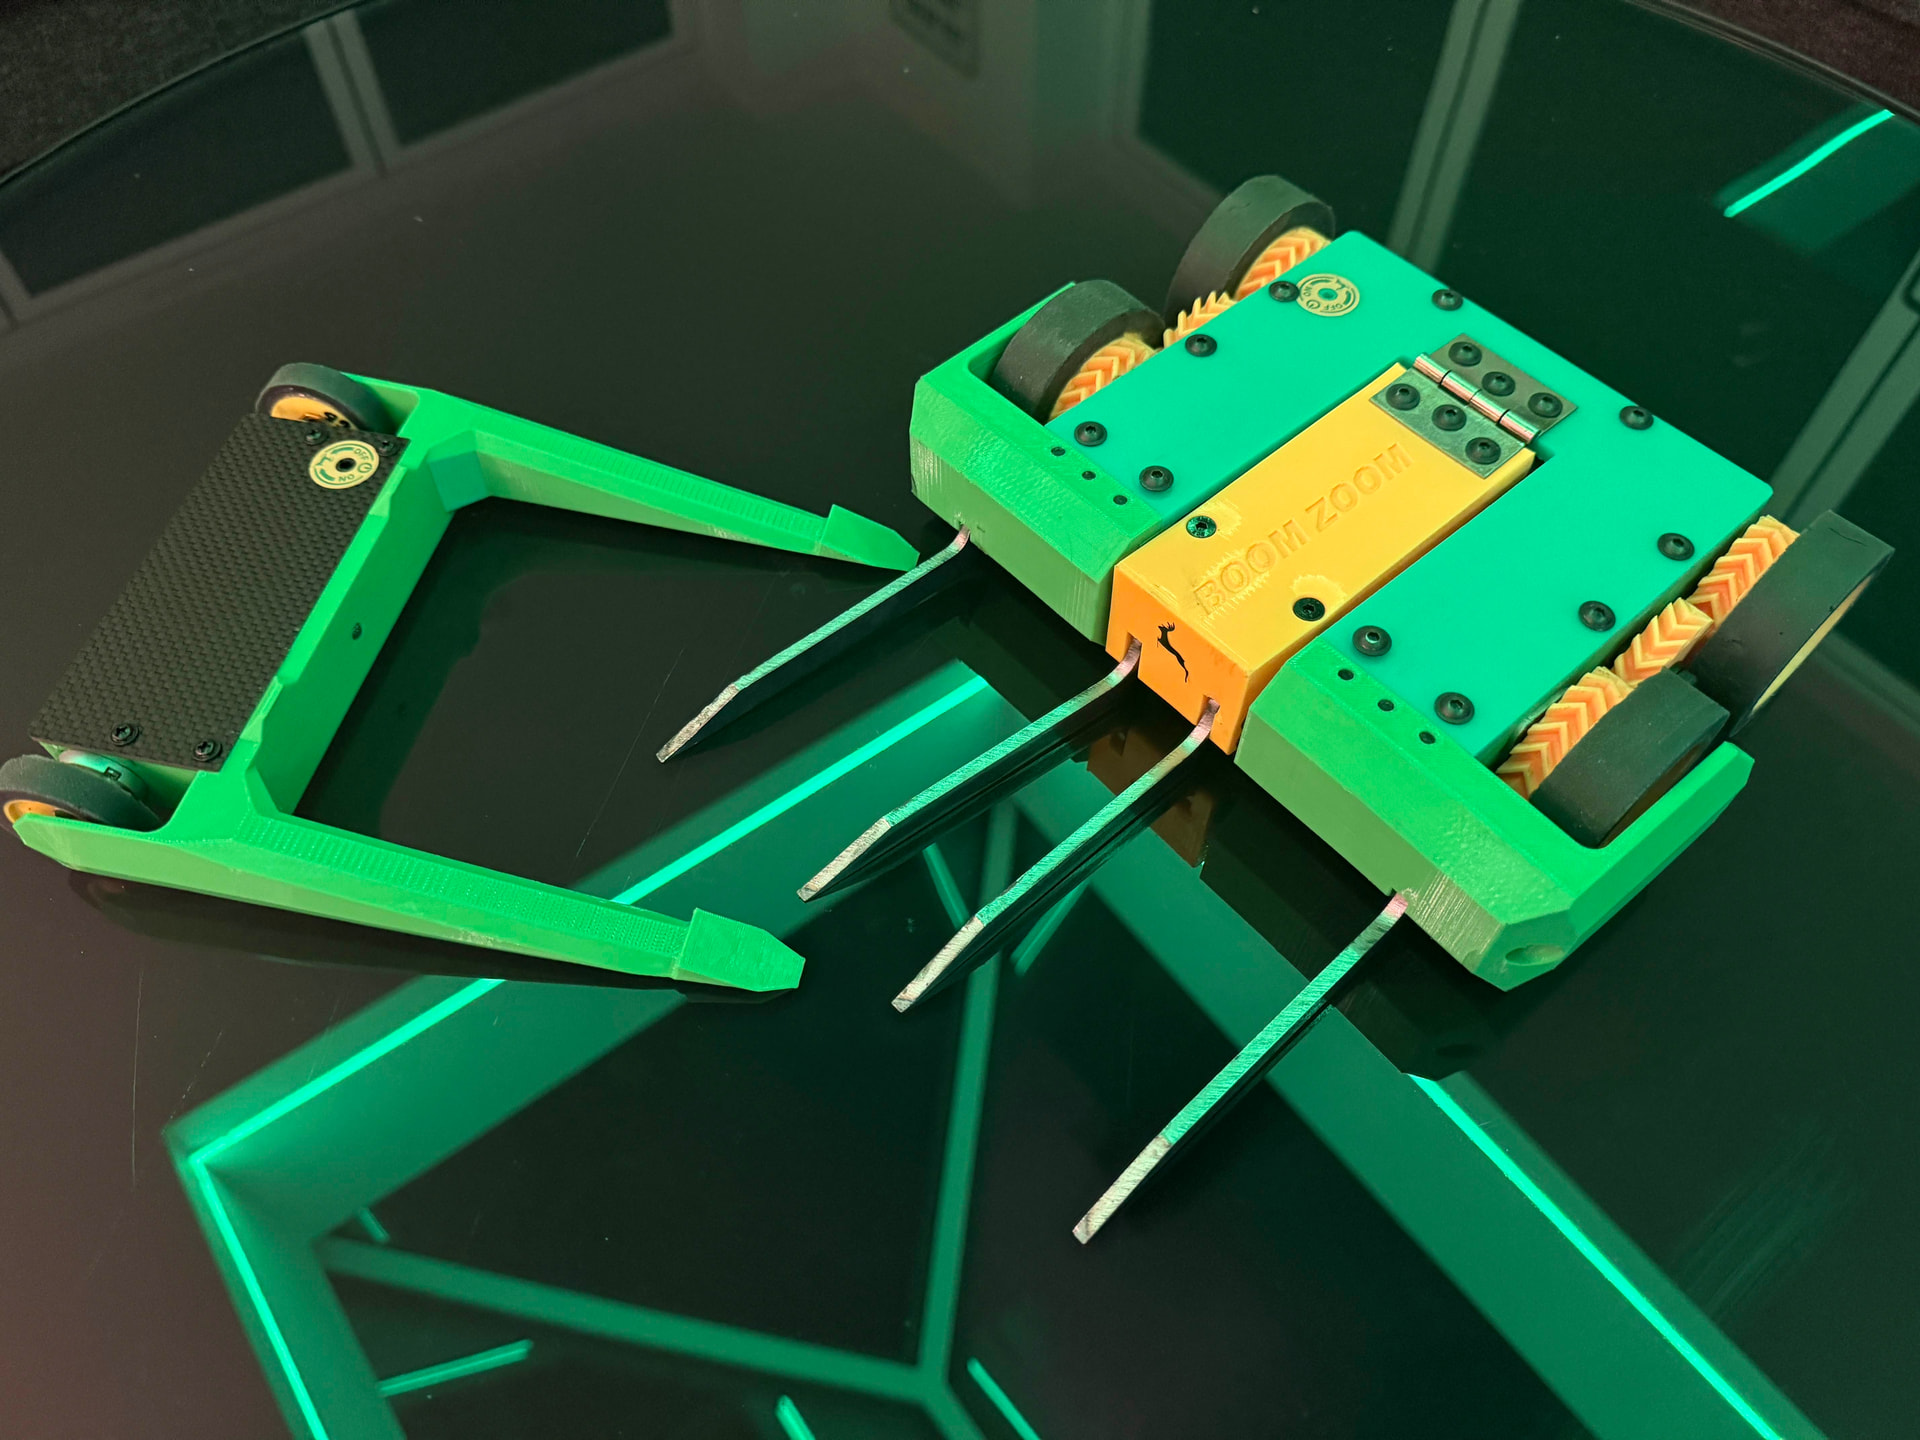
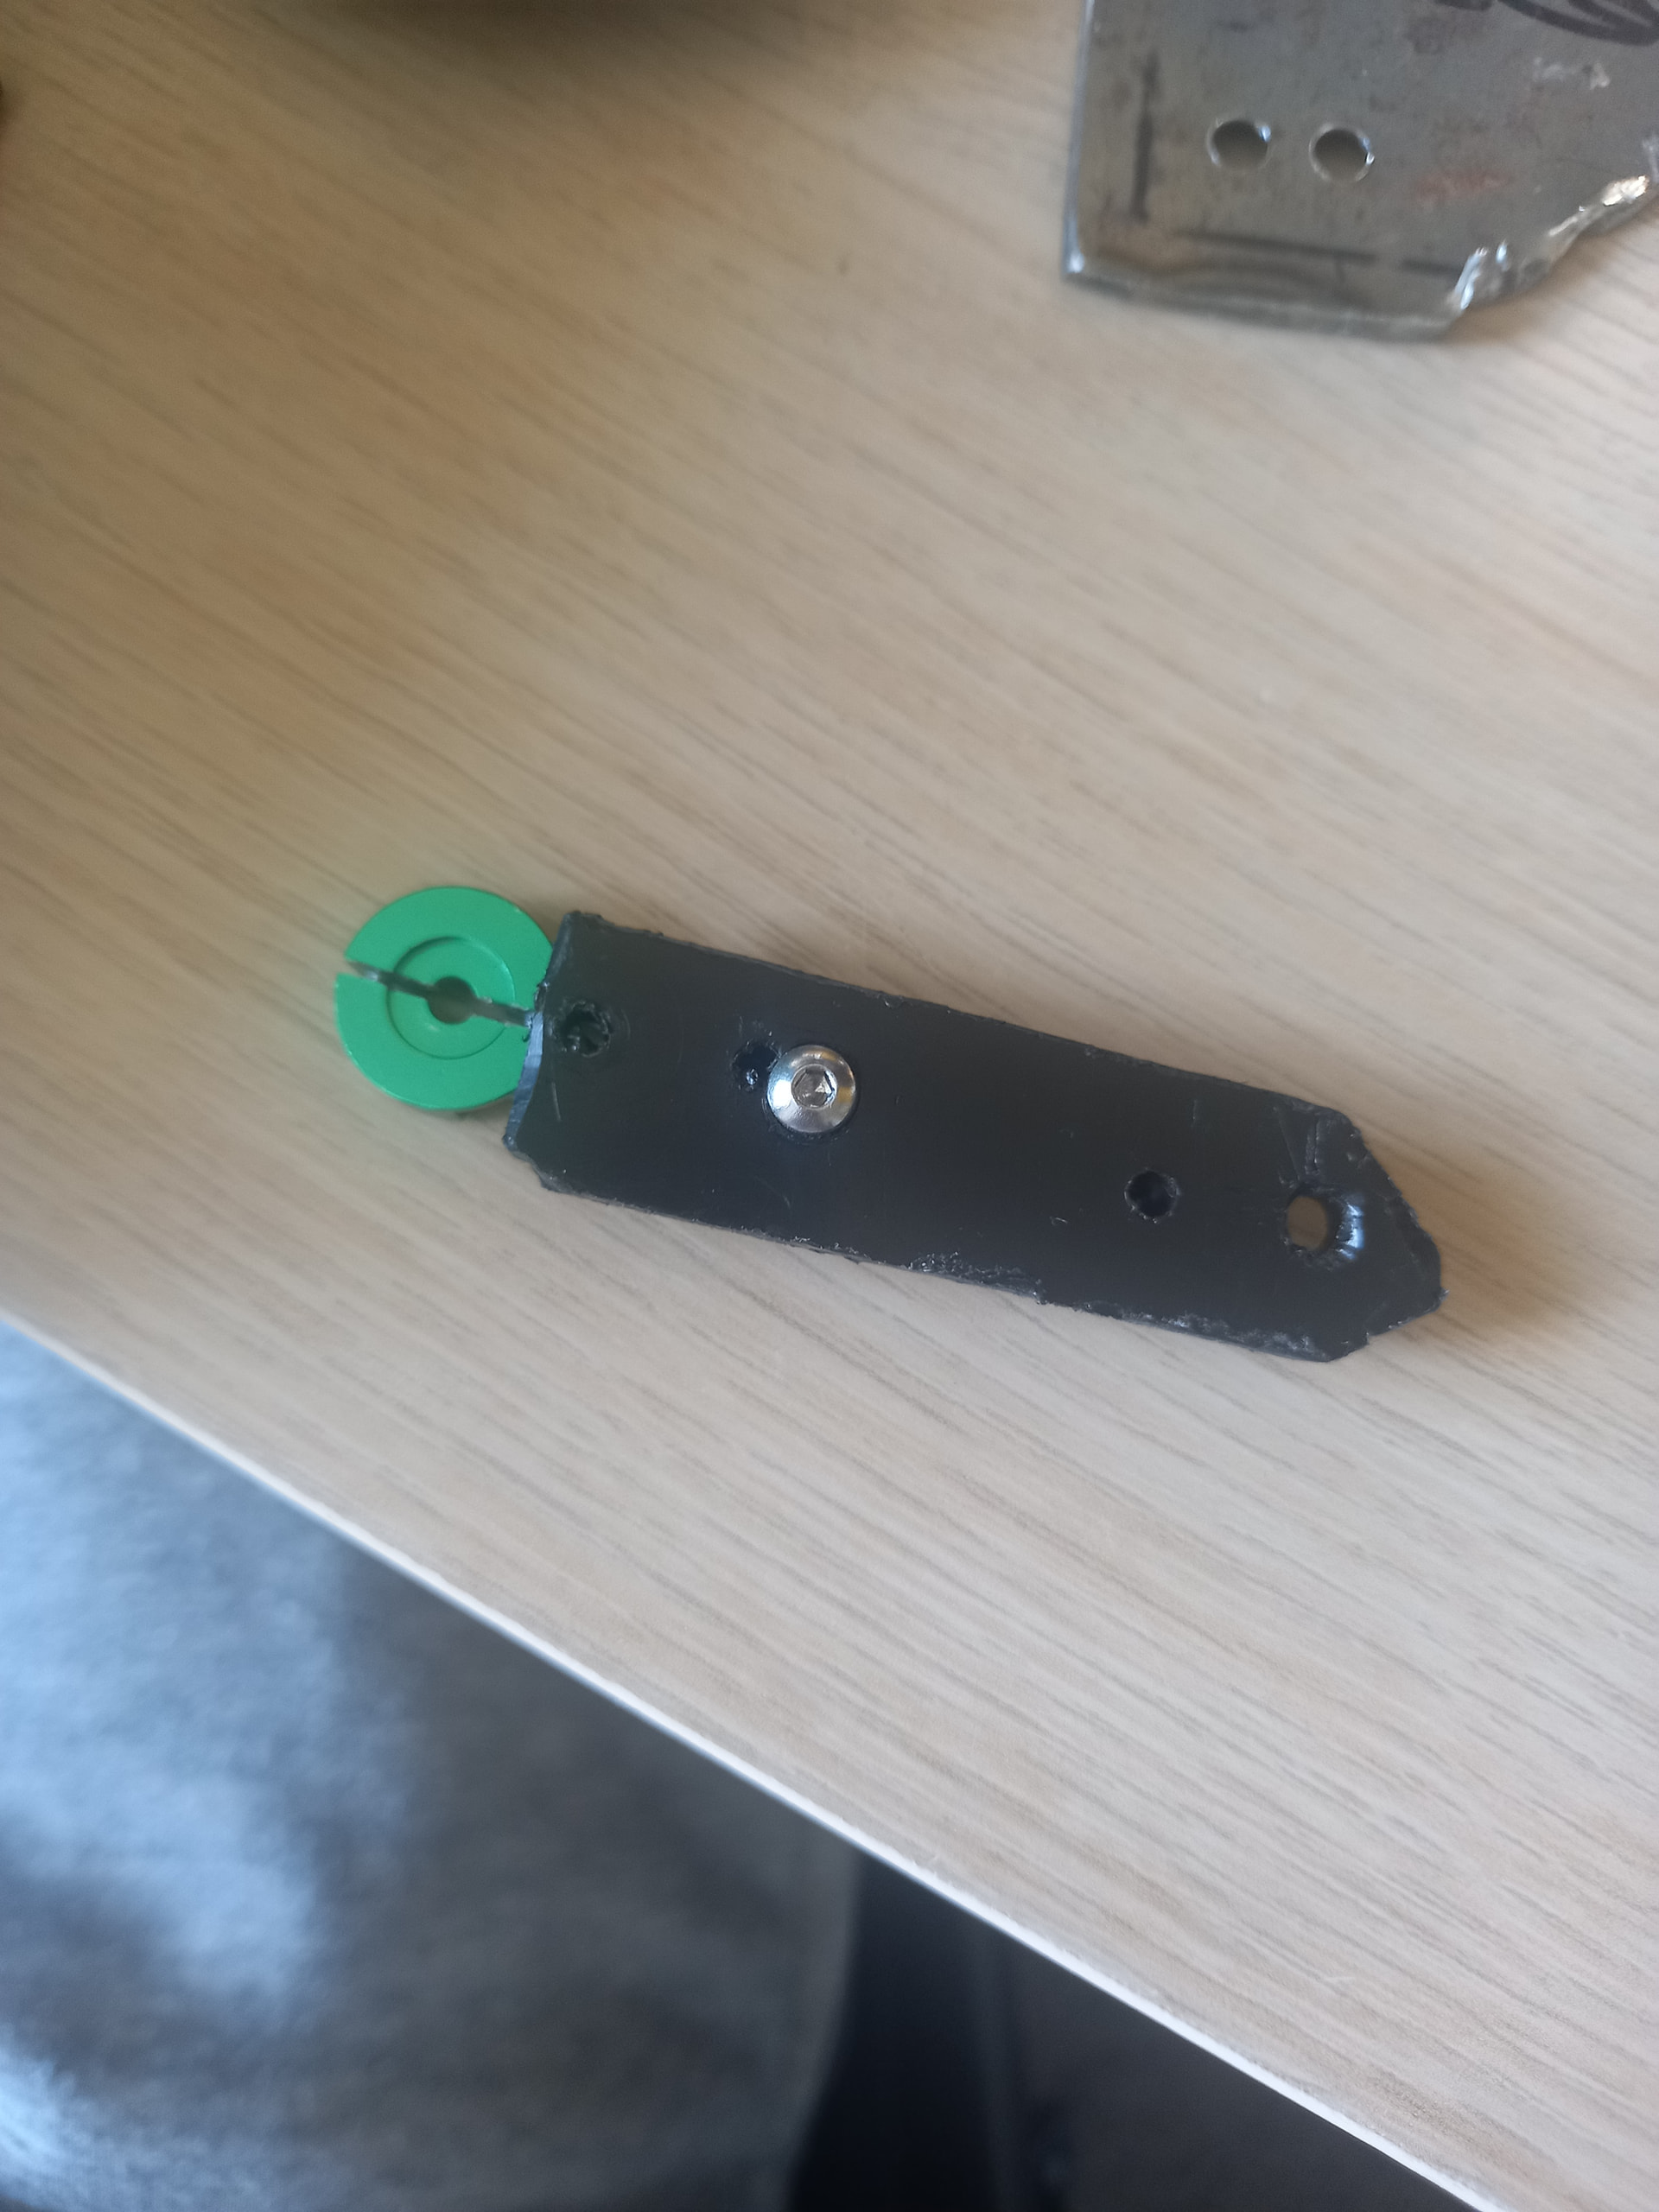
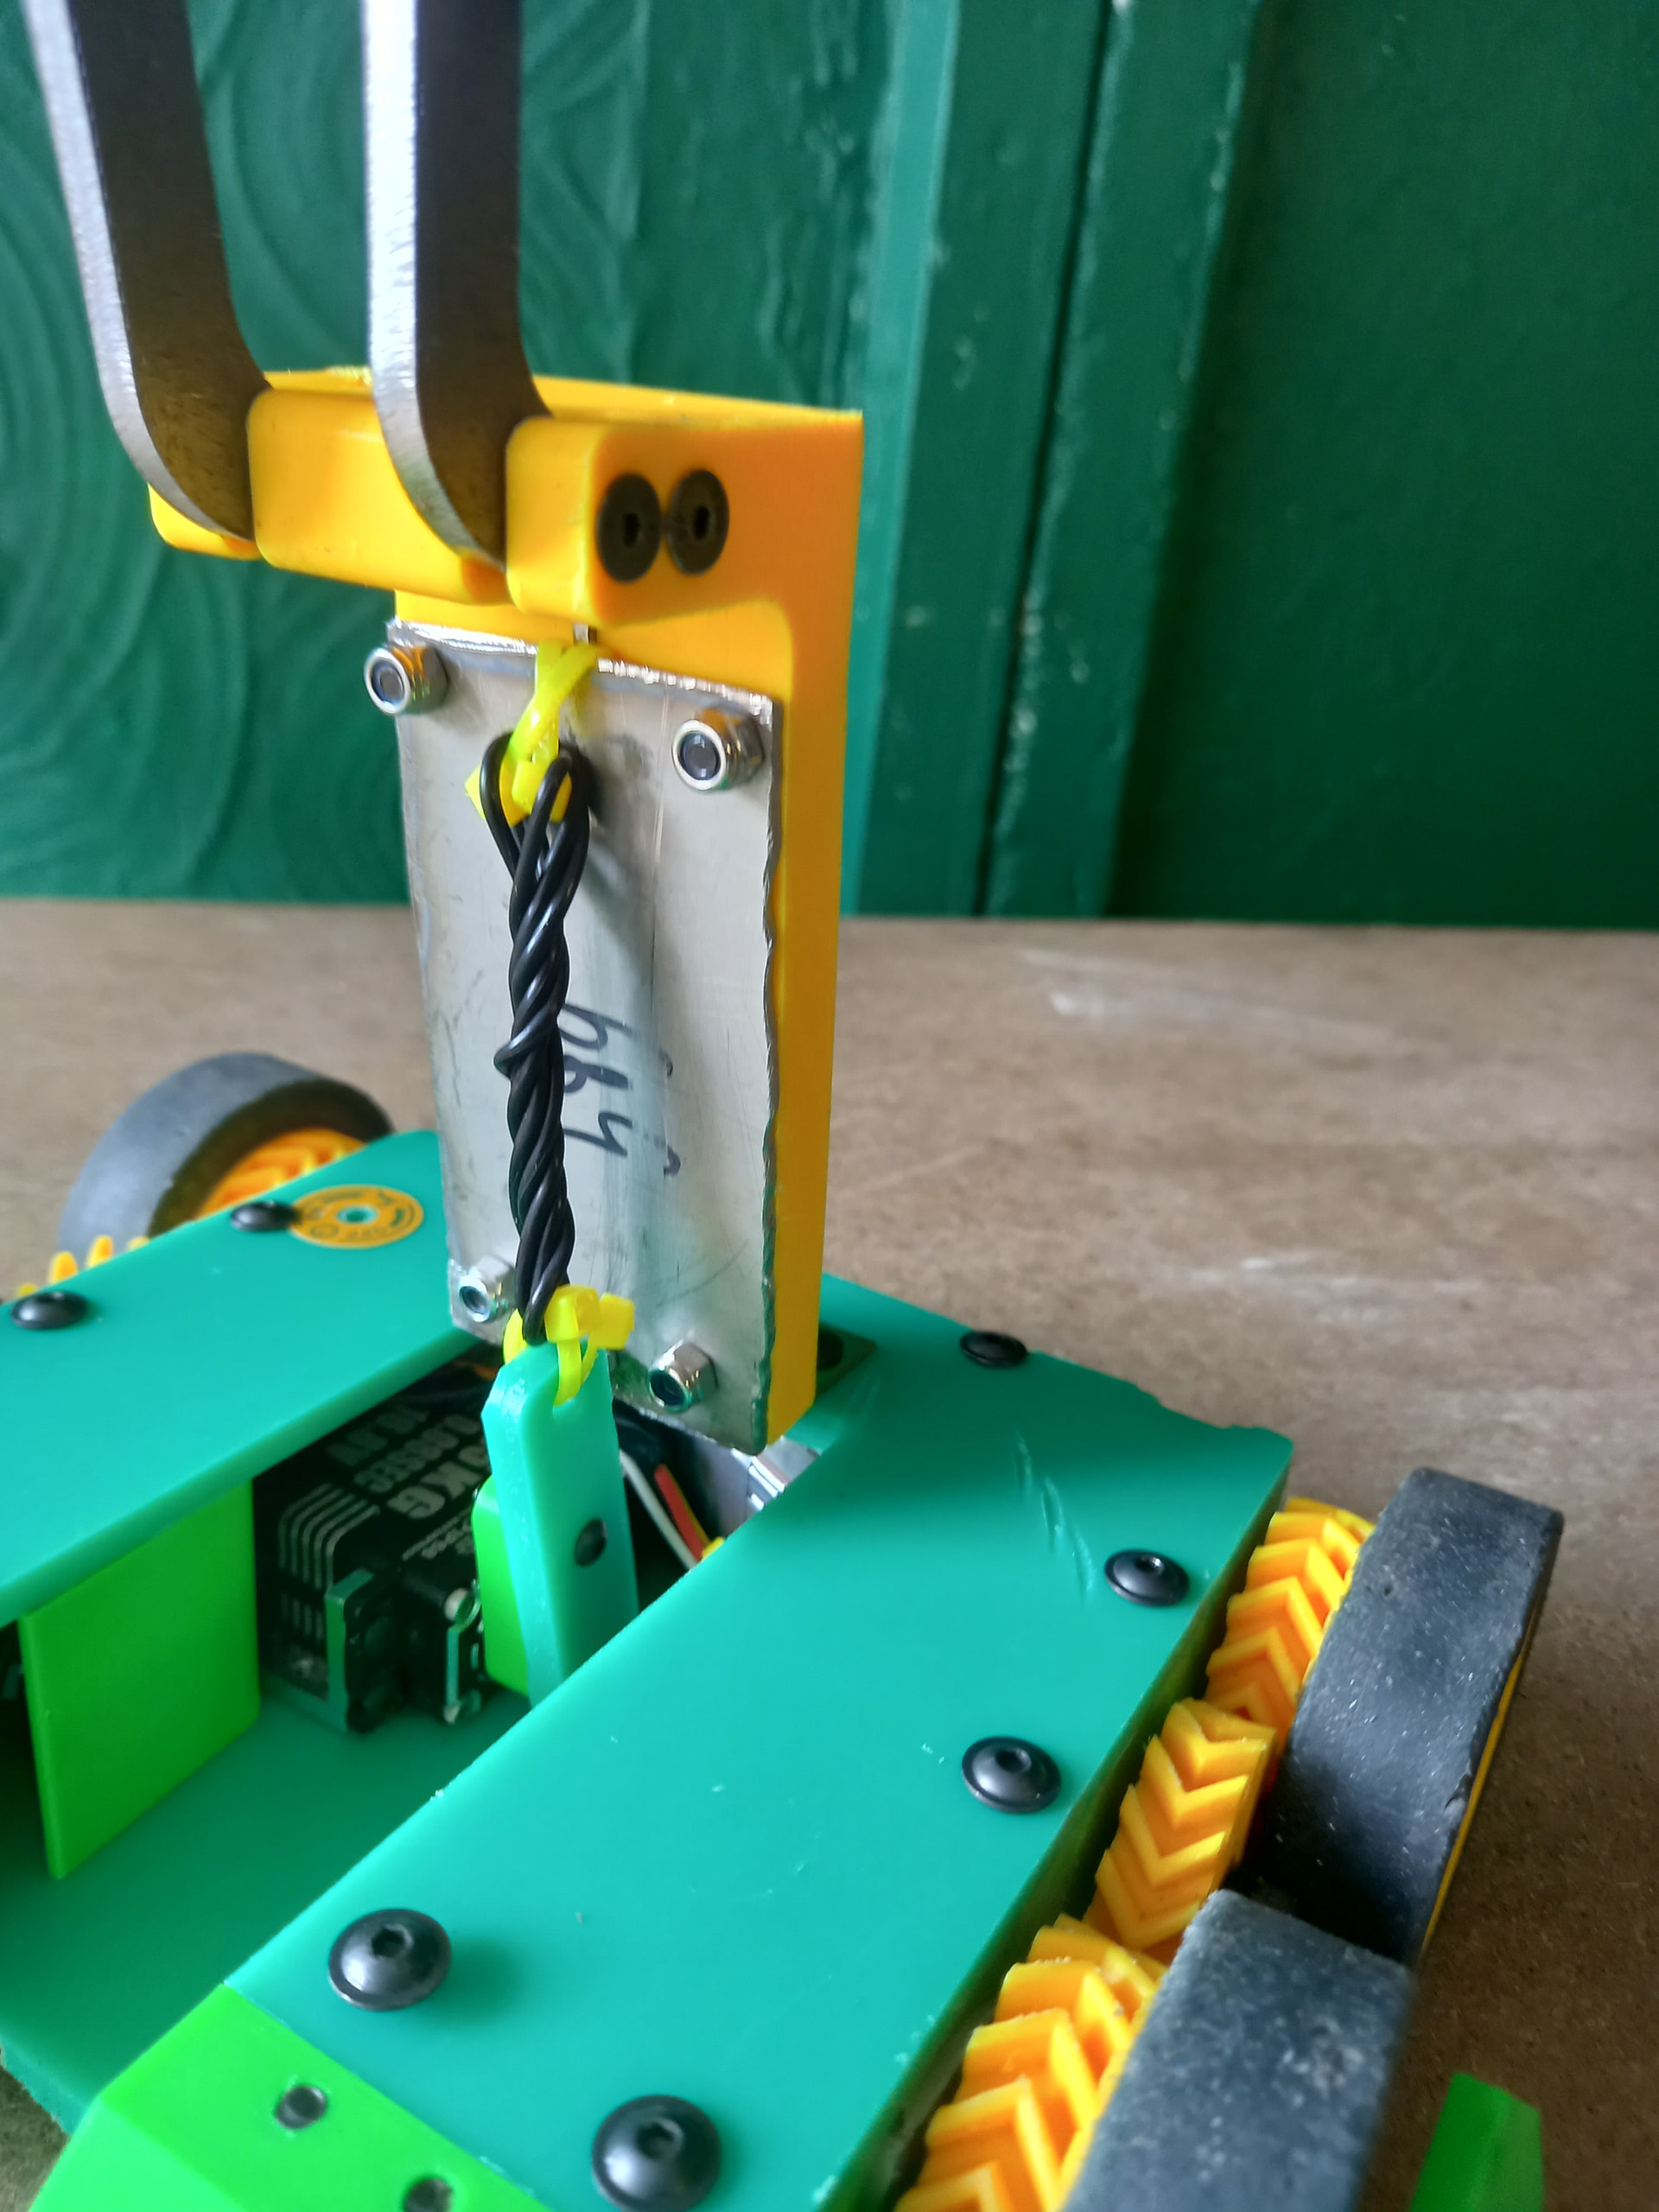
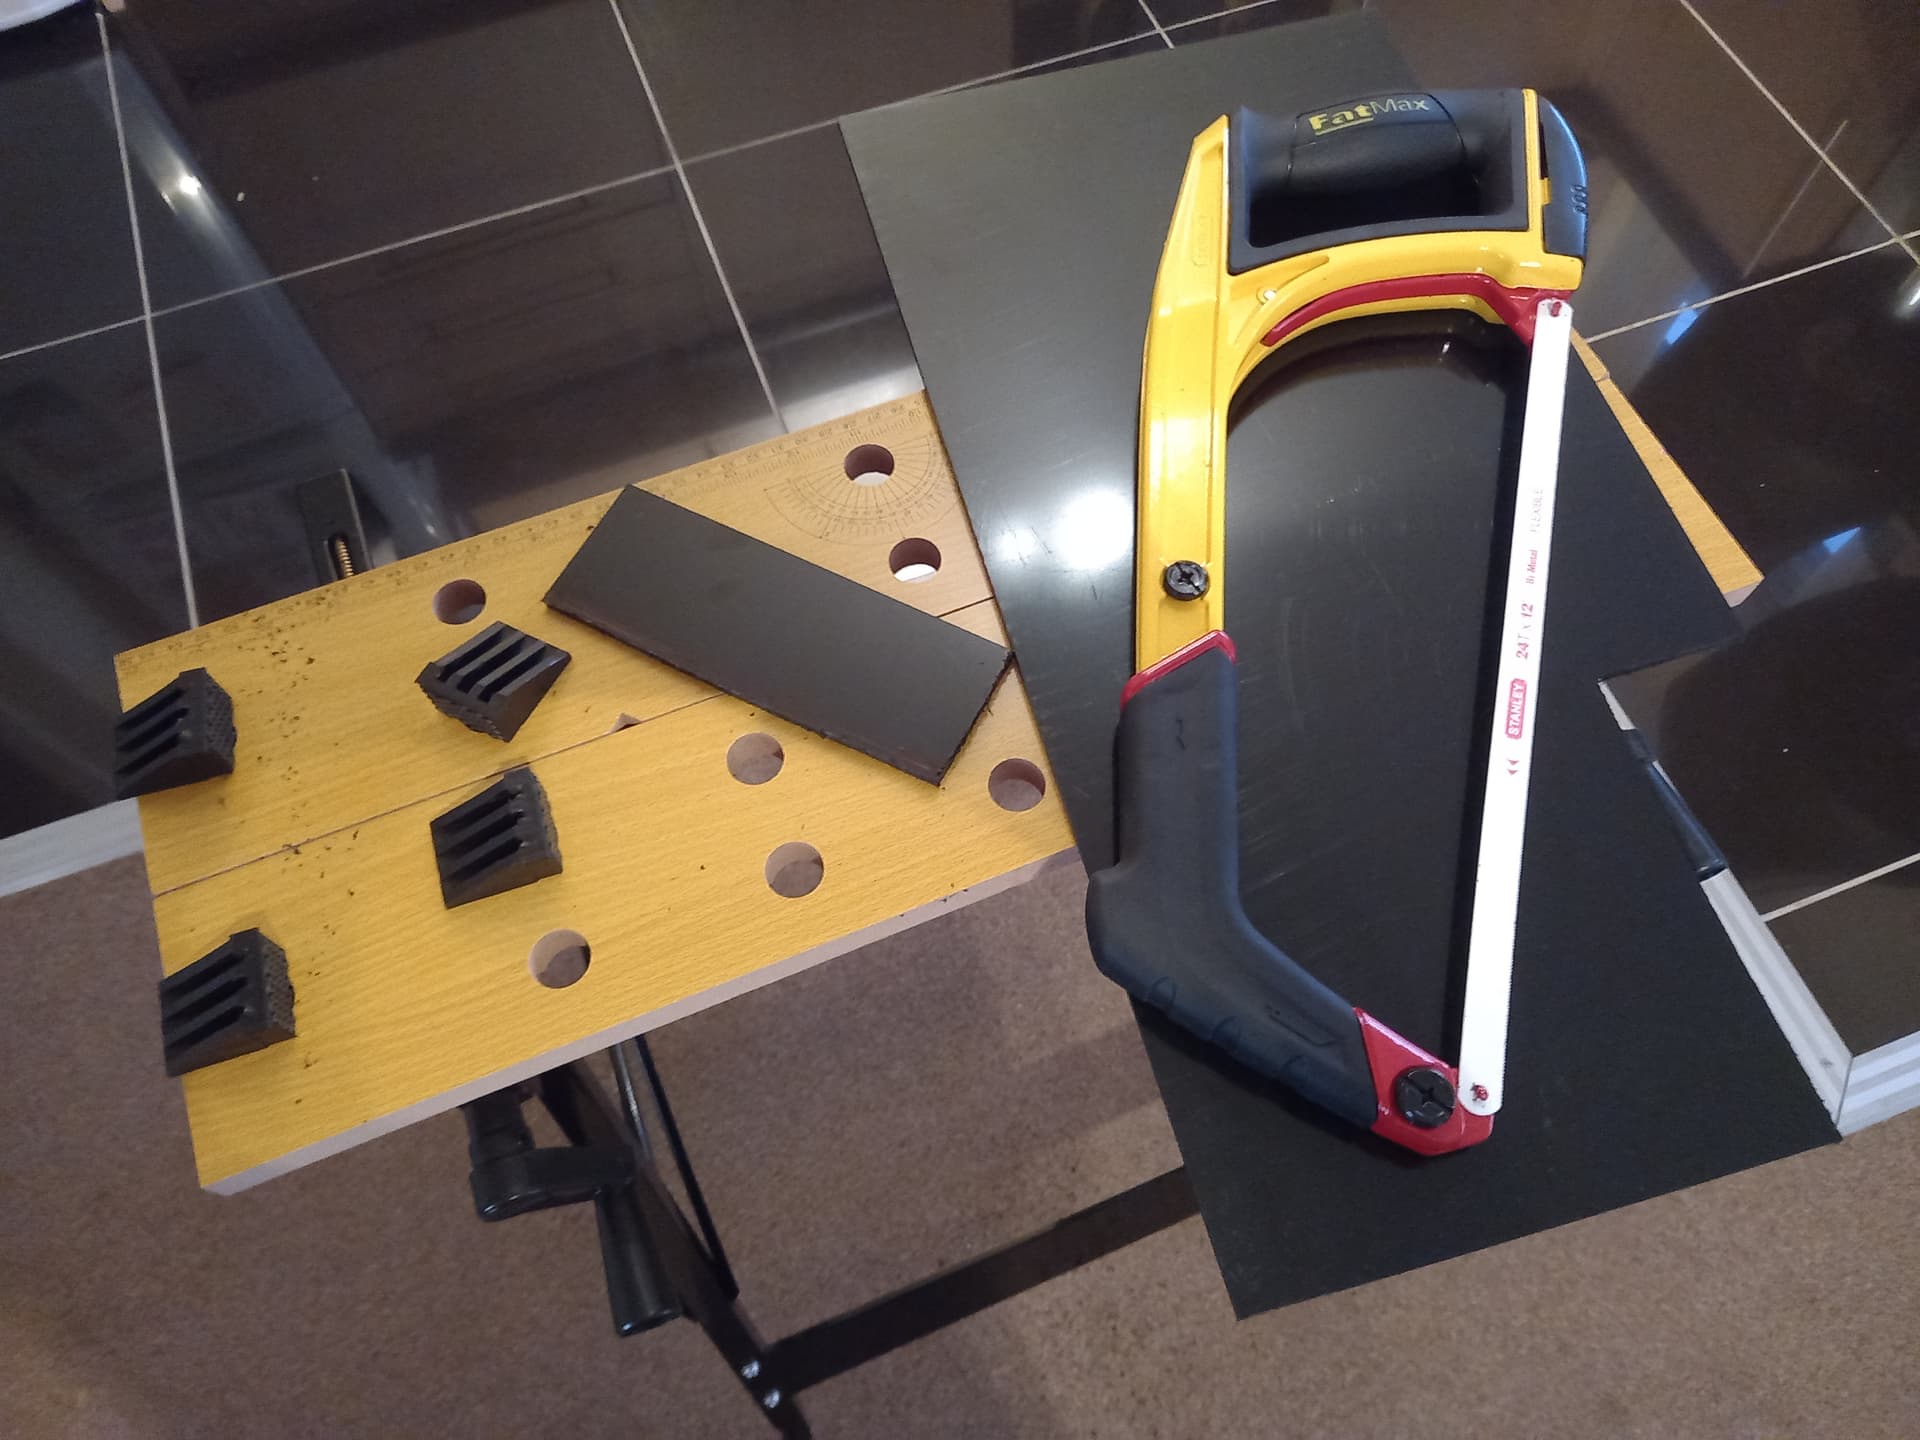
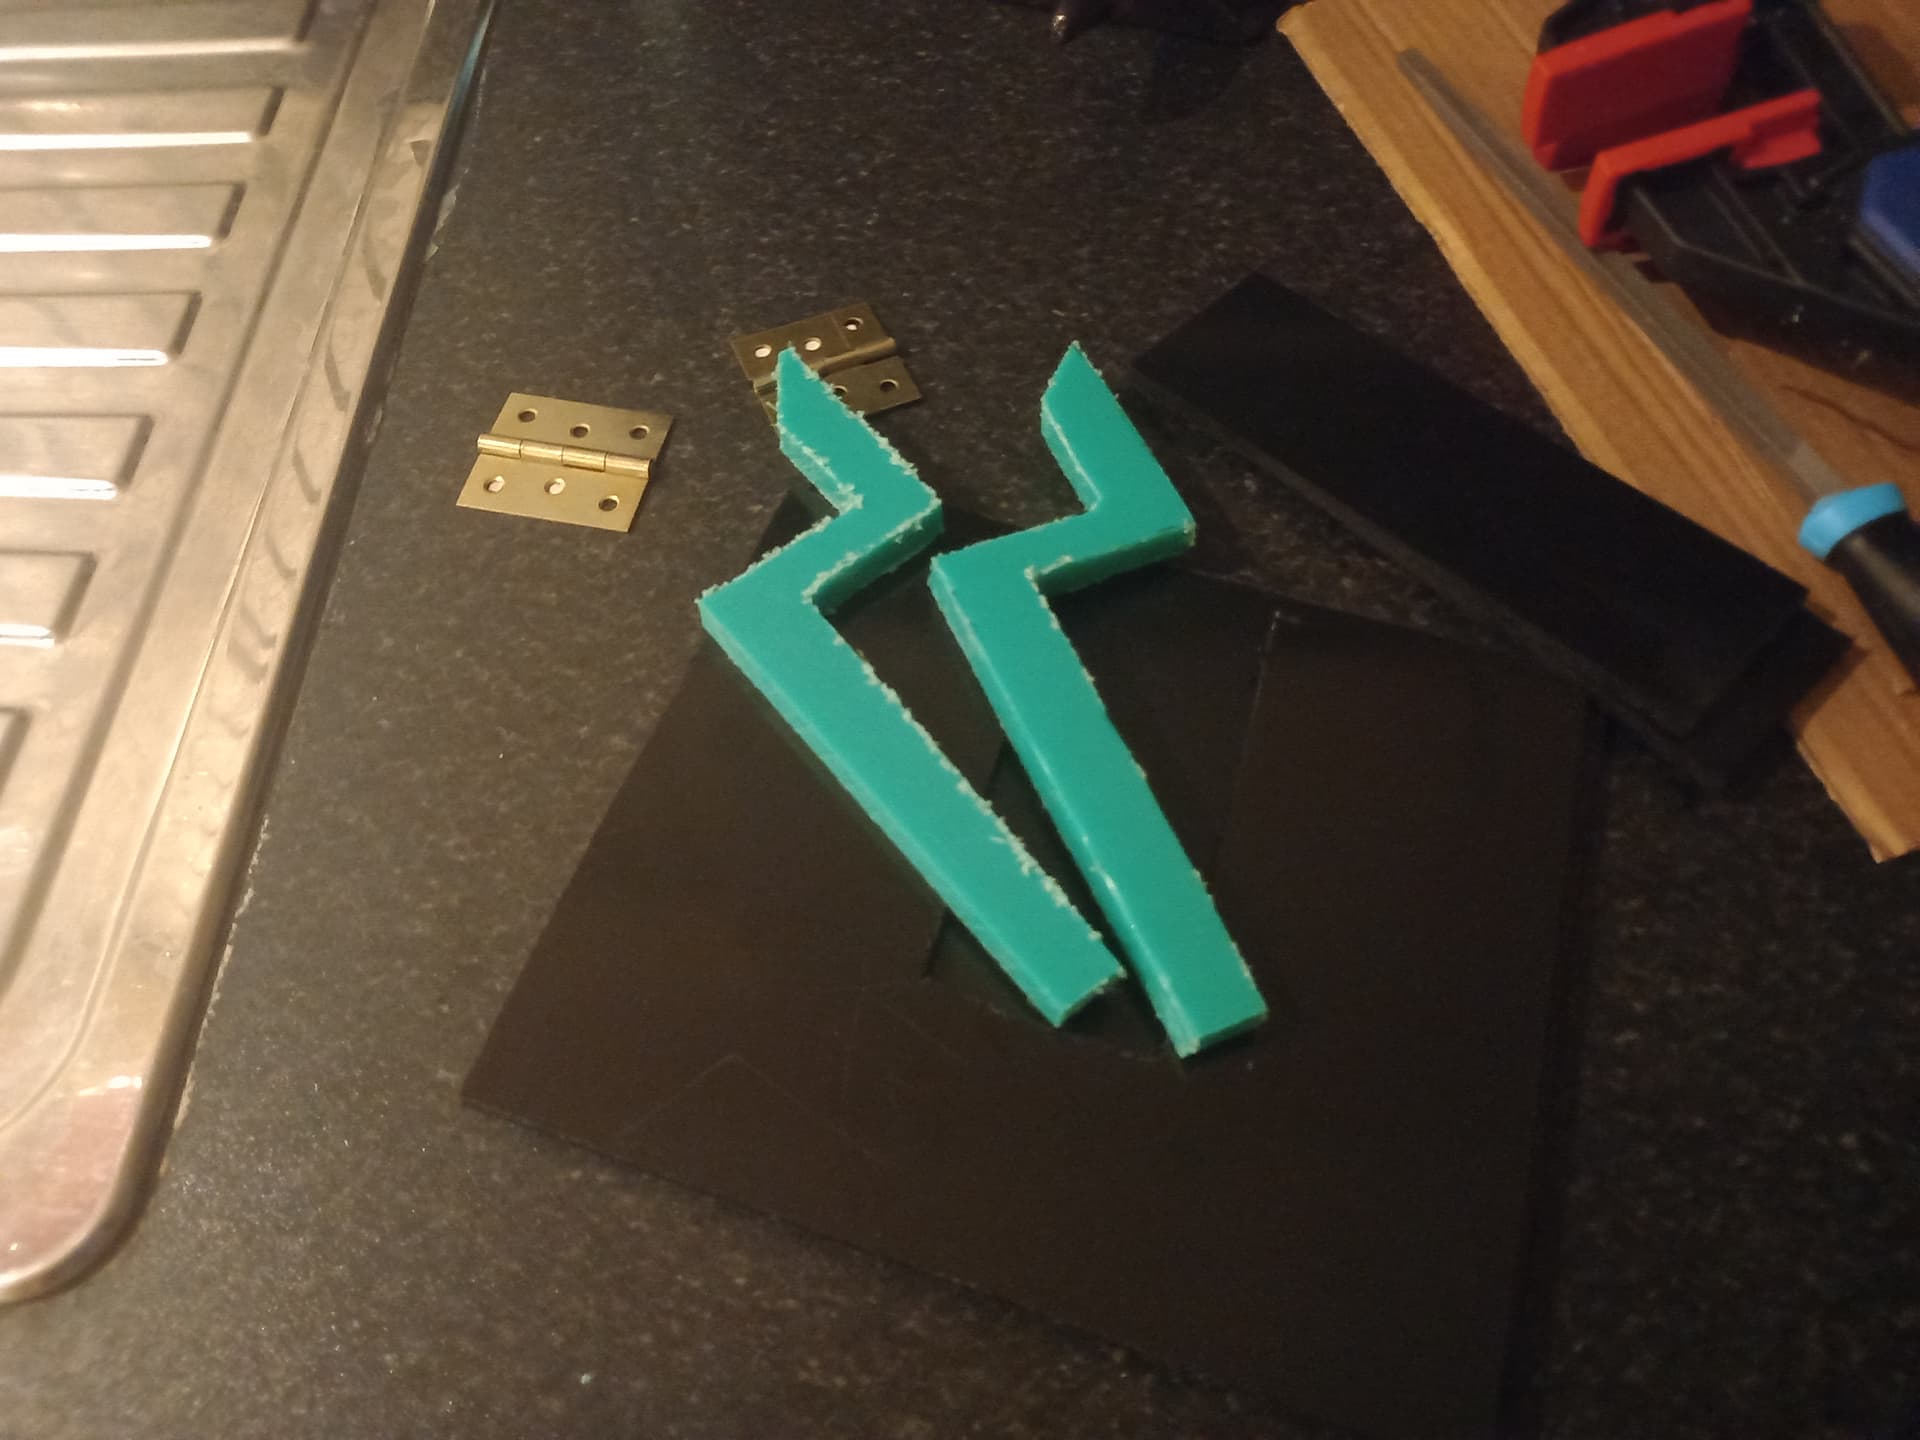
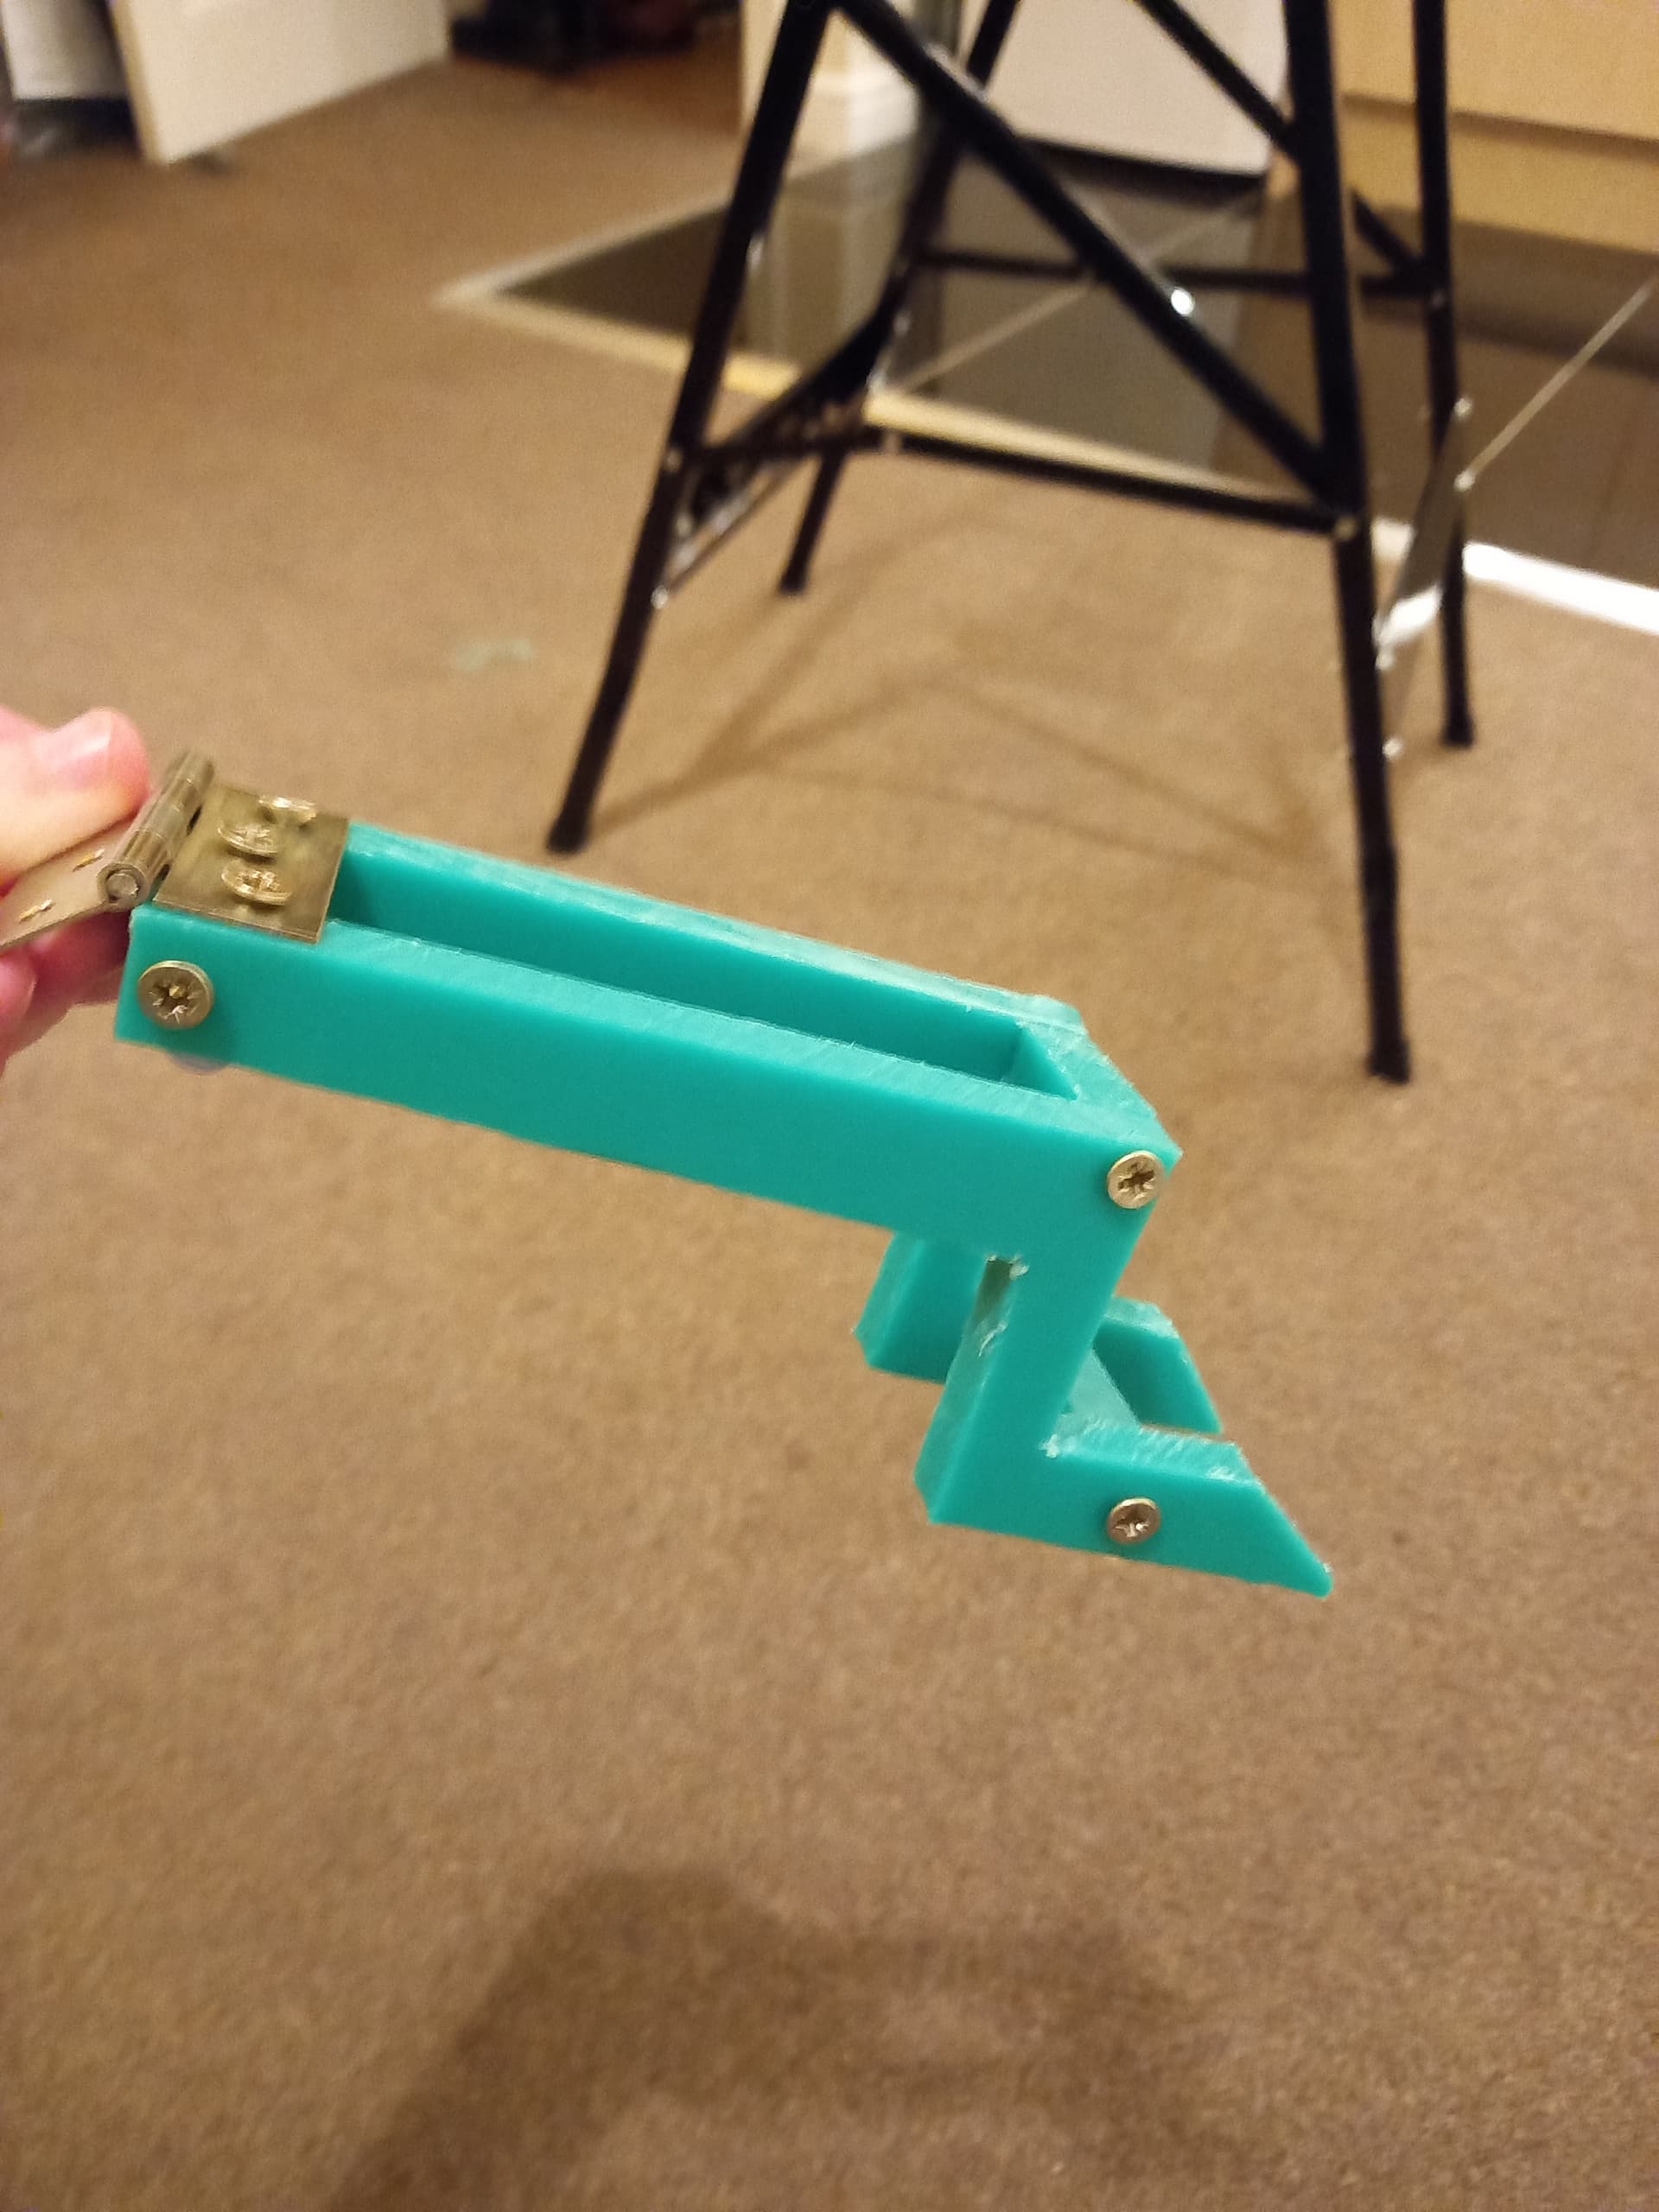
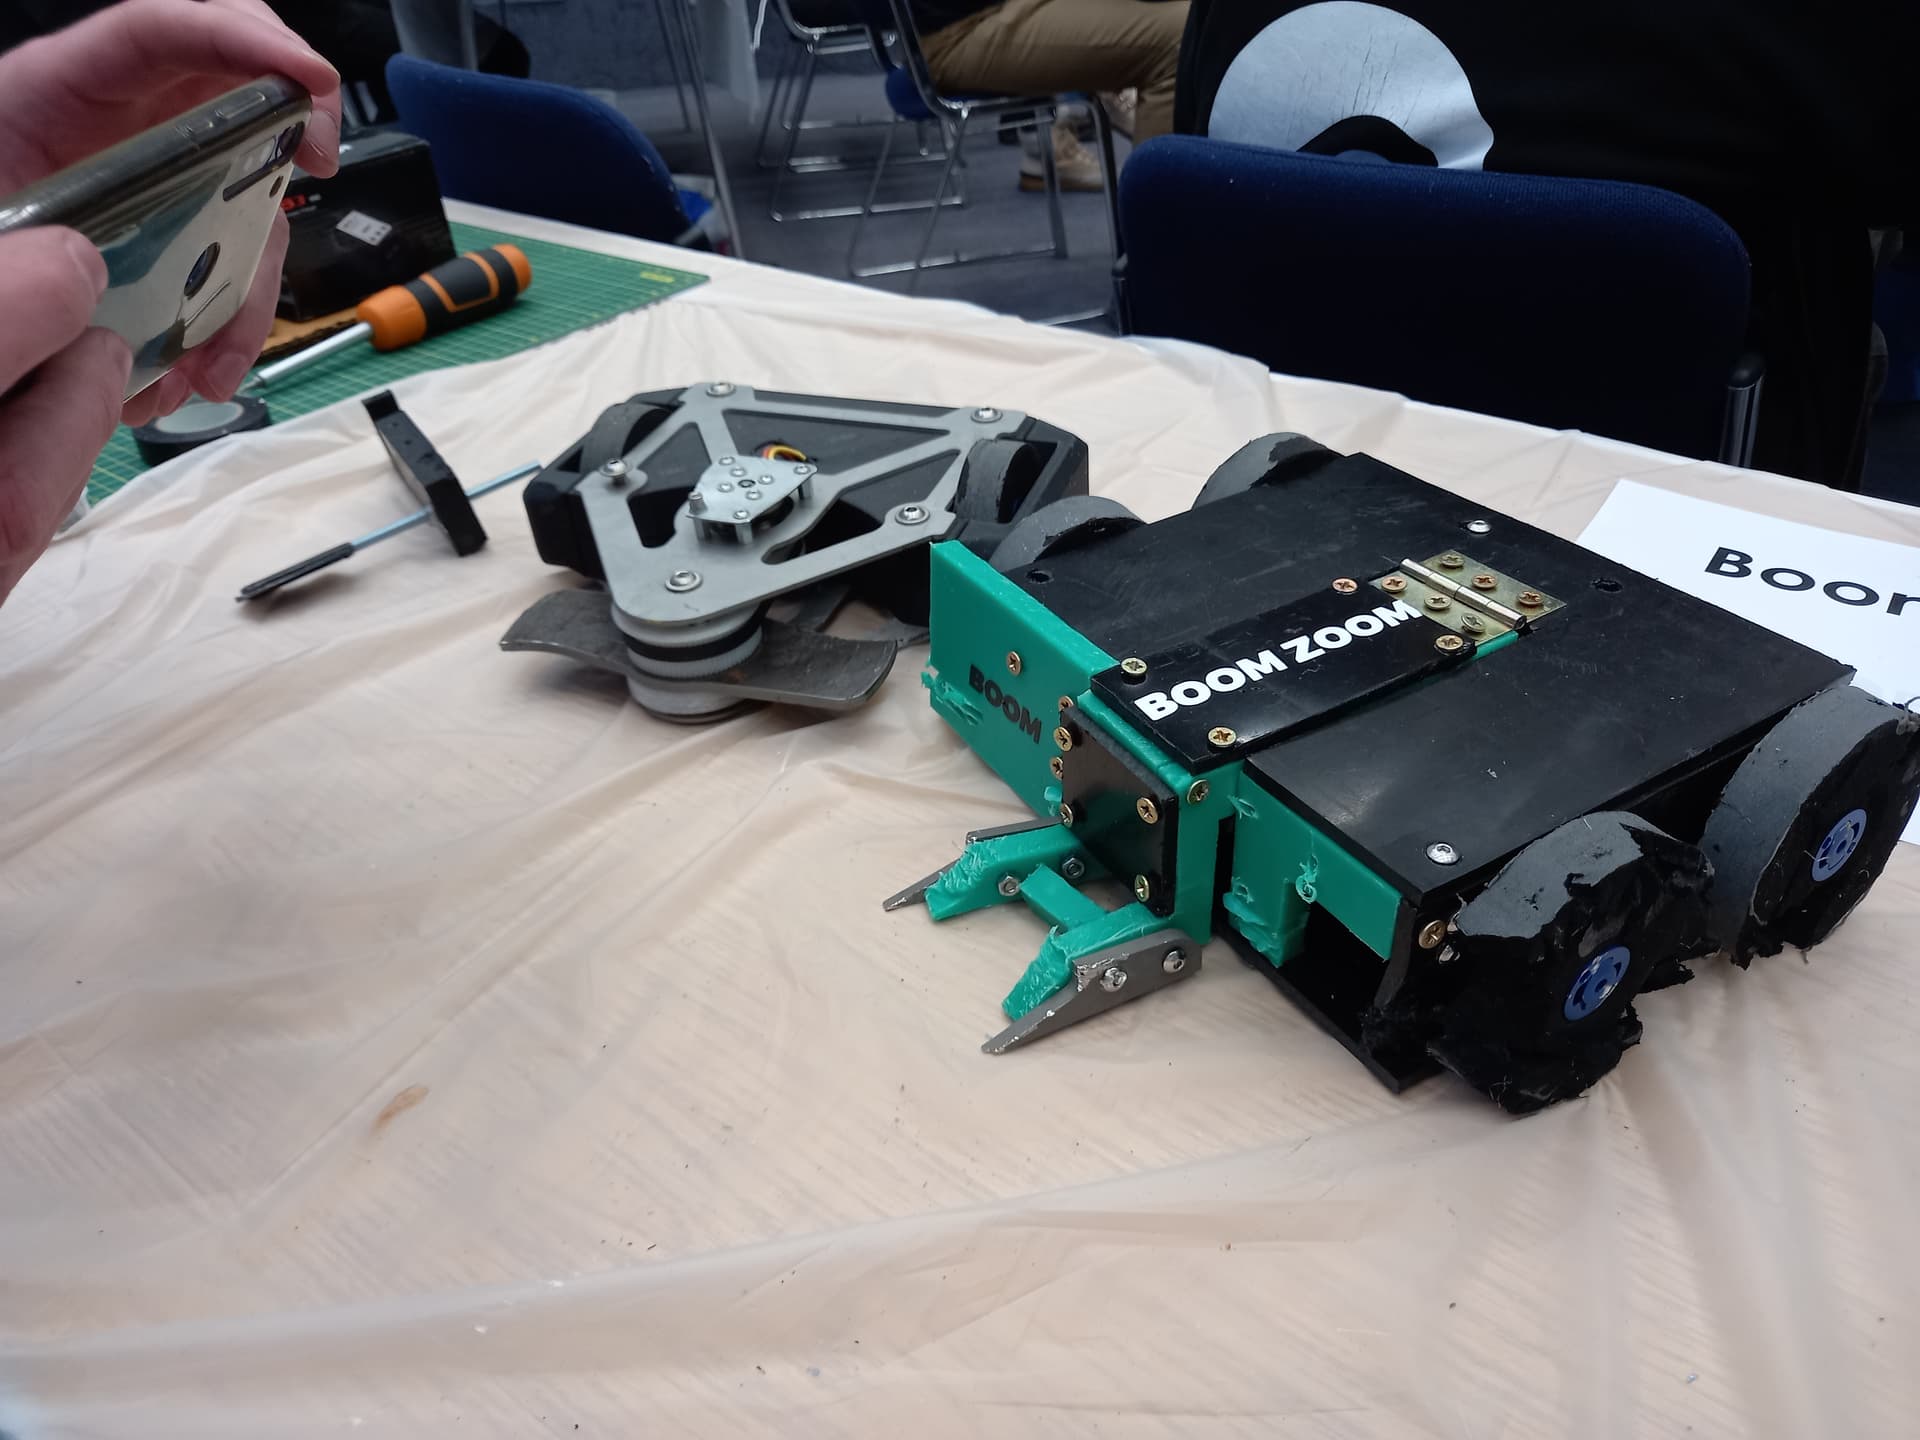
With the drive and chassis reworked I moved on to the weapon. The HDPE lifters were being eaten by verts way too often for my liking, and like the chassis they were a pain to remake. I instead went for a single piece TPU lifter, with the top part of the arm braced by a 2mm Grade 5 Titanium plate to add a bit more rigidity.
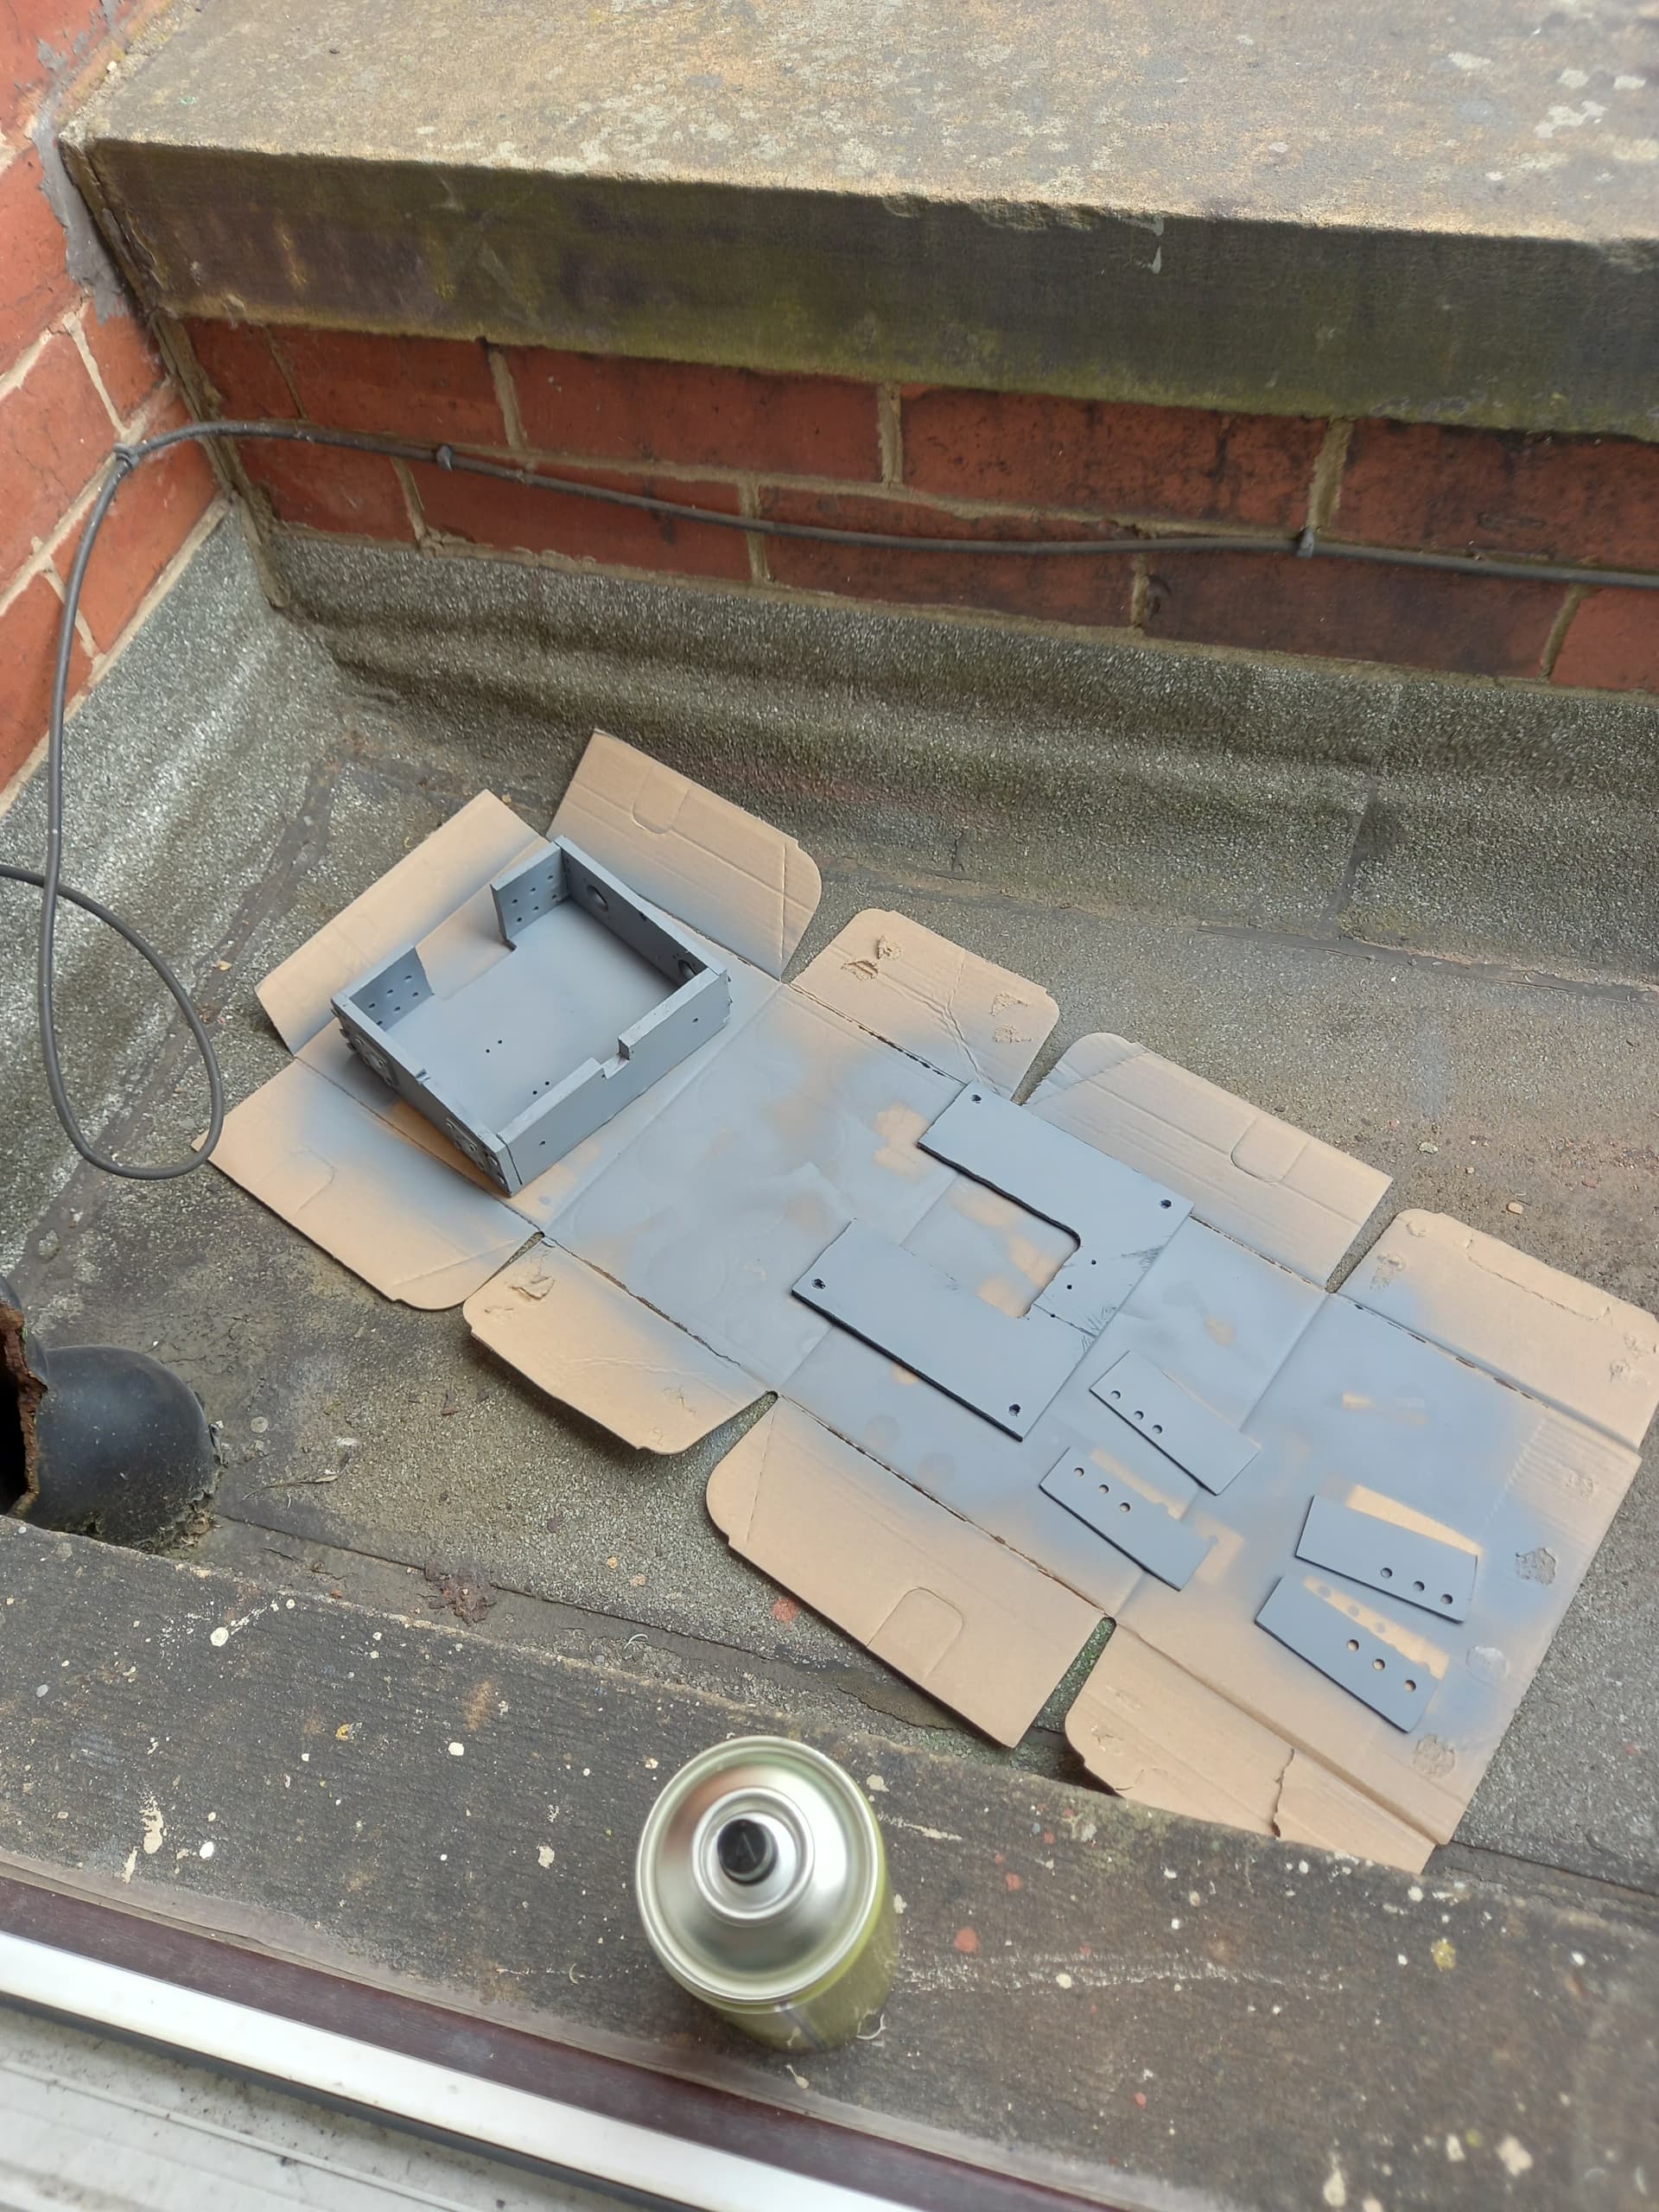
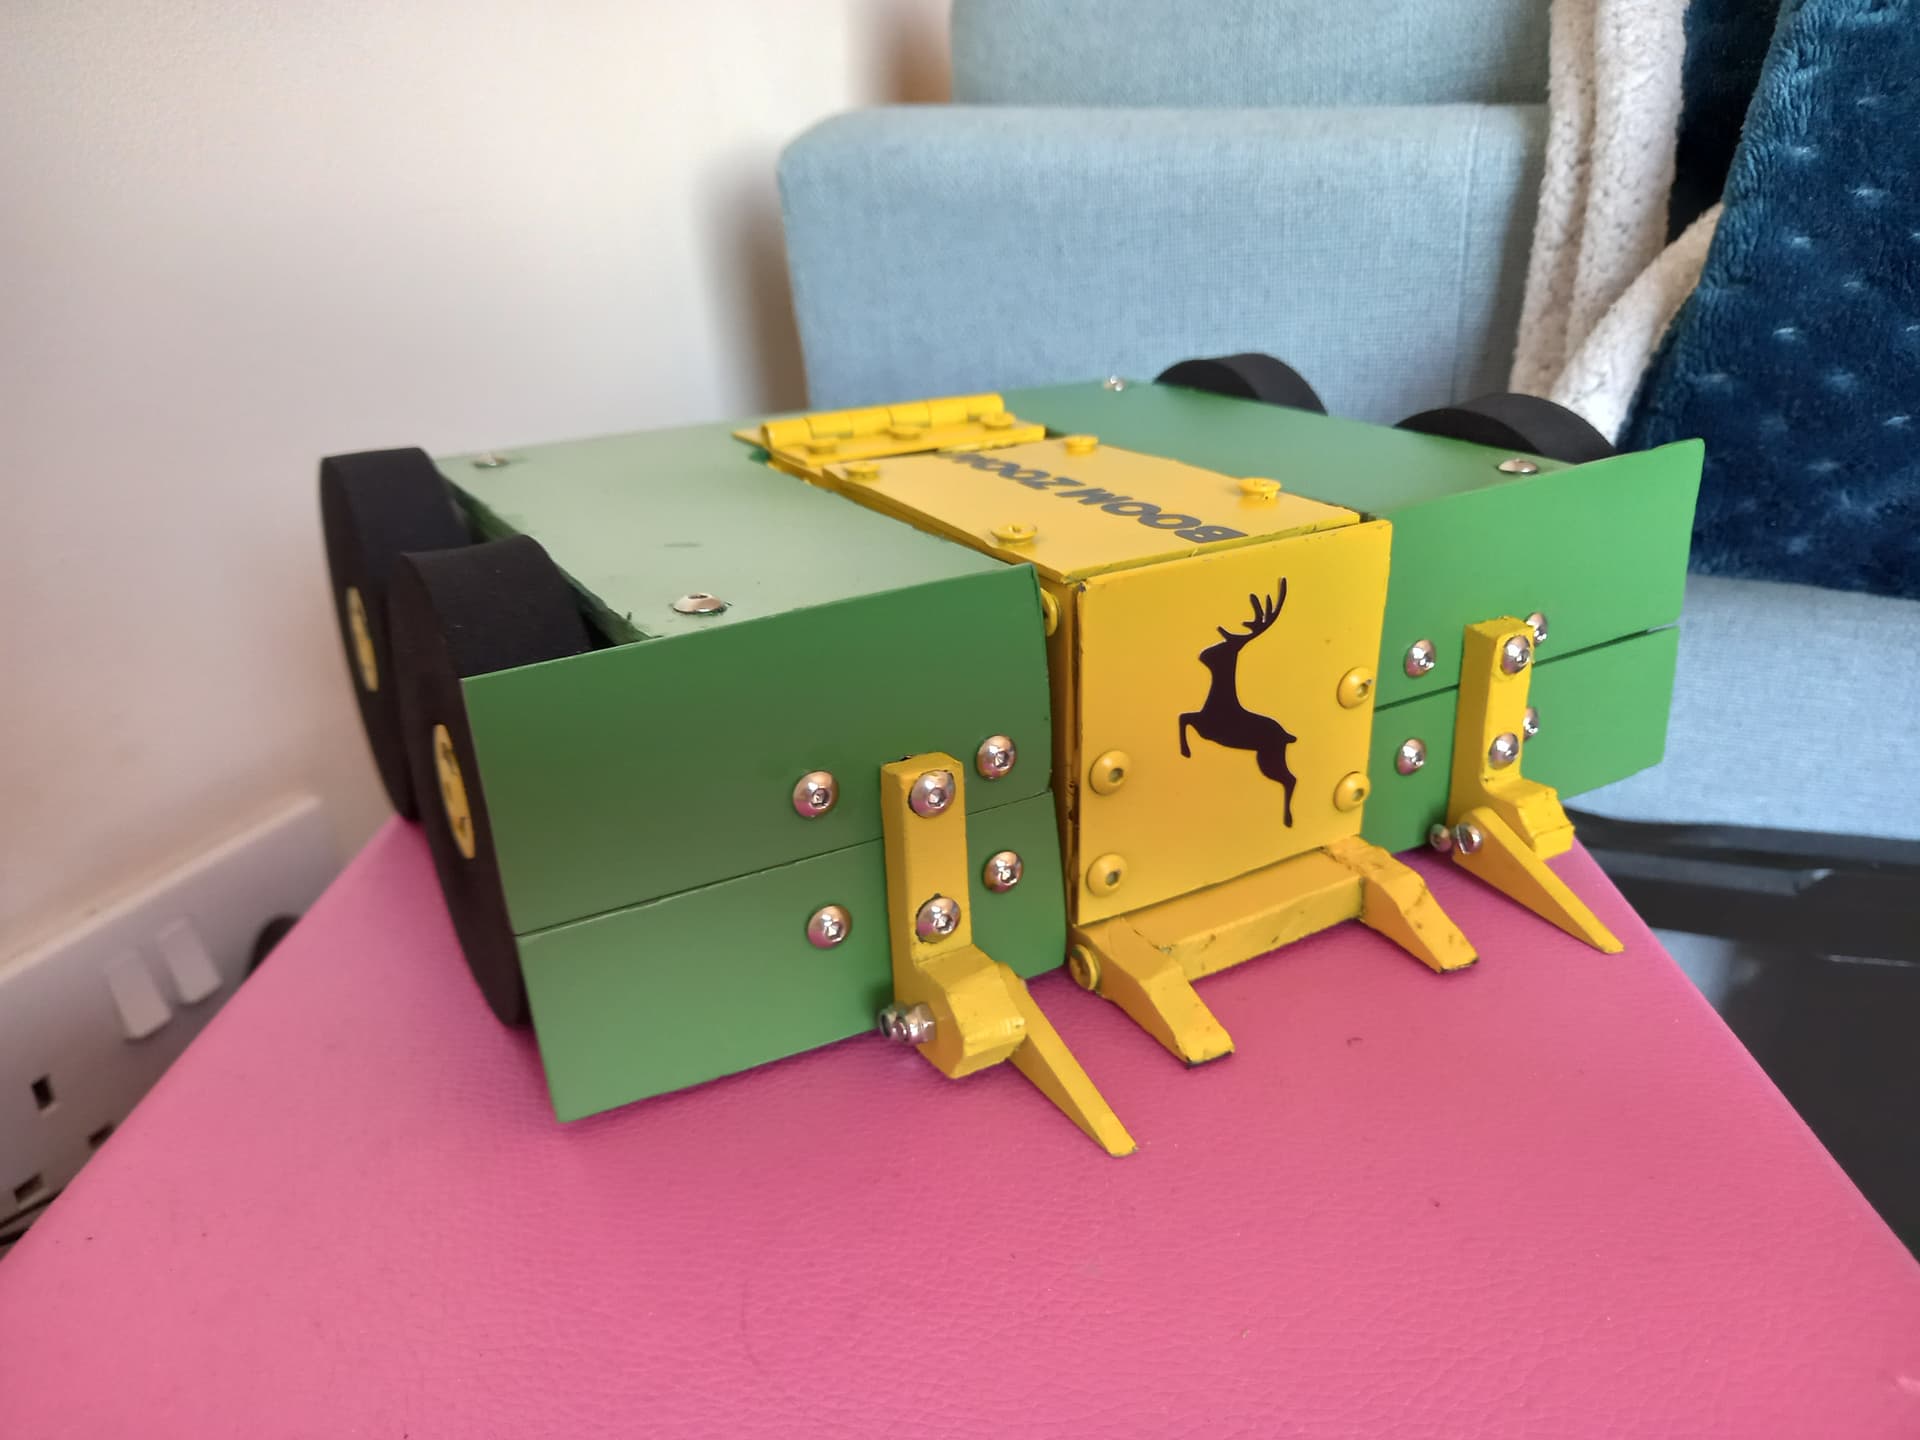
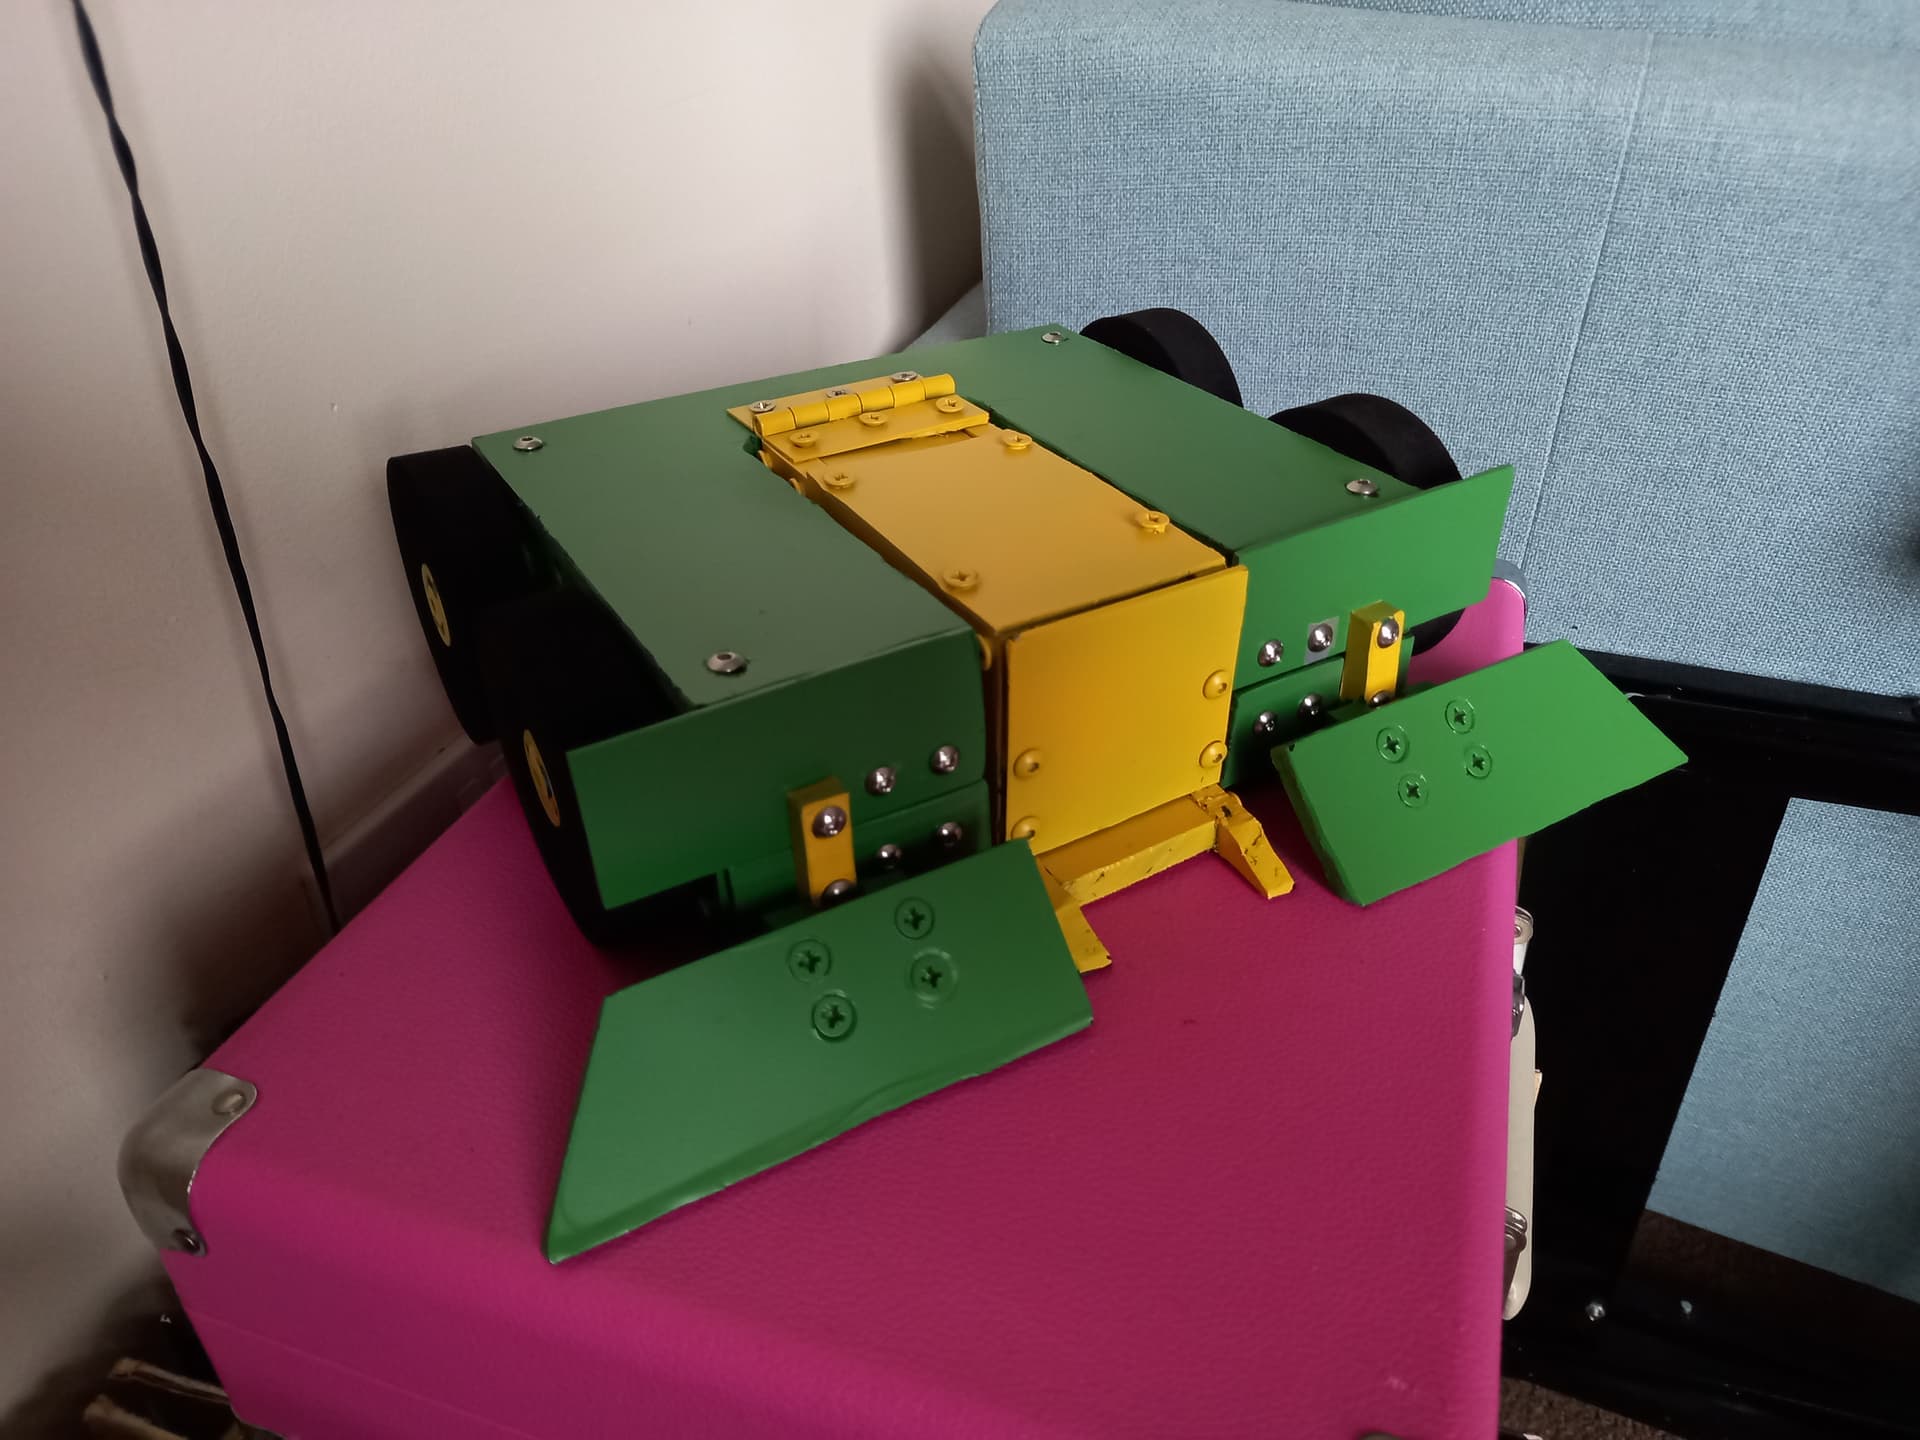
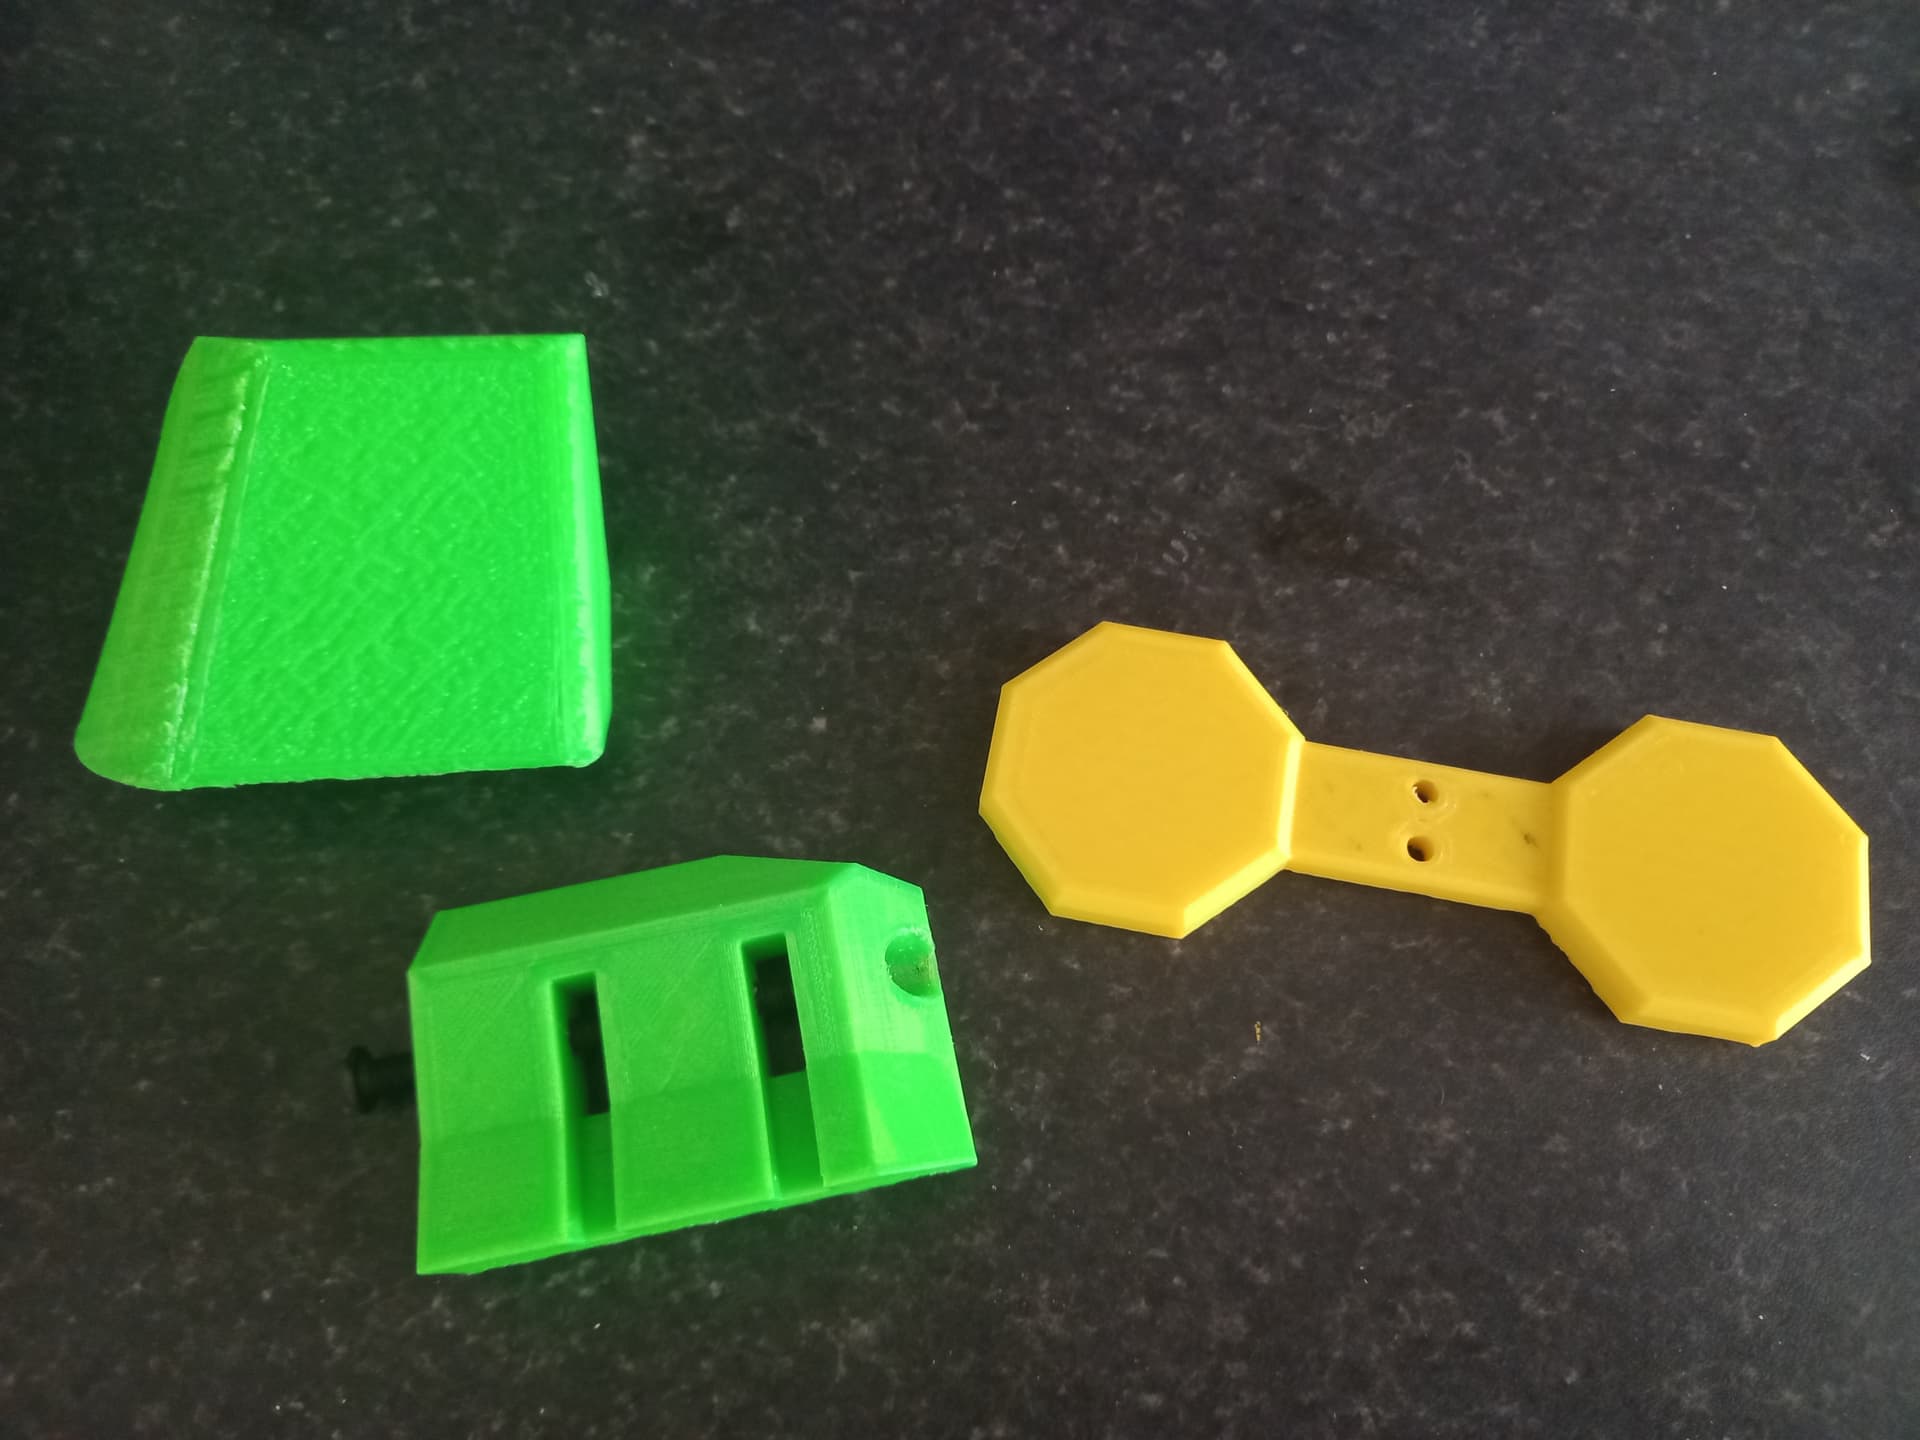
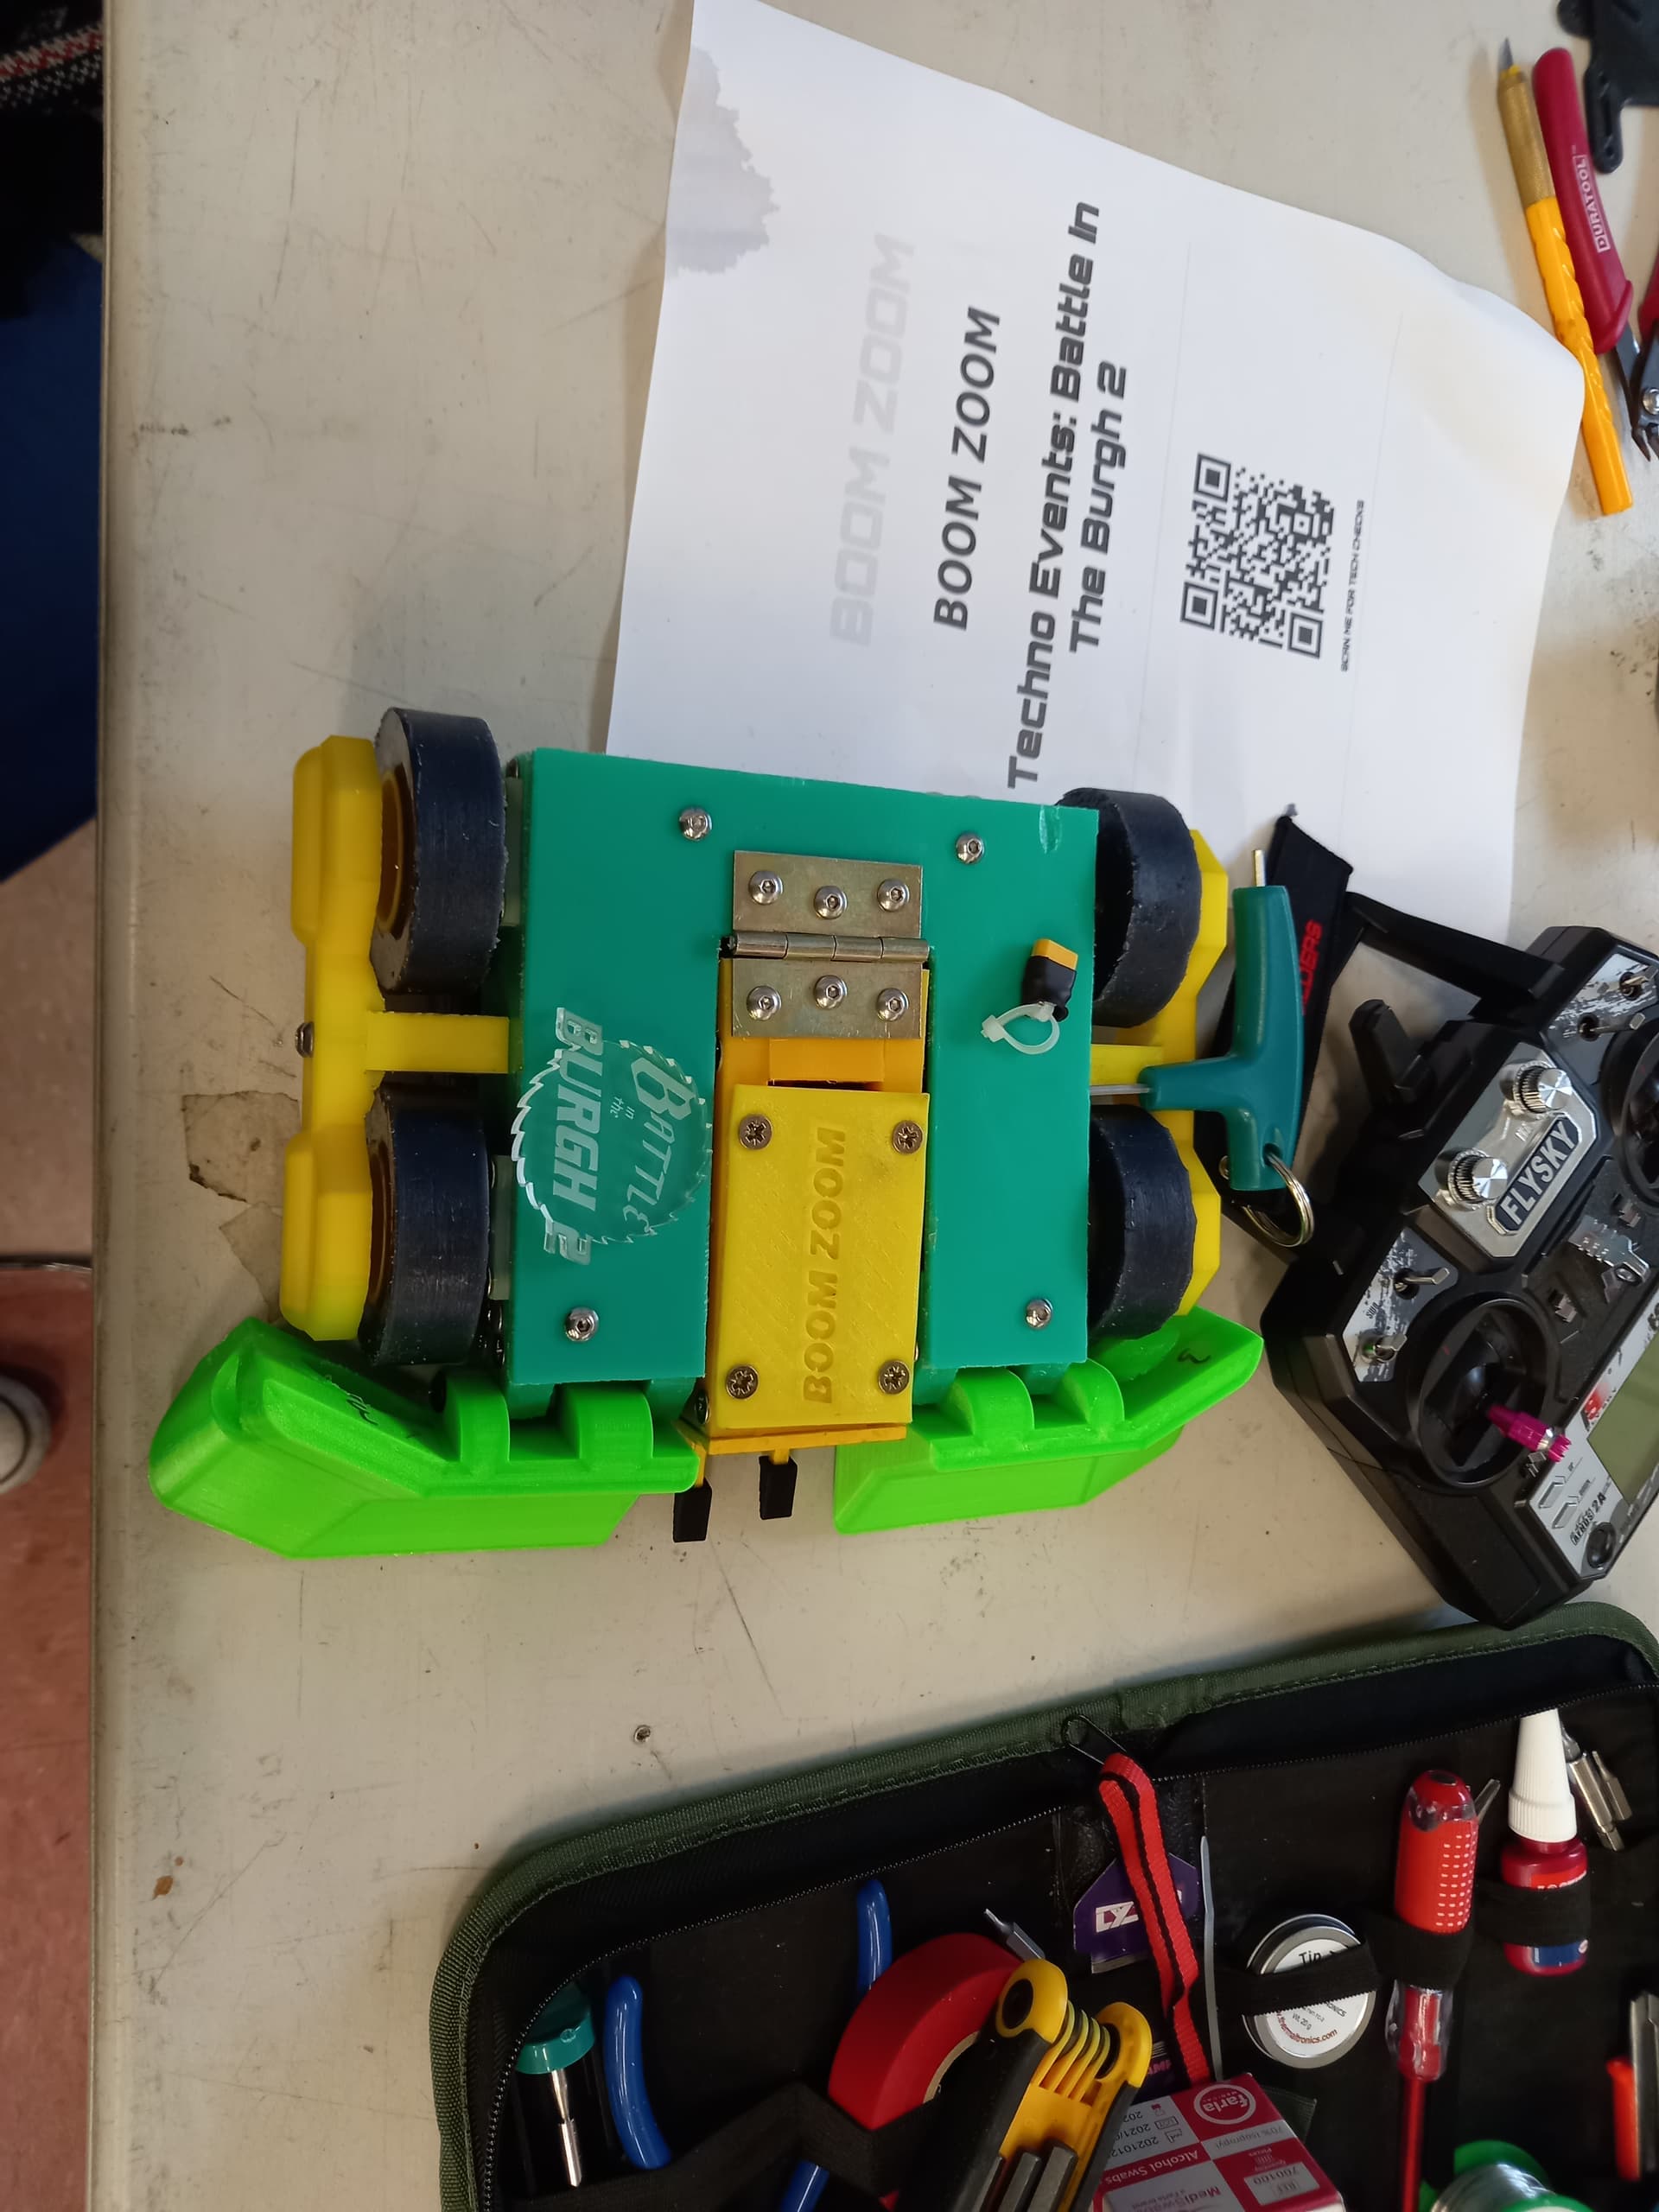
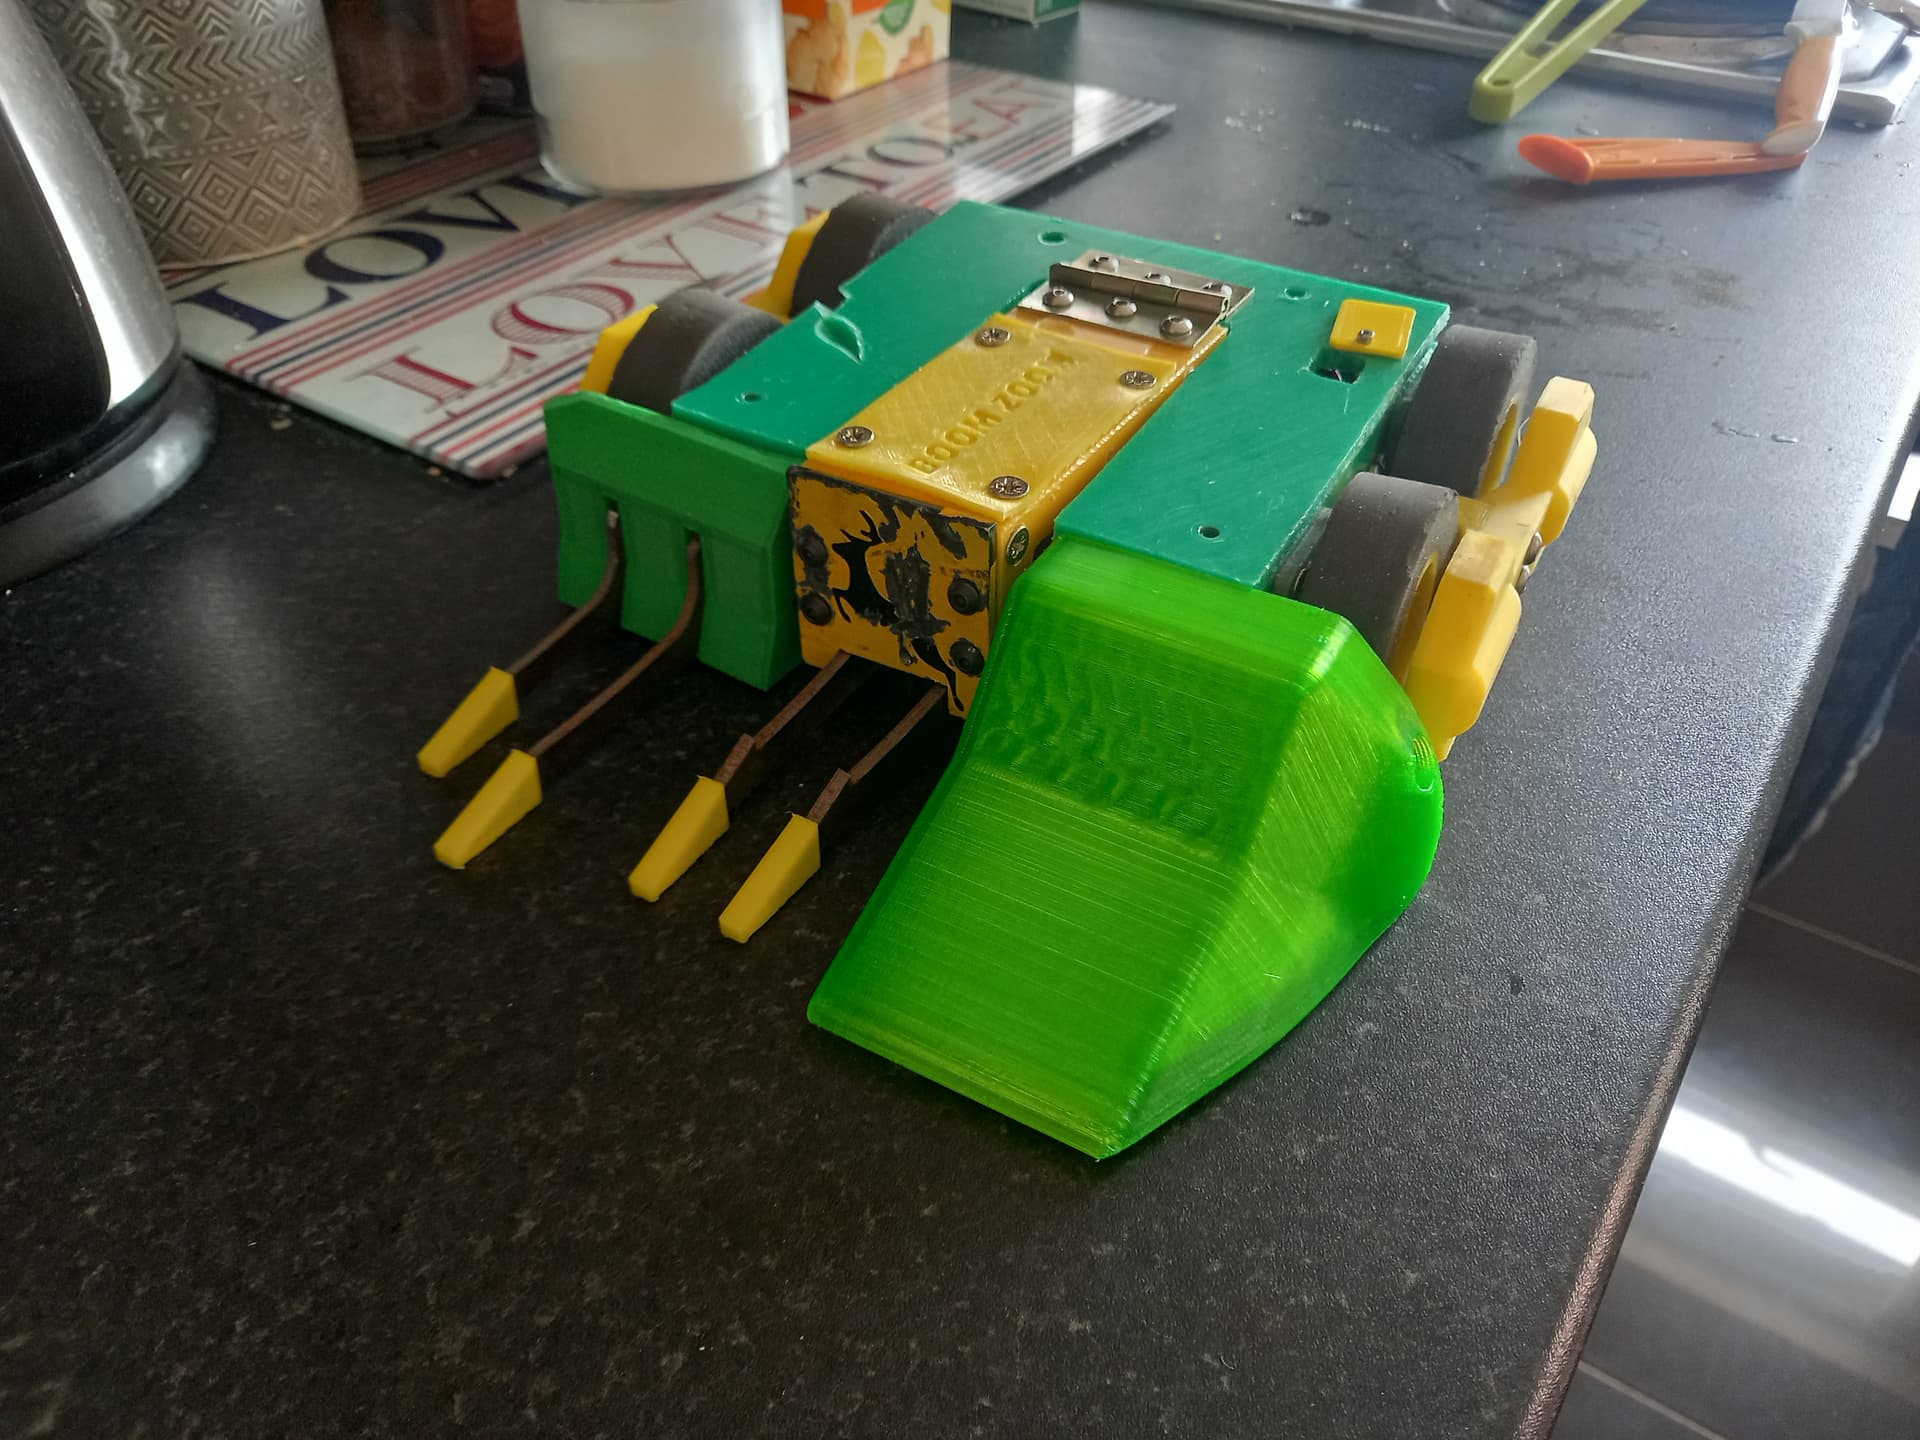
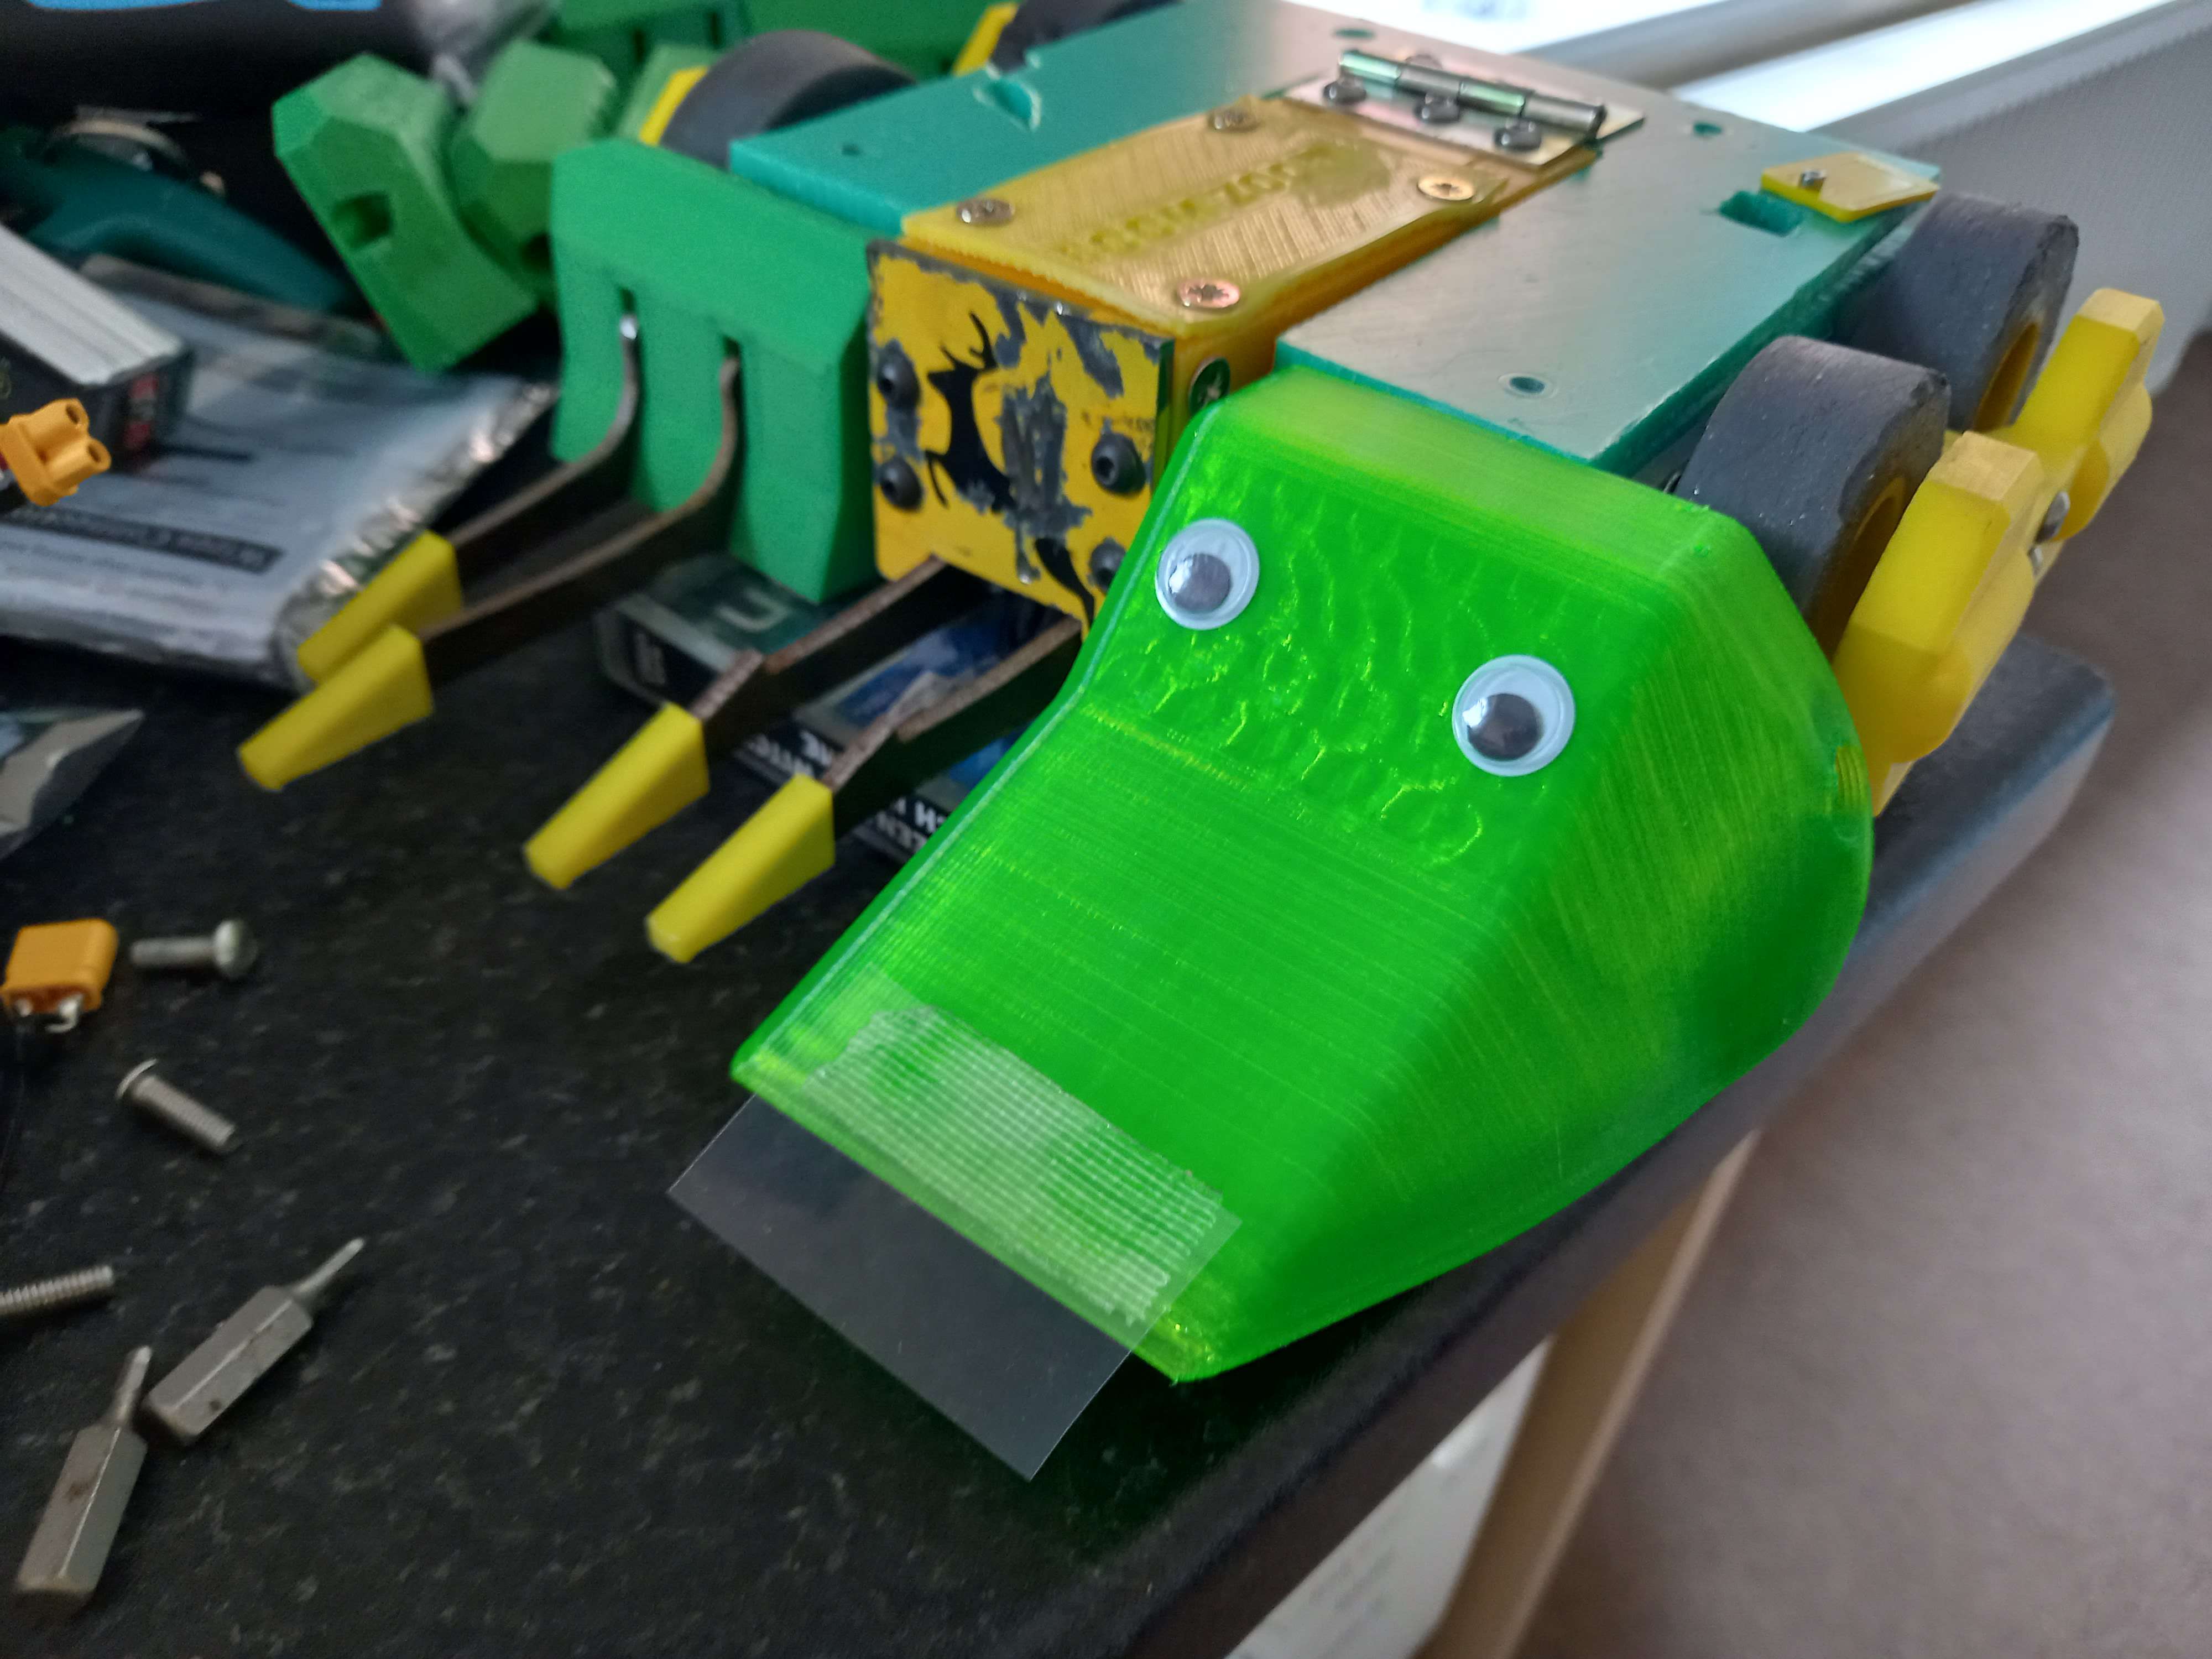
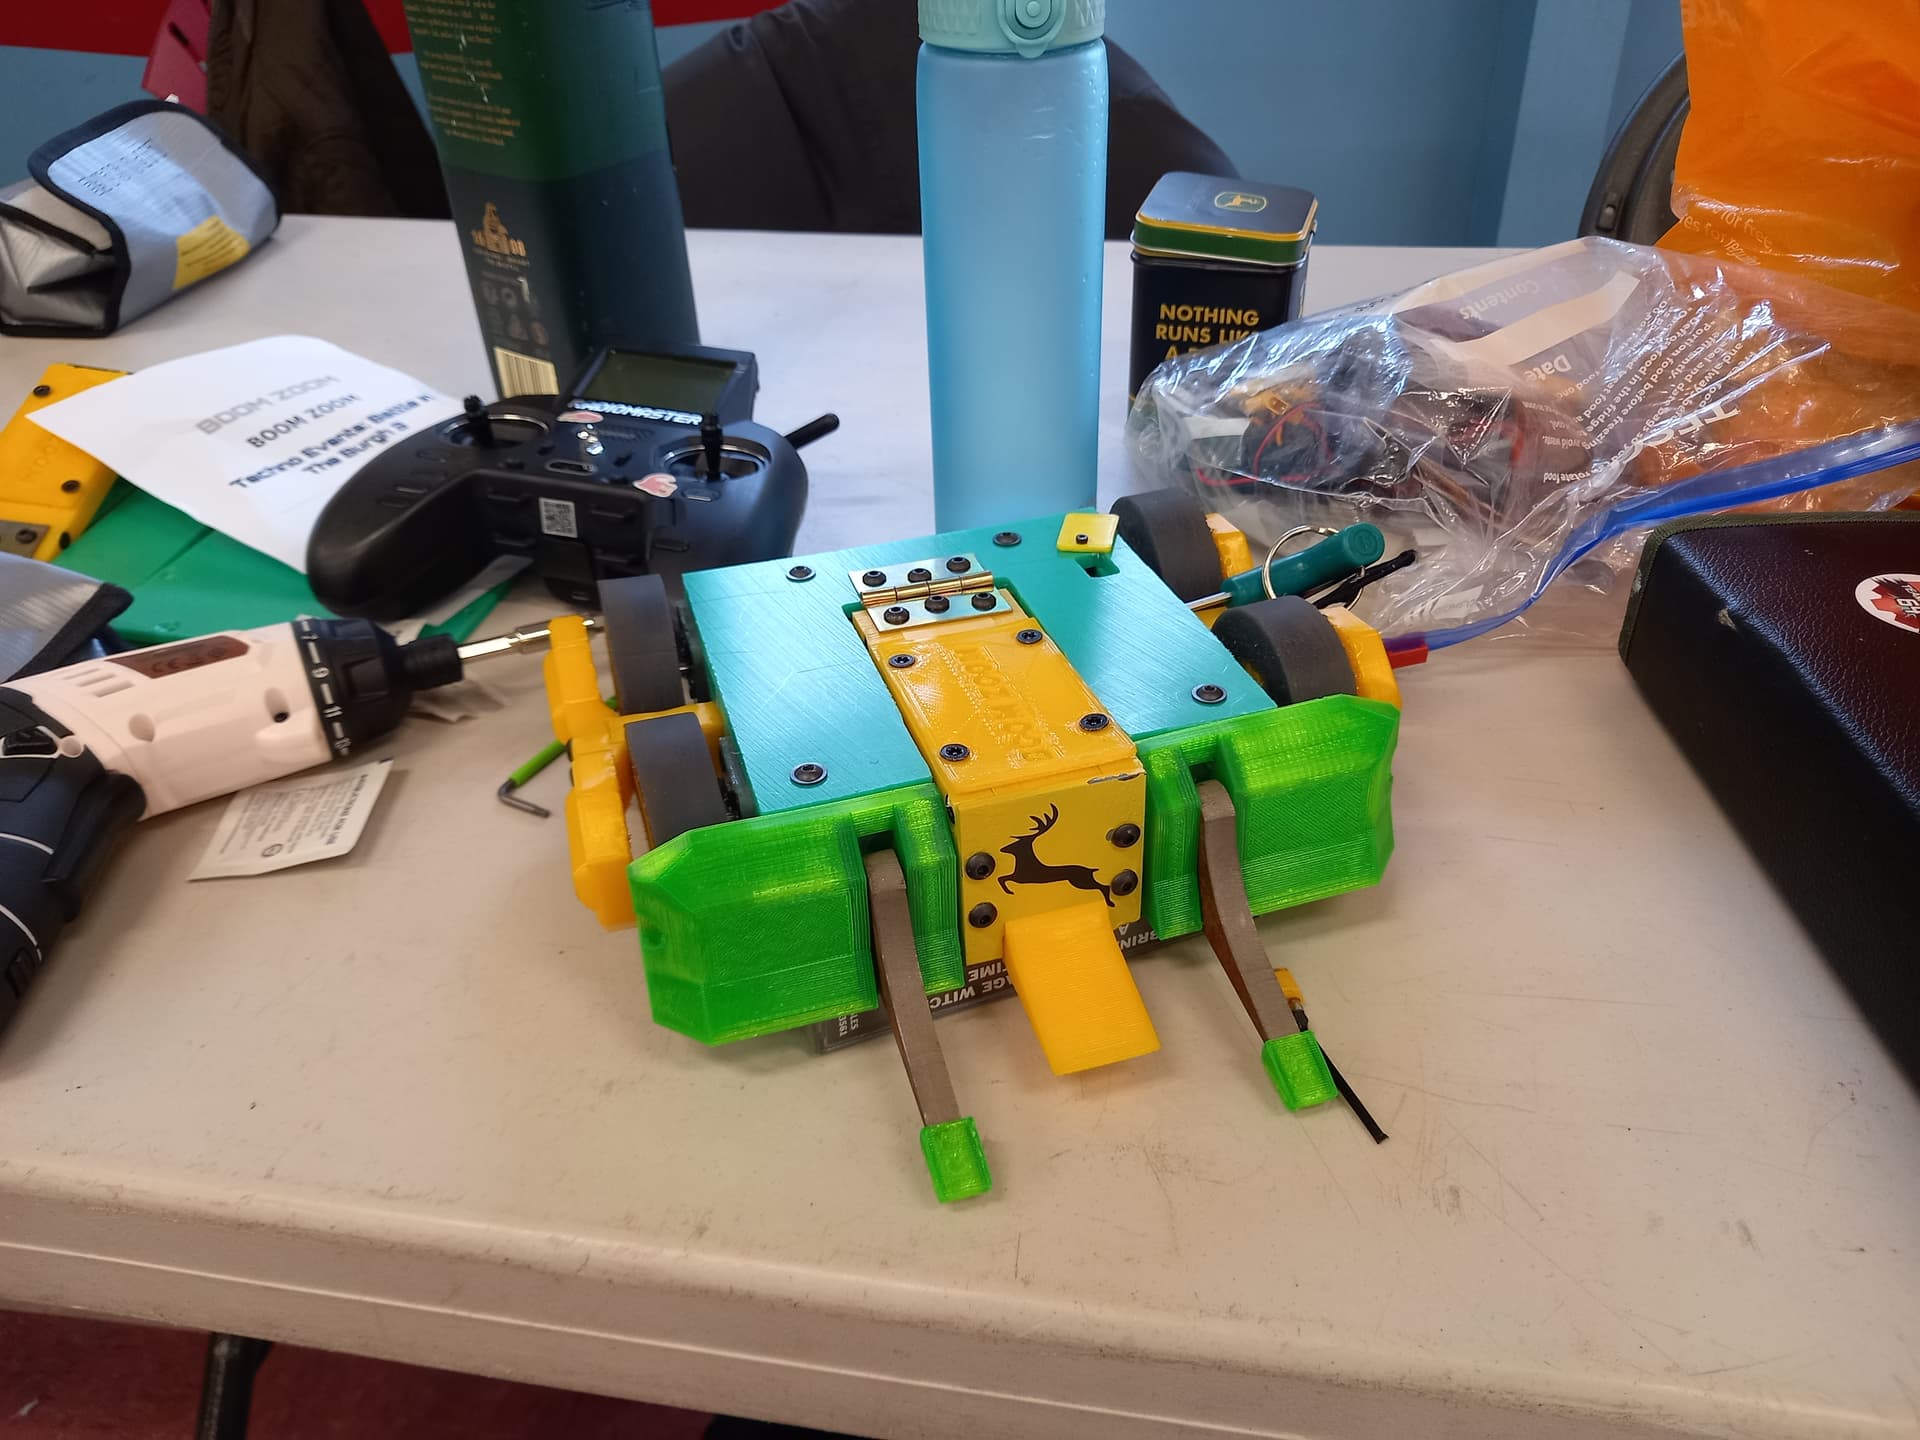
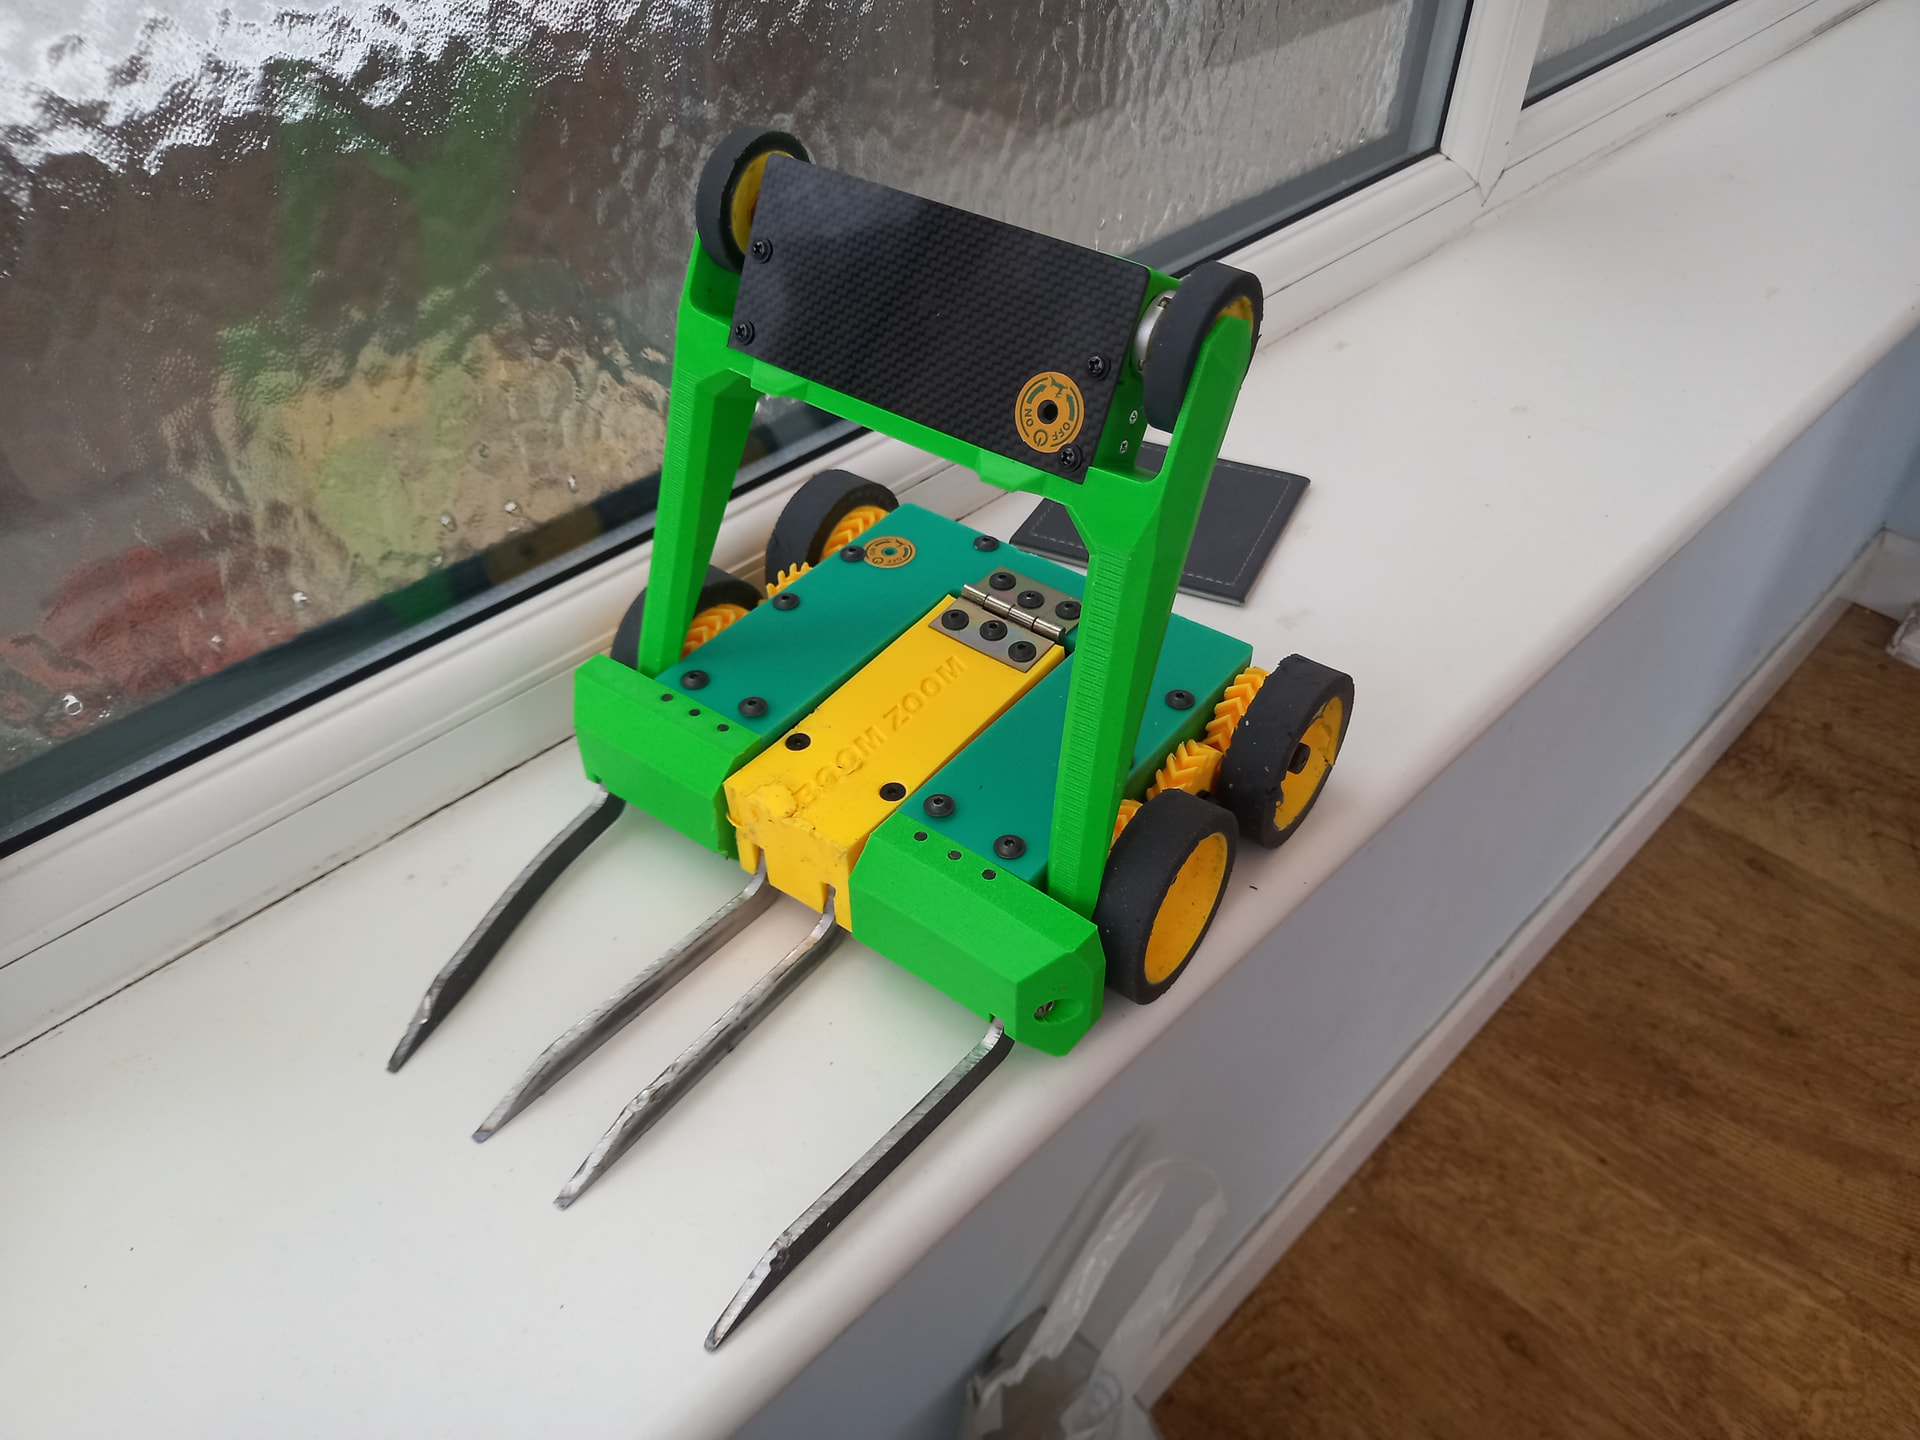
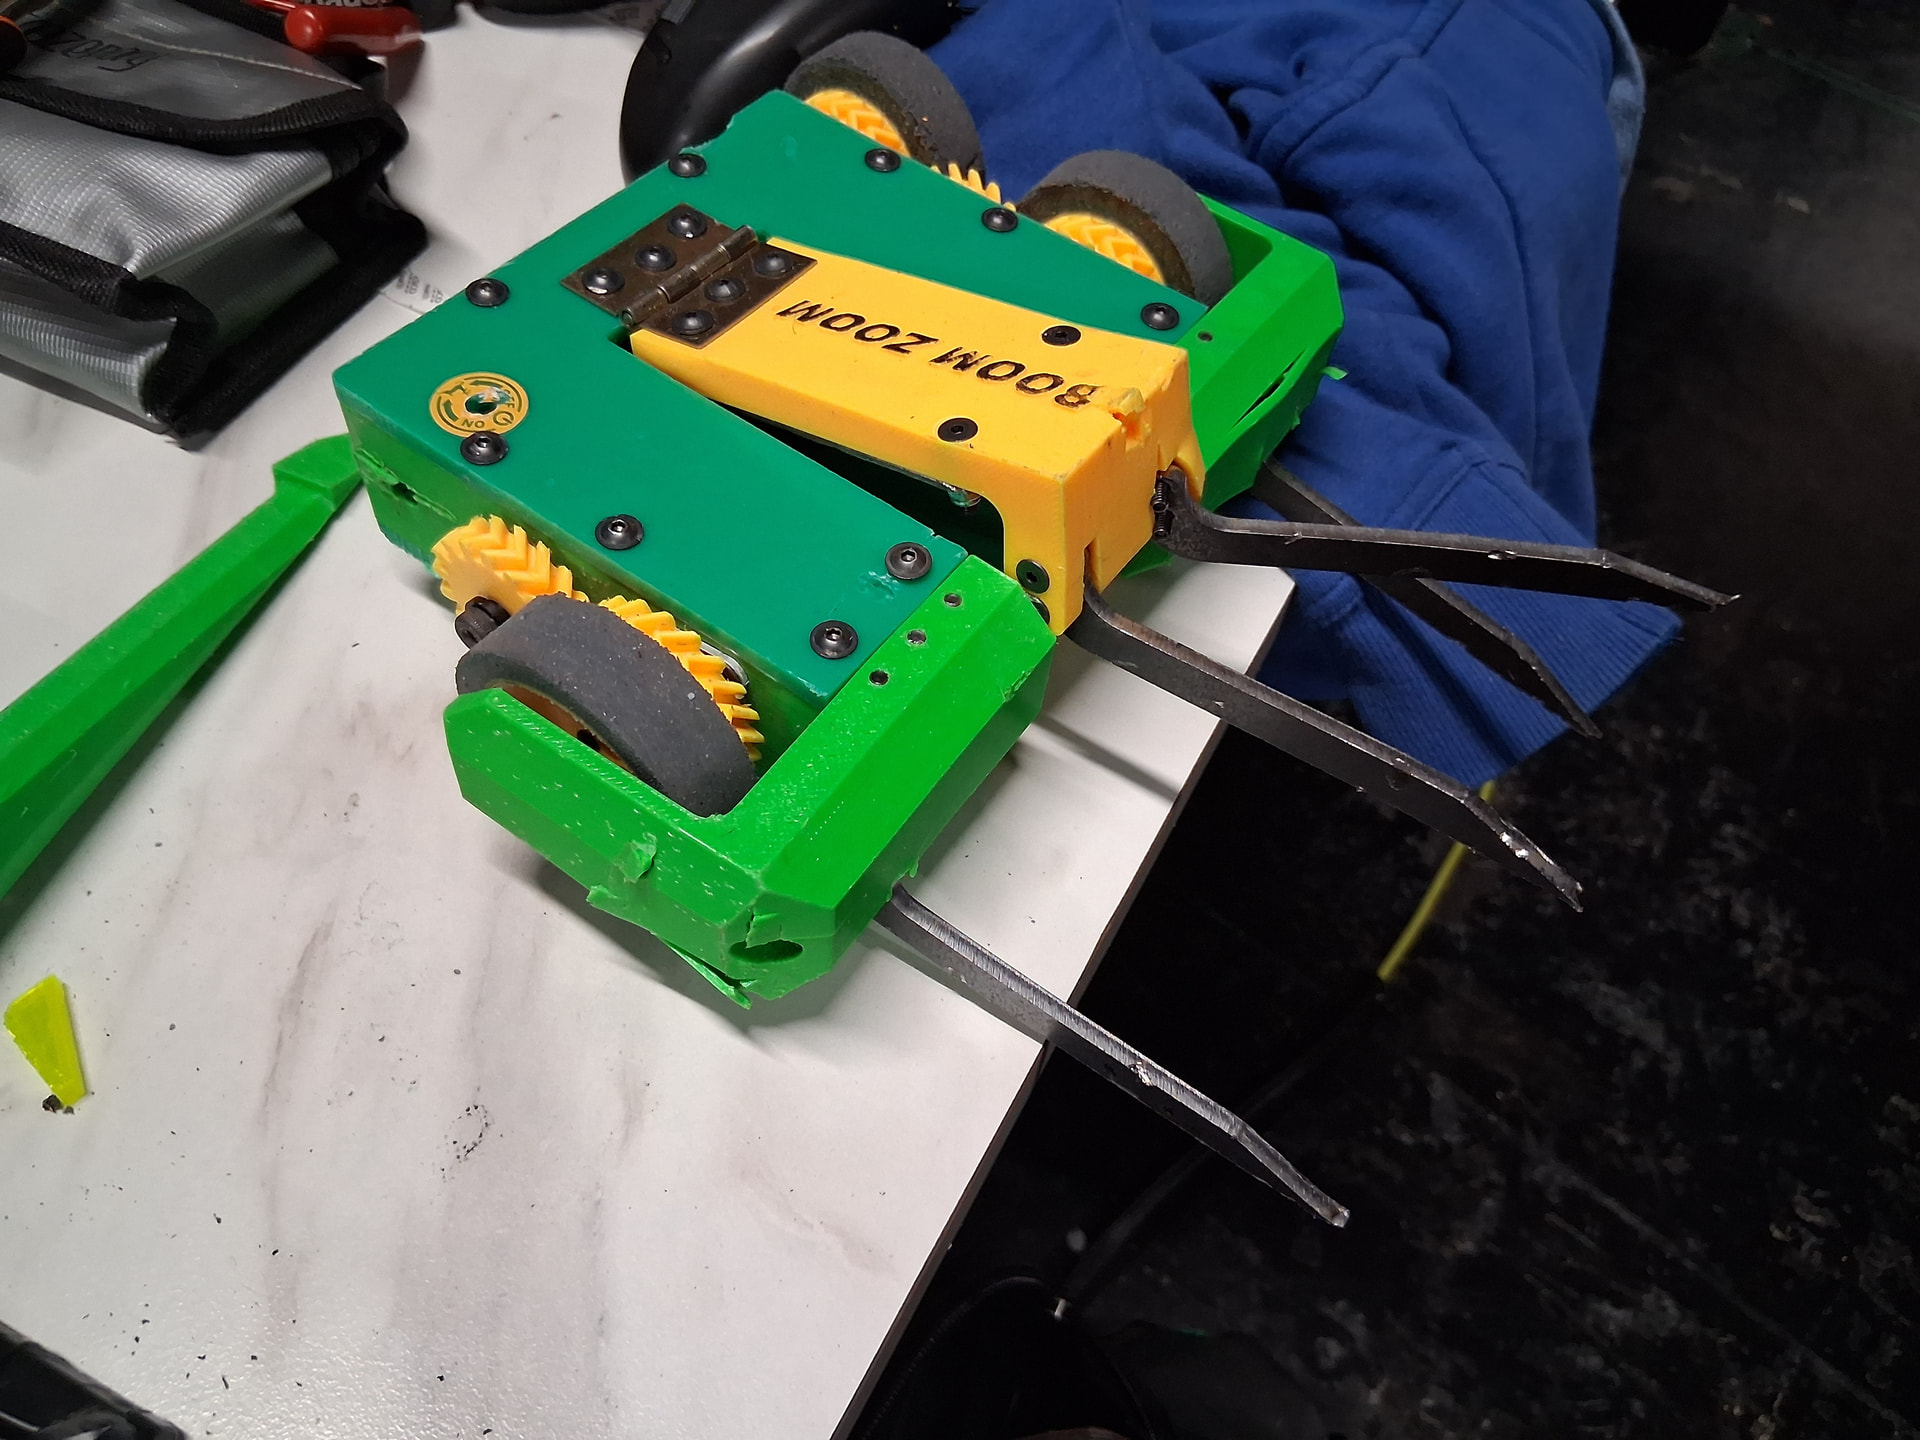
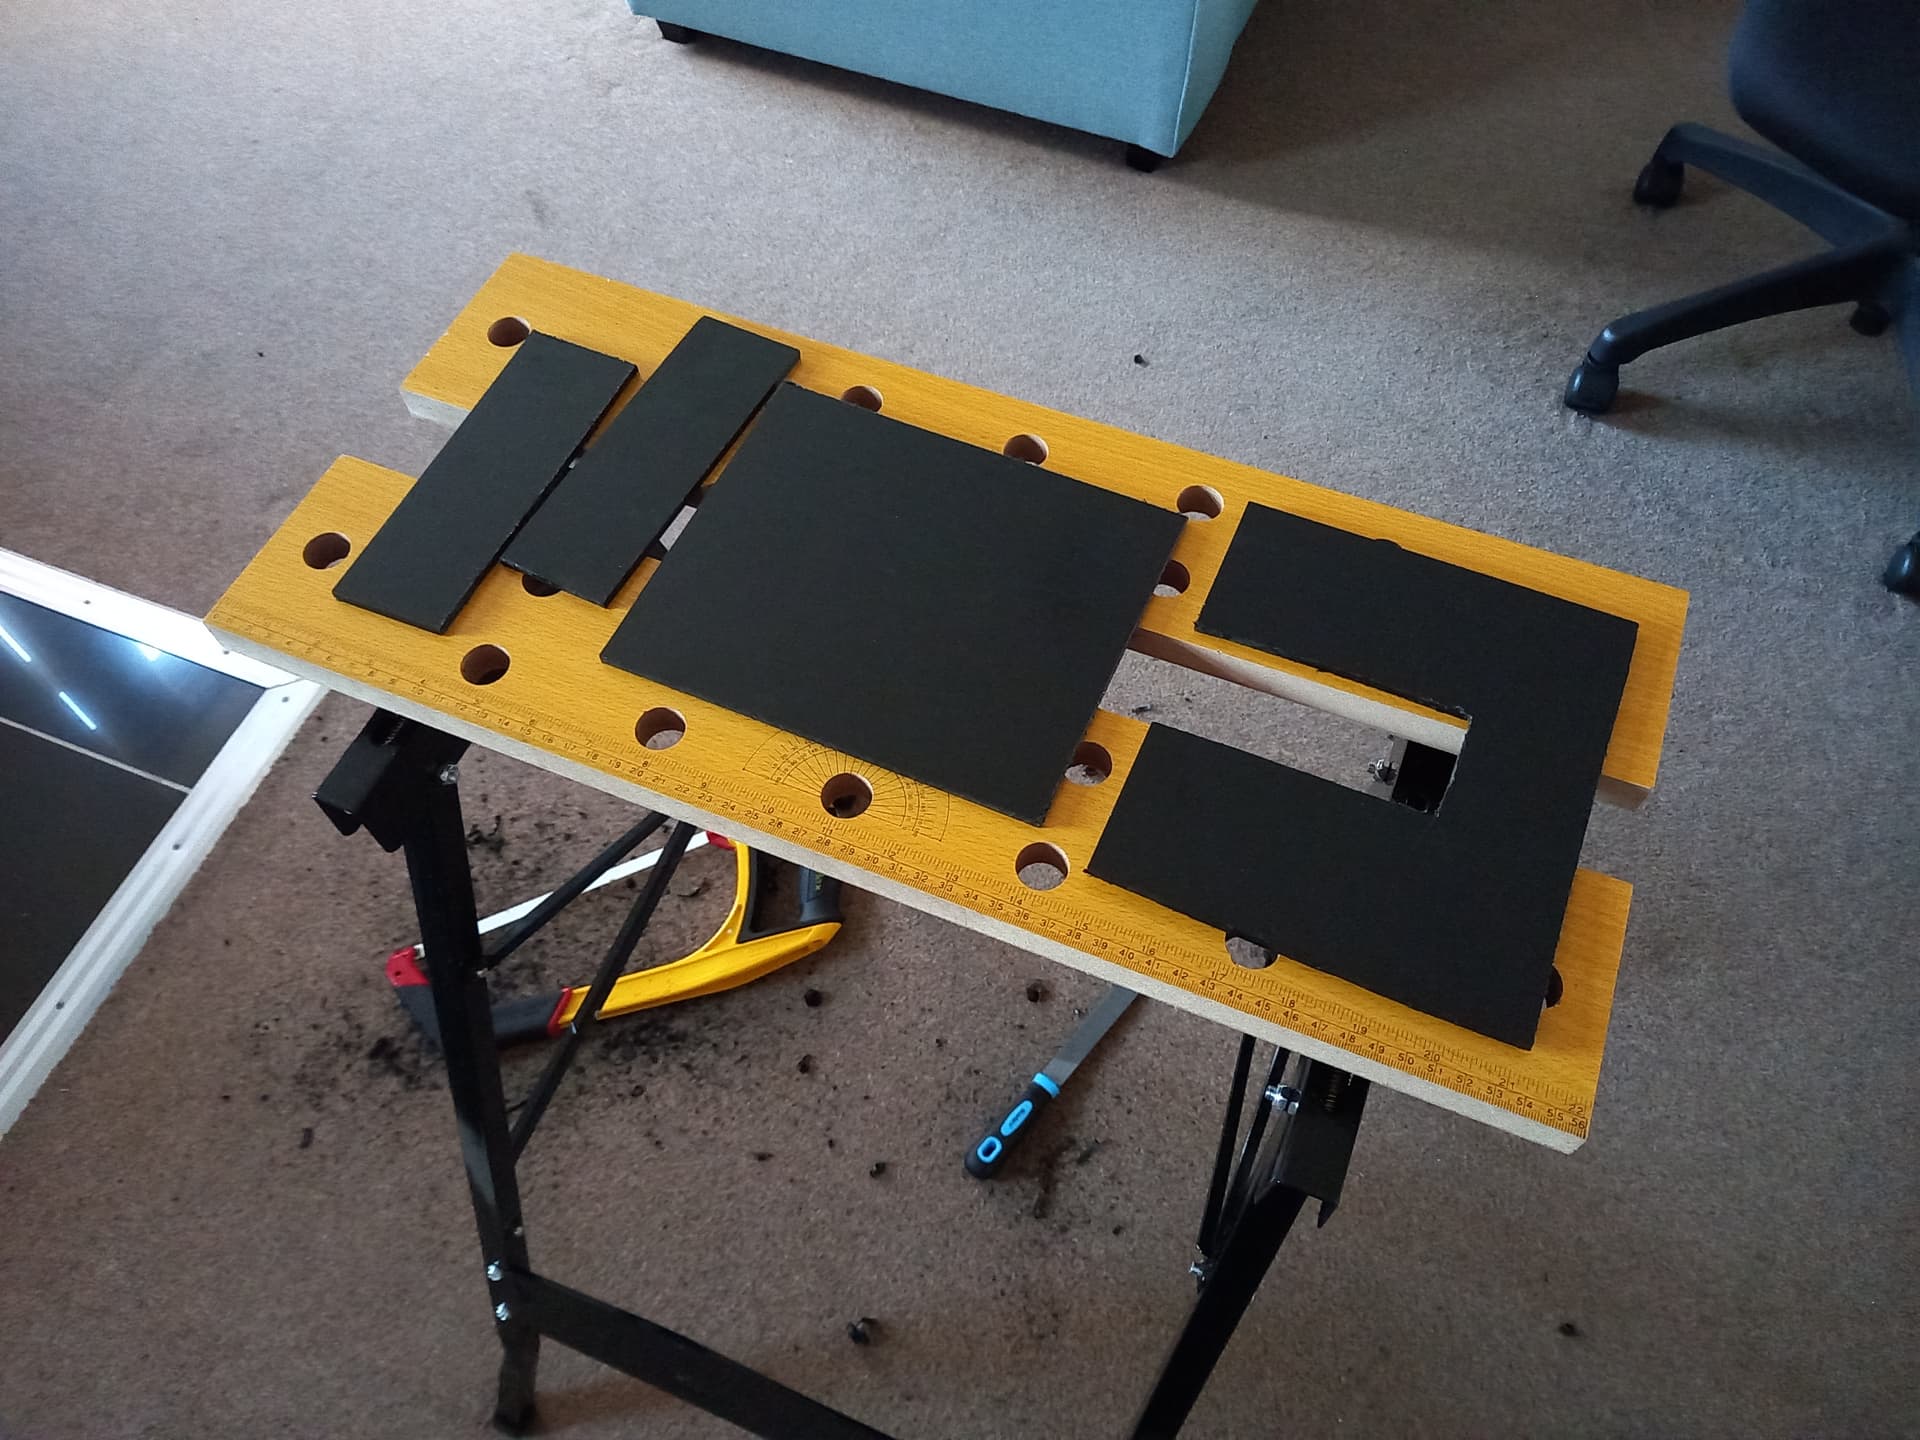
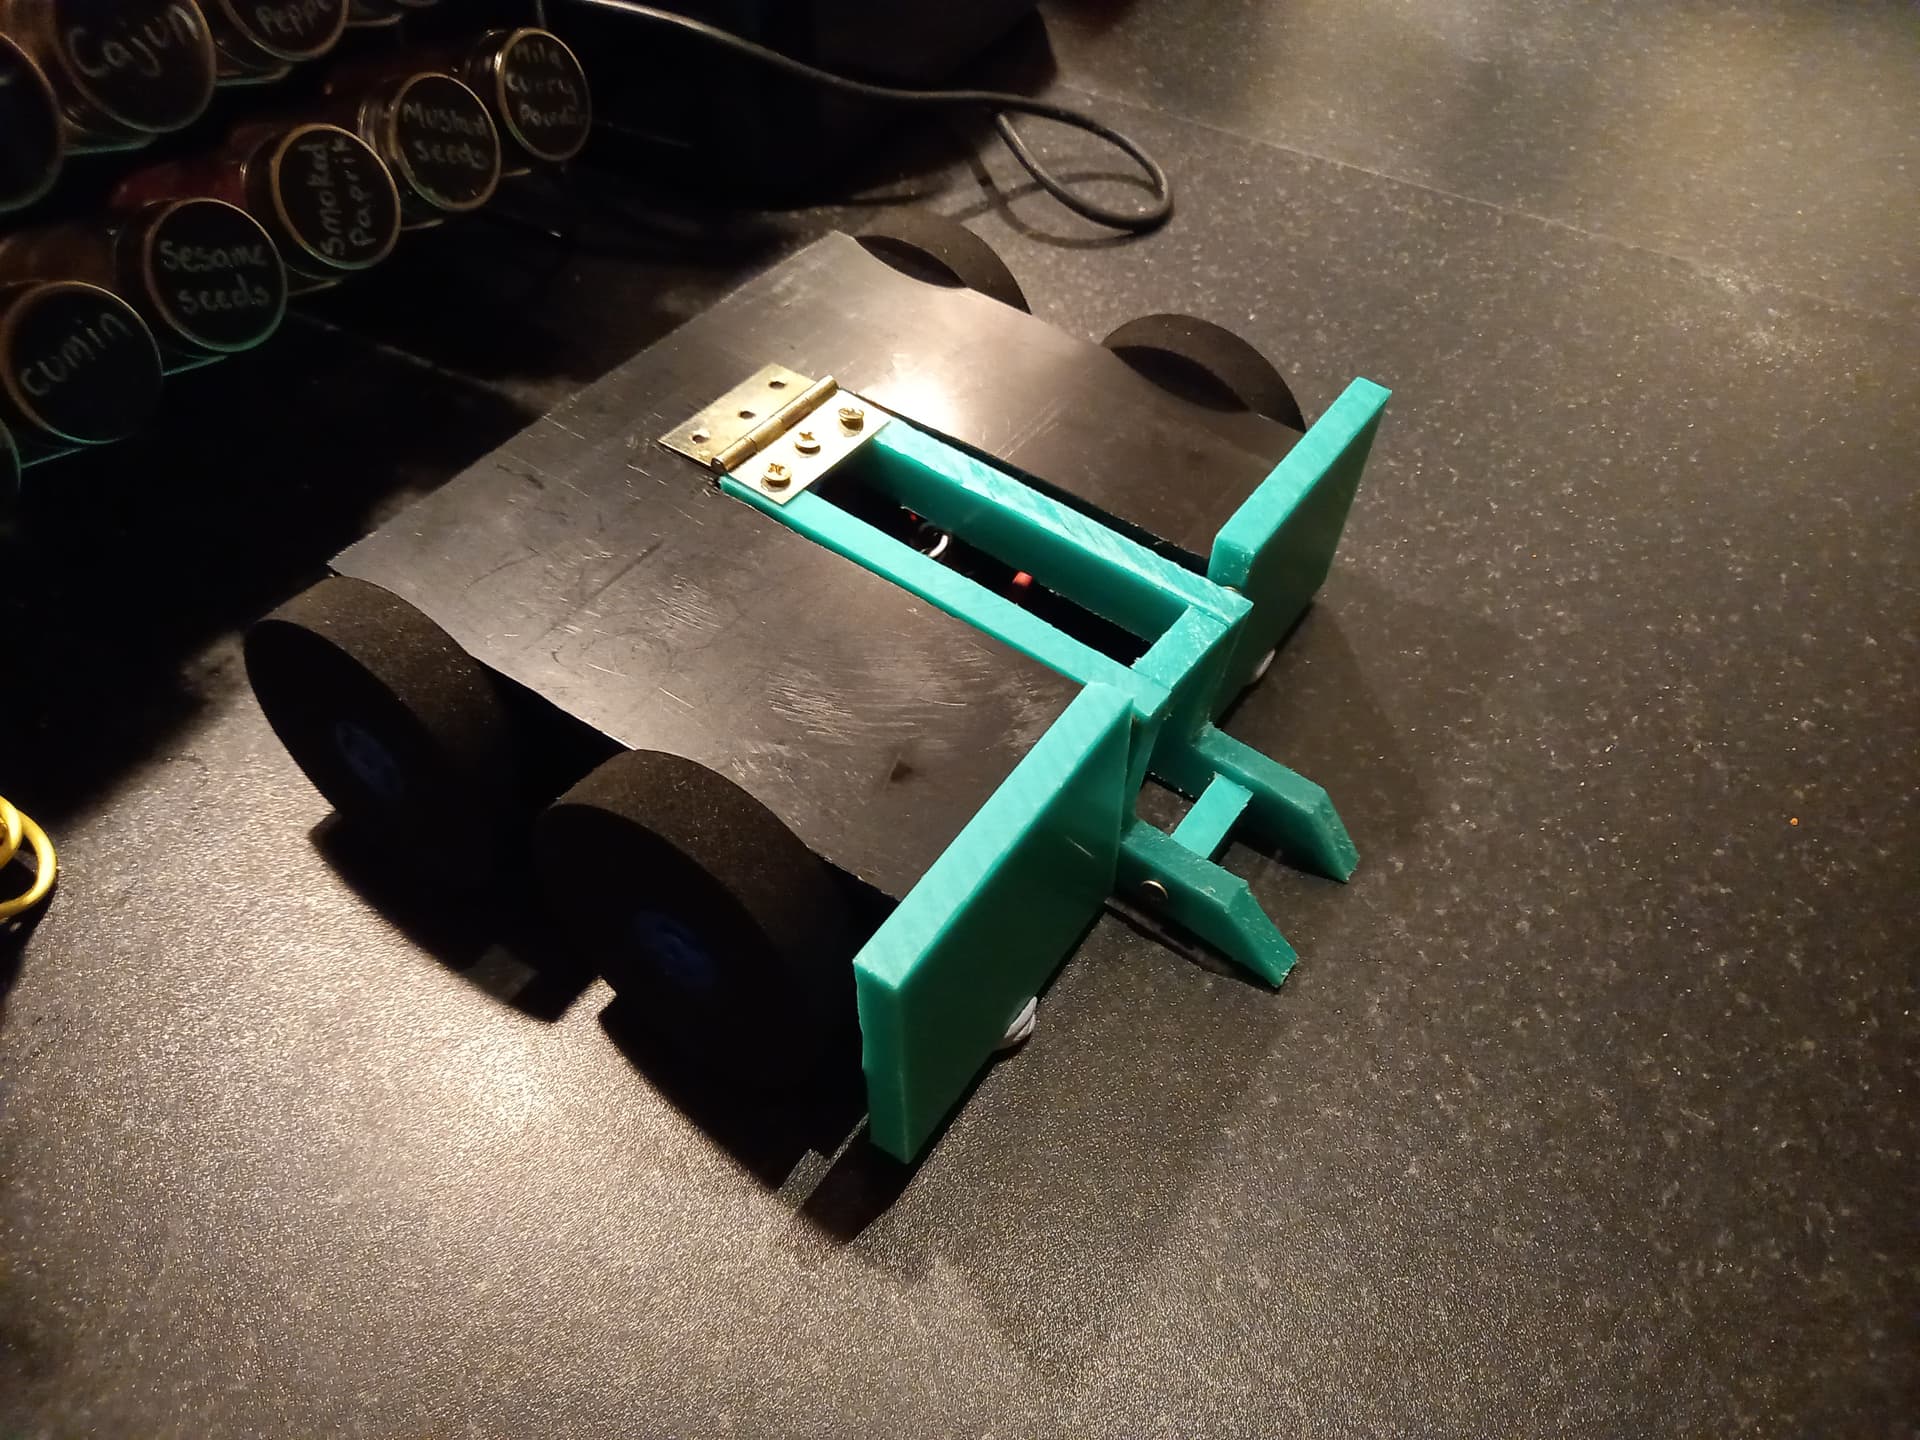
Finally, I set to work on the front end of the robot. Longer forks were a necessity, as I was being outforked by nearly every opponent towards the end of MK4’s run. I also incorporated wheelguards into the front armour to protect the vulnerable rear wheels, and beefed these up so they wouldn’t be ingested by any spinners like on the previous version. I also fired out a number of alternate setups like a wedge, thick drum forks, lower profile fronts and top armour to complete the usual array of setups.
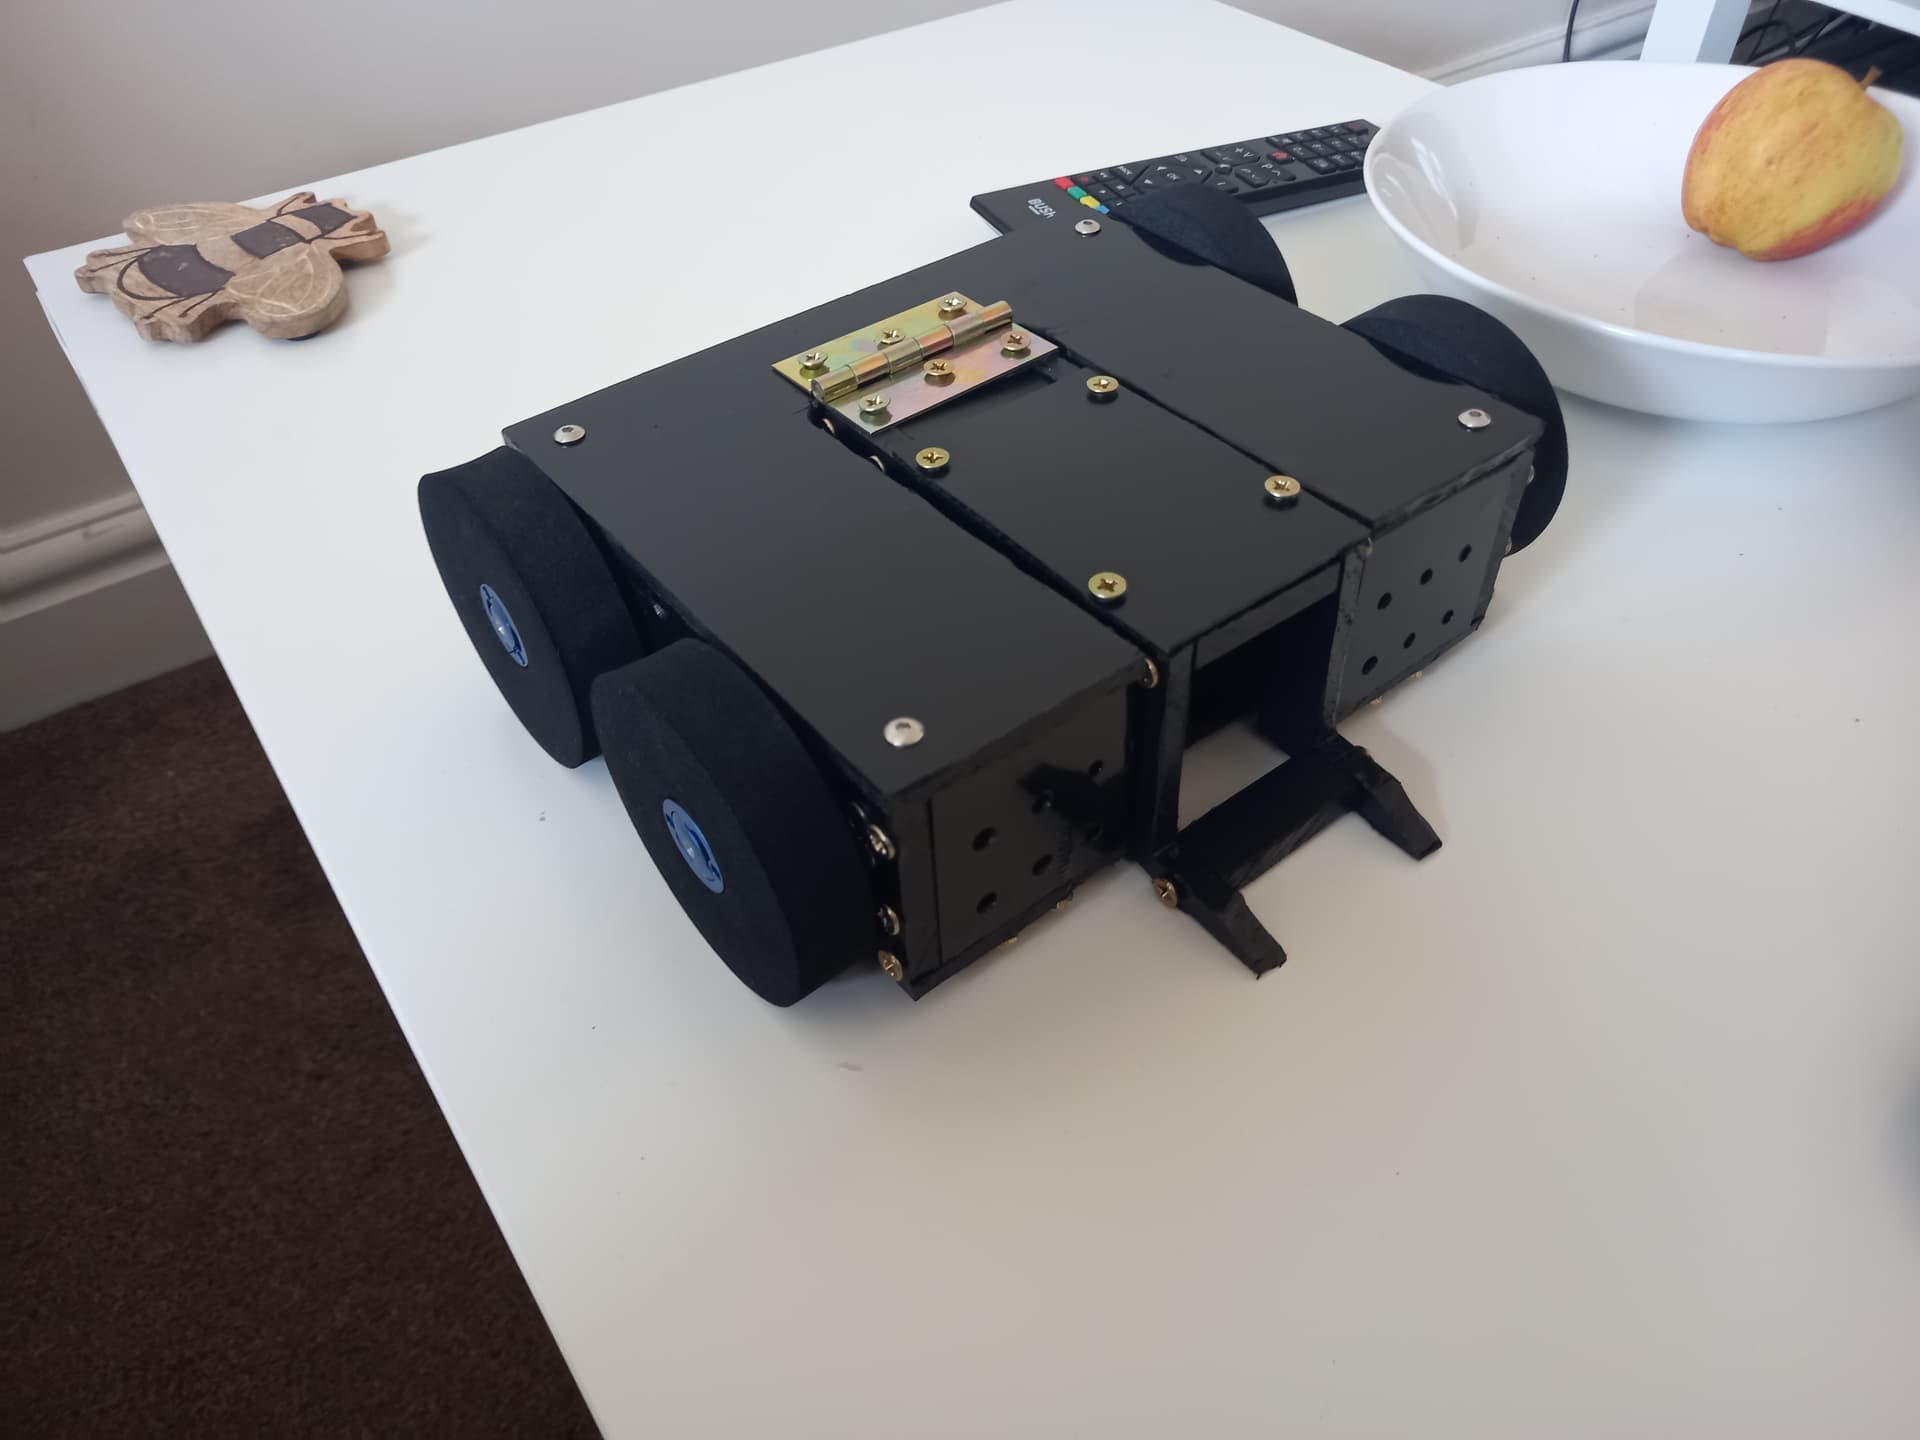
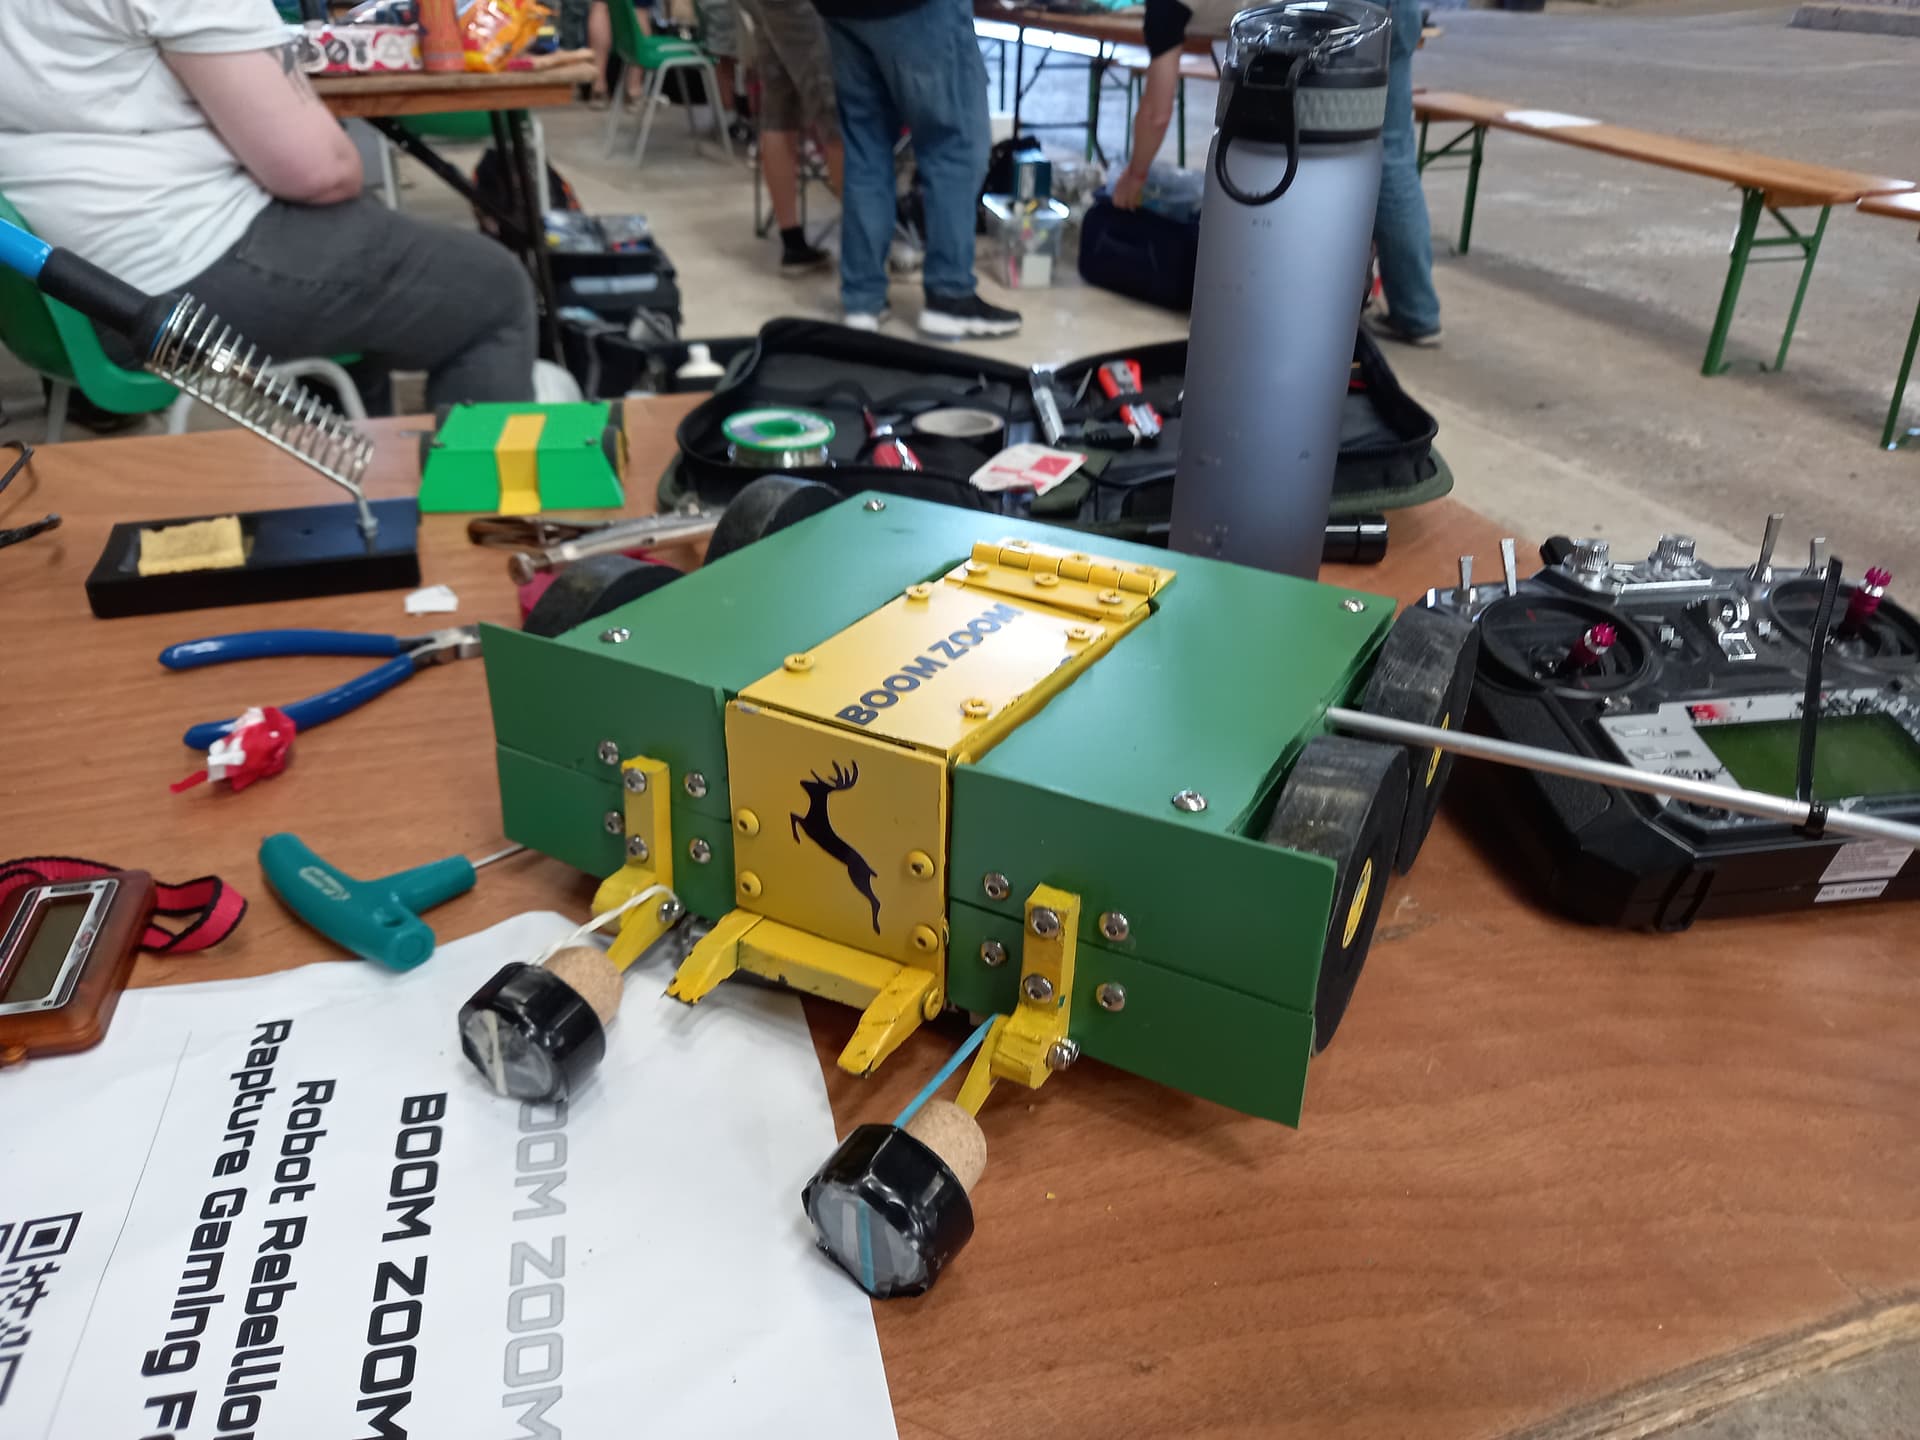
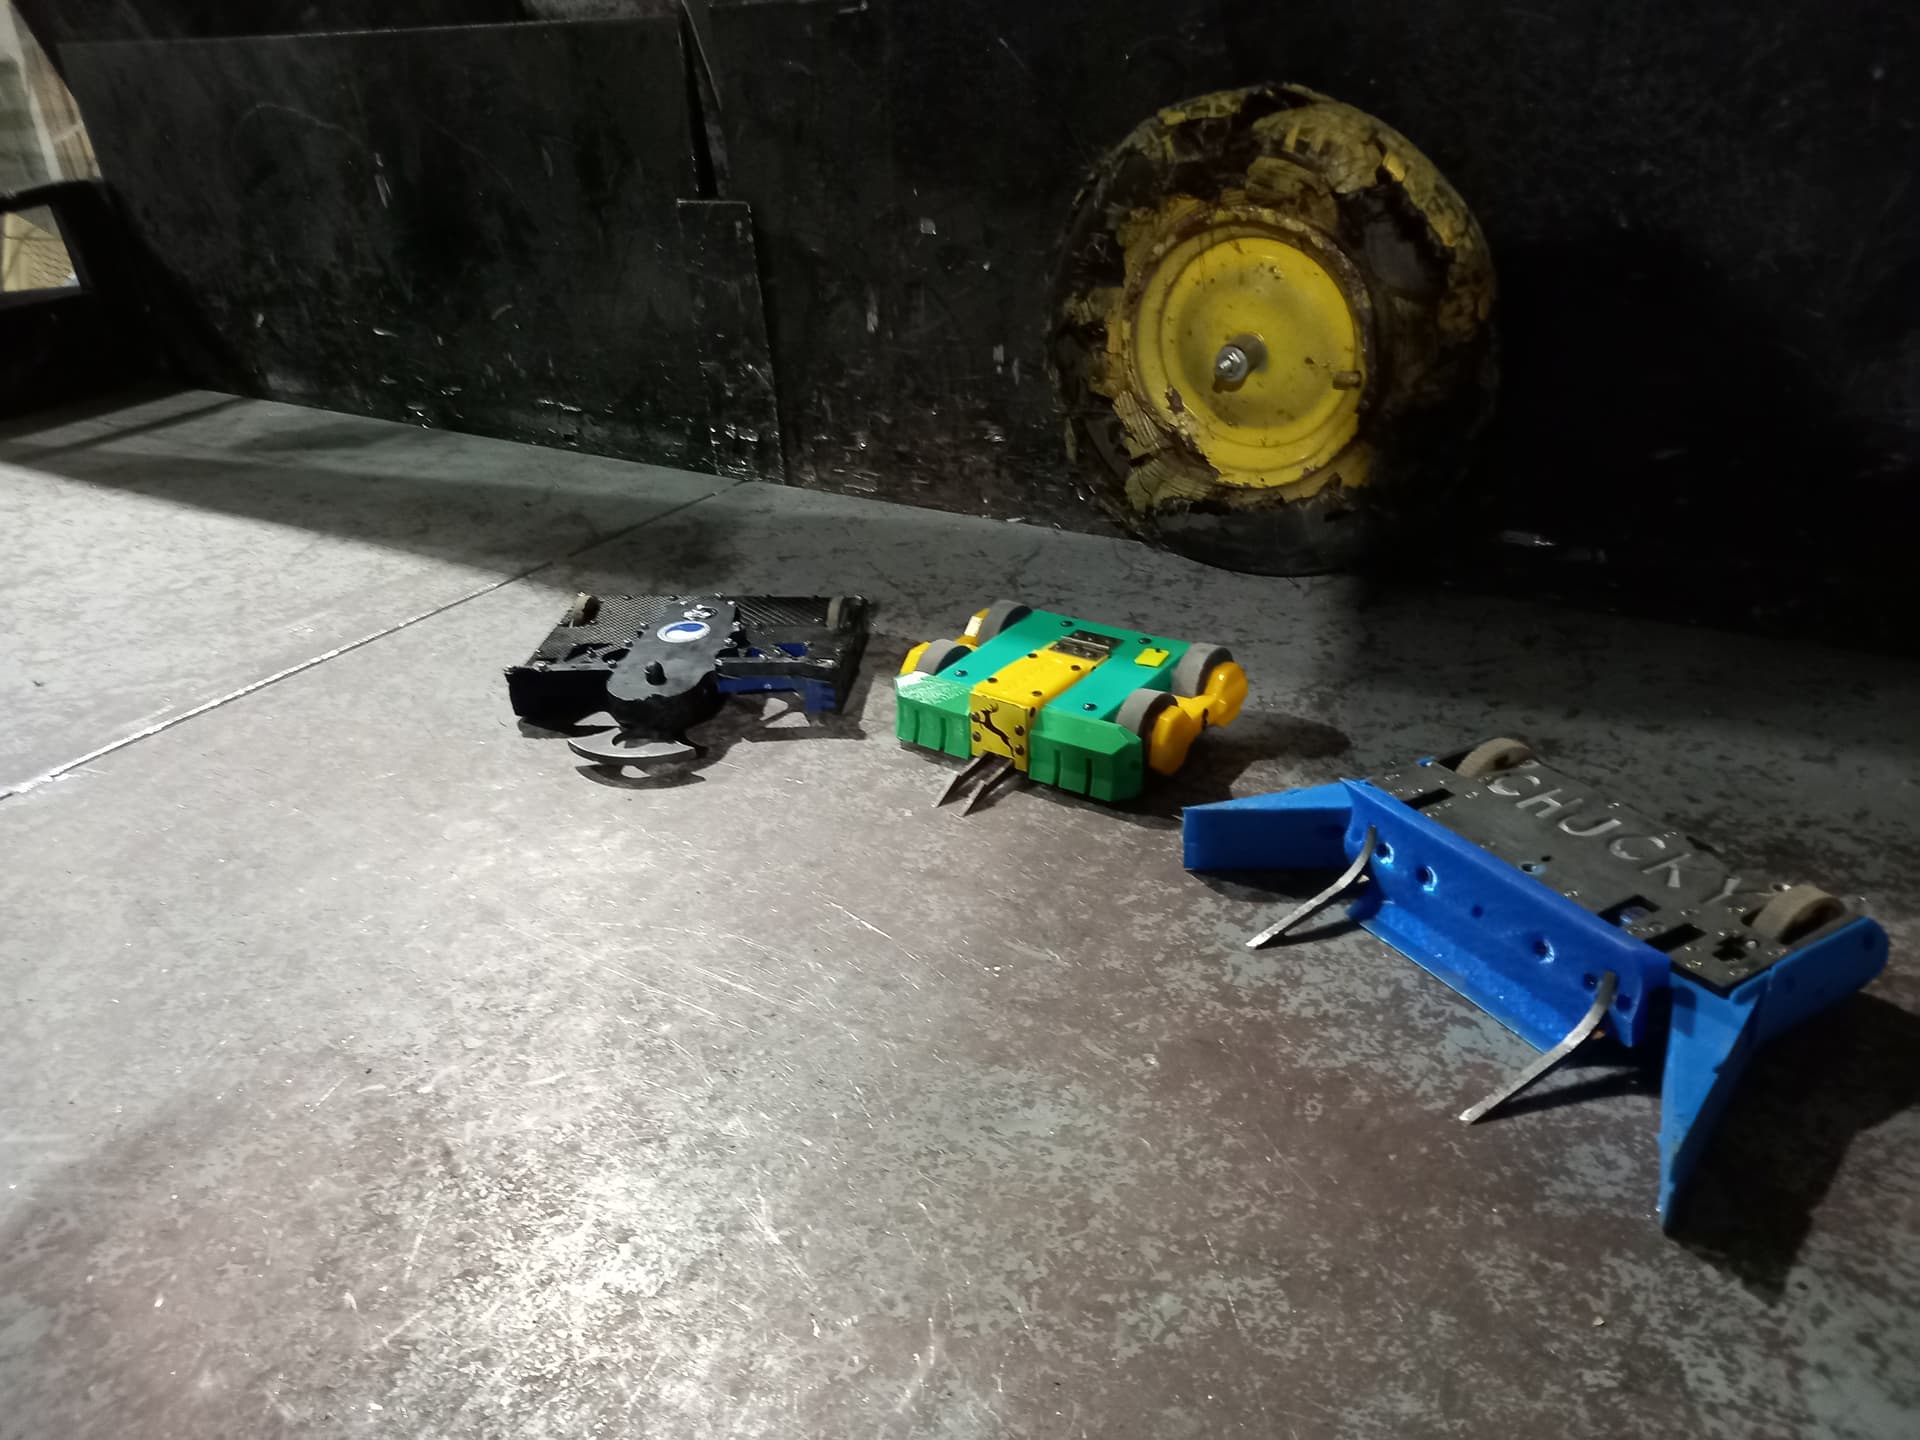
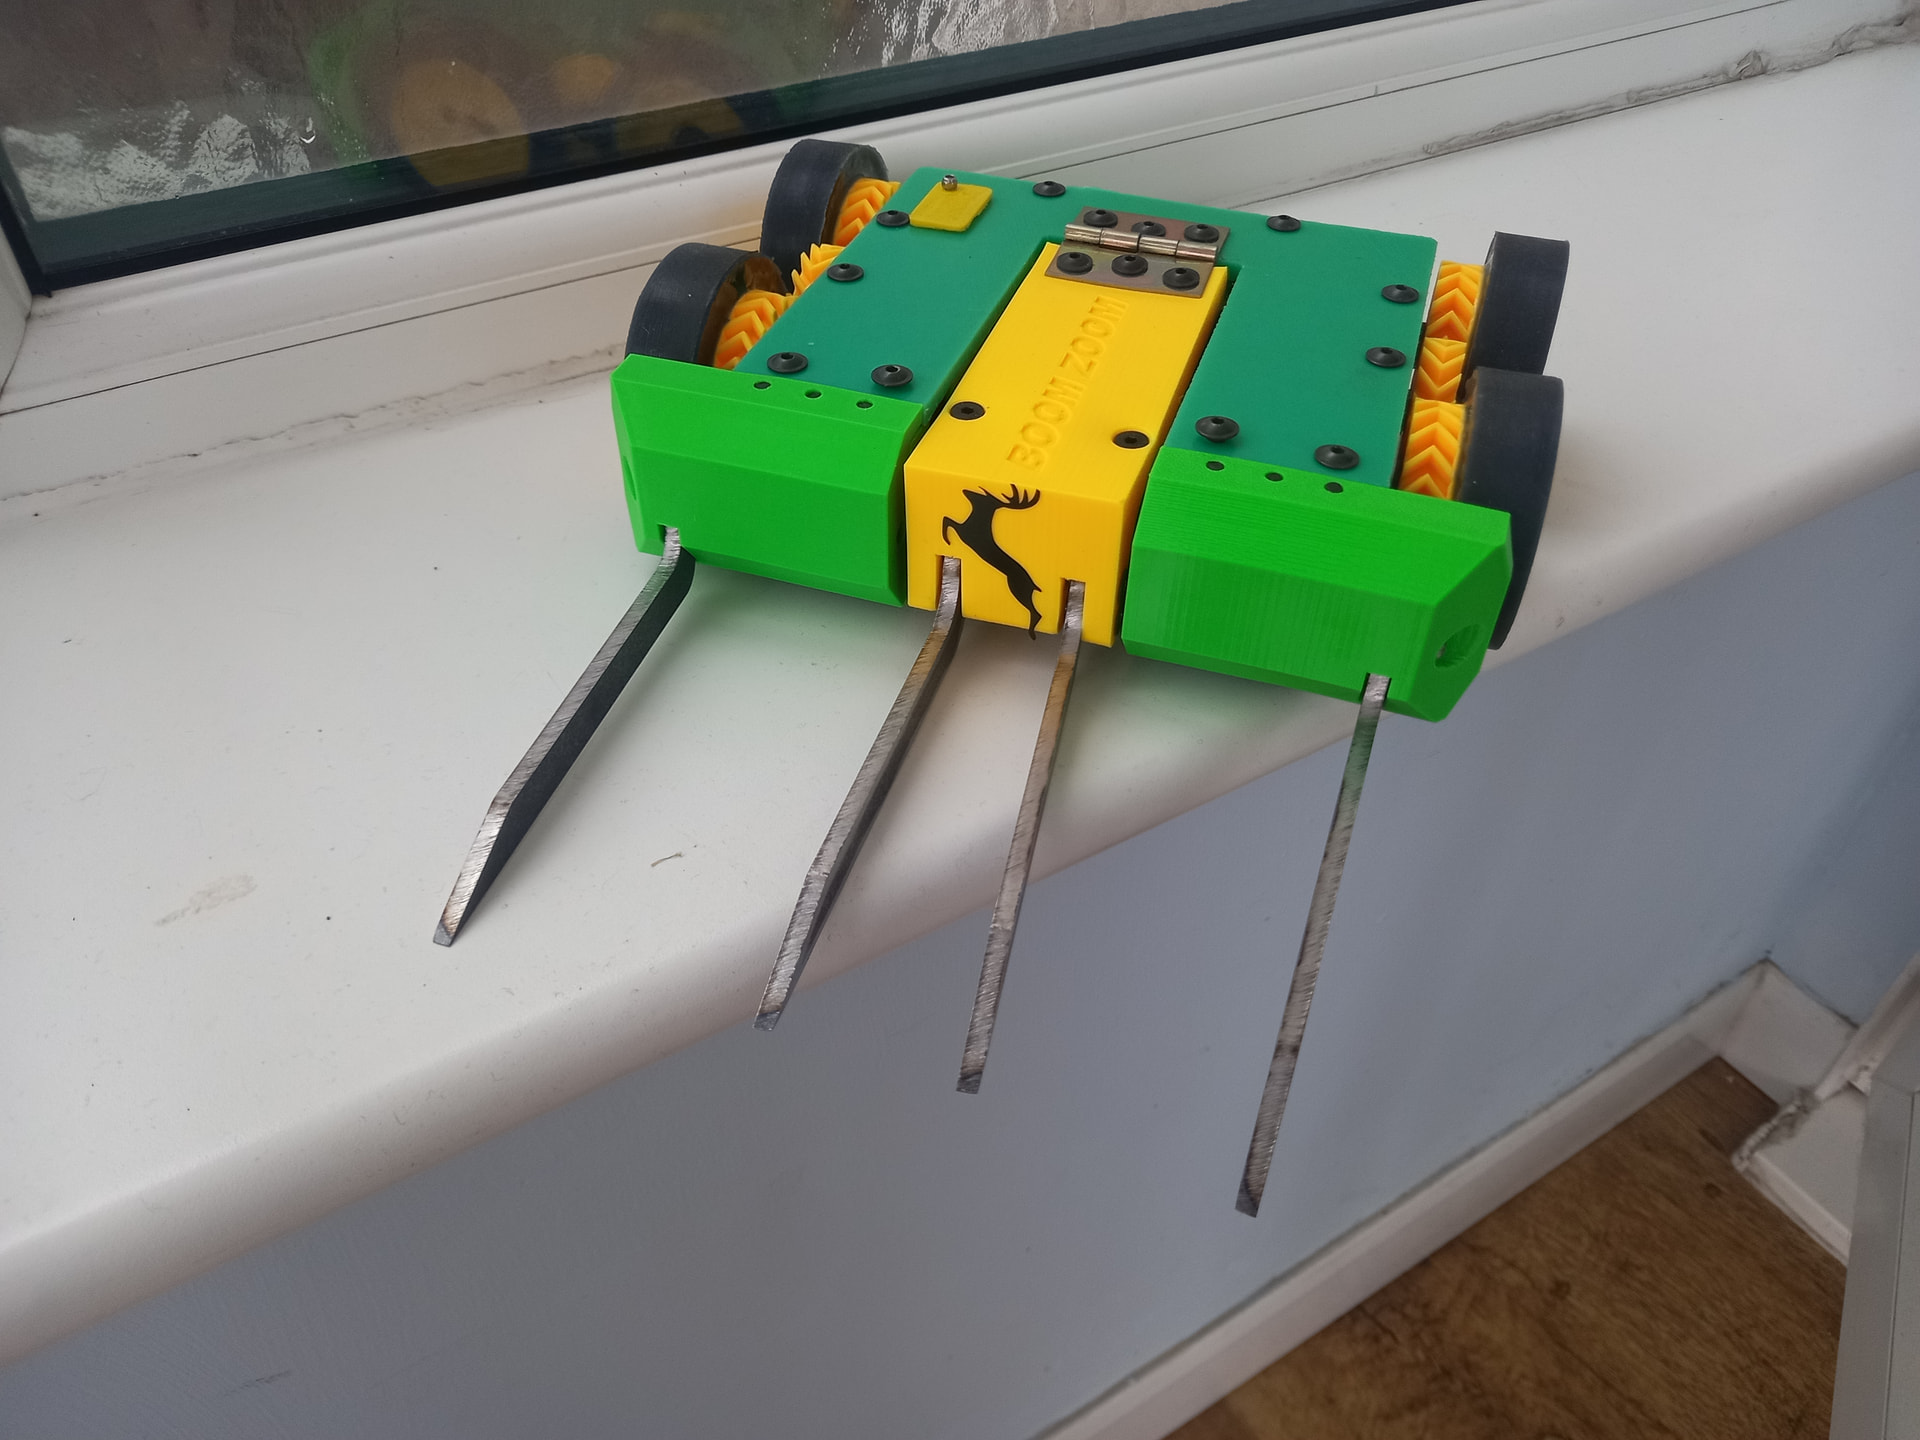
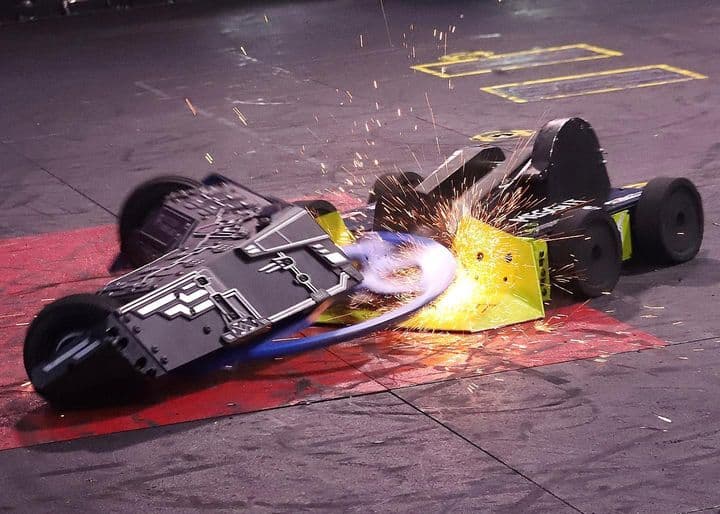
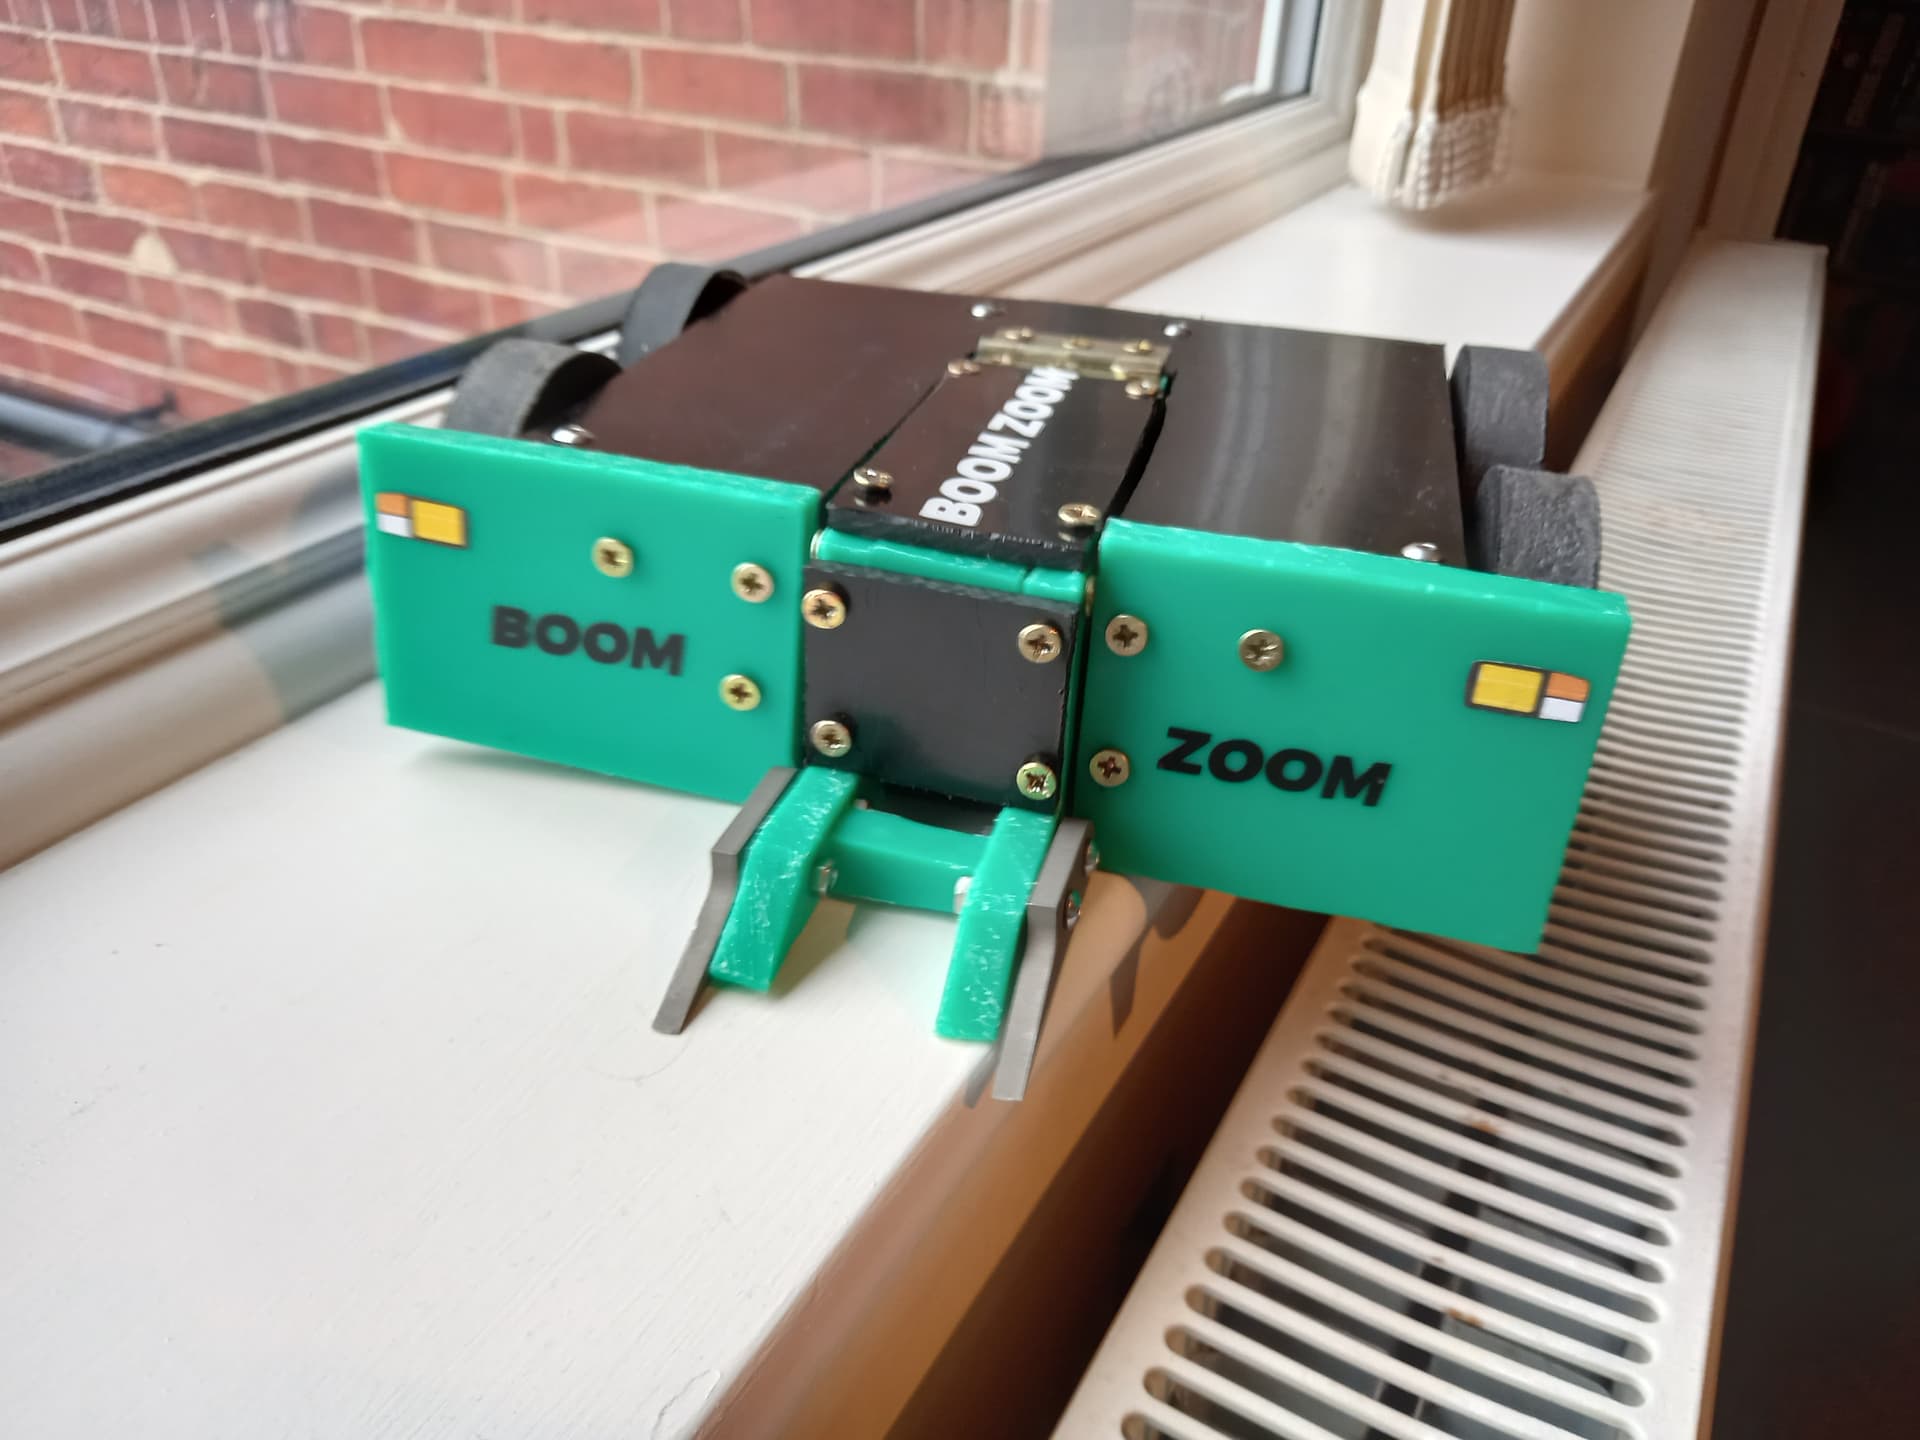
With Boom Zoom MK5 finished, all that was left to do was take it out for a spin!
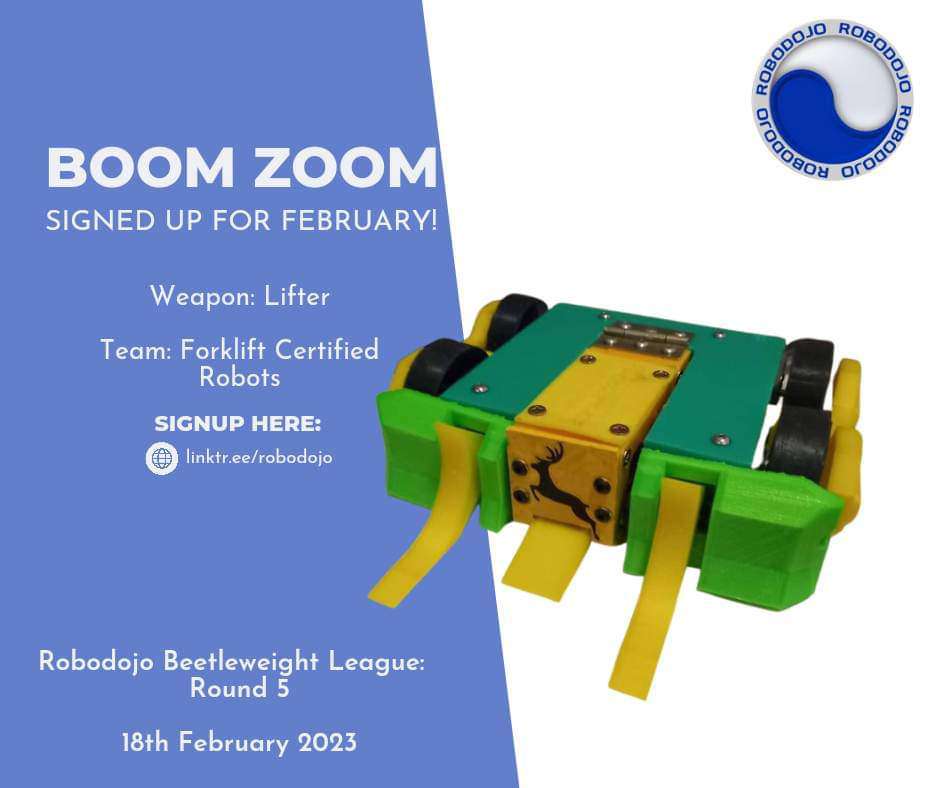
RoboDojo February 2024
My fights are at 3:31, 4:57, 11:59, 14:36 and 21:31
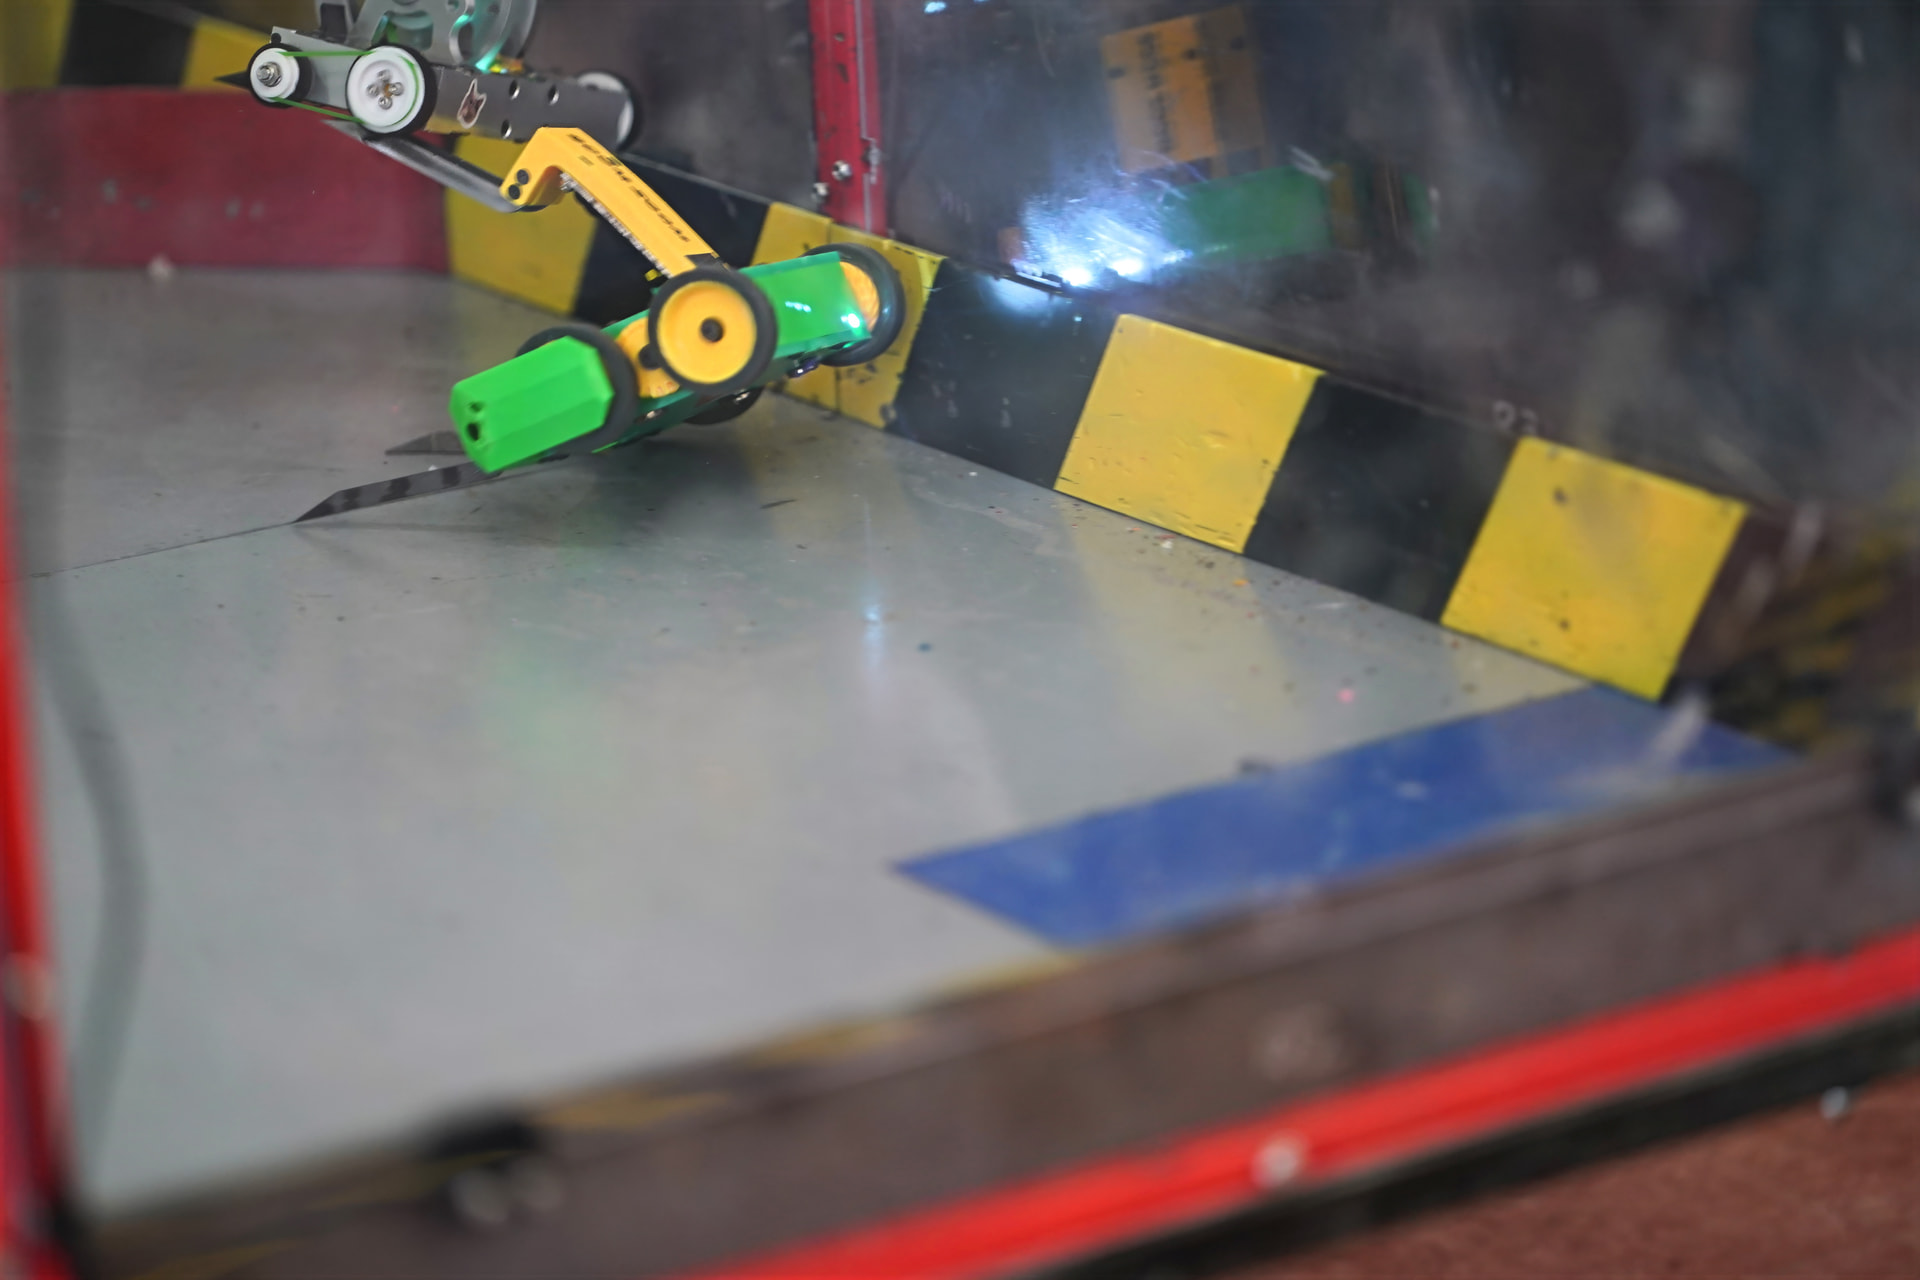
My first fight with Chucky was a good test of the waters, I got some great lifts in, won the ground game and managed to fully pick Chucky off the ground and balance it on the lifter for max style points! You may notice I was oversteering at a few points in this fight, this was me struggling with the newly found drive power of the brushless motors, which I would turn down a little for later fights.
My next fight was against Nightcall, which I was able to win simply by flipping the big vert on its back. Sorry Lucas, no way I was letting that thing get back up when I know how destructive it can be.
My third fight was against Synthblade, a really cool crusher also by Lucas. Sadly it wasn’t in a good way by the time I got to it, and a couple of flips were enough to take it out of the fight. I’d put my top armour on just in case, but it wasn’t needed in the end.
My fourth opponent was Baby Dead Bod, in a rematch from Burgh and the previous Dojo, a great opportunity to see how well the changes would hold up. I stuck my TPU wedge on, but found Baby Dead Bod was able to chew through it remarkably quickly and get to my front wheels, where a couple of hits dislodged the wheel hubs from the motor shafts and left the whole robot immobile. Rats.
After some quick repairs I was back in for a playoff for I believe 5th place? Can’t remember. Anyway my opponents were Baby Dead Bod (Again!!) and Ice Breaker, and as the least dangerous robot in the melee I let the other two largely target each other. Baby Dead Bod took a wheel off Ice Breaker who returned the favour by knocking BDB’s link out, letting me focus on the limping Ice Breaker and eventually push both it and the corpse of Baby Dead Bod off the edge.
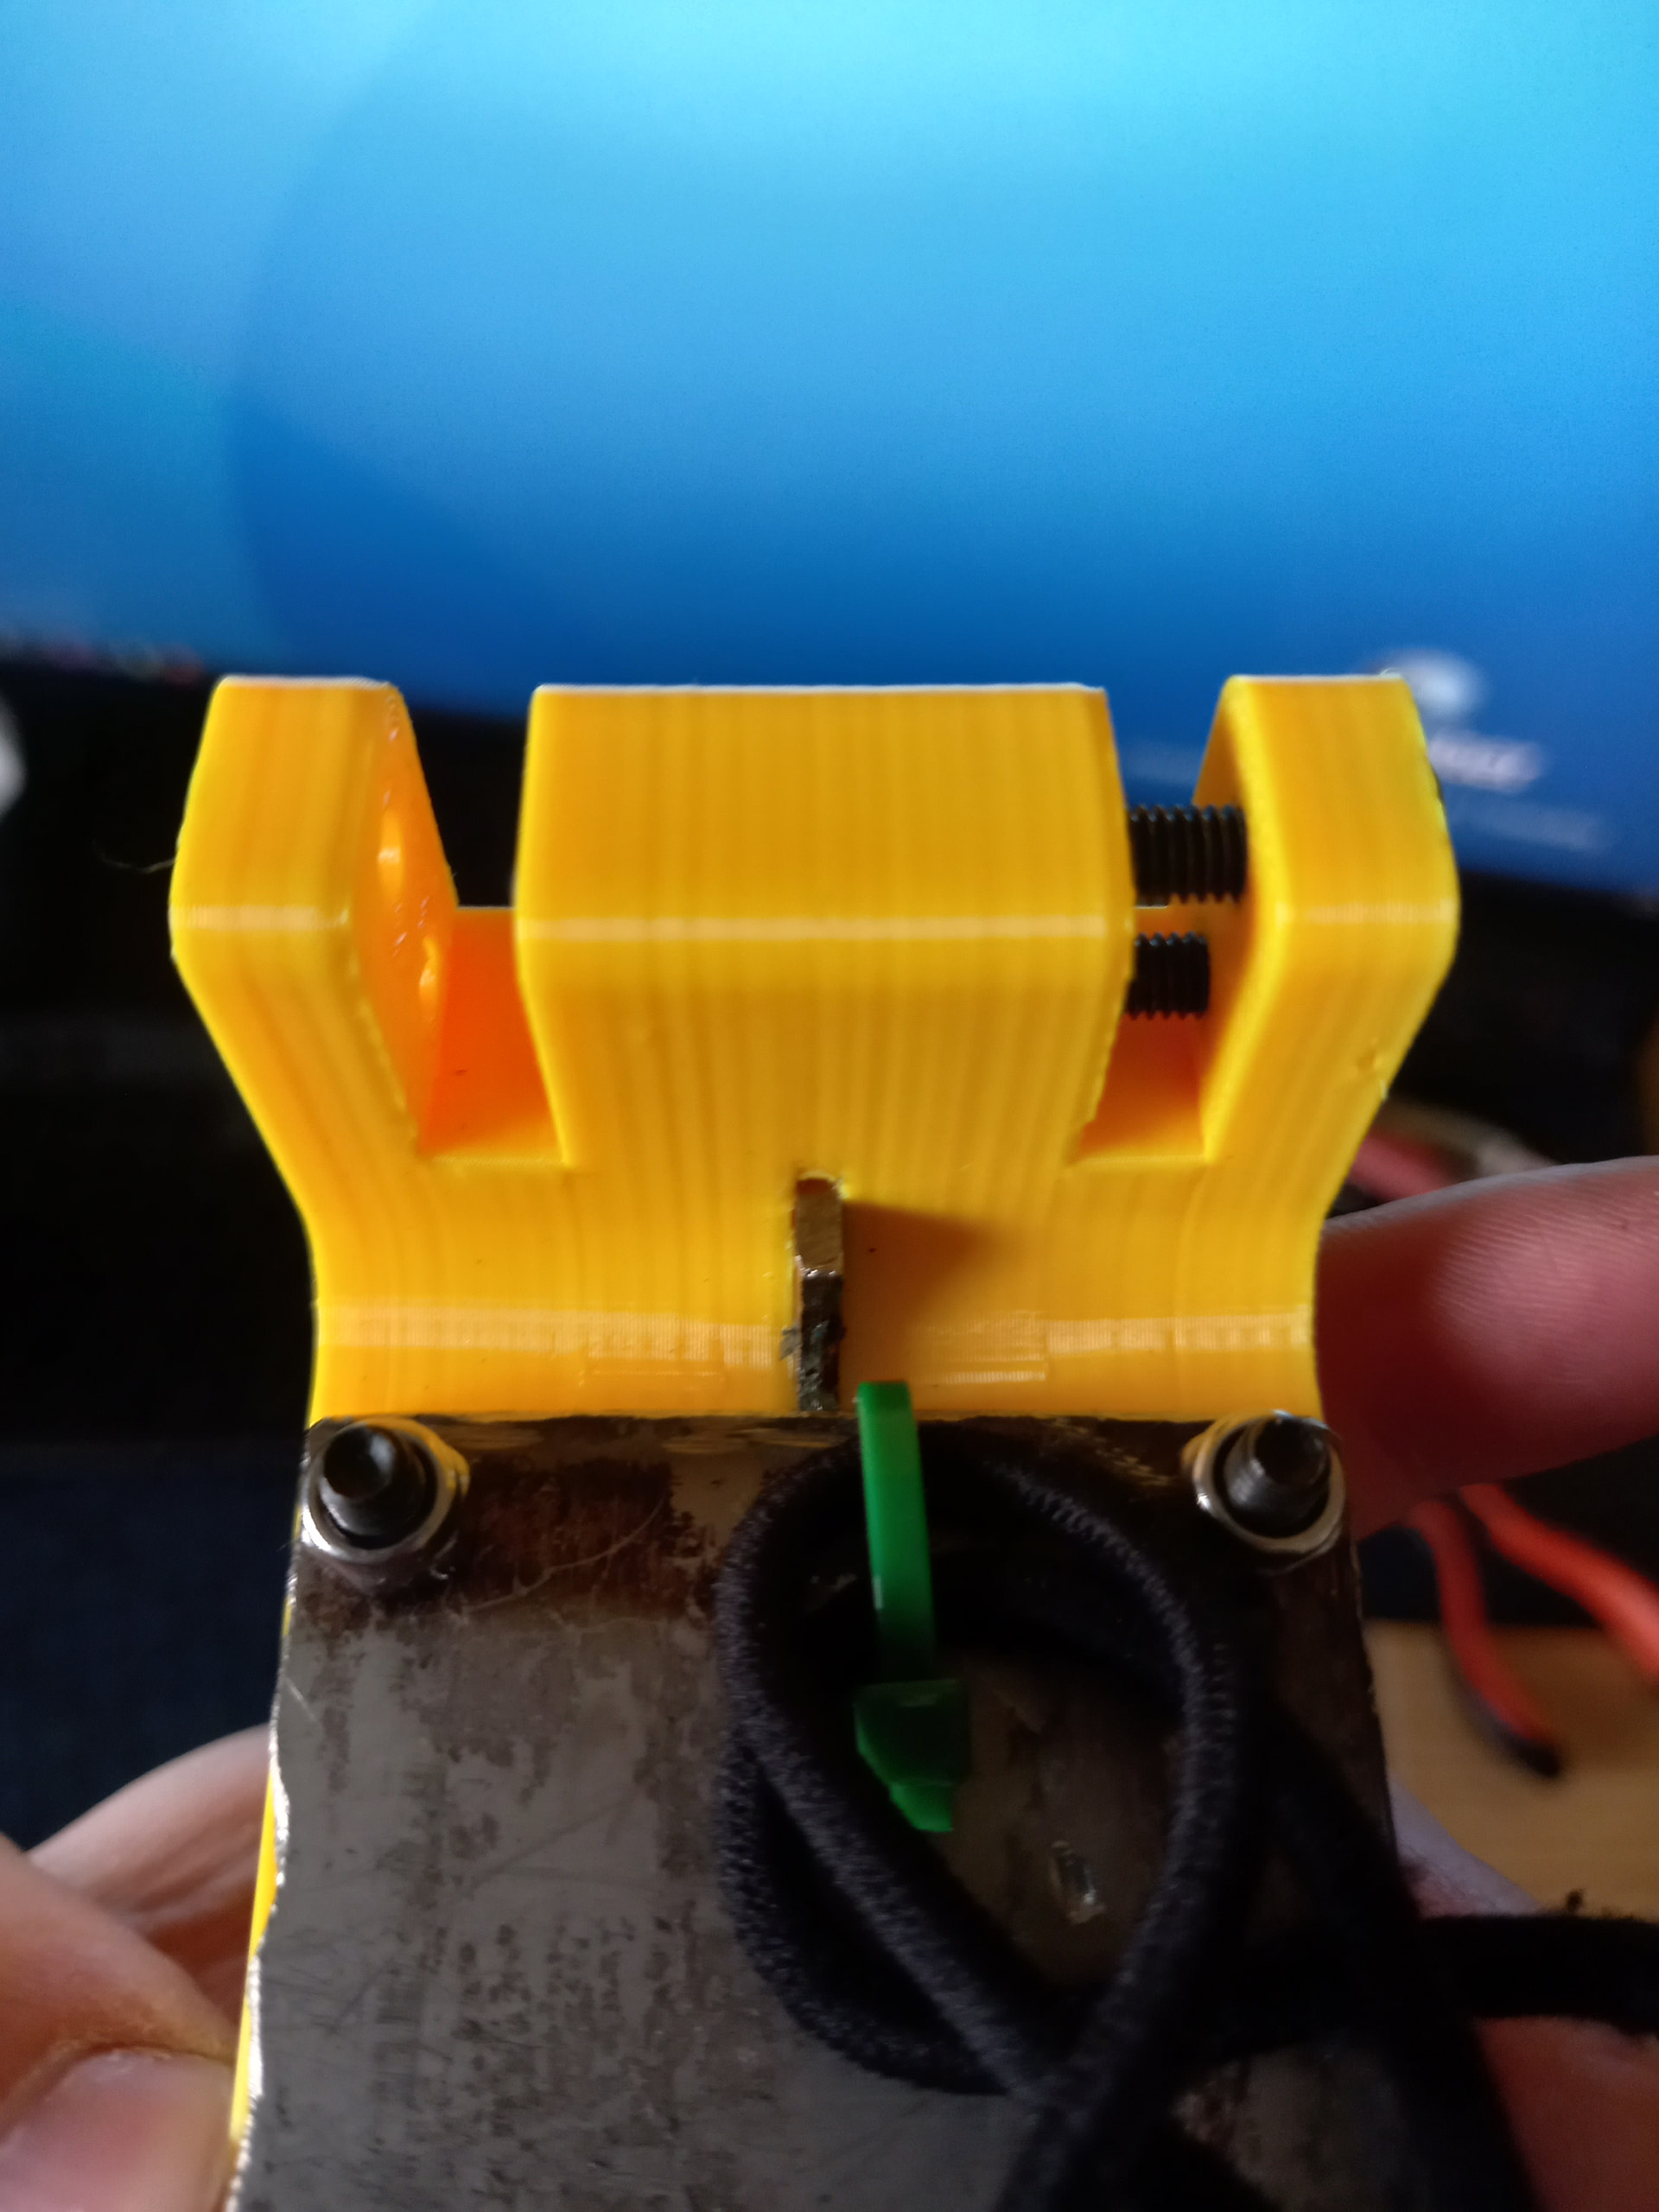
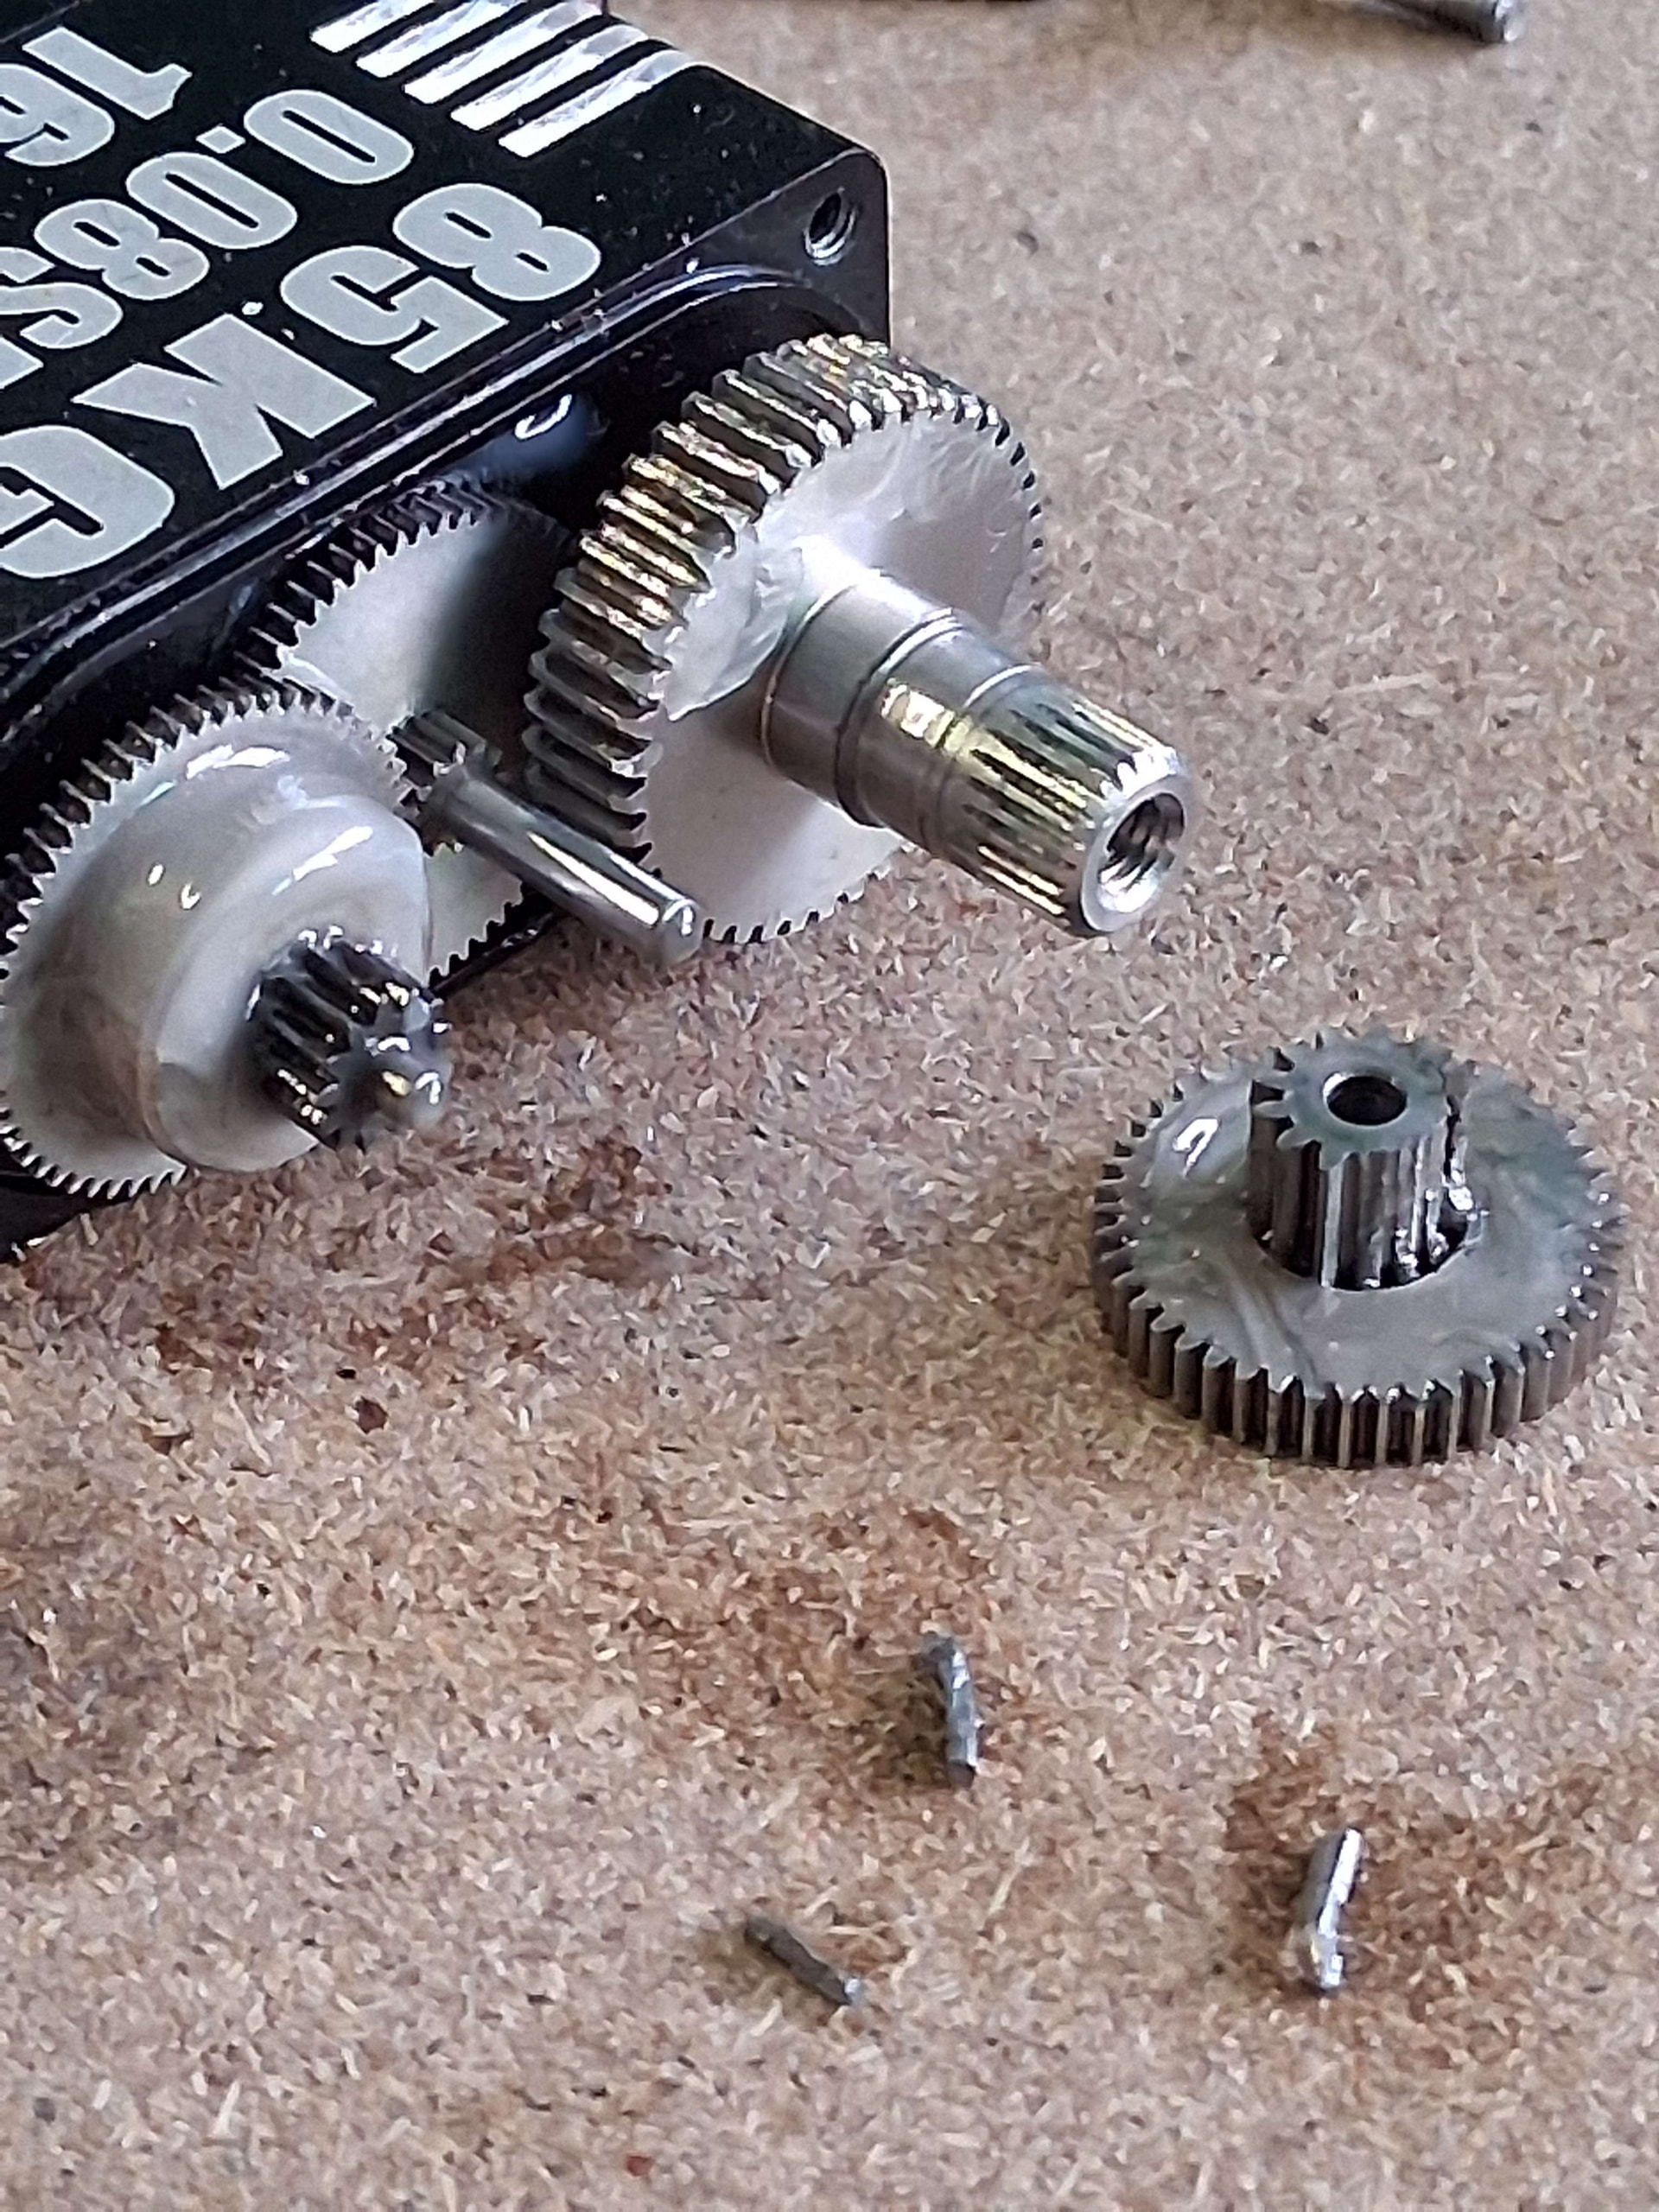
Overall it was an encouraging first showing for the new version but I was a little disappointed not to get more stick time out of the event, my average fight must have lasted 45 seconds tops. Despite this serious problems with the wedge were revealed. Baby Dead Bod chewed through it like it was barely there, and when it did get through the lack of a groove on the motor shaft for the hub’s grub screw to sit in meant it only had to land a couple of hits before the grub screw backed out enough to kill the drive.
My fix for this for now was to dremel a groove in the motor shaft for the grub screw to sit in, and reprint the wedge with more walls/infill (basically just chuck more TPU at the problem) but while I was confident in the motor shaft fix I still wasn’t sure if the wedge would hold. Moving swiftly on to…
RoboDojo April 2024
My fights are at 0:00, 5:00, 12:22, 16:45 and 18:47
My first fight was against Shrekt Force, a scary opponent at the best of times. After some jostling we both ended up with one drive side off the edge of the arena and required an unstick. Once unstuck I was able to flip Shrekt Force over, and from there keep the pressure on until I could shepherd it into the pit. A win with barely a scratch, honestly didn’t expect that!
Next was another fight against Baby Dead body, oh joy. Really though this was a good opportunity to see whether the changes I’d made since last time would help. It ended up not mattering though, after a handful of hits I got stuck under the wall, and in freeing myself oversteered and drove myself out of the arena. From the few hits it did take, the wedge held up a little better but still took far too much damage for my liking, clearly a different solution was needed.
Fight 3 was against Nightcall, and there isn’t a lot to say here, one push and Nightcall was out. It did bend one of my forks in the process though, womp womp.
My fourth fight versus Percussive Maintenance XL was another quiet one really, PMXL’s weapon wasn’t working and it’s an awkward shape for me to flip, so it was basically a pushing match till I was able to pit it. Not a lot learned from this one.
Finally I had a playoff for second place, once again against Chucky and BDB. I didn’t run the wedge in this one as it had already been compromised, and I wanted to keep my forks to stand a better chance against Chucky’s ground game. This worked to my advantage initially as BDB’s weapon went down early and I was able to pit Chucky. After pushing BDB around for a while I got a little too eager, and overcooked one of my shoves which allowed BDB to get behind me and pit me. Oops. That got me third at the event and third in the Dojo league overall, not bad especially as Boomy had only done 4 of the 6 events where points were up for grabs!
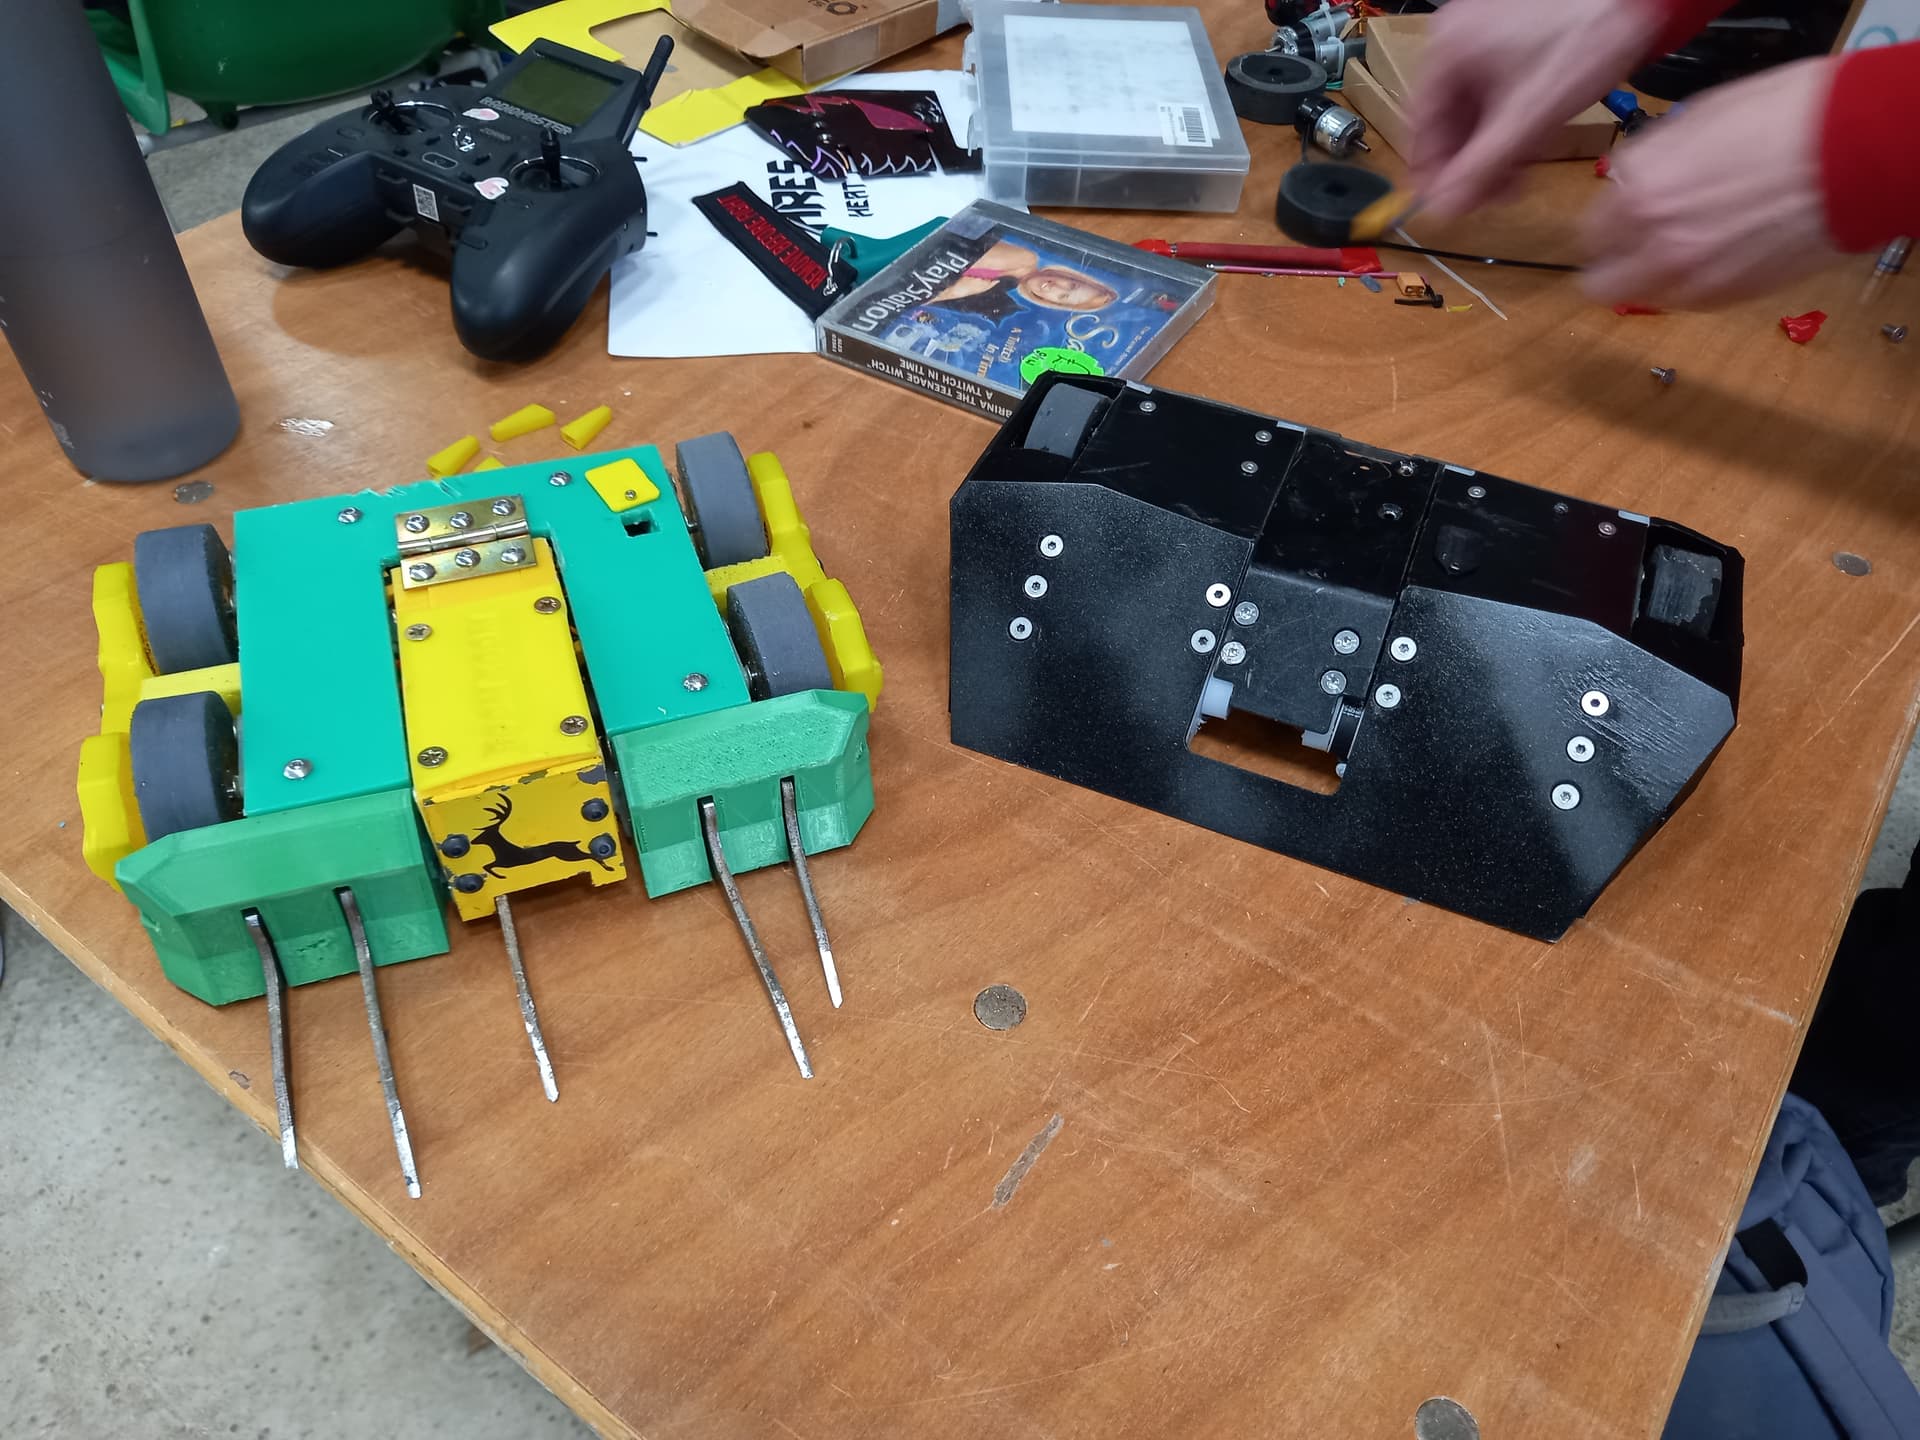
Something else good came out of this event too, Sam had decided to retire Shrekt Force, and after discovering its 2mm bent hardox wedge fit Boomy almost perfectly he very kindly donated it! There was no time to get it on the robot though because 1 week later…
Minibeasts In The East
https://www.youtube.com/live/MY8o3BTYVvk?si=qLhuypW5GsPlLyTi
My fights are at 56:25, 3:25:48, 4:50:29, 6:06:31, 6:37:34 and 7:21:05
My first fight was meant to be against another robot that had to pull out, so David graciously lent Grabber Wobba to my opponent for what was basically a whiteboard fight as it was agreed I’d get maximum points for this no matter the outcome. This was my first time in Dave’s arena since moving to brushless drive and I was very happy with how much pace Boomy was putting out, and found I was able to chuck Wobba wherever I wanted for the majority of the fight. Keen to get some stick time in, I took the fight the whole 2 minutes and had a lot of fun in doing so!
My second fight was versus Sniper, Dylan’s very nasty horizontal and reigning Dojo league champion at the time of writing. I slapped the old TPU wedge on as I hadn’t had time to mount the new hardox one and chucked it into the arena. Turns out it didn’t matter! On my initial box rush I the impact broke Sniper’s weapon brace, totally disabling the weapon almost immediately. From there I was free to invert Sniper, grab it with the lifting arm, and pit it at my leisure. Phew!
Next up was a melee with Antithesis and Flick. Two fantastic designs I felt very lucky to share the arena with, Antithesis was able to get a good crush on Flick, and I was able to turn them both over, then drive into them to separate their cuddle. This dislodged Flick’s link, leaving just Antithesis to worry about. I was able to pen Antithesis in around the pit, and after several close shaves from both of us down it went!
Next up was the quarter finals, and a rematch with Percussive Maintenance XL. This time PMXL’s weapon was working so I swapped to my additional top armour just in case. I was very proud of my driving in this fight, managing to avoid every single blow PMXL tried to land and eventually get my first ever flip out of the arena! I think this W left me a bit too confident though, you’ll see why.
Another rematch here, this time against Chucky. Chucky’s forks had grown since last time and Dylan was winning the ground game every time we locked fronts. I was desperately searching for an angle on the side for most of this fight, and in doing so hit the accelerator a little too hard and ended up with one drive side over the pit. A bit of wiggling to try and get free wasn’t enough, and soon it was all over.
There was still the matter of the third place playoff though, against EVA-02. This was another fight where I quickly found myself on the back foot, with EVA having the longer forks meaning it won most of the engagements. It wasn’t able to do any significant damage with the hammer saw, but again I had my top armour on just in case. Sadly though, I done did the same thing again and drove down the pit trying to back into EVA to score a KO.
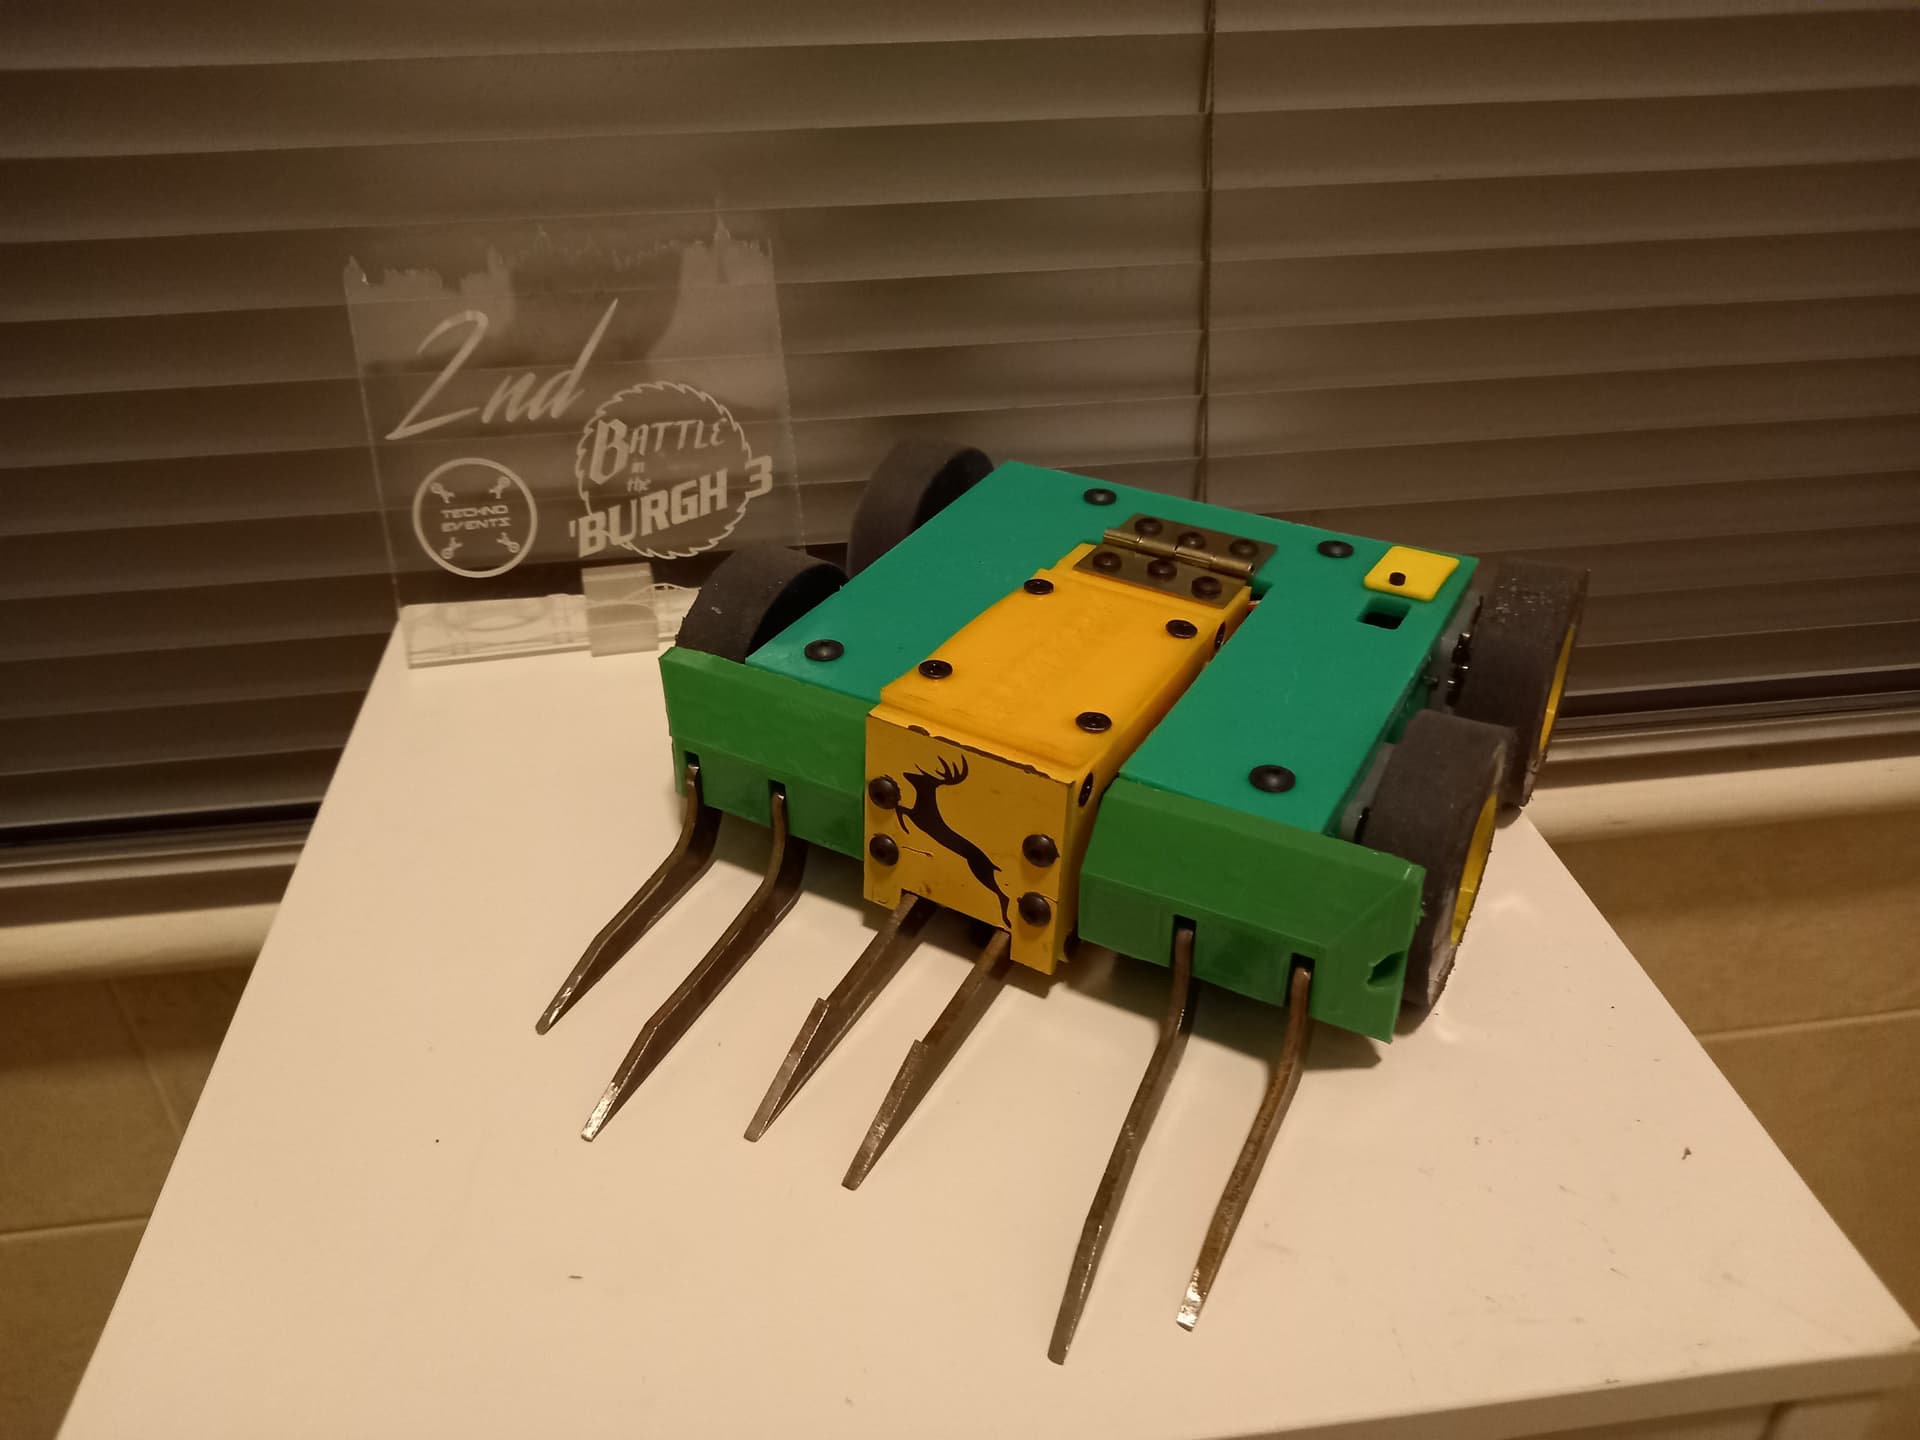
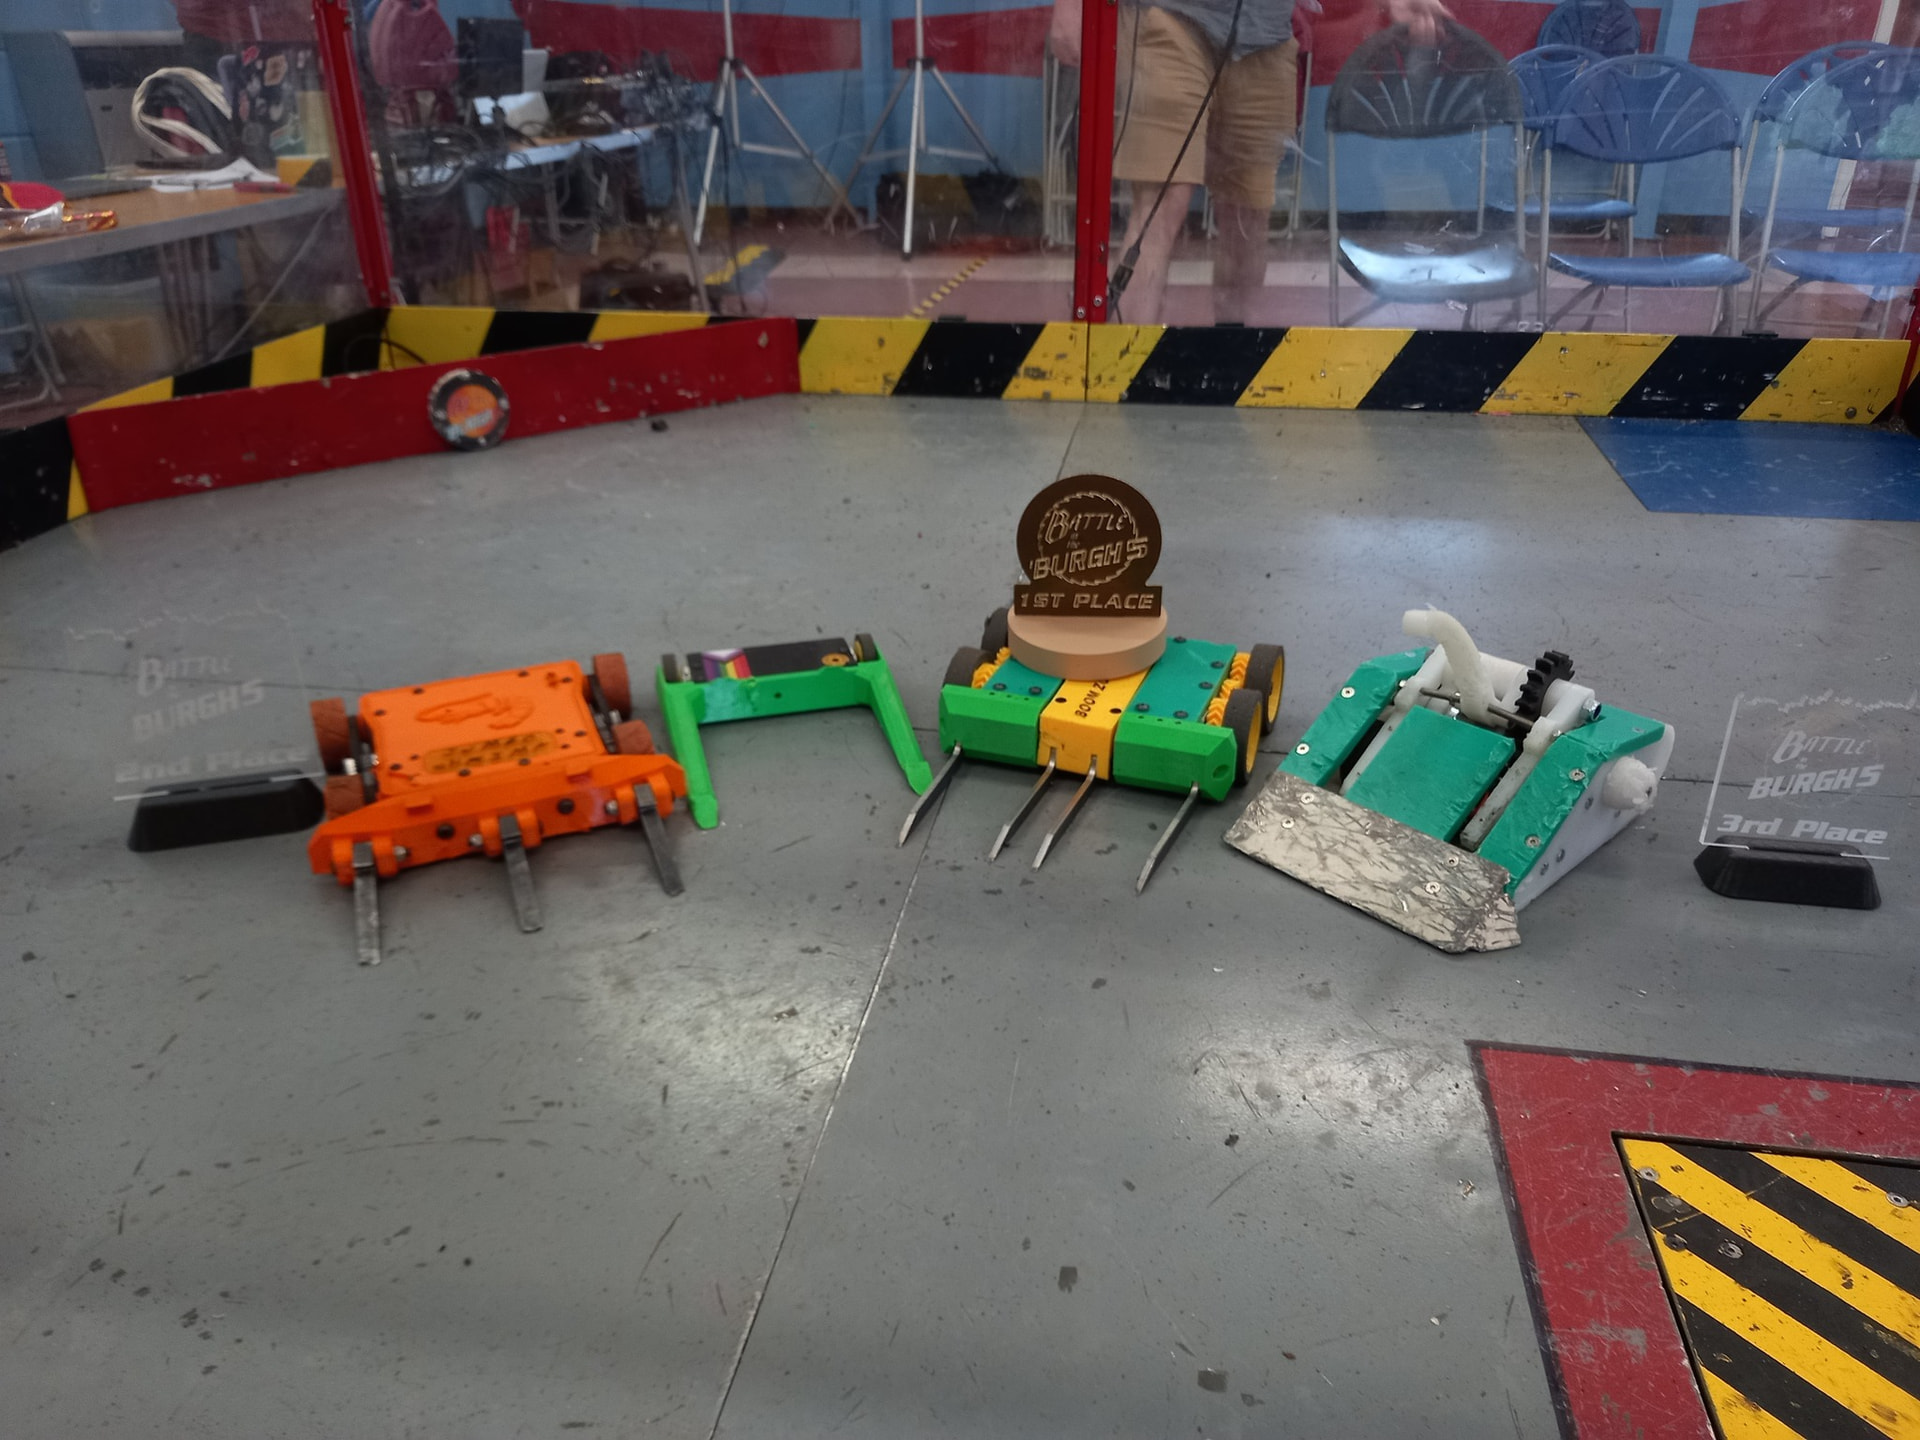
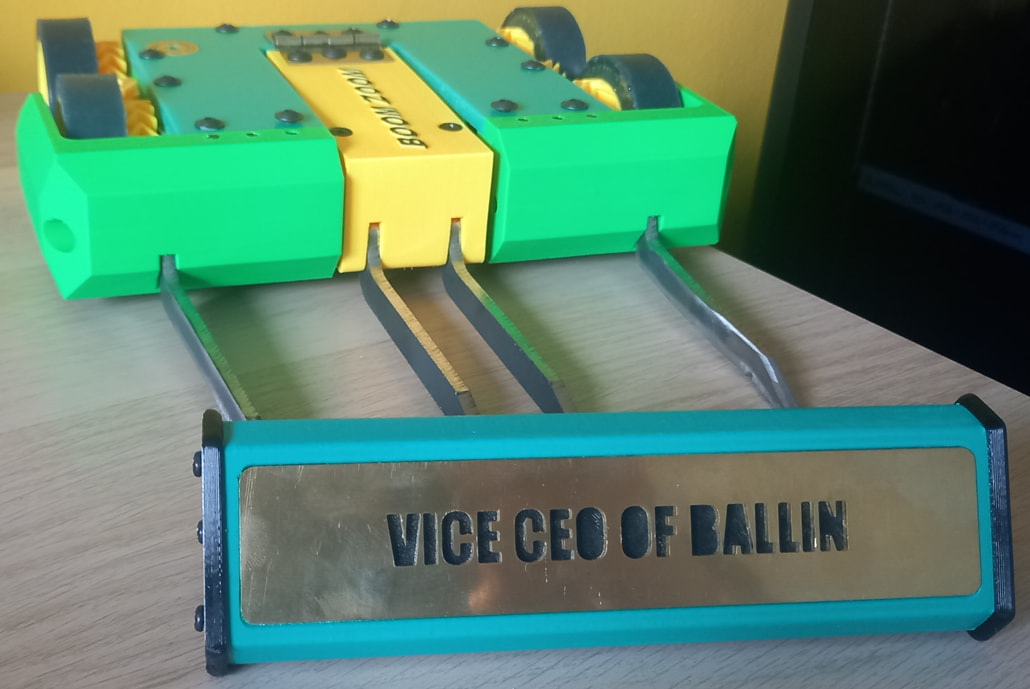
This was still enough to secure a 4th place finish and a magnificent trophy, easily one of my favourites so far. Not a bad showing but I felt my driving and fight management let me down here. As soon as I was on the back foot in those last 2 fights I started to panic internally, and got a little too desperate to try and reverse the situation which led to me pitting myself twice in very avoidable ways.
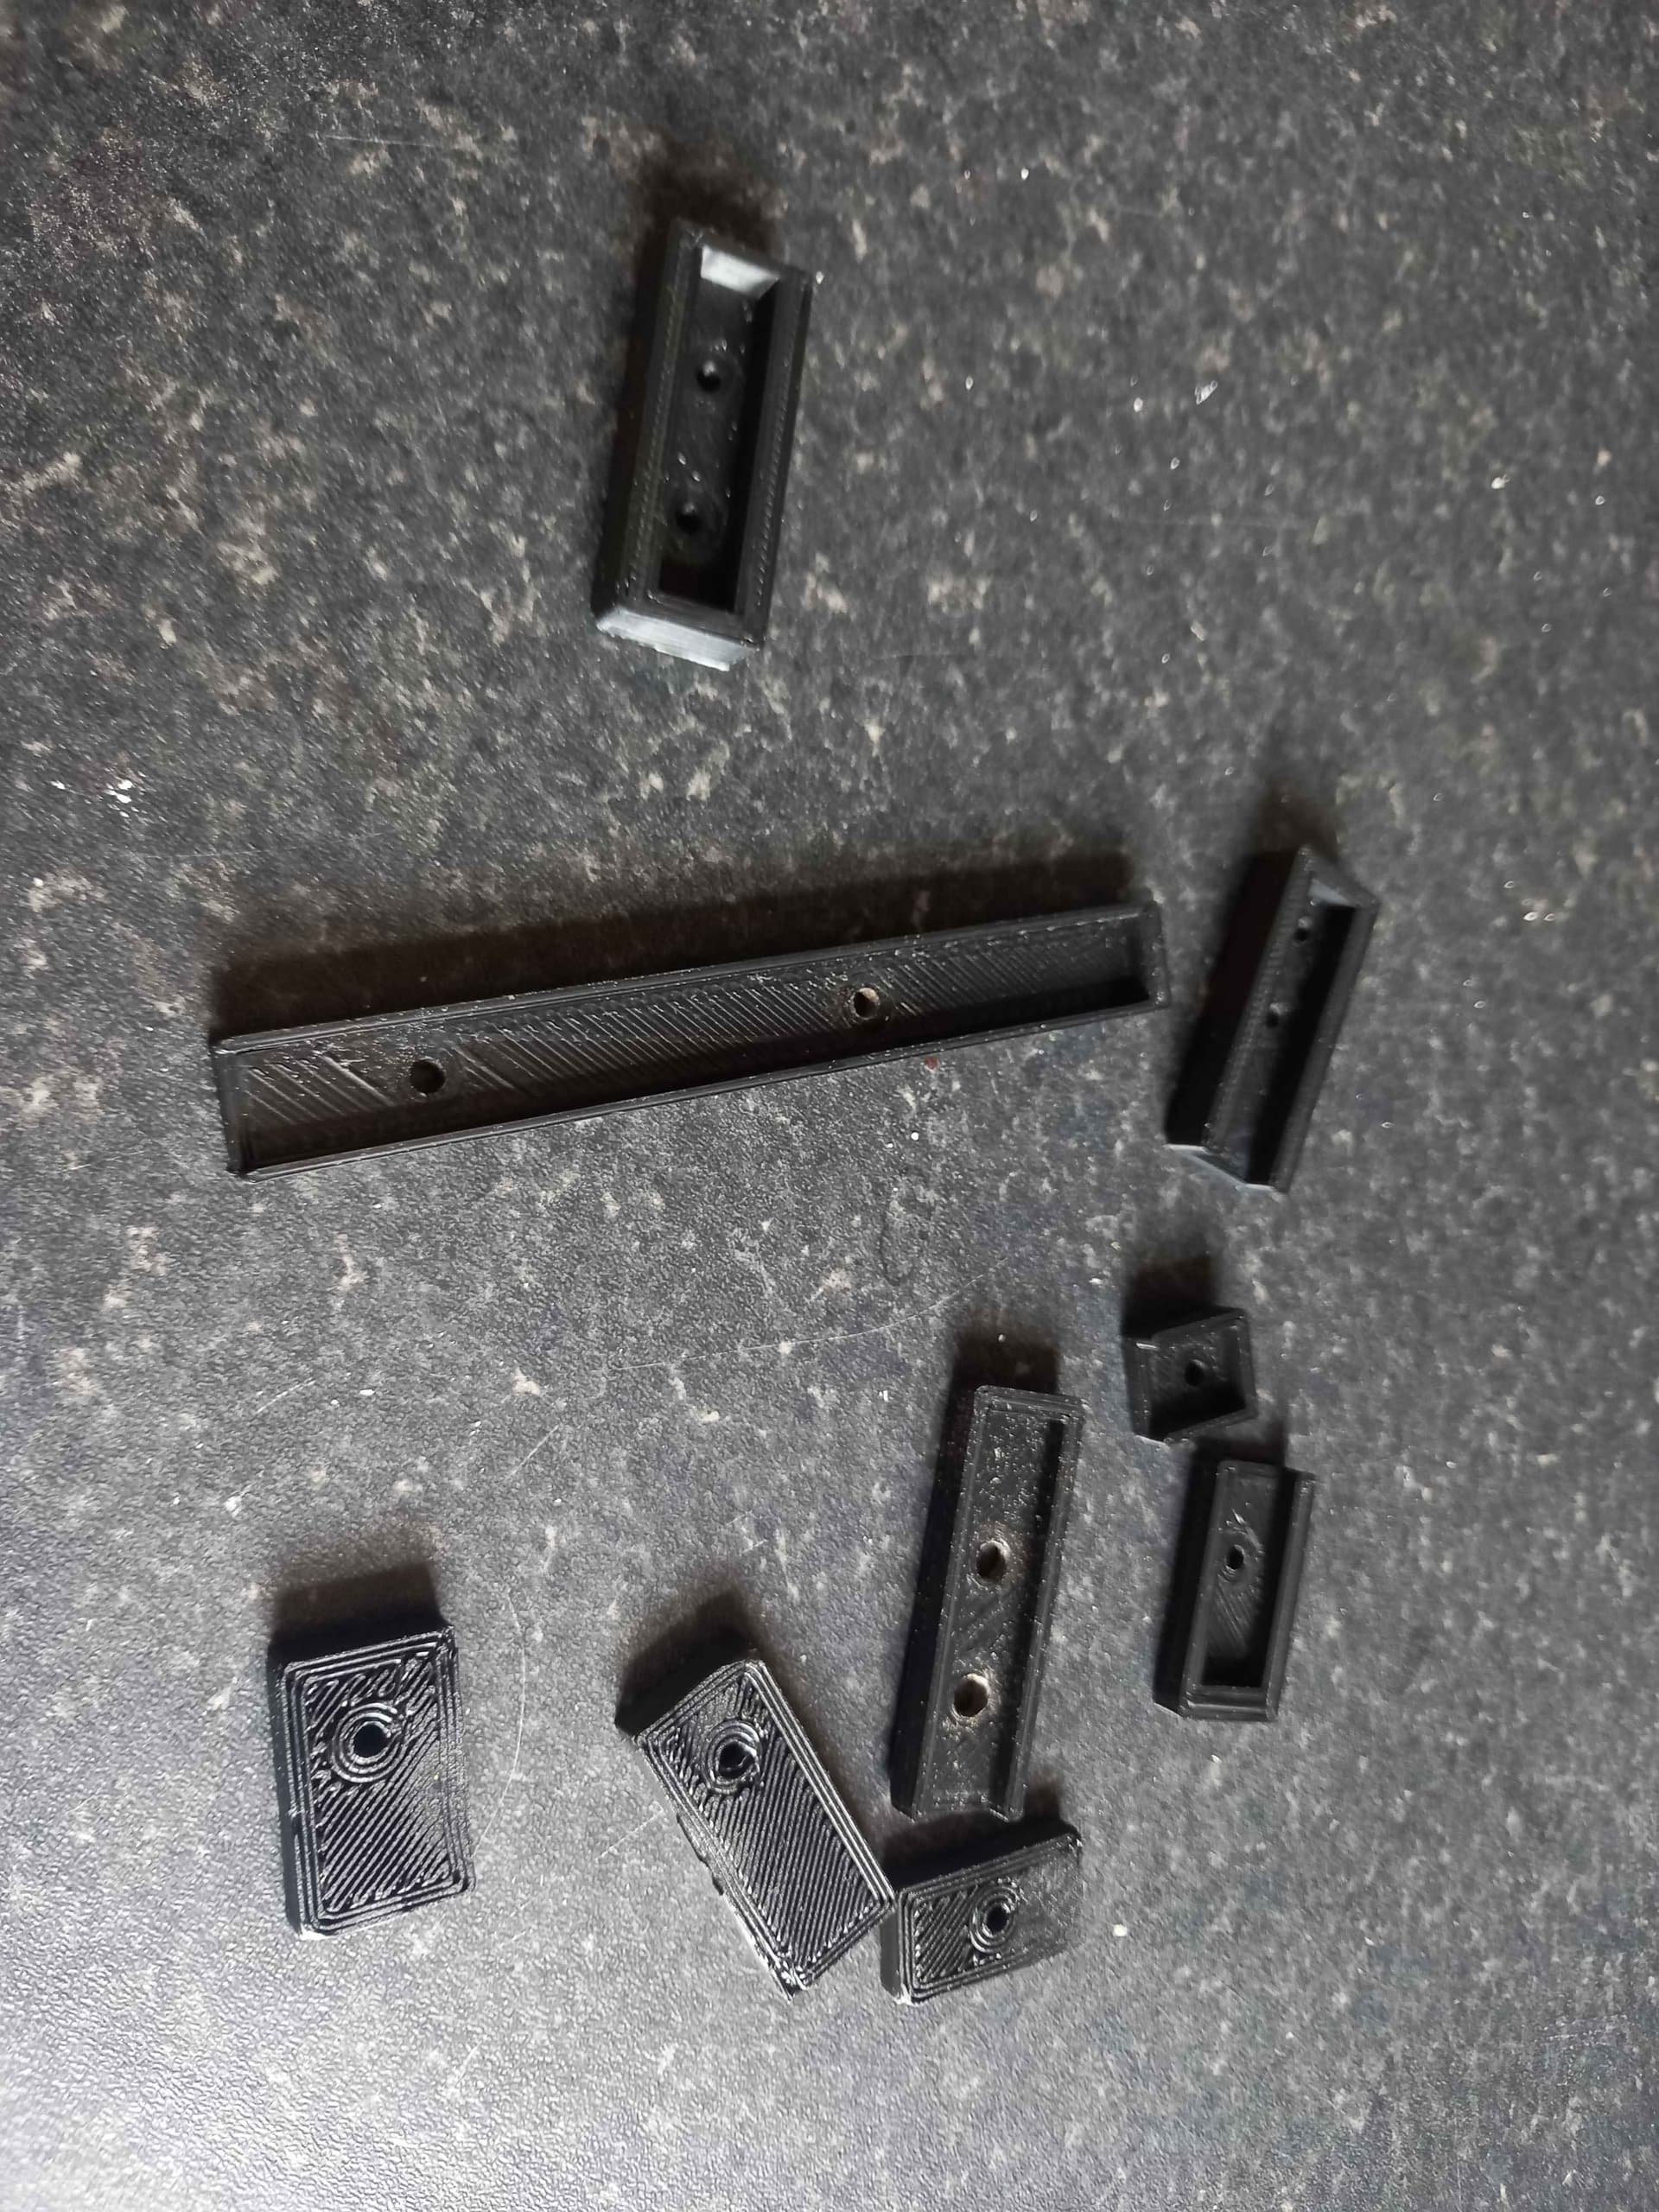
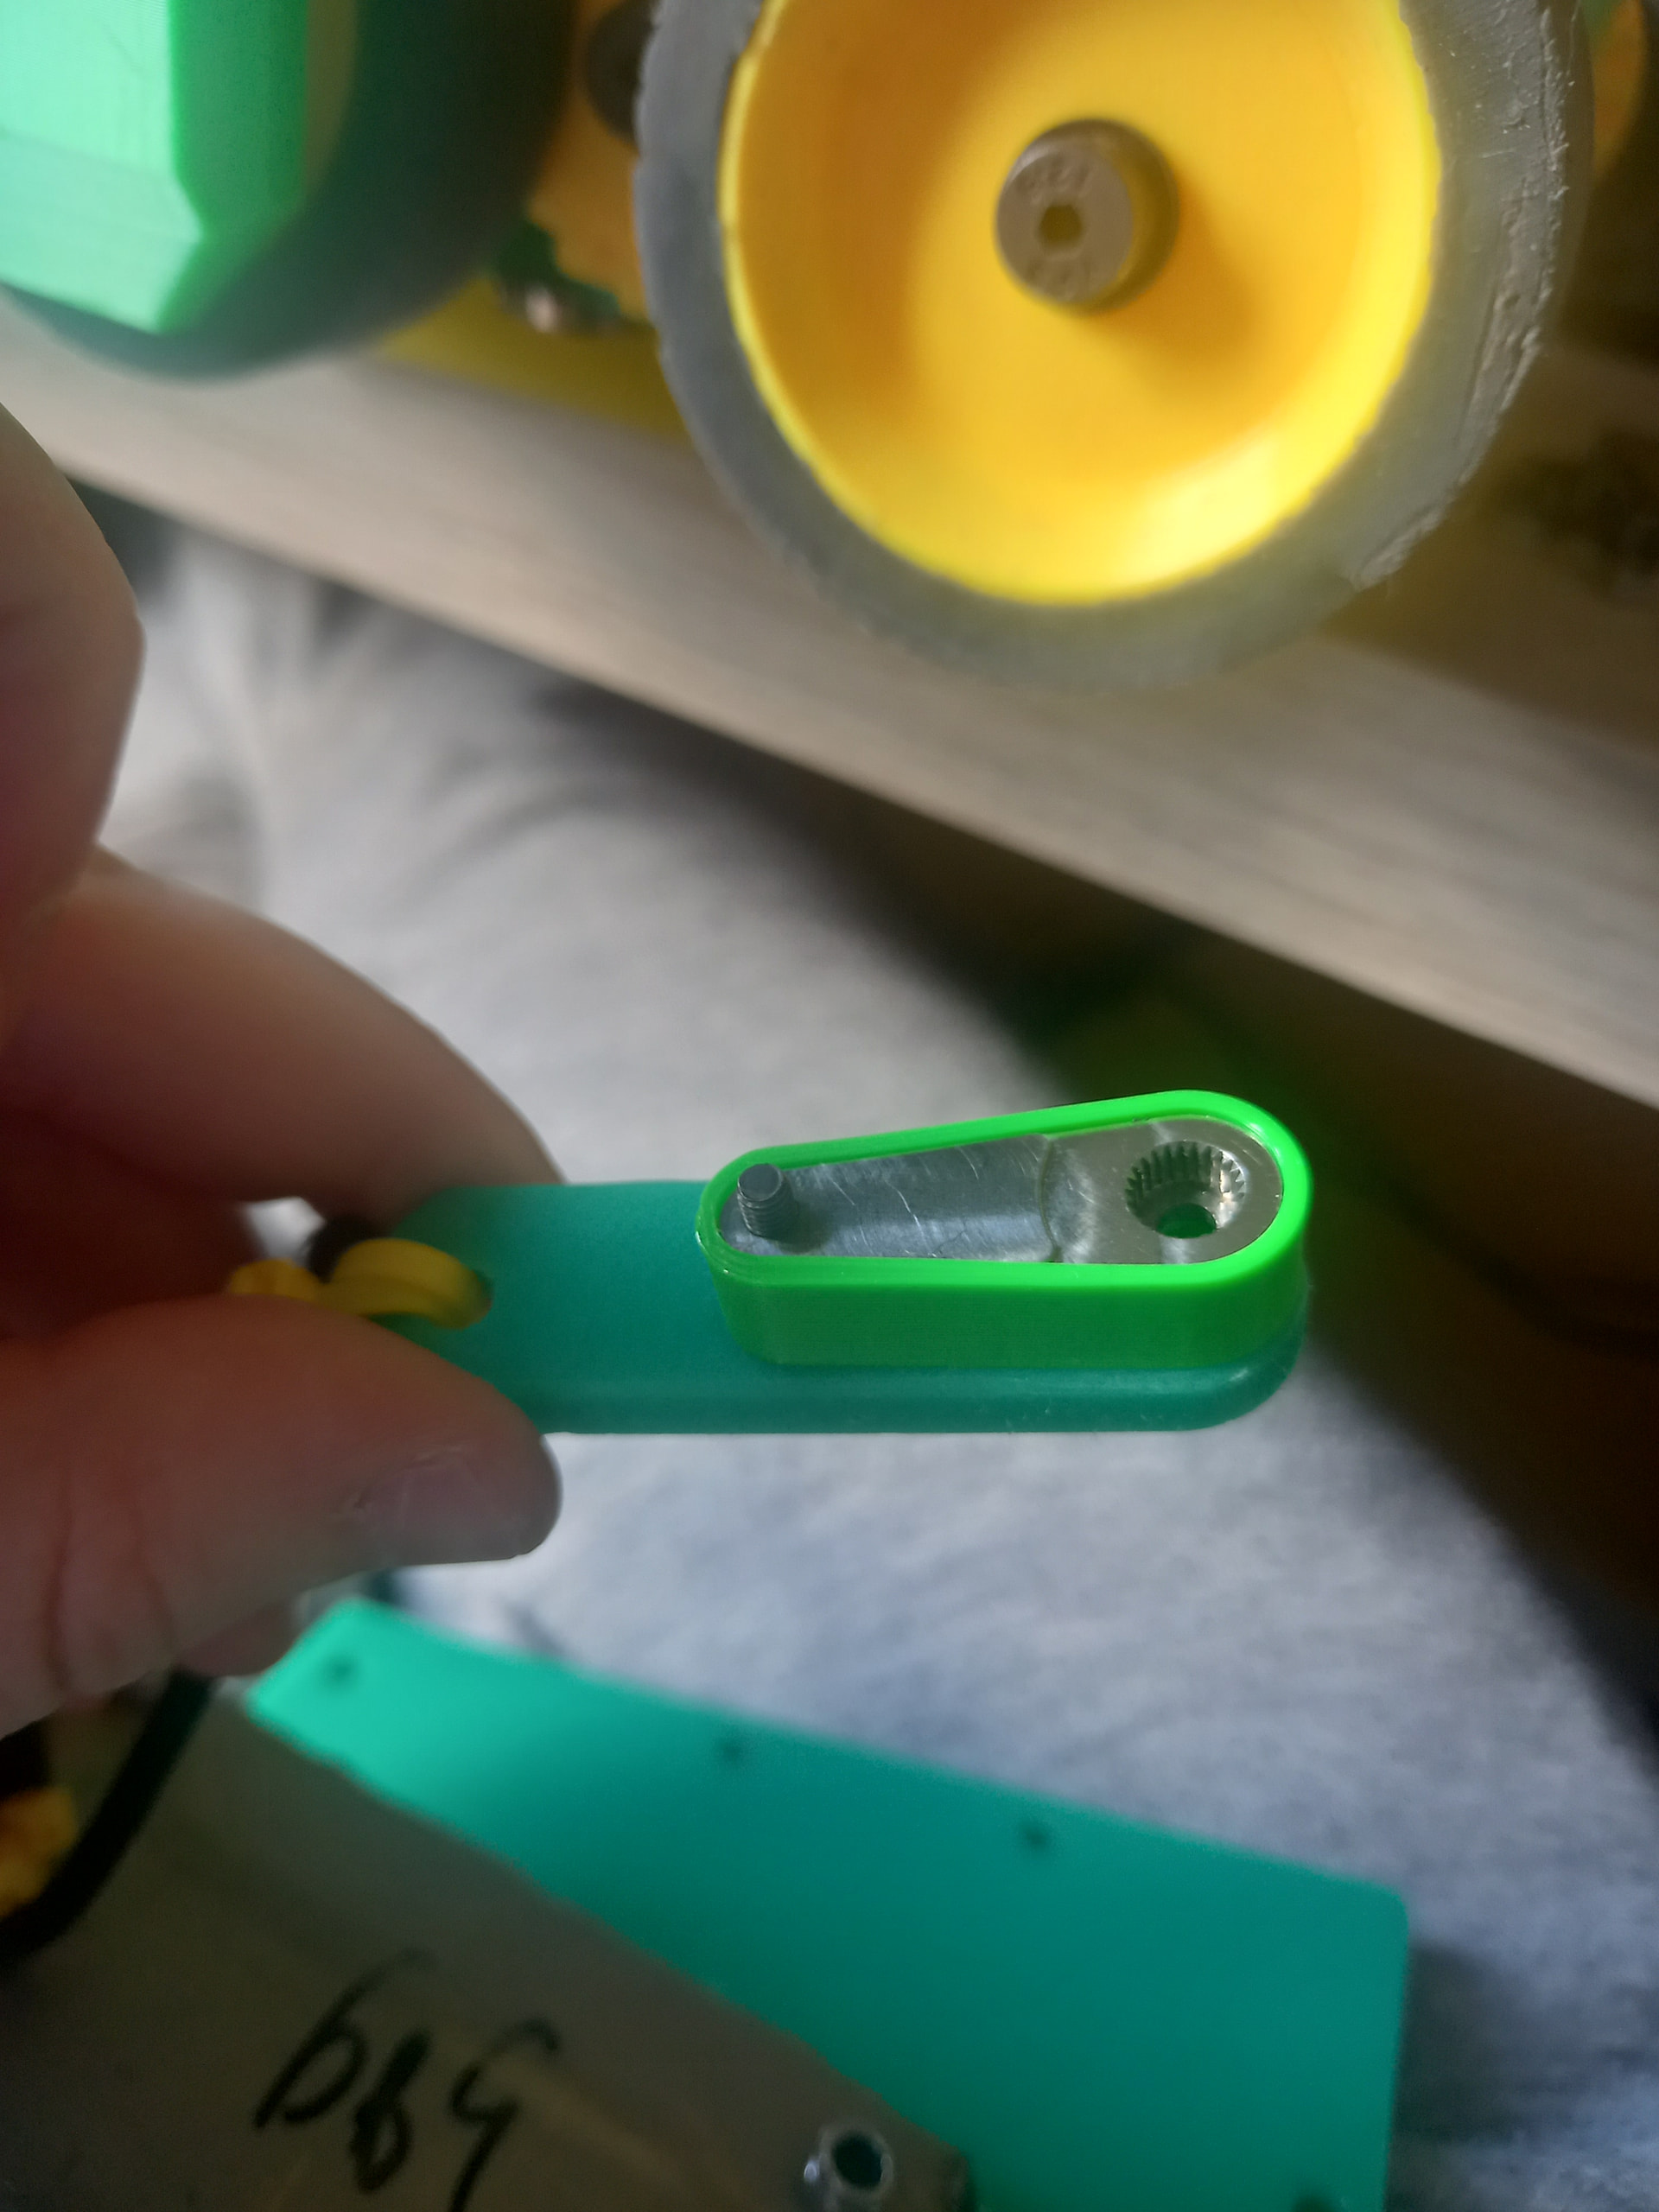
On the build side of things, I noticed the lifter was bending quite a bit at the elbow when attempting awkward lifts, which isn’t the end of the world when that protects the servo but also means I’m not getting the most out of the lifting arm. Work to be done there for sure. No immediate changes were really warranted after this but I did cobble together a proper mount for the Shrek Force wedge, which I’d cut down to size and attached to 2 static TPU mounting pods. This meant it was once again ready for the trip down to Chatham for…
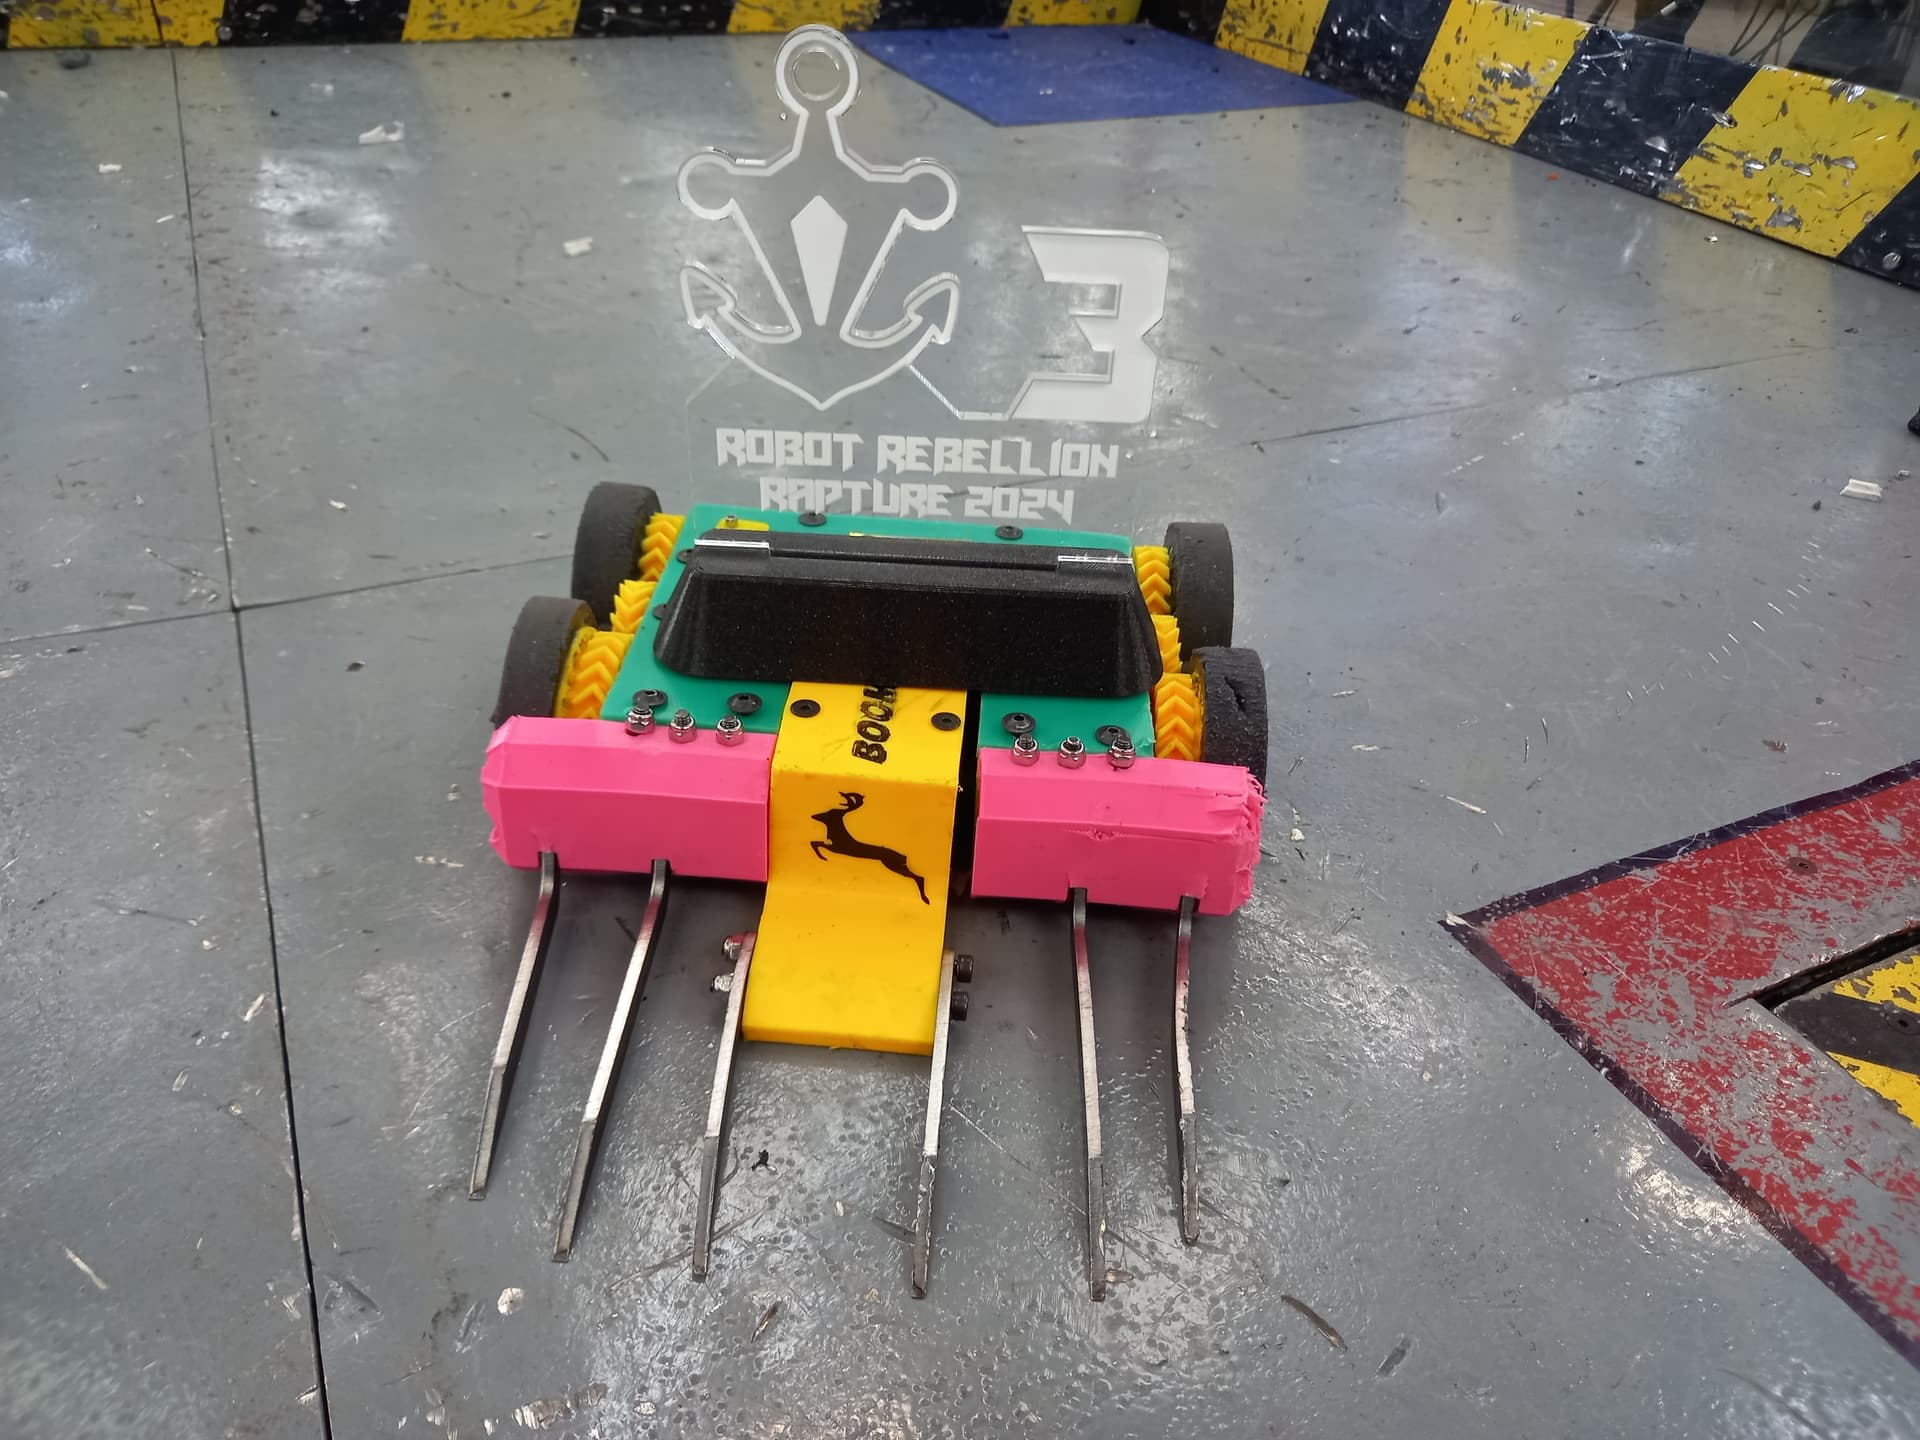
Robot Rebellion 2024
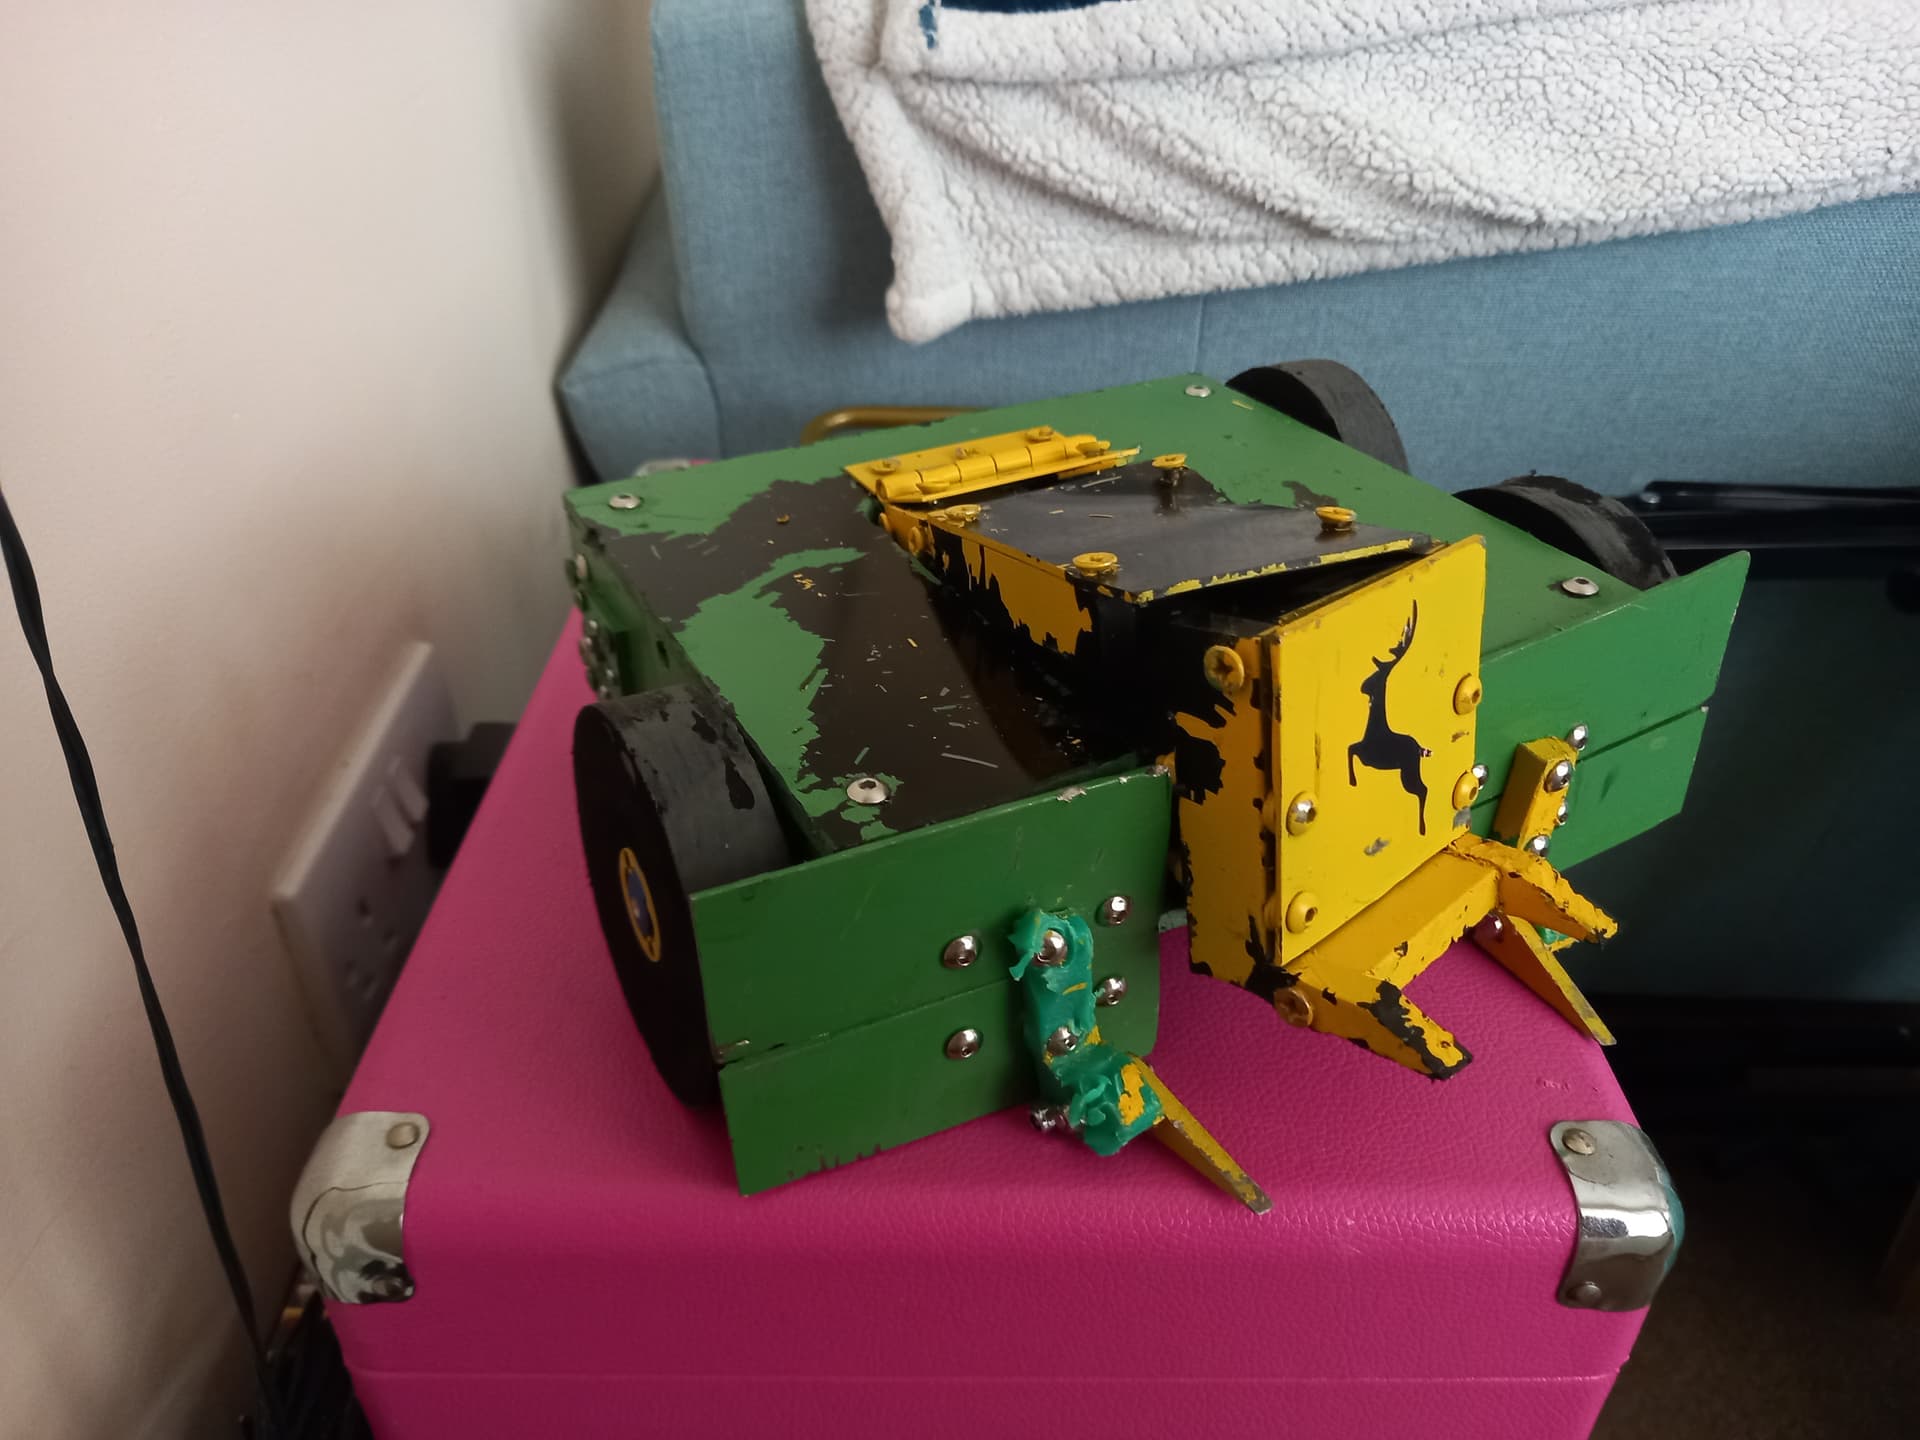
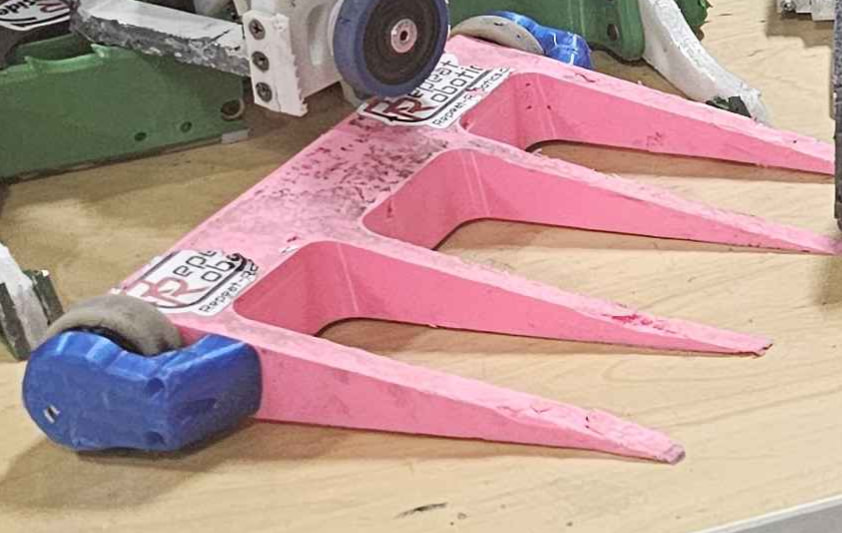
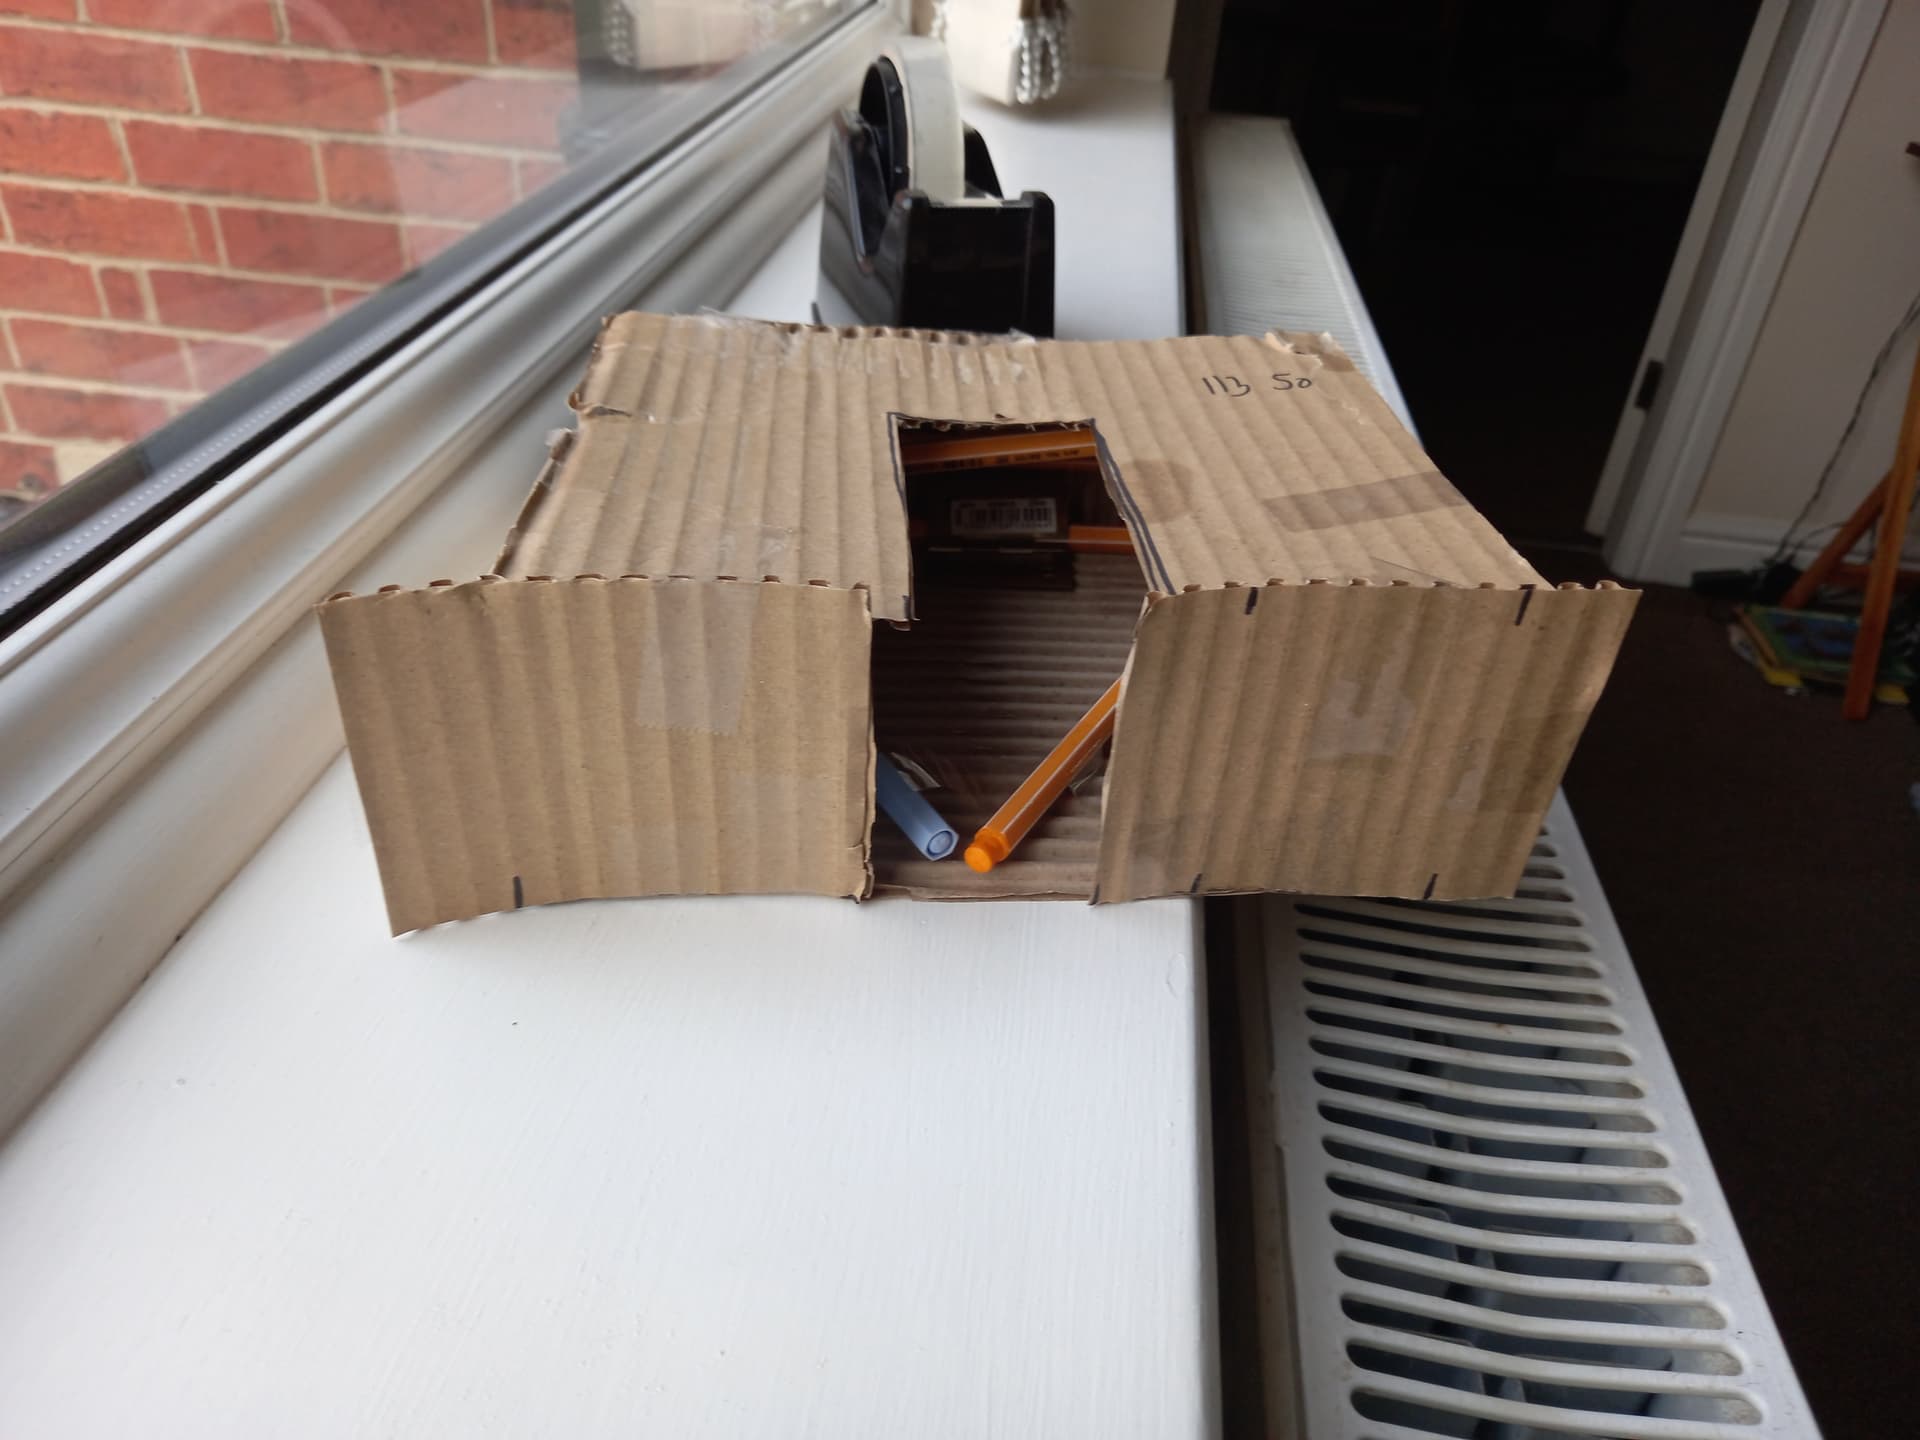
Before we get into the fights, a confession. In packing for this event, I’d completely forgotten one of my bags. This was full of all my spare lids, baseplates, lifting arms, and worst of all, alternate setups including all my forked front ends. All I had with me was the new wedge setup bolted onto the robot. This would have spelled the end of any hopes I had of making it past the heat stage, however I had a saviour in Ari, who offered to print some emergency replacements. After talking my partner through sending me the gcode files from my home PC, Ari was able to reverse engineer these into a 3D model then re-slice for their own printer, which had a different nozzle size to my own. A couple of cheeky overnight prints later I had a set of emergency front and top armour! I’d luckily remembered my forks so I was able to slot these in as well, there was a small problem, the replacement parts were bright pink! Due to being unsliced and resliced some detail was also lost, so I had to melt them a little with a soldering iron to get them to fit properly.
My heat fights can be found at 3:31, 15:48 and 25:49
My first fight was against the grand fromage itself, Monterey Jack. This is a glorious build, combining a miniature chainsaw and grabber mechanism to force opponents down onto the teeth. With only one set of front armour made of soft TPU and a long day of fights ahead of me, I was pretty worried about having this fight first.
Monterey Jack got stuck pretty early on in the fight, but in the interest of putting on a better show I freed it from under the wall and kept the fight going. I was able to flip the cheese not long after that, and it didn’t seem to be capable of self-righting so I kept it in that position for a while. I was eventually able to shepherd it down the pit for the win, with mercifully little shredding done to my TPU.
Next up was Bop!, an adorable hammer with some of the best theming you’ll see. Craig had been keeping Bop hidden from prying eyes under a bag in the buildup to this one, and I soon understood why. In an effort to say heck the ground game, Craig had swapped the wheels out to giant foam monster truck tyres, and Tweedy had swapped into a Bop shirt and brought out his 150g cam lifter to act as a minibot. I loved the gamesmanship of this, and it gave an extra layer of spice to our fight, as Bop would now be able to drive off my forks, and the minibot could cause problems trying to high centre me in return.
In this one Bop was monster trucking over my entire robot on more than one occasion, and while I can’t say it was too effective as a tactic it was certainly unique! Tweedy’s minibot tried to go in for some pins but most of the time my drive was enough to sweep it out of the way, though it did get a decent pin on me at one point. I in turn had a lot of fun chucking all 150g of the minibot around, I think I nearly hit the roof with it at one point! Towards the end of the fight my drive began to lock up on one side, but Bop was having drive issues of its own. I later found out from Craig he’d totally lost left/right steering, so all he could do was go forwards and backwards and hope that the robot would go somewhere vaguely productive. This did not turn out to be the case, and before long it had gone down the pit of its own accord, I can’t really take credit for that one! After the fight I quickly fixed the drive side locking up, a shoulder bolt had over tightened and was causing the wheel to bind so I just loosened it off a bit, easy squeezy.
My final fight of the heat stage was against Snek, a very innovative robot using a 6-bar mechanism to act as both a grabber and self-righter. Thanks to the way other results in the heat had gone, I’d already guaranteed my place in the knockout rounds at this point, which meant I could relax a little going into this one.
I had a fair tussle with Snek at first, but the Irish robot was having trouble keeping its front end towards me. I got around to the sides and chucked it around a bit, nearly getting stuck on the pit in the process, before maneuvering it over to the OOTA zone. From there I couldn’t resist going for the big yeet and got it over the wall to end the day 3:0 with 3 knockouts and no significant damage!
Into the knockouts we go! My round of 16 opponent was a familiar foe, Digestive. We’d fought at the previous Robot Rebellion, but this iteration of Digestive was a lot more dialled in, fixing the wedge being too low and adding some ground scraping forks to make it a lot more mobile and deadly. Normally I’d fit the anti-vert front armour which has wheelguards and forks, but today due to forgetting those I’d have to settle for no wheelguards.
I found out early in this fight I had the reach advantage over Digestive’s forks, and tried to capitalise on this by staying squared up to him. I was able to get several good flips which left Digestive break-dancing in the corner. It soon righted though and from there I pushed it back into the OOTA wall, where a lift was enough to cause the vert to engage with the wall, sending it up and over for back to back OOTAs for the first time in my roboteering career!
My later fights can be found at 15:38, 27:03 and 31:39
My quarter final and a matchup with Grab Crab awaited. Another rematch, this time of the ‘Burgh 2023 final. I was really looking forward to seeing how the improvements would hold up against the crab, especially as Joe hadn’t changed much since our last meeting so this would give a really good idea of how far Boomy had come.
This was a really cagey fight, lots of jockeying for position, flips, grabs, pushes, pins and everything in between. We both had moments where we looked on top, and there was kind of an unspoken understanding between Joe and I that neither of us wanted the pit in this fight. The only damage to speak of from either robot after this was a drive belt of Grab Crab’s that I’d prized off using one of my forks during a particularly forceful shove, and I think that might have been what swayed a split judge’s decision in my favour! This has to be my favourite (at the time of writing) robot fight I’ve ever been a part of, such a great contest from start to finish, Joe really brought it and I’d totally have understood if the decision had gone his way. Grab Crab was a big inspiration for this version of Boom Zoom, this fight felt like a sort of benchmark to compare how the robot was progressing on from MK4 and our fight at Burgh.
I’d already made it much further than I expected, but now would come the toughest test so far: Stratus. I slapped the extra top armour on, partially for the protection it’d offer but also to look more pink and therefore less of a threat.
This fight actually started better than expected! I was able to box rush Stratus and keep it off balance initially, using its significant gyro and high centre of pass to leave it dancing on one wheel the majority of the time while I pushed it around. For about the first 30 seconds or so this was pretty successful, Stratus couldn’t land many serious hits. I even managed to grab hold of one of the stabilisers, which led to some very weird gymnastics when it hit me and launched us both end over end. Around the 30 second mark Stratus got a glancing hit that knocked me upside down, then followed up as I was trying to self right and delivered a meaty hit to the baseplate. This was enough to tear a huge gash in it and peel up the edges to the point where they took my wheels off the ground, and that was all she wrote. All I could do was wiggle the lifter frantically as I was counted out. Womp Womp.
All was not lost though, I still had to gear up for one last fight for third place. My opponent was Ari with Frenzy, the very same Ari who’d printed the emergency parts that had no doubt gotten me this far. No good deed goes unpunished! Going into this fight Boomy was still very much in a bad way. The lifter hinge had been buckled by Stratus and the baseplate was still badly bent, a couple of hits to my rear could have easily high centred me again. My strategy with this fight was to force Frenzy to do a lot of turning, and hope its considerable gyro would flip it upside down. Once upside down I knew its weapon would start hitting the floor, and at that point it could end up in the pit or the OOTA zone quite easily. I had mixed success with this, but Frenzy was still able to score hits and managed to post my robot into a gap in the arena door in one of the best trickshots I’ve ever seen. Some frantic waggling was enough to free myself, and I was able to take the fight to Frenzy. The lifter wasn’t fully opening/retracting consistently thanks to the damaged hinge, but I was still able to get a few good lifts and grabs in. Eventually I was able to open the pit and invert Frenzy, and after some frenzied (hehe) bouncing on its weapon it ended up pitting itself!
I was over the moon to come away with third, especially given my disastrous start to the weekend forgetting to pack those parts. This also made me rethink just how many spares and setups I need to bring to events, I may have been overdoing it in the past bringing at least 2 sets of most setups. I also came away from this event with a concrete improvement to make: REMEMBER ALL YOUR STUFF!!! No serious changes to make off the back of this one, but that’s skewed a little by the peculiar circumstances I was in at this event.
RoboDojo July 2024
My fights are at 0:23, 8:08, 15:19, 17:49 and 21:17.
First up (for what feels like the millionth time) was Baby Dead Bod, which meant I finally had the chance to test out my new wedge setup. This was a really fun one, lots of acrobatics from both of us, and plenty of meaty hits. BDB did a number on Boomy, tearing off a rear wheel and chewing up the TPU mounts for the wedge pretty badly, but the hardox held firm and I was eventually able to bounce BDB out of the arena! The damage from this one was pretty rough. I realised I’d made a mistake when designing the wedge, as it fed horizontals right up into the nuts keeping the front armour on. This meant they got a bunch of direct hits and were very hard to remove when the time came to swap setups.
Next up was Delta V, and this was a very cagey one. Our forks were locking together perfectly for basically the entire match, with the slight advantage going to Delta V most of the time. The barbs on Delta V’s forks meant we were getting stuck together a lot, even needing an unstick at one point, and when I did get free I wasn’t able to get around to the sides of Delta V and capitalize with a lift. Props to Jake’s driving on this one, he did a great job of staying squared up, and eventually time ran out for an inevitable JD loss.
Third in line was a rematch against Sniper (most of my Dojo fights are rematches at this point) again a good opportunity to put the hardox wedge through its paces. After a solid few hits the weapon on Sniper went down, and I was able to capitalise with the pitting. My mobility in this fight was hampered by the wedge catching the ground a fair bit, this would need fixing in future for sure. For now though, we move.
Fight four was against Nightcall, in what again seems to be as certain as death and taxes when I come to Dojo. I was once again able to flip it upside down, and this time after a few pushes Nightcall drove into the wall of its own accord and punted itself out of the arena!
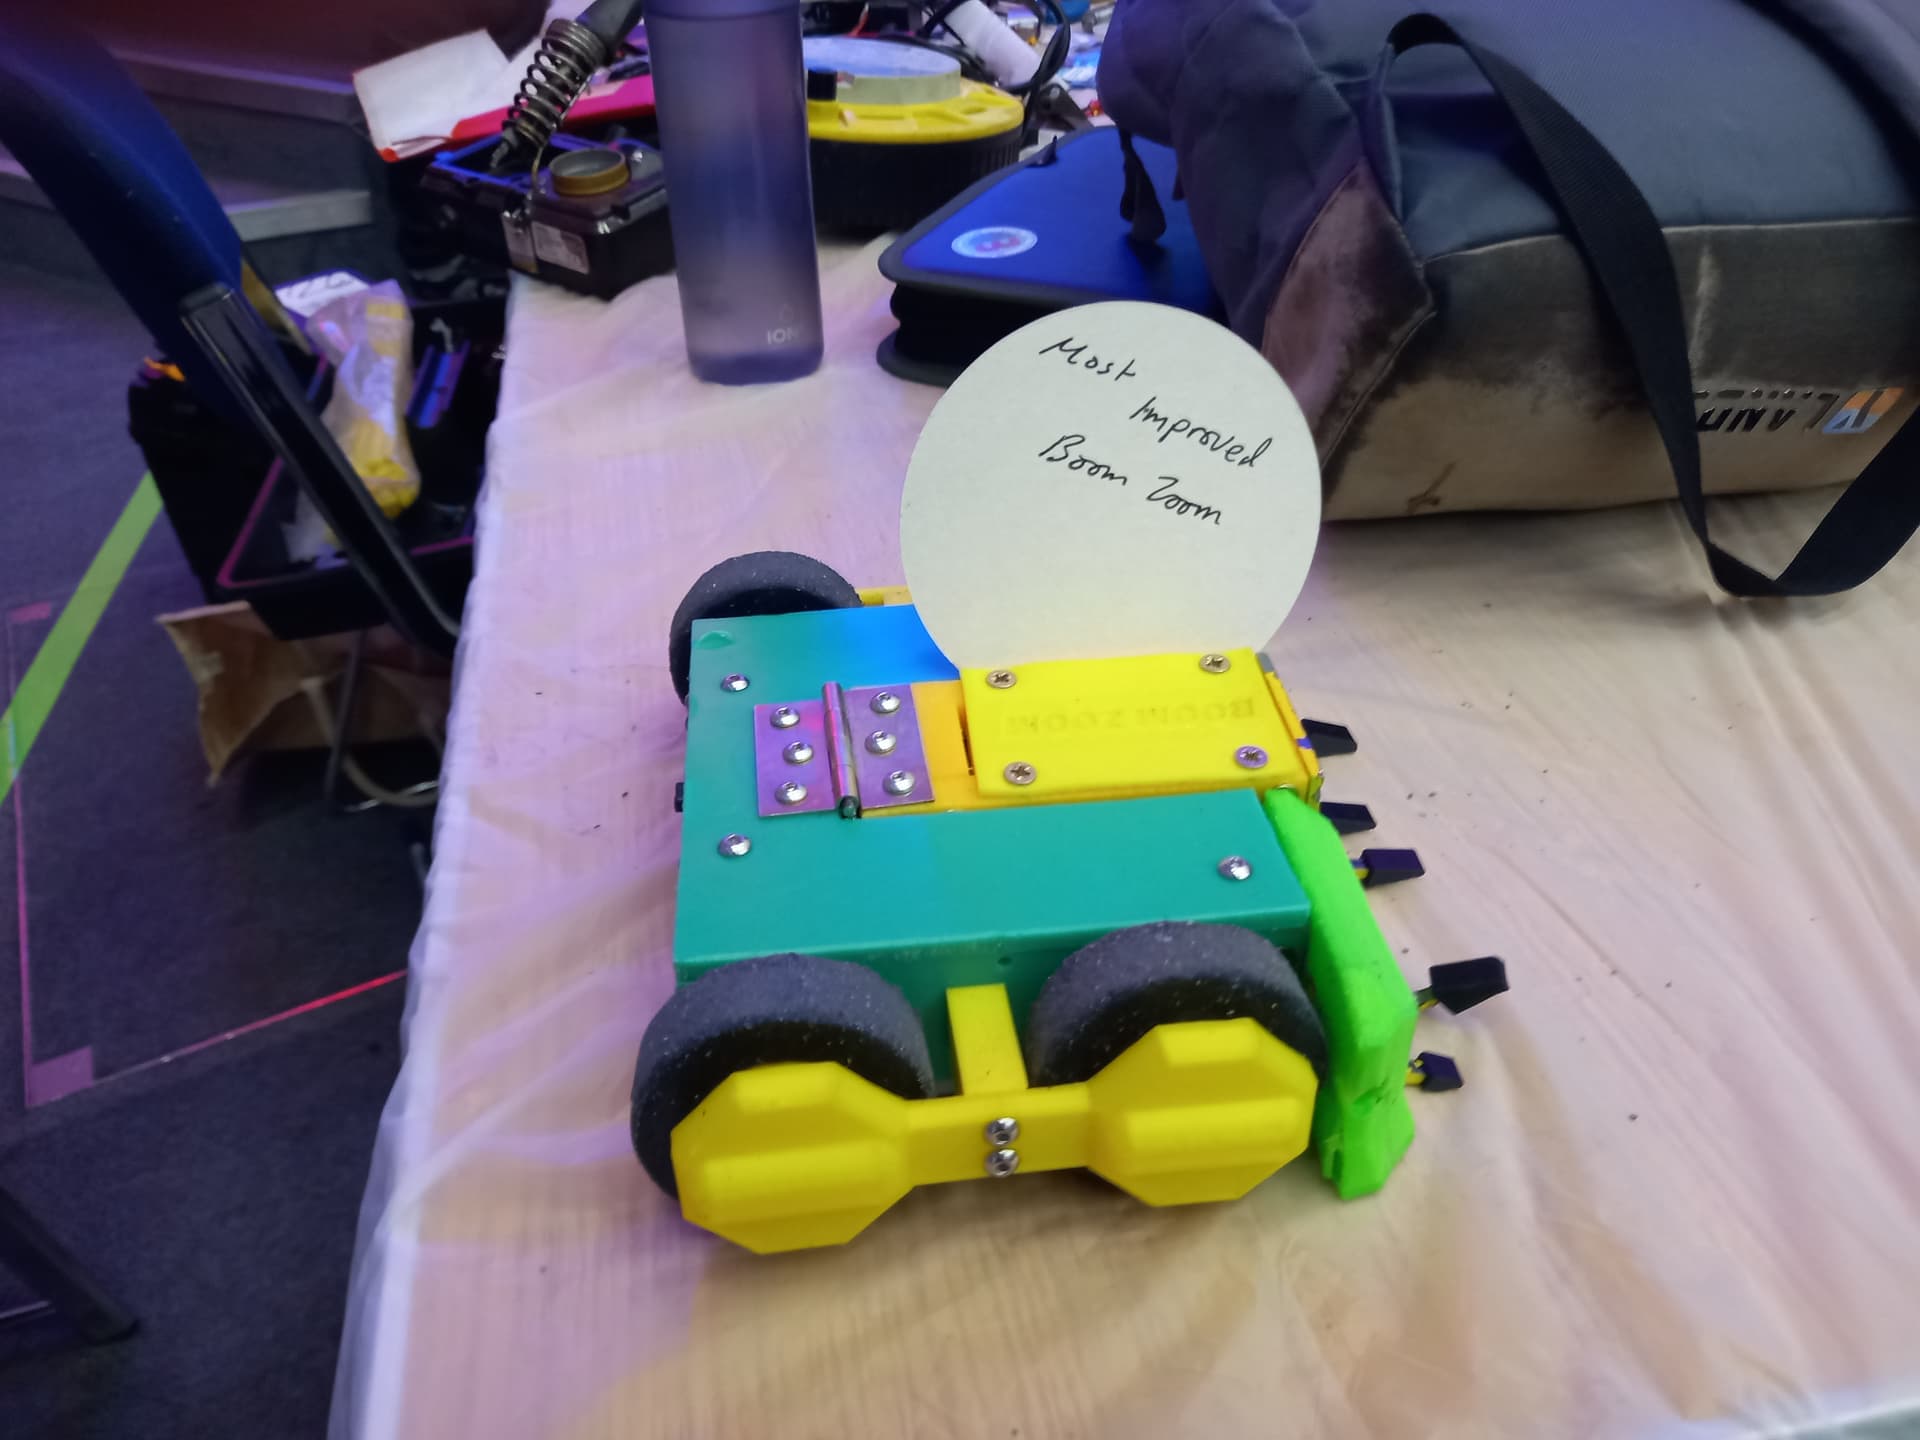
This just left a playoff for 2nd place with, you guessed it, Sniper. When it rains it absolutely pours. The wedge did its job again, and I was able to get Sniper out of the arena pretty quickly this time to secure silver!
Overall it was great for the wedge to get as thorough a test as it did. I was satisfied with how it held up, and I hoped a few minor changes to the mounting would be all that was required to help with mobility and serviceability. The result was pretty nice too 
The wedge mounts were knackered after 3 scary horizontal fights, so I reprinted them and tried a different mounting method. 6 M5 woodscrews per side, screwing into undersized holes in the TPU. I hoped these would be harder for horizontals to catch if they rode up the wedge, and also easier to remove if they were hit. Let’s see how that went…
RoboDojo September 2024
My fights are at 4:44, 9:01, 16:03 and 20:53.
The first fight was against the lovely Heratoss, a flipper based partly on Bigger Brother, partly on the pokemon Heracross, name a more iconic duo, I’ll wait. I wasn’t able to get any flips in, but plenty of pushes, and after a few of those Heratoss went down. Sorry David!
Next up was a rematch against David, this time with Grabber Wobba, and this was a much better fight than our first of the day. David pulled off an insane pit escape at one point, and we had a good pushing match before I managed the KO. Sorry David! (x2)
Fight number three was against Jay and Turbulent Juice! Juice was freshly returned from the US and looked very mean indeed. Things started to look bad very quickly, when Juice hit the underside of my lifter and snapped the zip tie keeping the lifter elastic on, meaning if I got knocked upside down with the lifter open it was game over. I was able to keep the fight alive a while longer, retracting the lifter by backing into the wall but was on the back foot throughout. Juice had me over several times before scoring the killing blow and leaving me immobilised. Props to Jay, I never really felt like I had a foothold in this fight.
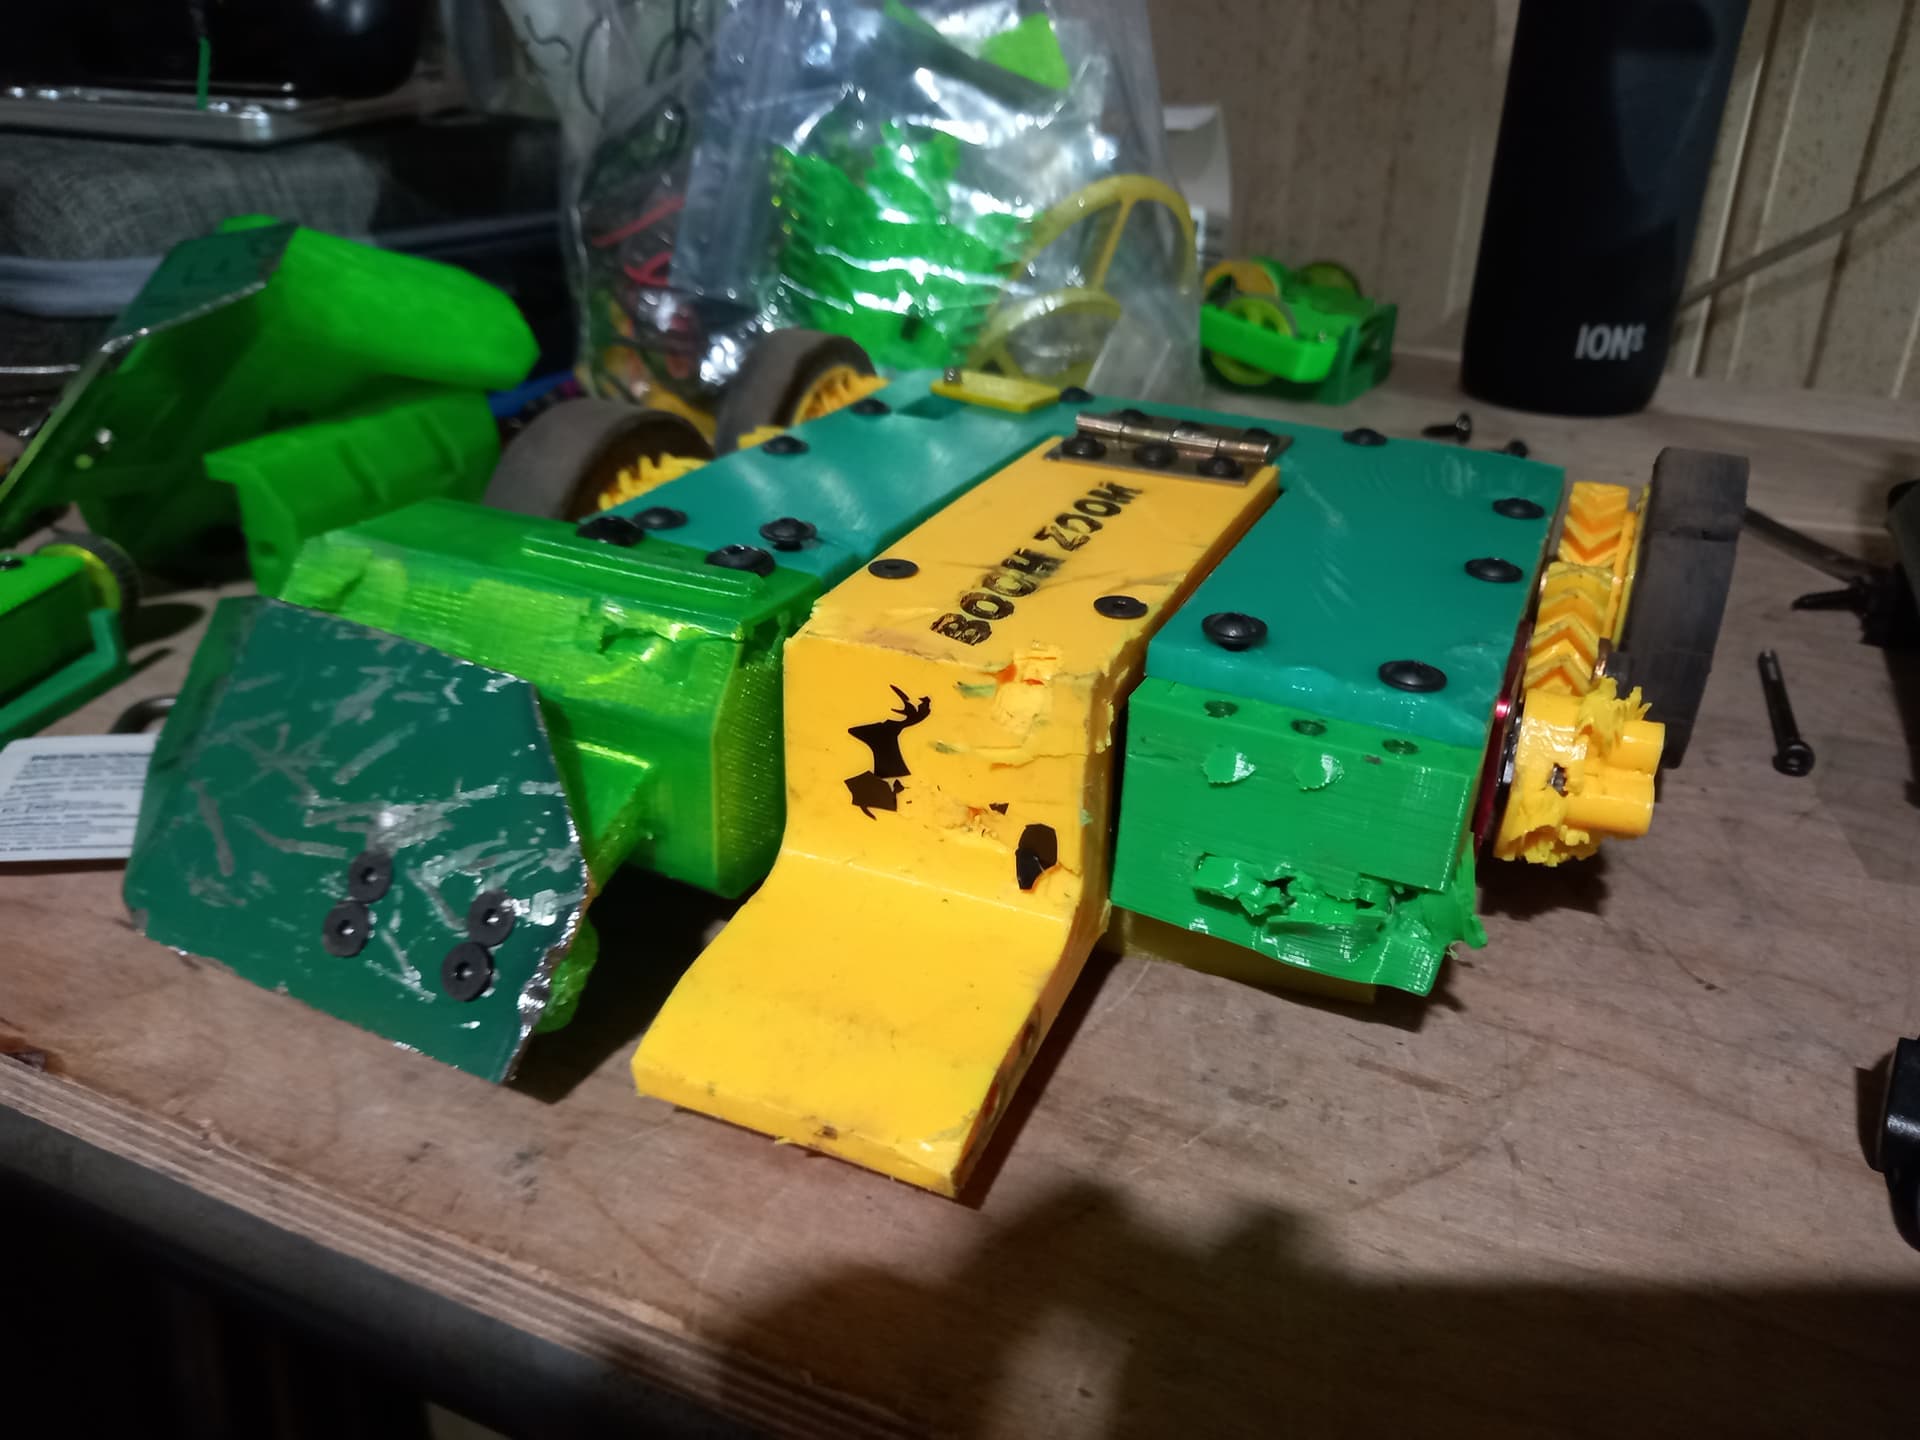
Finally I’d get one last chance to test out the new wedge mounting against, you guessed it, Baby Dead Bod. This started very oddly, with the pit tyre being chopped off and left in the middle of the arena by BDB as a nice arena hazard for us to fight around. Neither of us were bothered about it being there so the fight carried on, but I soon wished it hadn’t as BDB scored a big hit to the wedge which completely tore it off at the new mount points. I tried to carry on, but before long Thomas had scored a few more hits and torn off a wheel, leaving me only partially mobile. Rather than risk further damage I took this opportunity to tap out.
This last fight was pretty devastating, the new mounting had completely failed and where BDB had hit the wedgeless side again it had ruined the mounting points, making the chassis basically a writeoff. At this point I’d run the robot for the best part of a year, and was ready to make some more fundamental improvements to the design. MK6 would be next, and perhaps something else alongside it…


")