My First Order Bot
Last year Ryan and I saw BEVs for the first time, and our eyes were opened. We saw the light, and in that light we saw a world where jank would be embraced. We left that event with expanded minds and a glint in our eye.
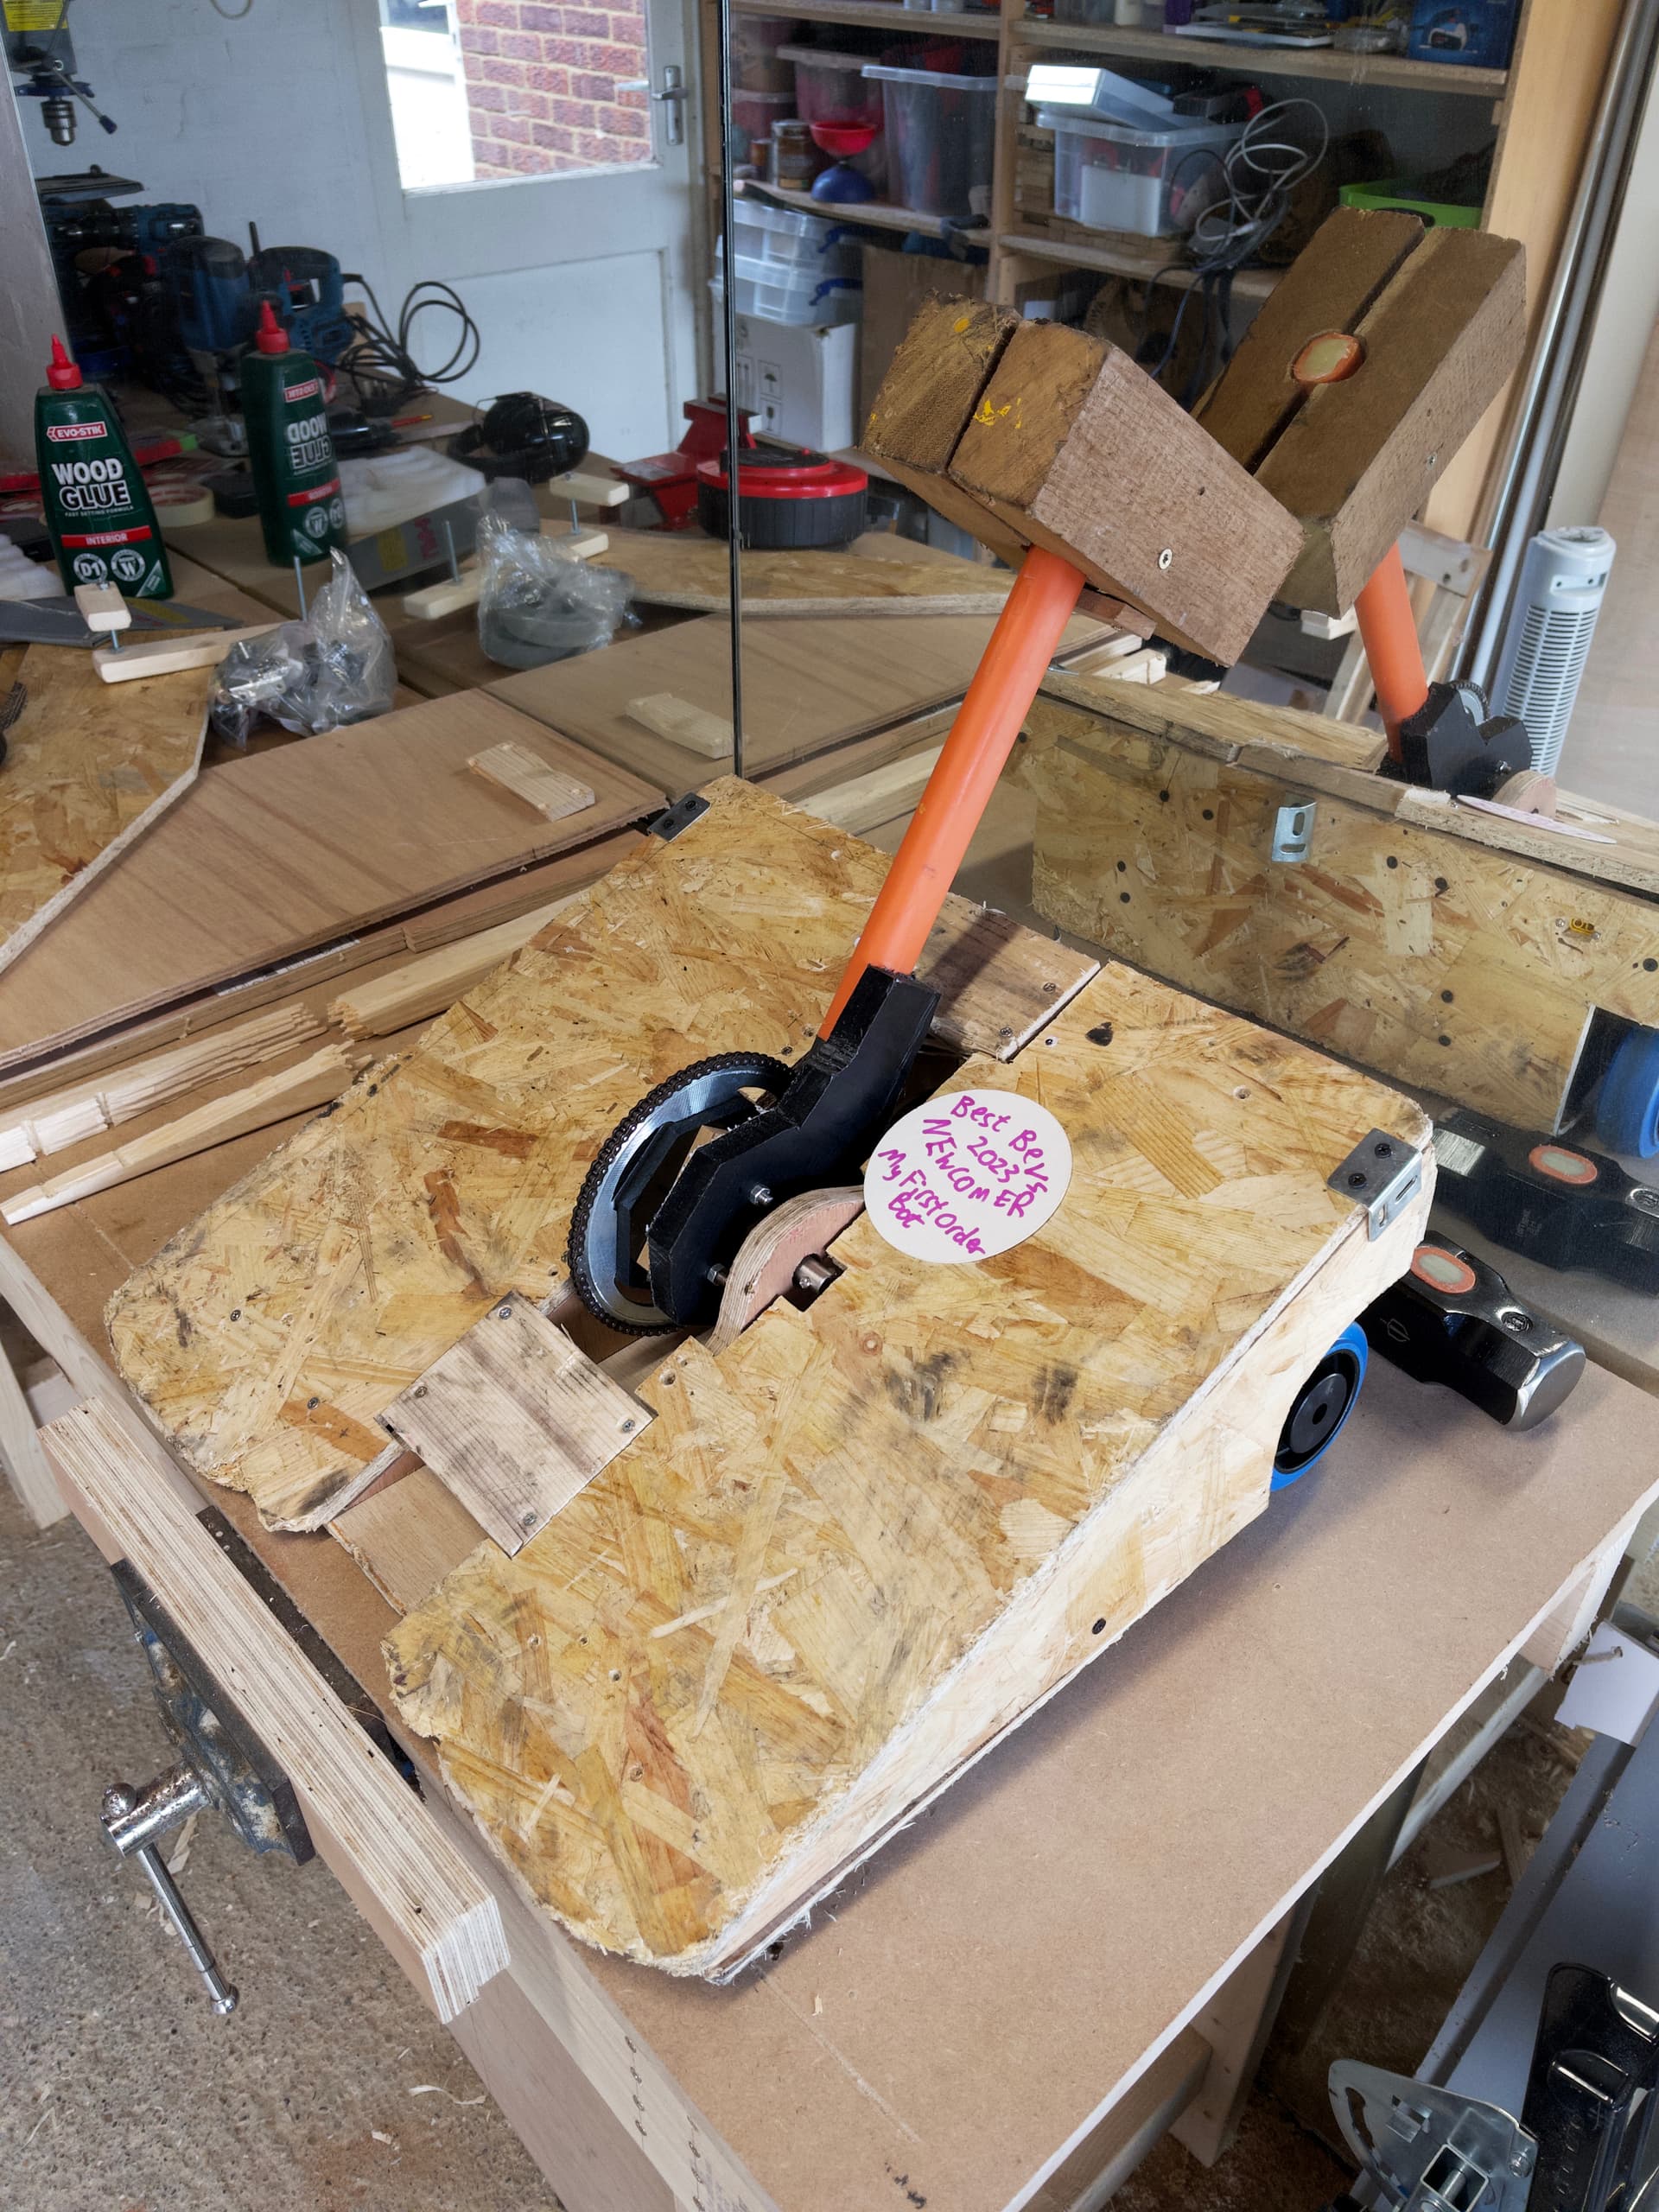
My First Order Bot is based on the infamous My First Bot, but with the (increasingly loose) Star Wars naming convention we have going on.
We built it over 2 pretty intense days together, then I did finishing touches (and rebuilt pretty much every part, but we won’t talk about that) in the run up to the event.
Crucial stats
- Plywood/OSB
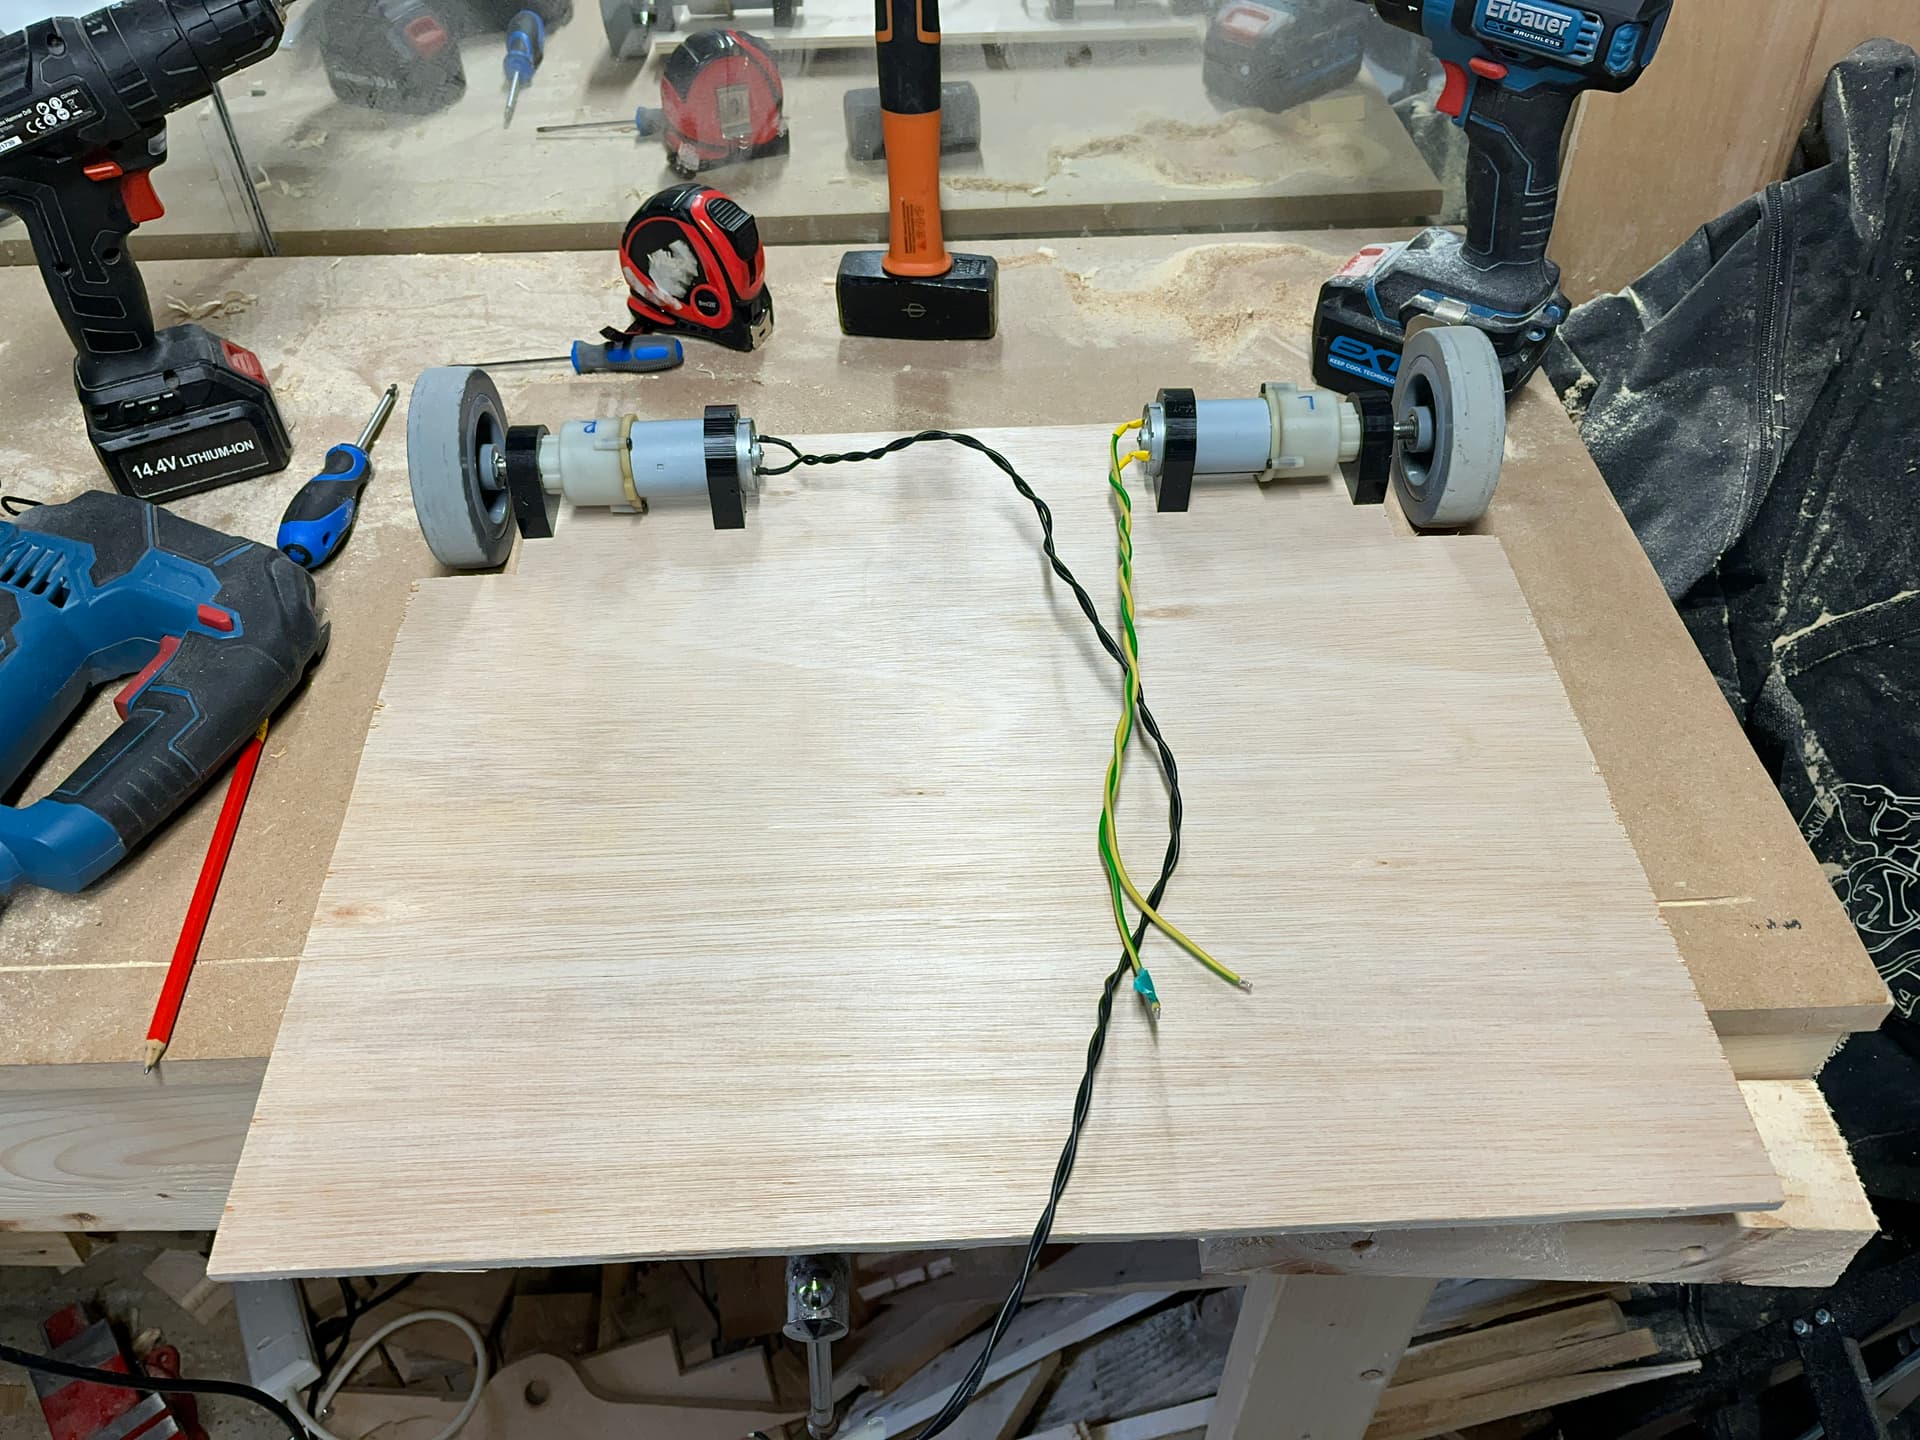
- Drive motors/wheels/electronics from BBB
- OrangeRX DSM2 receiver, Devo 7E transmitter
- Scooter motor from eBay
- Chain and large sprocket from eBay (6mm 25H chain, 80T sprocket for the weapon)
Build Day 1
Ryan had already sketched out where motors would land on the baseplate, and had mounted drive wheels to a base. We started with that and sketched out the rough profile for the robot, as this would define the shape of the central bulkheads. With extensive use of CAD we worked out where the weapon could be mounted such that if was far enough away from the motor for chain tension, but still as far back as it could be. We also needed clearance for the 160mm sprocket we were planning to mount to the hammer mechanism.
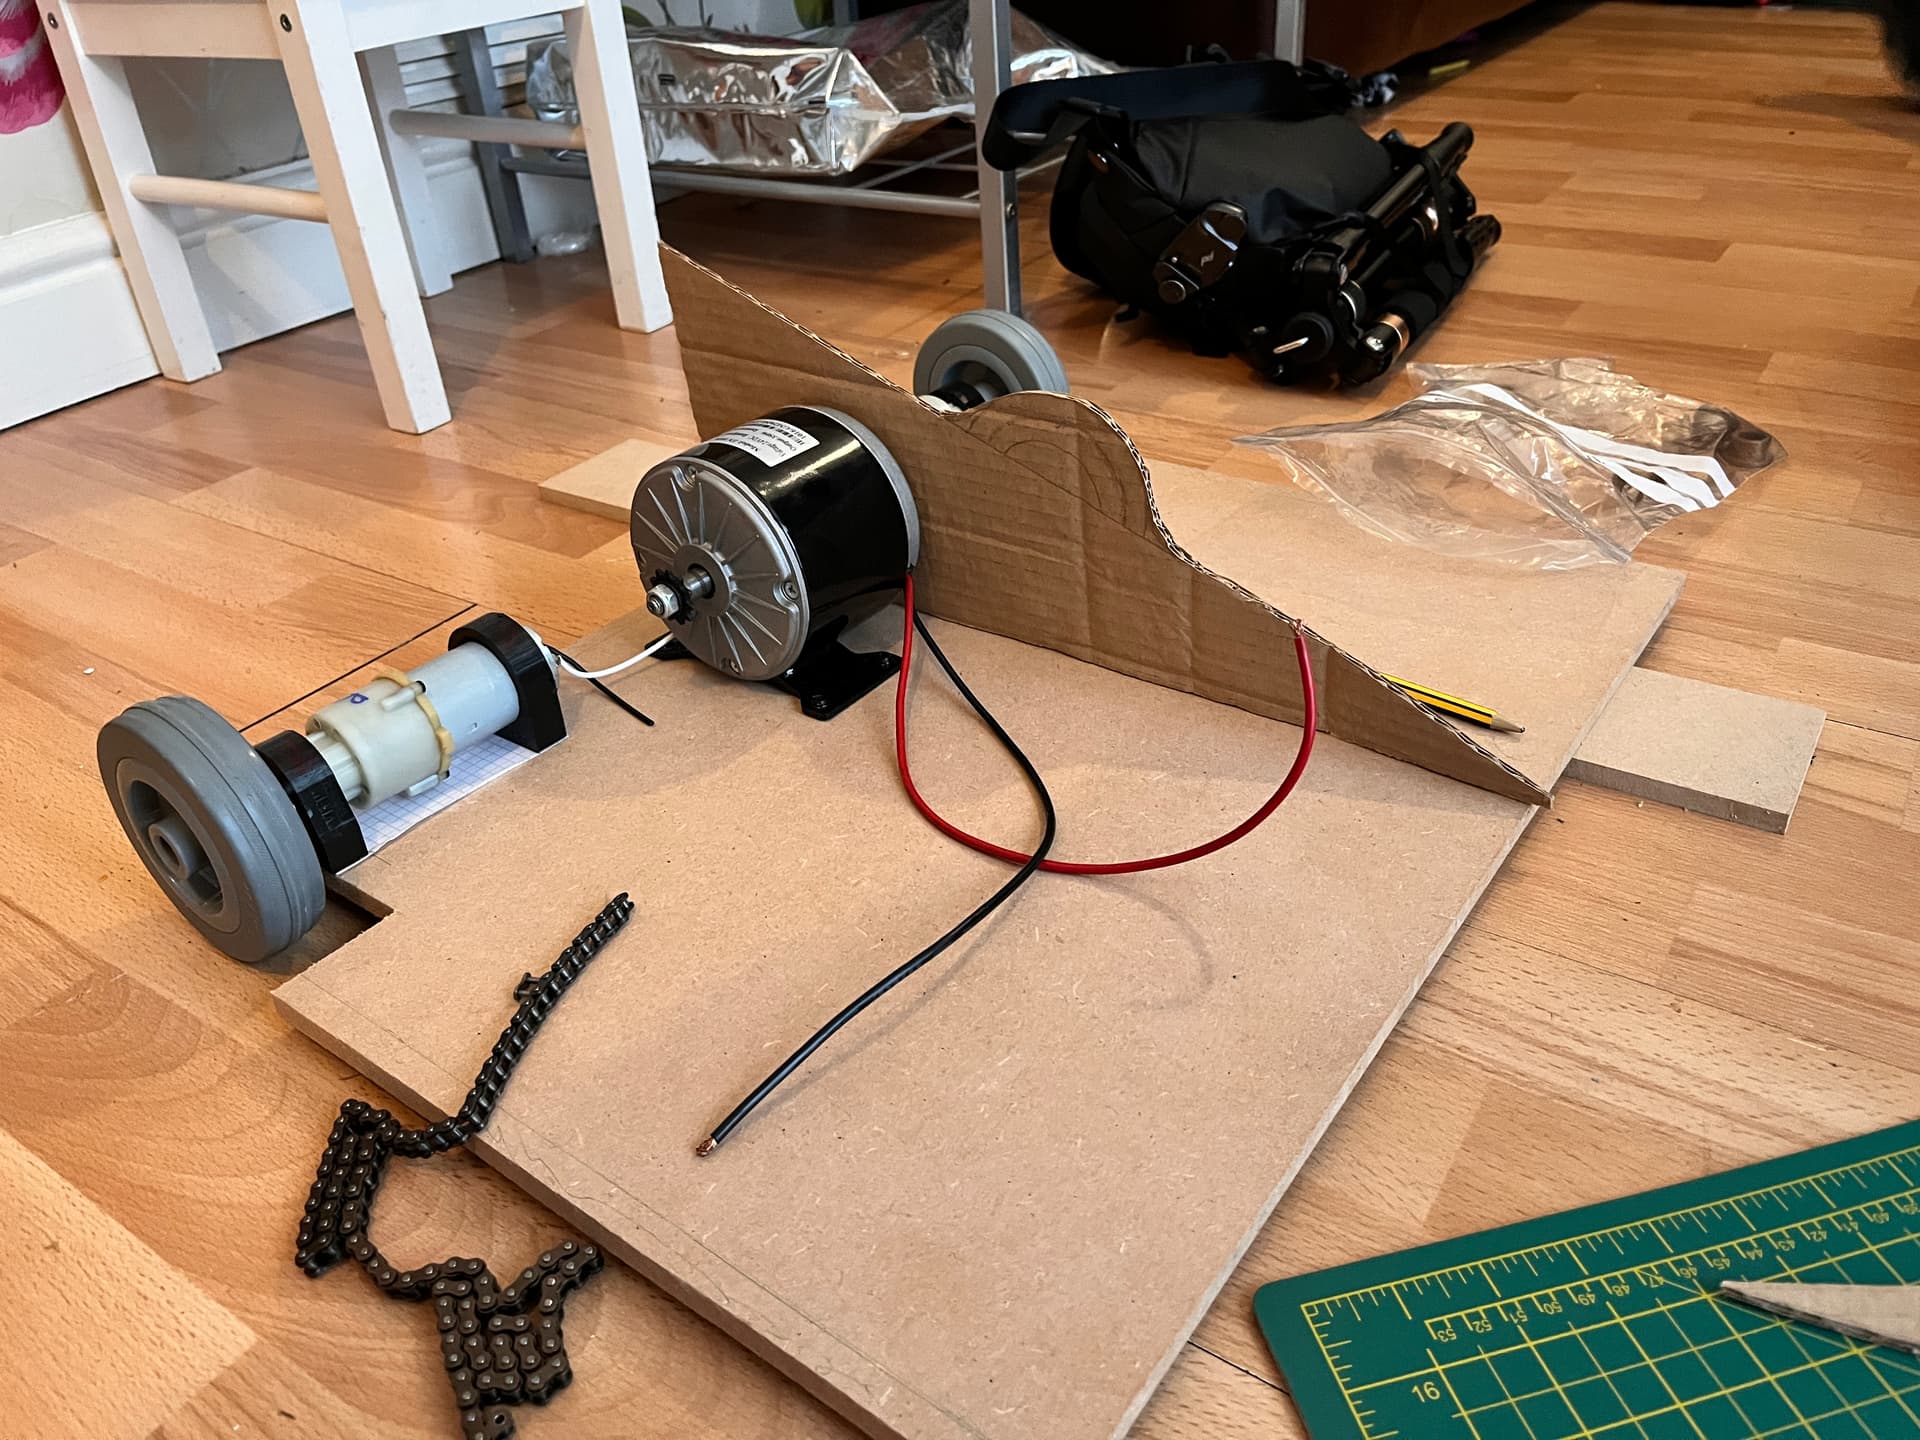
With the CAD sorted, we moved into the real world and jigsawed out the profile from MDF (later replaced by plywood, but we’re not talking about that).
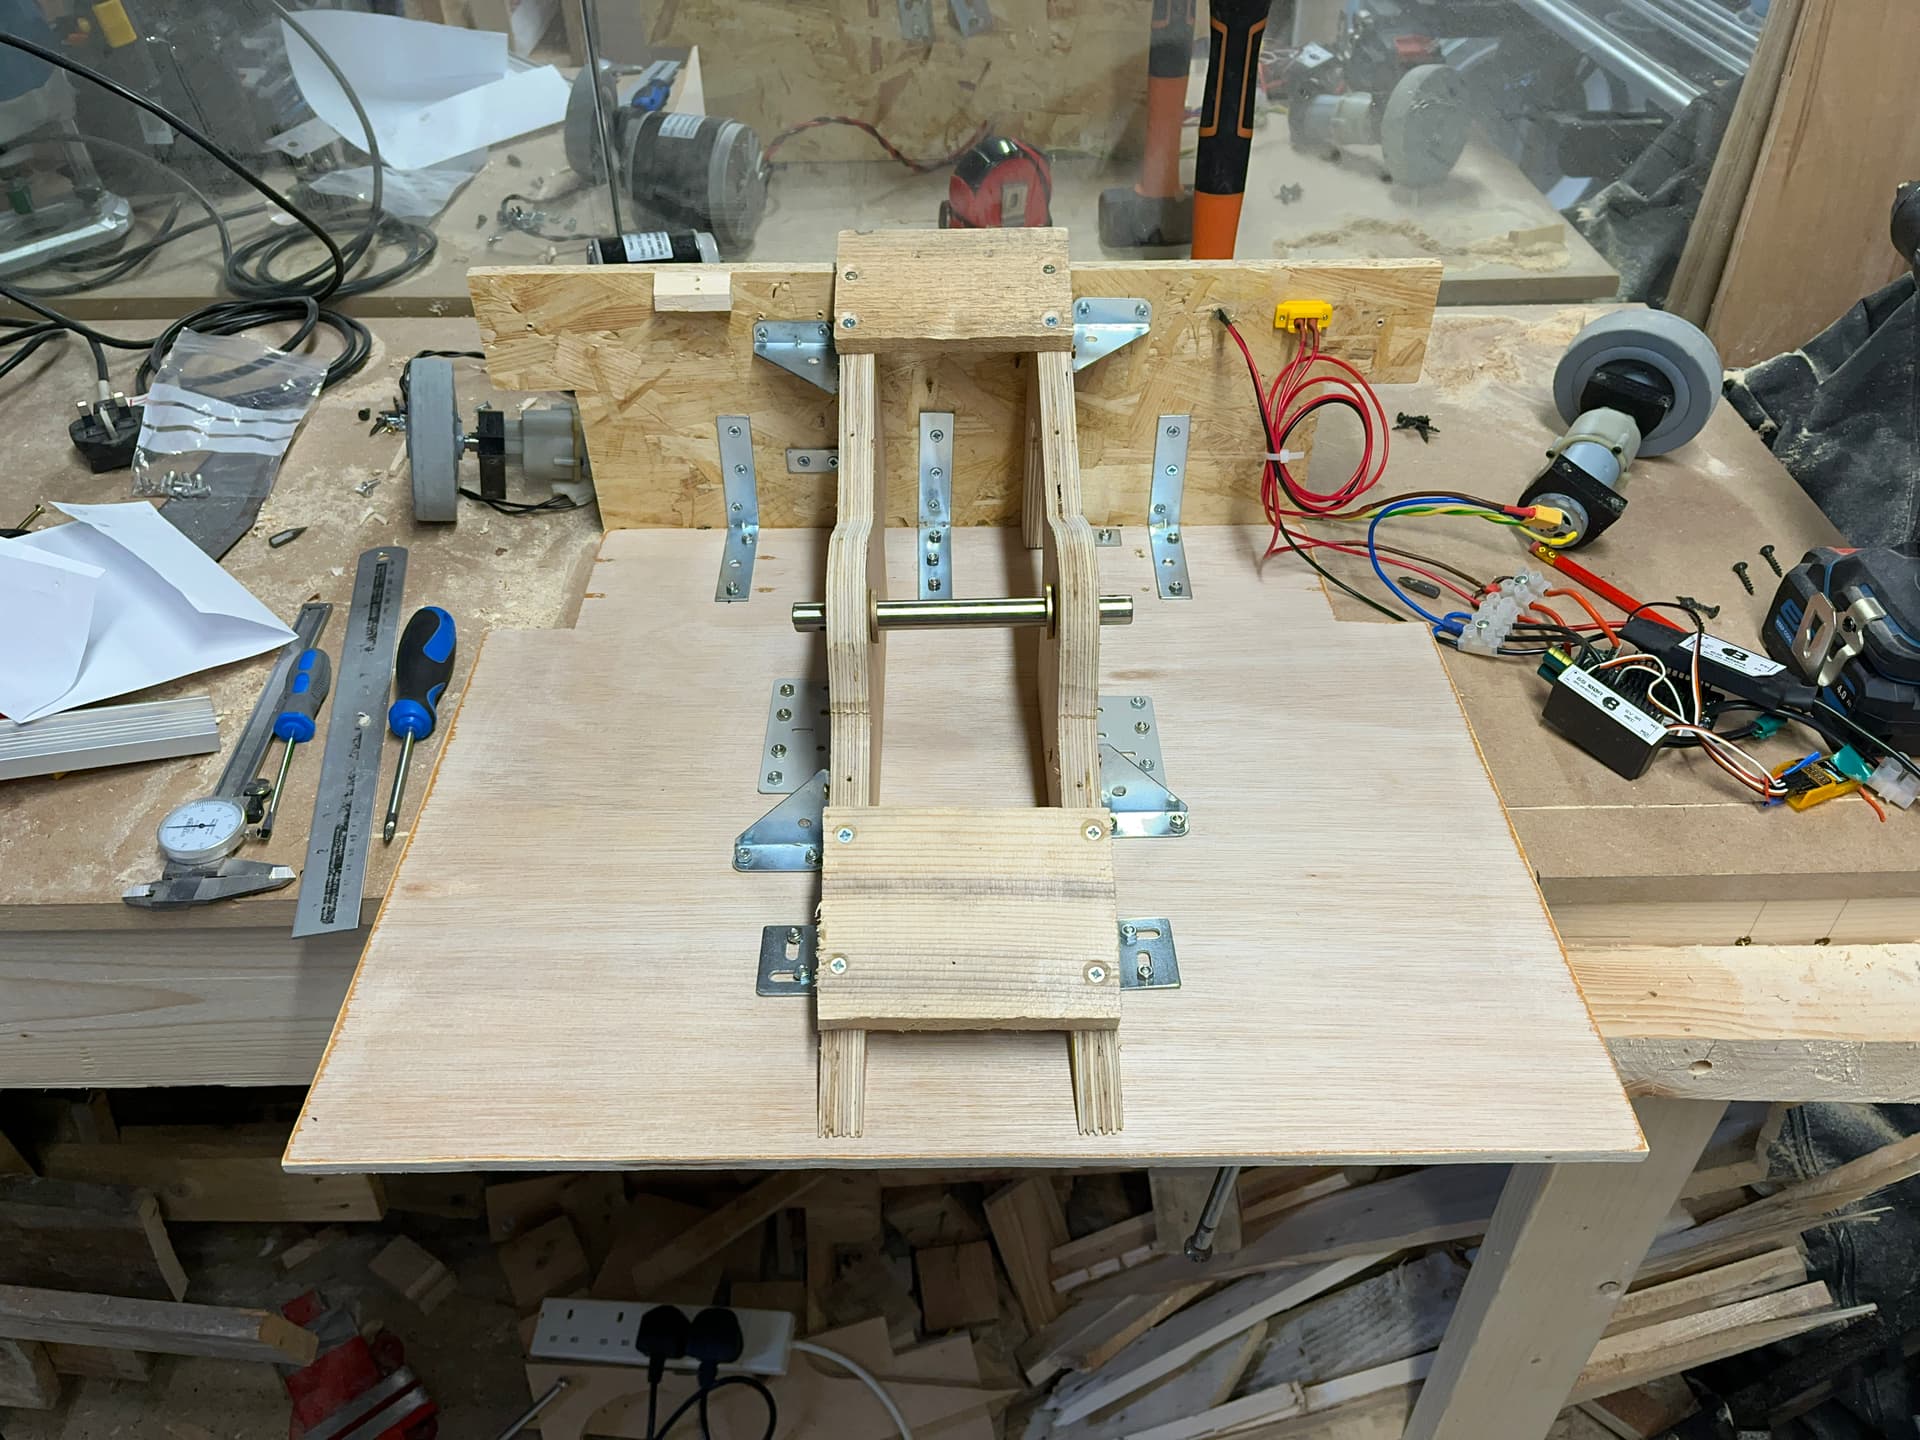
The next challenge, and the bulk of the day, was working out how to mount the hammer. We were planning for a 7lb sledgehammer, so we knew we wanted a beefy mounting system. One that had a solid hold on the hammer shaft, as well as mounting the sprocket concentrically with the central bushings. We had some 14mm stainless rod from an old wardrobe (solid steel handles, anyone?), and some 14mm ID bushings. The stack up was as follows:
- 10mm HDPE. Smaller than the sprocket, with a bushing mounted in it.
- Sprocket, mounted perfectly concentrically with the hole in the first layer
- 10mm HDPE. Same hole at the first layer, but no bushing here.
- Hammer shaft. This is mounted slightly off-centre, and has some scrap wood to match the thickness of the hammer shaft
- 20mm HDPE, with a channel cut in to gently caress the hammer shaft. This layer also has a bushing
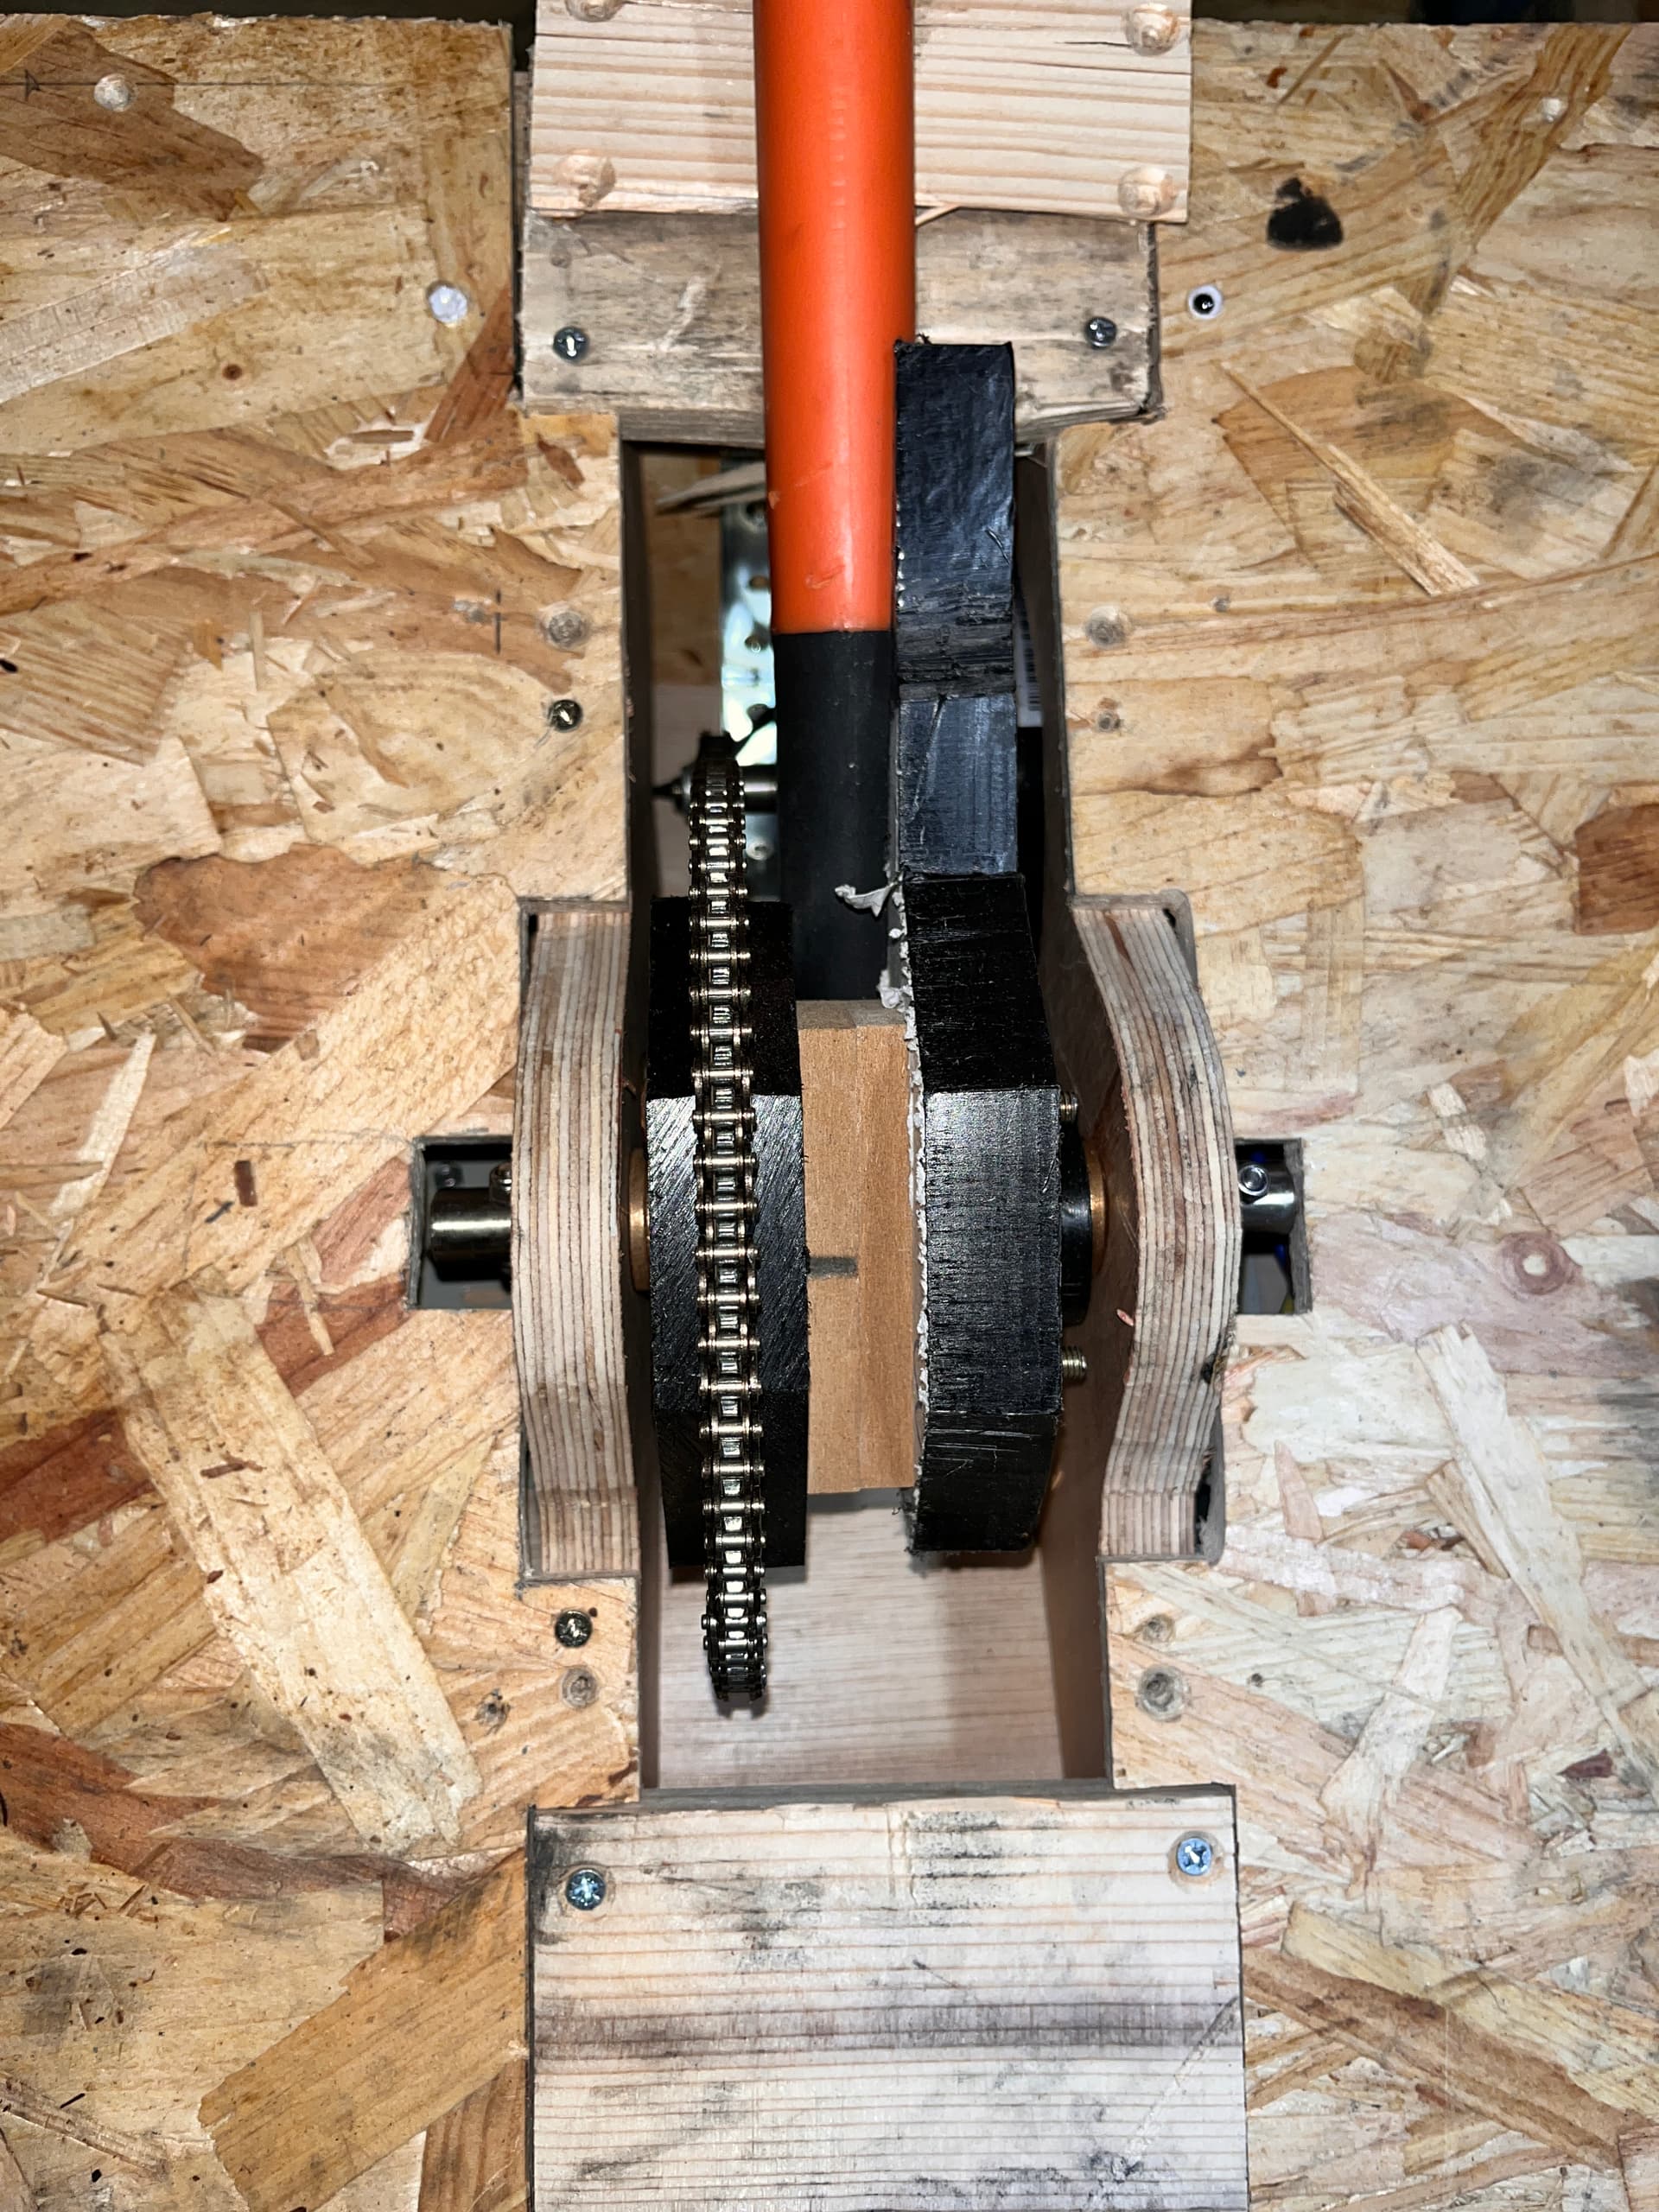
So day 1 ends with a weapon stack, the bulkheads for mounting it in the robot, and all the motors roughly placed. We wisely chose not to rush the mounting of the weapon motor after 12 hours of work, and left that for next time. But we knew where it was going
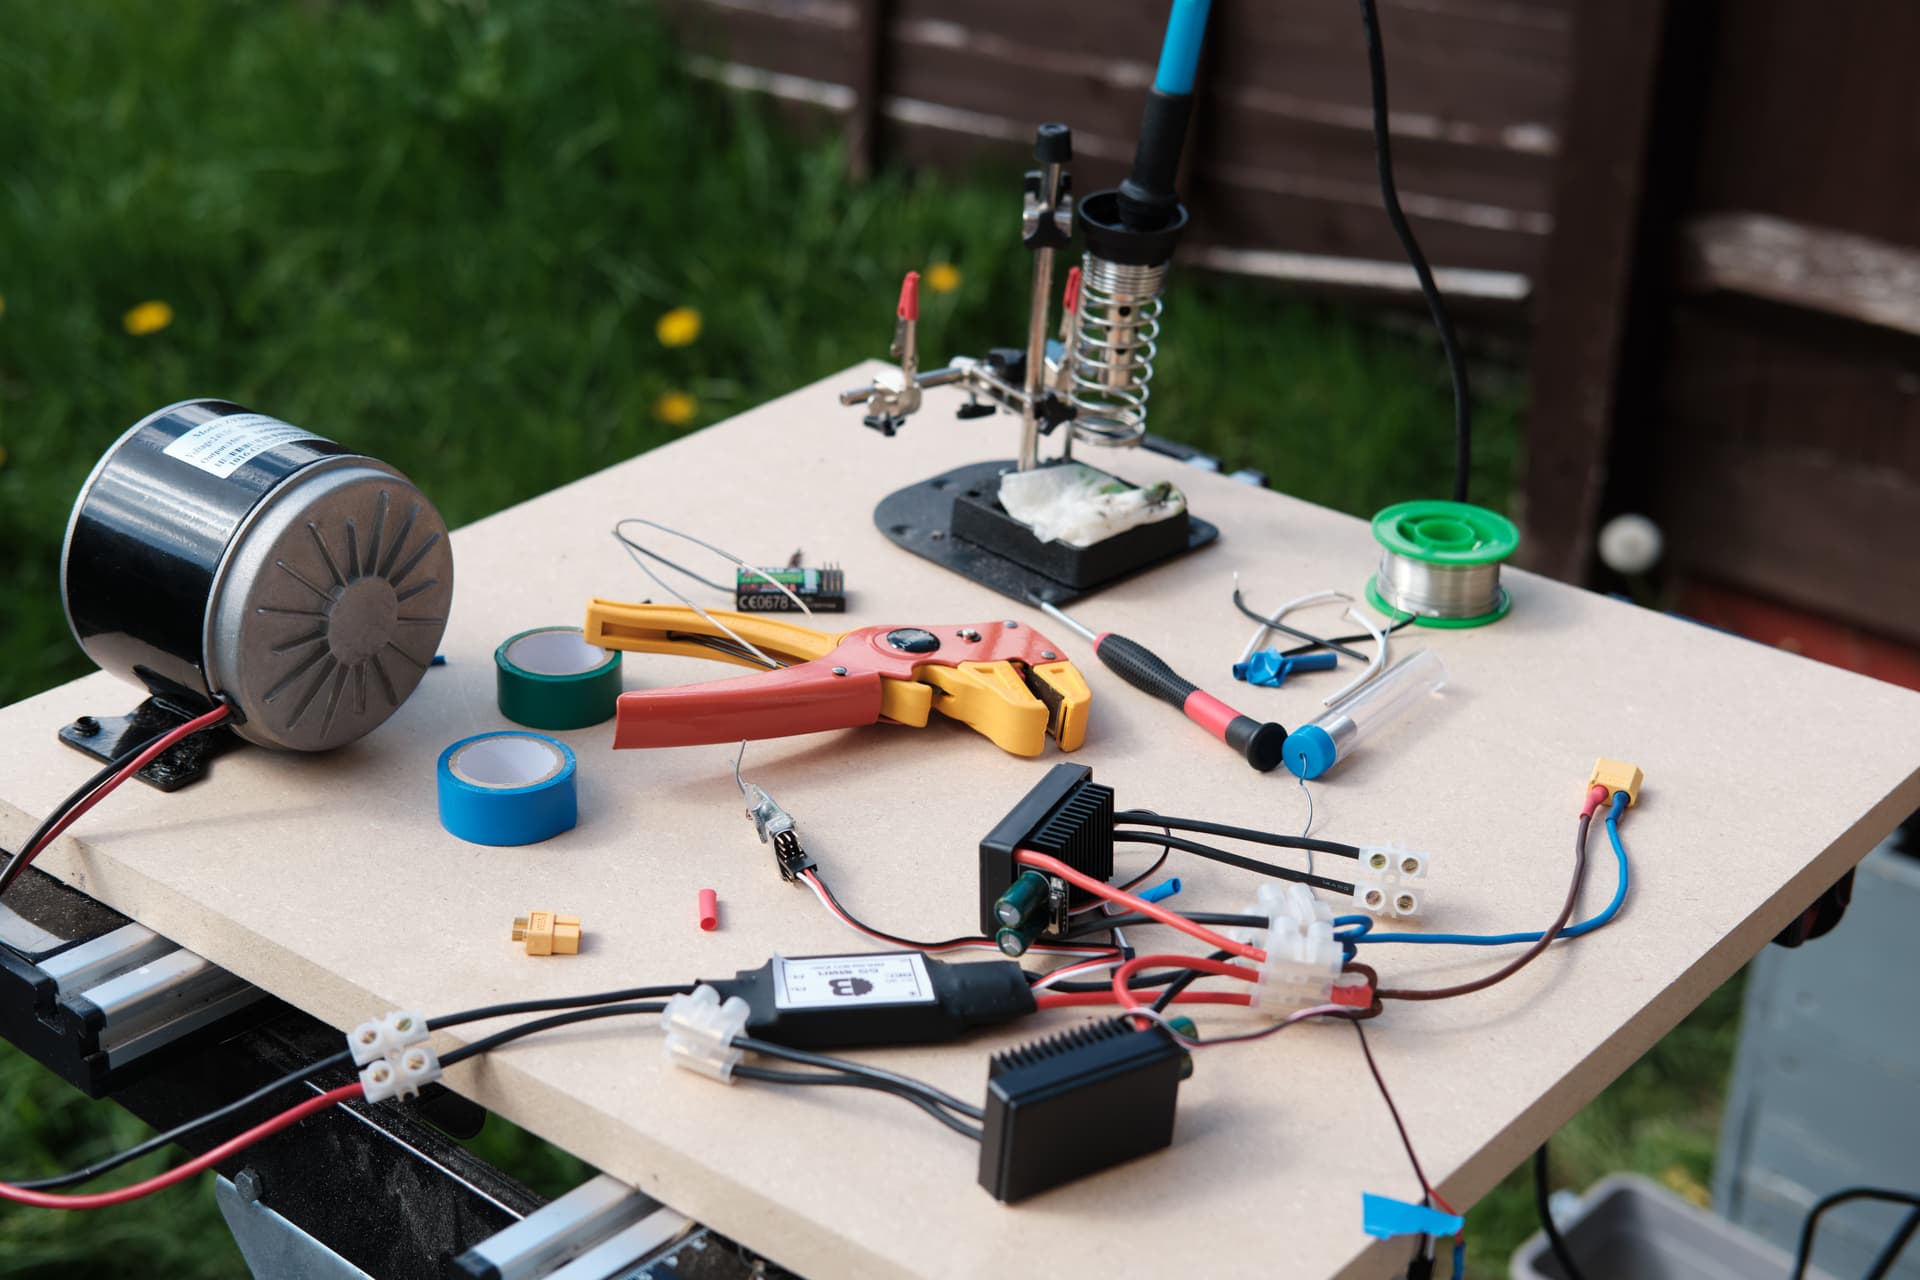
Build Day 2
Weeks have passed. Ryan and I commit to doing a better job of working in parallel.
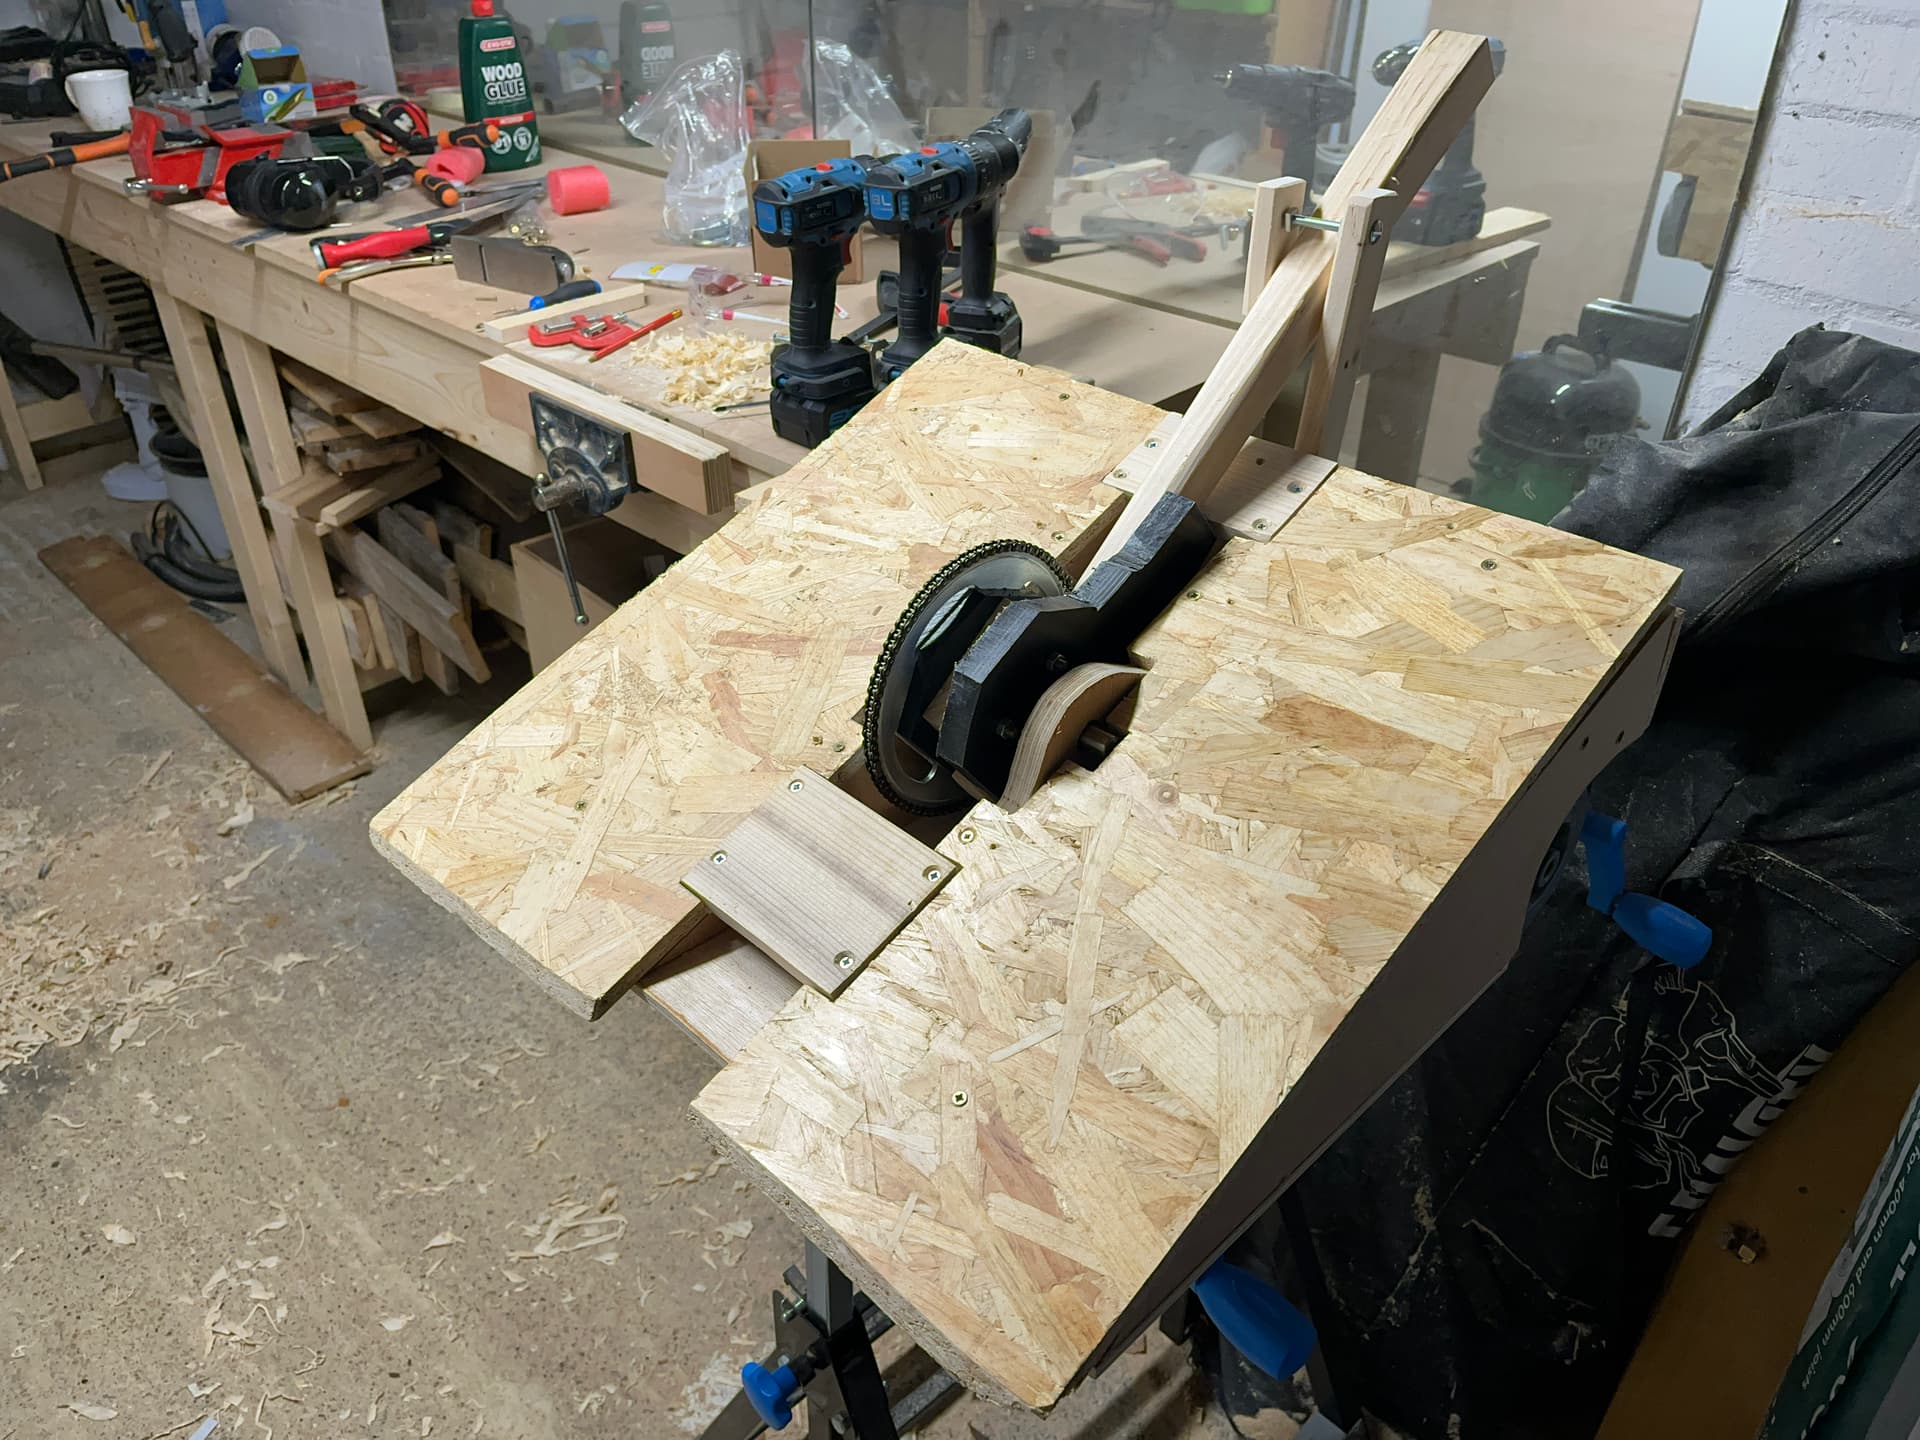
While I worked on the electronics, Ryan worked on the rest of the robot’s structure and armour.
We got to test fire the hammer towards the end of the day, and learned the perils of an overweight hammer head
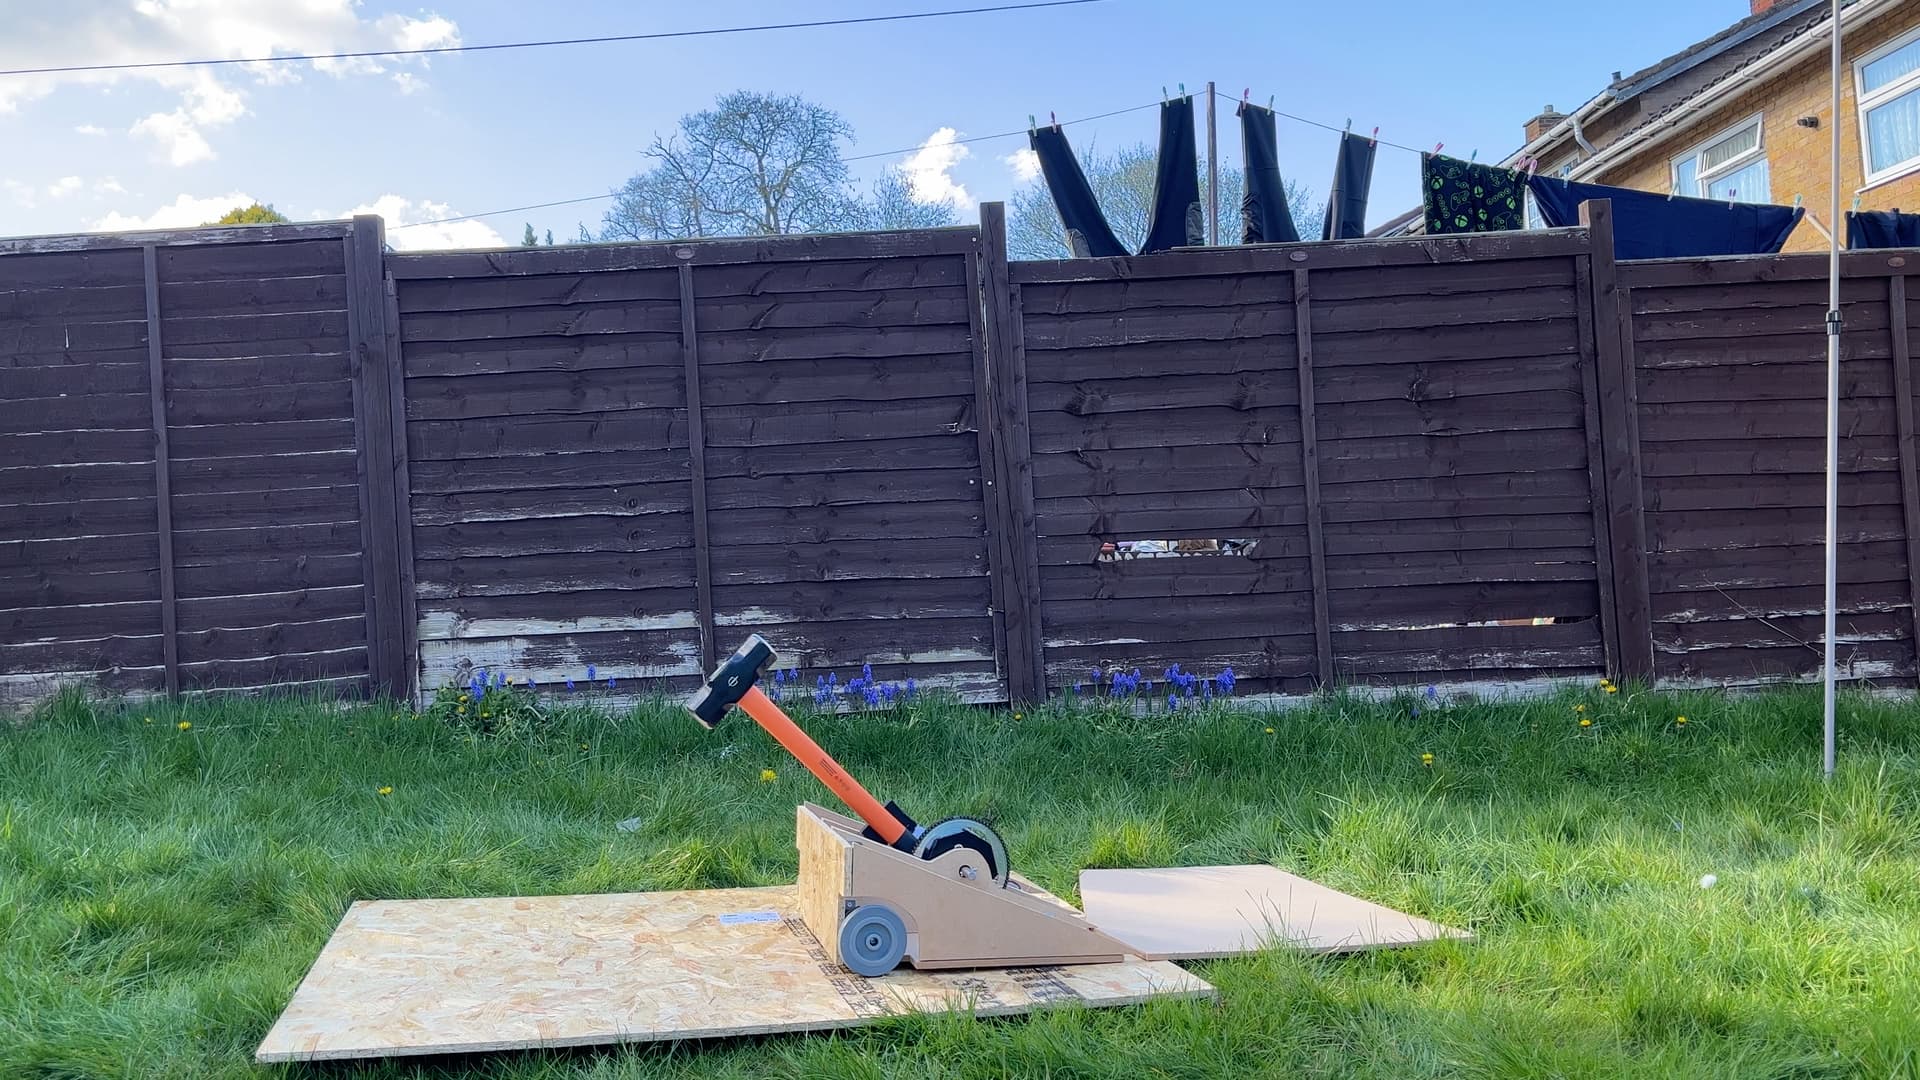
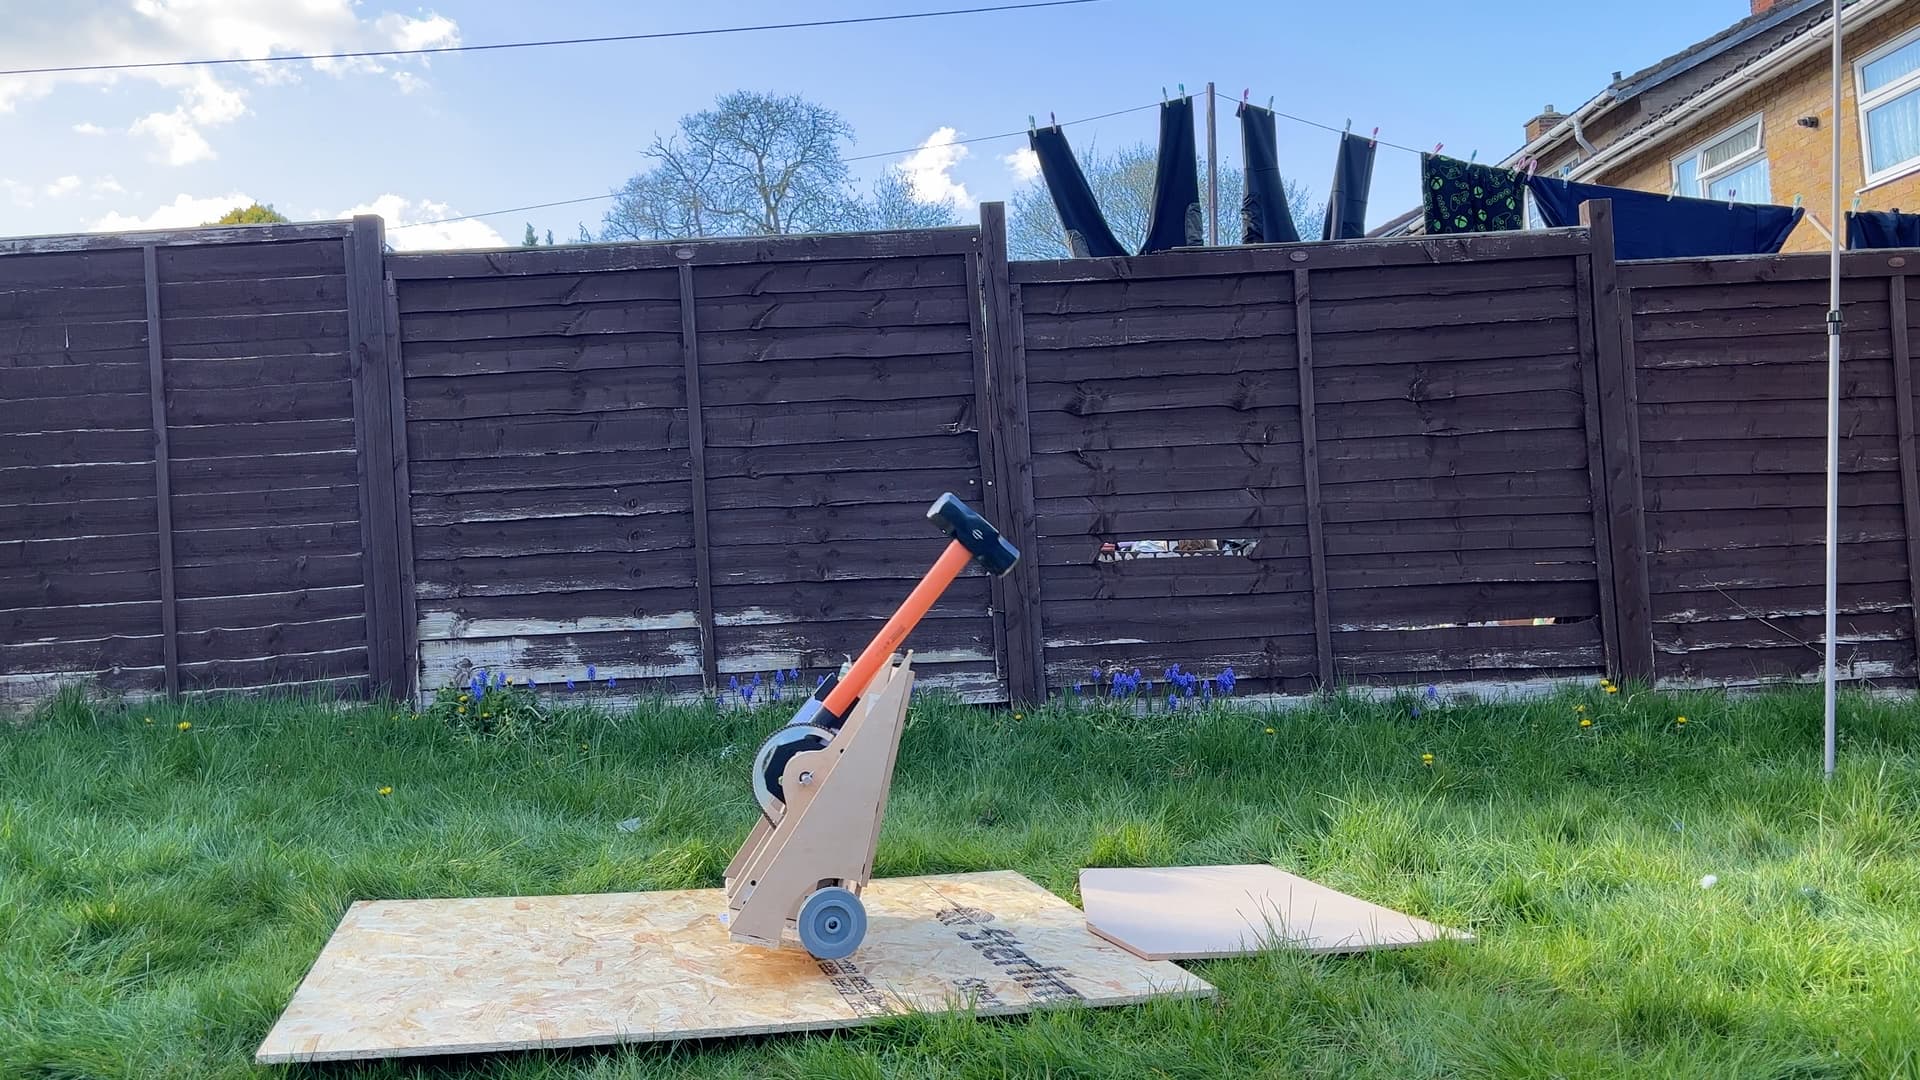
We also got some test driving in, and learned that it’s very hard to drive with the 7lb hammerhead. Maybe this isn’t such a good idea?
In any case, we finished the day with a broadly functional robot that I took home with me for finishing touches.
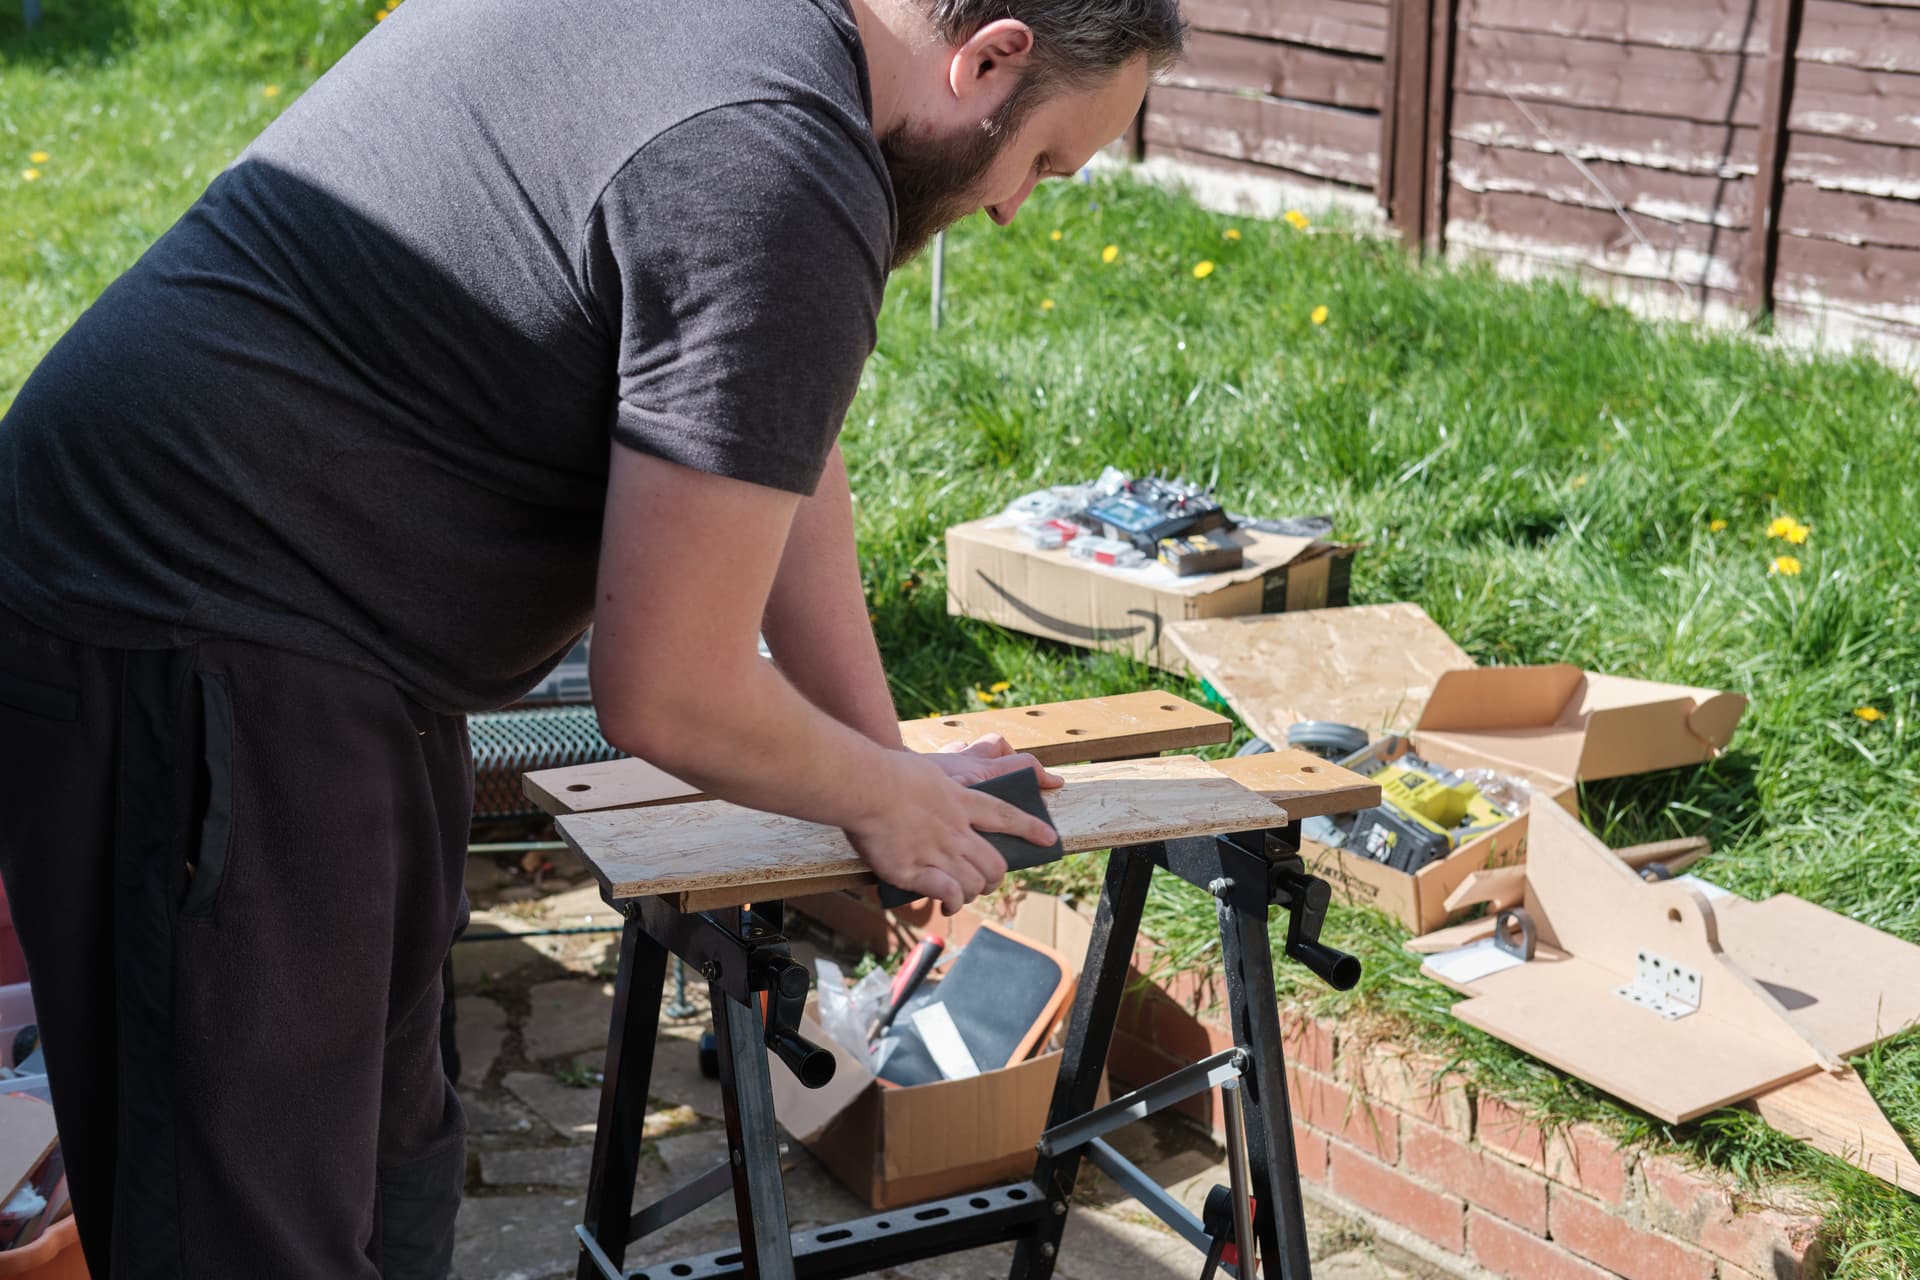
Finishing Touches
All that’s left now is minor tweaks. Mounting top armour, securing the electronics and battery down, re-making the baseplate and central bulkheads. Just the little things.
At this point we’re sure we can’t get the sledgehammer on, so I fasion an indestructible hammer shaft out of an offcut from my workbench.
The Event.
Except it’s a good event this time. Not a global catasrophe.
- Fight 1. The hammer broke. The indestructible shaft was destructed by the hard-stop on the back swing. The only thing strong enough to destroy it was itself.
- Fight 2. A battle for the ages. The robot performed admirably, then my competetive side took over and I pitted the opponent. Sorry.
- Fight 3. Possibly my favourite fight. I wisely avoided shaking all the screws loose in our robot, leaving the armour mounted by 2 screws. A well deserved win to Catastrophe.
- Fight 4. After a hasty re-mounting of the armour (probably more securely than when we started), we entered our first whiteboard of the day. Much fun was had, the hammer still works!
- Fight 5. I hand the controls to Ryan. A wheel fell of immediately. I’m sure these events aren’t related.
- Fight 6. Ryan’s still at the helm, and the other wheel falls of. Definitely not related.
The first wheel loss was the wheel falling off the hub. My only theory is that that motor got hot enough to soften the plastic around the wheel hub, and it couldn’t take it any more. The second wheel shattered. Neither loss is our fault. I blame Joe.
Content adapted from the Spinnerproof website.