Cortex Antweight (First Post)

Taps Mic is this thing on, first post here feel free to flame any mistakes you can see Im sure there wont be a shortage, after a little wedge bot i decided to take on my first tombstone replica which I have decided to name Cortex.


(Latest CAD View)

Initially I did go for a simple frame out of PLA and this did run but of course PLA is not ideal and the frame being one part took an insane amount of support material


(Humble beginnings for sure)

For mark II I have decided on nylon for the weapon frame and tpu 95A for the chassis I then added a switch location on the top frame

All internals bar the lipo have been purchased from BBB and Im pleased to say they work wonderfully so far only problem is my lack of soldering prowess.

Thats it so far if anyone has actually bothered reading thank you!!! and as ive said already any suggestions are certainly welcome

2 Likes

Hi David, welcome to the forum!

Thats looking good for a second bot! I look forward to seeing it in the arena

I do have a few suggestions, just to save you from learning these things the hard way:

  • Your weapon frame looks quite thin. You might find it flexes on impact and so that your weapon hits your chassis. You do have a fair bit of clearance though, so it might be fine.
  • It looks like you’re using solid wire for your electronics, which is prone to snapping when the bot gets shaken about. Stranded wire is much more robust
  • If you drill a hole either side of the motors and loop a cable tie over them it holds them in place nicely
  • I’d recommend insulating your electronics more thoroughly. I’ve lost count of the times I’ve had an ant break due to a short circuit

Have fun building!

3 Likes

Thanks for the feedback TB!

Will certainly take these points into account especially the electronic points my heart has been broken many a time already this should be one heck of a journey

Been a few days and progress has been made (let me know if updates like these aren’t worthy of a post btw).

First I have committed plagiarism and tried a TPU hub as the ones from the shop are great but I wanted to save some weight and they slide in way easier I do know its unconventional so let me know if this is a big no no.

Brass heart threads have been added to the frames and chassis and 2 m3 screws should do the trick fingers crossed time will tell.

I redid the whole circuit with splayed wires and its a godsend in terms of durability as well as heat shrinking the splits and my malenki

Motor hubs have also been made and they should do the job with some hot glue on the underside of the base although future versions will be fixed via screw.

Lastly to get a feel for my weapon motors performance ive printed a PLA++ brick of a bar weighing 22g, of course not the final design.

Once again feel free to roast me and thanks to TBExtent from saving me pulling my hair out over re-soldering.

3 Likes

So its been a while and there has been a decent chunk of progress on cortex. Overall I am quite pleased with the results thus far for my first spinner

To start since last time I have remade the chassis to be a bit shorter otherwise the ground clearance wouldn’t suffice for the wheels which are now powered by N10’s which are quite zippy and nice to control.

Next is improvements on the weapon frame as I one purchased a filament dryer which has worked a treat for my nylon frames which are also now 100% infill rather than 20% to reduce vibrations from the weapon which at this point were extreme at 40% we were doing donuts. A slight modification was made to the bottom frame to prevent screws contacting the floor thus reducing the gyroscopic shenanigans further.

Its also worth noting i shortened the weapon frame and this weapon in exchange for a more modular approach to weapon selection, as pictured with this weapon hub which spun our now 100% infill pla+ bar although Ive yet to weapon harden my motor

Through weapon testing (behind a polycarb shield mind you ) I did manage to throw an old prototype chassis approx 2 meters and split others in two mind you these were all pla+ when it came to tpu no such luck no matter what i tried in terms of actual damage although Ive a potential ace up my sleeve in the future.

Rather important to note we did have a tombstone vs bite force moment as well um… brass inserts were certainly needed

Future improvements for this project include an anti tpu bar and dedicated switch location and a locking bar of course for when i eventually get to the uk (it will happen one day i swear)

If you have made it this far thanks for reading and once again comments on the rights and wrongs are hugely appreciated, next on the list after this a homage to my favorite uk bot who may or may not be a front hinge 2 wheel cheese looking flipper

TPU hubs aren’t all that unusual, just bear in mind that with the materials ability to stretch you might find the motors slip in the dholes under heavy loads.

Undersize the D holes and/or stick a dab of super glue on your shafts :+1:

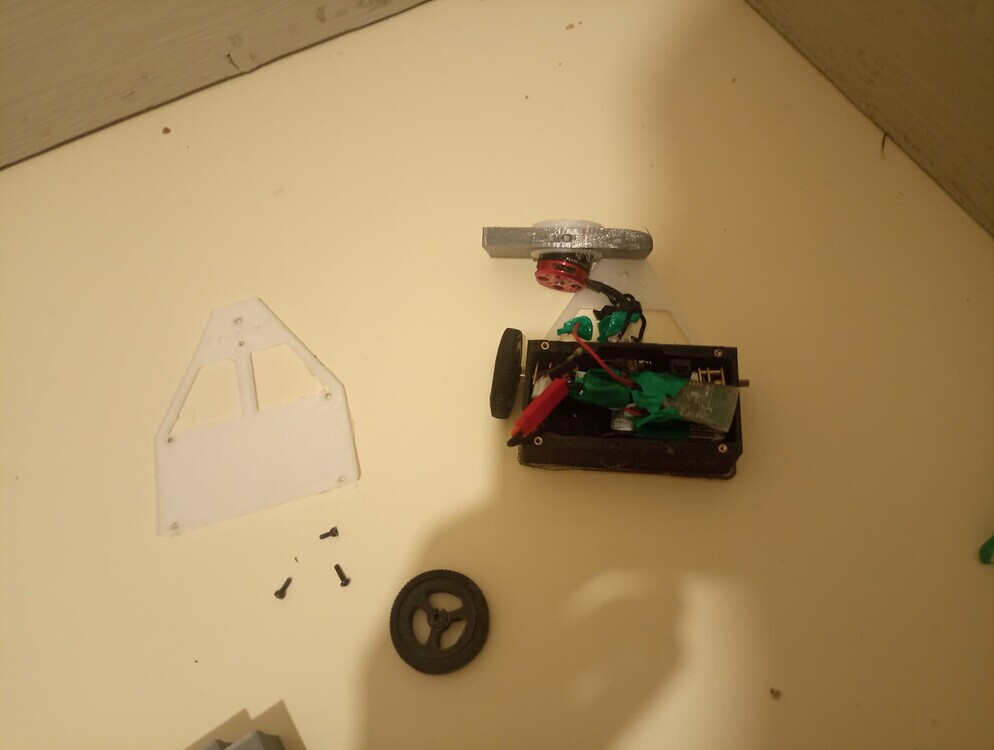
Been a while and with the summer coming and a year of college behind me I’m looking at this robot and cringing extremely hard.

So yesterday instead of studying for exams (energy systems is so boring omds), I gave a makeover to my first rather sad attempt of a robot.

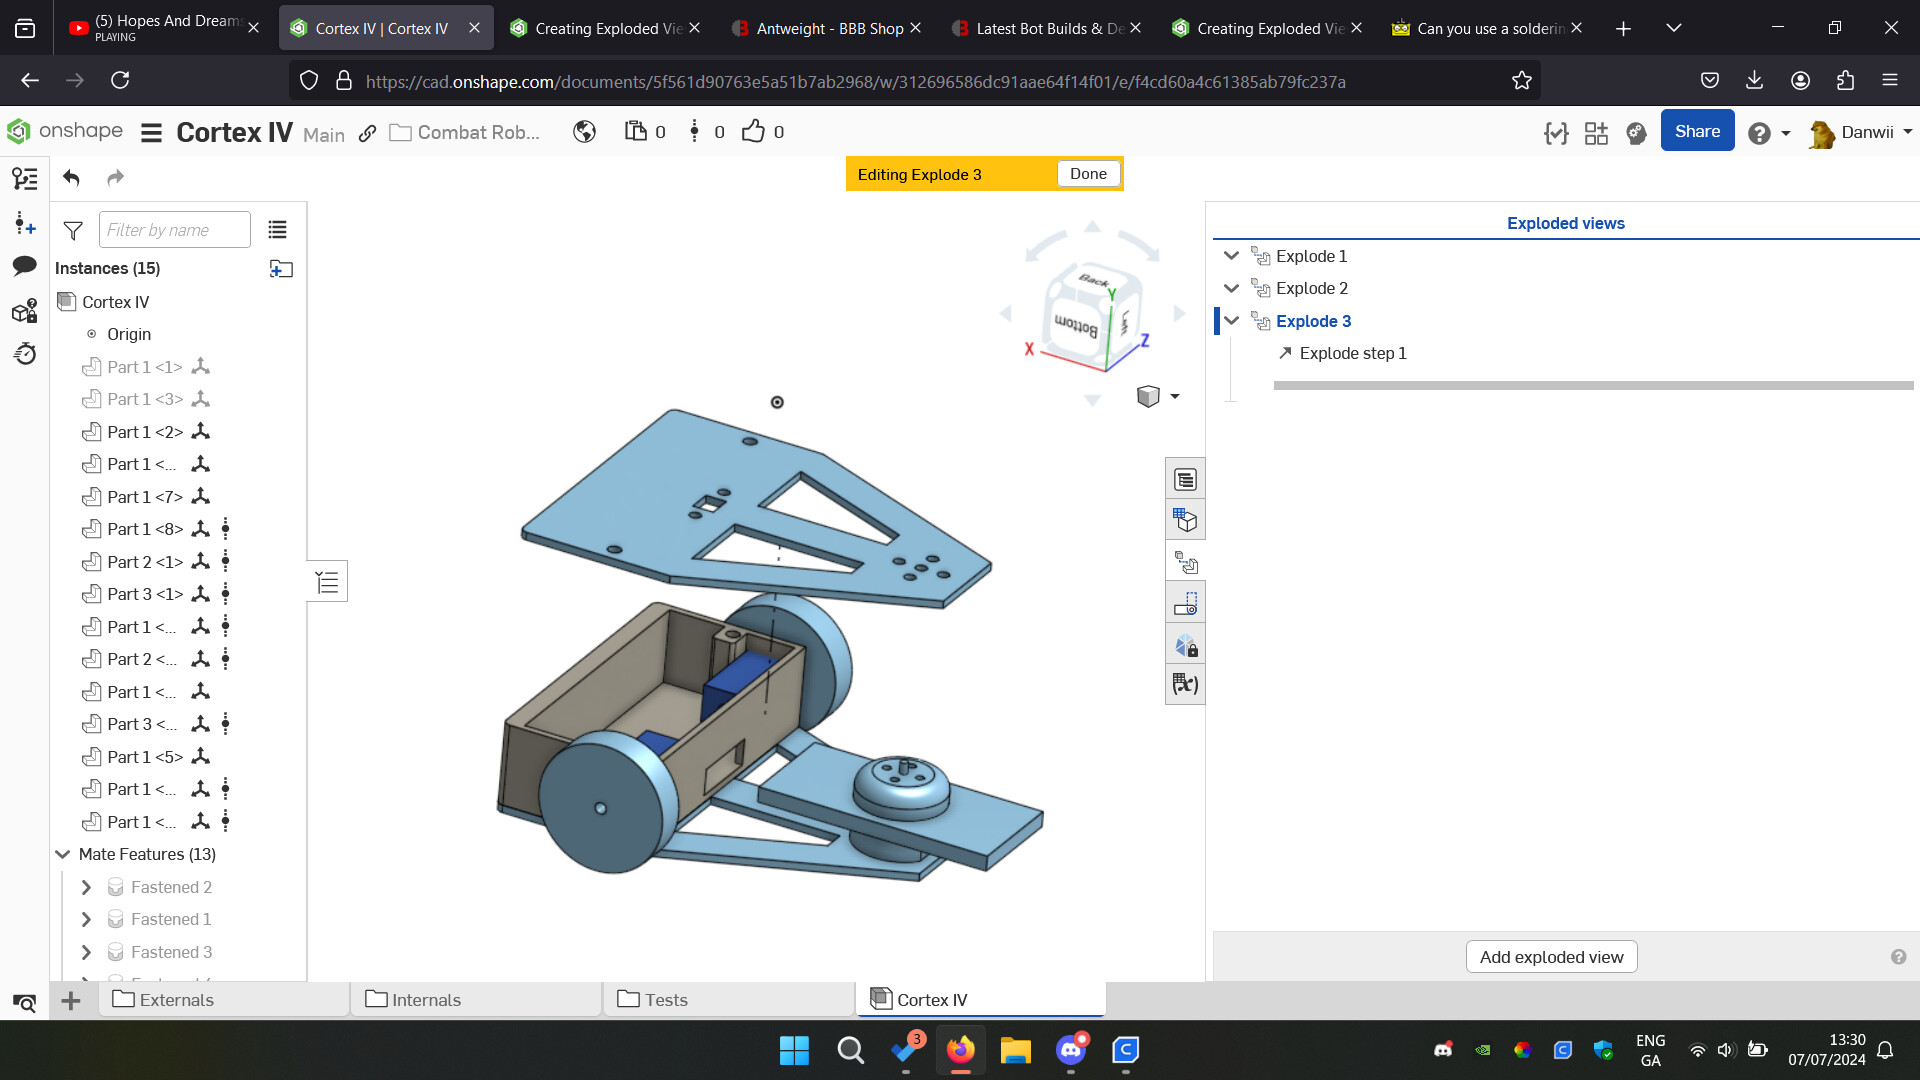
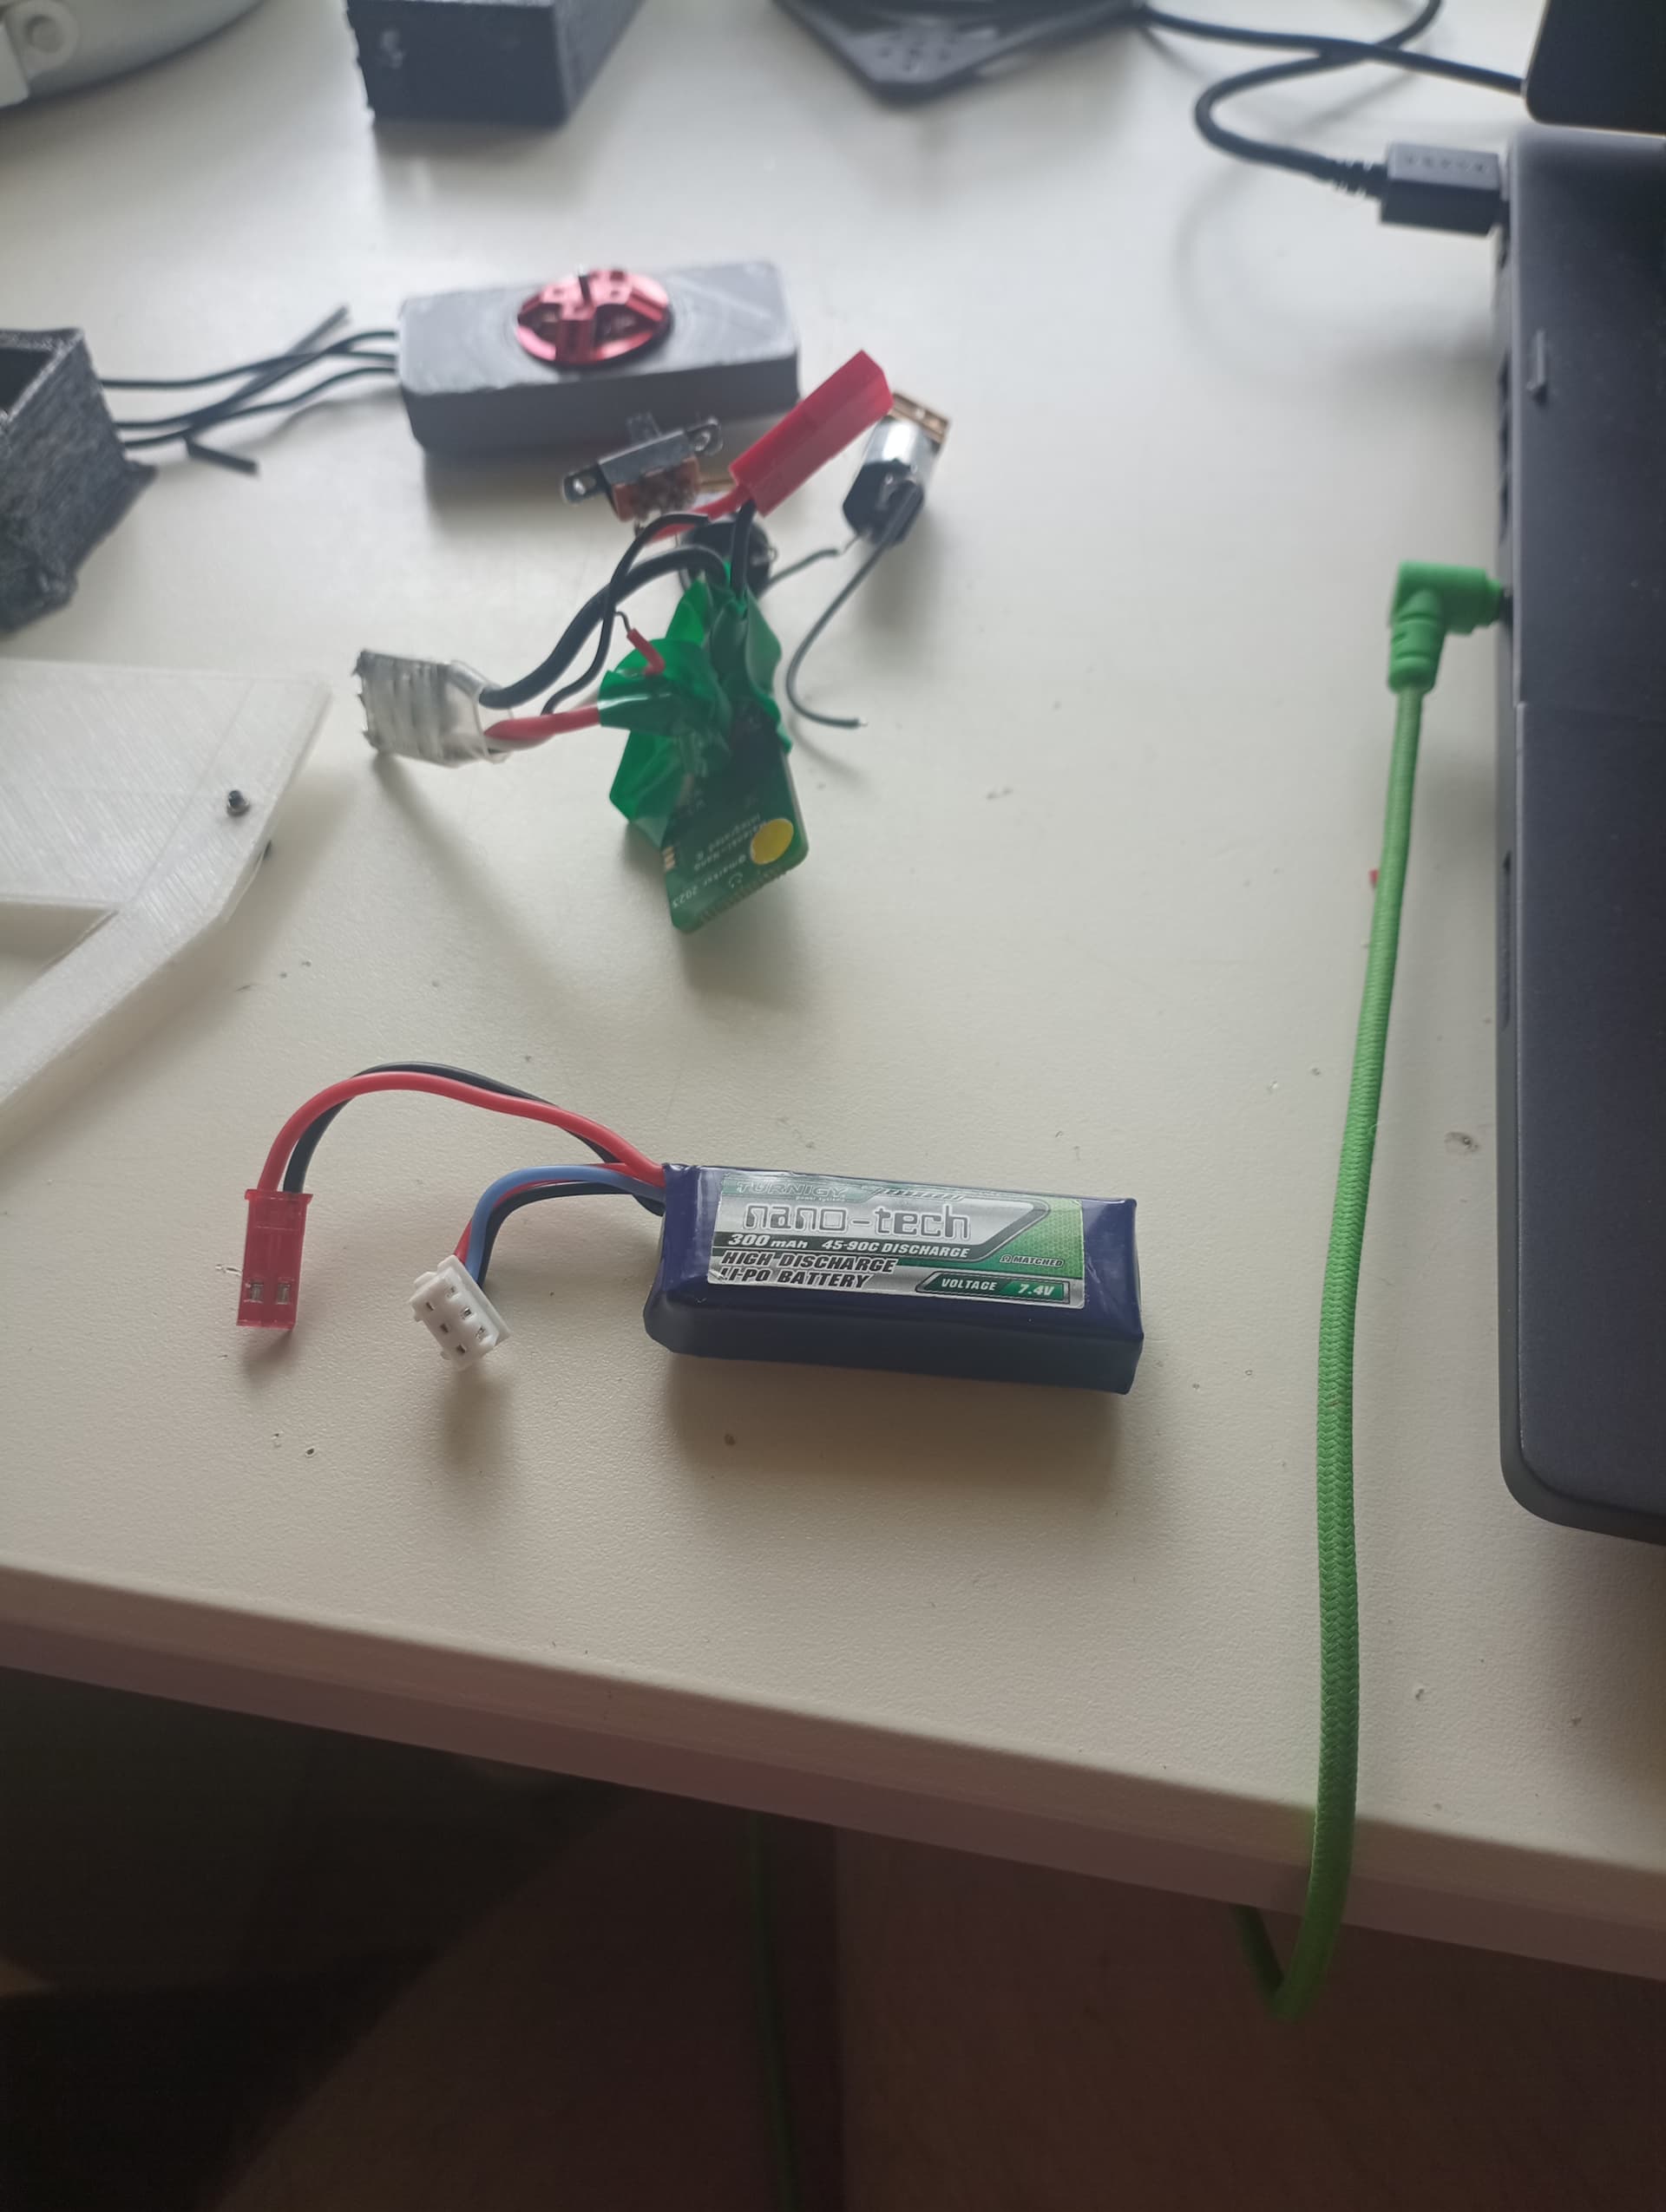
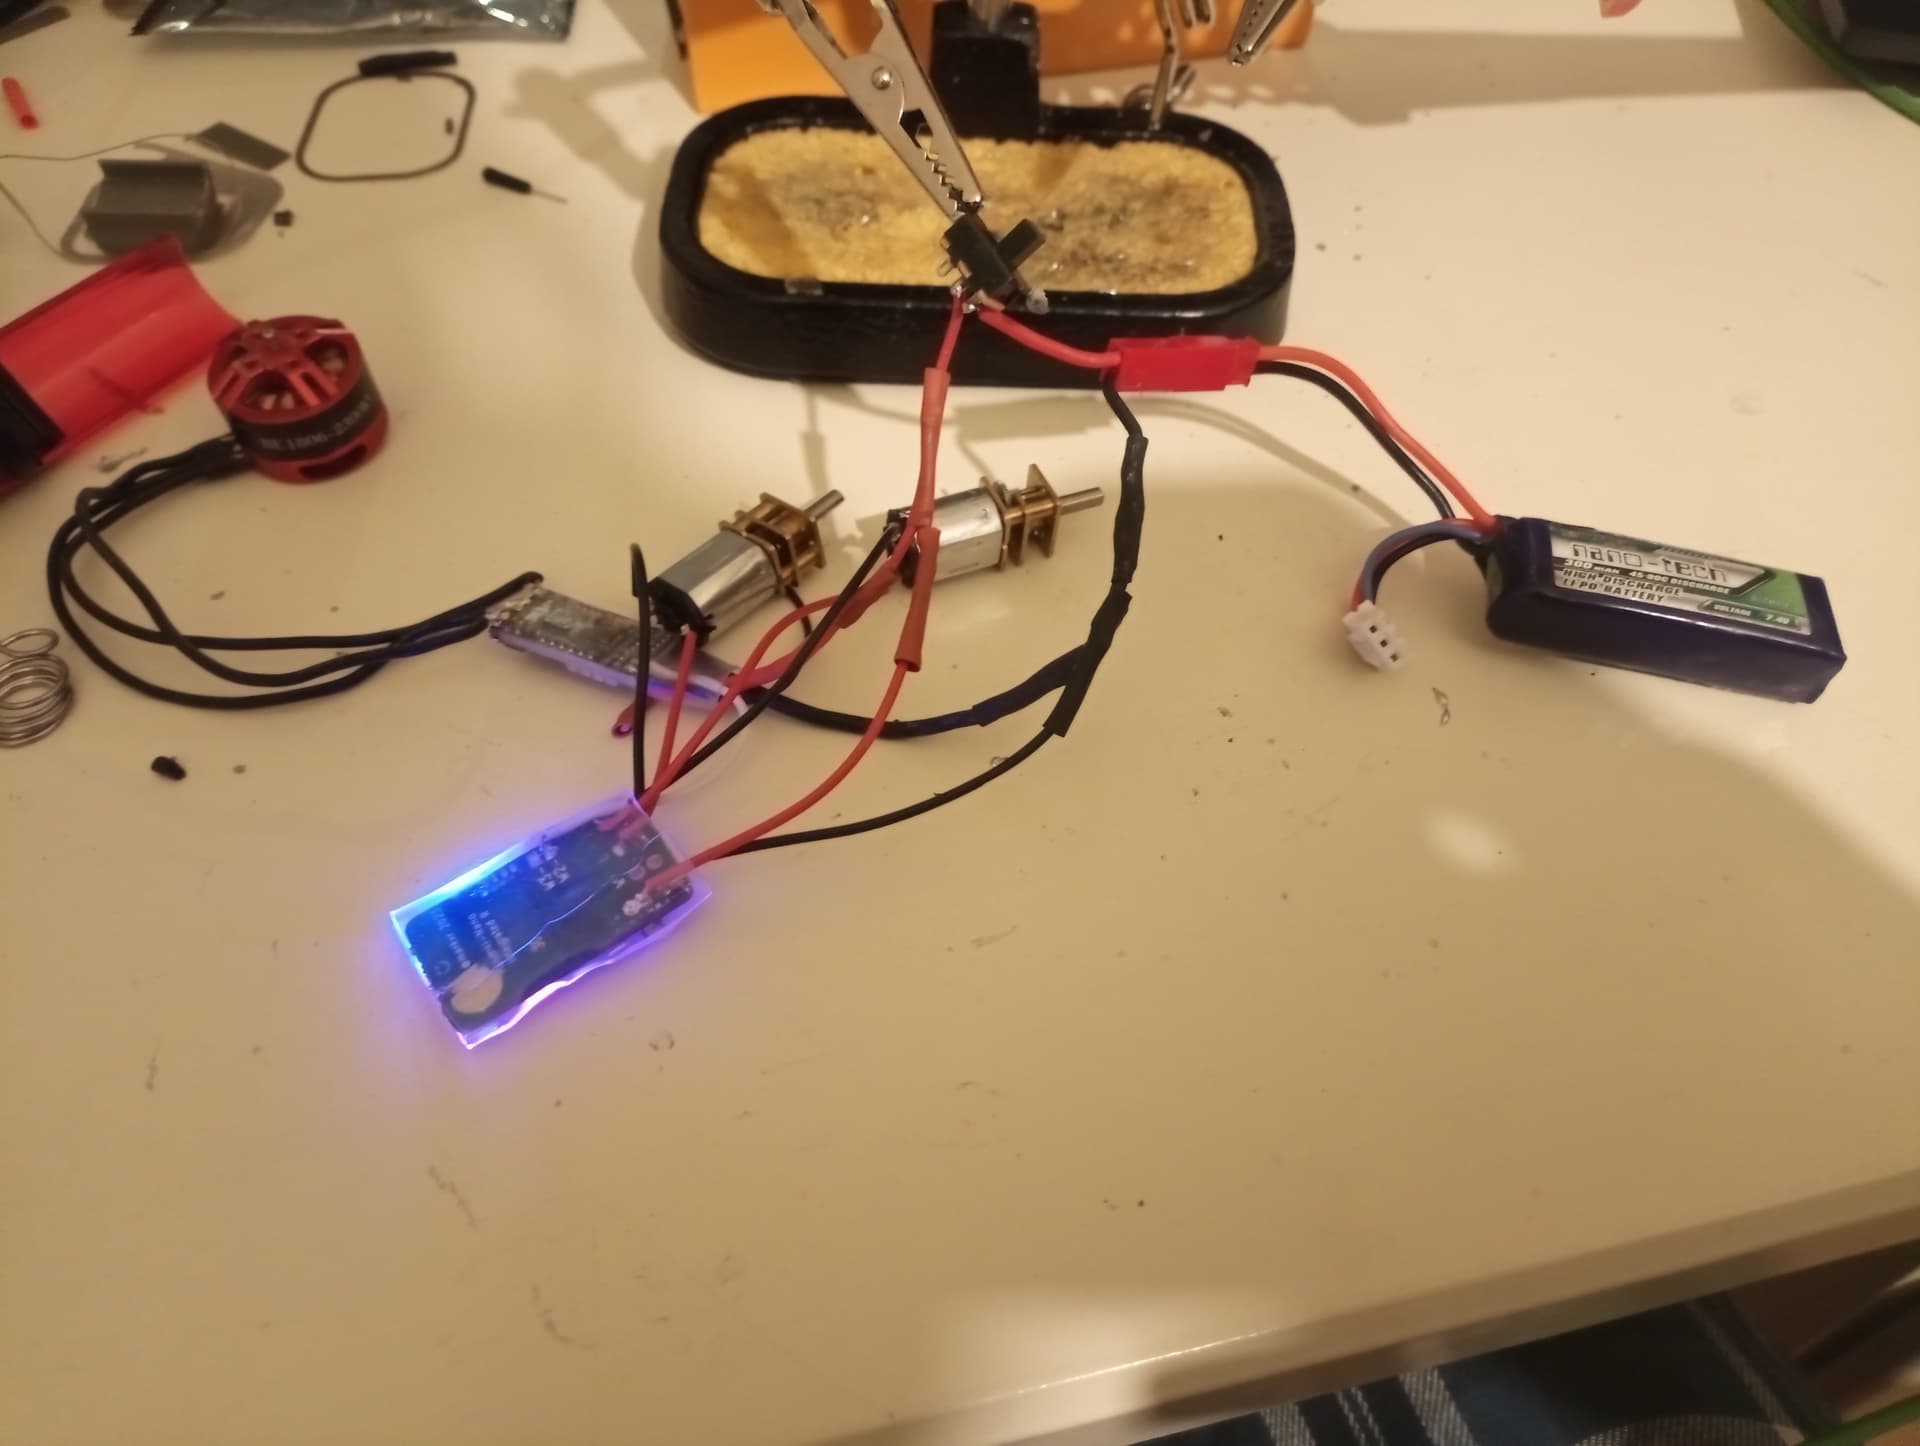
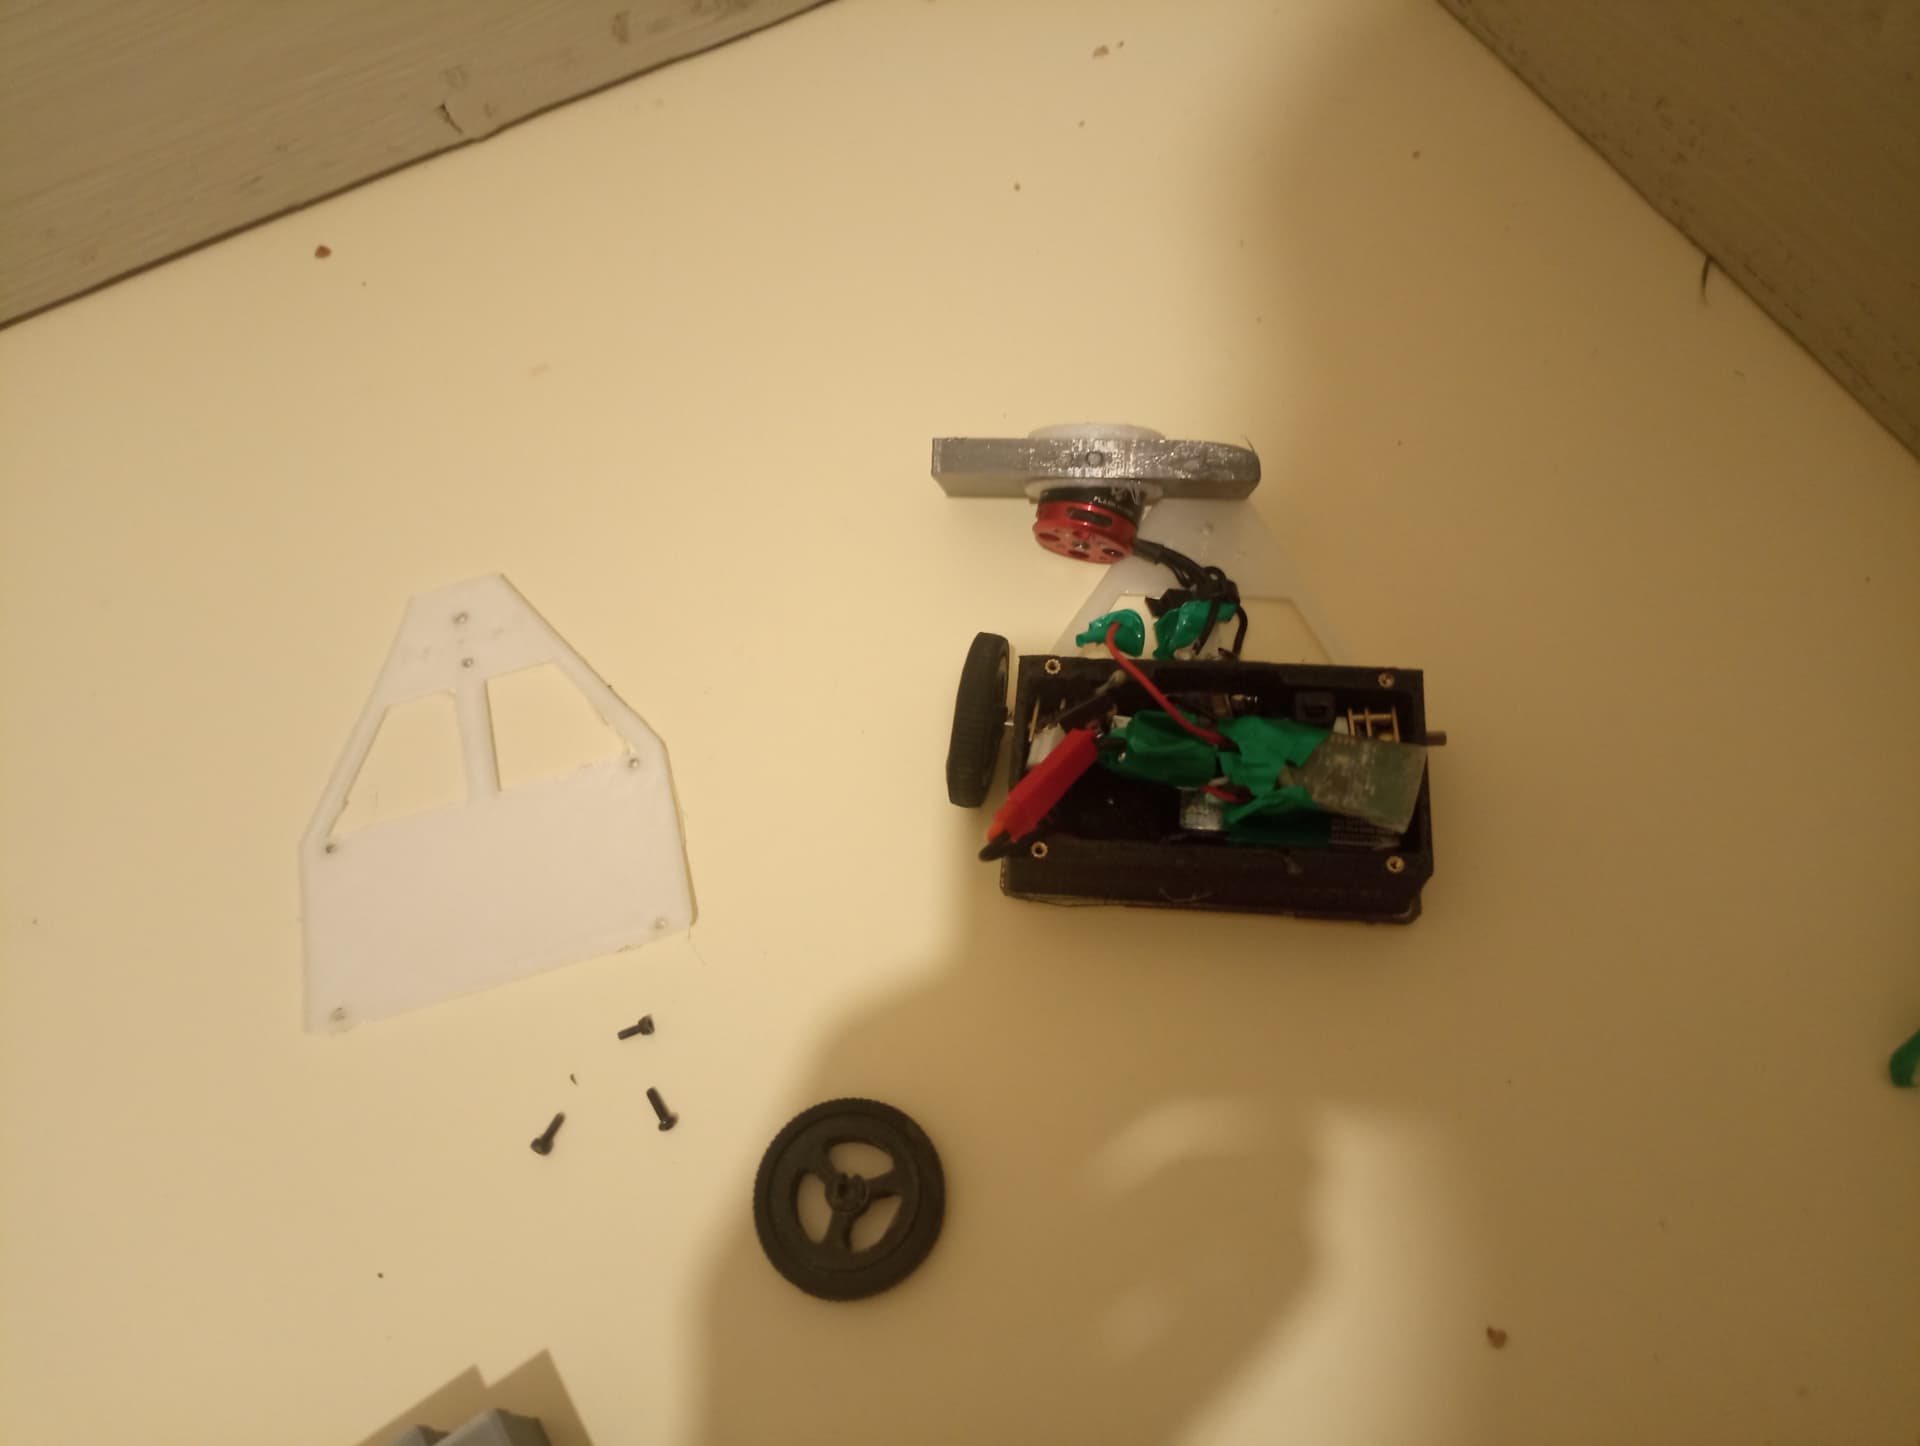
I’m keeping the hardware basically the same bar changing the battery from 300mah to 350mah and a fresh weapon motor as I burnt the other in a separate project from this. However there are a good few fresh aspects and lessons learned to this new version of Cortex.

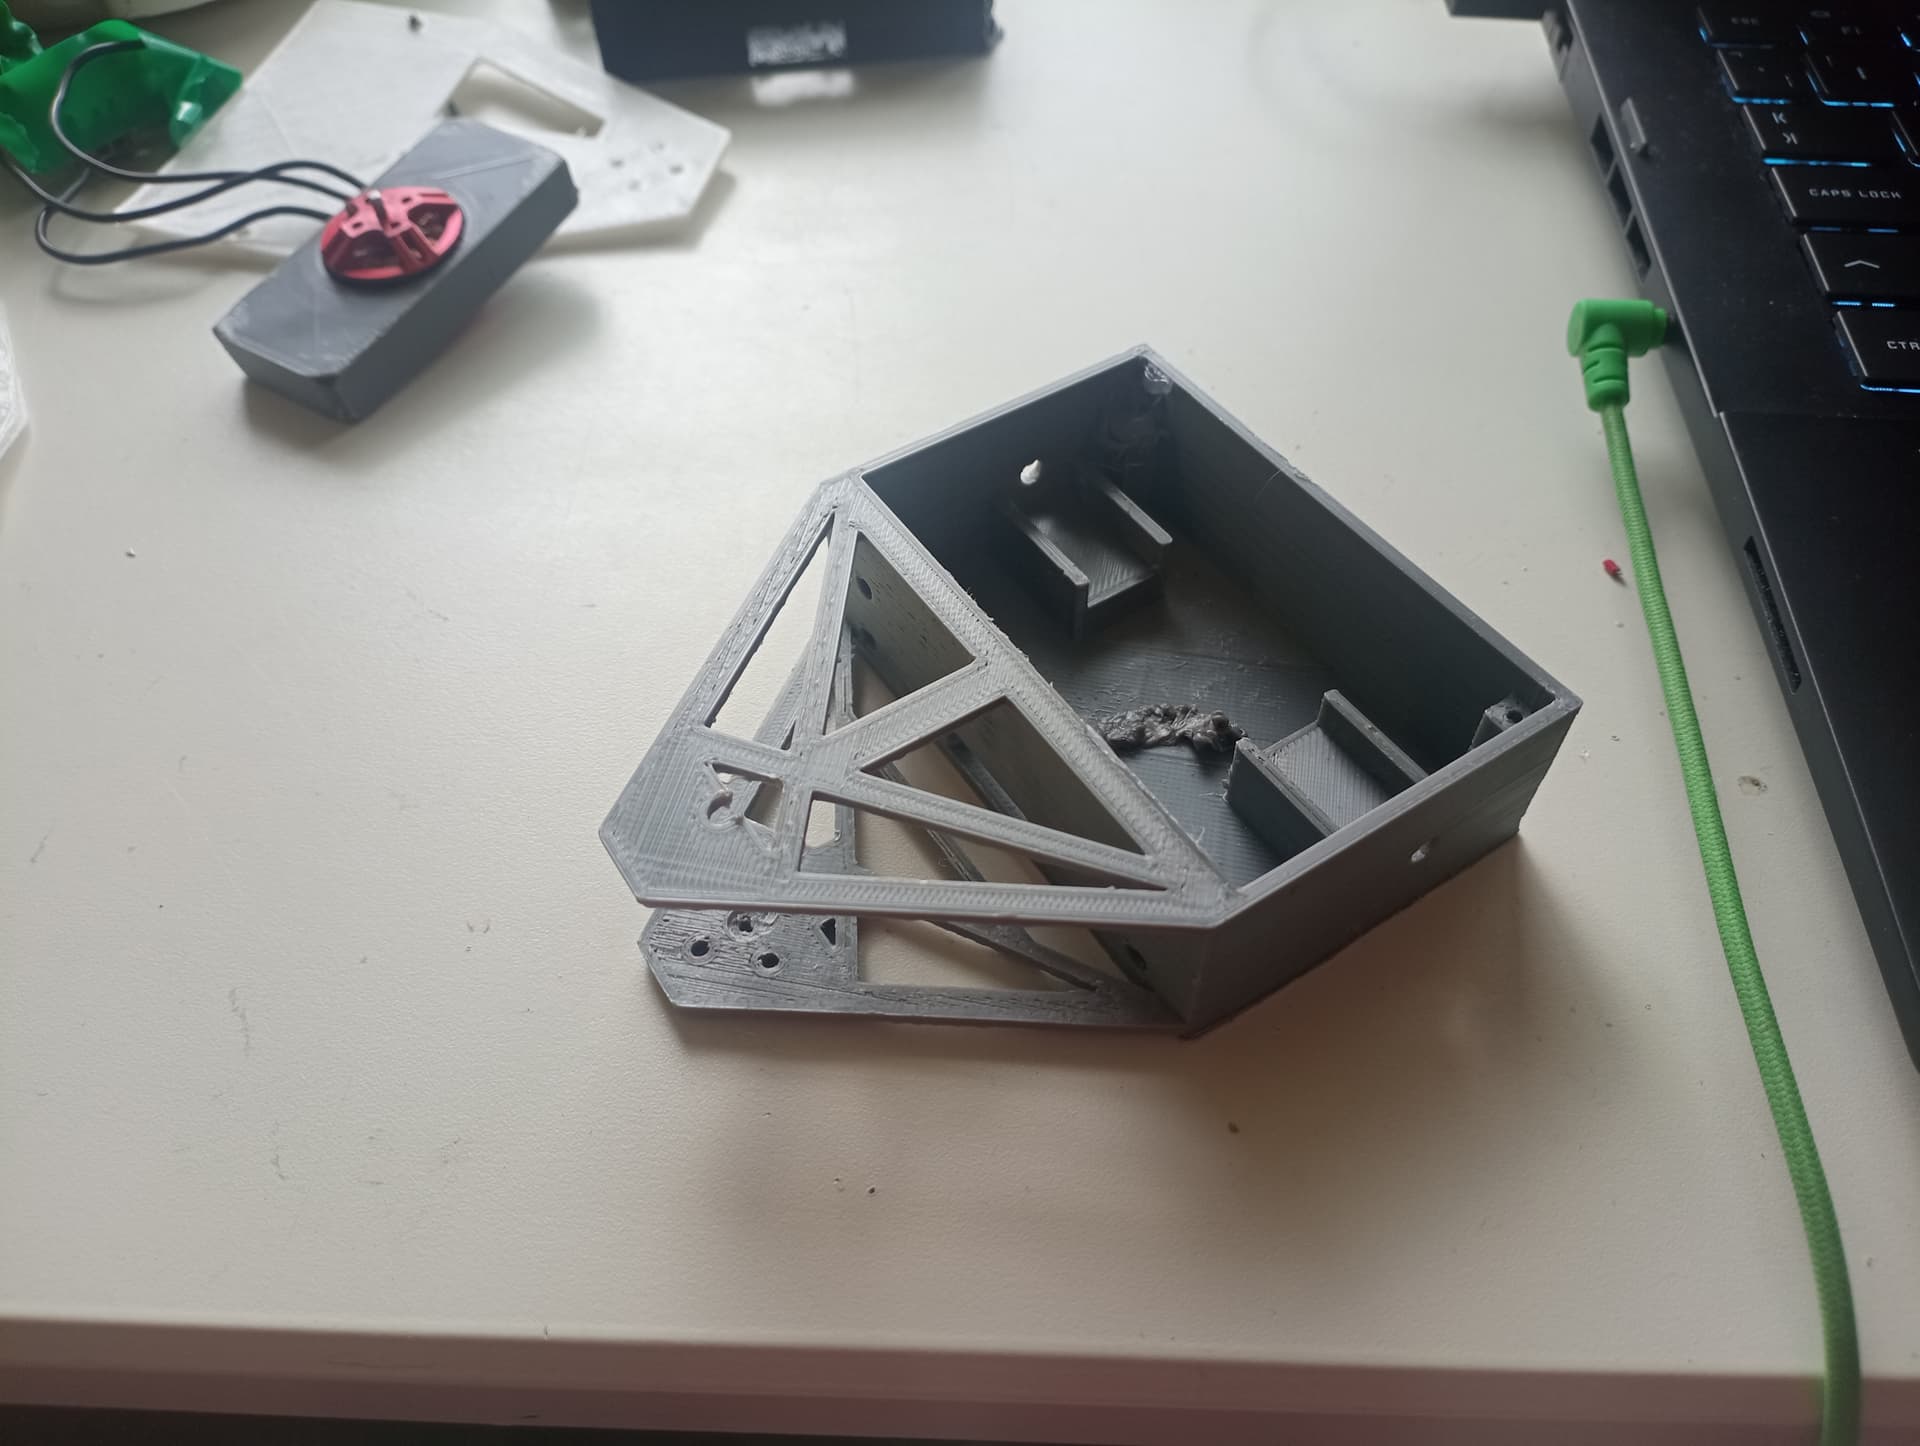
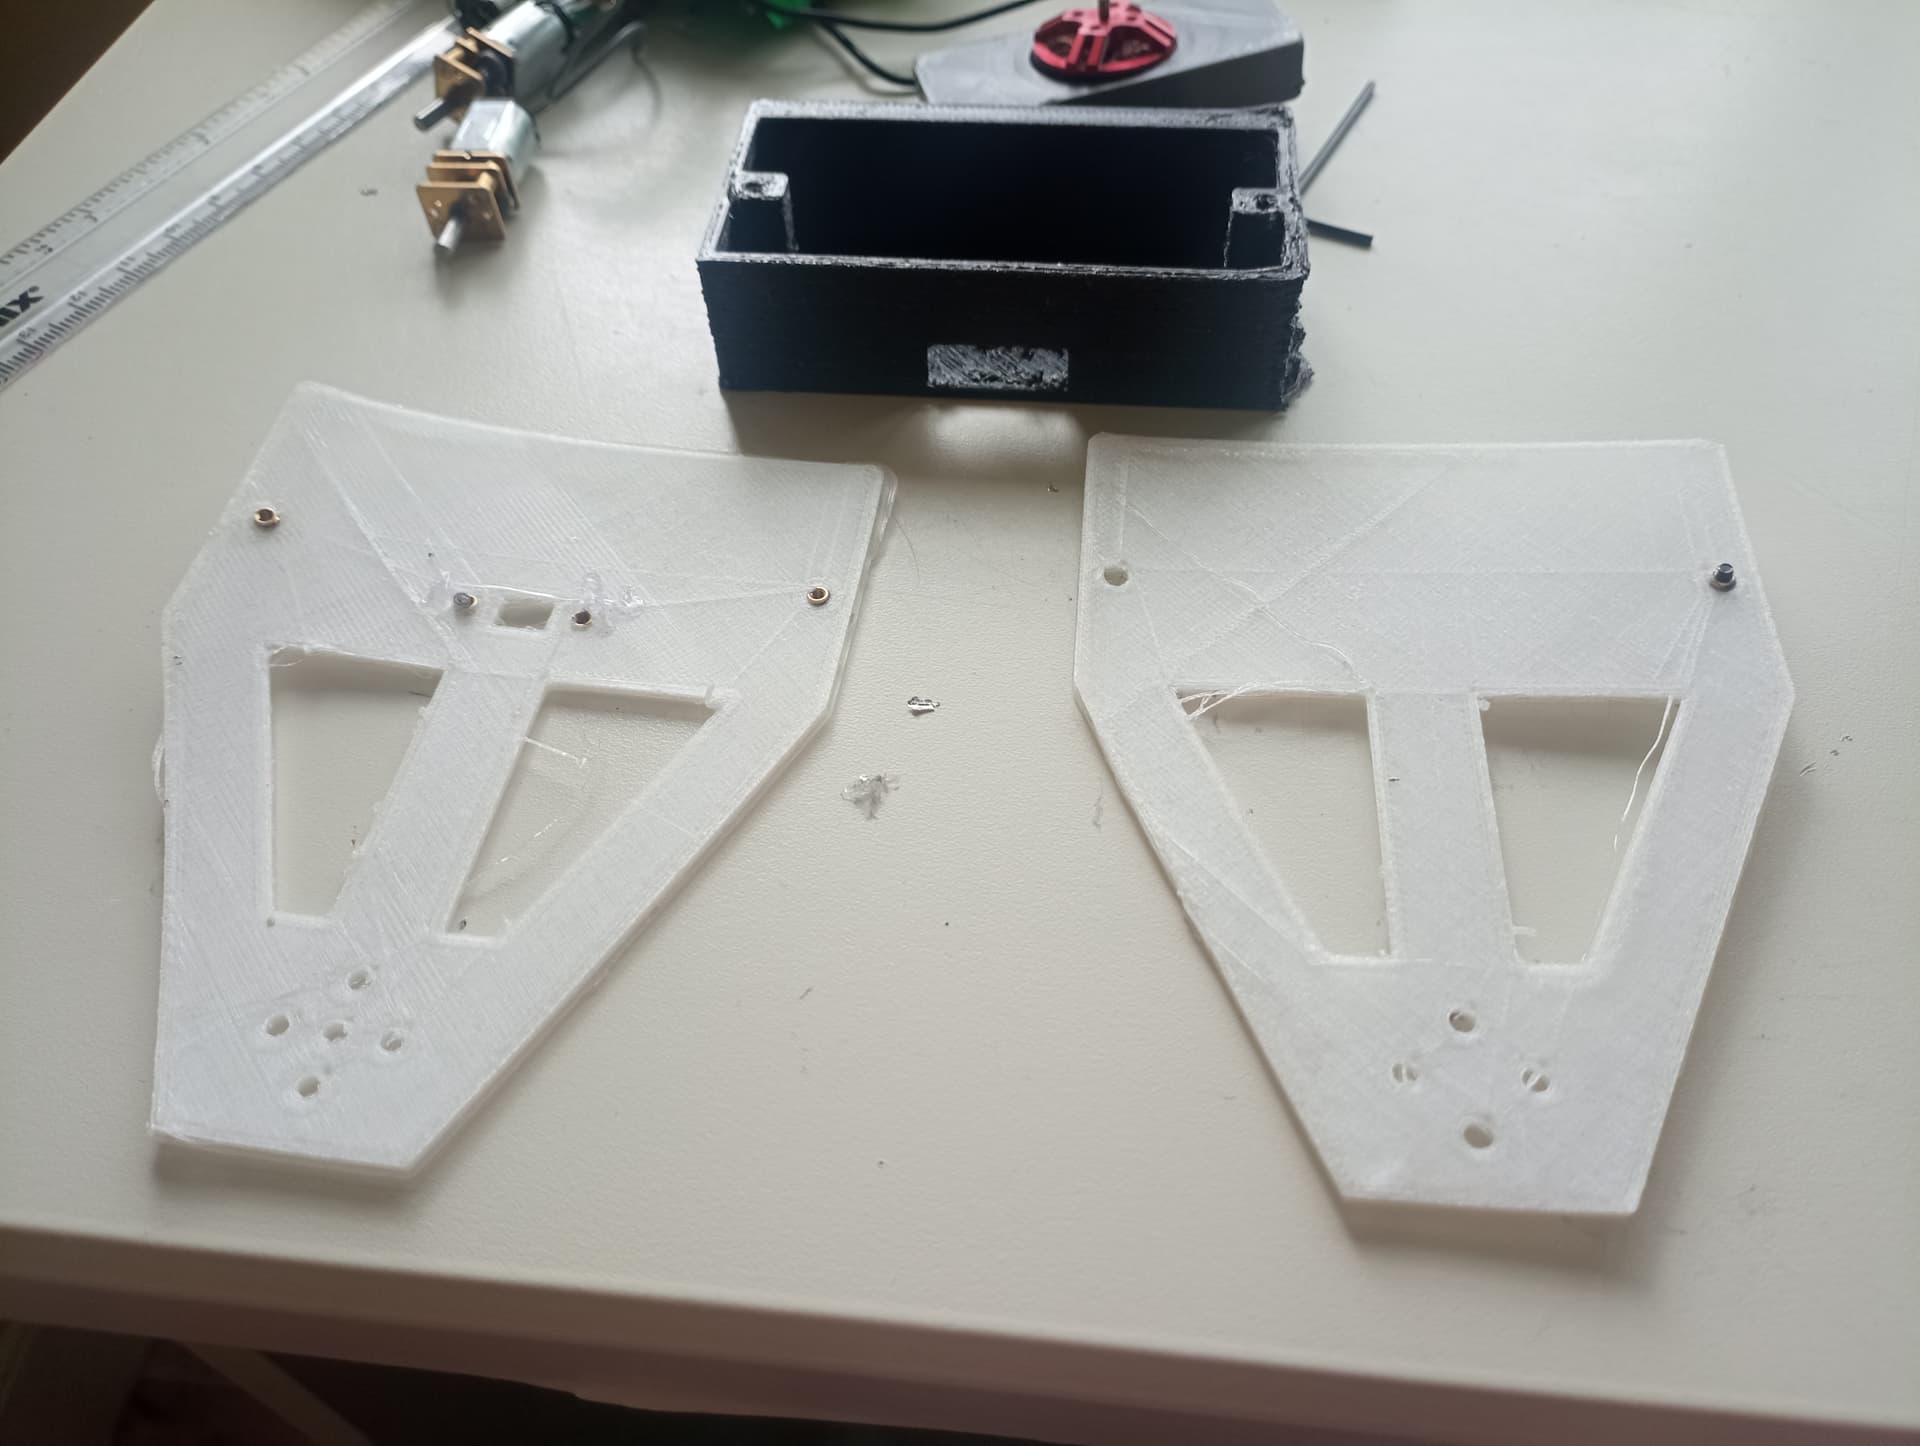
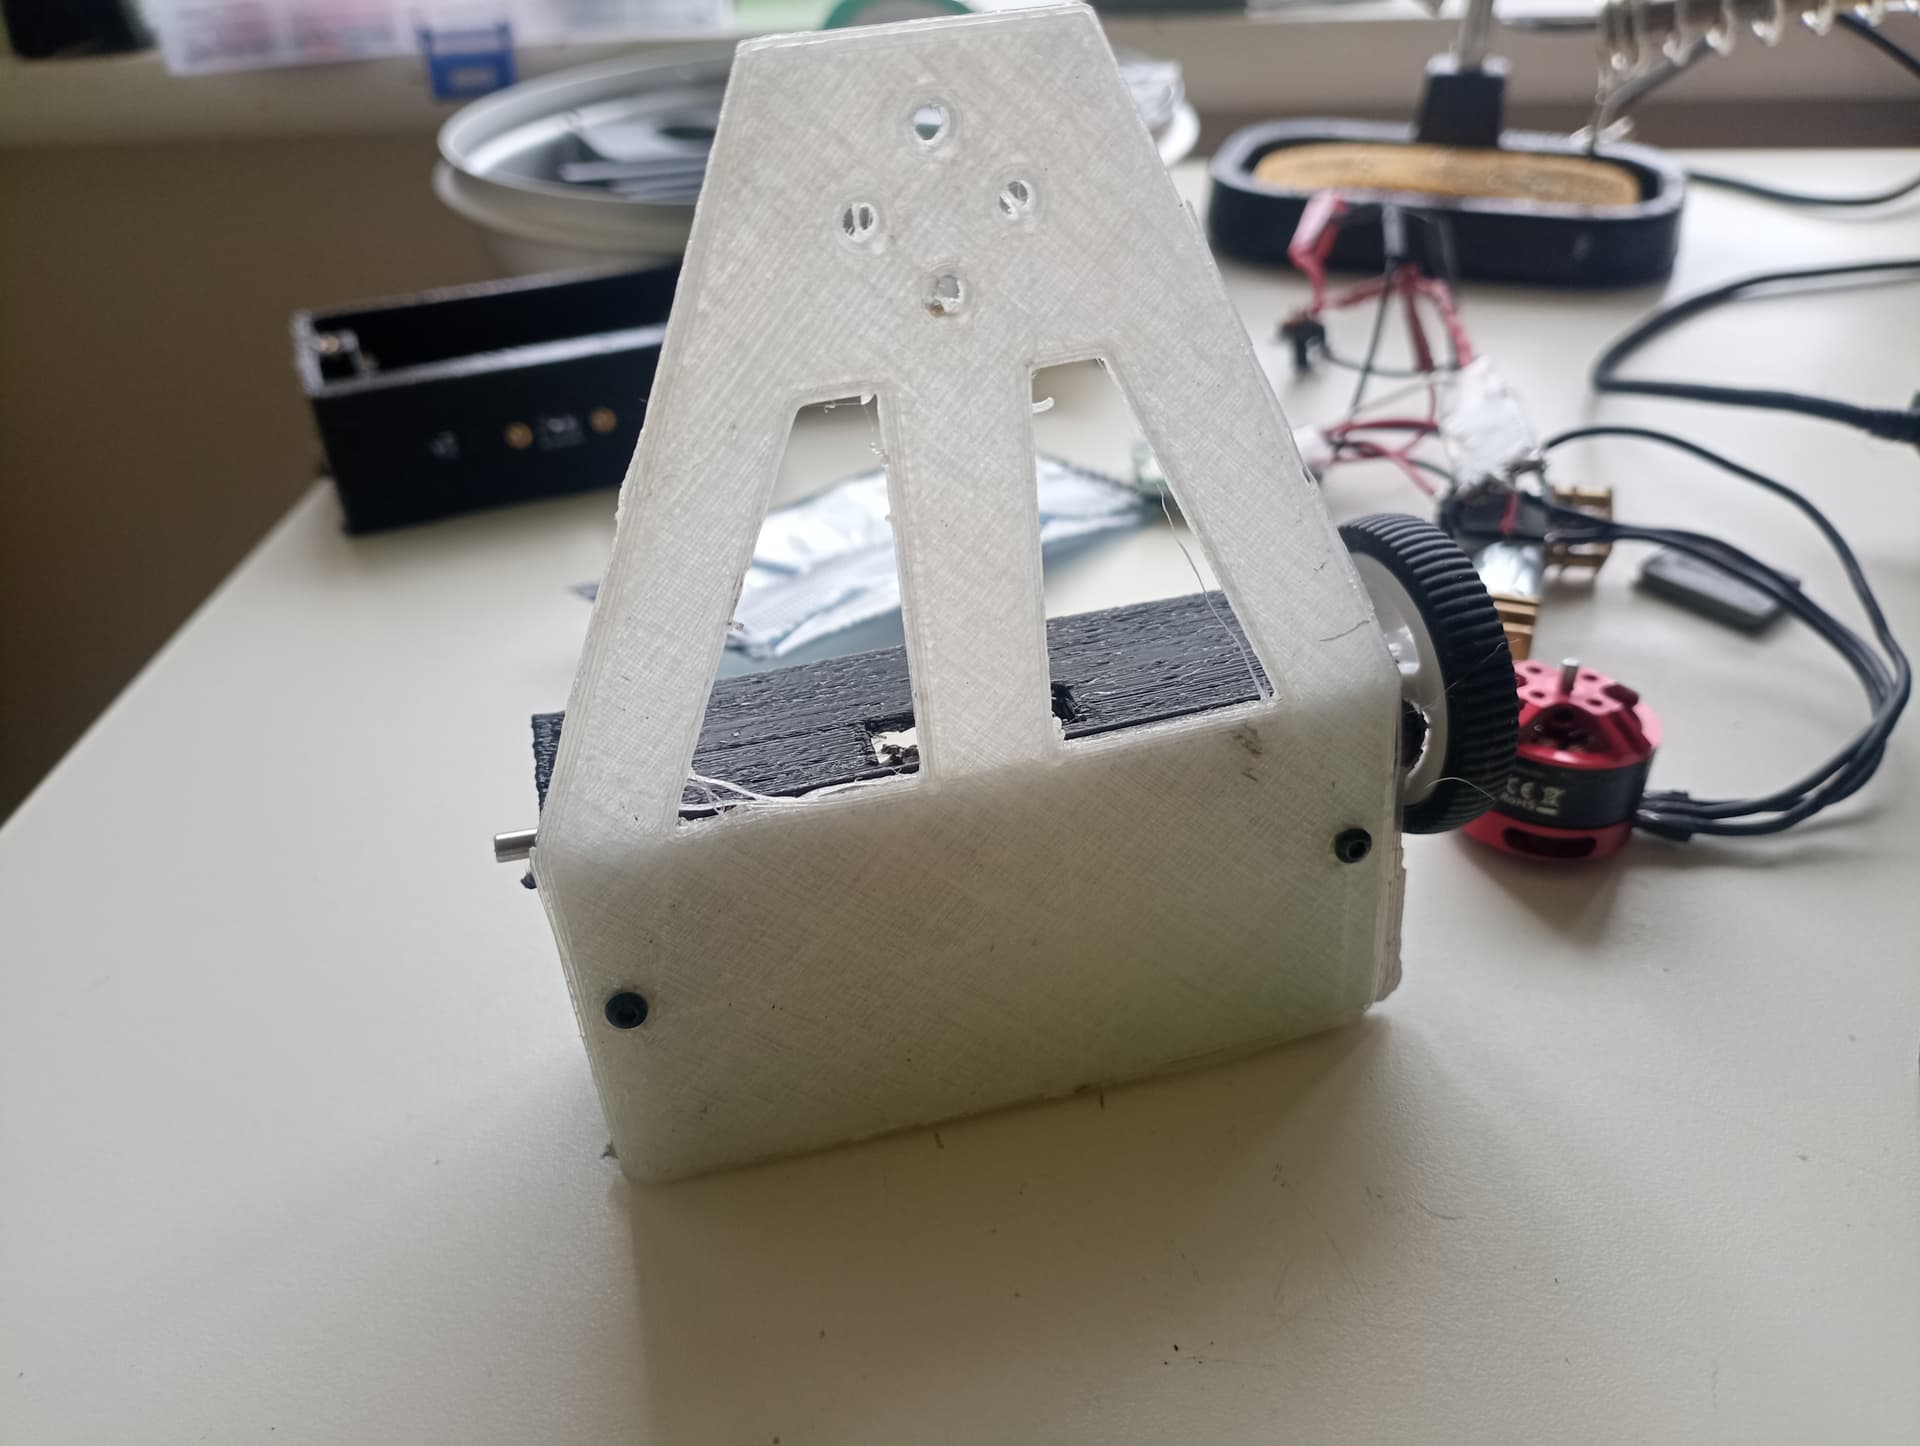
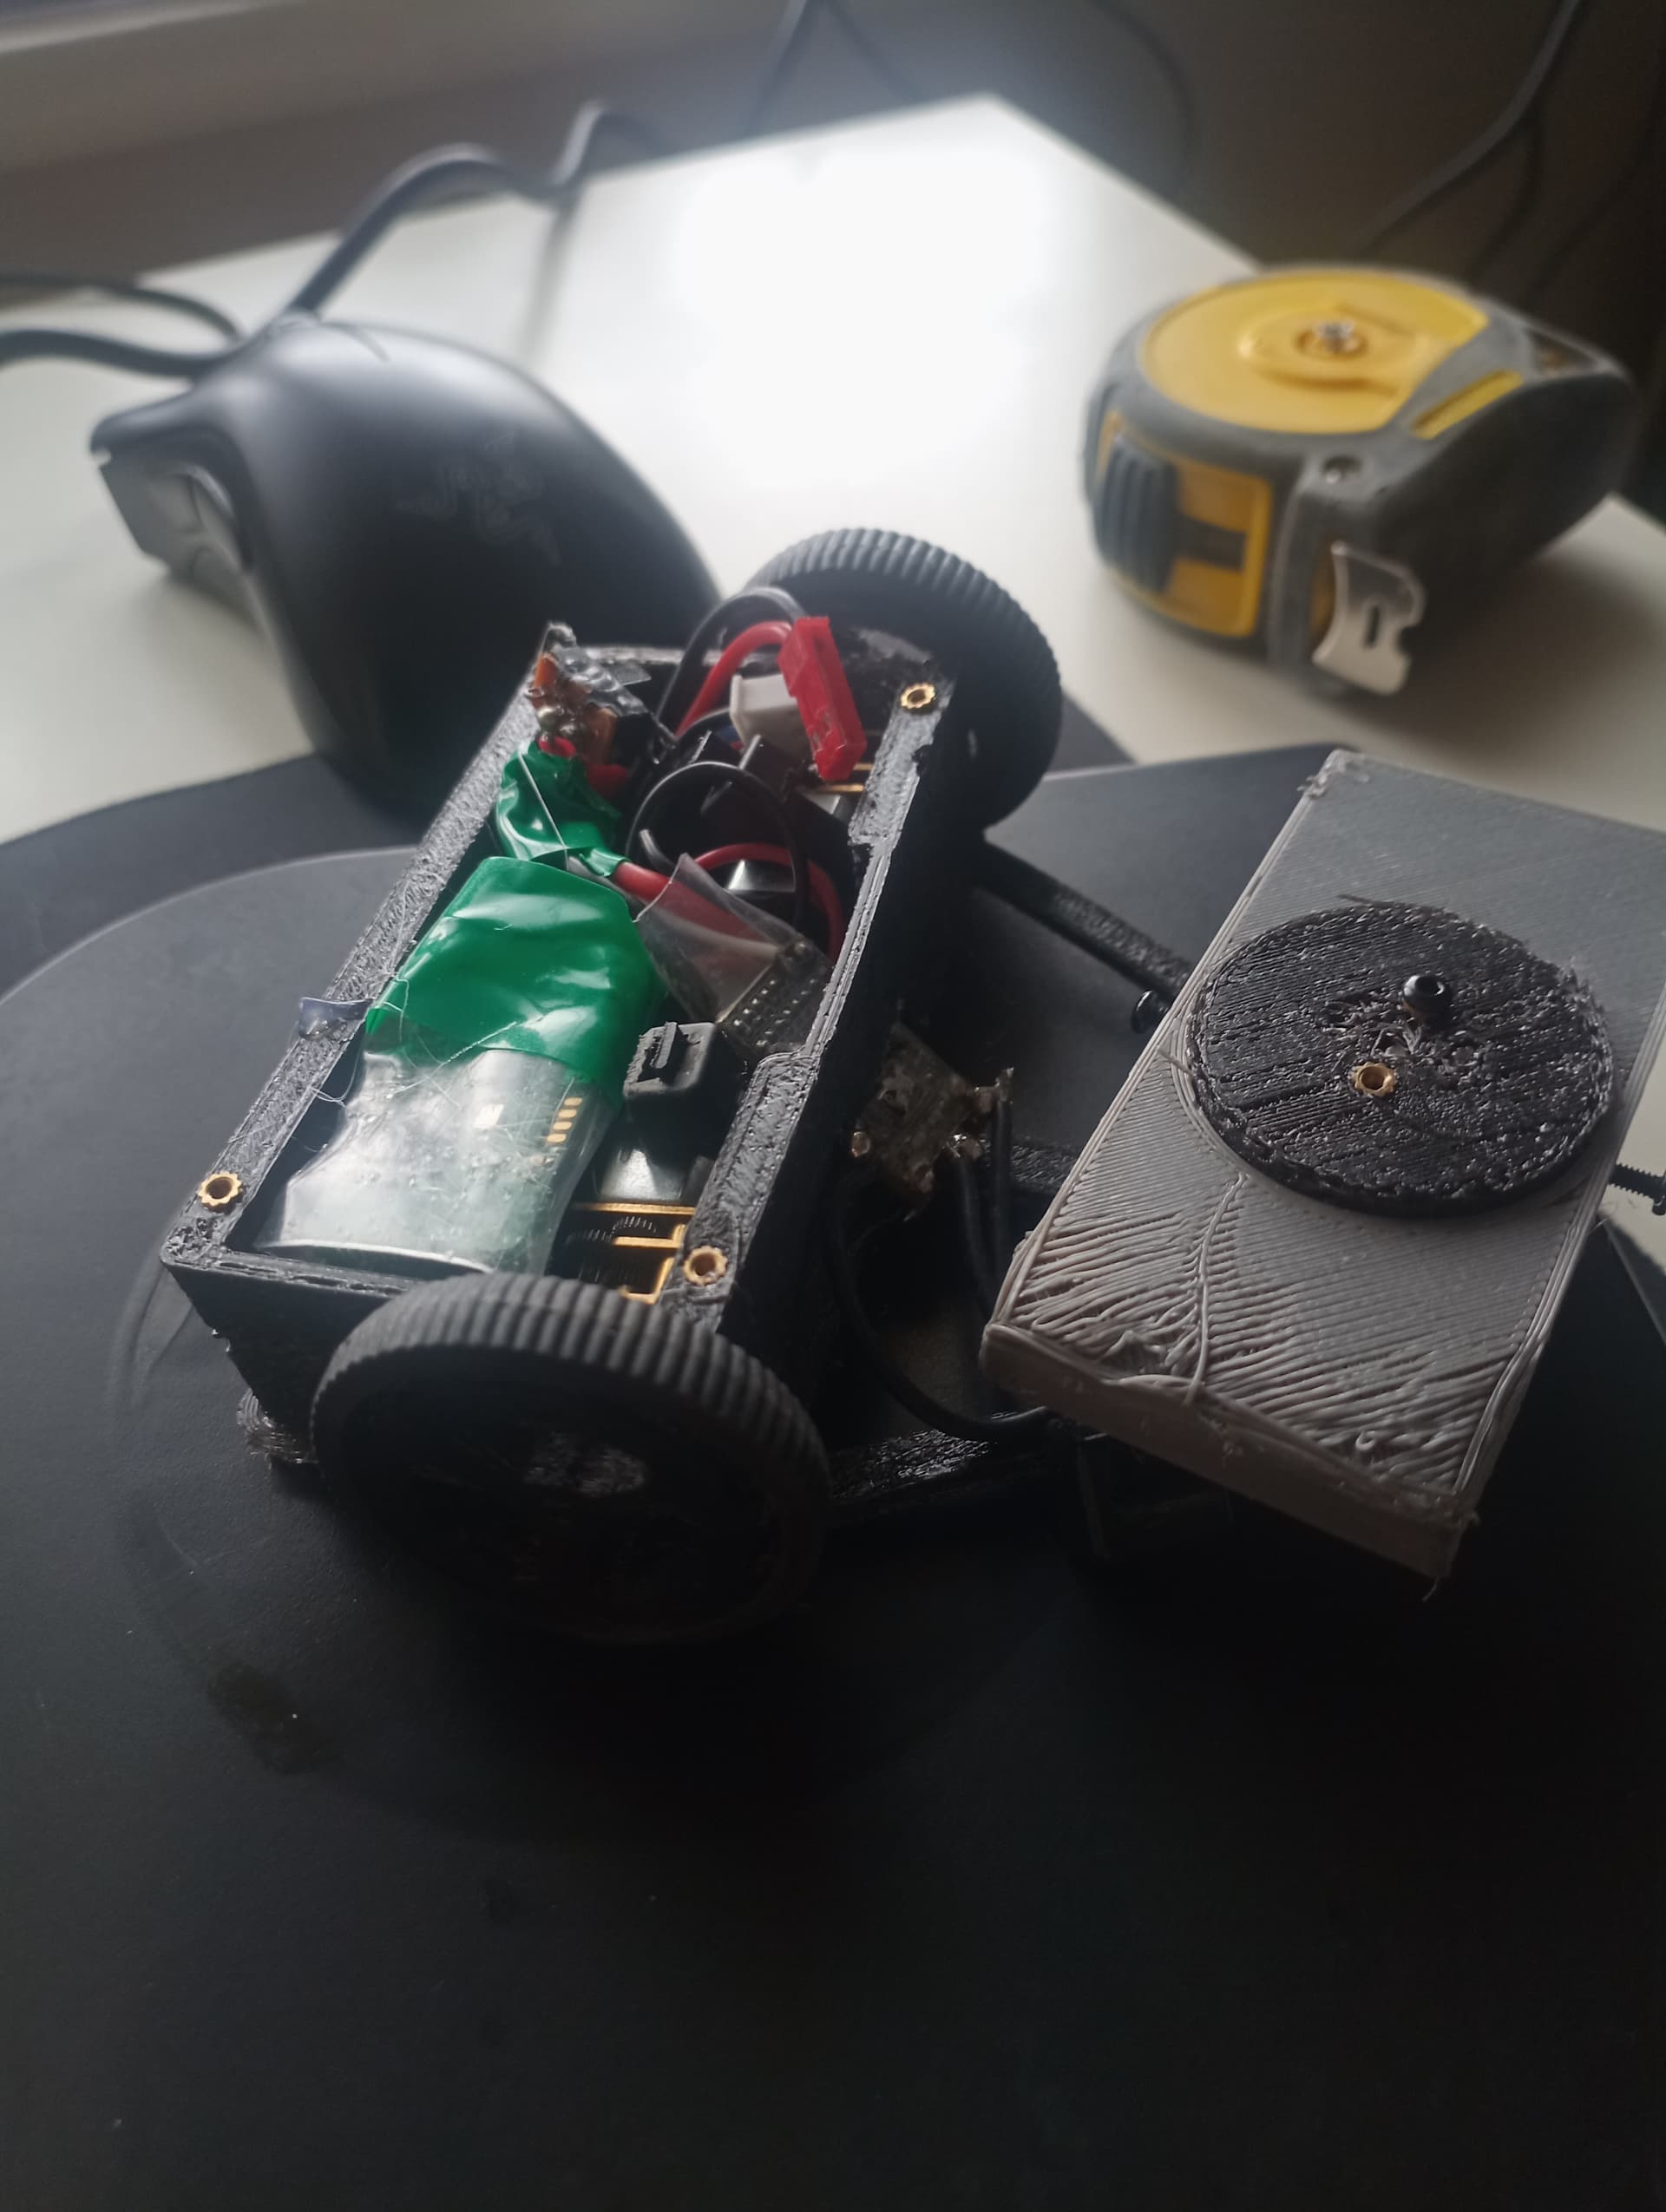
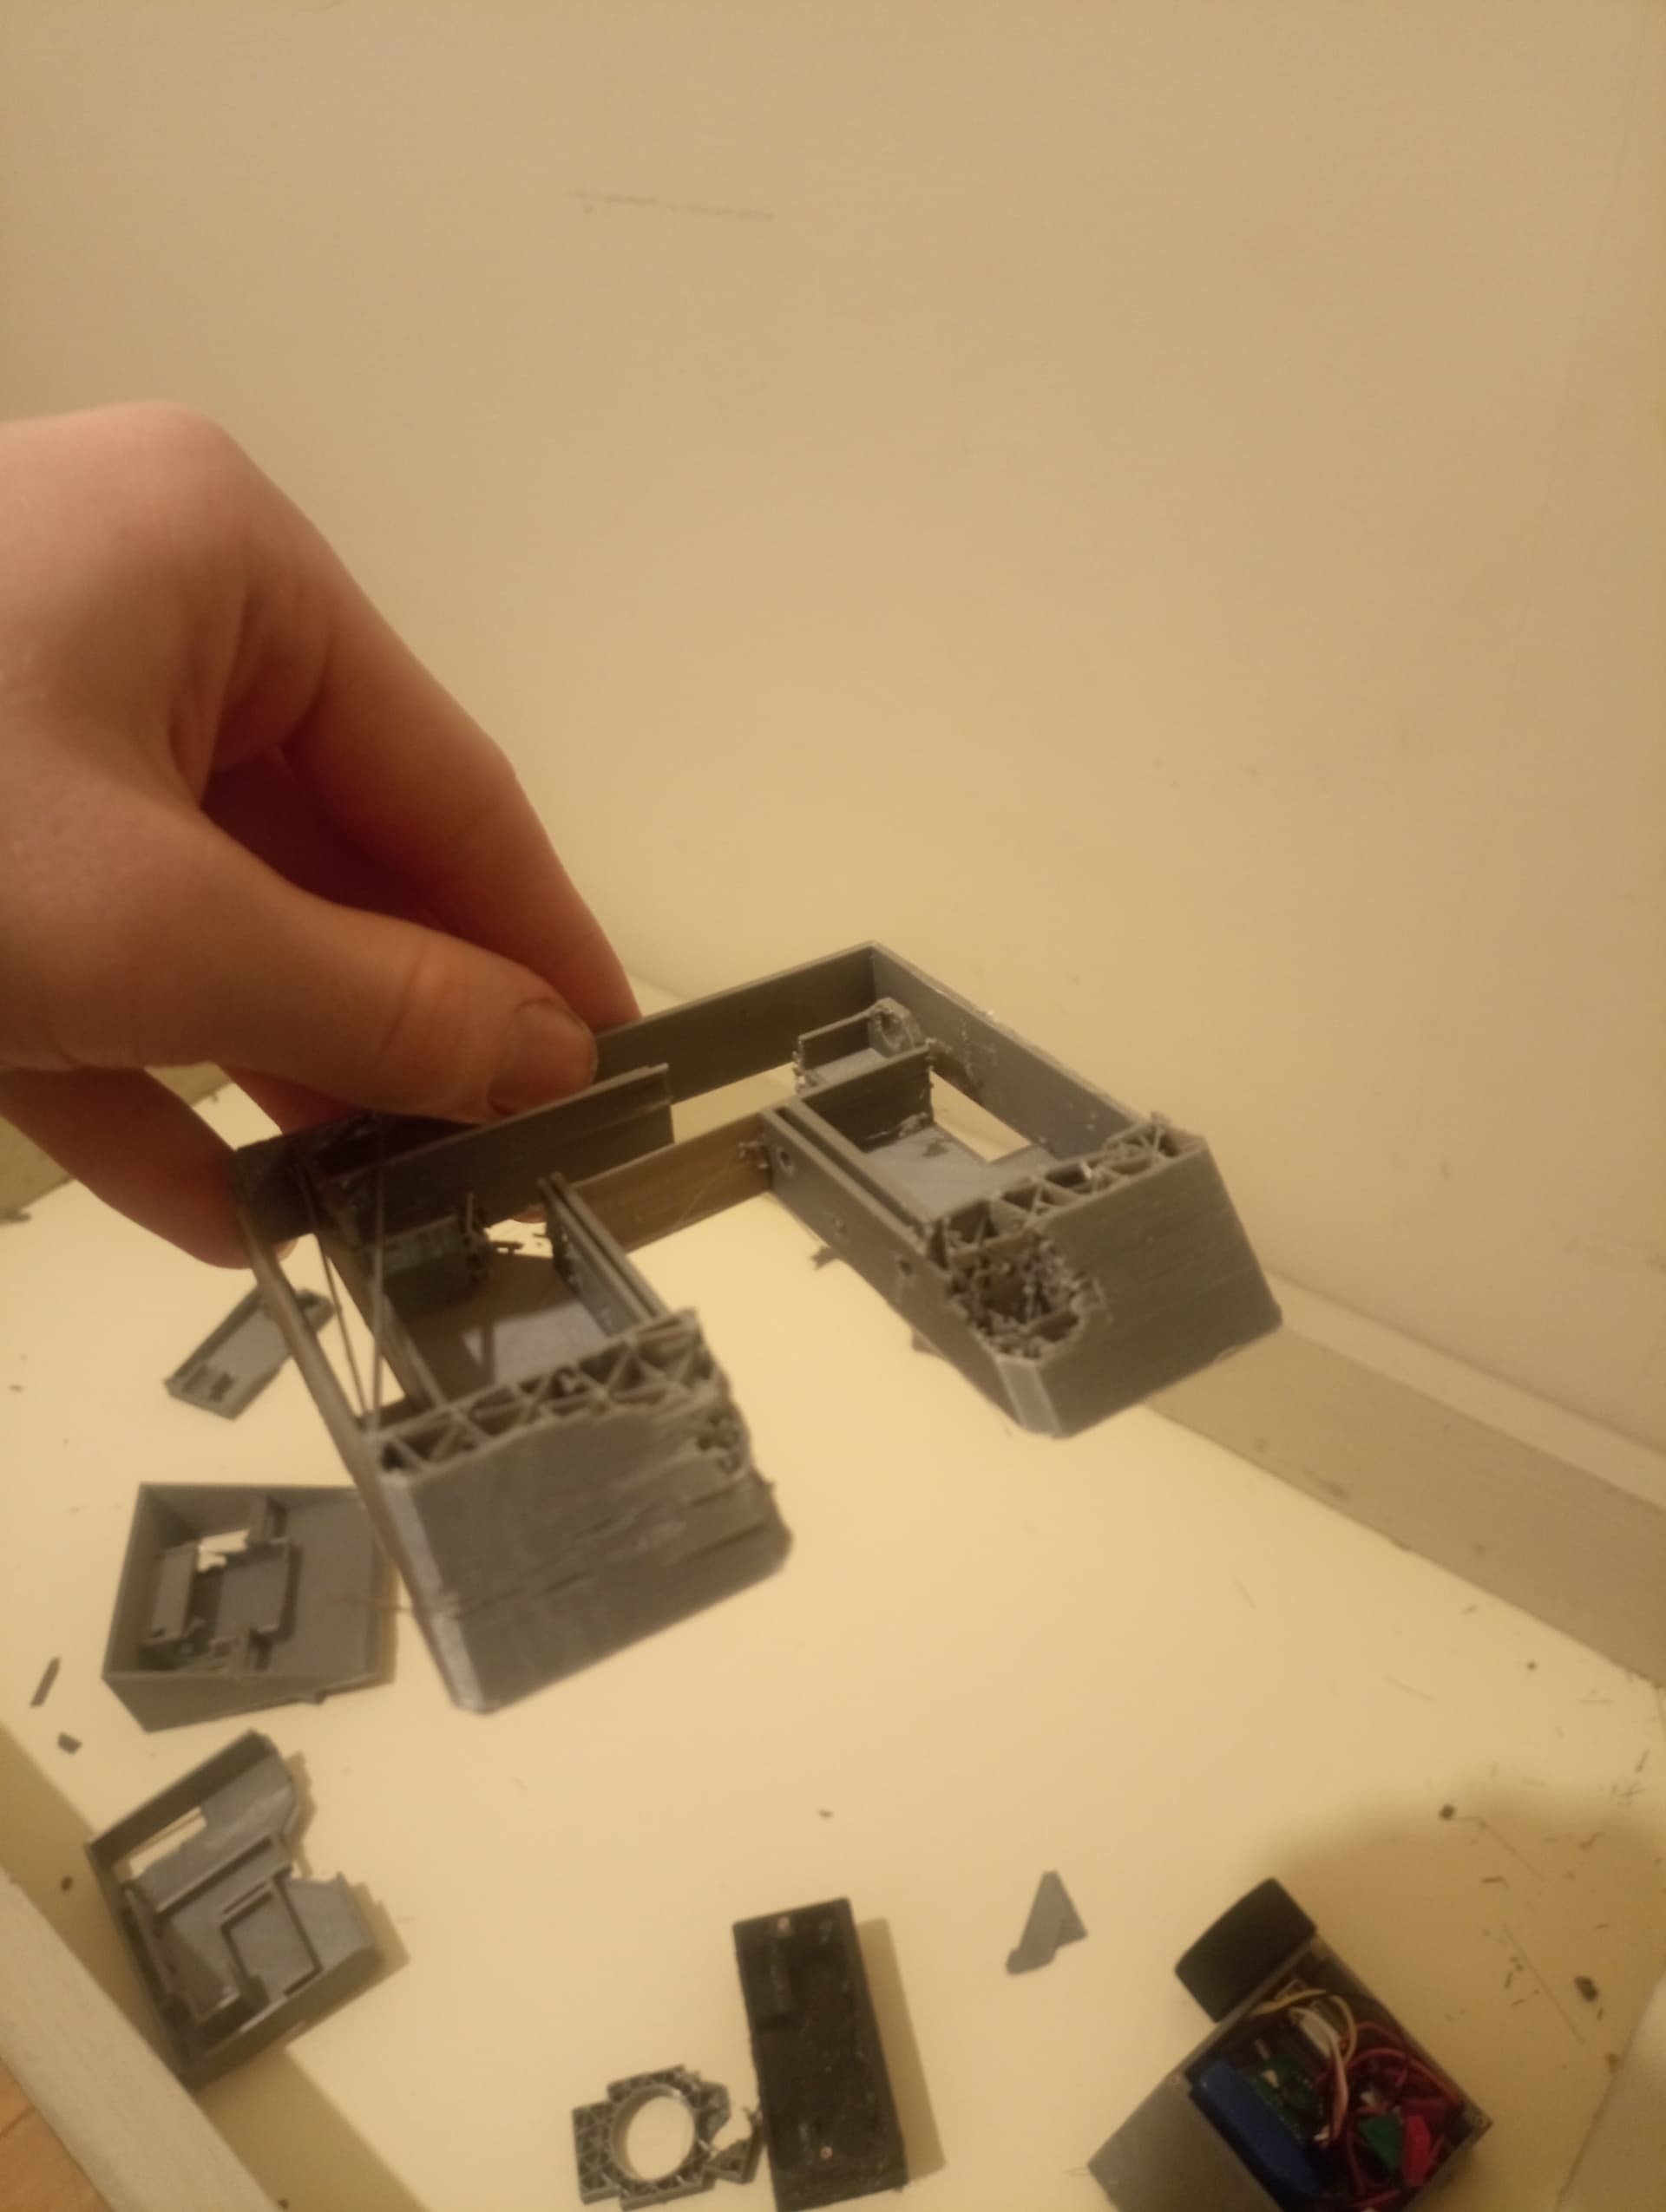
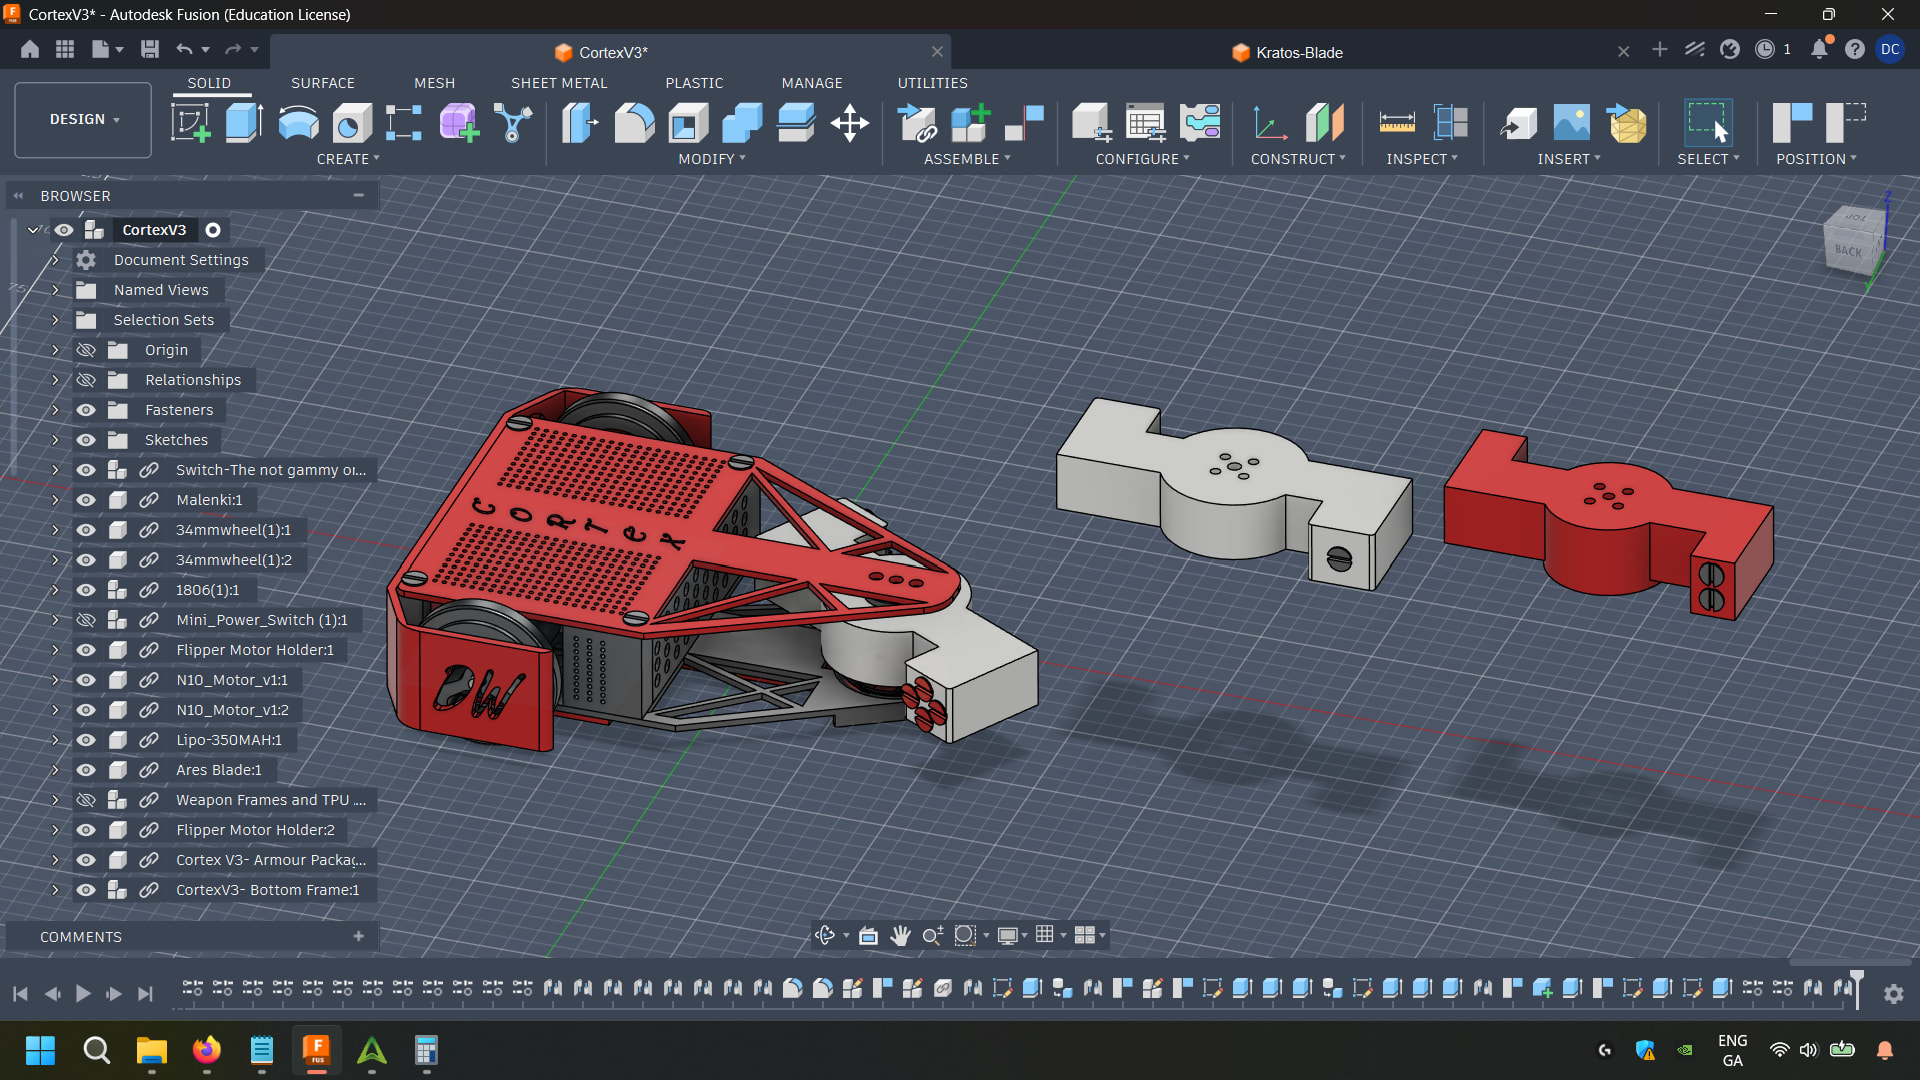
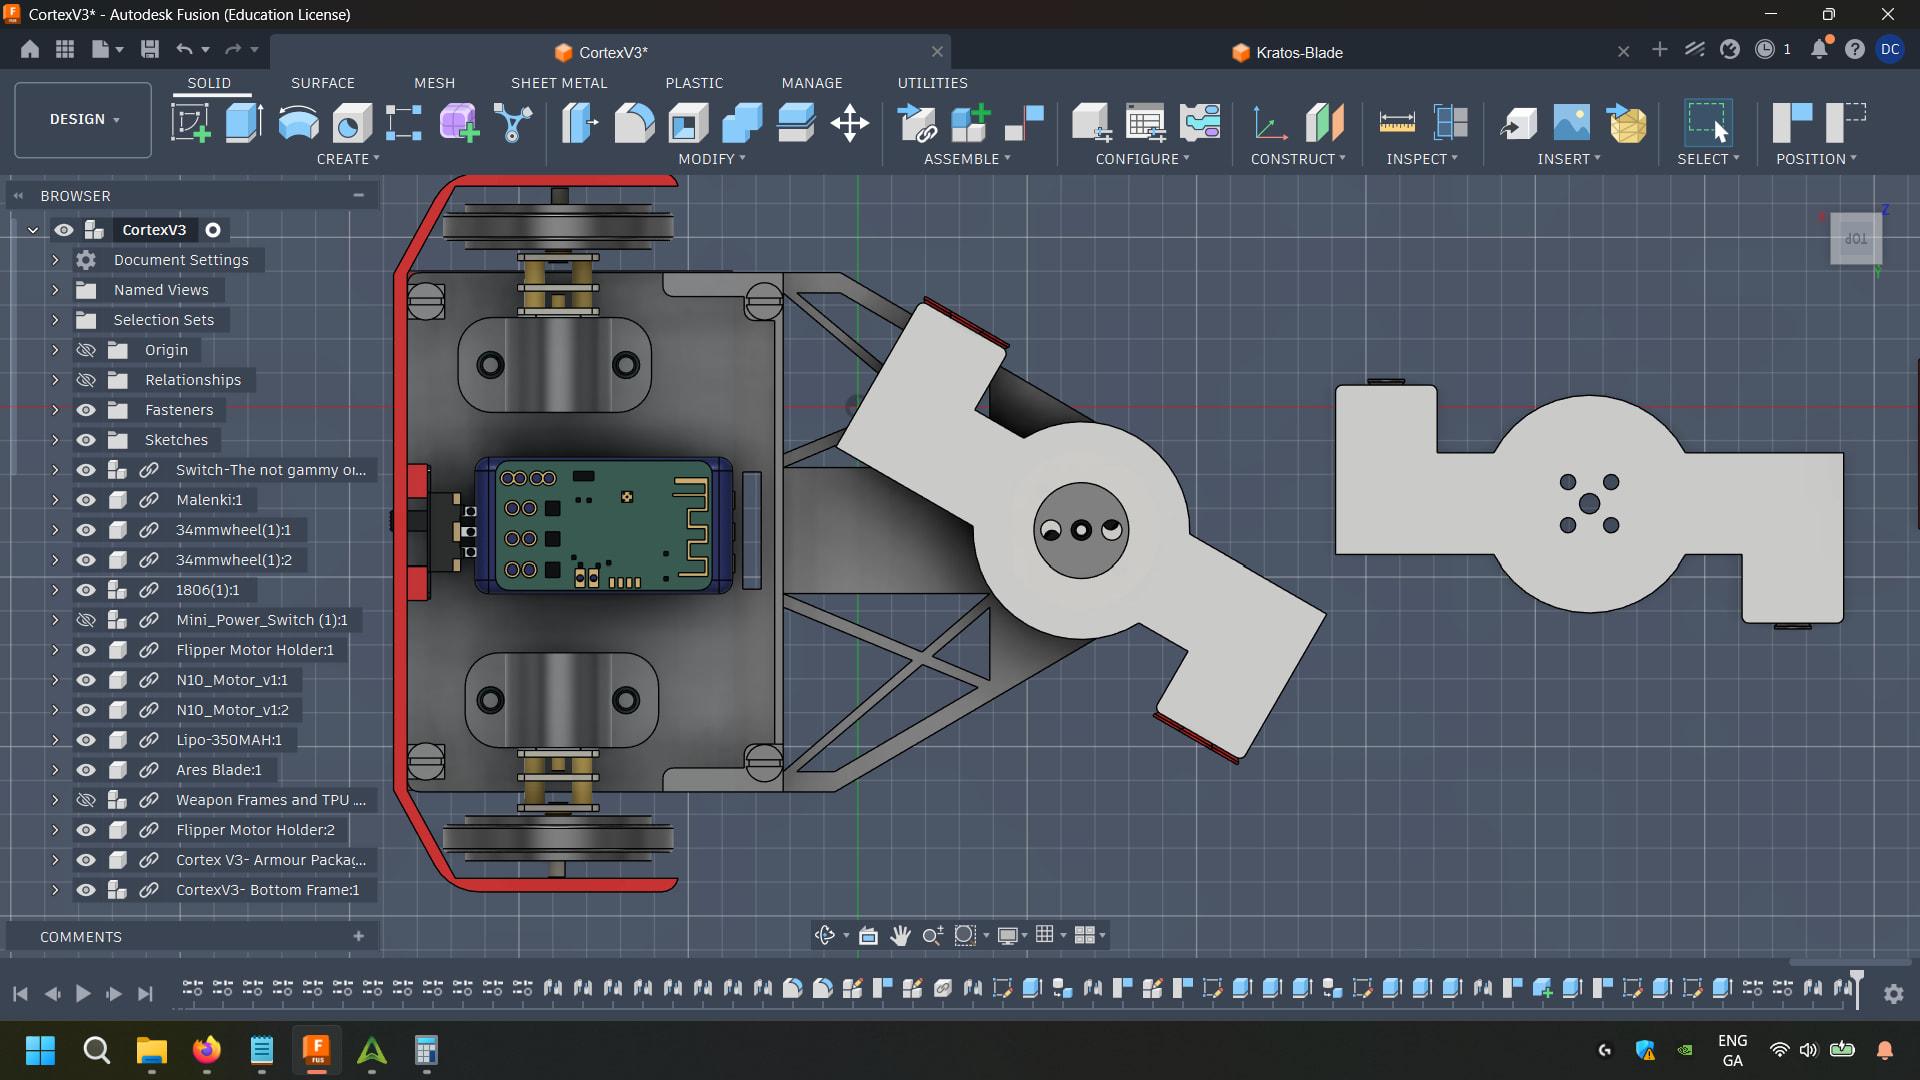
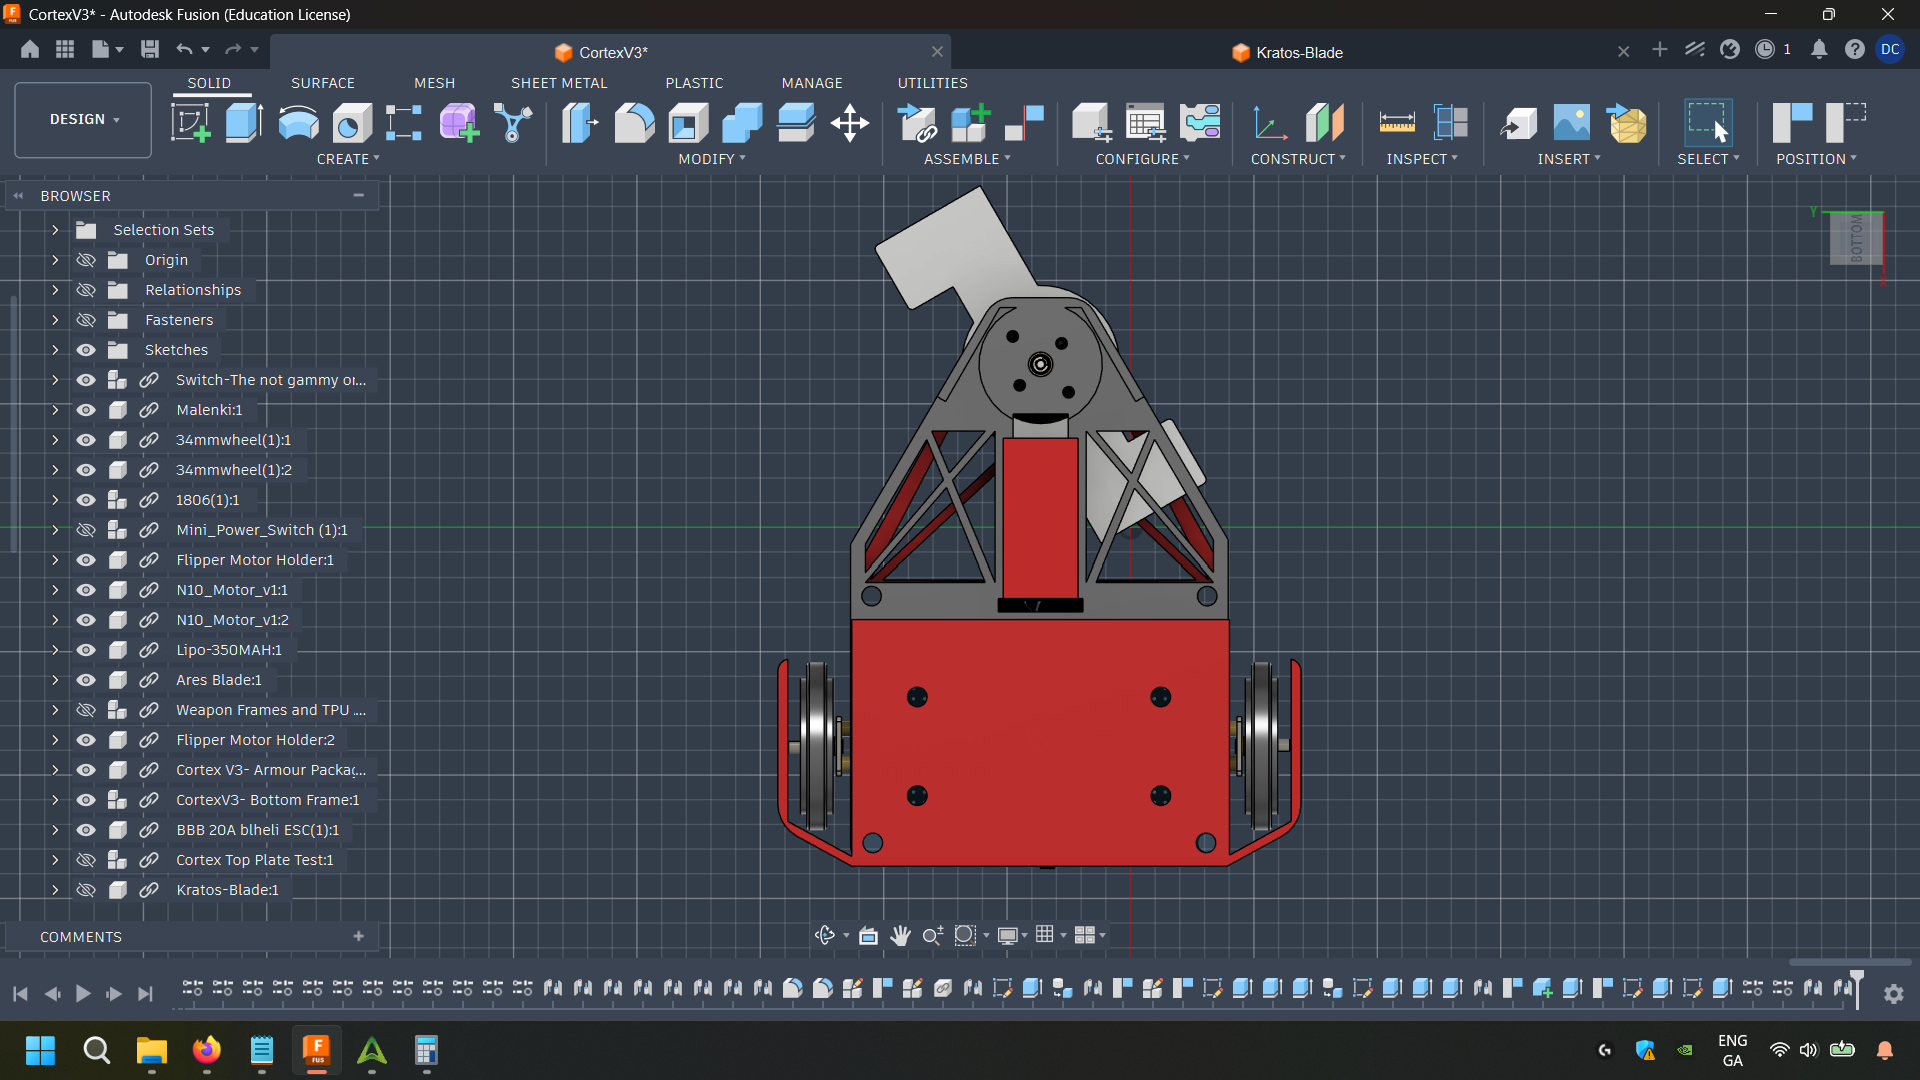
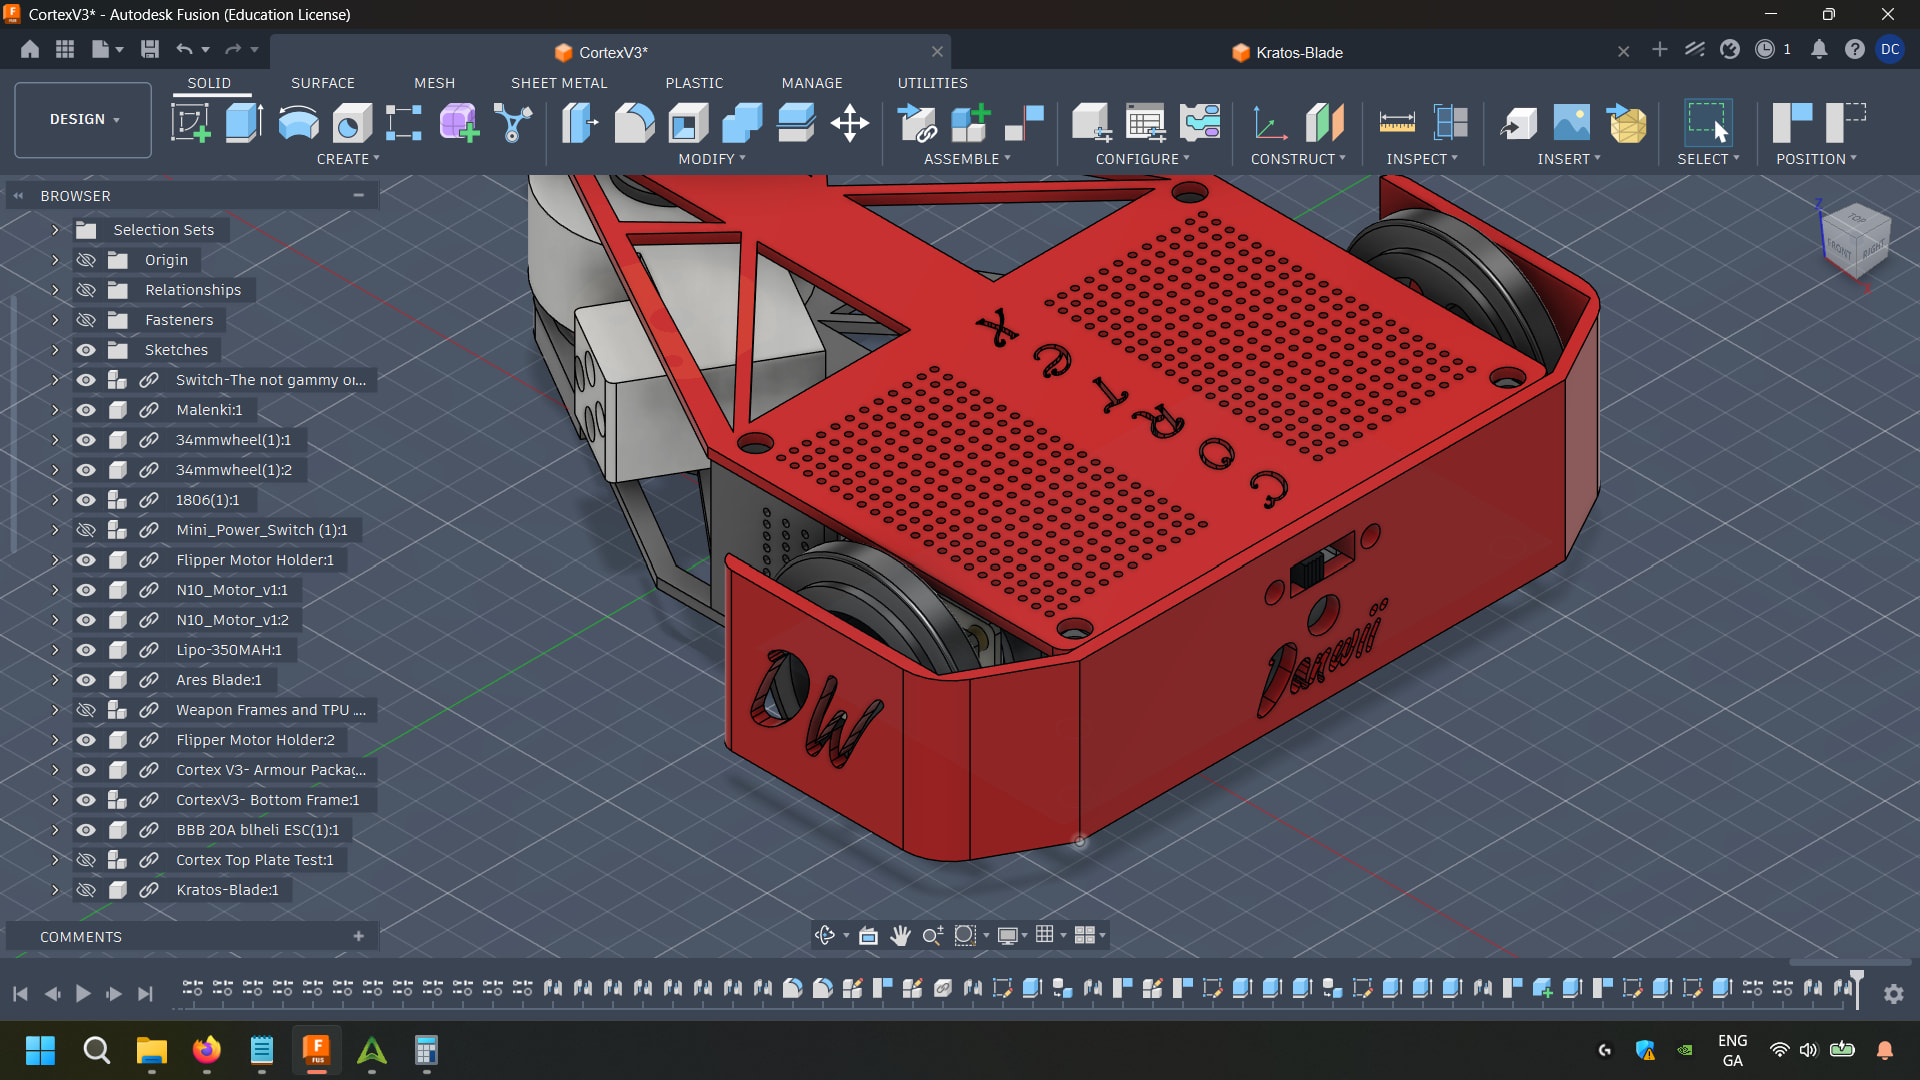
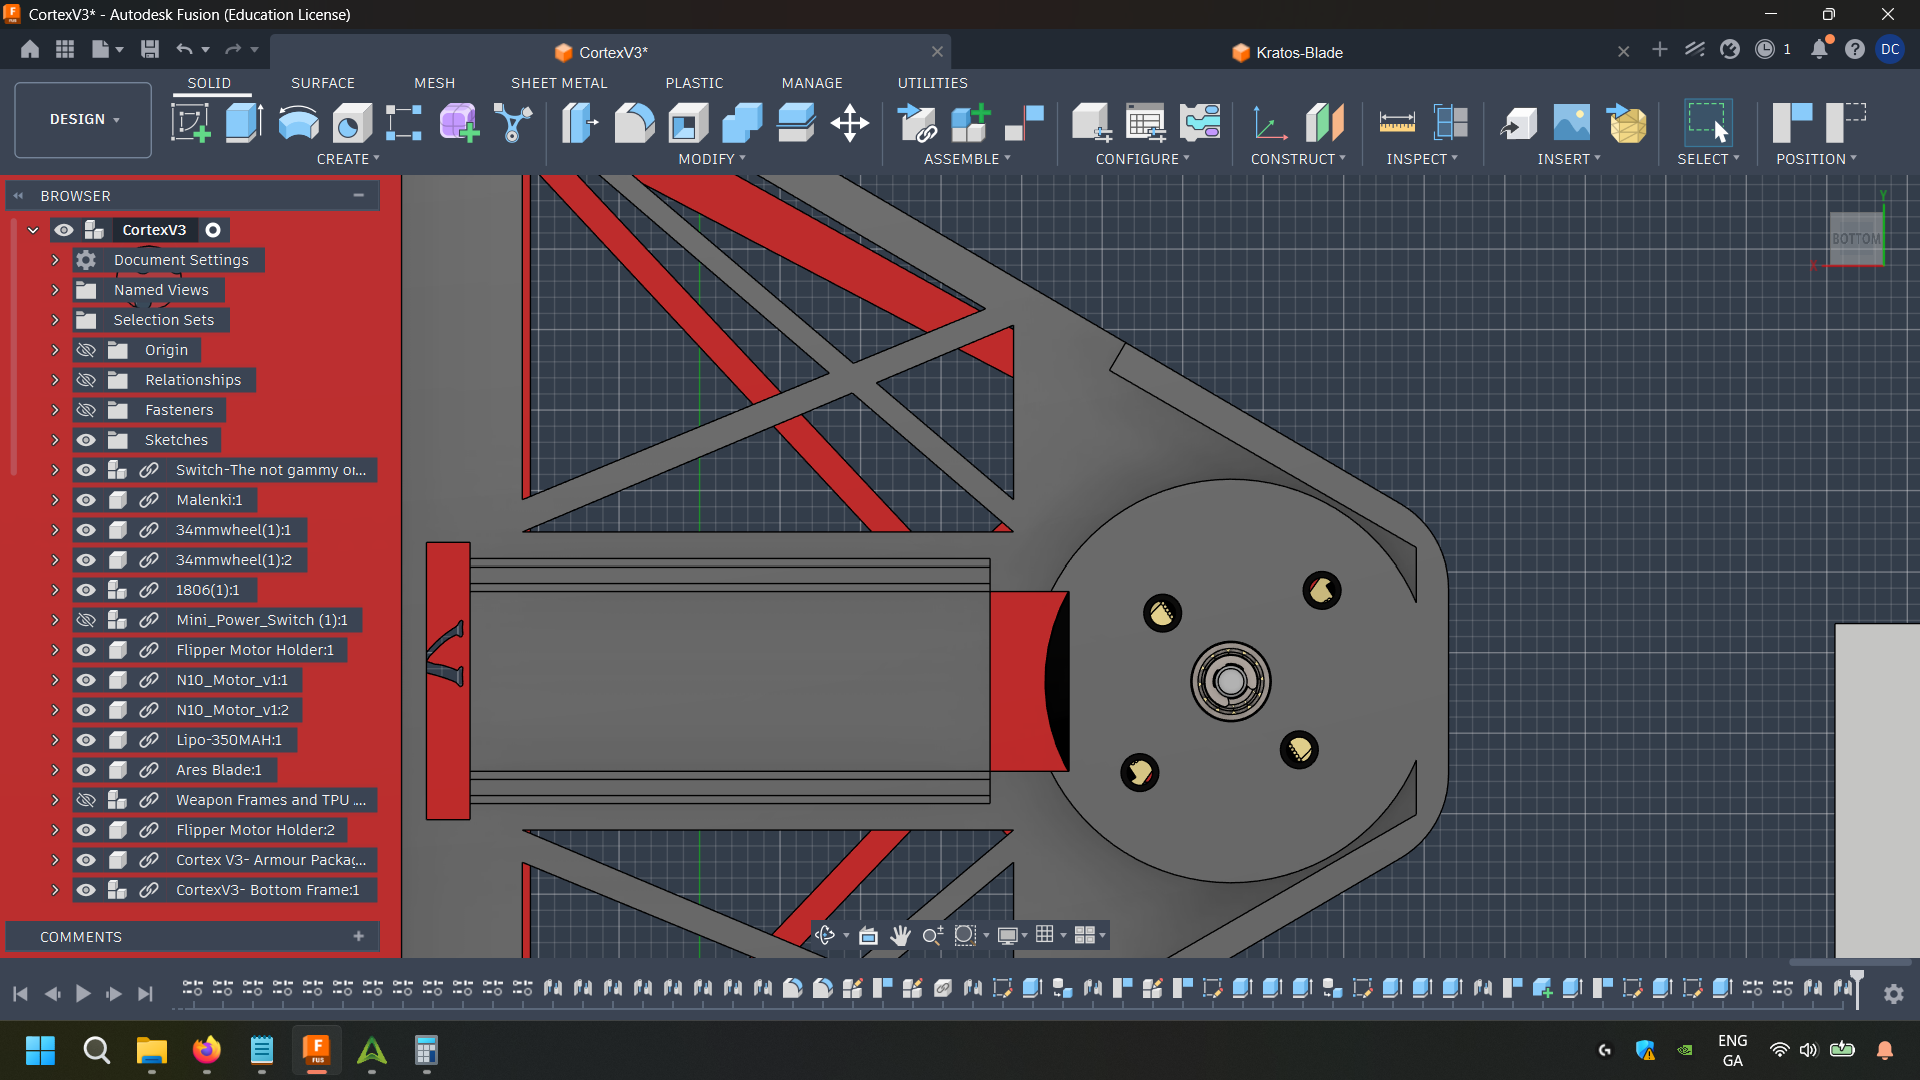
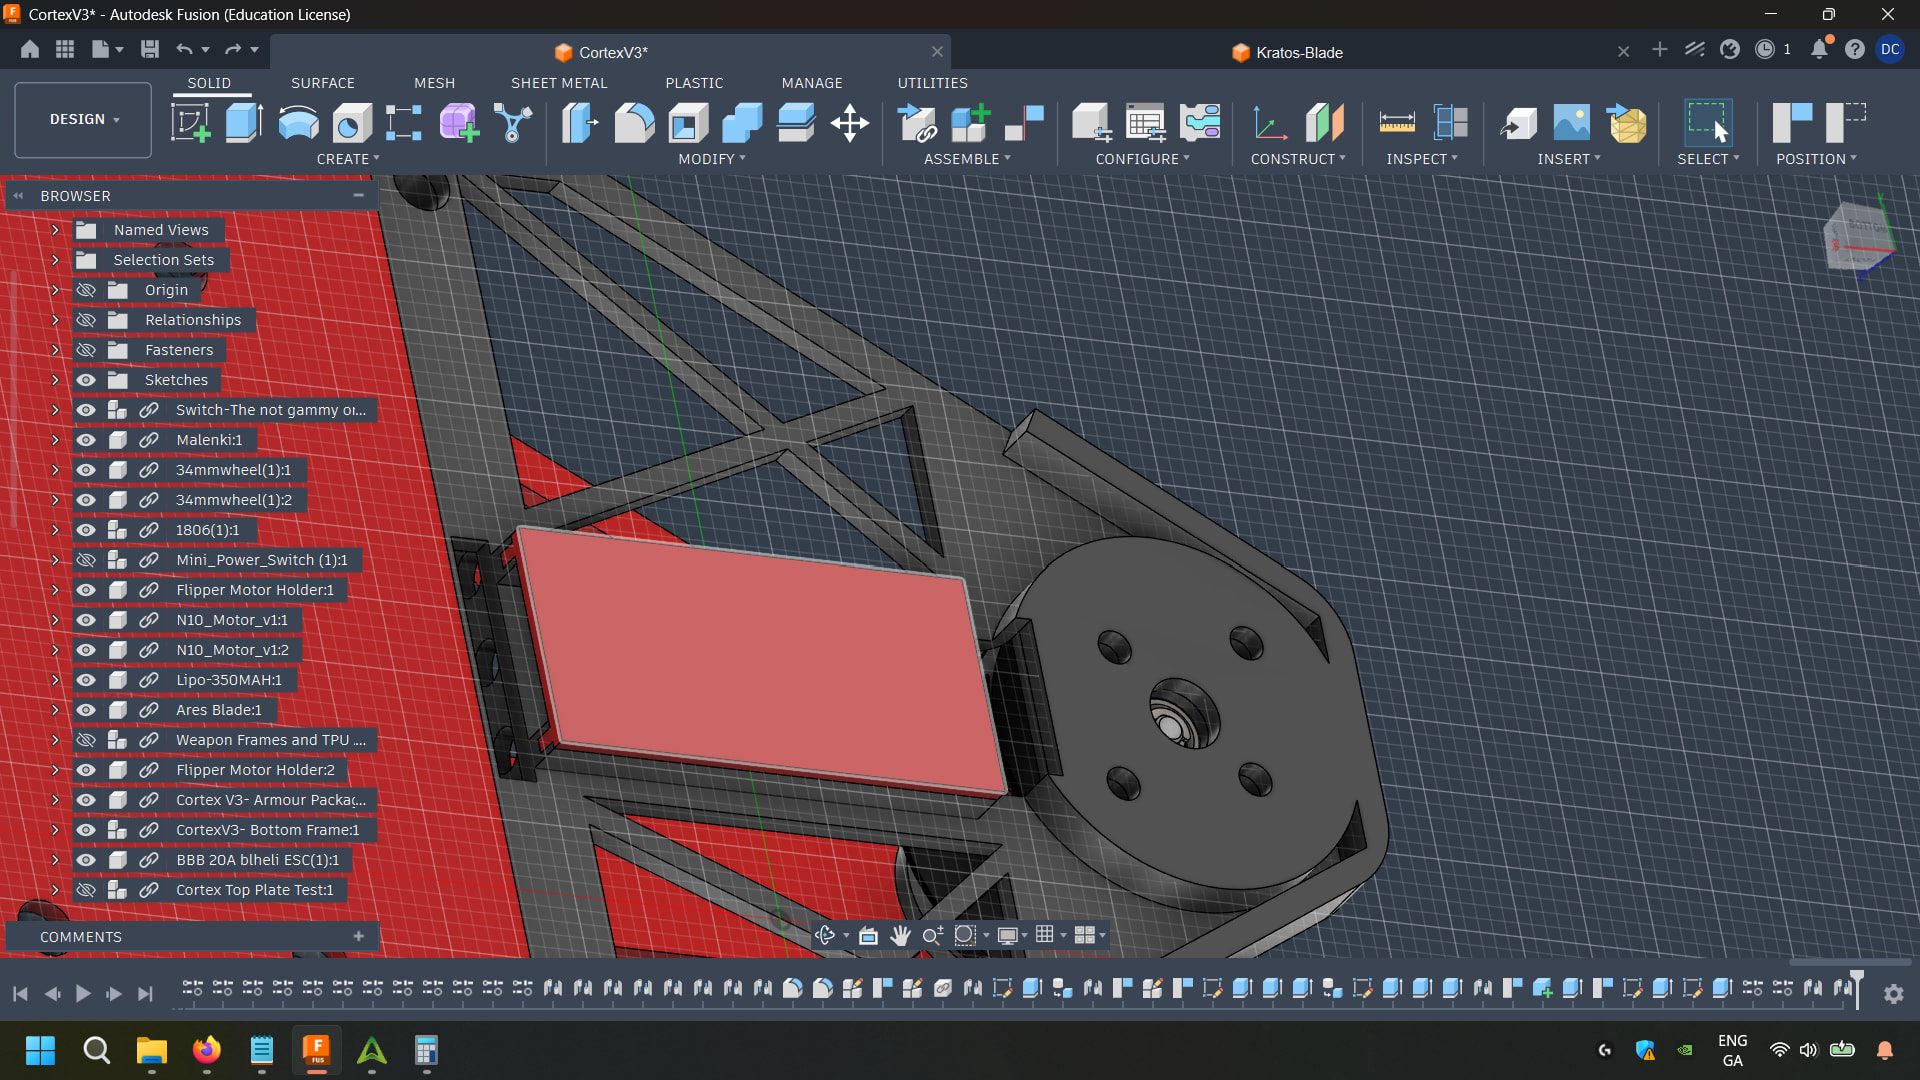
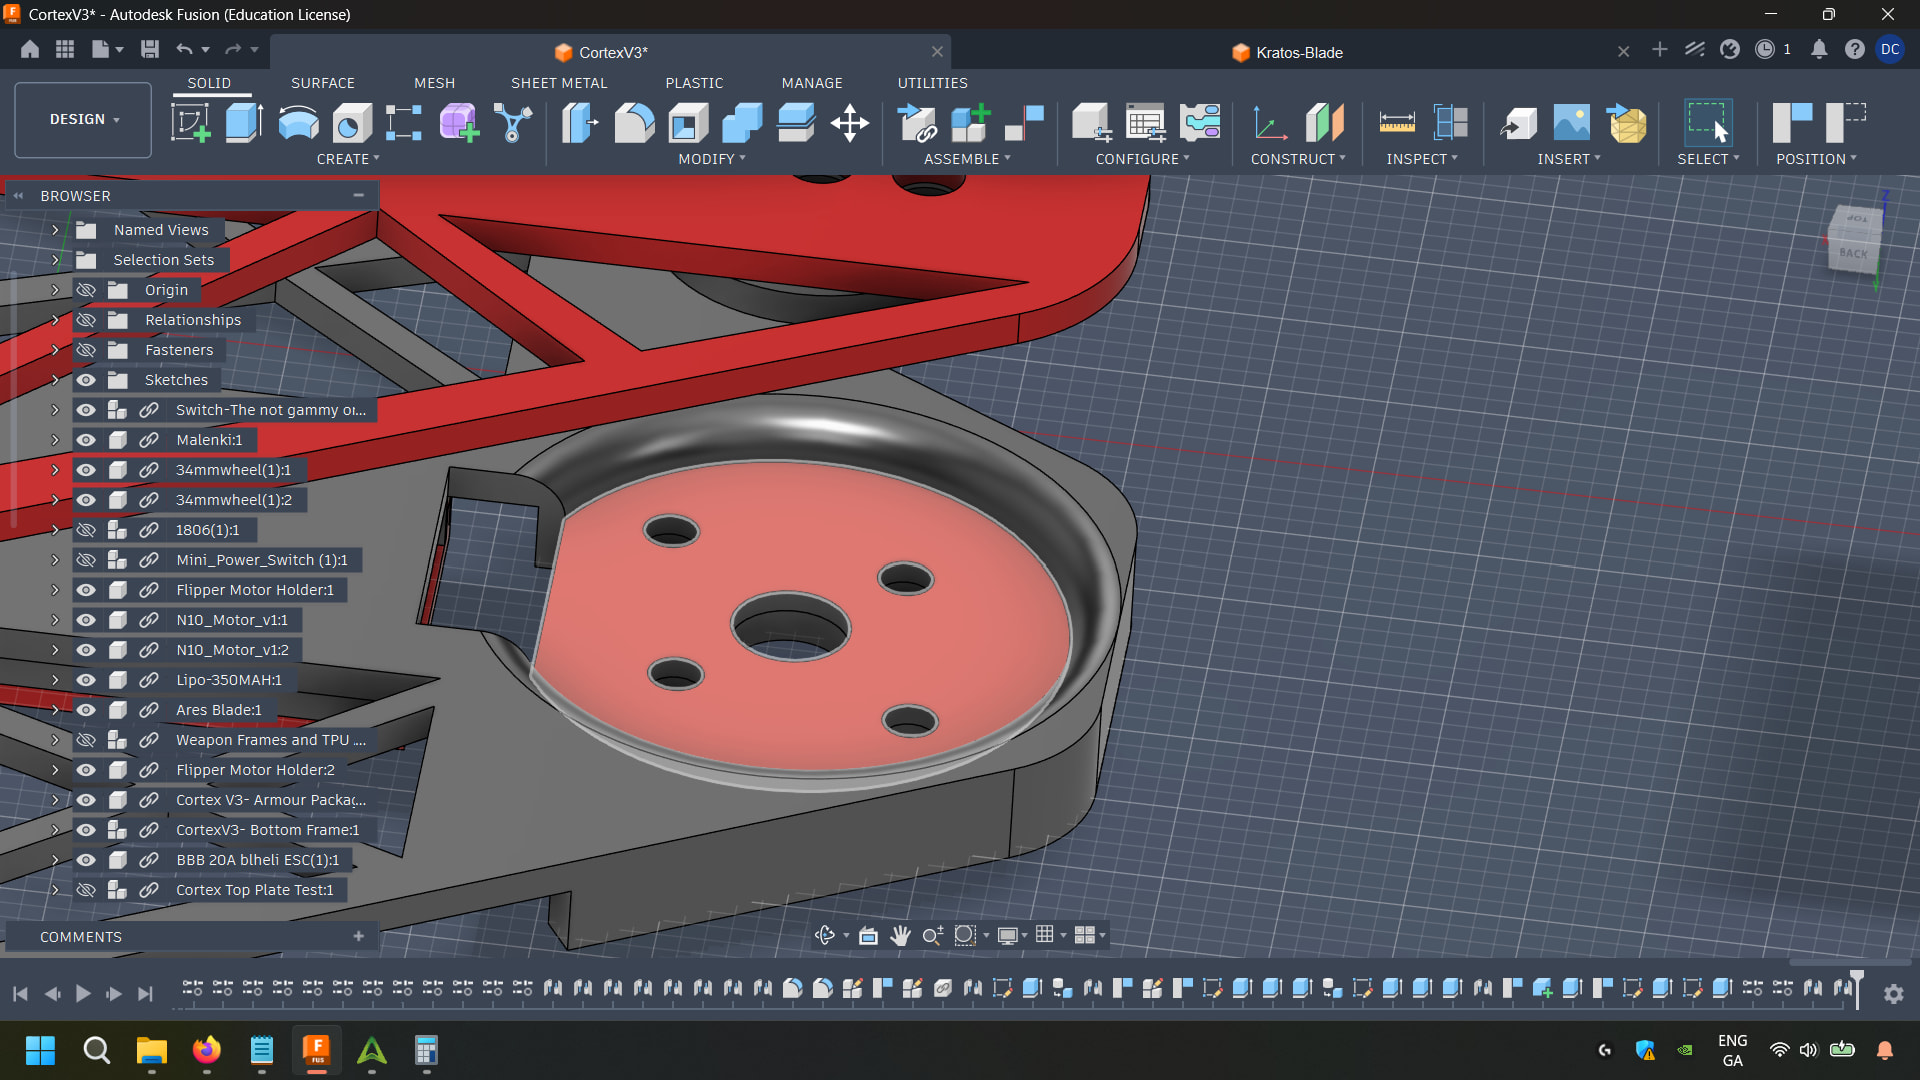
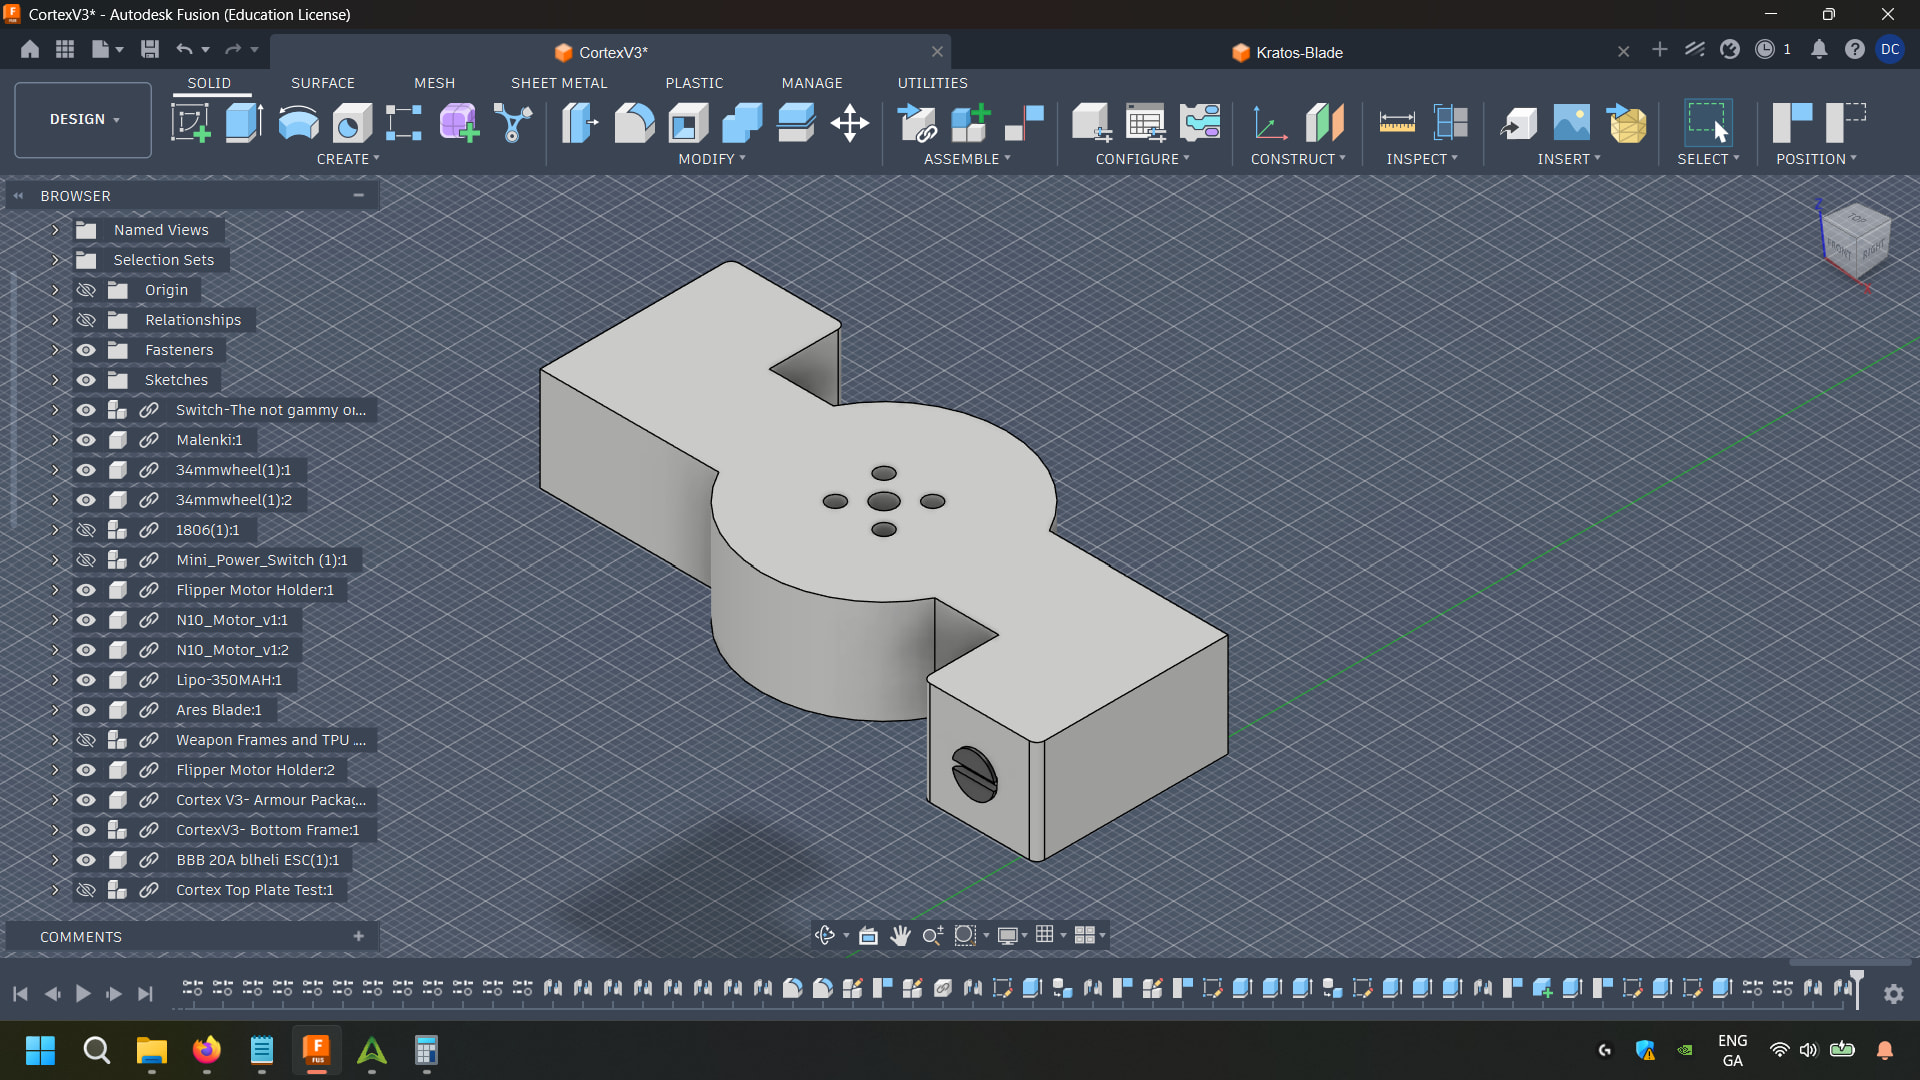
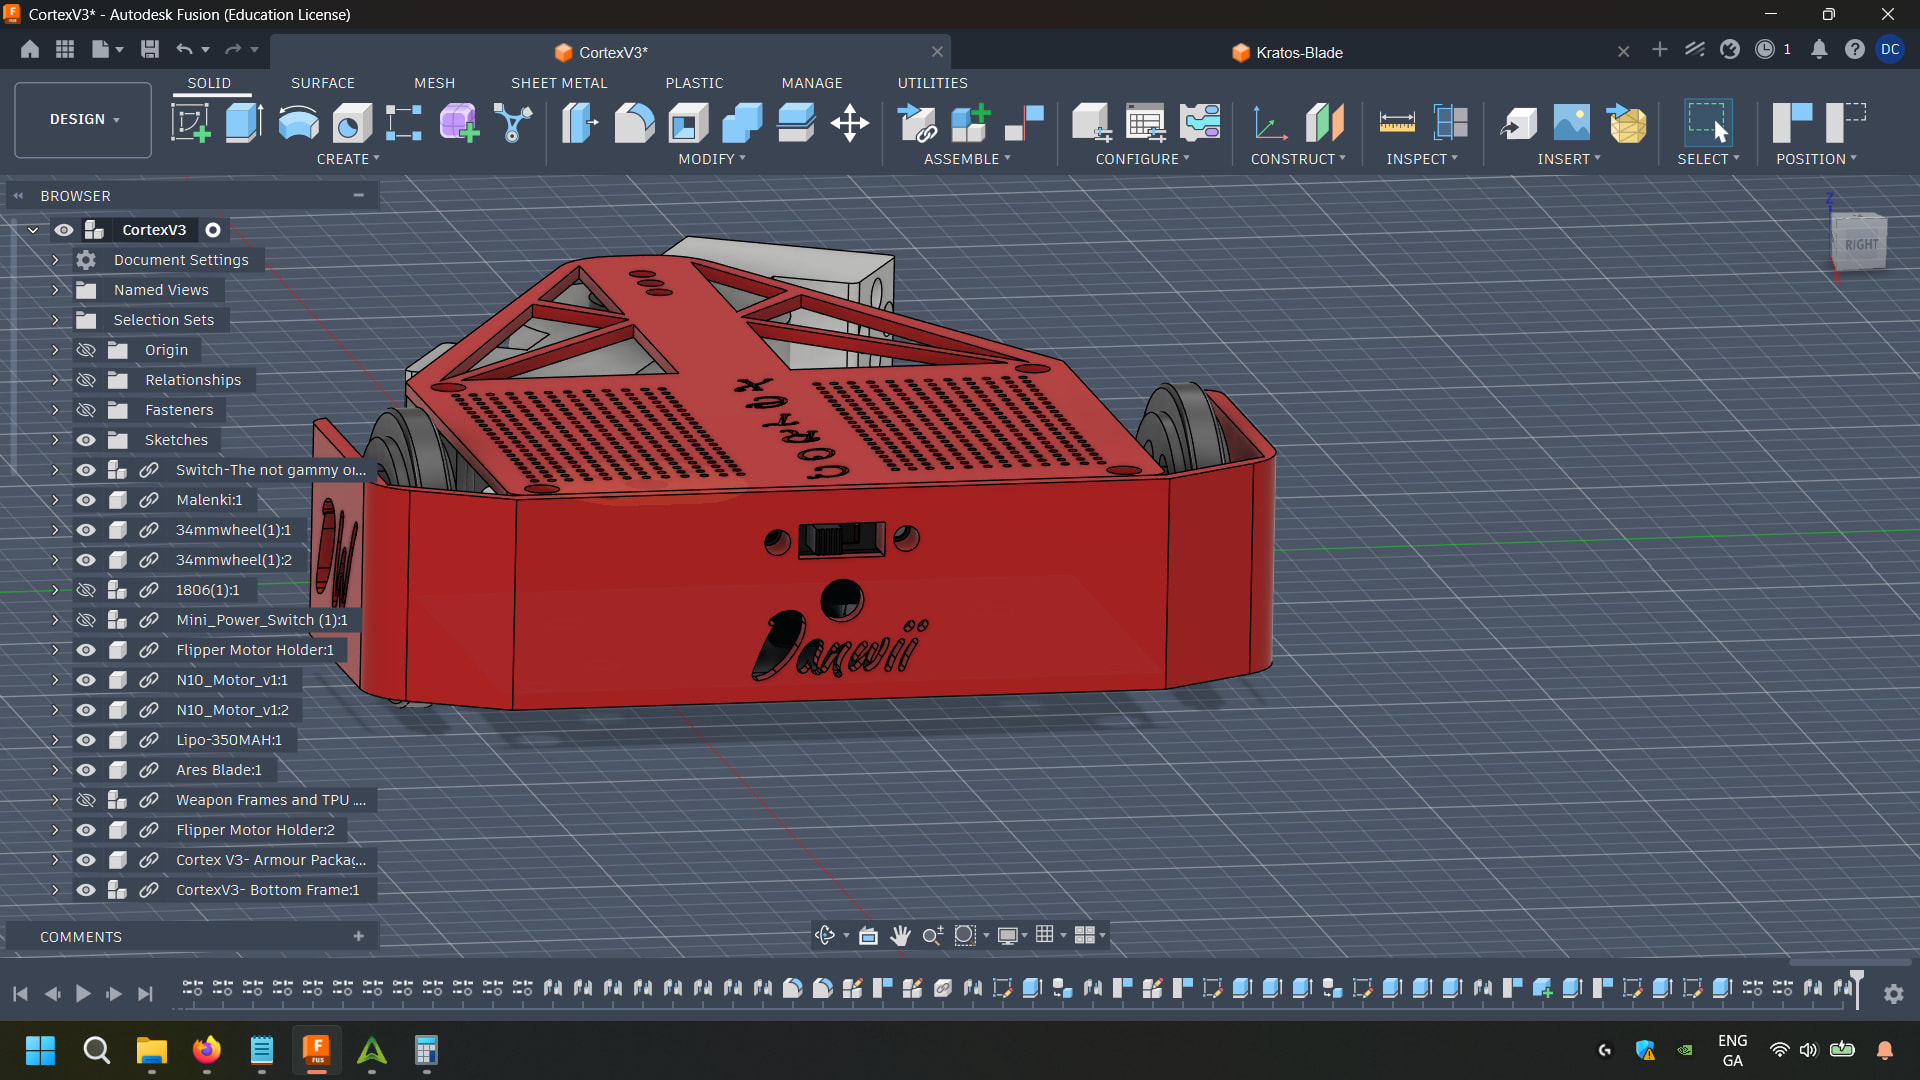
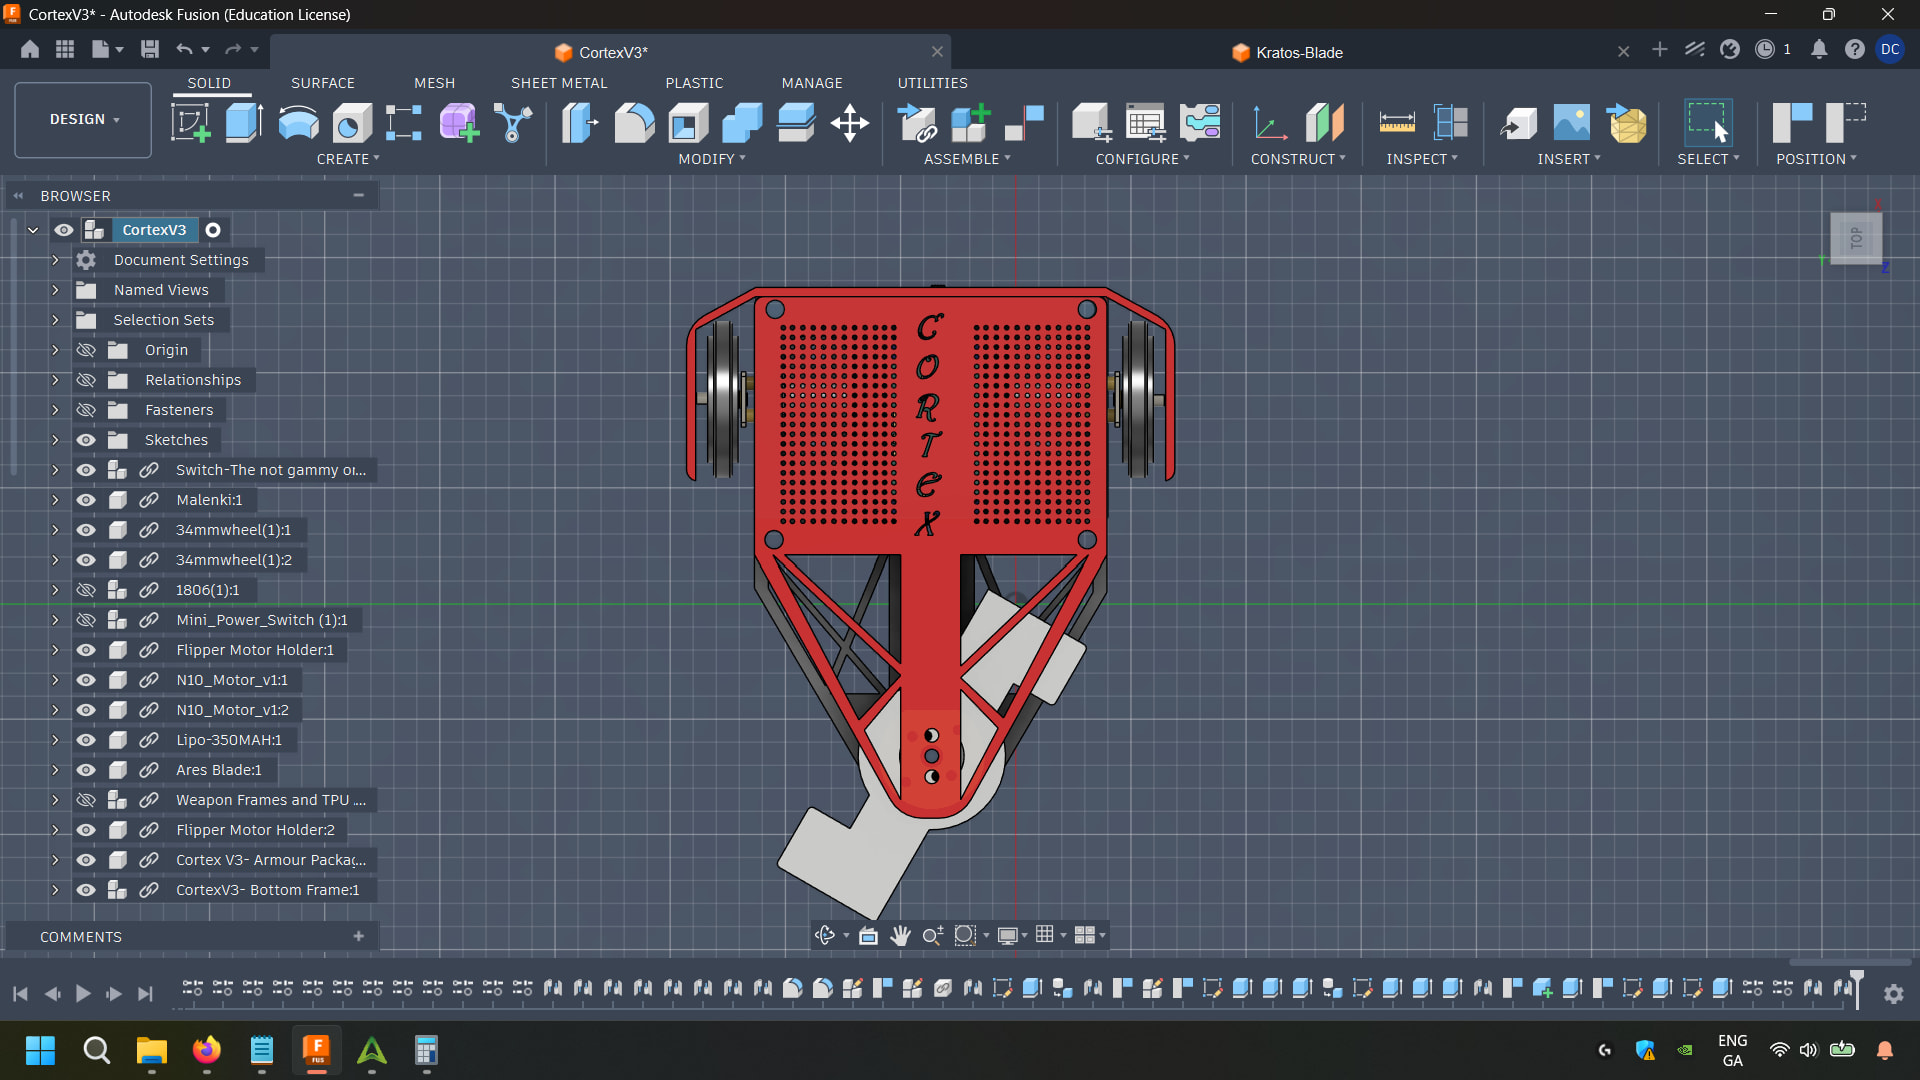
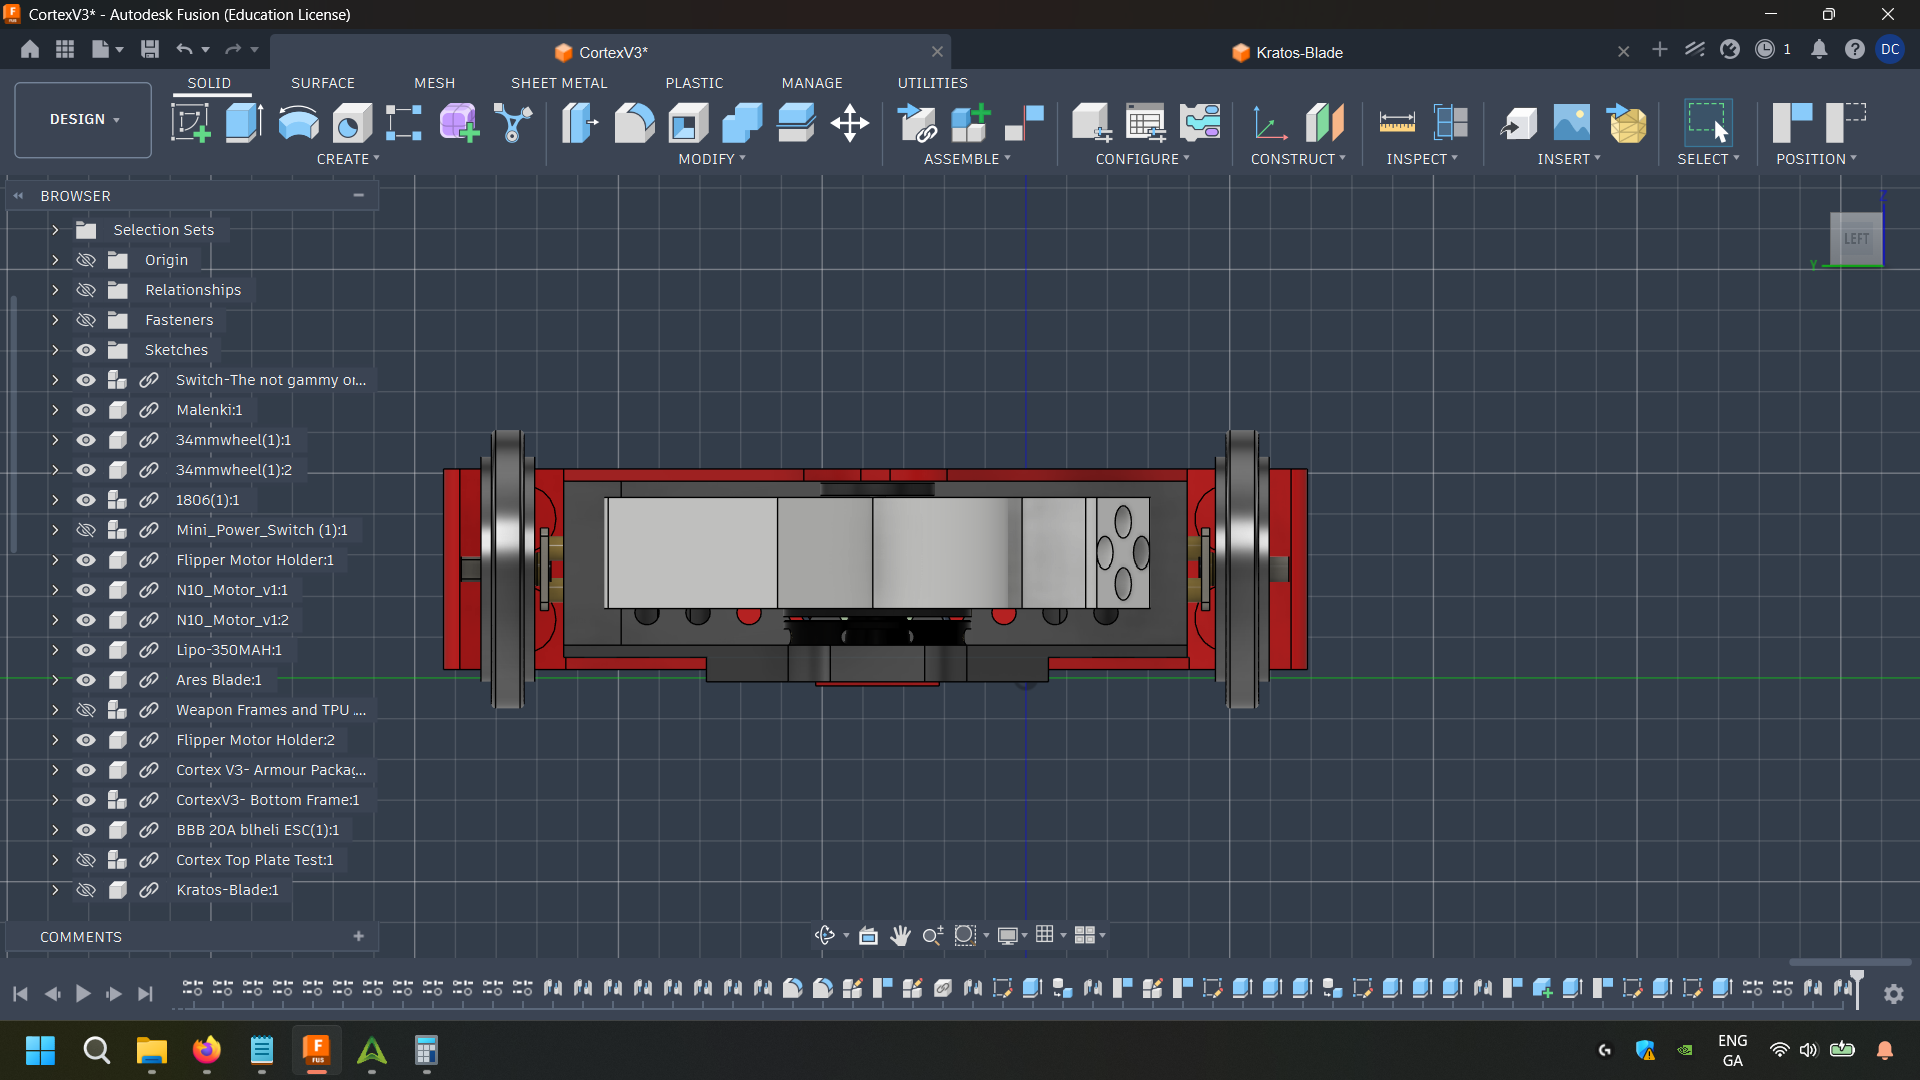
1 Composite Frame: This design features PLA+ and TPU 95A, the TPU being depicted as red and PLA as gray. Both measure 1.5mm in thickness for the most part, the main reason being TPU is god awful at holding brass threads and PLA being god awful against spinners, so why not take the best of both worlds and hopefully cancel out the downsides.

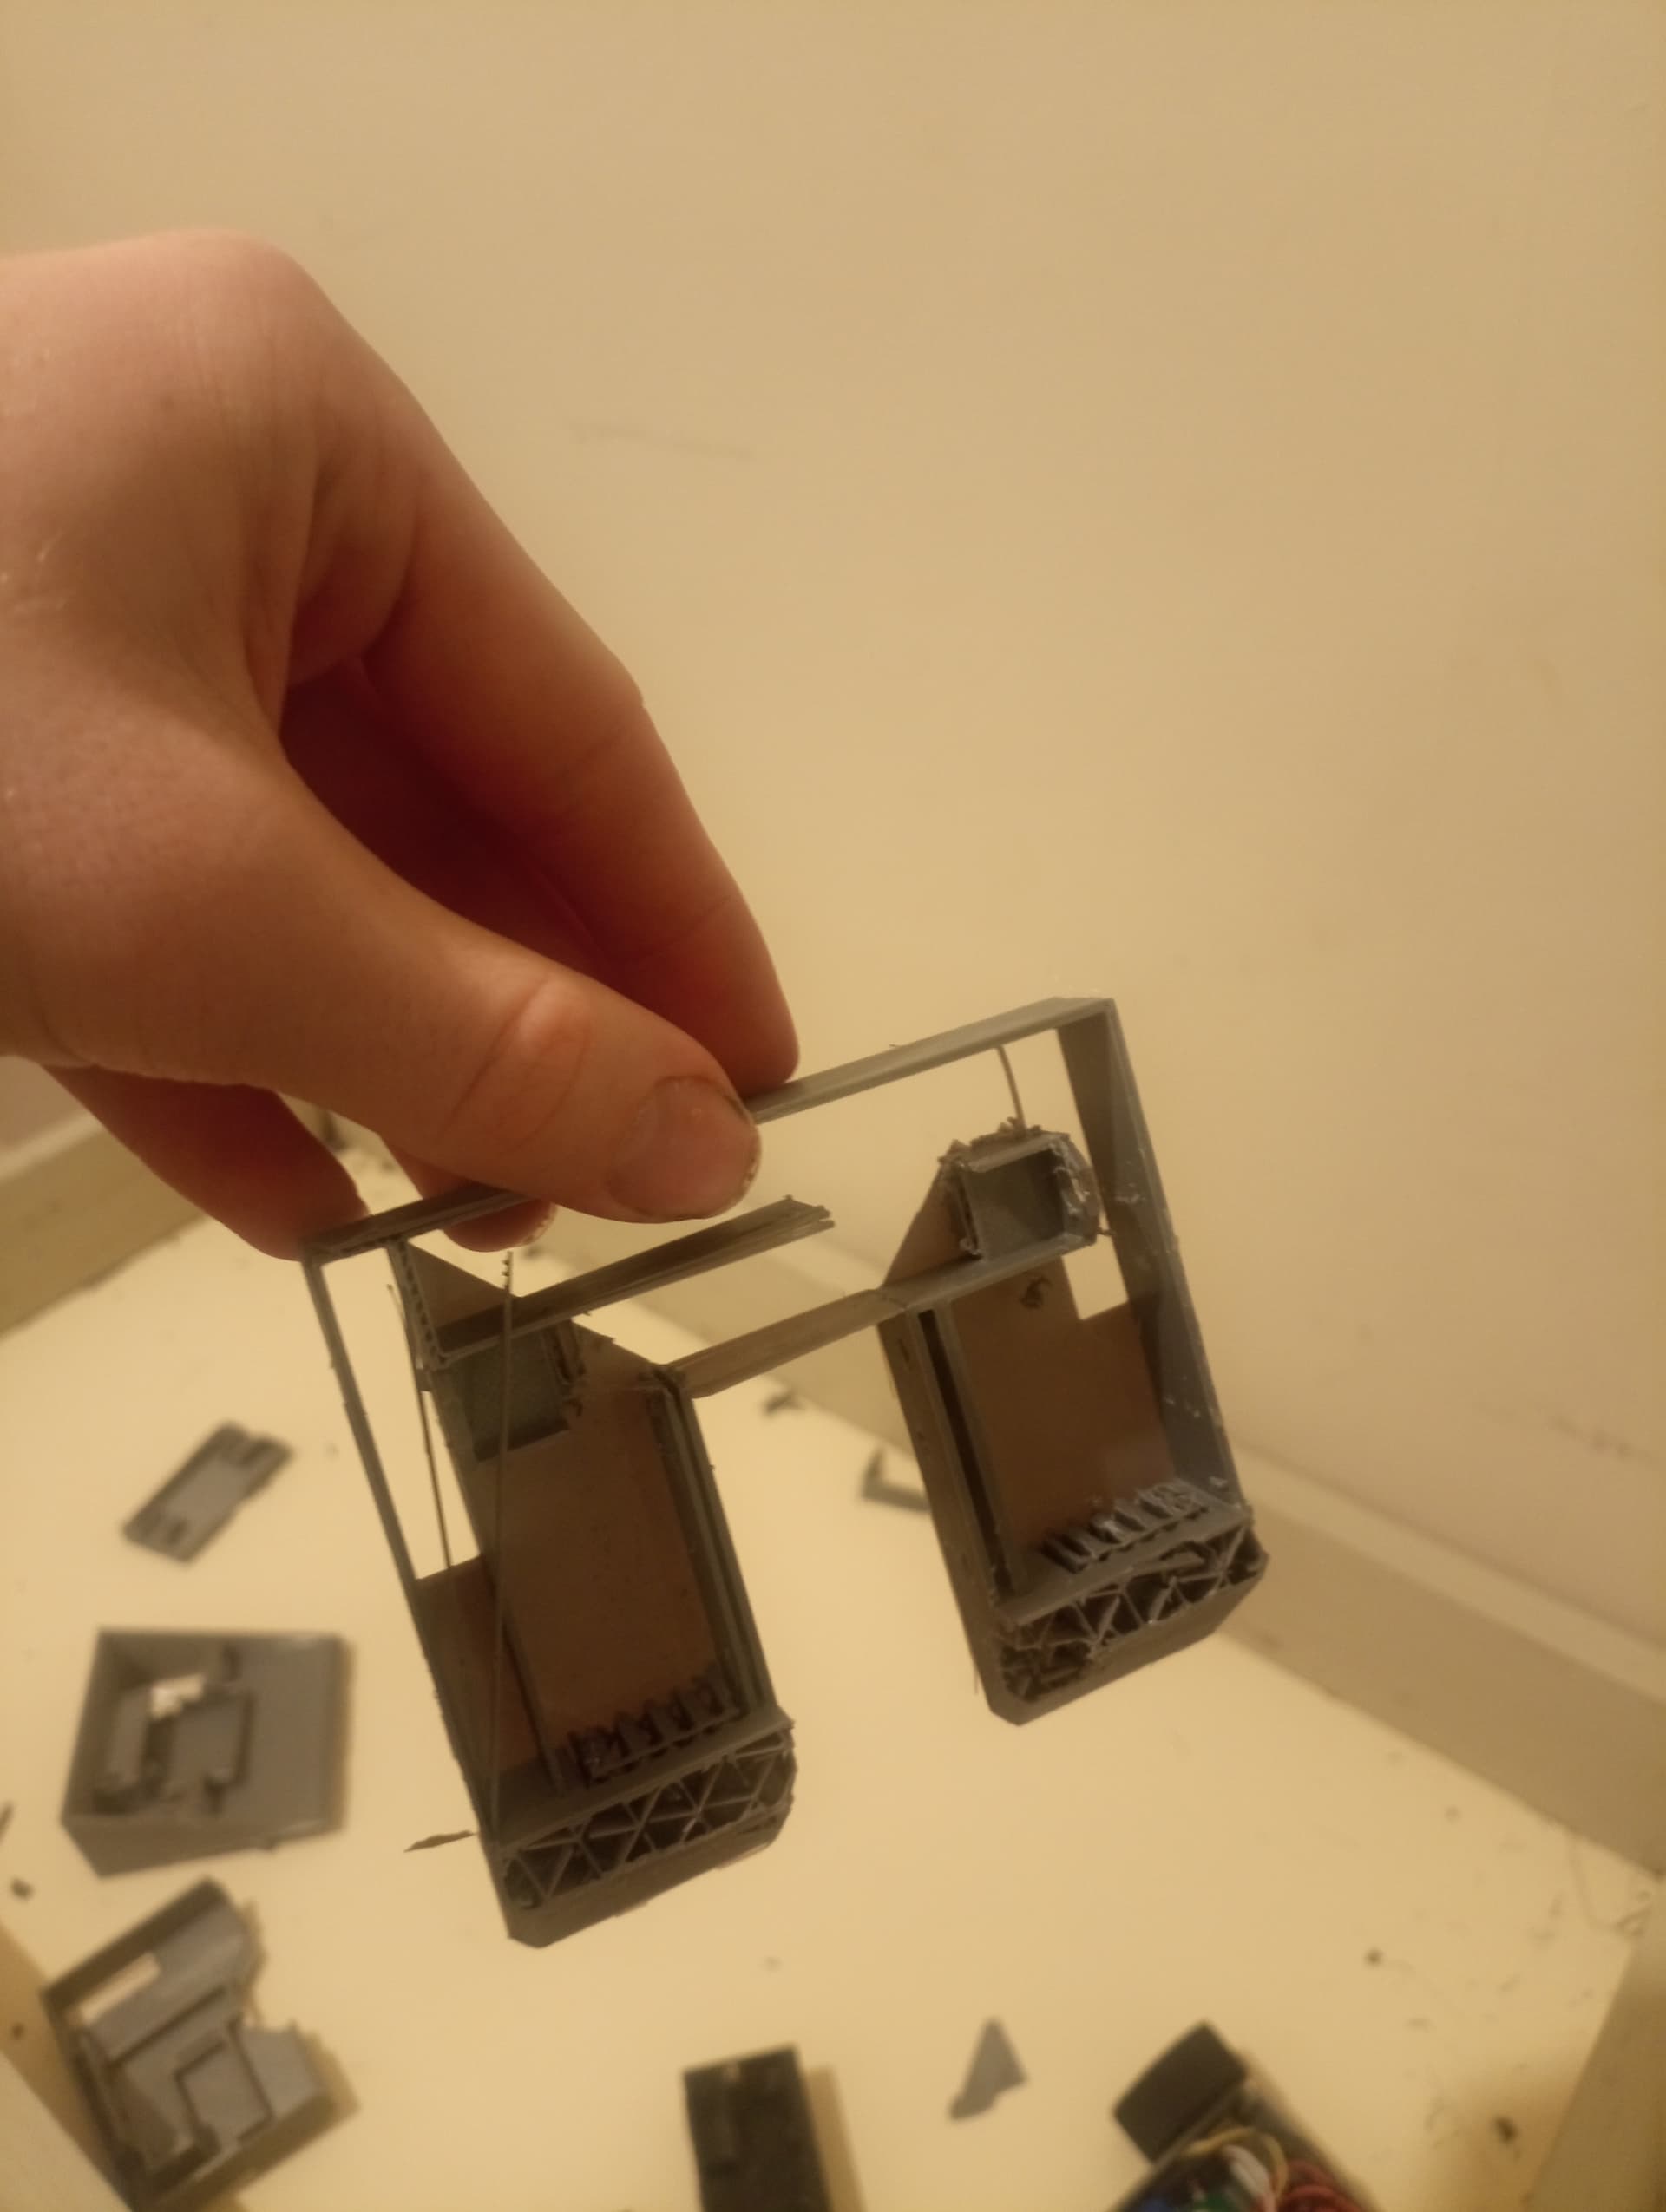
2 Wheel guards: 0% Infill TPU guards the wheels this time since after a good bit of driving with the previous version I noted how I wasn’t exactly as precise as someone like Ray Billings and the gyro got the better of the me. This TPU module also guards most of the underside:

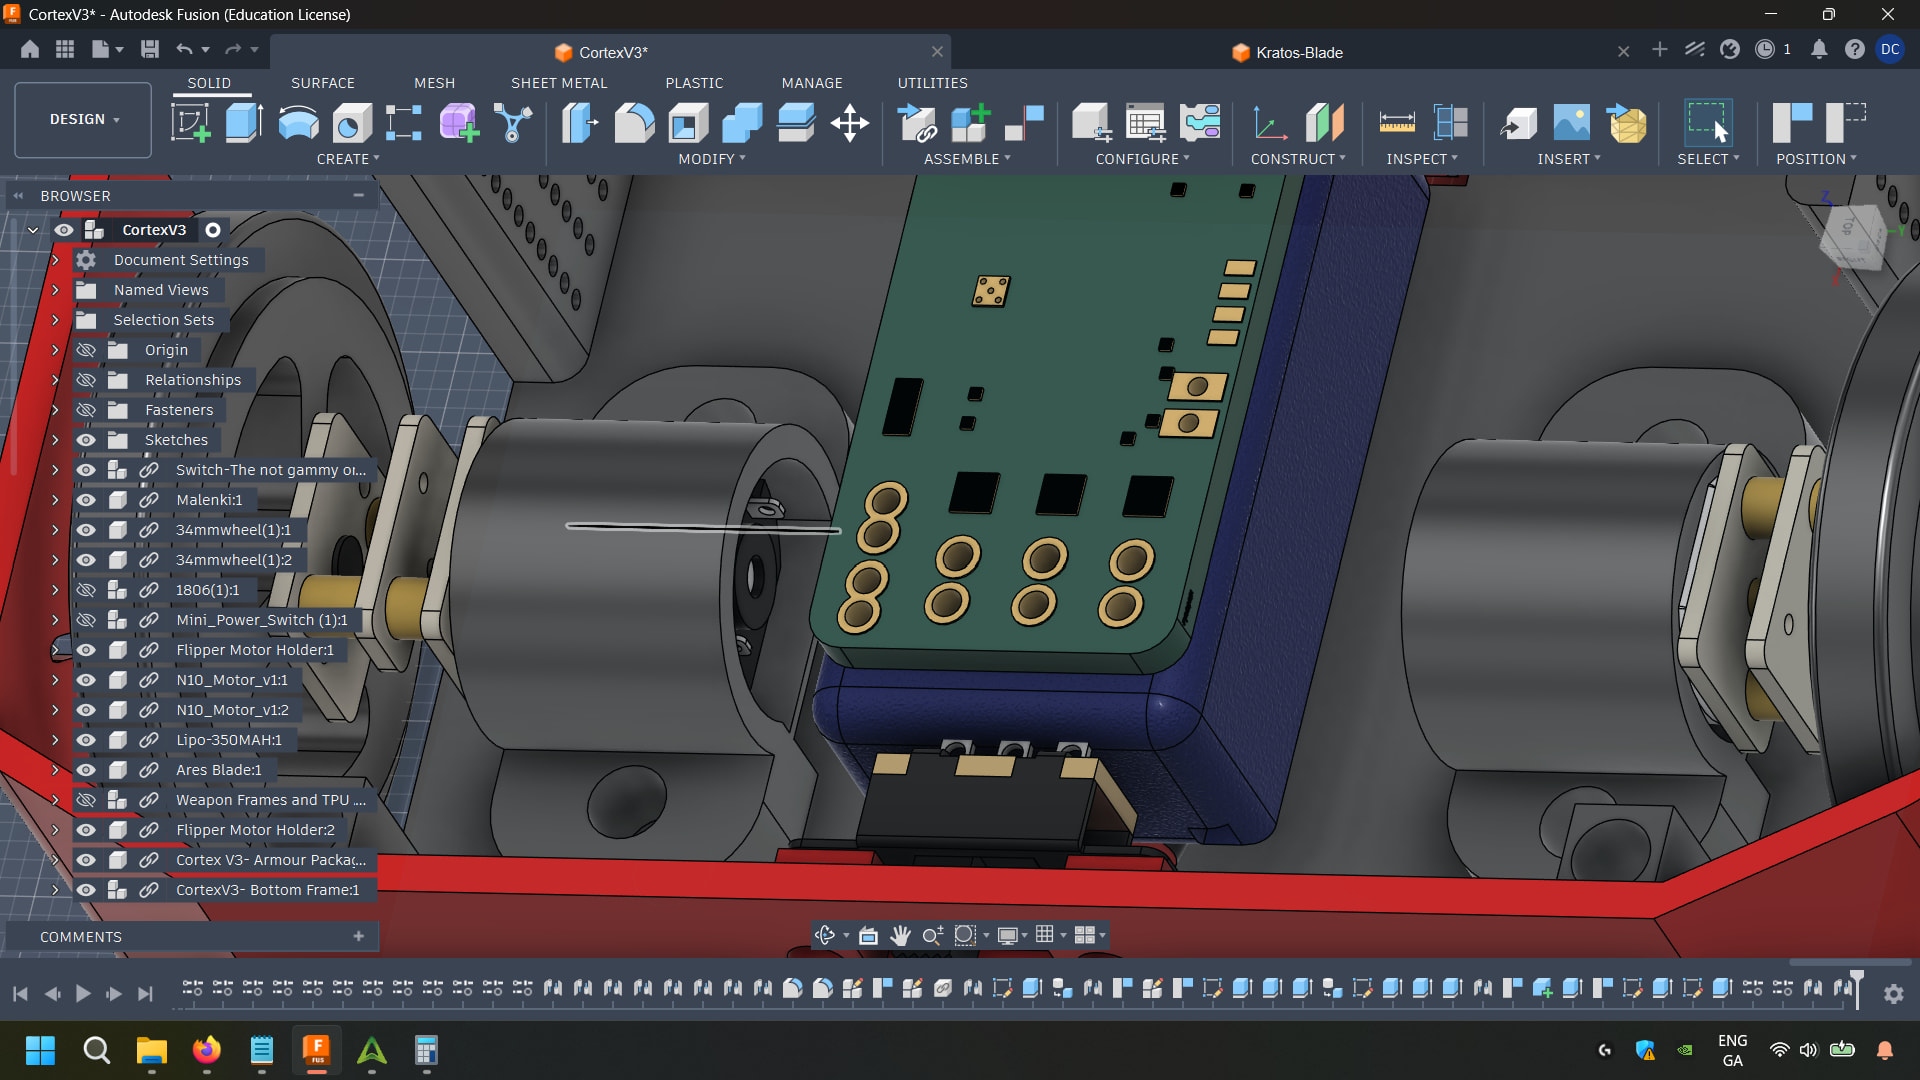
3 Weapon Motor Wire Tunnel: In the first version I simply zip tied the 2300KV’s wires onto the frame which went well…….

After this scare Ive gone for a cheeky tunnel under the chassis which will be covered with a very thin click on TPU cover, at max it will only need to take a random hit per fight assuming my blade is spinning, and if it inst spinning my least worry is that part of the robot lol.

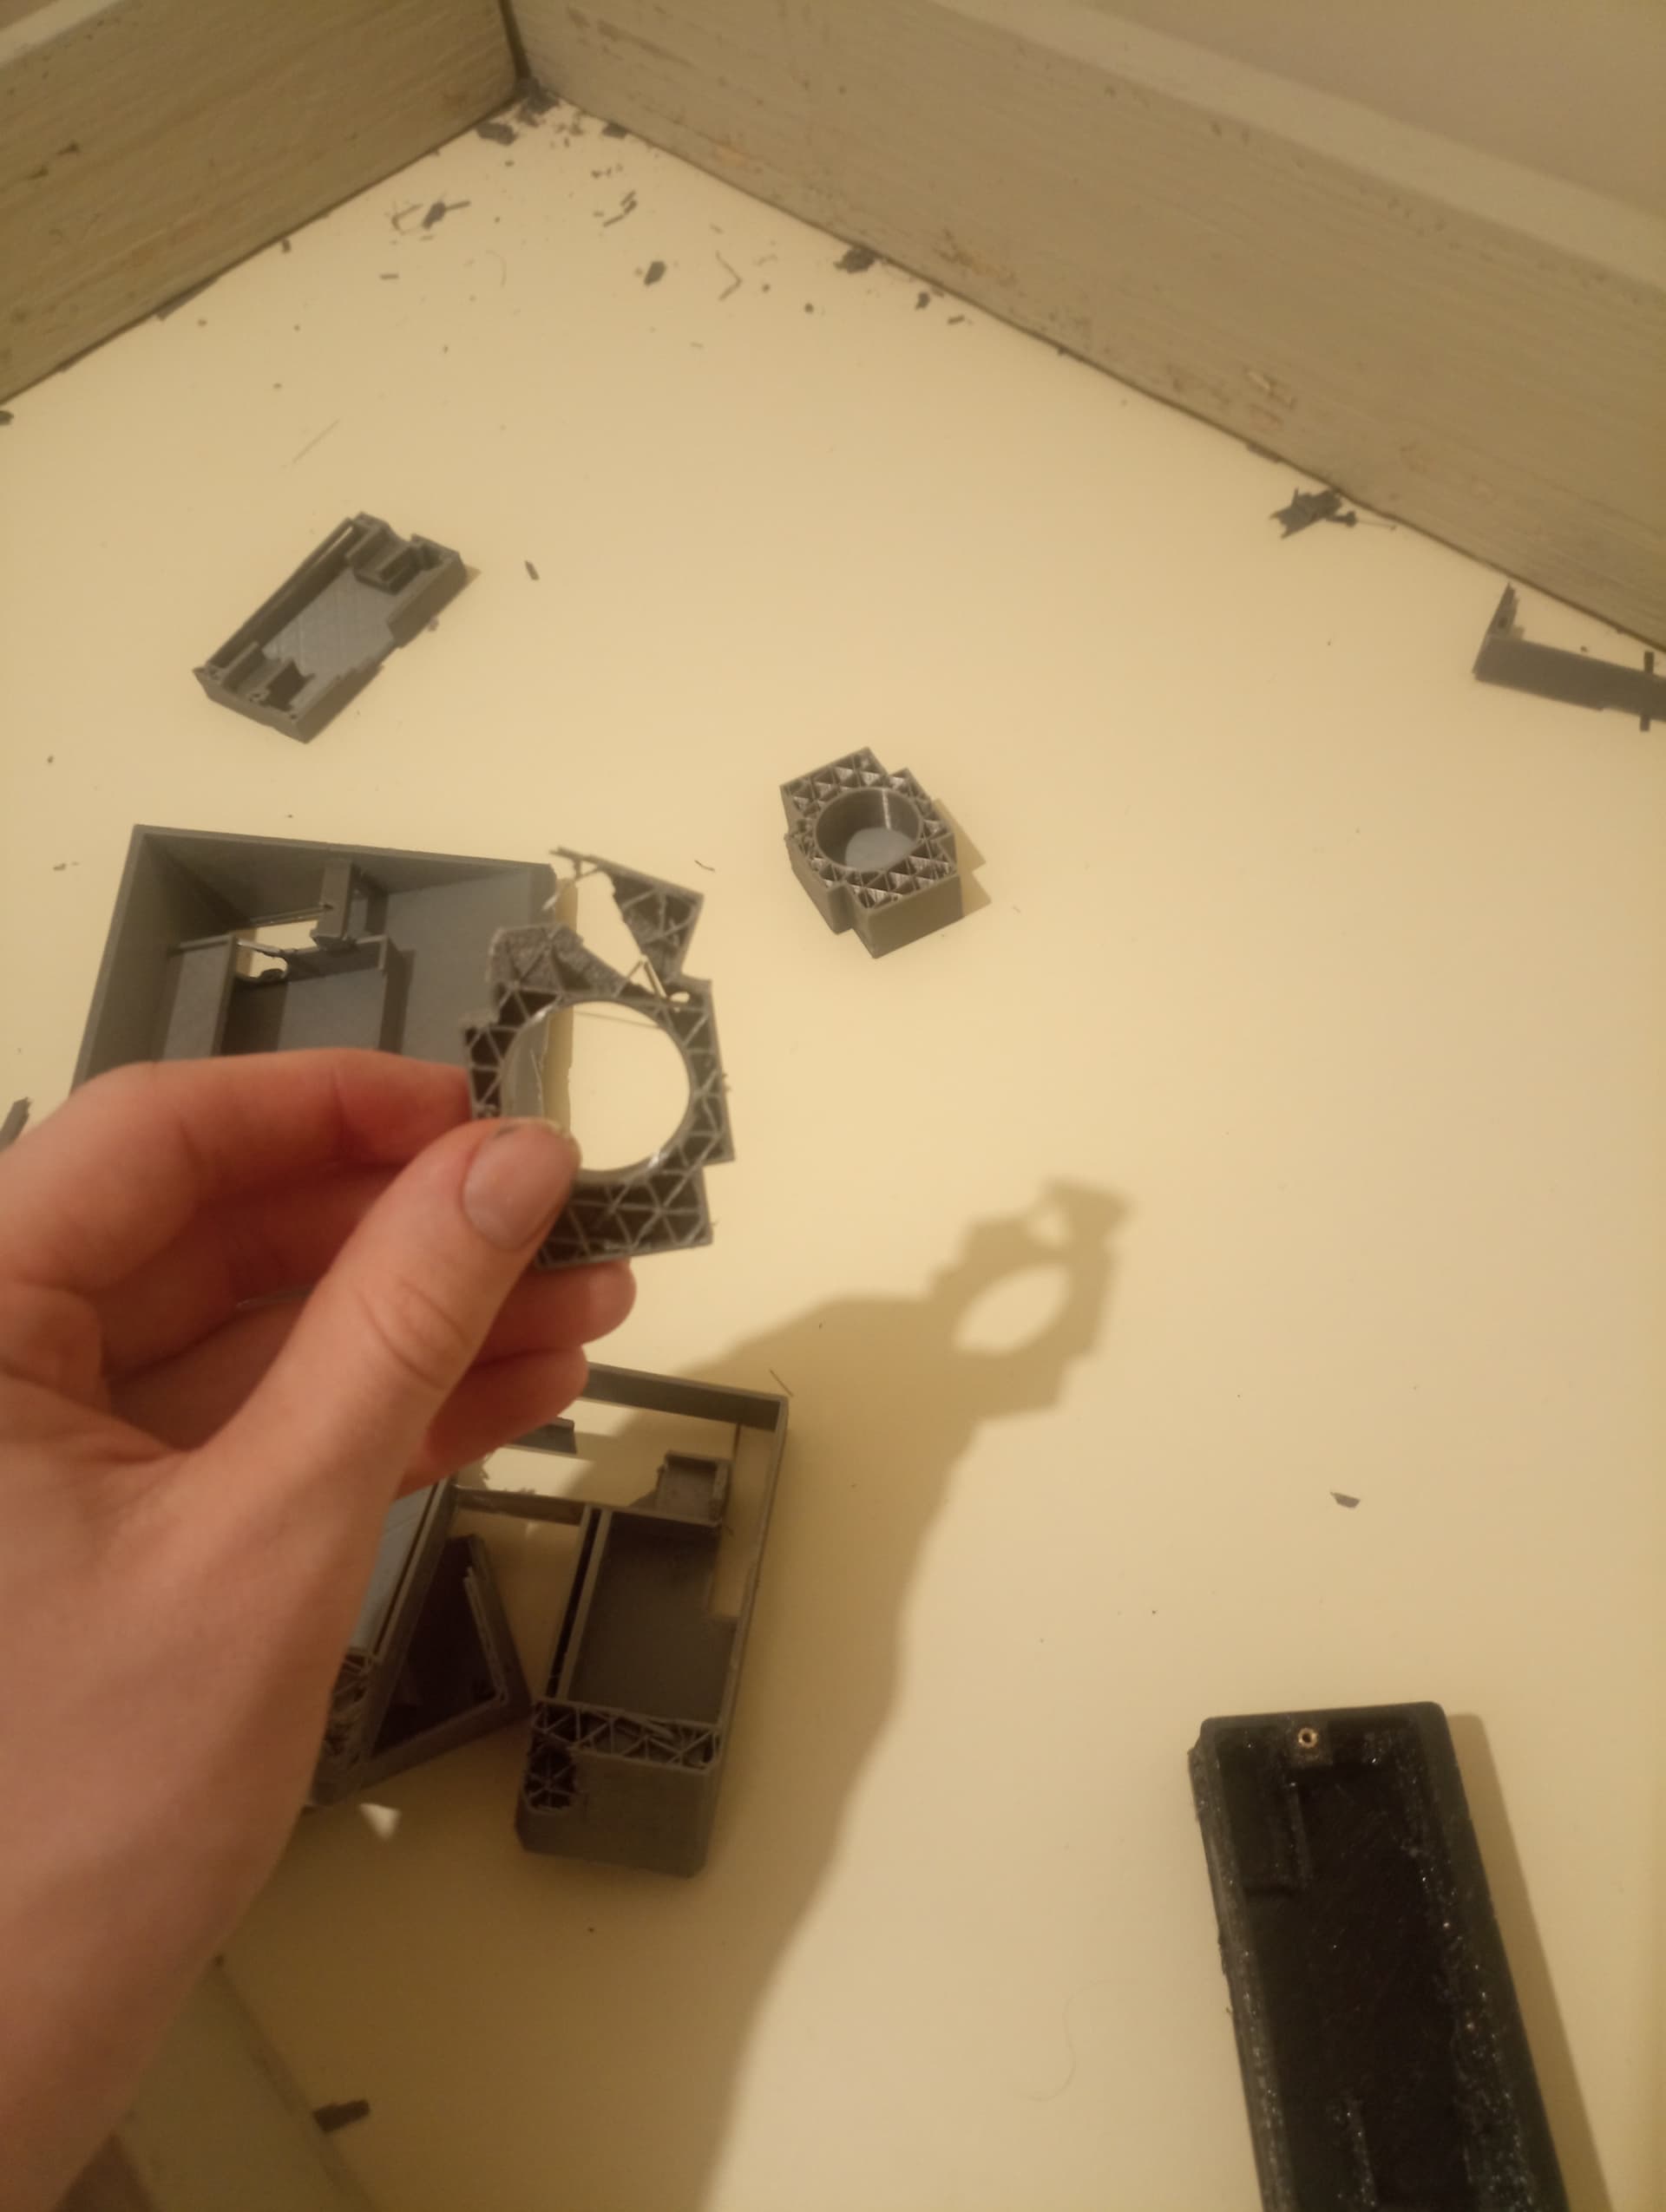
4 TPU Motor Cushion: In previous versions the vibrations from the weapon were crazy, while funny to watch my robot look like Mario after being burnt by lava in Mario Galaxy, it wasn’t very fun to control even at 70% speed, a small TPU cushion has been placed between the bottom frame the weapon motor, I’m pretty confident this will yield results since I did a similar thing with my leaving cert project with the same motors.

5 Weapon Configs: Now we are getting to the tasty part, and Ive gone to have 3 weapon bars, which will make this machine suitable for both PLANT and Full Combat classes respectively,

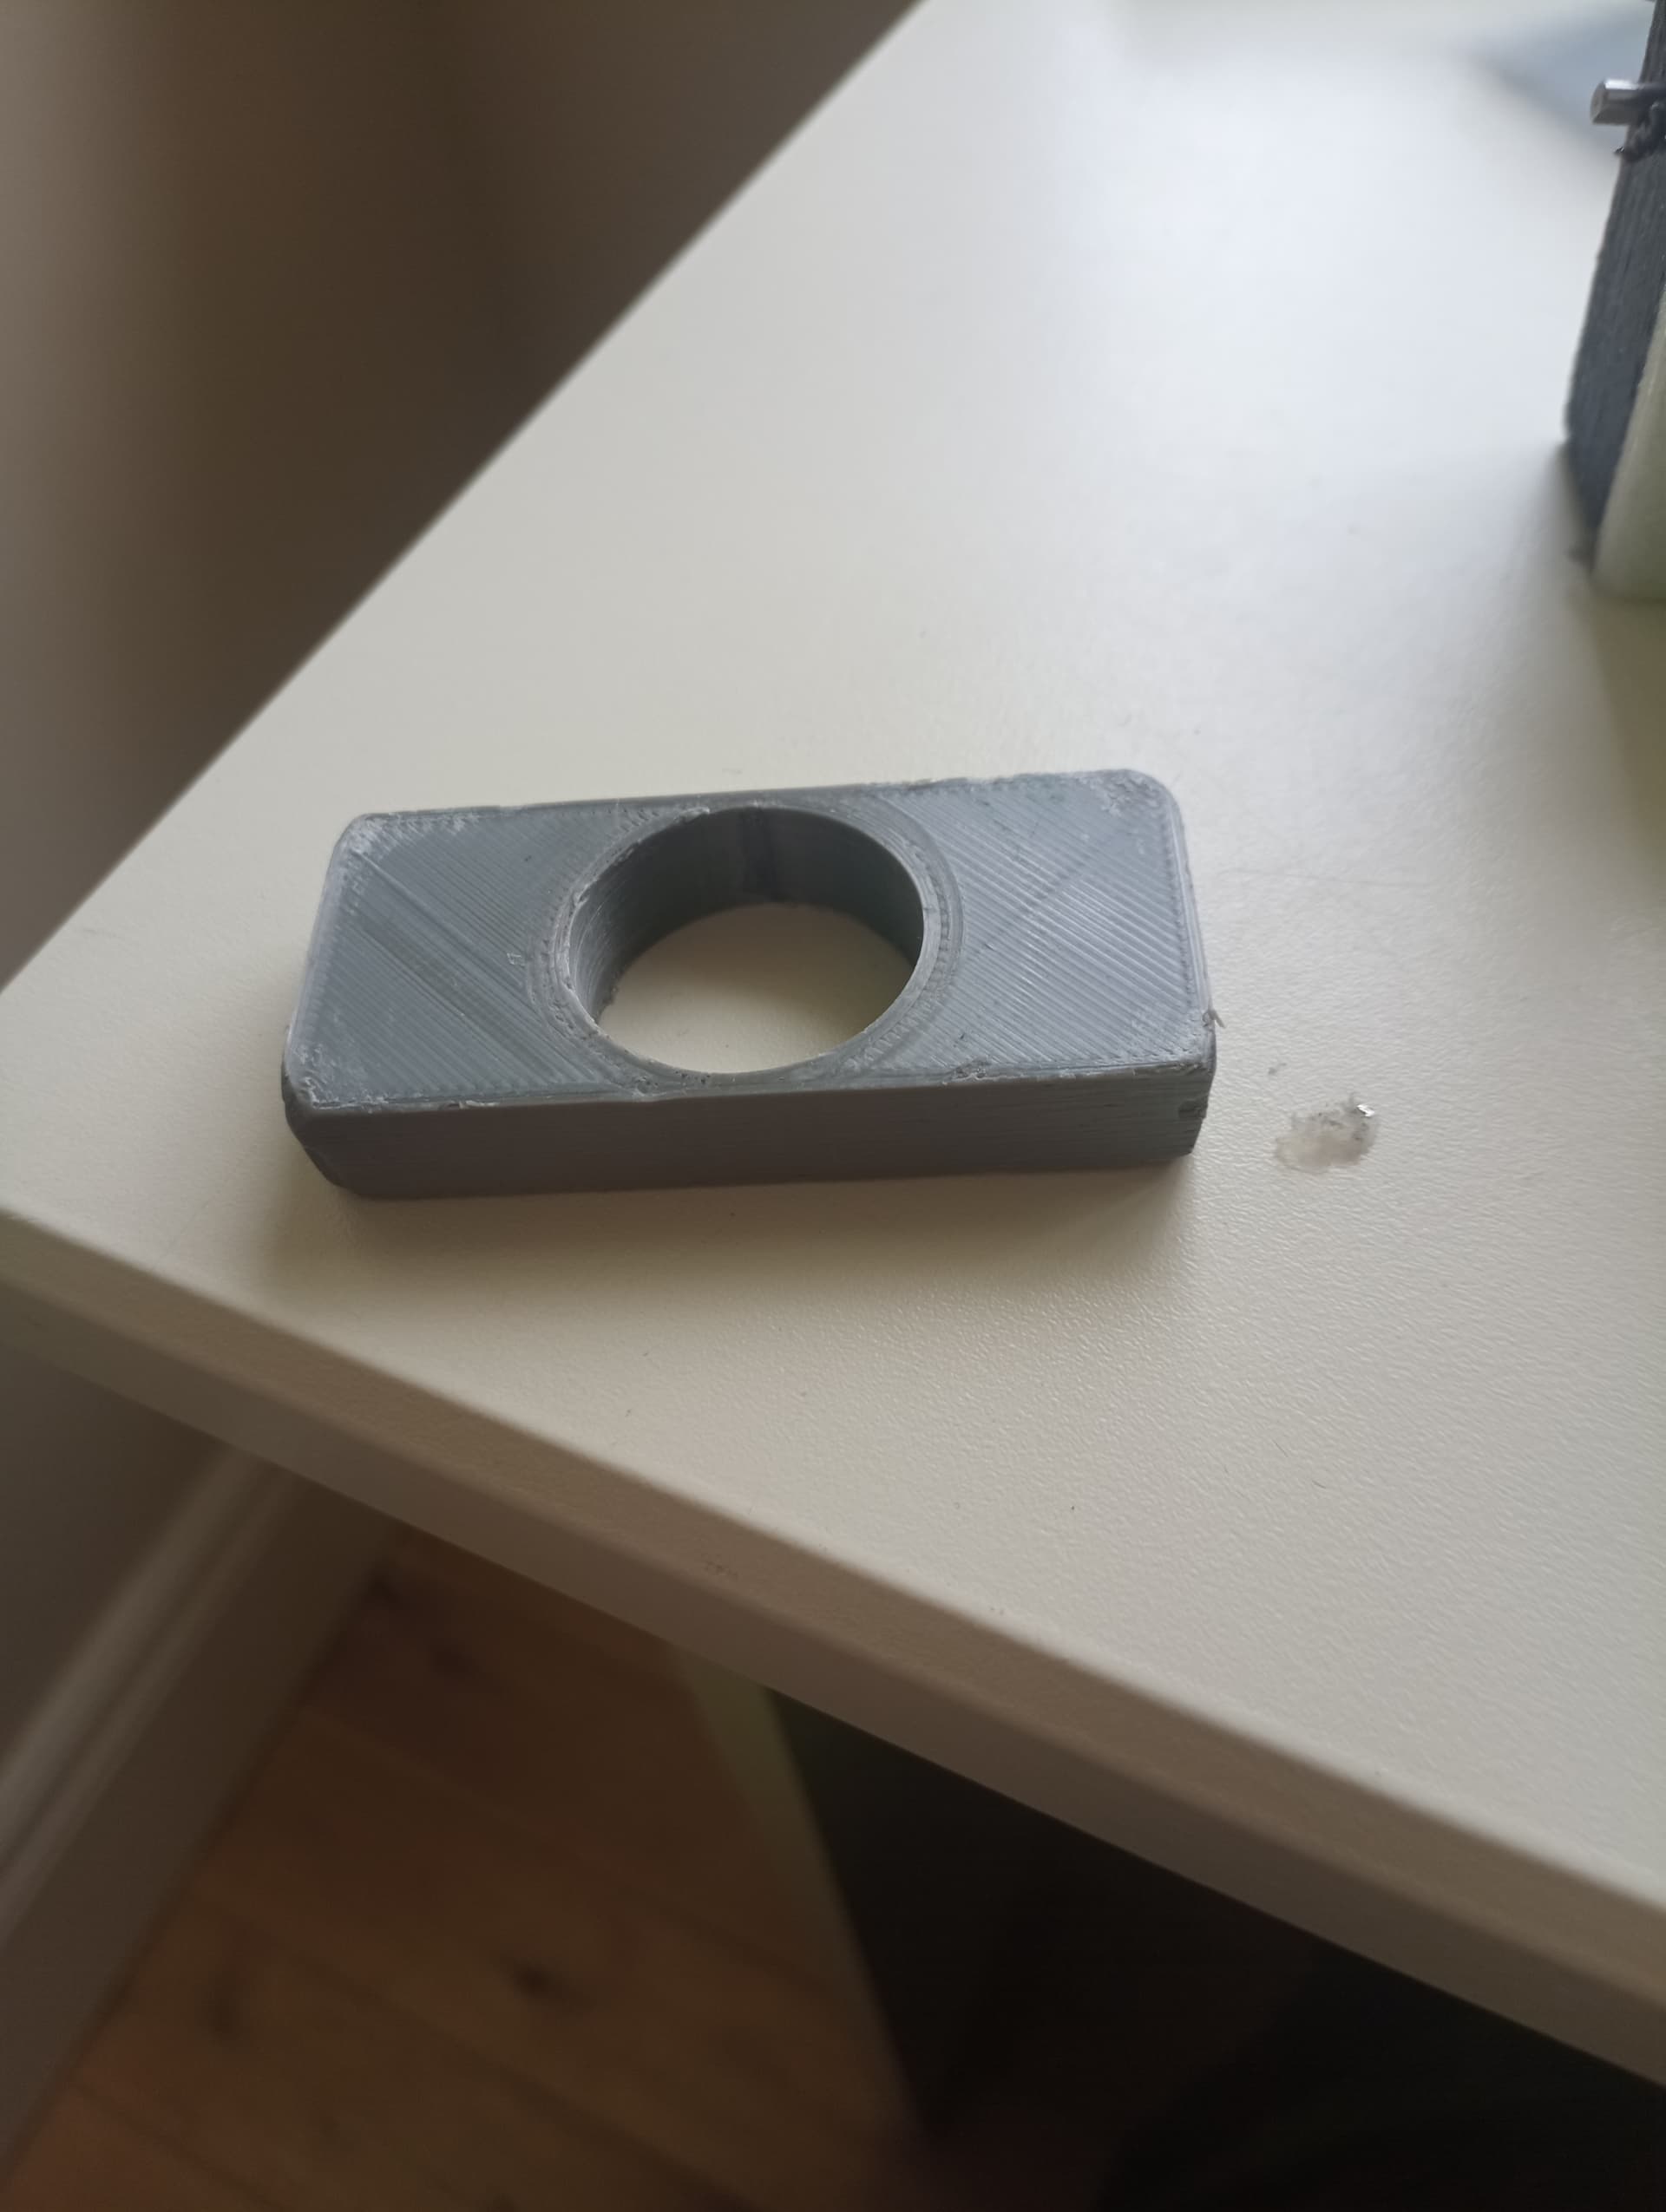
Config1-PLANT: For the PLANT, I have gone with a extremely chunky PLA++ bar, with the option of M3 screws to be embedded in for bite, (Note : I’m assuming this is certainly not allowed in PLANT contests maybe Ill try one in a whiteboard match one day, just thought of the idea for the memes).

Stats: With a spinning diameter of 75mm and a weight of approx 50g (weapon motor included here), we are talking around 26.7 joules at 170mph. I will have to conduct testing on the bite vs rpm in this setup but on paper I’m happy with these figures for a PLANT Config

Config2-PLANT-Anti-TPU (Theory): Now if there is one thing I’m not a fan of its the abuse of the pin-rule, of course its not the fault of the builder/driver the rule is just a bit flawed in certain comps, it just can be a bit boring to watch, typically these bots are all TPU so my idea to counter is compass points….. hear me out.

The attachment process to the blade is a WIP, and I will ask for some guidance on the viability of this. The idea is simple, attach sharp compass points to the blade depicted above and those points will puncture the TPU, however if it gets lodged in the TPU the electronic stack is going to get cooked medium rare.

Config3-COMBAT: This blade has yet to be designed, will update once completed.

6 Miscellaneous Features: Other small details include

  • Switch and Light addition
  • Lip on the bottom frame to further reduce vibrations
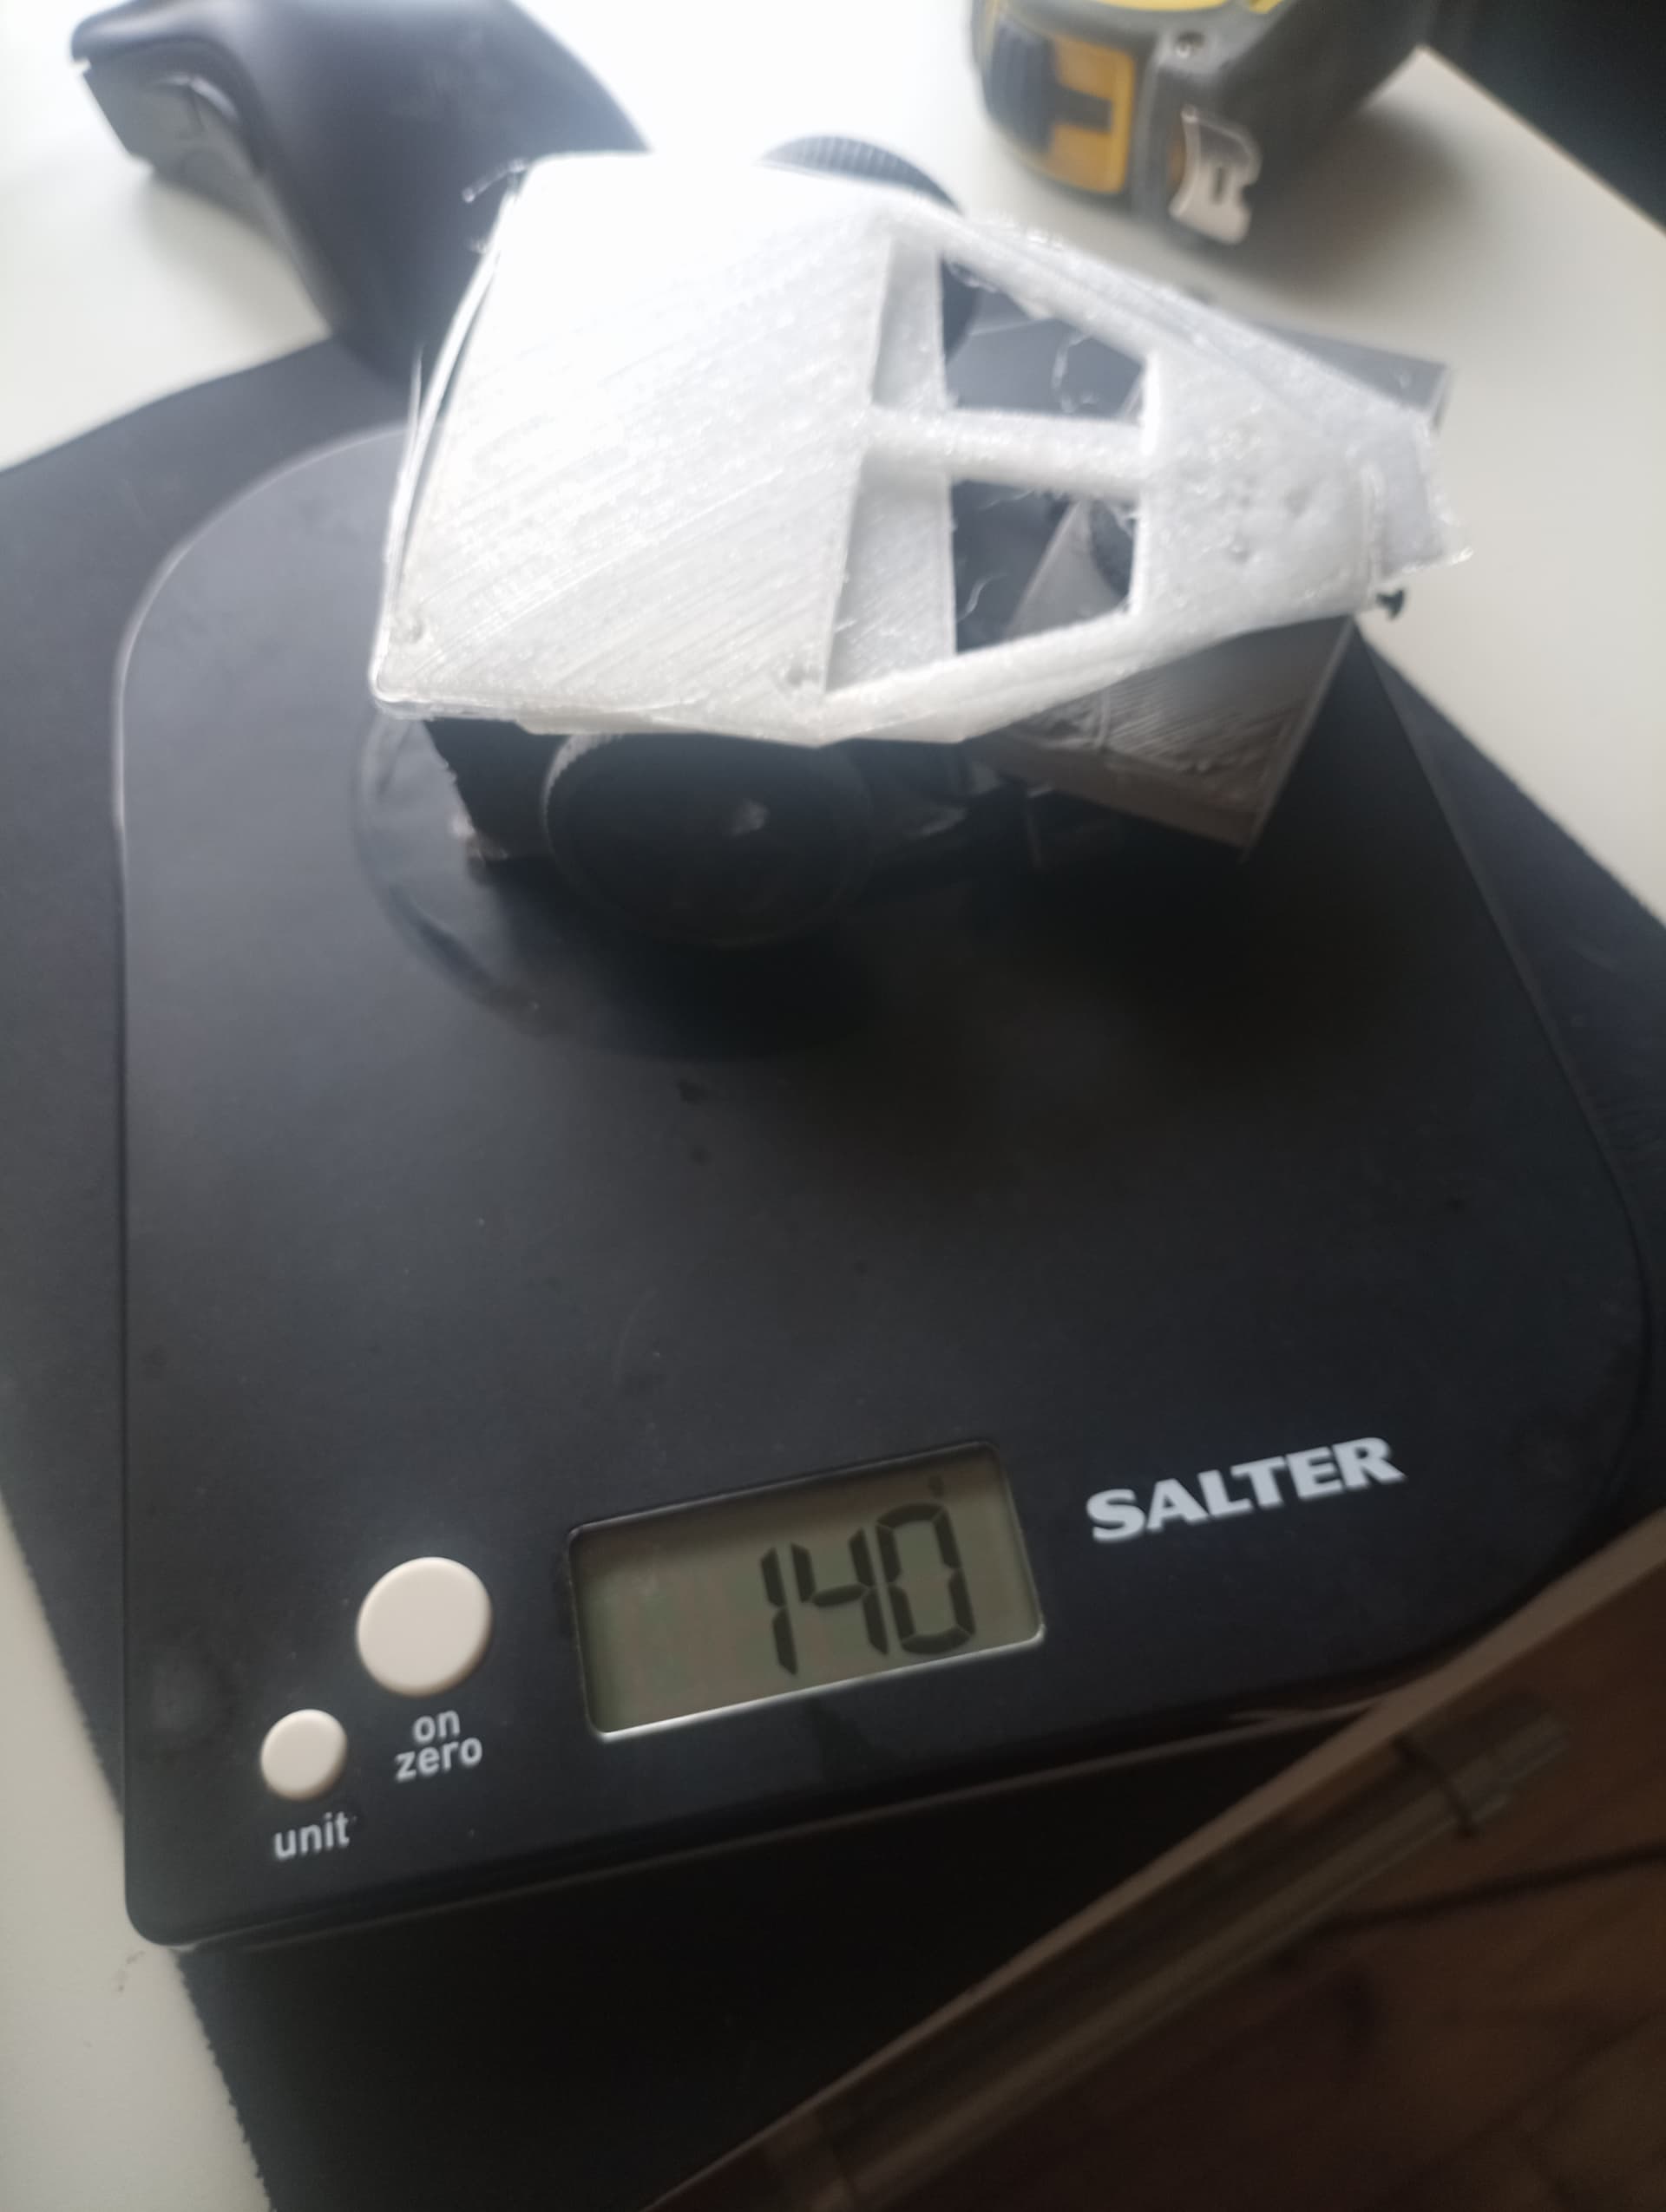
  • Detailing the top plate and back plate etc
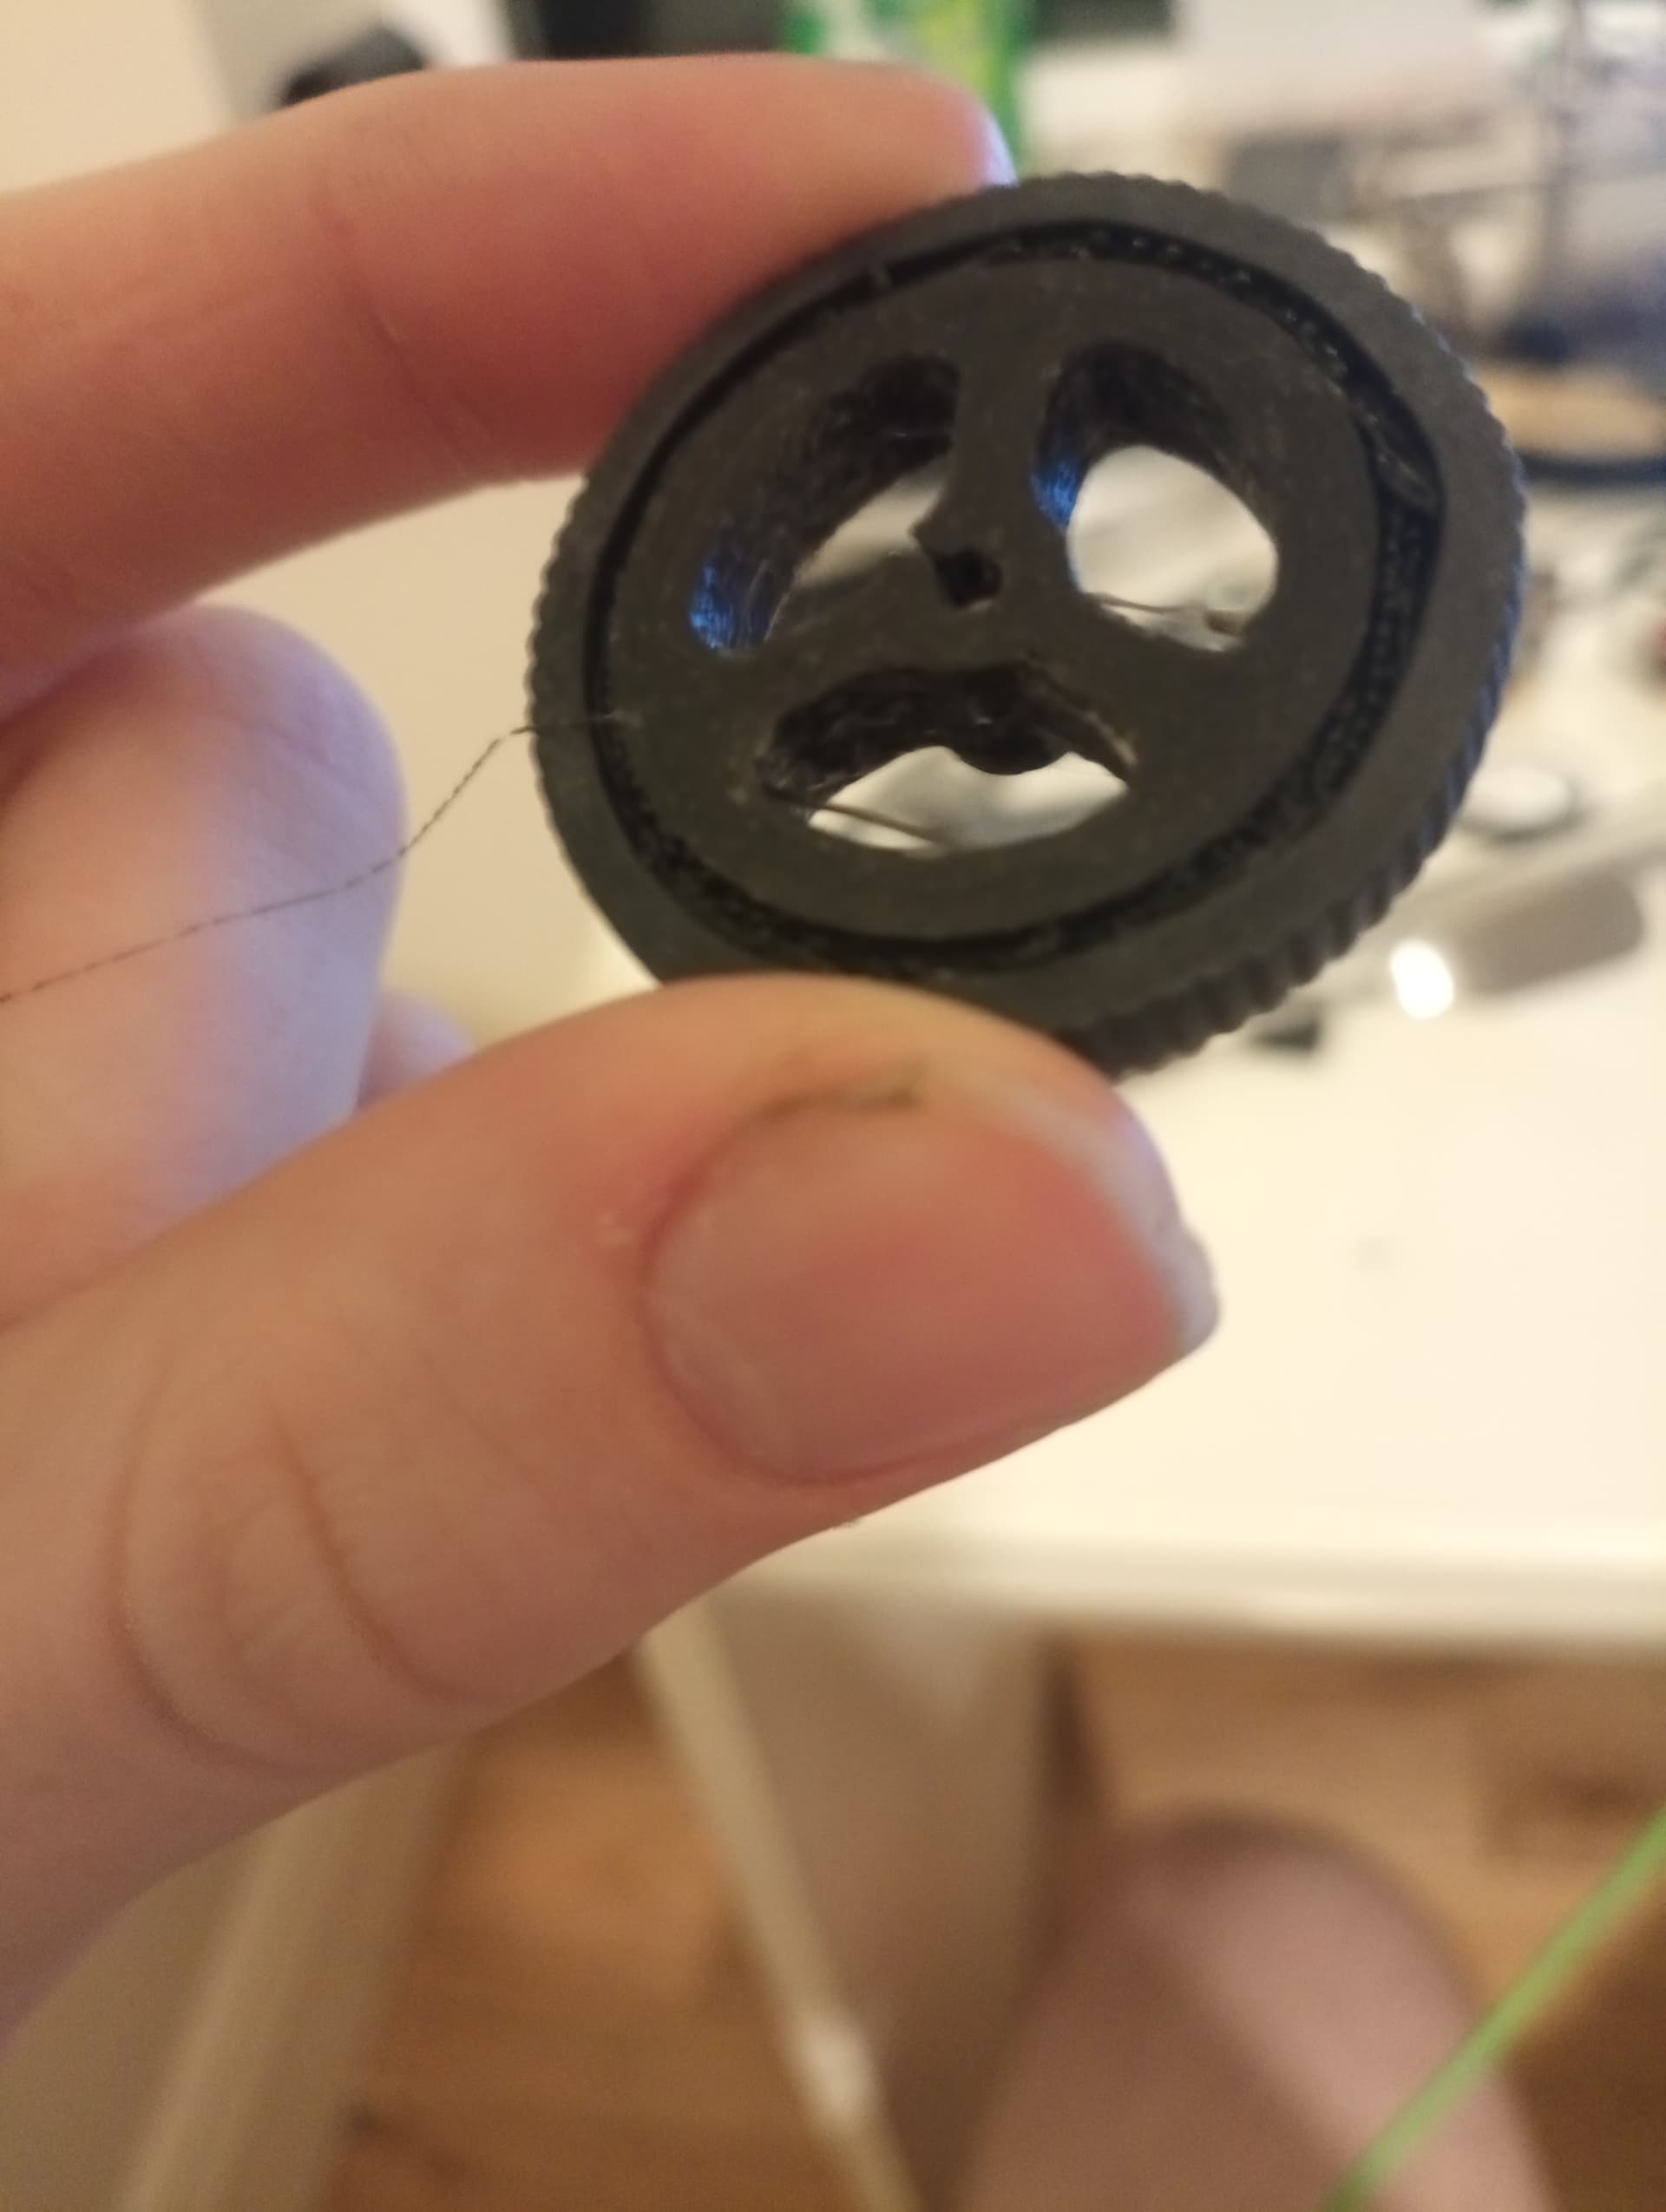
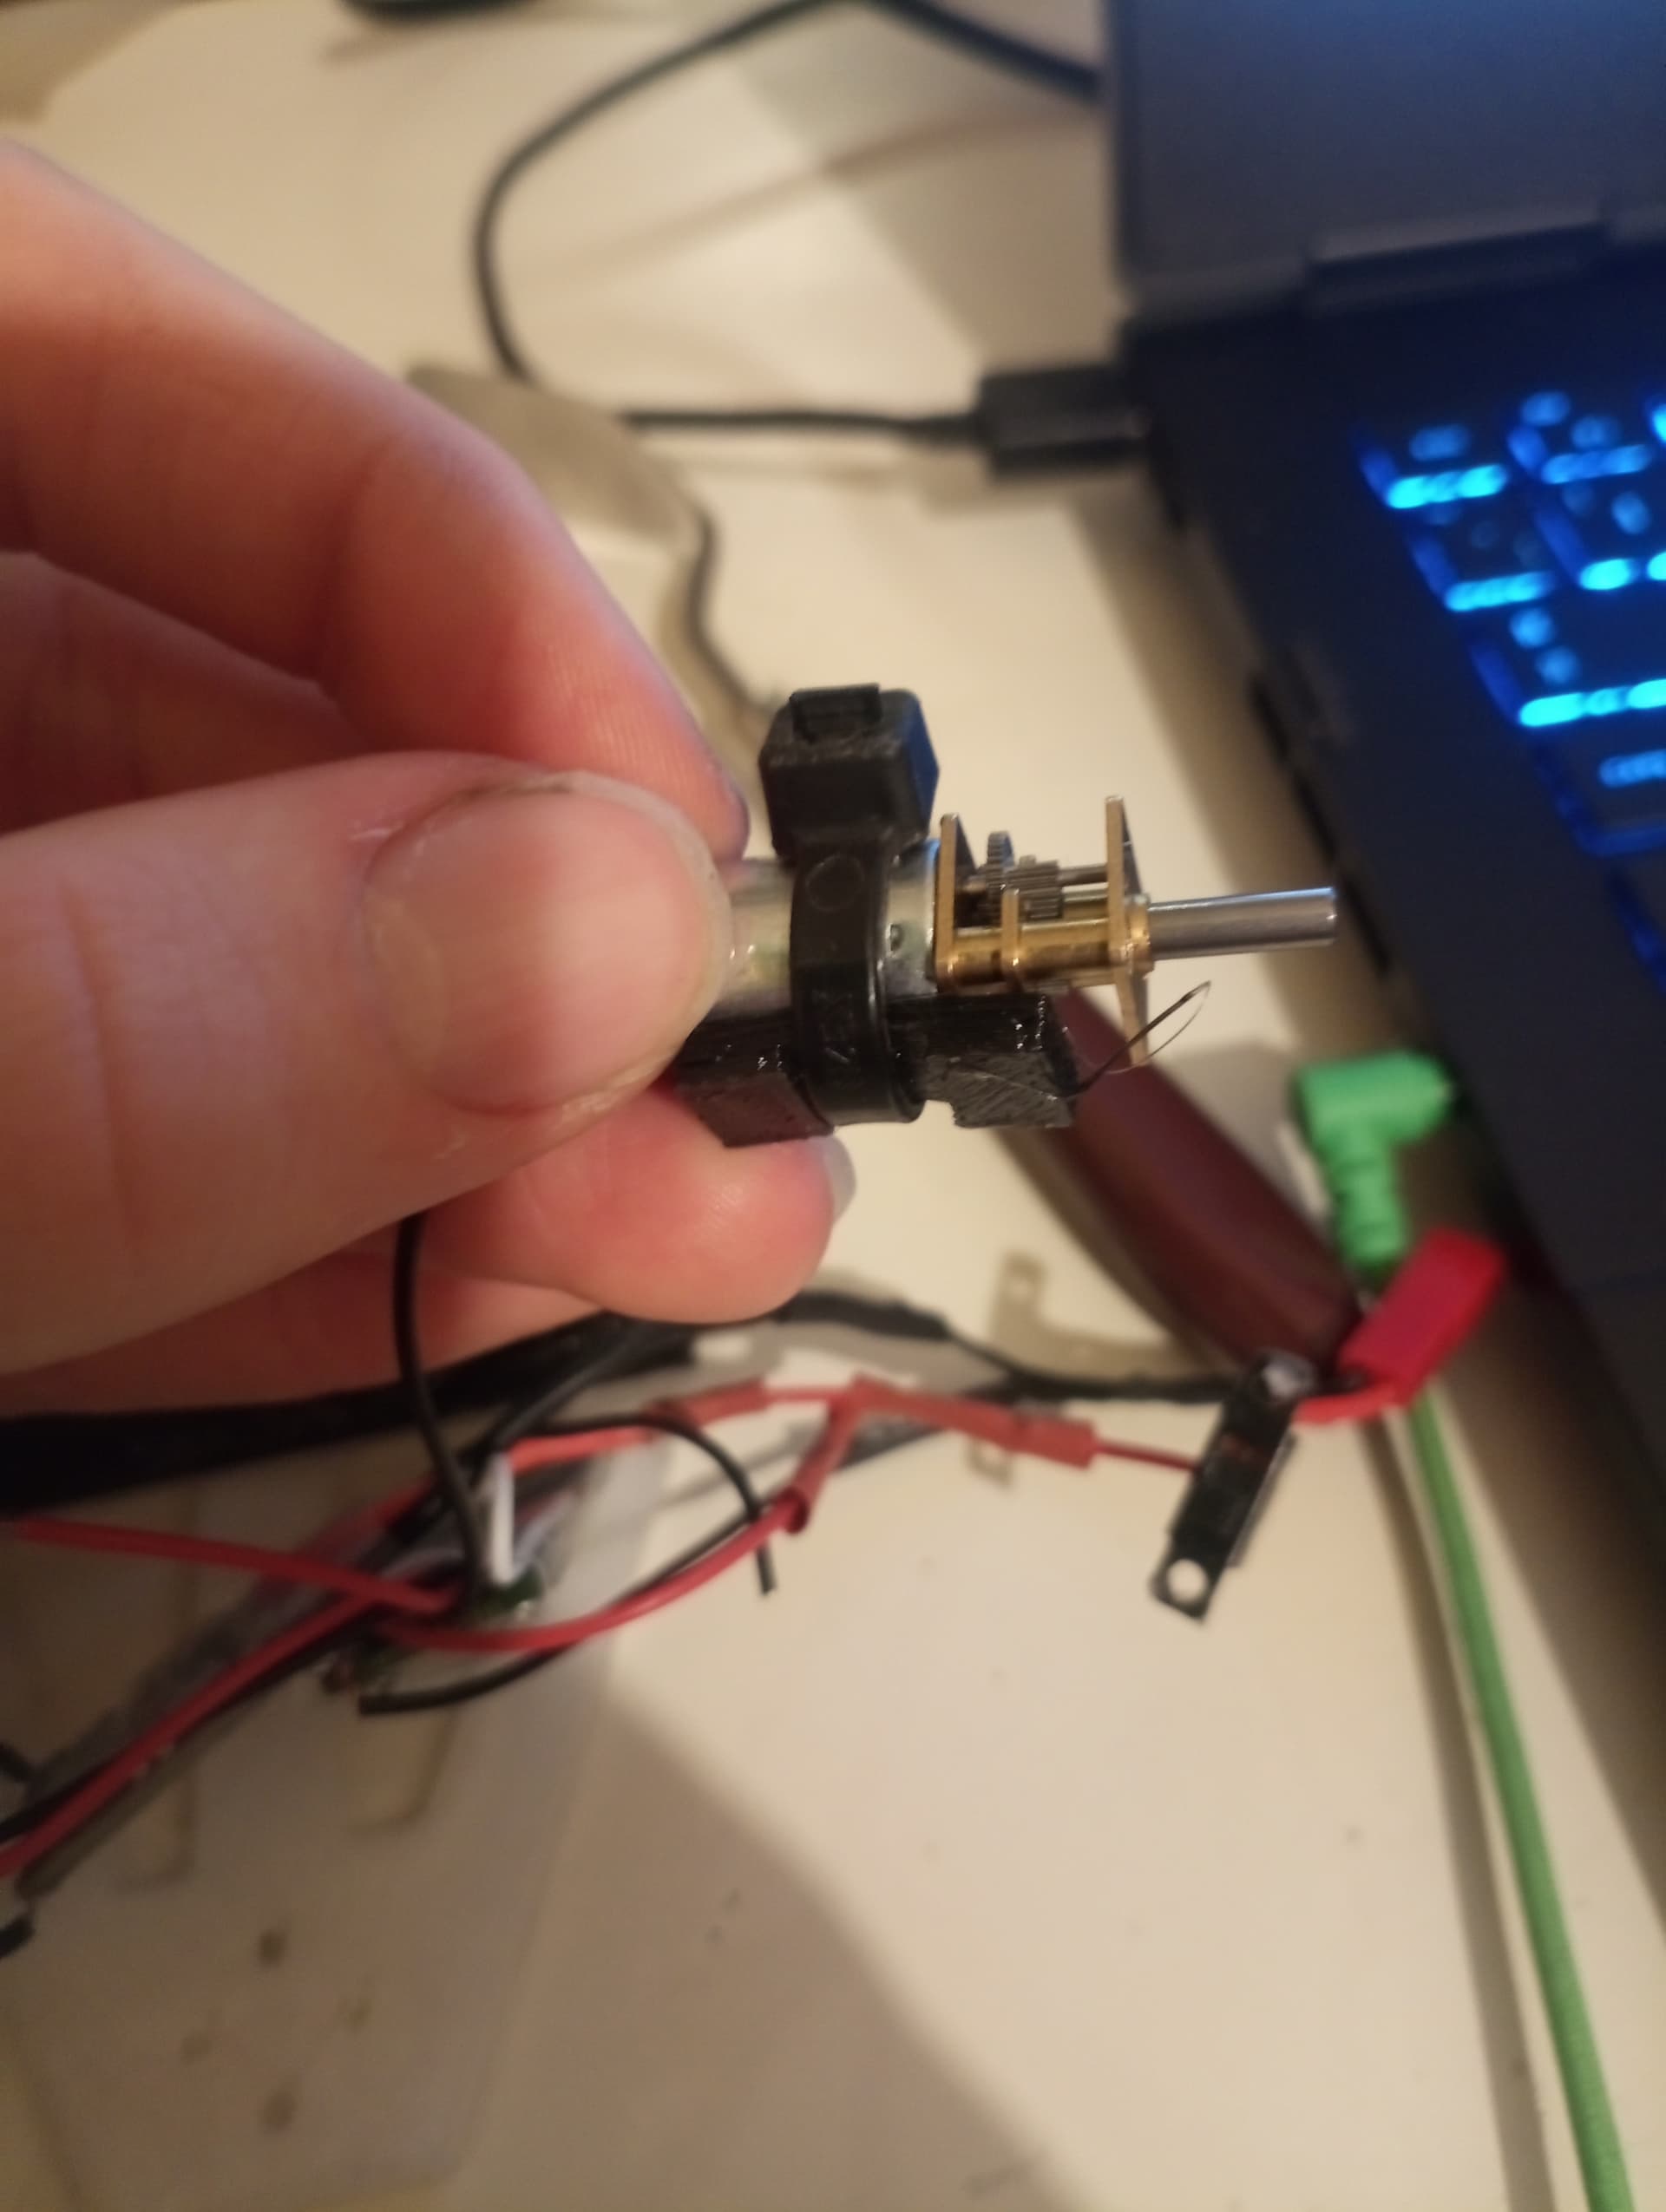
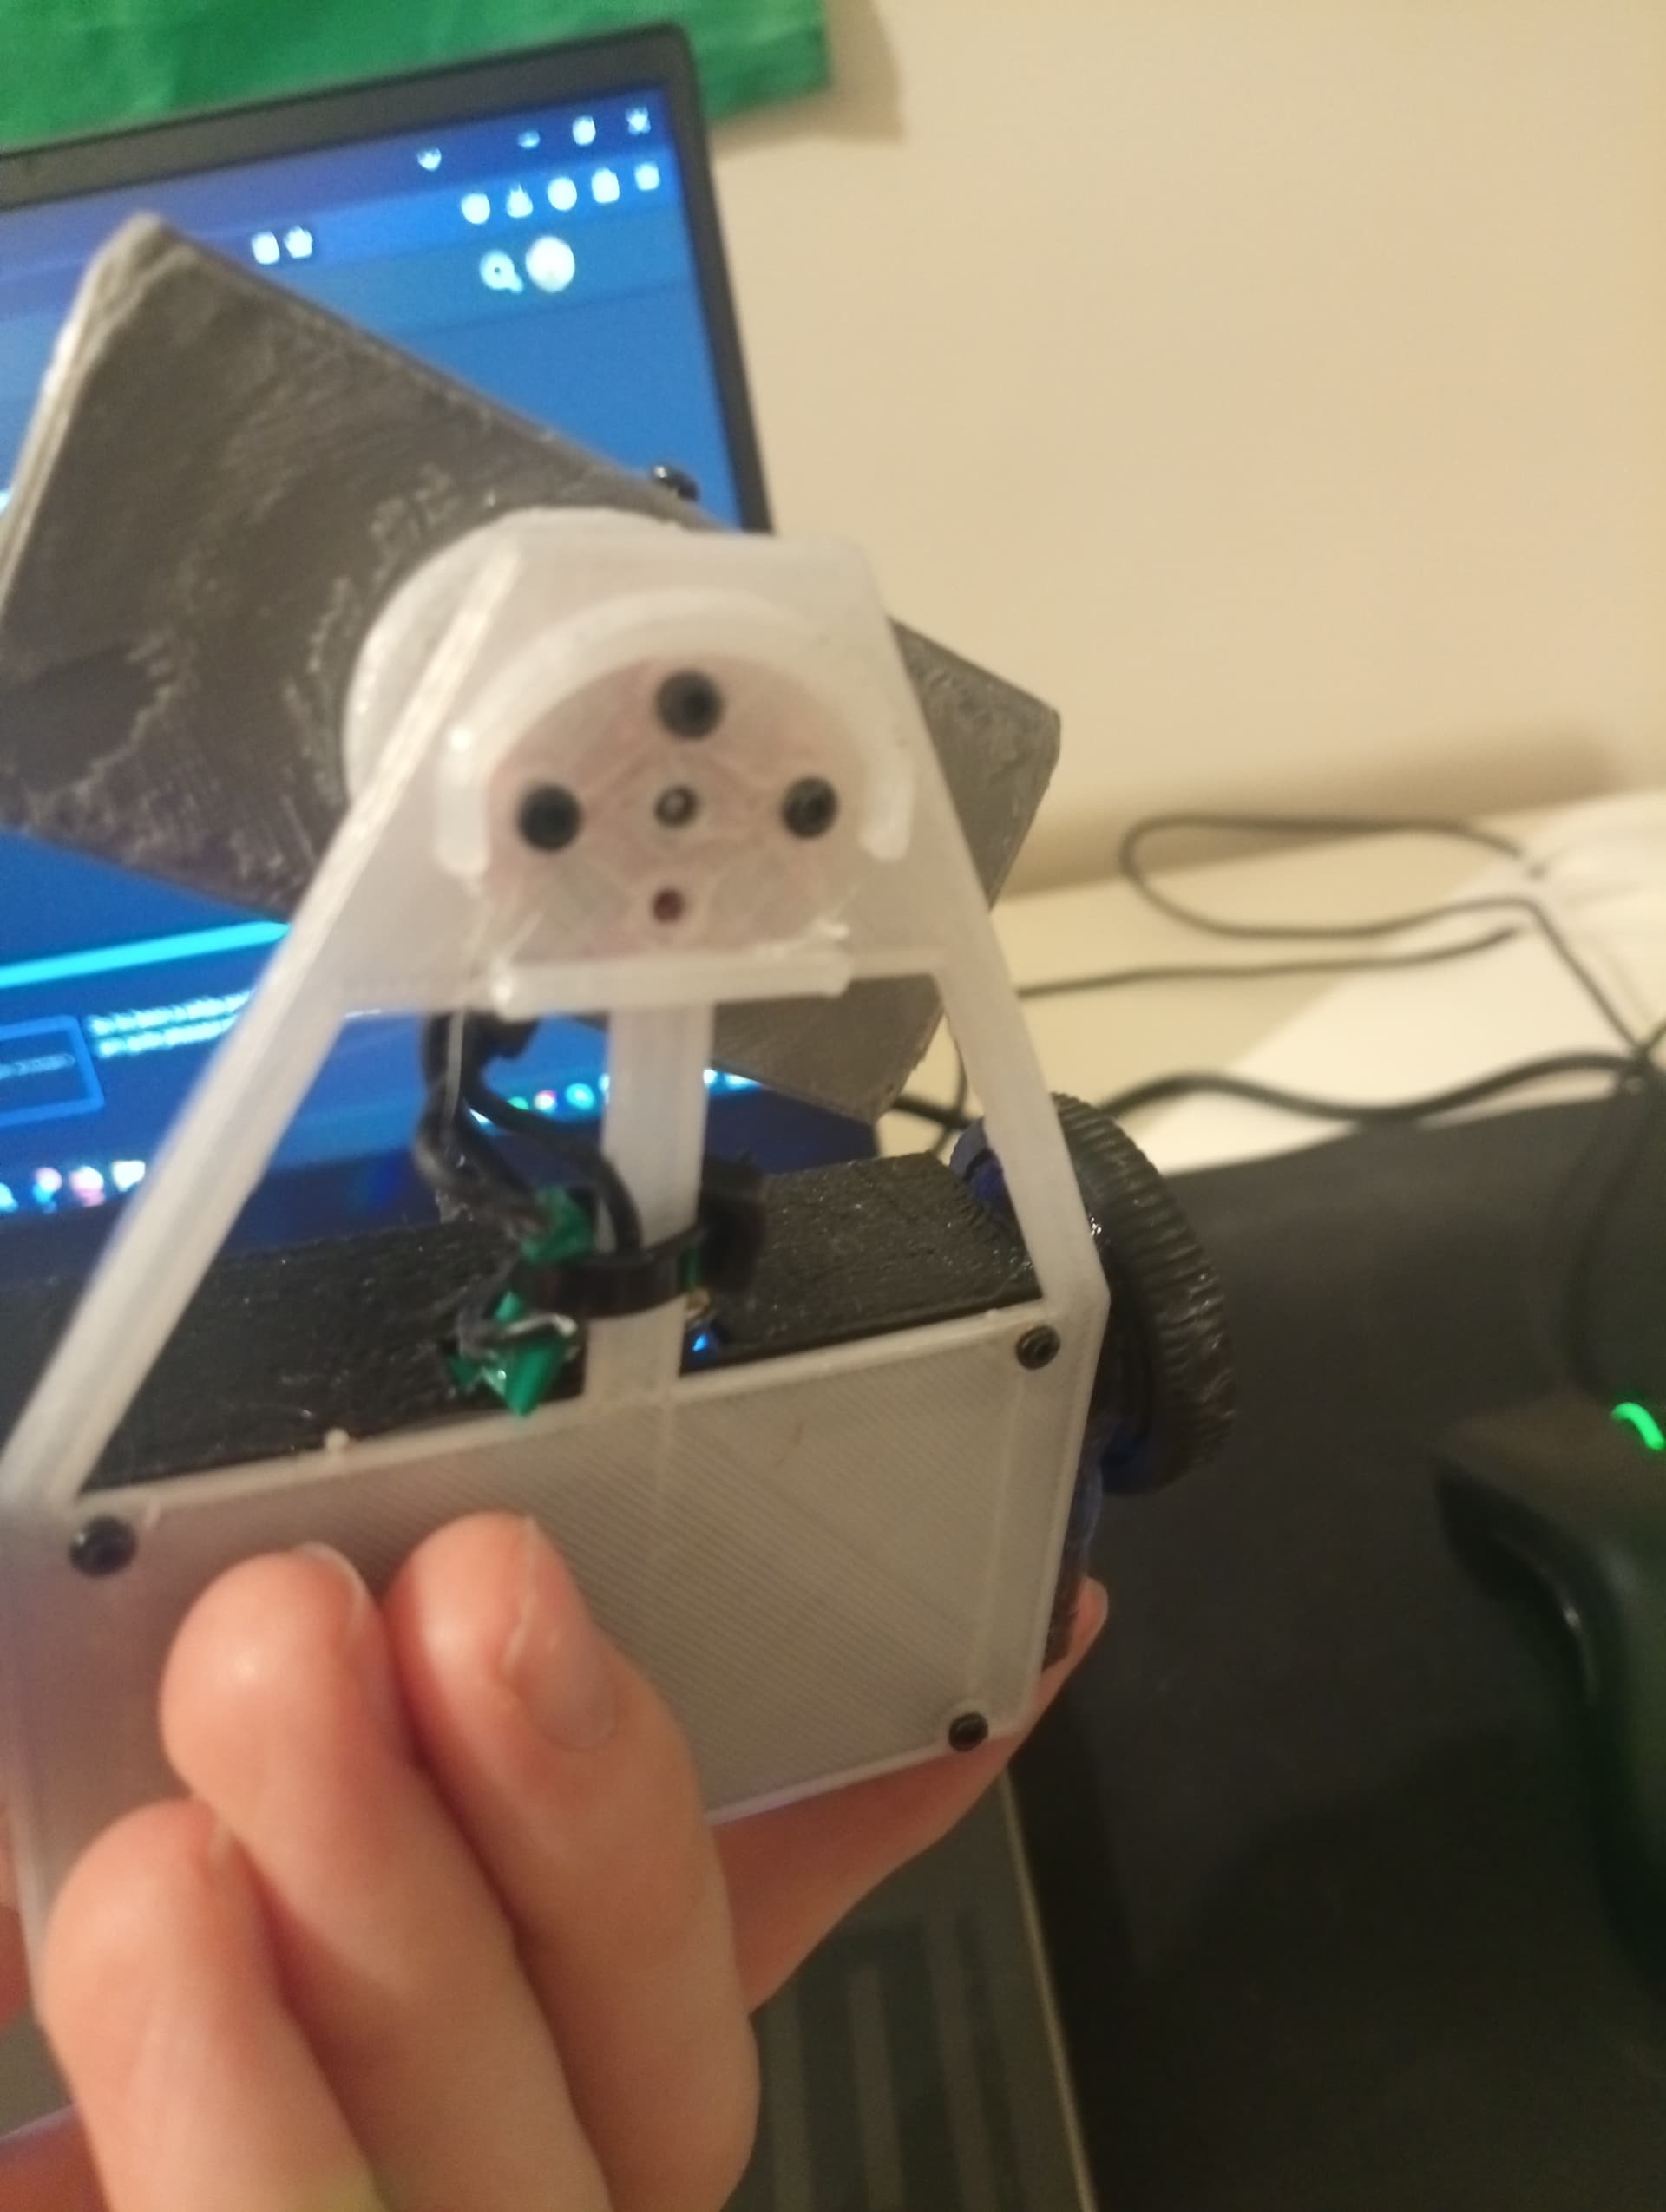
  • N10 motor holders now snap on (PLA+ also)

Now the plan is to get to an actual competition by the end of this year with both this and my front hinge flipper “Blaze-Storm” which is also having a slight makeover in the coming weeks, I have said this in every post Ive made on this form… I know but turns out life is pretty good at throwing surprises.

Also I do have more than enough materials for a Beetle-weight which will of course be much more of a technical challenge but I’m certainly looking forward to drawing frenzy in round 1 and getting ABSOLUTELY humbled later down the road.

On a more serious note I will be updating and posting a good bit more on this site if all goes according to plan, so for the benefit of readers, am I correct in saying I should go into more technical detail and my thought process? or is a post like this entertaining to read since I’d rather not be wasting anyone’s time here.

- Danwii