At my first BBB event, I competed with a Nuts and Bots wedge. This time, I am going to make my own. Inspired by “Death Stick” and based off the design principles of “Nexus”, I am going to make a sit and spin robot.
Upon deciding to make a sit and spin, I remembered that James from Broken Link Robotics had published a design for a 150g meltybrain on GrabCad.
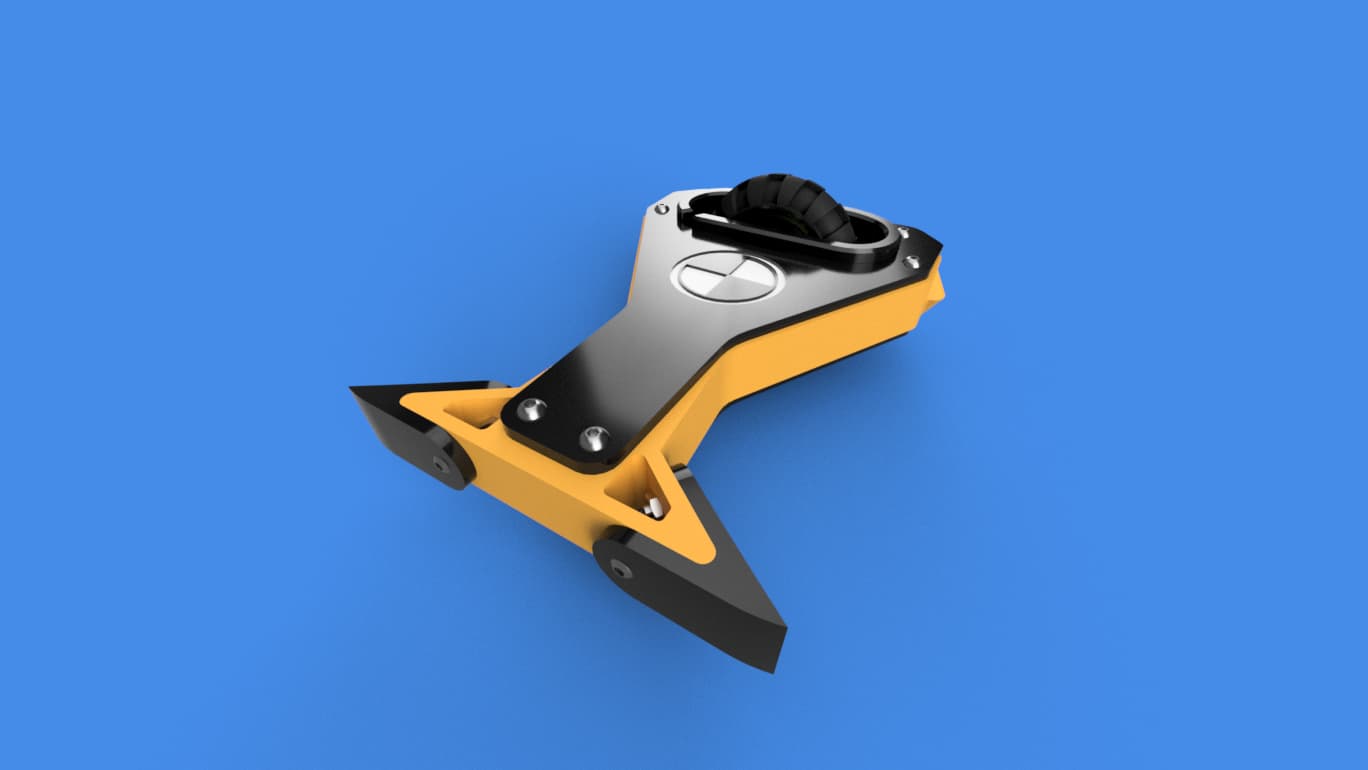
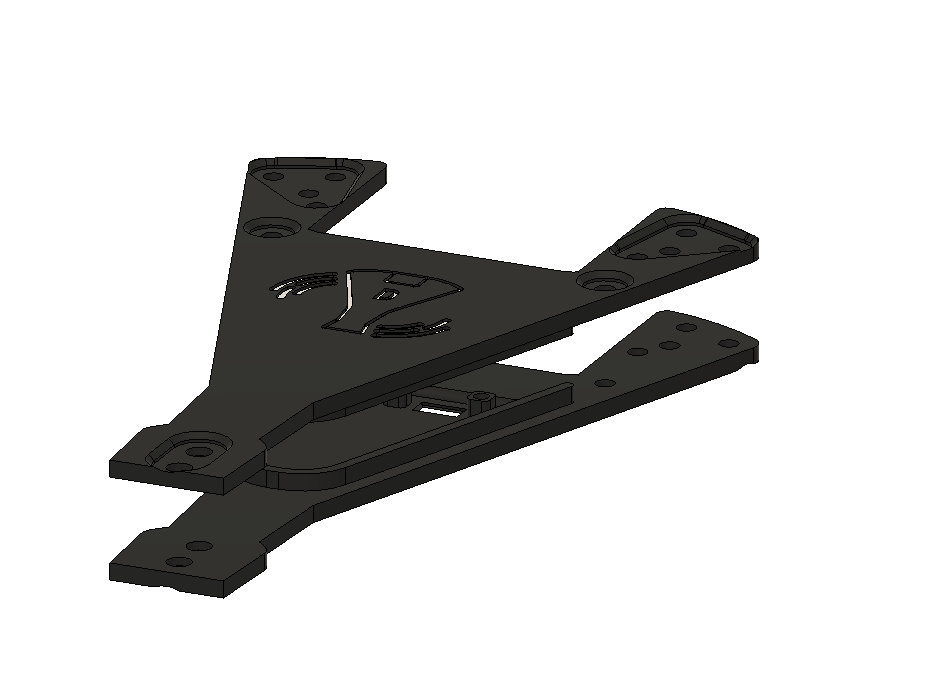
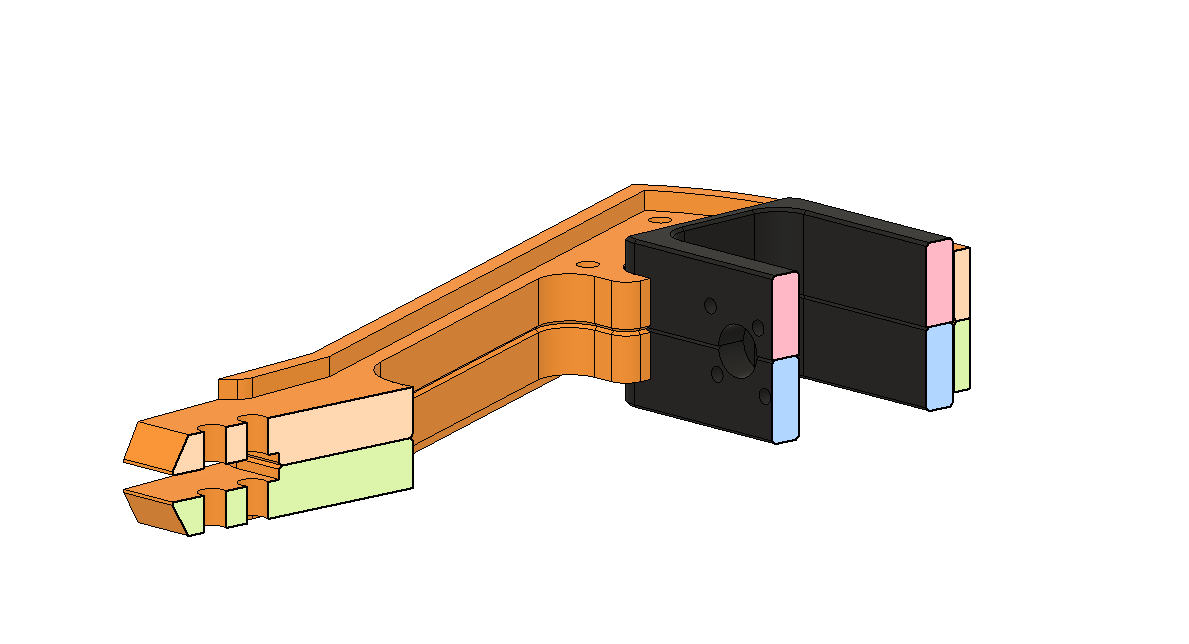
My Design

Certainly not as professional as James’ design but not to bad for V1!
Specific Components
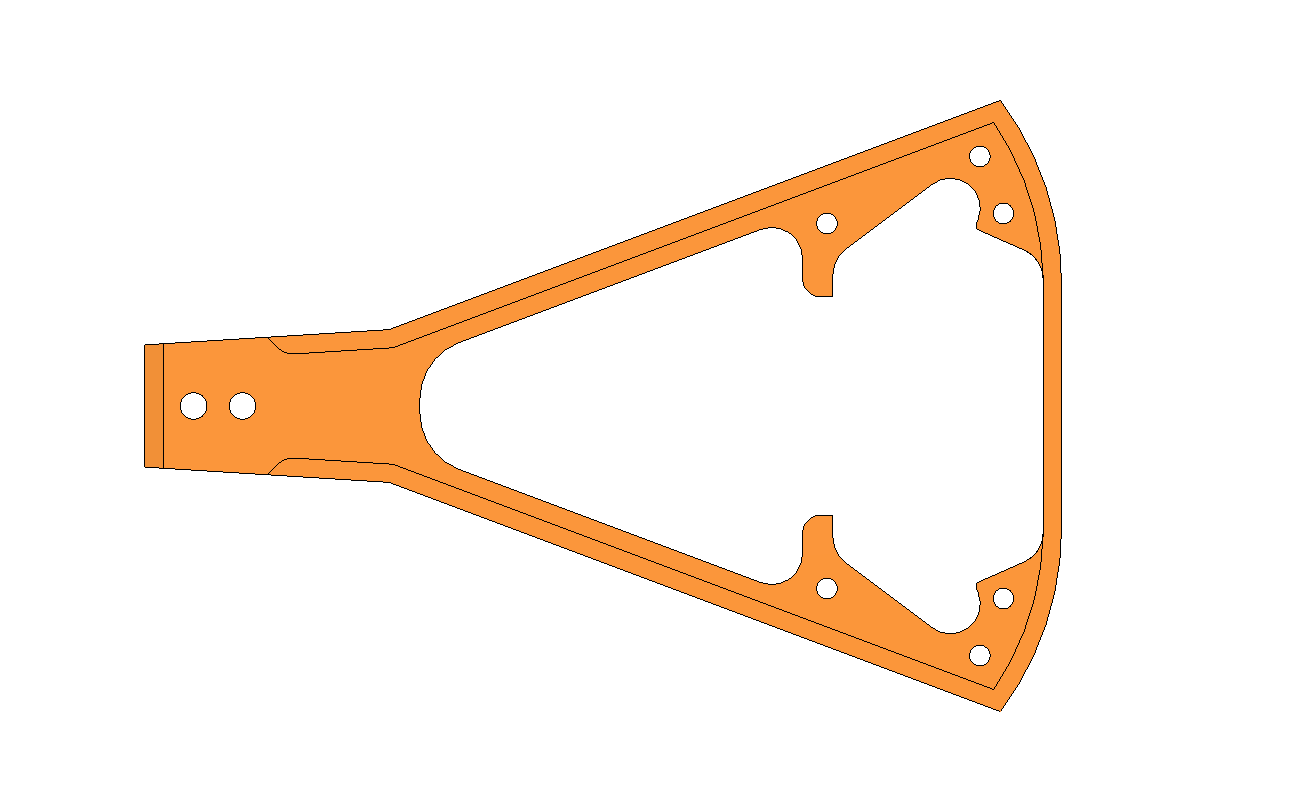
Exterior Chassis / TPU Armour
The orange part is the exterior chassis, which will be printed out of TPU for shock absorption, a standard feature in antweights these days.
Top + Bottom Plates
The top and bottom plates which are black, are 3mm thick. This part ensures that the TPU armour is rigid, and holds the whole thing together. As I am 3D printing them, the screw holes will be hard to print. Following Maker’s Muse’s advice, I will have a 0.4mm “sacrificial bridge”. This means that the print can bridge properly, but once the print has finished, I can push through it with a drill or similar. They will be printed out of Overture Super PLA+ a filament I have never used before, but I am excited to test it.
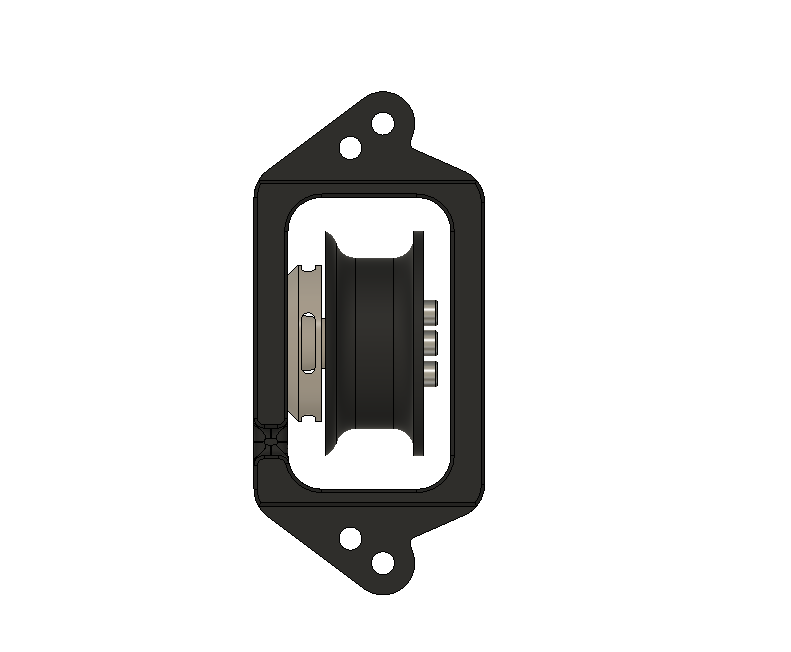
Wheel Module
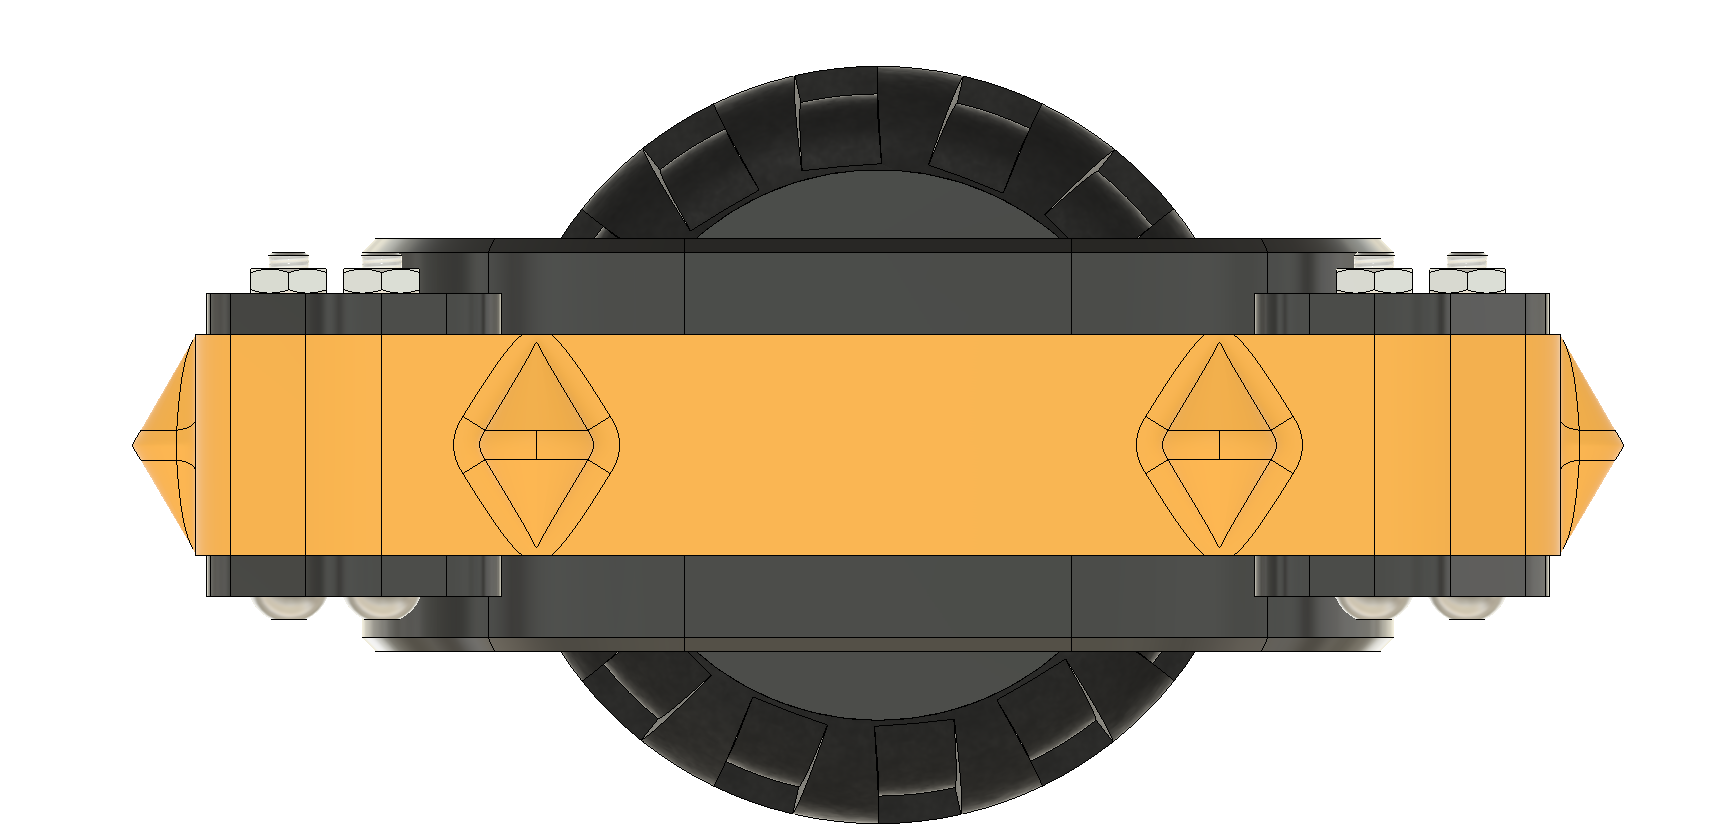
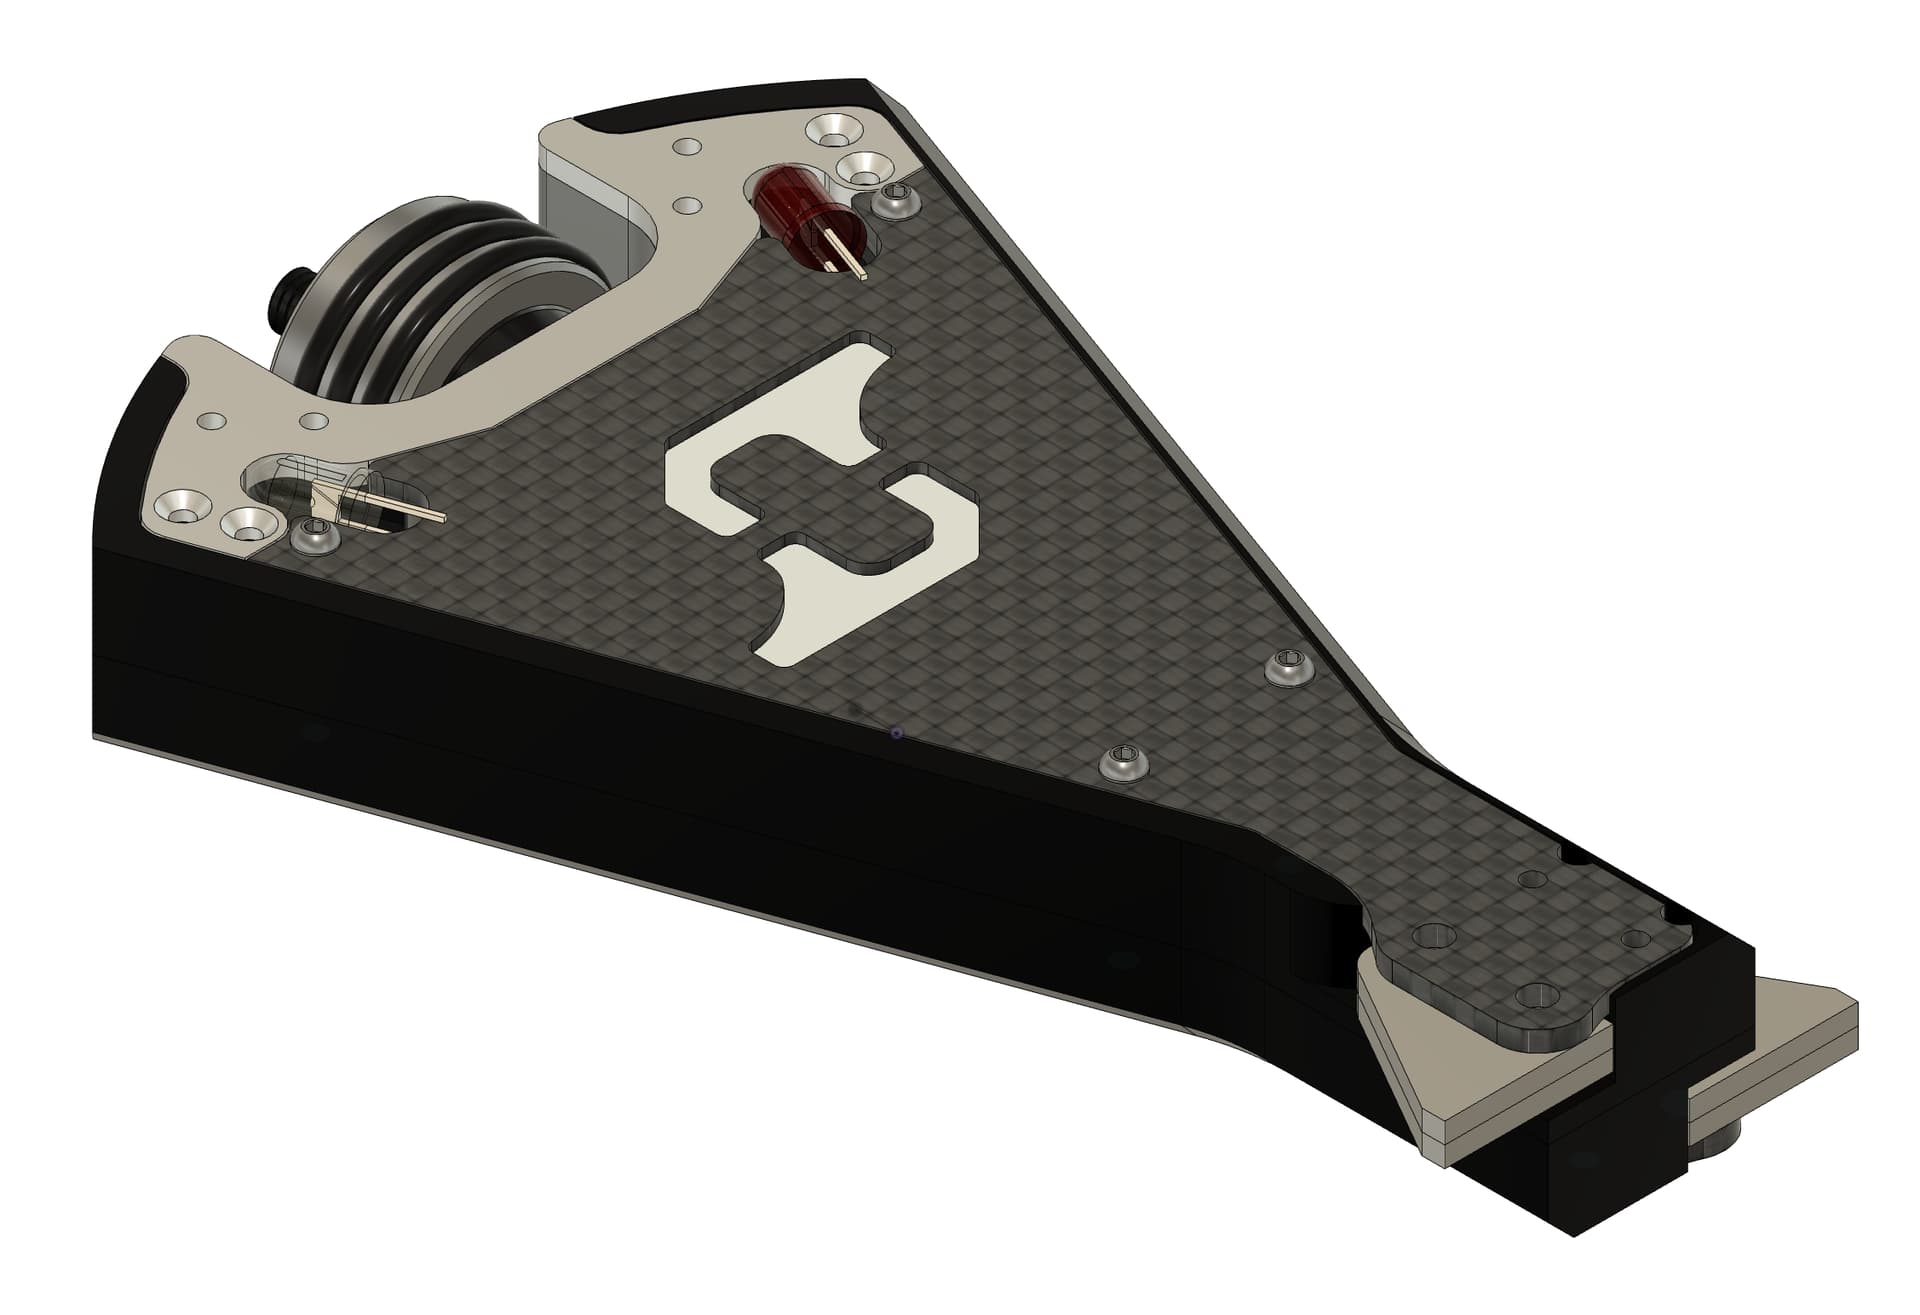
The wheel module will also be printed out of Overture Super PLA+, to ensure no flex. As there is only one wheel, this part needs to be extra-strong to ensure there is no loss of mobility. All walls are at least 5mm thick, and will be printed with 3 perimeters. The tyre is a LEGO 30.4x14 tyre, which fits on to a 3D printed hub that wraps around the DYS BE1806 2300KV motor. It is not uncommon to see this motor driving weapons in antweights and is common in brushless drive for beetleweights too.
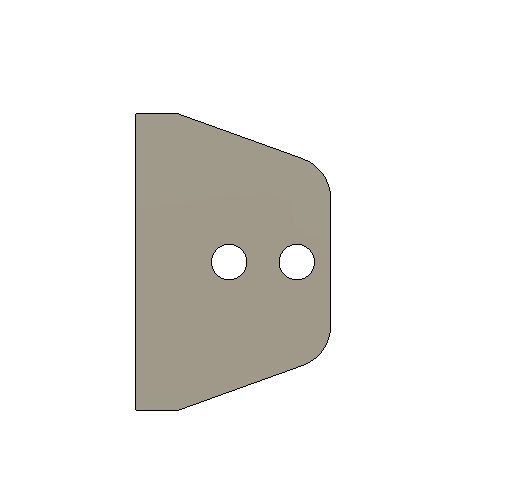
Weapon Tooth
For damage, a 20g metal tooth is mounted on the tip of the robot with two M4 screws. It is 3 millimetres thick, so it should be plenty for an antweight fight. It is more likely that a hit to it will break the robot than the tooth. I am still debating whether to make this by hand or get it plasma / laser cut. For PLAnts, I may use a polycarbonate copy of this, which would be easy to swap out on the day.
Electronics
I will be using a 300mah 2S LiPo, a DYS BE1806 brushless motor, a Malenki Nano, and a BBB 20A ESC. I am aware I should just use a standard RX receiver instead of the Malenki, but I already had a Malenki. Rob (creator of Death Stick) uses 25A AM32 BBB Beetleweight ESC for better spin-ups, but once again, I already had a 20A ESC.
In the future, I might branch out to make a proper meltybrain with translational drift and such, but as this is my first bot, I don’t want it to be too complicated.
Other Design Choices
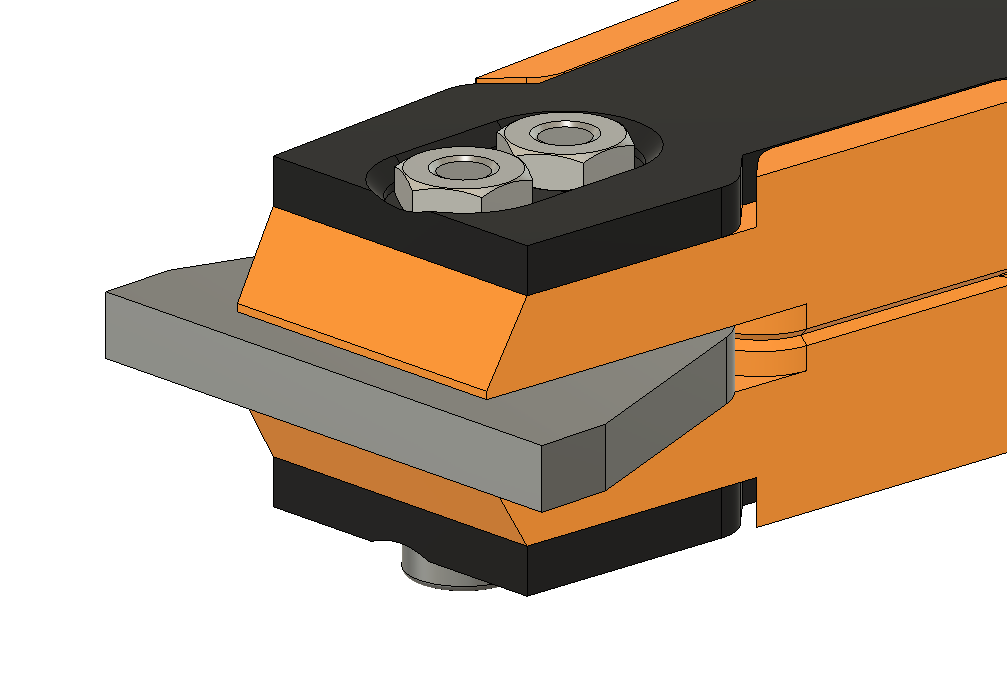
Sandwich Construction
The whole robot is held together in a sandwich construction, with M3 screws. As I am somewhat limited by the 3D printing process, the exterior chassis and the wheel module are divided in two, so that overhands are not an issue. This design choice was entirely from James’ design.
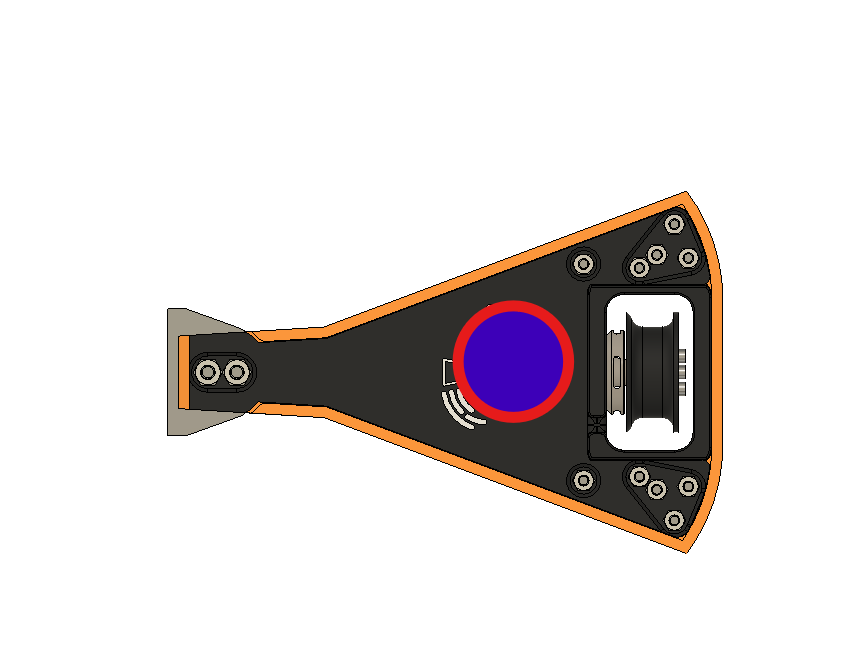
Centre of Gravity
As this is a one-wheeled sit and spin / meltybrain, Rob (creator of Death Stick) told me that the COG (centre of gravity) should be closer to the wheel than the tip, so that when it is spinning at full speed, the point of contact will be the tooth not the wheel. If all is correct, the COG should be somewhere around the blue circle.
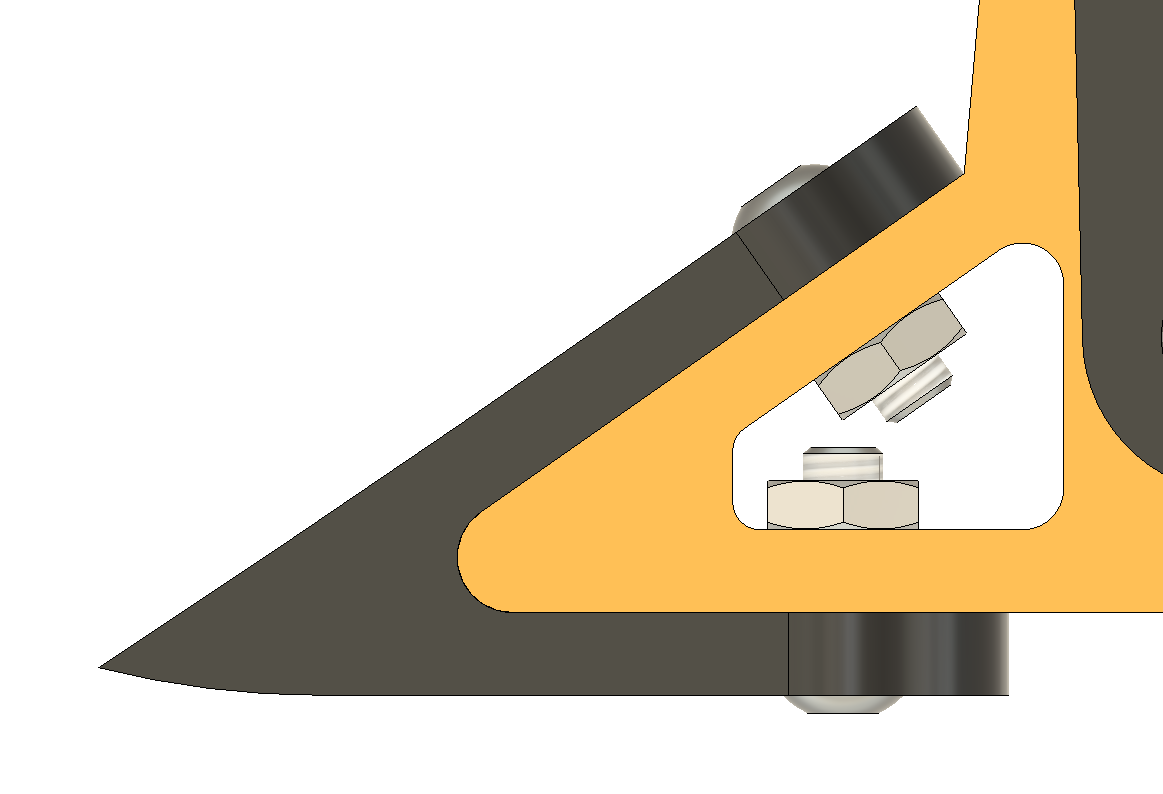
Wheel Module Dovetail Join
A predicted force to encounter in fighting is centrifugal forces wanting to pull your robot apart. A design choice I copied from James was the dovetail joint for the wheel module. This should ensure that the M3 screws don’t bear all the load. Also if some fail on one side, the dovetail join should at least stop the wheel module from flying out and pulling all the electronics out with it.
What’s Next for Disperse?
Of course, the hope is to actually build the thing, so that is the next step. At the time of writing, I am in the process of printing a PLA prototype just to make sure everything fits together, before using the harder / longer to print materials such as TPU. I am hoping to eventually complete it by the end of this month (July 2025) but I won’t be signing up for events anytime soon, as that was a mistake I made last time.
The next post will be a fully completed Disperse and maybe a test video (I have a massive metal box to test it in).
Thank you for taking the time to read this, and I am open to any advice or questions.