Hi everyone, I’ve started to build a new featherweight flipper robot and thought I’d document the build process this time.
The new machine is going be an iteration on my existing feather using some of the same component choices.
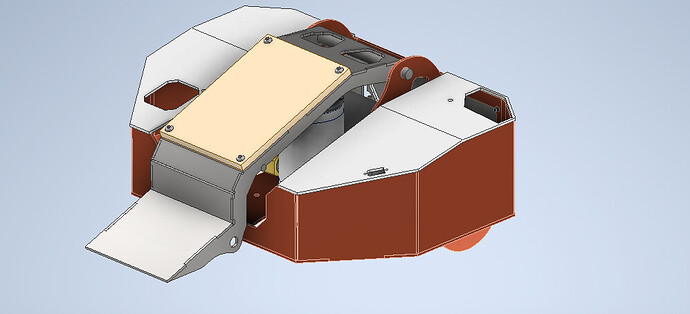
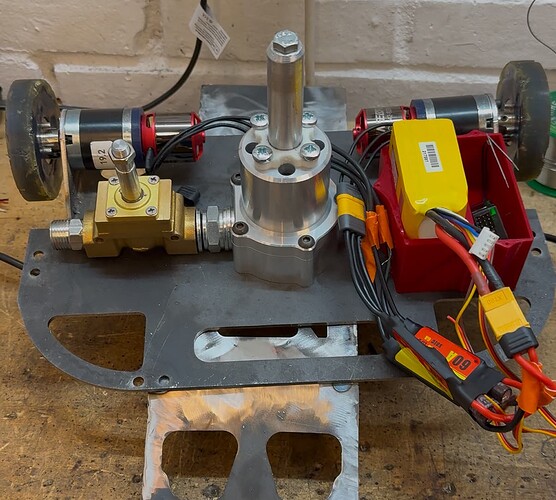
CAD model of my existing feather weight FUBAR
The main improvements will be to increase the strength of the chassis as the current one has begun bending under the force of the full pressure cylinder and to increase the power of the weapon by increasing the rate of gas flow into the cylinder.
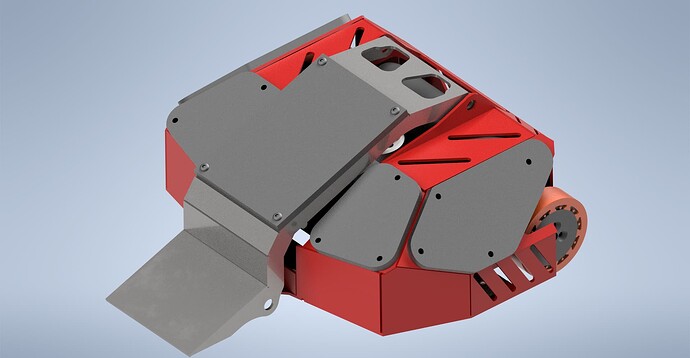
New CAD Model
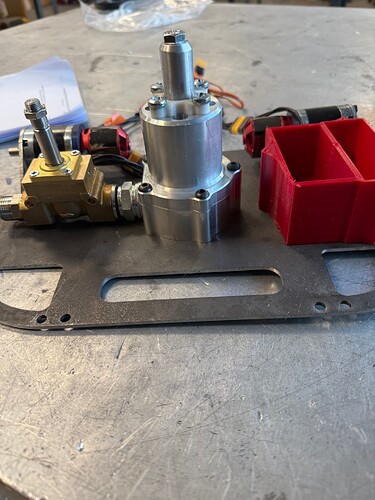
The most obvious change is the chassis being fully enclosed with a removeable base rather than the two HDPE top panels. It’s going to have the same brushless drive components but with improved aluminum connection plates rather than the old 3d printed versions, which have failed in the past, to try and improve reliability. The pneumatic cylinder is a 50mm bore custom cylinder with slightly less stroke than the previous but with a larger 1/2"BSP inlet with a 1/2" Burket valve to fire and overall larger porting in the manifold which should give it more power.
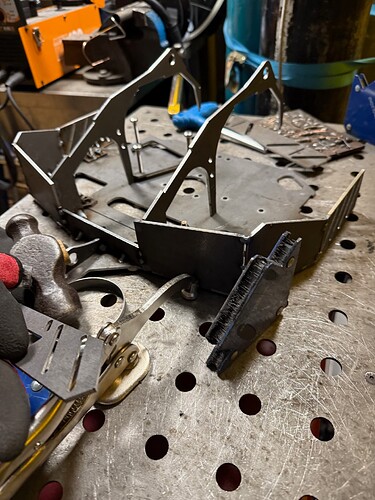
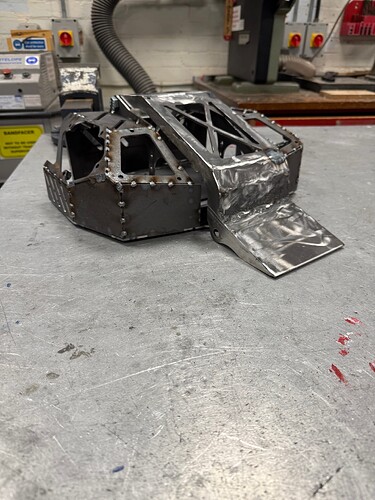
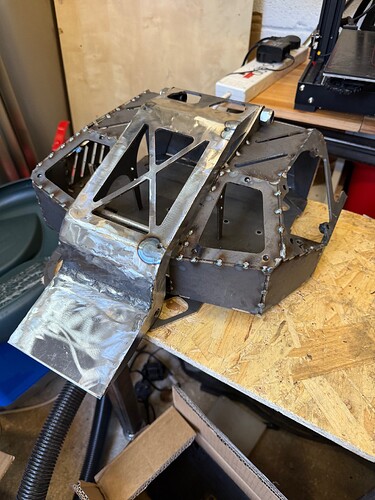
I got the chassis laser cut from 3mm hardox with finger joints built in so that it can easily be welded together
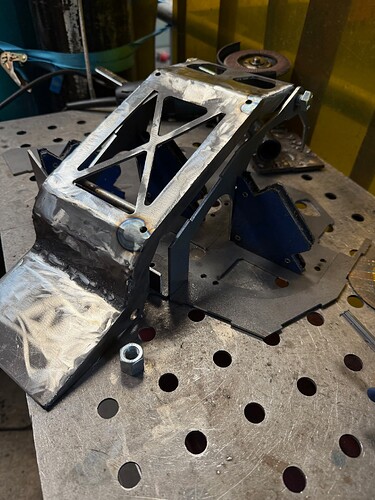
Both bots use the same flipper arm as I had one spare
I managed to get the entire chassis tacked together in an evening
The removeable base still goes on and off easily so as long as I dont overheat the chassis when fully welding it together it shouldn’t need grinding in to fit, same with the flipper arm.
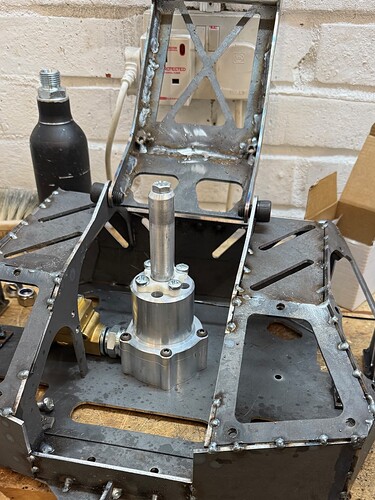
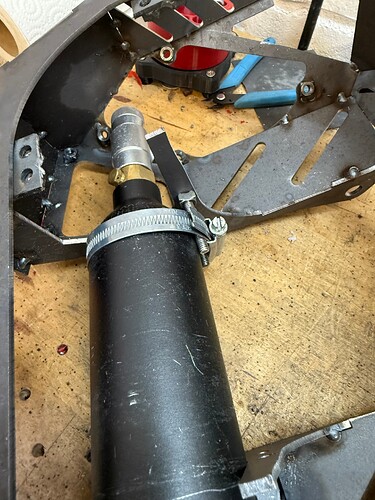
I then mounted the cylinder to the base just to sanity check the internal space
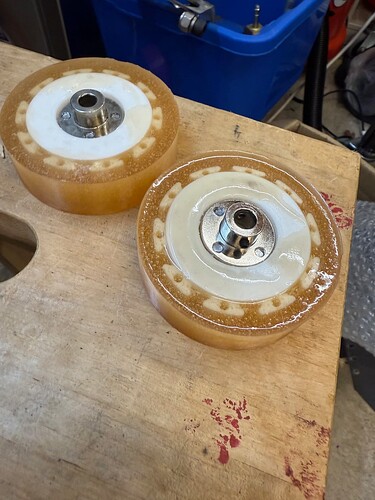
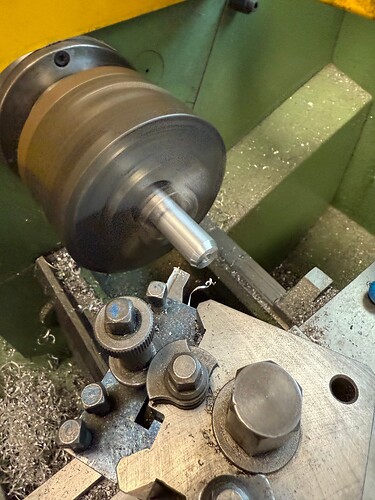
I’ve also cast the wheels which should provide more grip than FUBAR’s drive as they’re wider
(they were also cast on the level this time which will help)
The next jobs will be to make the bungee mounting plate from a U-bolt and then finishing the design for the high pressure manifold.
