Finish your degree! (Or rush build a shell spinner instead)

Ok so as the title implies I am procrastinating my degree by rush building a shell spinner over the easter holidays. The reason why it is not anywhere near easter at time of posting is because I am no longer procrastinating by designing a robot, I am instead writing about it.

So since for new bloods this year you need to bring a new weapon type, I had to abandon my 30cm wide drum thing I was working on and pivot to something else. So logical decision for someone with finals approaching in a couple of weeks and still taking place literally through when the event is going to be, I thought lets make a shell spinner how hard can it be?

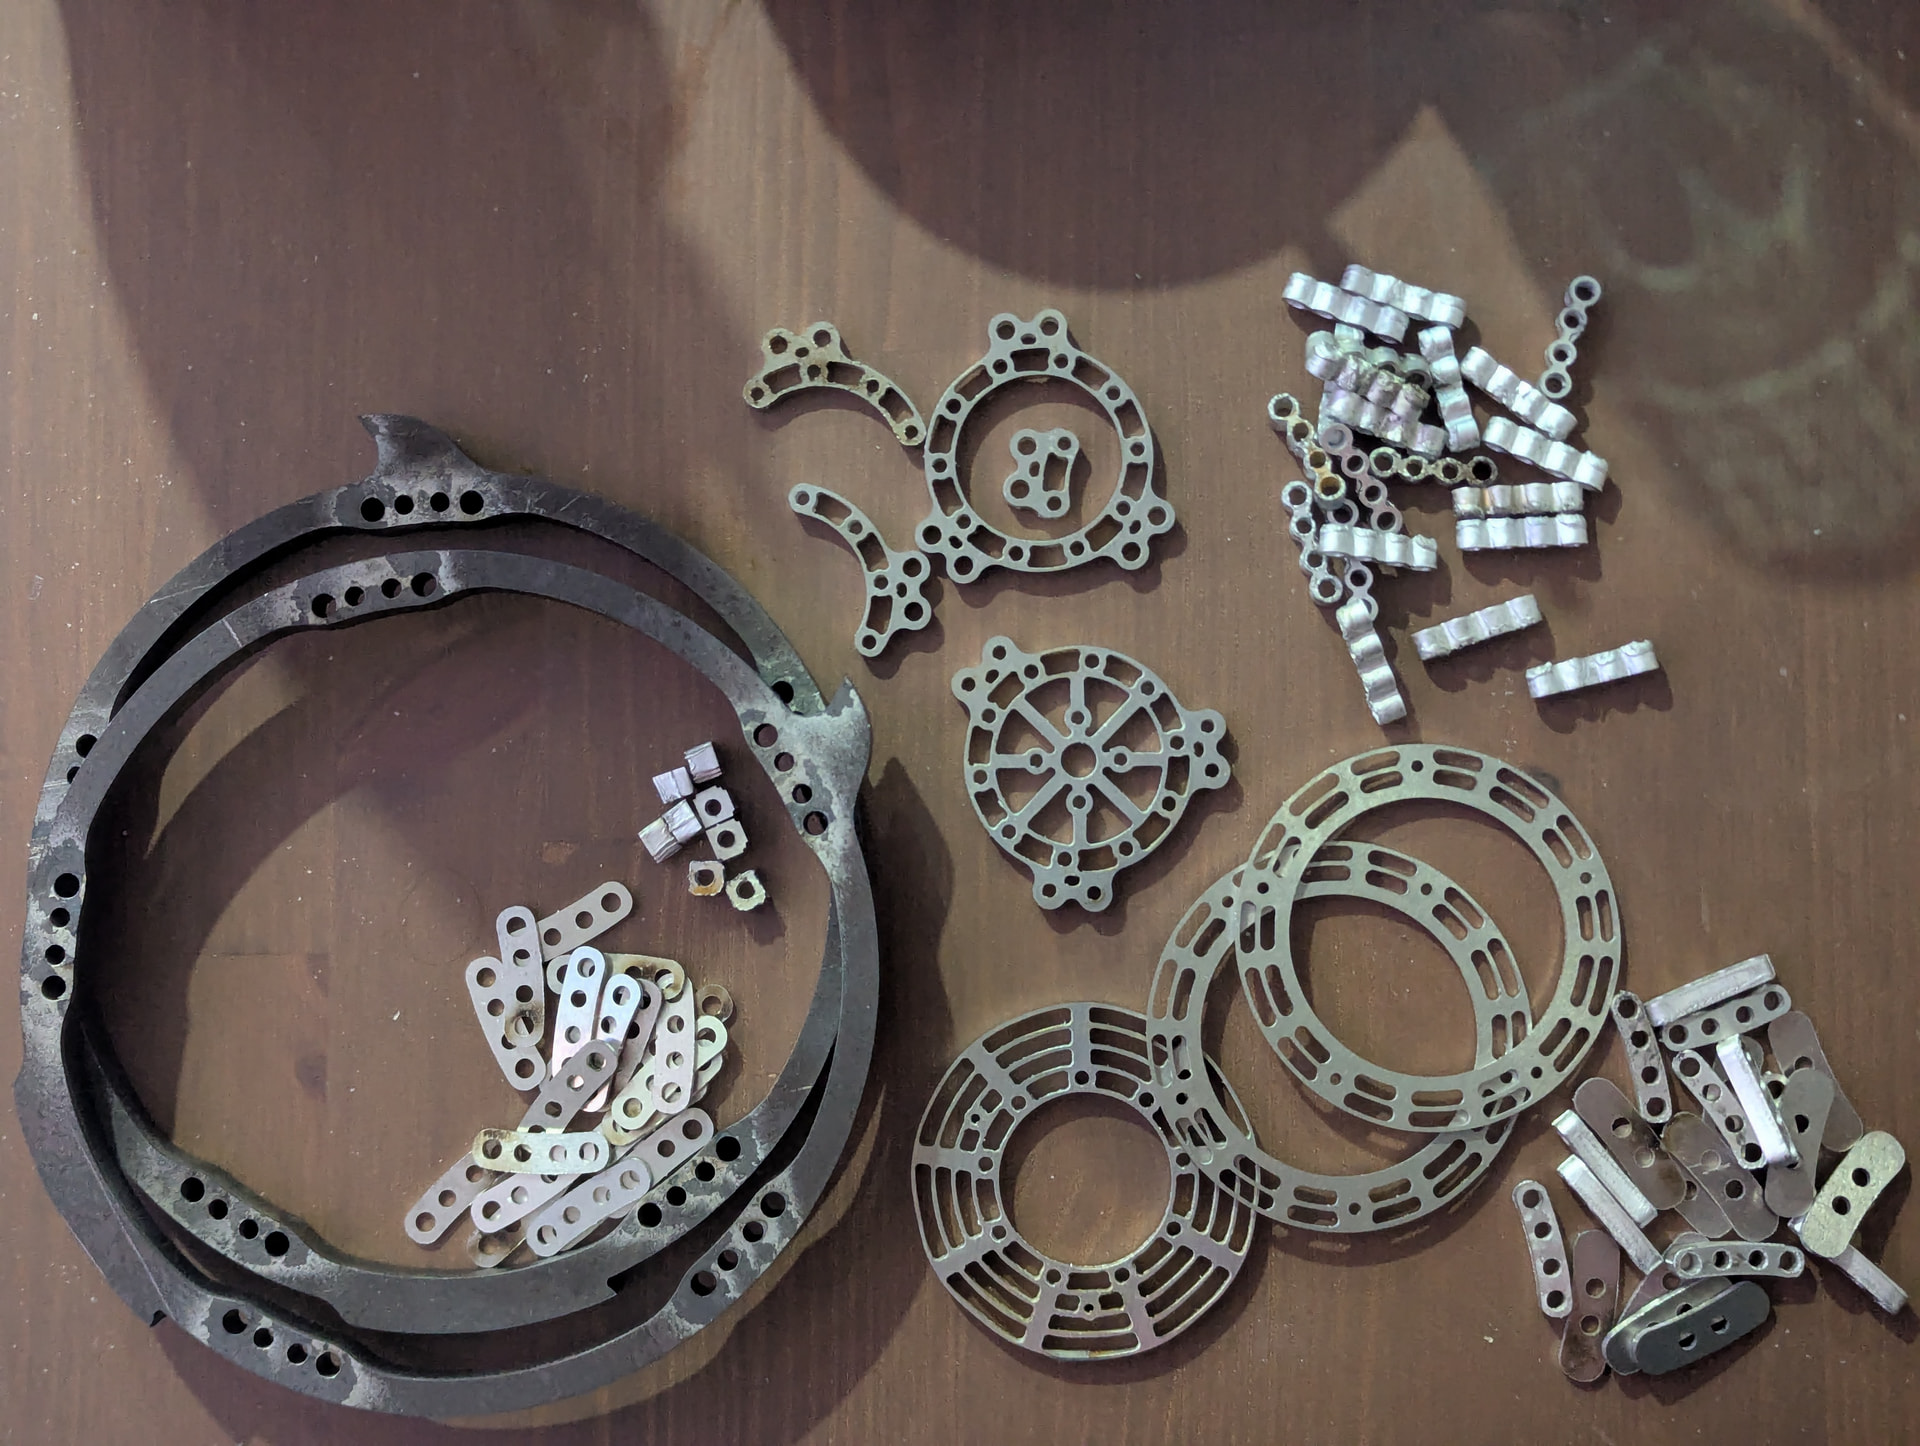
I gave myself 1 week over easter to do all of the design for the robot – without access to my printer. This is because my printer is located at my manufacturing and production facility (student accom) and I was staying at my second residence/holiday home (my parents house). This was also because I had only this week to get on the lasered order before it was sent off. I found cadding a whole robot without printing a single prototype or looking at a physical part to be quite scary at first but ultimately fine (I wont know it doesn’t work until I actually try and make the thing and ive not done that yet lol). Basically fingers crossed that CAD = Real life with 100% accuracy and zero discrepancies which I think is a totally valid and fair assessment to make. Given that it has been known to work that way precisely 0 times in the past for me, I reckon that means I’m “due” it to work this time or whatever that gamblers fallacy is.

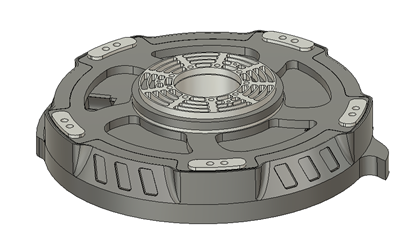
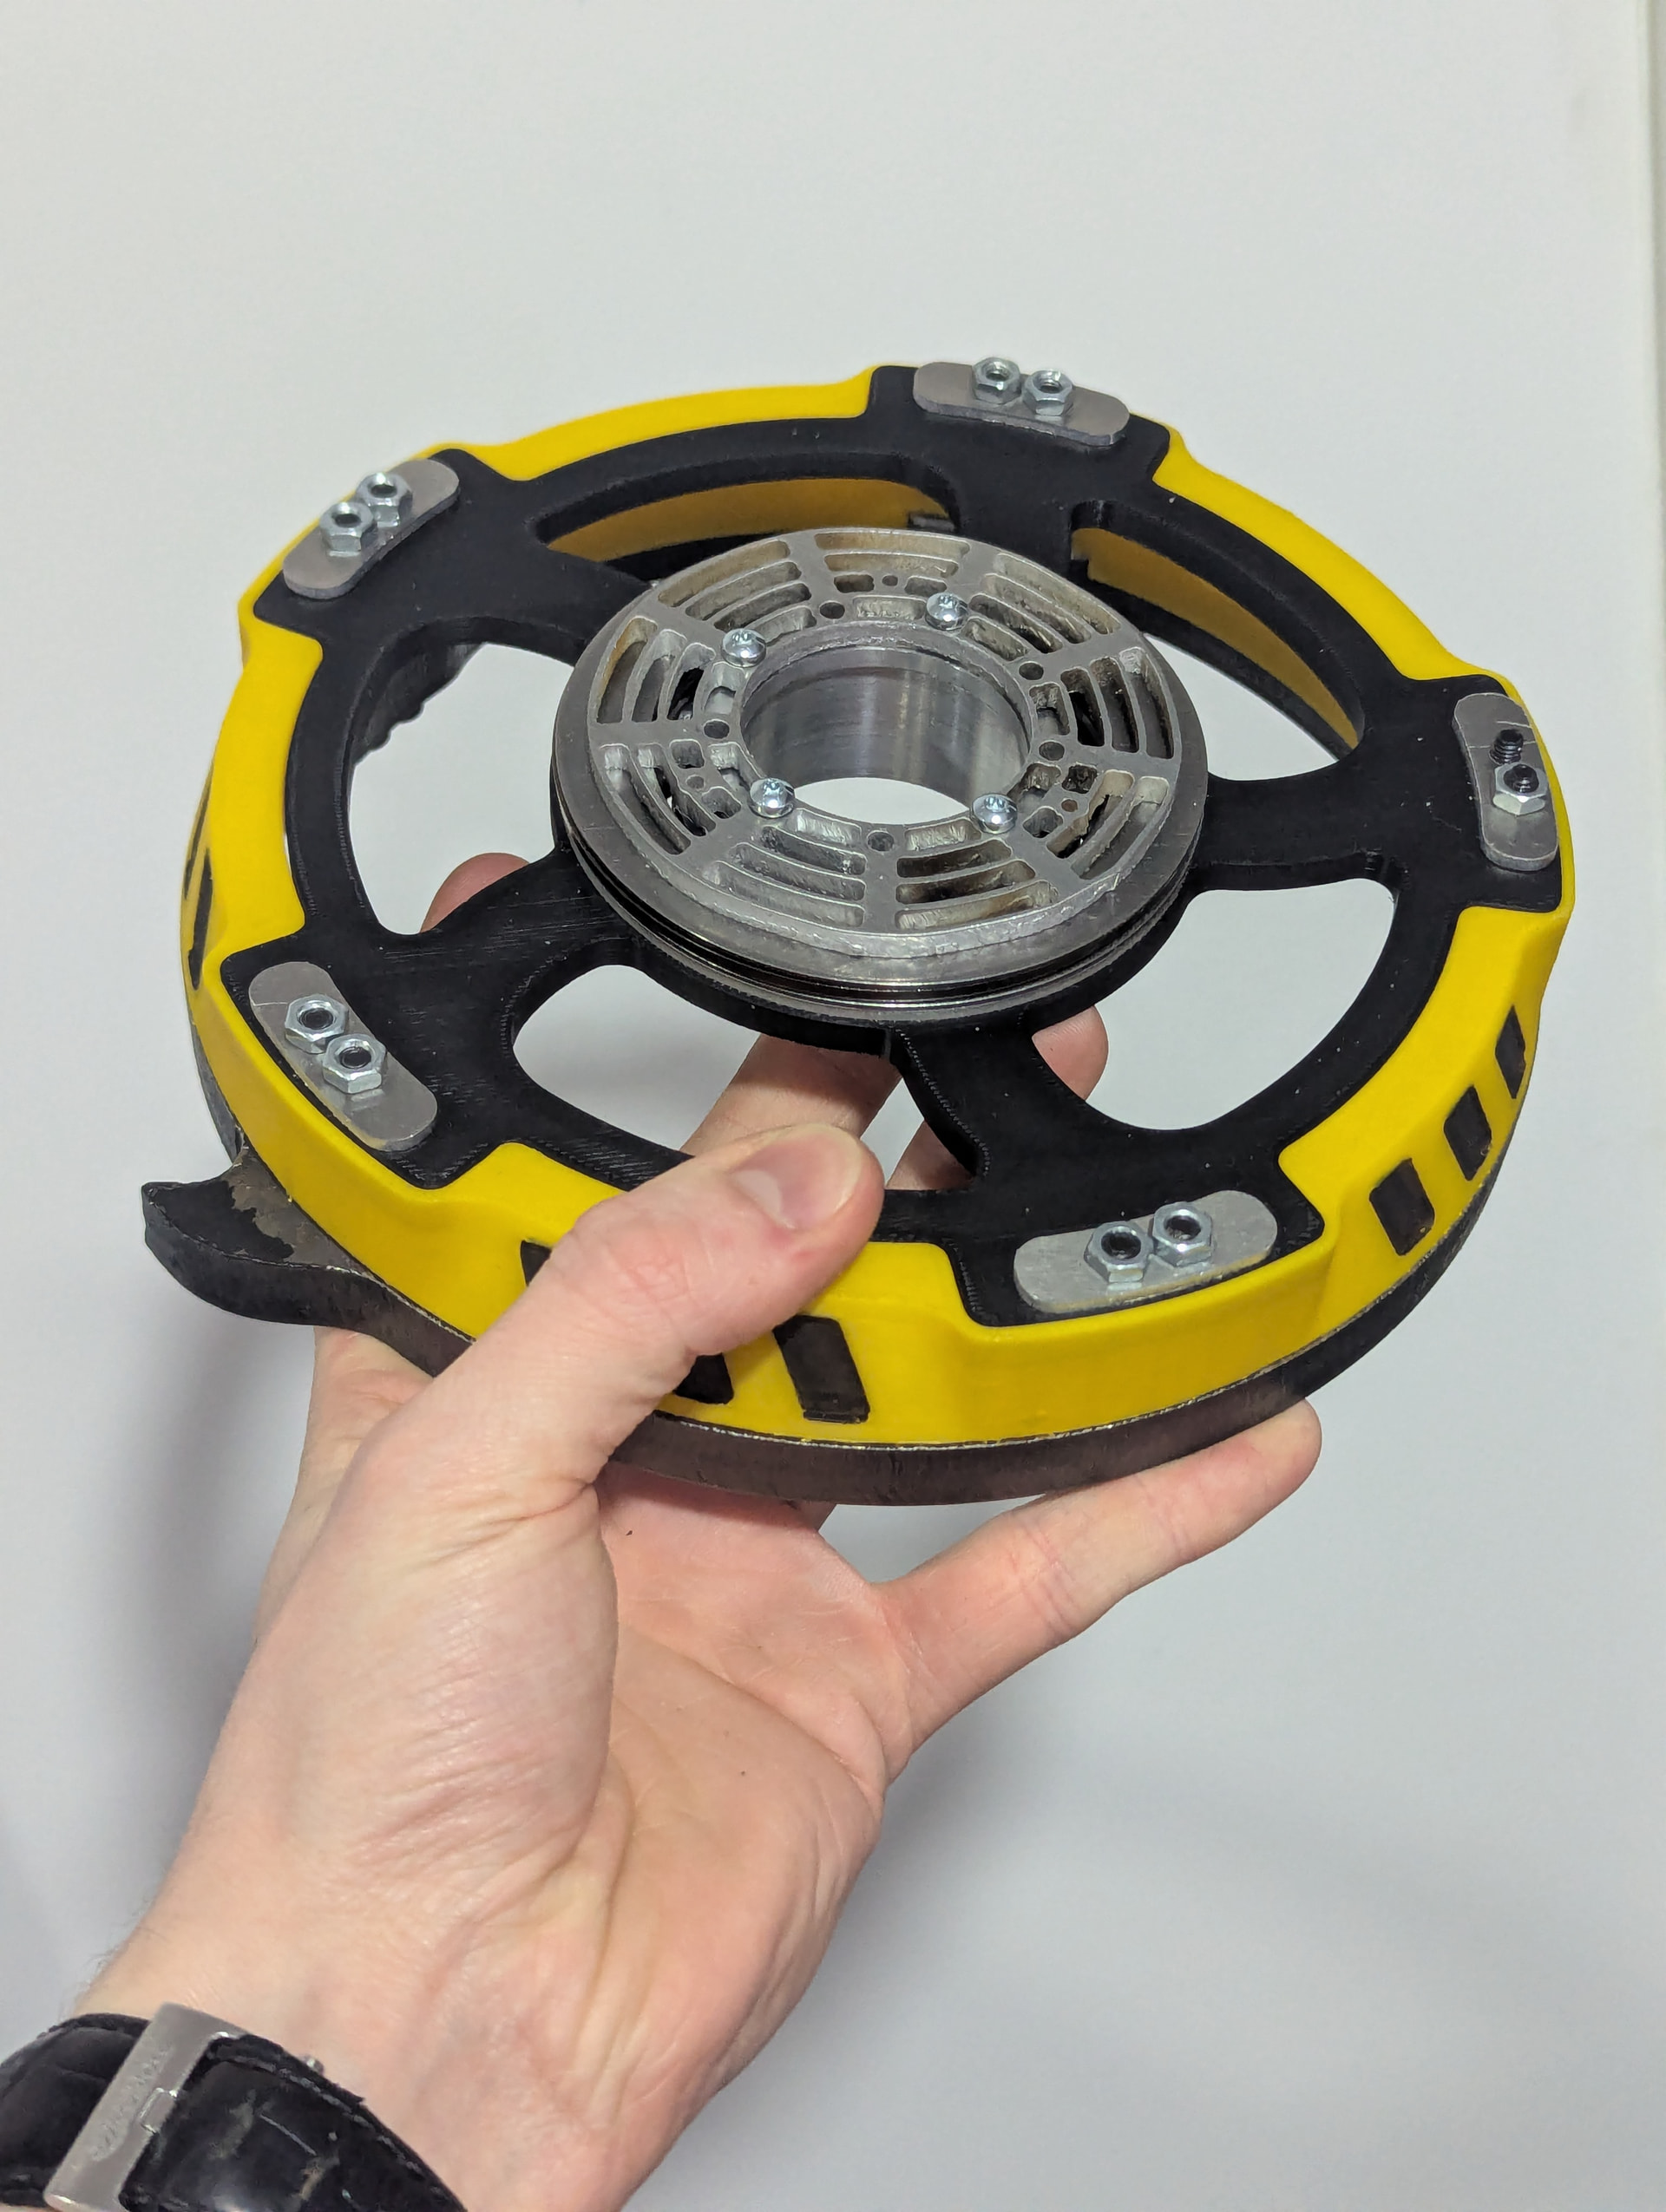
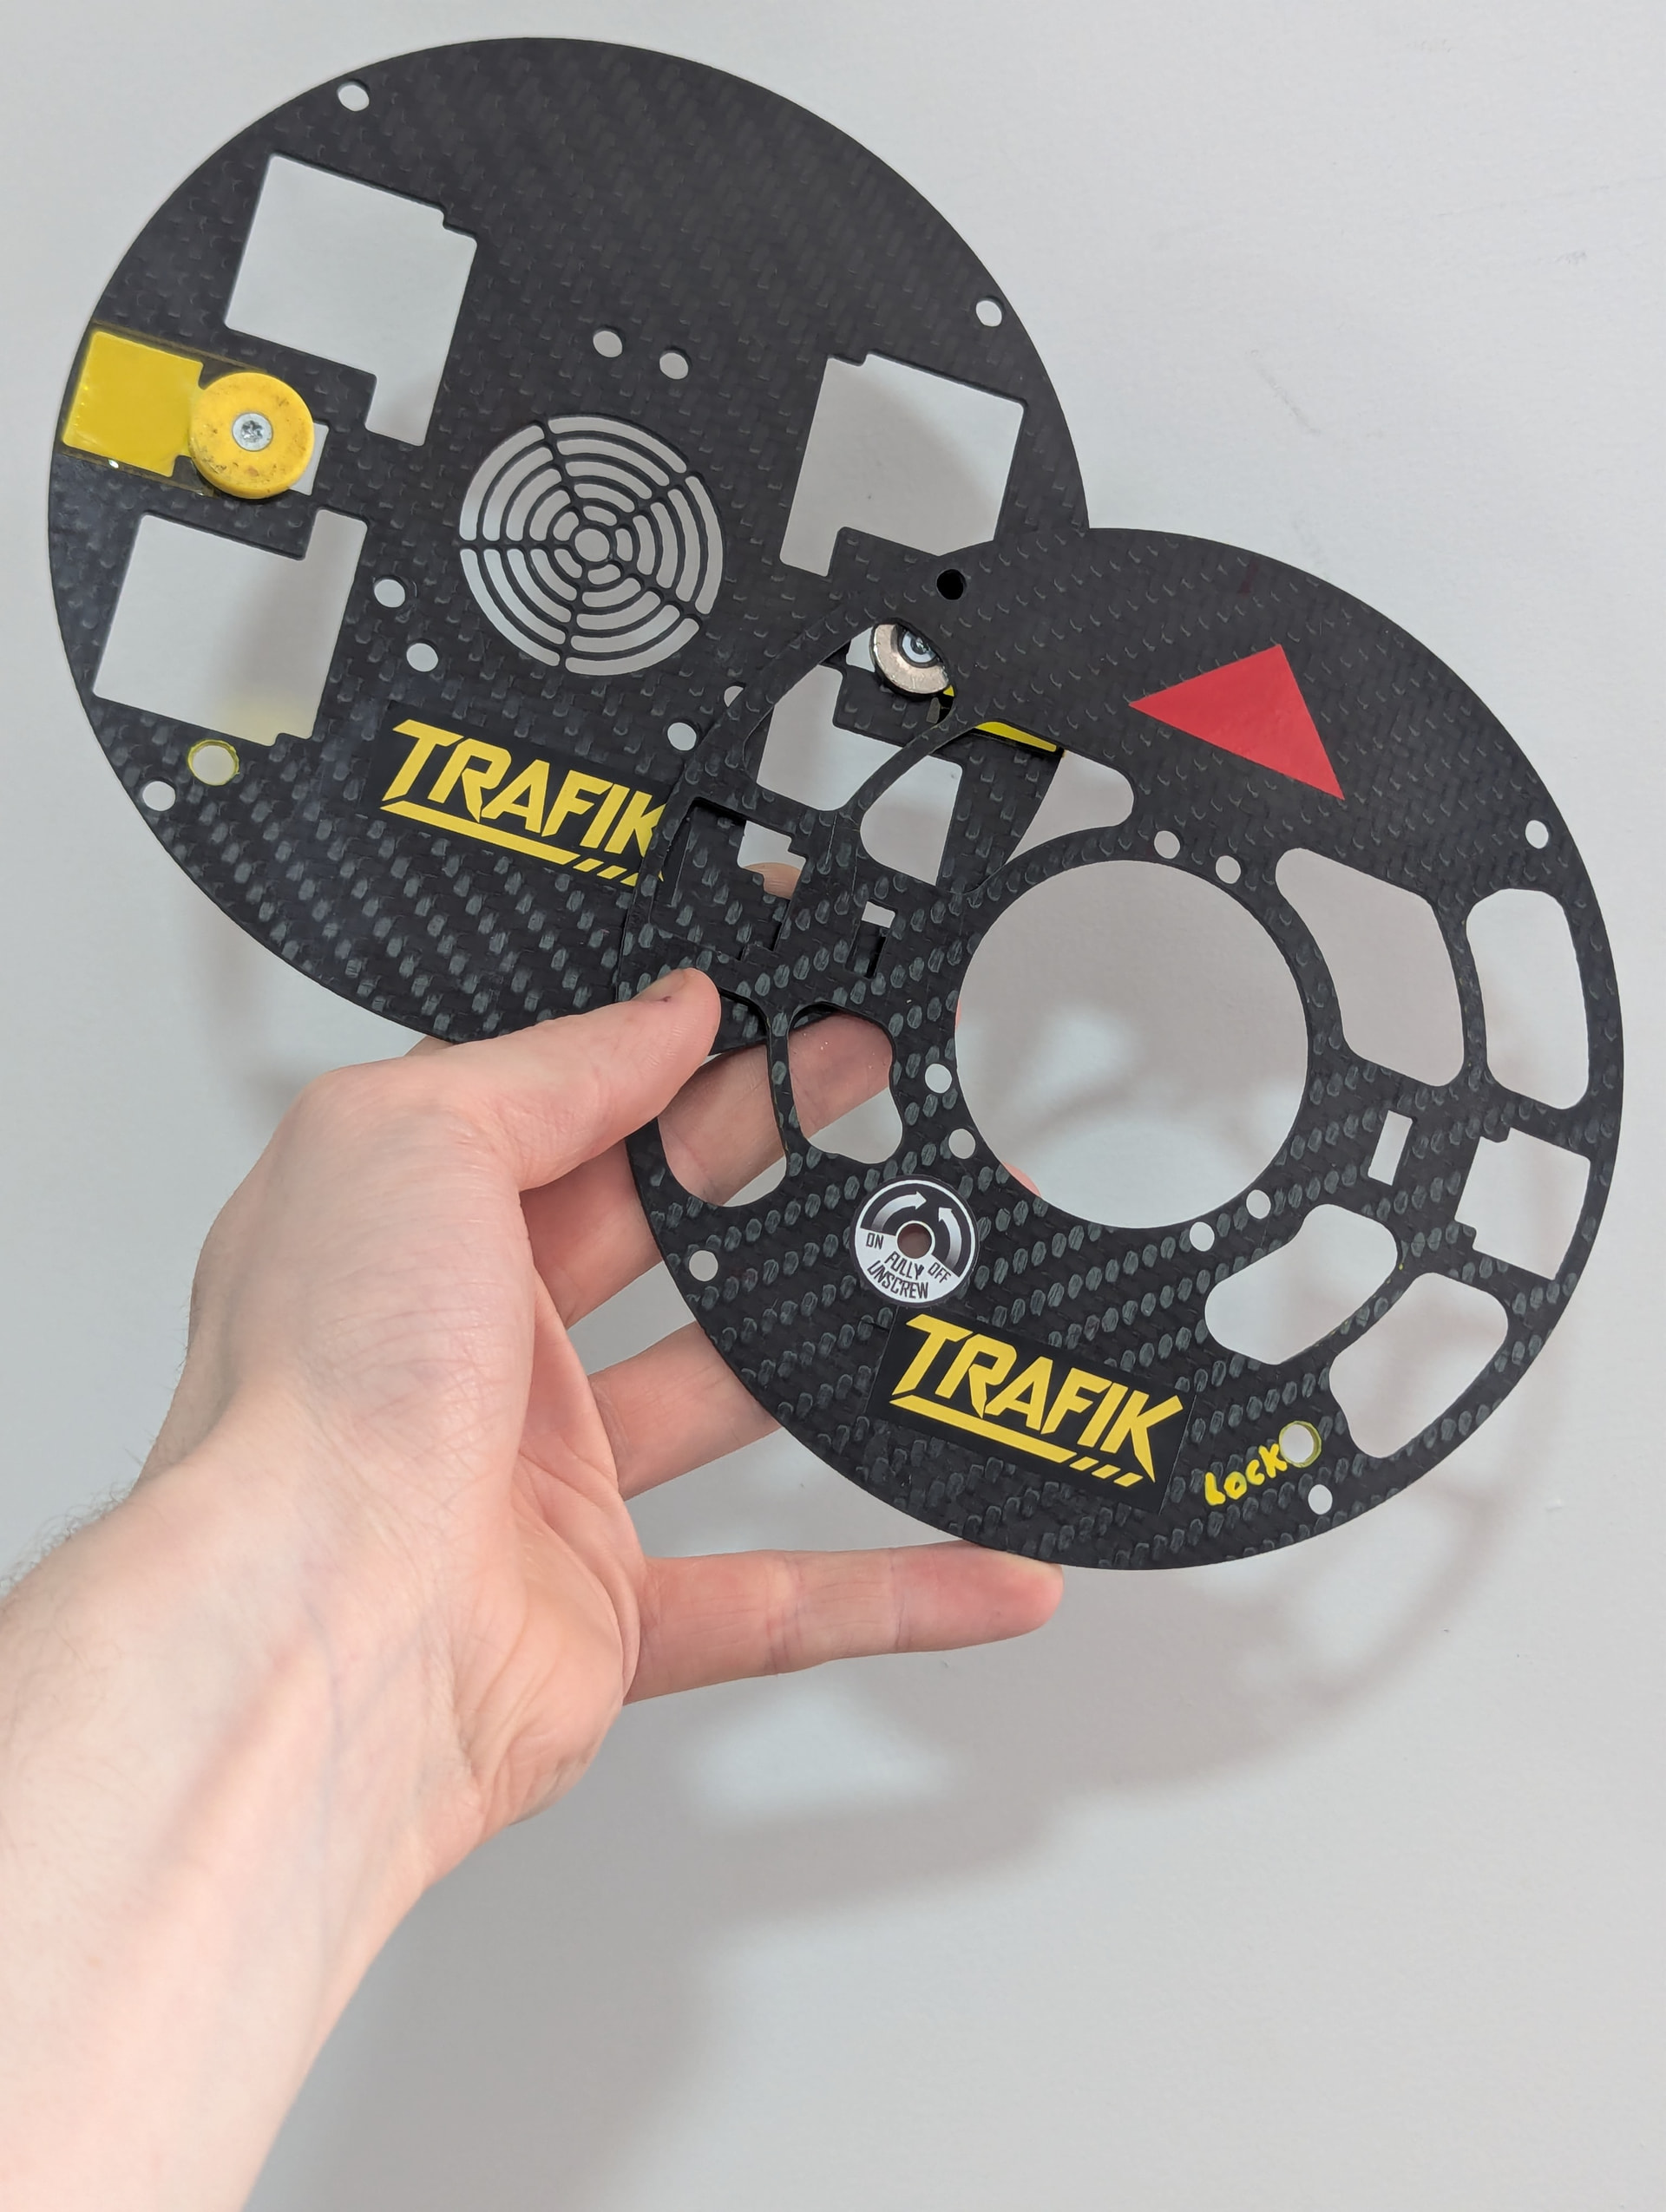
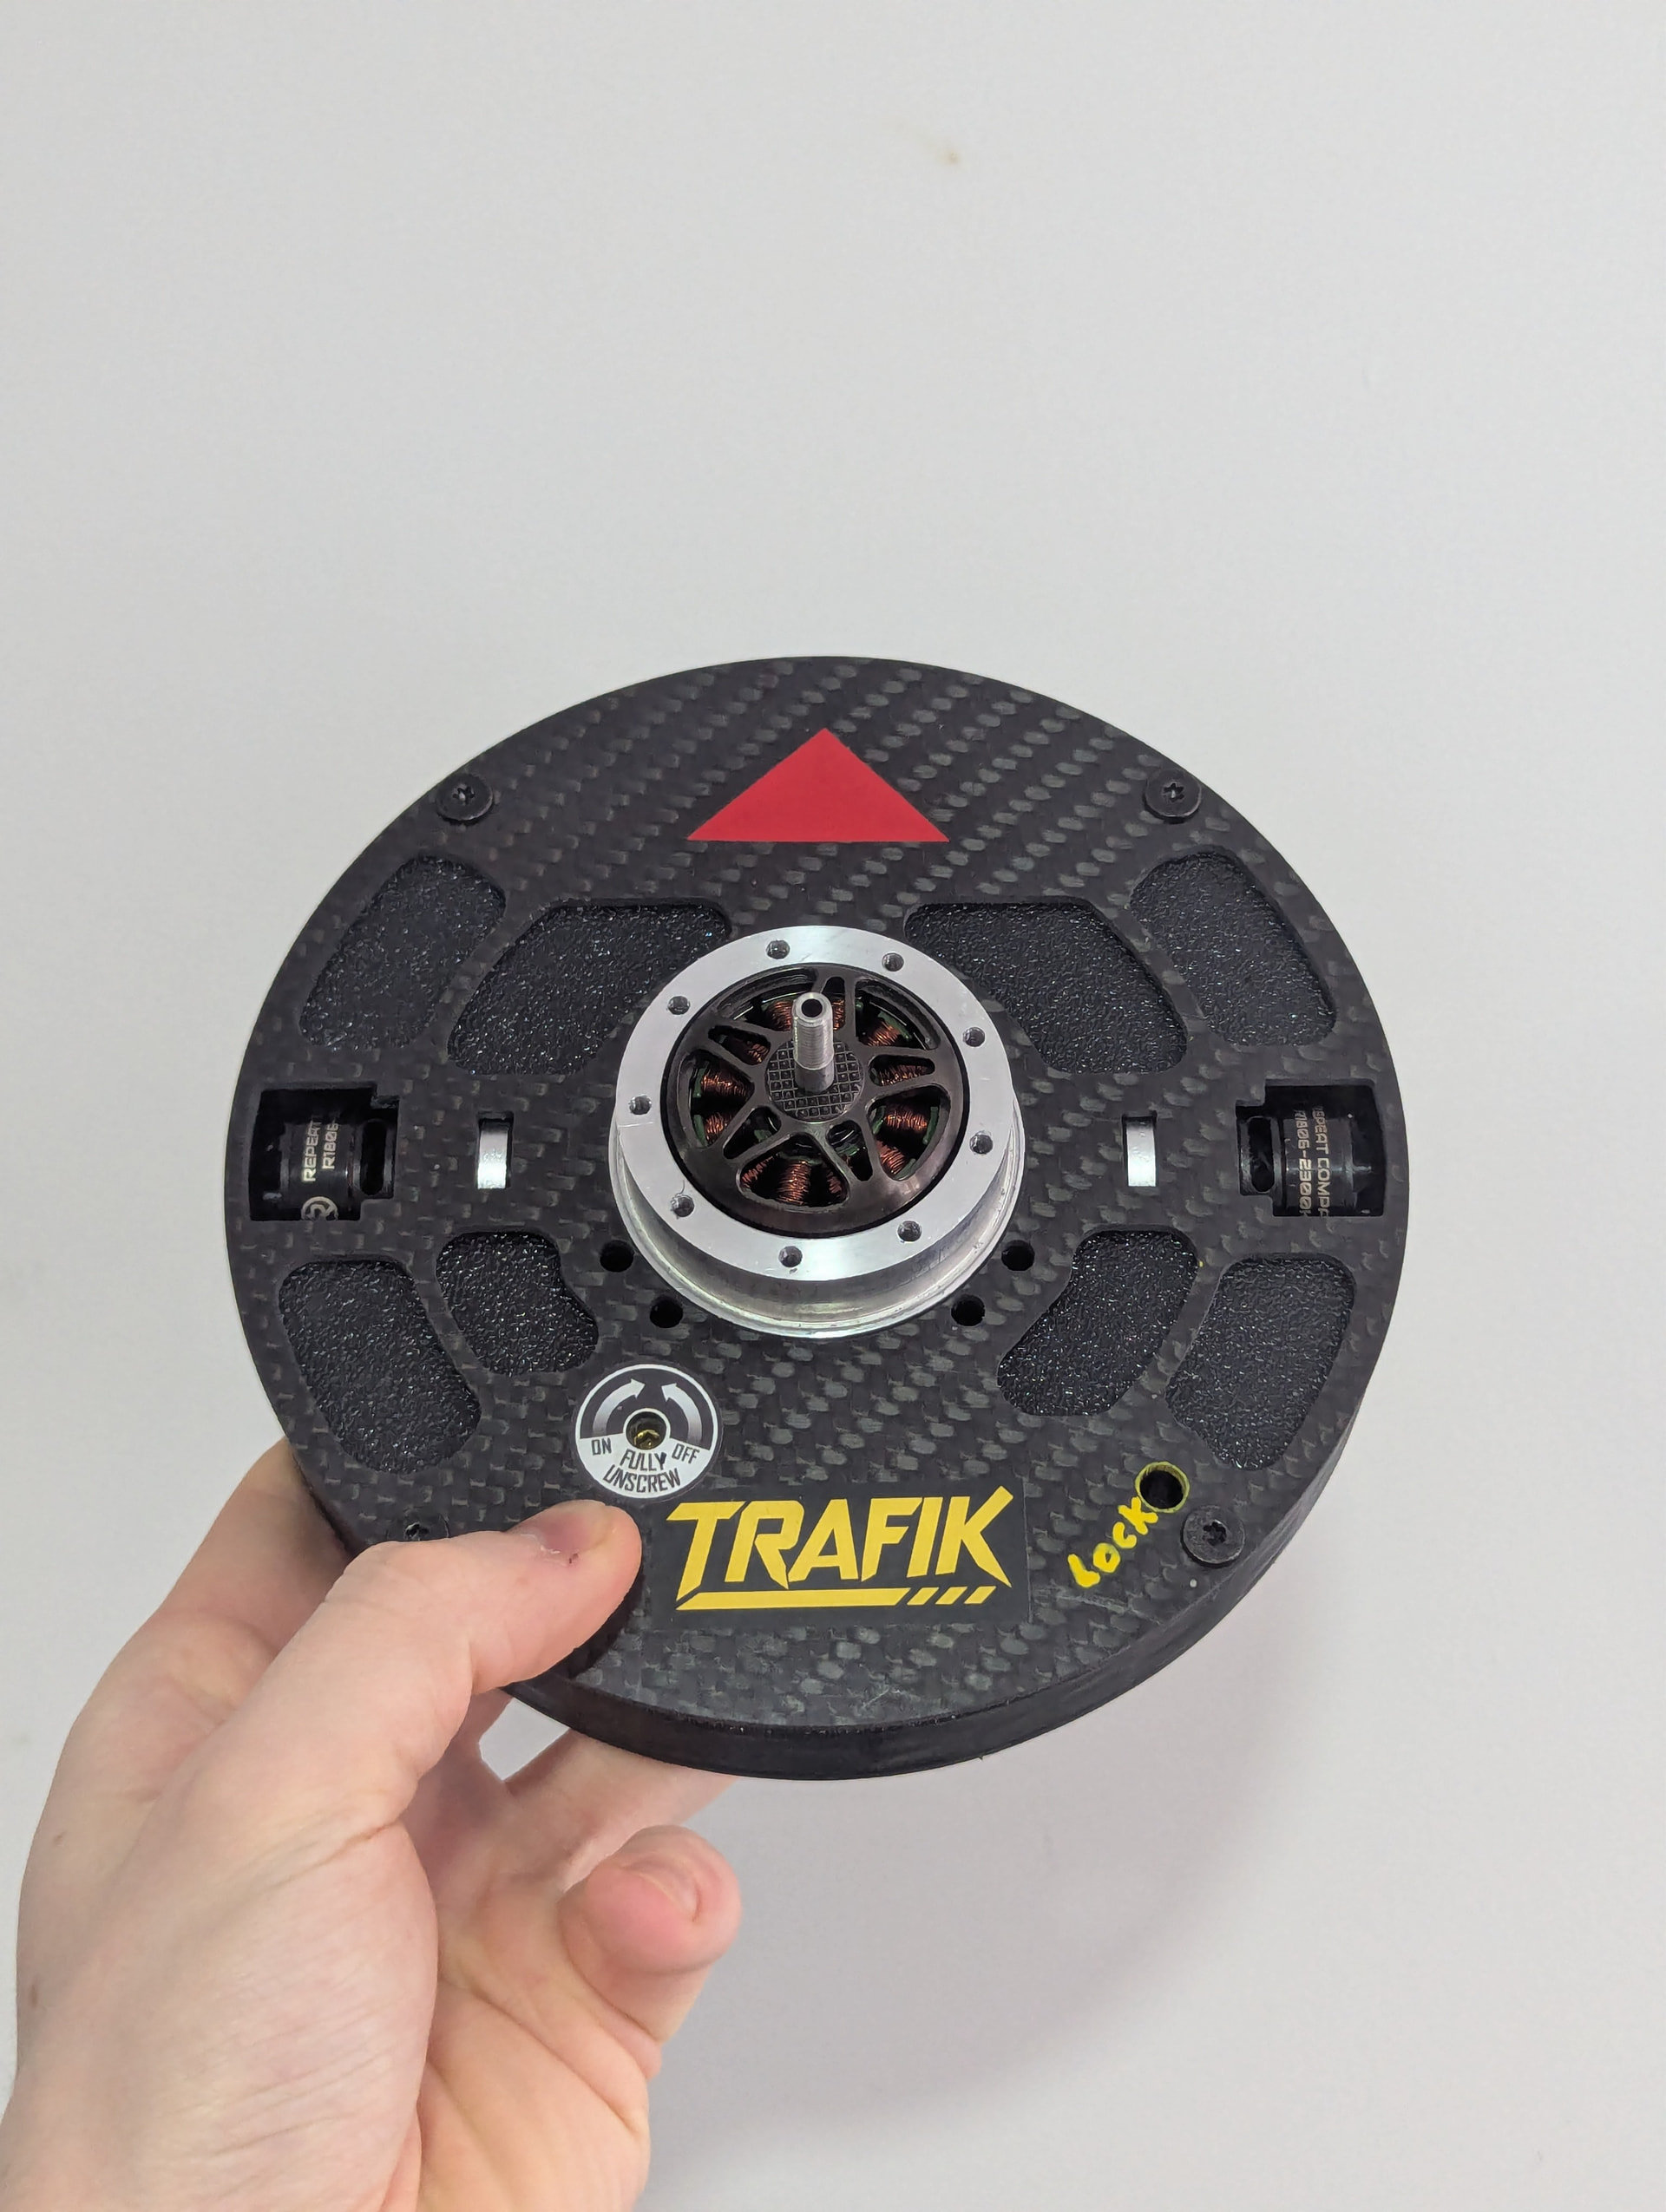
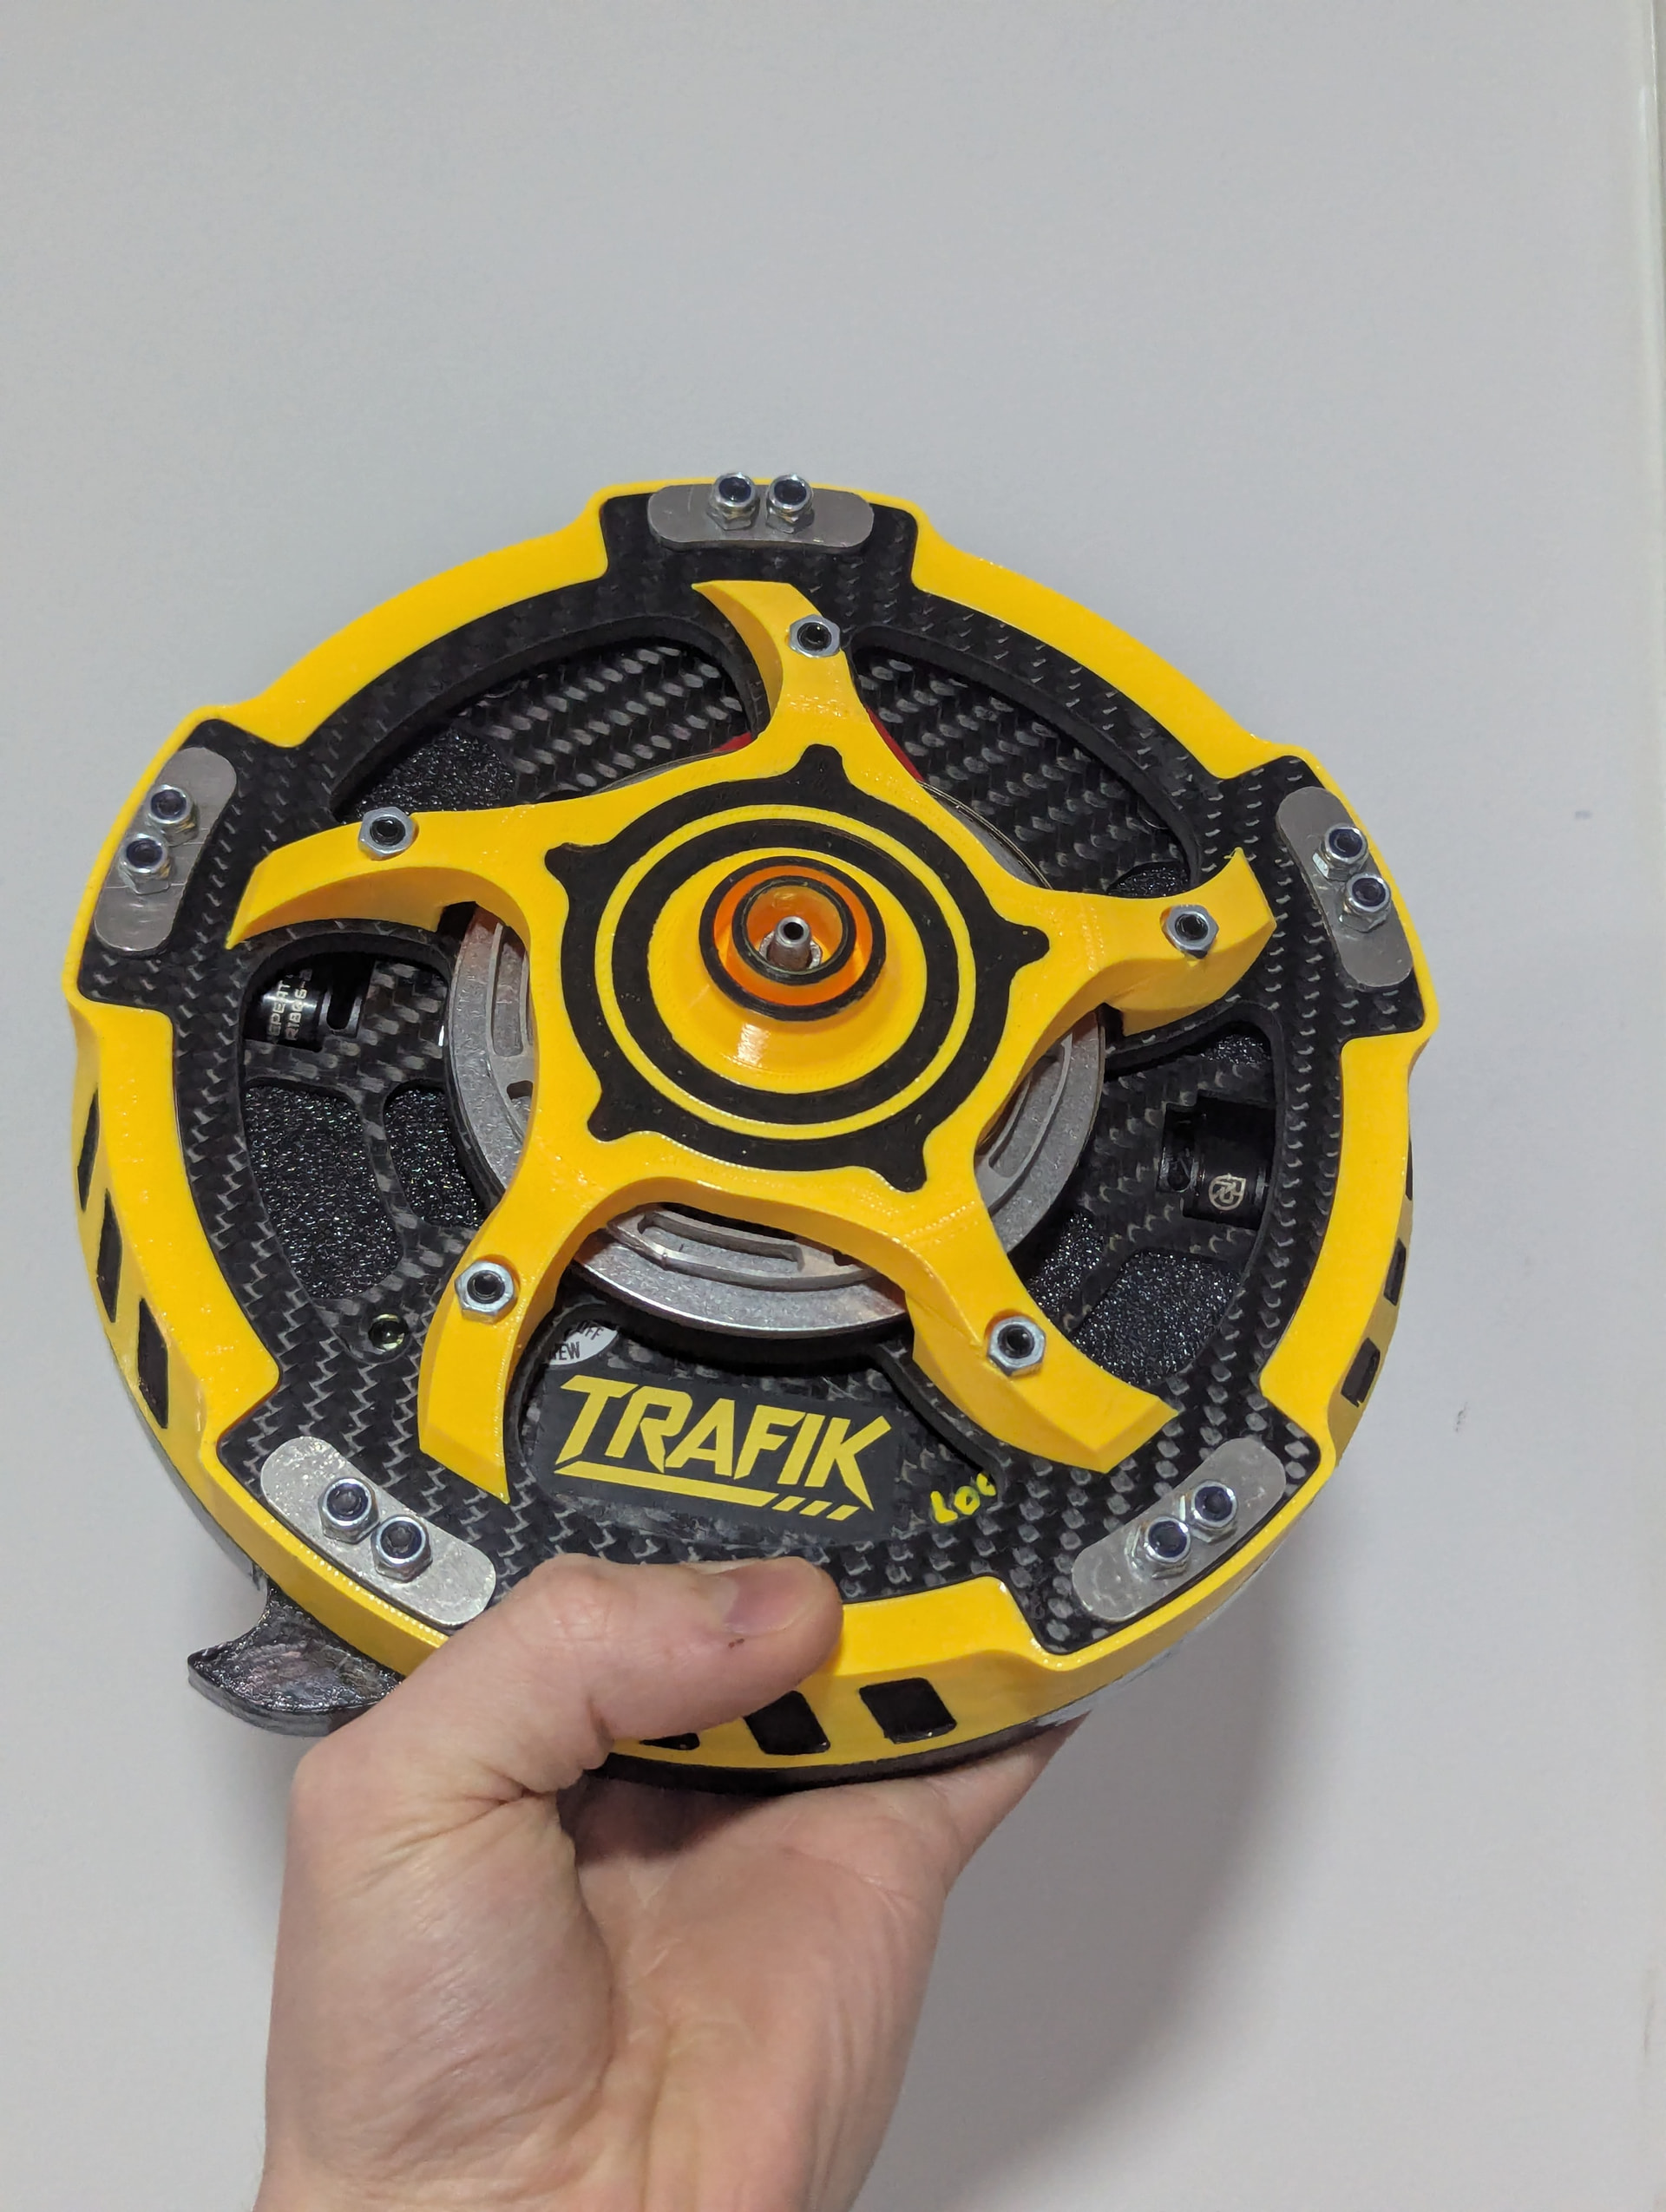
Anyway heres the robot. Its like hella small and hub motor and 6s and stuff v cool. Some wajoo inspo except not too much otherwise then it would be good. Going under the working name of Trafik. Thought it would be a bit more traffic cone-y originally. Top of shell is 5mm carbon hopefully it won’t explode.

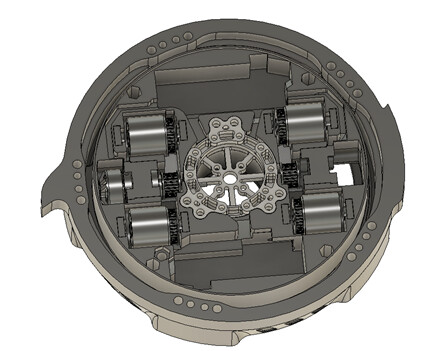
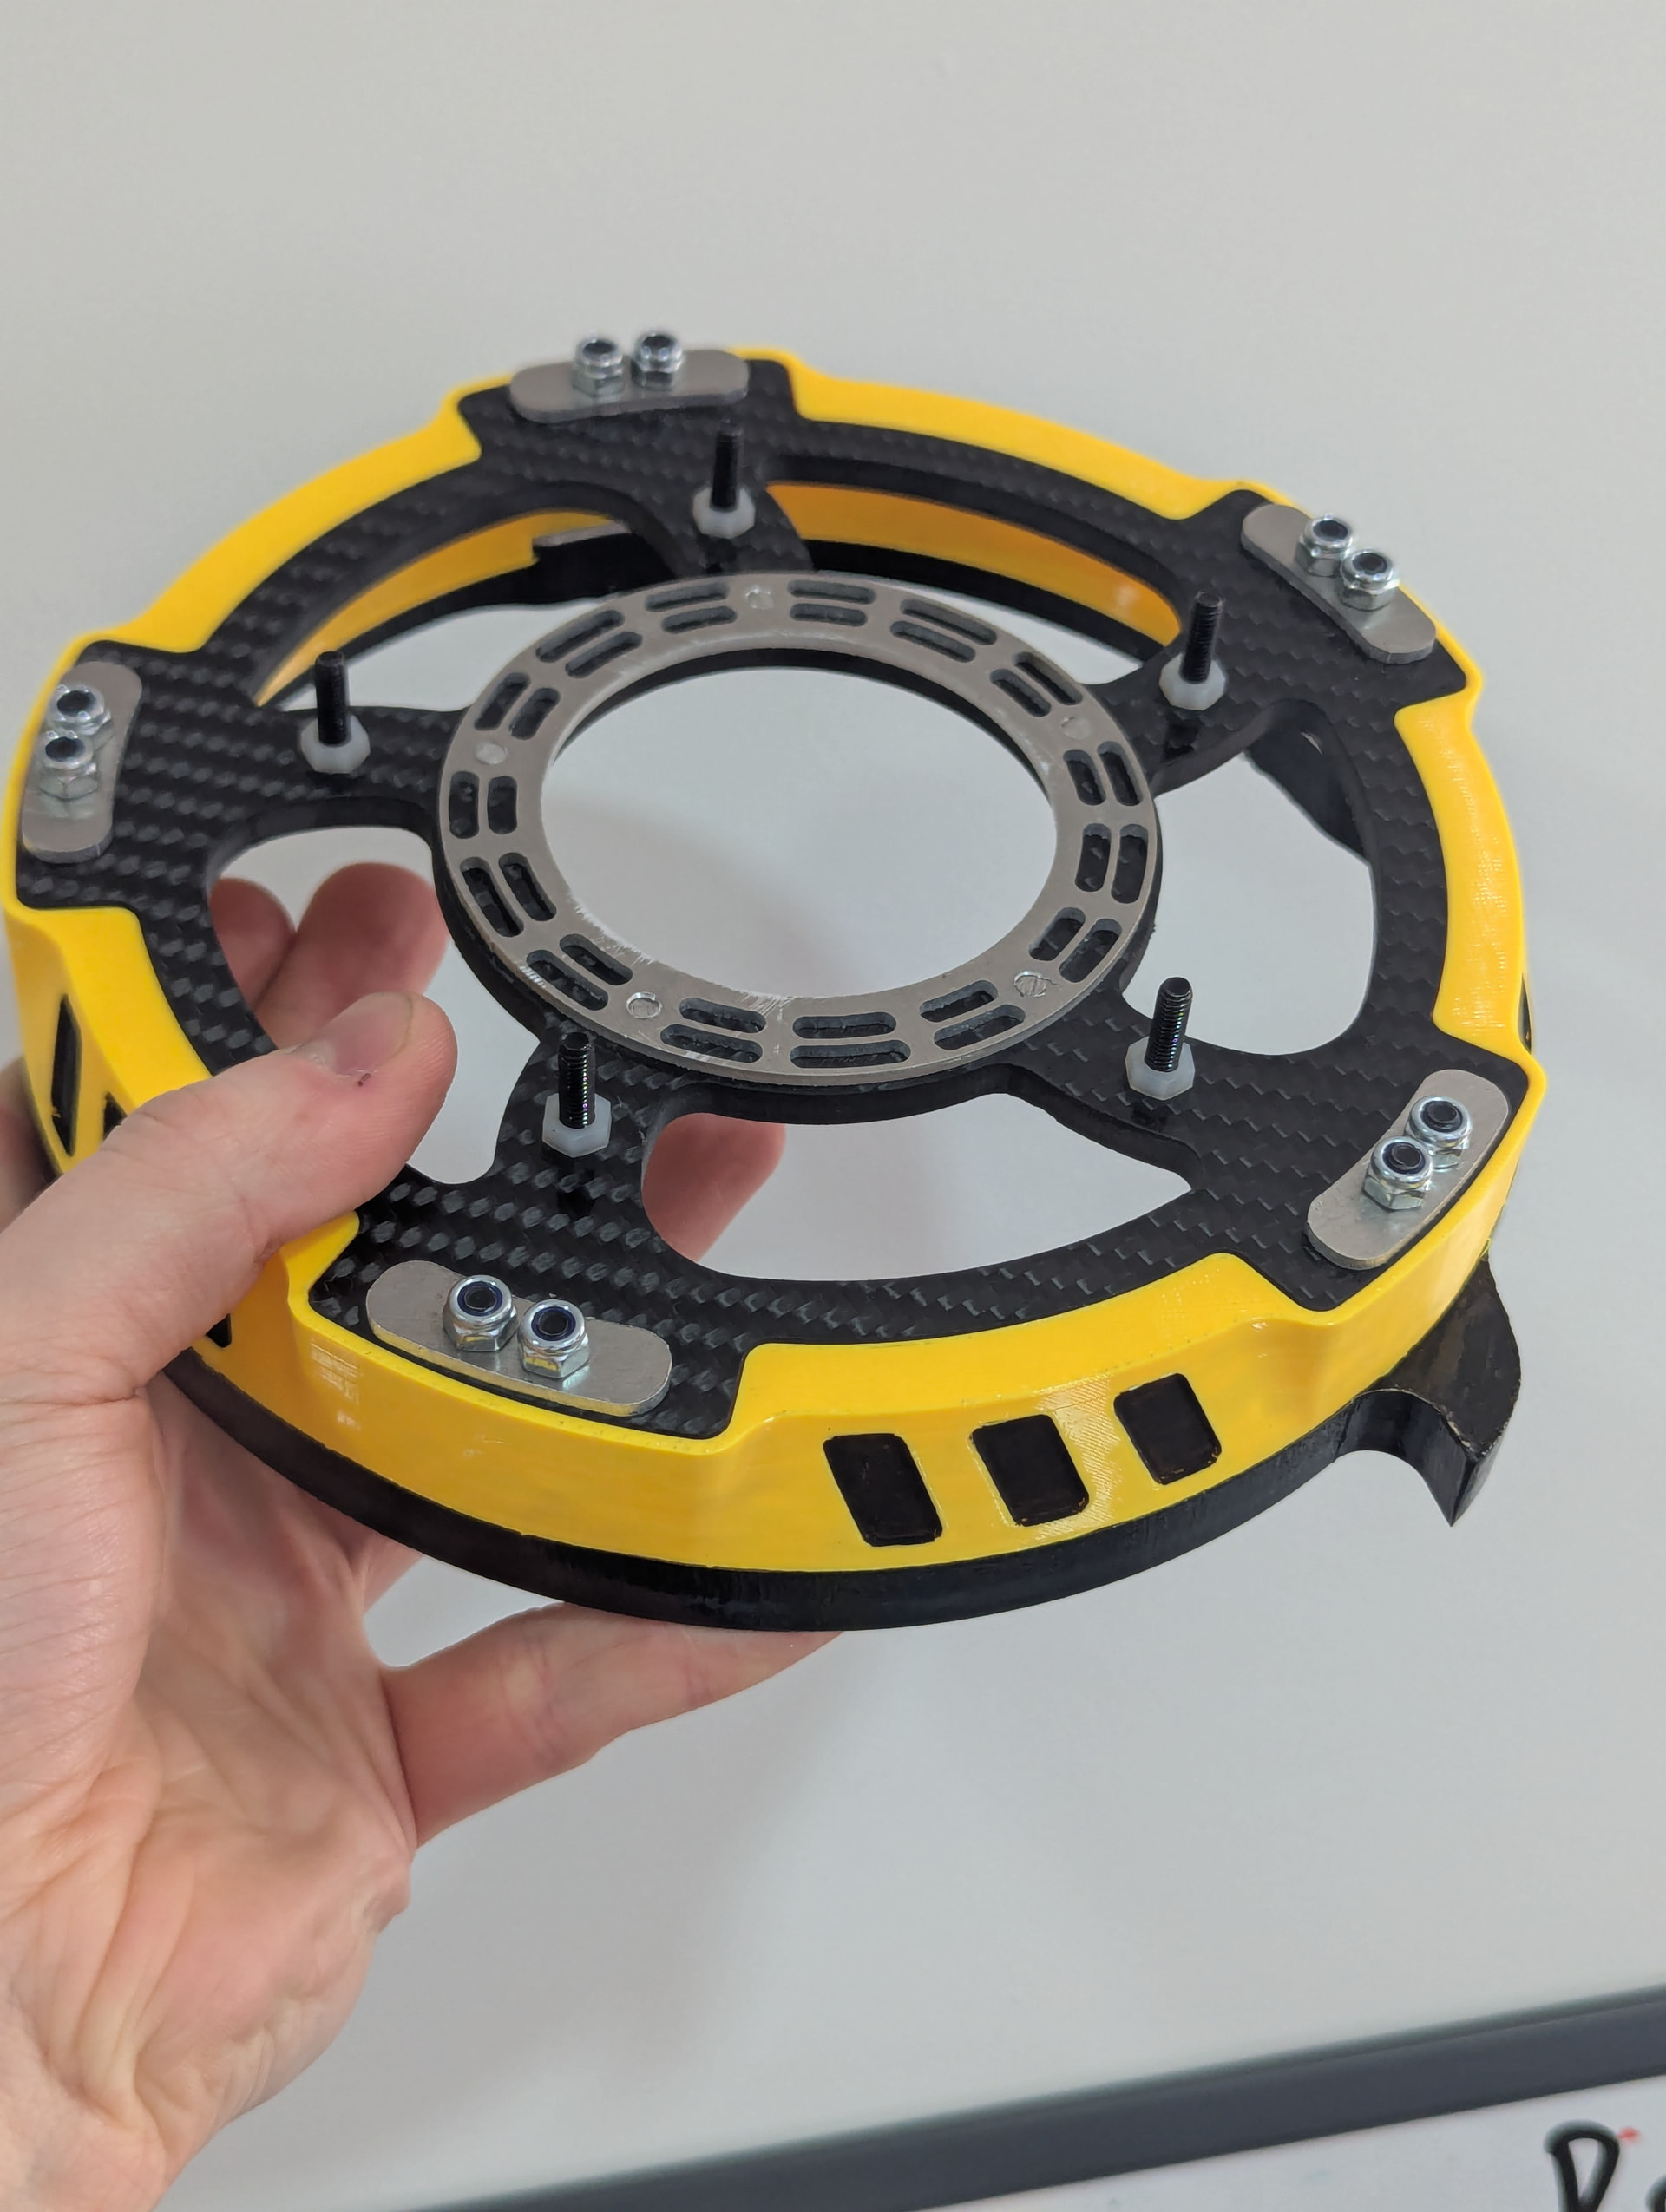
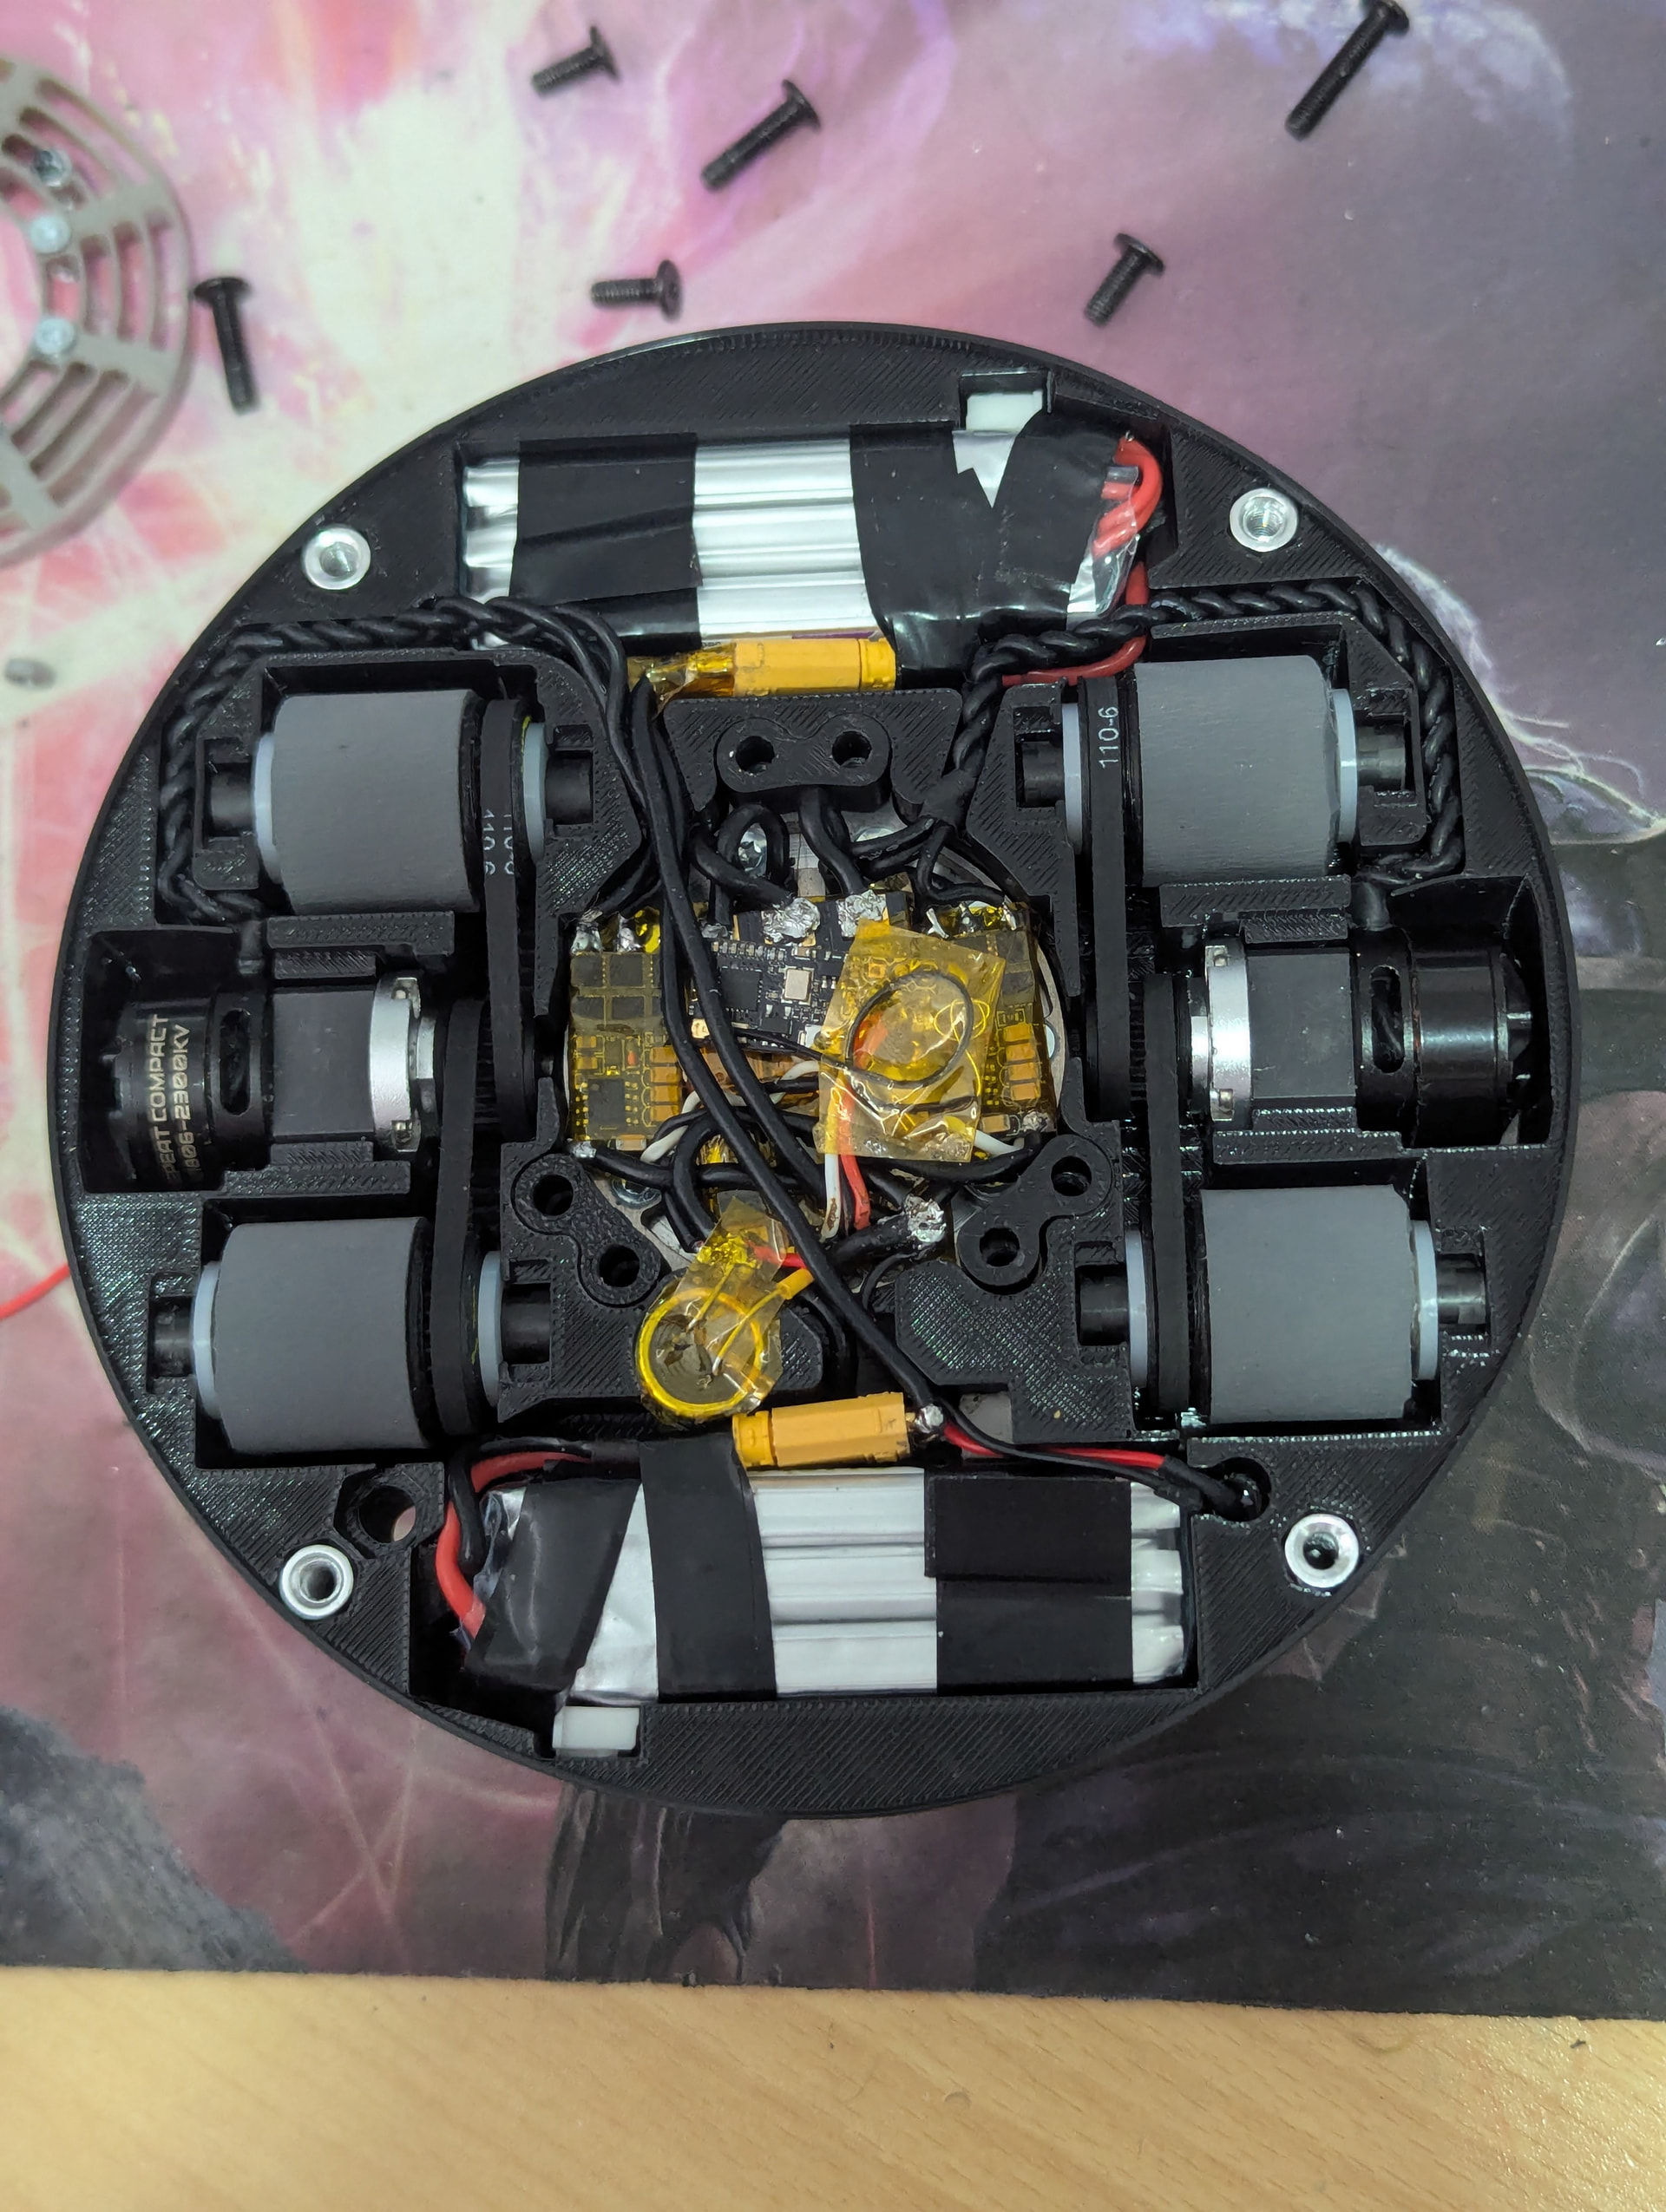
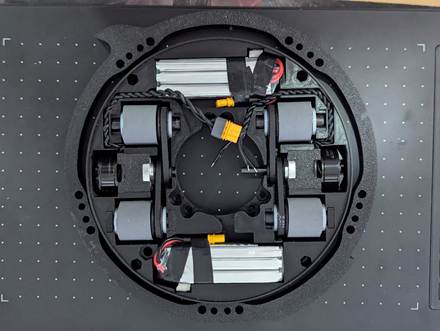
Here it is from the bottom. Idea is everything is bottom access because lol obviously. That stuff will all be covered up tho.

Current interesting bits and stats and whatnot

Compacts on 6s – hope and pray they don’t burn via current limiting because programming escs always goes so so well for me

Wep motor needs to be custom really but I absolutely cba so we’re under volting at 6s and hoping it doesn’t burn (theme starting)

No room for any electronics because the entire chassis is just battery so we will put them underneath the wep motor where it will totally be nice and cool

Everything is a massive heatsink to hopefully stop the burning

The bearings for the weapon stackup weigh more than the entire drive system lmao.

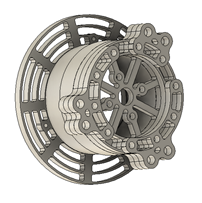
This space satellite lookin thing will hopefully keep it cool otherwise ill cry.

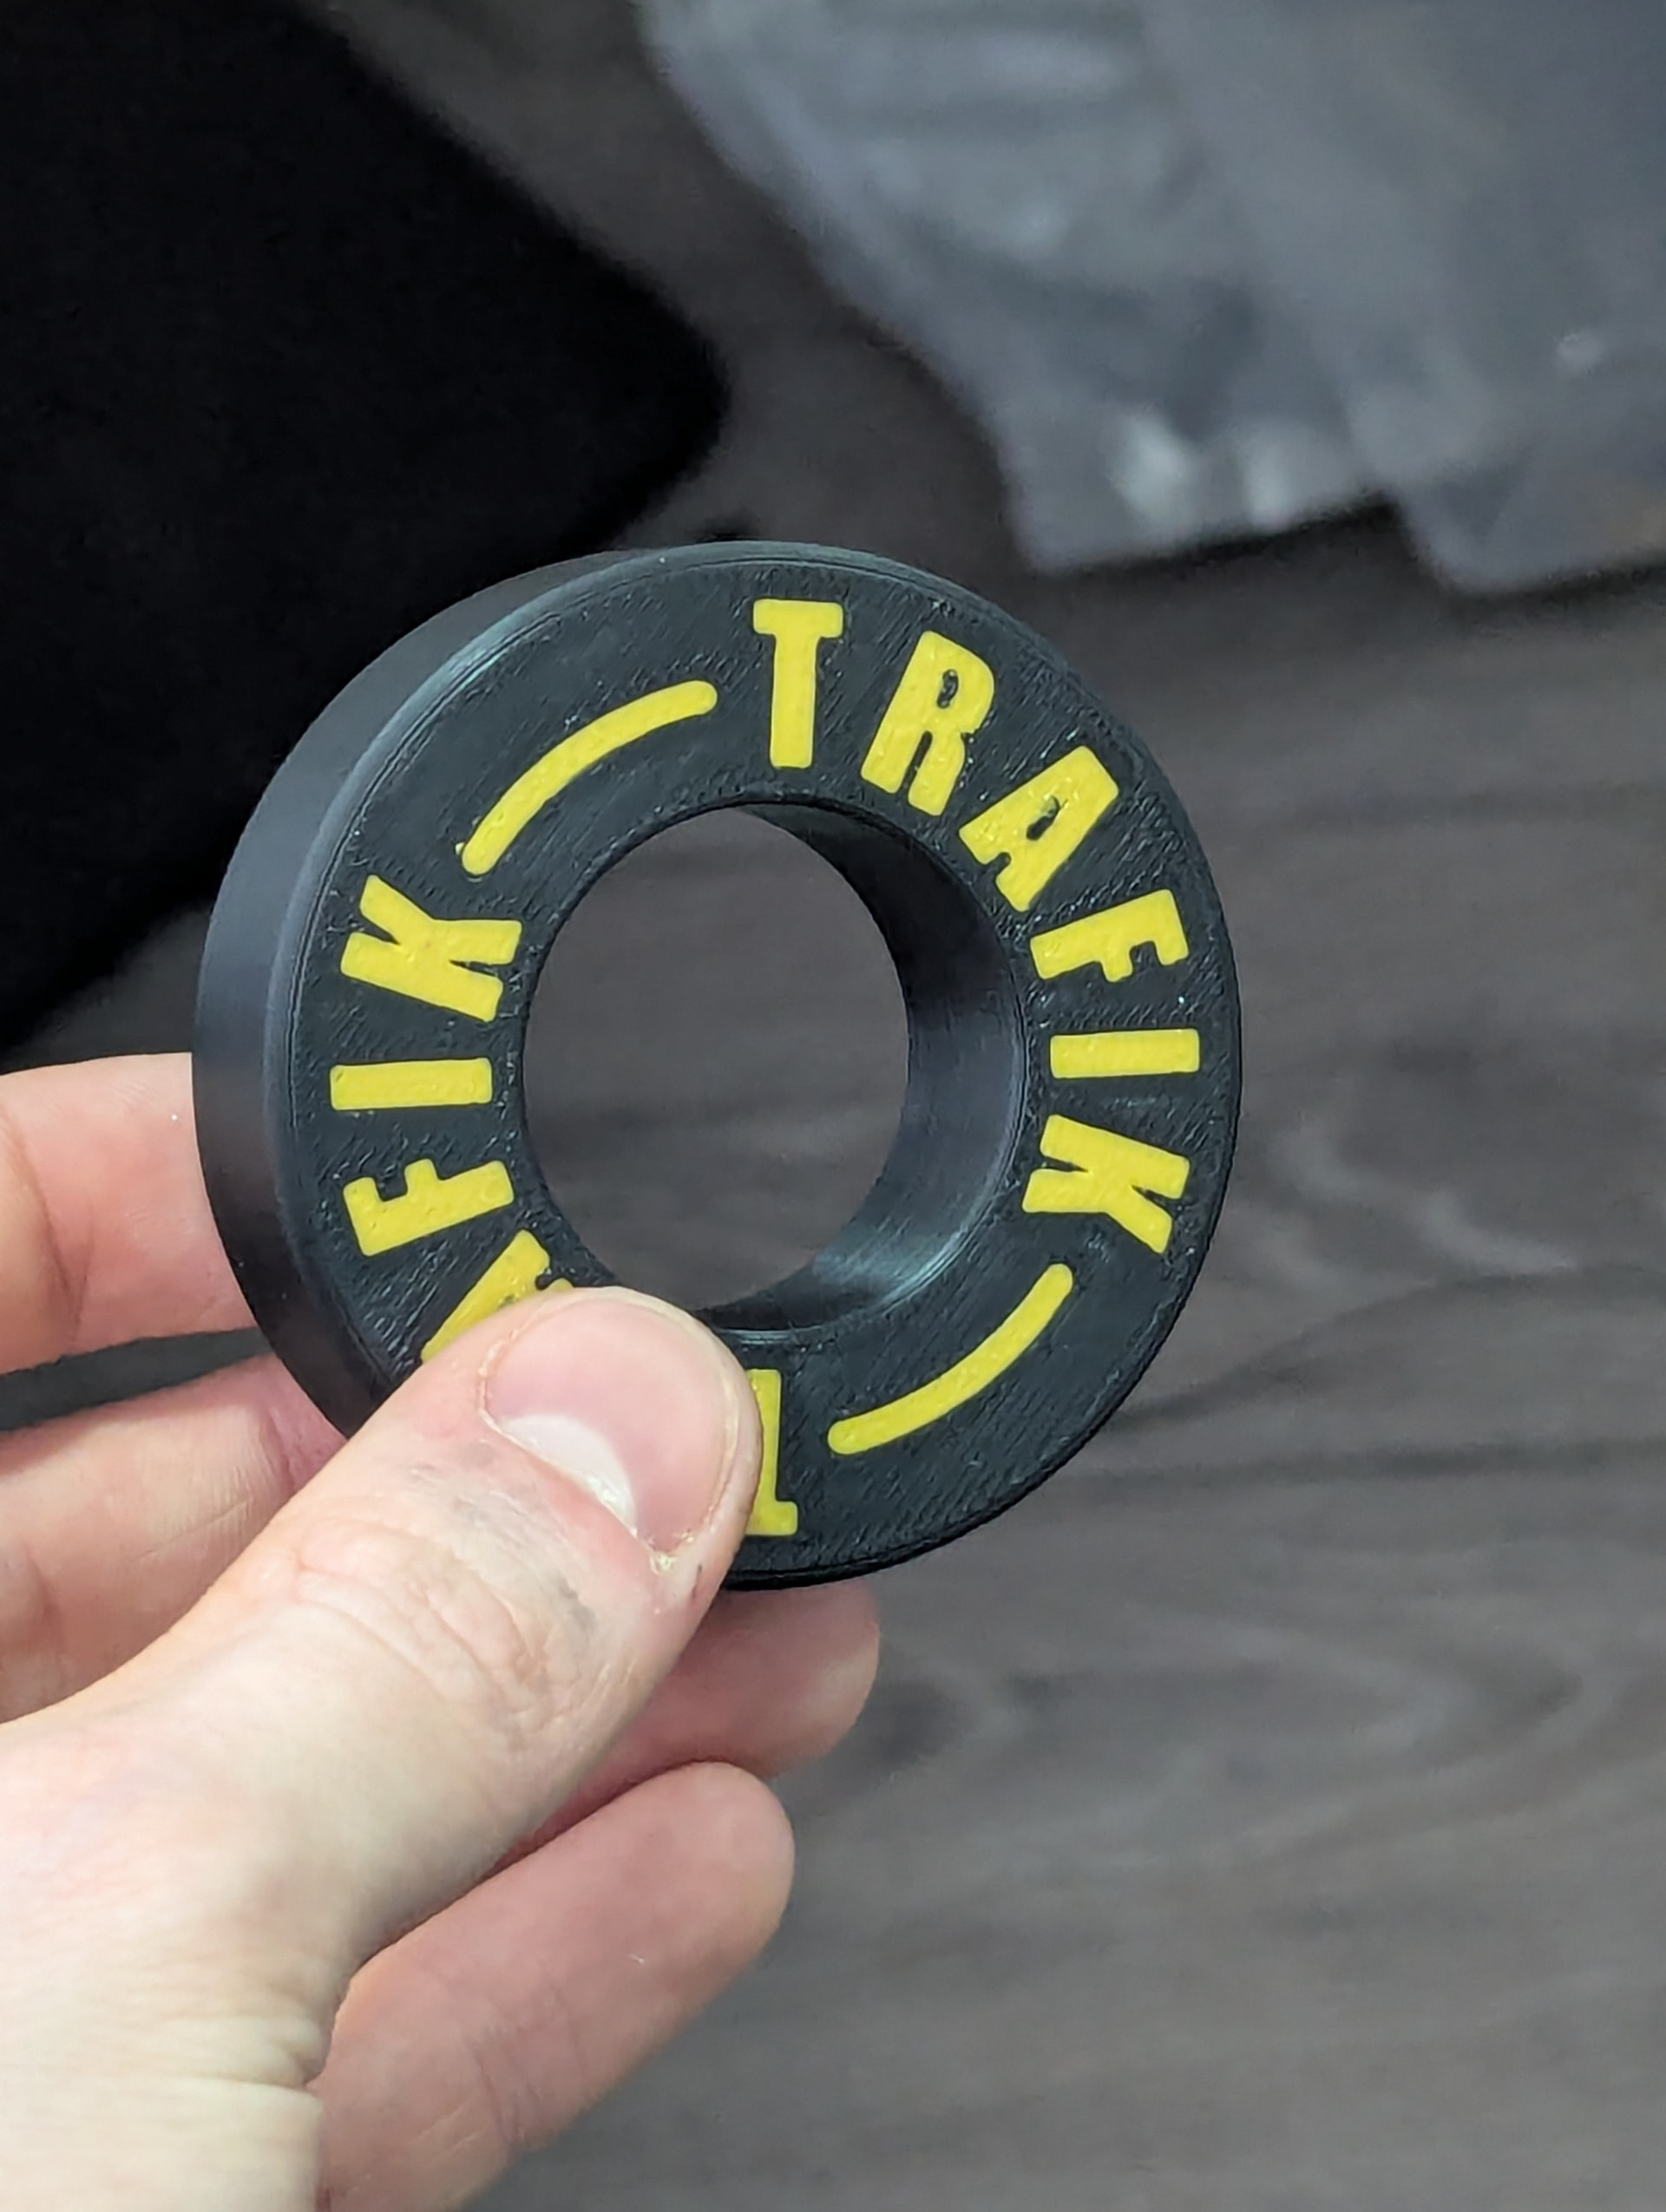
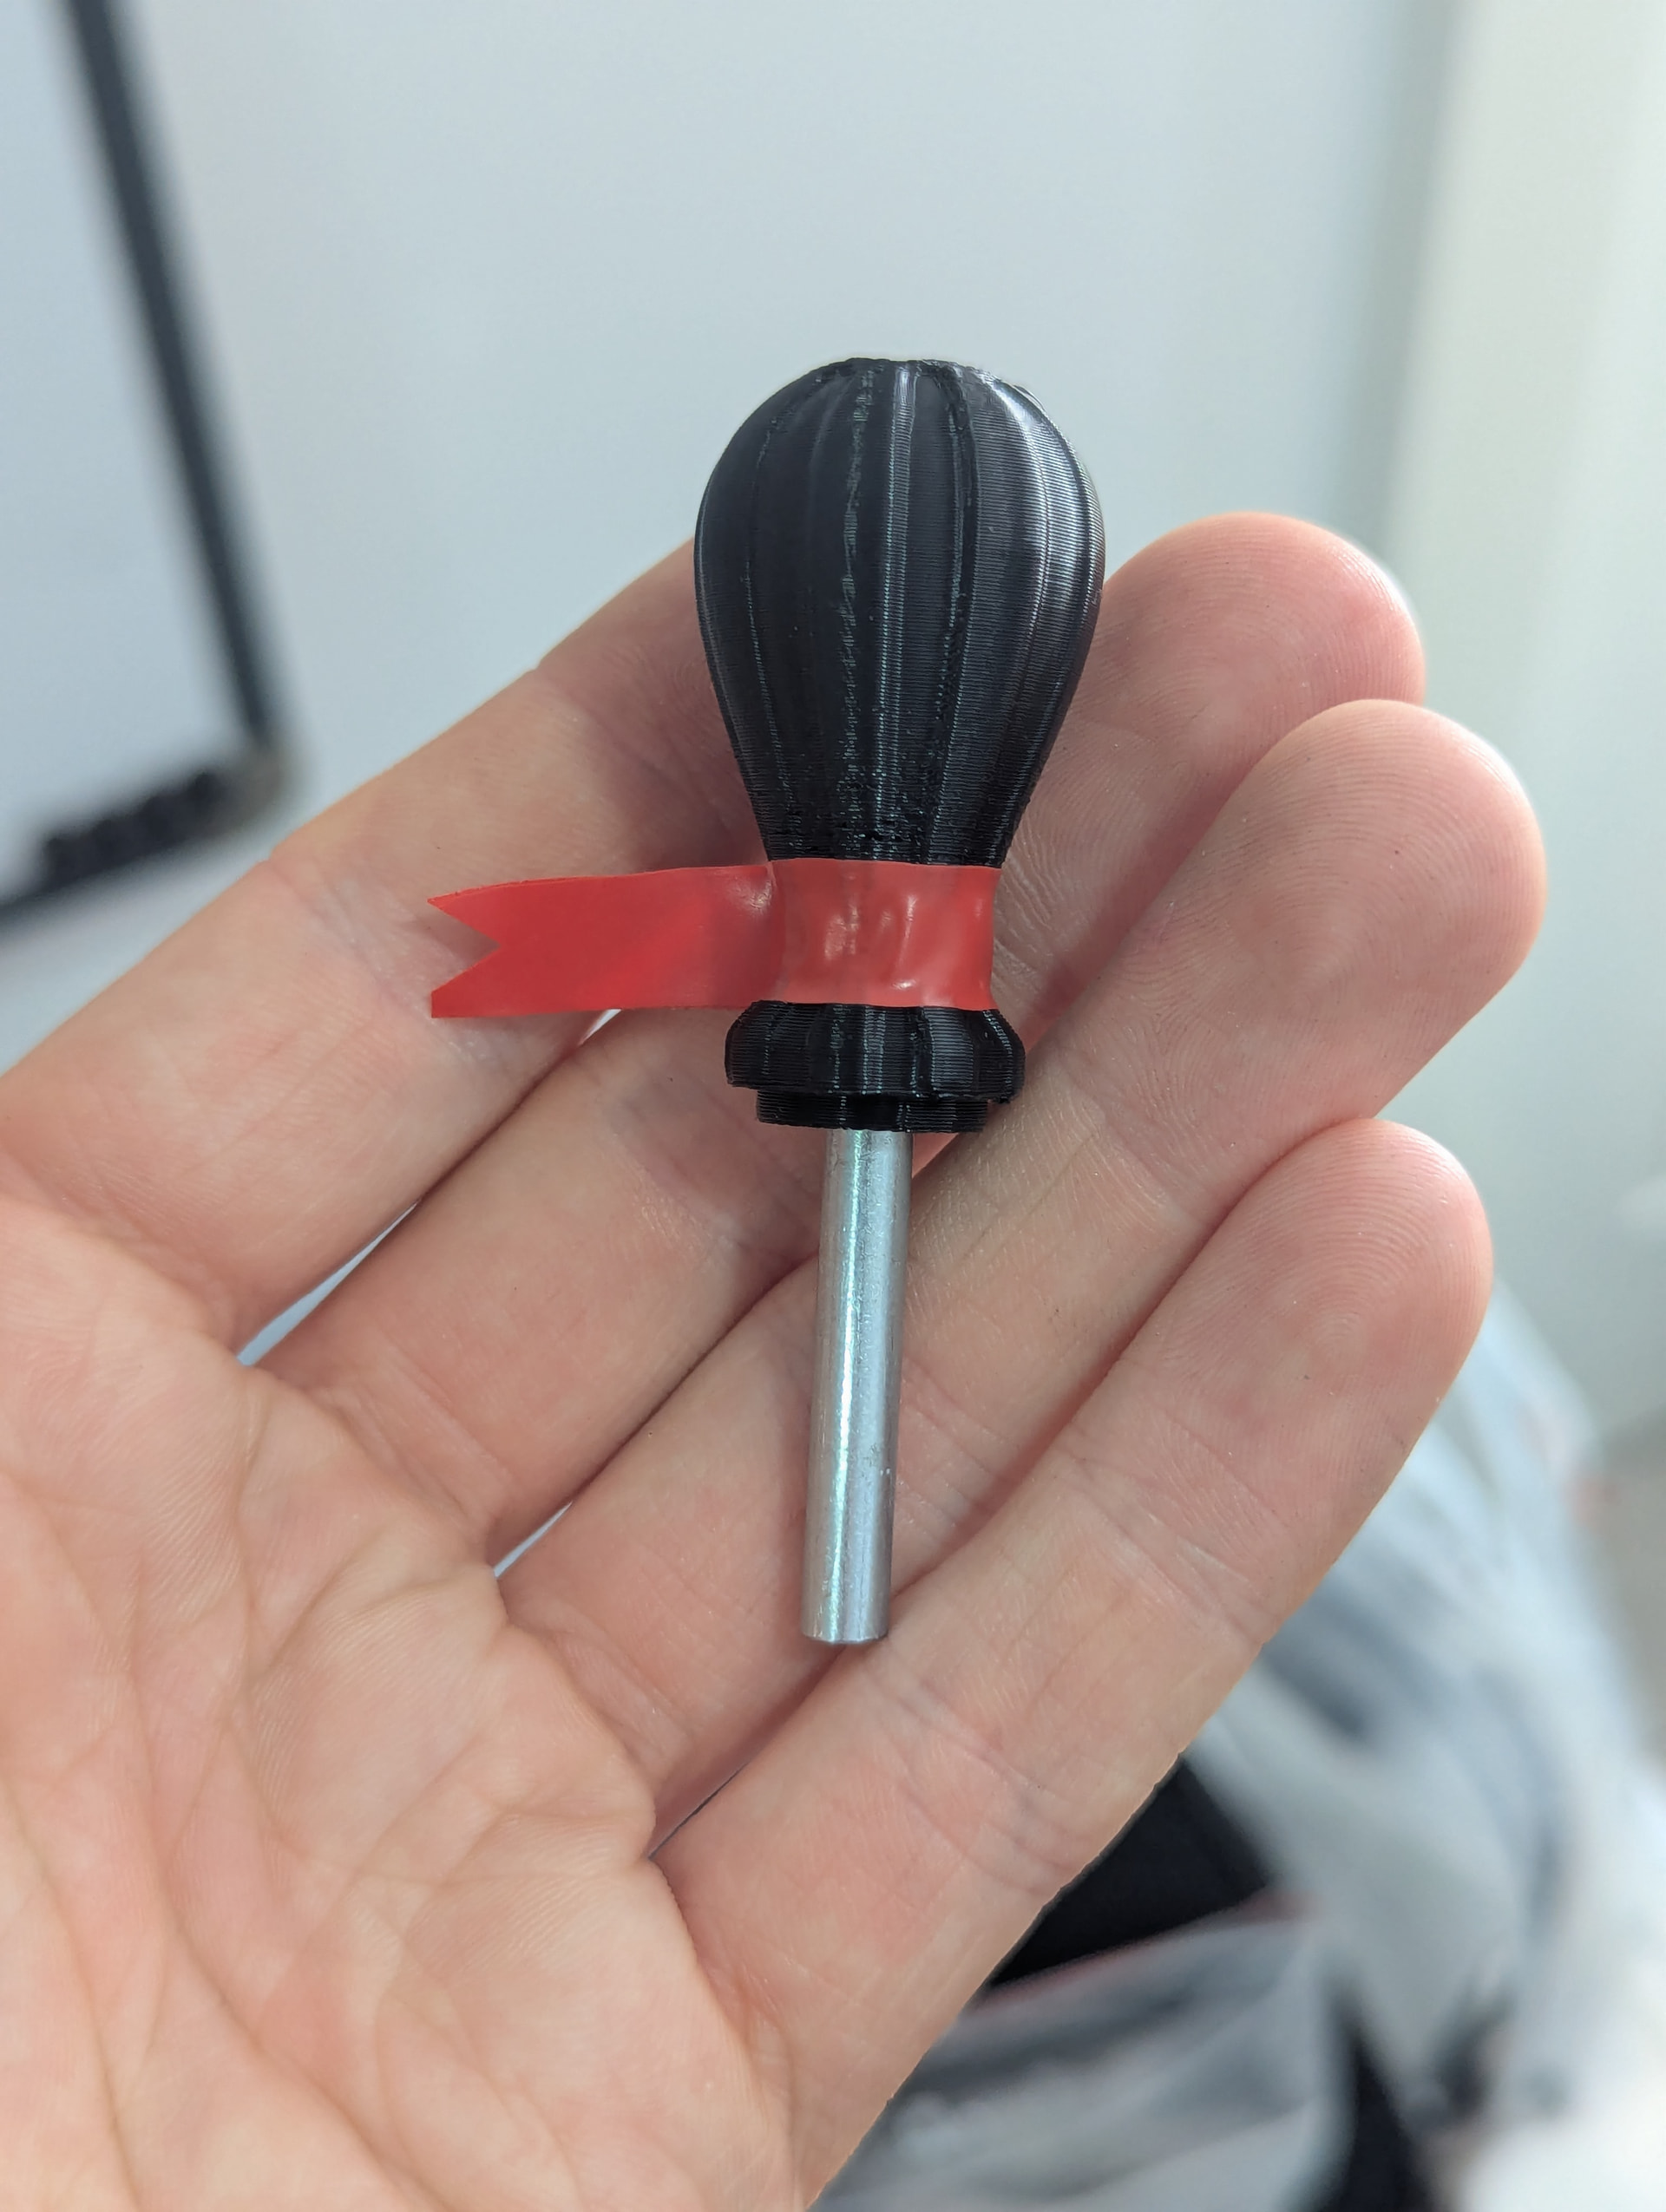
Anyway look I made some of it and so far cad = reality. Tune in next time im feeling like a big procrastinate for more updates!

9 Likes

Rhys as a university administrator who has to deal with students and assessments, this is incredibly irresponsible.

As someone who loves robots I say crack on. Love the drive setup in particular here.

2 Likes

this is so hecking cool i love the aesthetic

Wagwan nerds. Metal bits have come courtesy of the amazing Andy Russell and Lasered.

These can be seen below in figure 1.

Figure 1. everything is a heatsink

Still got to make the bloomin thing though mind. Some post processing still required on these also featuring my favourite activity countersinking hardox :heart_eyes::heart_eyes:

3 Likes

Yep, definetly writing the documentation for a degree assignment… seen below in figure 1.!

1 Like

First exam of finals complete! 6 days to the next one and then 2 days to new bloods. Better get building!

Since today was an exam day I decided to treat myself afterwards to some more work of the robot variety…

Finished the weird satellite lookin thing which is the main shaft (50mm shaft letsgo) and also houses the motor and also also is a heatsink. It’s a turned piece on my baby lathe and 2 plates bolted on.

Also did a bit of work on the shell:

looks epic dunnit.

Had tons of fun countersinking hardox it’s my fave.

Current question on shell is what do I make that yellow bit out of? originally wanted to be high infill tpu but I built this off vibes and in a rush and well the hardox ring is too heavy for that. I think I can get away with 3 walls and 10% infill but I’m worried that when you spin that up the tpu will expand silly amounts from the centrifuge and eject itself.

That leaves me with Pla ST which it is in this picture. too shattery?? same goes for PC

Don’t really want to do nylon because I want it to be yellow and I’m not dying white nylon because faff

Also not got the time to mill from yellow HDPE.

Idk give me your thoughts people. hoping someone will just say yes send it to one of those and it’ll be fine lol.

Anyway that’s it for now off for more revision yay.

Sidenote: I thought rotavator was overkill with it’s weapon weight. This thing is looking like the north side of a kilo spinning mass…

7 Likes

I’d go for ASA If you are truly stuck, it’s light, doesn’t shatter and comes in various colours.

At that size you might have some issues with warping on the bed, but use a brim and either glue stick or painters tape and you should be fine.

this is so sick, i love a shell spinner

in regards to the material, id just send it with tpu. i think any other printed plastic means it explodes which is a worse failure option than it warping at top speed

yeah I think the same. because it’s such a big diameter I think the rpm should be low enough to stop it being a big enough factor to detach at top speed. Im also thinking that it shouldn’t matter how flimsy I make the print because thinner = lighter which means less expansion force anyway. all vibes and guesswork though hopefully it works at the weekend

If the vibes are bad and you feel like it’s going to creep and expand, something I (and others) do to stiffen my TPU parts is embed stiffer material inside them. Fatal Deviation’s lifter has a bunch of 2.5mm piano wire rods jammed through it, and I’ve also been playing with carbon fibre rods and composite plates inside TPU and PEBA parts to keep it stiff in one direction but compliant in others.

ooh that’s neat I like the idea of adding a ring of piano wire inside the print. deffo won’t have time to do that before Saturday considering I have the majority of the robot still to make but a cool idea for future!

Exam yesterday went well so I’m giving myself today to work on the robot. event is tomorrow so I reckon I should probably start building the thing lol.

Top and bottom plates looking cleannnn

Just replaced the pla standing for the Carbon on the shell too. You’re looking at 12mm hardox and 5mm CF. The Tpu is purely decorative/ armour since there are aluminium blocks inside which keep everything squared up and rigid. And before anyone says anything about bolts in shear the bolts do not carry the shear load there are dowel pins for that, the bolts just keep everything sandwiched together.

I’ve got the parts for a backup shell too so hopefully if all goes smoothly I can speedrun making another one

2 Likes

That logo looks awesome! Are they stickers by any chance?

1 Like

Yes they’re stickers! wanted them to be bigger but that’s the largest you’ll be able to see through the shell lol. Since I had to get a whole sheet I’ll bring the rest in case anyone wants one

Wiring is now done!!!


One of the least enjoyable experiences of my robot career.

You’re looking at wep ESC plus 2 drive esc plus receiver all squeezed into a 7mm deep cutout the size of the wep motor. I think this is about as compact as it can get!

With the inner robot assembled it looks like this:

everything in this picture weighs under 600g!

then there’s 150g of wep bearings and a full 750g of shell specs getting close to the 900 spinning I have on rotavator!

More updates still to come…

2 Likes

Did you get a company to do them? I’ve seriously been considering getting stickers to put on my bot too.

Also the compactness of that wiring is making my eyes water. One day I hope to have as much confidence to cram the guts of my robots into such a tiny space as you do… :smiling_face_with_tear:

Only gone and done it haven’t I

Since I finished this almost 12 hours before the event even starts I’ve had time to make a fun lil locking bar and cradle modelled after a roll of electrical tape I found was perfect

4 Likes