I did not post them. Quick run down of since this last post.
Leviathan 1 sucked, Greg also sucked.
Ares was ok
Chris Griffin 2 was good
Leviathan 2 sucked.
But I’ve been working on some other beetles & some improvements across the past 3 months +. I’ll be covering them here.
Chris Griffin 2
This did it’s last outing at Dojo back in March, in which I just applied some thicker wiring. Results wise, not bad, think a lot of the issues on the day with it were due to me just not really going over the robot with a fine tooth comb as usual & forgetting to tighten some stuff before each fight. But still happy wth most of it. Conclusions are still the same from Chichester; Shift the CoG forward, Switch & adjusting the belt tension.
CAD
The design for it was started in like April, with the main changes being above. The CoG shift was tackled by pushing the rear of the robot forward, along with the option to move up from a 411g disc to a 489g disc.
Another big design pillar was to get the robot under 3lb (1.36kg) with the previous 411g disc, not only does this chassis shrink help, but it’s been electrically changed to be more efficient in that department. No more are the beloved Rotolinks & BBB BL_heli 20a’s, as in go Repeat Compacts & Repeat dual ESC. Overall this saves a great amount of weight, not only in raw component weight, but spaghetti wire weight too.
Outside of that, it’s largely the same, CF sandwich plate on standoffs & a bolt on Alu plate for the motor mount. Nylon pulleys.
I’m rather limited on photos, but it actually started with a printed prototype to get the belt tension right. Its probably the most important part of the robot to get right, its essentially one big weapon & having that weapon working flawless is in it’s best interest.
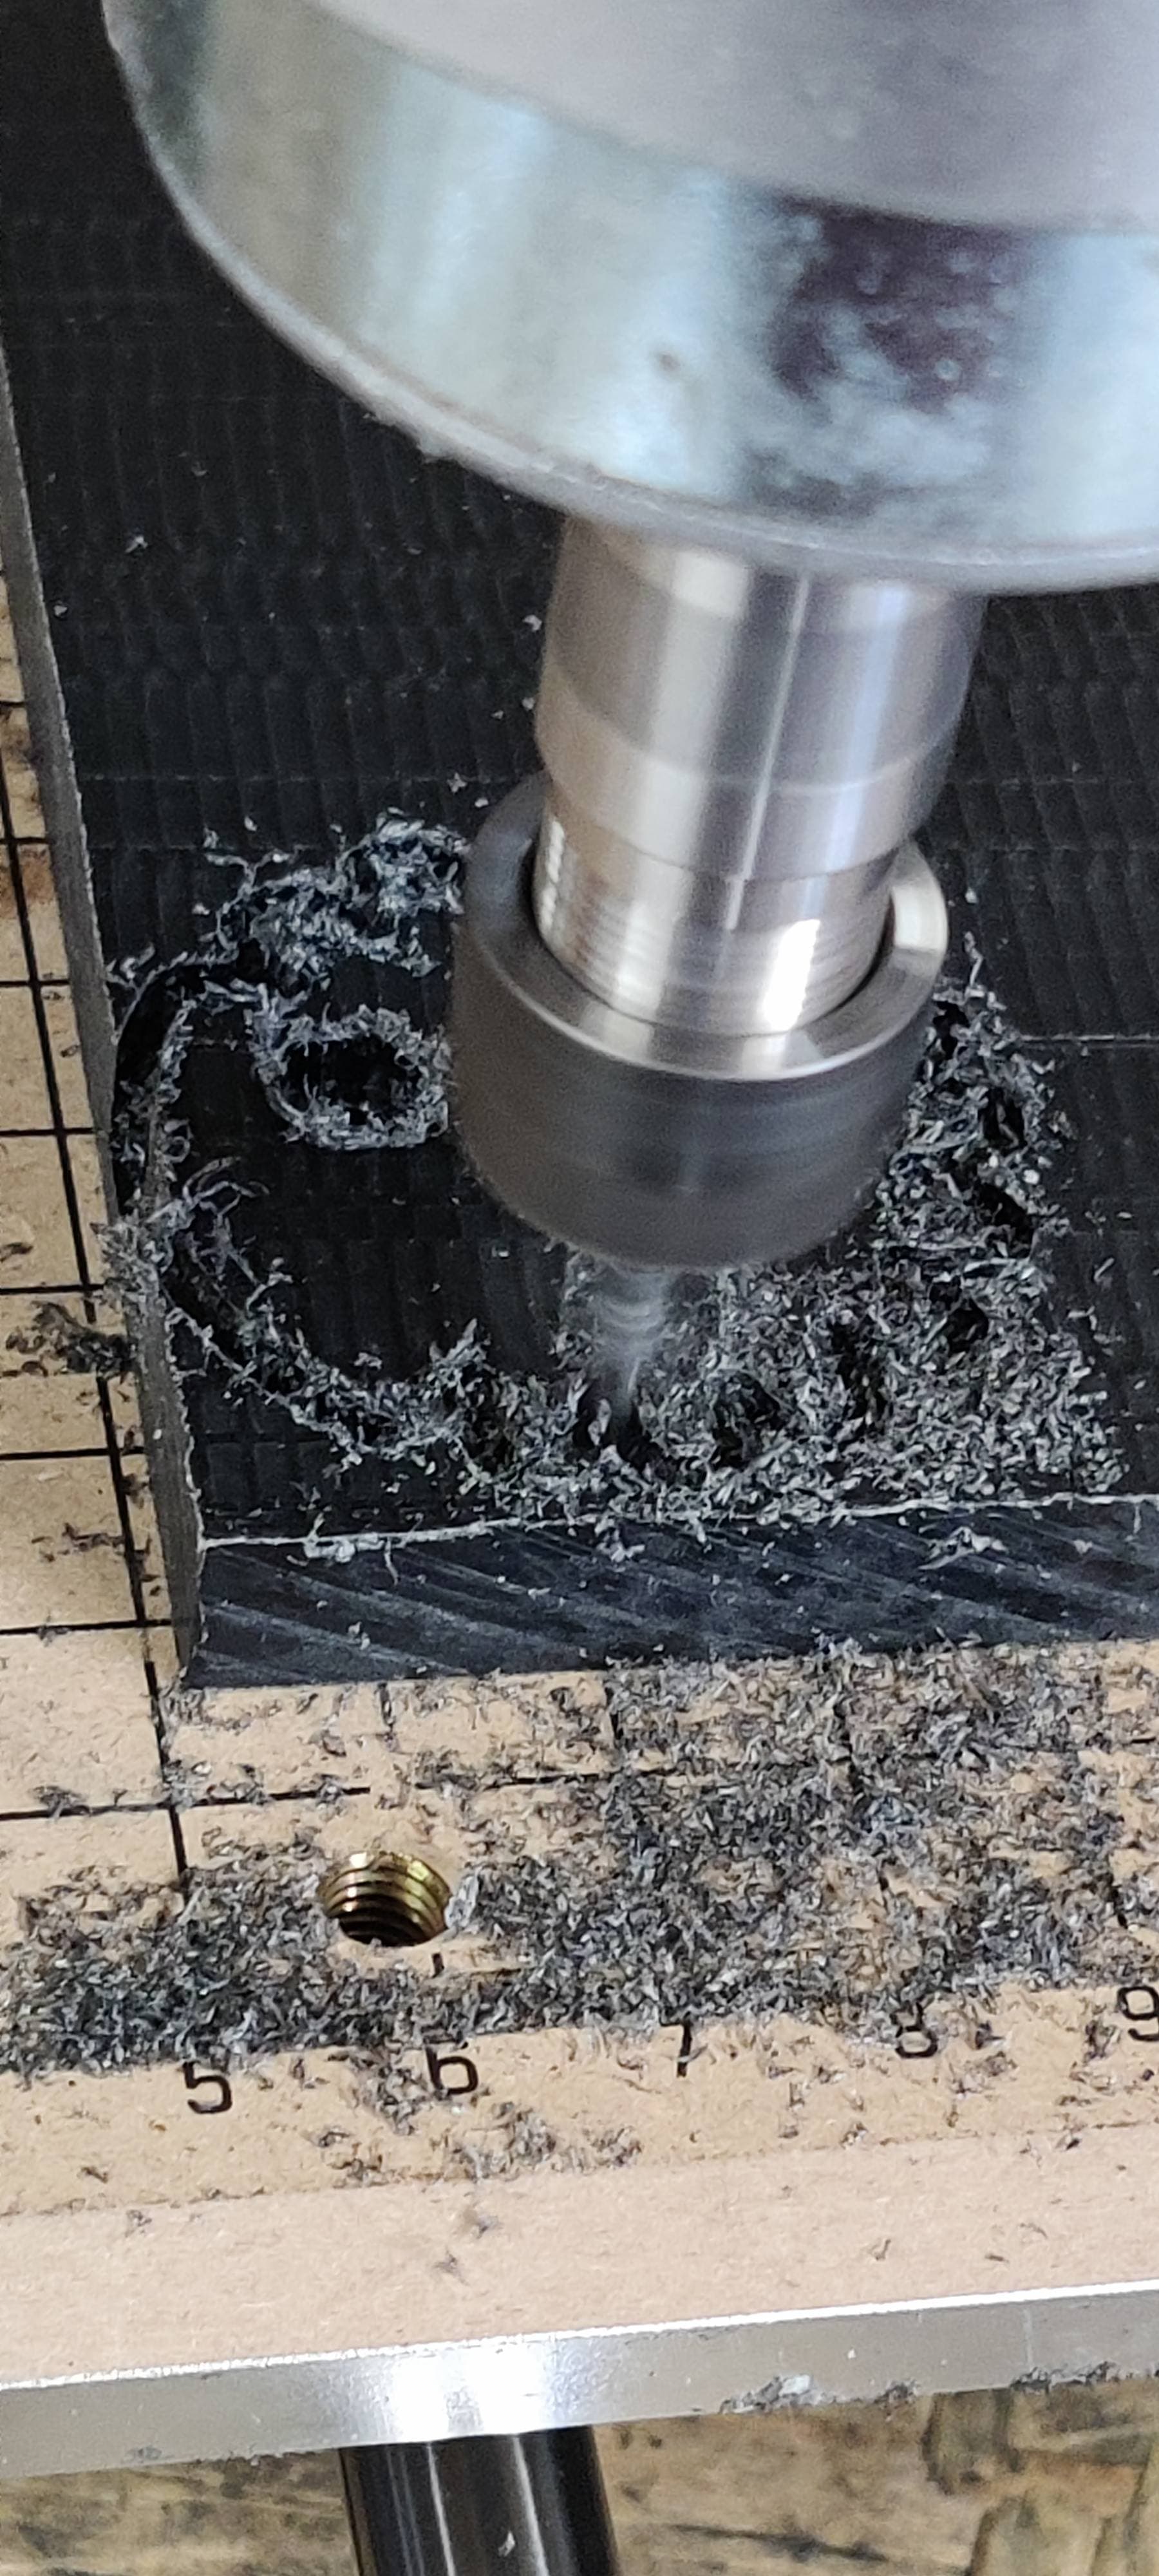
Once printed prototype is fitted, its about machining the rest of the robot and fitting it all together. All machined in house. Really nice to do
Carbon Fibre plating
On the operating table
New disc, this stackup now spits out about 1550J vs the previous 1350J. Close to 600g of spinning mass.
Here’s it done outside of some bolts and a bit of mixing. About 1420g in this configuration. Couldn’t be happier with it. Next outing at the ever lovely Rapture Gaming Festival.
Humble & Hungry
The earliest I can find of this origin story is back in October 2024. Had a great idea with some folks that you could be Full Court, but 2. Hitting griddy’s on MFs as they’re pinned. How infuriating would that be?
Now, none of the people who I had this conversation with have neither talent, nor willpower to see this to the end. So I turned to the one moron, who would assist in this great creation. Morgan.
CAD
Here’s some CAD, Morgan did some great mock up points which I ran with. Wanting to keep them 4 wheel drive, independent pods, 6S lipos in both… and wide.
This was Morgan’s starting point, has a great shape without being squared up and boxed.
This was the rough plan. TPU chassis with a HDPE bent front plate.
Hammersaw? Yea what…
Horizontal planning went well from both parties.
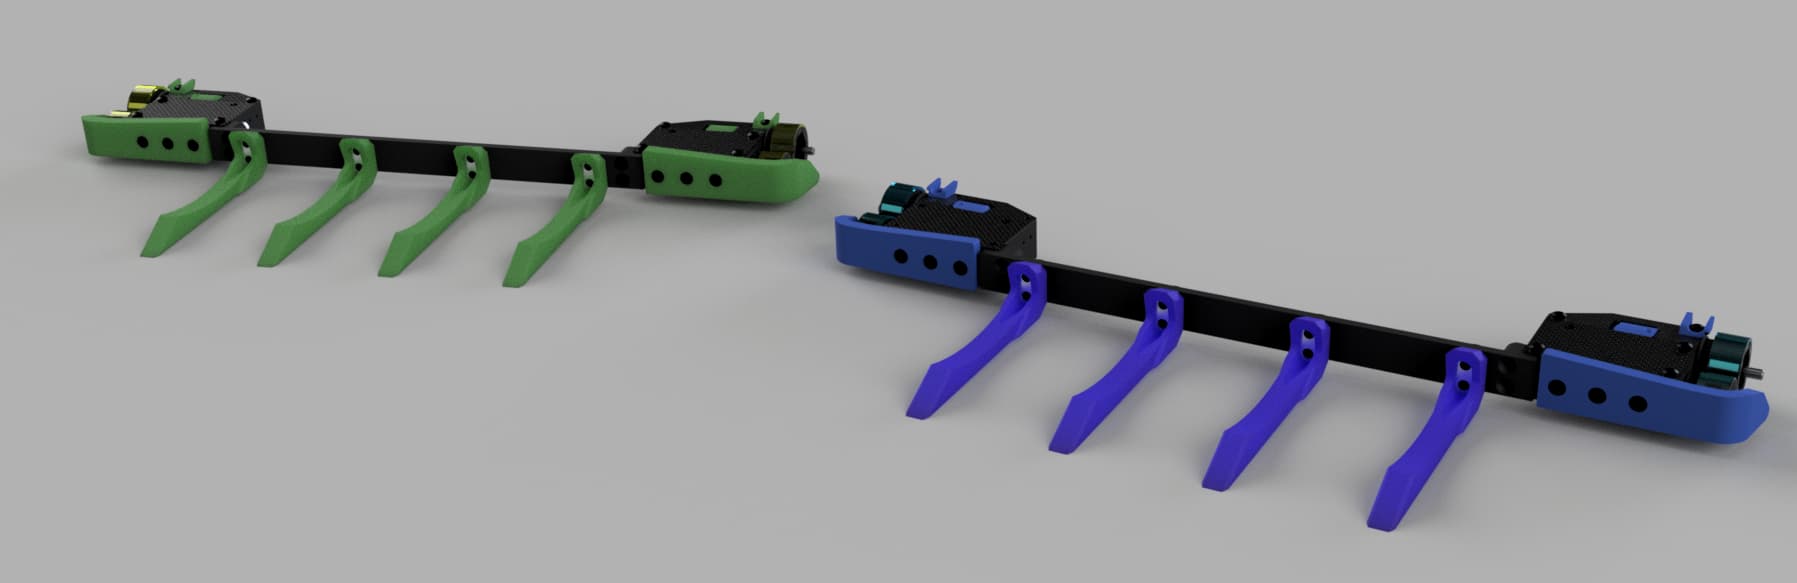
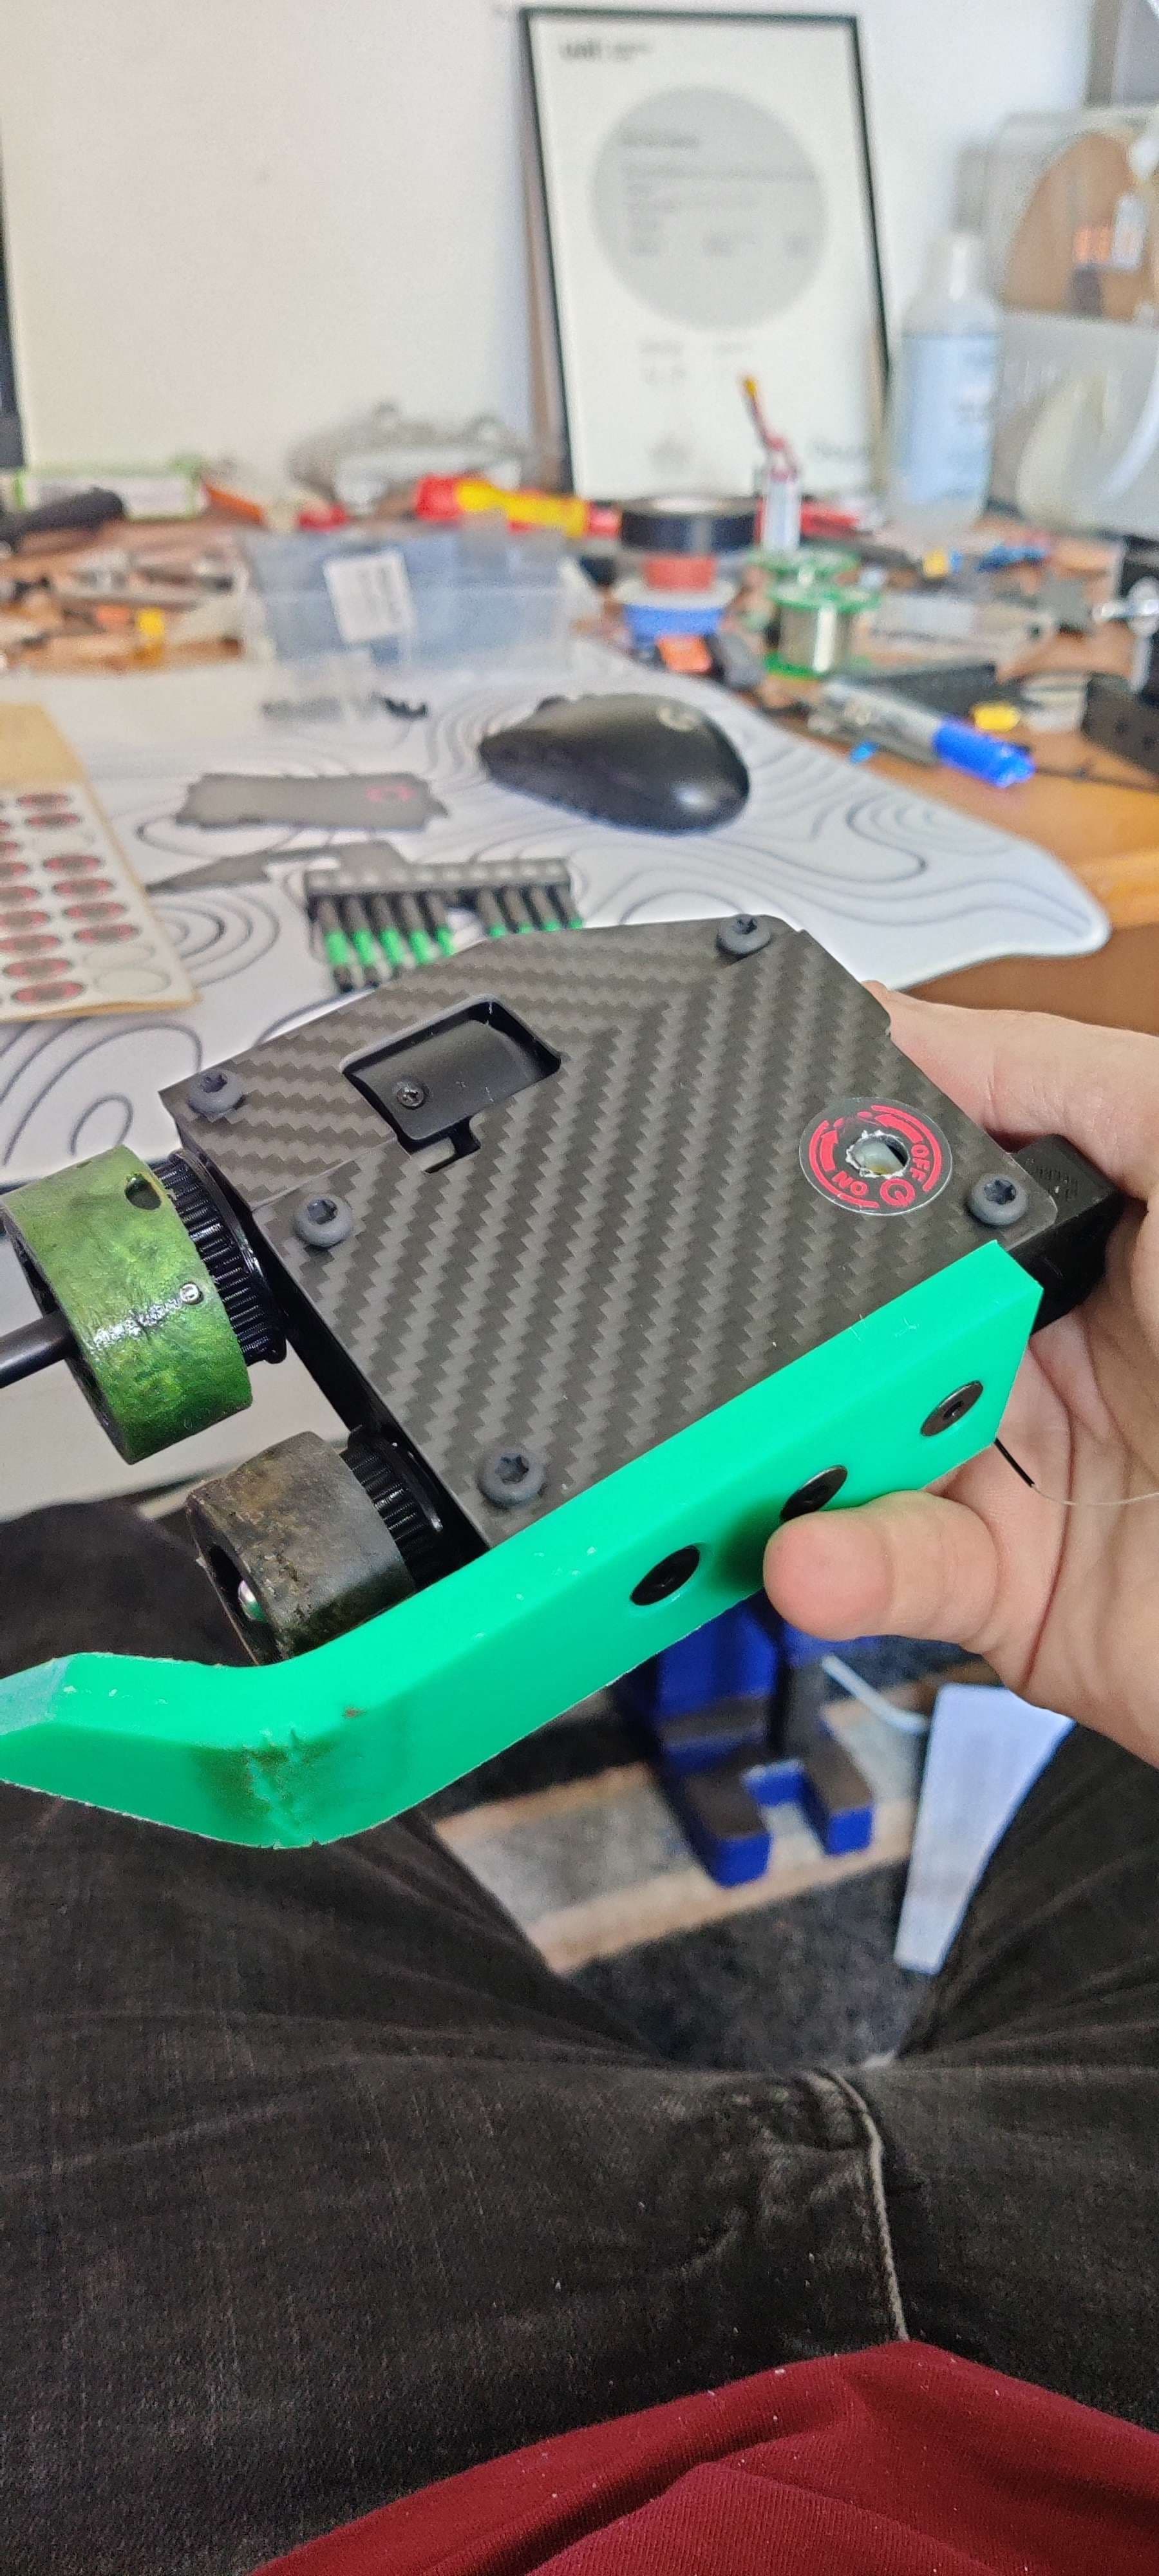
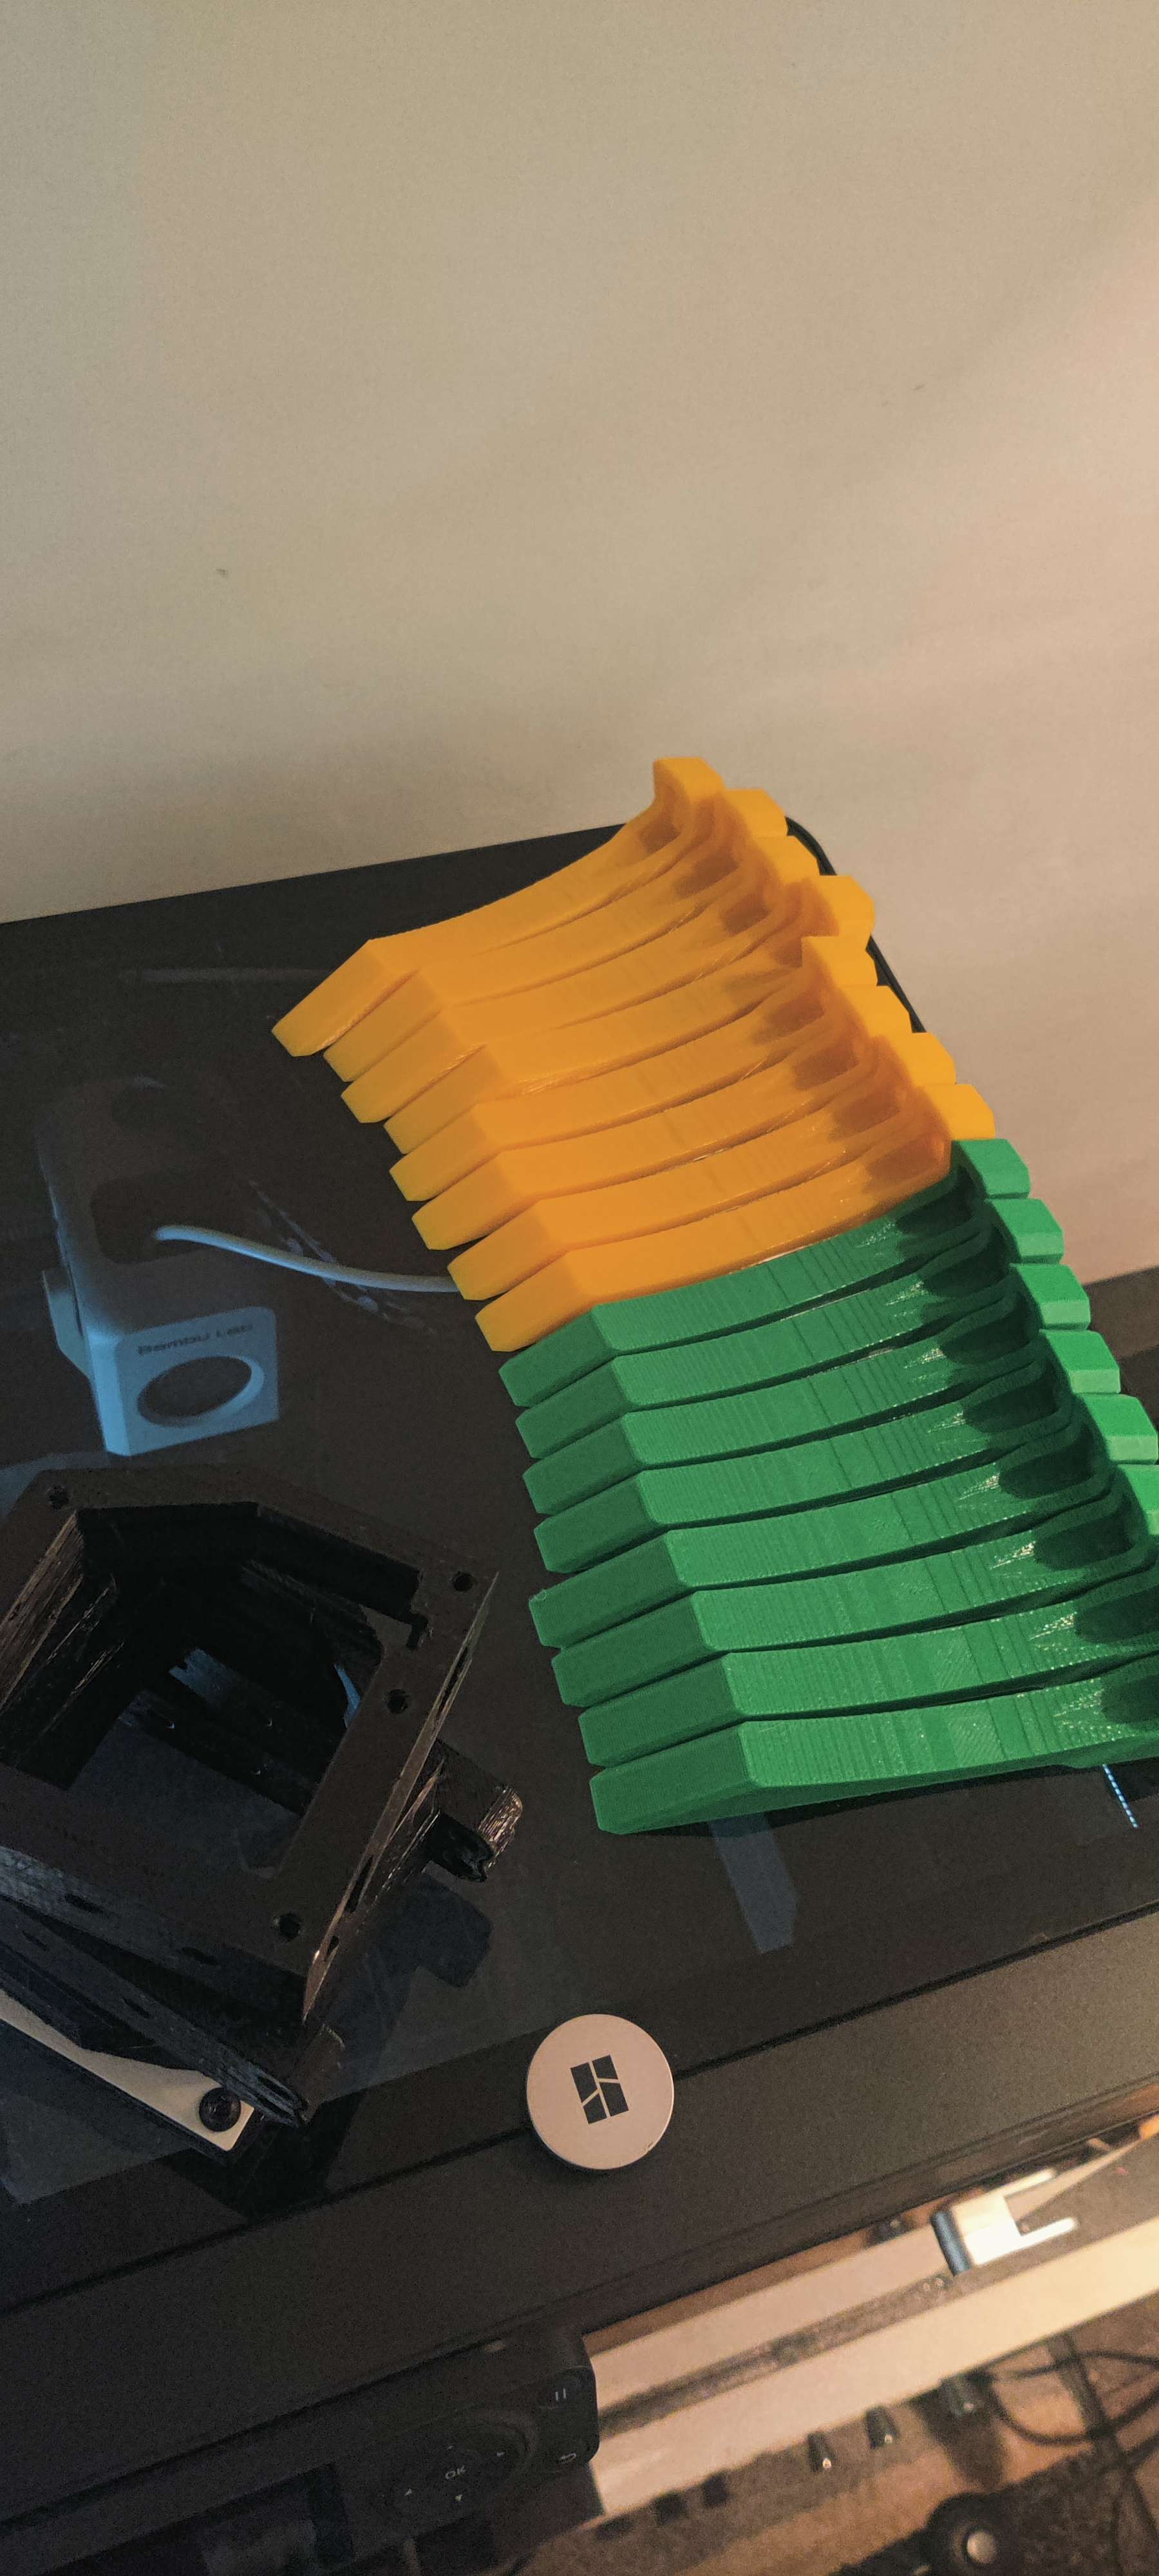
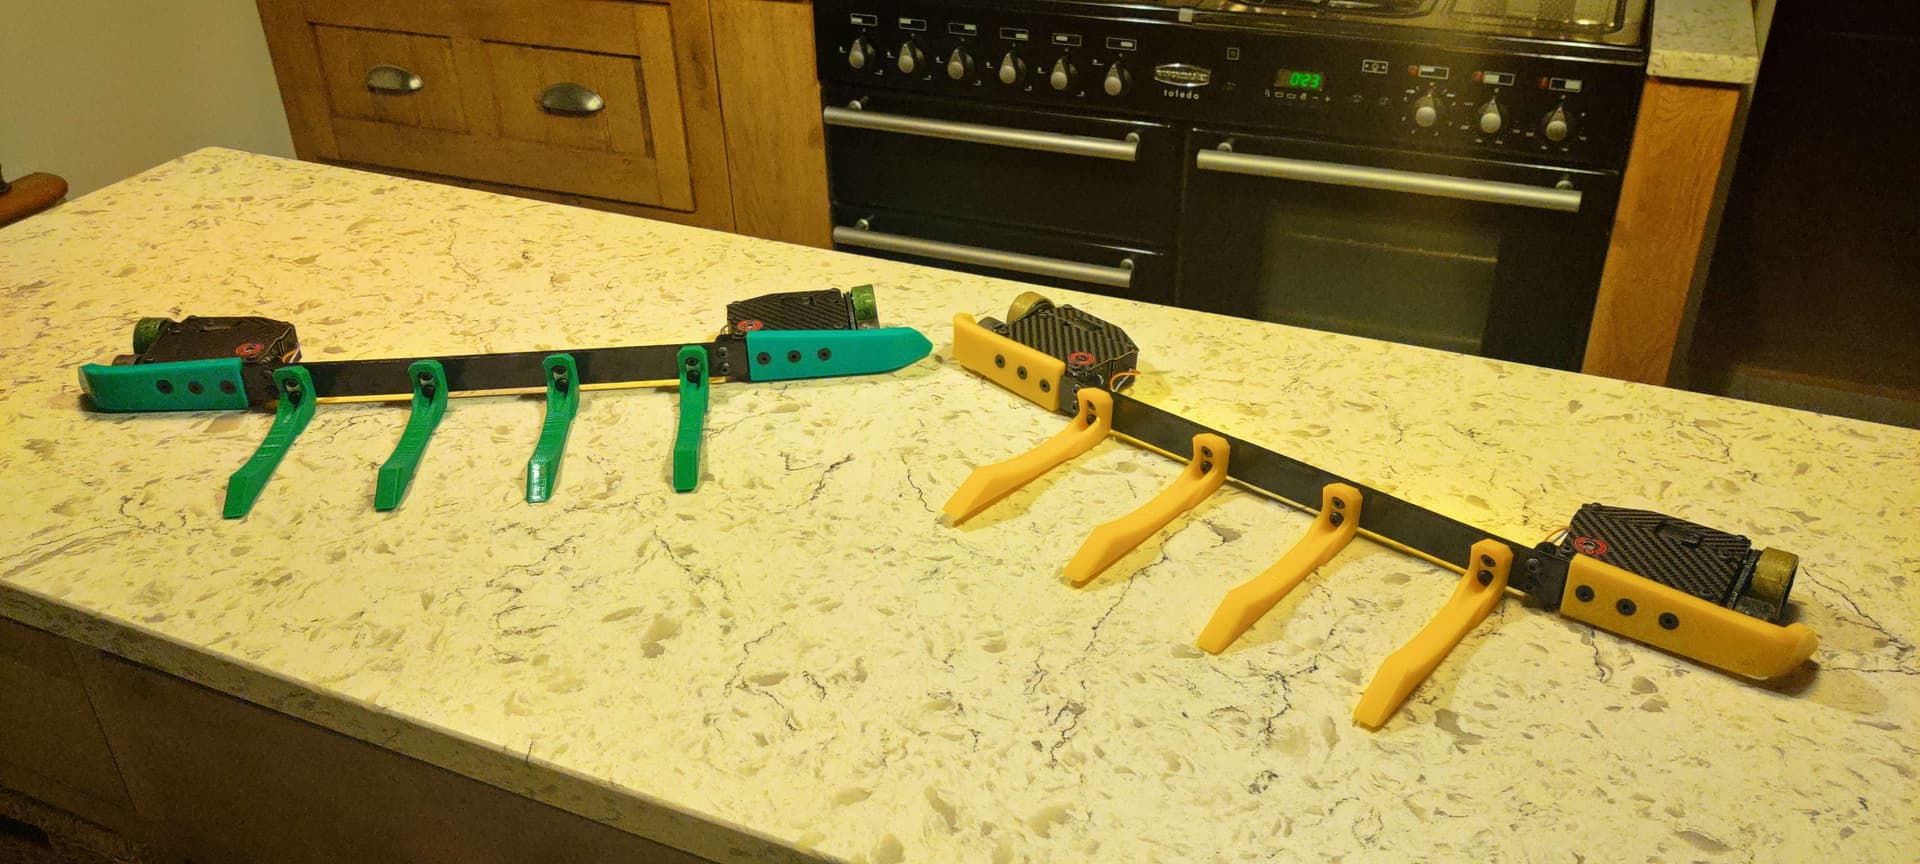
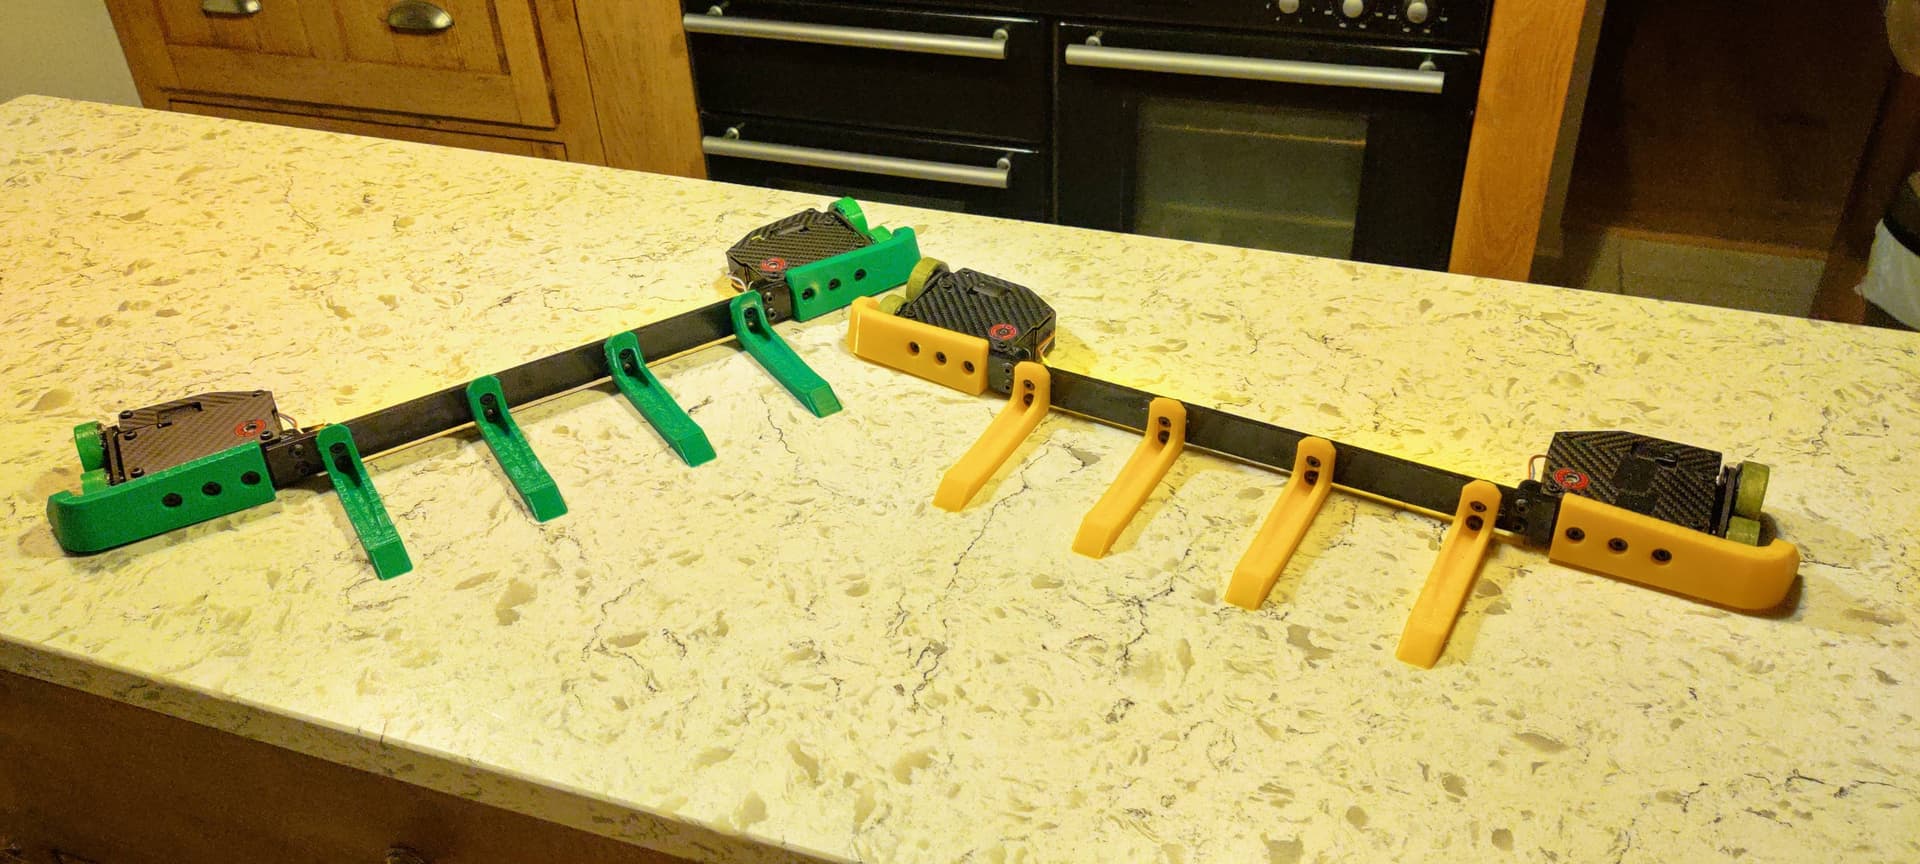
Here was our colour options, I really FW the yellow & Morgan wanted Green. Obligatory Boom Zoom shoutout.
Build
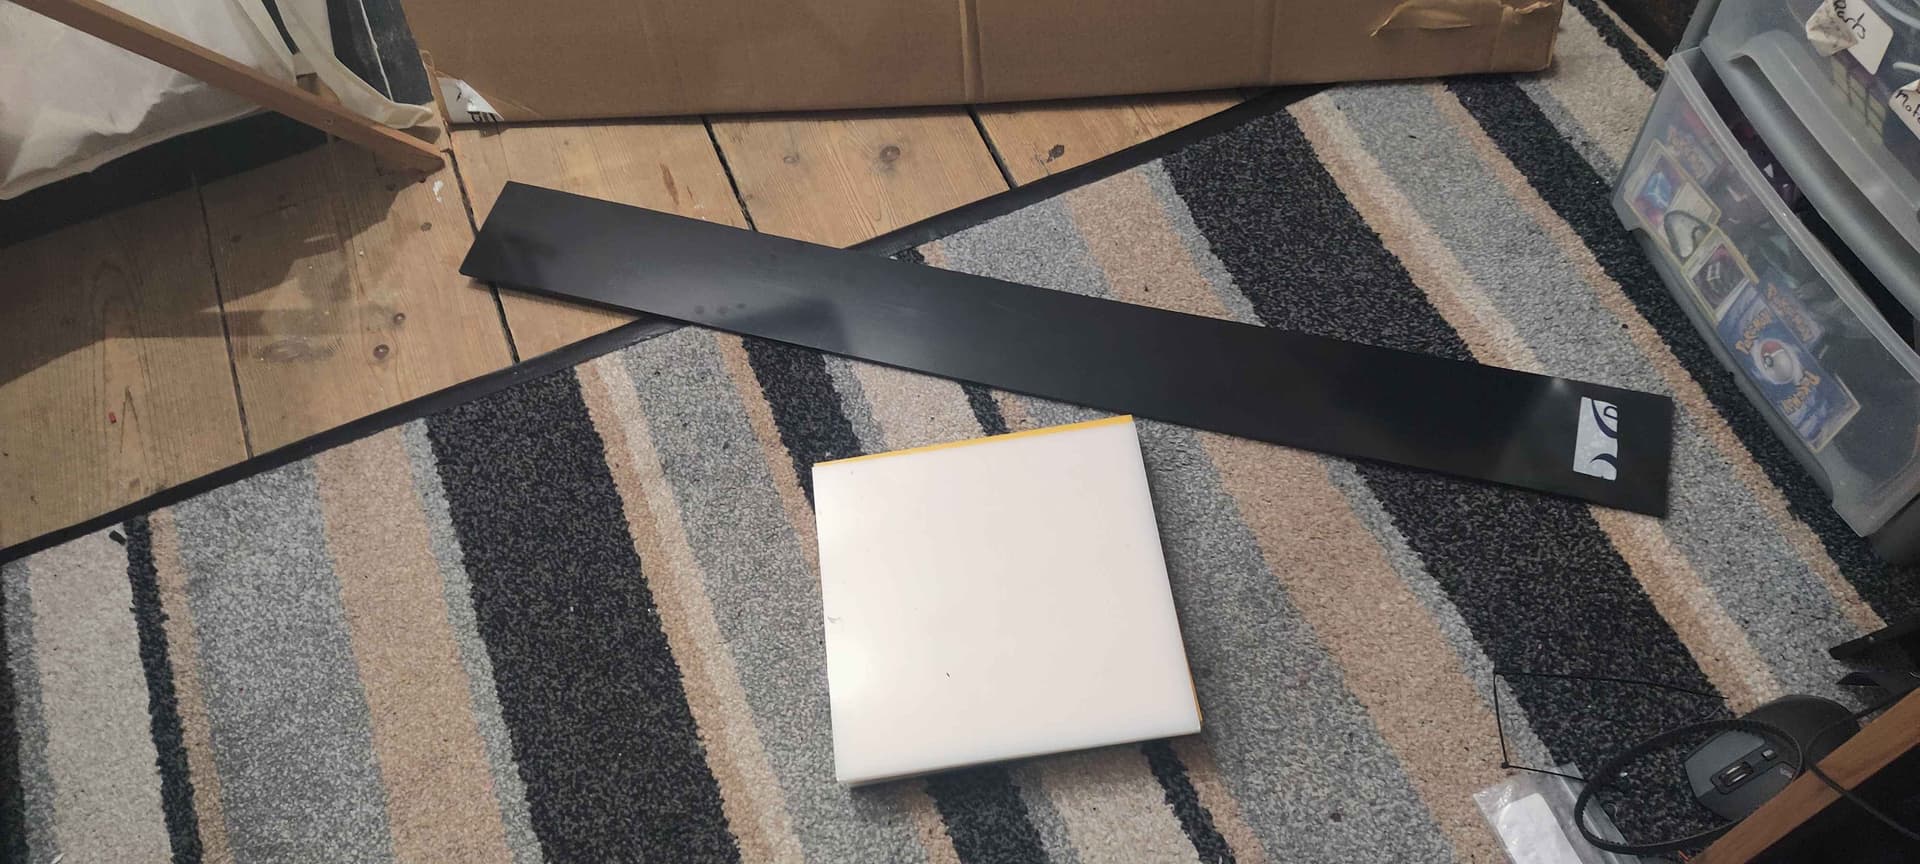
Funny wide plastic, thanks Andy for cutting this into the middle panel <3
Chassis work for the pods, one of each with a prototype above.
Here’s some magnet wheels casted, was gonna run these, but wasn’t weight for them. Plus they’re too small diam
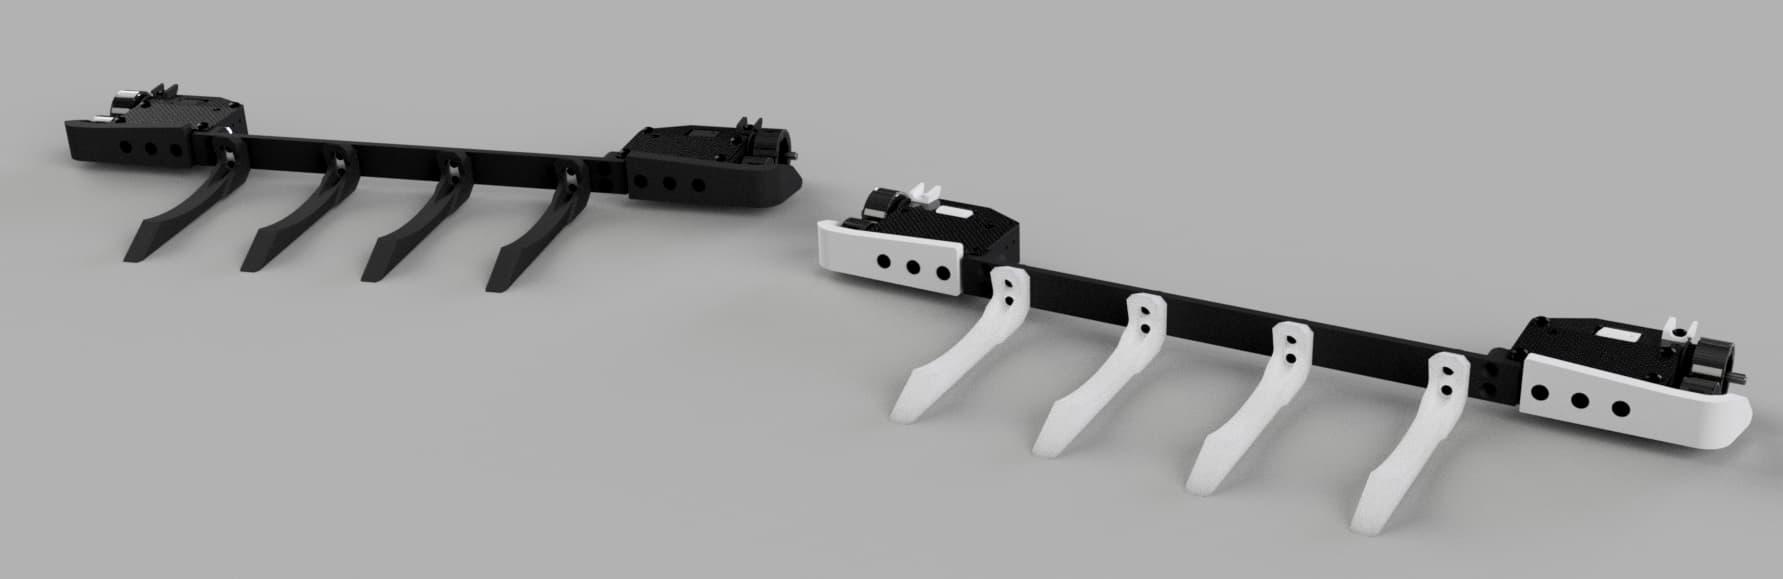
Psuedo Yellow
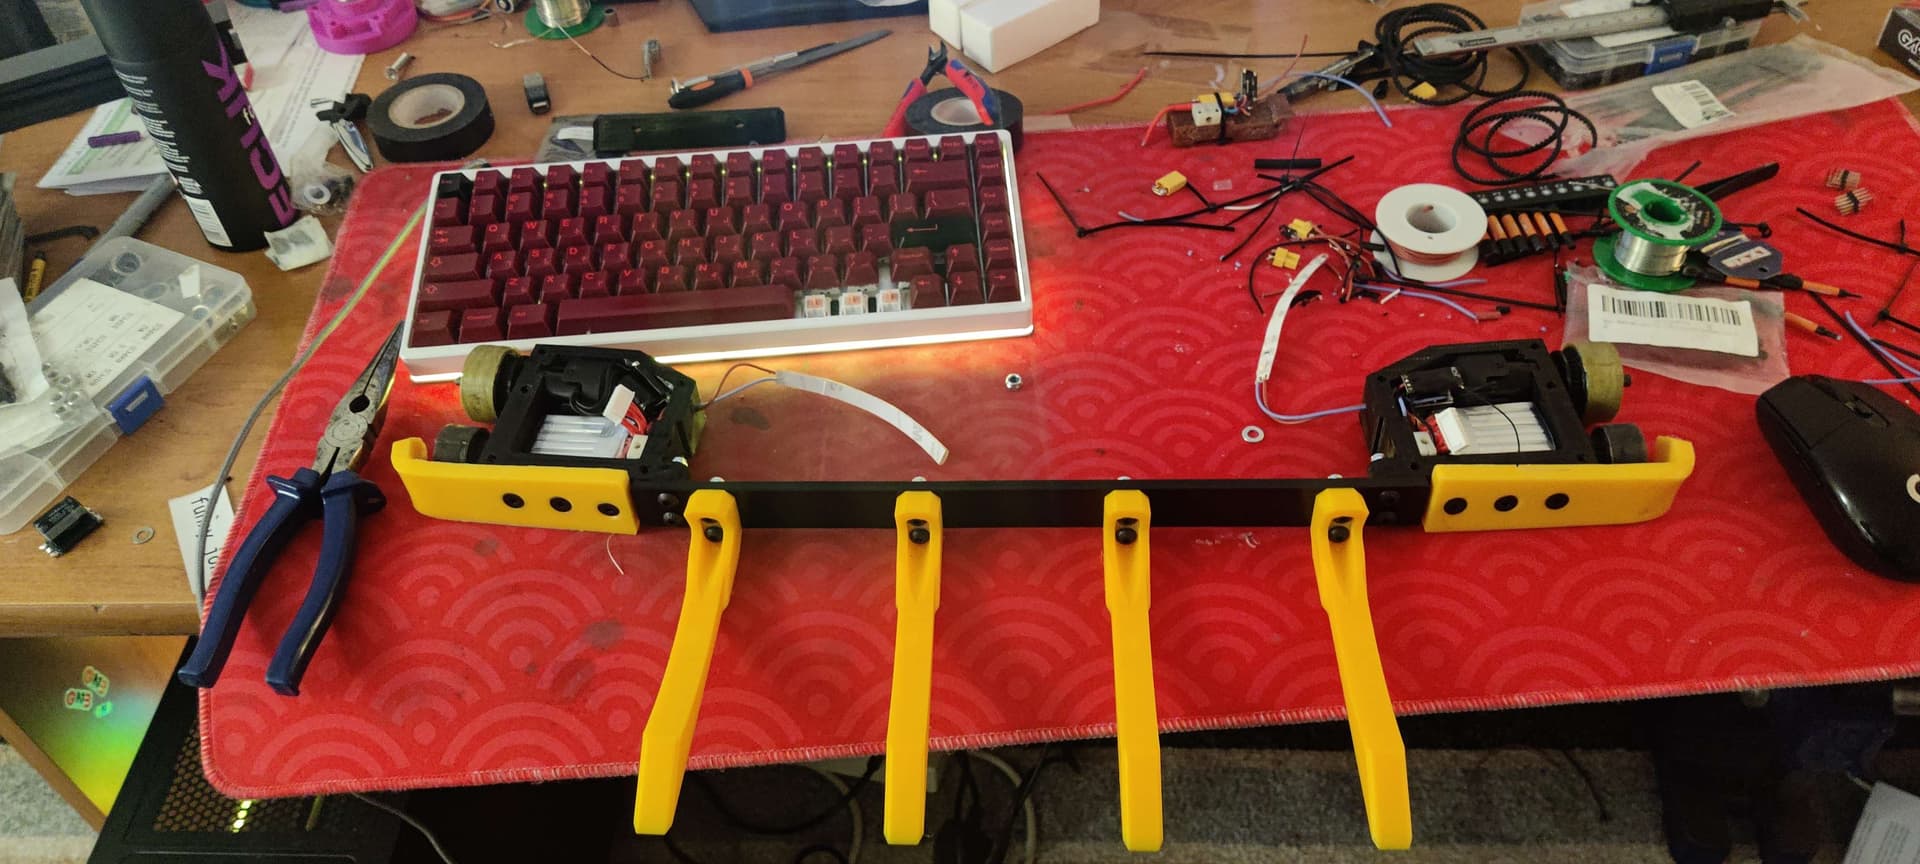
Forks… so many forks
Cute little covers for the repeat maxes.
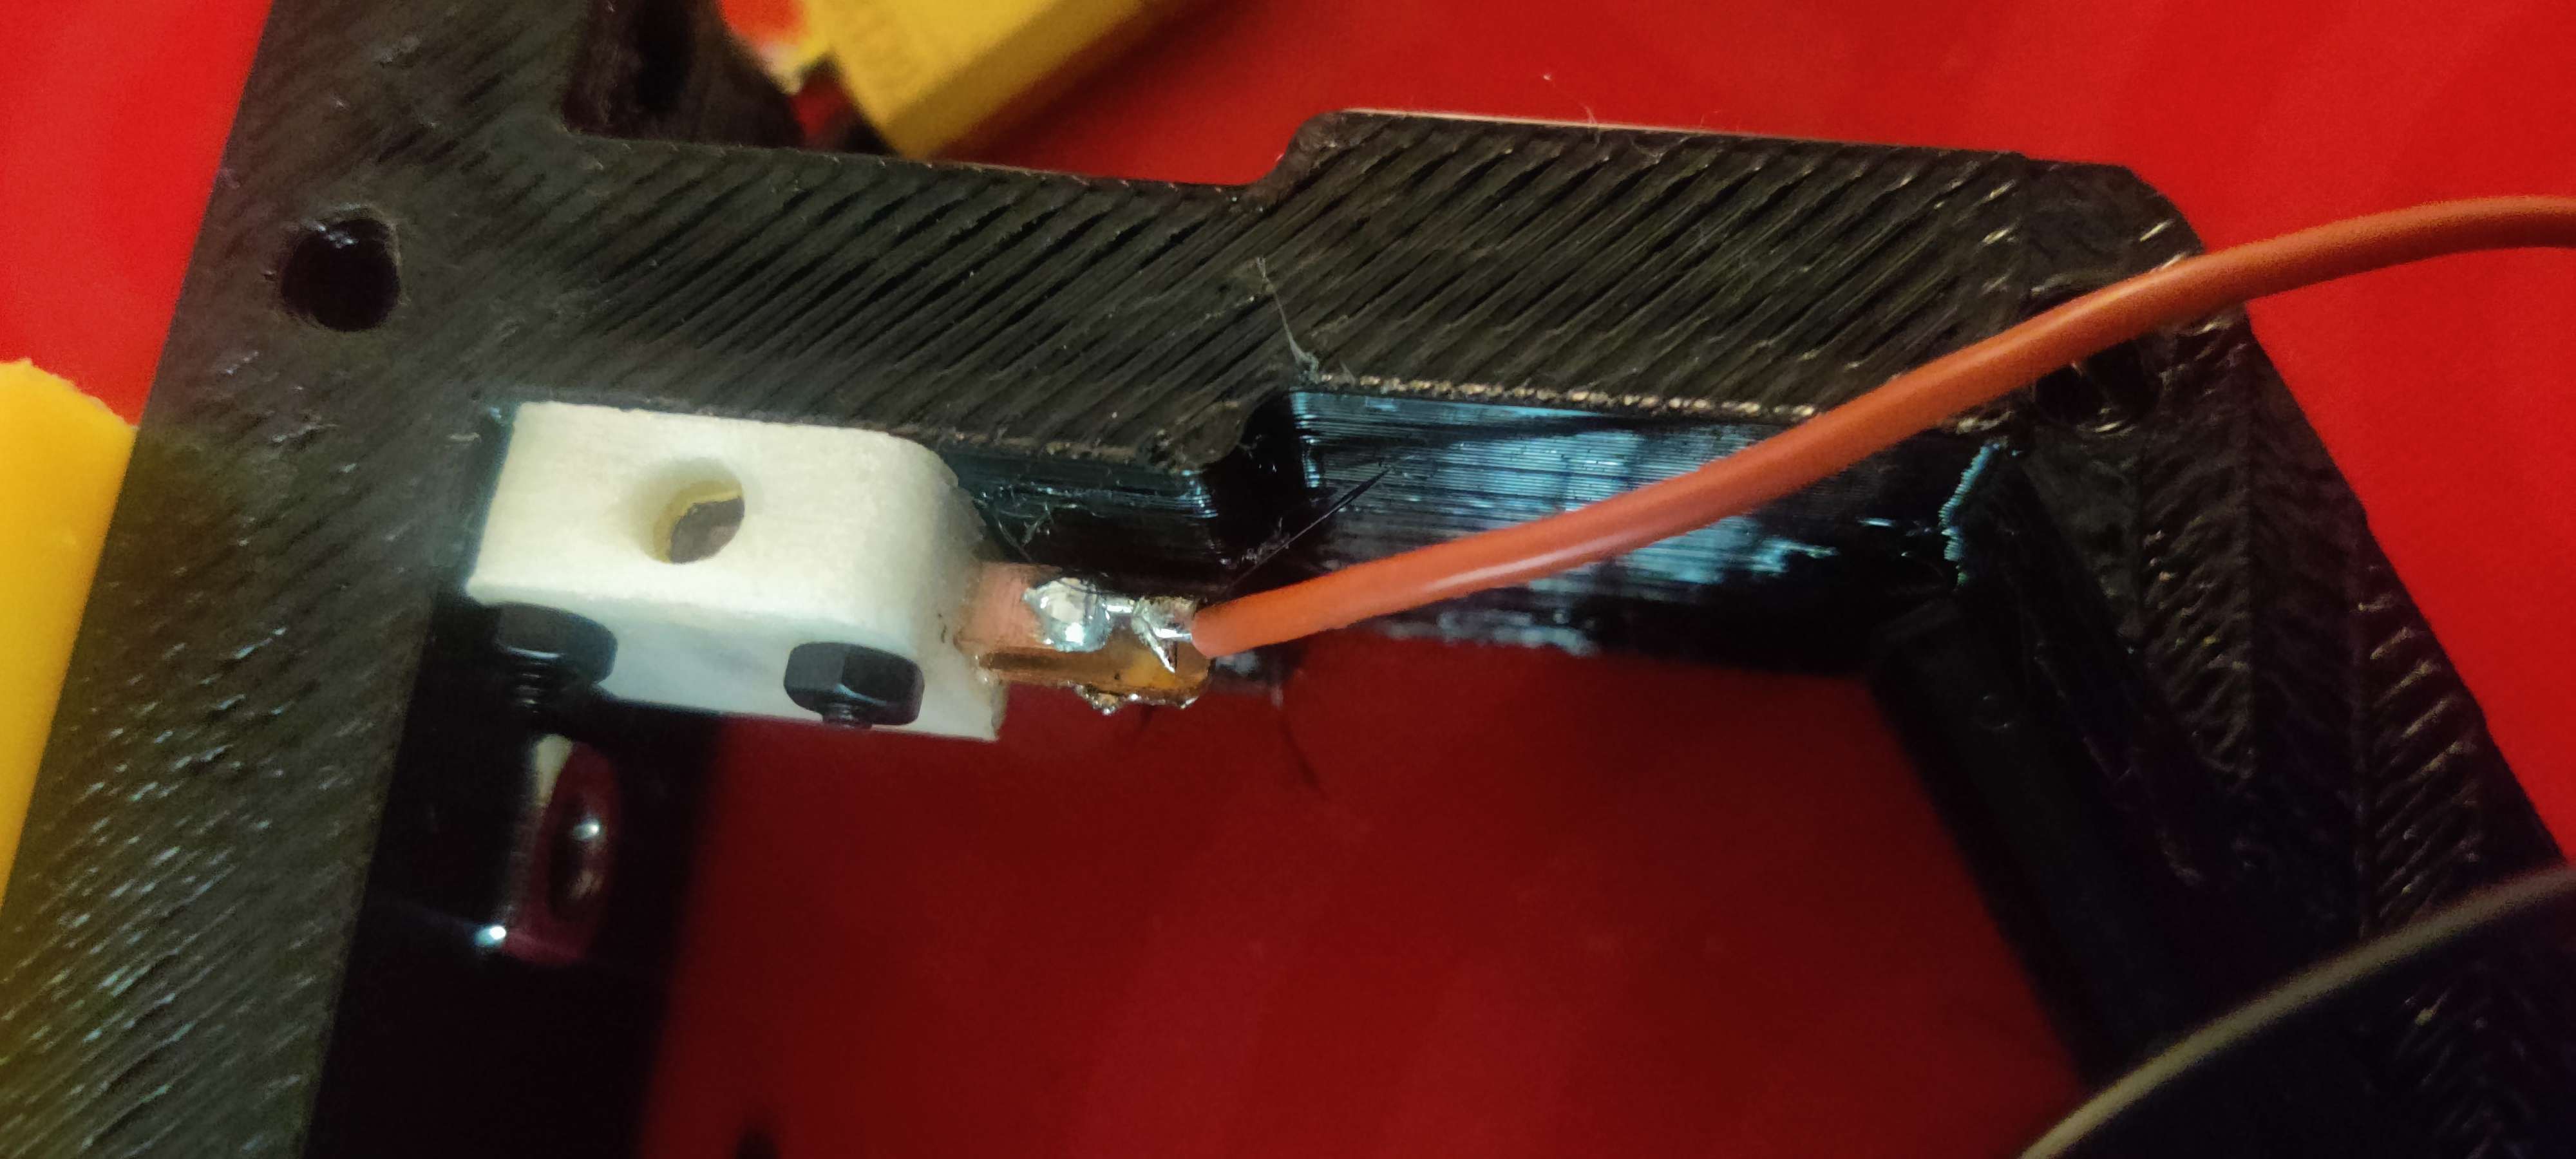
Here’s the Horizontal solution. 2mm hardox, a TPU mount with square nuts imbedded into the print.
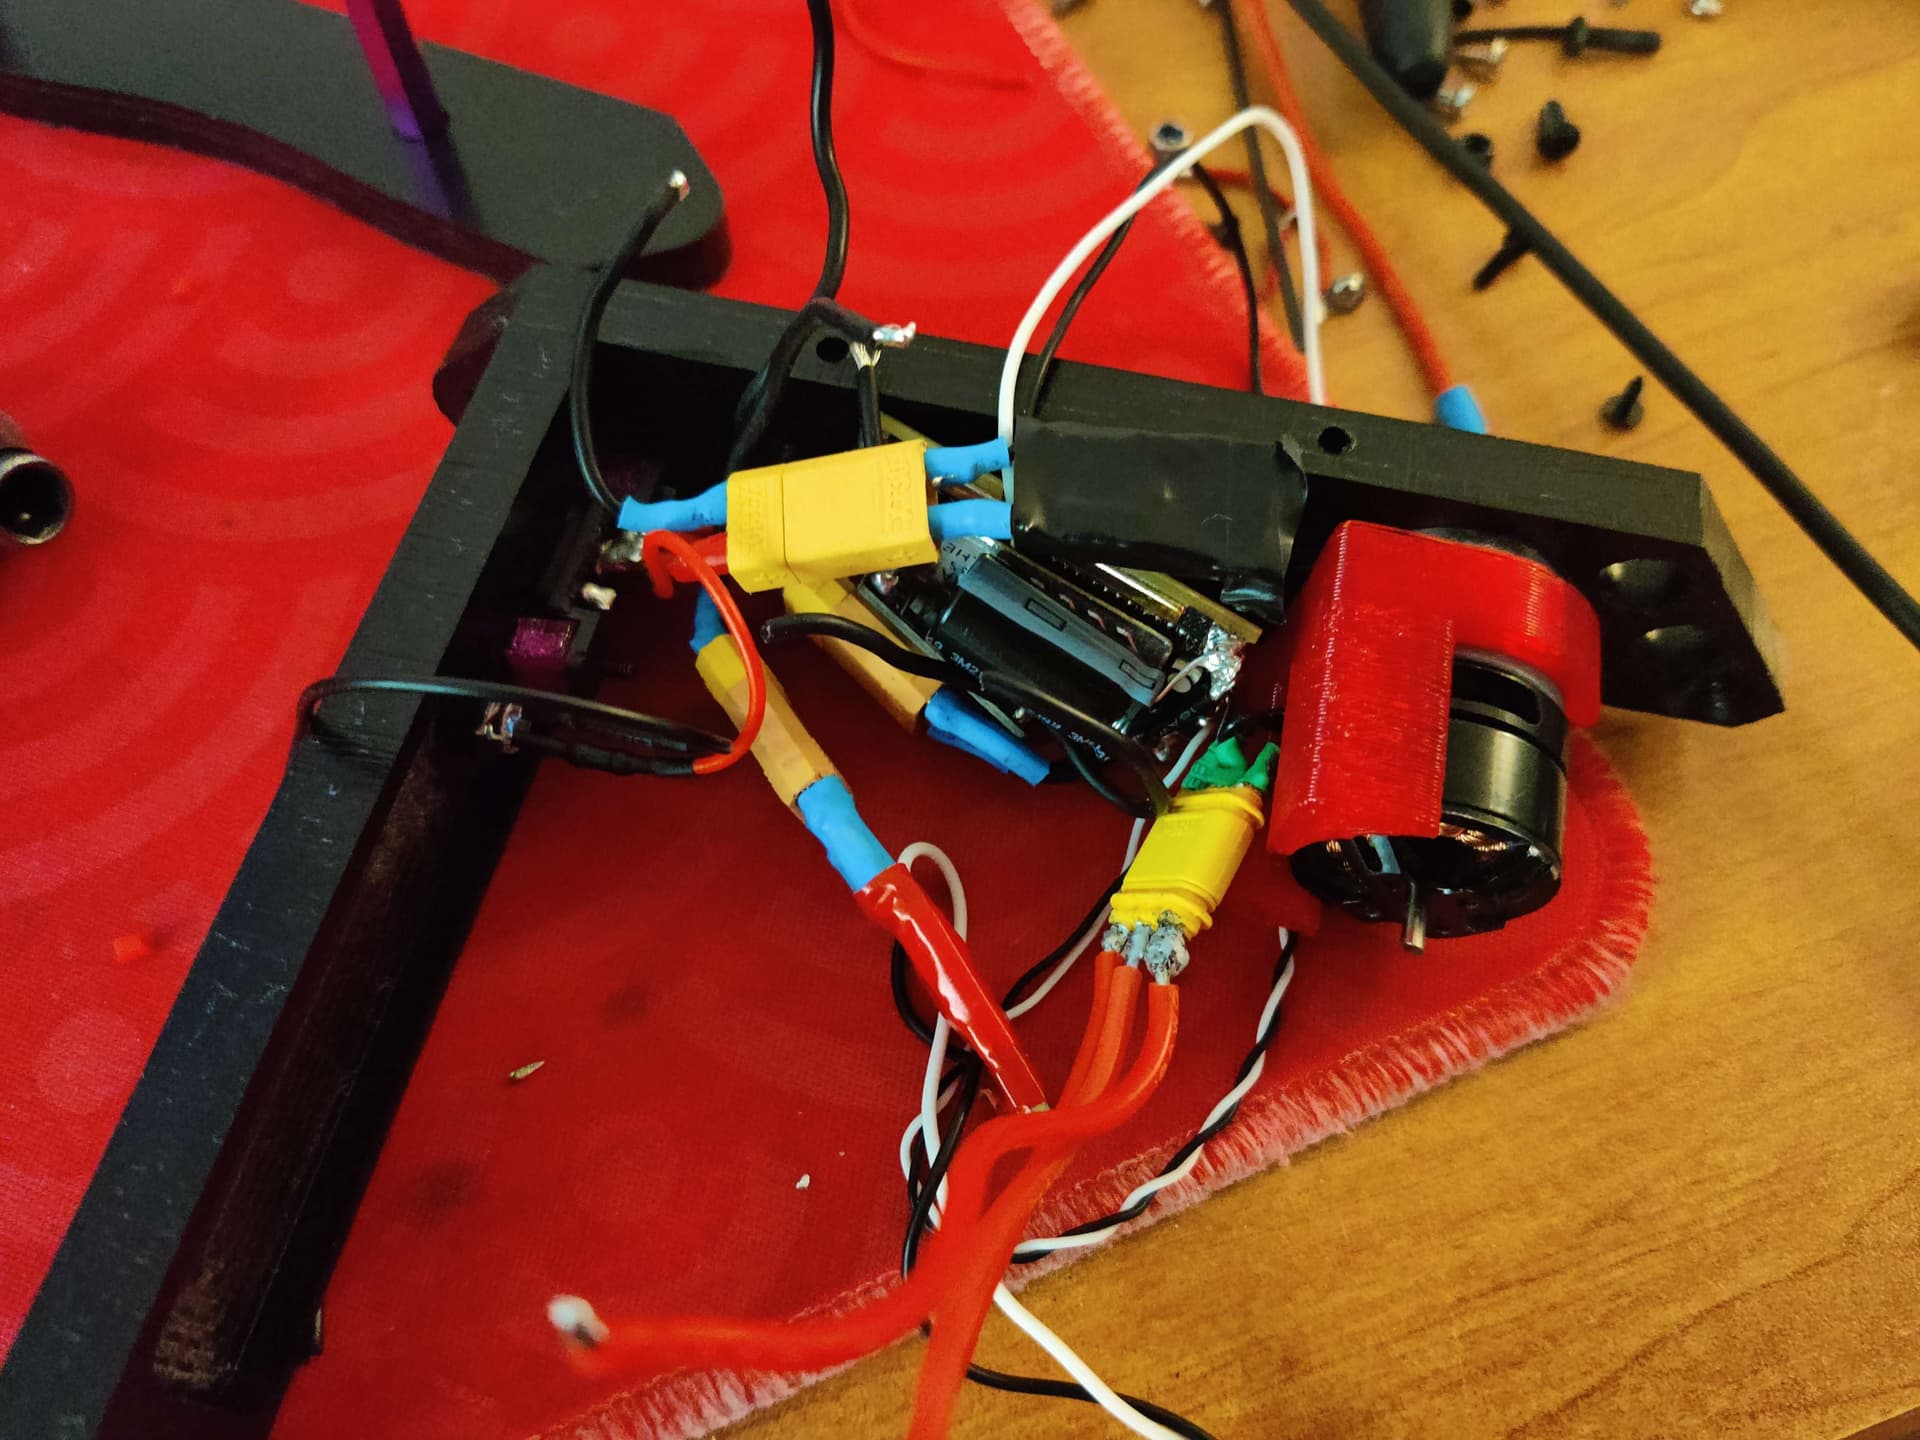
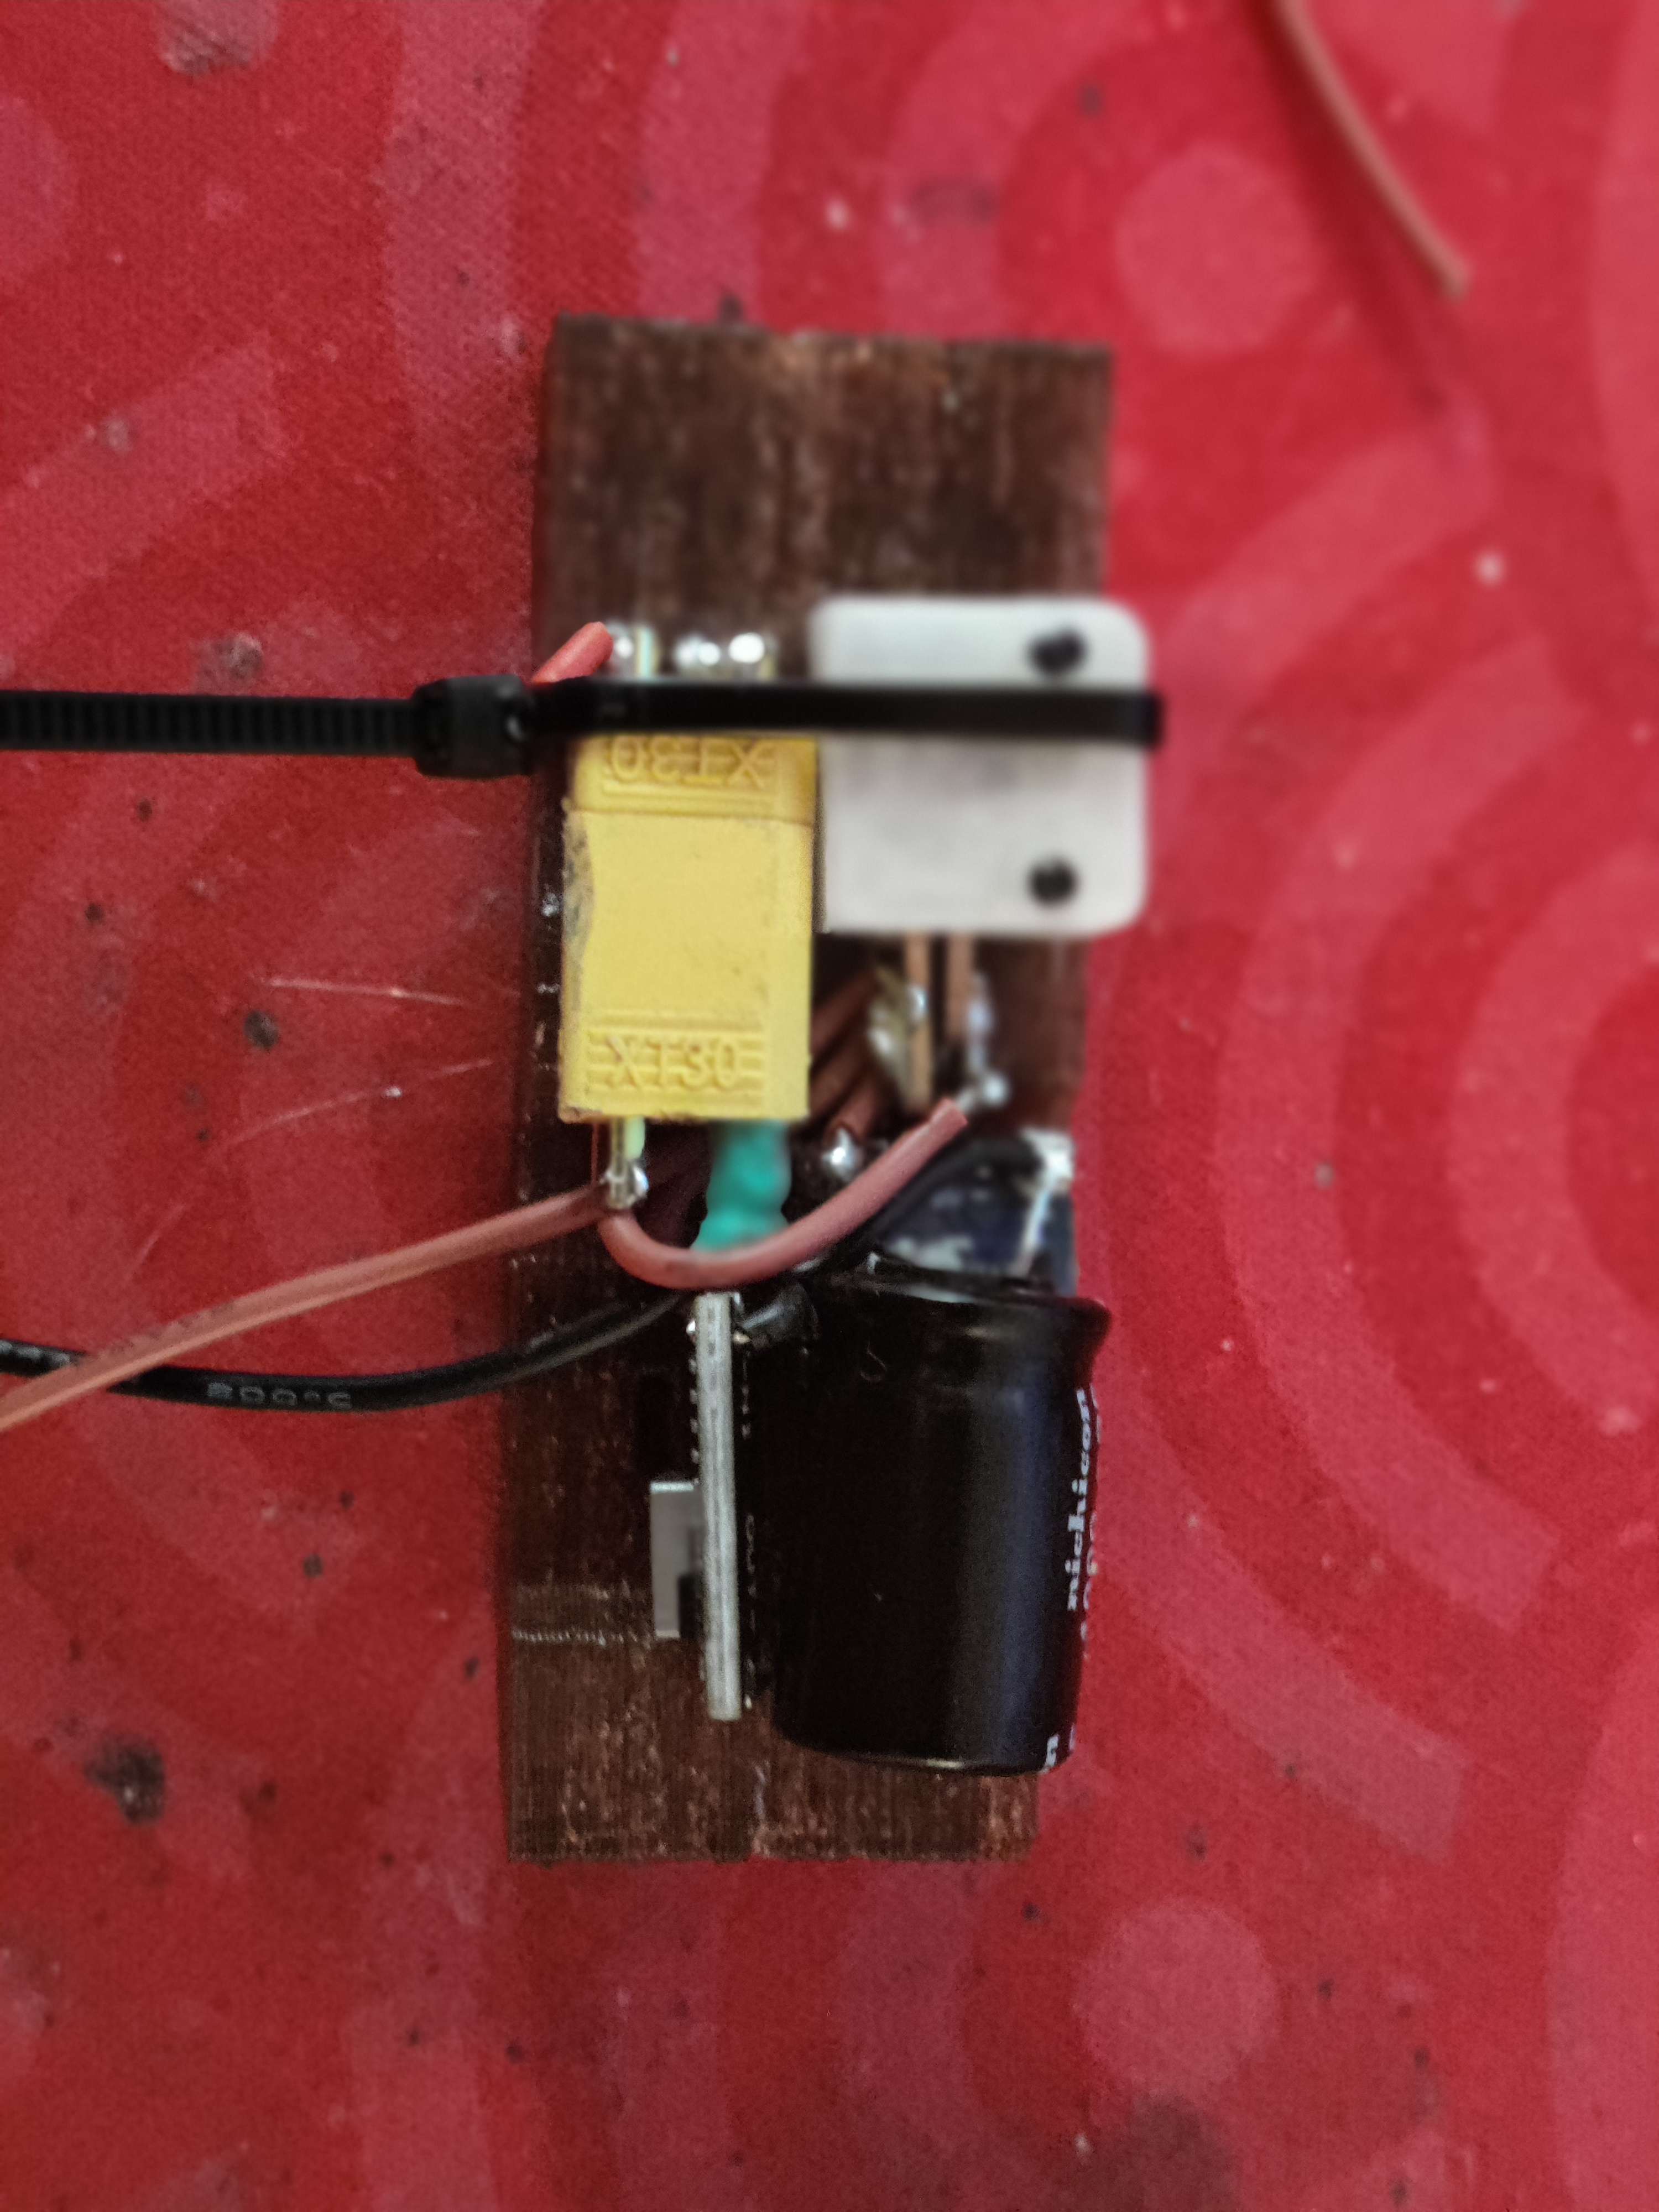
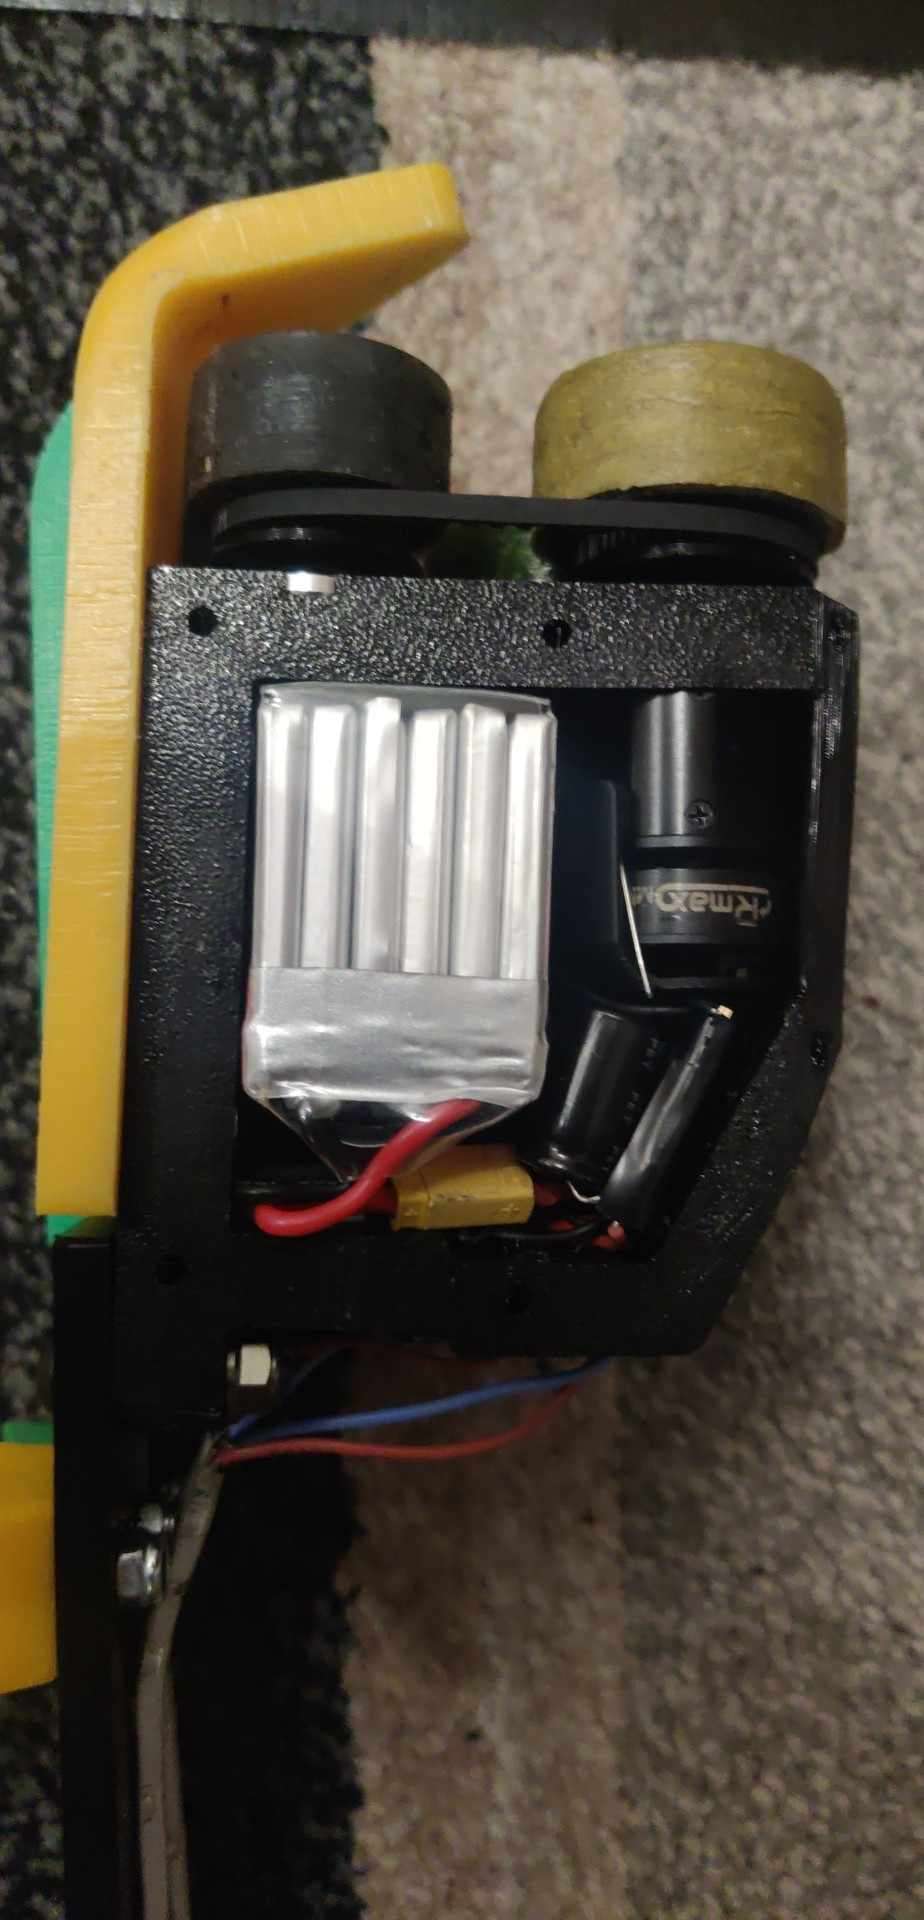
Wiring for these robots was probably the most complex thing I’ve done in that department. It’s 4 totally independent systems with each needing to be compact as possible. I printed a jig in order to ziptie components too it, seemed to work pretty well for this. Each assembly included; Rx, BEC, ESC with capacitor, Lipo, Repeat Max & Lynx switch.
Wired up pod.
Ready for March Dojo
Dojo.
These made the trip up to Dojo, but it didn’t go well.
Green side had some major browning out/shorting issues & both weren’t able to failsail. Super frustrating on the day, but probably for the best. They also had some fork geometry issues, with the front of the fork being raised off the ground.
Post Dojo.
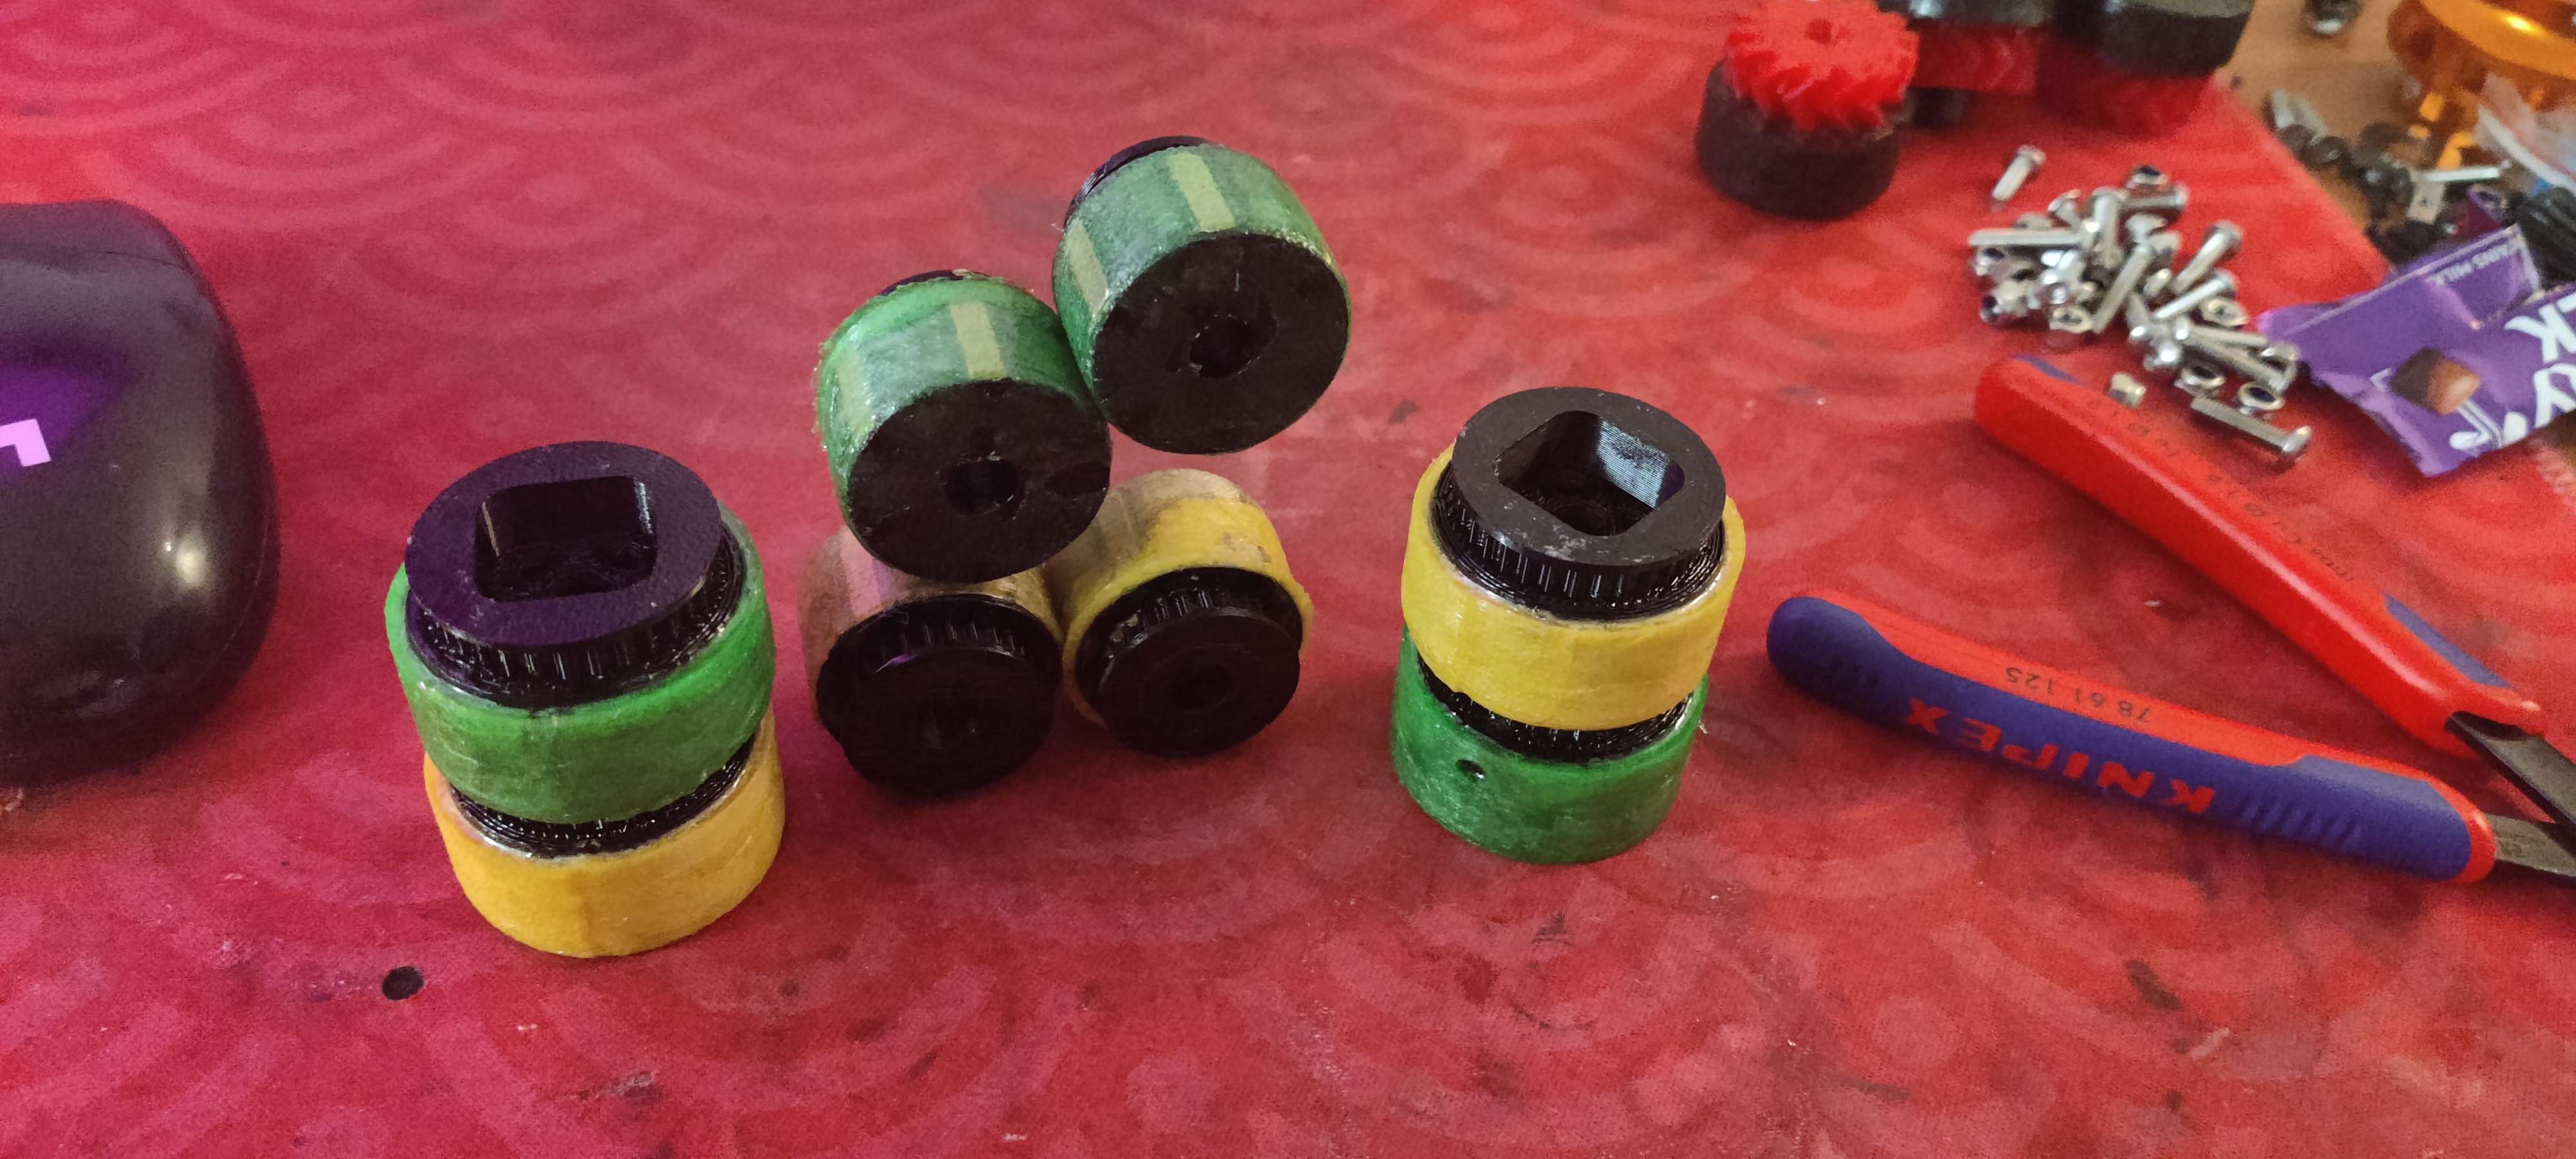
Couple of small changes, Rx’s got swapped where applicable & setup to failsafe. Fork geometry got changed to be raised at the back of the fork. & wheels got recast to be larger diameter, better safe than sorry!
Ready to go, not sure what event it’ll be at.
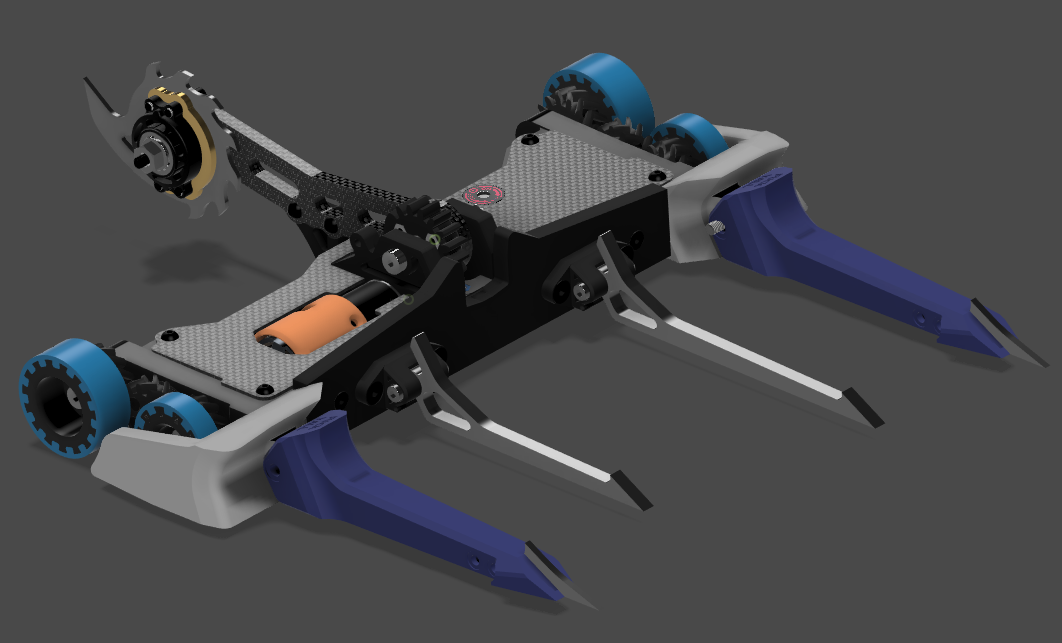
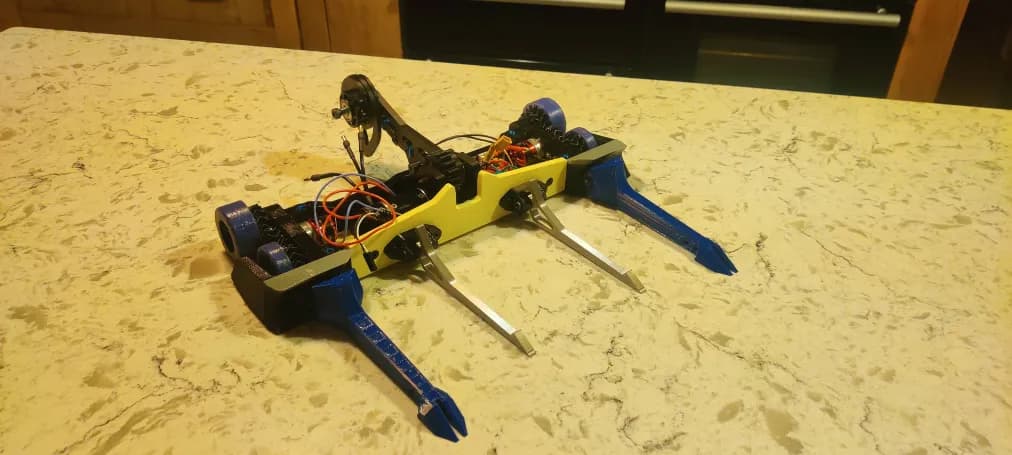
Aero
Newest bot.
I’ve always wanted to tackle a hammersaw. I tried to put one together, but back then I didn’t really undestand what it needed to be good. Ultimately shelved it.
There was a couple of major inspirations for this design. All which majorly shaped the weapon, arm design, chassis construction & overall aesthetic.
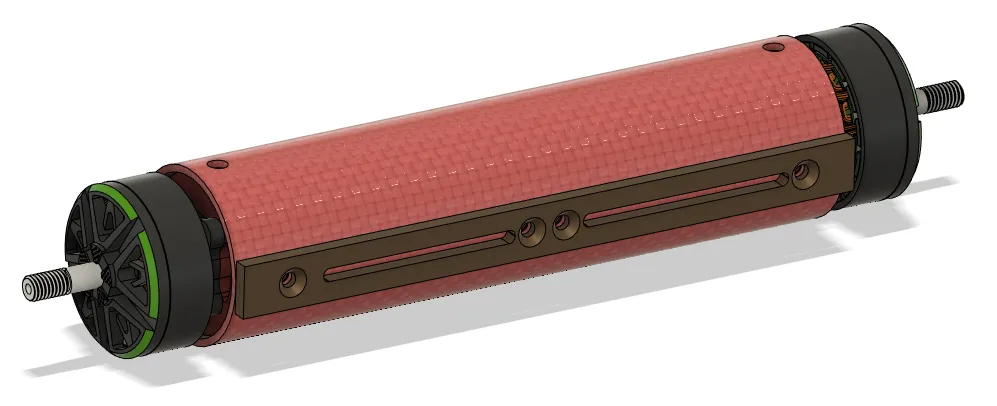
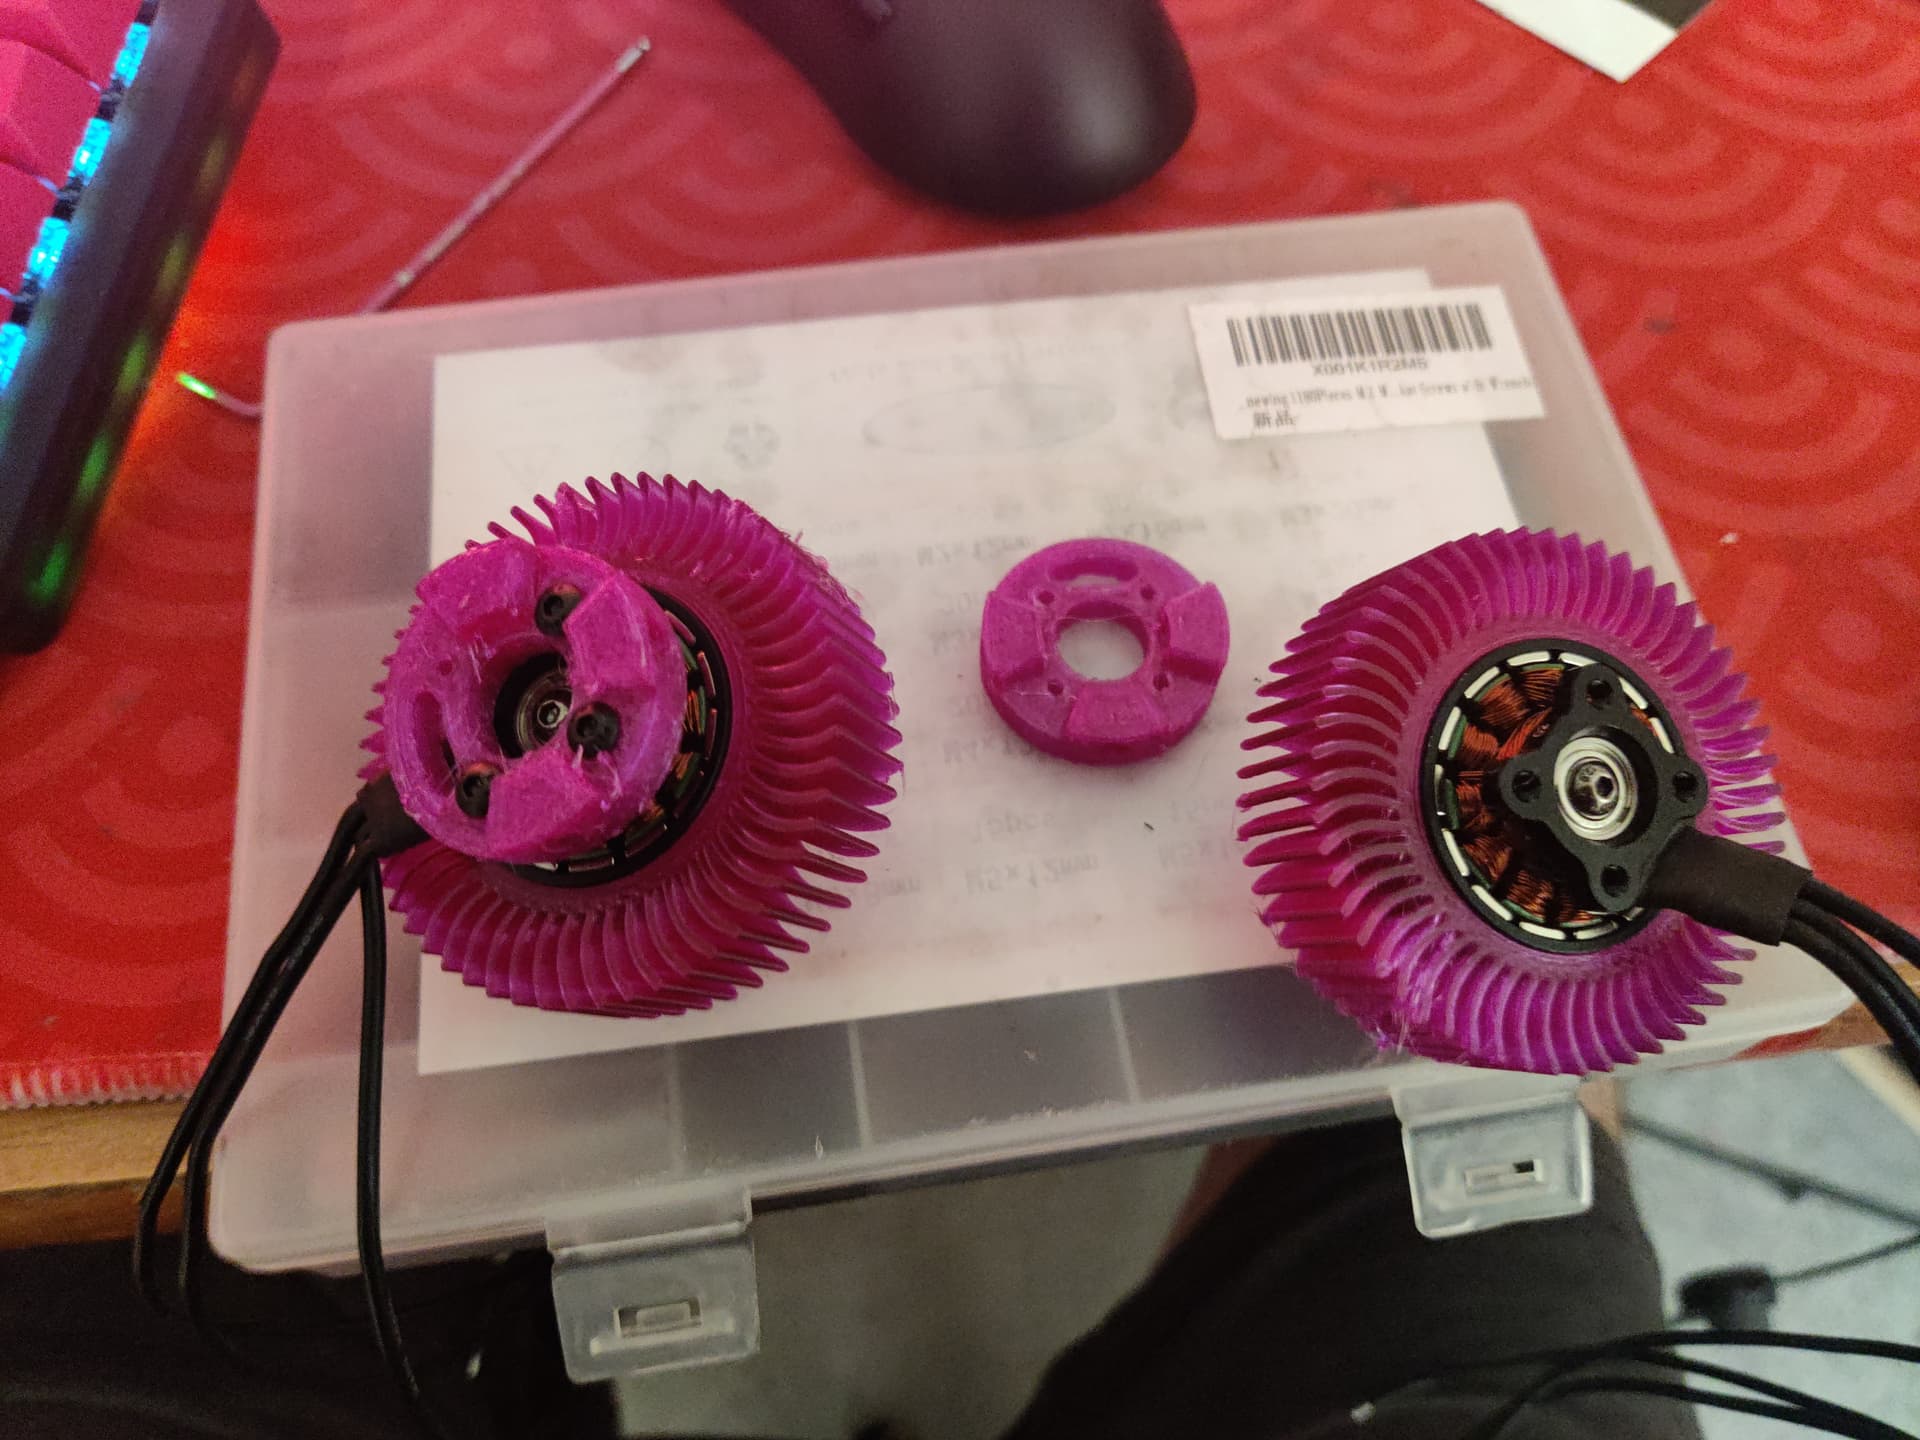
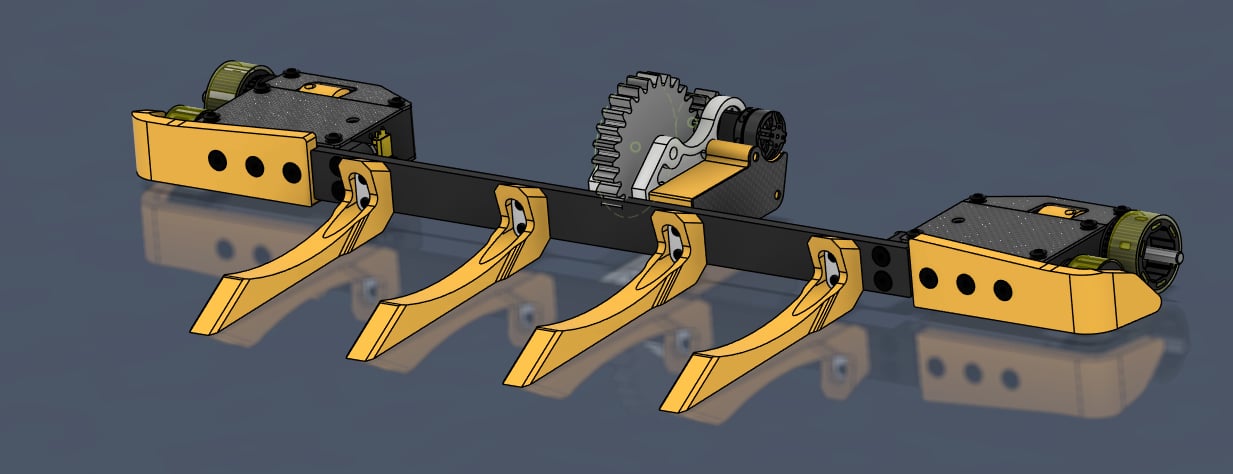
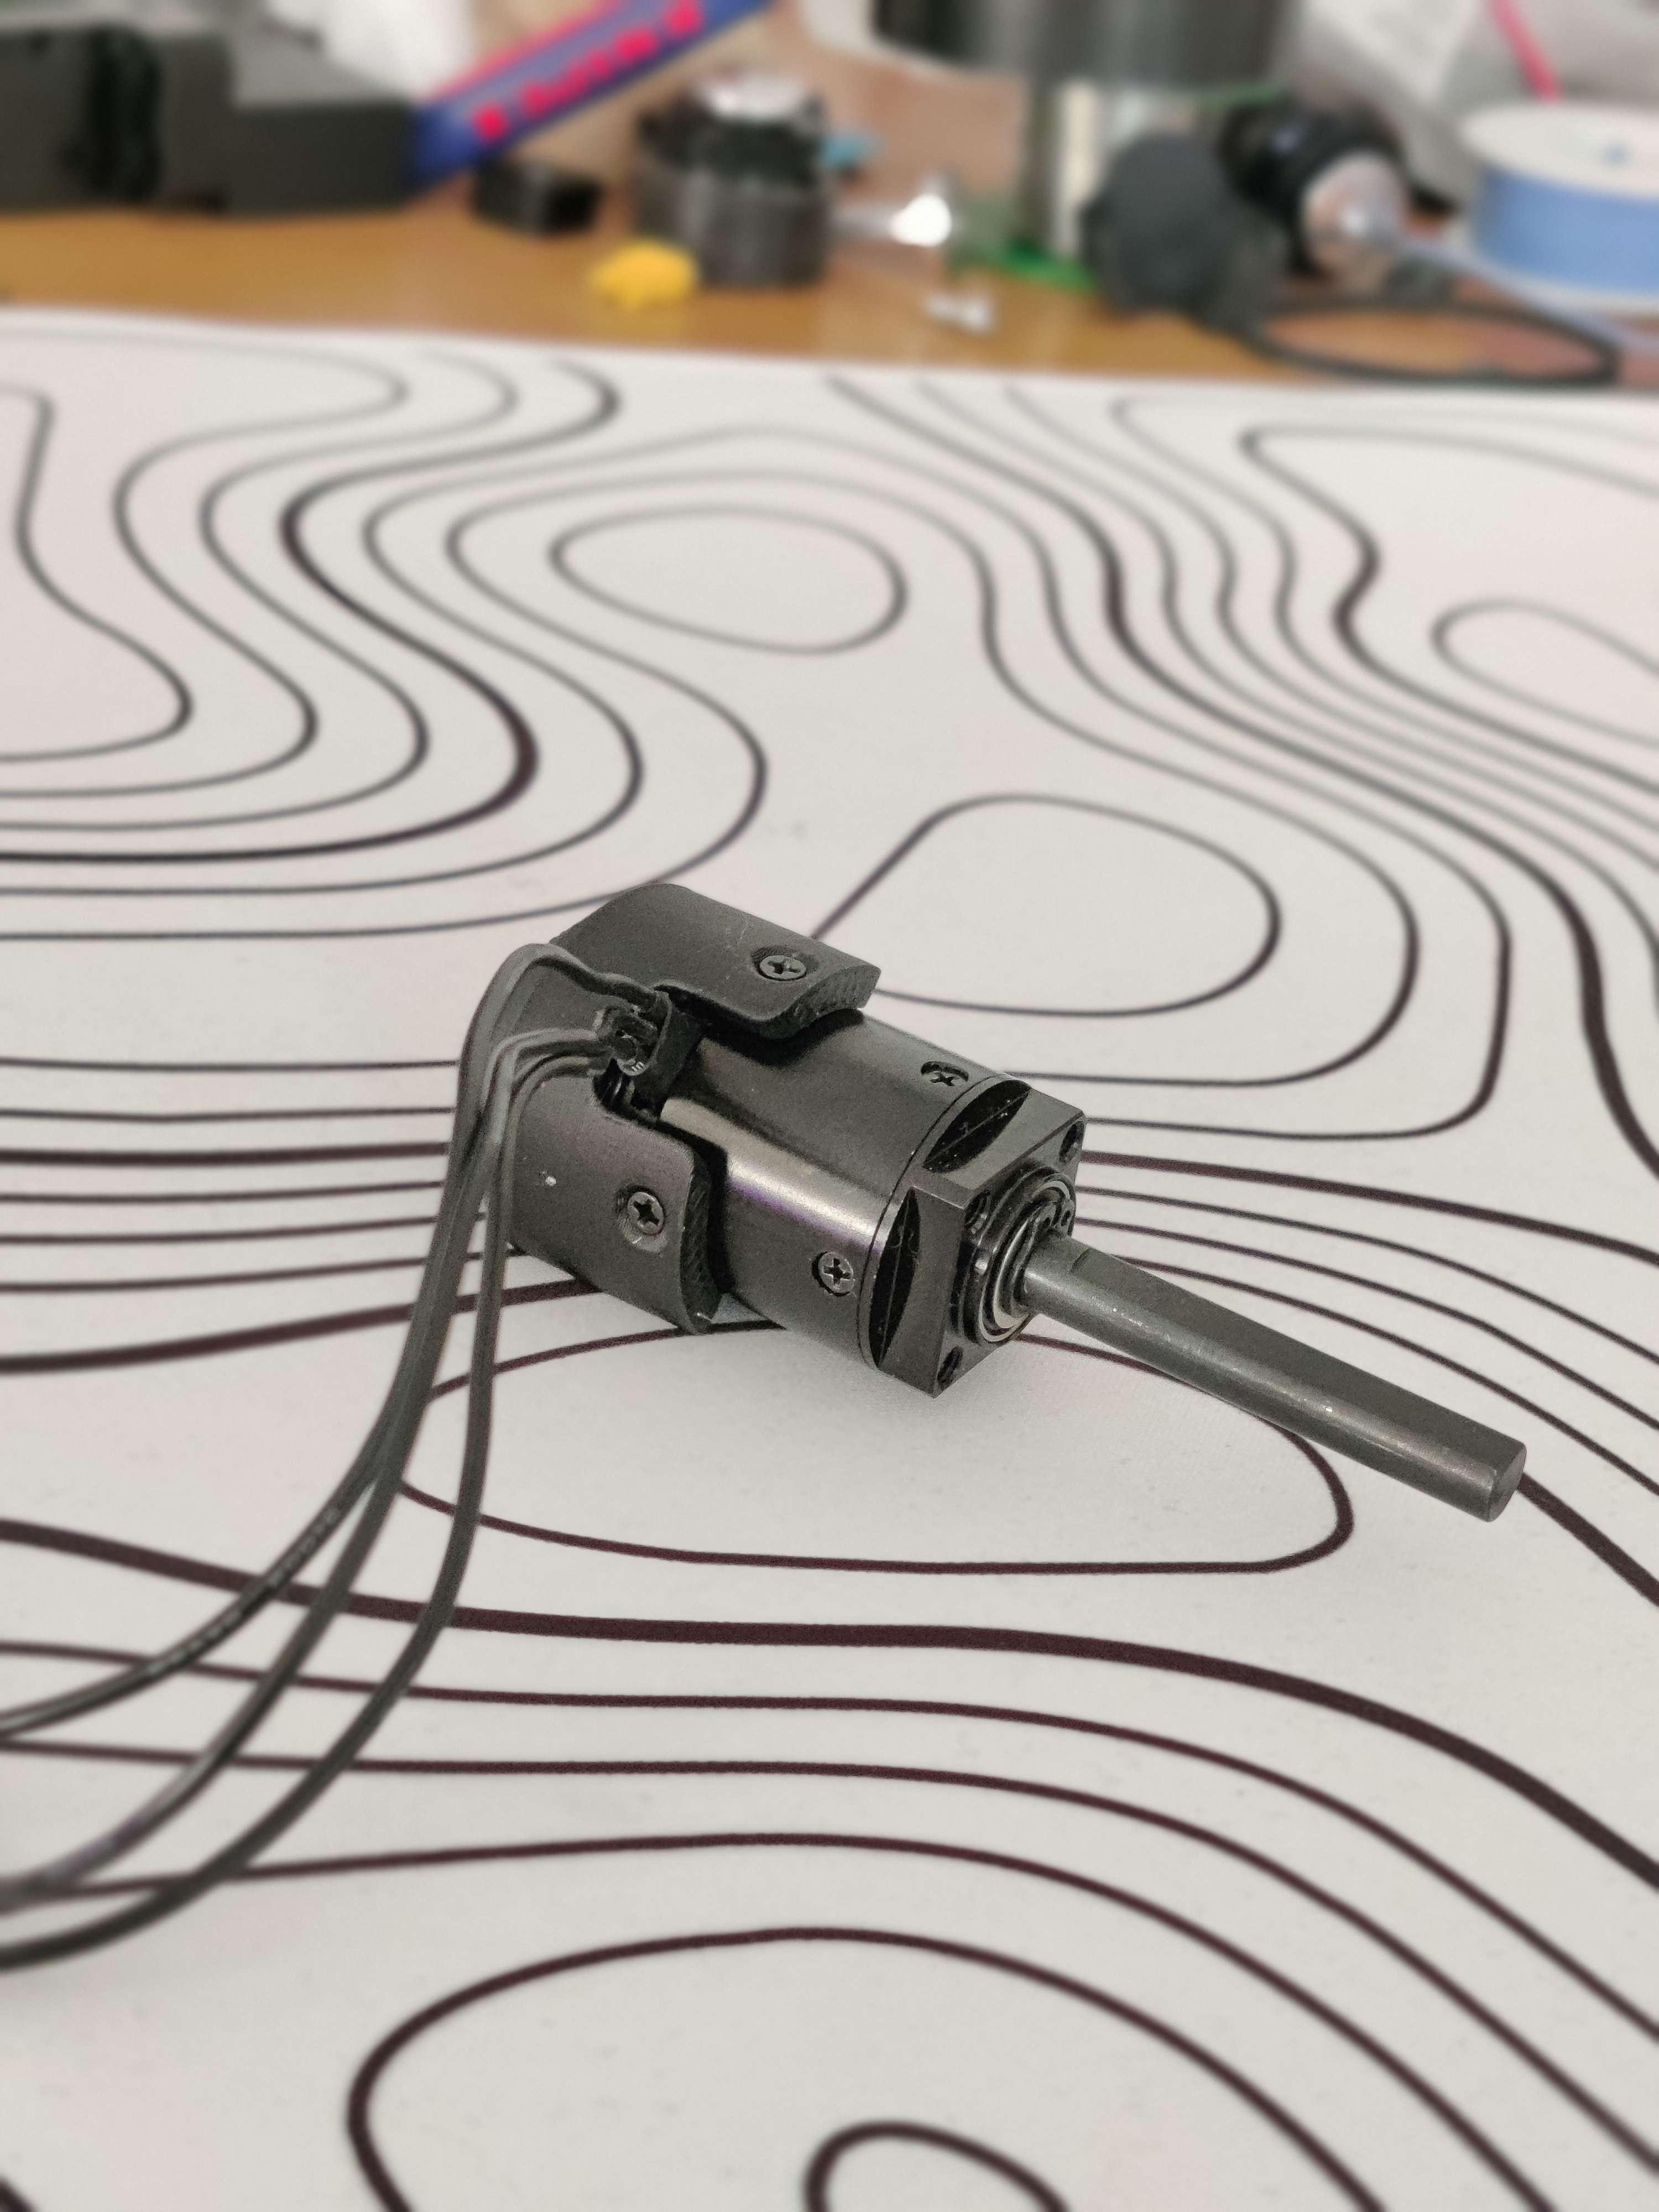
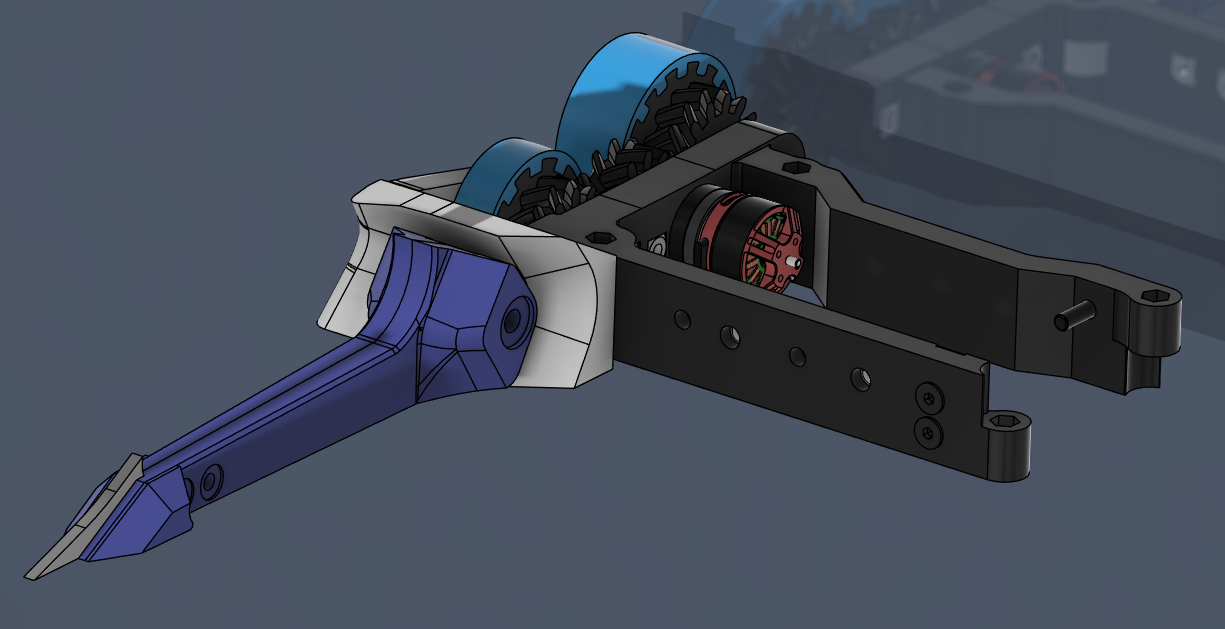
I’ll start with the weapon & arm system. This robot has always had the principle of using a 28mm Gearbox in order to fire the arm. The design ethos is really “OKO Lipo or get DQ’d trying”. Yau’s hammer, PMXL was a great example of the mechanism in motion, and I 100% stole from it.
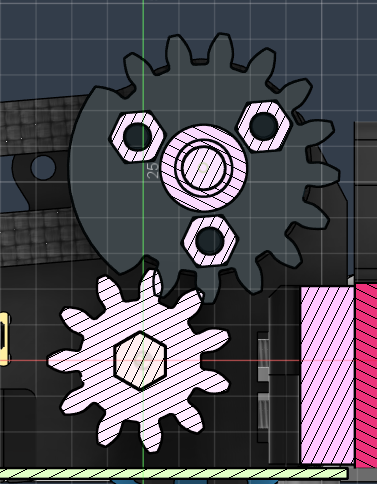
The gear ratio is 11:17, MOD 2.5 (I think?). With either a hardox or Alu gear running on the motor & HDPE gear on the arm
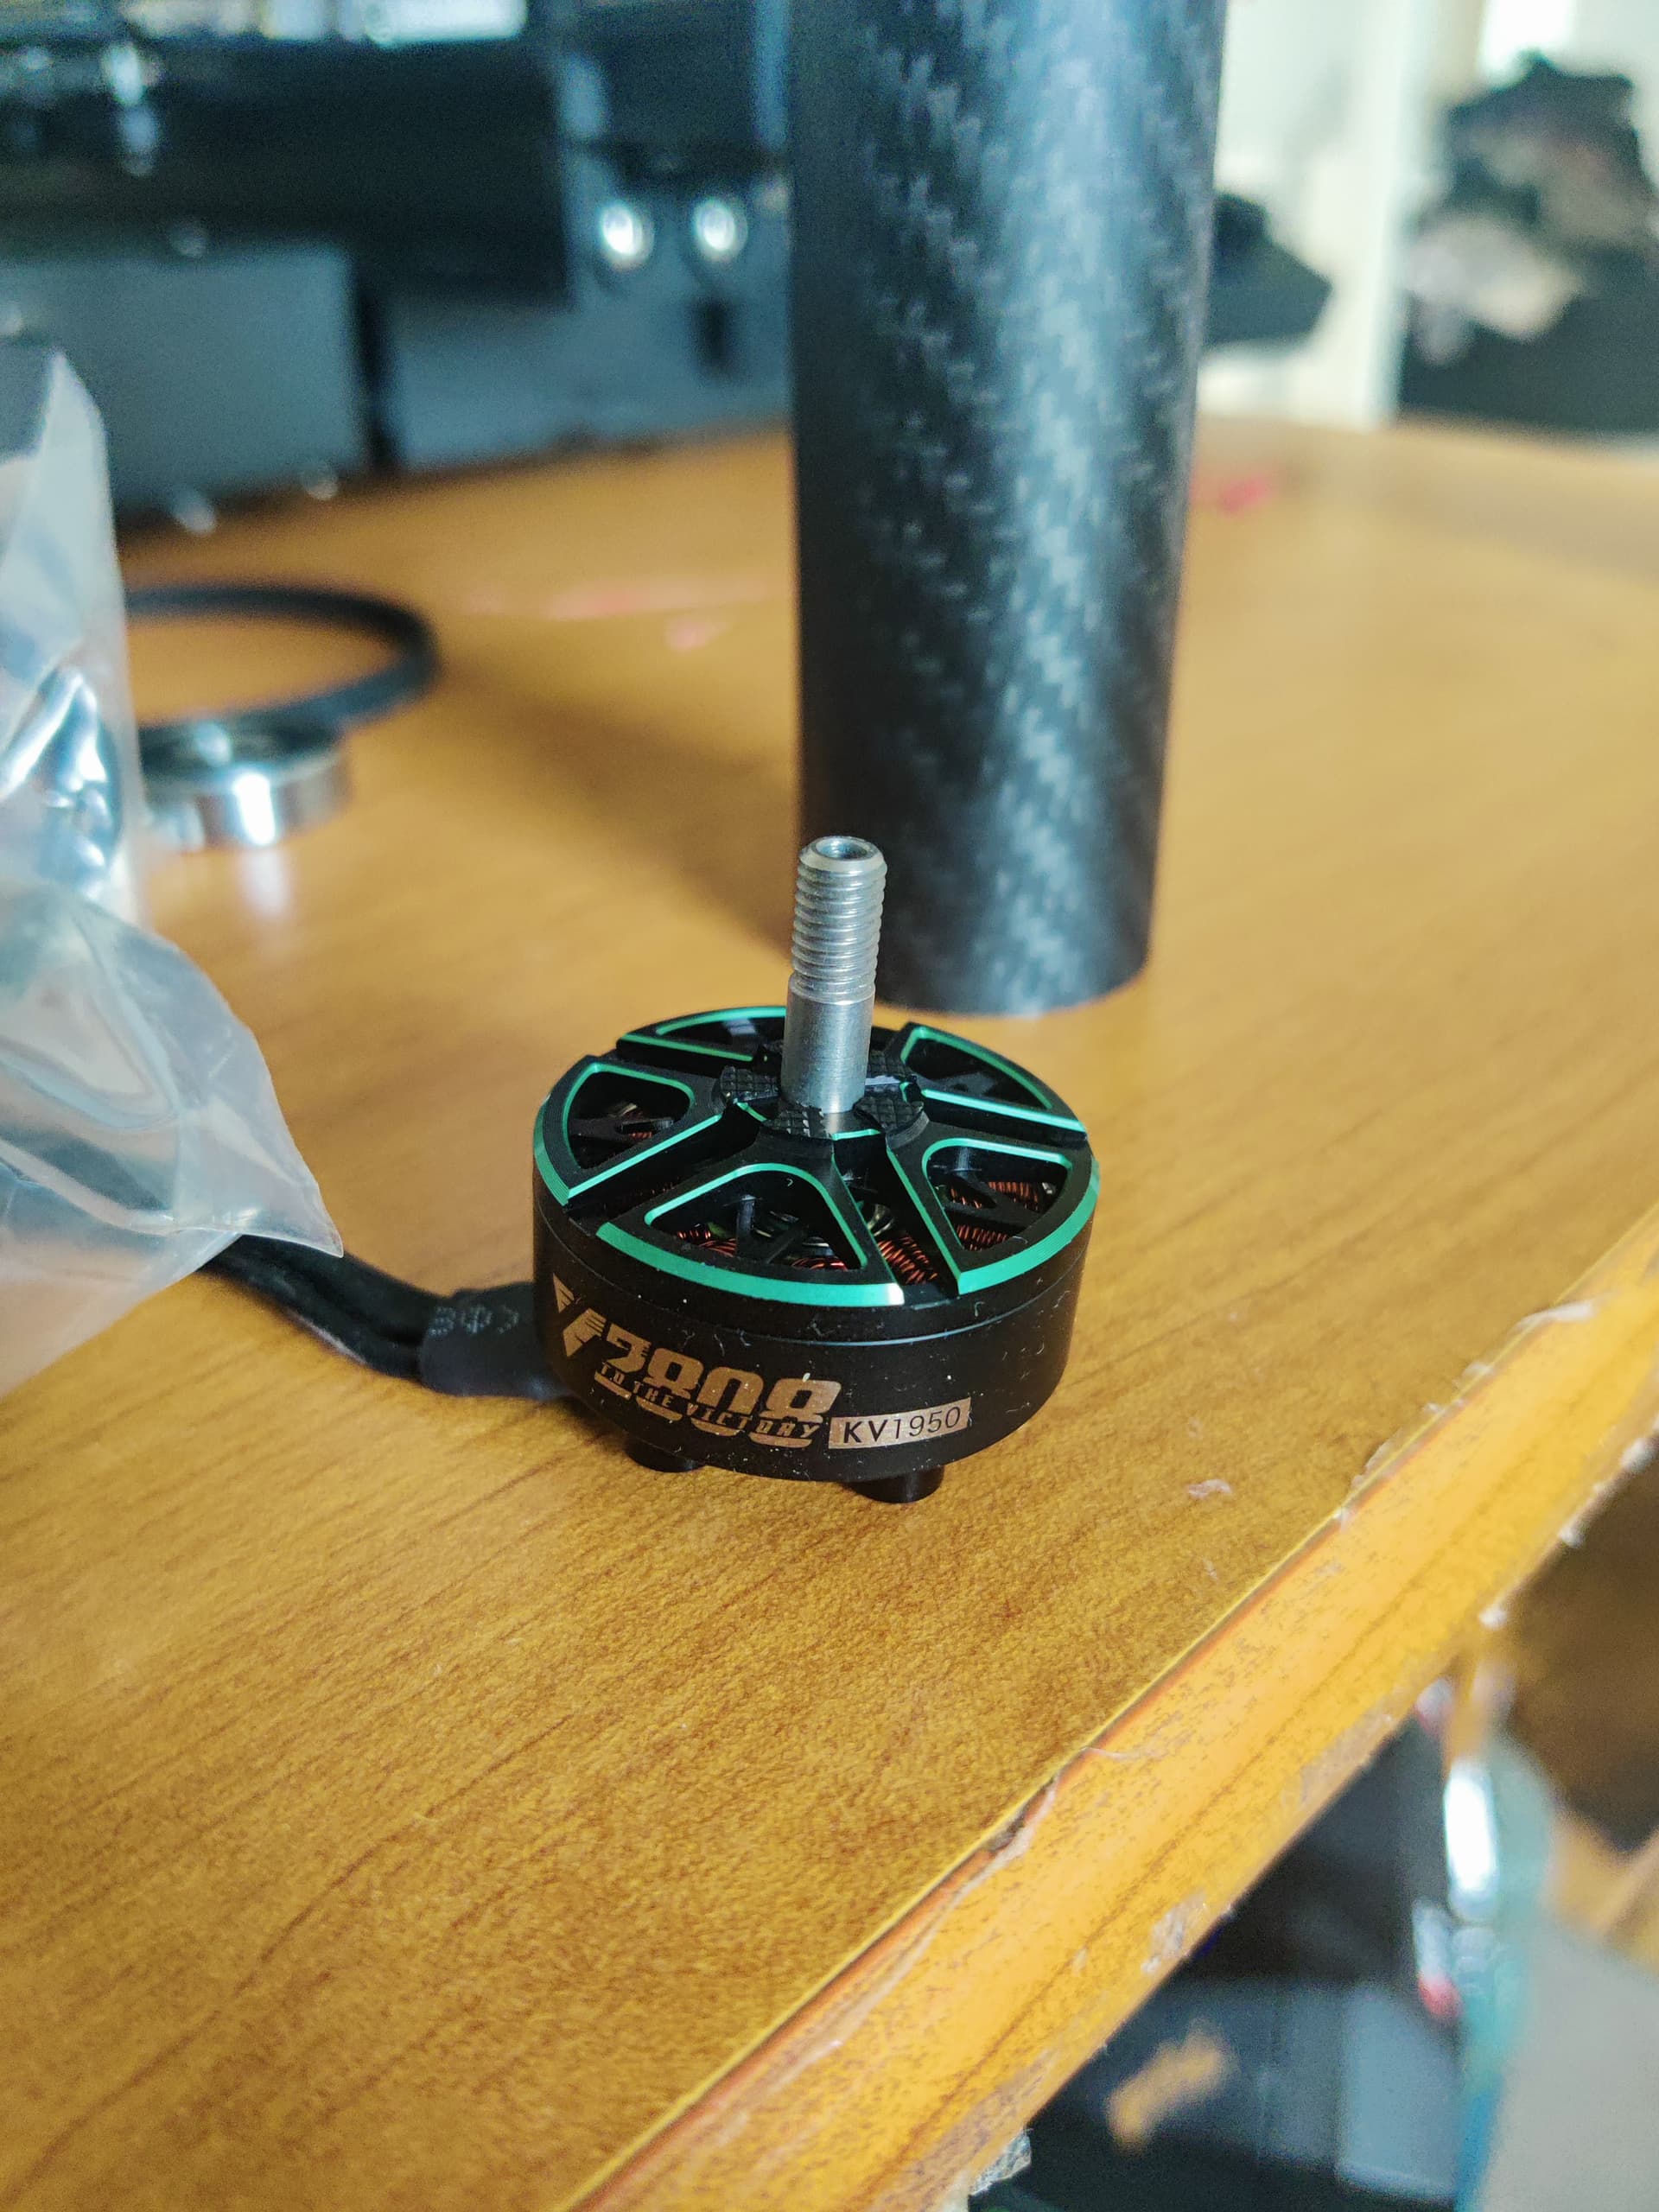
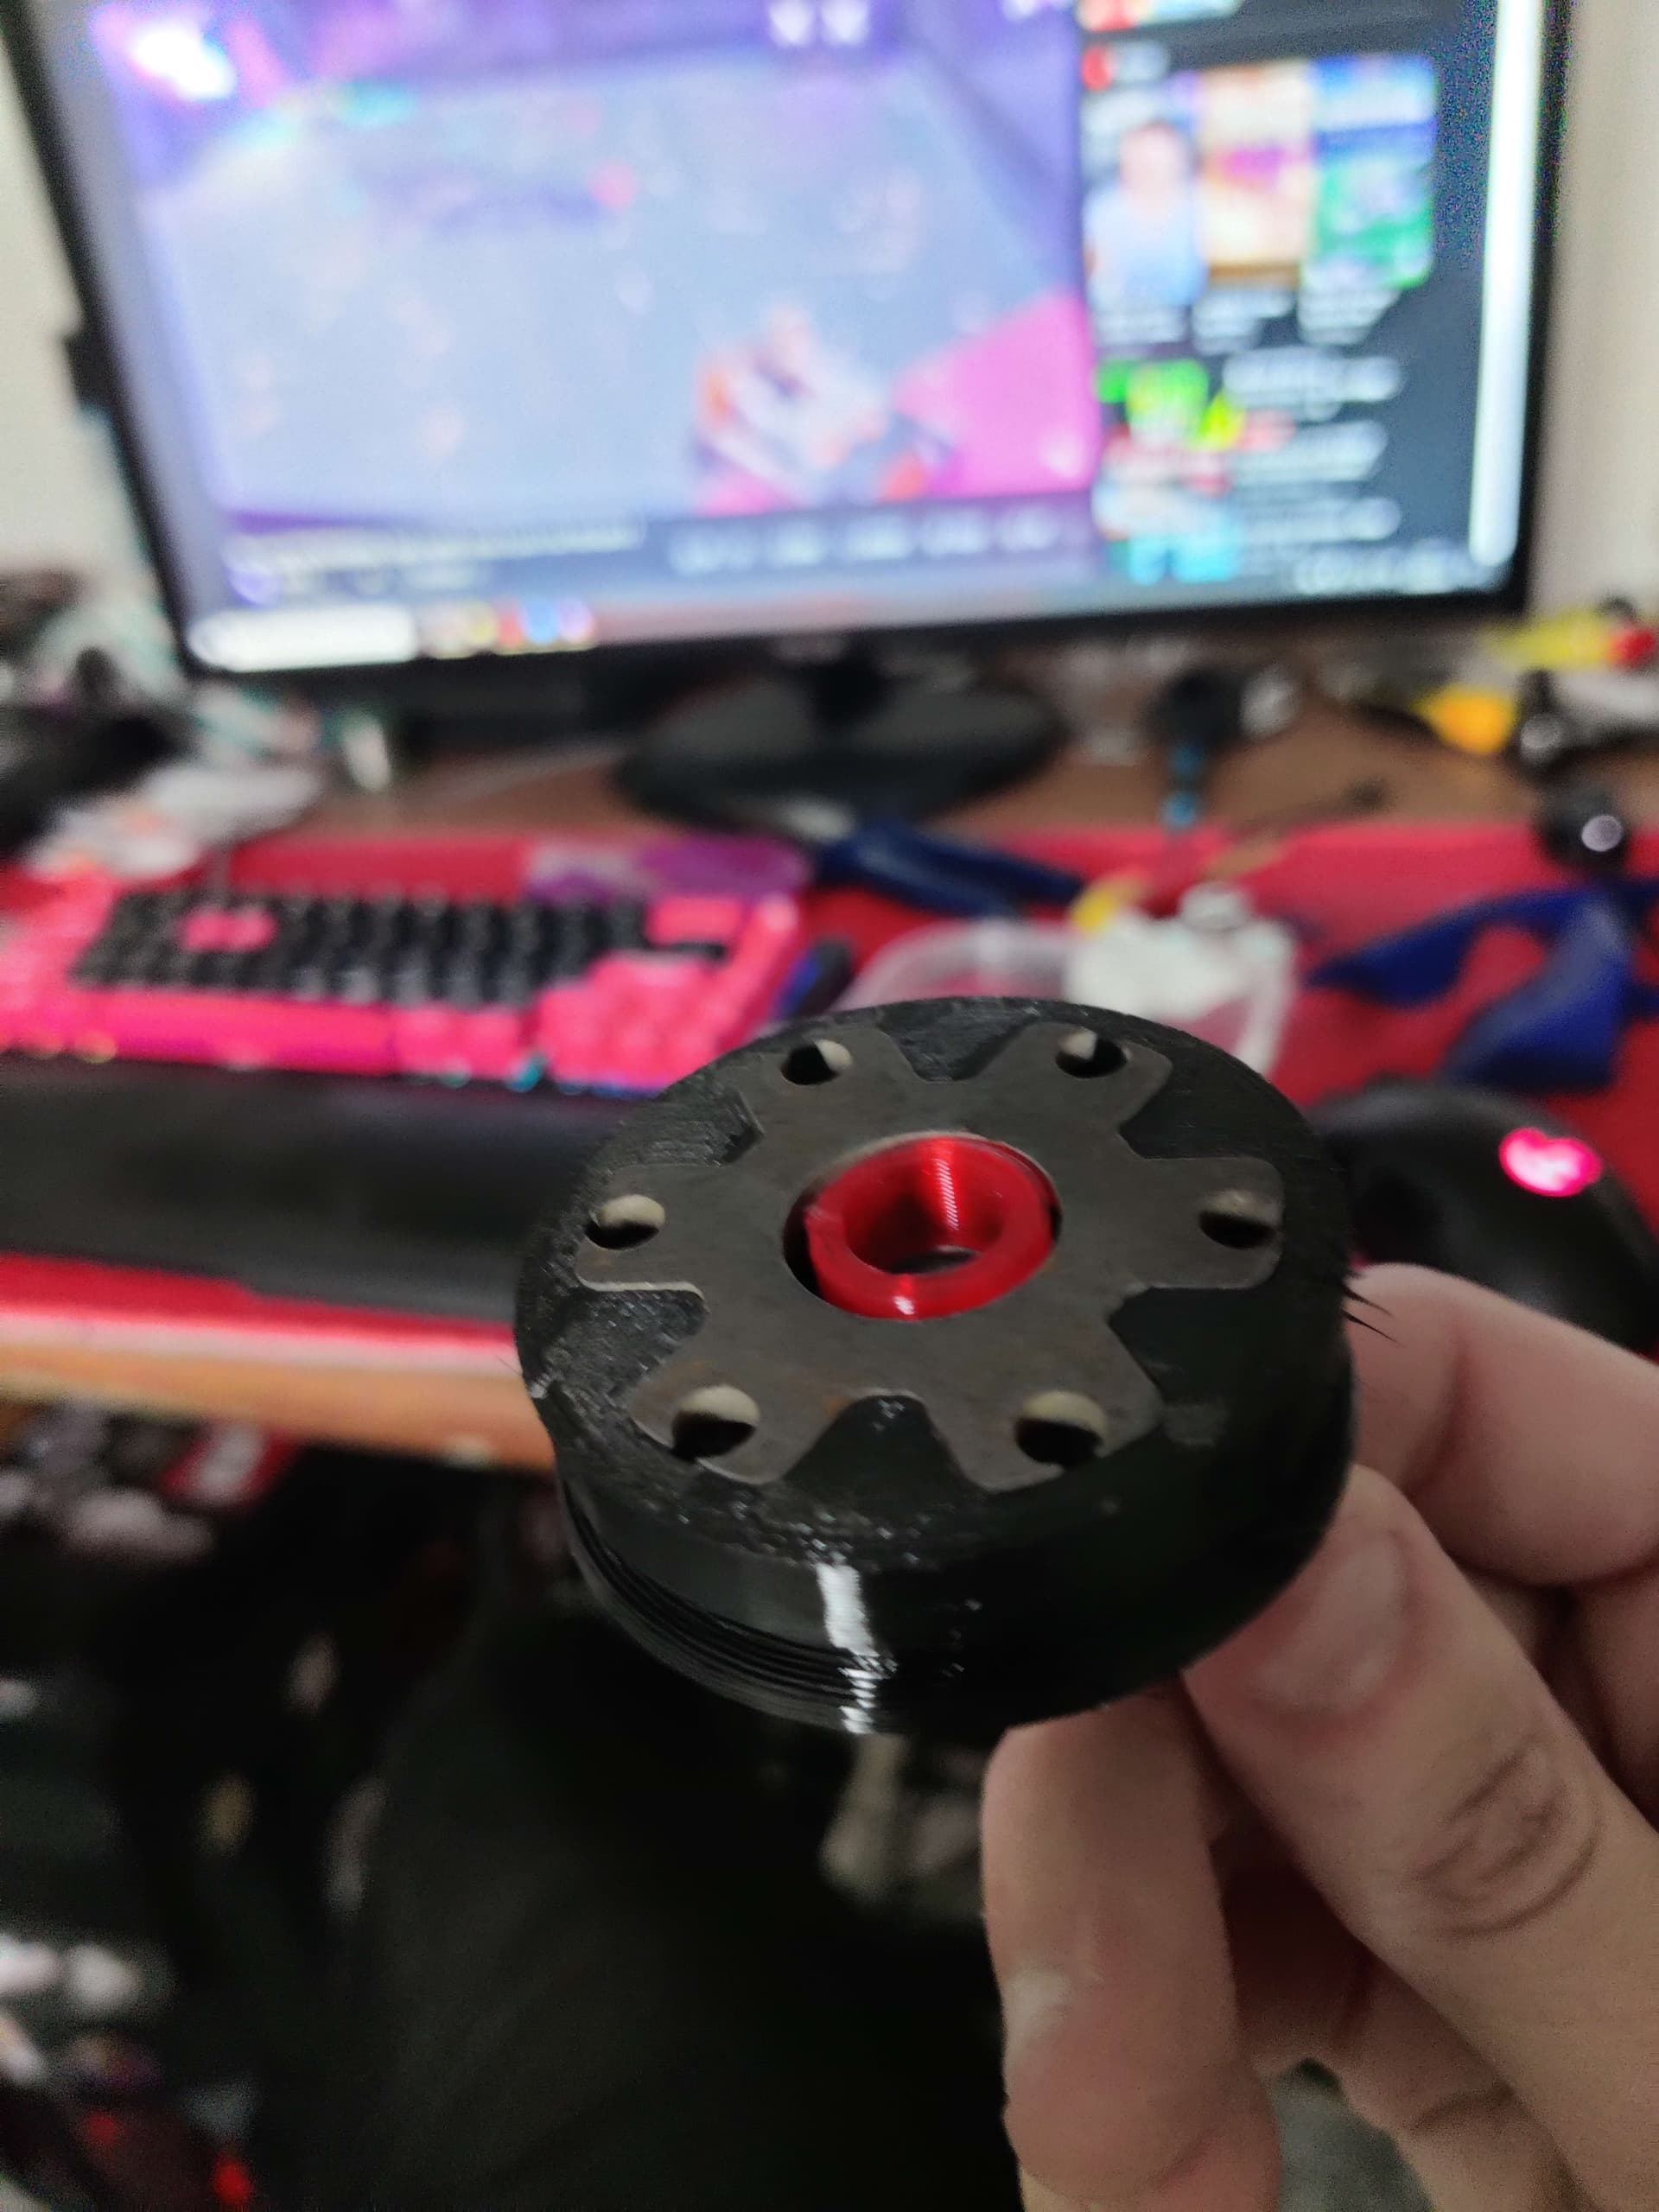
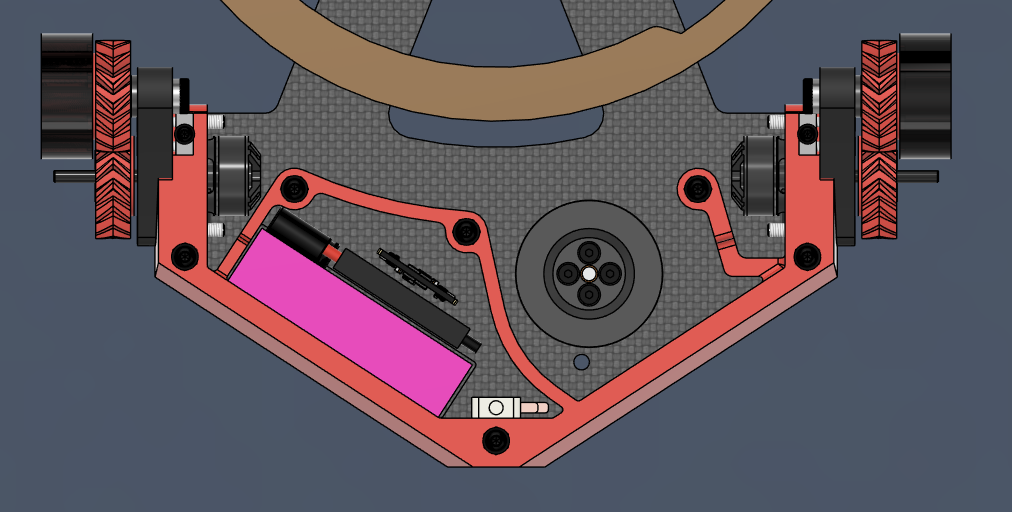
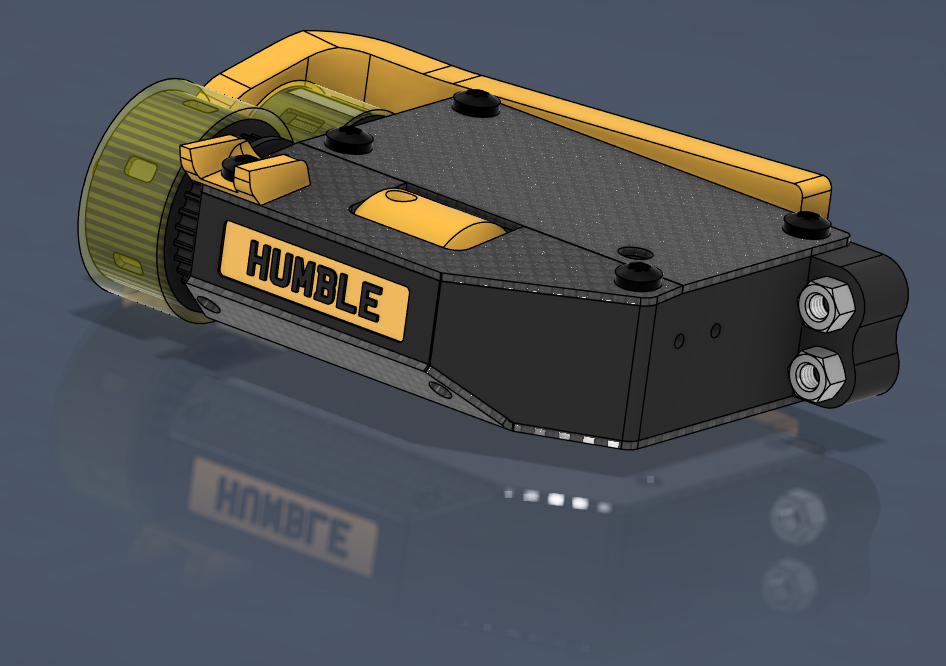
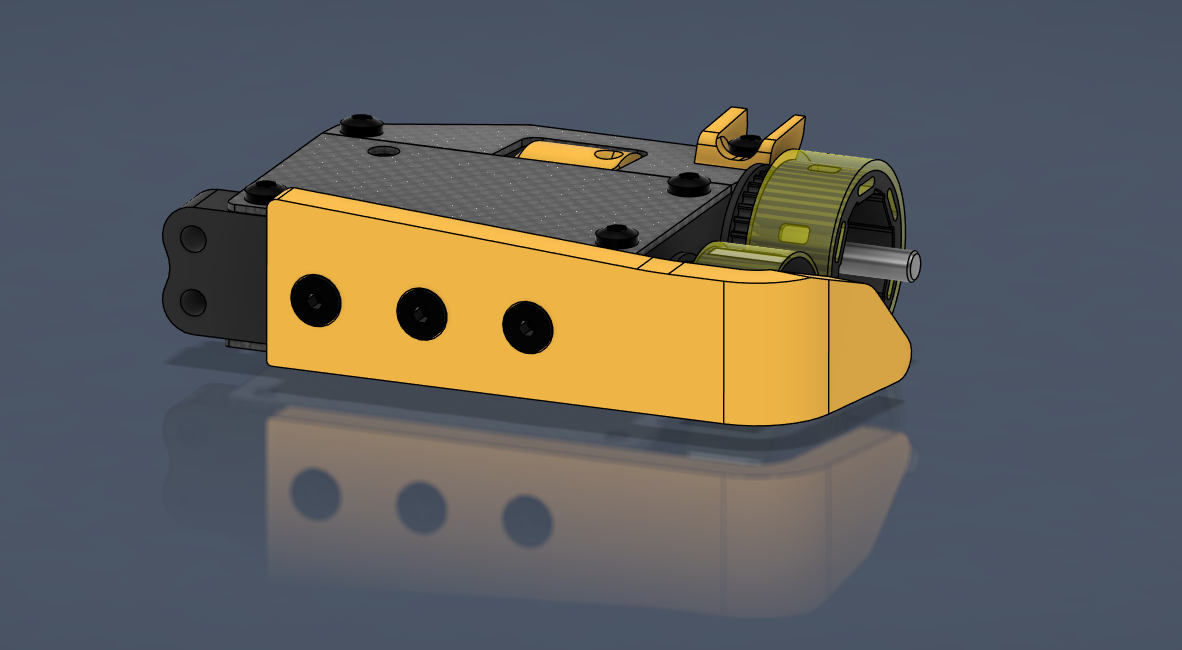
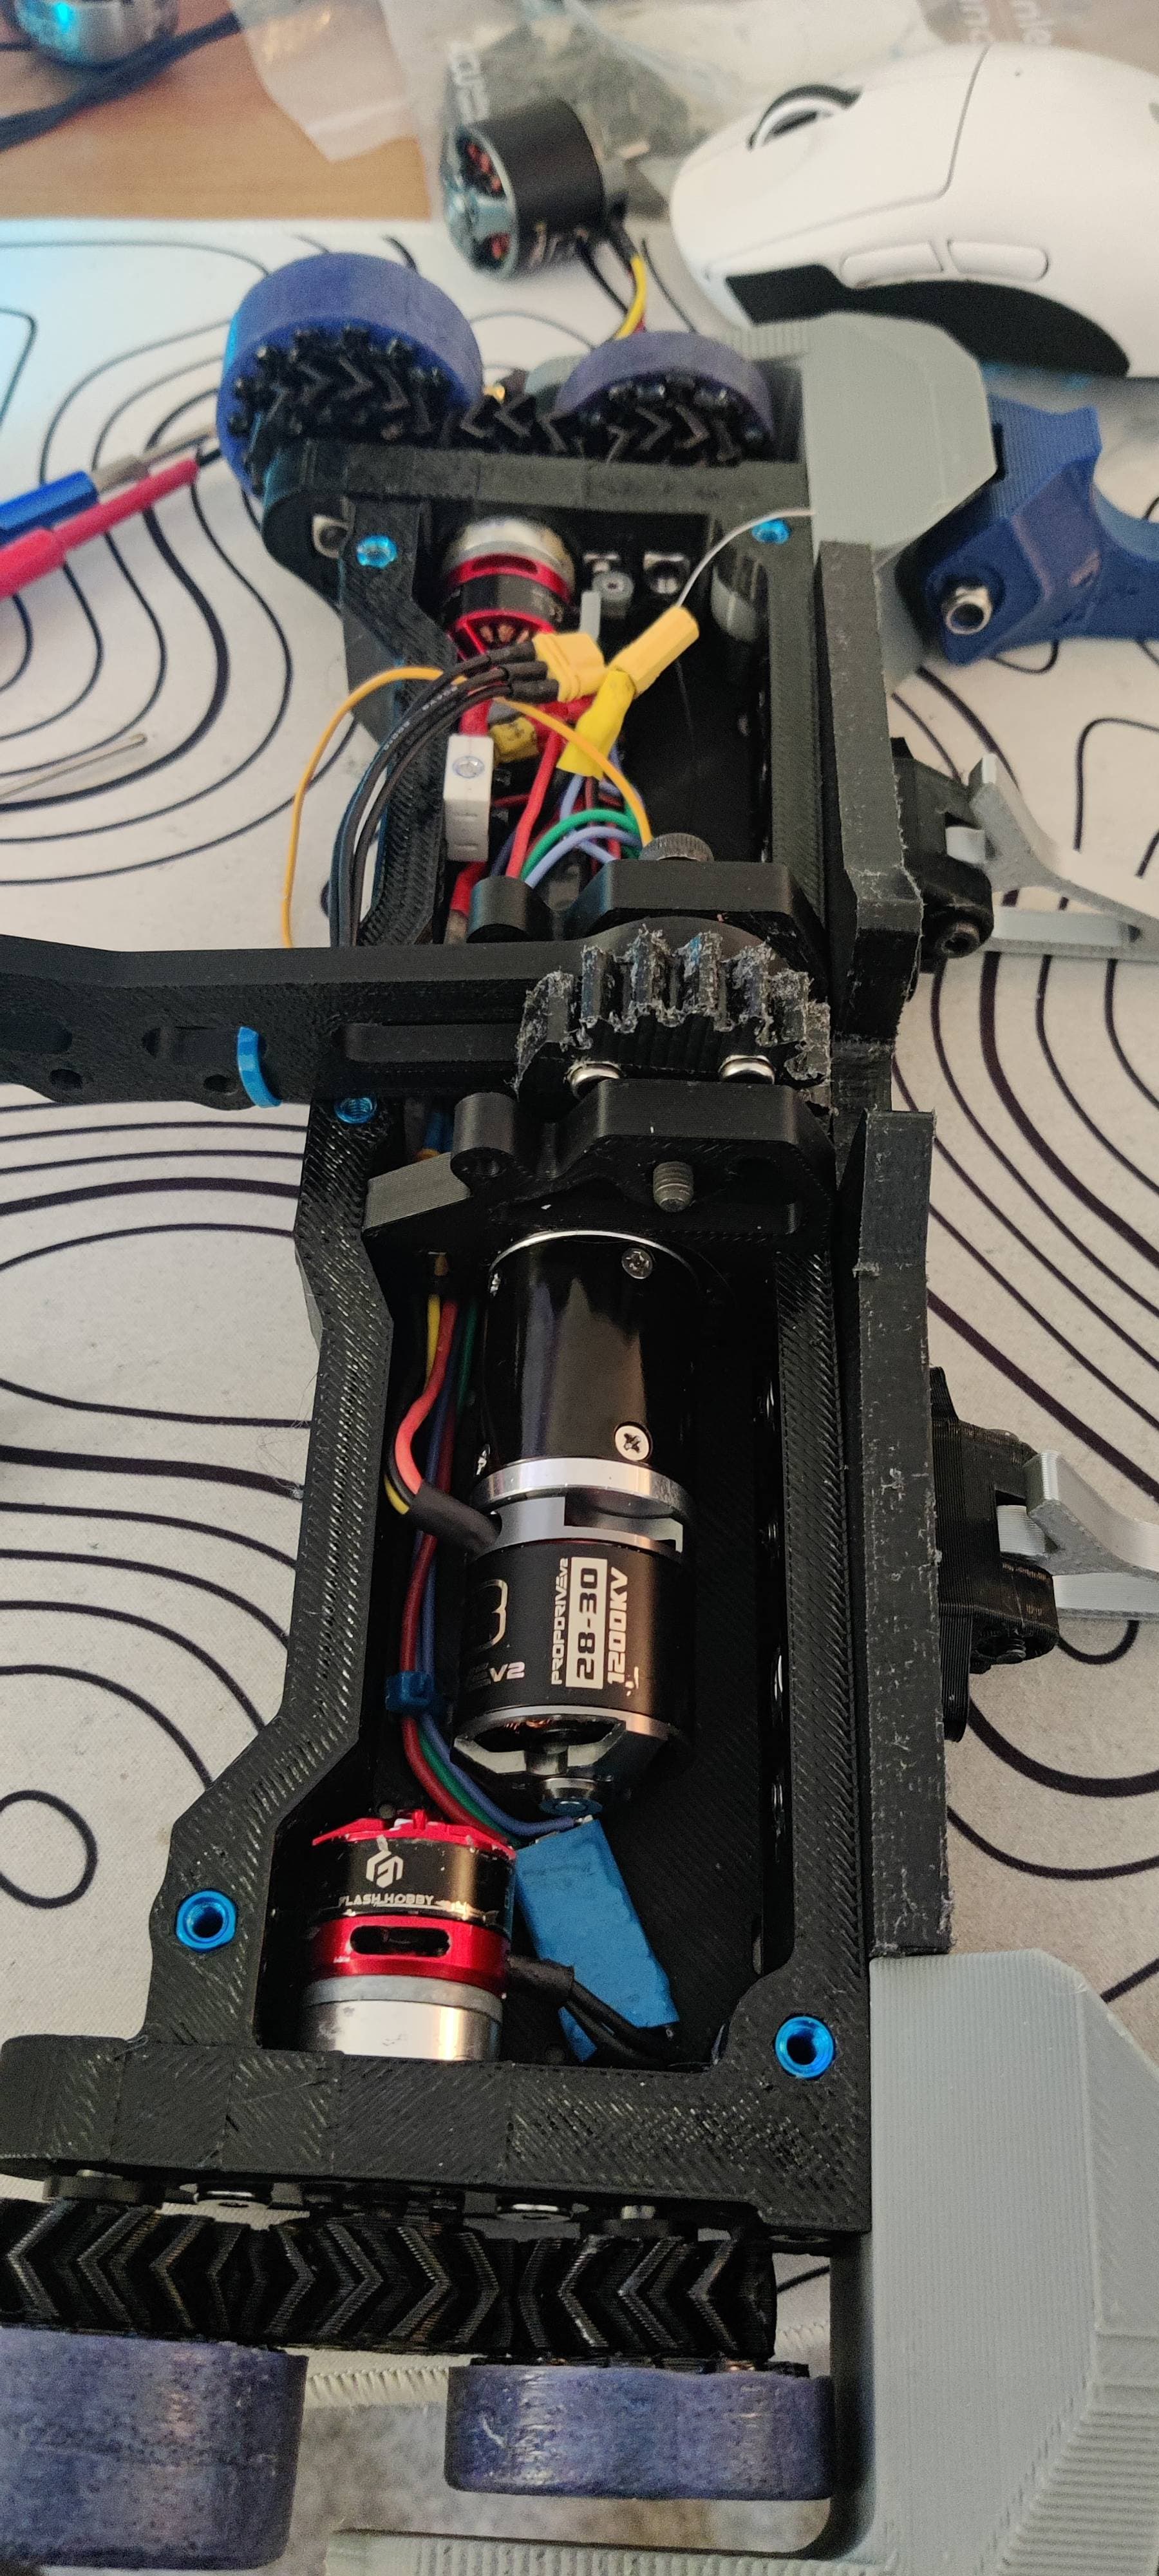
Lets cover that gearmotor, it’s a GMP28mm gearbox with an Repeat Ultra shaft fitted. This immediately bypasses the cheese shaft issue that plagues the current GMP28mm boxes with their default shafts, whilst also allowing for a smaller gear due to not needing a hub. The motor attached is a 2830 Propdrive. Its a bit heavier than the traditional overlander pairing, but its also got a bit more spice.
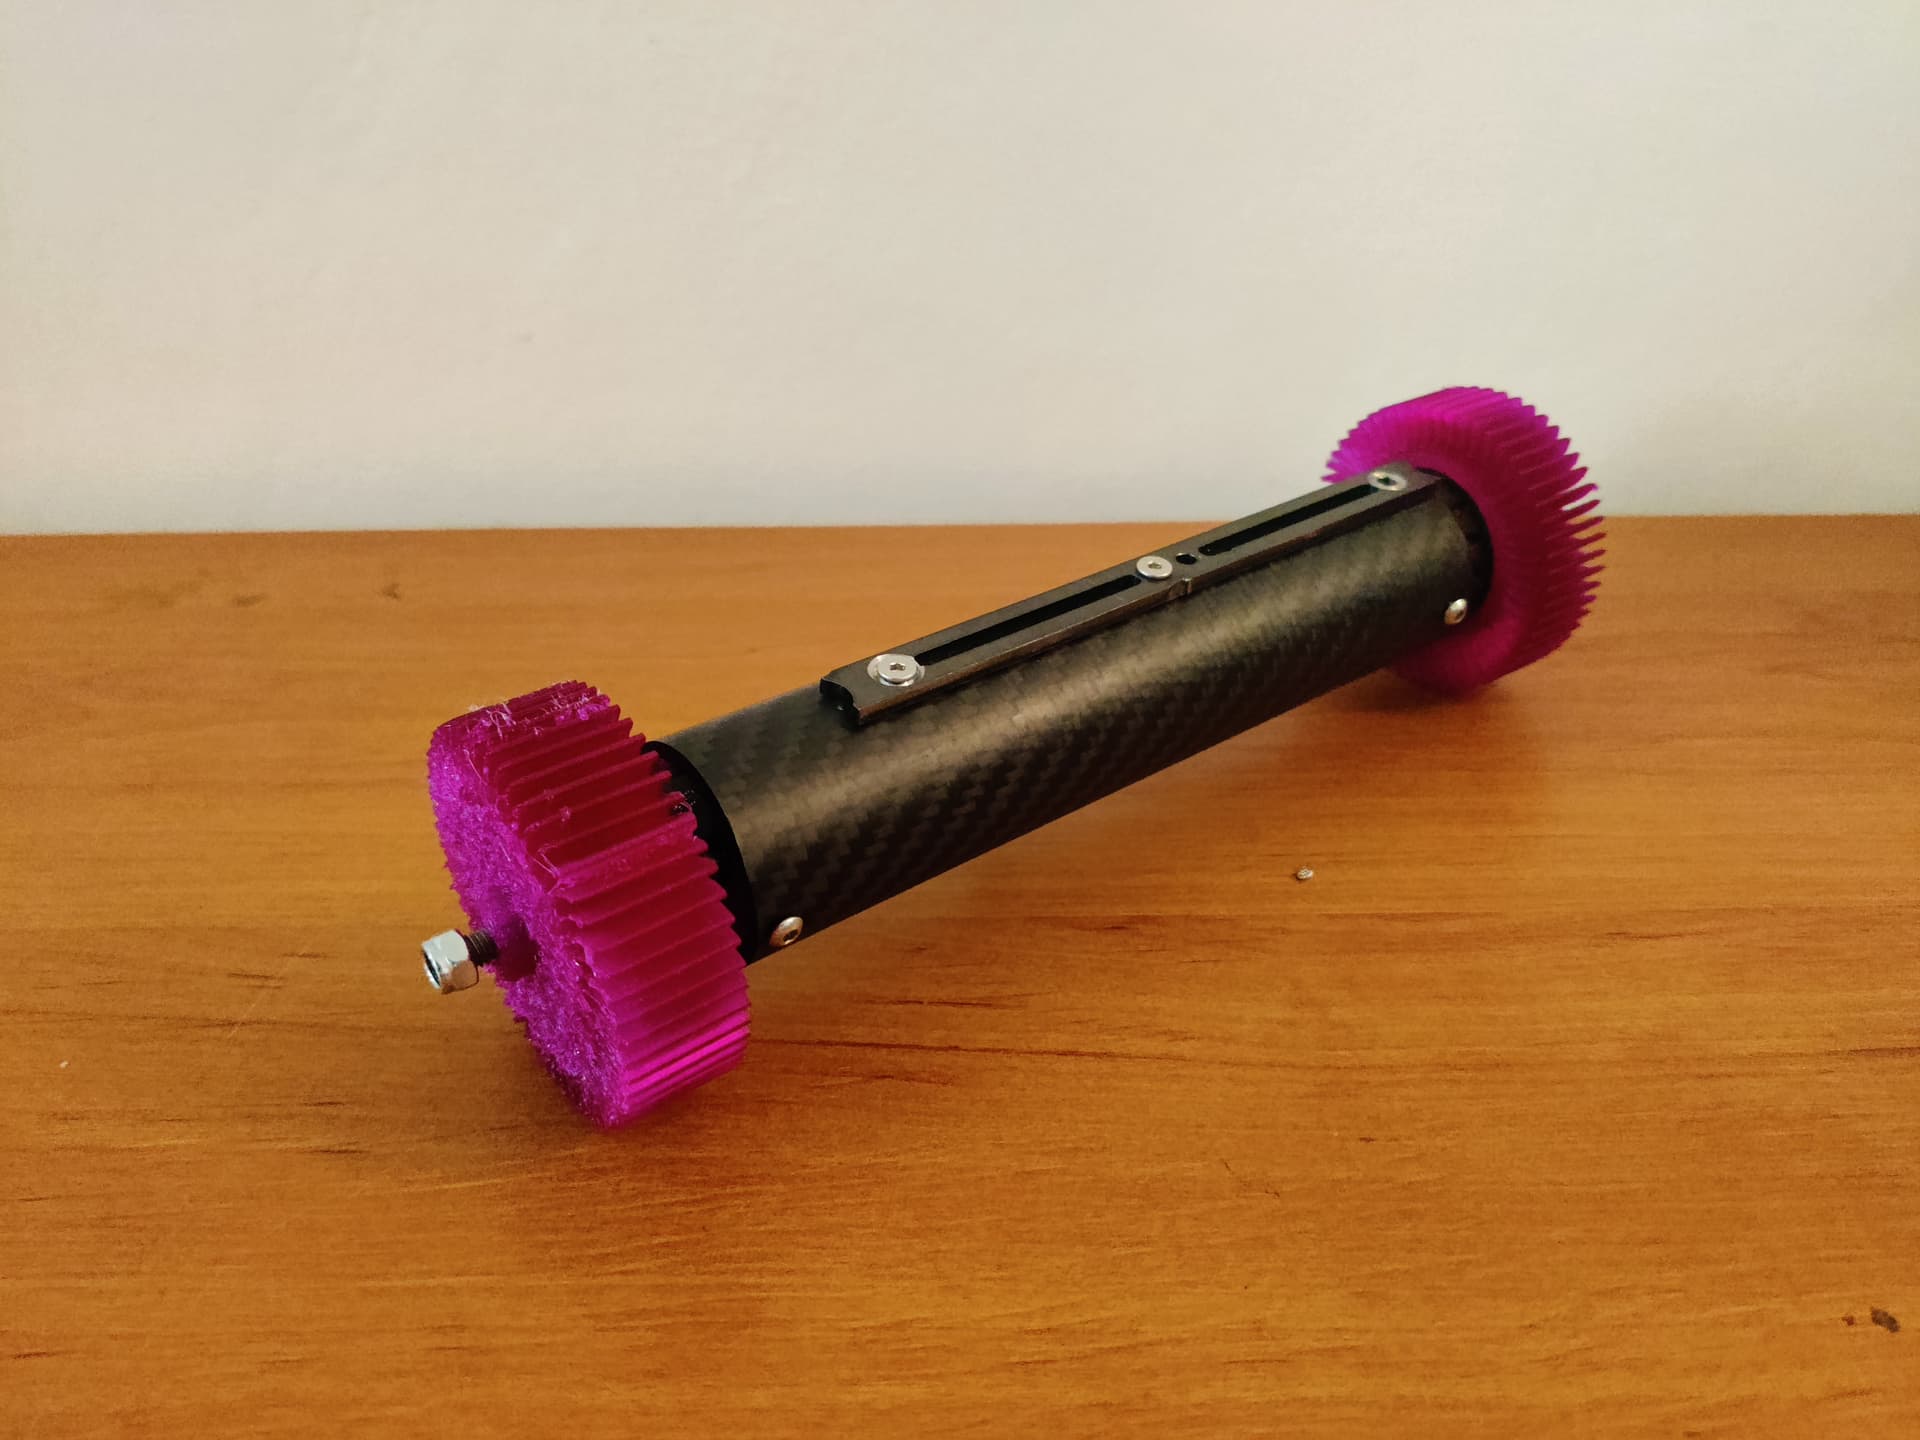
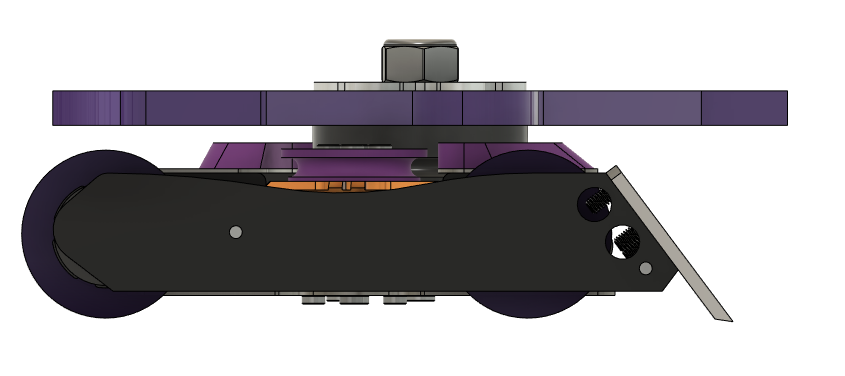
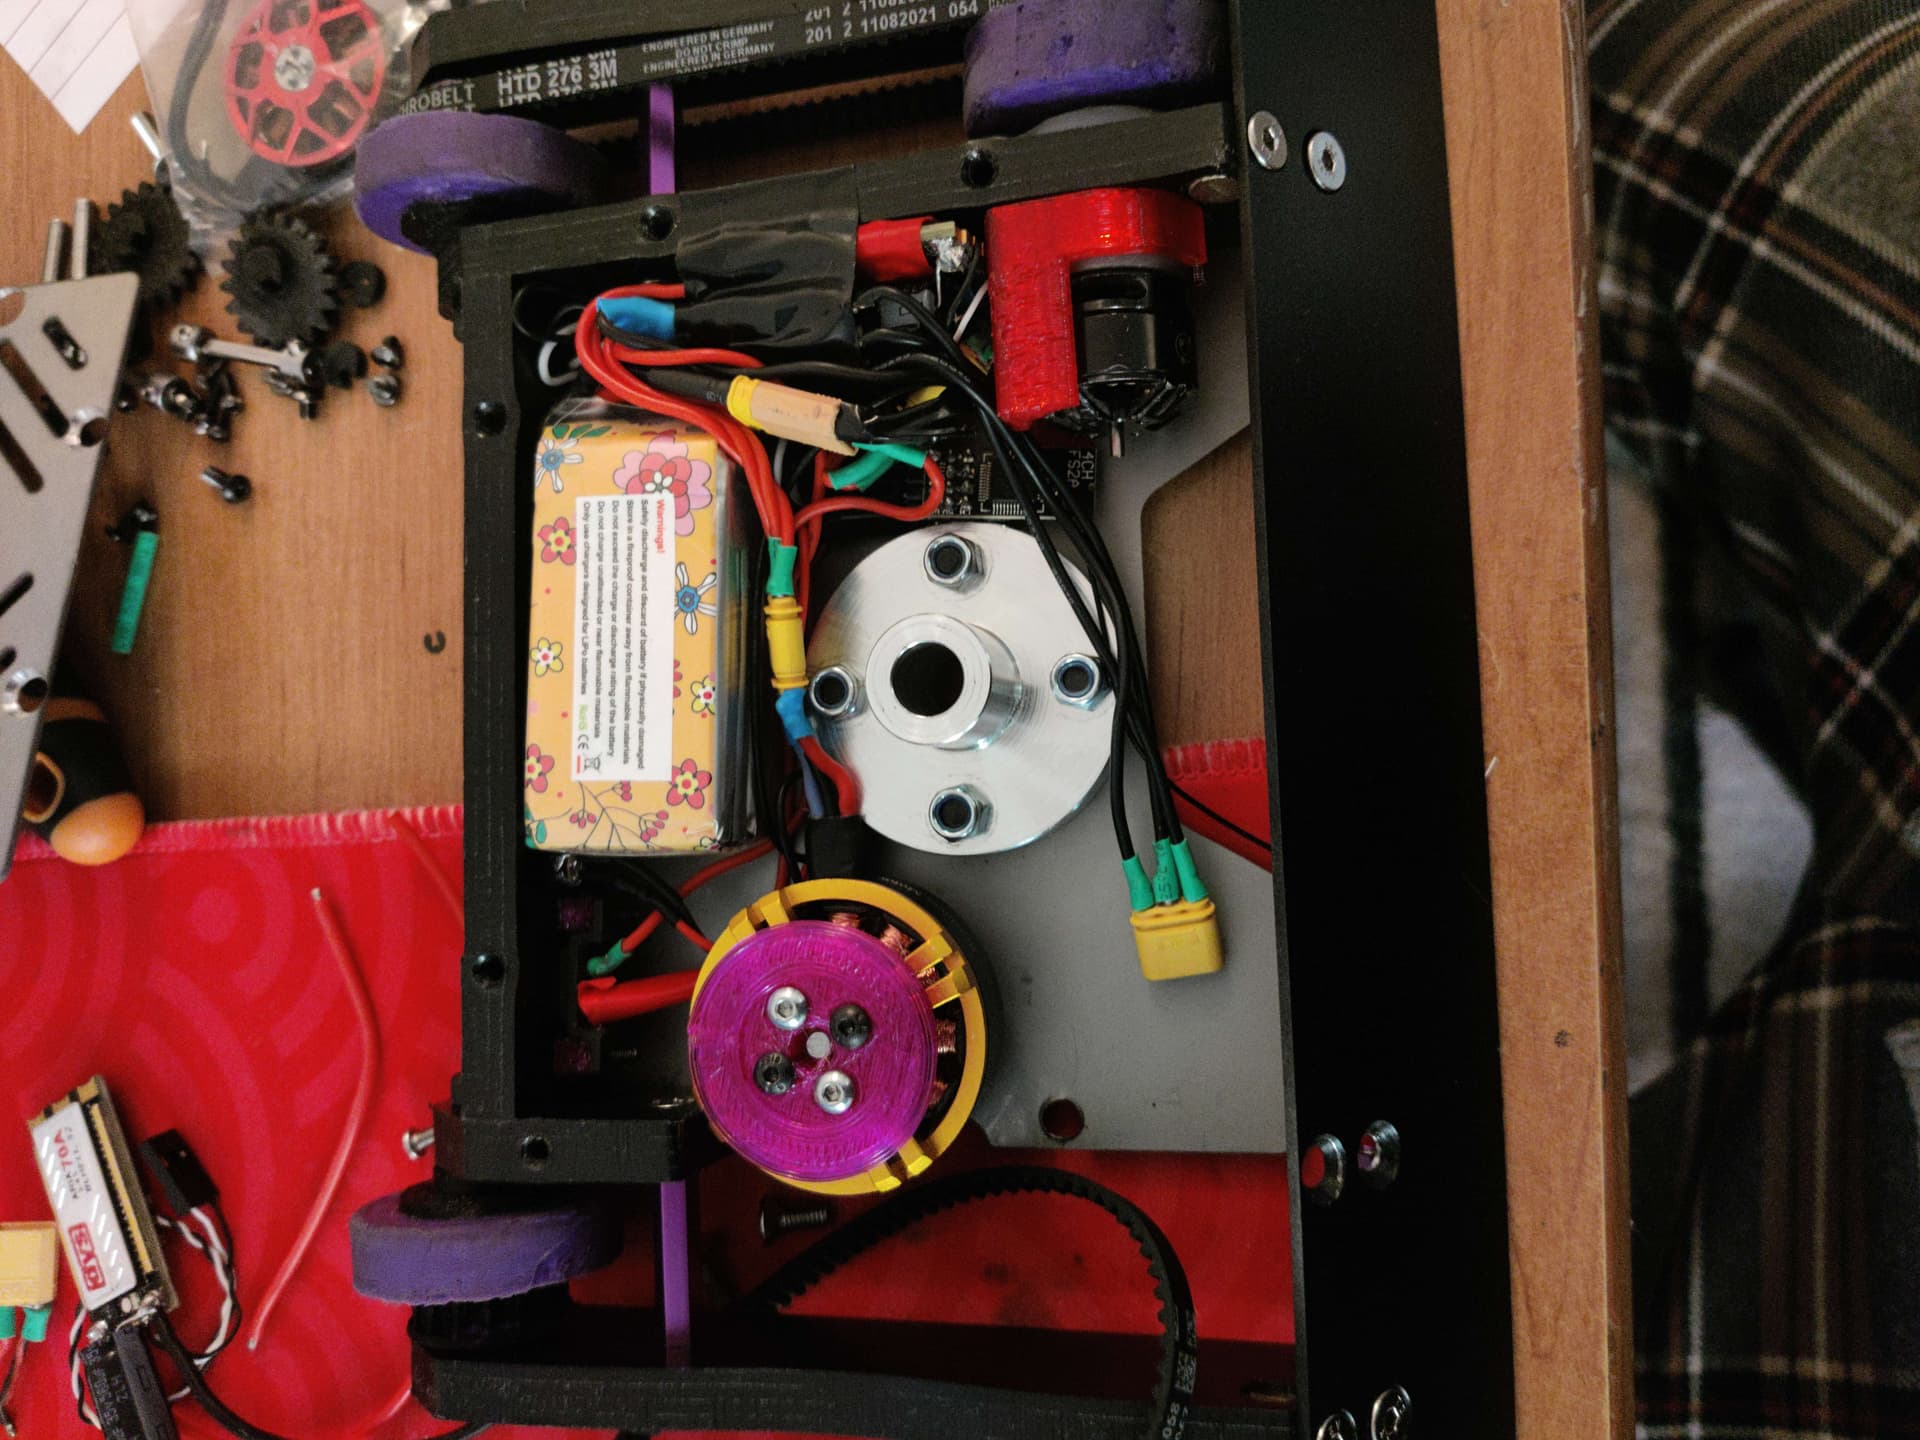
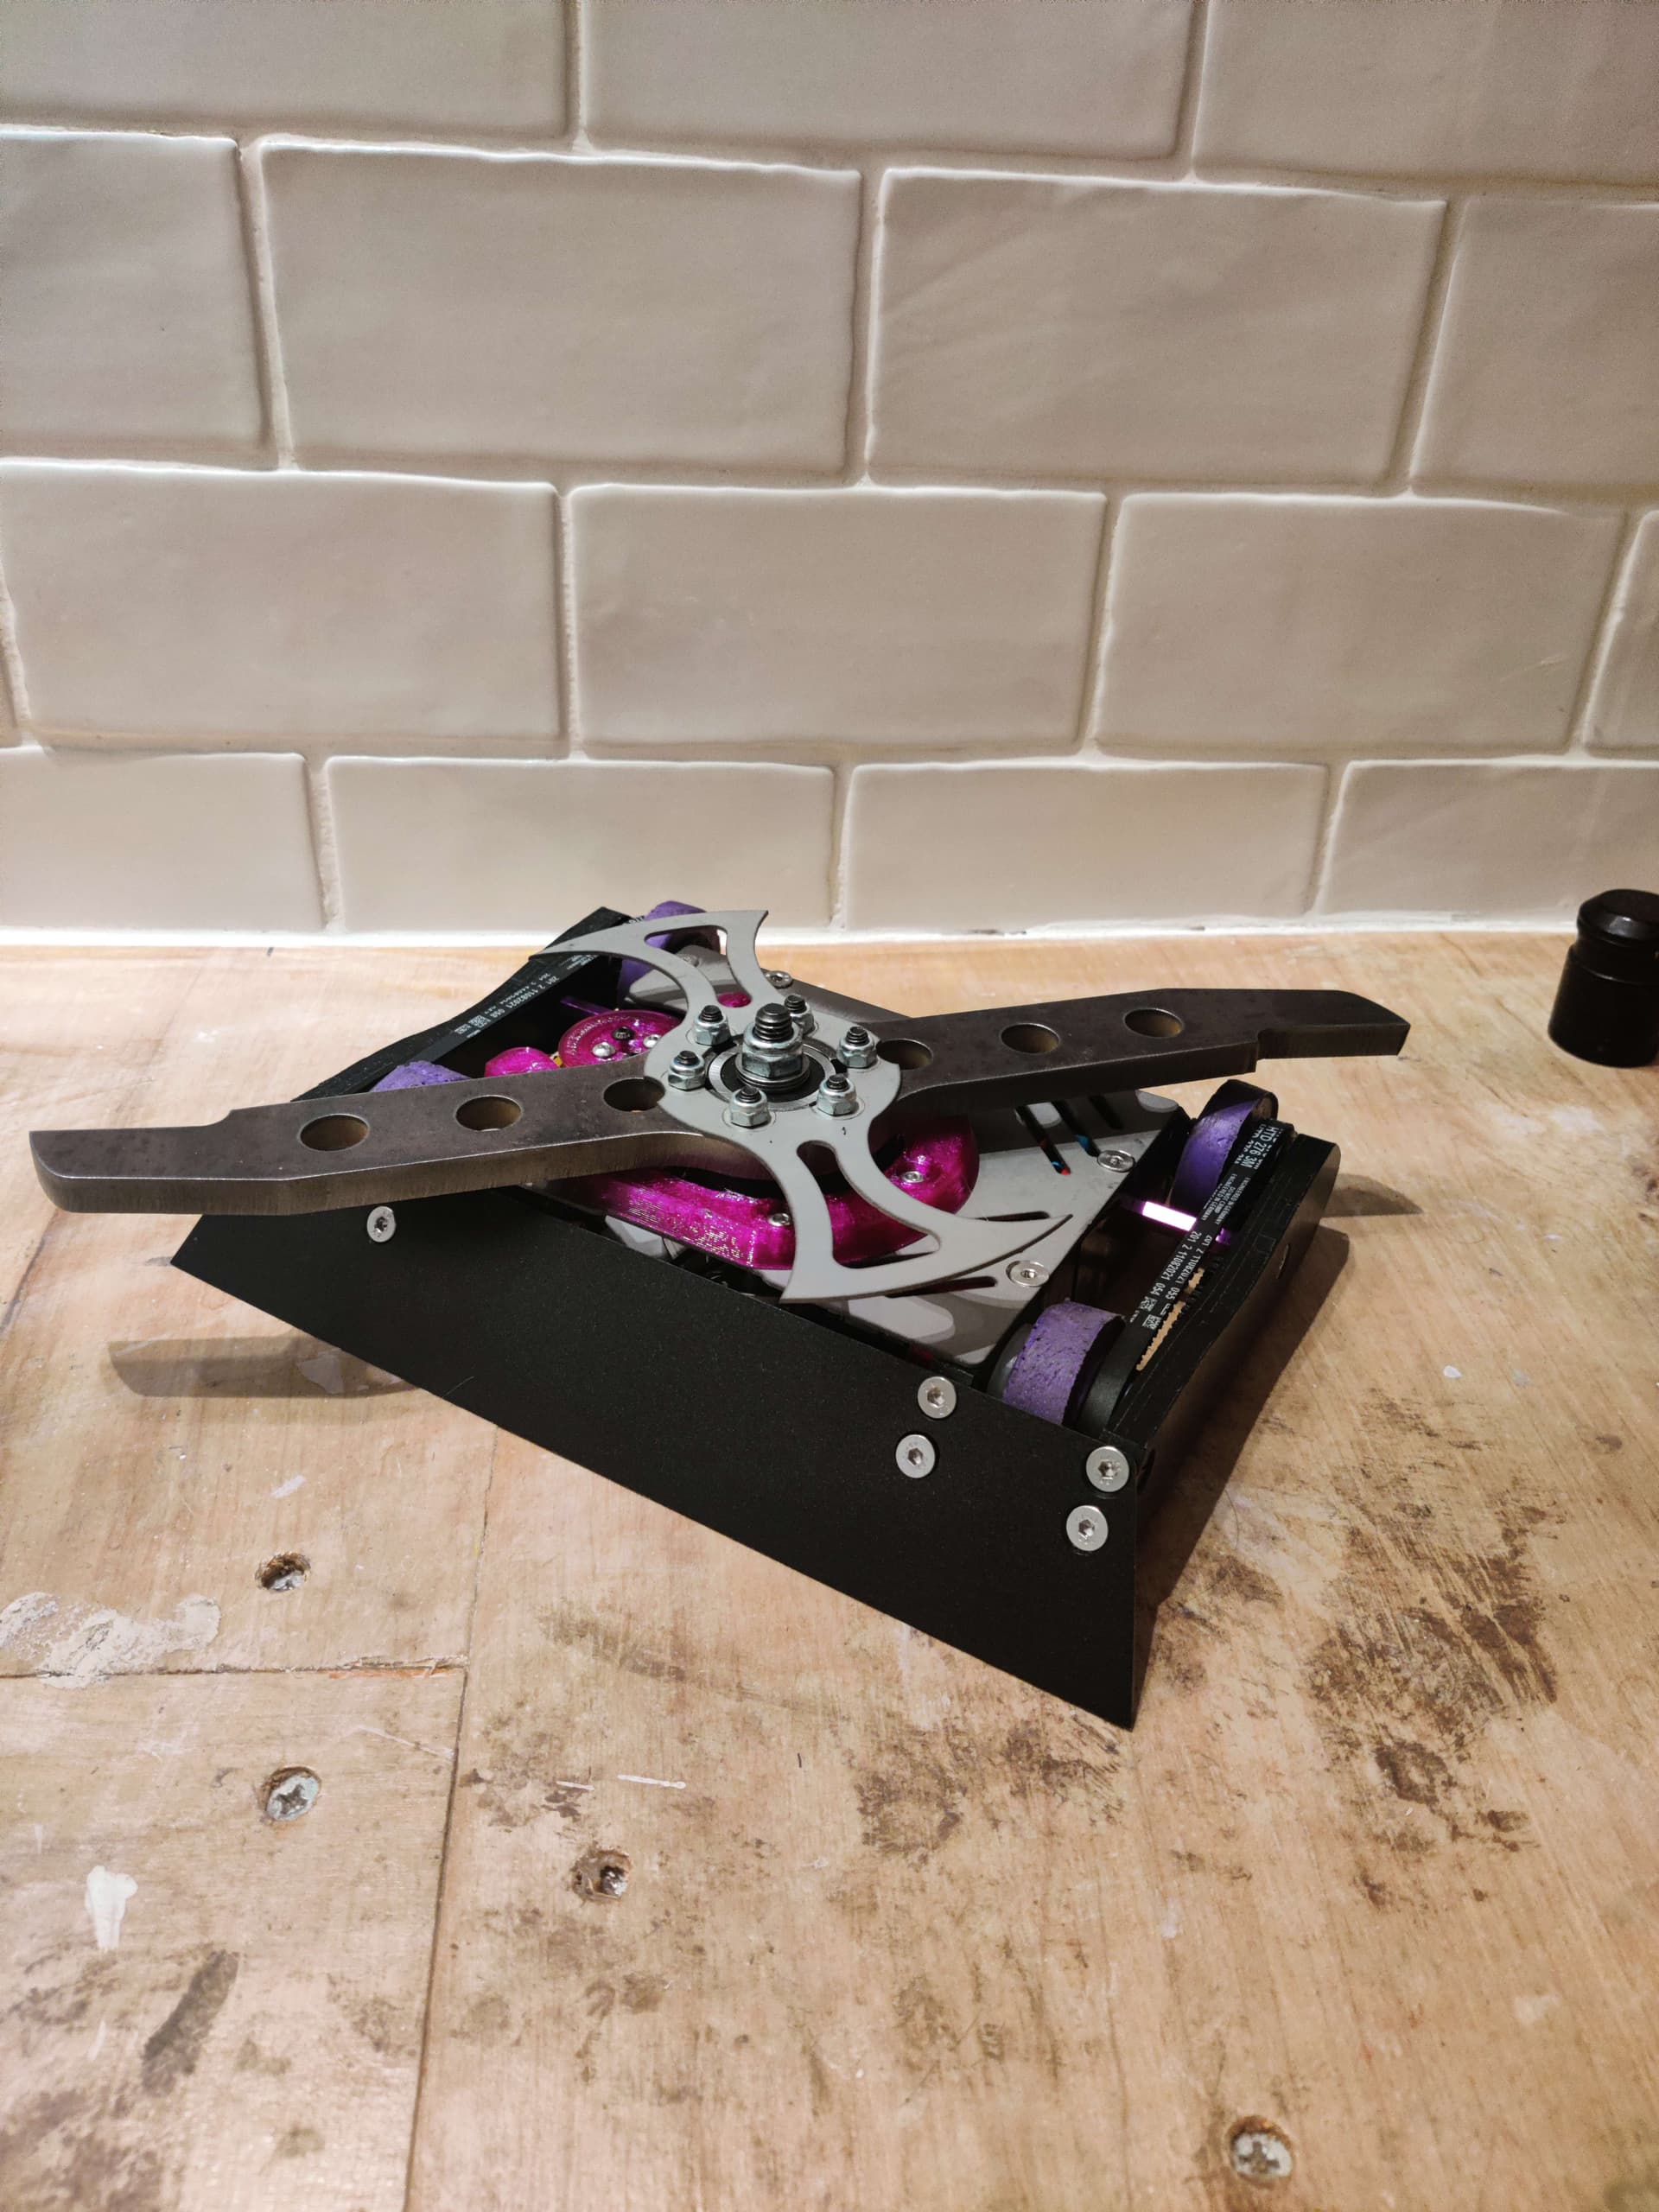
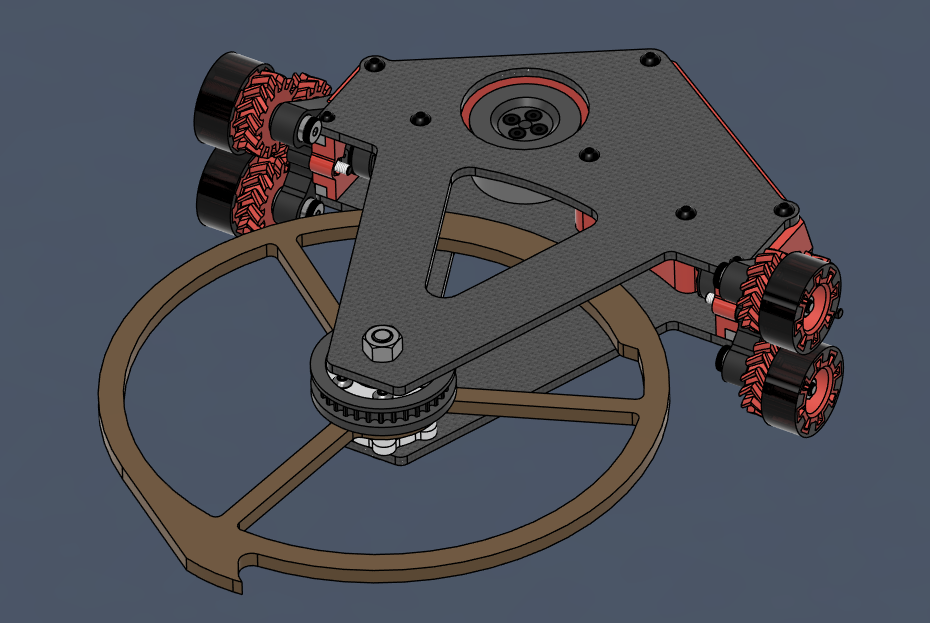
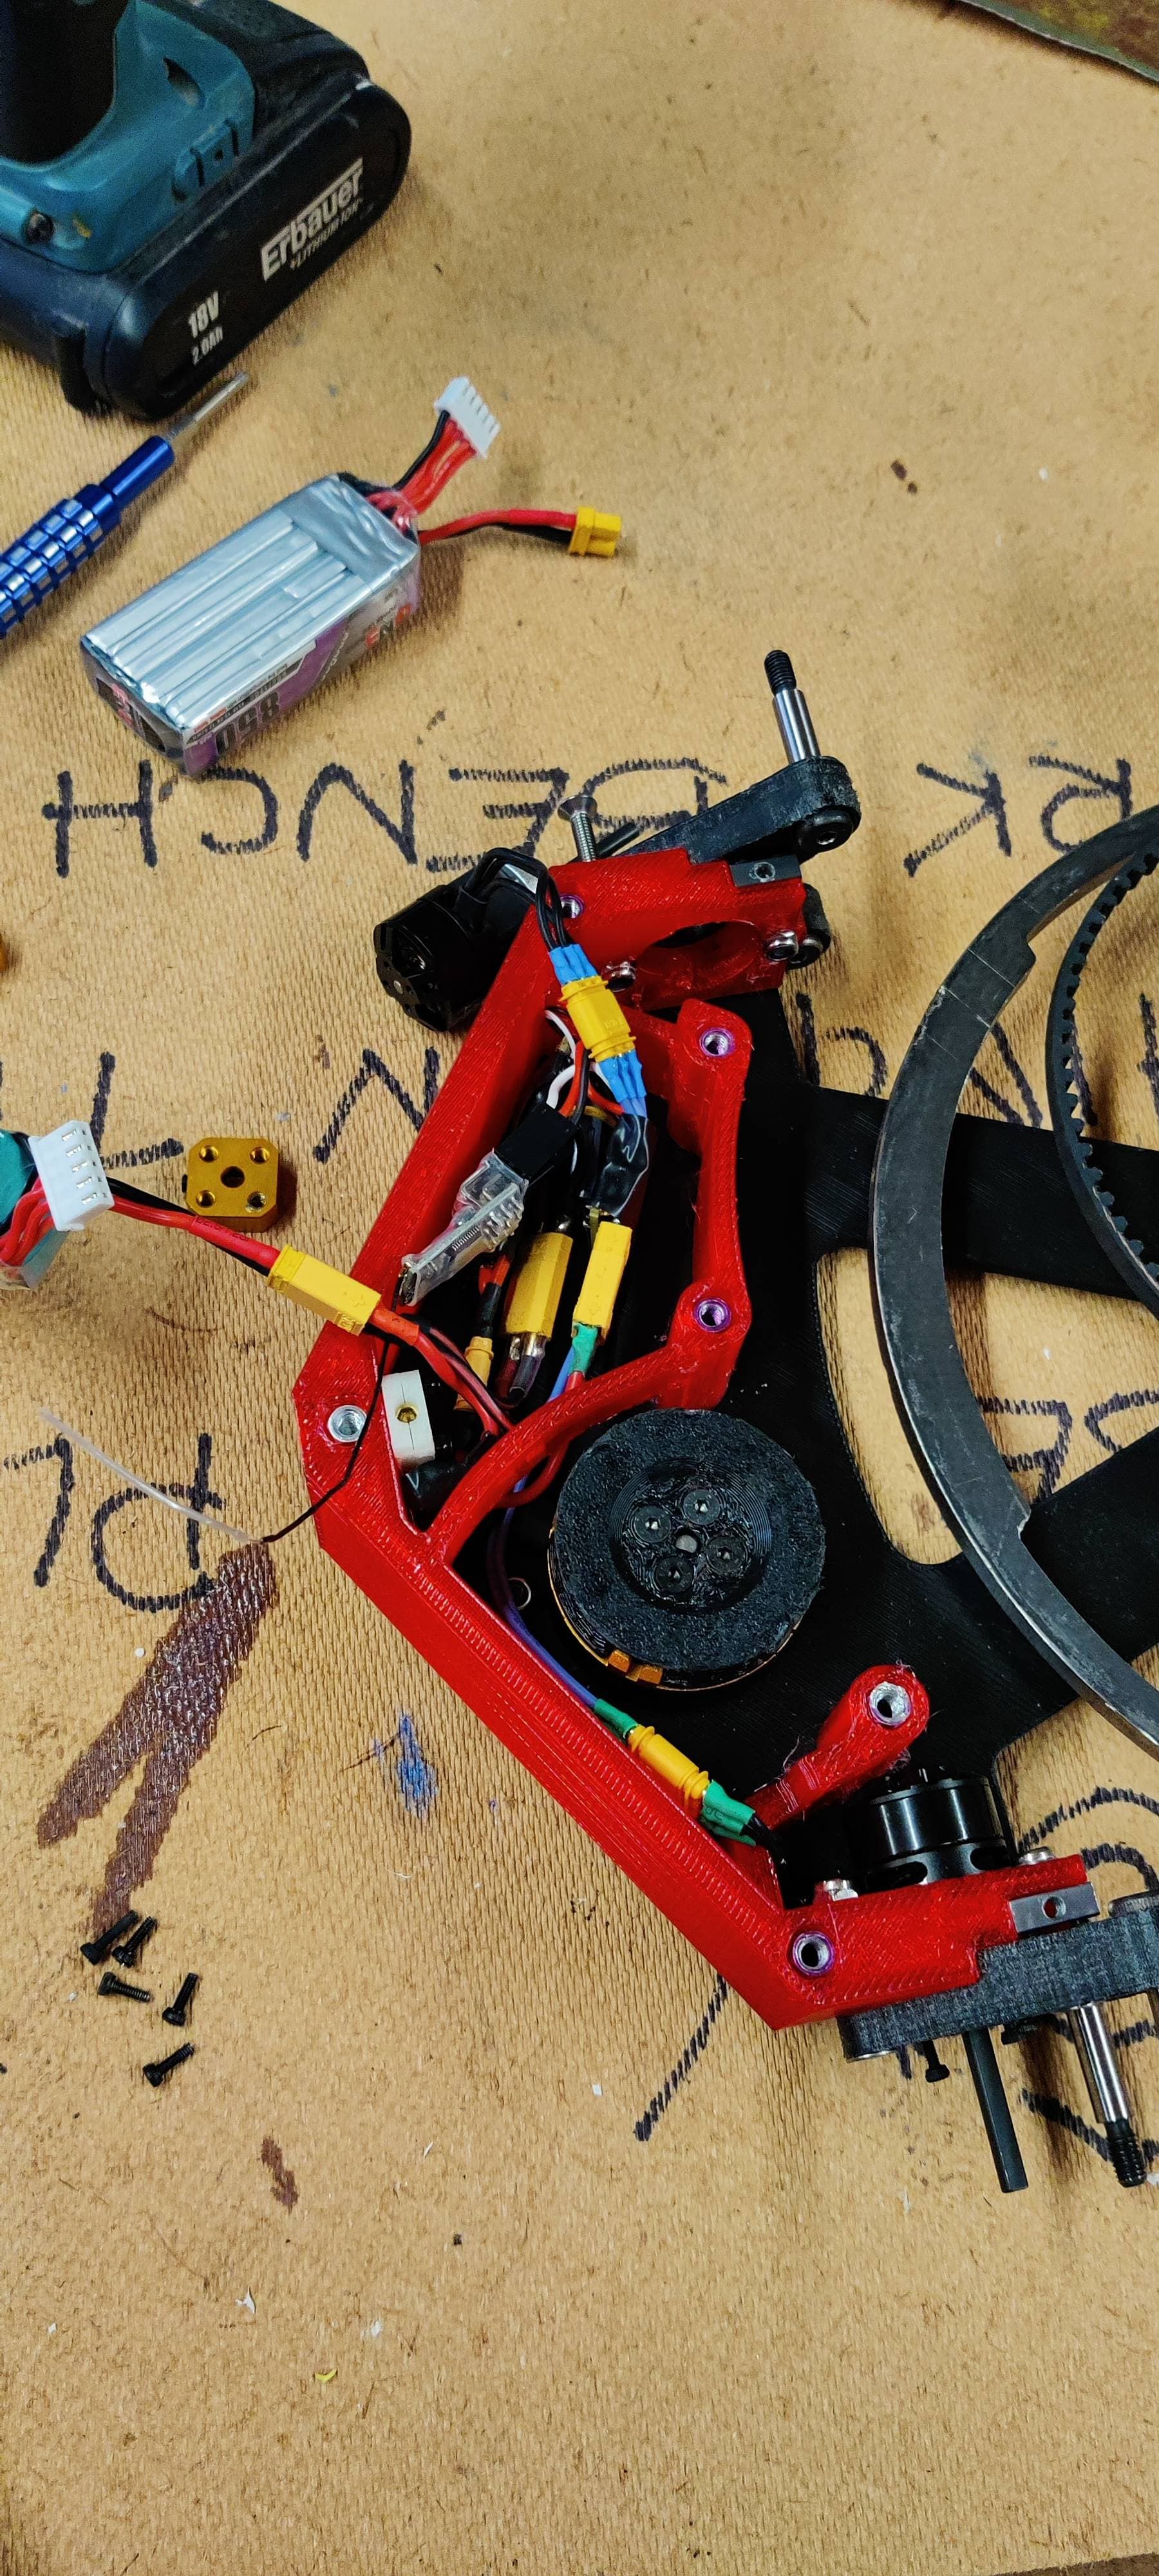
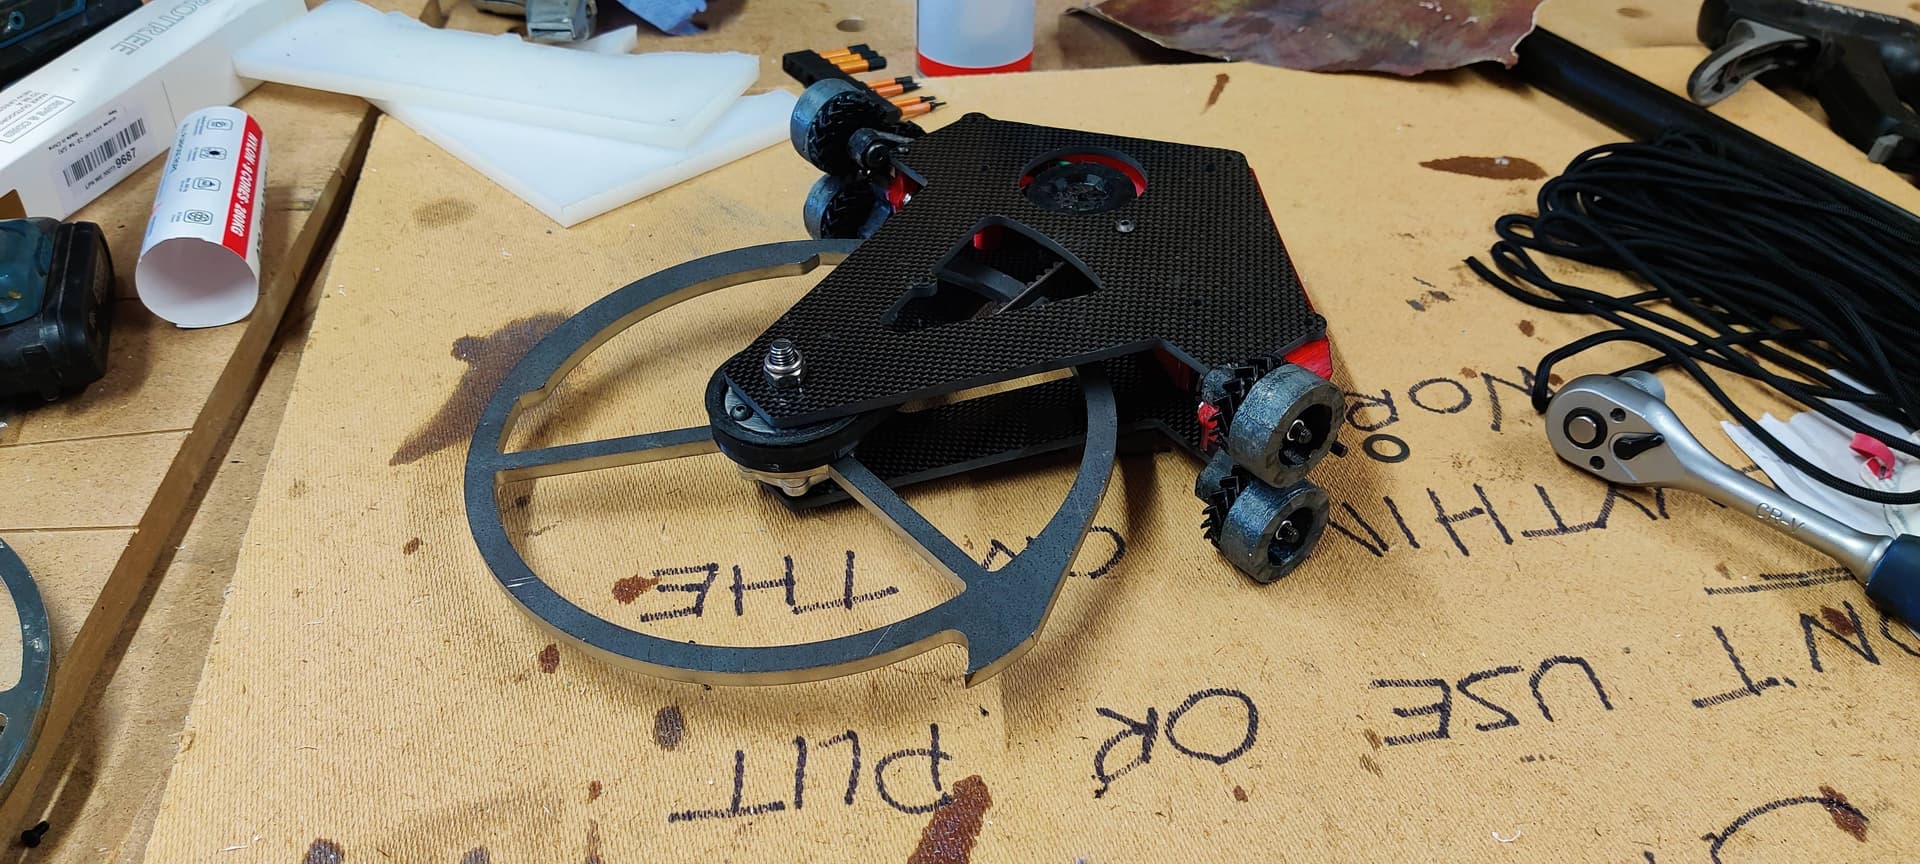
There’s the setup on the robot.
The arm & weapon are taken from Sting Operation. This was a bot over in the USA, design by the late Alex Richmond. There’s concerns about cantilever, but I think this robot has been a good showcase of the 6mm arm capabilities.
So the idea is to have a single 6mm arm with the Repeat Ant Hub attached. Its a common setup in beetle hammersaws as far as motor selection is concerned, with Attitude Adjuster, Schism & Boomslang having used it to great success.
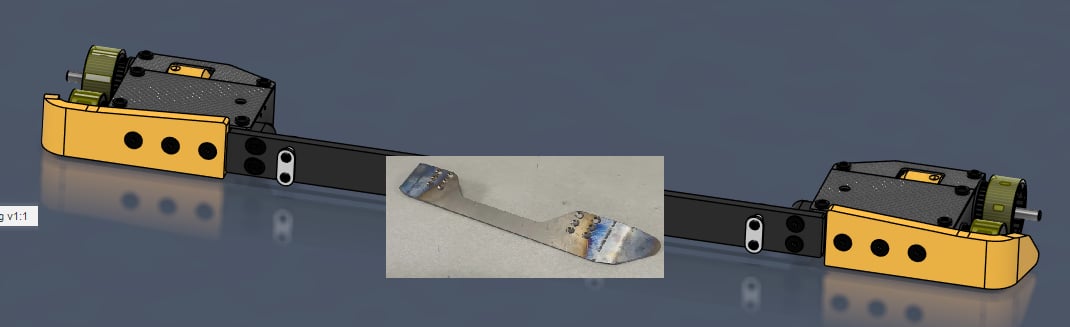
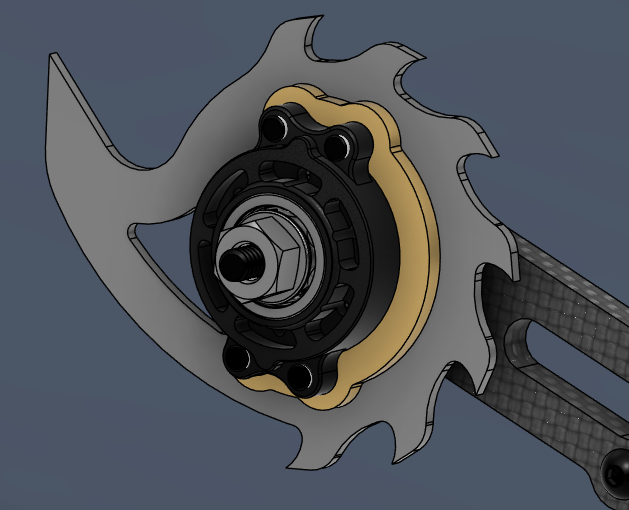
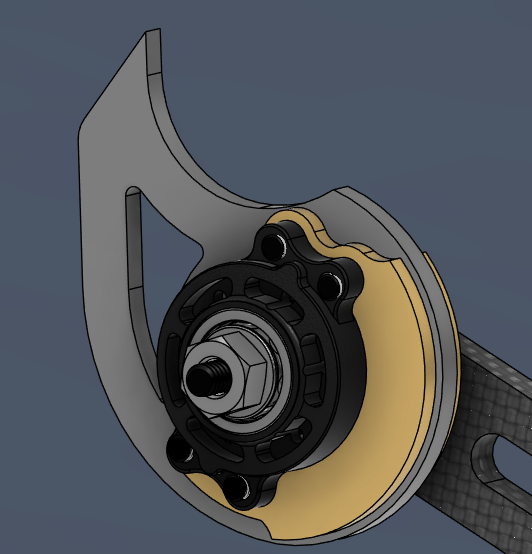
Sting Operation & other Alex Richmond designs used brass as an MOI increaser. I used it slightly differently, whilst it does increase the MOI, I did primarly use it to increase the tooth bite depth, the goal is to get maximum puncture into another robot in order to hit Lipos & other electronics. Brass was really good for creating this 3D balanced disc to allow this. I’ve got 2 versions, one in 4mm & another in 2mm
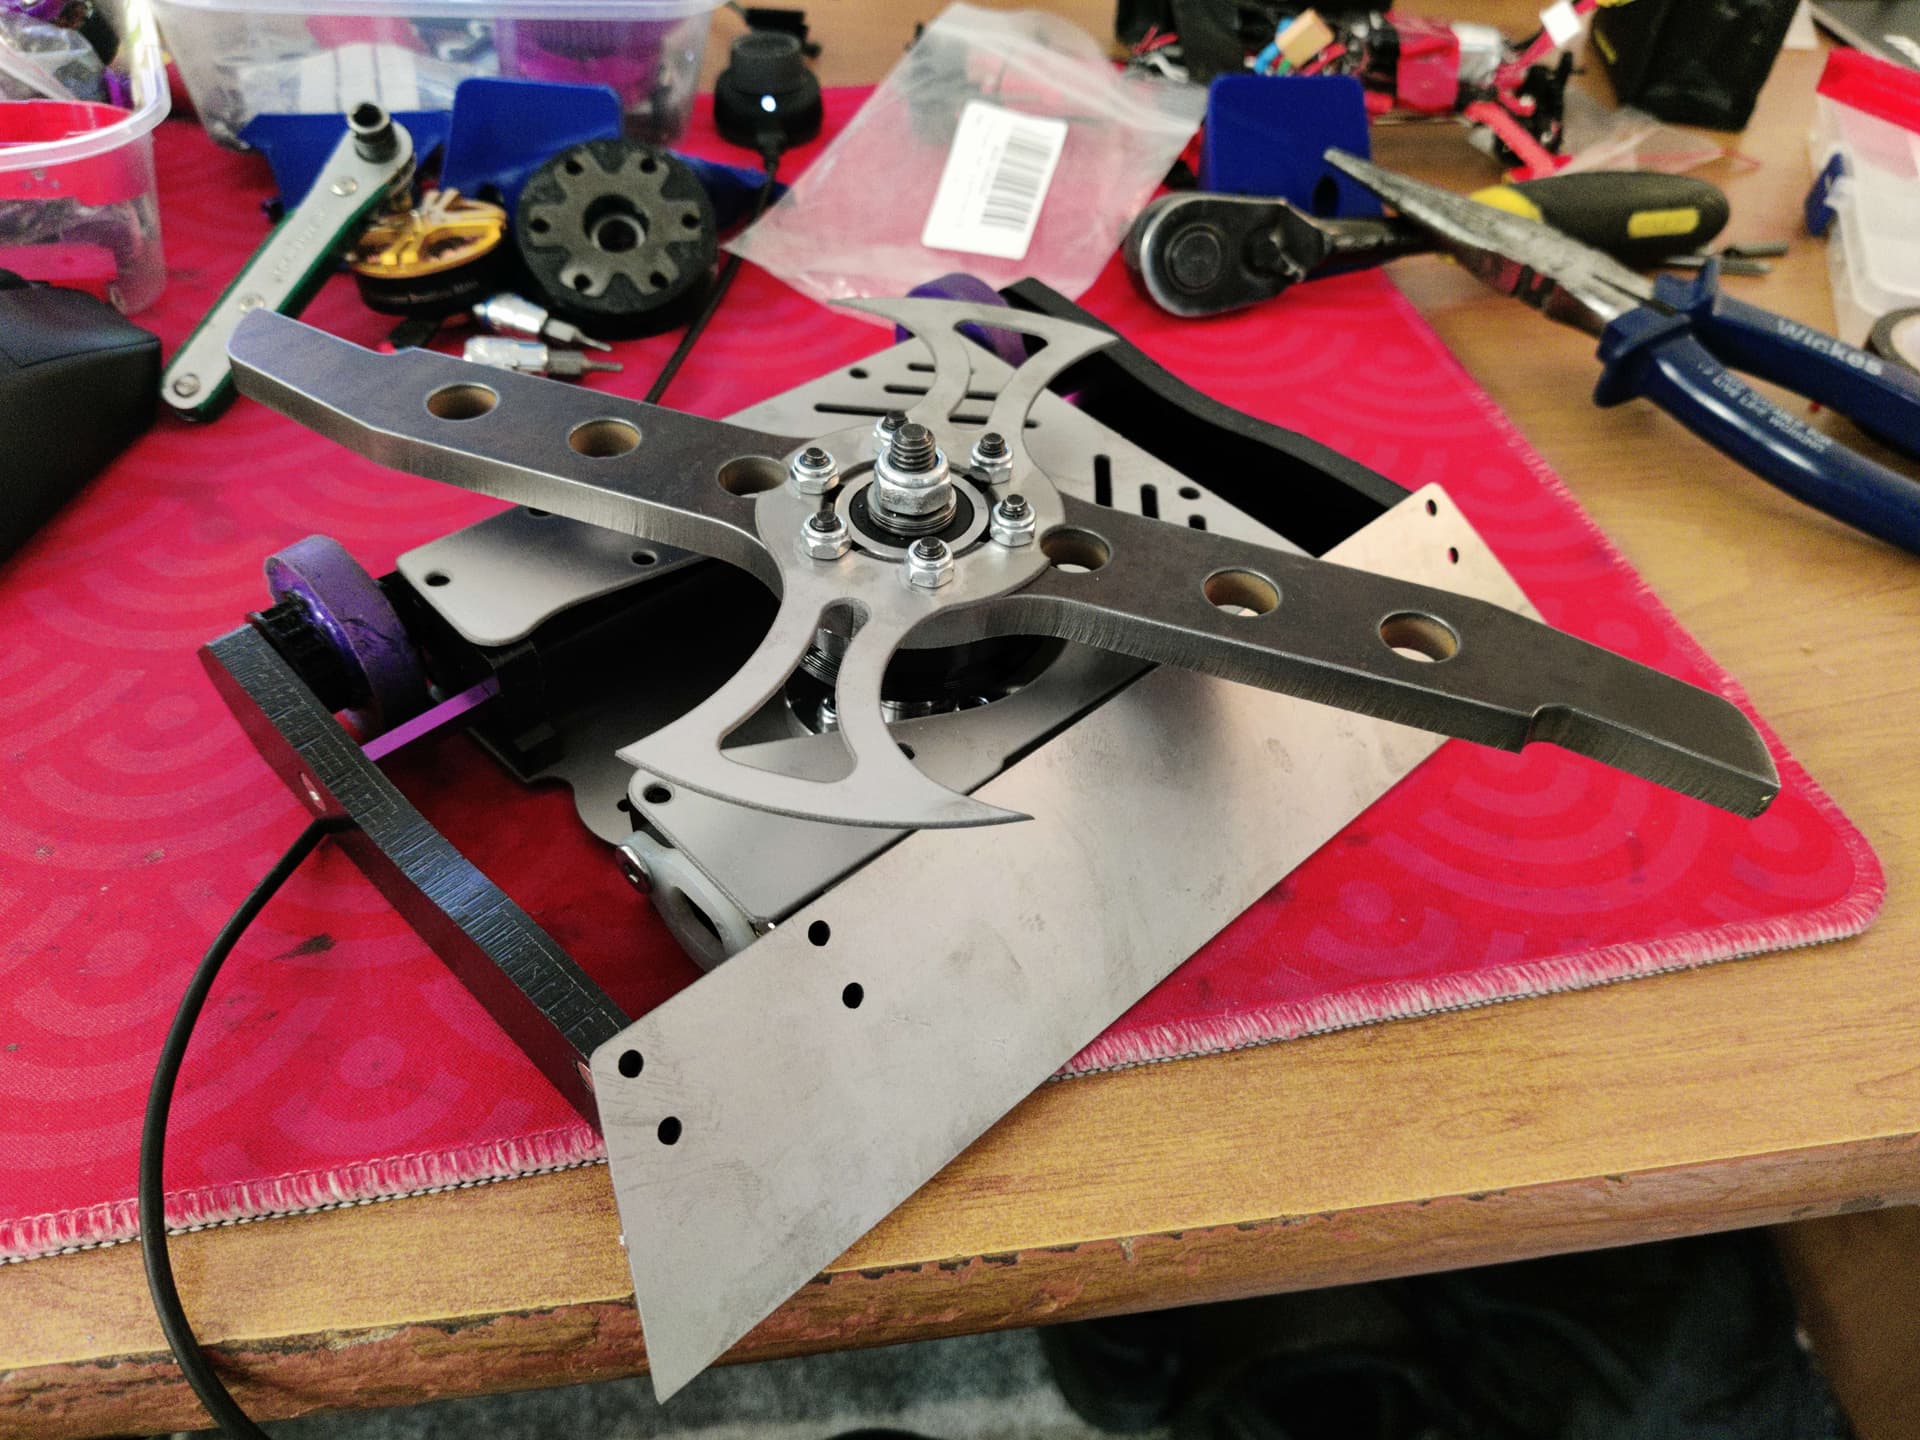
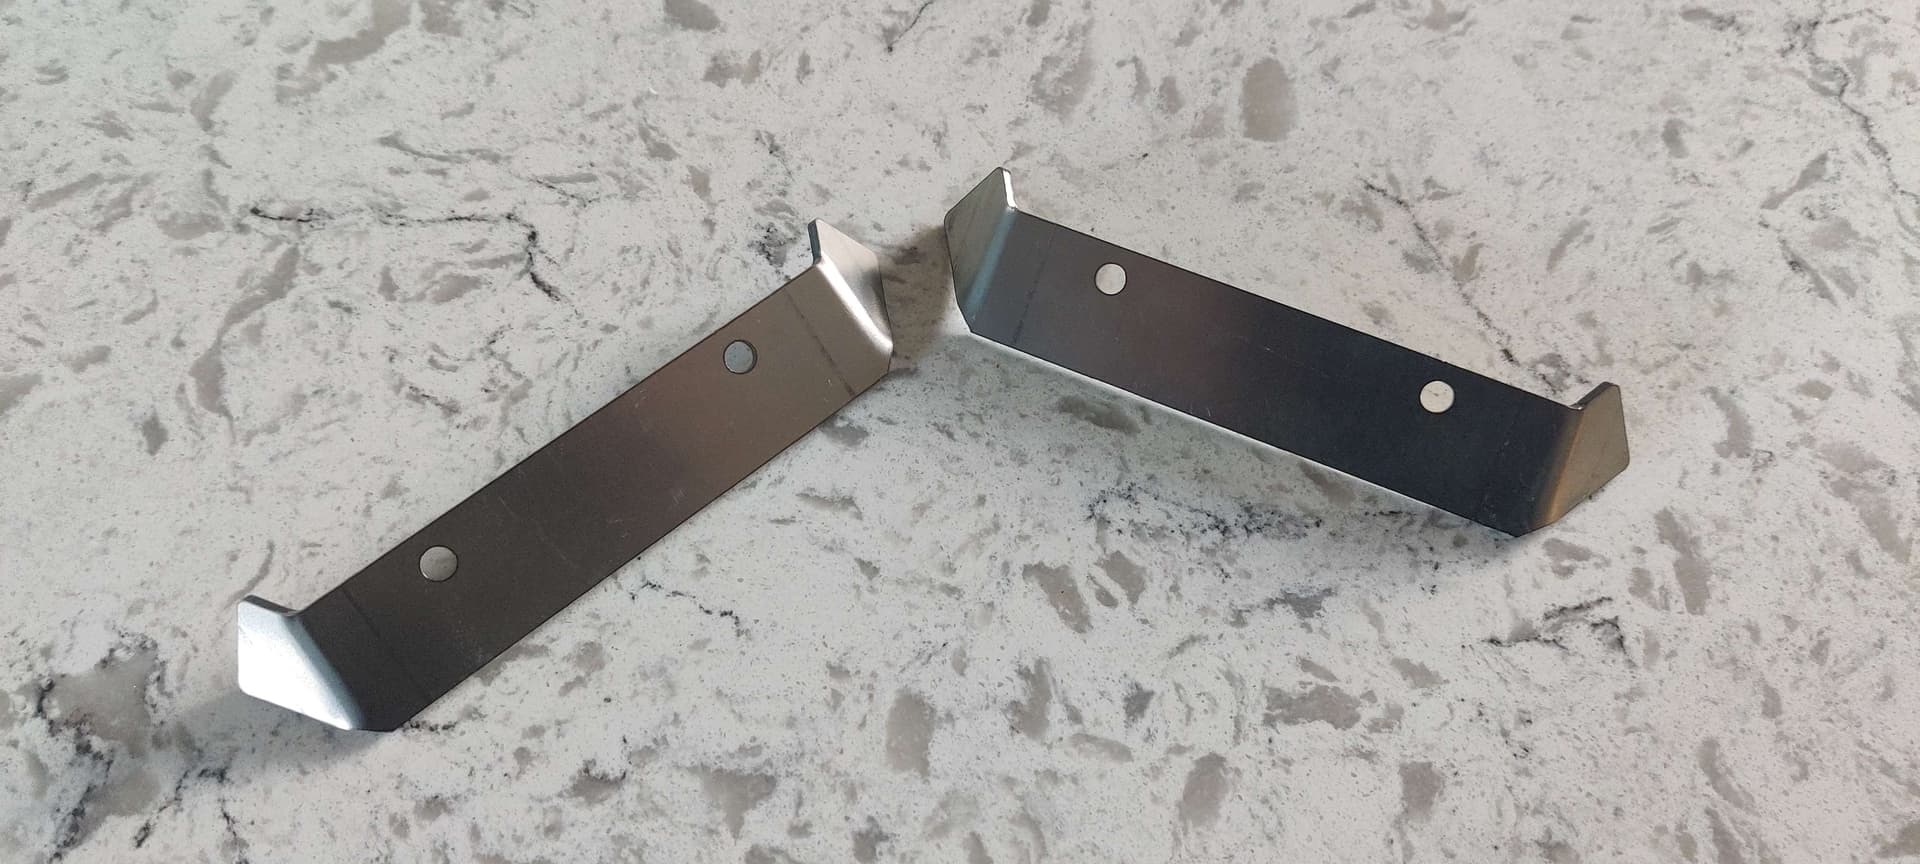
2mm hardox blade
4mm hardox blade
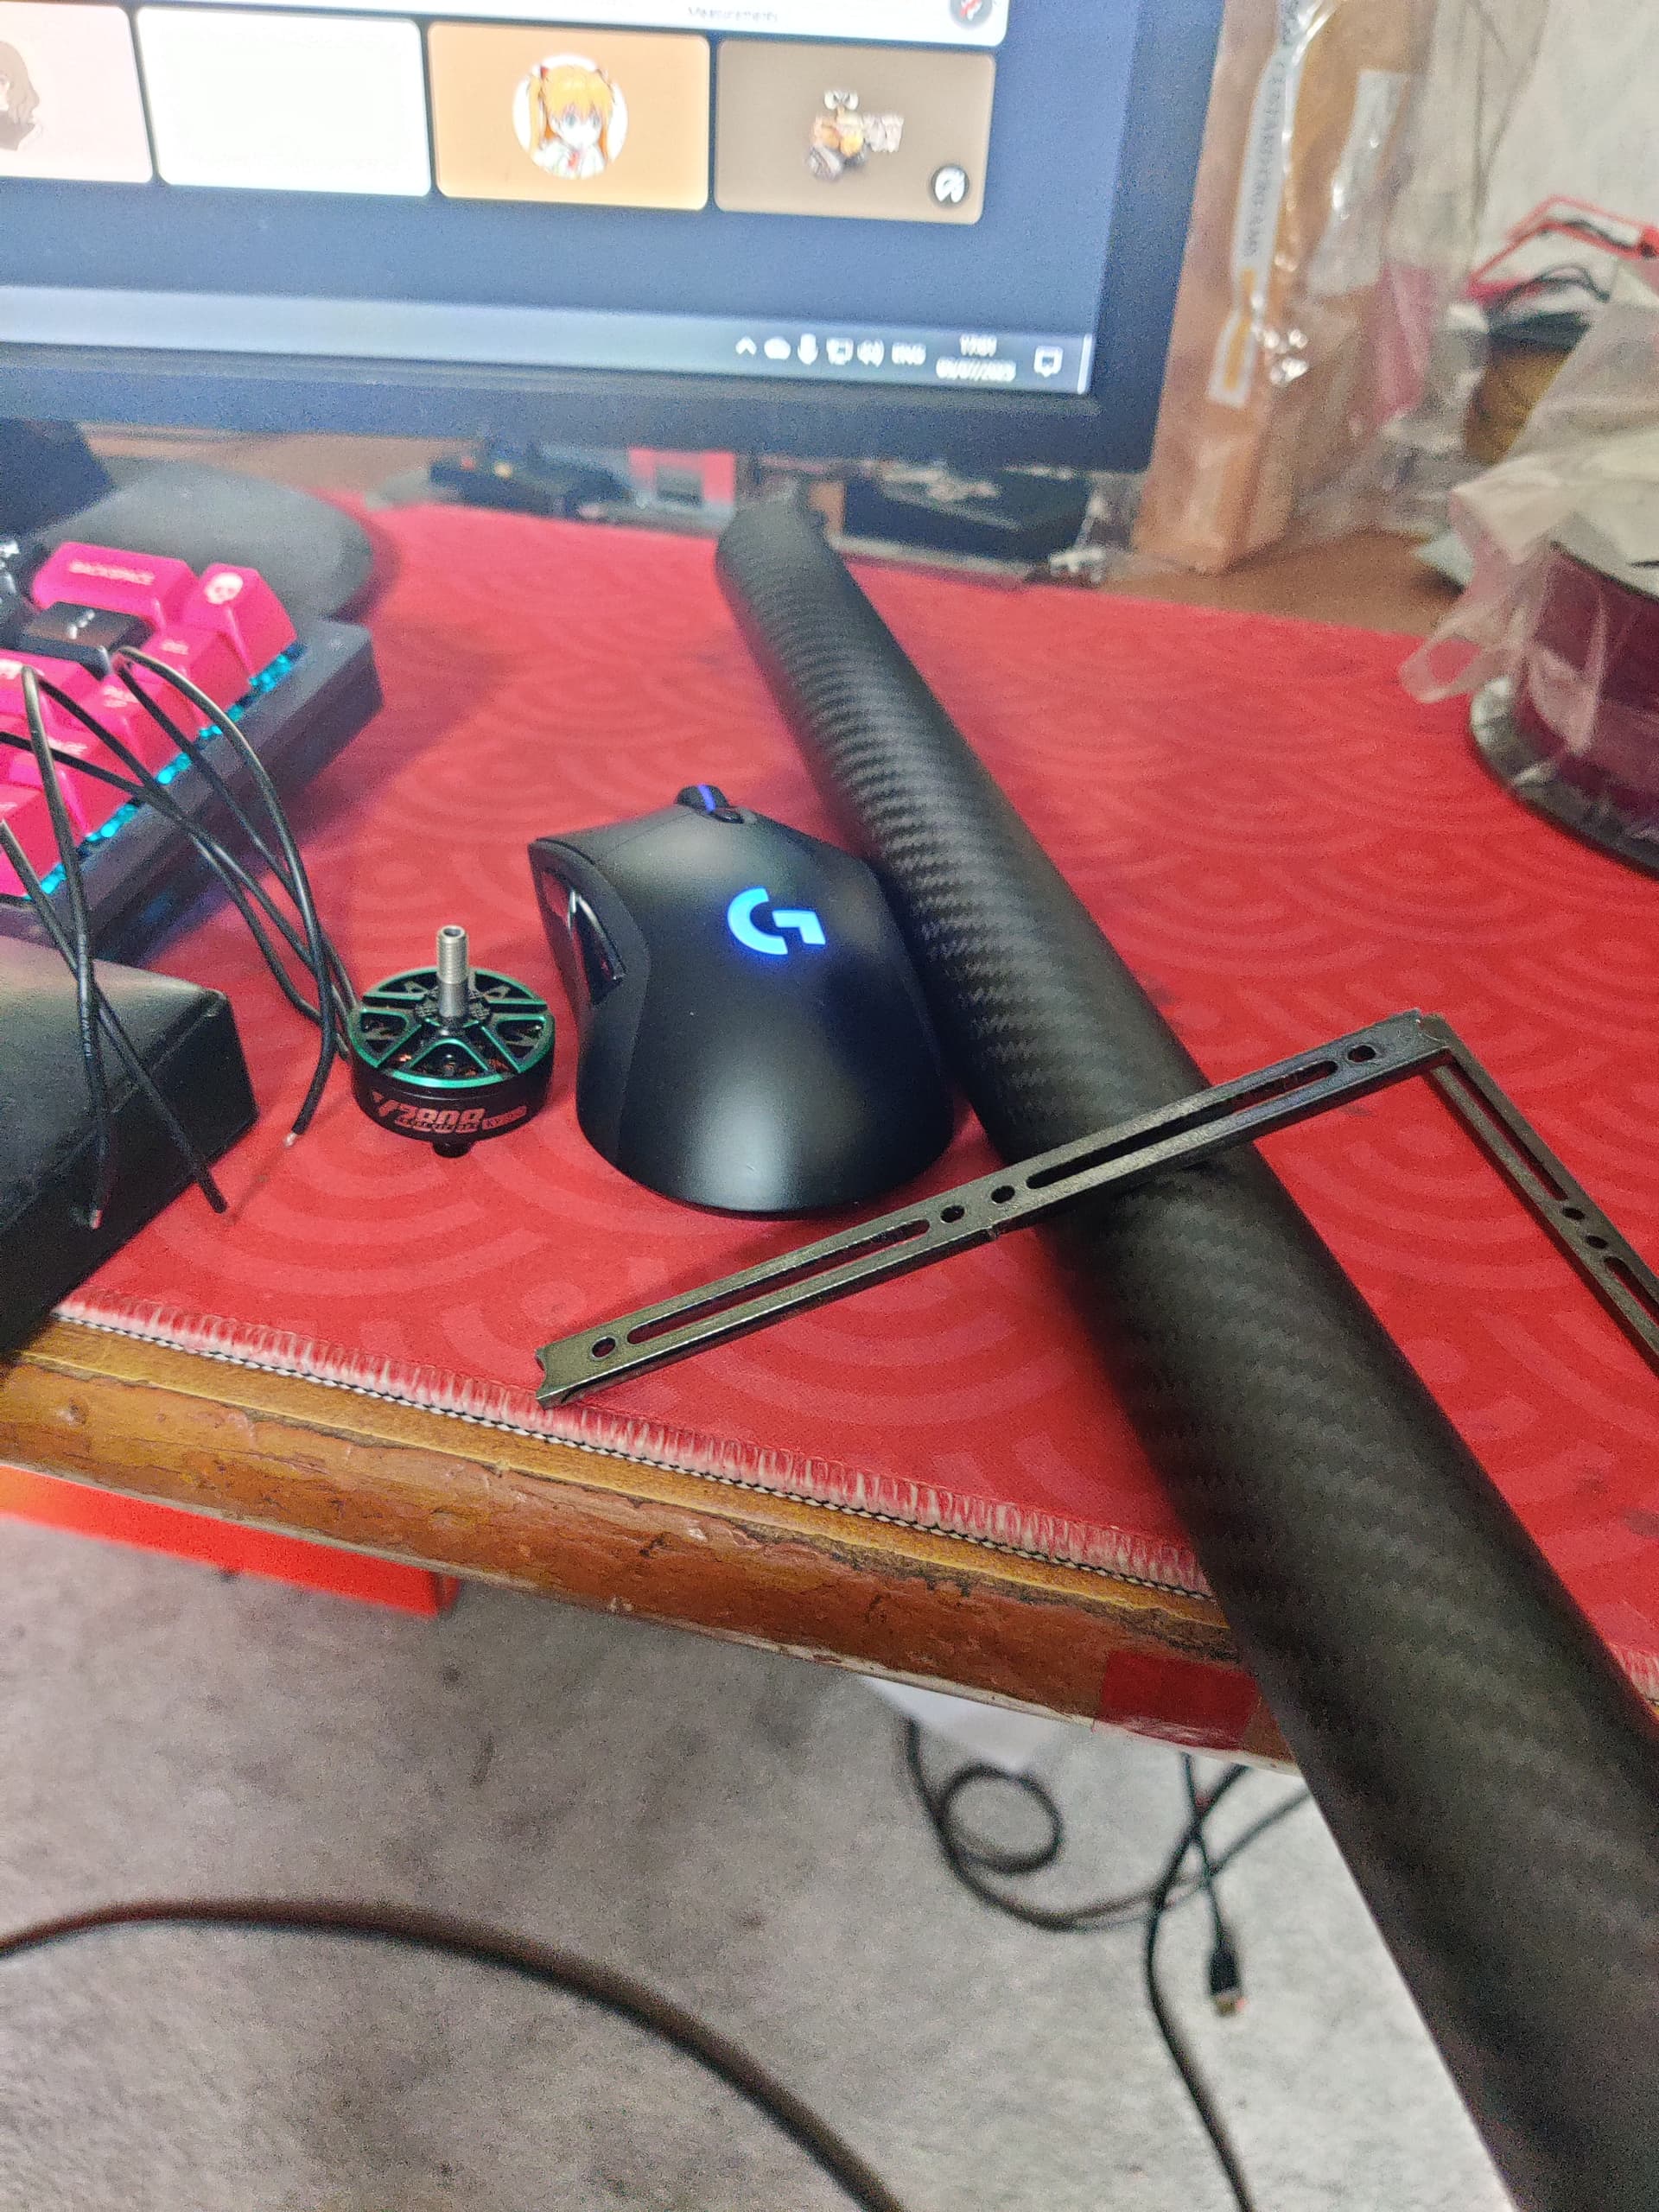
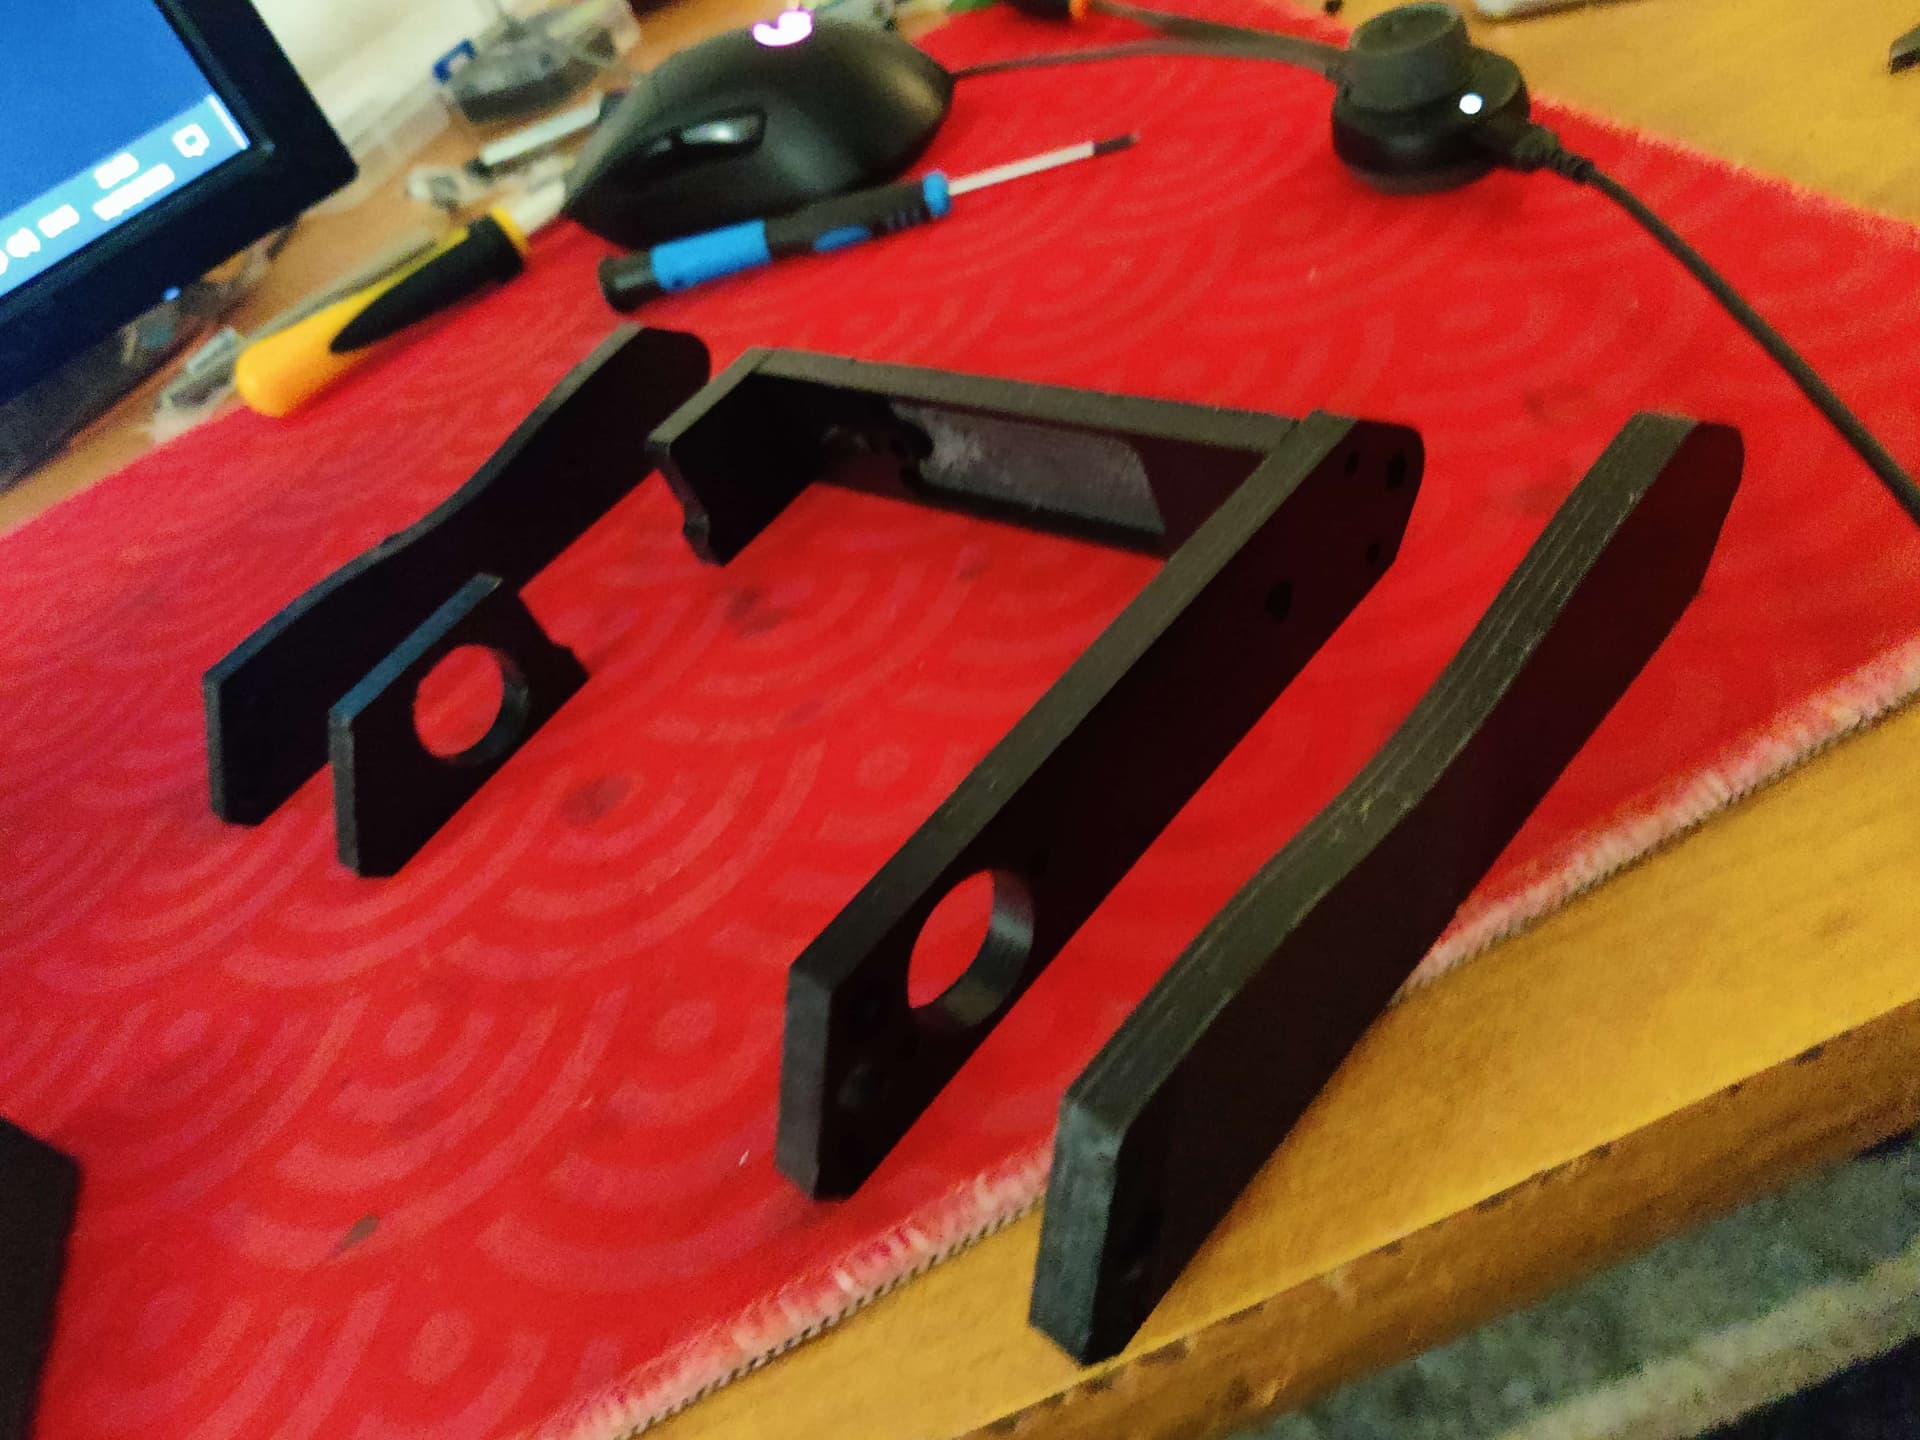
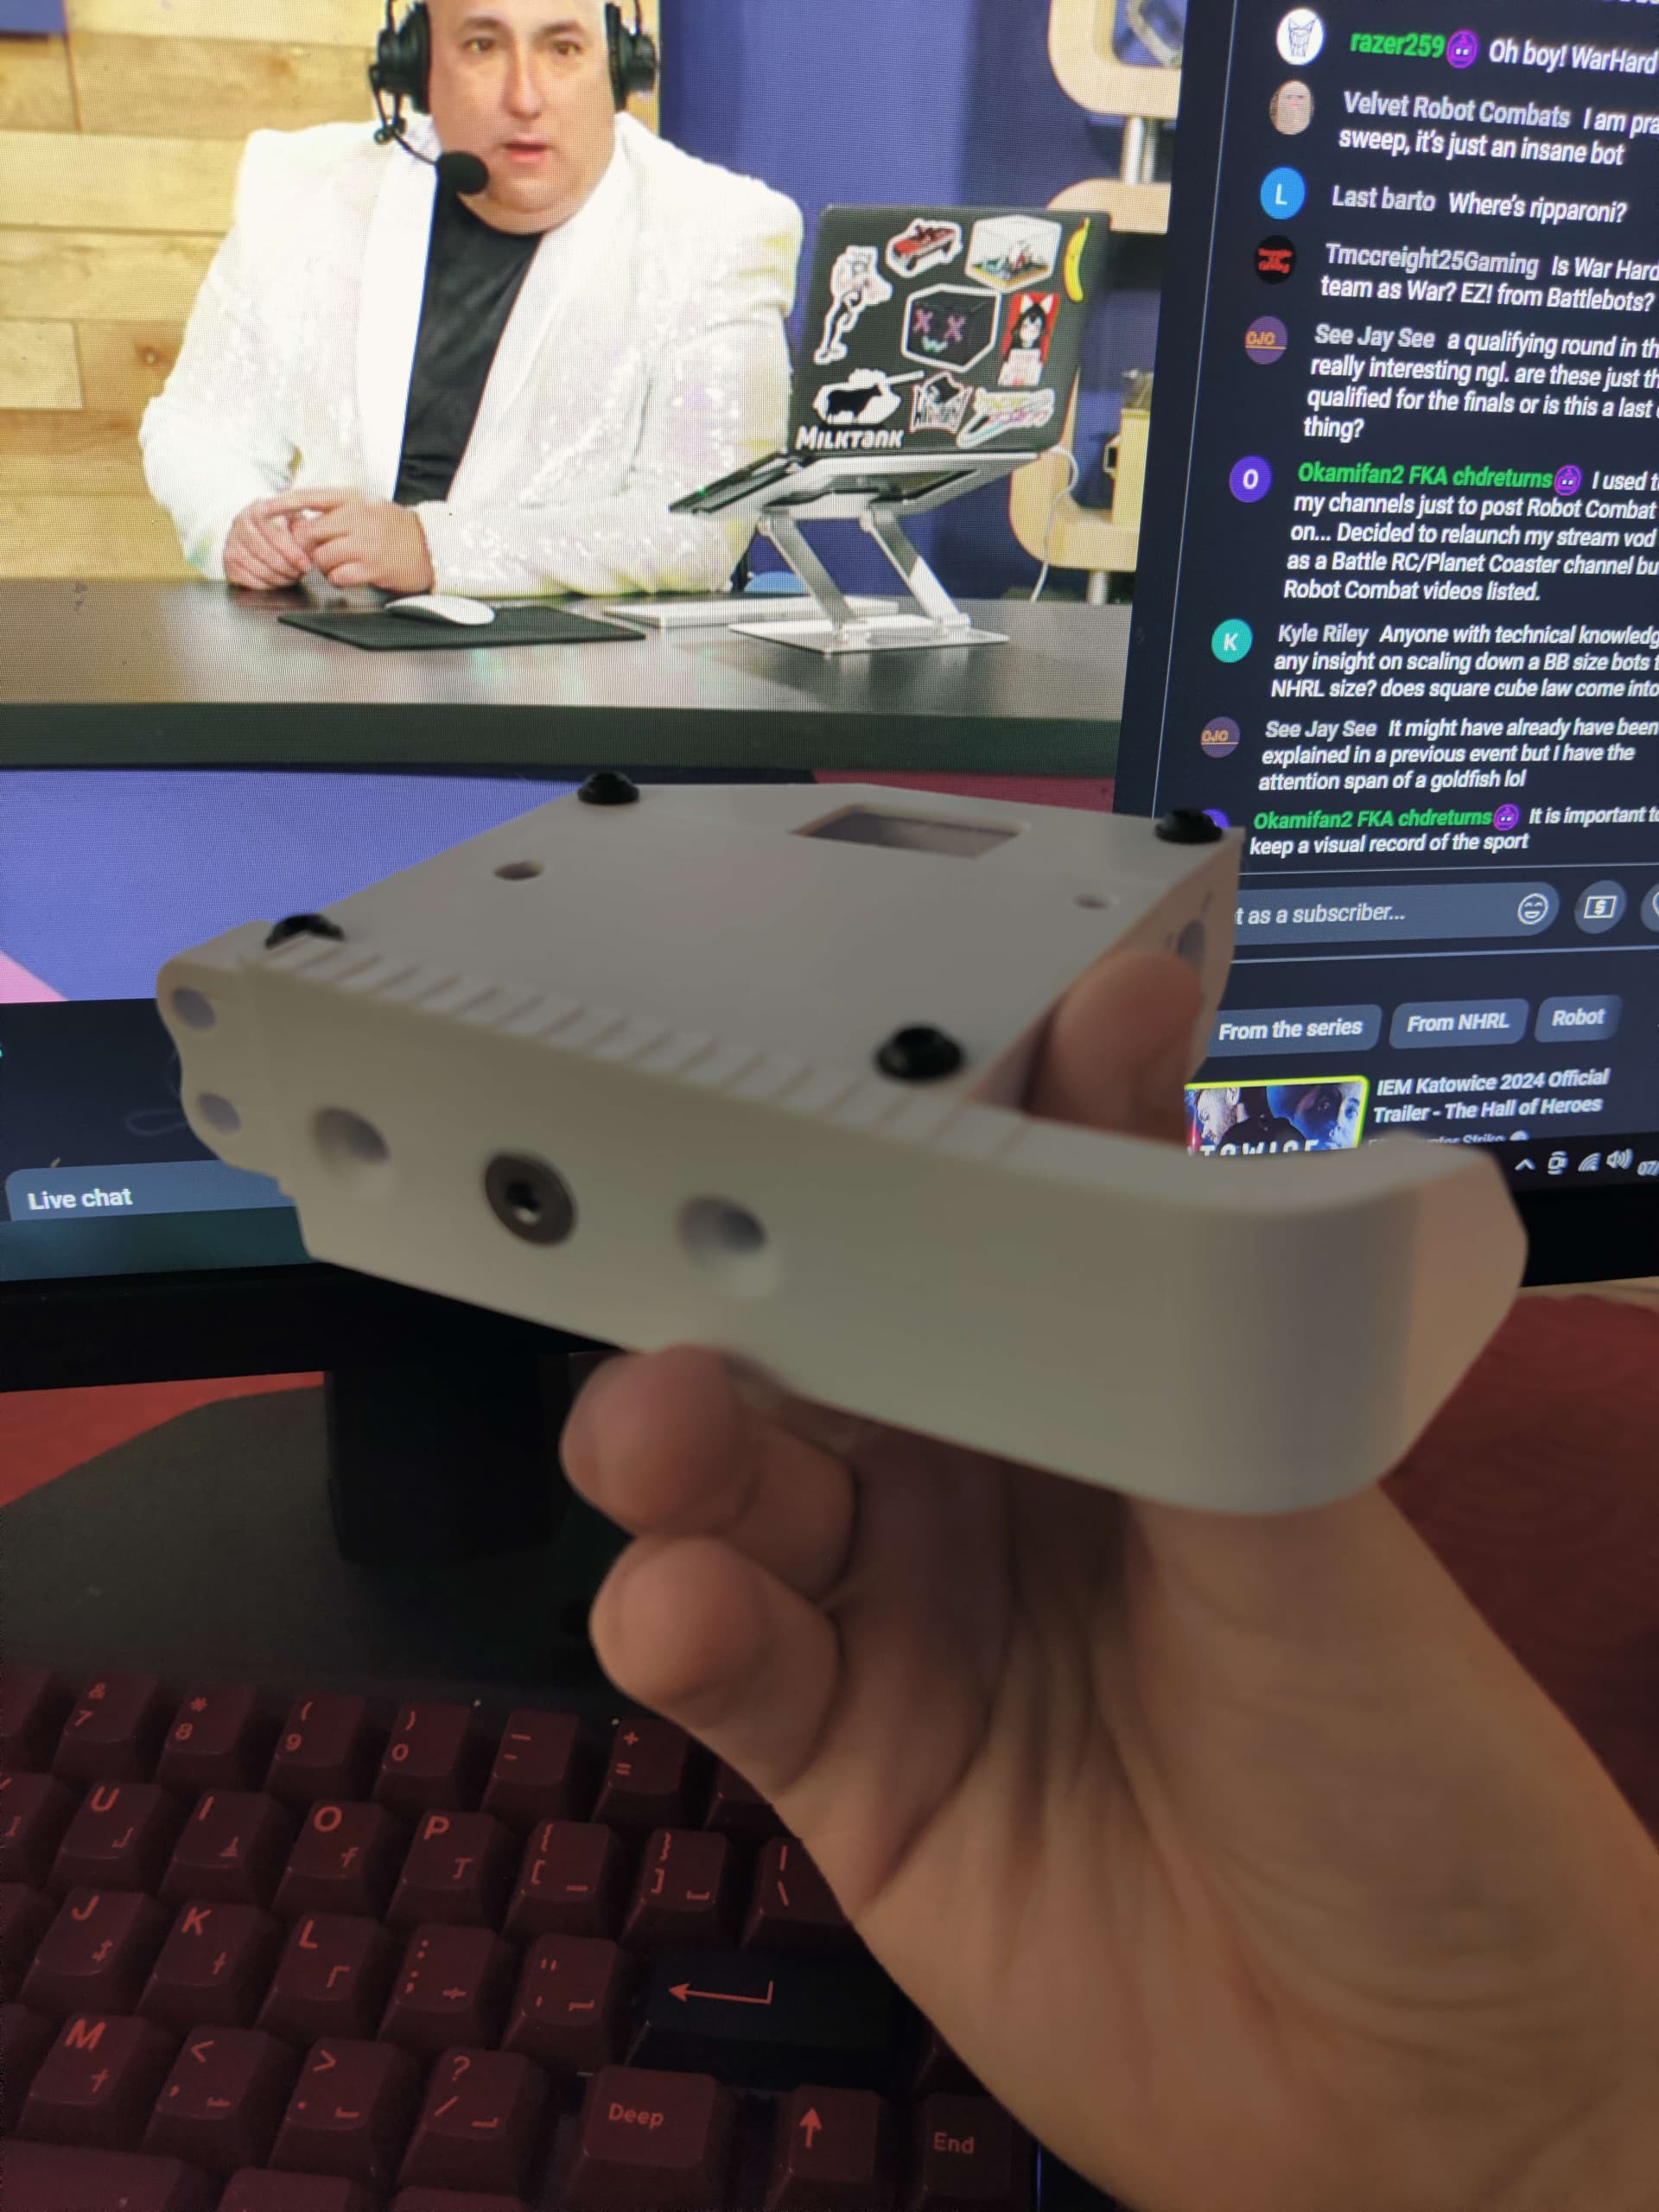
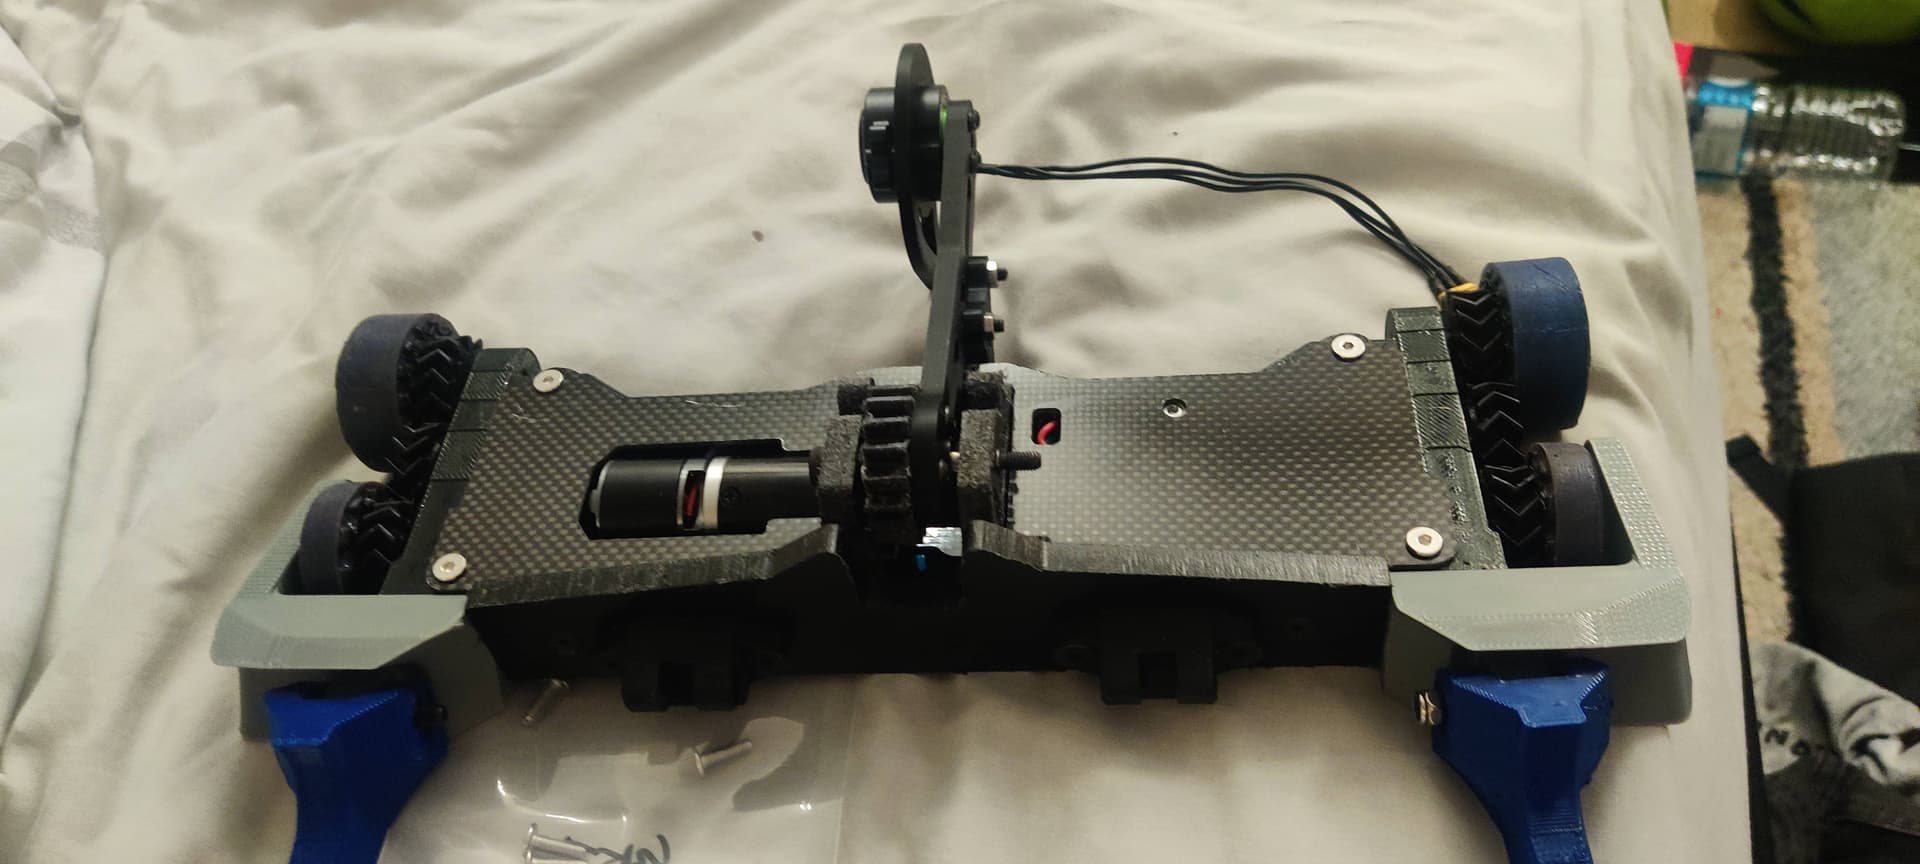
Chassis
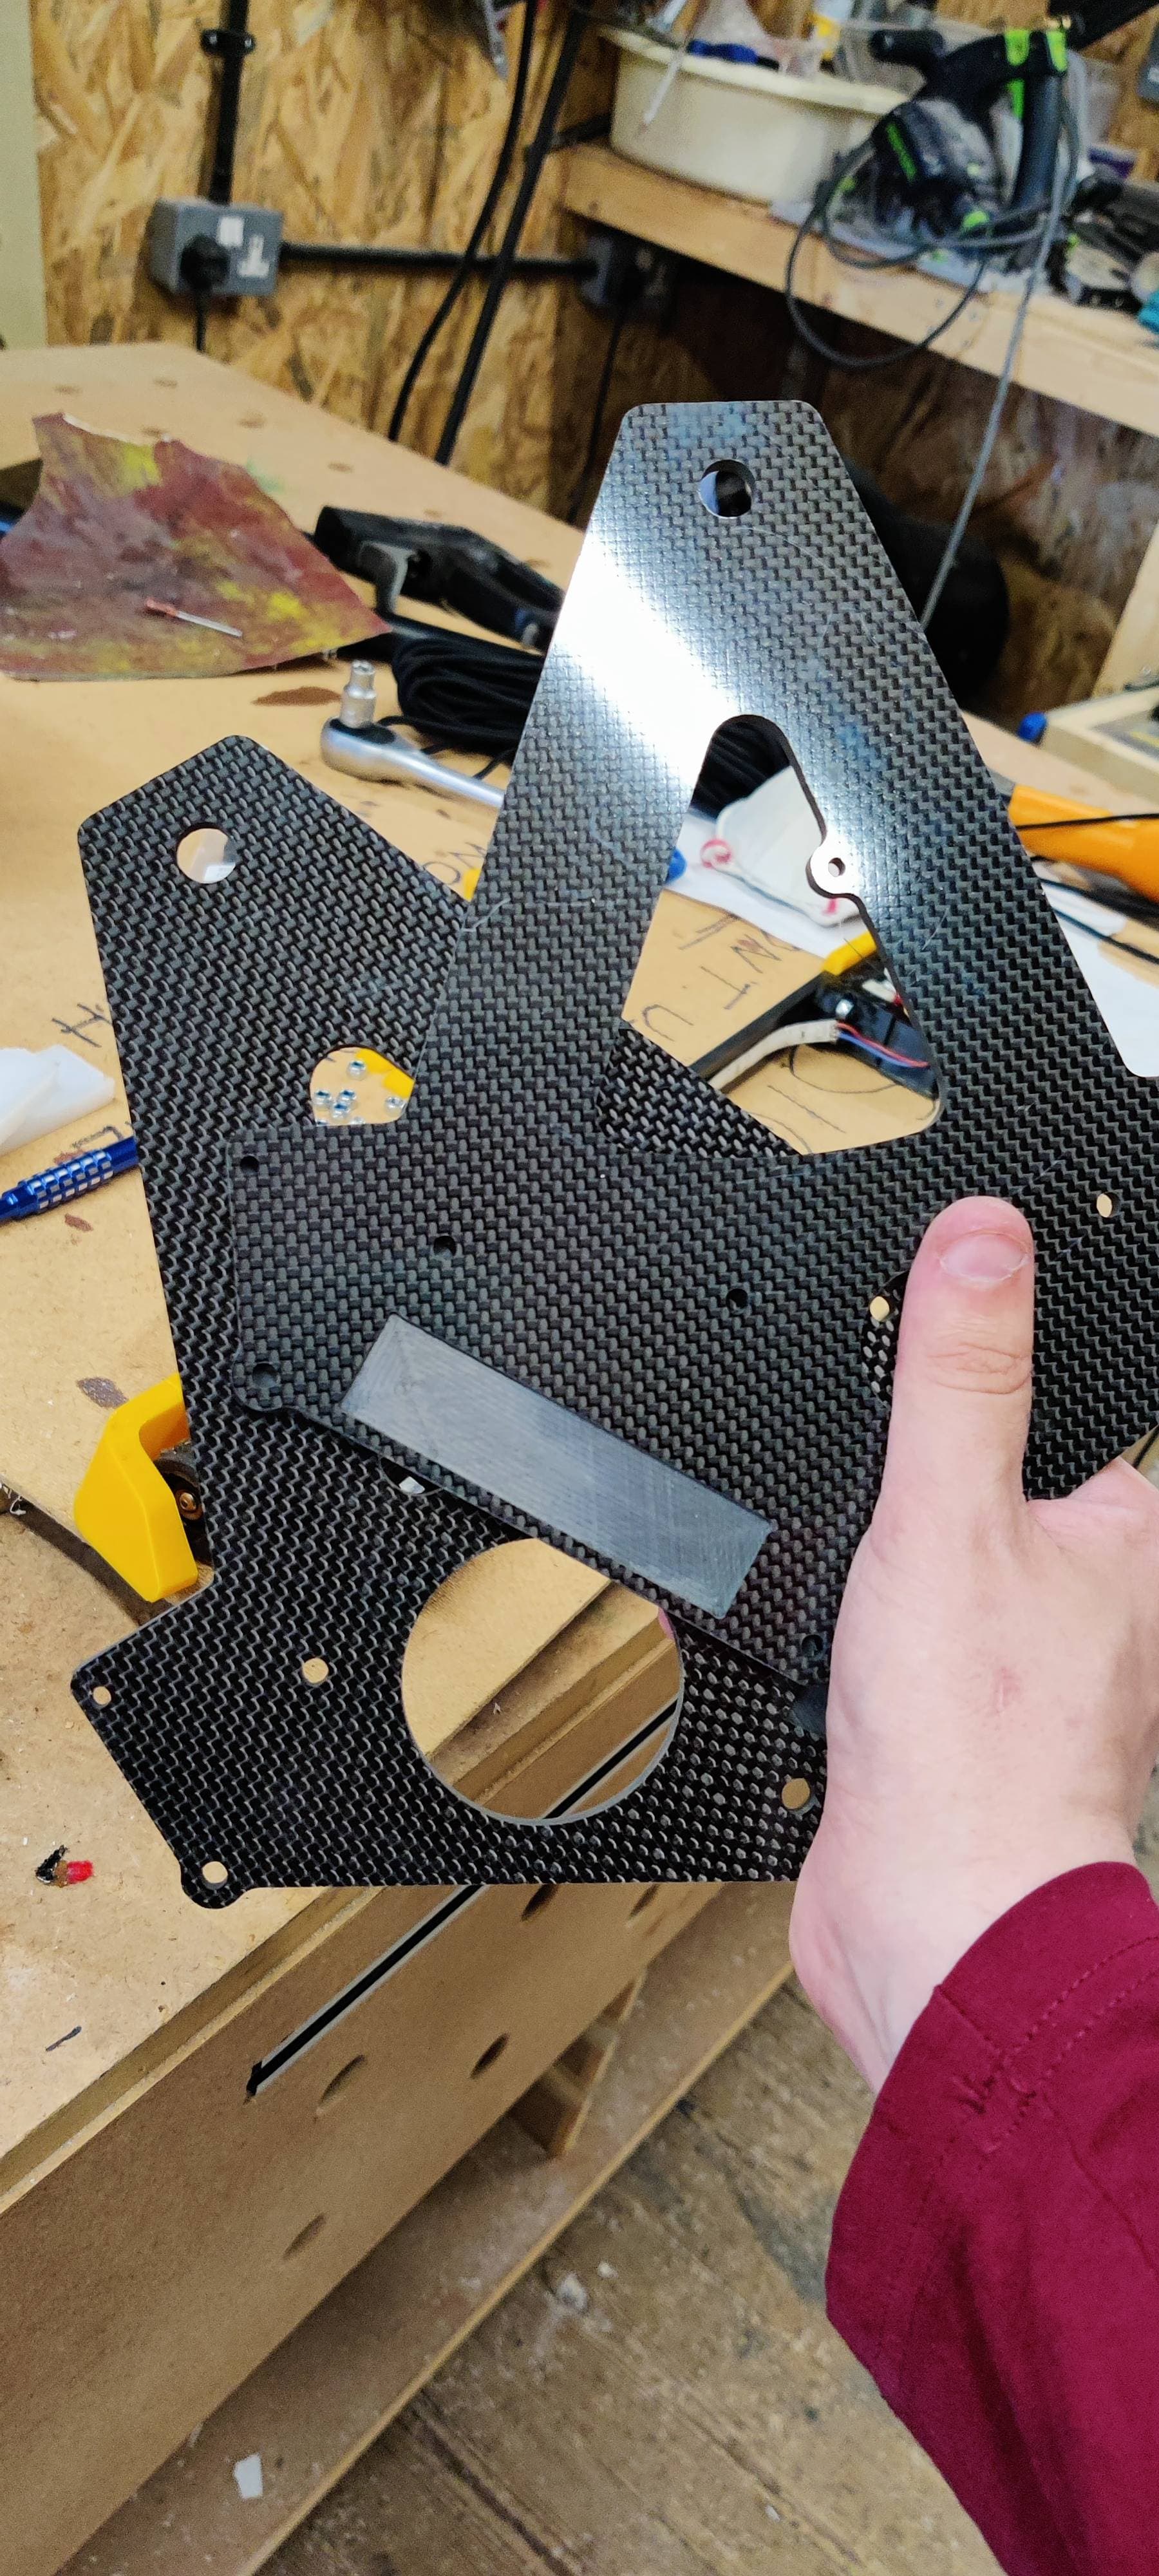
This robot is wide, like wider than Dolos. So the chassis is near impossible to print on the bambu. However, after some conversations & stalking of Scott’s build diary. I concluded that the best approach is to cut the chassis in 2. Having 2 halves of the robot which fit over the designated standoffs that sit around the robot.
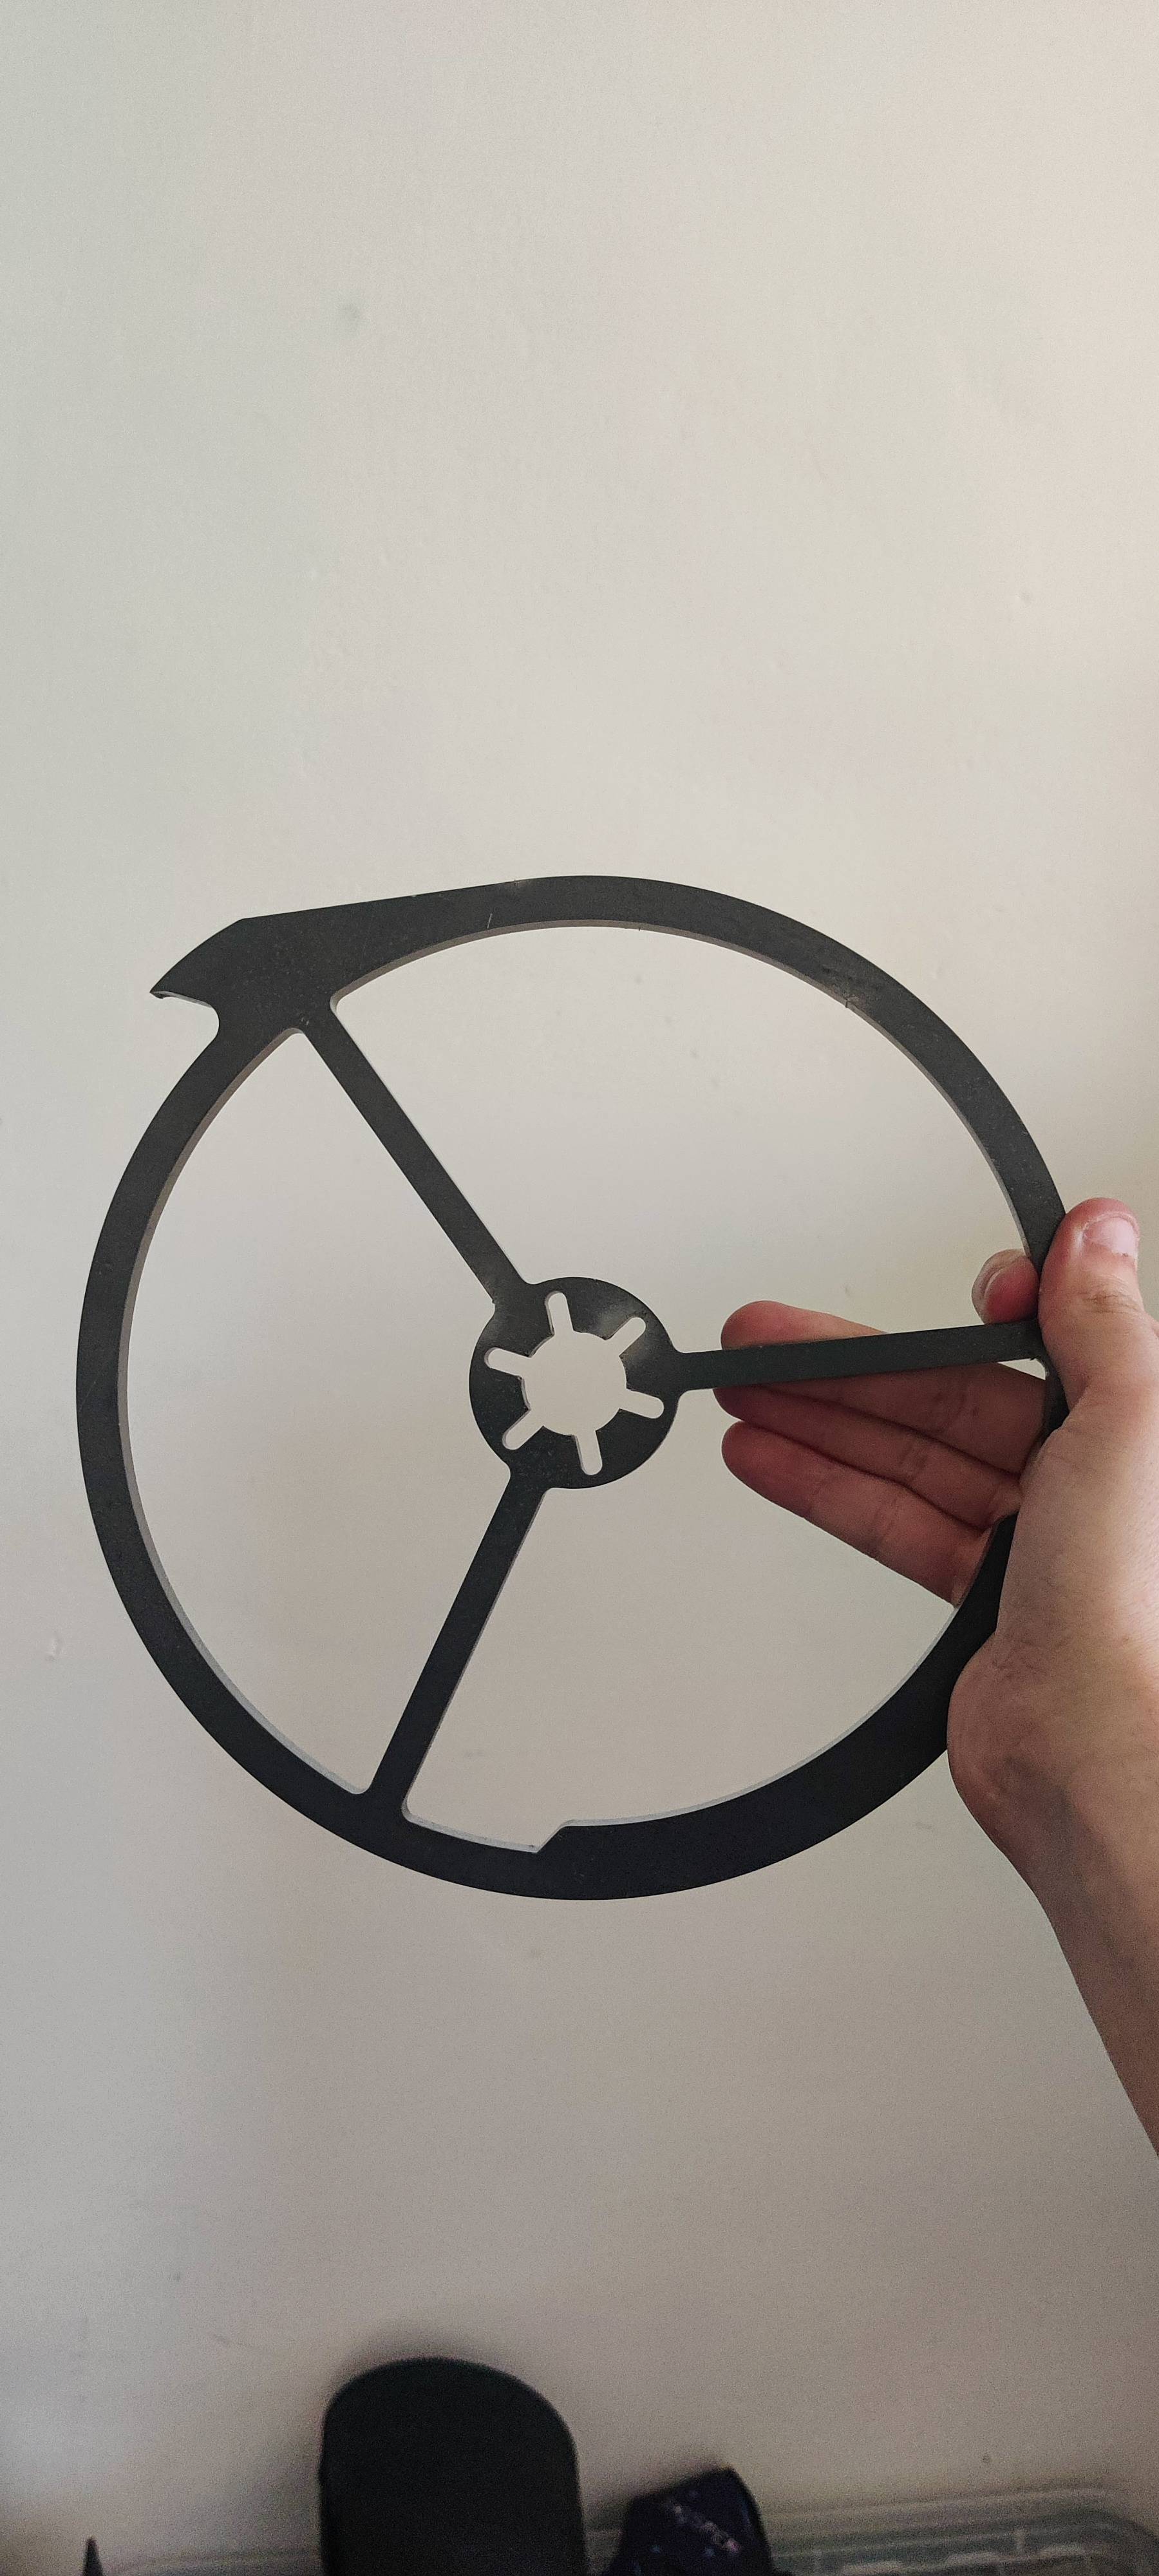
Here’s what one half of a chassis looks like.
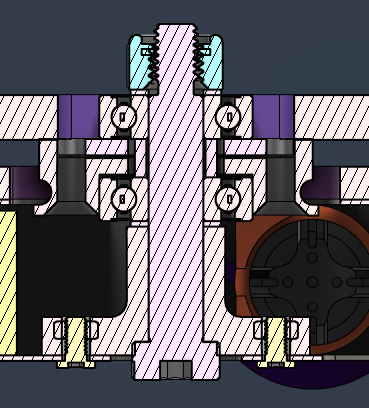
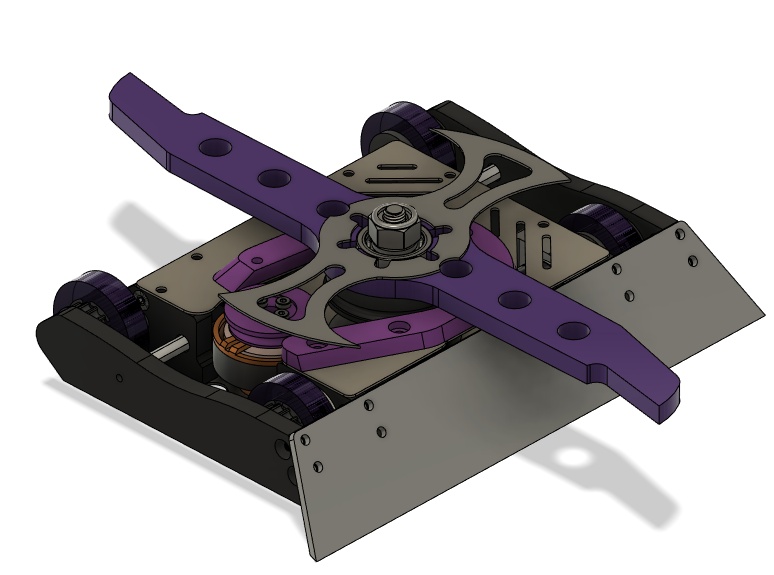
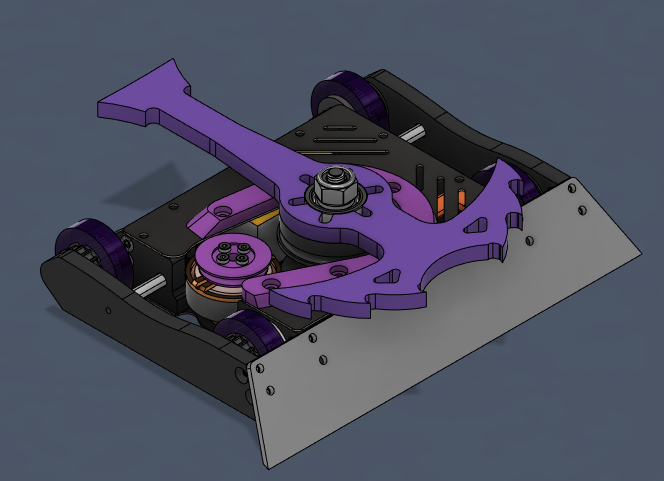
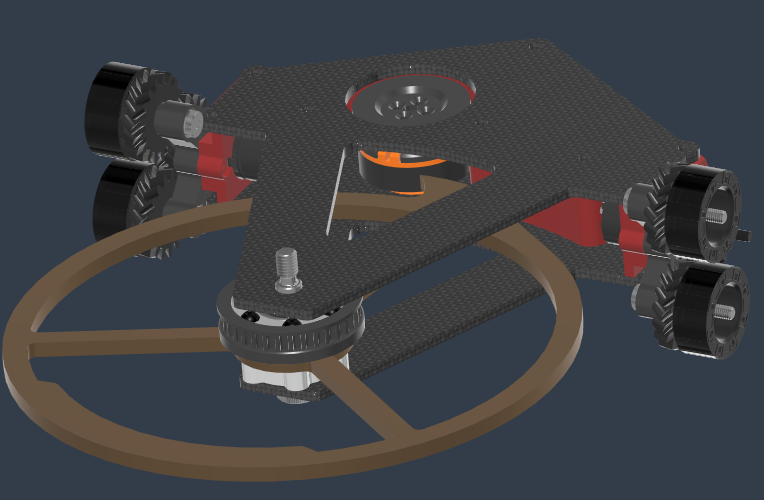
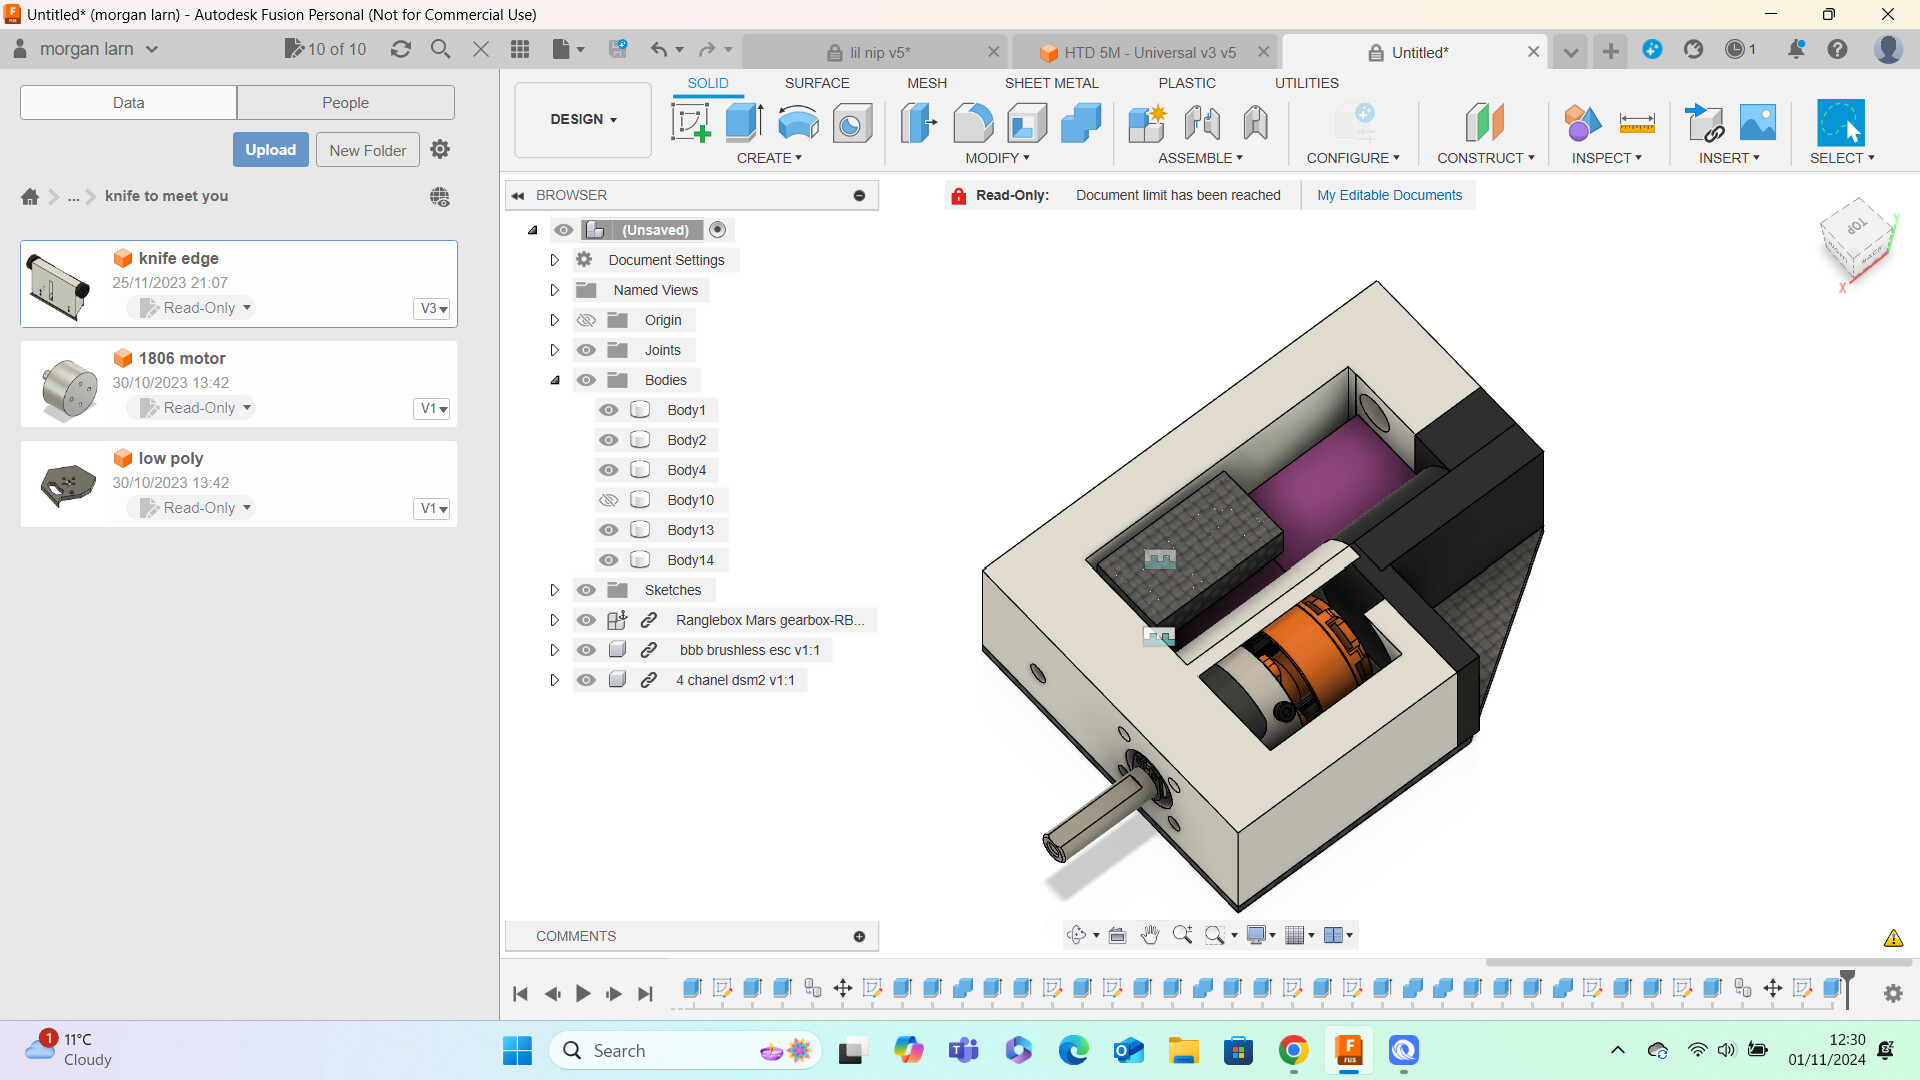
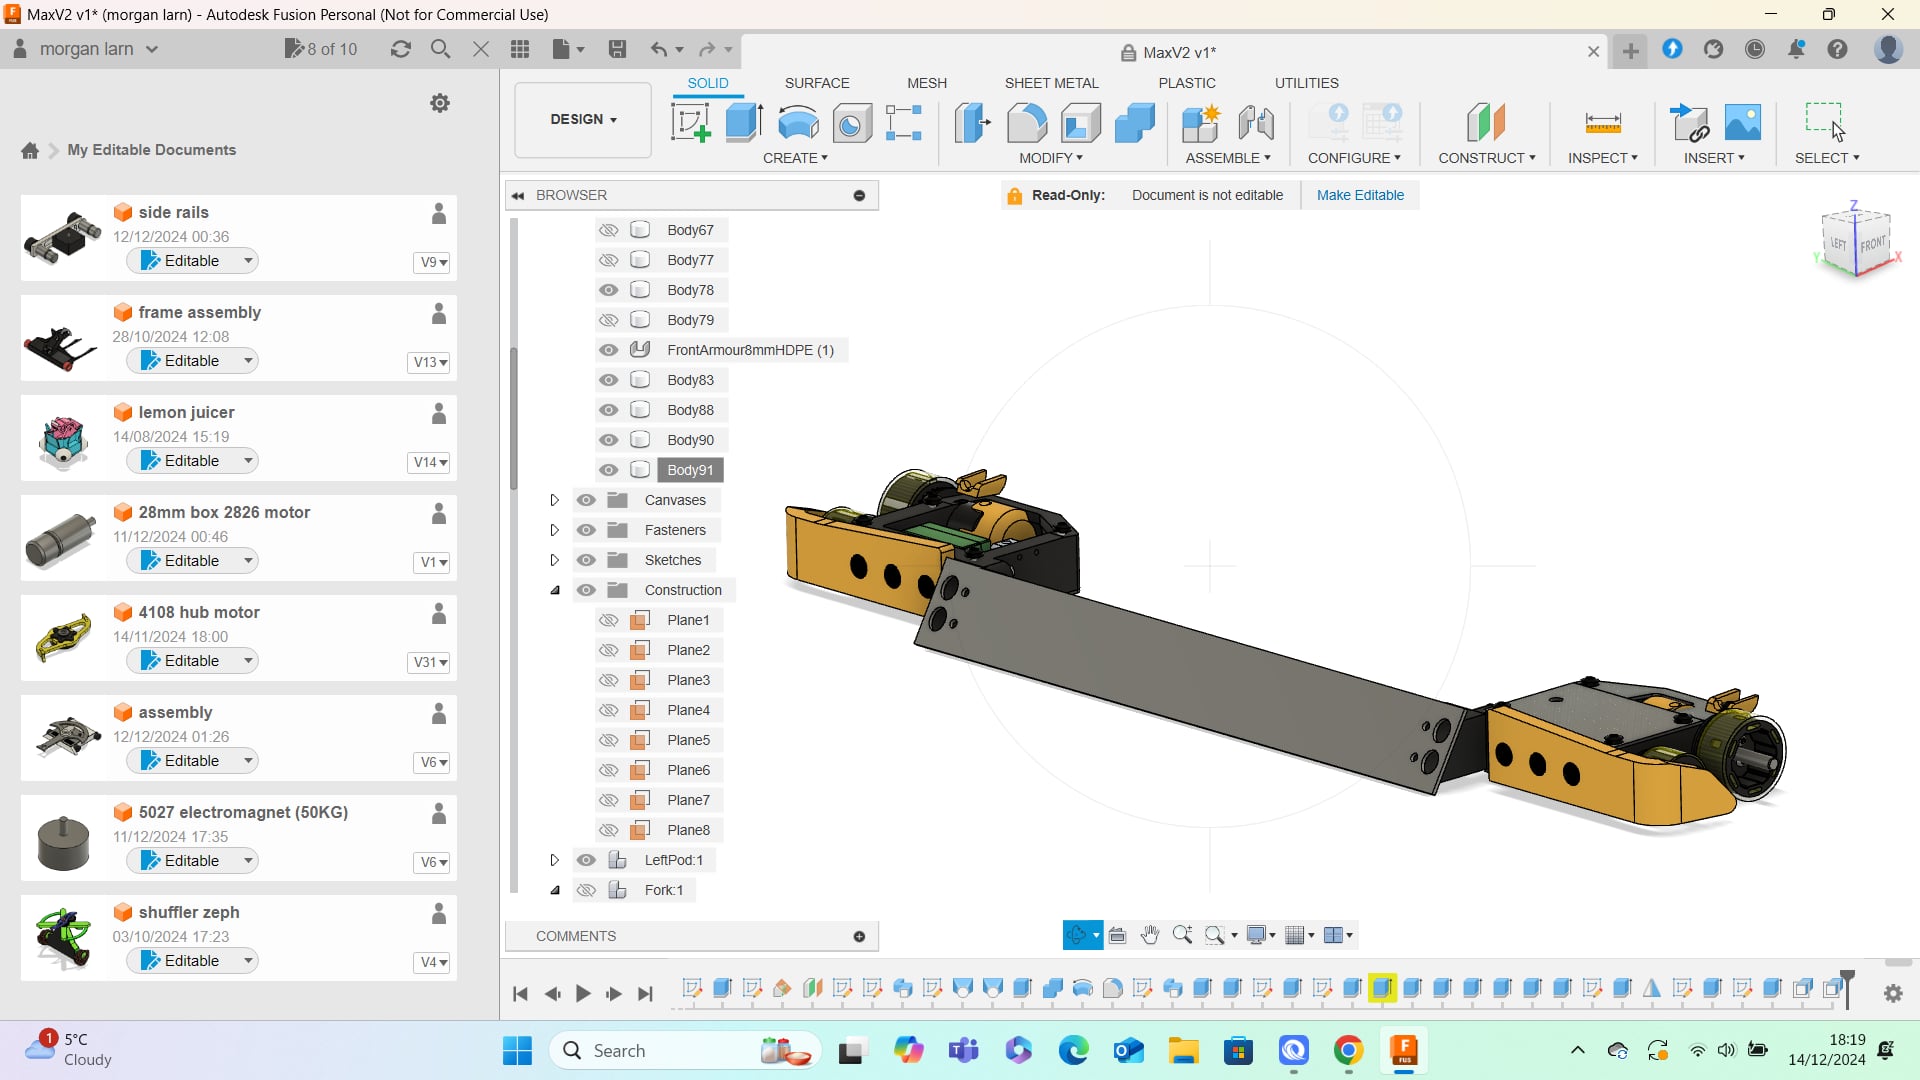
Here’s the final CAD
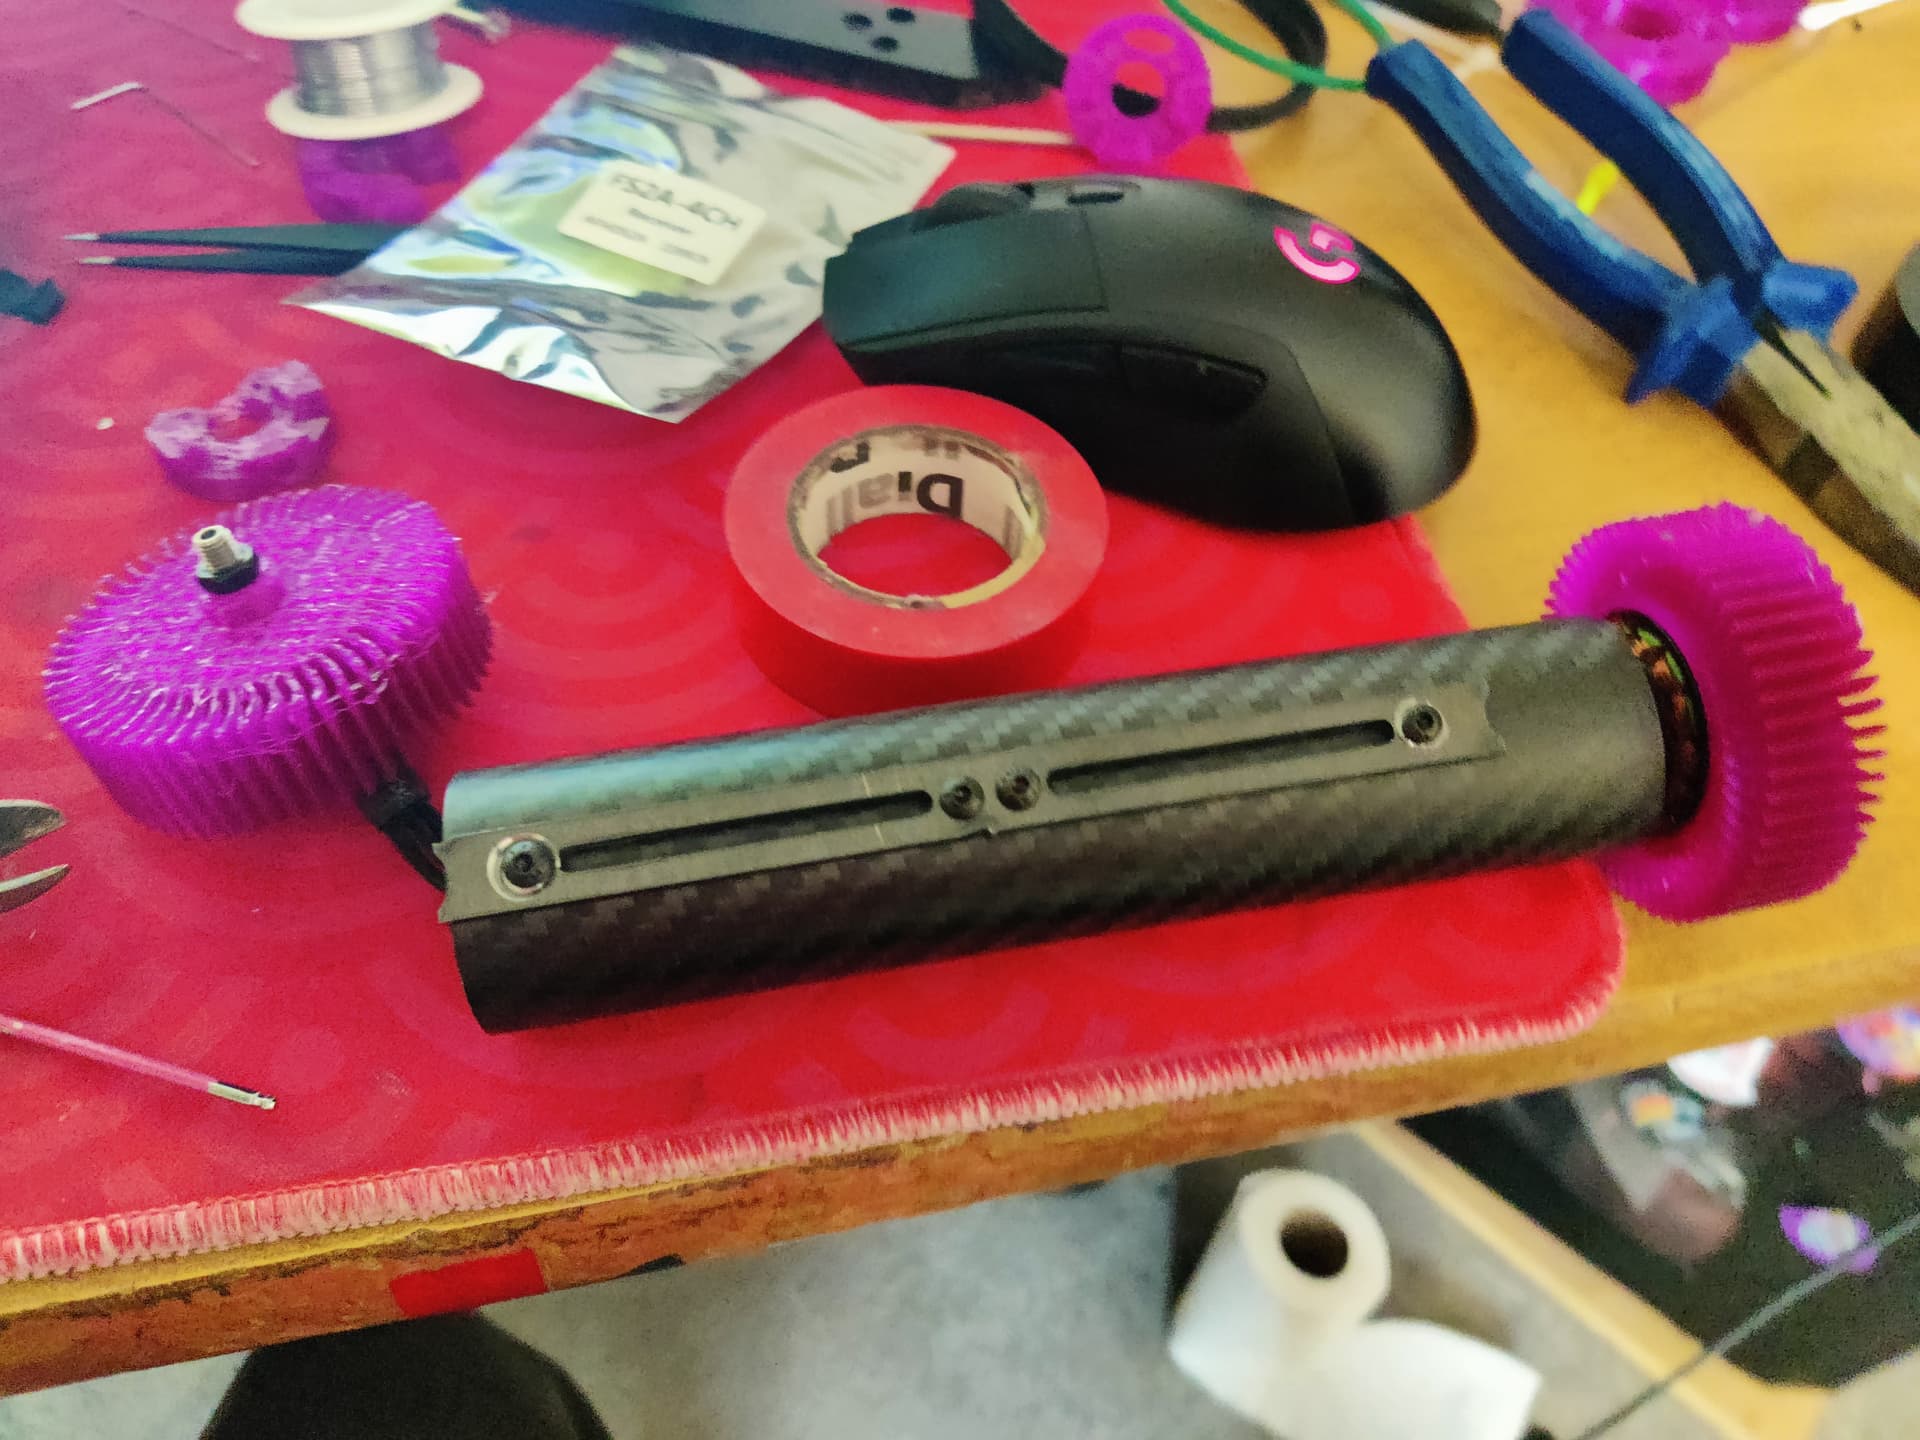
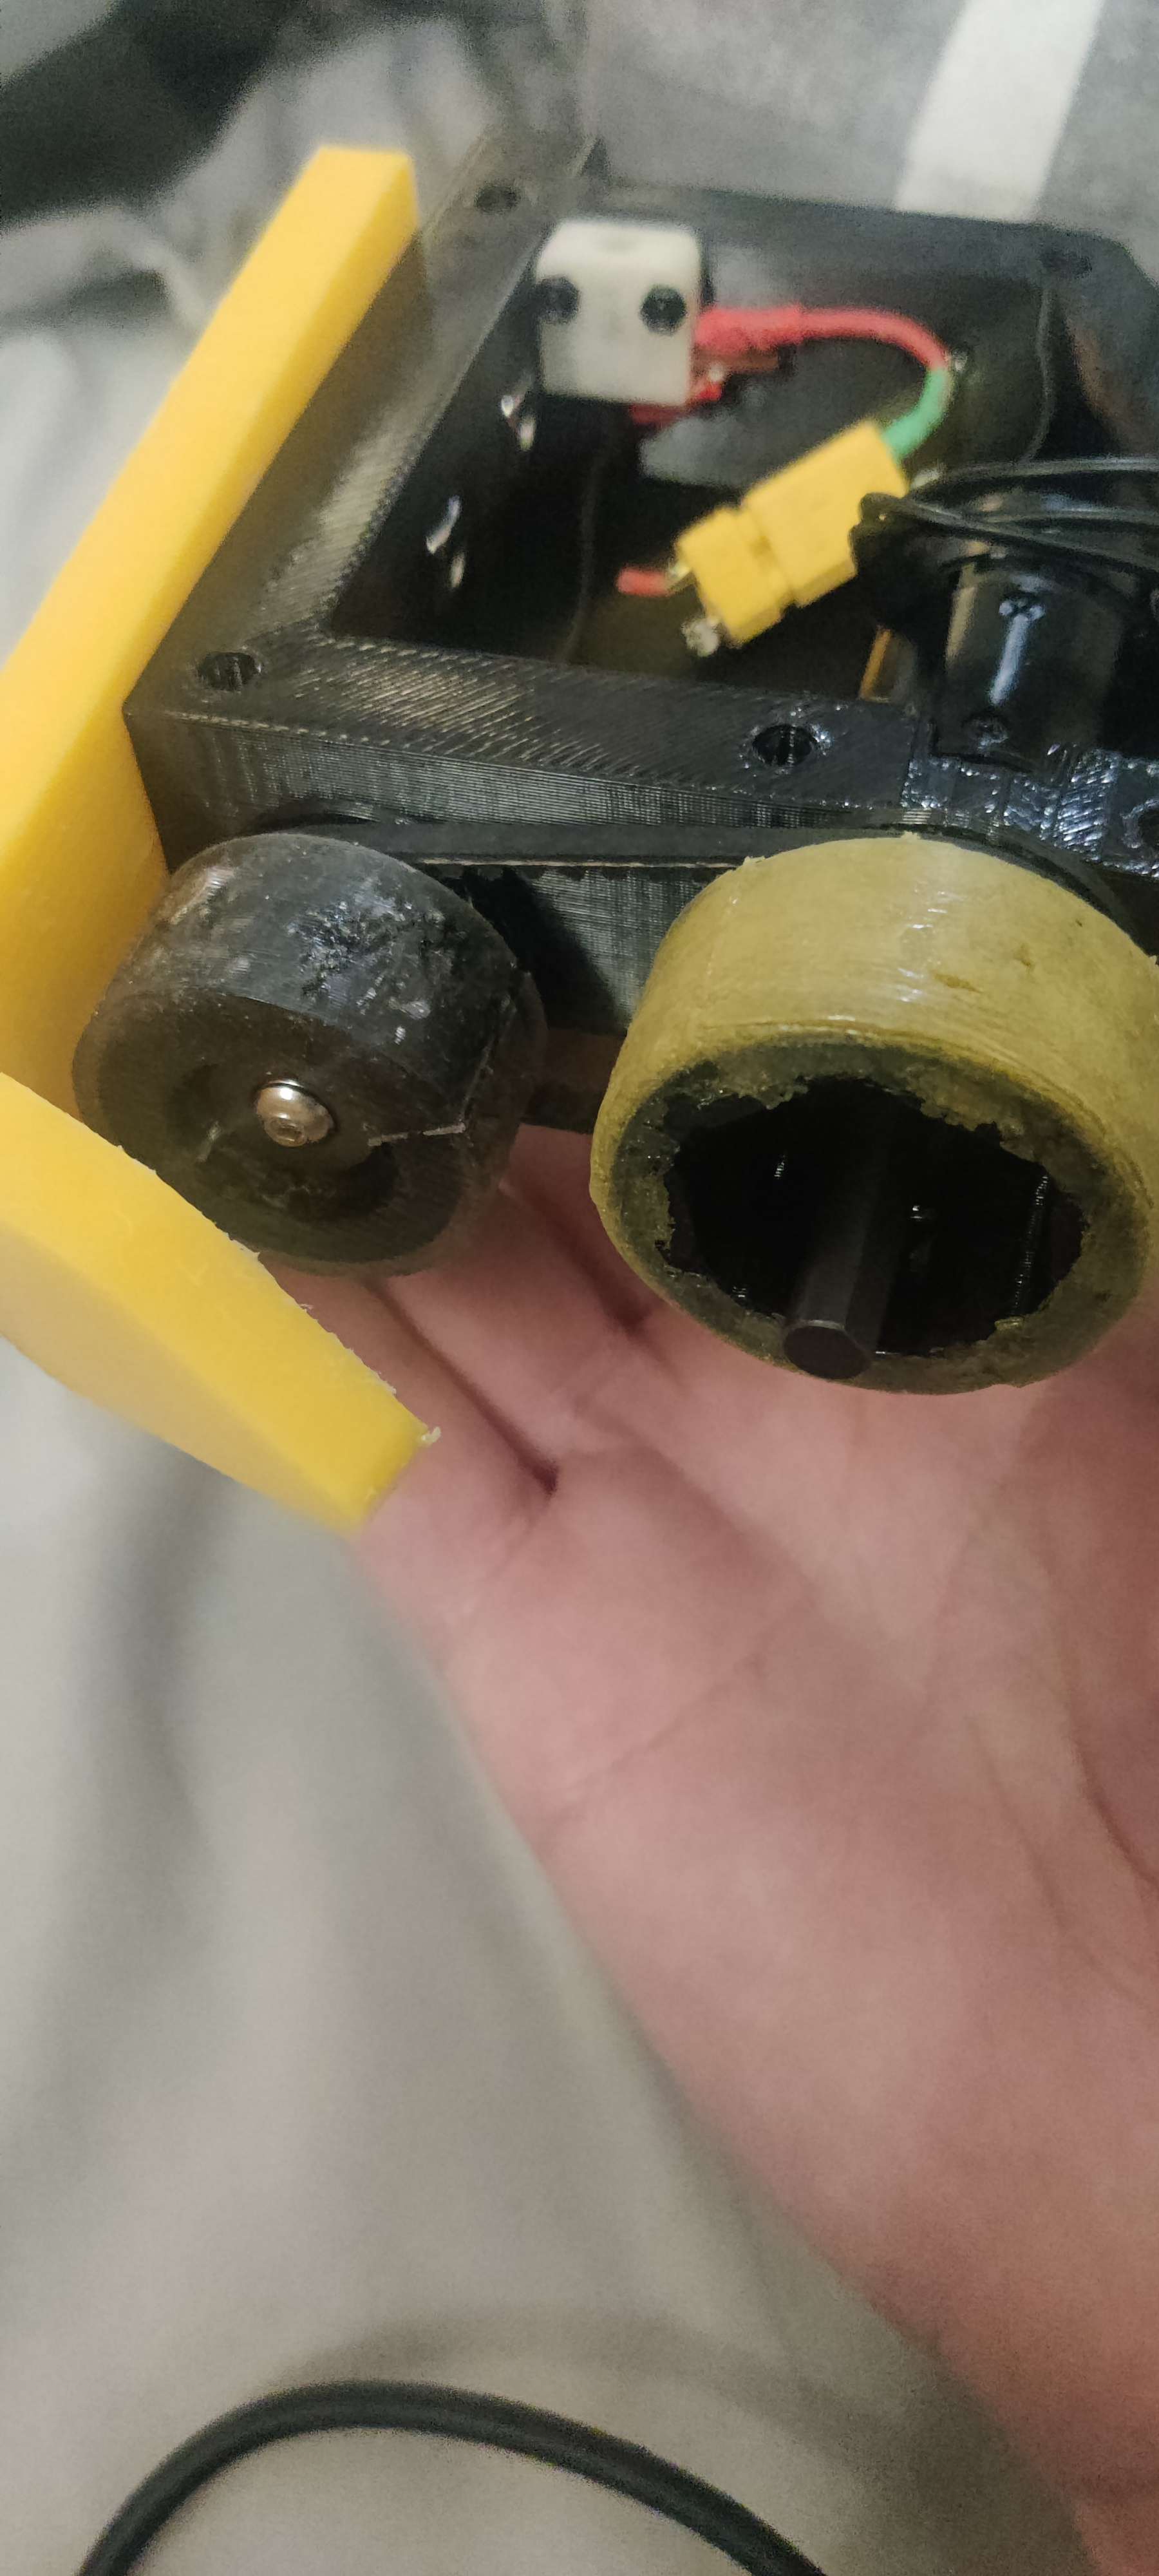
Build
Just throwing up some quick build stuff.
Printed prototype.
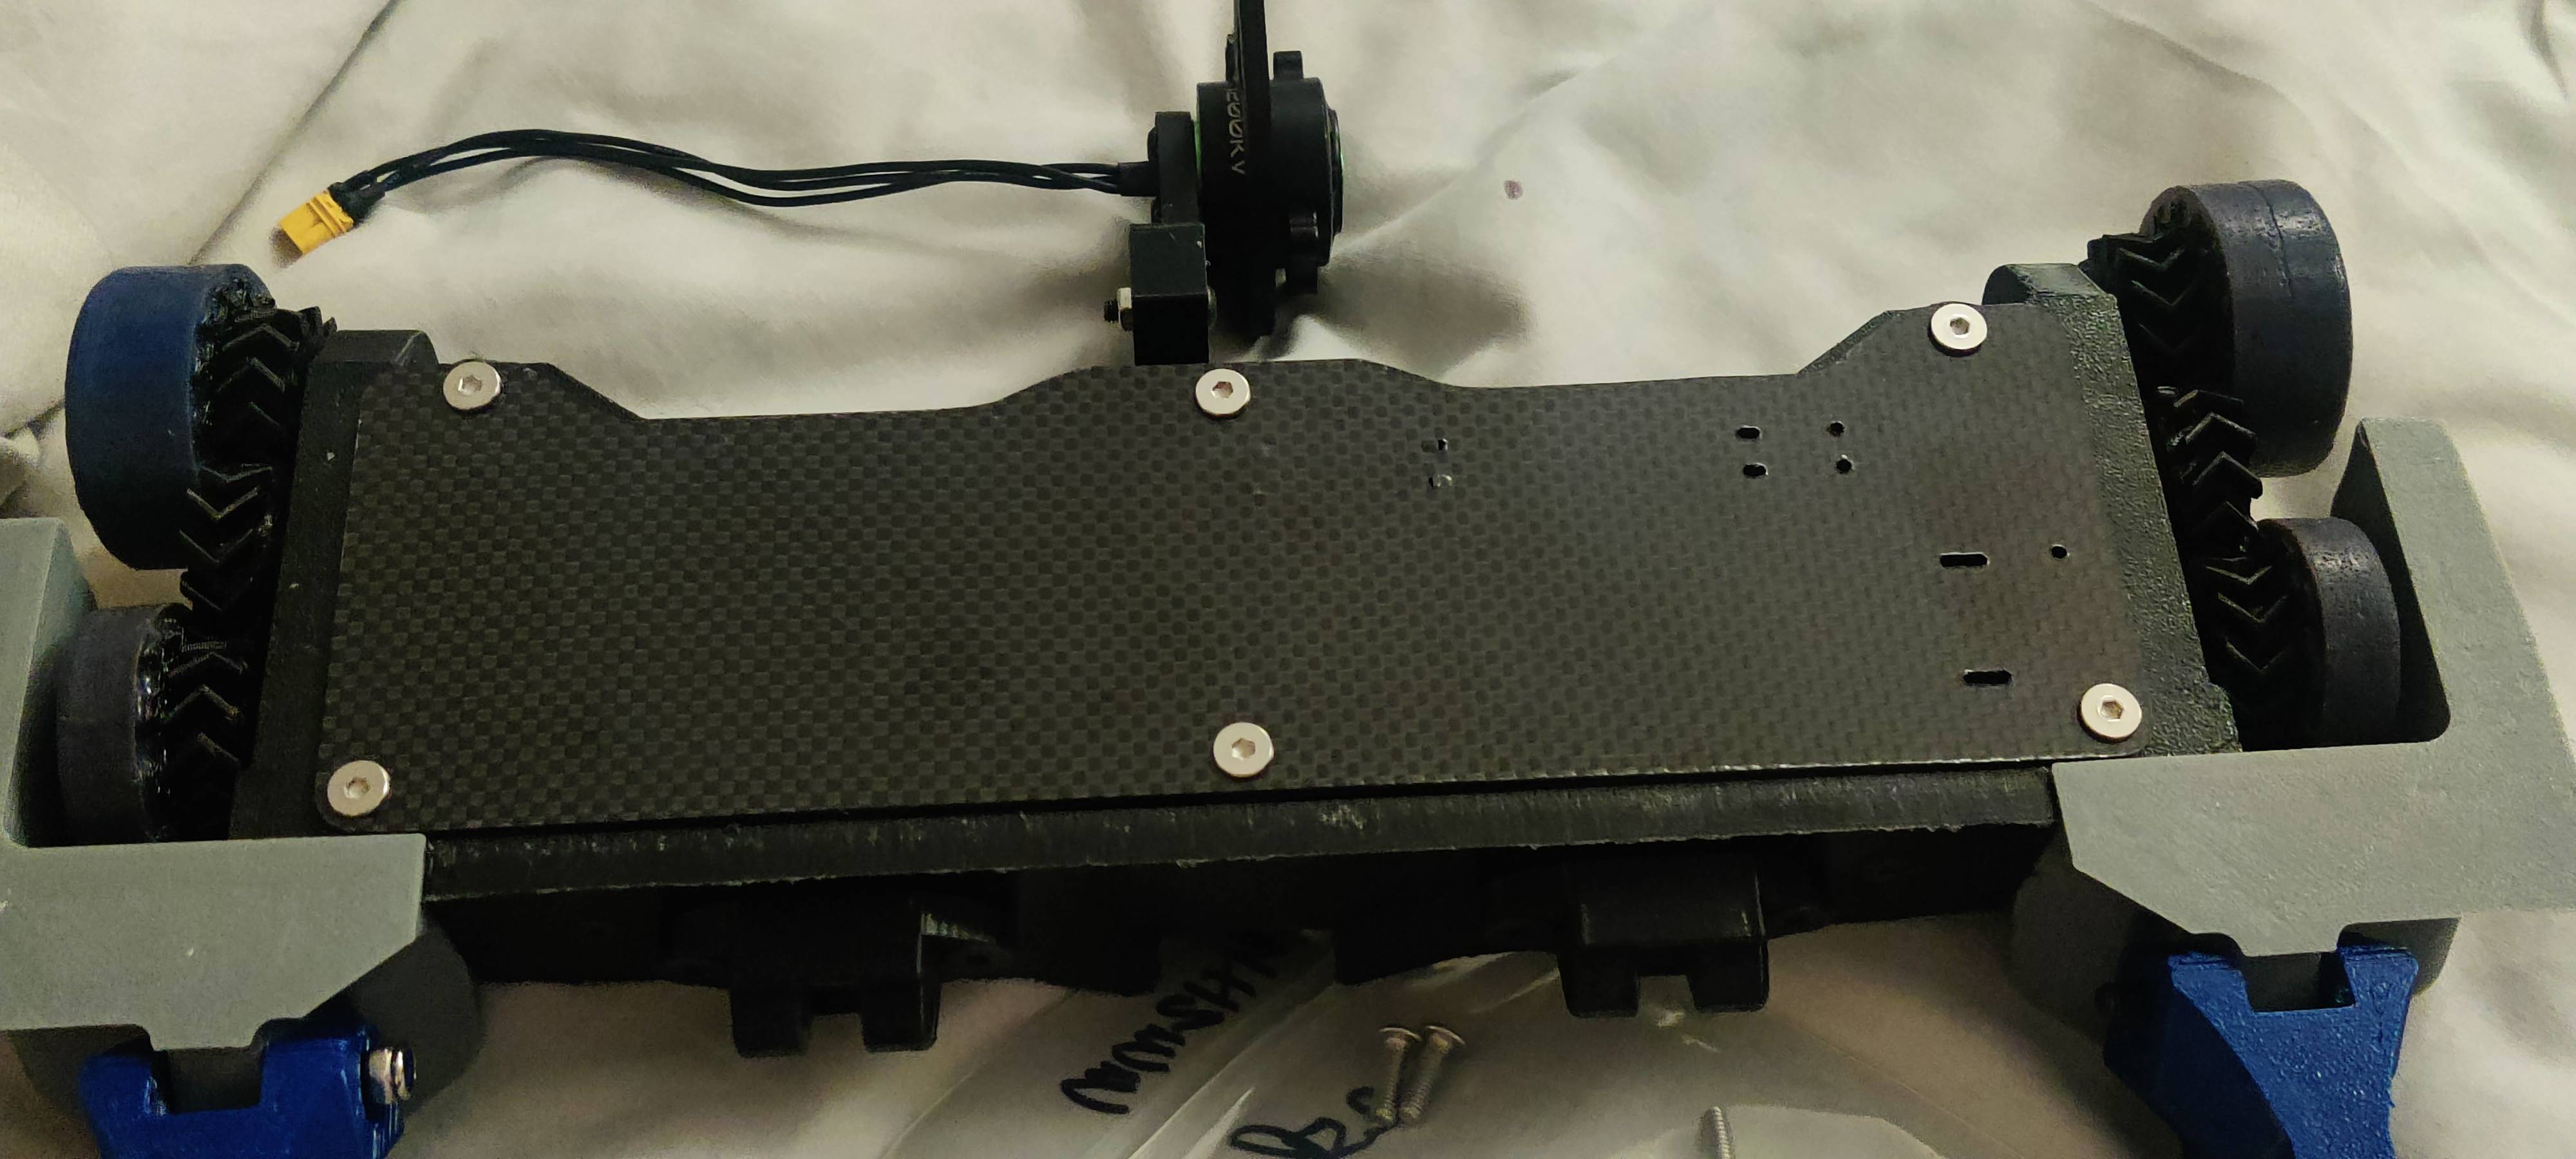
Carbon Fibre lid & base.
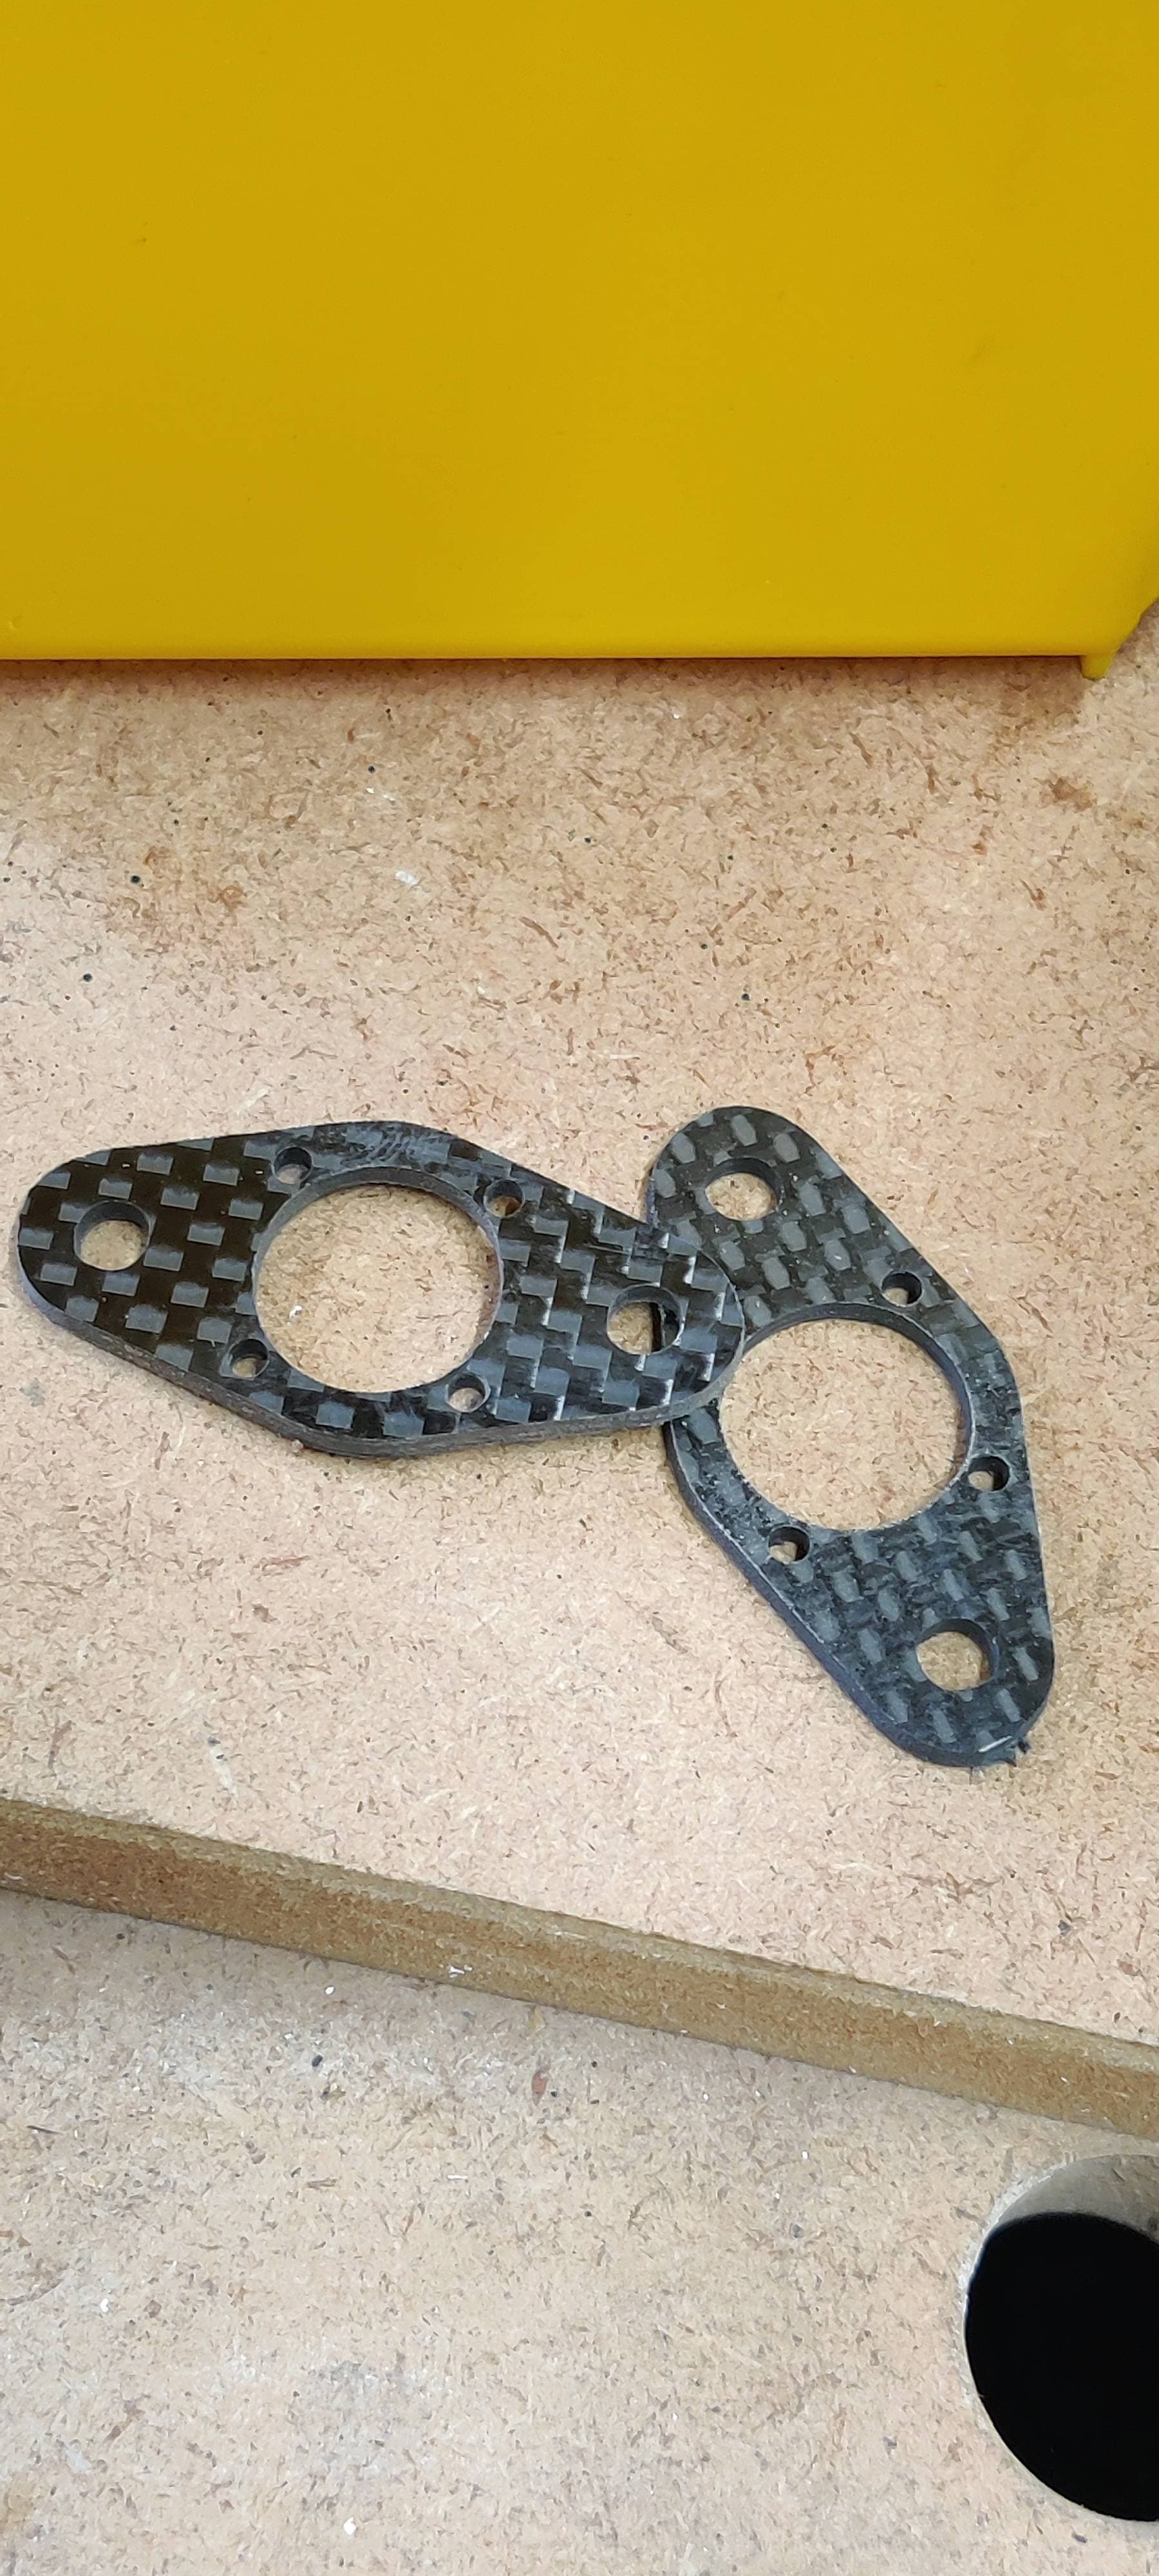
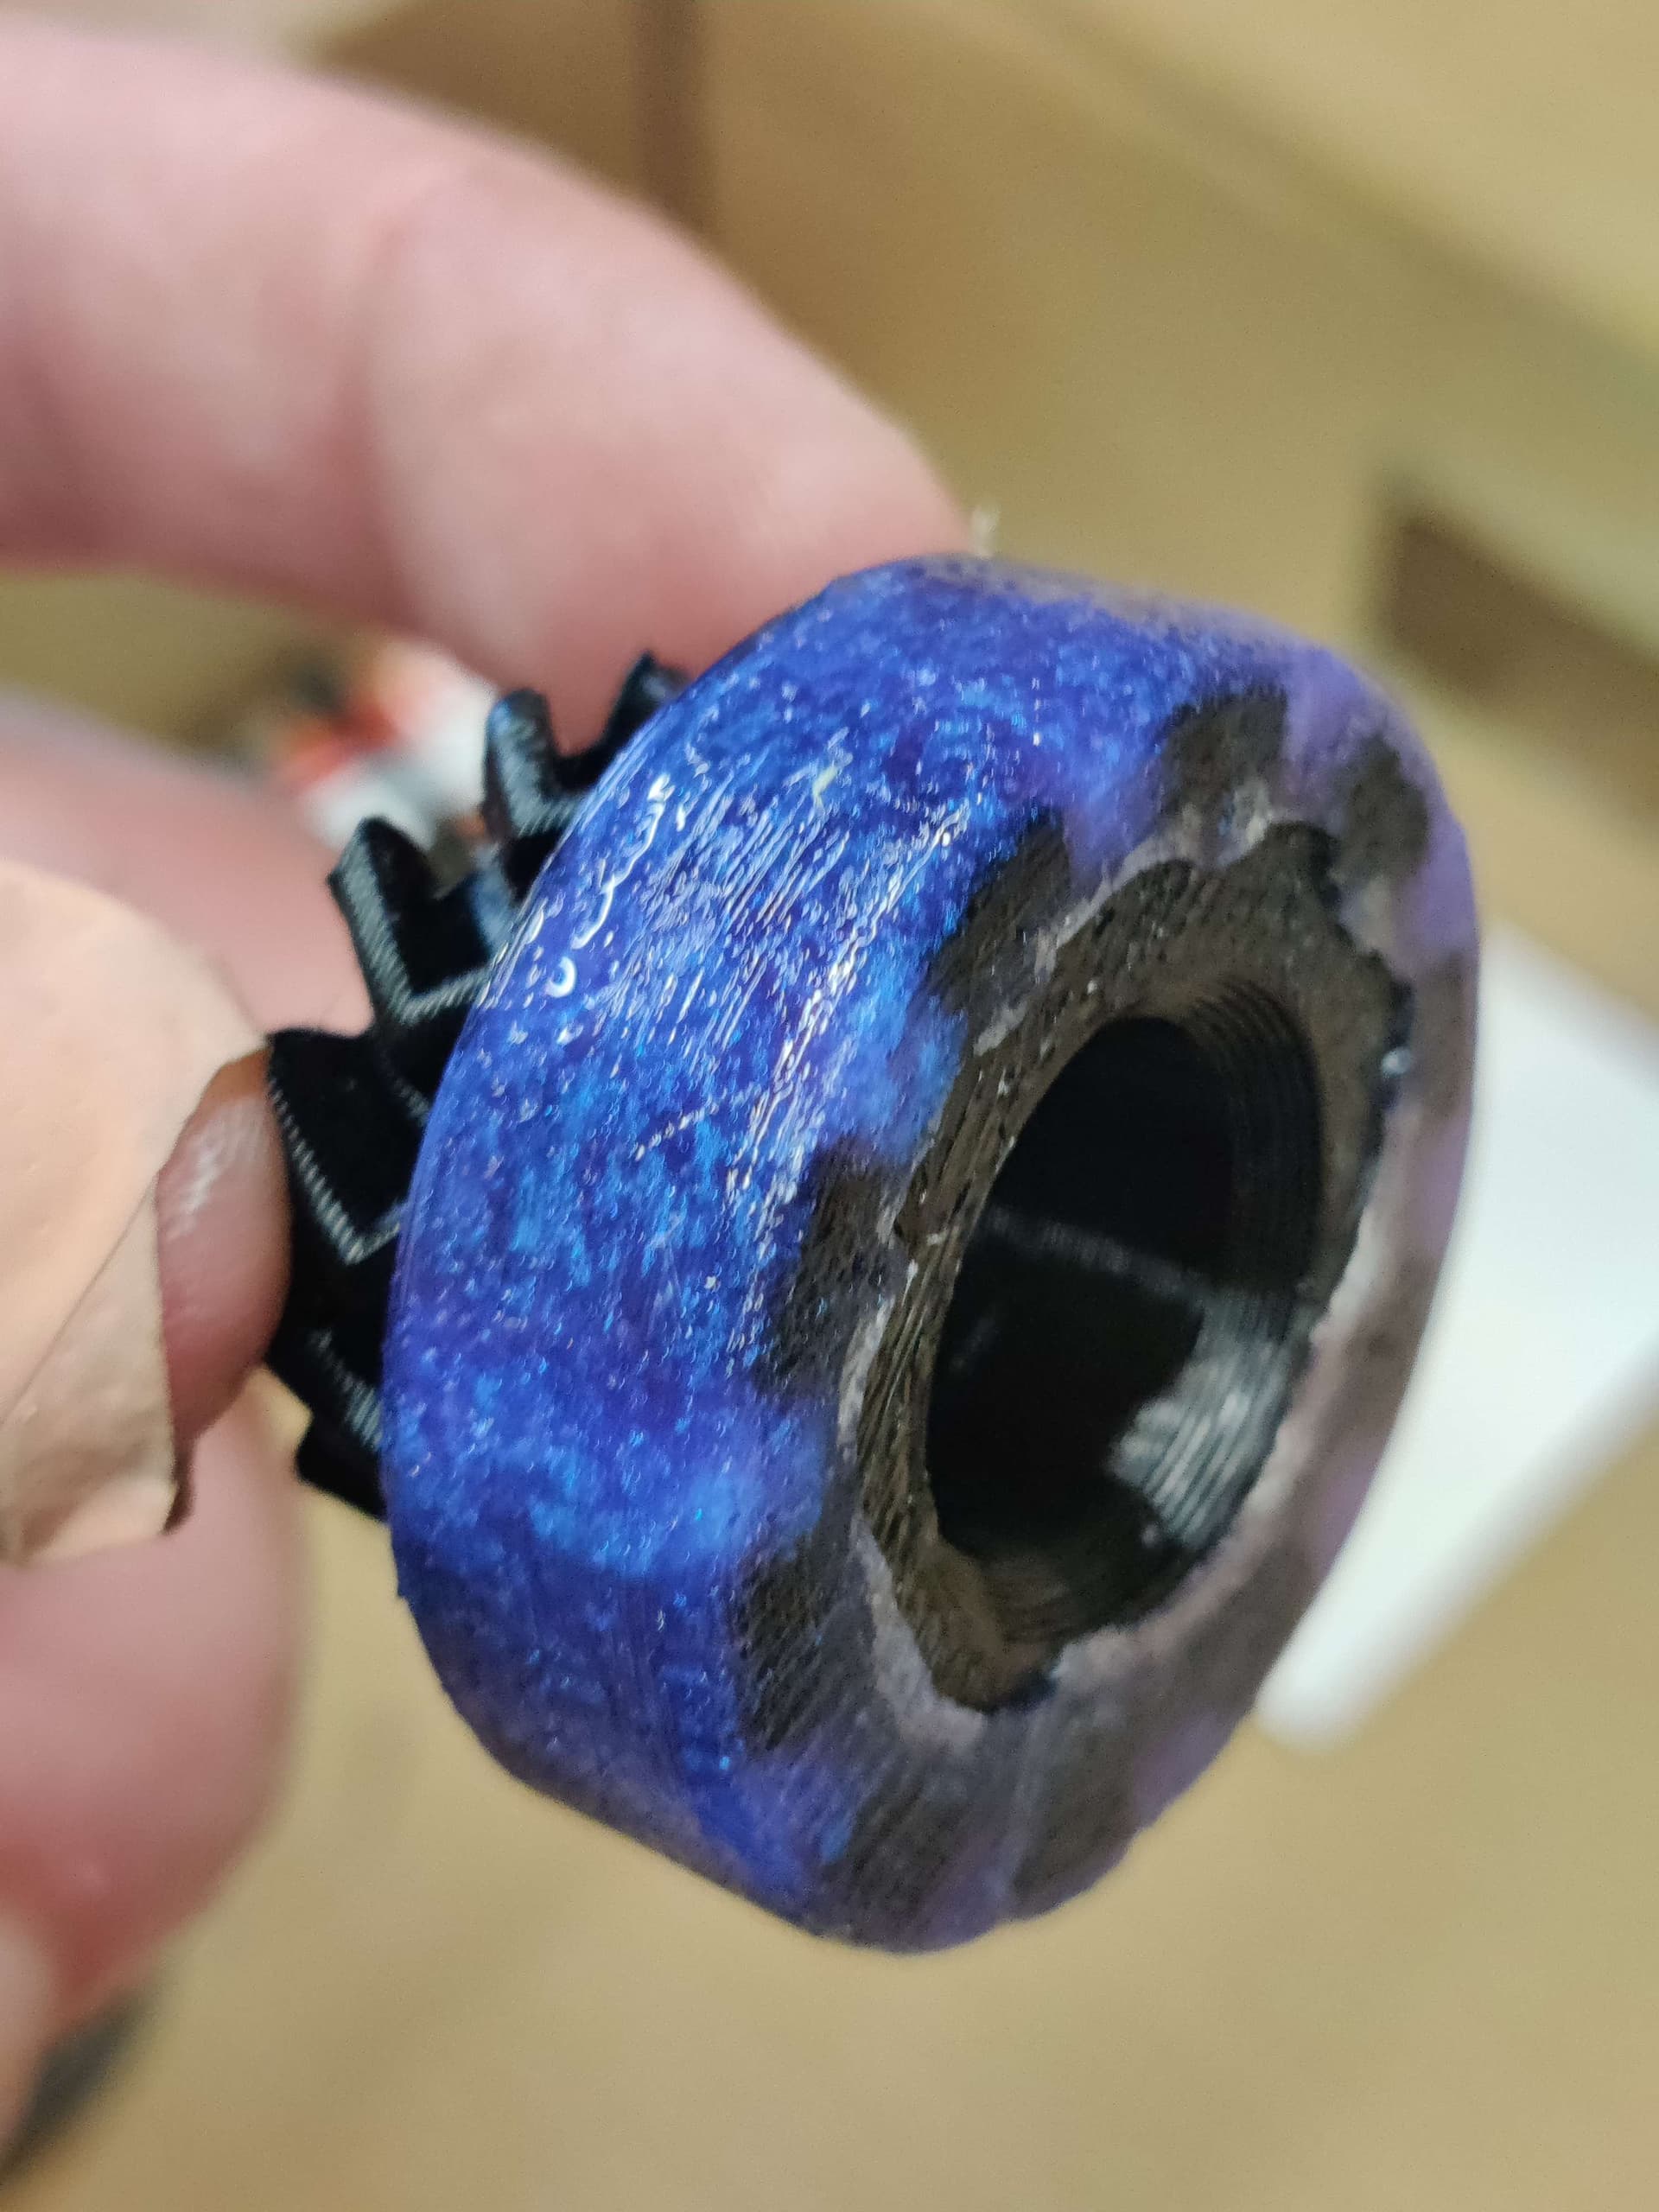
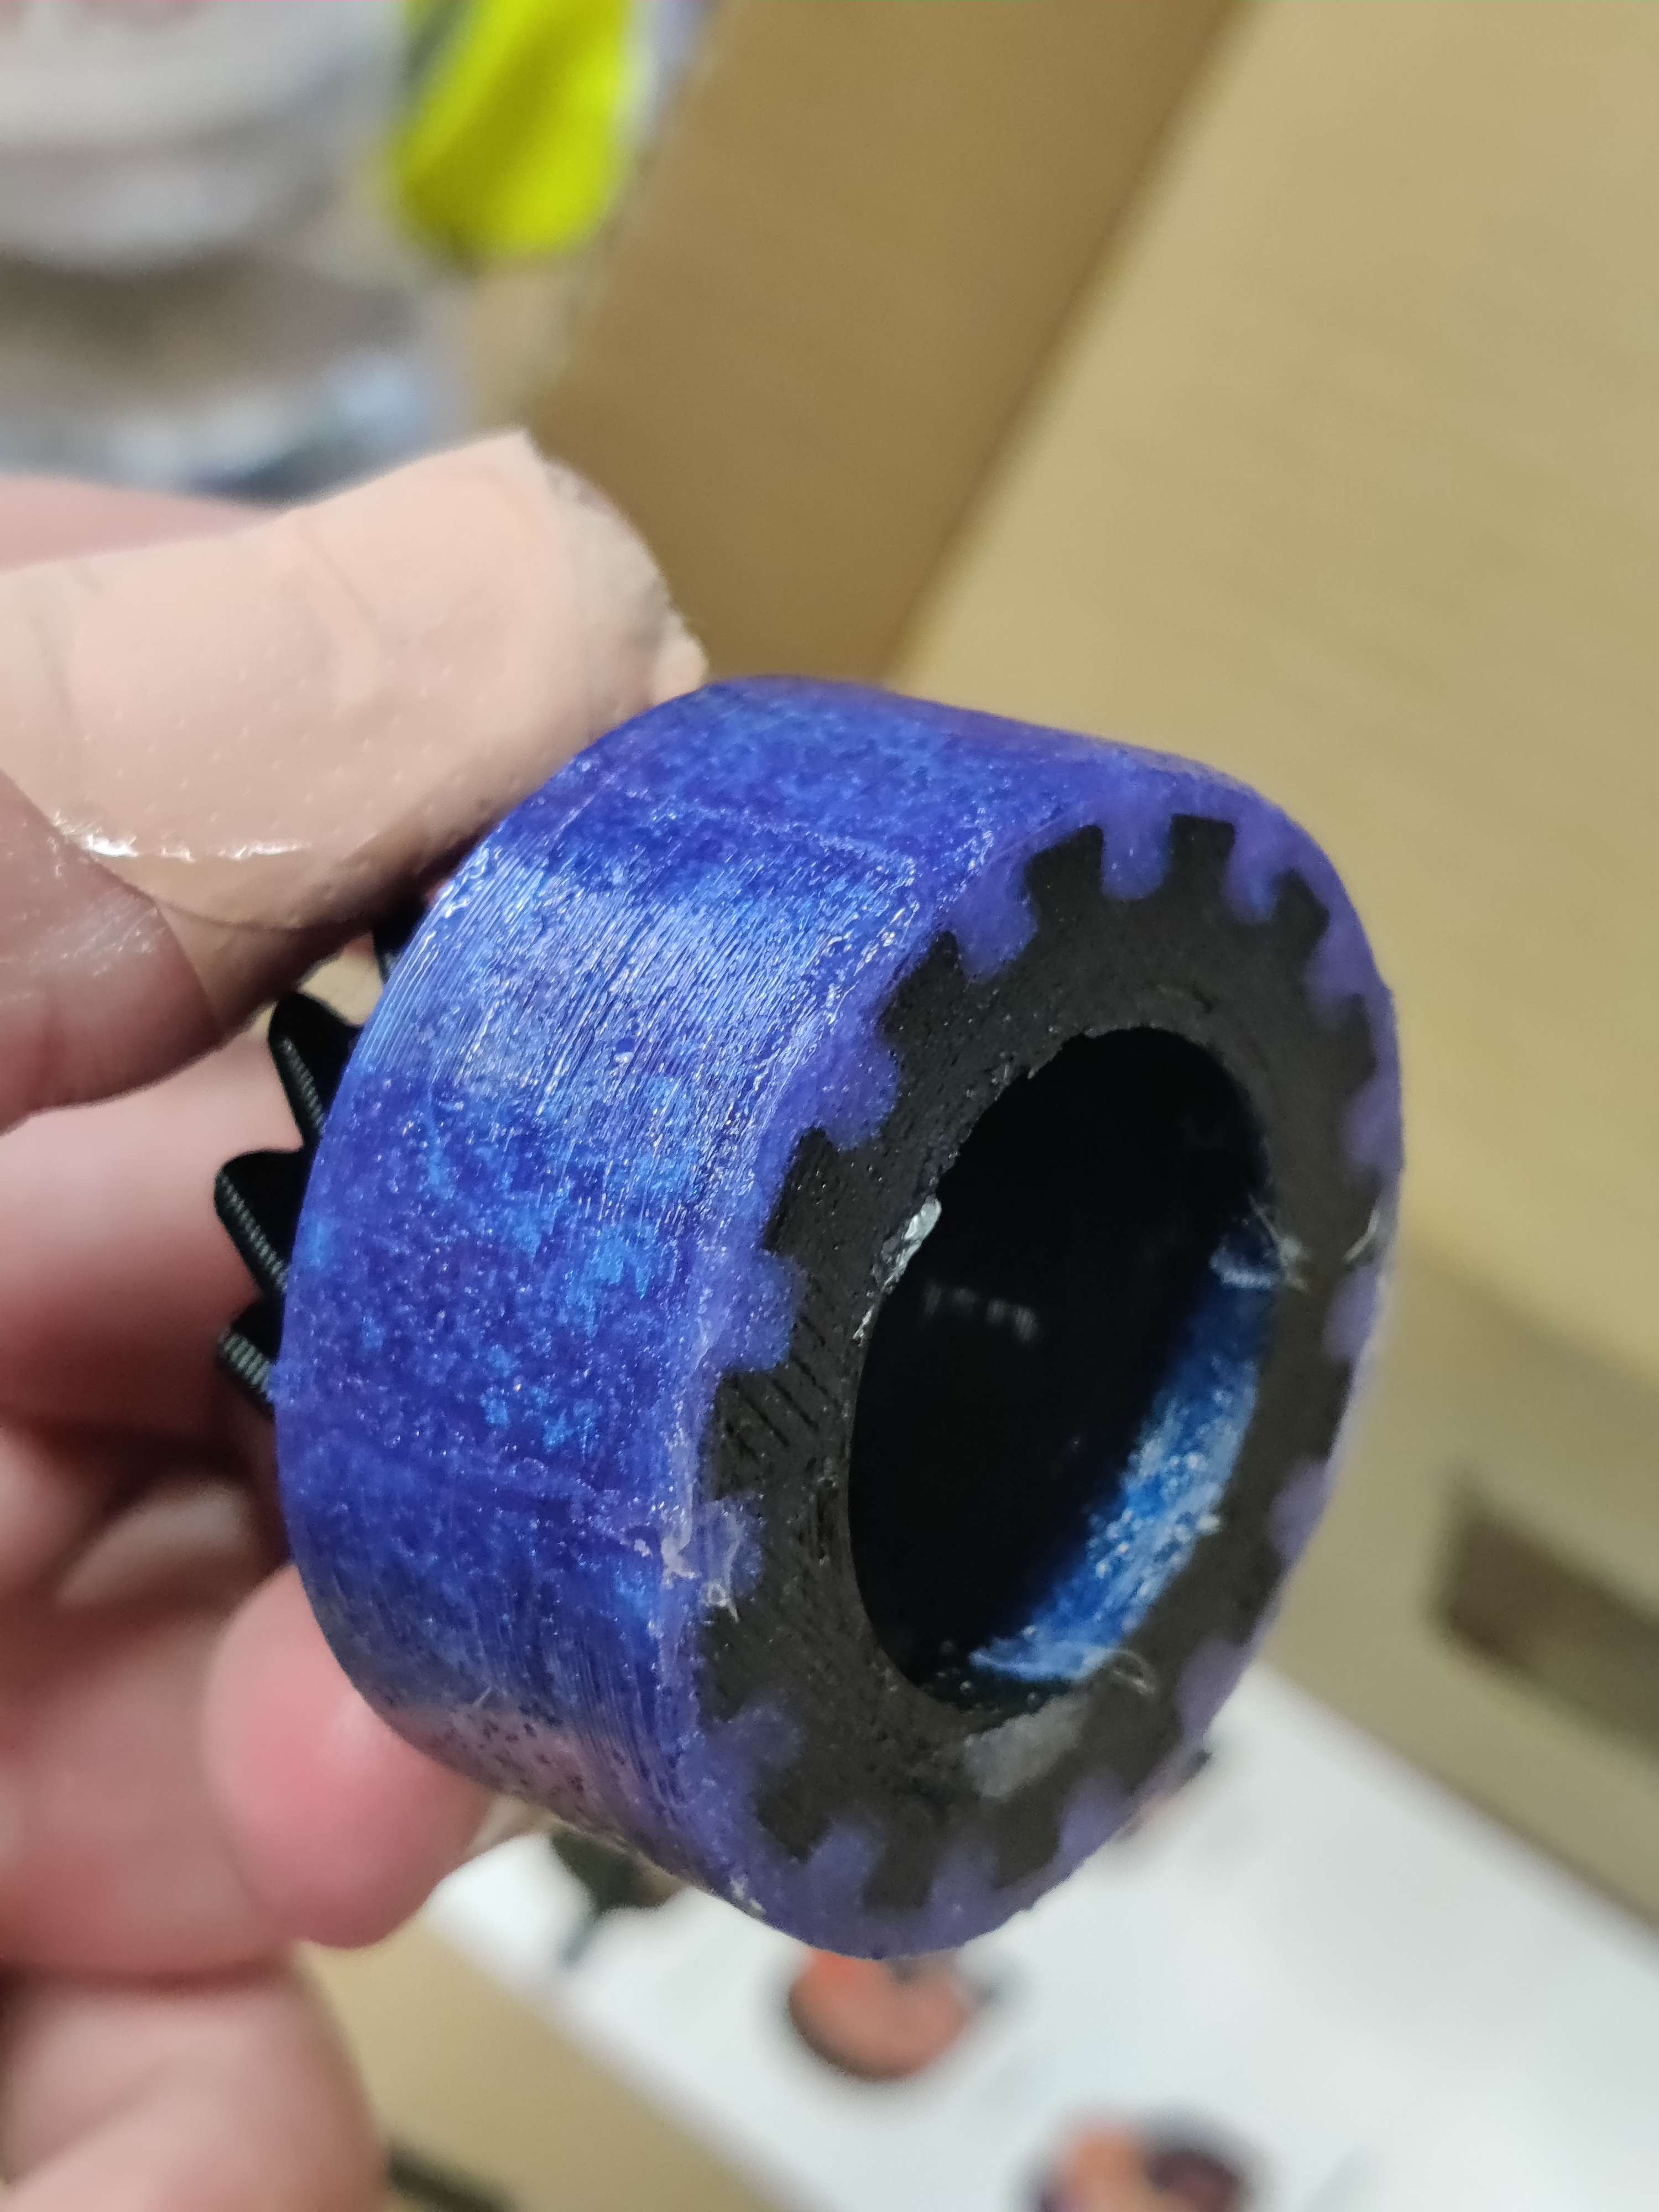
HDPE Gear machining
CF drive mounts.
Shiny wheels.
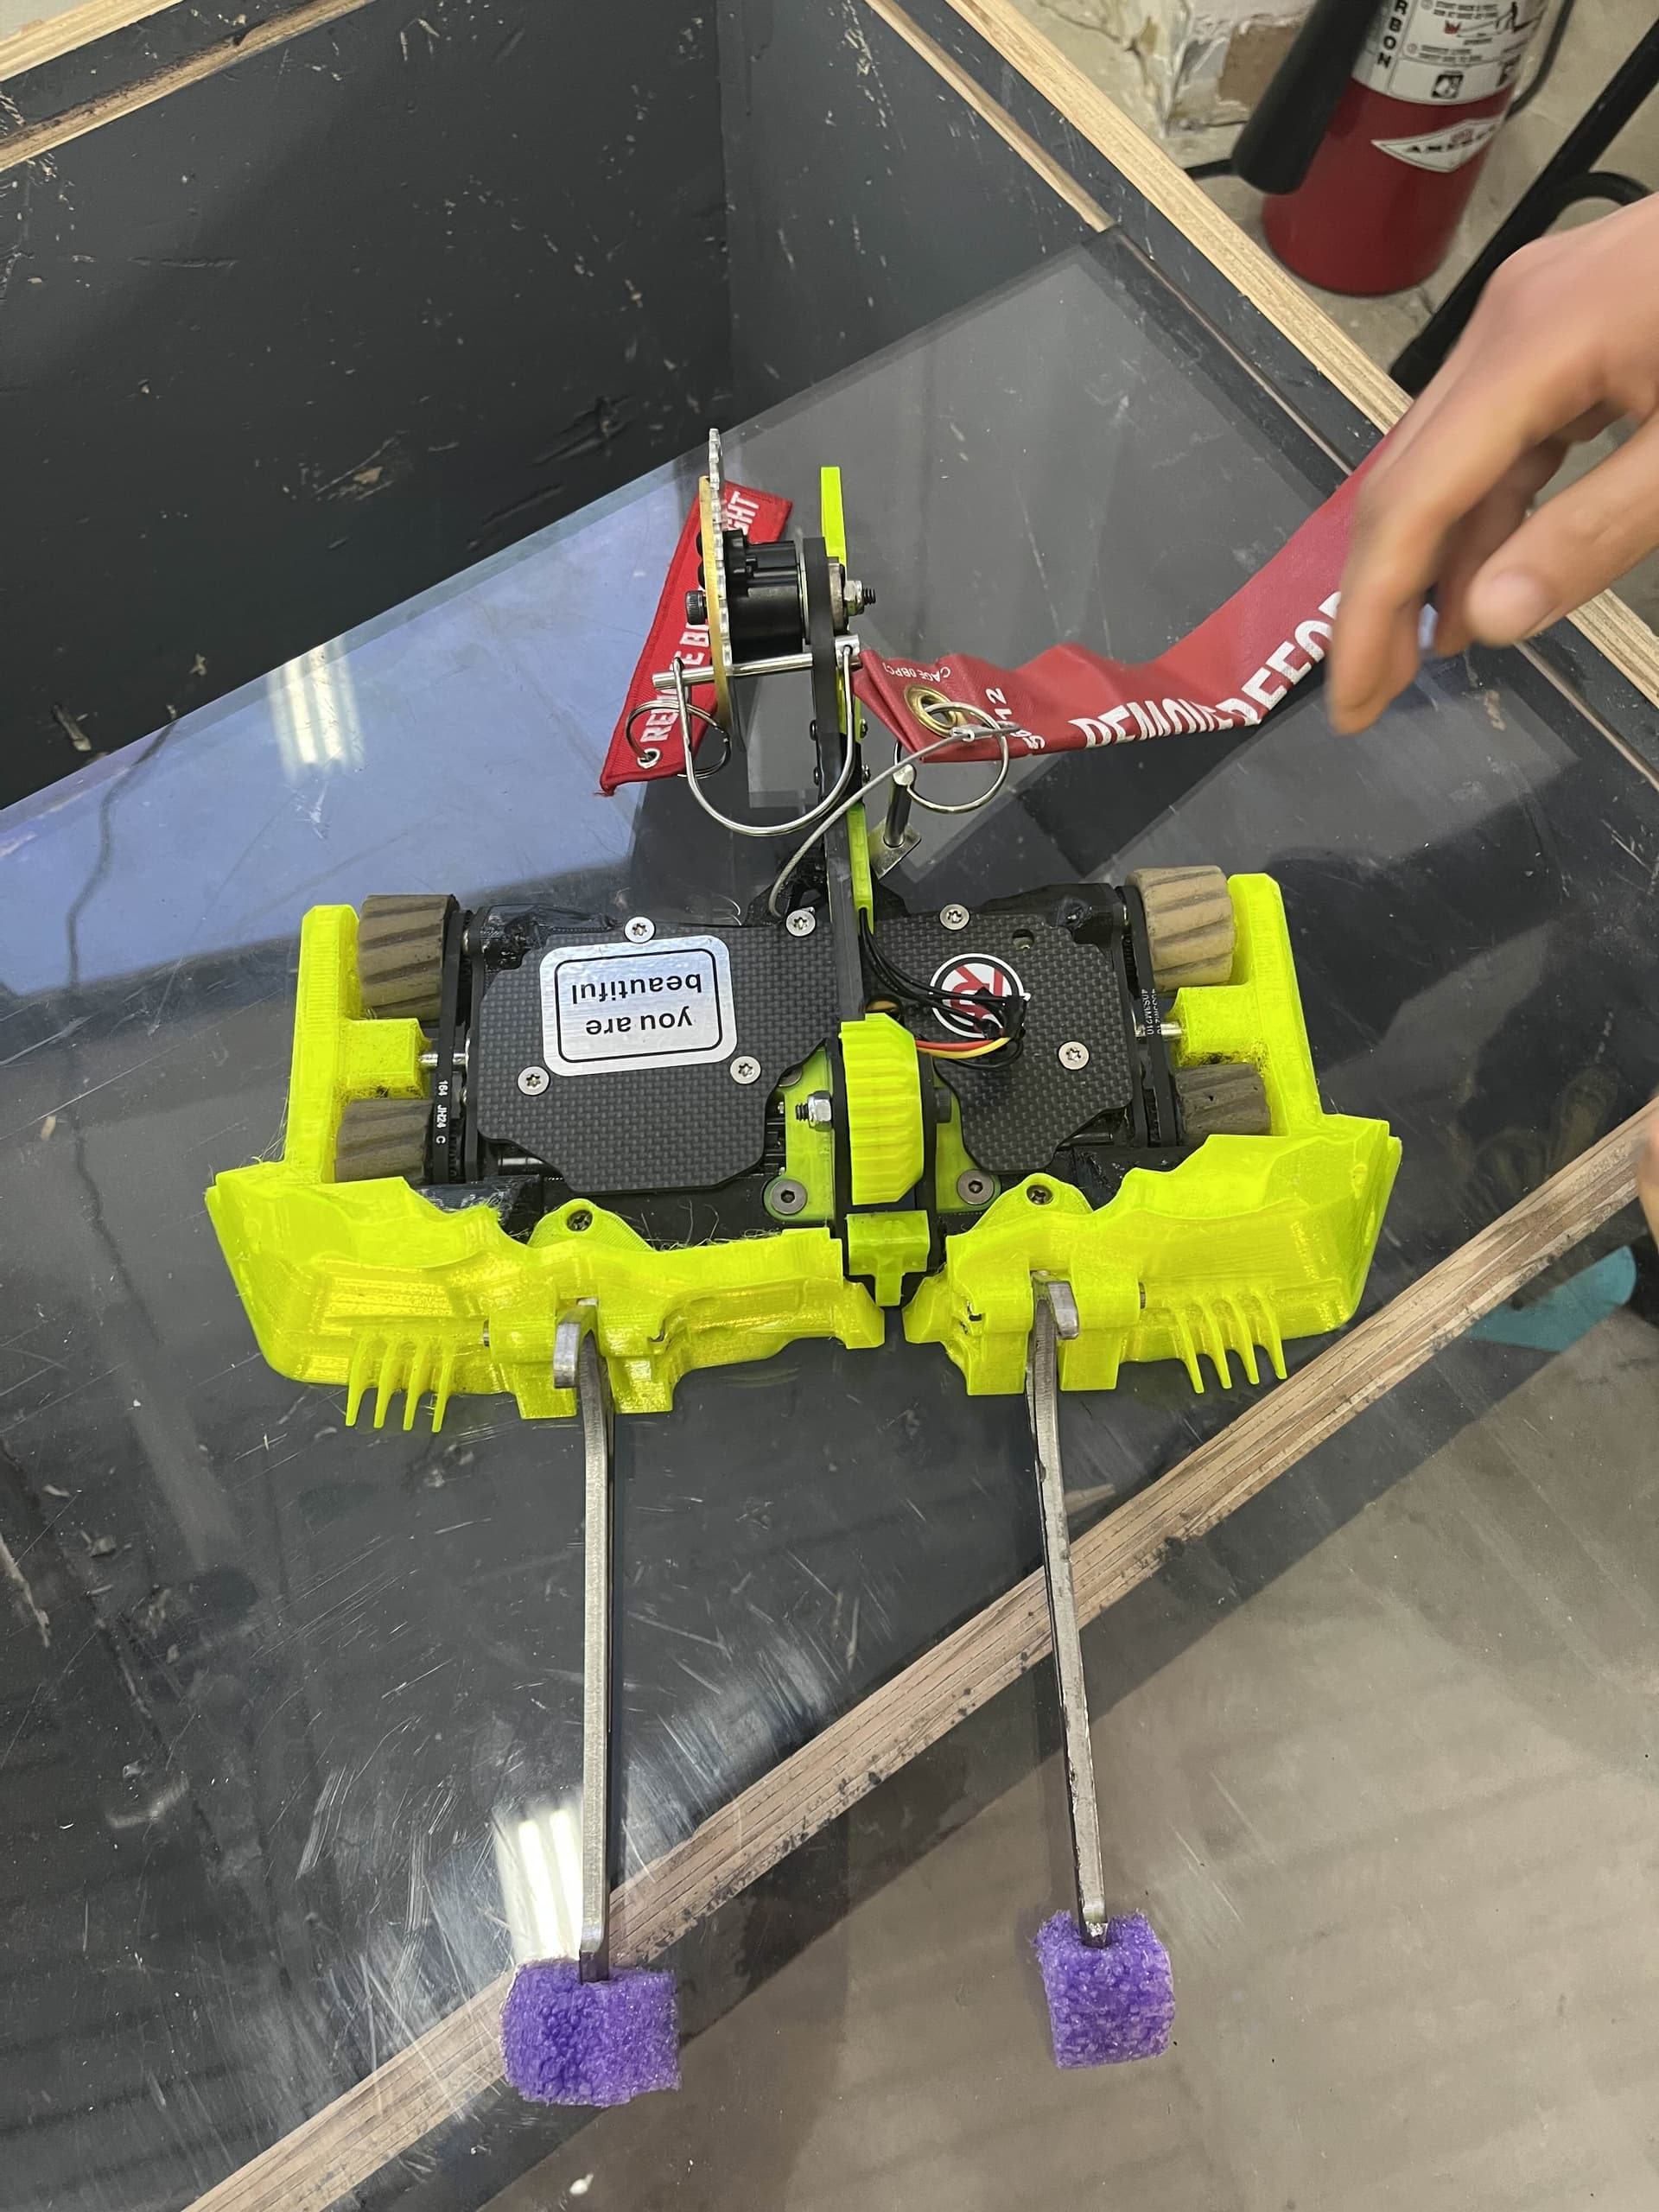
Selfright
There’s more to finish for this robot, metal is being cut. CF for the arm to be cut this weekend & I need a weapon ESC replacement. (ELLIS PLEASE STOCK ONE)
Will update soon xoxoxo (Probably not)