JackHammer - Origin of the Black and Yellow Stripes

Intro

So this is JackHammer for those of you who don’t know it already. It hasn’t always looked like this (hence build log) so I reckon I’m gonna break this down into a bunch of sections and try and post them when I can be bothered to write it up. Since I started the robot ages ago I won’t do a build log of the previous versions because I don’t have enough fun accompanying pictures, but I’ll do a brief summary and then try to go into more depth on the current design and why certain parts are the way they are.

Origin story:

So the jackhammer story starts a few years ago (2022 maybe?) with a robot called under achiever. The first robot I and teammate Jools Clarke had ever competed with. The idea behind under achiever was that it would be a massive 2wd undercutter and that means that it would win because bigger weapon = more winning. It was all designed with no real idea in mind for what is sensible for a beetle or any competitive robot in general, some of the small things were done nicely with most of the bigger, more important features being somewhat overlooked. It all hinged around this big ol brushless motor the size of a cricket ball with a huge 10mm thick 230mm blade directly bolted onto it because I’d seen people do that in ants so surely it just scales up…
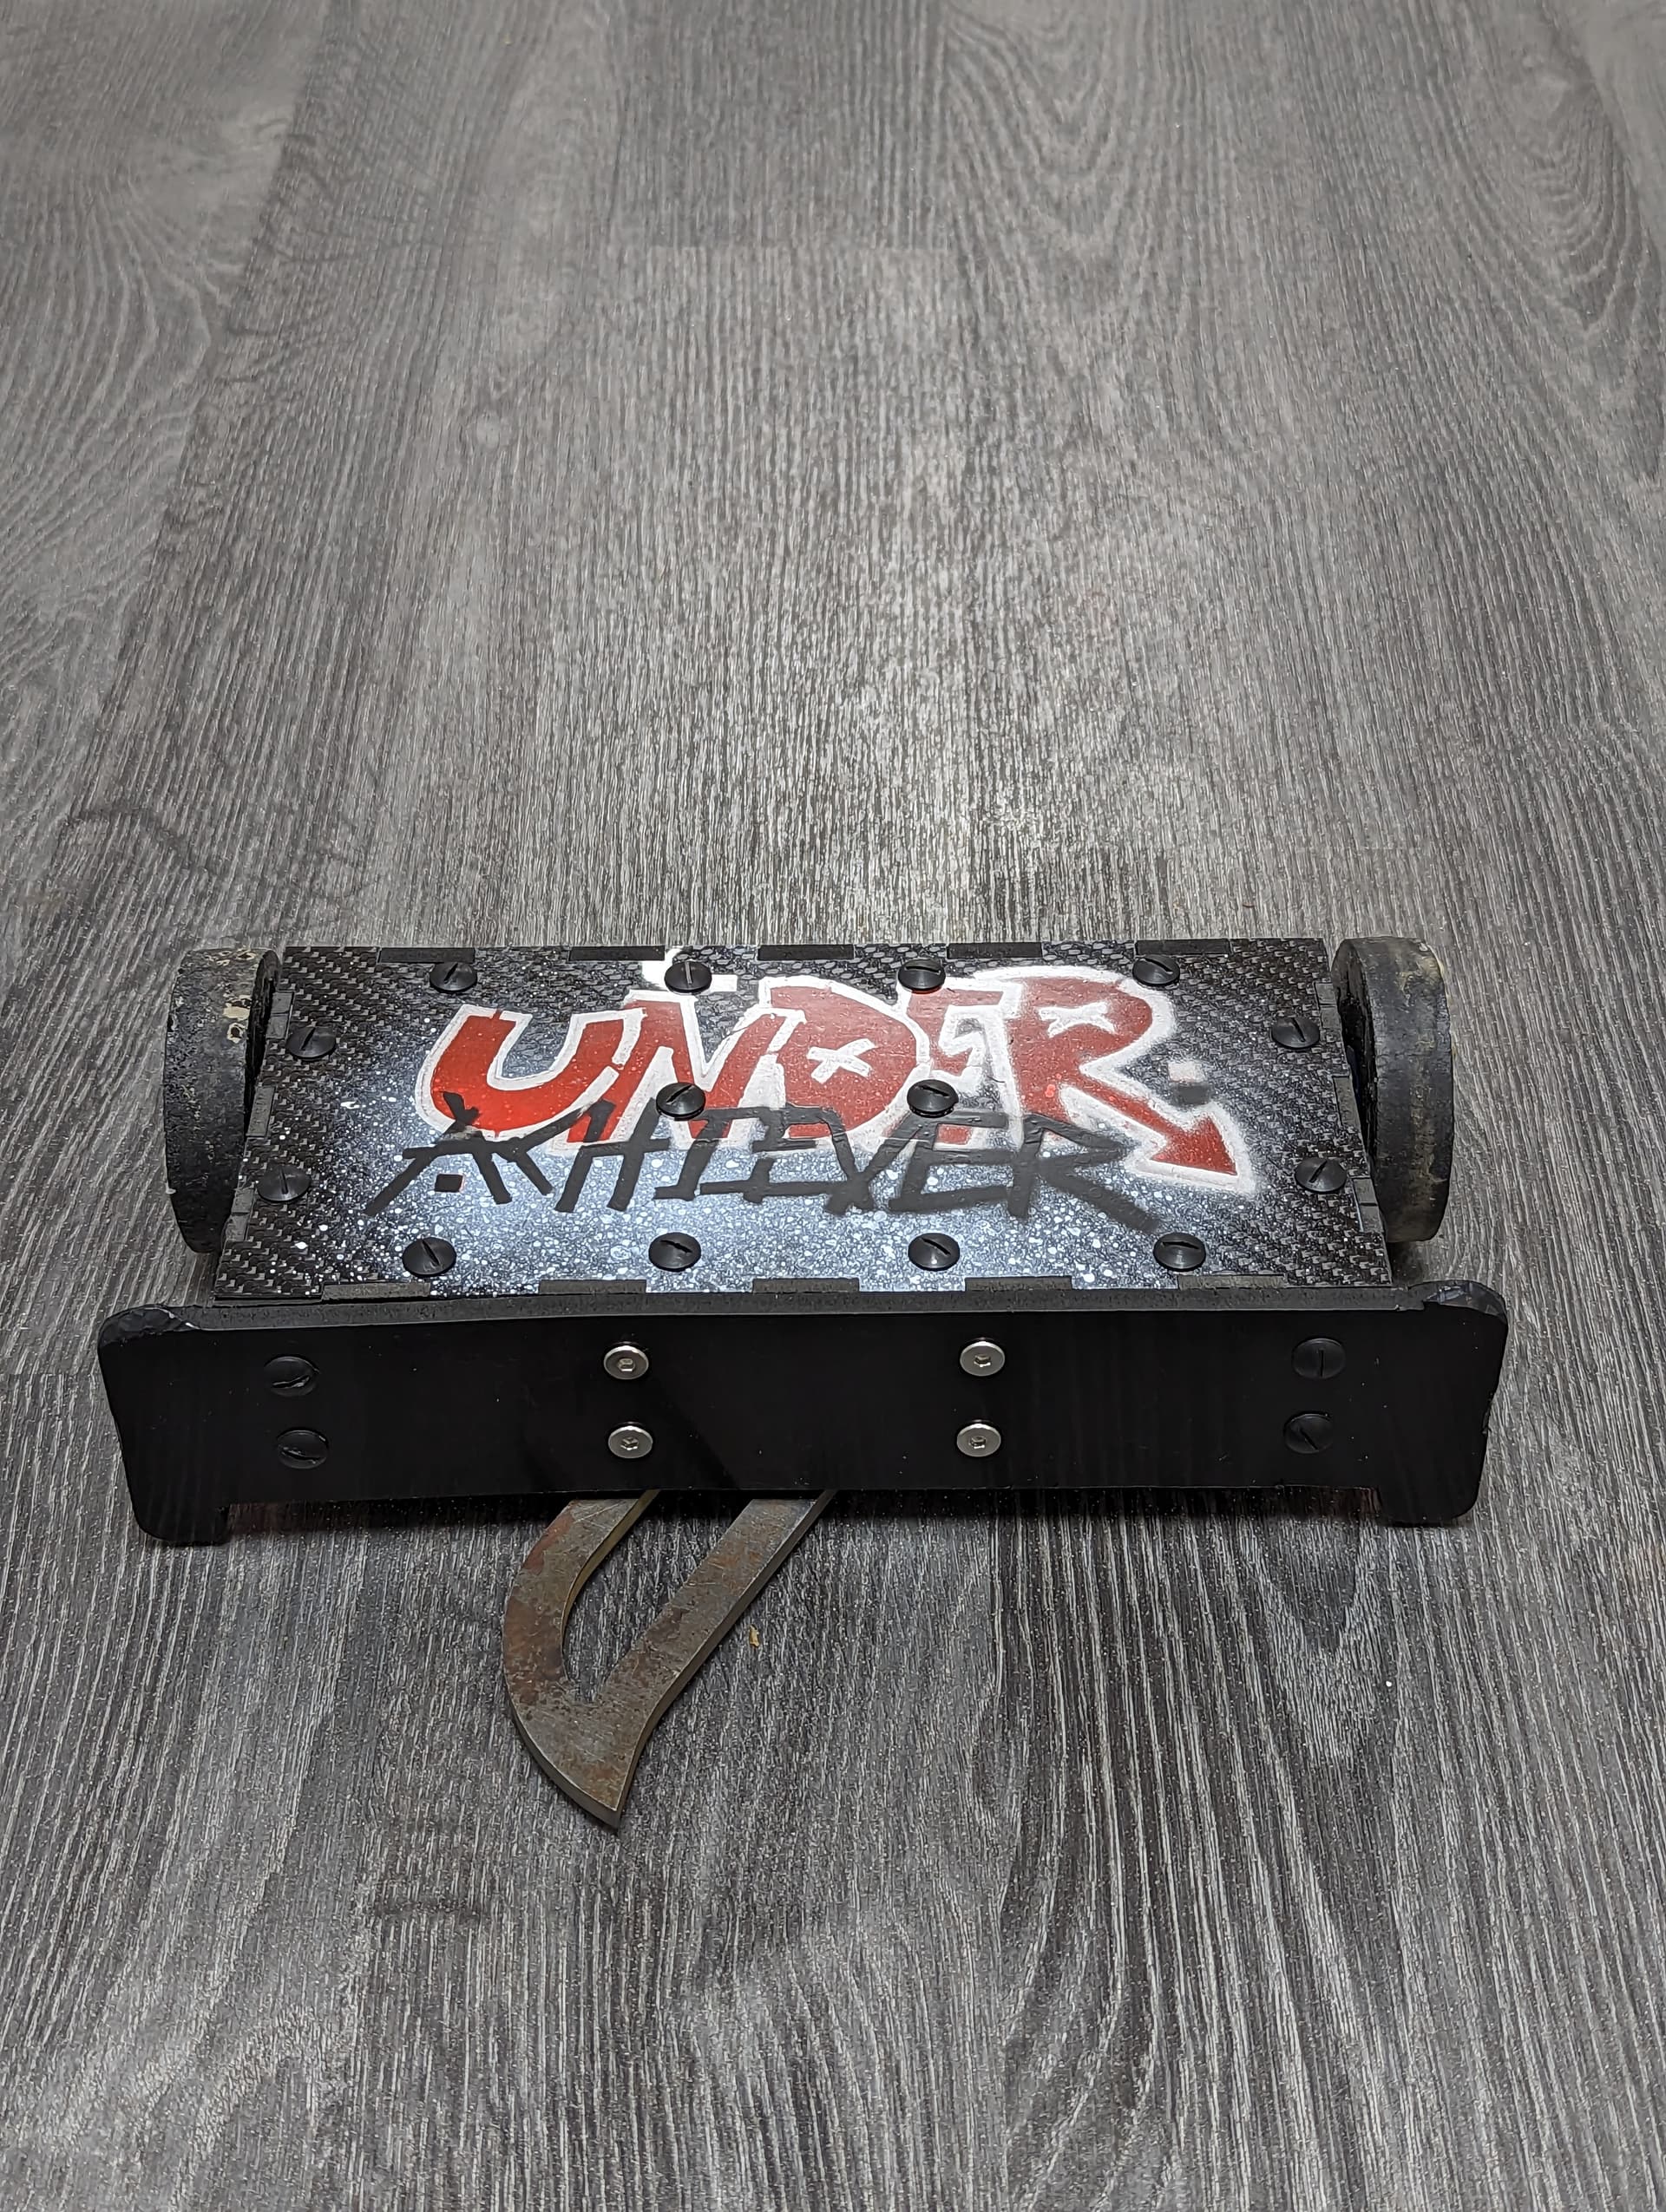
Under Achiever

Either way it ended up being like 750 grams of weapon assembly all in all and the robot was kinda ass. (I may or may not be currently working on a new robot featuring an ~800g drum but that’s for another post – hopefully come see it in may I’m sure it will be terrible.) The weapon took forever to spin up even with the gigantosaurus motor and the robot suffered badly from wonky table physics meaning it almost never had both wheels on the ground. All in all, left lots to be desired. Oh also I drove it so incredibly terribly which is the reason we ended up going out. Only mentioning it now because believe it or not this is a recurring theme and it’s what I attribute to being the main reason why jackhammer is so amazingly middle of the pack.

Jackhammer lore:

Jools and I spent the entire car journey back discussing the current meta and where we thought it would go in the future. Almost every alleyway we explored led to one thing, build a 4wd vert. We did not want to do this since we figured anything we built along this route would just be worse than all the other 4wd verts. We wanted to make something that there weren’t looooads of at the time (ironic now I know) so that way we could try and get somewhat ahead of the curve. We also wanted to try and innovate somewhat in the archetype. Anyway as we pulled into Cardiff we managed to outline the idea of what is now Jackhammer.

So, Jackhammer.

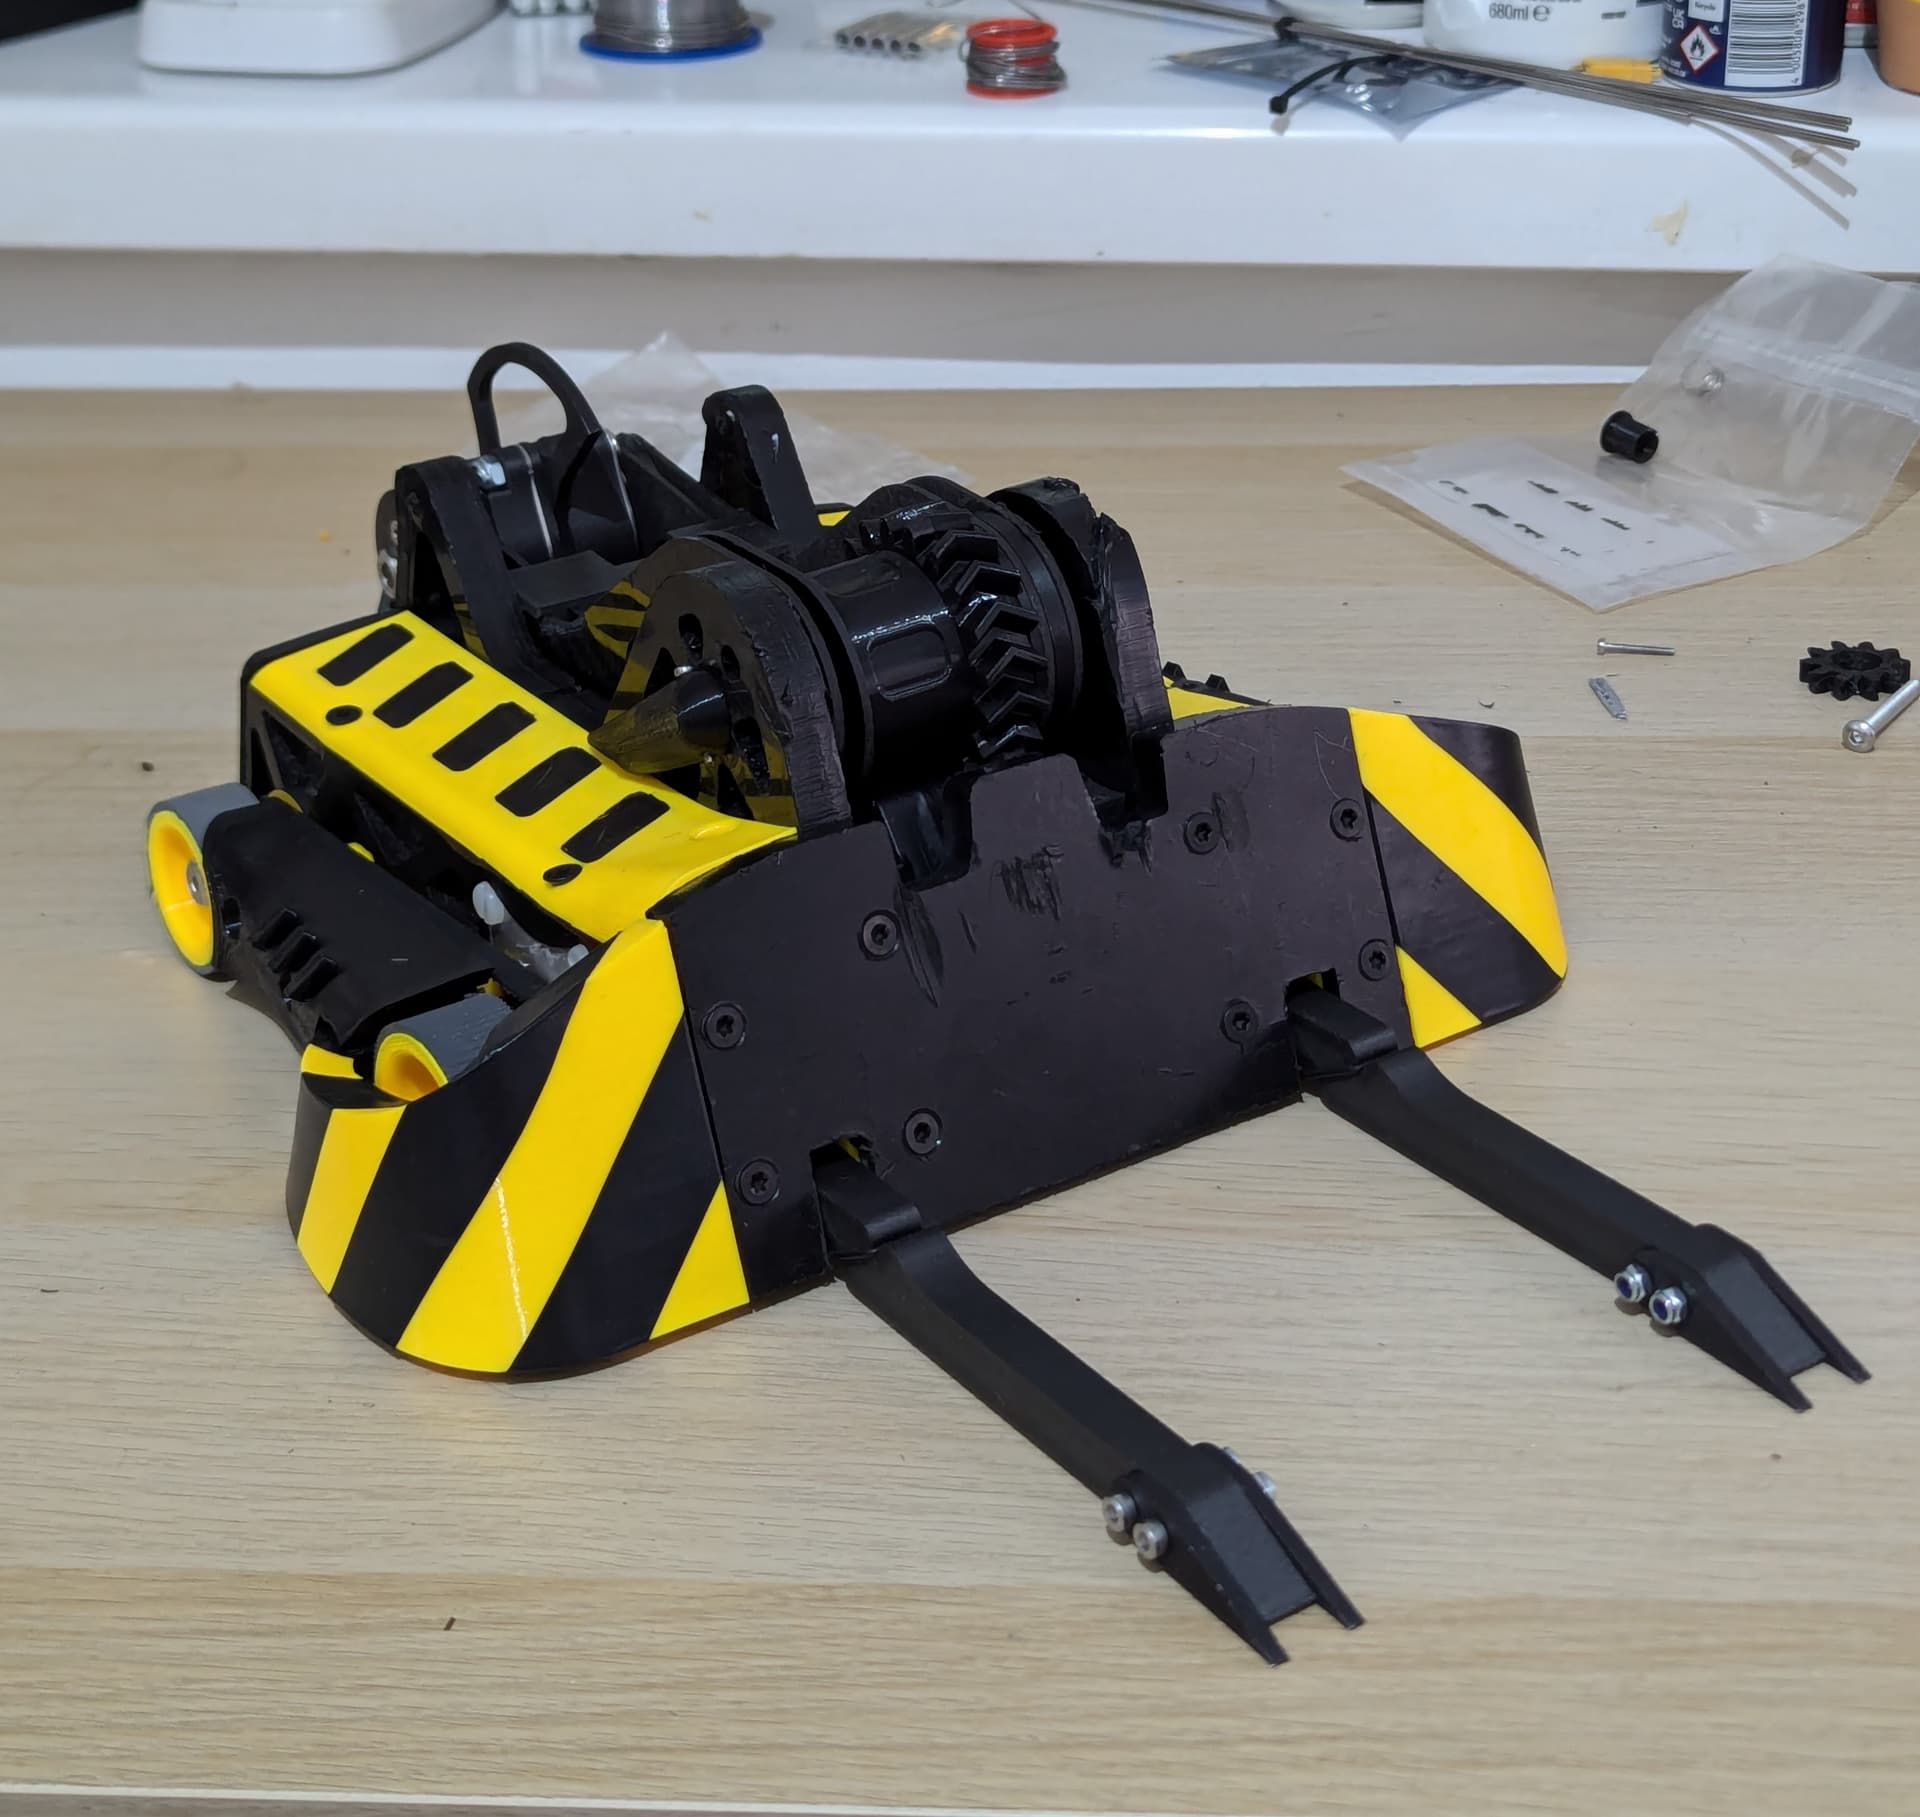
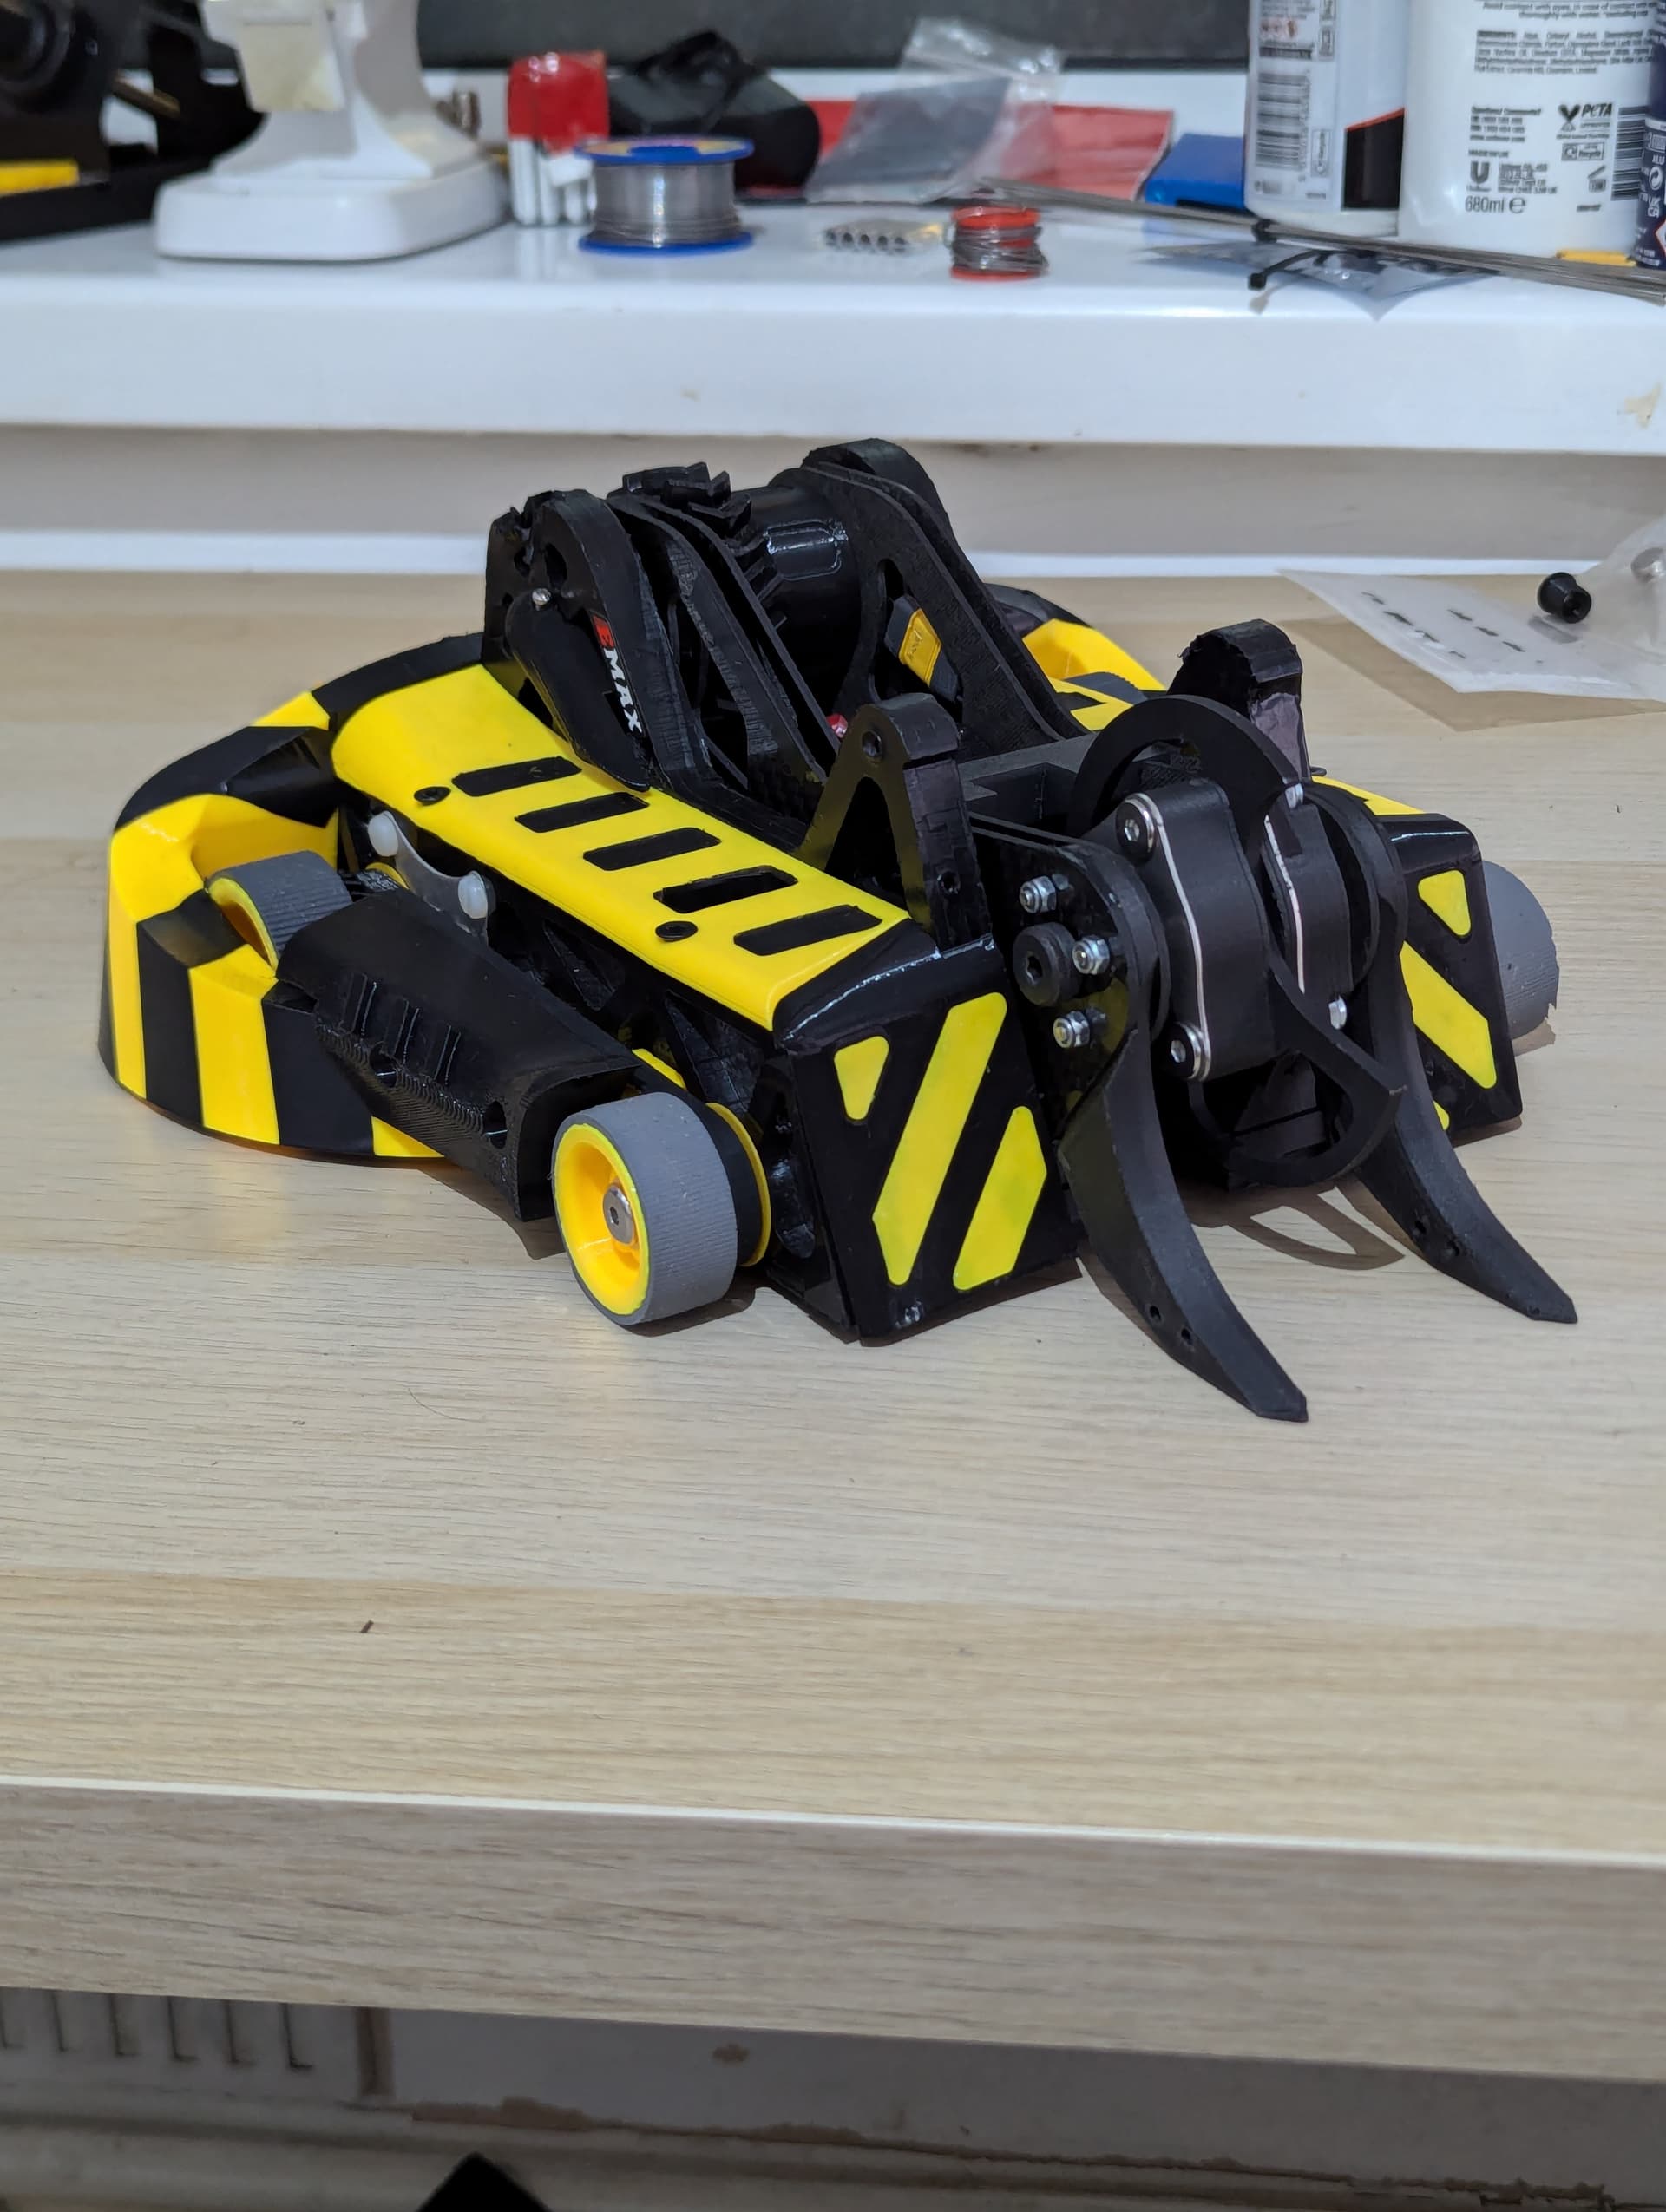
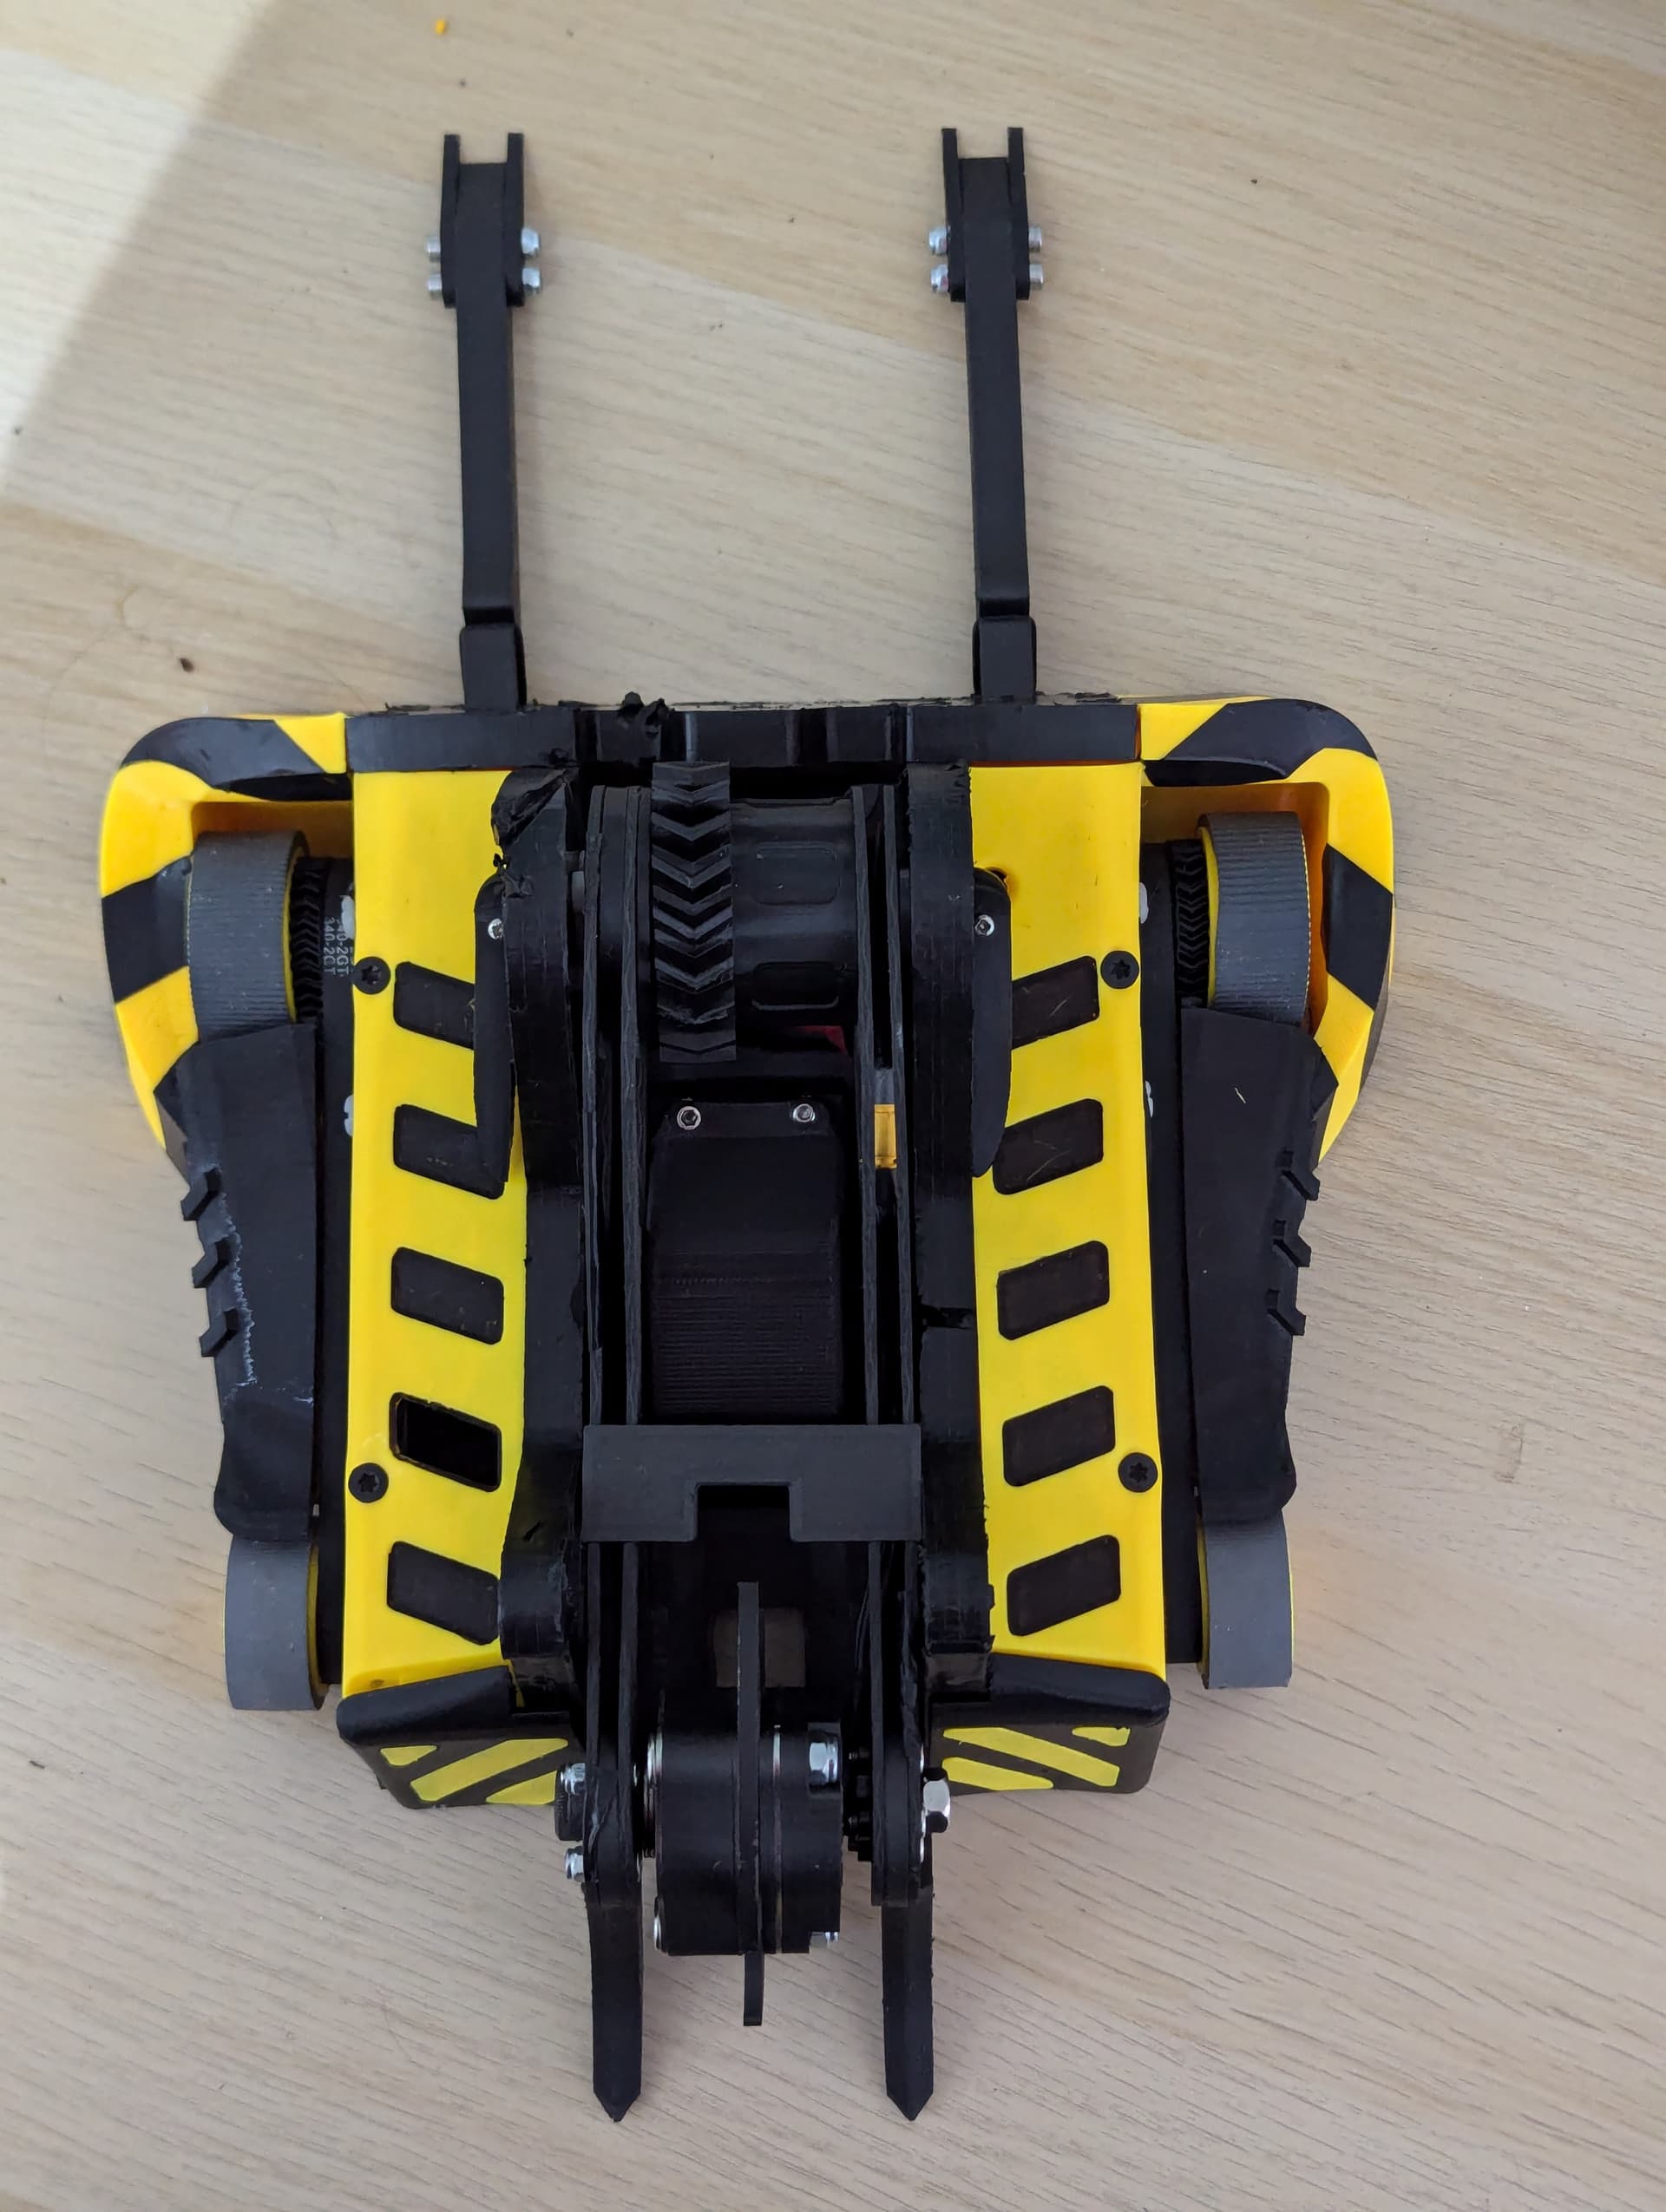
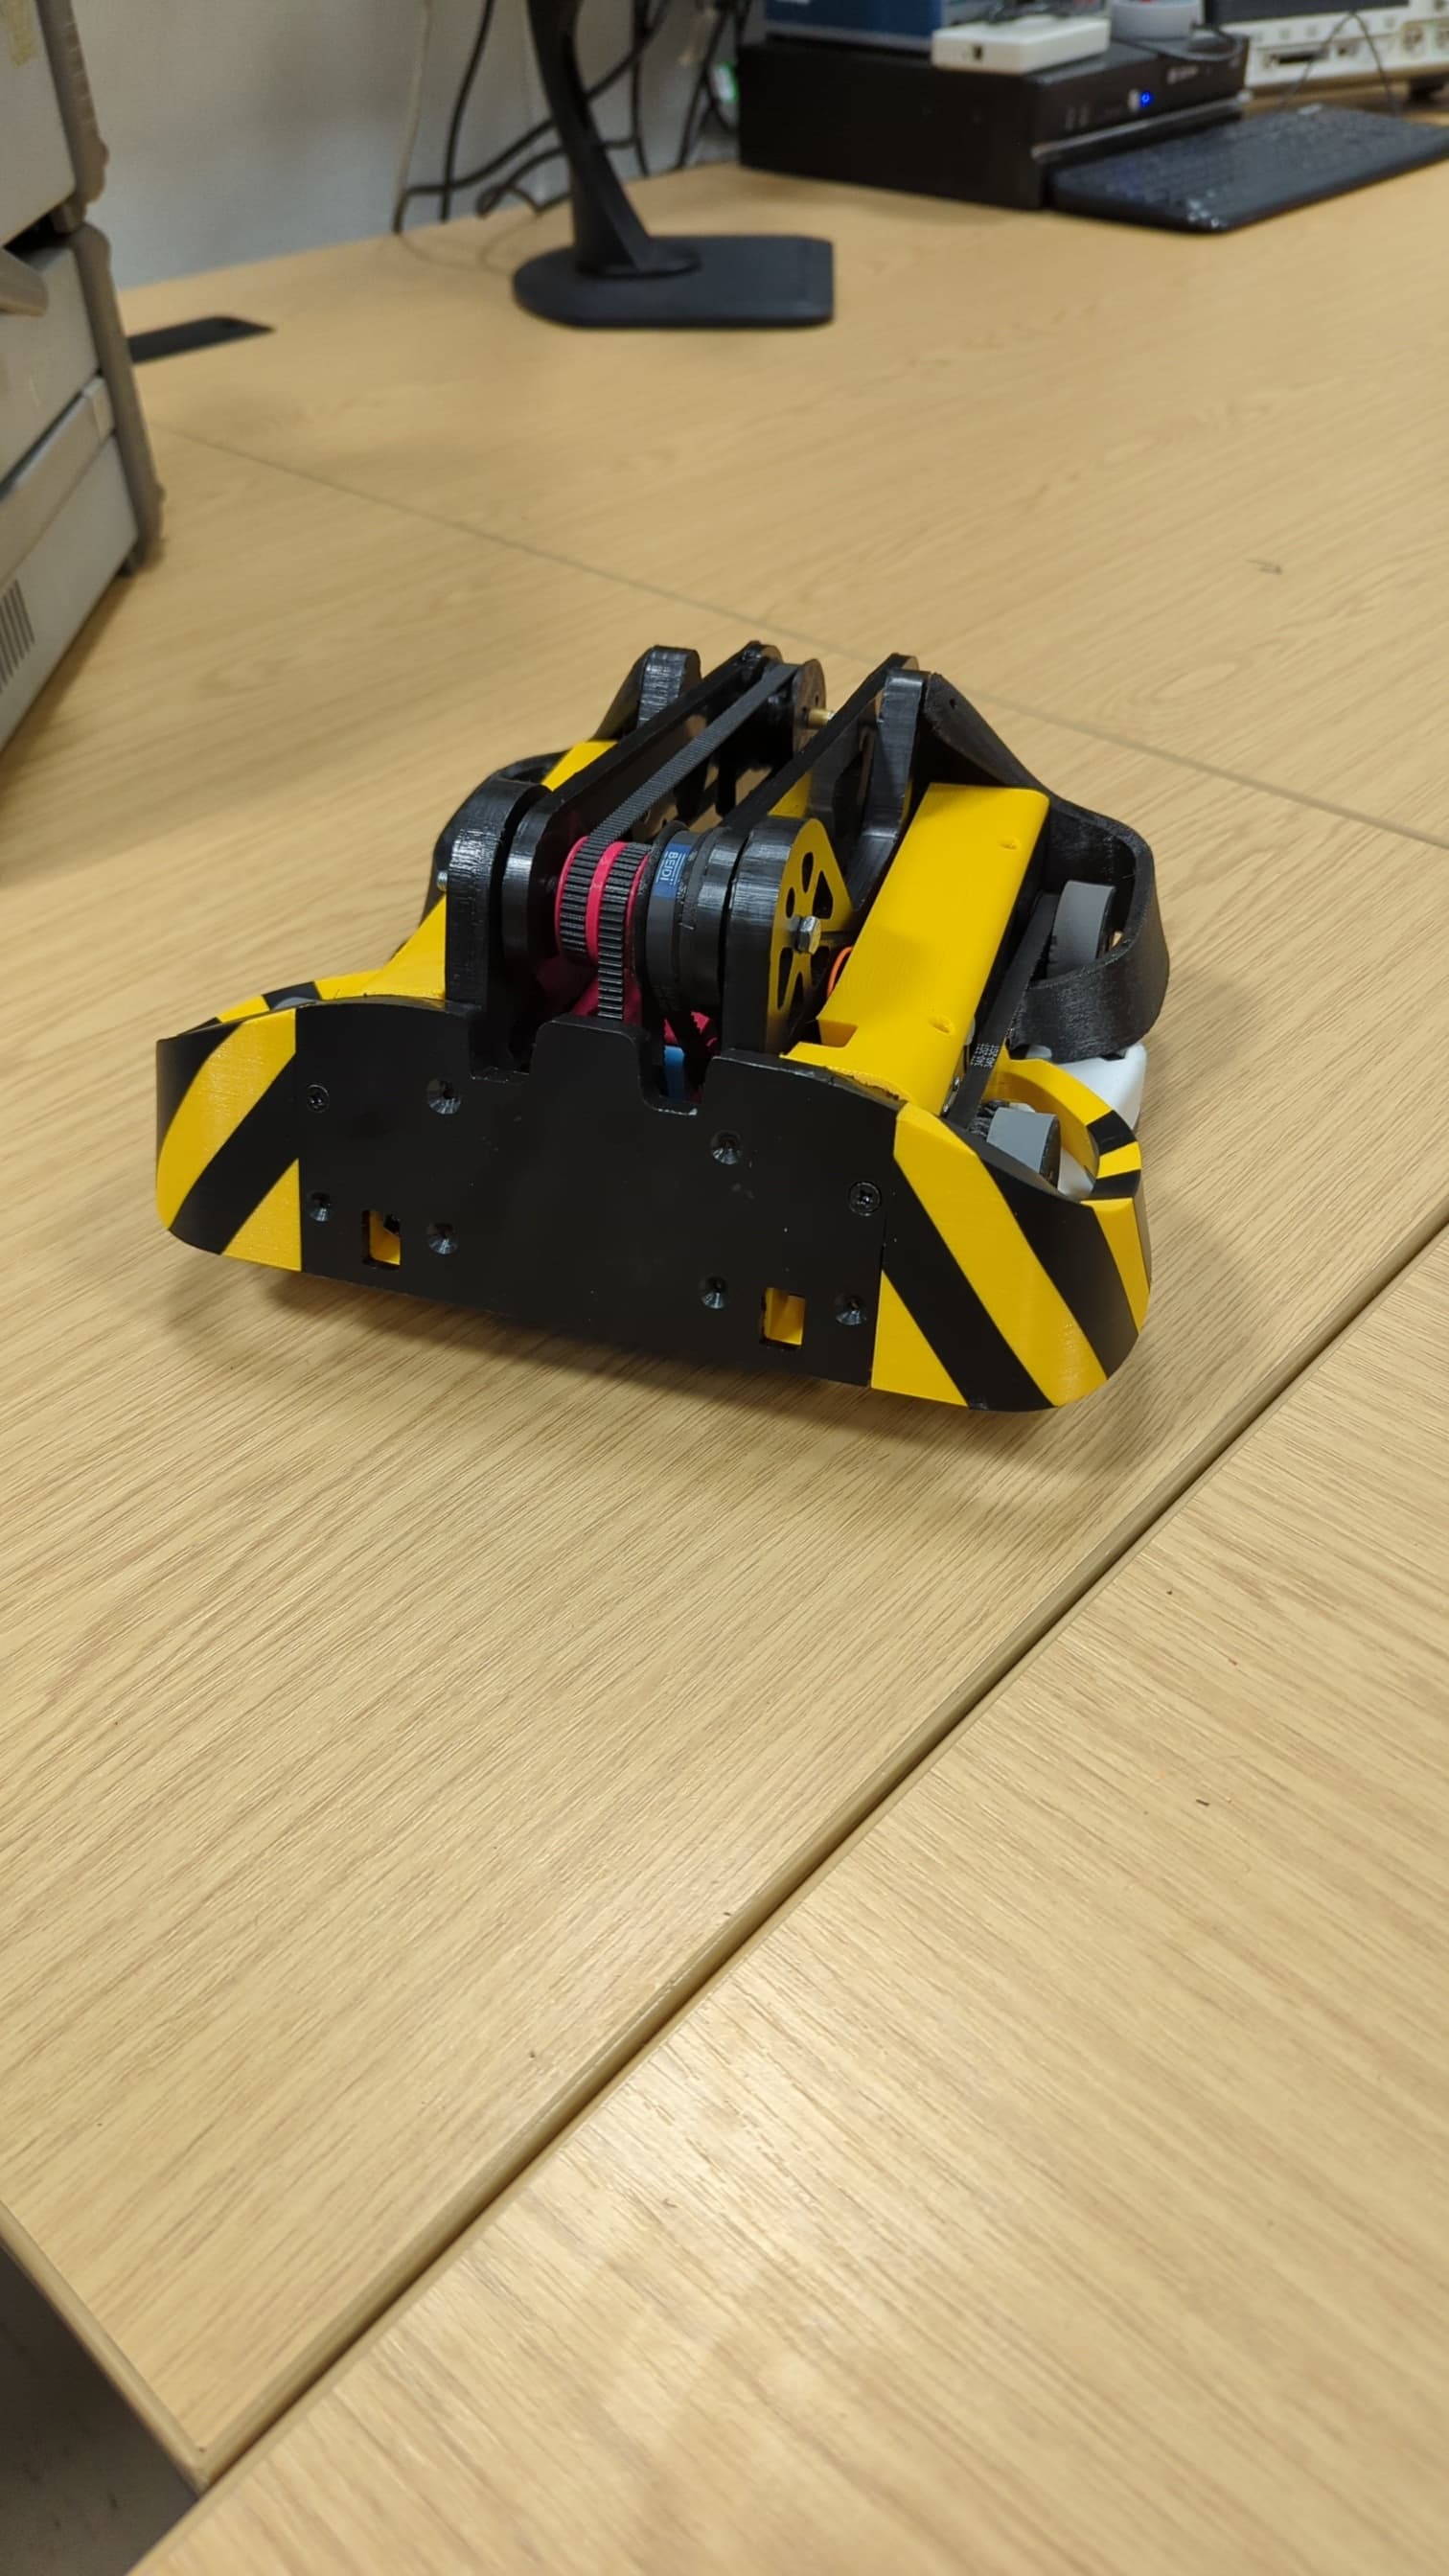
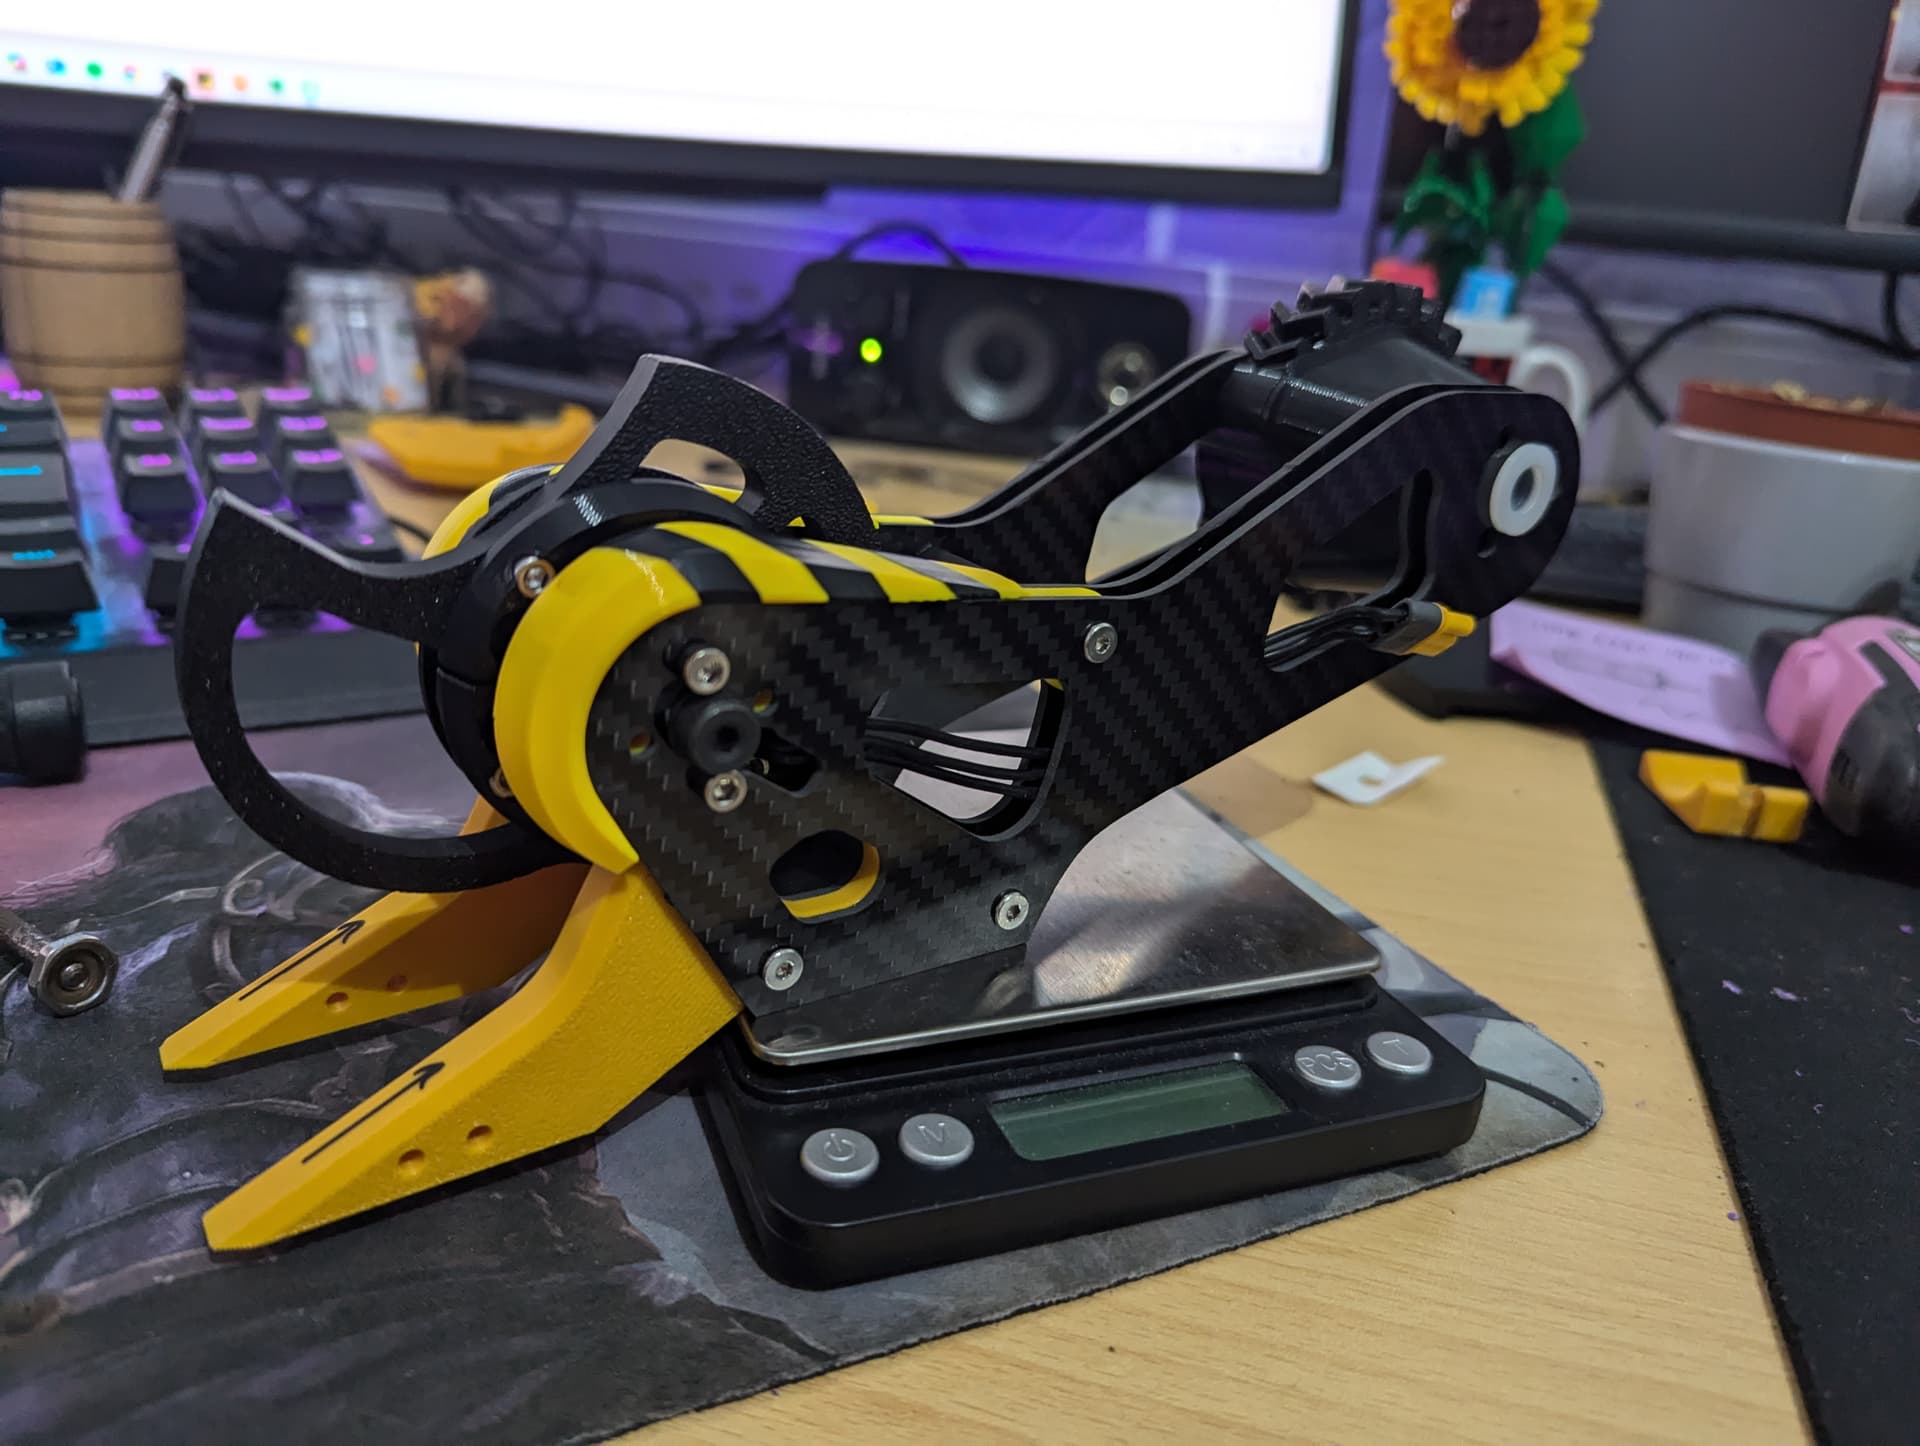
Is it a hammersaw? Is it a vert? is it a lifter? I don’t know, and therefore neither does the opponent. That was the idea anyway. Actually it was never meant to have the lifter forks but they got added when we realized it couldn’t quite self right as I’d modelled the disc in as a perfect circle and didn’t take into account the fact that it would move to a low spot when self righting. Since then, the forks stayed coz they’re cool and I can pretend to be whiplash. I don’t think Jackhammer has ever, or will ever have enough torque to lift anyone but it’s nice to be able to pick the rear forks up off the ground when they get stuck in the seams.

V1 babyyyy

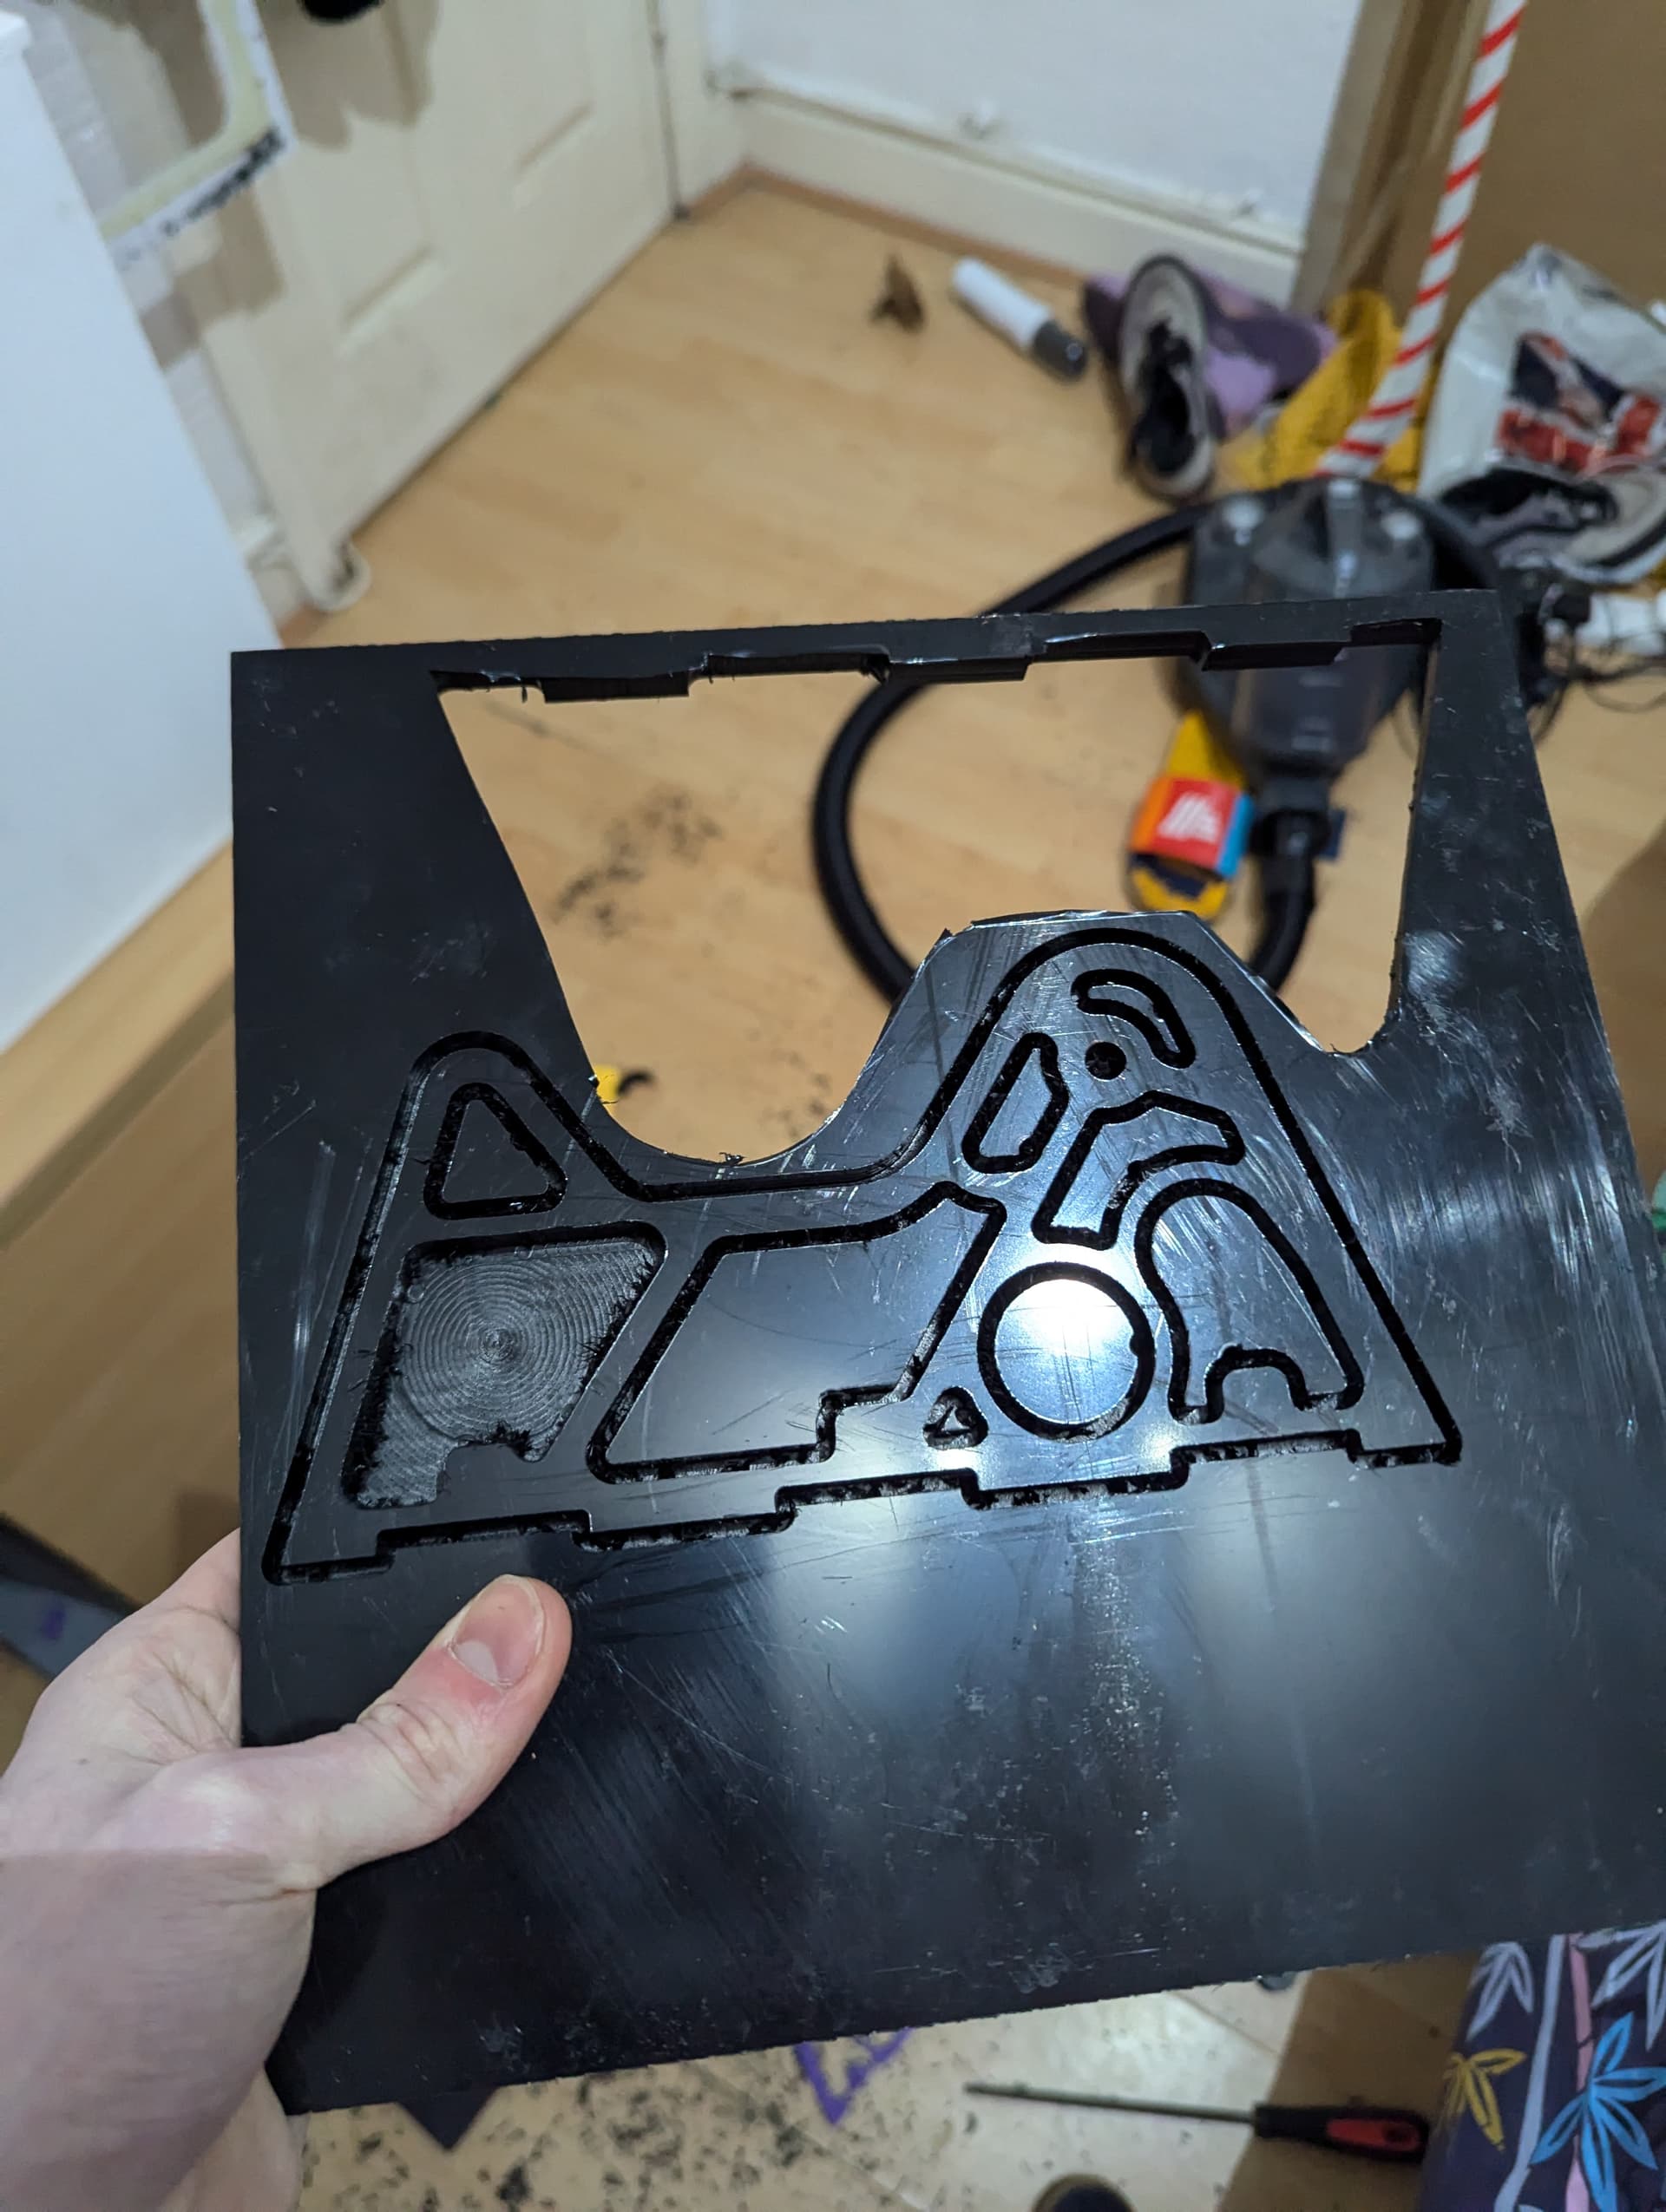
V1 with a stand in acrylic arm before the carbon one was done (also missing flimsy forks which poked out through the slots in the wej)

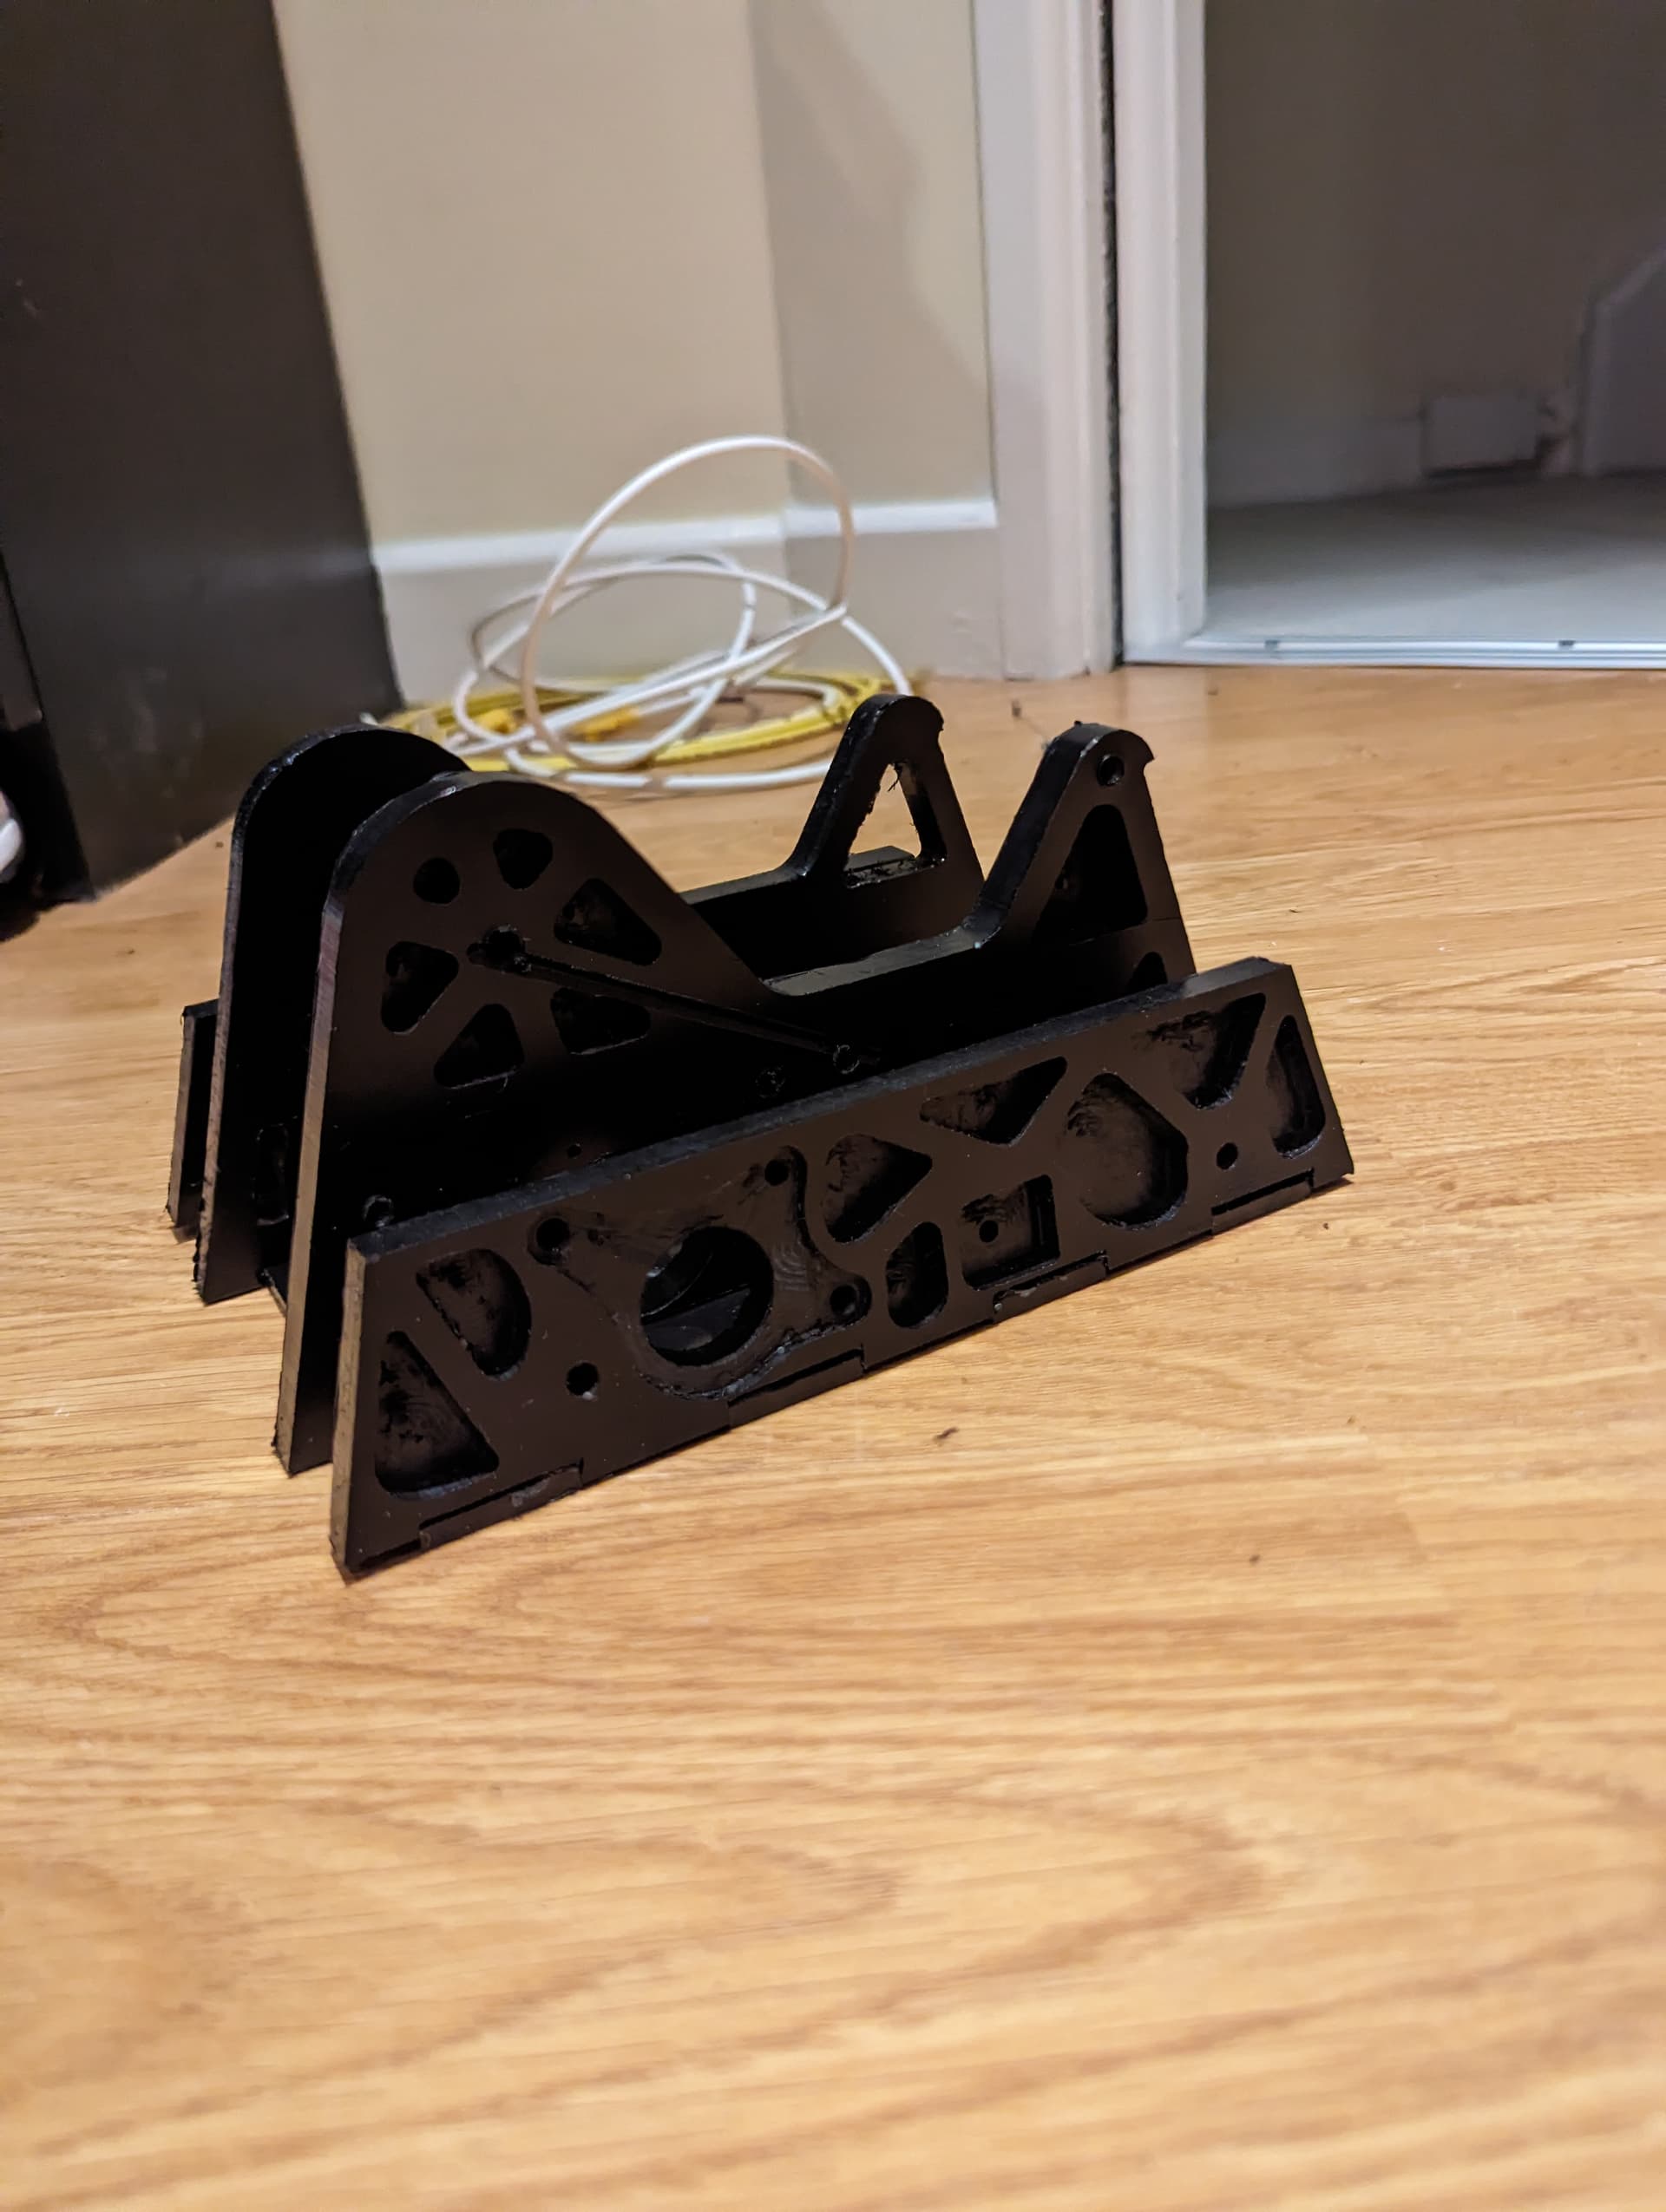
This was the spare arm made from HDPE which I forgot existed until I saw this picture. The carbon one was kinda the same but made from spaced layers not a blok.

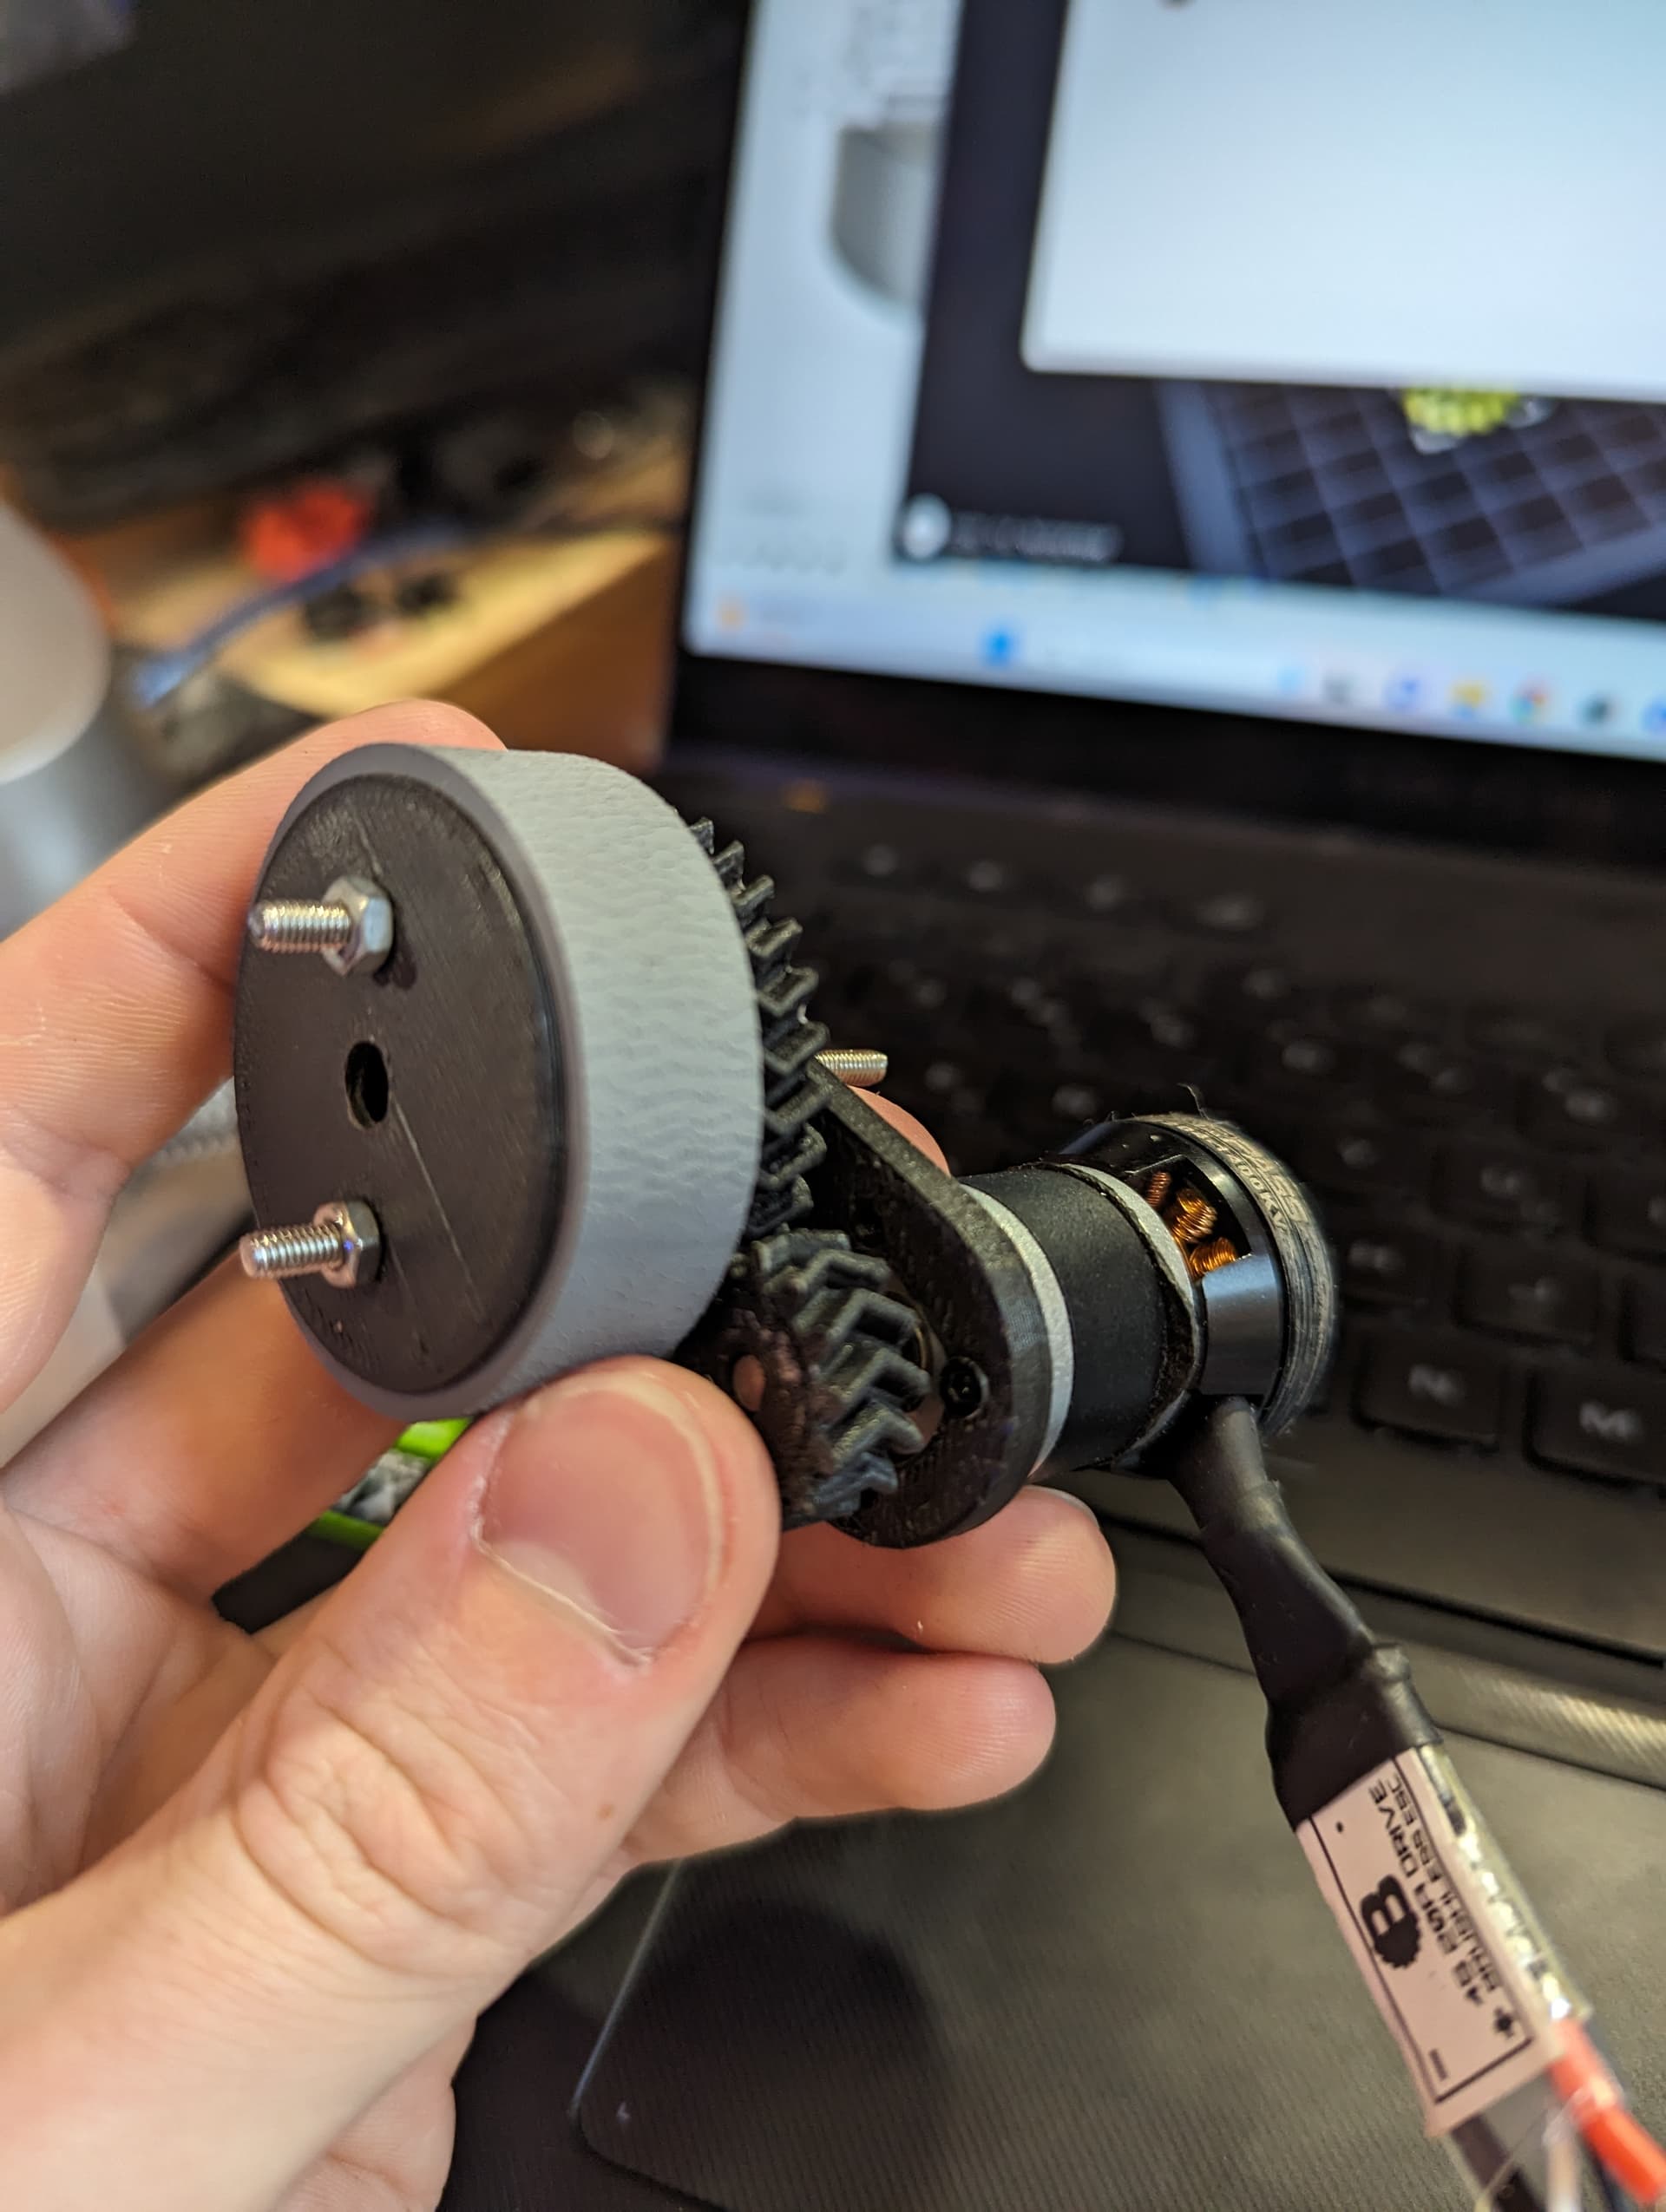
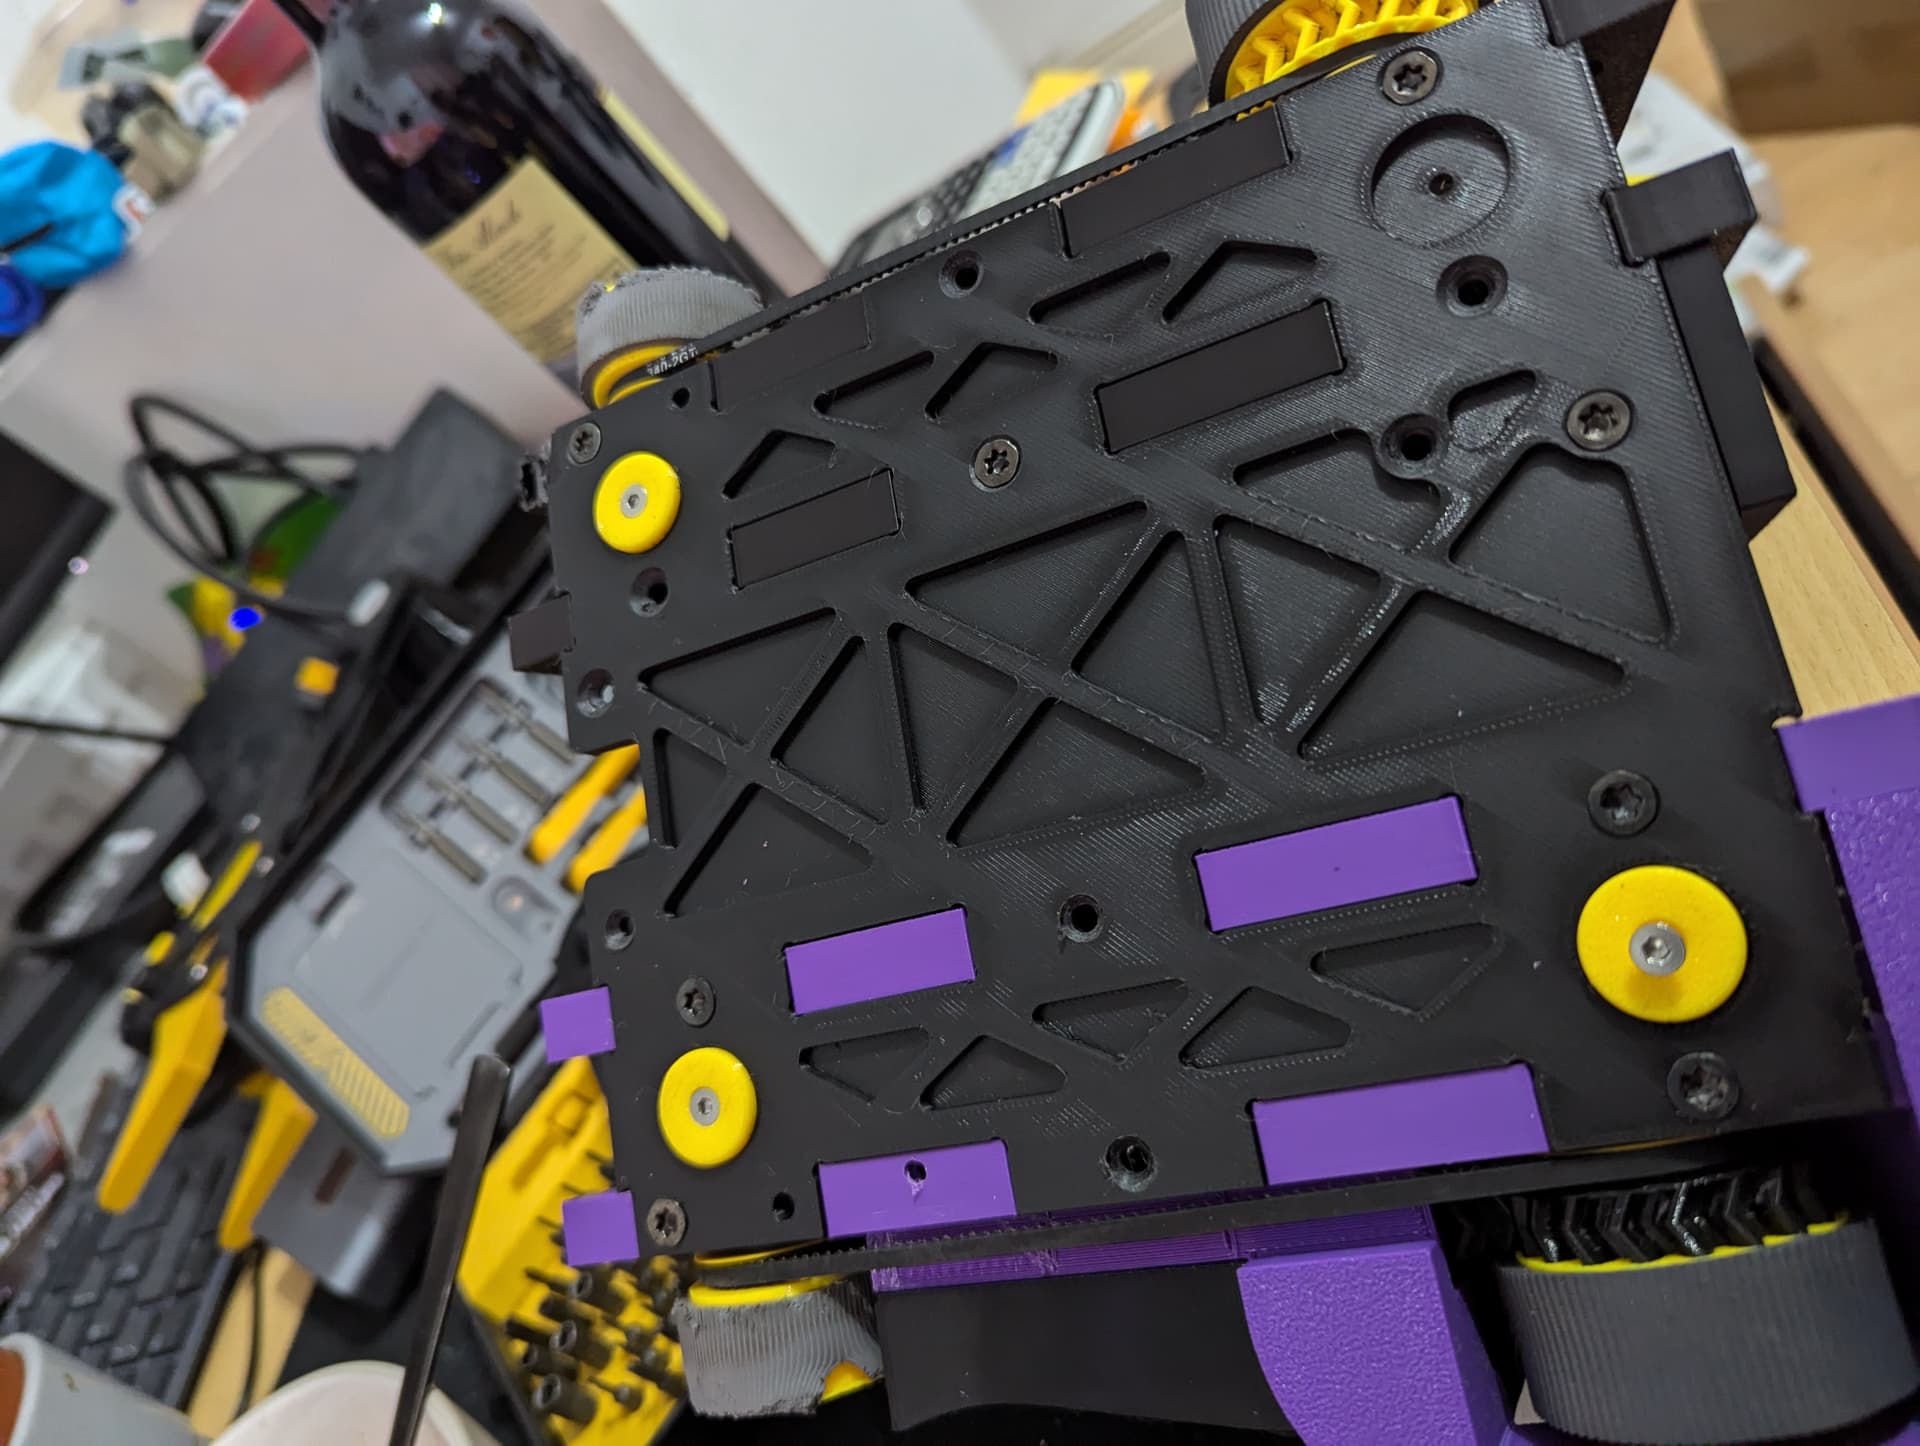
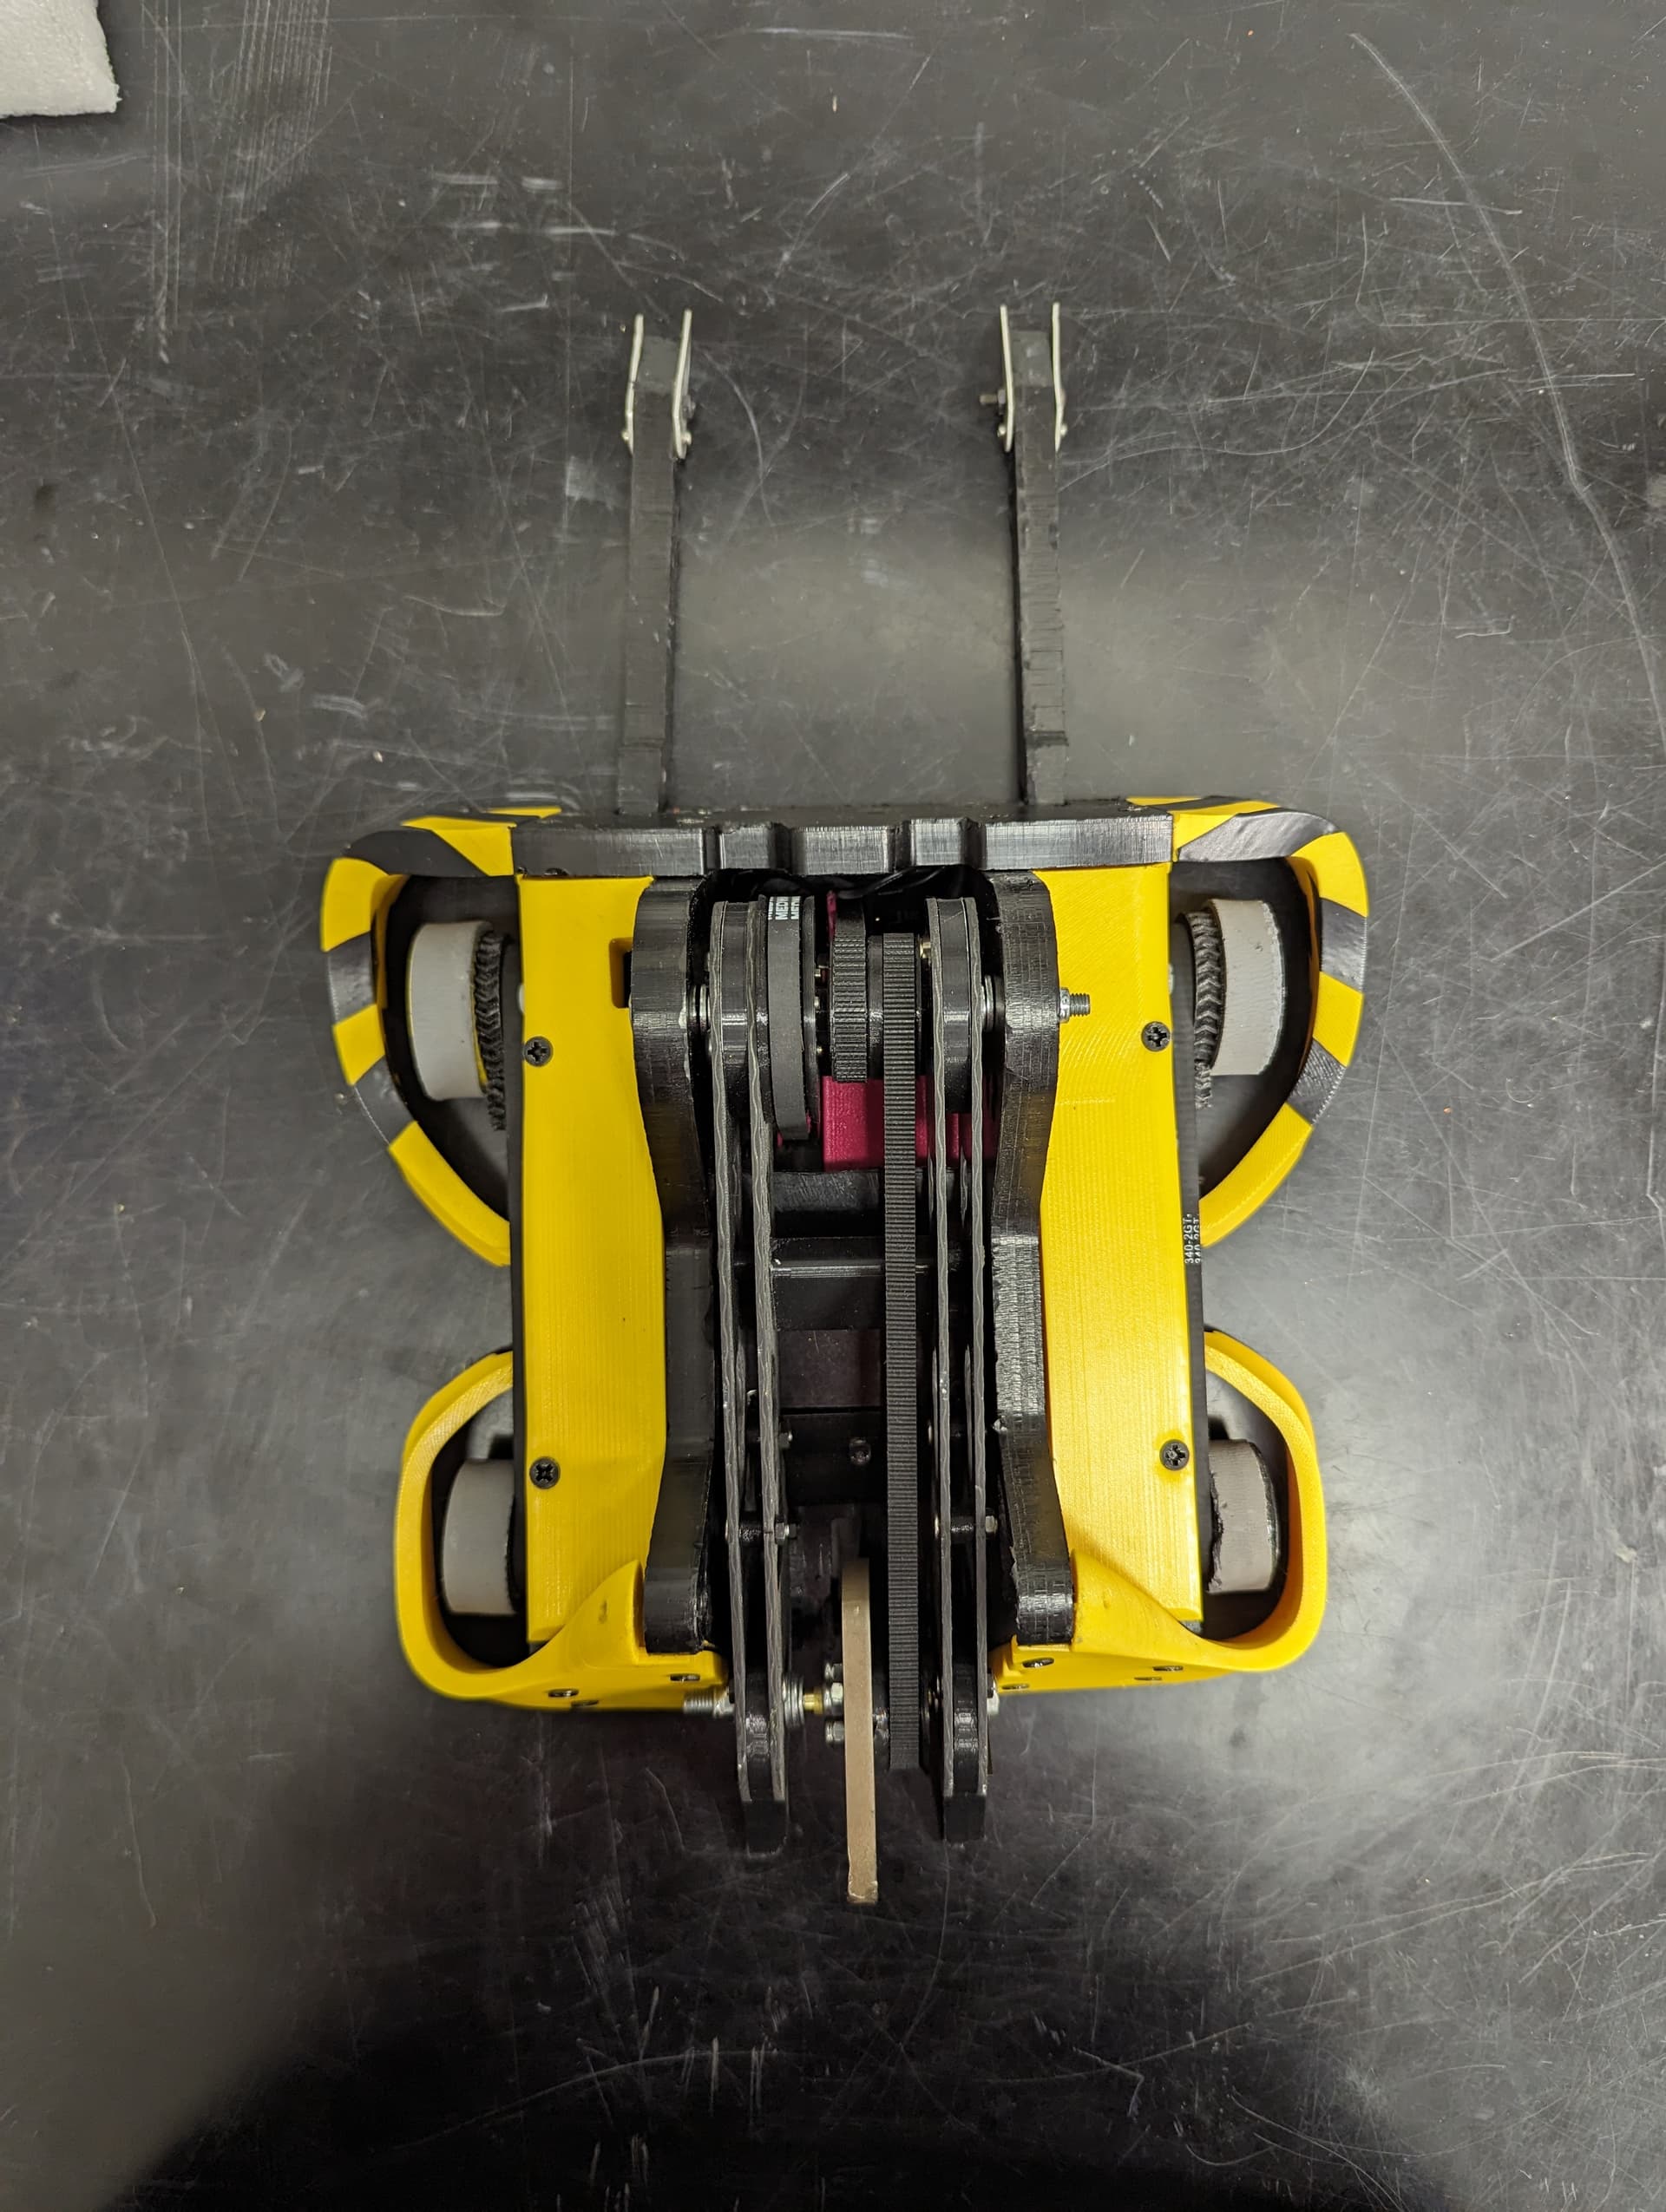
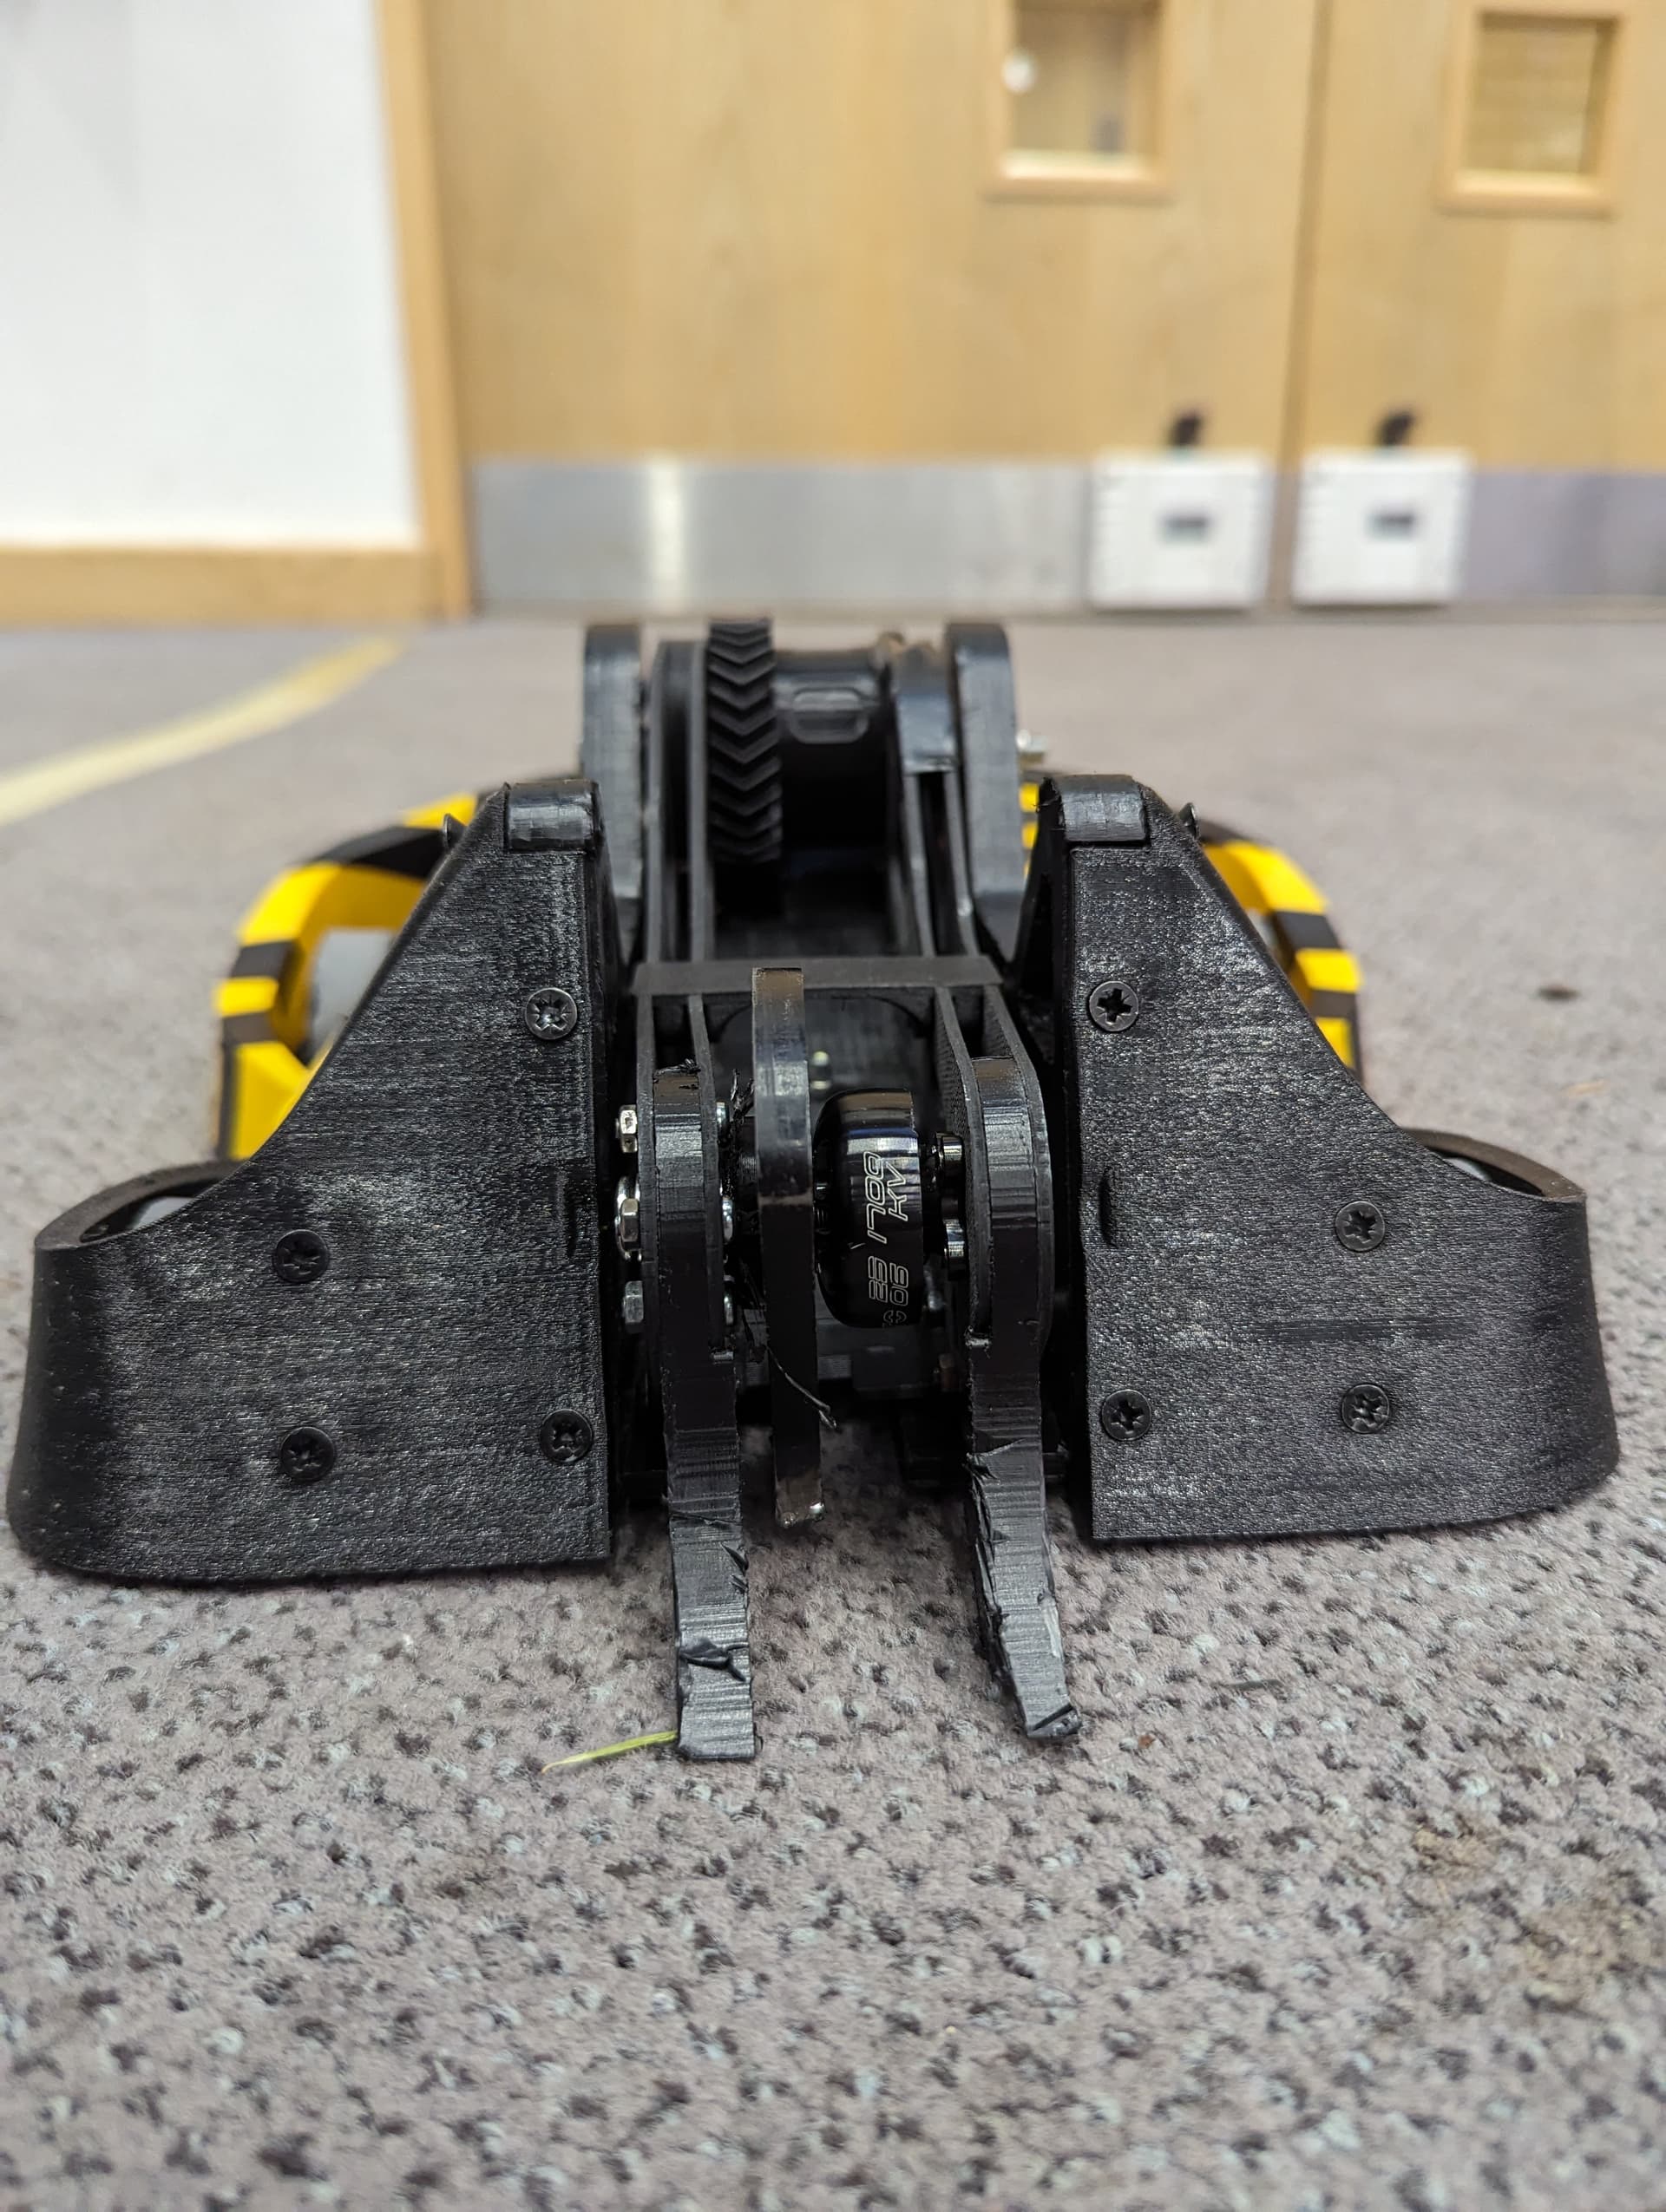
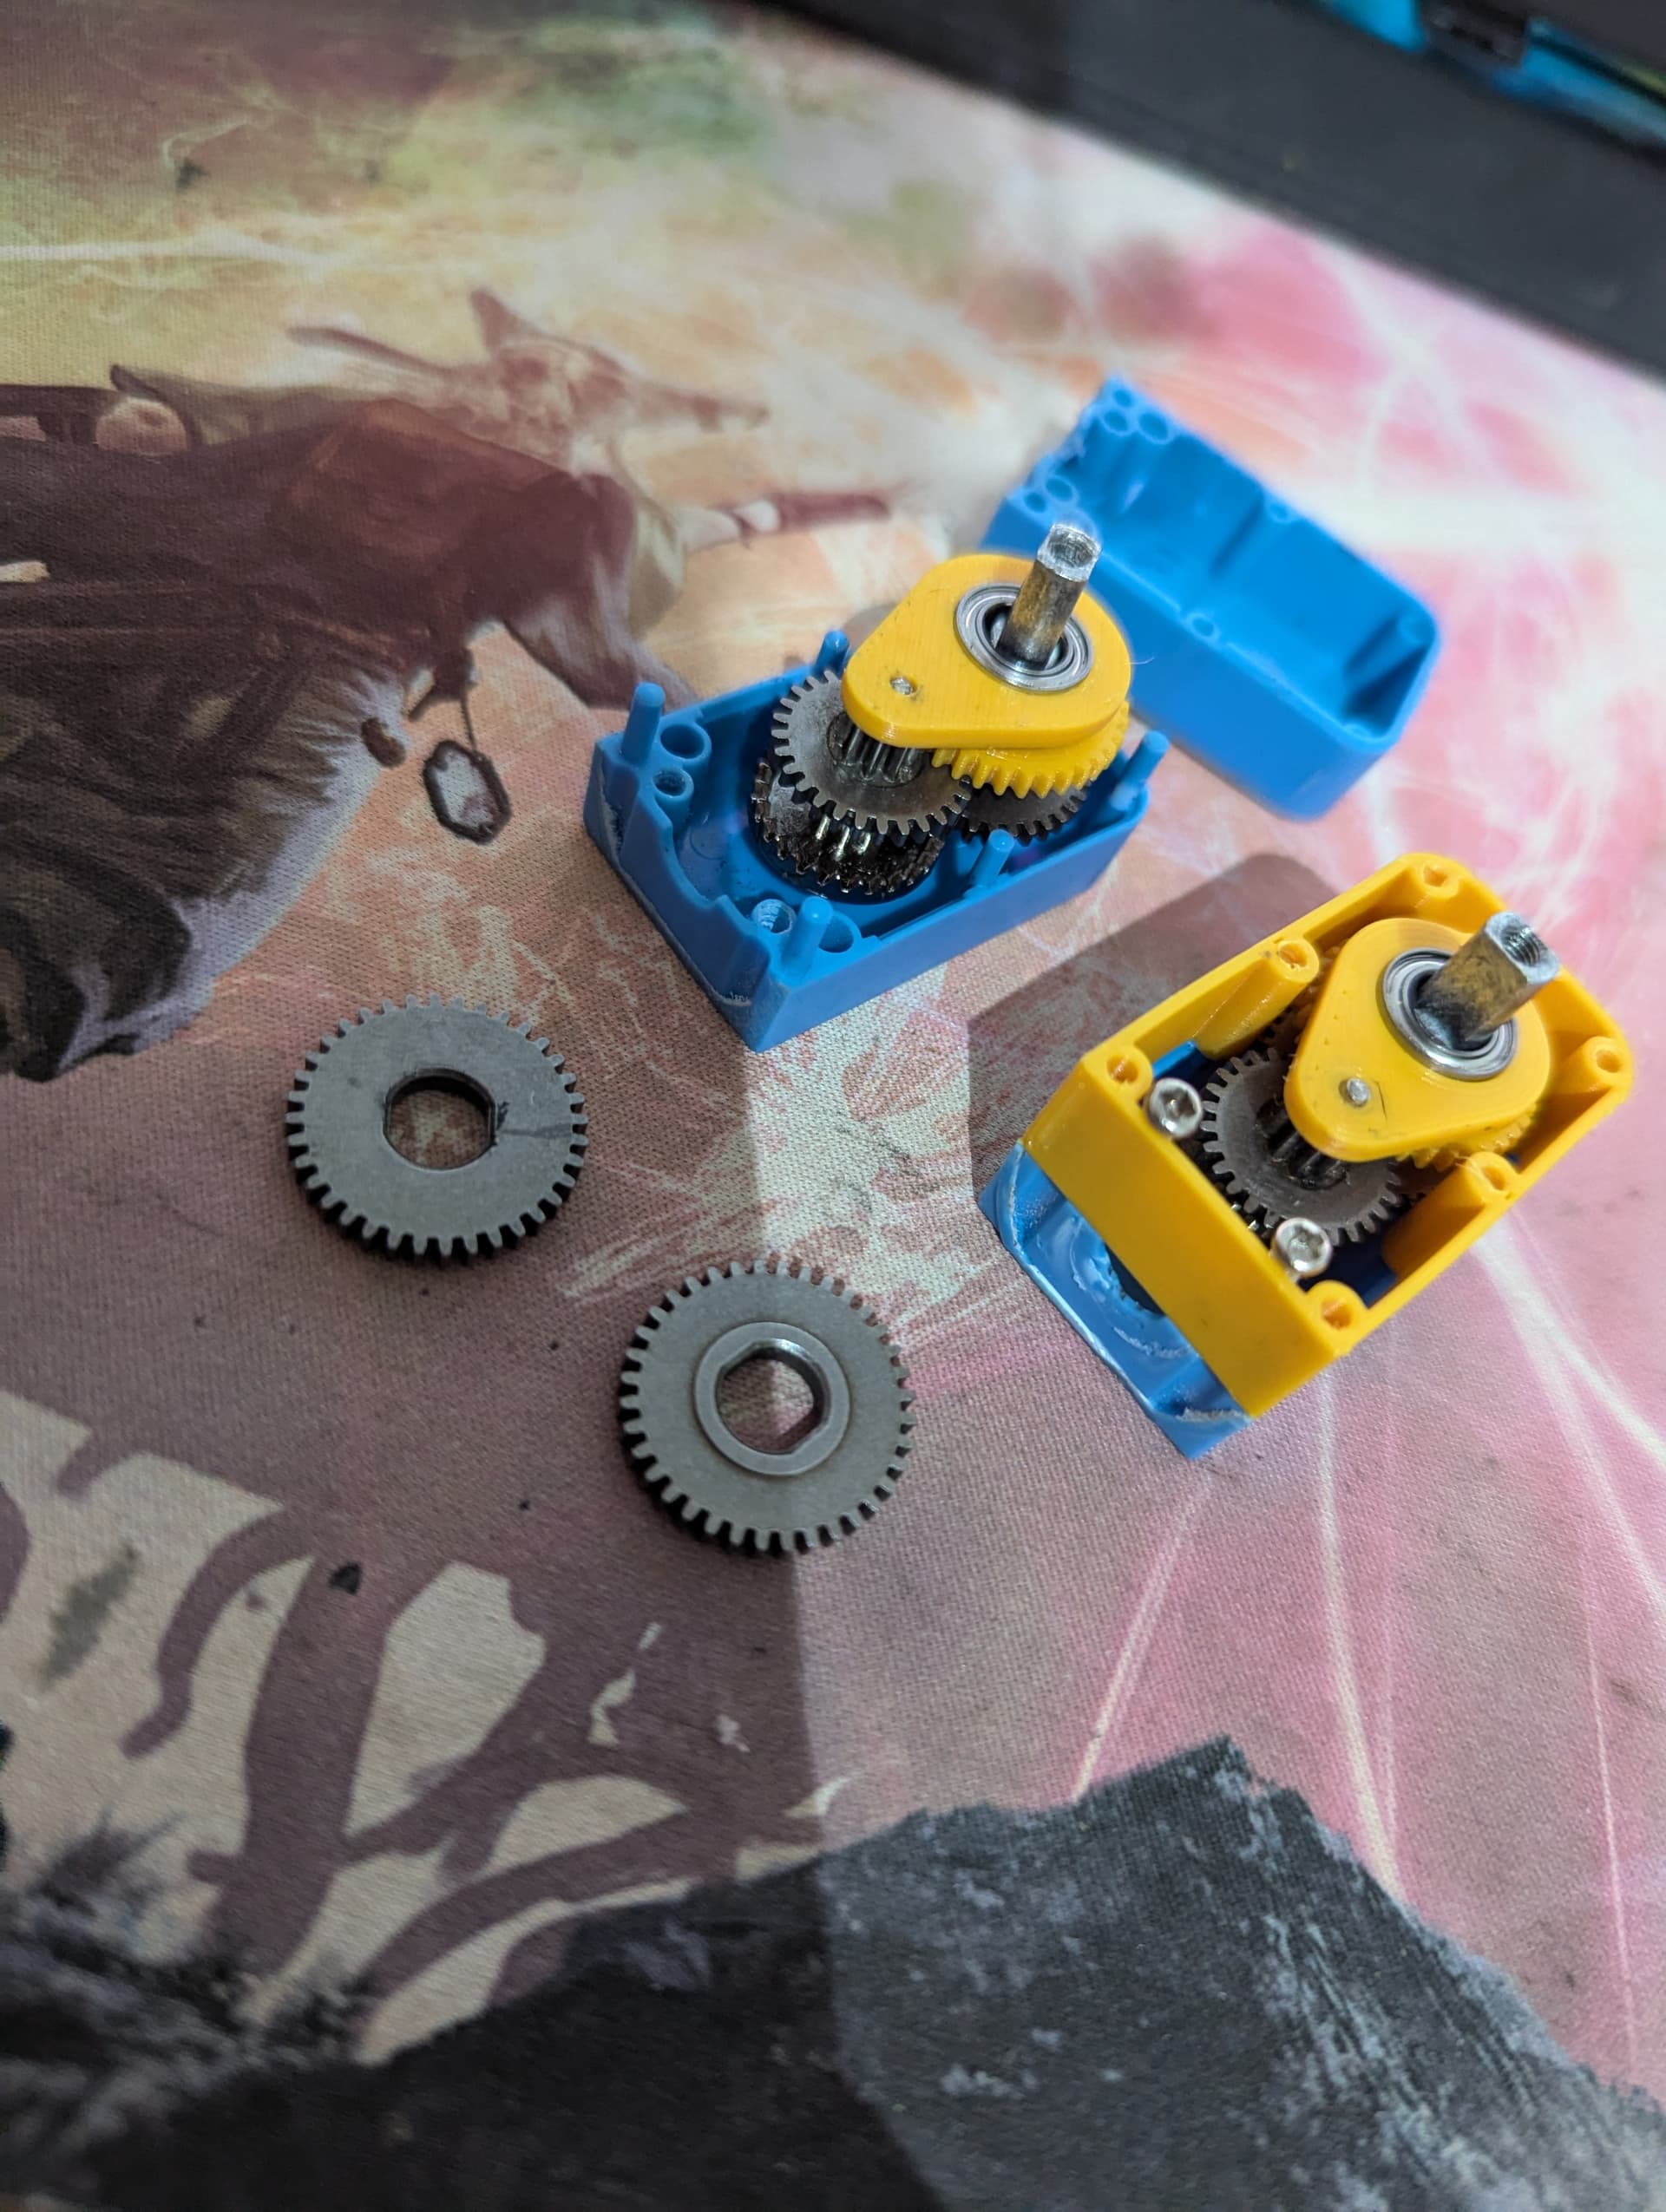
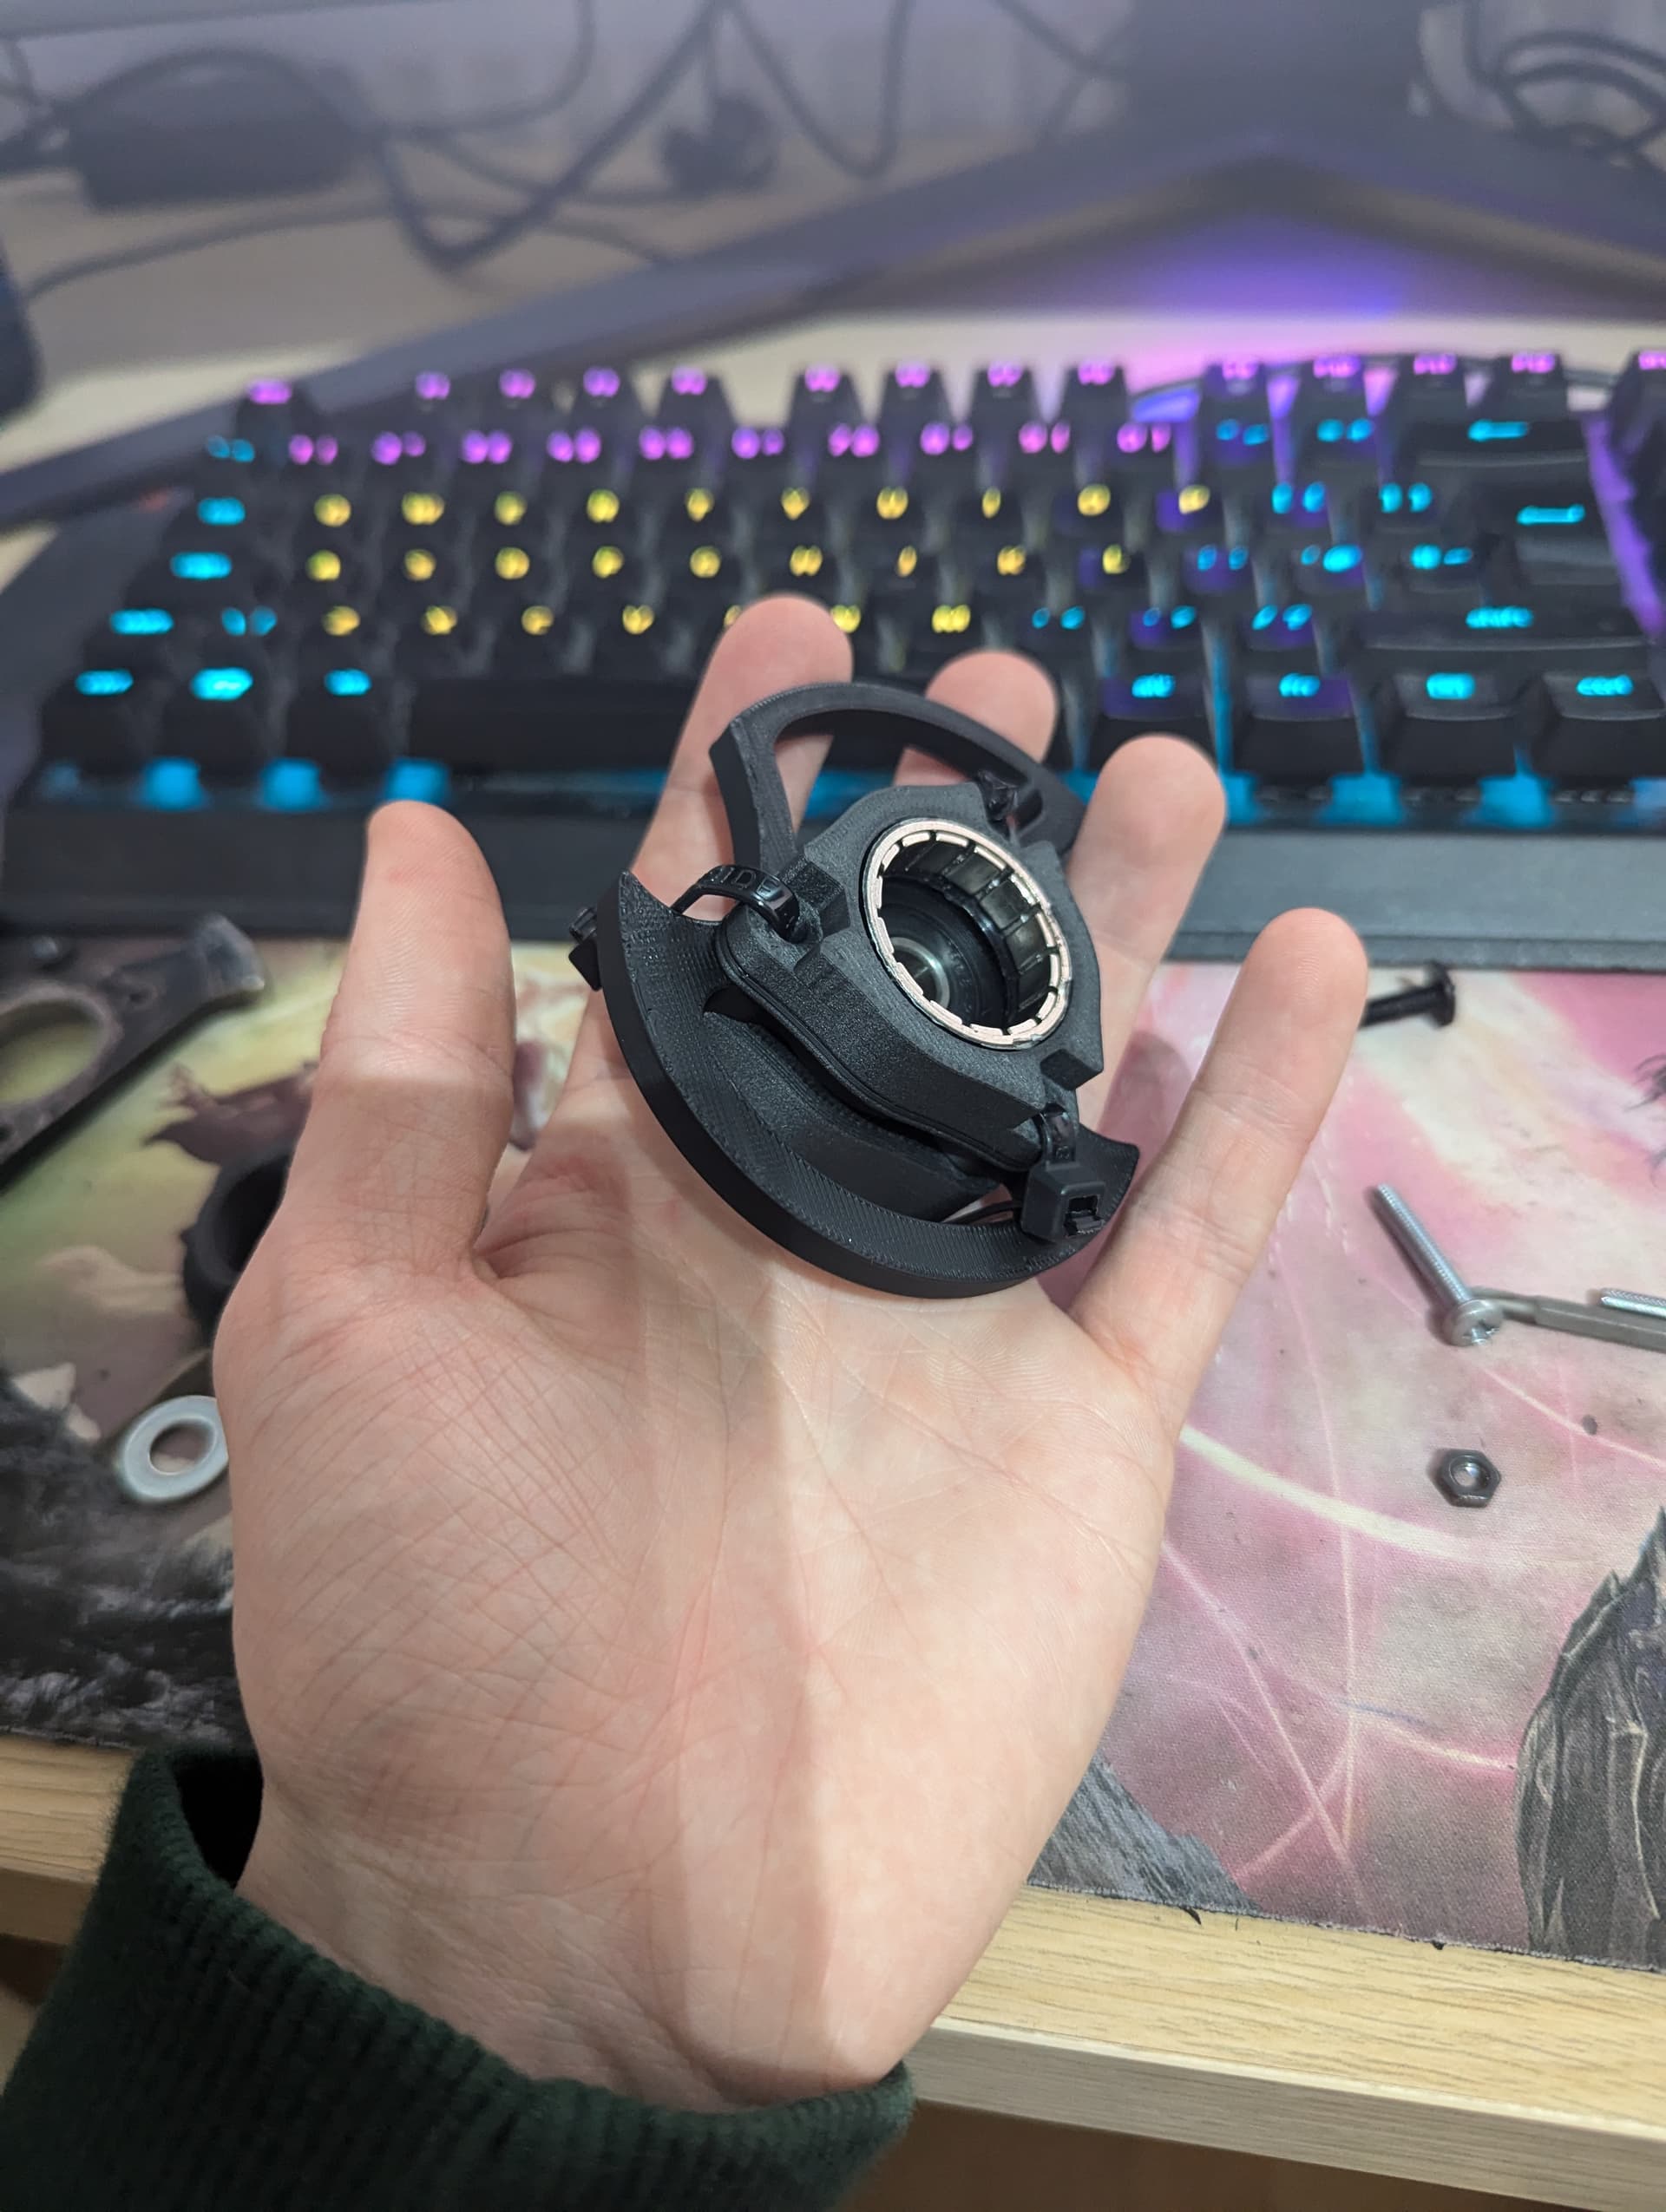
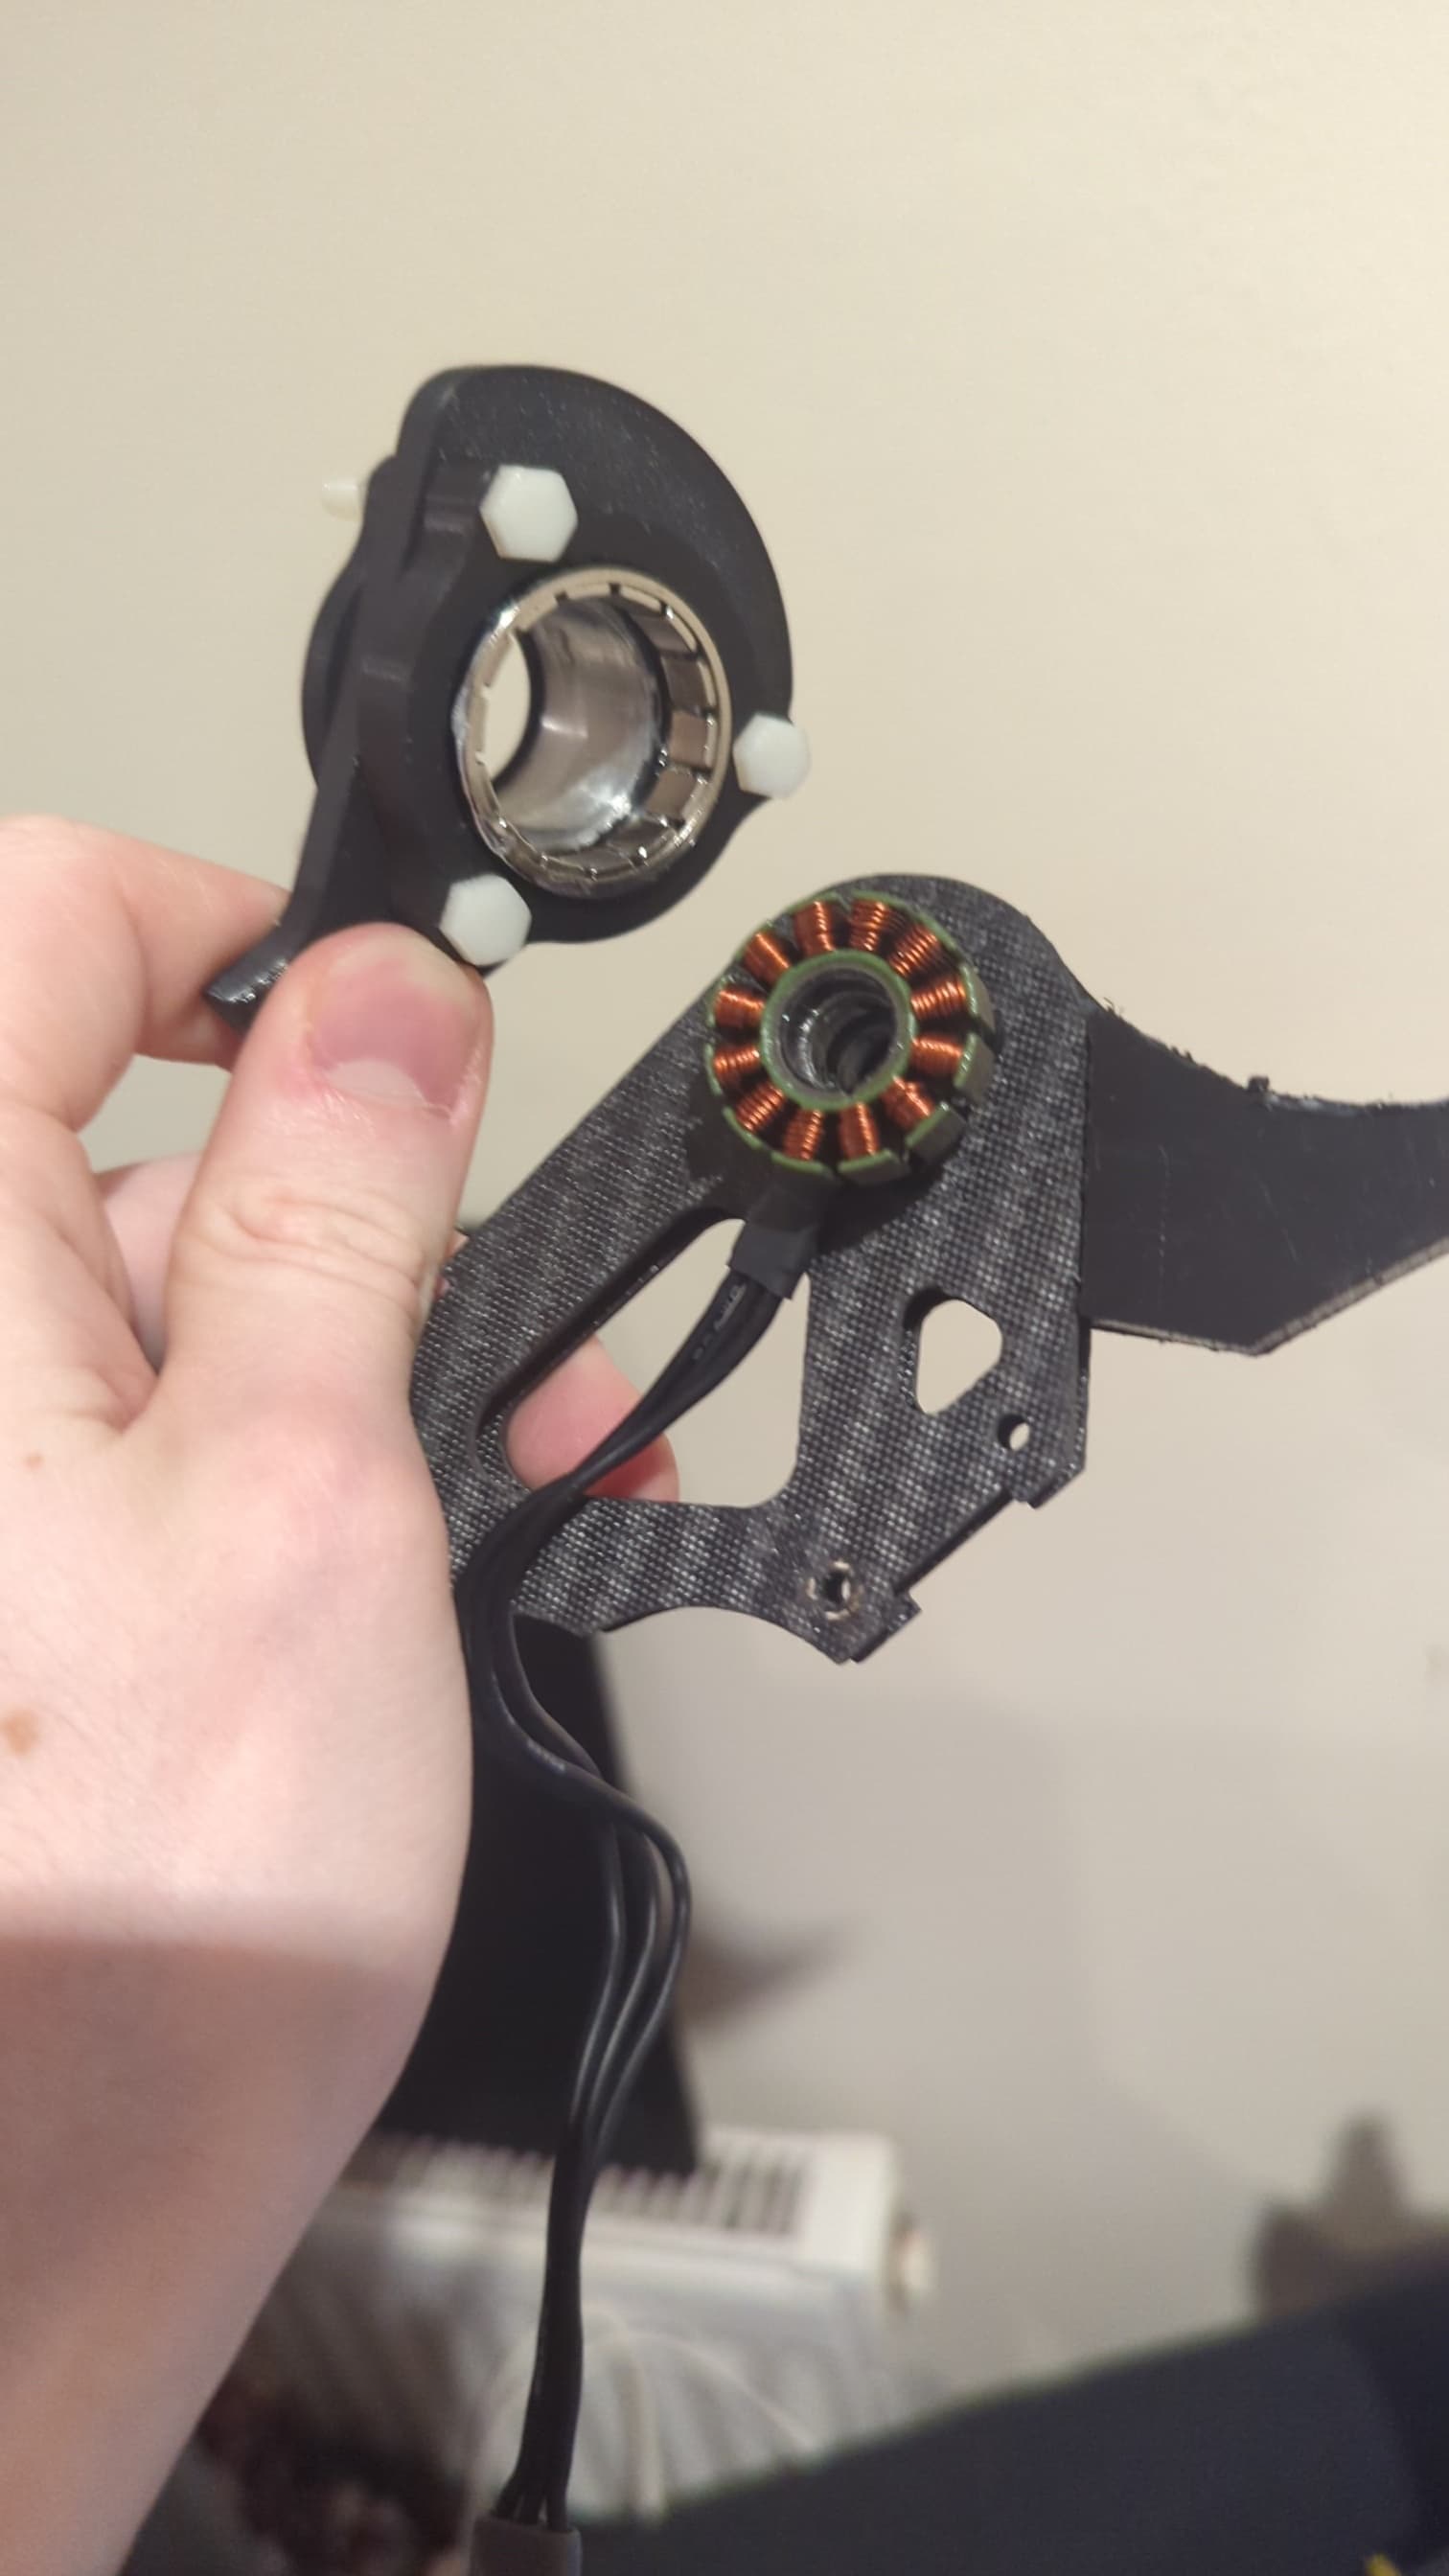
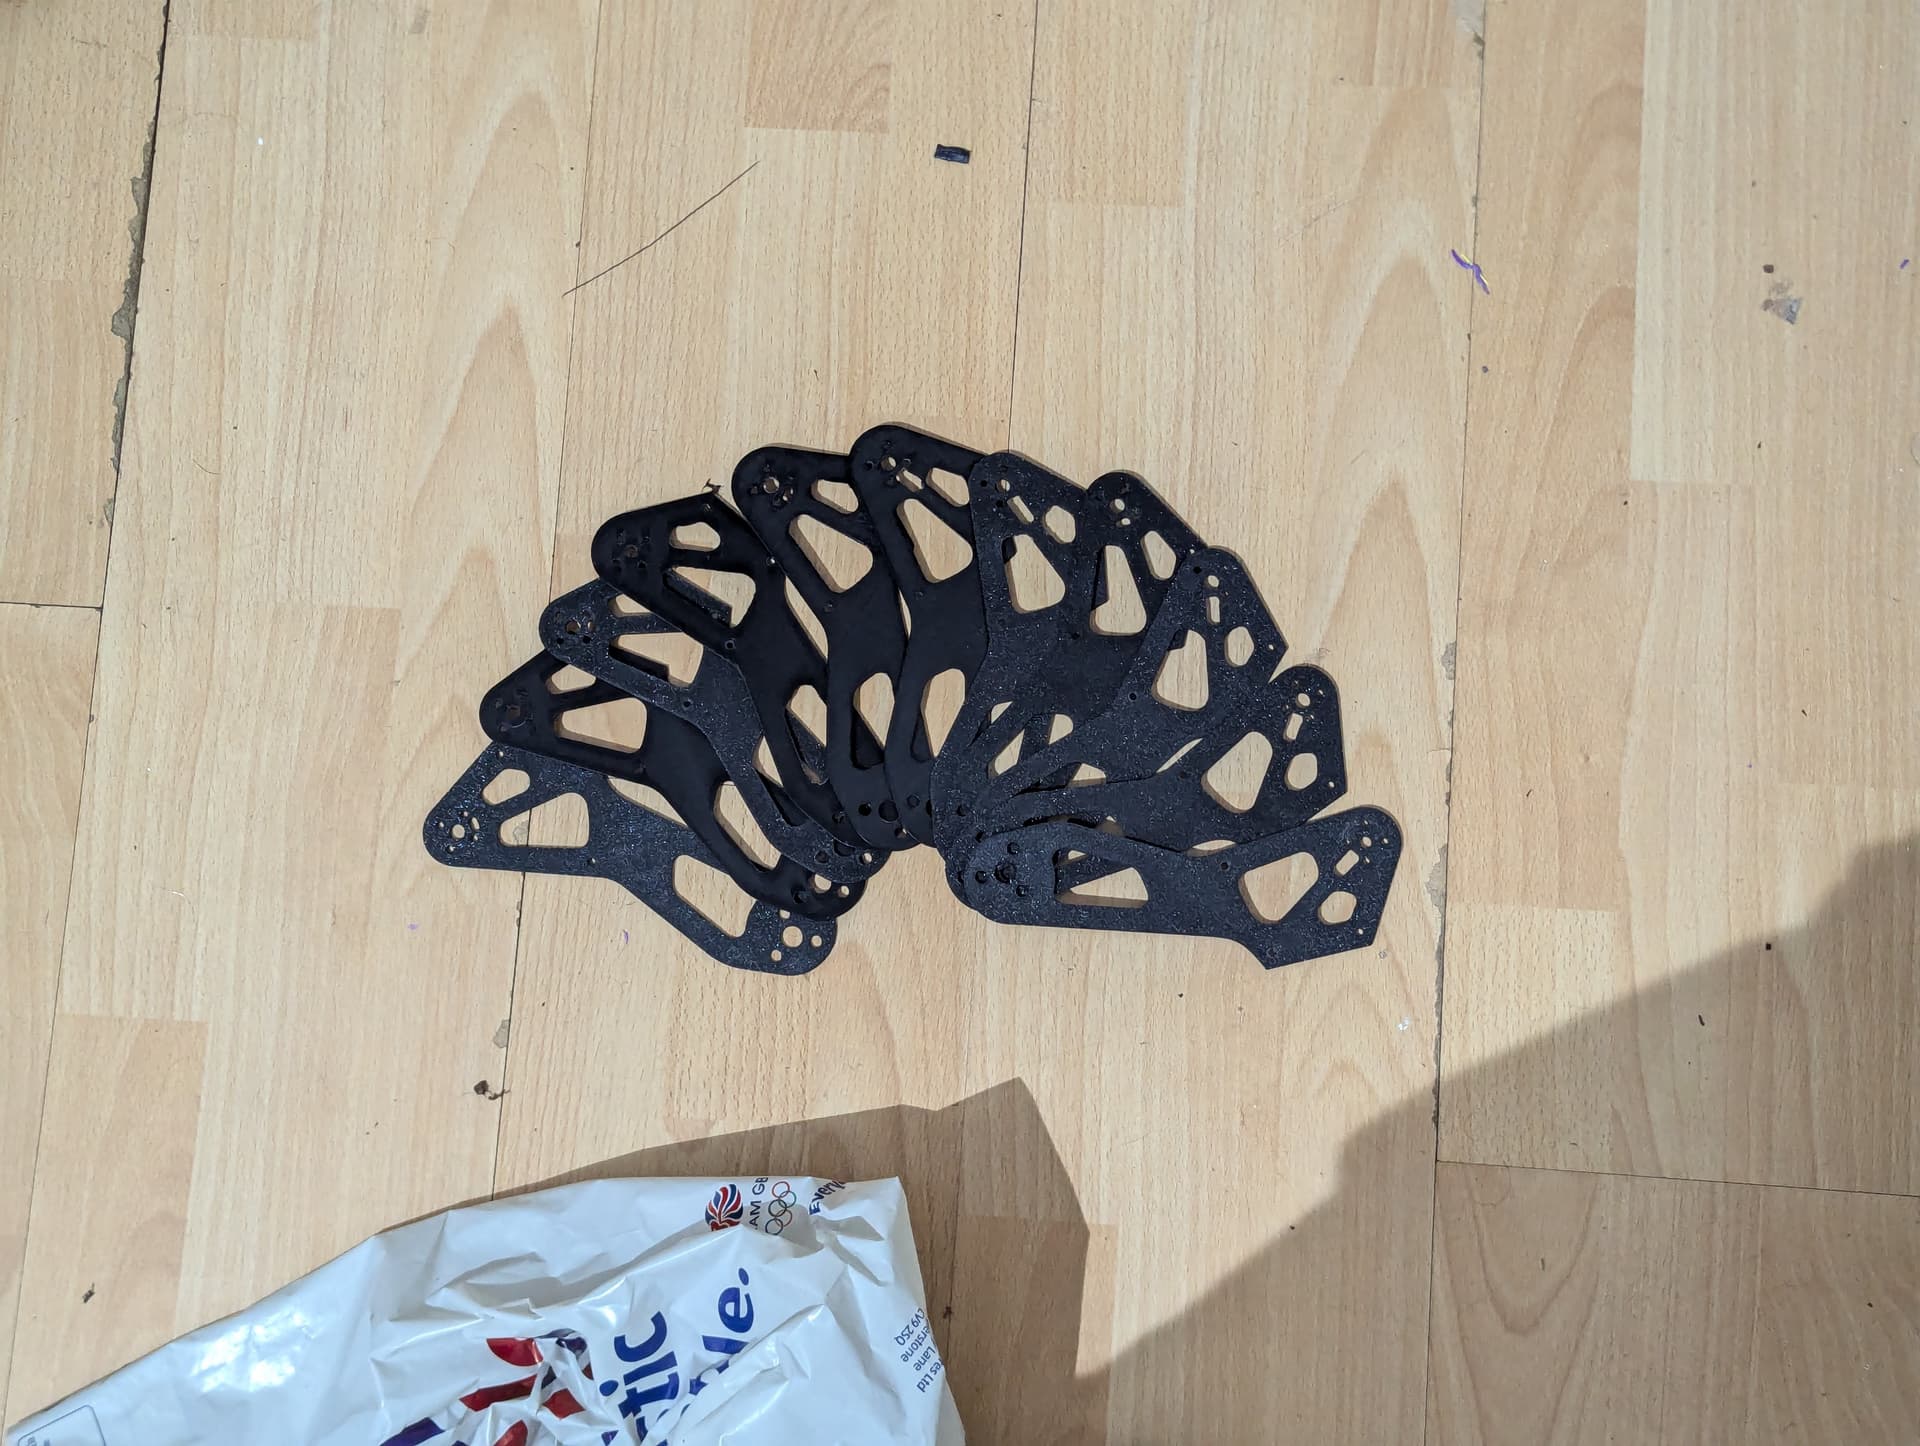
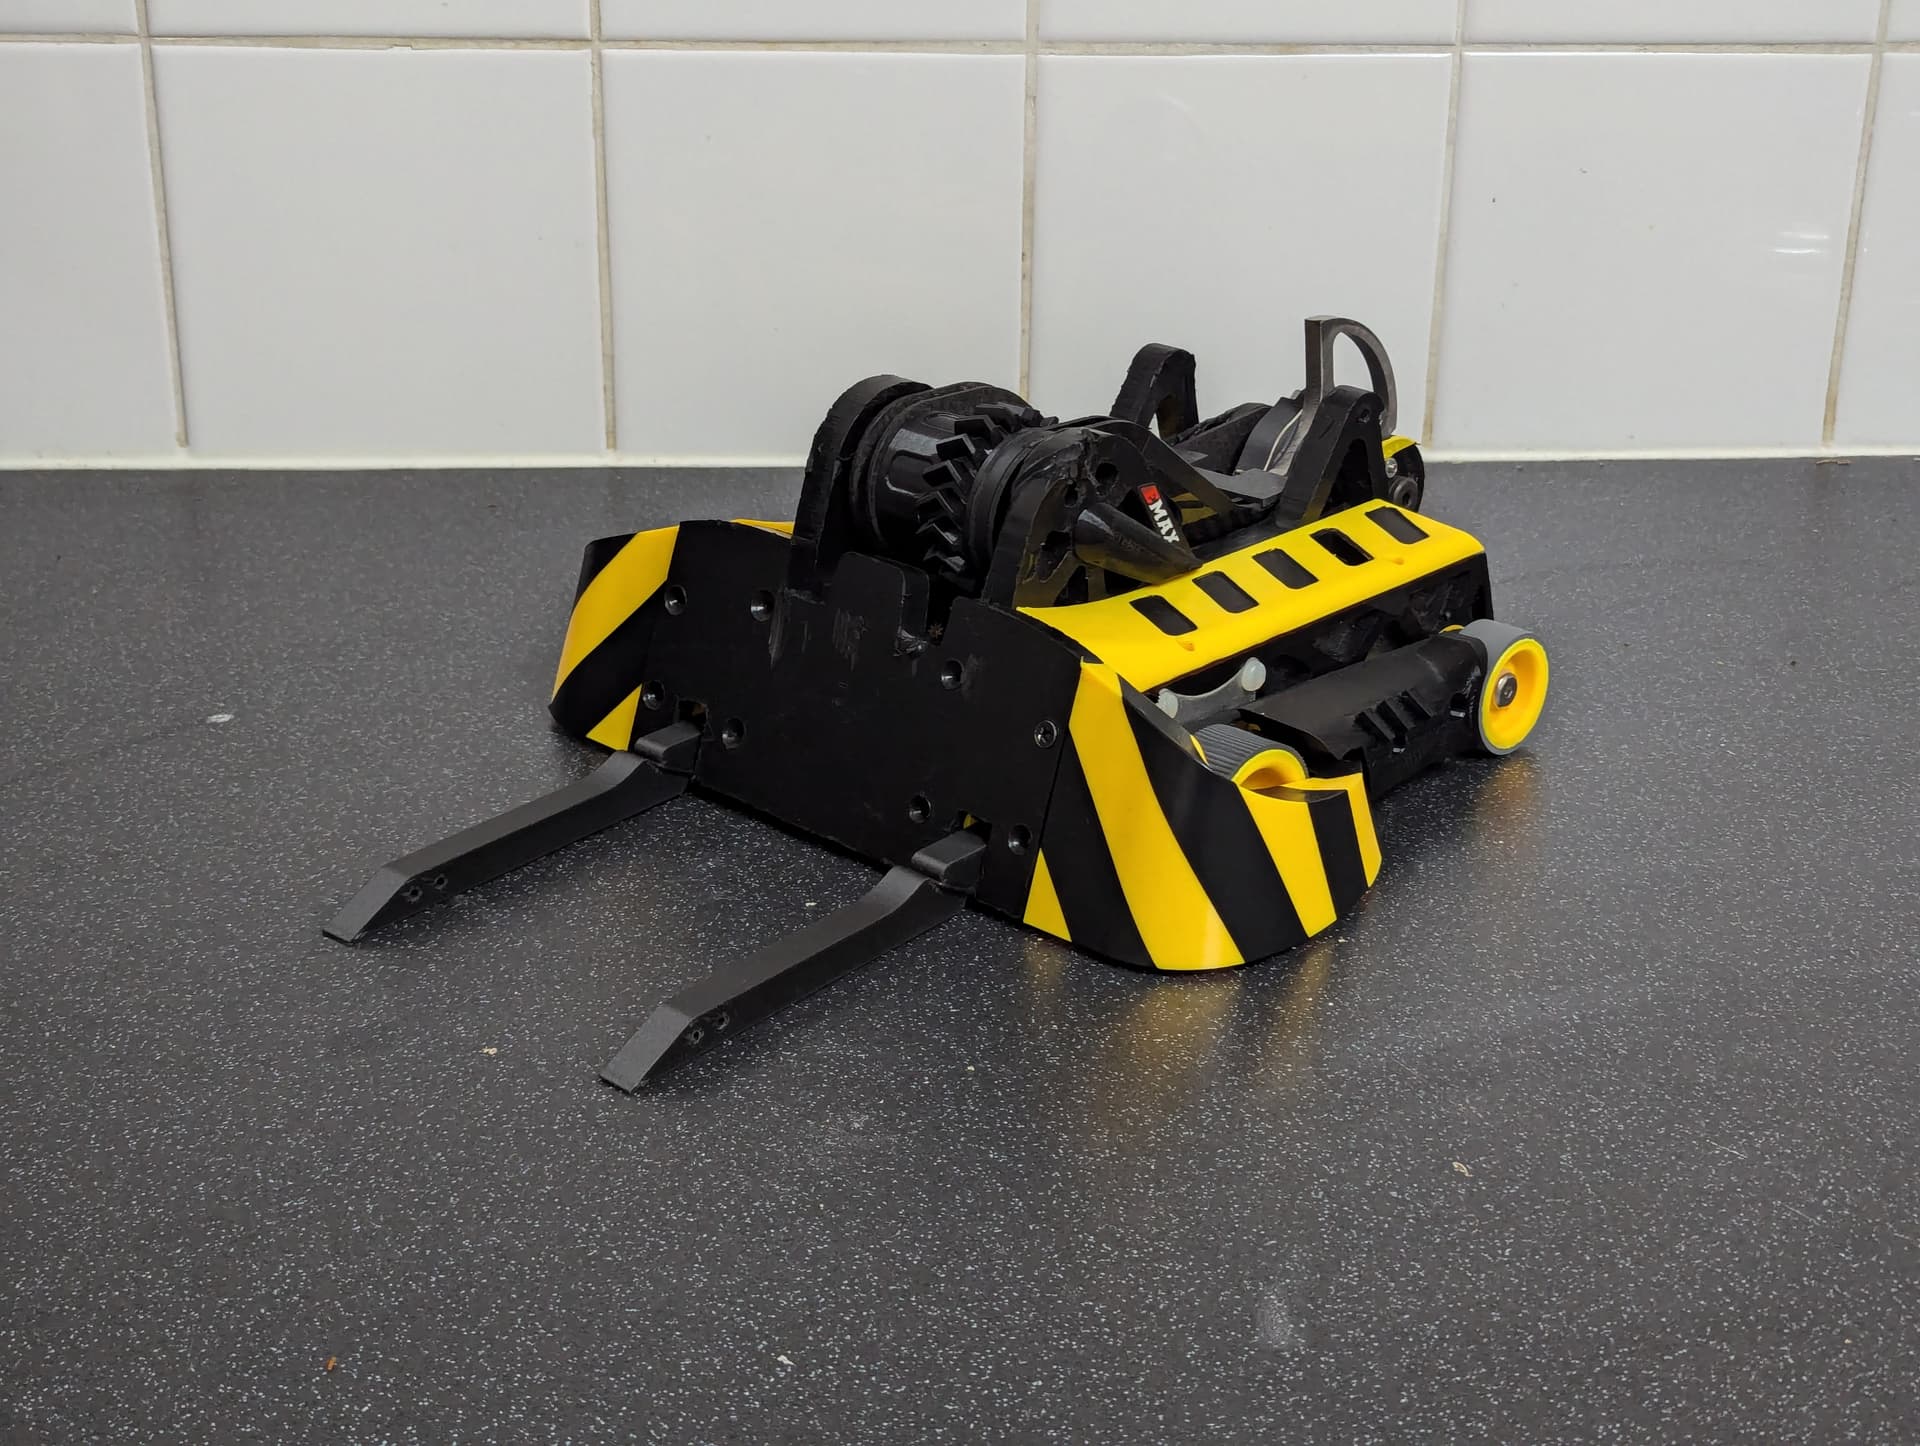
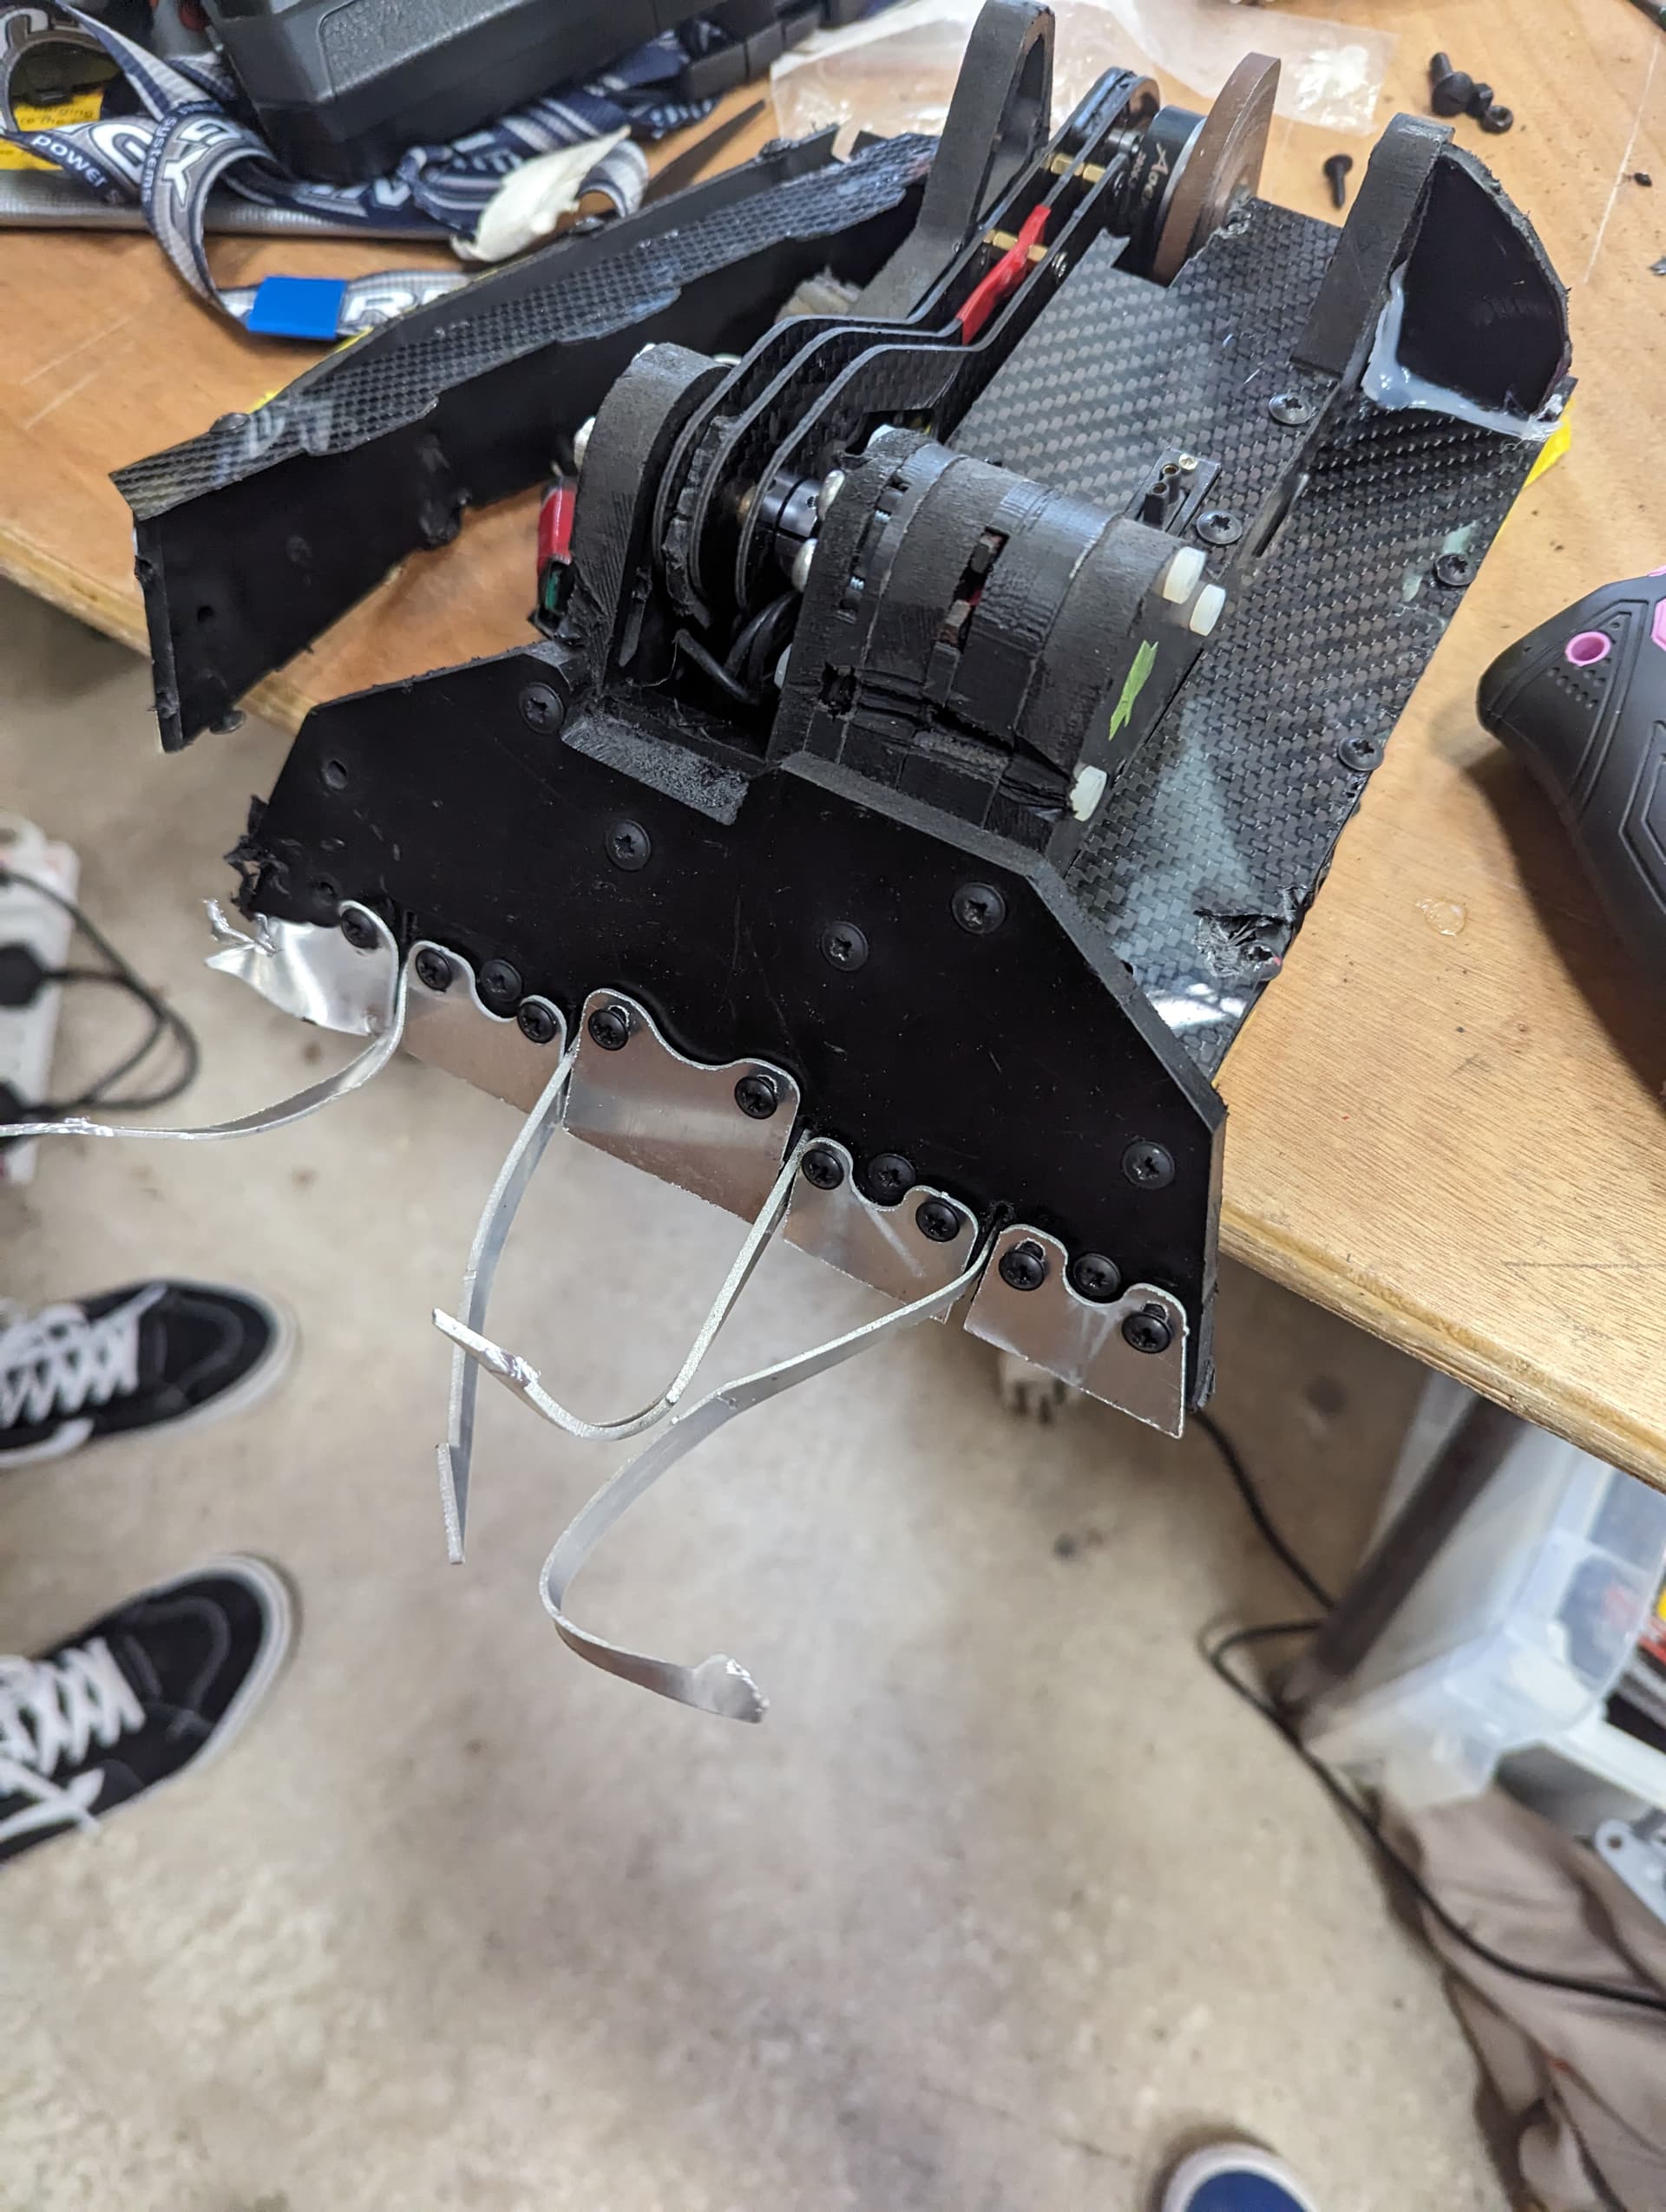
V1 Jackhammer featured 4 independently driven wheels off some brushless conversions we did on some BBB 22mms, a servo driven single side CF arm that Jools had done loads of simulations on with a cantilevered weapon motor and disc on the end. The disc was real hardox this time which we cut at uni and I sourced from somewhere that made rifle targets. Other than that we kept the same keying hdpe frame, introduced the start of the now iconic black and yellow theming and put tons of carbon fibre everywhere. (oh and also those really awesome super sturdy and tough 1mm aluminium forks) This robot was basically a child to us at this point having poured so many hours into literally every decision there was to make on the thing. I think when you don’t have a guage for what’s considered ‘standard’ you really have to think absolutely eeeeeeverything through a load of times and then change it a bunch of times when it conflicts with everything else. V1 was also meant to be run off an esp 32 to allow us to give a driveside more power mid fight if we took damage and to handle the drive inverting for vert mode. Ultimately we never implimented this because it was just another failure point and feature that we didn’t really need and totally not because we couldn’t get the code to work.

The first (and last) event we did with this was rapture 2023(?) and it was definitely an event that has happened.

What went well:

Watching other peoples fights

Lunchtime

What went badly:

Our fights (and robot)

Carbon fibre it turns out is pretty rubbish at resisting turning into confetti when facing spinners, so the cool fun bits all got instantly scranned up by jack and the chilli daddy in the first fight which was sad from an aesthetic point of view. We managed to go 1 and 2 in our heat, somehow beating Dave Weston’s 7th circle because it got itself awkwardly breached on the arena before it could touch us. I do think we had a pretty hard heat to be fair with The big vert of 7th circle, the chilli daddy (and also gizmo who went on to win the event but more about that later).

The main and pretty important problem this time, was ground clearance. The robot could barely move in the arena. We thought this was to do with the brushless conversions being weak but discovered afterwards it was a ground clearance issue (also yea the motors are fine coz I’ve run them in the next like 6 iterations after this). We had 3mm of ground clearance between the floor and the baseplate and then some flat-ish head woodscrews which stuck out about 2.7mm. Apparently 0.3mm of ground clearance isn’t enough who woulda thunk it.

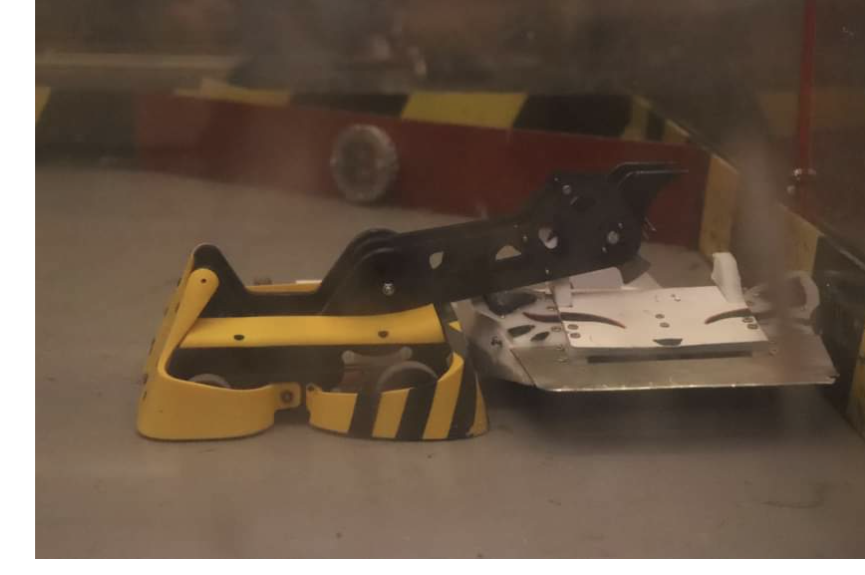
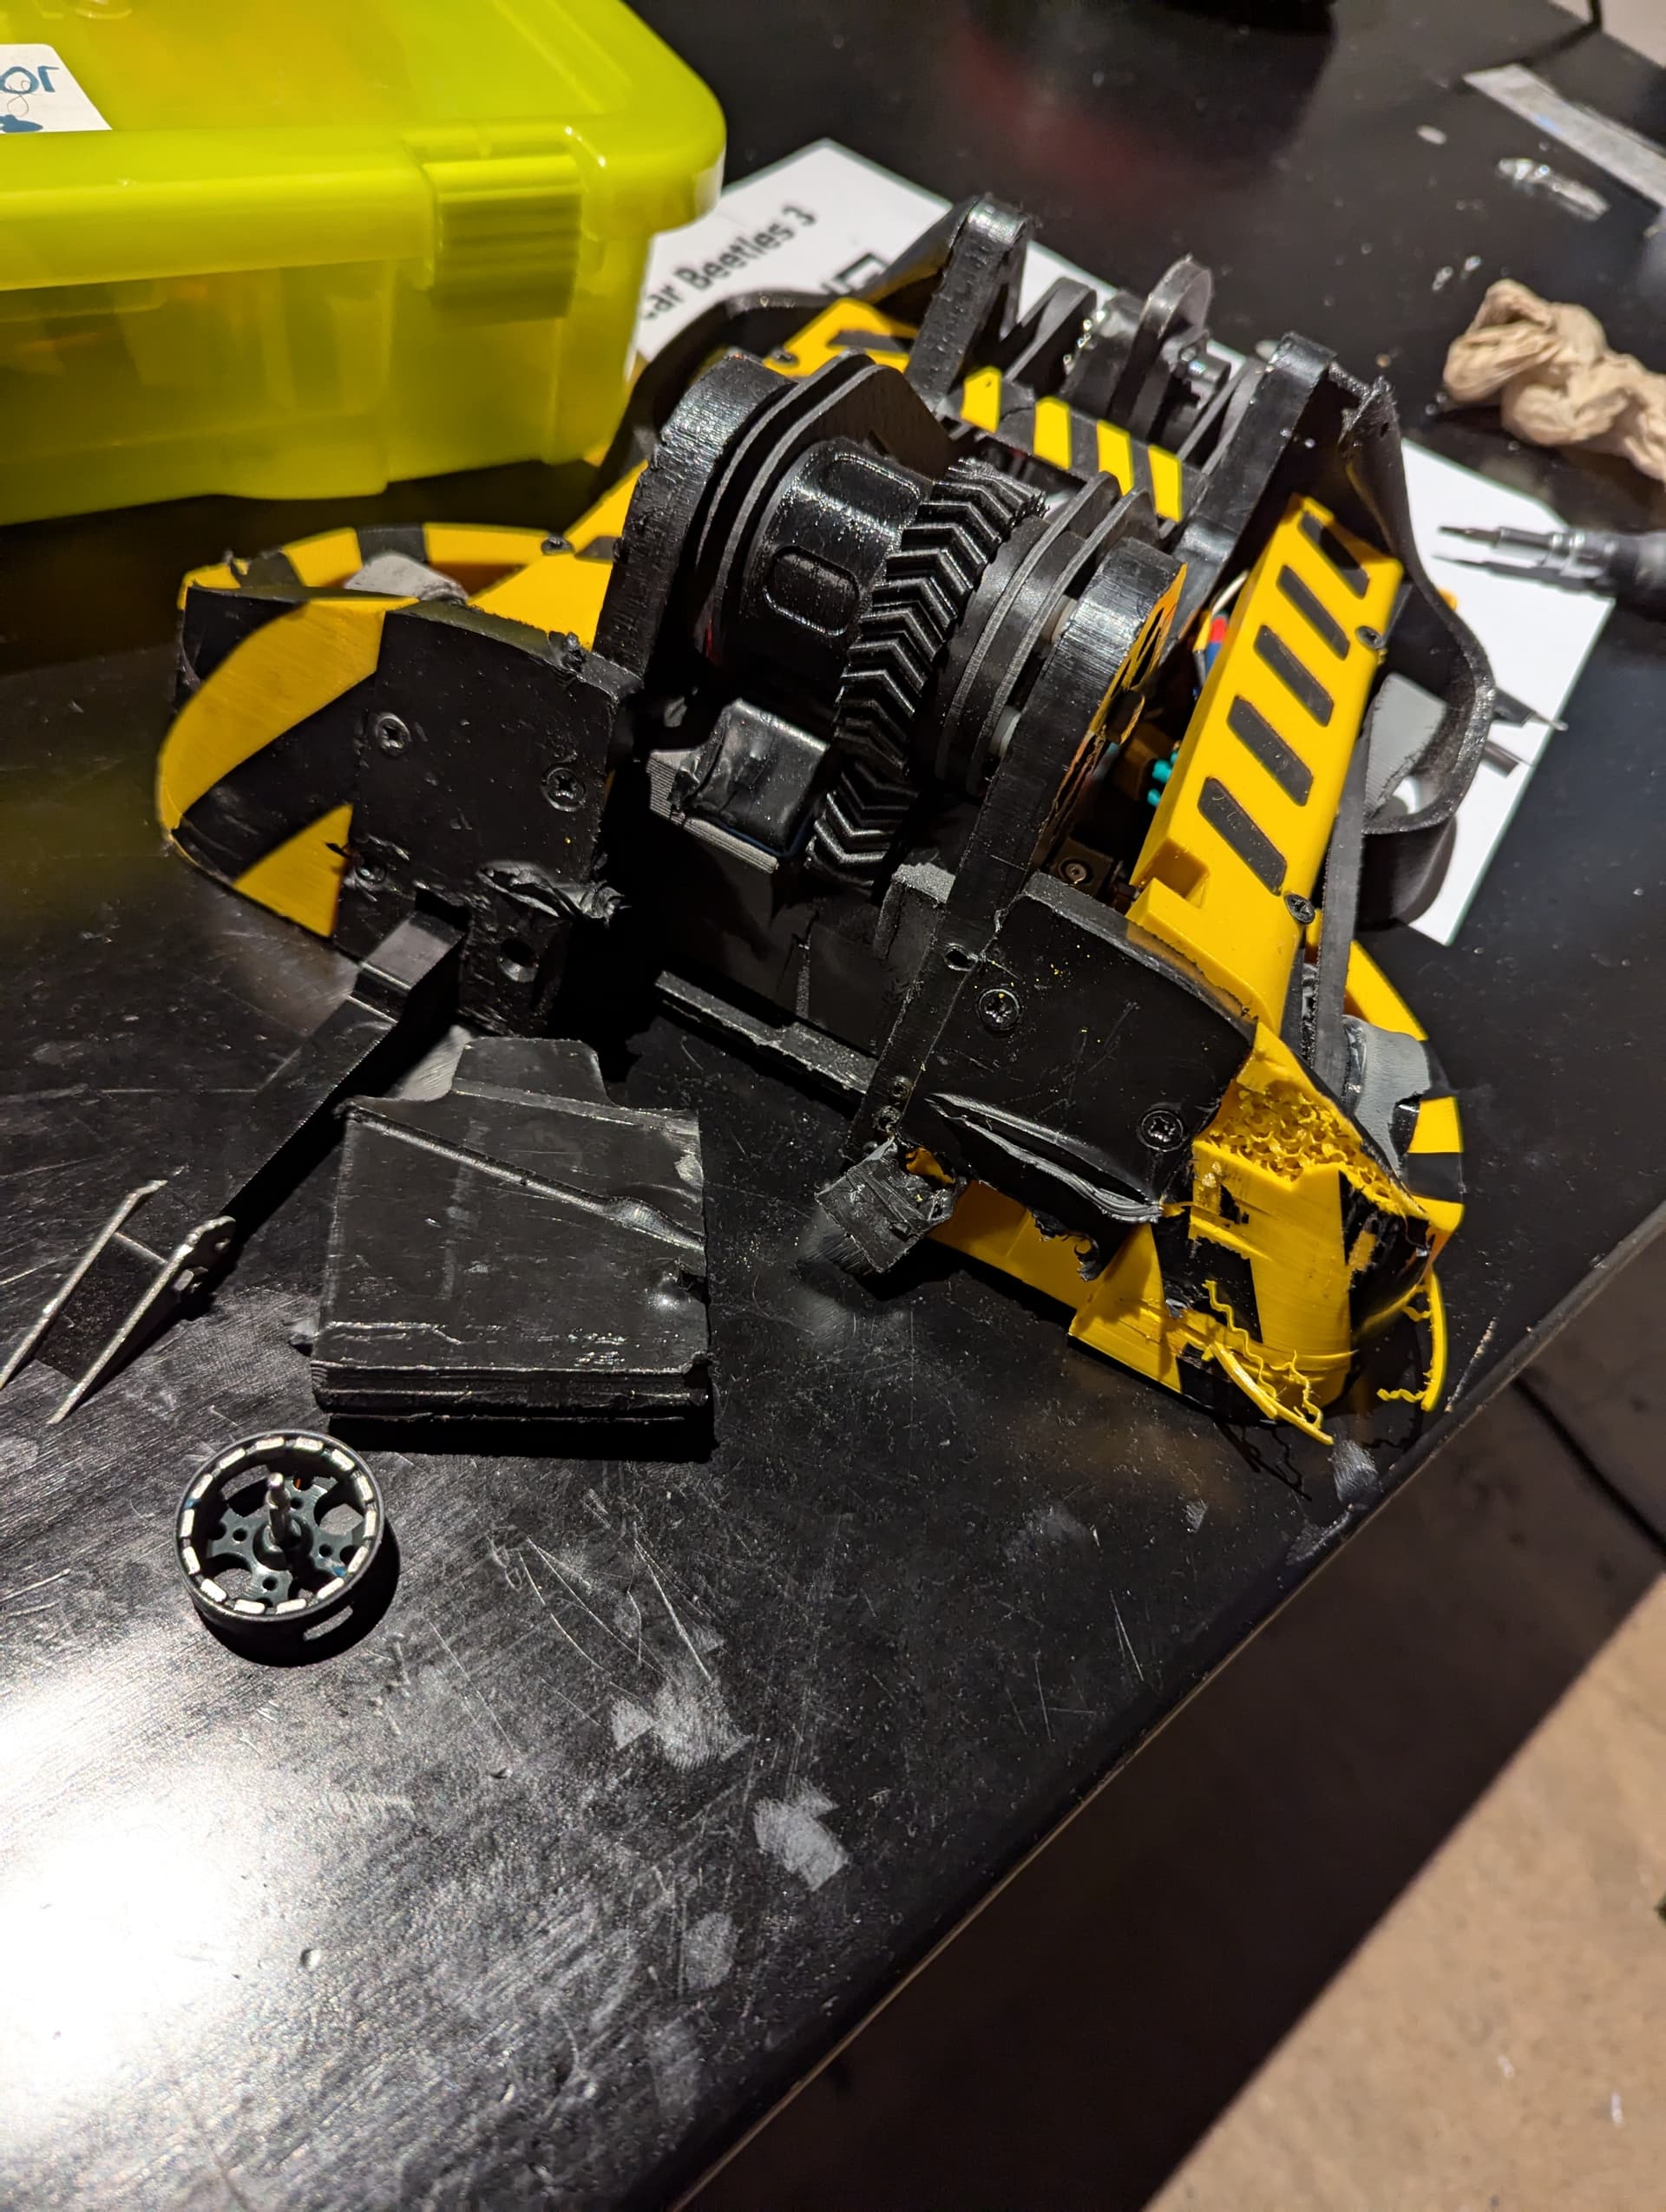
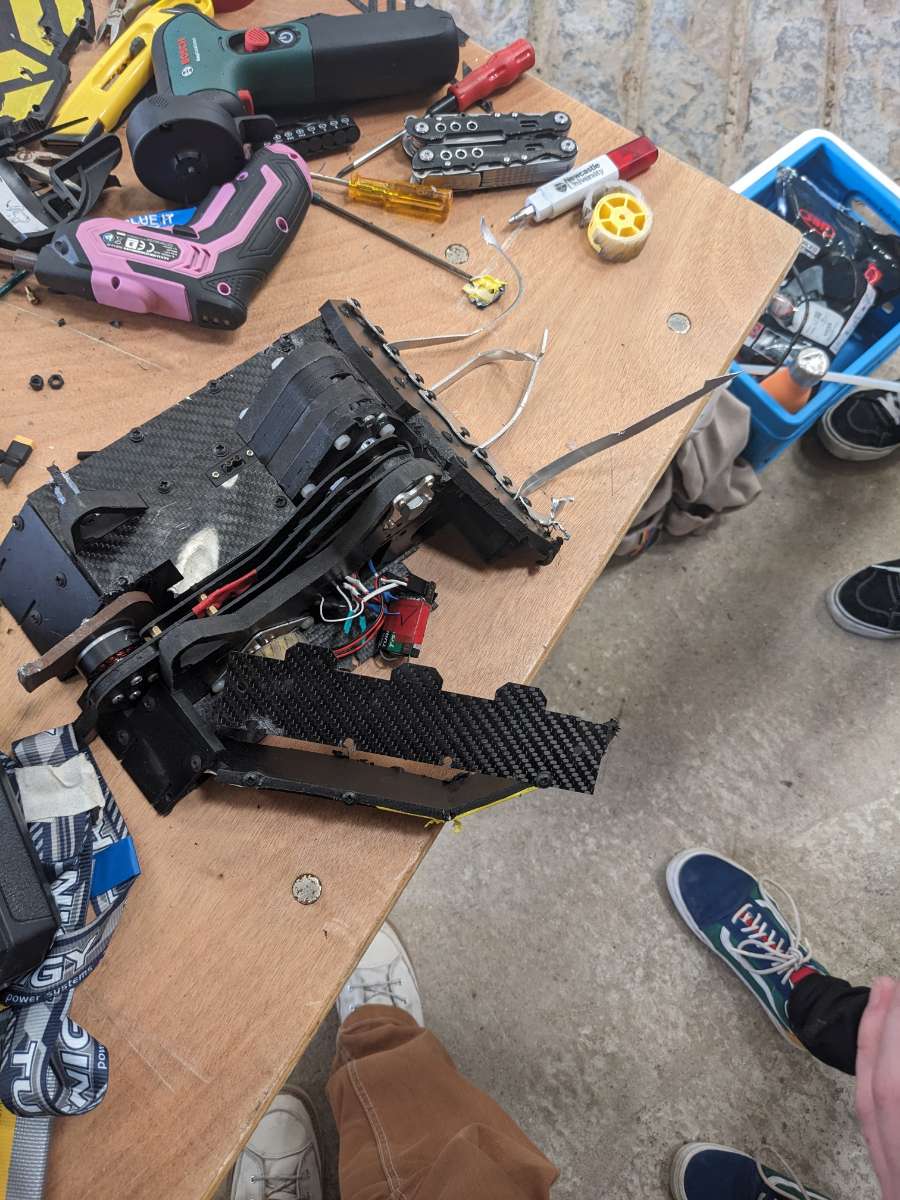
So Gizmo – I think the shortest and most expensive fight I’ve ever been involved in - I think the fight lasted 11 seconds in total. Gizmo had to push us into our starting square before the match, we pretty much crawled to the middle of the arena, got verted, and landed squarely on gizmo’s weapon which ripped straight through the 1mm carbon bottom(big surprise) and then through 2 drive motors, 2 escs and the receiver. This impact sent us straight into the oota and that was it. Rip Jackhammer v1

Sizing up before the fight

:frowning:

Those octopus tentacles used to be forks

Gizmo before and after, most of the damage was to the underside of the robot which I don’t have any pictures of but it was proper mangled I promise.

It took some motivation to get back to working on Jackhammer. The robot was completely totalled, and the execution of the design was clearly terrible. Jackhammer hadn’t managed to do a single bit of damage to an opponent, something it would keep failing to do for at least another 2 events. The only thing that kept driving this robot was that we thought there was potential for success in the concept. We were back at square 1.

Since rapture took place in the summer, my teammate had now graduated so I developed jackhammer mostly on my own from here.

9 Likes

seeing it at its first event and now all the way evolved is just cool. probably one of the biggest glow ups. cant wait to see it at more events

1 Like

Thanks! trying to get it to more events at the moment to improve my driving now I’m a bit happier with the design

1 Like

Always great to see you and JackHammer at events Rhys, looking forward to more build log entries and more mad hits!

Yeah, jack hammer has been one of my favourites bot evolutions to see unfold. Every event it comes back better than it was before.

Keep it up :muscle:

I echo everything that has been said, easily one of if not the coolest looking beetle on the scene at the moment.

Thanks guys it means a lot! I think it needs a bit of a design overhaul at some point but for now I have a few changes in mind and just want to get to more events. more posts to follow shortly…

Part 2: The actual robot


In case you forgot what it looks like, here’s a picture of Jackhammer before a recent event.

My apologies for the lack of consistency in the photos throughout here. They all span different versions of the robot as I don’t have up to date ones for anything specific. I would take pictures now but the robot’s in bits…

Frame:

Not the current frame but I have a photo of it so…

Since the robot’s conception, the overall layout has remained pretty much the same. With 4 frame rails running the length of the robot which key into a baseplate. The main change from the original version is that the wheels now sit outside of the main chassis protected by the curvy armour. I really struggle to keep JH in weight and I think it’s due to its massive footprint. I don’t want to make it any narrower because firstly its pretty tight that way anyway and also coz wide boi good. Secondly I don’t want to make it shorter because that would result in either less reach, or the arm being exposed at the back like all the other normal hammersaws on planet earth which I don’t want to do because this is Jackhammer’s DNA and I think that’s worth preserving.

As you can see from this lovely top down, the weapon arm and drive mechanism takes up pretty much the entire middle section of the robot. This means that most of the electronics live in the sides with only the battery really being in the middle. The split electronics make it a bit of a pain with wires running through the bot which have to be disconnected during repairs as the side sections are removed to change most configs. This is all a massive ballache and definitely something to change on future versions in terms of serviceability (Especially concerning the forks since they’re currently mounted completely internally) The battery placement may also change since during an impact at my most recent event the battery came loose and was ejected from the robot by the spinning disc.

The main stuff I learned about the frame over its life:

  1. HDPE is literally so good its awesome, go make your robots out of it (groundbreaking news right)– I keep thinking “ooh I should be trendy and switch to a TPU unibody ” but after like 6 events on the literal same frame I can confirm hdpe is THE GOAT.

  2. Wood screws in HDPE are not great but also not thaaat bad – I kept the exact same frame between versions 2.1 - 2.6 and only had issues with stripping towards the end. – I have now changed away from woodscrews and noticed the frame is much stronger and doesn’t deteriorate after repeated disassembly

  3. Its fun to see how light you can make the frame I feel like mine is like 90% pocket now.

  4. Do the keying stuff its pretty easy if you CNC it and it takes so much strain off your poorly implemented fastening solution.

Lots of cutout sections!

Drive:


I’ve used these 2006 brushless conversions I did for the original Jackhammer for the robots entire life. They’ve been pretty much perfect and I’ve only lost ONE due to something other than a direct hit. This being said I will be moving jackhammer over to the repeat compacts as I should save 15g per side and maintain most of the performance. The plan is the compacts will be interchangeable between jackhammer and my new robot, that’s how I’m justifying the price as I’m used to spending pennies on the atrocious hacking together of dubious parts from ali express. Motors aside, I gear drive the front wheel and then belt to the back. This works pretty well and the only changes I’ve had to do between versions is increasing the gear modulus to prevent them stripping. This has had to go up and up as I’ve demanded more from the system throughout its life. The gear on the output shaft of the motor is a CF nylon whereas the one on the wheel is TPU. I’ve found that this gives a high torque transfer whilst still allowing for slippage to protect the system. The wheels themselves are two part coz why not (and it also allows me to keep the tyre part if I strip a gear).

Current front wheel

The tyres are where it gets a bit interesting. Instead of opting for cast wheels, the ones I have are what 2D printers use to grab paper. They’re pennies on ali express, super grippy (about 30-40A I reckon) and so much faster to prototype with since you can just stretch them over a hub. I think Ellis does the same on gizmo and with the ones he sells. The only issue with these guys is actually getting what you order. I have found there to be very little correlation between the picture shown in the listing and the product that comes through your door. To make things worse, I’ve also had it where I’ve ordered a repeat of a listing and received a different item. This means jackhammer’s exact wheels change from event to event depending on which tyre I have spares of at the time. This is also the main reason why the front and back wheels are different sizes which I think has the added bonus of looking snazzy.


In order to improve drive and keep up with the cool kids I added magnets for my last event. These sit recessed into the base in these little cup thingies and now jackhammer can stick to the fridge!

4 Likes

I didn’t realise JackHammer used wood screws before. What did you replace them with?

It’s currently screw-in inserts but I’ll be moving it to some square nut insert thingies like I’ve seen Jed do on antithesis

Ah, I see, neat. Hope that works out.

Weapon:

Ok so the weapon system is the part of this robot that has had the most changes over its life with pretty much a complete redesign for every single event. Obviously on a hammersaw you have 2 movey bits. The arm and the disc. These both have to work otherwise your hammersaw is bad. Lets go through some examples of how to not make a hammersaw weapon system.

v2.1) Belts and fire:

The first redesign of jackhammer featured tons of belts. A belt to run the arm and a belt to run the disc. Actually that bit was 2 belts because it was one up to the idler on the shoulder if you will, and then one down the arm to the disc. The problem with this was literally all of it. Getting belt tension right literally sucks ass and I hate it. The belt to the arm kept slipping meaning we couldn’t self right, and the weapon belt kept flying off in testing because it was too loose. We did a bunch of work on this the entire day and night before the event and eventually came up with a curved crown pulley thing at 3am on event day. This gave us a couple of hours of sleep before getting up early for the event. Turns out this was rubbish too because it lasted 30 seconds then the motor set on fire.


Look at all dem belts – also note the armour config – more on that later

Also, after looking at some piccies from the event we saw that this design was double bad as since we had moved to a straight arm for the belt it prevented us from contacting our opponents cleanly so even if the weapon hadn’t caught fire it still wouldn’t have done anything. In future we needed to keep the bent arm and banish the belts to the depths of hell where they belong.

disc never going to actually contact this little fox

v2.2) green PU belts don’t count right?

Yeah for some reason I decided to have a silly moment and decided this time that green belts were the way forward instead of inside out timing belts to try and make them easier to tension because, ignoring the fact they have literally SO much more resistance than the thin belts I already couldn’t get to work, Tweedy does it. So that means it’ll work if I do it. Or not. I built one test set up for this and burnt out the motor instantly. At this point I miraculously remembered the previous belt fiasco and the fact that I am in fact, not Jack Tweedy. At this point I didn’t have long left before the event to I whacked the motor directly on the end of the arm with the disc on and a quick but poor attempt of a bearing support.

Poorly supported shaft – Also I think because it was screwed on the bearing siezed up and it ate itself which is why it looks so squshed in

v2.3) The same old rubbish

The bearing support I came up with last time broke but I thought I could do the same thing but less bad this time. Turns out that I was wrong and that you can’t use antweight size bearings to support a beetle weapon. Funny that. I think I was spurred on with this by the fact eva02 was doing very well with just a cantilevered motor. But what I didn’t take into account was that my disc was heavier, my arm setup is way more rigid (his is super bendy and absorbs lots of the shock) and that I suck at not smacking the floor. Either way this setup sucked but my method of powering the arm was showing some promise. Since v2.1 I had been developing this dumb brushless gearmotor after I found a metal geared version of those yellow Arduino car motors on aliexpress. I basically slapped an 1806 on the gearbox (which cost me the princely sum of £1.56) and I had the most cursed contraption ever to hit the robot combat world. My big bren logic for this went as follows:

I used different versions of this thing for a good amount of time until I started to mangle the gears. I tried hardening them and making hardened shafts which improved longevity a bit, but in the end they couldn’t handle the insane forces of accelerating the heavy arm at that speed. In the latest version of the robot (2.7) I changed this for a repeat max because even though the gears are the same modulus, the force is spread on the gears in the planetary gearbox meaning it doesn’t fail (hopefully). I think the fact the gears aren’t made of cheese now helps too. Honestly though I way preferred the form factor of the ali gearbox with the 90 degree shaft and having to say goodbye to it was sad. (also I miss the price)

Making modifications desperately trying to keep this idea alive

v2.4-2.6) Hub motors ooo

I had kinda wanted to do a hubmotor for ages and I figured the disc on jackhammer really needed one. Problem is they’re hard to make and all I had was a 3d printer and basic hand tools. I ruled out outsourcing anything to a proper supplier because firstly money and secondly because I wanted to develop it myself (but mainly because money). Its something I’ve been really interested in for a while, so here I was making my first attempt. I landed on this aluminium tube which housed the two bearings and kept them concentric through the disc, sticking out one side with the donor motor on the other side. This had some resistance but worked ok. I ran into issues with the motor bell being able to roll out of alignment since the sides were slightly rounded but I think this also helped because since basically the whole thing was 3D printed the concentricity would always be terrible. The two halves were held concentric-ish not by the centre, but by bolts on the circumference. I think this further contributed to the issue.


Some random versions of the hubmotor somewhere down the line – yes those cable ties were replaced by bolts. In the second picture you can better see the stator and the bit where the bearings go.

Overall though in its debut event at scar this version of jackhammer did really well, dealing actual damage and being knocked out in the final (of the side tournament) by Baby Dead bod where it had its face ripped clean off. The weapon was mostly consistent and hit really hard thanks to the extra mass in the hub. I refined this design for the summer showdown event in Bristol, adding some laser cut stainless components and reached top 8 again being knocked out by the eventual champion dolos via link snipe. (Jackhammer has a good record of being knocked out of tournaments by the eventual champion with Gizmo, luchador and eva02(I think he won) knocking me out at other events as well) After this, I increased the diameter of my weapon and beefed up the bolts it ran on to make it dish out even harder and the hub was never the same. I had 2 catch fire in testing and then burnt out my other 2 at the next event. I concluded that I needed a lathe if I was going to make an ok hubmotor.

Ouch my face – yes that is the bell from a drive motor because the side was jerked so violently

The really interesting thing to note on this picture is the fact the central part of the front wedge is now 3 neat pieces instead of a single slab of hdpe. And that it has been cut vertically despite being hit by a horizontal. There is a small keying feature on the backside for the yellow side armour to key into which obviously caused a massive stress concentration leading to this extreme failure. Insane to see I tink.

v2.7) buy the stuff you should have from the start

For this iteration I caved in and bought off the shelf. I ran the arm off a repeat max and the disc off a repeat antweight hubmotor. These both held up really well (duh) and the end of the event I was left with only my terrible driving to blame. I was in fact told by another hammersaw builder that I “drive that thing like a psychopath”. I think I stress tested both of these parts pretty well for all hammersaw builders at this event given the number of times I put my disc straight into the floor.

The only thing I don’t like about this hubmotor is how difficult and annoying it is to change discs over mid tournament. The whole arm needs to be completely disassembled. After talking with other builders trying out the same motor we concluded that yes, it is by definition a massive pain. In future I think I either need to make lots of full arm assemblies to switch out between fights instead of changing the discs (ew money) or make my own hubmotor again using the lathe I have now. Both of those seem like a bit of a faff so for now I think I’m just going to cope harder.

The arm:

Someone cant make their mind up on the right design…

So other than the fact the arm has the more pronounced kink in it, the main difference that this hammersaw has versus other ones (in the UK at least) is the composition of the arm. Where most seem to opt for a chunky TPU or HDPE arm, mine is spaced layers of carbon. IN THEORY the benefits of this is that, whilst being slightly lighter, the arm should be stronger and more rigid leading to better energy transfer in hits. In practice I think this has almost no effect since during a hit I’m usually flying through the air because of the reaction force which is generated when I swing the arm. This completely removes the rigid path to ground making the whole thing basically pointless. I should be able to reduce this effect with a better implemented fork solution and better placed shots but realistically the latter isn’t ever going to happen. Finally, obviously carbon is pretty good at exploding when it gets hit, whereas hdpe or tpu can absorb shots better. I’ve actually never lost an arm like this because it’s pretty well protected by the frame and I haven’t managed to fire it directly into anyone’s weapon yet. On balance, maybe Hdpe or something would be a better choice but I think the carbon is cool.

Recent pic of arm assembly

6 Likes