Jacks Antweights

Hey all, quick and dirty thread to catalogue my ants :slight_smile:

The back catalogue:


Stagnant: my Ti 4WD wej/2WD fork asymmetrical pusher.


Bucktooth: Basically Stagnant but even boring-er. :yawning_face: Came 2nd at an aws one time.


Thundershovel: my first ant - dustpan flipper. Drove like ass.


Luchador Jnr: My suplexy boi :heart:


Divebomb: my 4wd hammer saw


Earlier iteration of Divebomb: sacked off the conventional saw as managing current vs torque etc was more work than just bonking with KE. Also experimented with sprung forks before discovering what an awful idea that is at 150g :joy:

3 Likes

And my new (as of yet) unnamed drum bot:

Felt in a bit of a rut with antweights as most my bots are pretty samey - theyre very competitive but essentially the same chassis + different weapons. Decided to do something wildly different.

HDPE billet chassis, giant cambered foamies, big Ti drum. Still dialing this lad in, but really digging it so far :smiley:

5 Likes

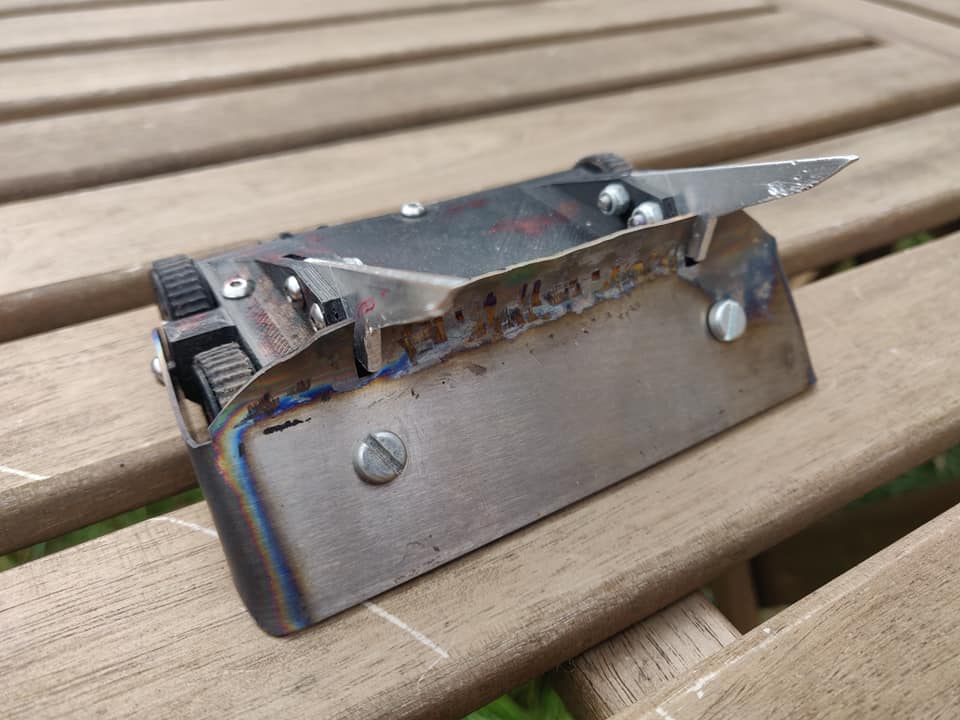
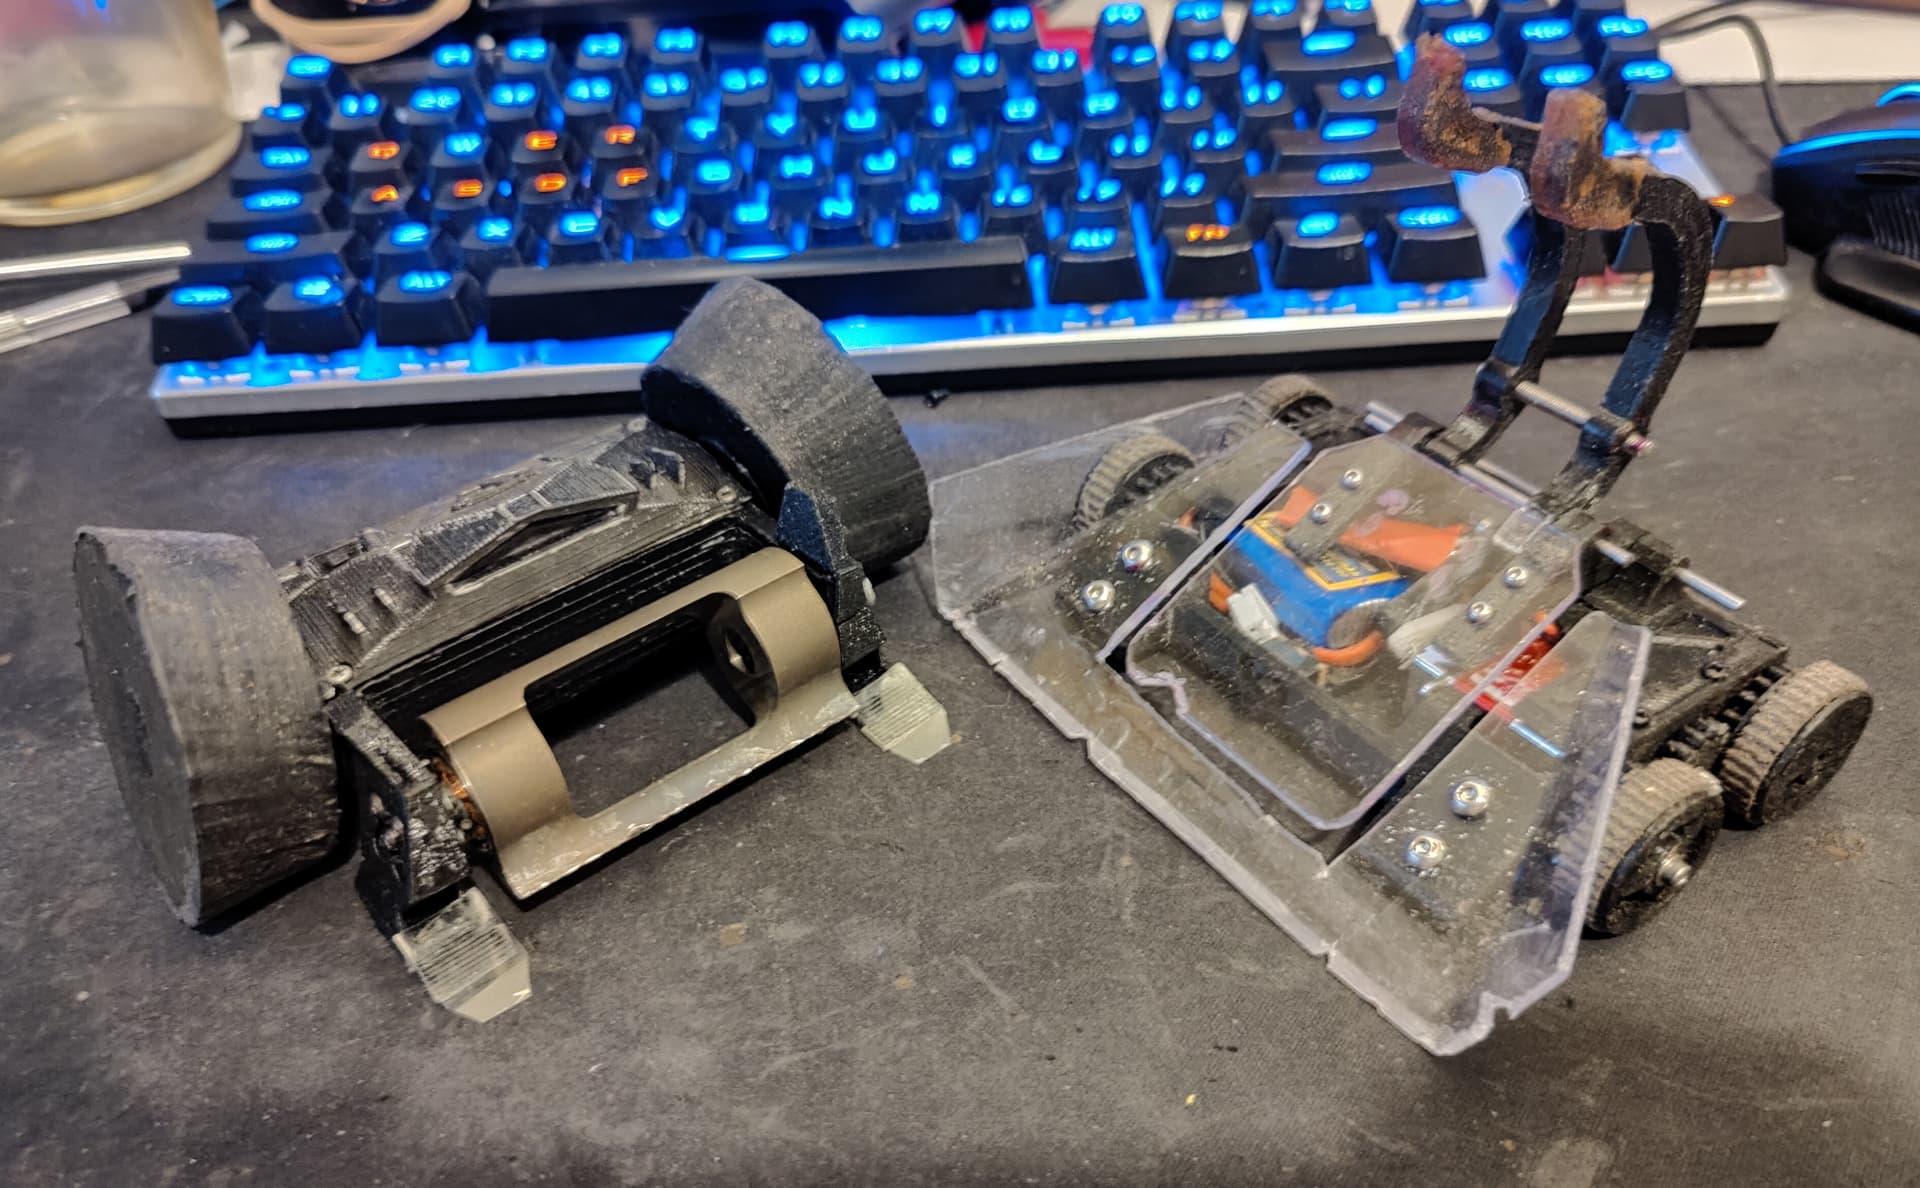
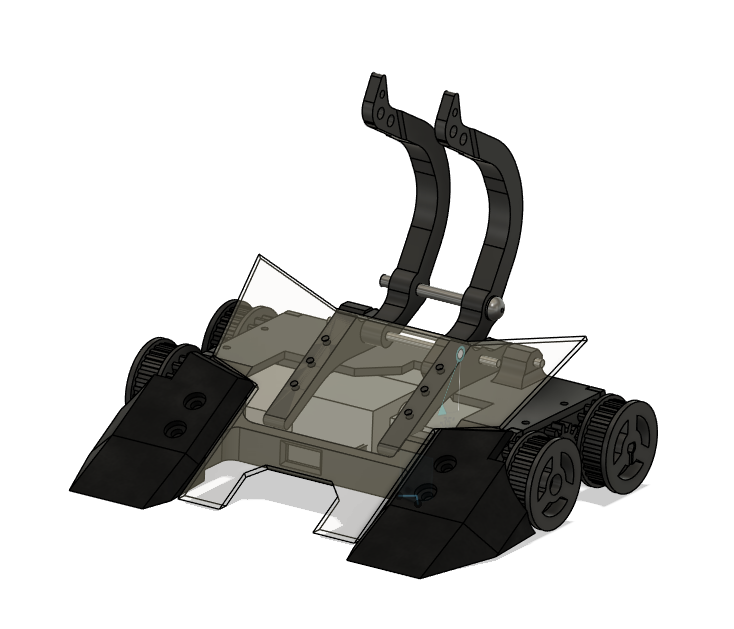
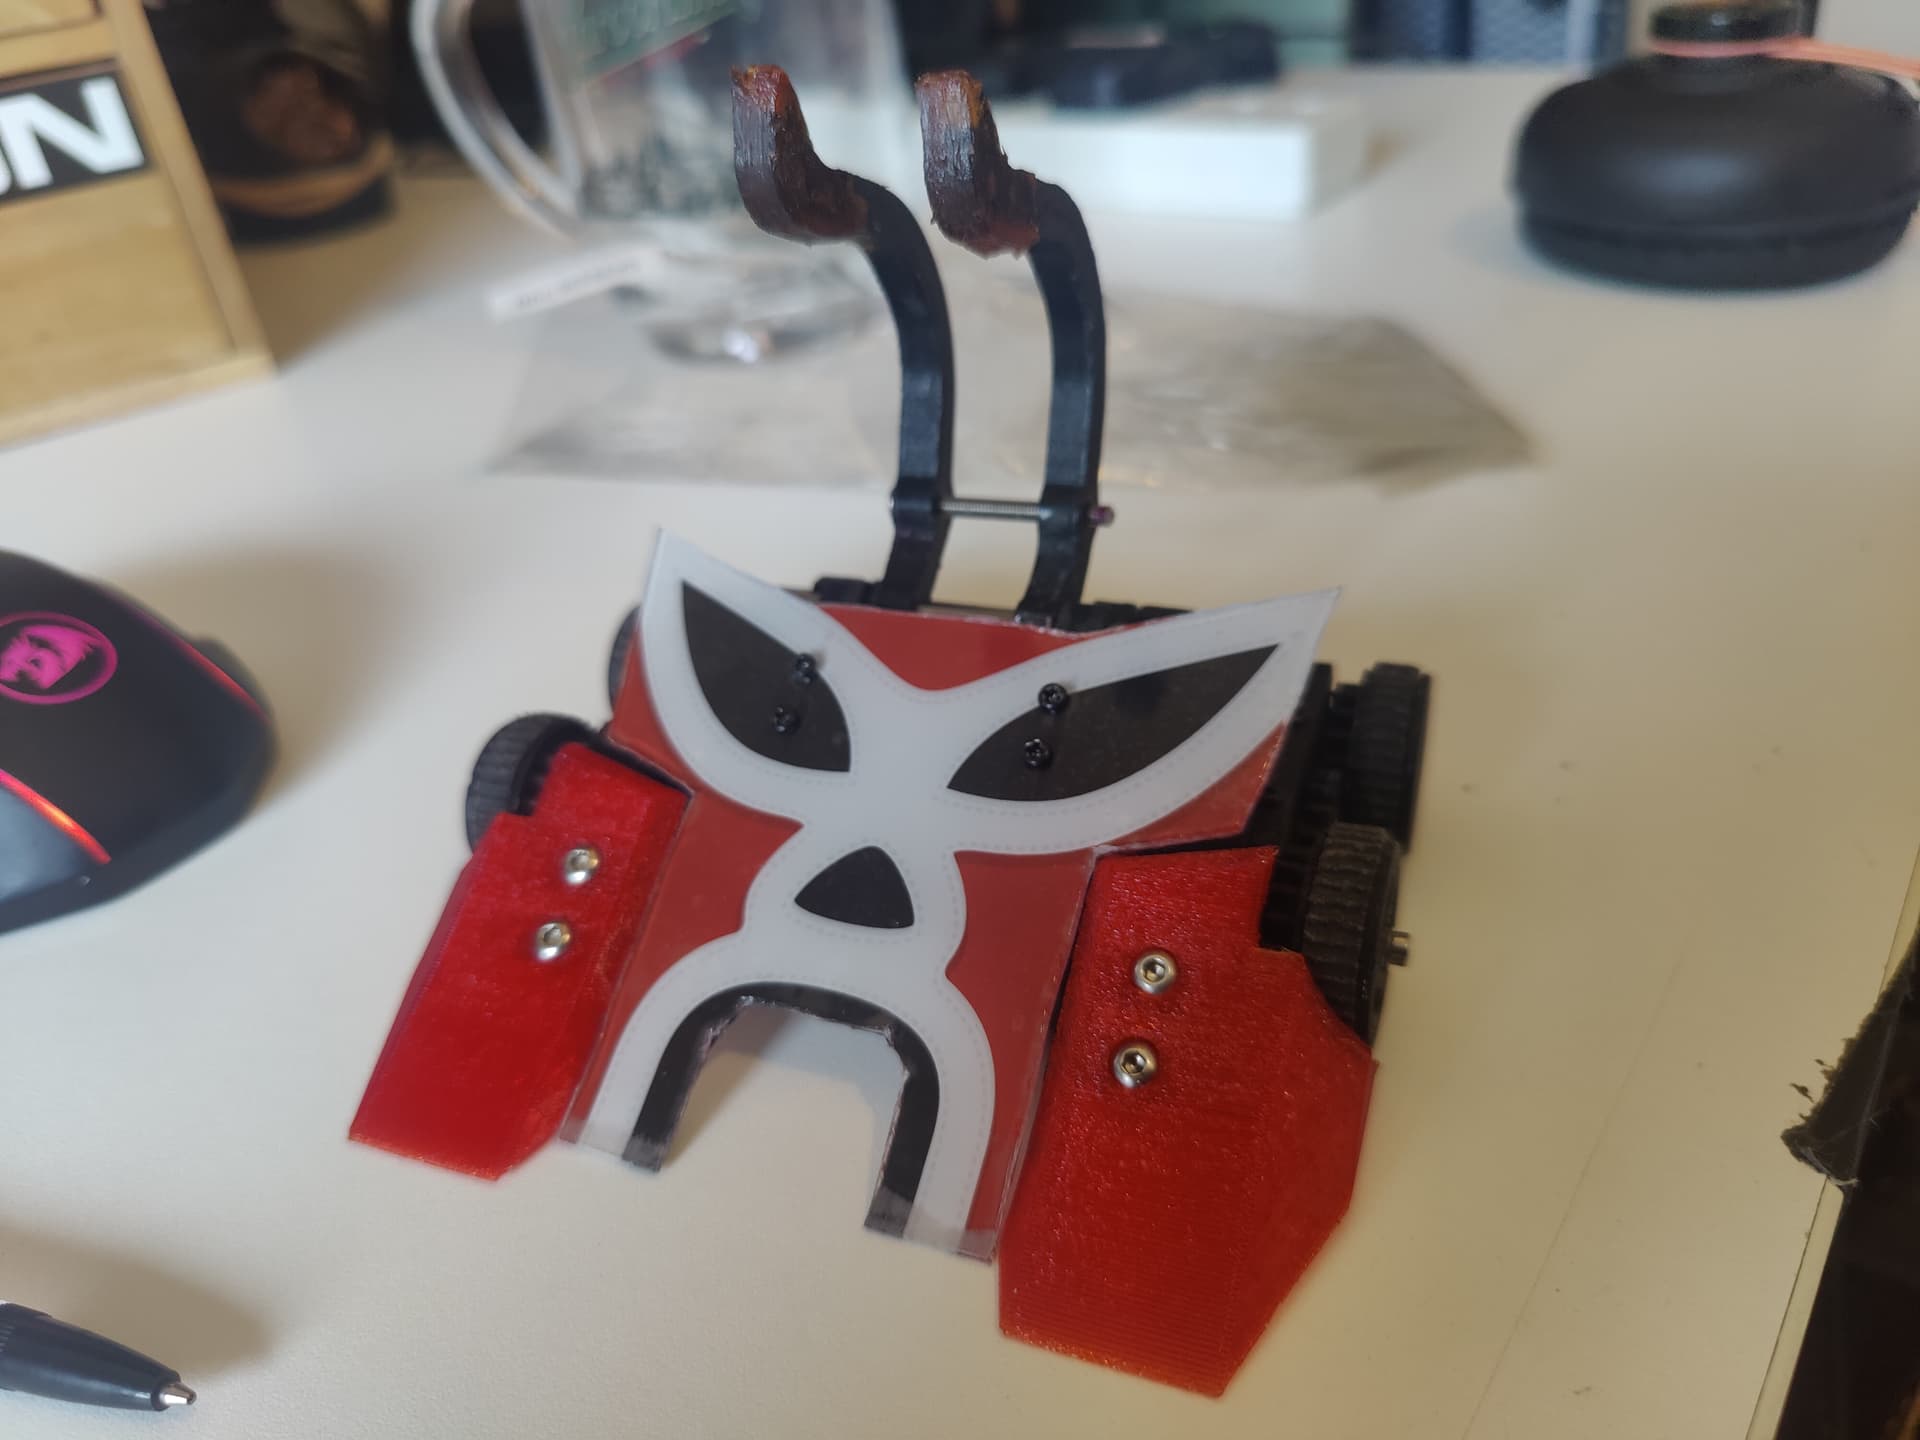
So after GetGot! My ant drum bent a motor shaft in testing and then another one at its debut event at orcs2 - I decided it needed something a bit more sturdy than a 2mm motor shaft for that big ole Ti drum to spin on.

So I got to thinking and with changing the Ti drum out of the question I figured the only real option was to look at altering the motor.

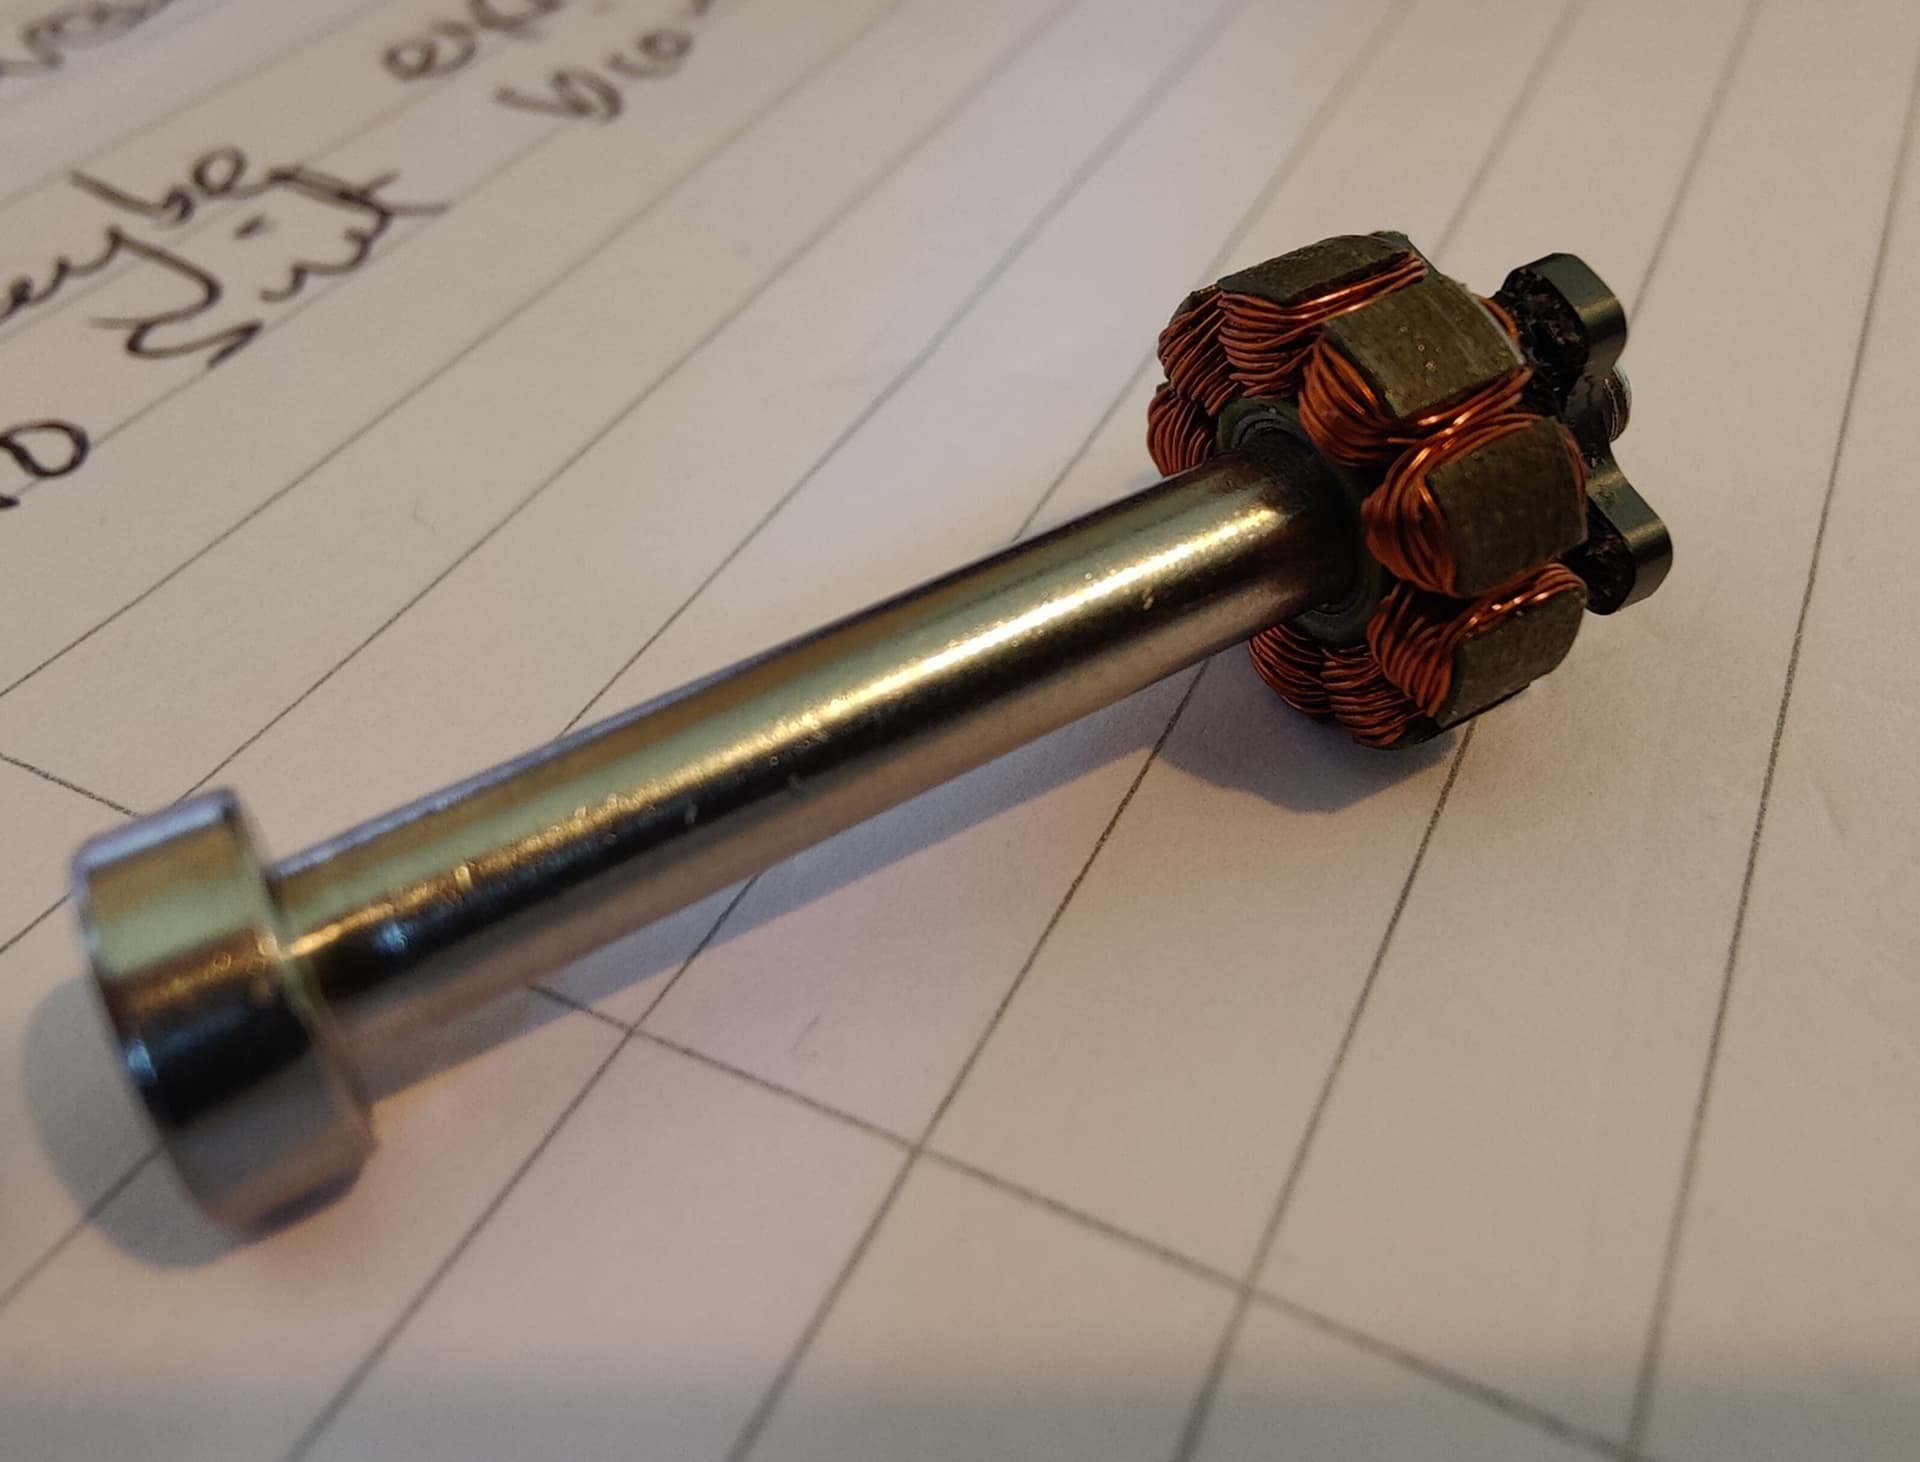
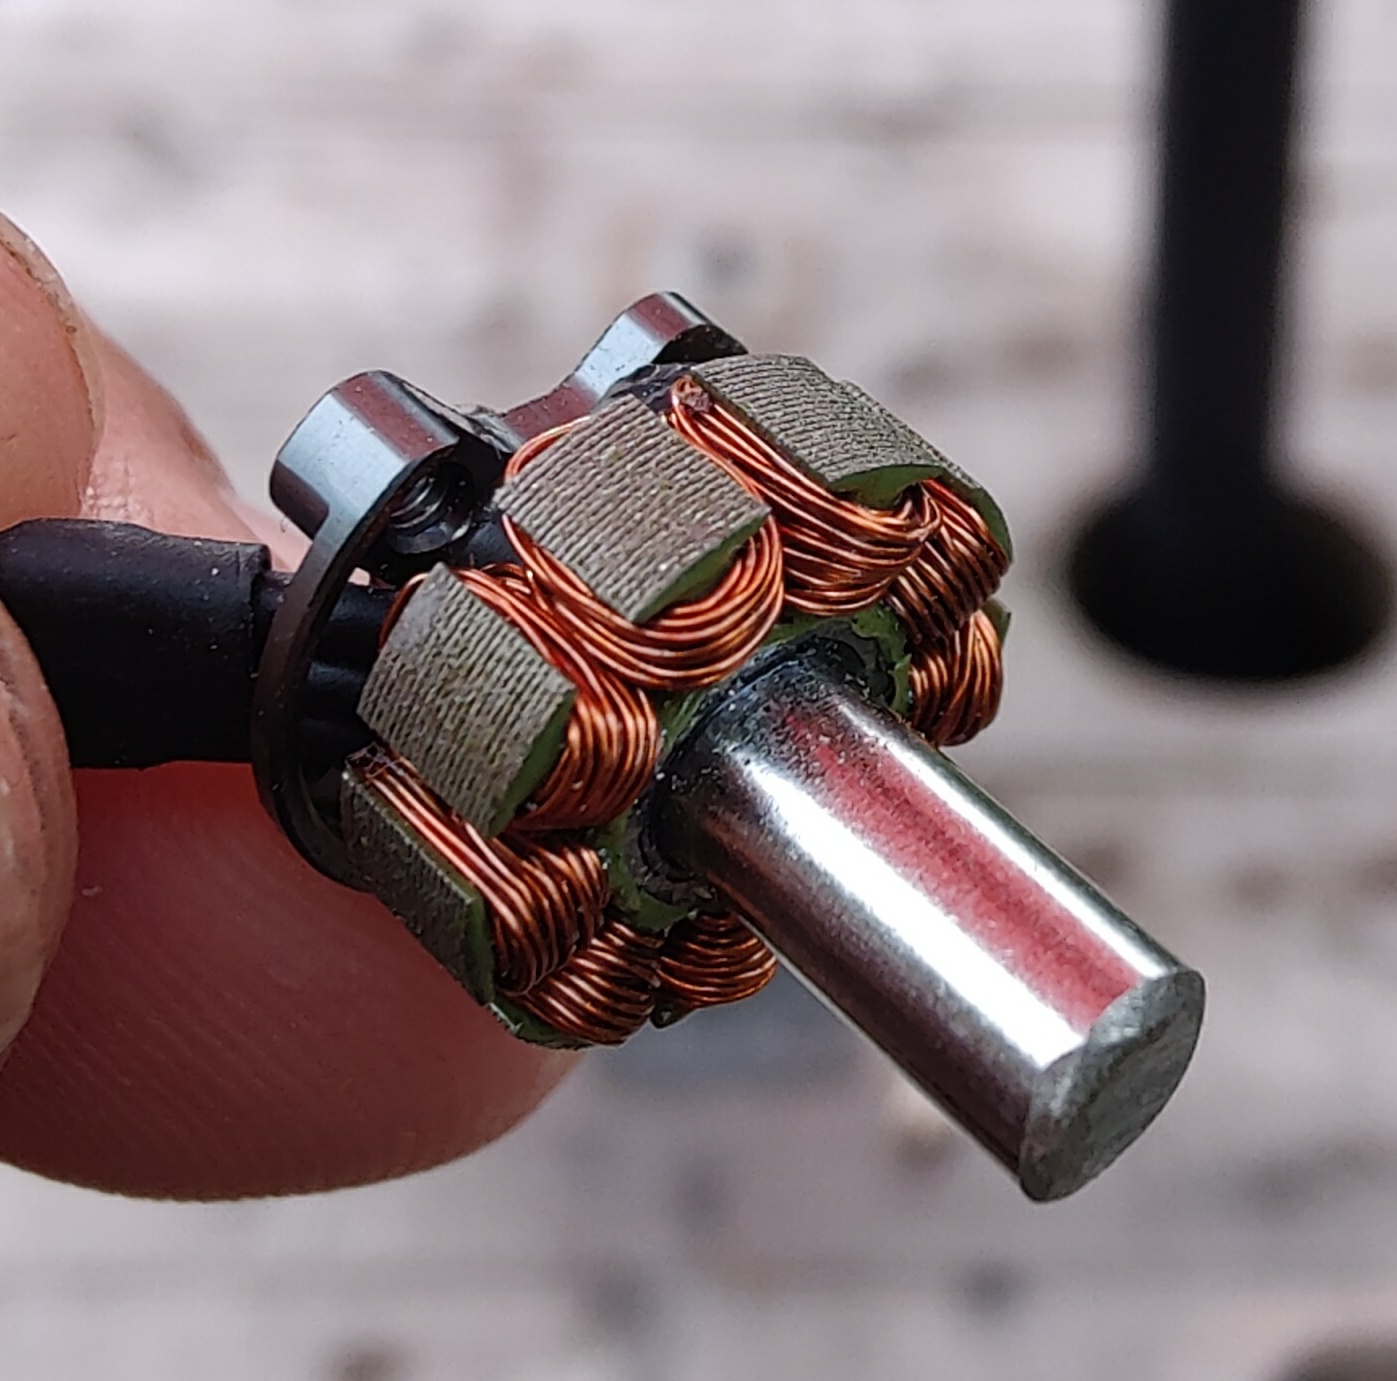
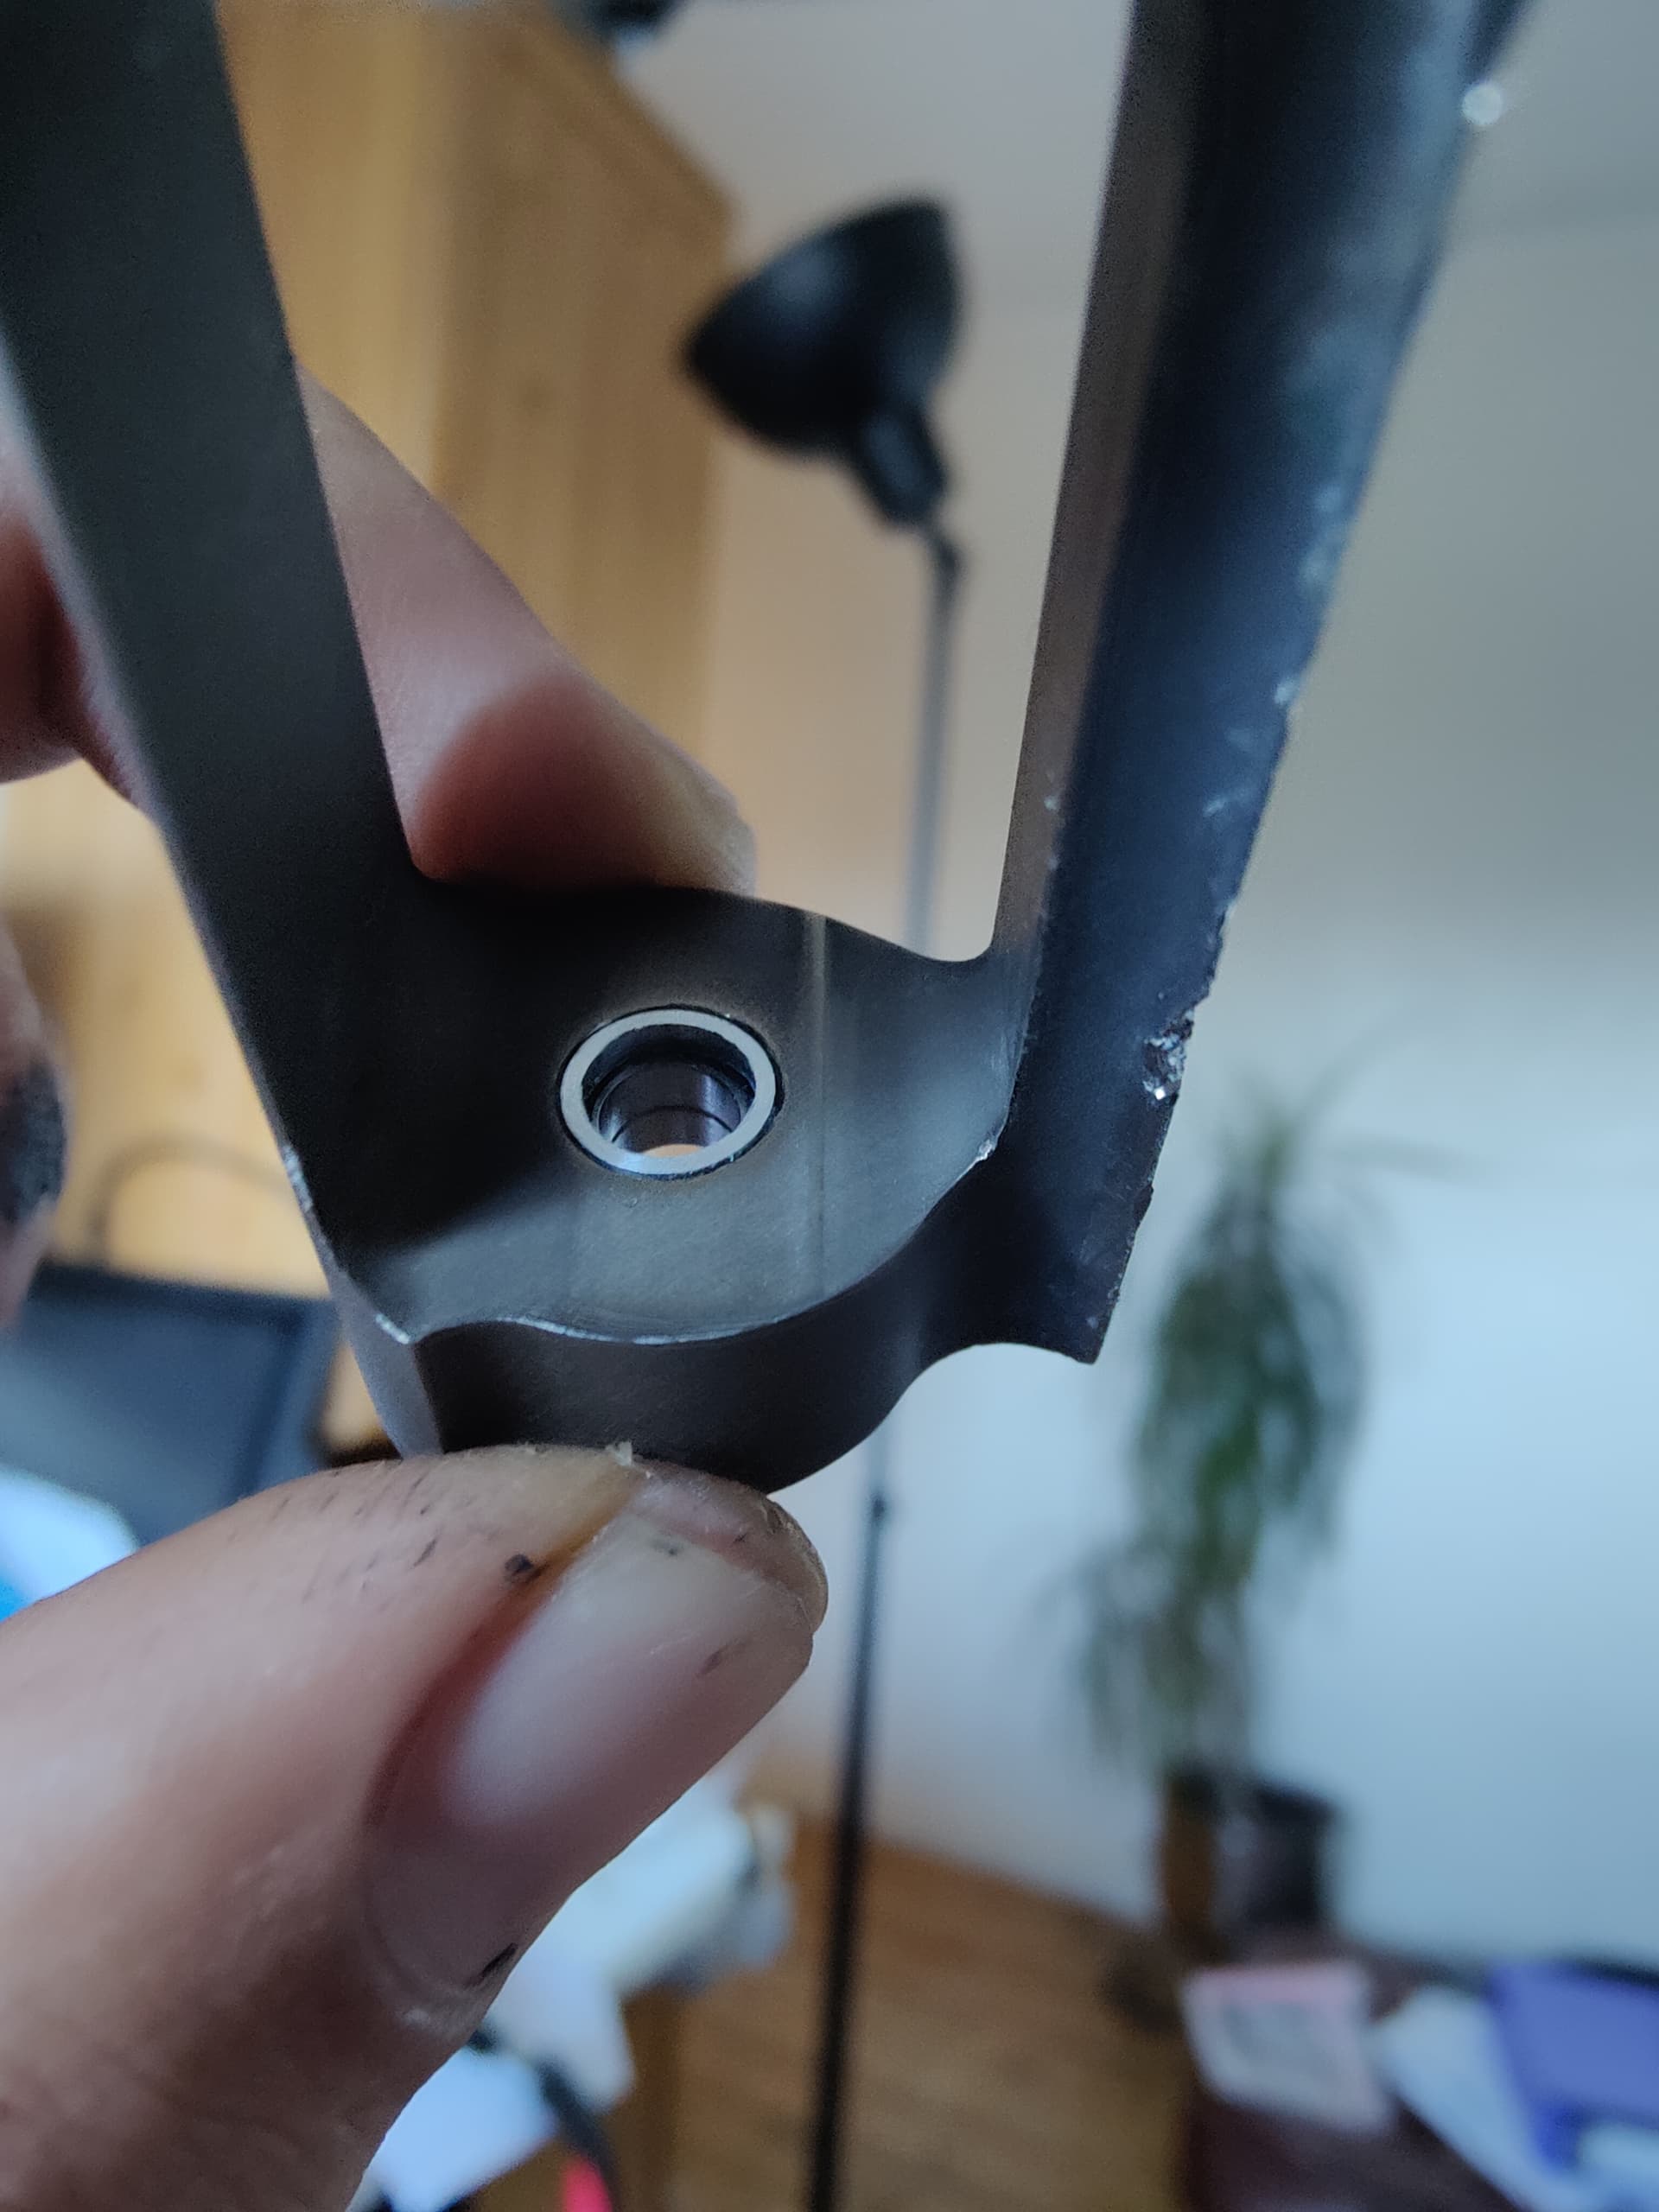
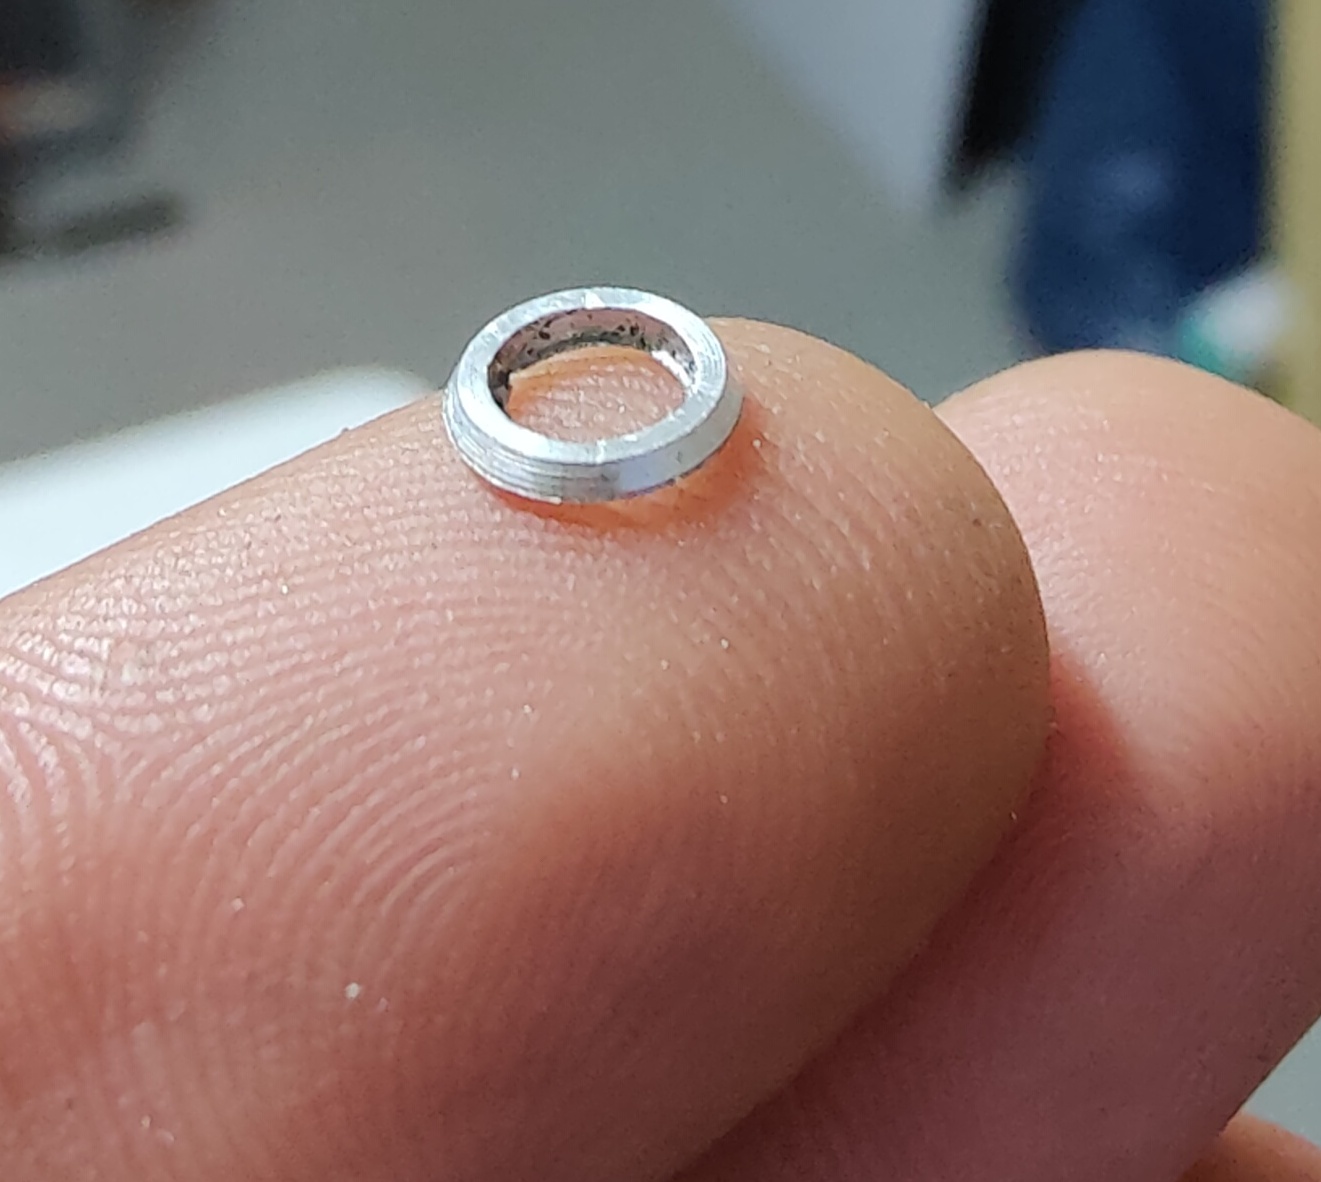
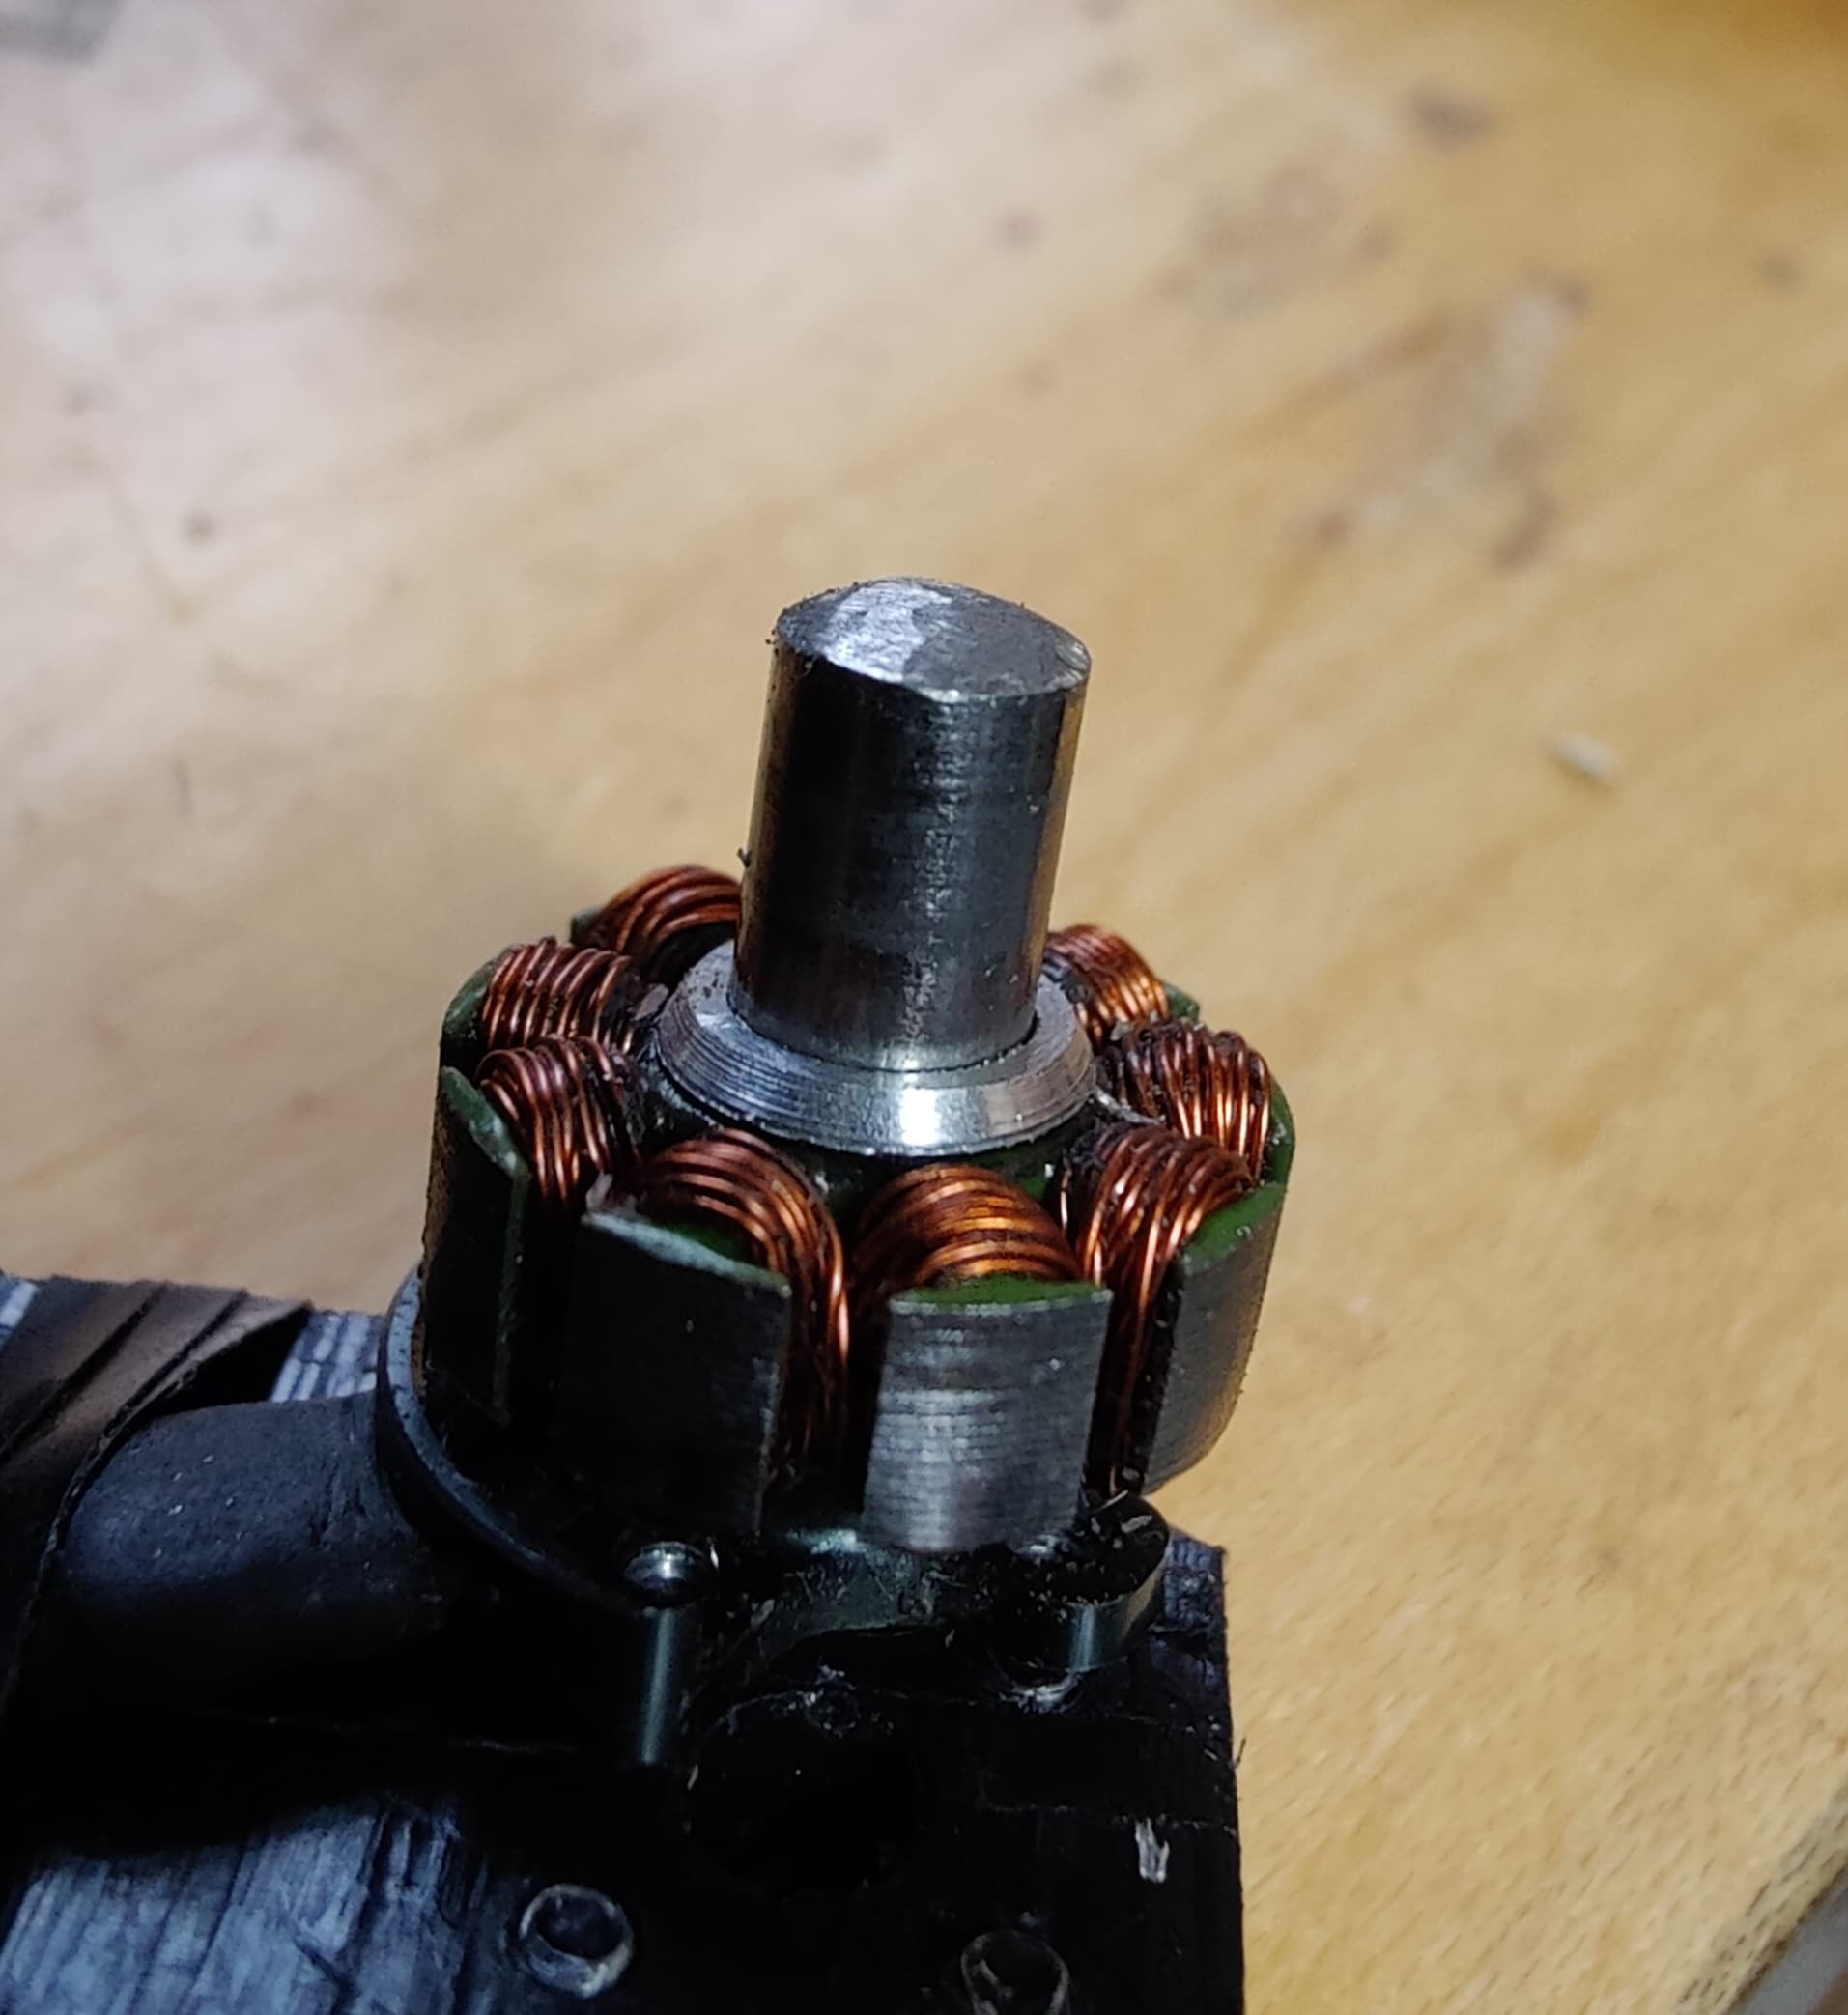
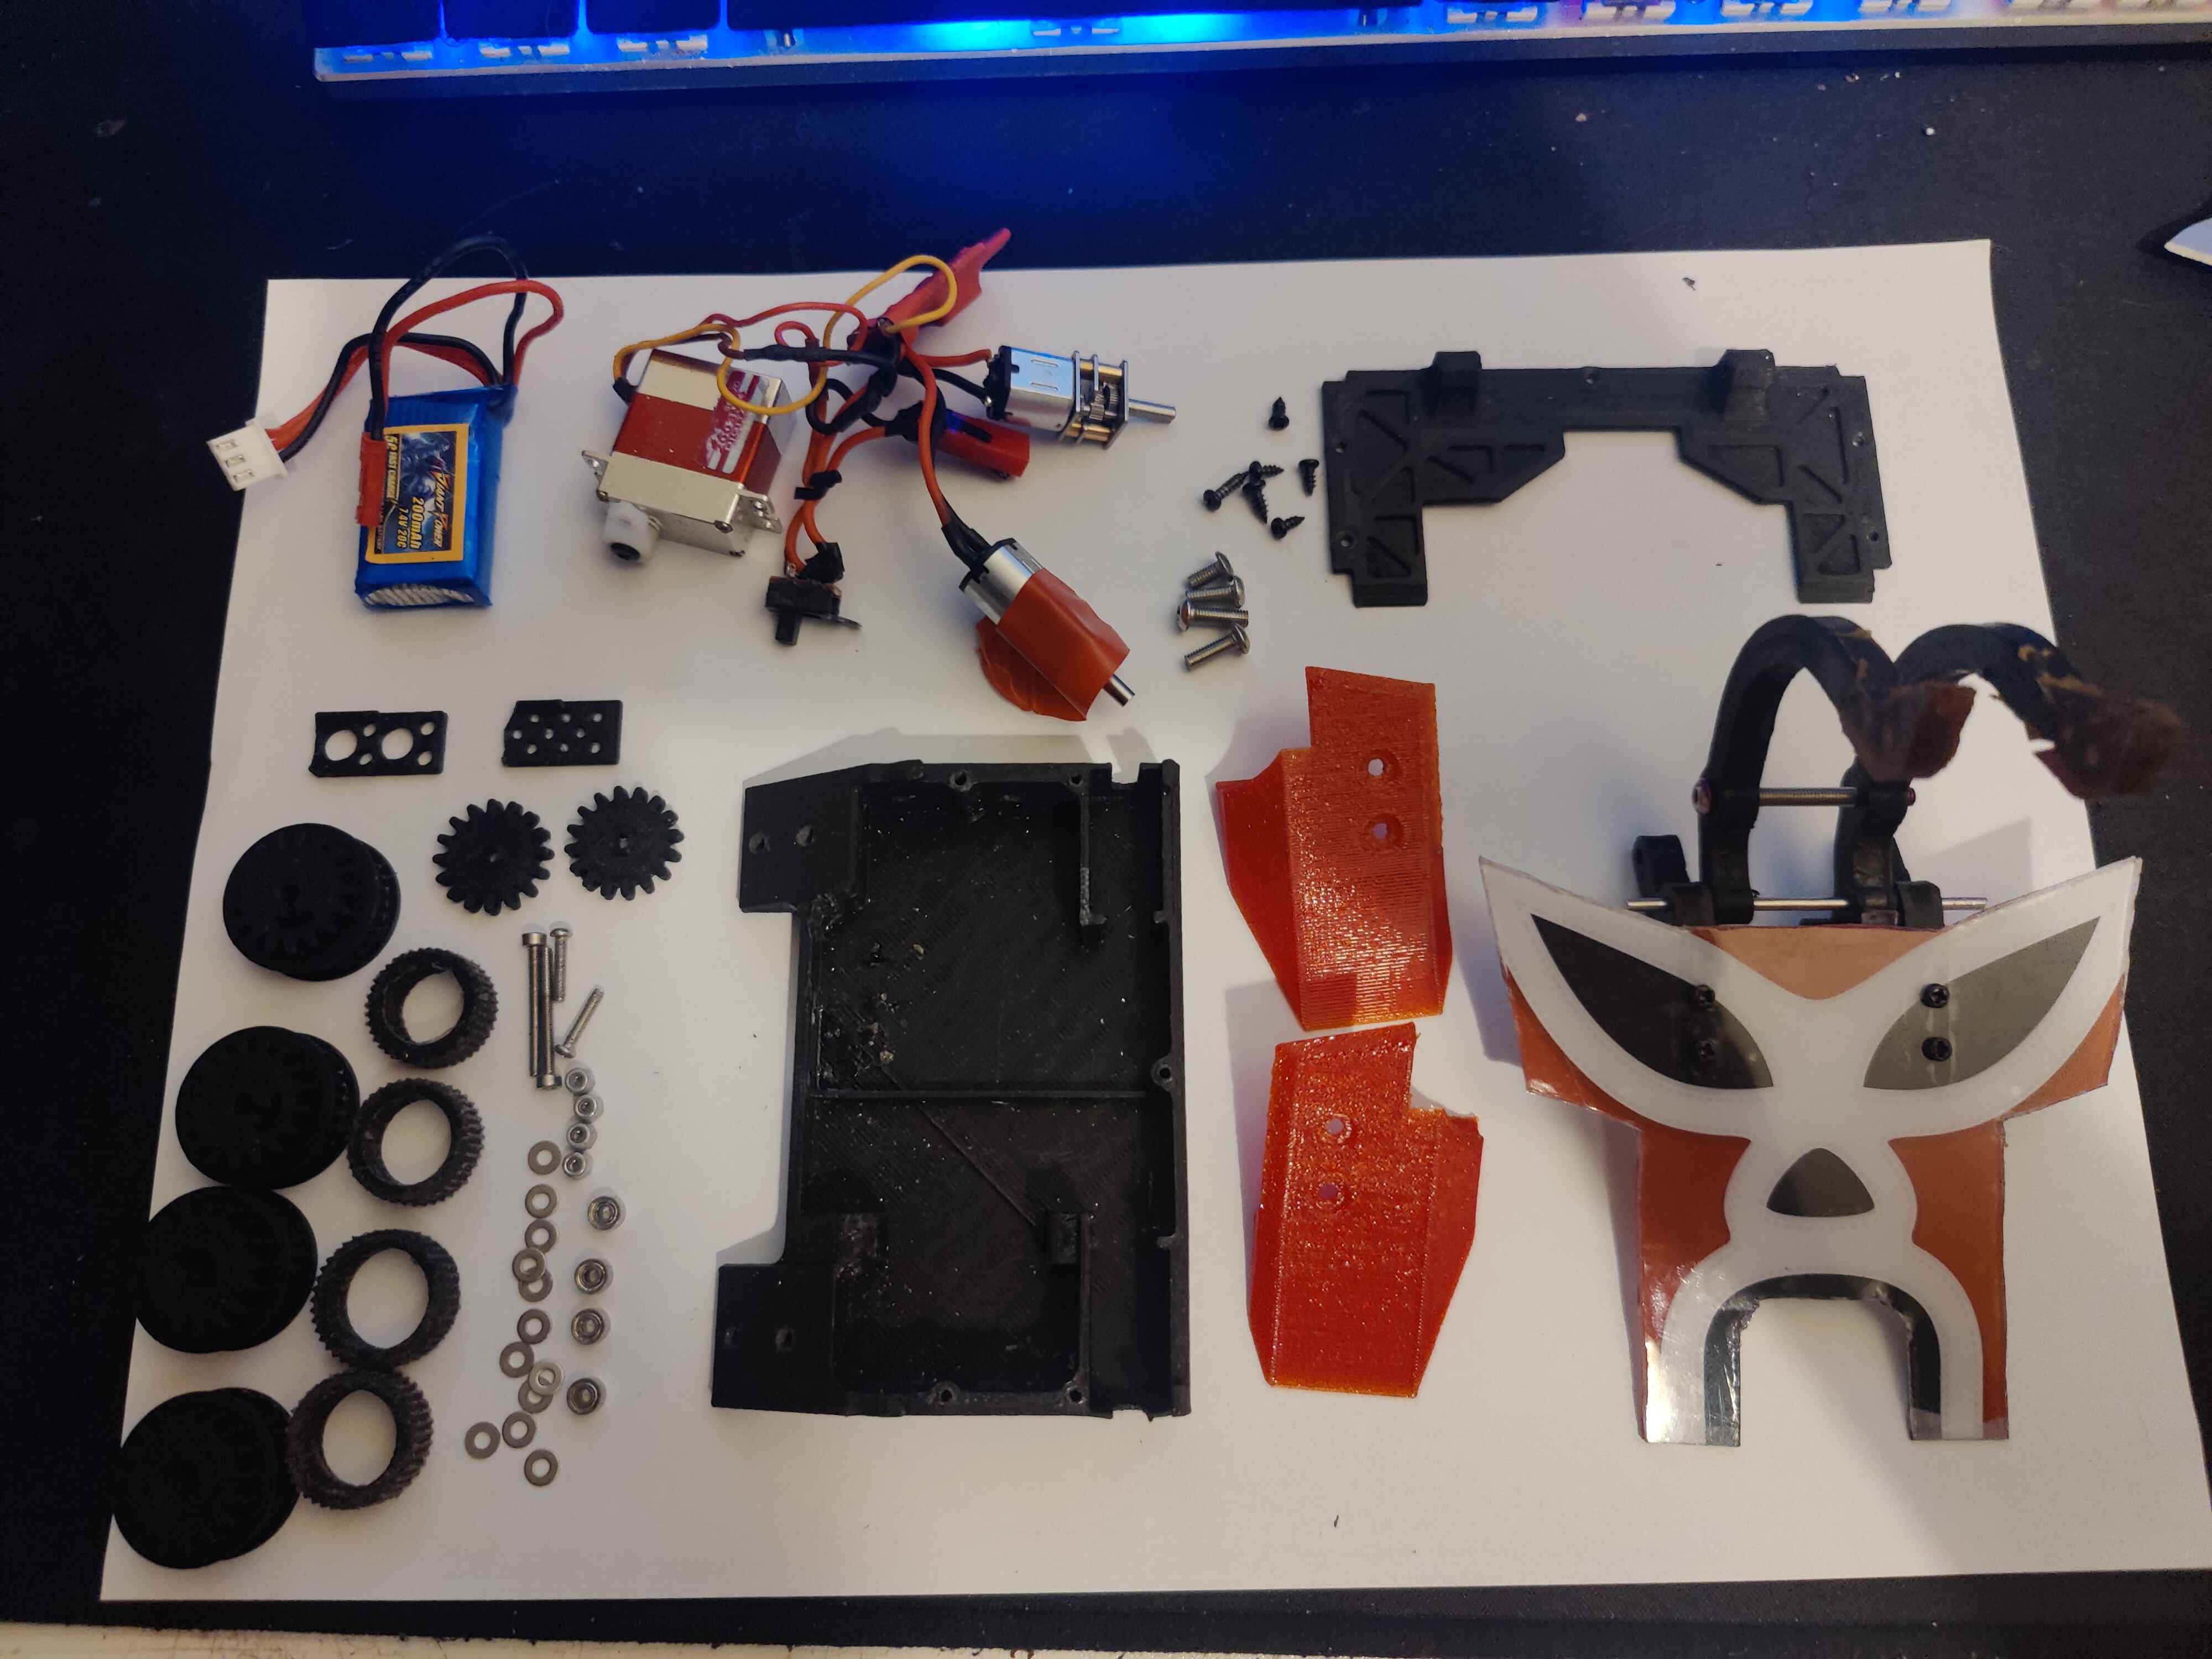
After stripping the motor and popping the bearings out I realised that the bearing cups were exactly 5 mm and between them the aluminum flange was a fair bit under 4mm. I rummaged in my parts box and found some old m4/5mm shoulder bolts and a loose plan began to formulate

I tapped the aluminum ridge with m4 threads and threaded the shoulder bolt in until the shaft sat snug in the bearing cup. All seemed solid and concentric/straight!

Happy with how the shoulder bolt fitted I proceeded to epoxy the threads and first millimeter of the shaft and refit it. I then packed out the rear bearing cup with epoxy around the threaded portion of the shoulder bolt and once set I then cut down the shaft

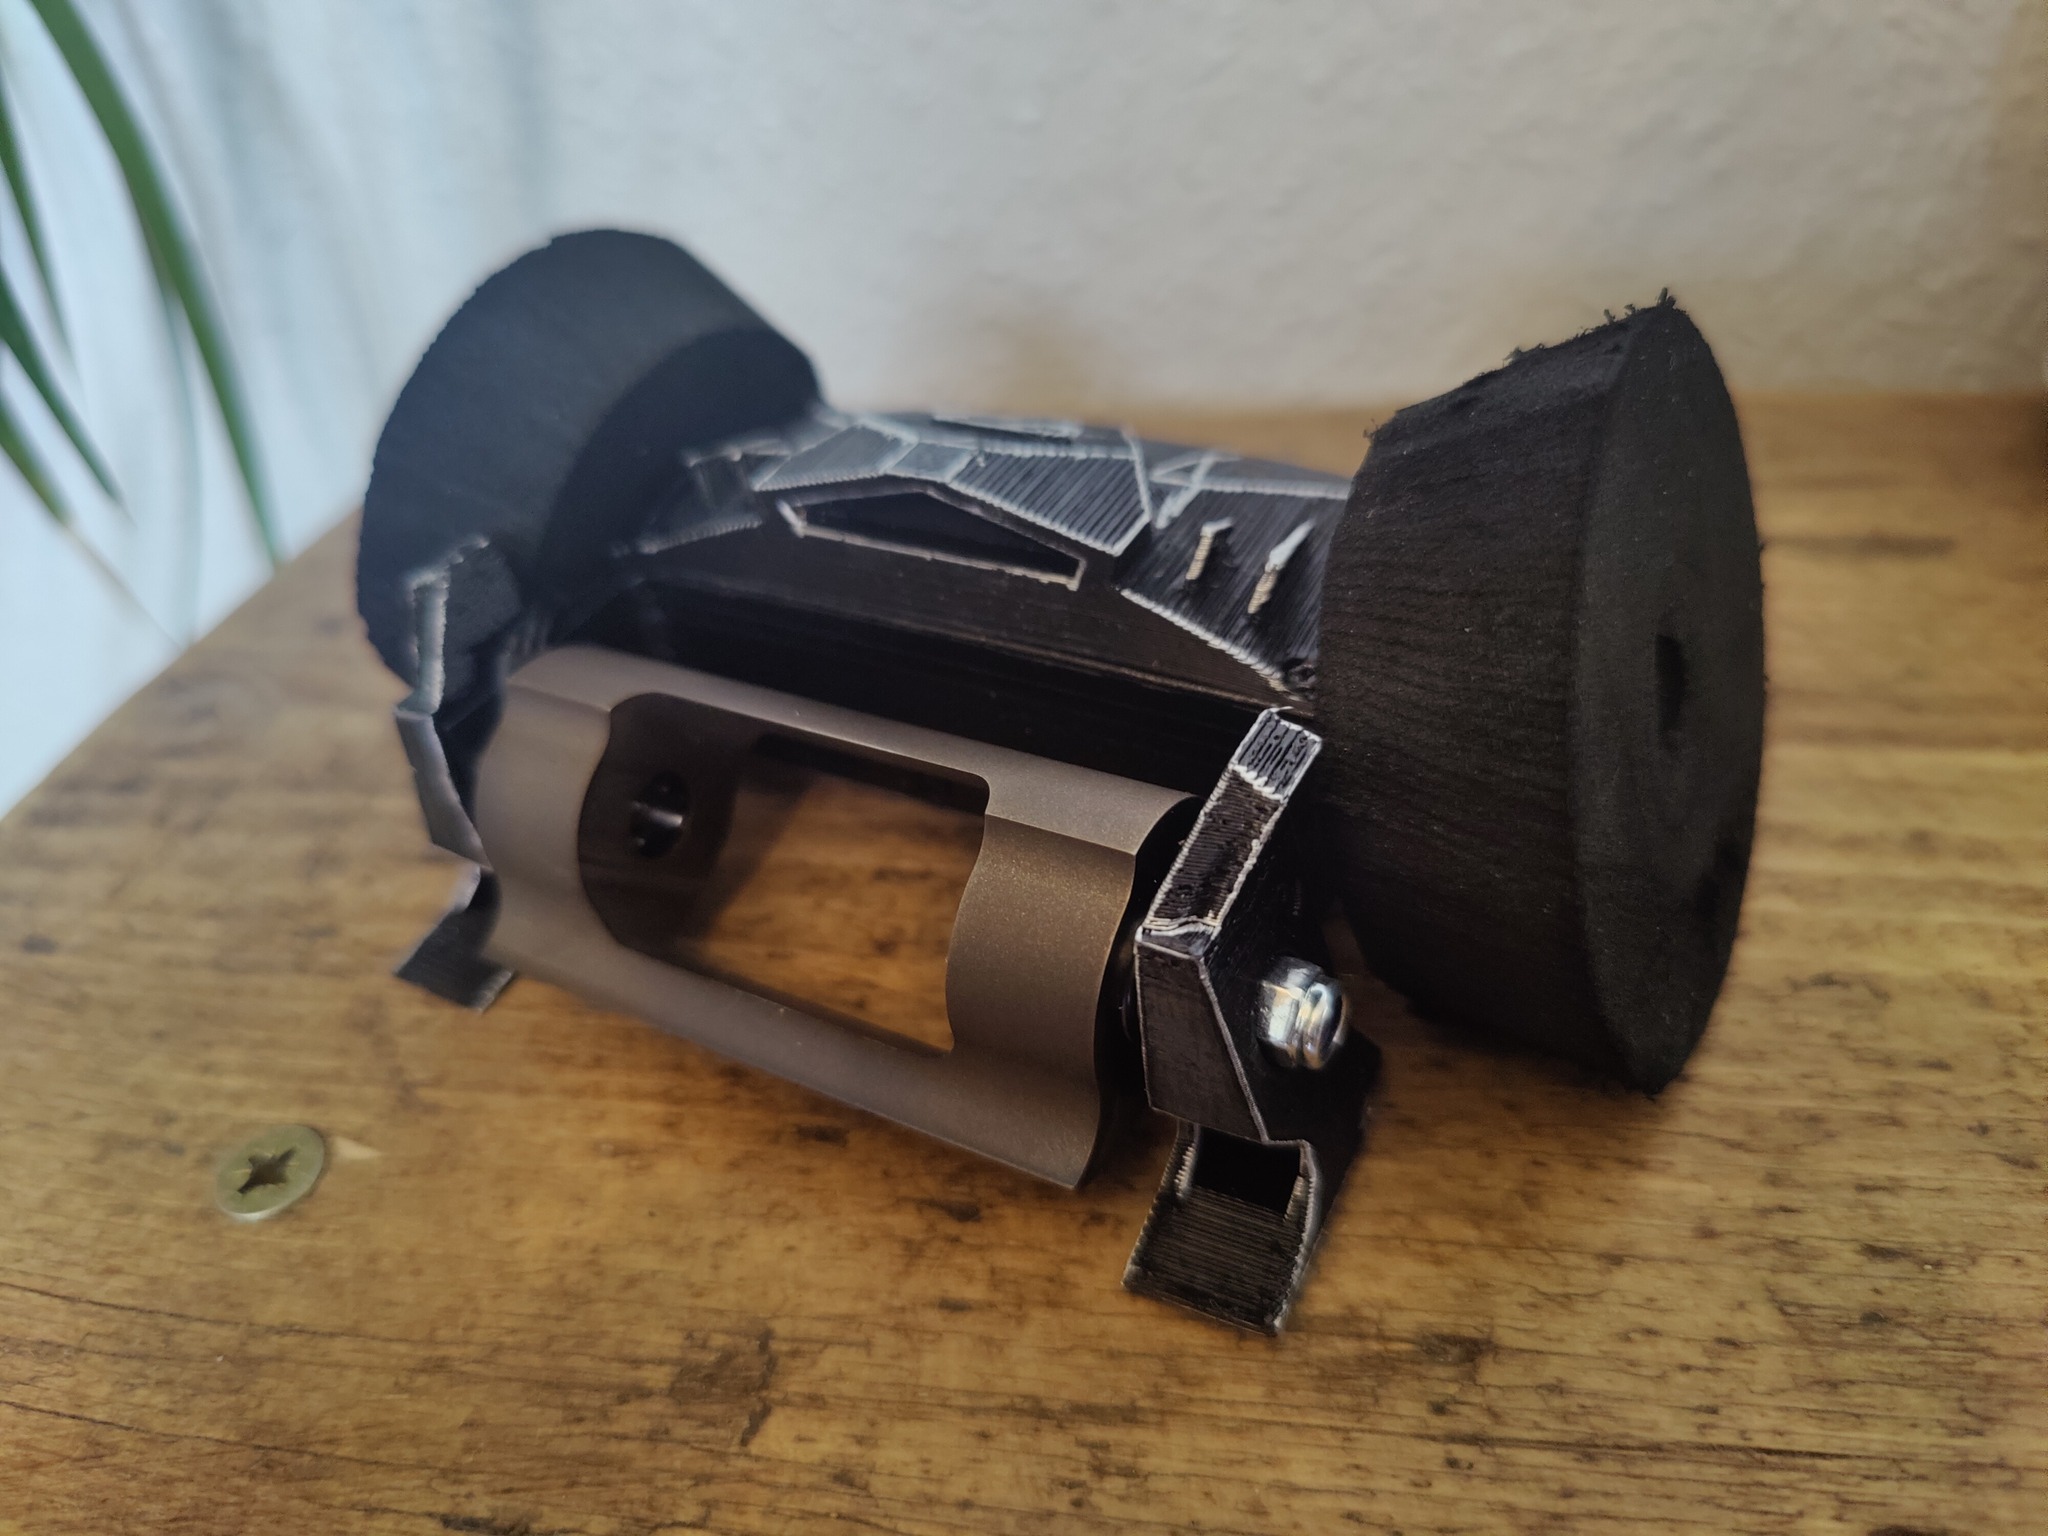
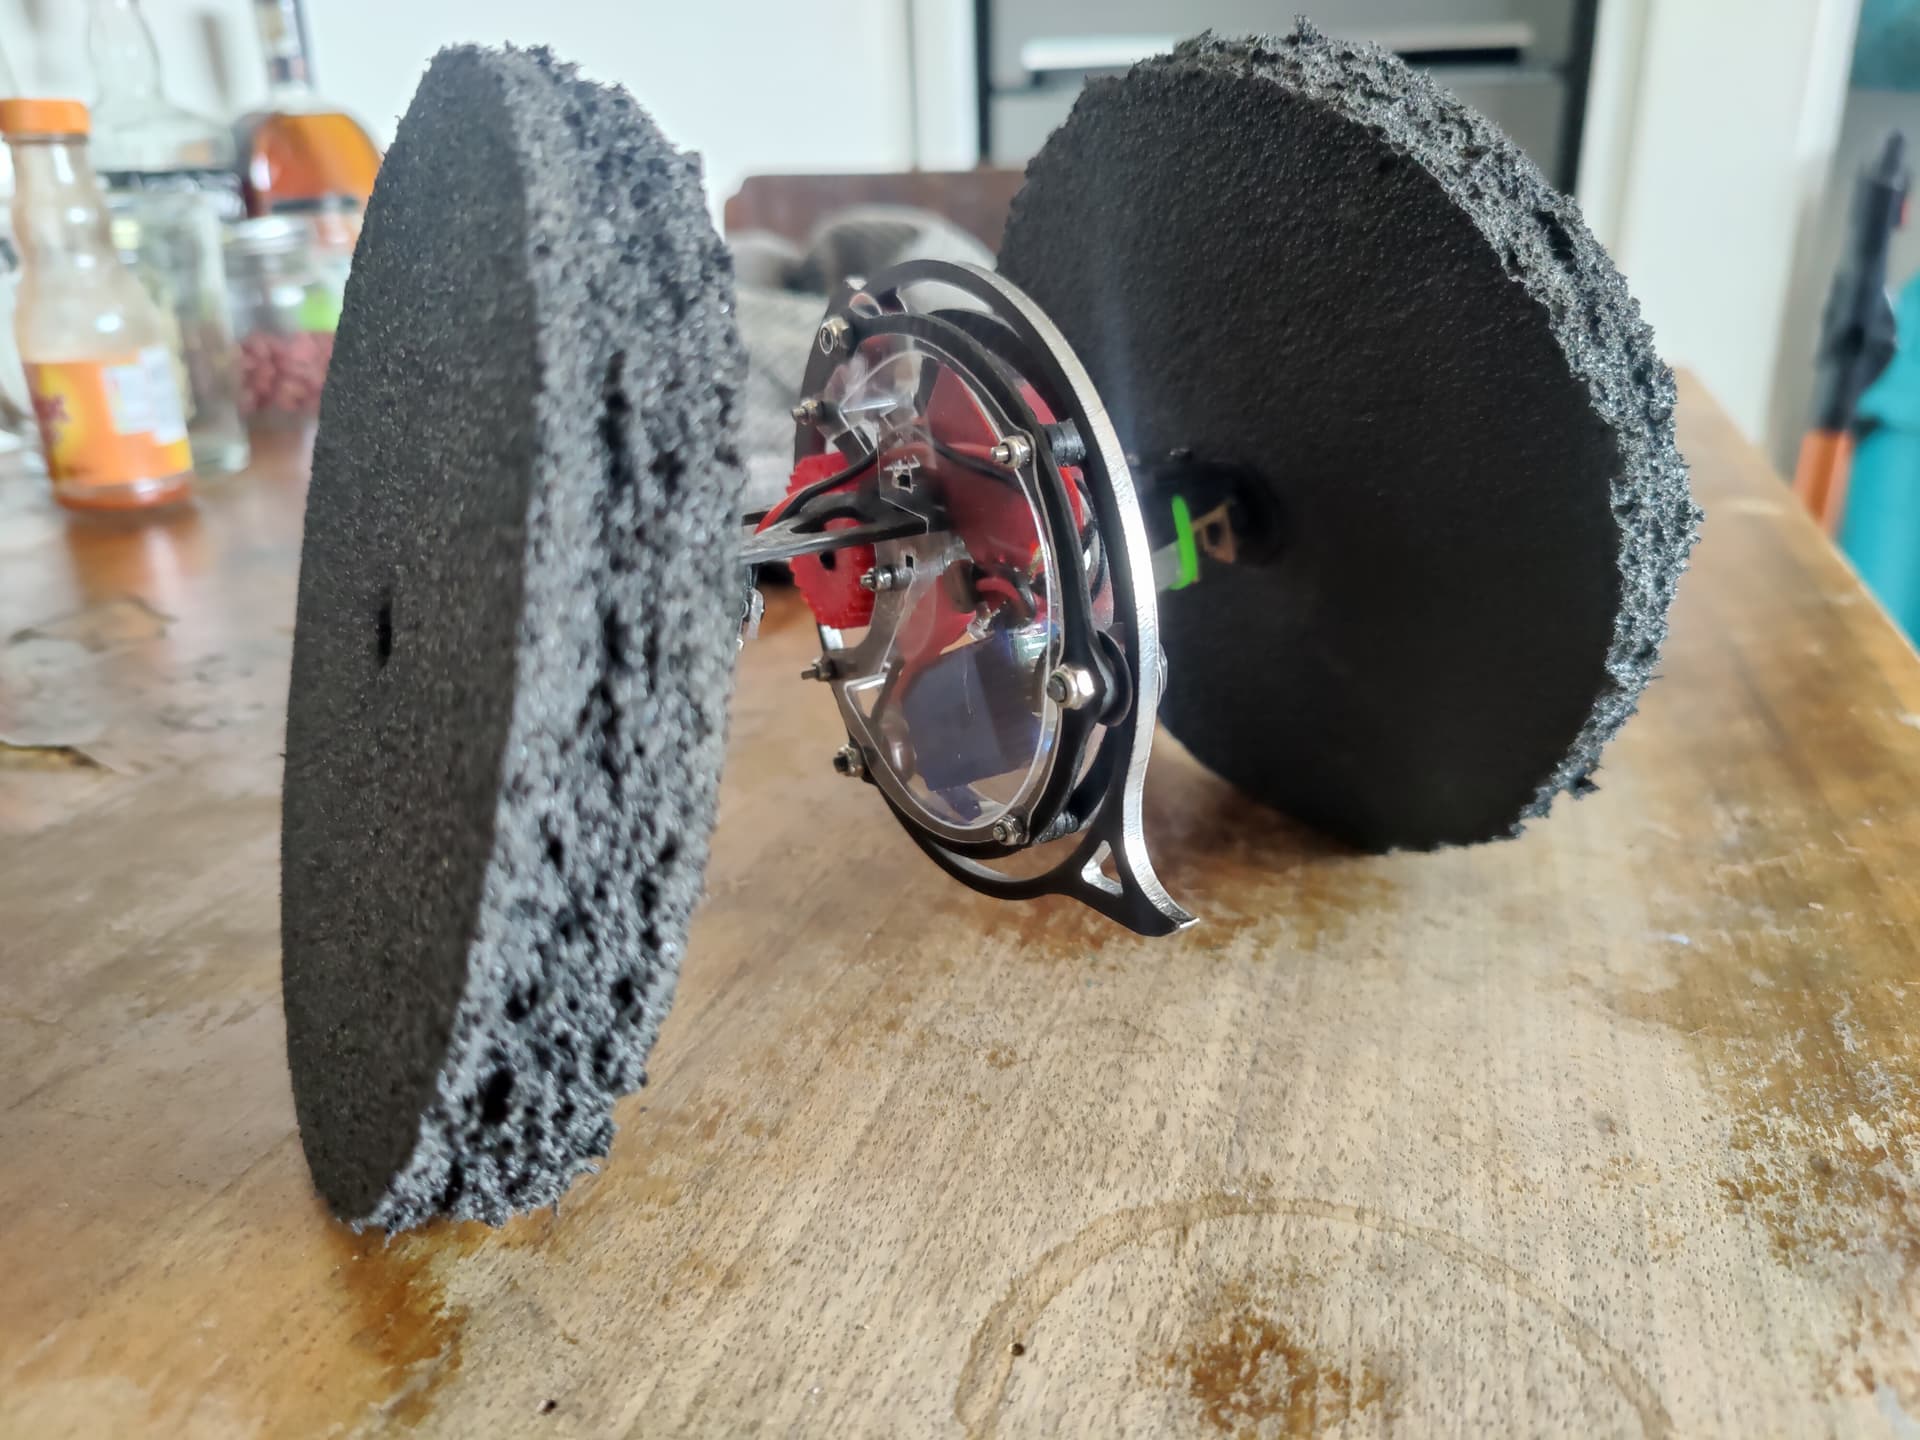
Once this was done I the cut the magnet ring off the bell of the motor

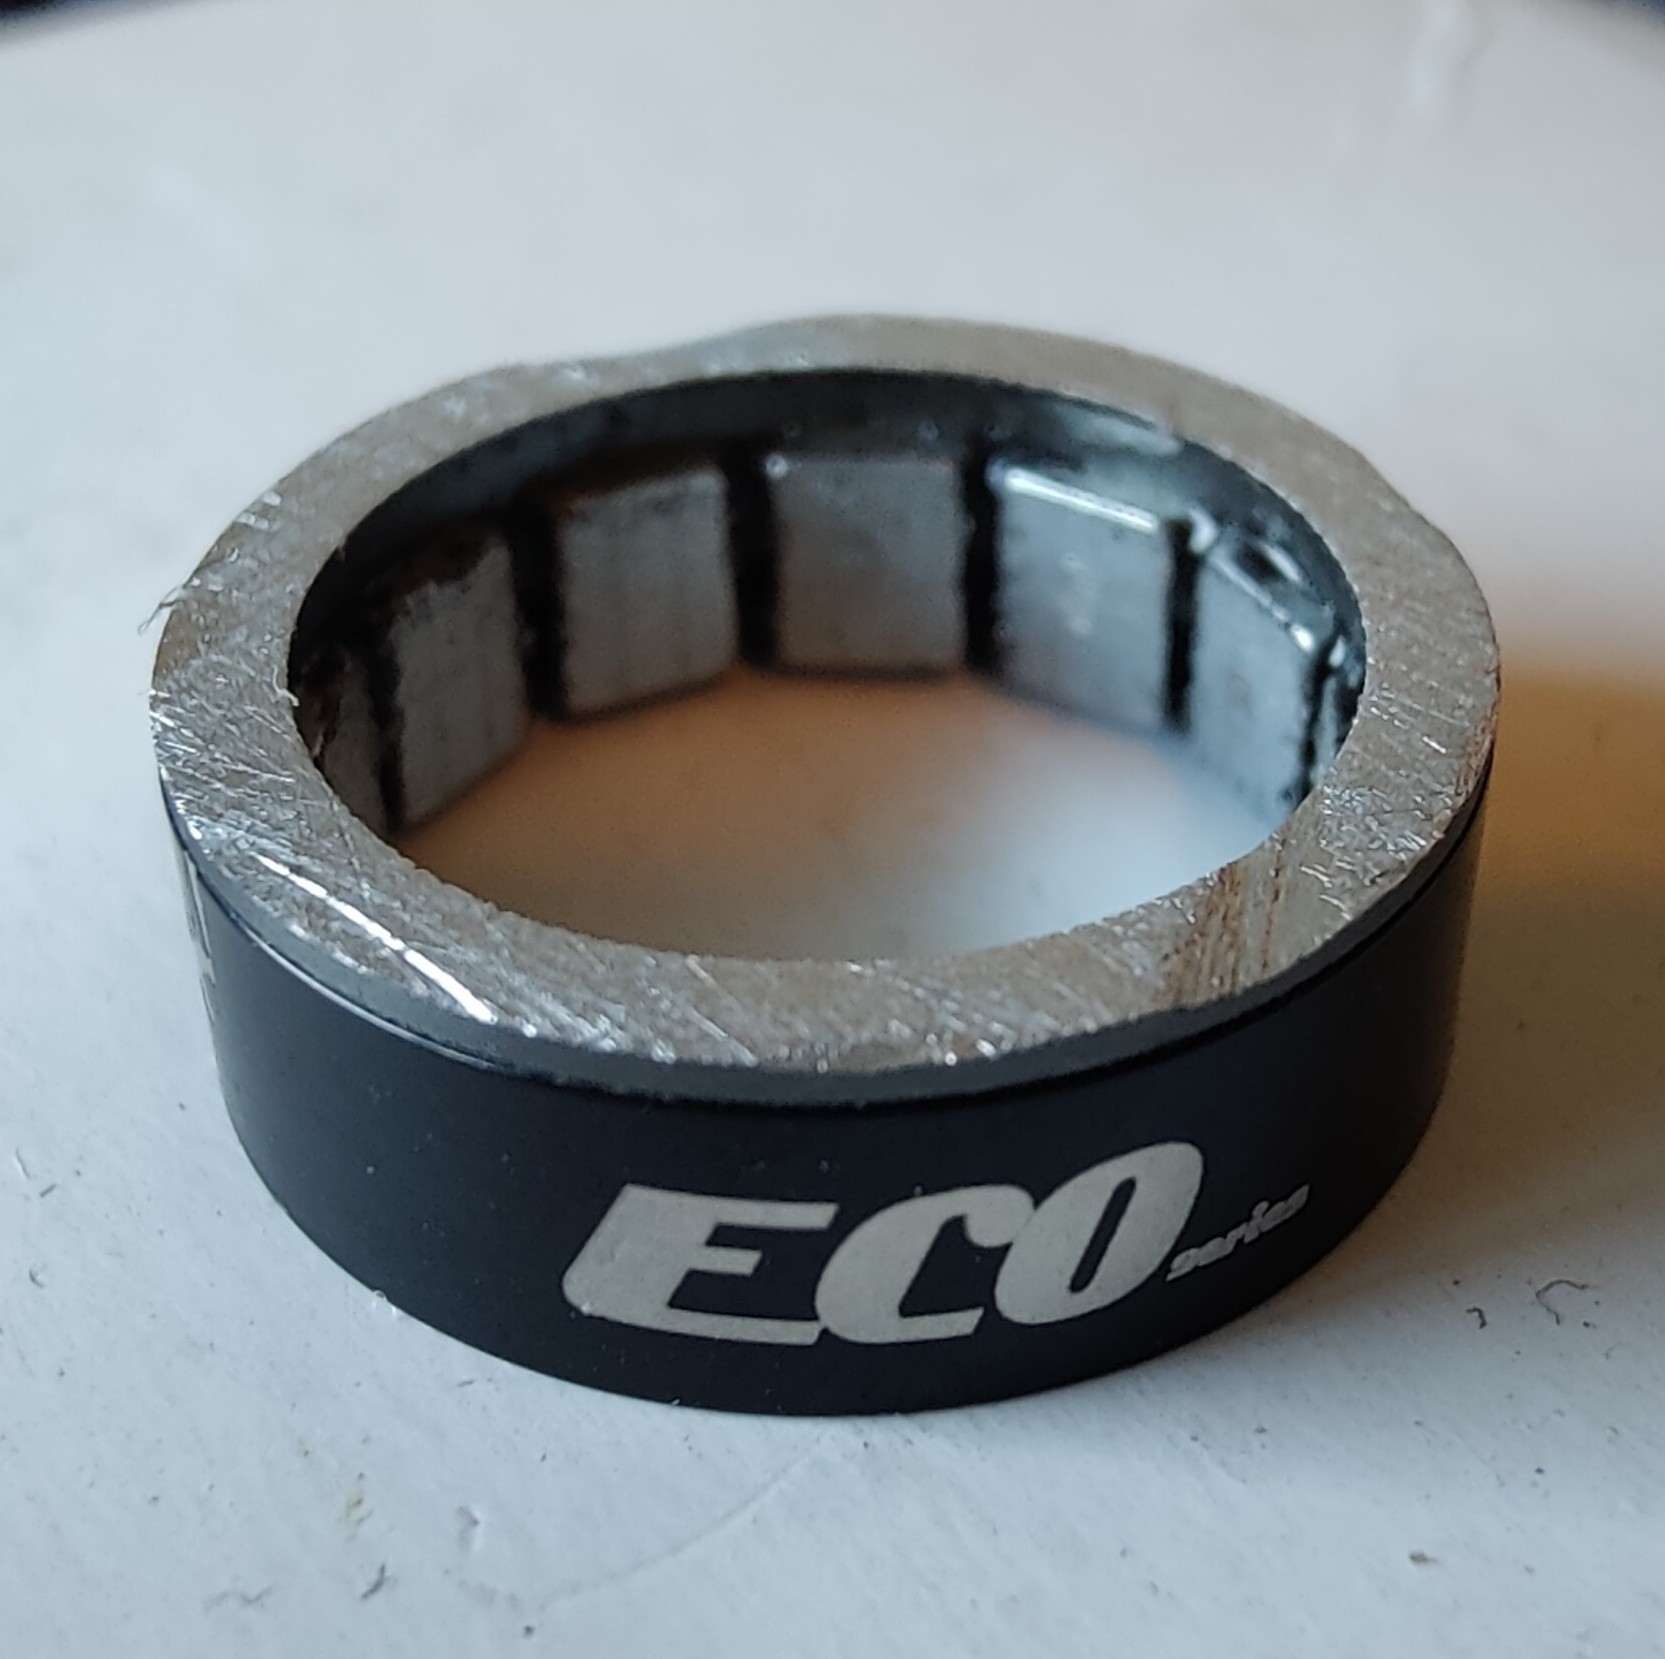
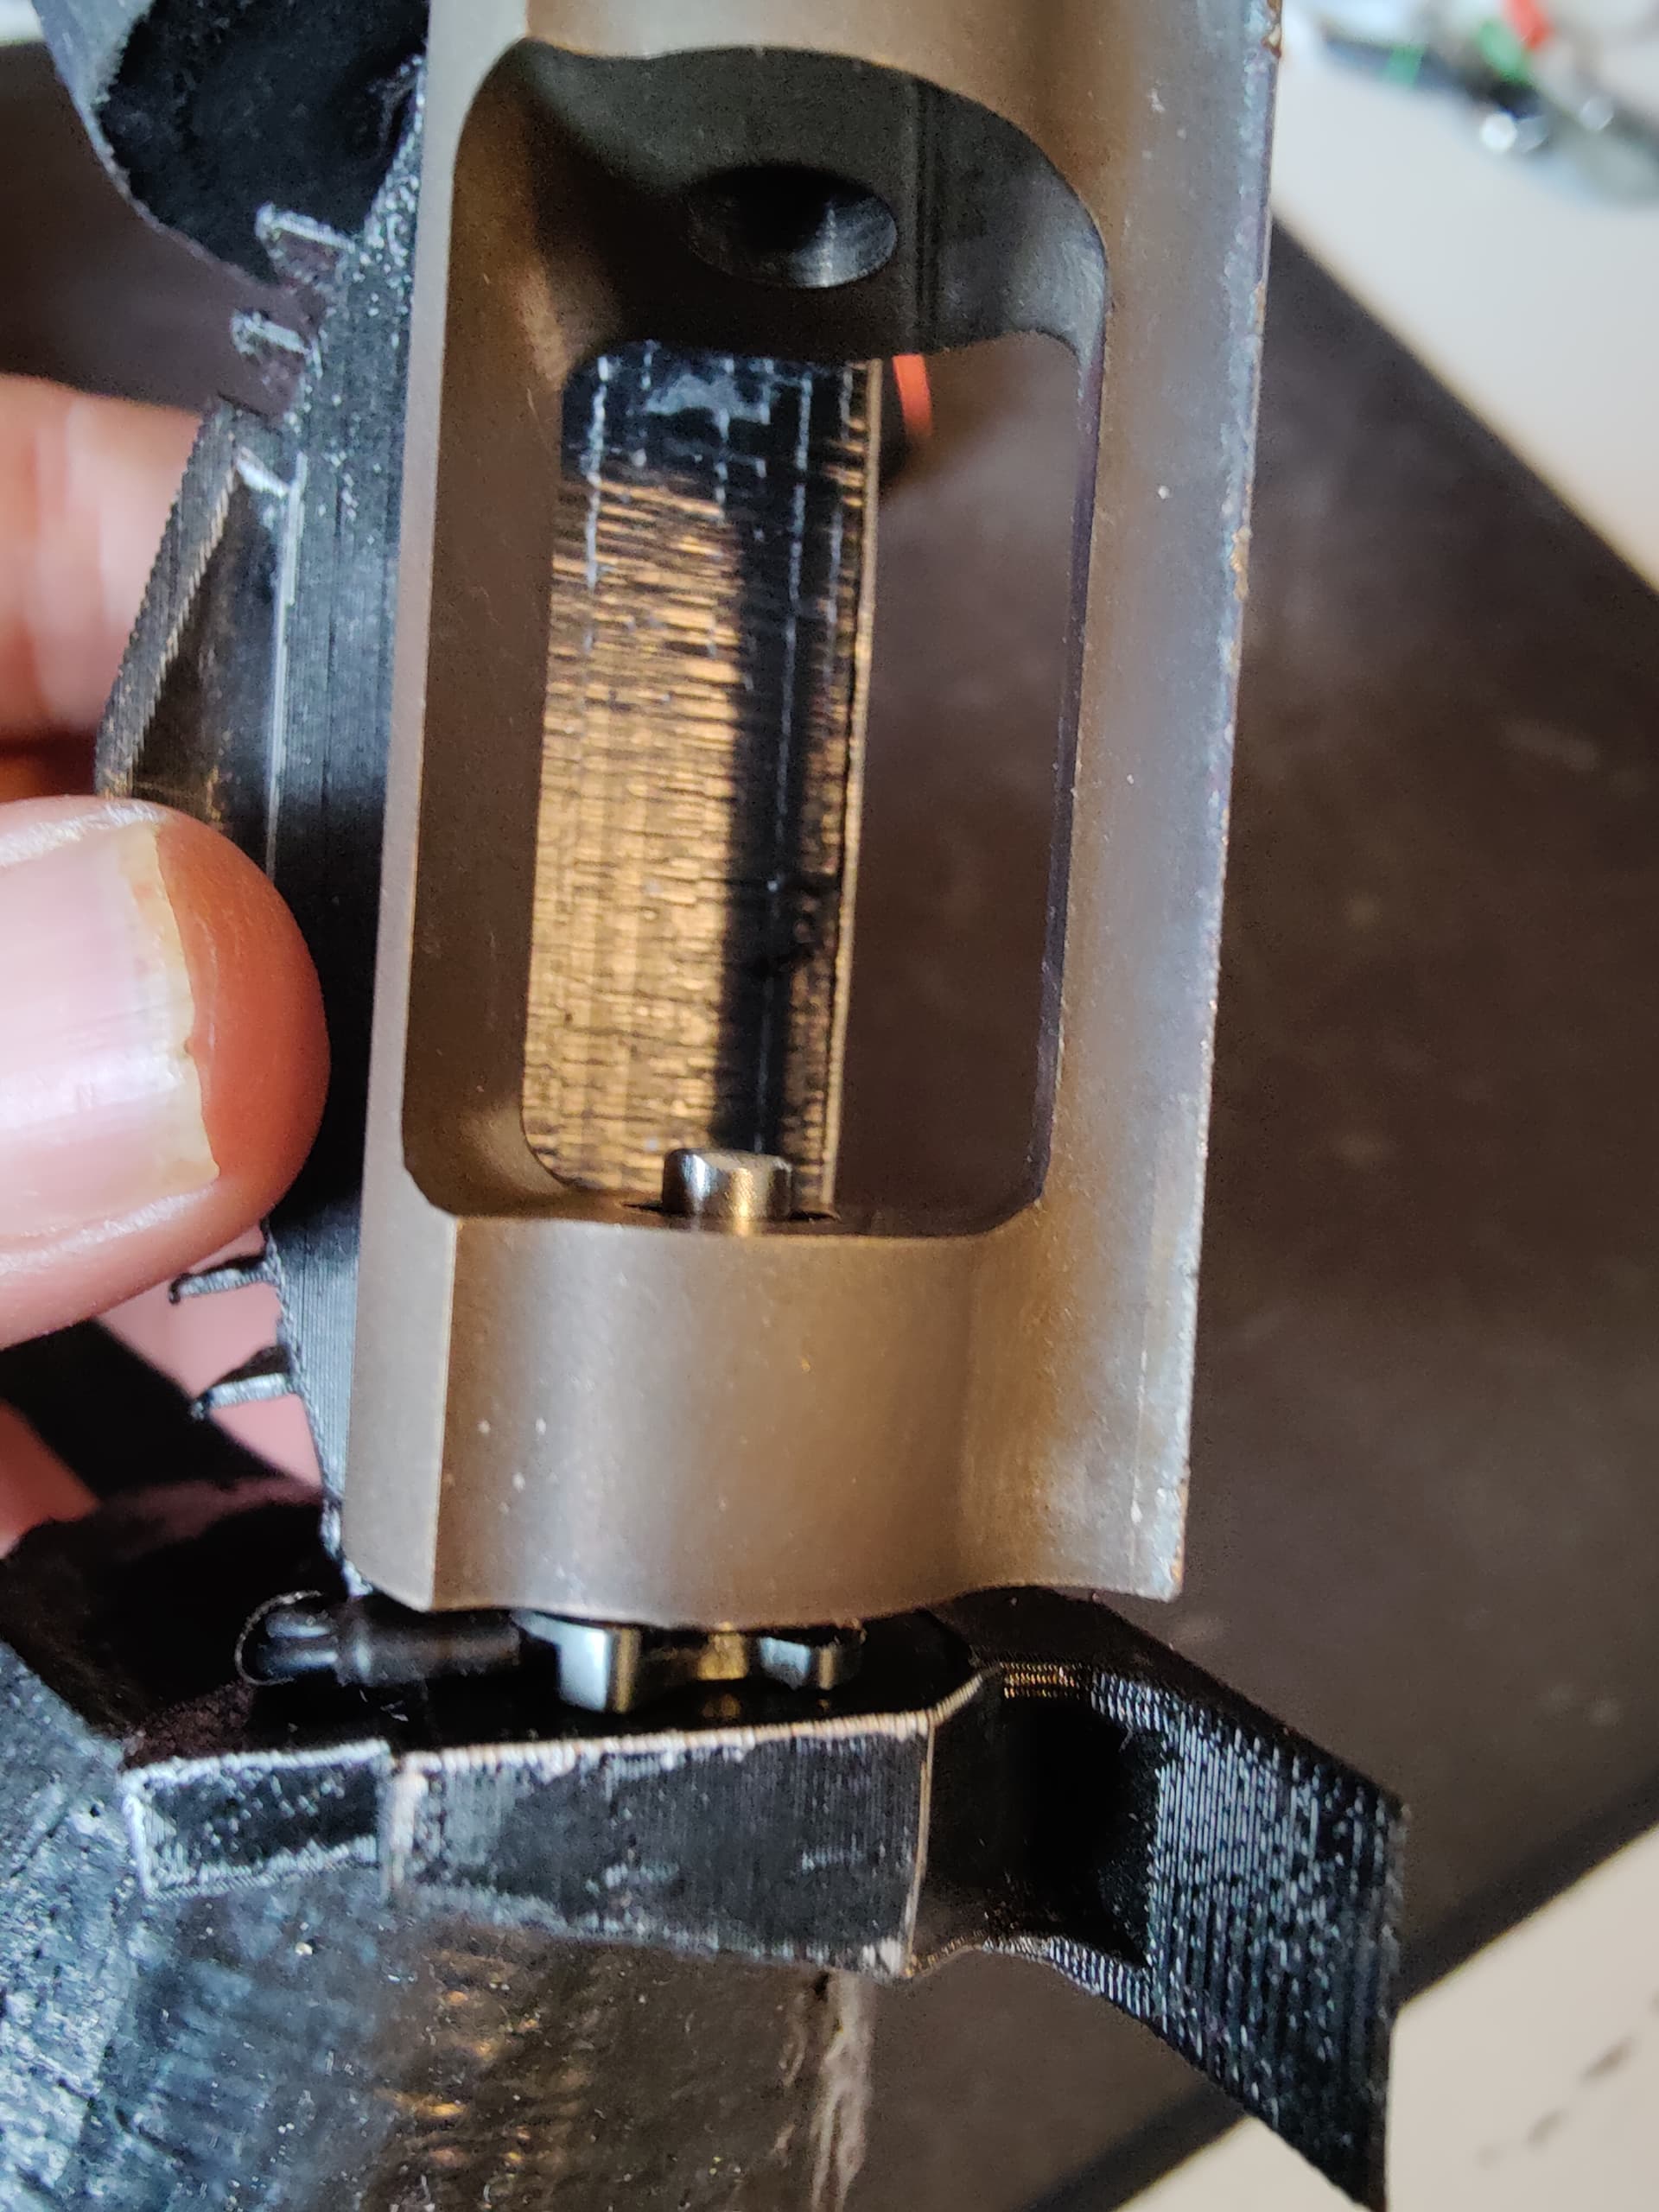
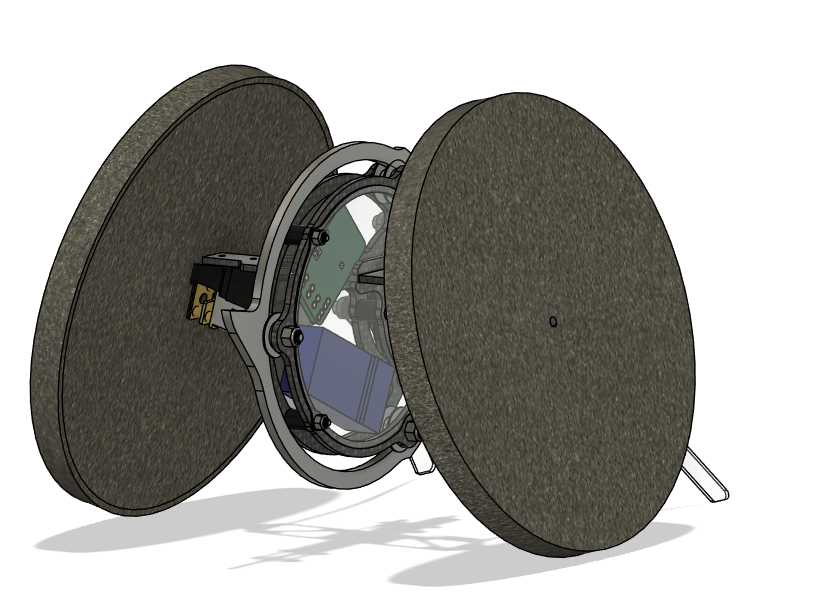
I then designed and printed a spacer to fill the space within the weapon that the motor bell would have occupied and to contain some bearings. And press fitted this along with the mag ring back into the weapon and reassembled.

And voila! GetGot!'s drum is now running on a 5mm stainless steel deadshaft/hub motor set up.

5mm is a bit overkill, but what made sense for the fabrication. Stainless isn’t the best, a hardened steel would have been nicer but should be more than adequate for 150g.

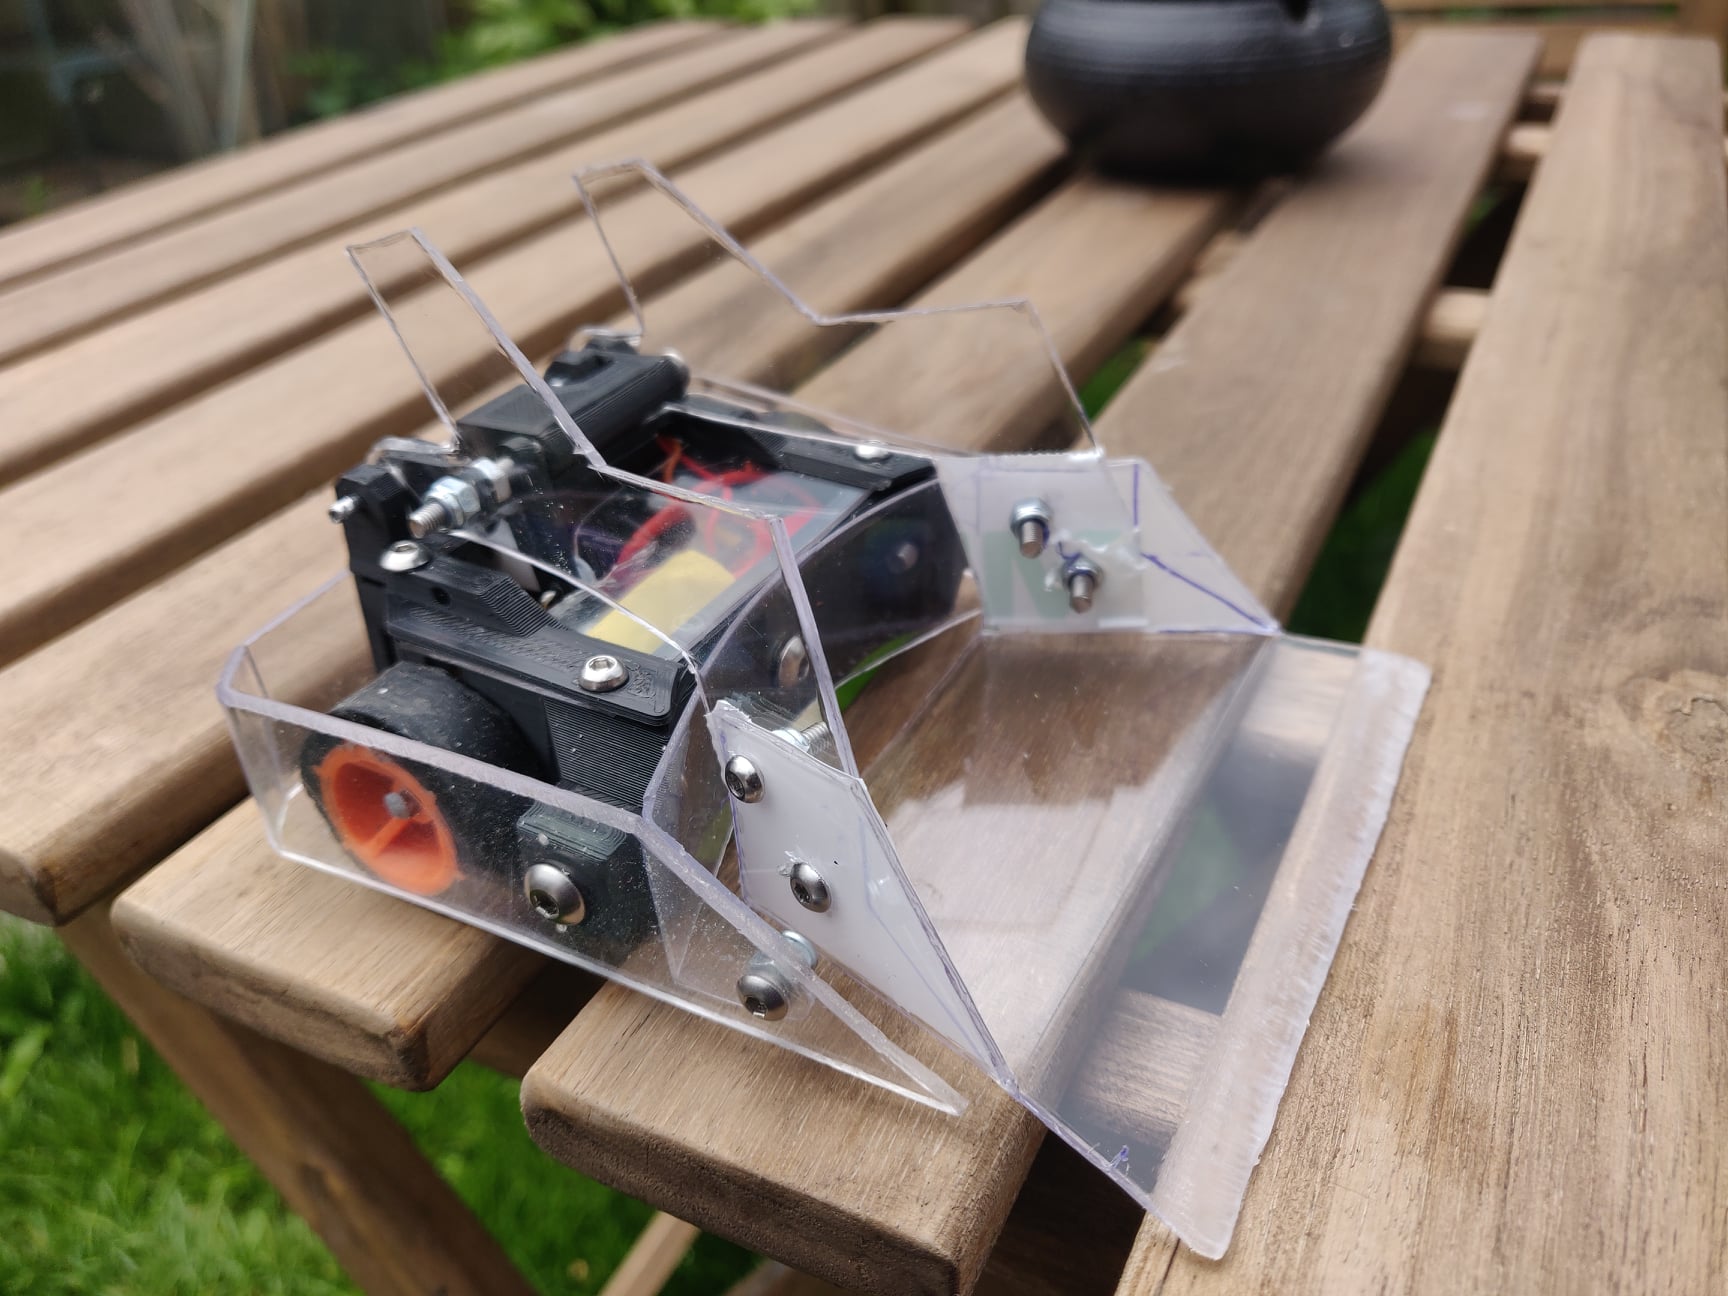
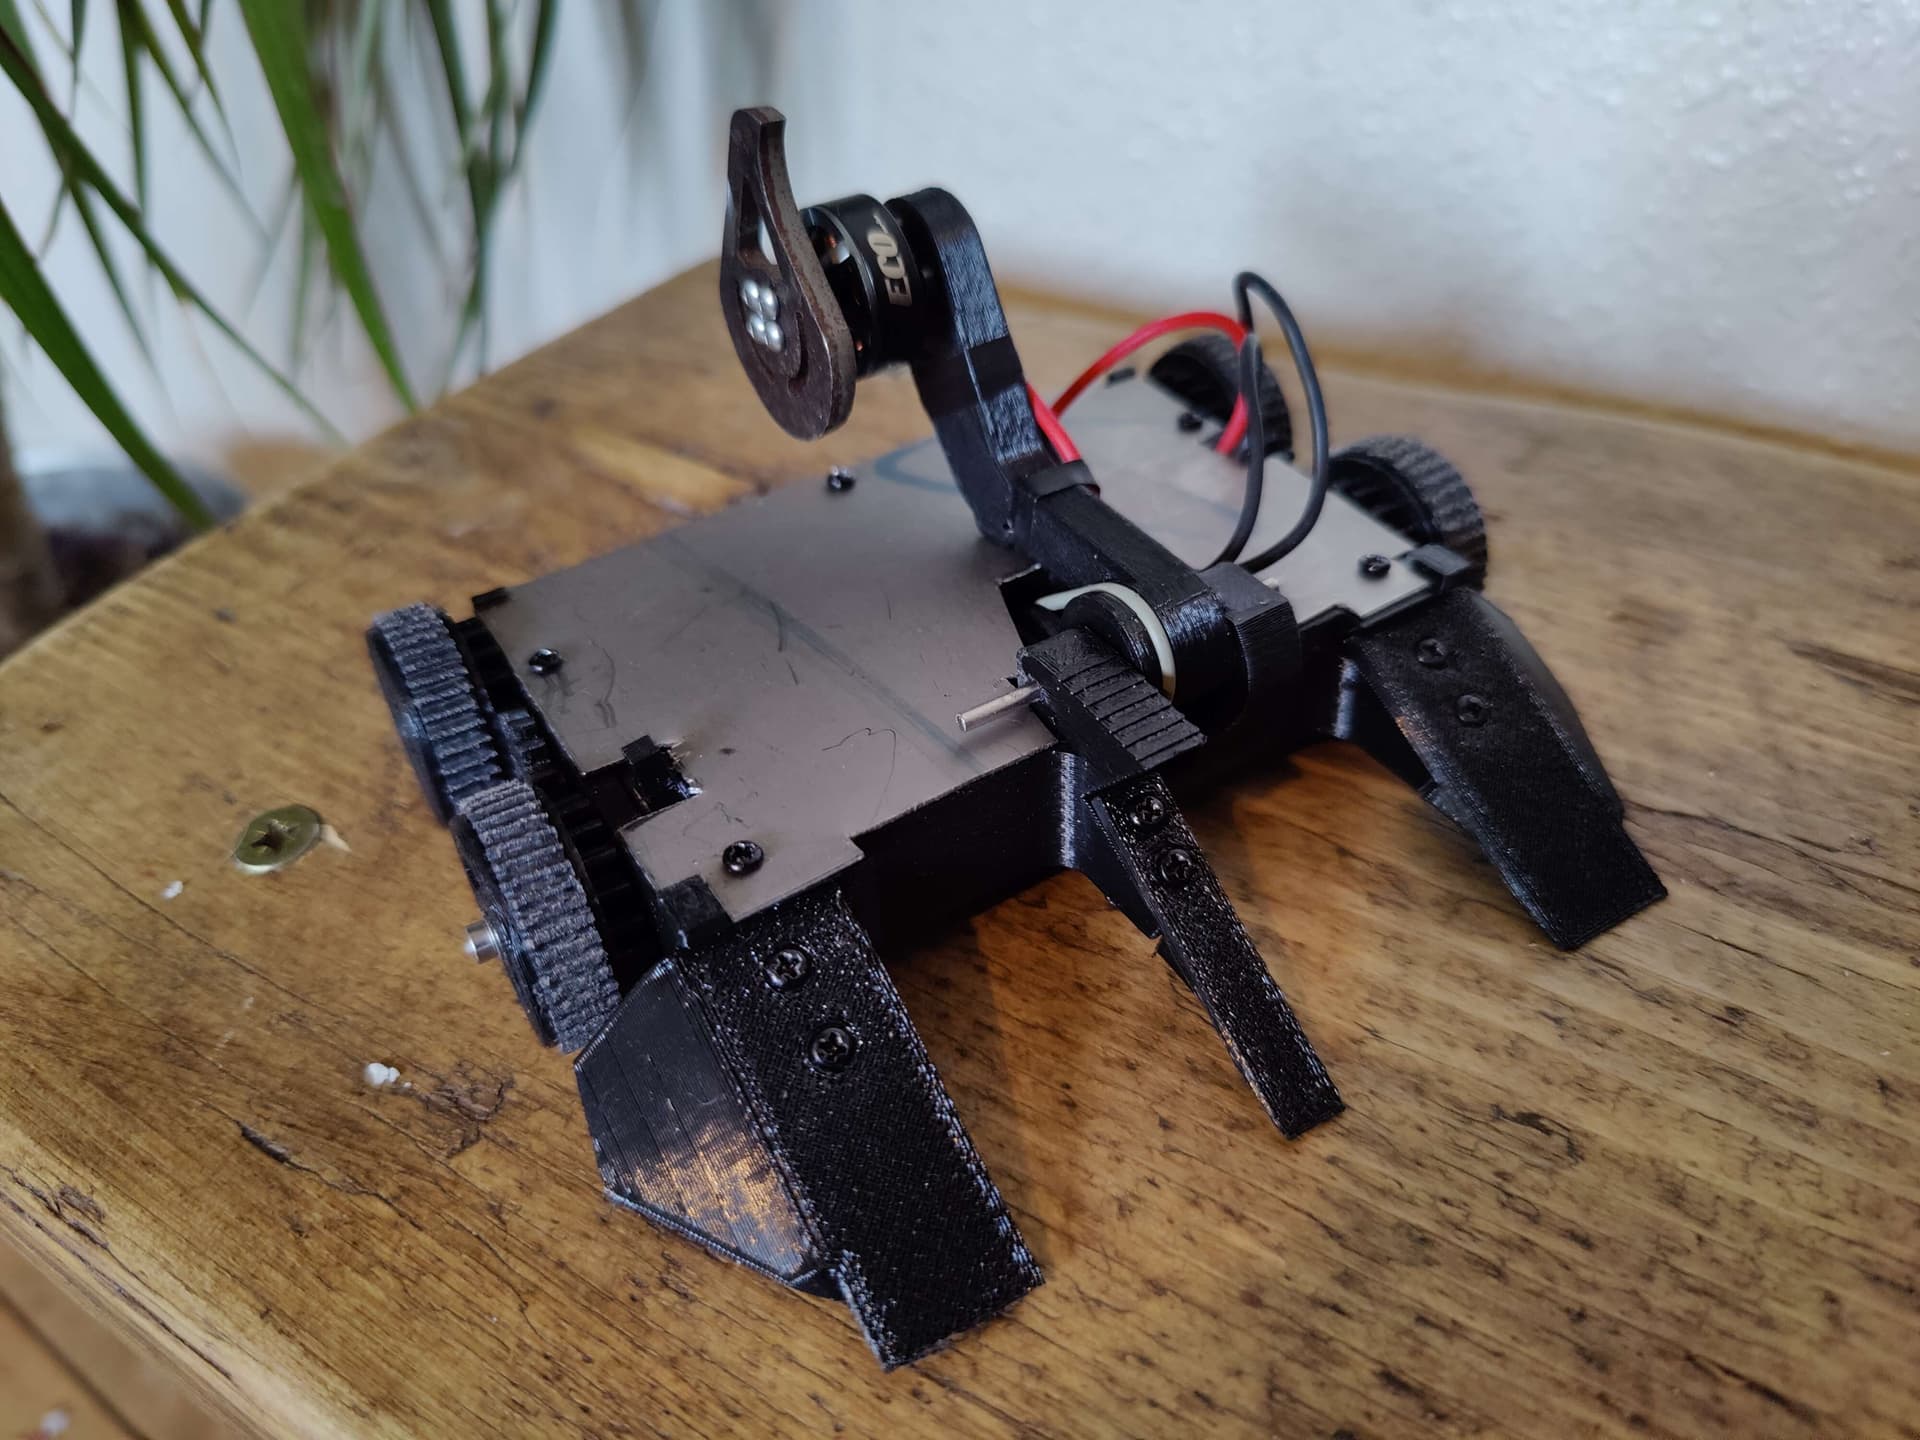
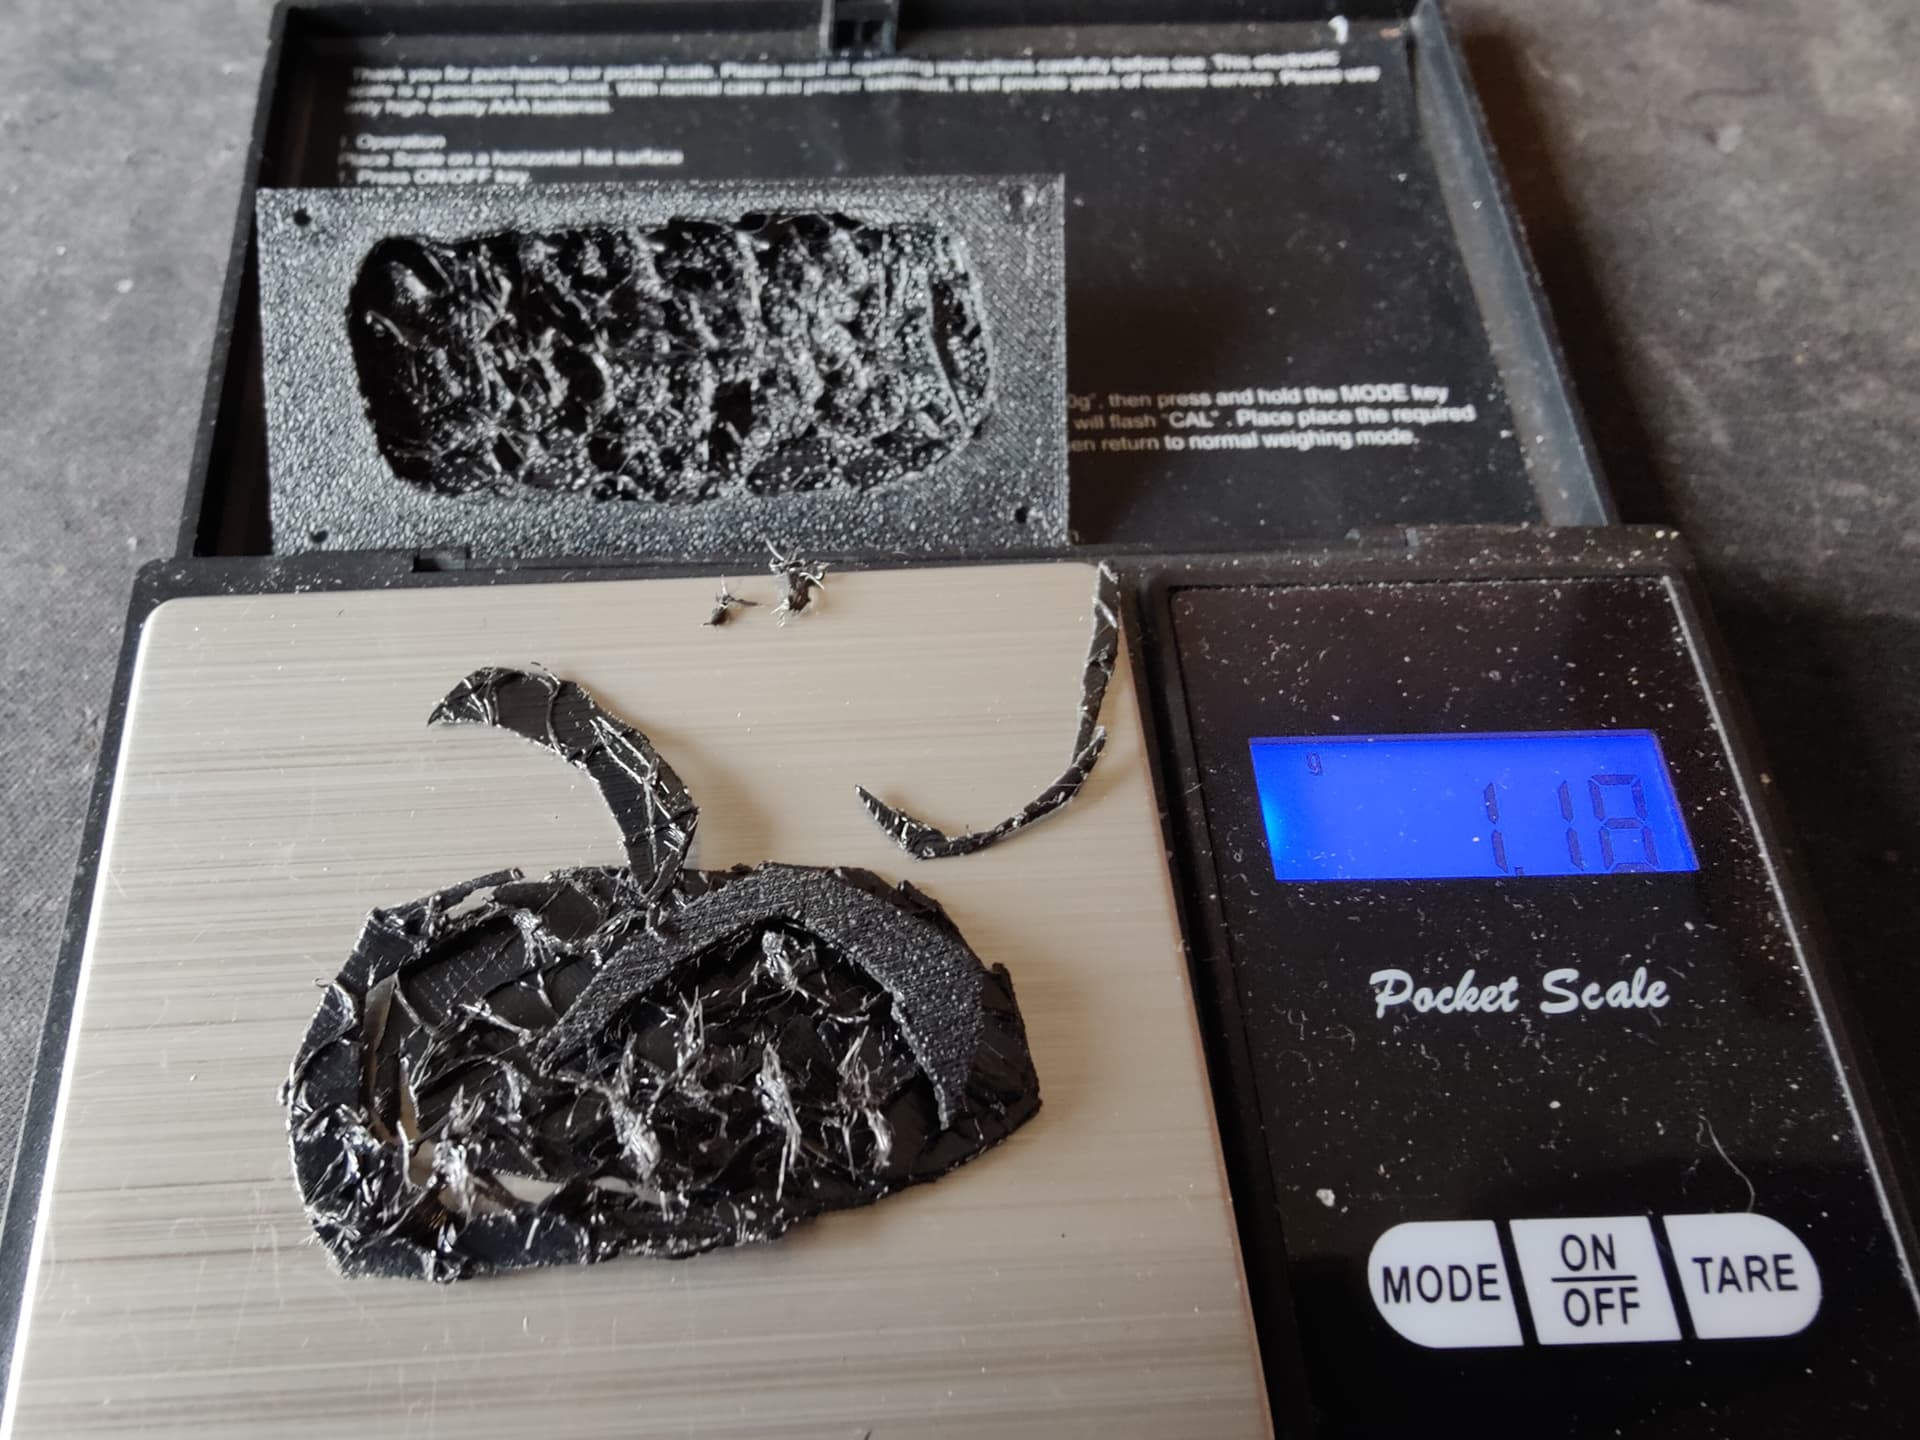
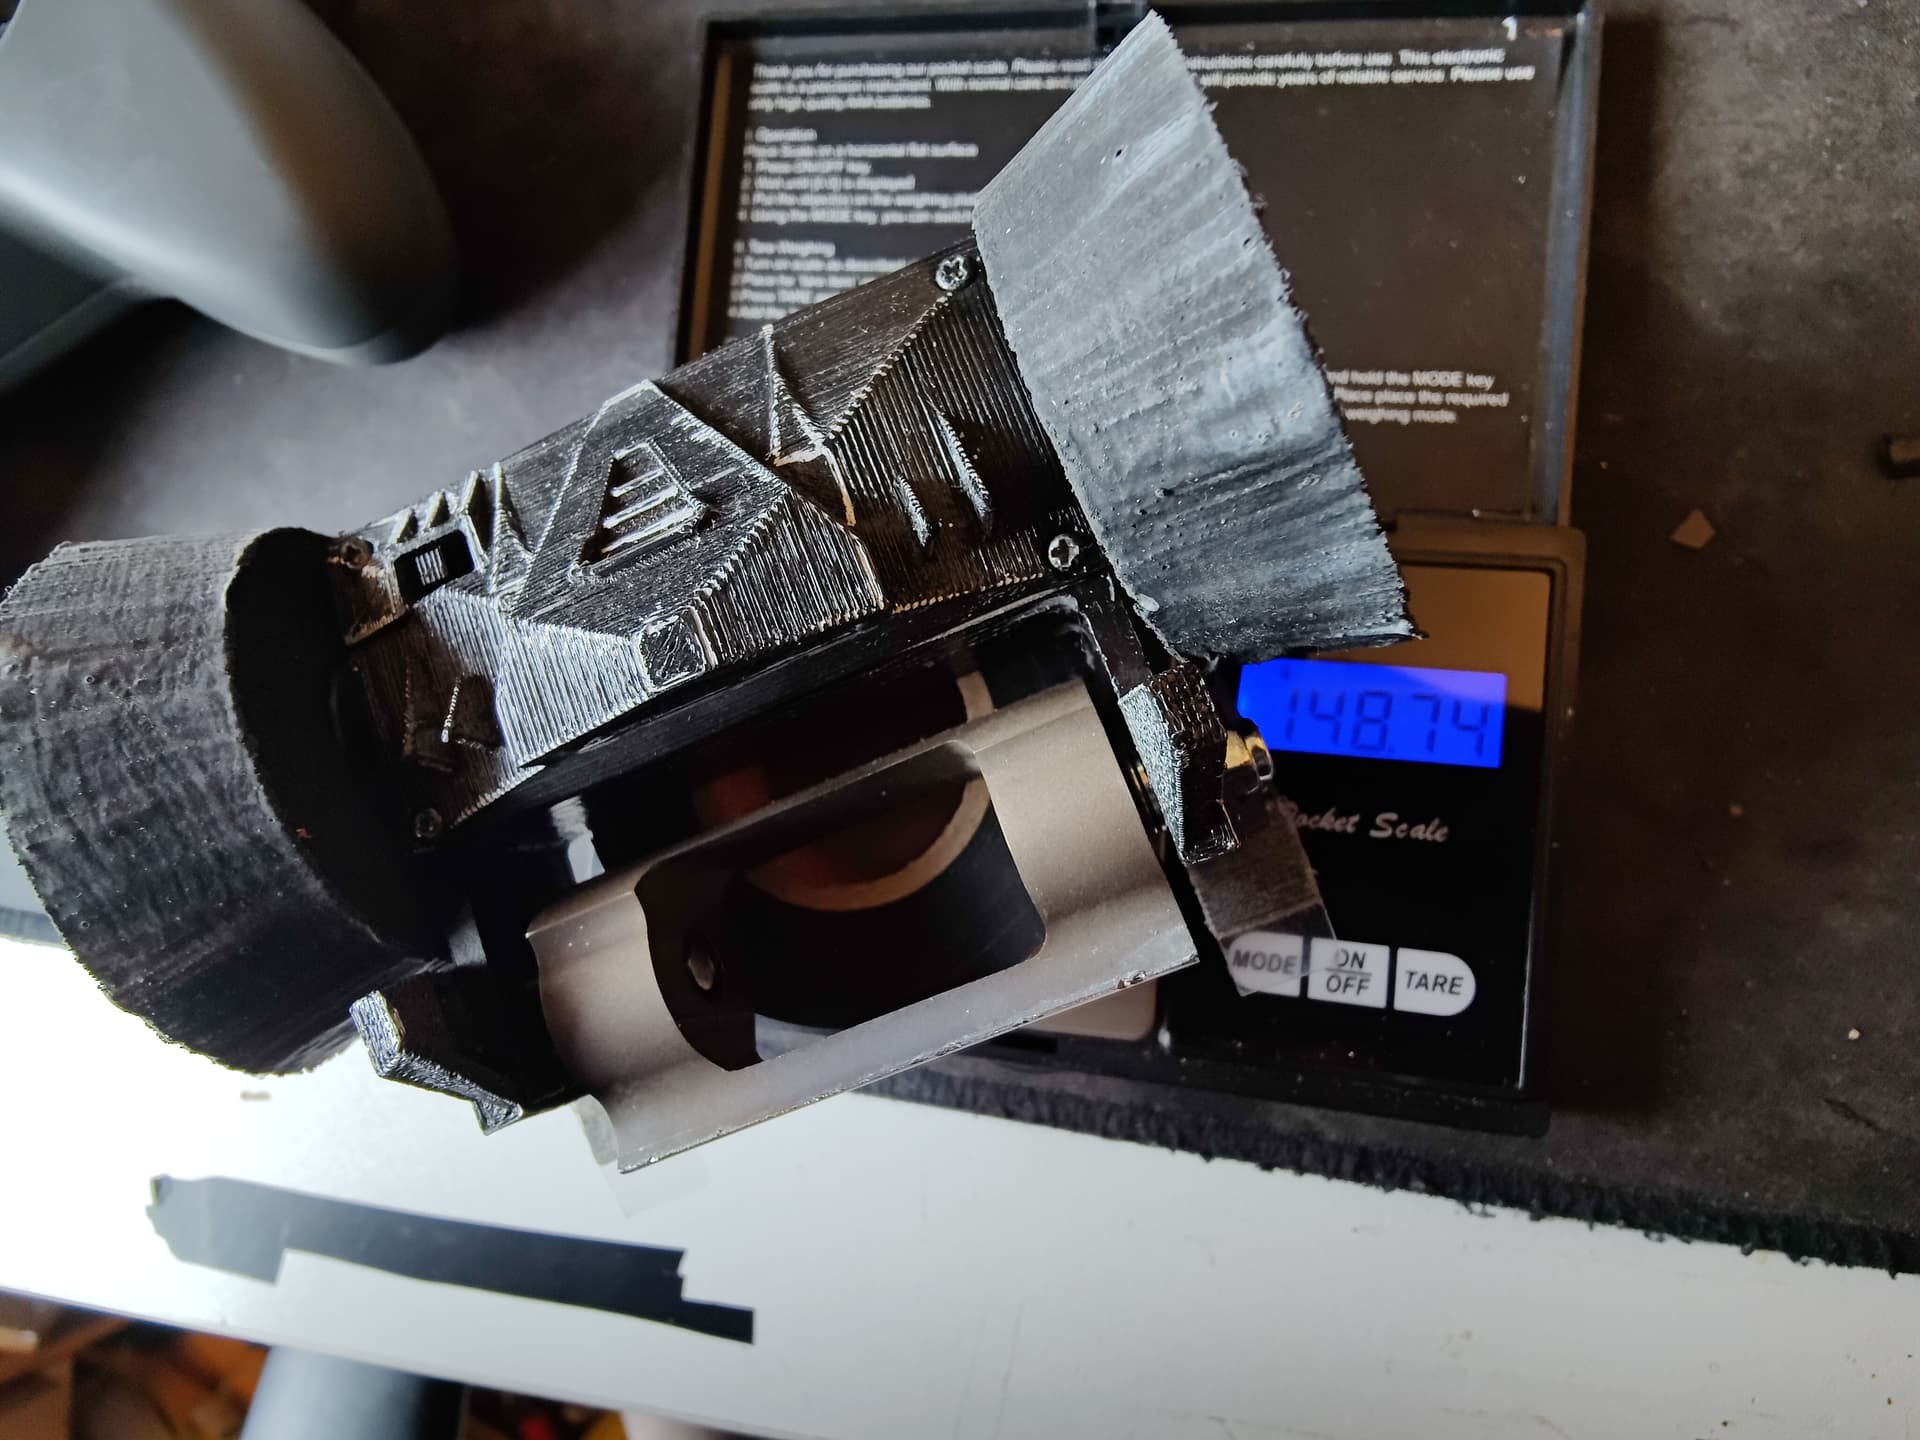
This did put the robot a little over weight (it was 149.5g with the stock motor set up) - so lots of small weight loss tweaks were required. Shortening bolts, trimming excess everywhere I could find. I even attacked the insides of the lid pretty aggressively :rofl:

But all these tweaks paid off and it’s actually marginally lighter now than before!

I’m really happy with how this process worked out, doing small technical changes was really fun and I’m hopeful this should eliminate the biggest flaw in the robot :crossed_fingers:

It spins up just fine, exactly like it did before - but I’ve yet to get any real impact testing done with it tho

1 Like

So ran the drum at BBB Xmas boat party and had some weapon failures.

The motor get pretty darn hot - not a huge surprise when asking so much of the wee 1404 - and this heat allows the printed parts to deform. This then allows things to go out of alignment which causes more heat and it all gets very sad.

So I’ve learnt how to lathe and remade all the printed parts in alluminium with some help from Dr brushless himself Gareth Barnaby.

New alluminium bearing spacers


New alluminium conical spacer to stop the bearings touching the stator


Fingers crossed this should make the assembly much stronger, more robust and most importantly more heat resistant :crossed_fingers:

2 Likes

So the motor is getting hot enough to warp the chassis? Pretty nuts though that is a big ask from the motor like you say.

Taking great steps to bolster reliability for sure. I know I found it a right pain trying to get a shim washer to adequately space off the motor (and not crush windings) in my drum.

Weapon is also pretty spotless. You had many weapon to weapon hits with it?

Hey harry, probably bad explaining on my part.

Chassis doesn’t get warped - however the first attempt at the hub motor included a printed piece inserted into the drum to hold the bearings. This piece warped a little when the motor got hot - not a huge surprise as it was only printed in pla.

Weapon has seen a couple of weapon on weapon hits at ORCS but overall the drum hasn’t seen too much action really. One proper event with the original press fit/stock motor and just a some testing and a couple of fights at BBB Xmas party with the first iteration of the hub motor.

Tbh the printed version would probably have ran fine in the sensible throttle controlling hands of a sober jack - after a few ciders tho? - that throttle was getting sent to 100 all the time :rofl:

I even set up a “full send” momentary switch on the TX. While held it overrides the throttle and forward channels to 120% - which more often than not just backflips the robot :stuck_out_tongue_closed_eyes:

I’ve been wanting to learn the lathe at the workshop for a while tho and this seemed like an ideal opportunity

1 Like

That makes sense, I follow you now.

Picked something nice and fiddly for your first go, looking good though. Once you start having turning skills in your arsenal you suddenly find you’ll be constantly modifying and making little widgets that make your life so much easier.

The full send feature is hillarious, I love it.

1 Like

I love the CNC for rattling off beetle chassis etc, but the lathe is very satisfying in a more direct turning knobs and seeing things happen kinda way.

Excited at the potential of custom turned shafts etc that it opens up too.