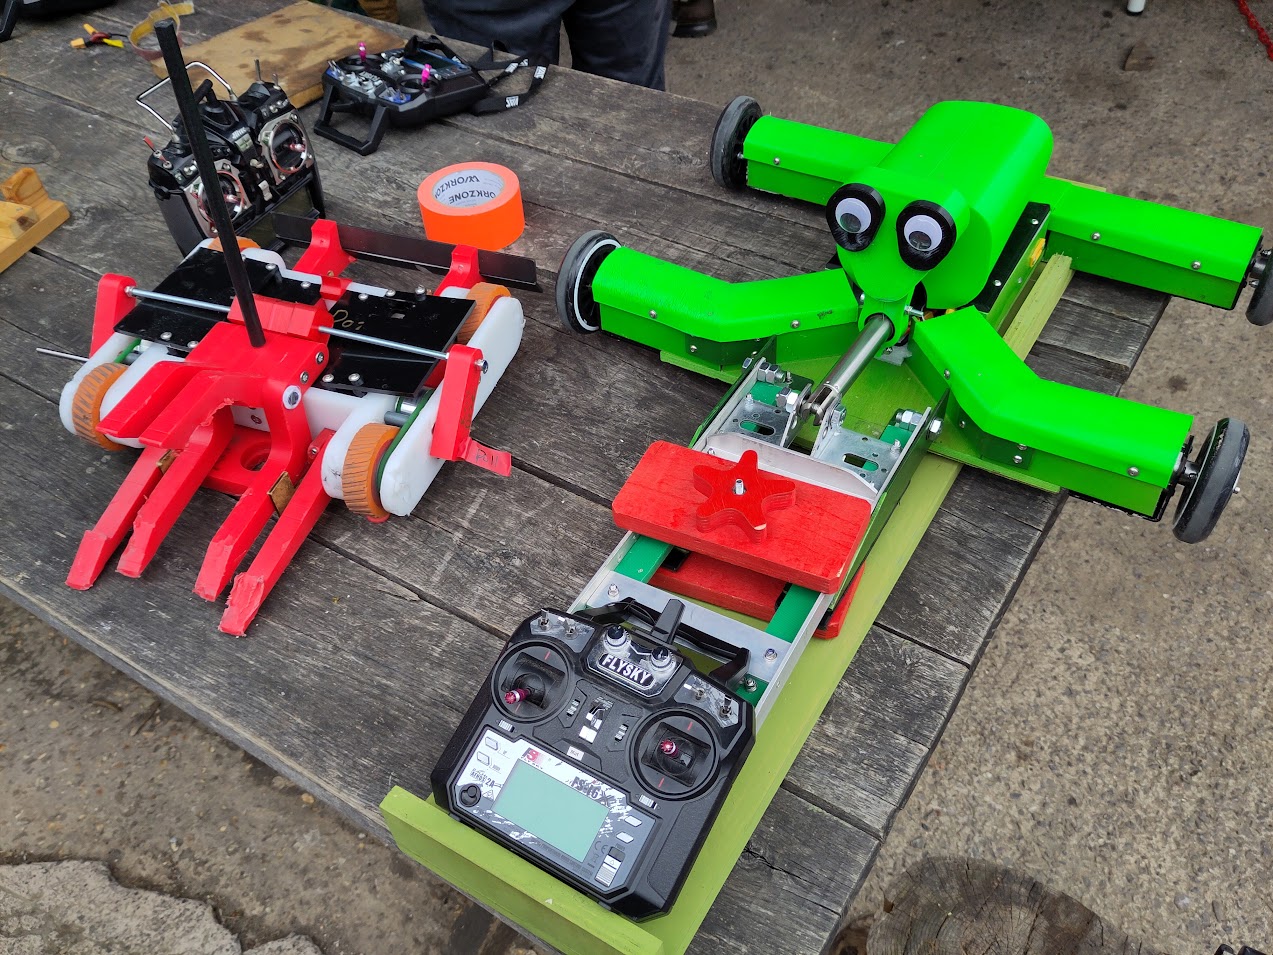
One of my observations from running Forkhead for a year or so is that despite the twisty bits being very cool when they are working it makes a surprisingly good ram-bot. This was apparent at last year’s Summer Showdown when Lawnmower ripped the forks off, and more recently at Brawl 2025 after I taped the lifty bits down for a white board to bring it back to life after it got Stratus’d.
I was looking at building a hobbyweight for the upcoming Dojo so I decided to start with the idea of a less twisty Forkhead, partly just to experience having a simpler robot for a change. ![]()
The first idea was pretty much just scaled up Forkhead without the twisty bits and with some kind of lifter on the front.
After noodling around with this for a bit I couldn’t come up with a version that I liked. Part of the issue was that with the drive pods being static they are always in the way of the lifter, part of it is that with the inner drive pod walls being the chassis sides the main compartment is an awkward wedge shape too, and part of it was that it just didn’t look right.
I decided to simplify a step further and go for Forkhead without the twisty bits if all the wheels were the same size. As a bonus I wouldn’t need to make two different sizes of wheels and hubs so spares would be a lot easier to manage and the chassis parts would be more symmetrical too.
One thing I like from Forkhead but wasn’t sure how to replicate in a larger bot was the curved bum, which on Forkhead is a piece of 50mm HDPE bar, with a 30mm hole drilled through it, and then milled to make a nice single piece. Doing this for a larger bot would be stretching the capacity of the machines I have access to.
I decided to go with a straight rear bulkhead instead, and to avoid the motors being exposed all of the wheels are now indirect drive. Given that it’s going into a full combat tournament I’m hoping this will keep the drive motors nice and safe.
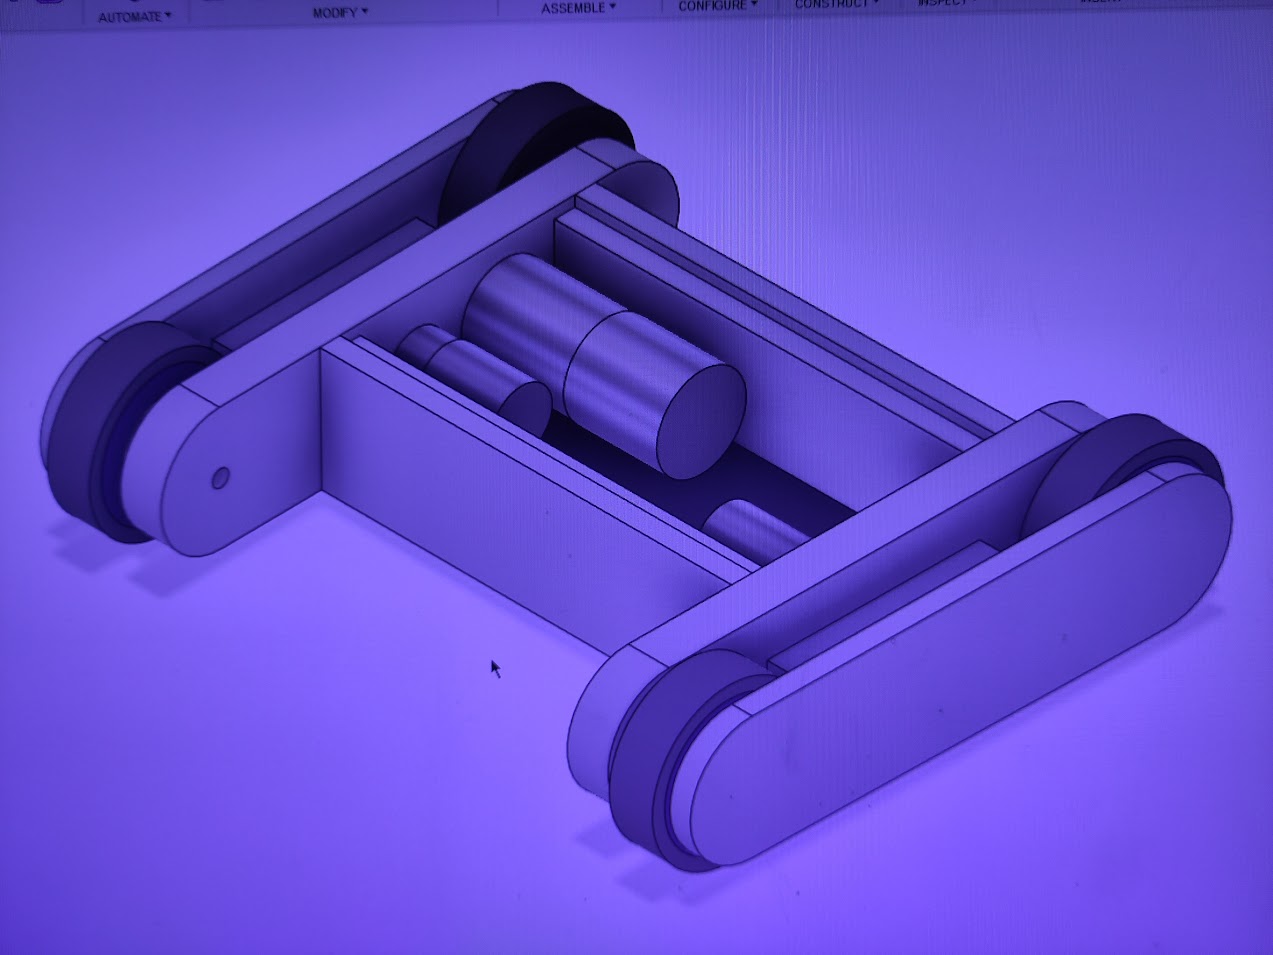
This version stuck around give or take a few minor tweaks - the main one being moving the front bulkhead forward further for a bit more internal space.
I was initially unsure what to use for drive or weapon motors since there’s not a ‘standard’ choice for hobbyweights, but after noodling around with this spreadsheet from Just 'Cuz Robotics I settled on some PropDrive 2835 brushless motors with a plan to frankenstein them onto some AliExpress gearboxes.
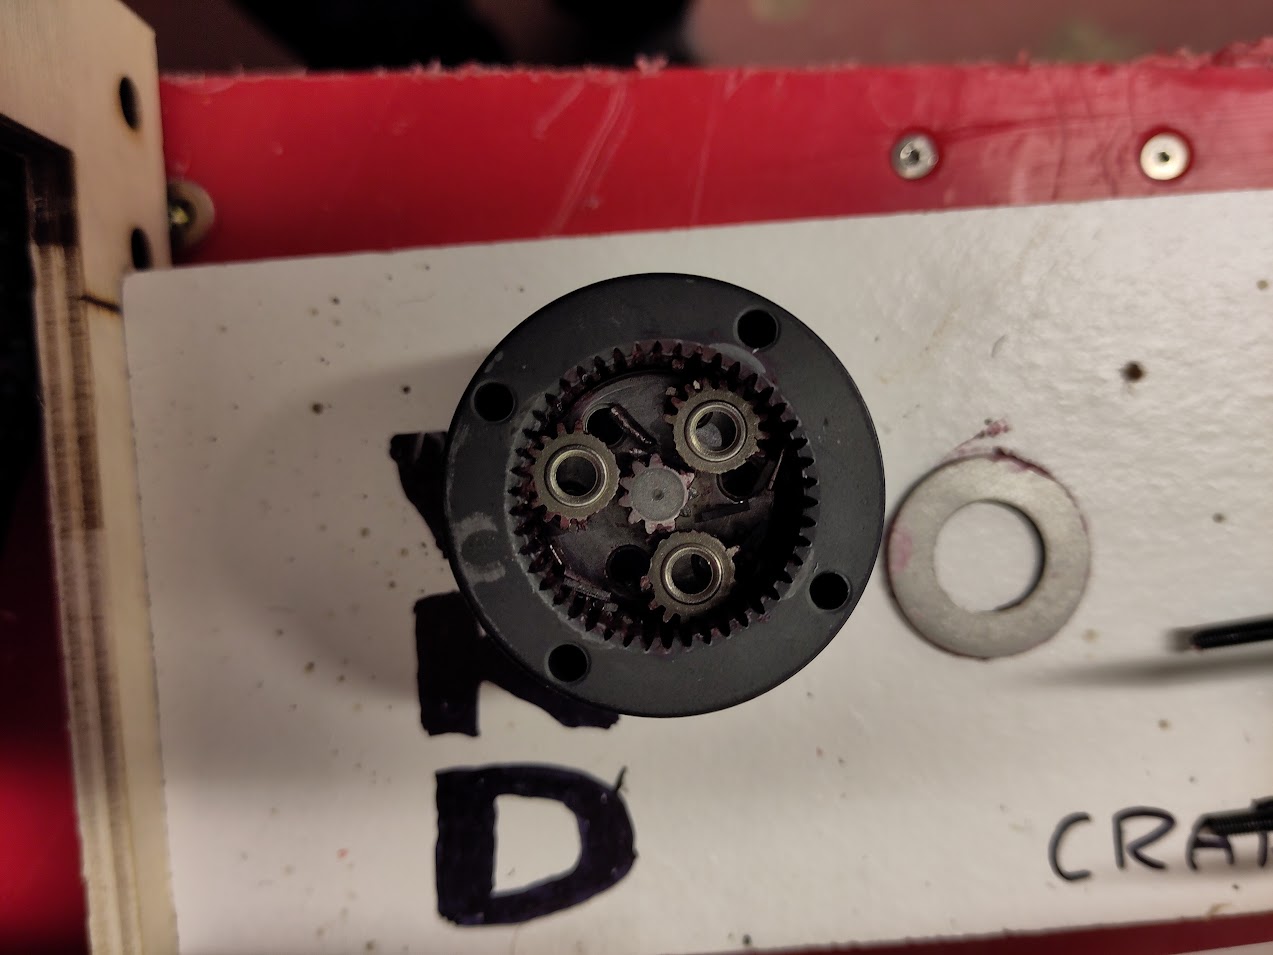
I hedged my bets on the gearboxes by buying some with brushed motors pre-installed and also buying a couple of ratios. This worked out in my favour because the ratio I was planning to use turned out to have pinions too small for the 1/8" shafts on my intended drive motors, but the other ones worked out nicely. The brushed motors were a bust - somehow even more inspid than expected - but fortunately the brushless conversion worked out well.
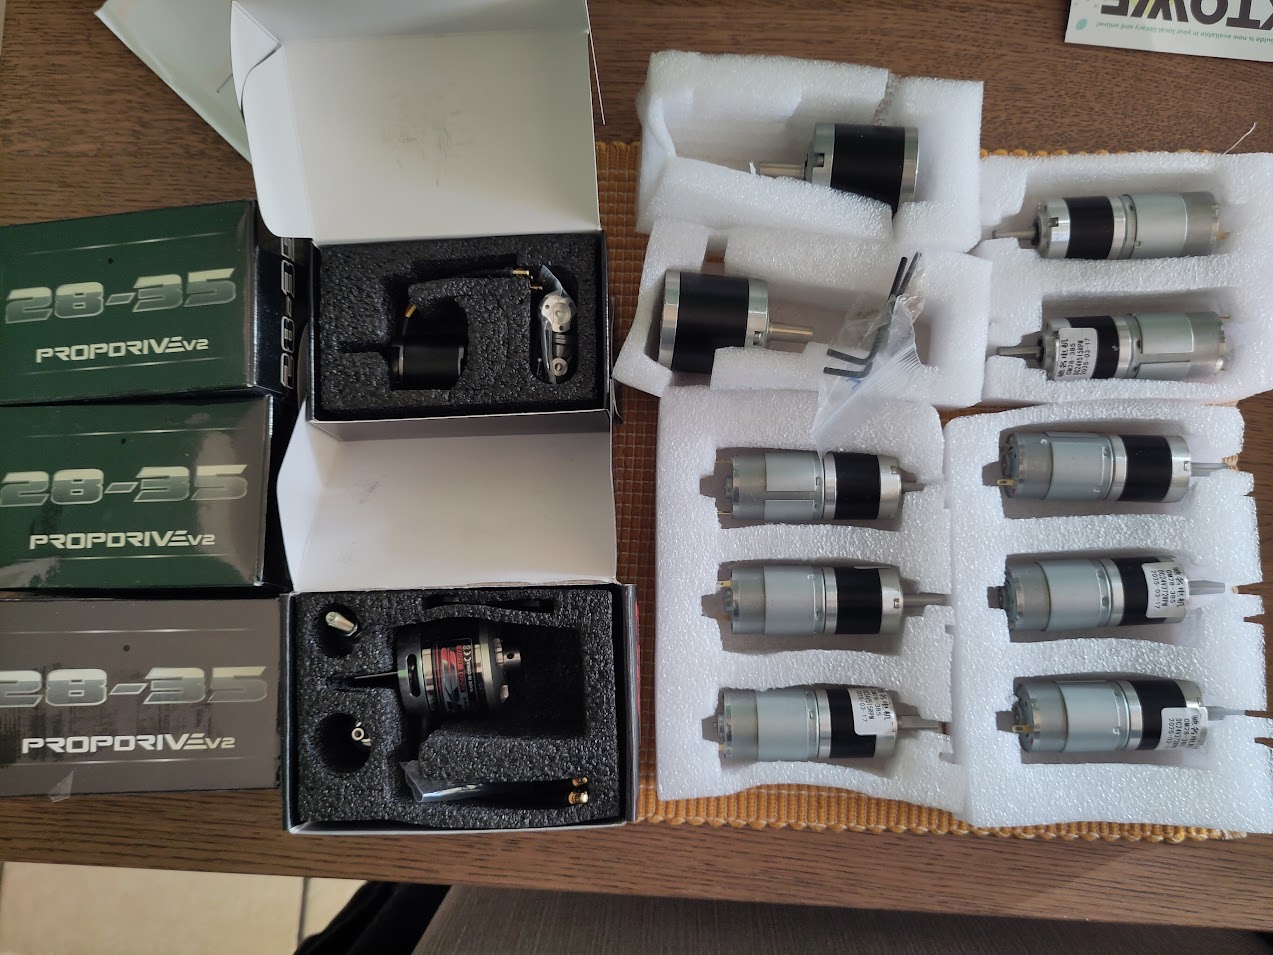
For the weapon I used the same calculator to select a 42mm AliExpress gearbox and an Aerodrive 4250 motor. This happened to be the last appropriately sized motor available in Hobbyking’s UK store!
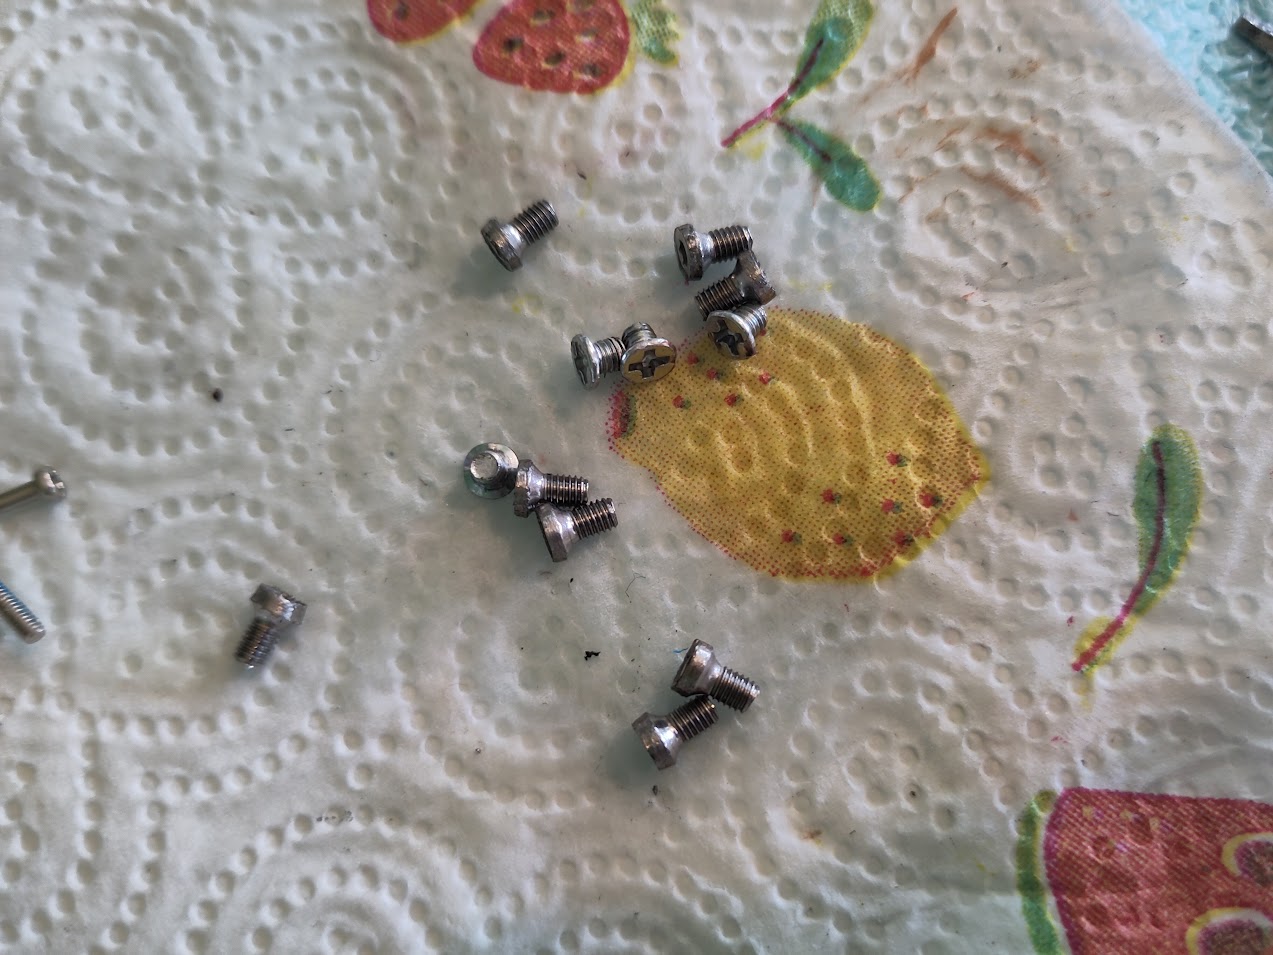
The drive motors were an easy conversion - press on a 17T Mod 0.5 gear and trim the shaft slightly, all the screws fit and the only obstacle was the gears themselves being a bit tight which made me temporarily nervous I’d ordered the wrong size.
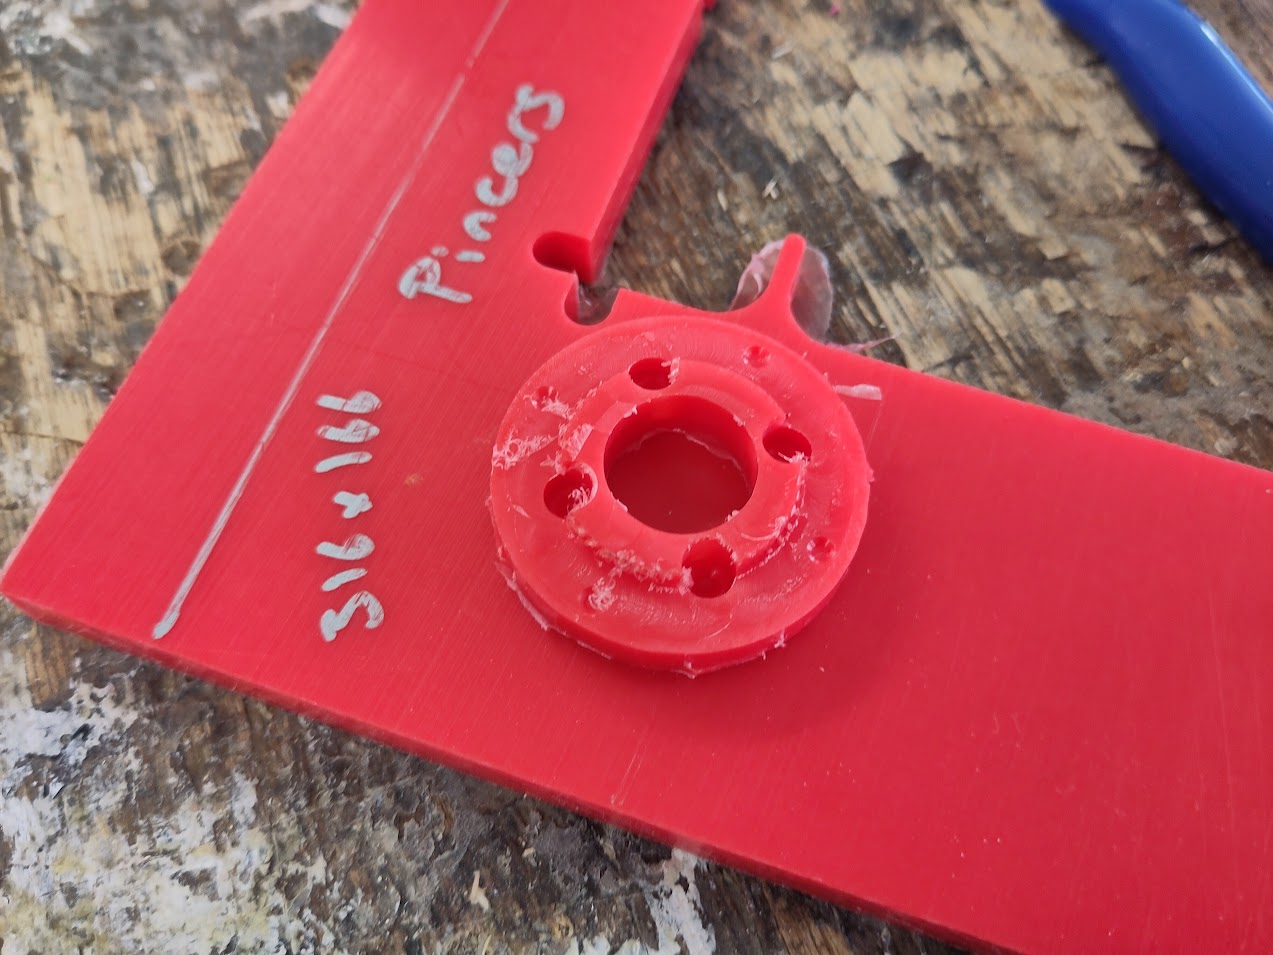
For the weapon motor I was able to press on the gear that came with the gearboxes, since both were designed for a 5mm shaft, but the adapter plate on the gearbox had the wrong hole spacing. I machined a replacement from HDPE which fit nicely.
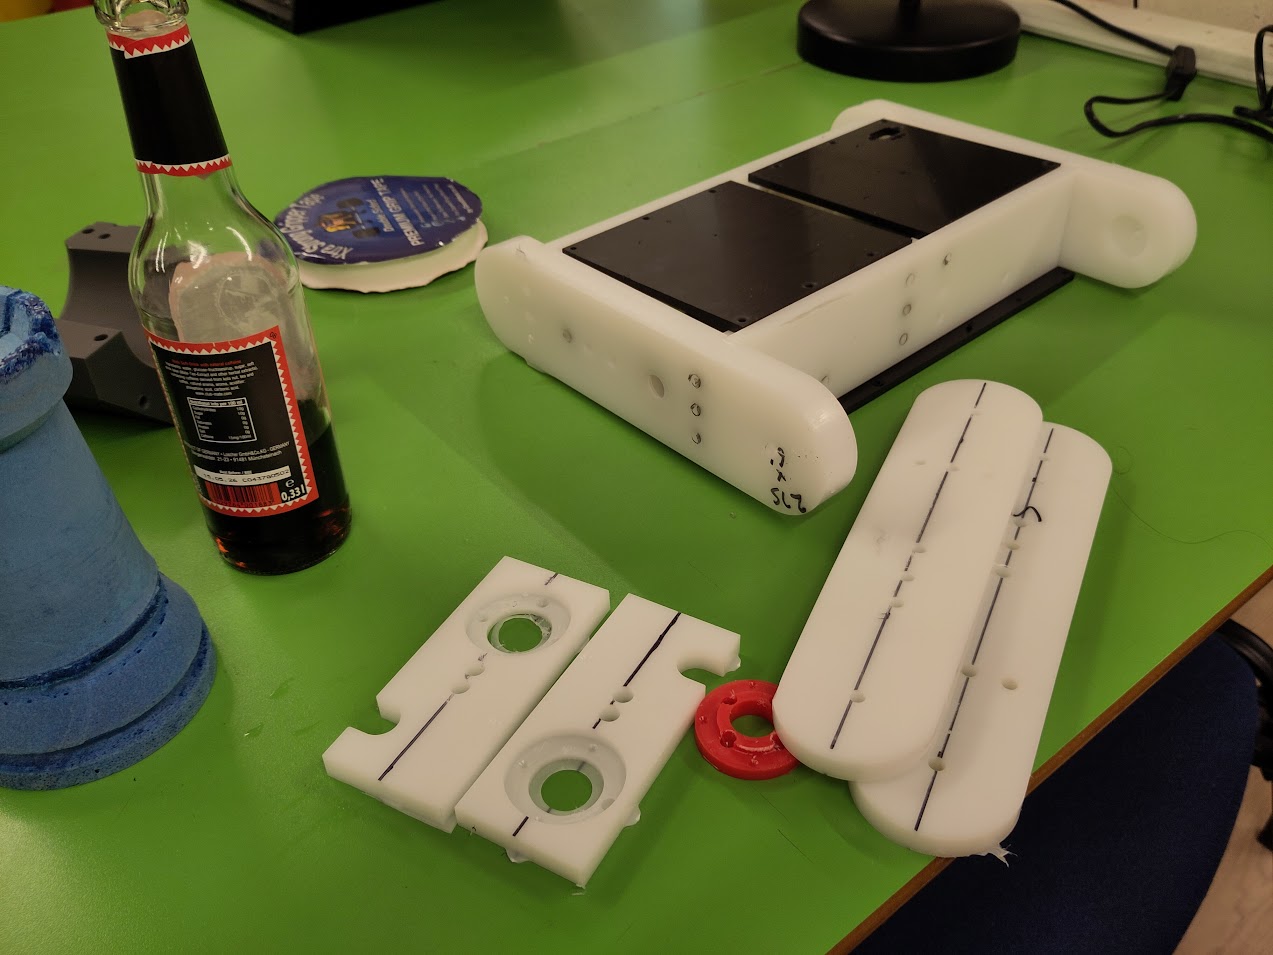
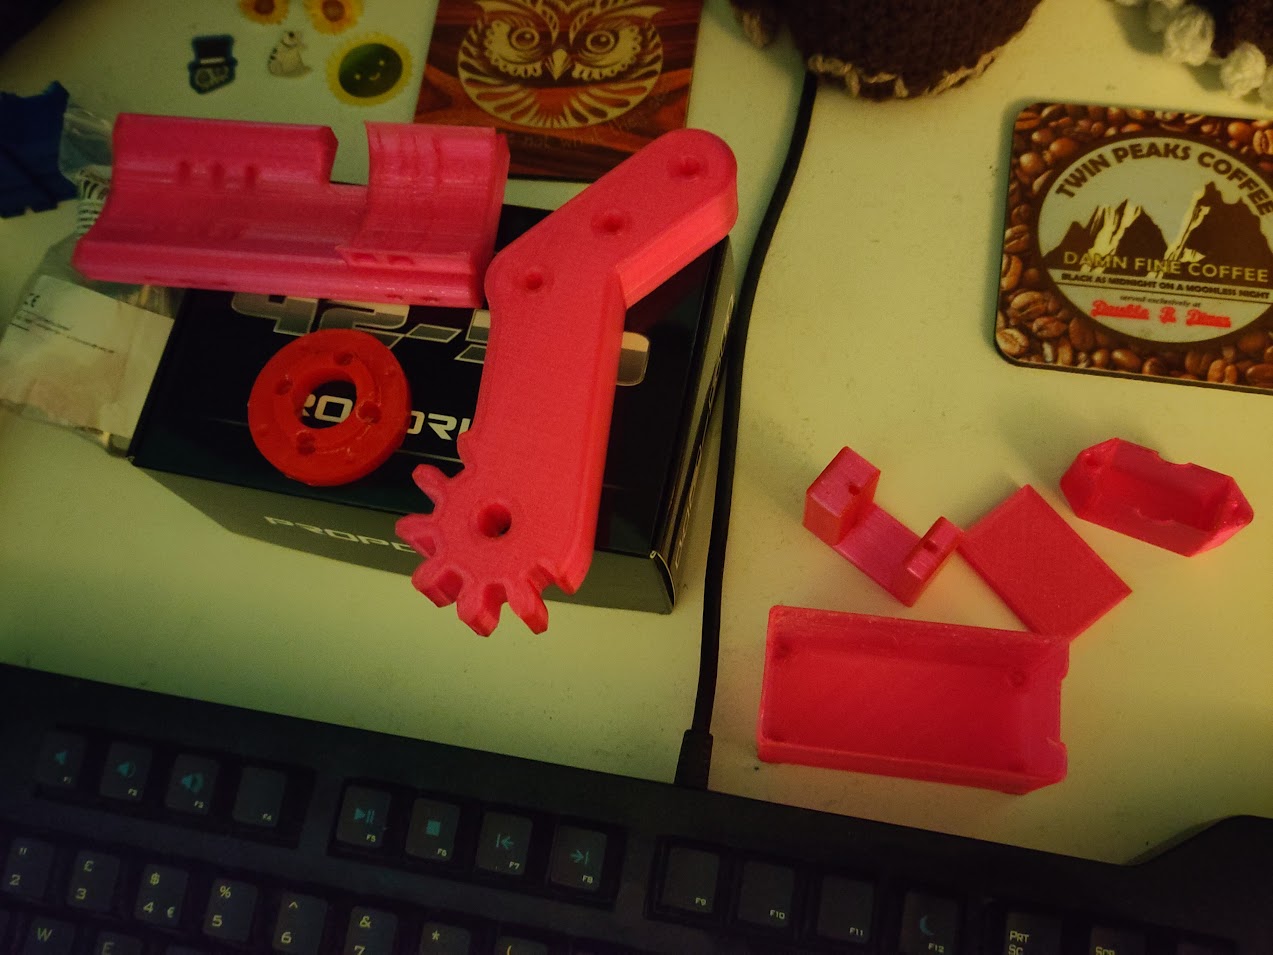
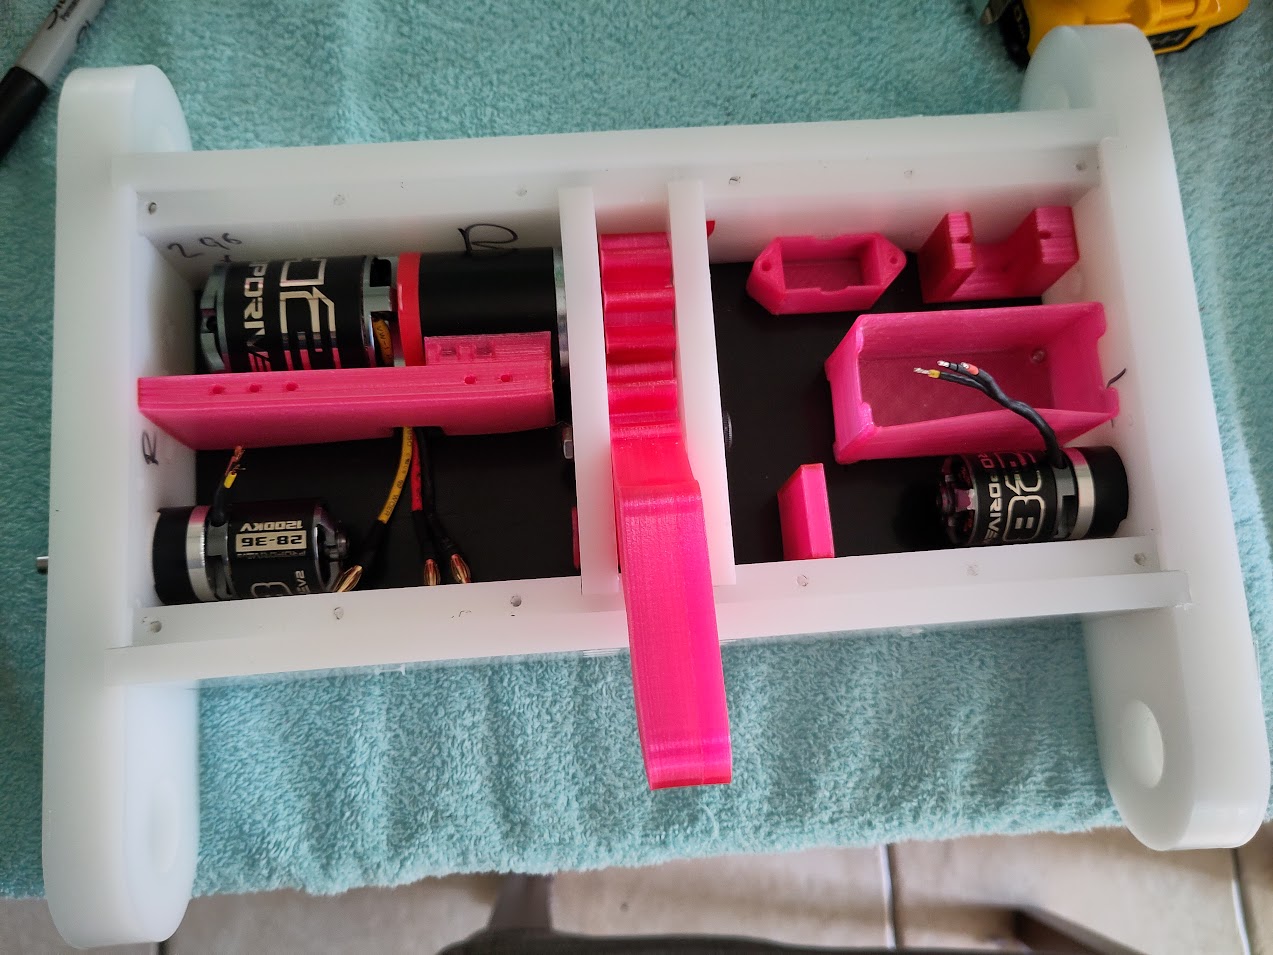
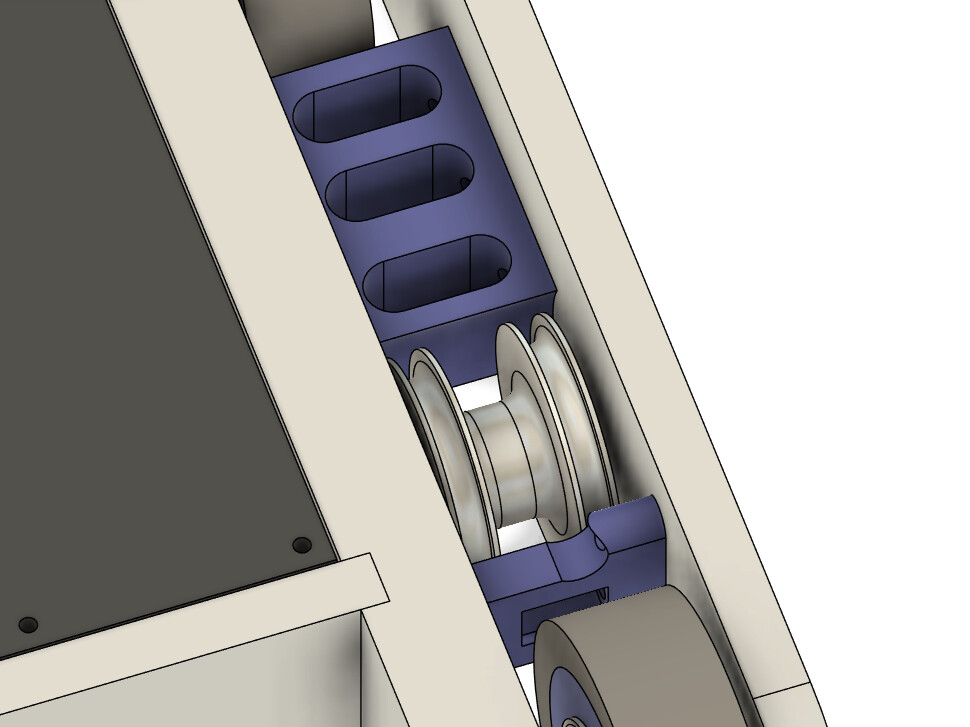
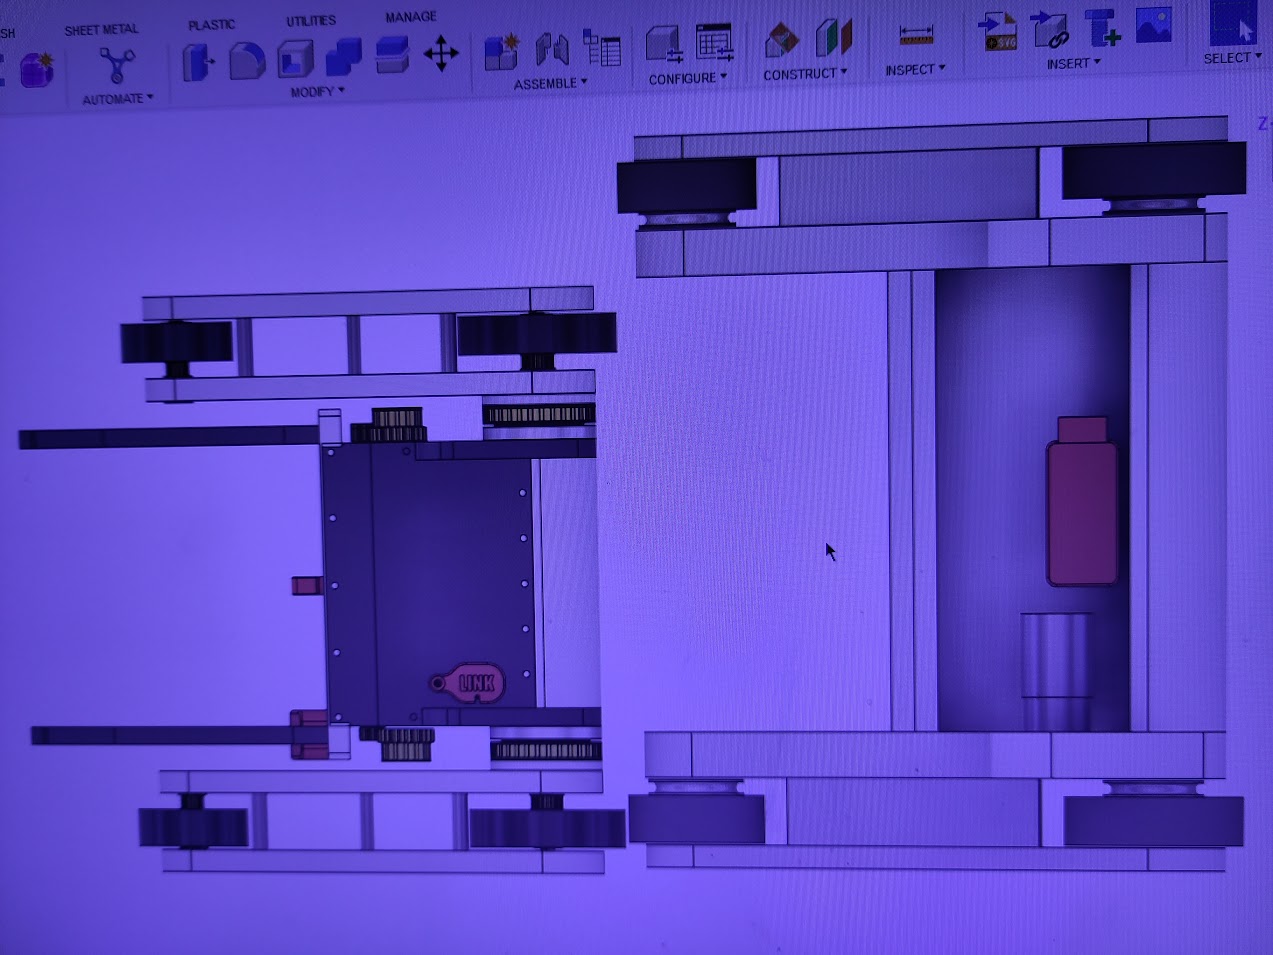
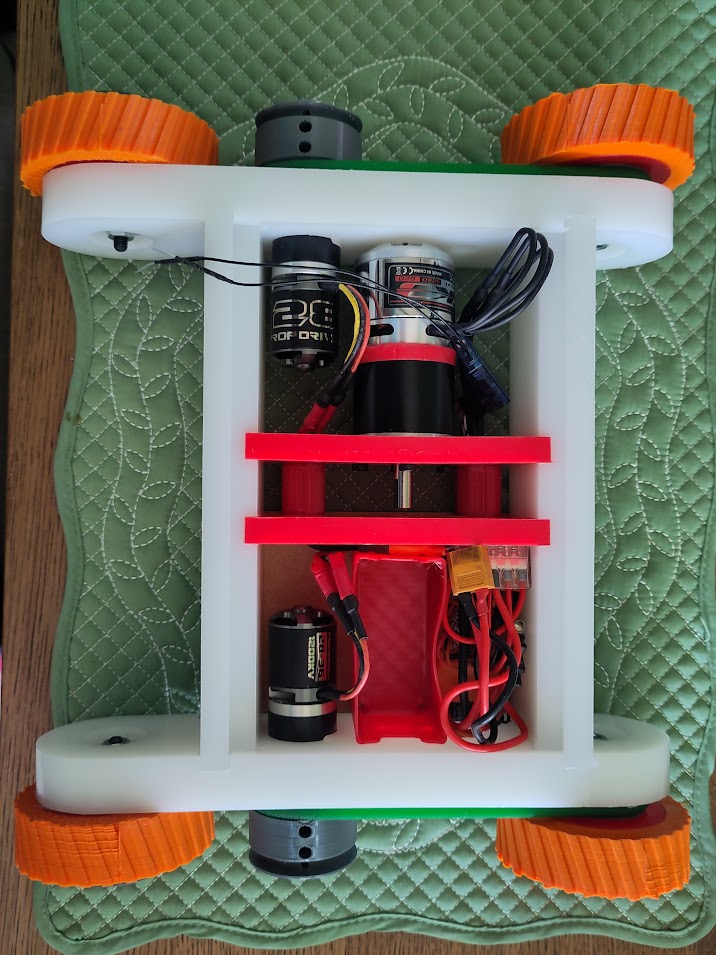
Whilst waiting for the motors and gearboxes to arrive I got some more CAD done and machined the basic parts for the chassis. A pair of bulkheads in the centre split it into two compartments. Most of the electronics will go in the left hand compartment since there are less outrunners hungry to ingest electronics on that side.
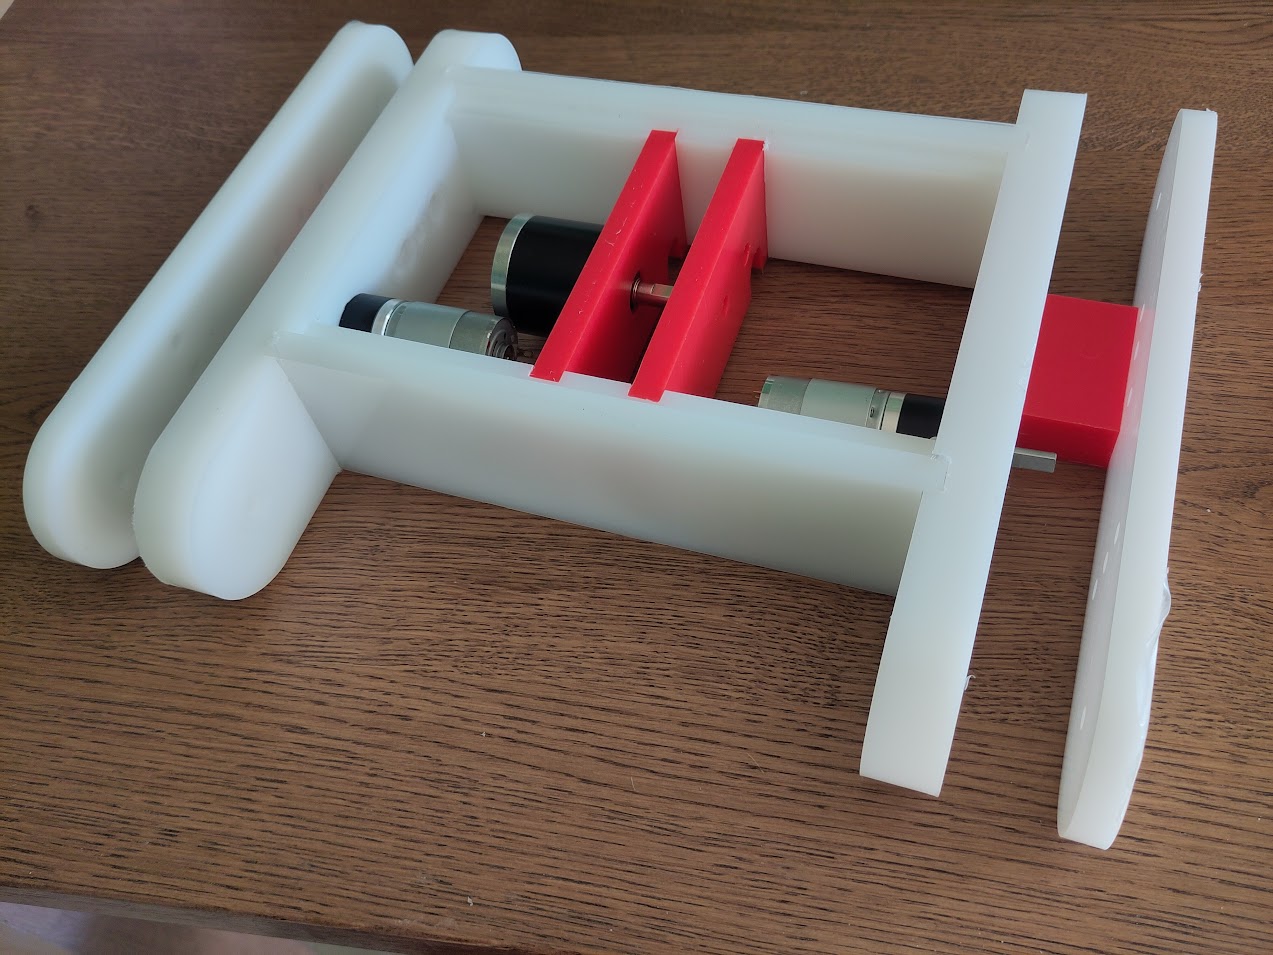
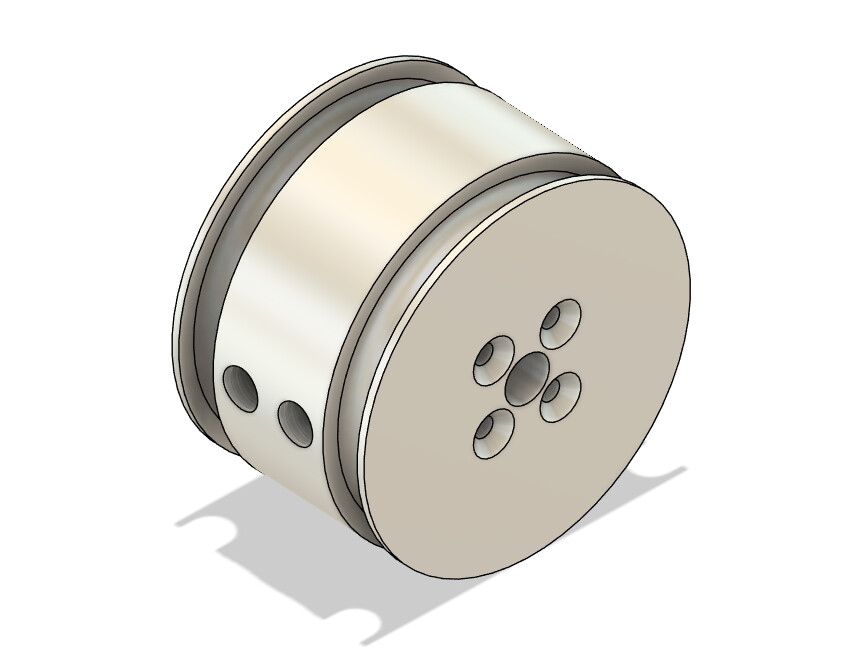
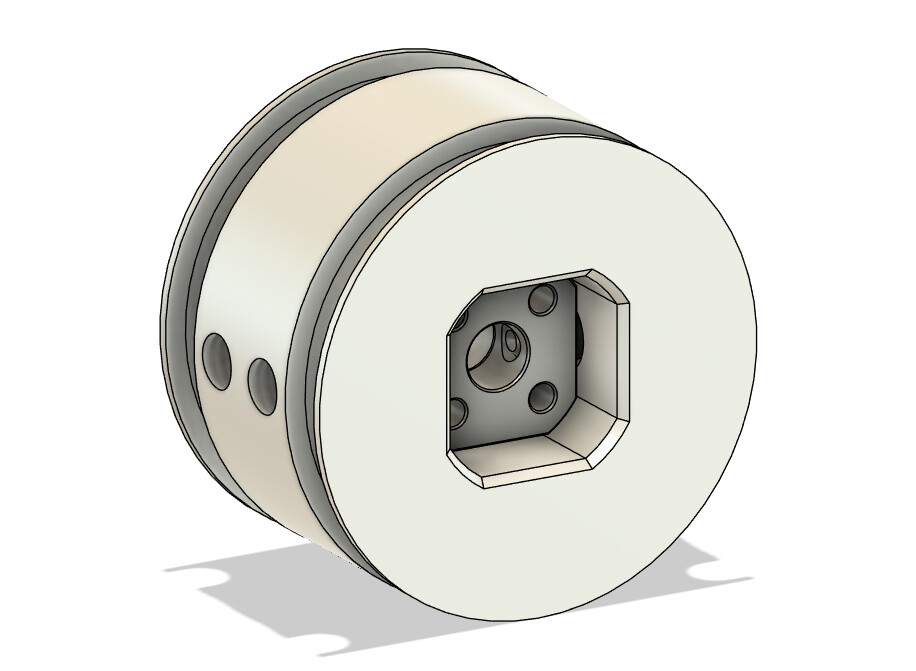
I settled on a square hub design for the drive system with TPU wheels and cast polyurethane tyres. Apparently I was keen to scupper my plan to have one type of wheel since I designed an asymmetric tread pattern and a different mold for each side.
The hubs sit on dead shafts screwed through the chassis sides. Annoyingly this design also needs two styles of hub with slightly different bearing arrangements depending on whether the pulley is on the inside or the outside. This could probably be avoided at the expense of more space between the outside of the wheels and the drive armour.
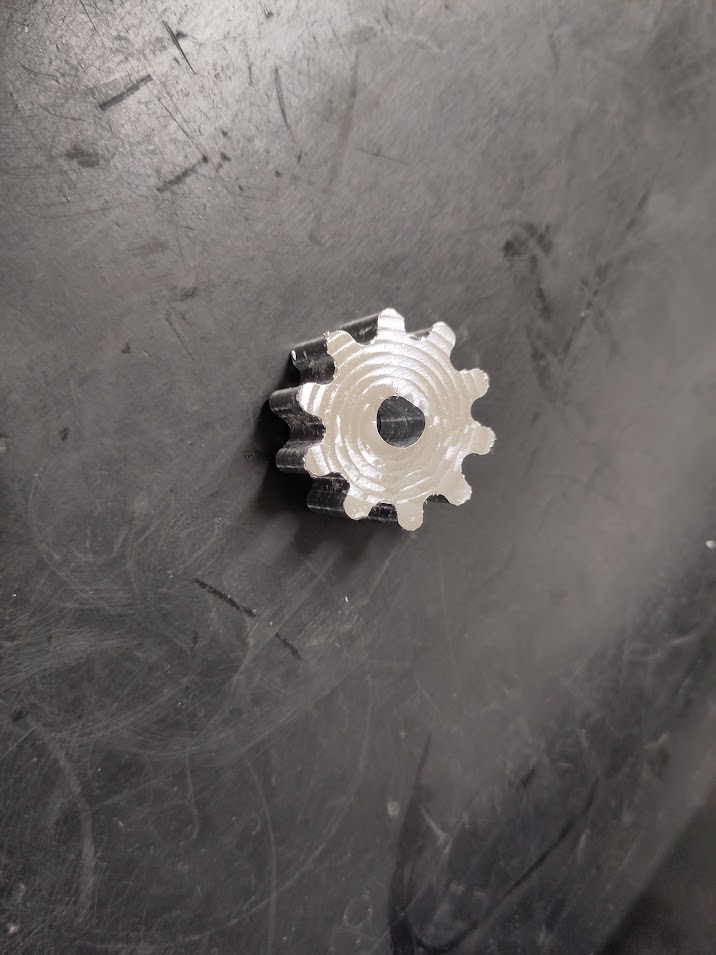
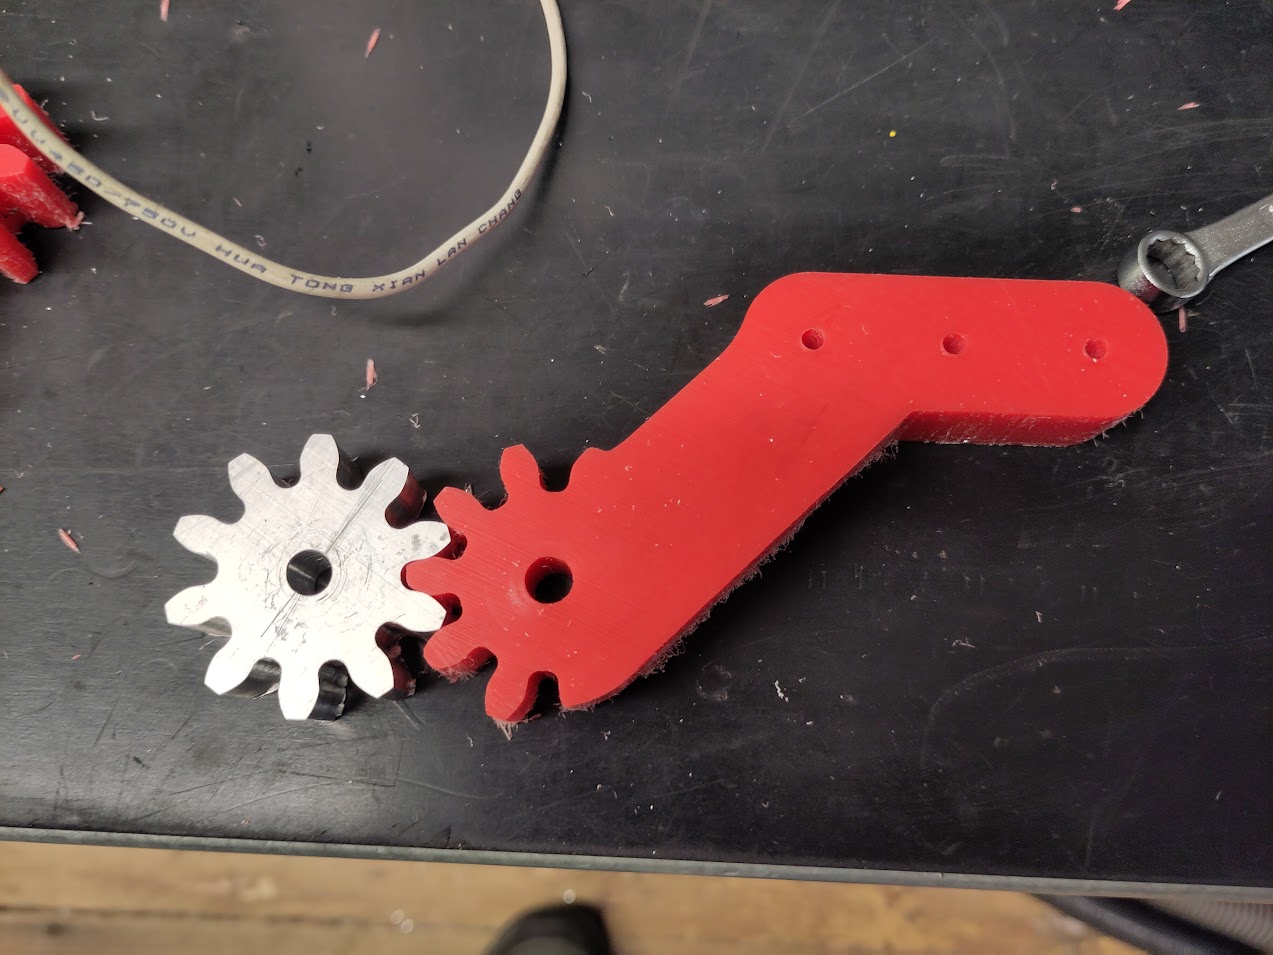
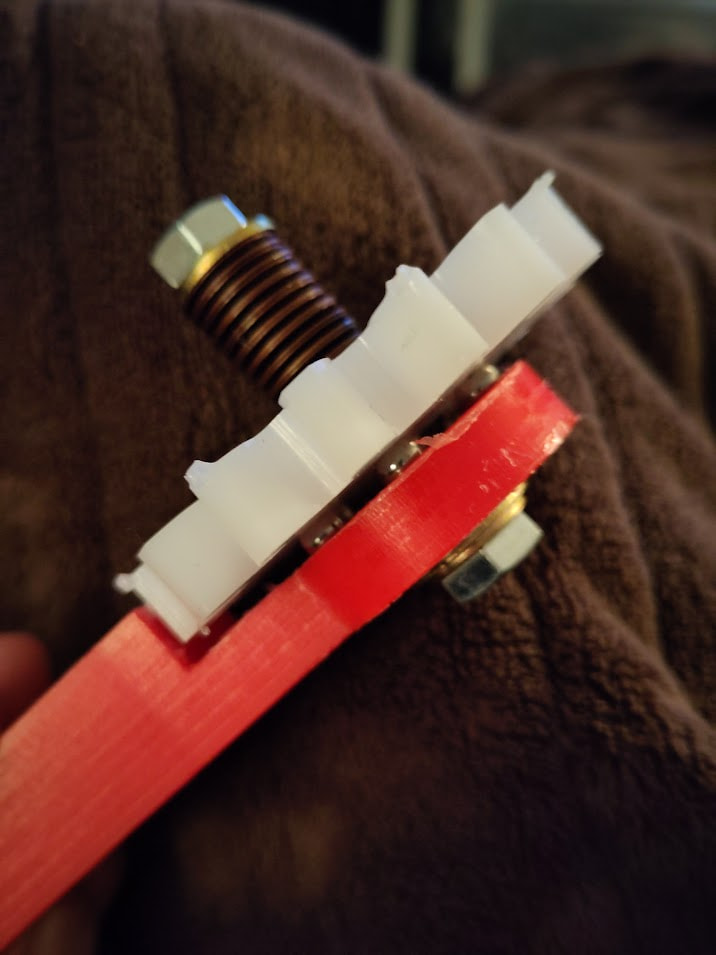
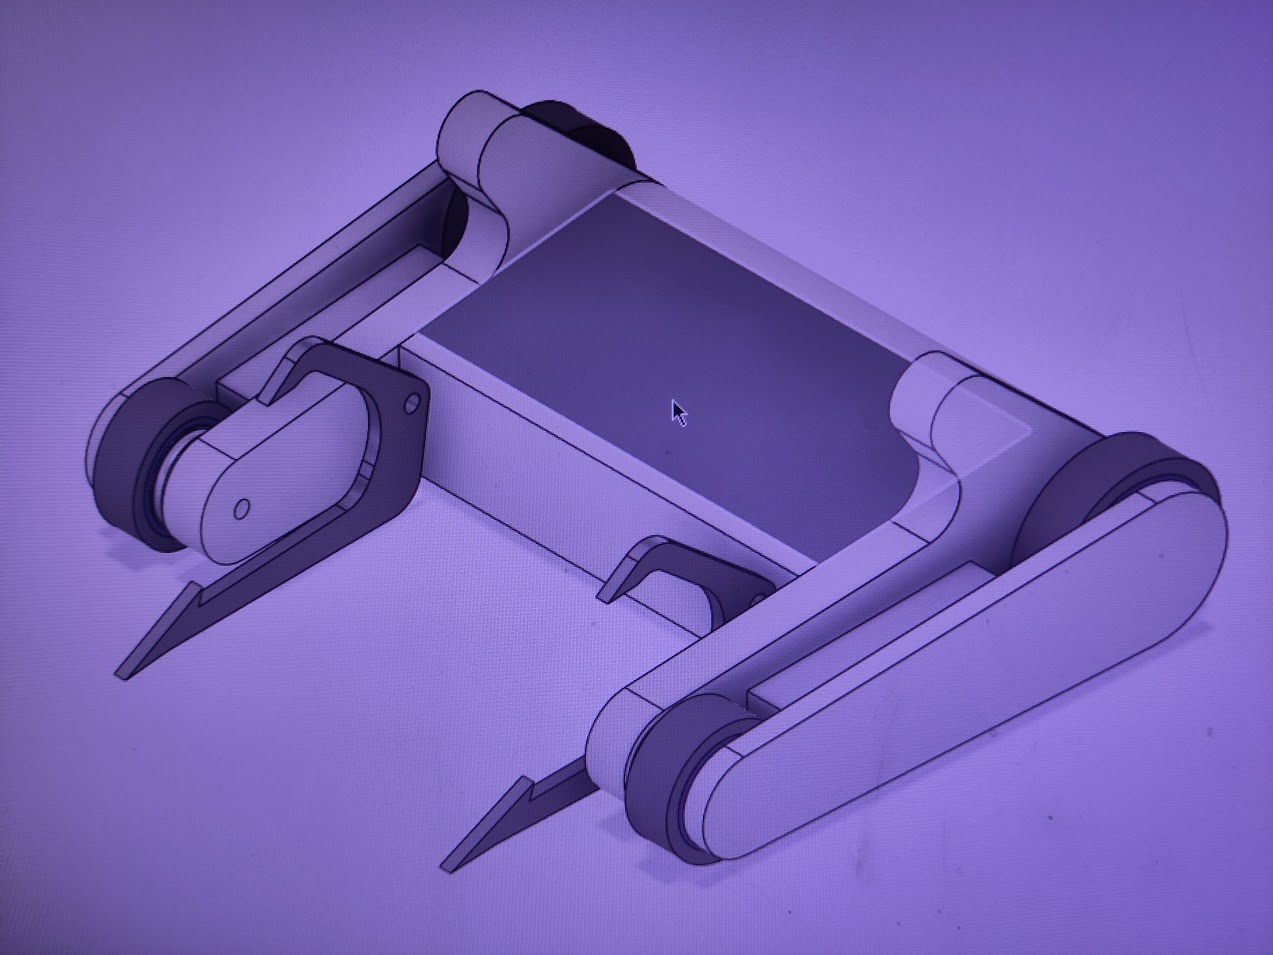
The lifter mechanism is currently direct drive from the weapon gearbox with a machined aluminium hub that fits on the gearbox’s D shaft and interlocks into a fancy spline in the lifter itself. I’d prefer there to be a gear in between to act as a sacrificial clutch, but I’m not going to have time for that before this weekend.

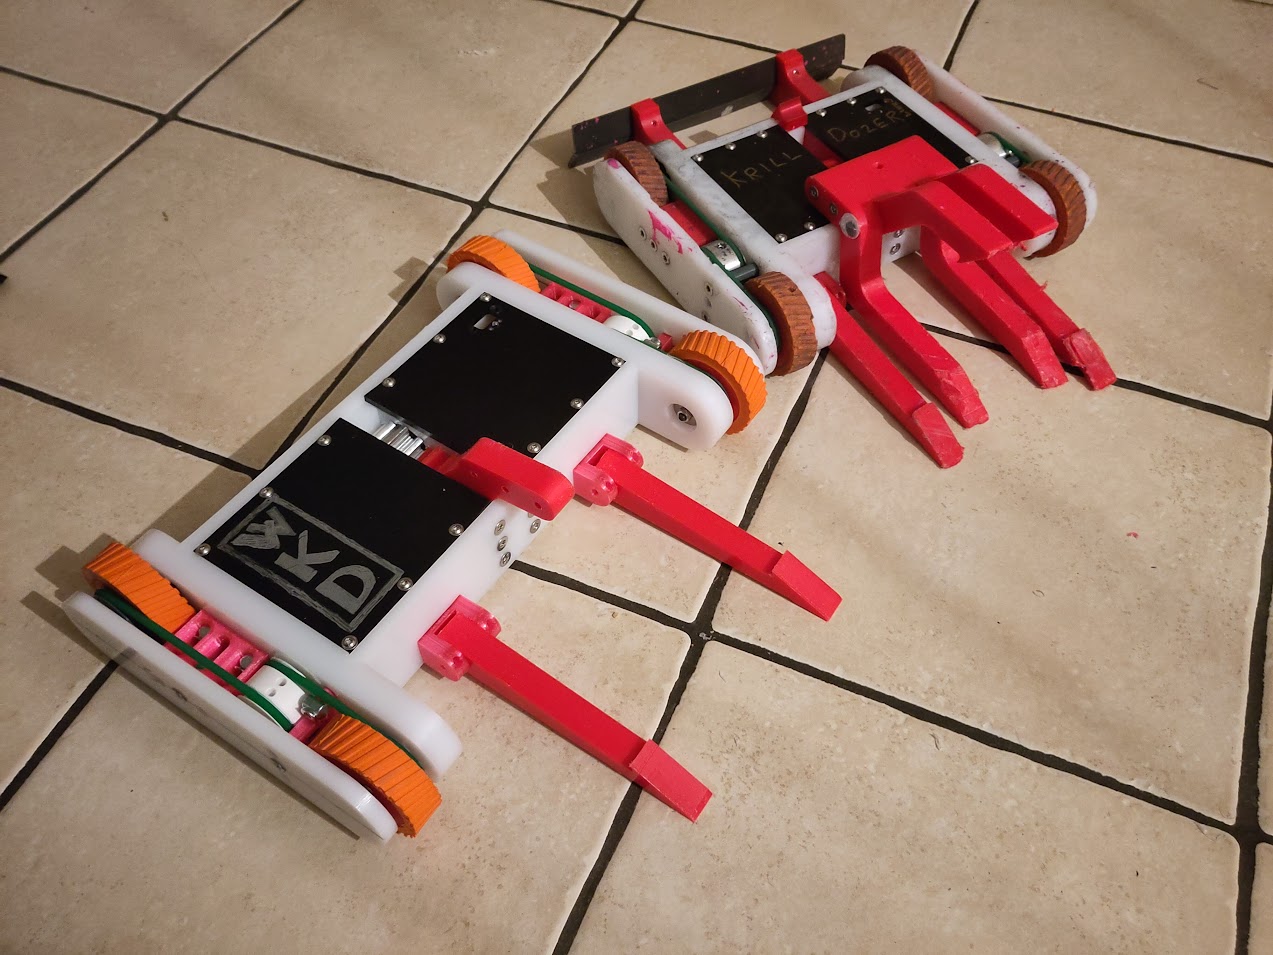
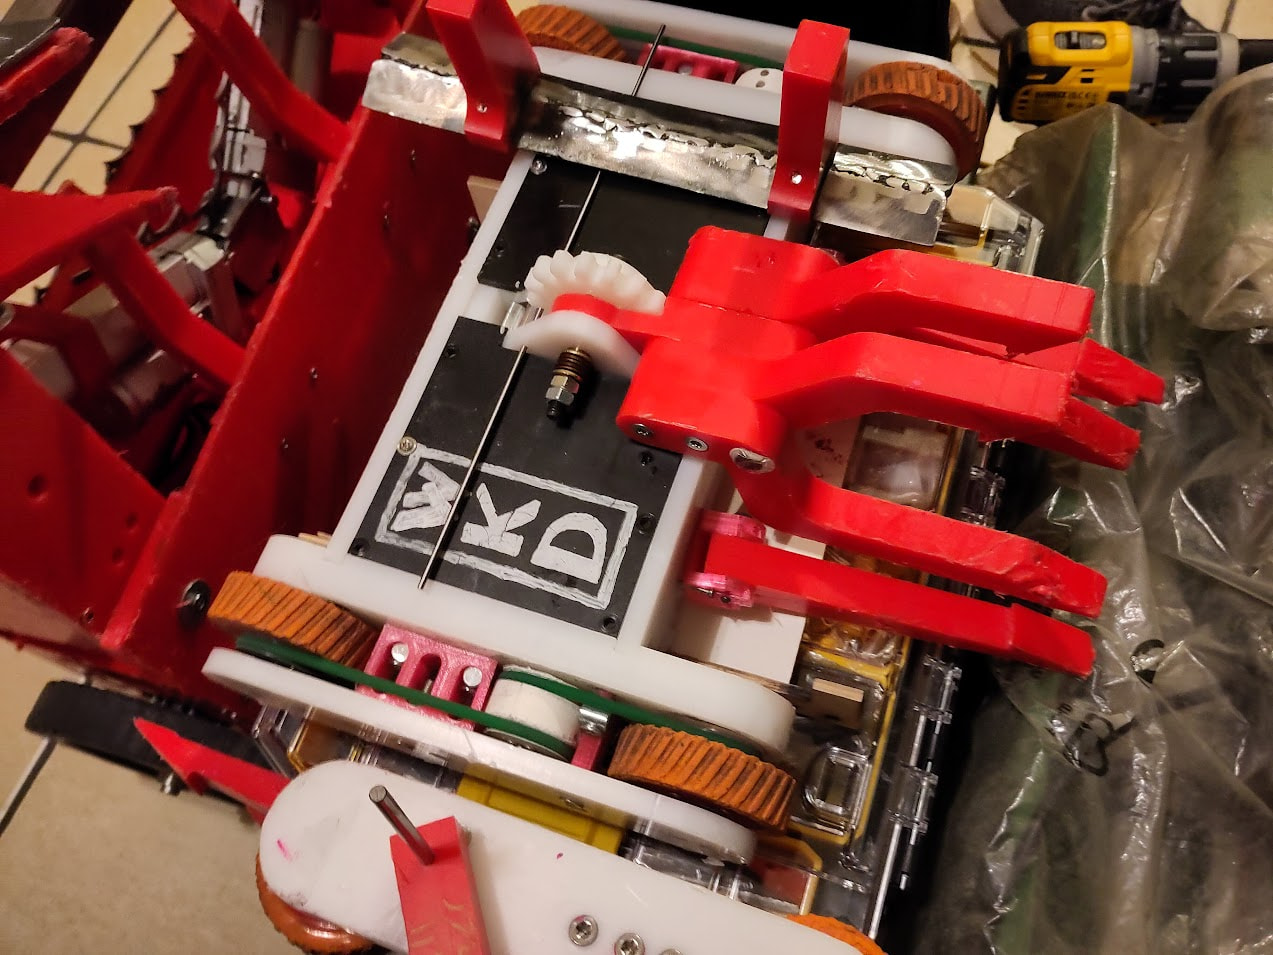
With the lifter and some forks installed it’s starting to look properly Krilly.
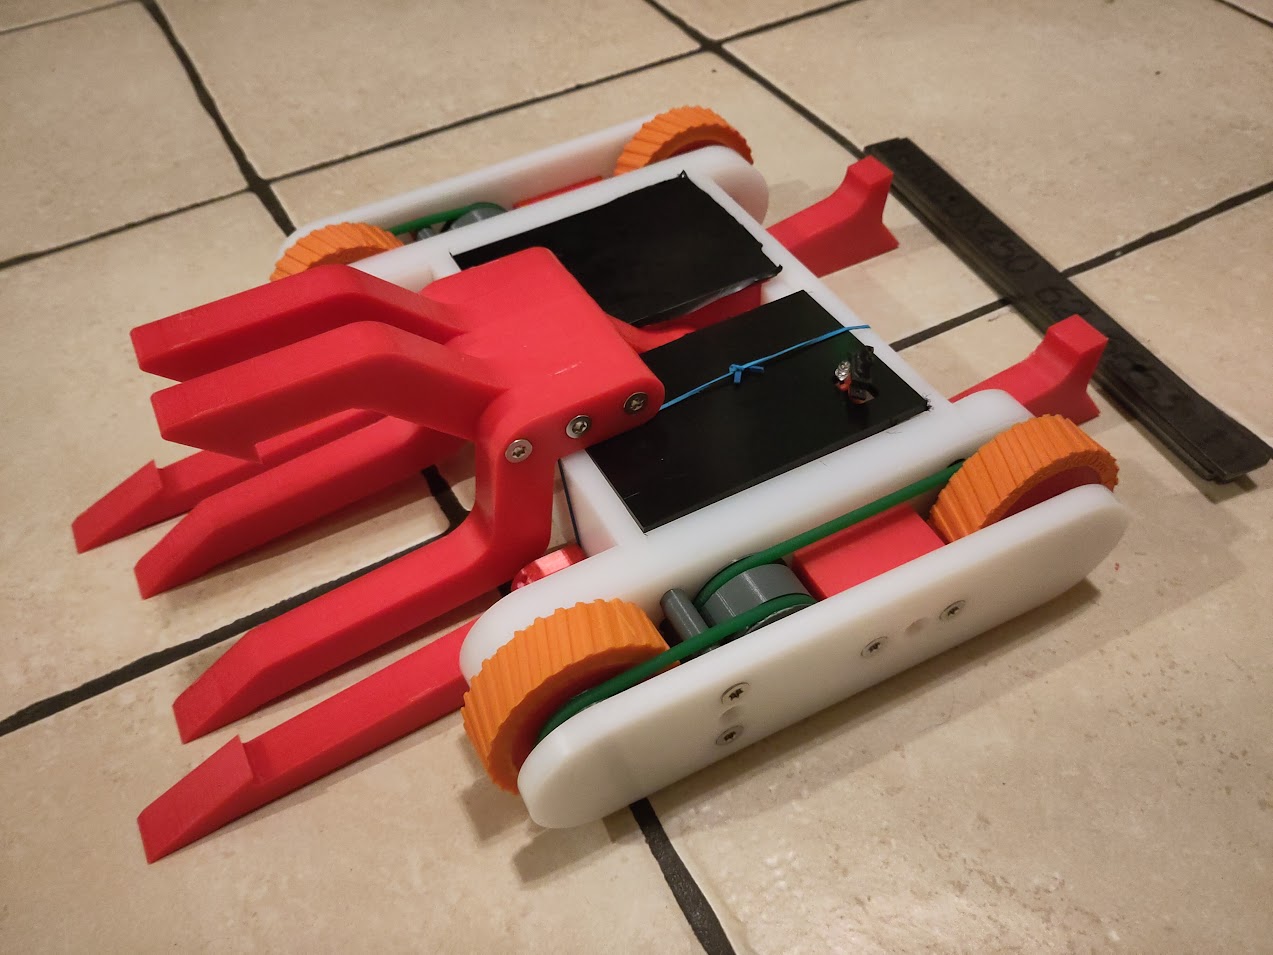
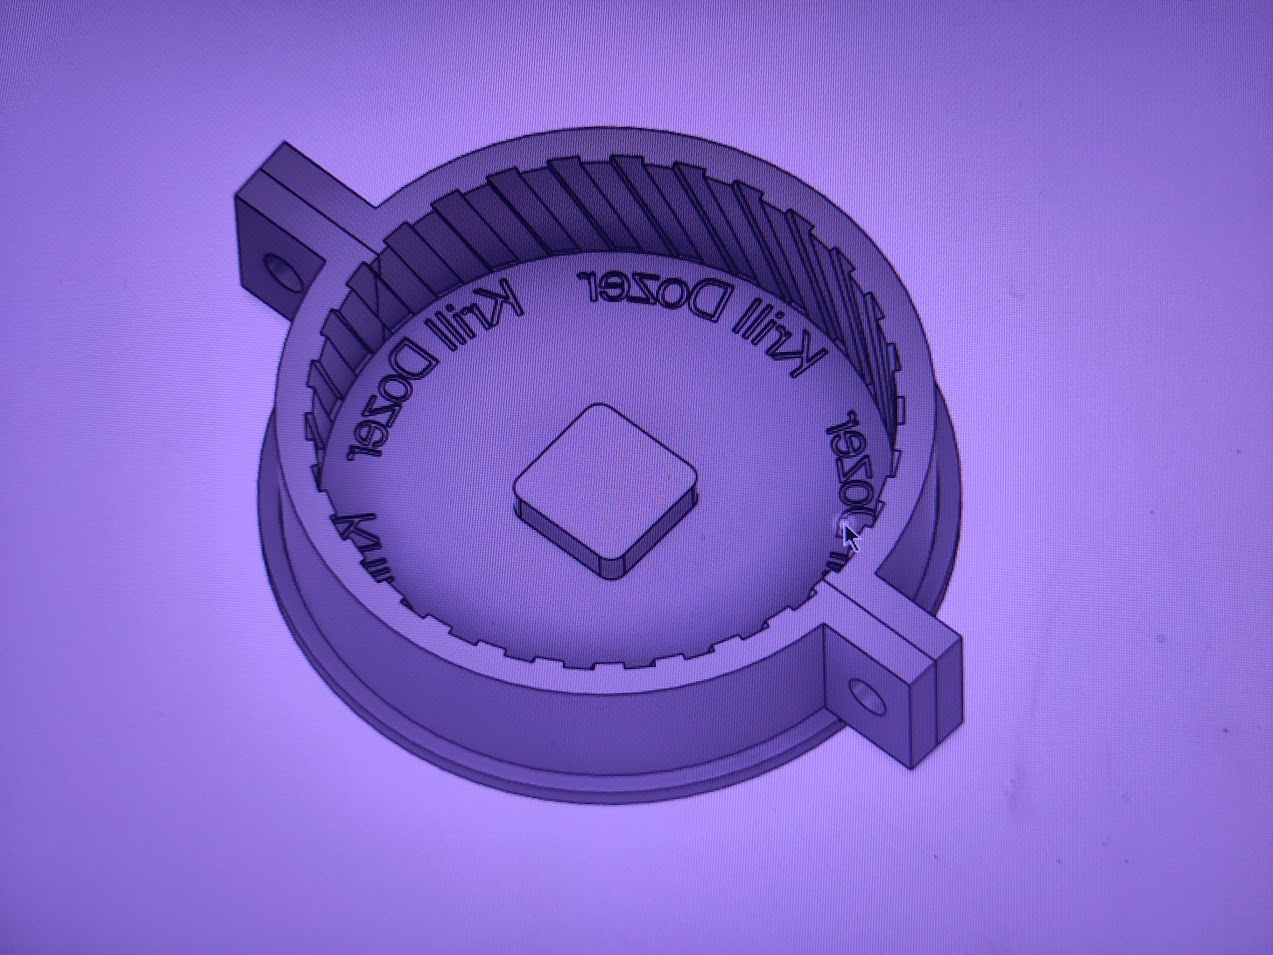
I also made some mounts for a hardox dozer blade made from some eBay hardox plates with a few holes drilled in them. This is probably going to be the main setup because the lineup for Dojo is looking very heavy on the horizontal spinners.
I’m not 100% sure yet whether the dozer blade will go on the front with an alternate grabber that reaches over it or whether I’ll fit it to the rear. Fitting it on the back and just having a single setup is tempted but I also suspect it will mess with my (as yet untested) ability to self-right.