Locking bars.
Whatever class you’re in now, you can’t escape them. Over the years, we’ve seen some good ones and some less good ones.. So let’s share some ideas to make sure we’re all on top of our game.
1. What is a locking bar, and why?
Put simply, a locking bar is a device to prevent movement of your weapon.
This should be easily installable and easily removable, with no risk of slipping off (not friction based).
We have these to prevent our robots from performing actions that could be dangerous to humans - examples could include a robot accidentally trying to spin up the moment you power it on, or accidentally leaving a robot powered on and paired on your desk while at the arena with another robot (this was scary).
To quote our beetleweight rules…
1.2 Dedicated Locking Bars: Any moving weapon requires a locking bar that completely stops motion. The locking bar must be marked as such with a tag or tape, and not used for any other purpose than locking your robot. Steel split pins are a great option and can easily be marked or have a keyring added. A clamp is not permitted. The locking bar must not be loose. The locking location on the robot must be easily visible for the arena marshal.
While the rule on which bots need locking bars varies from weightclass to weightclass, and there may be a few variances between event organisers (check the rules wherever you’re competing!) the above should ring true for all locking bars. As such, the below tips should also apply!
2. What your locking bar should do
A locking bar should always be kept in the robot unless it is in the arena
It should only be removed when the robot is powered on and ready to fight.
Therefore, tools you plan on using are not locking bars.
Yes, you could use an old hex key or something, providing it is marked.
A locking bar should be strong enough to stop your weapon.
If you were to have a pneumatic robot, that means the bar should be able to take the full force of the ram firing without the weapon moving. Yes, this would cause issues further into the robots systems. No, this is not negotiable.
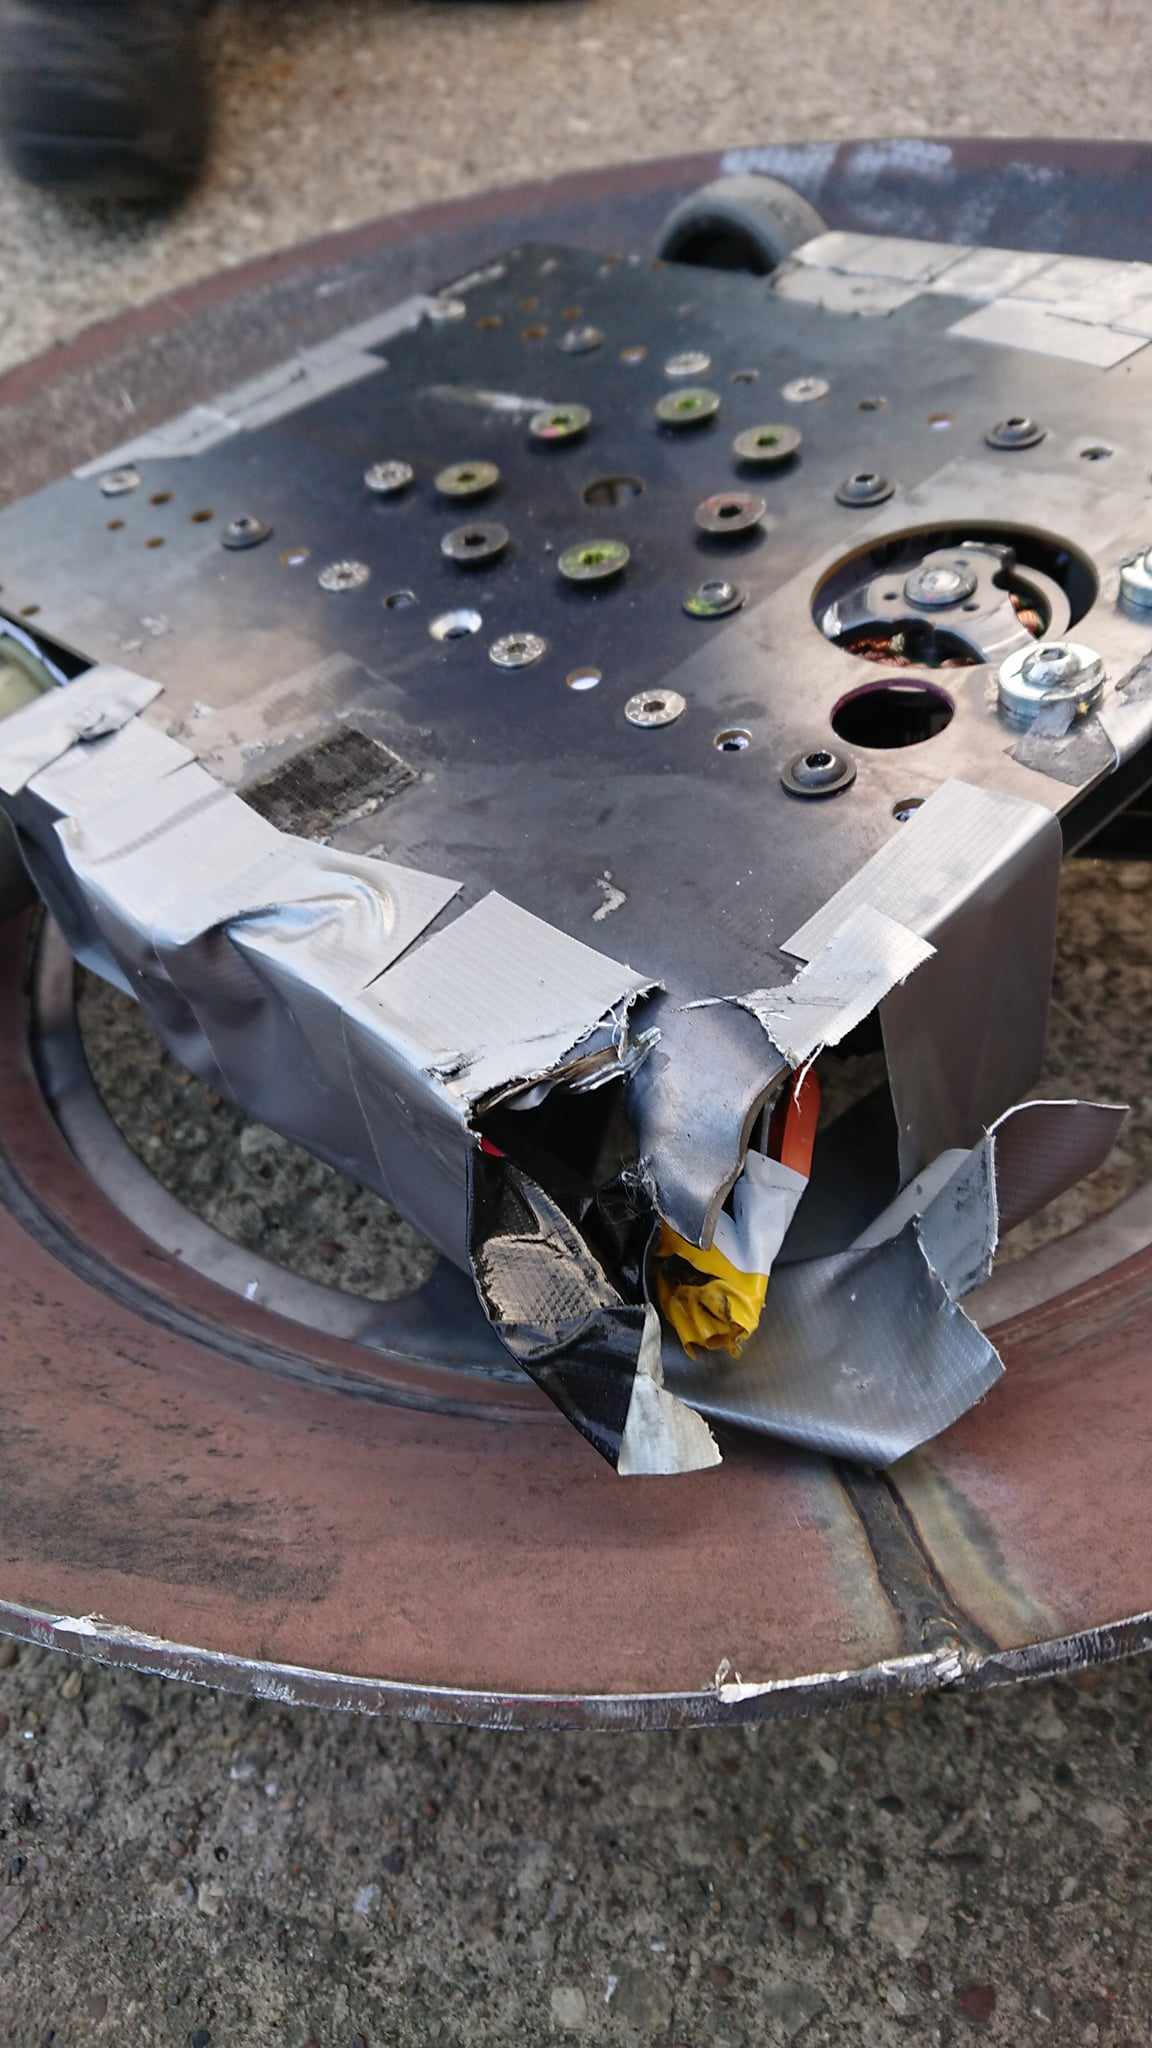
A locking bar should be well fitted.
If your locking bar could fall out when the robot is tilted or jiggled, it’s not an ideal locking bar - take for example if a spinner had stopped working across the arena upside down, covering it’s link. The marshall would likely want to lock the weapon before they move it at all. If the bar fell out while inverting the robot, this is bad.
Similarly, friction based locks like clamps are not permitted due to the possibility of the friction not being enough or the robot throwing the lock.
There are lots of edge cases.
If in doubt, contact your event organiser.
In some situations, a lock block is accepted.
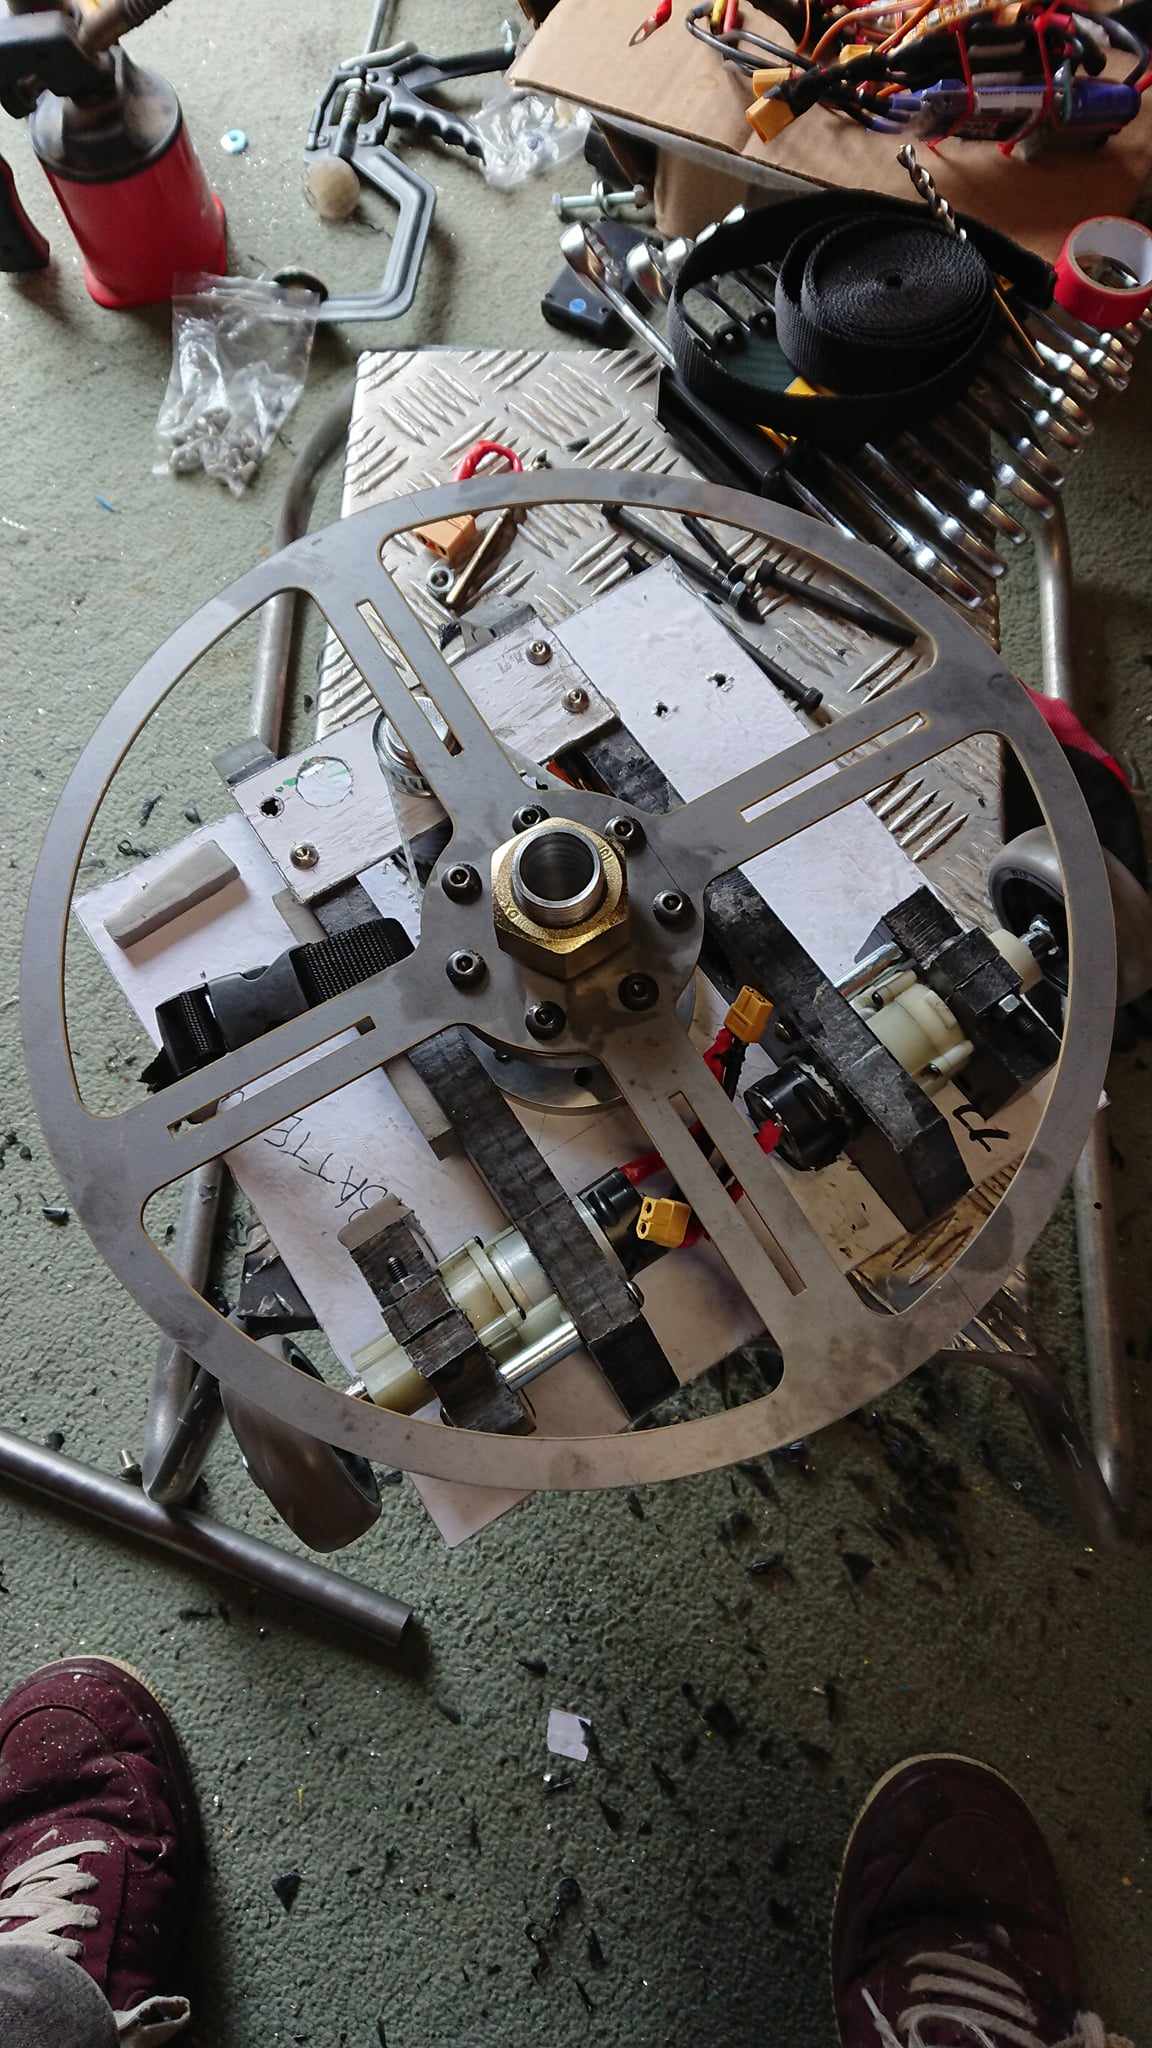
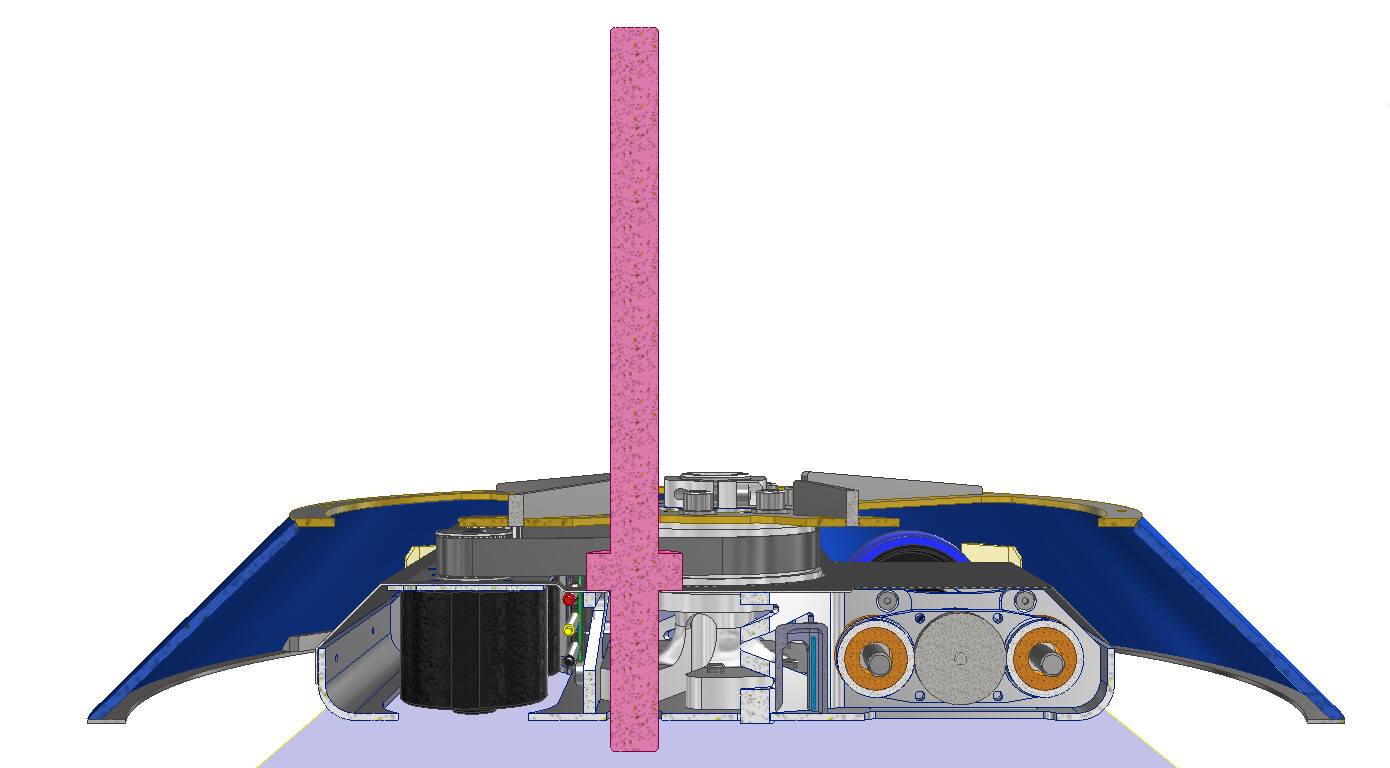
For drums and beaters, it may be more practical to have a ‘lock block’, which limits rotation by filling the space between the weapon and the chassis.
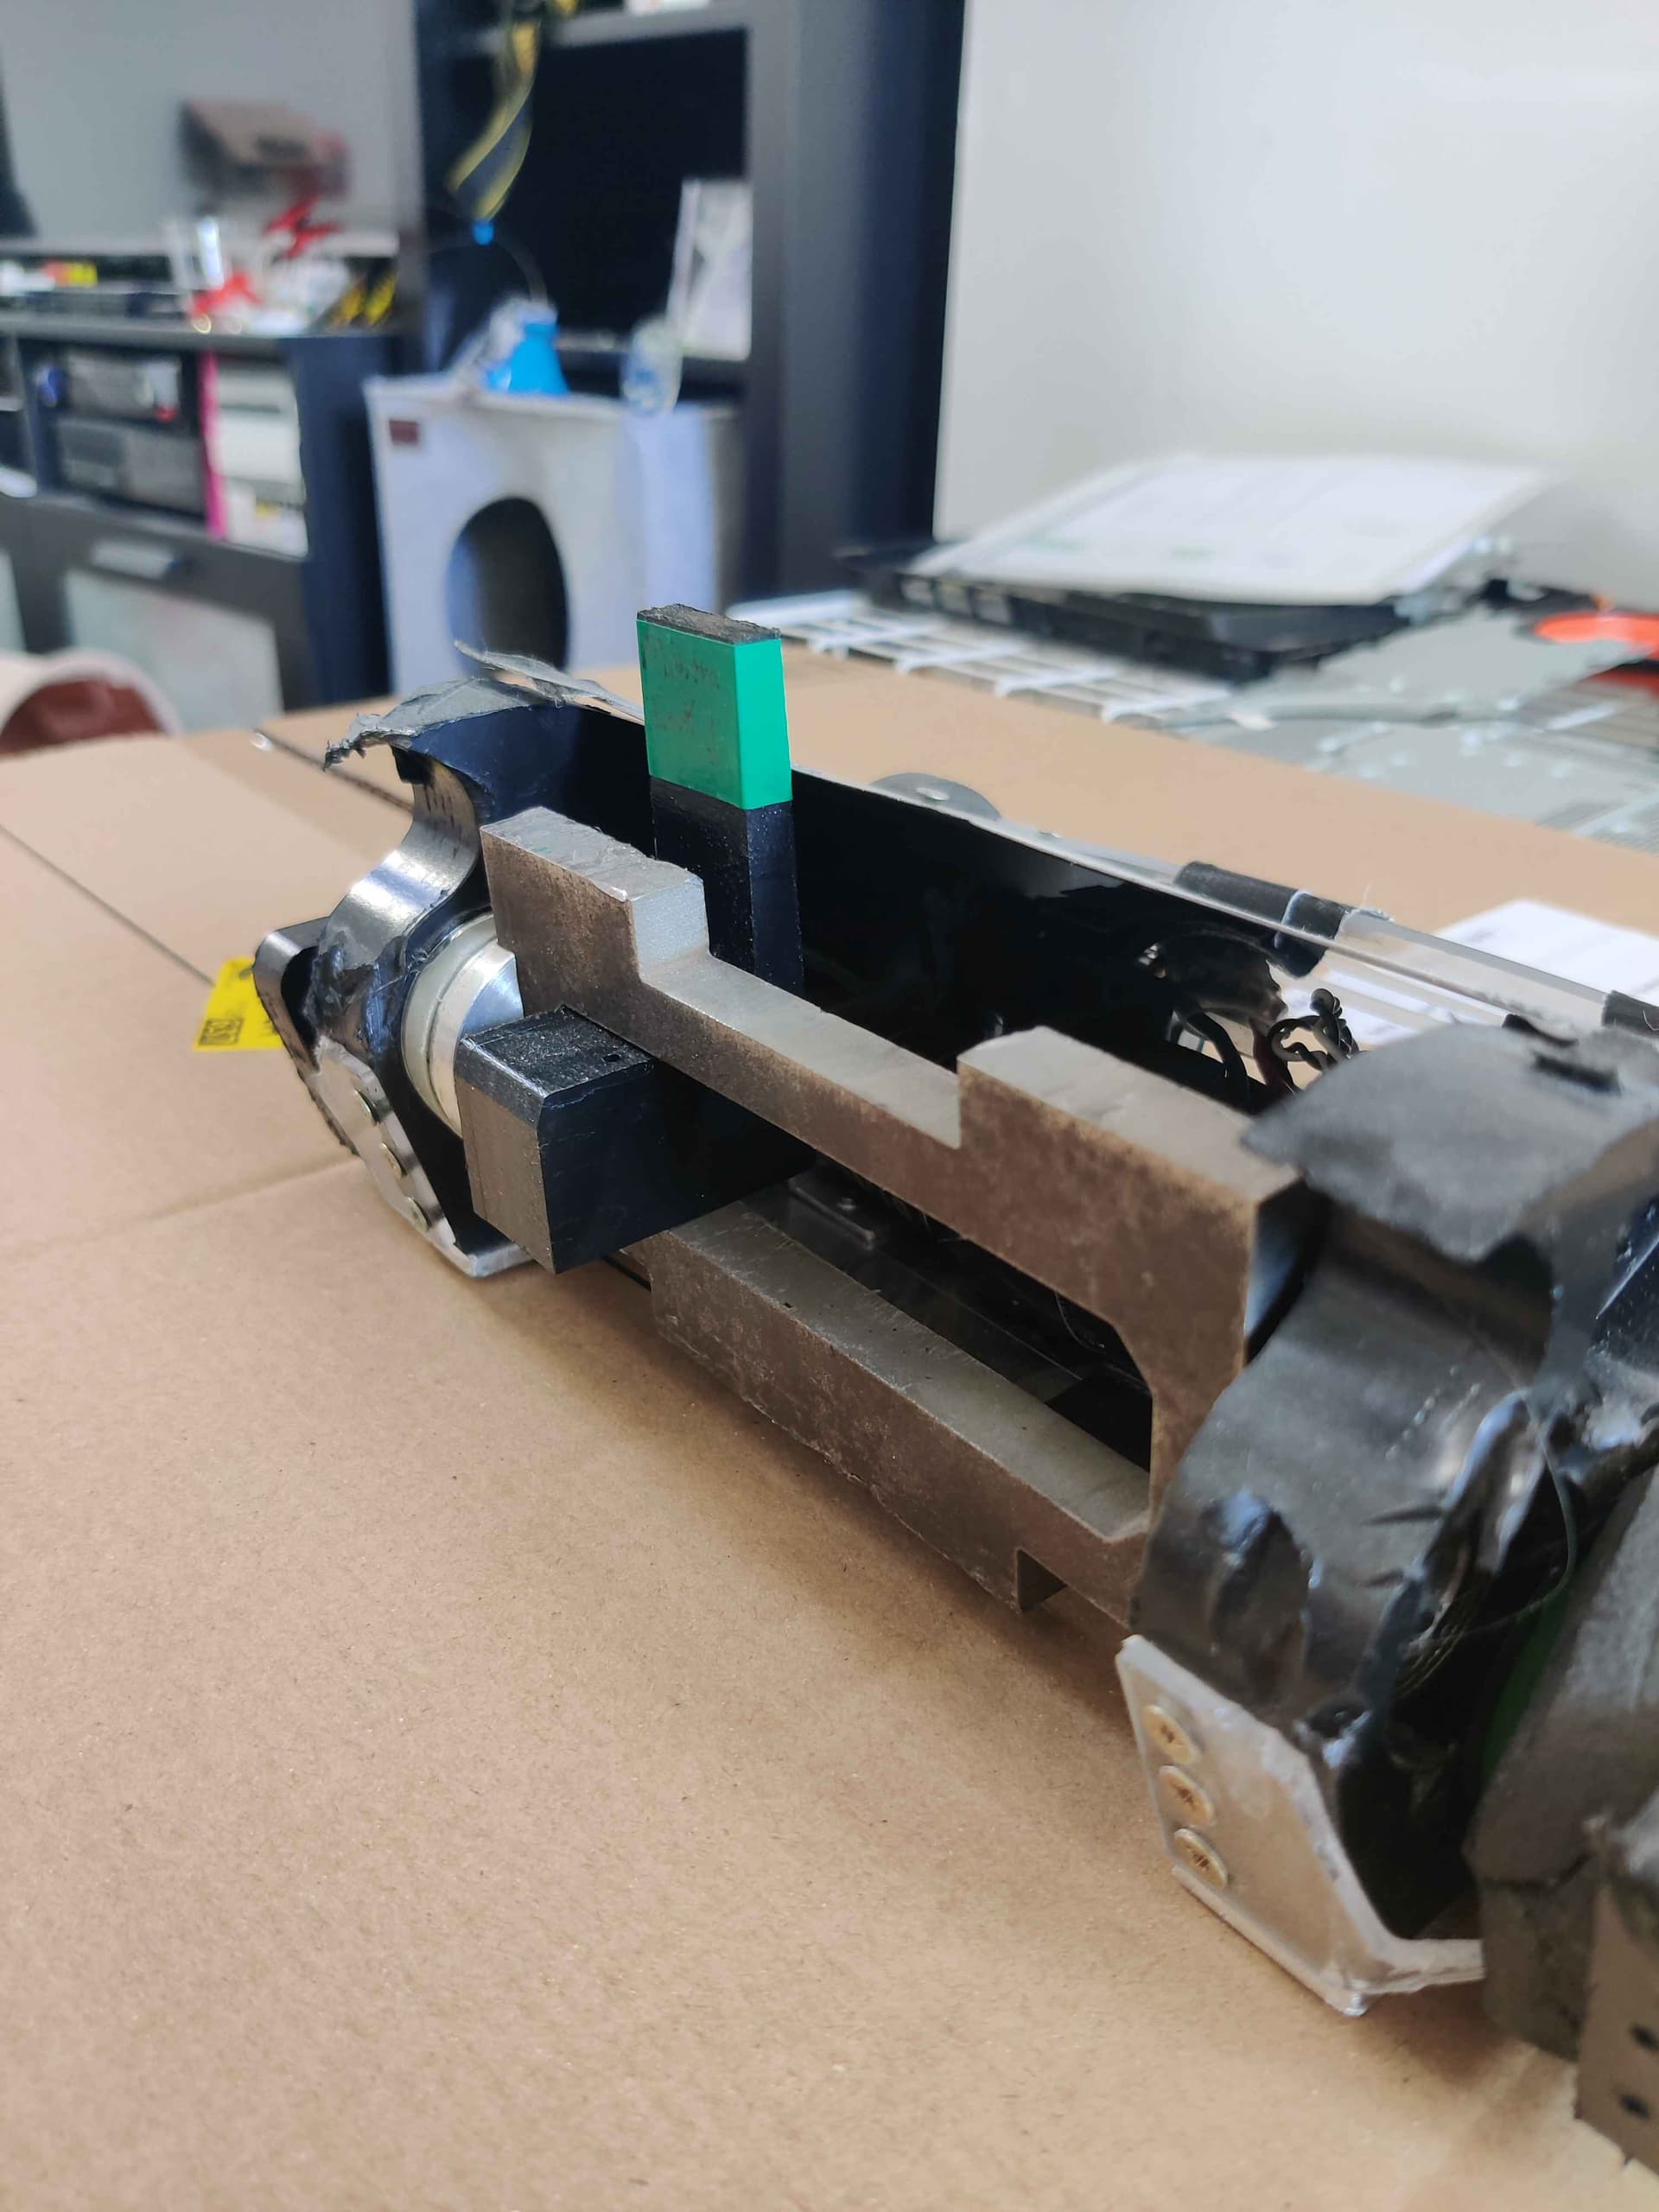
Saws also may have a cover instead of a locking bar where it is deemed unsafe to drill the saw blade
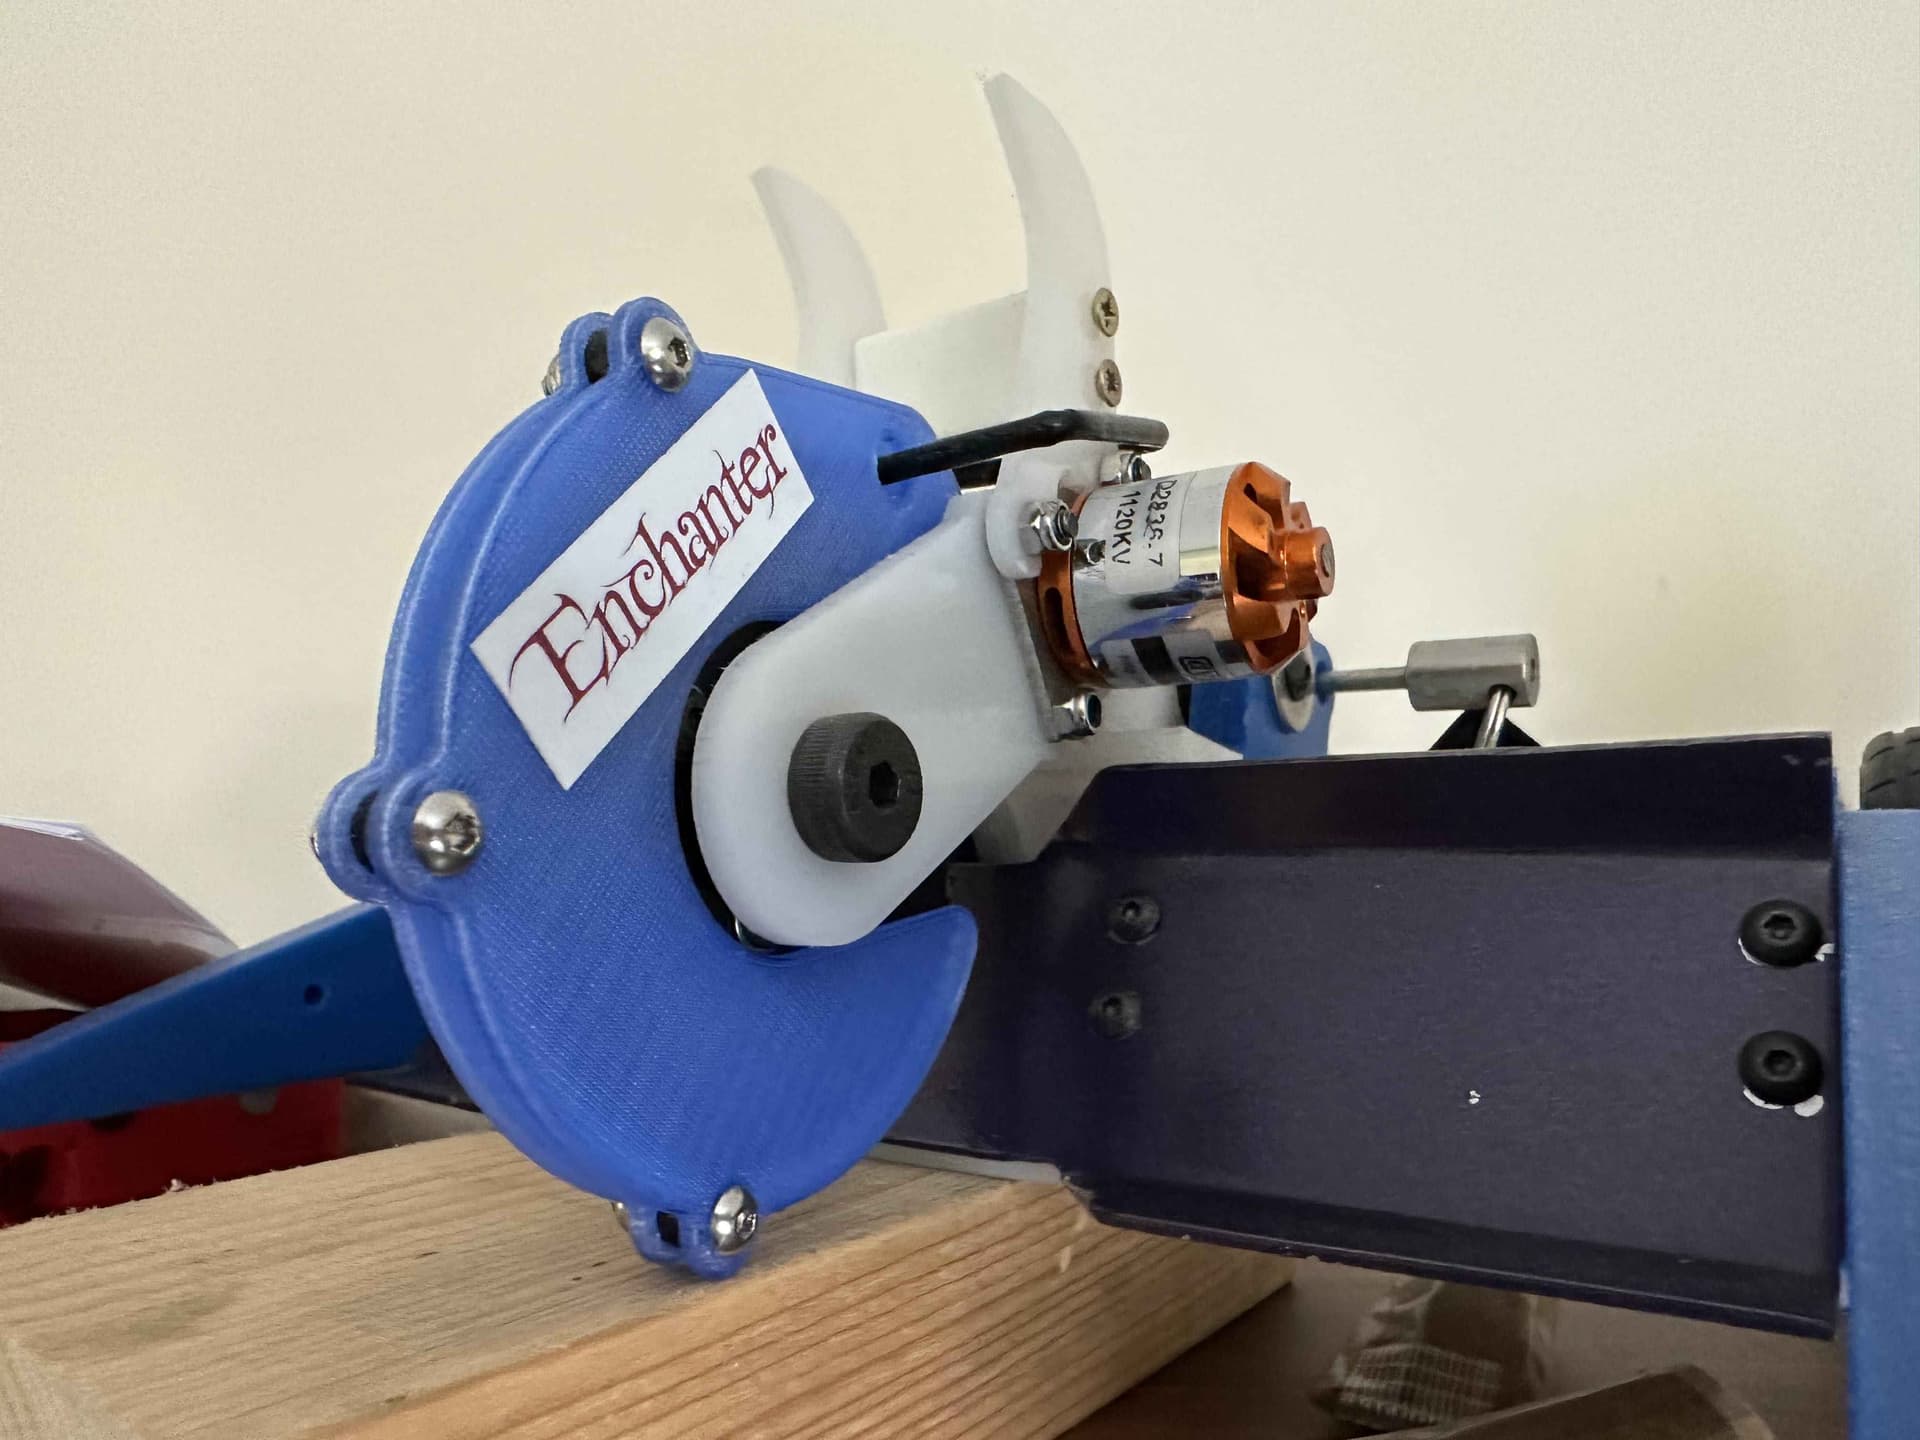
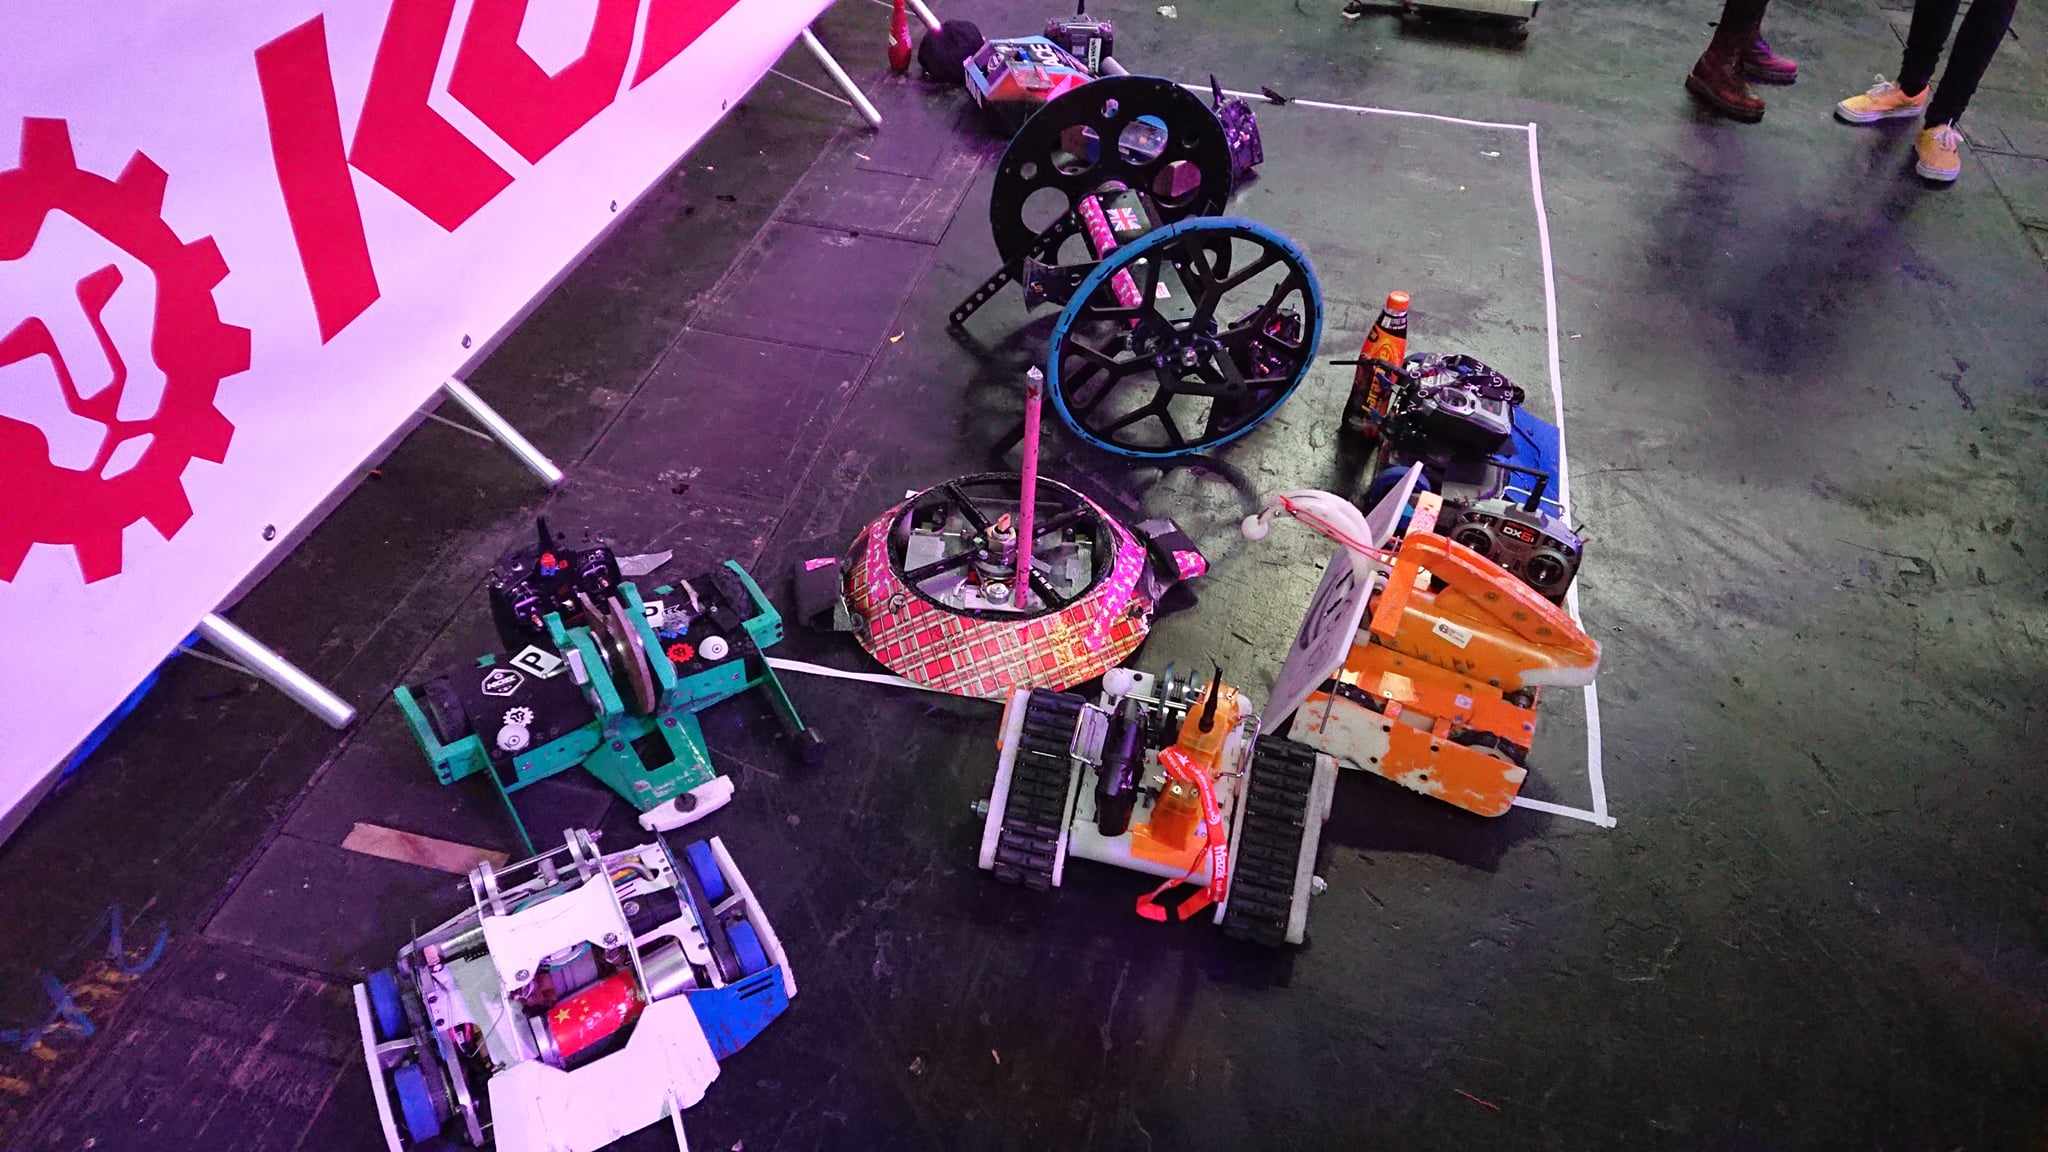
Here on Enchanter, you can see the guard is placed around the whole saw and is itself secured to the robot.
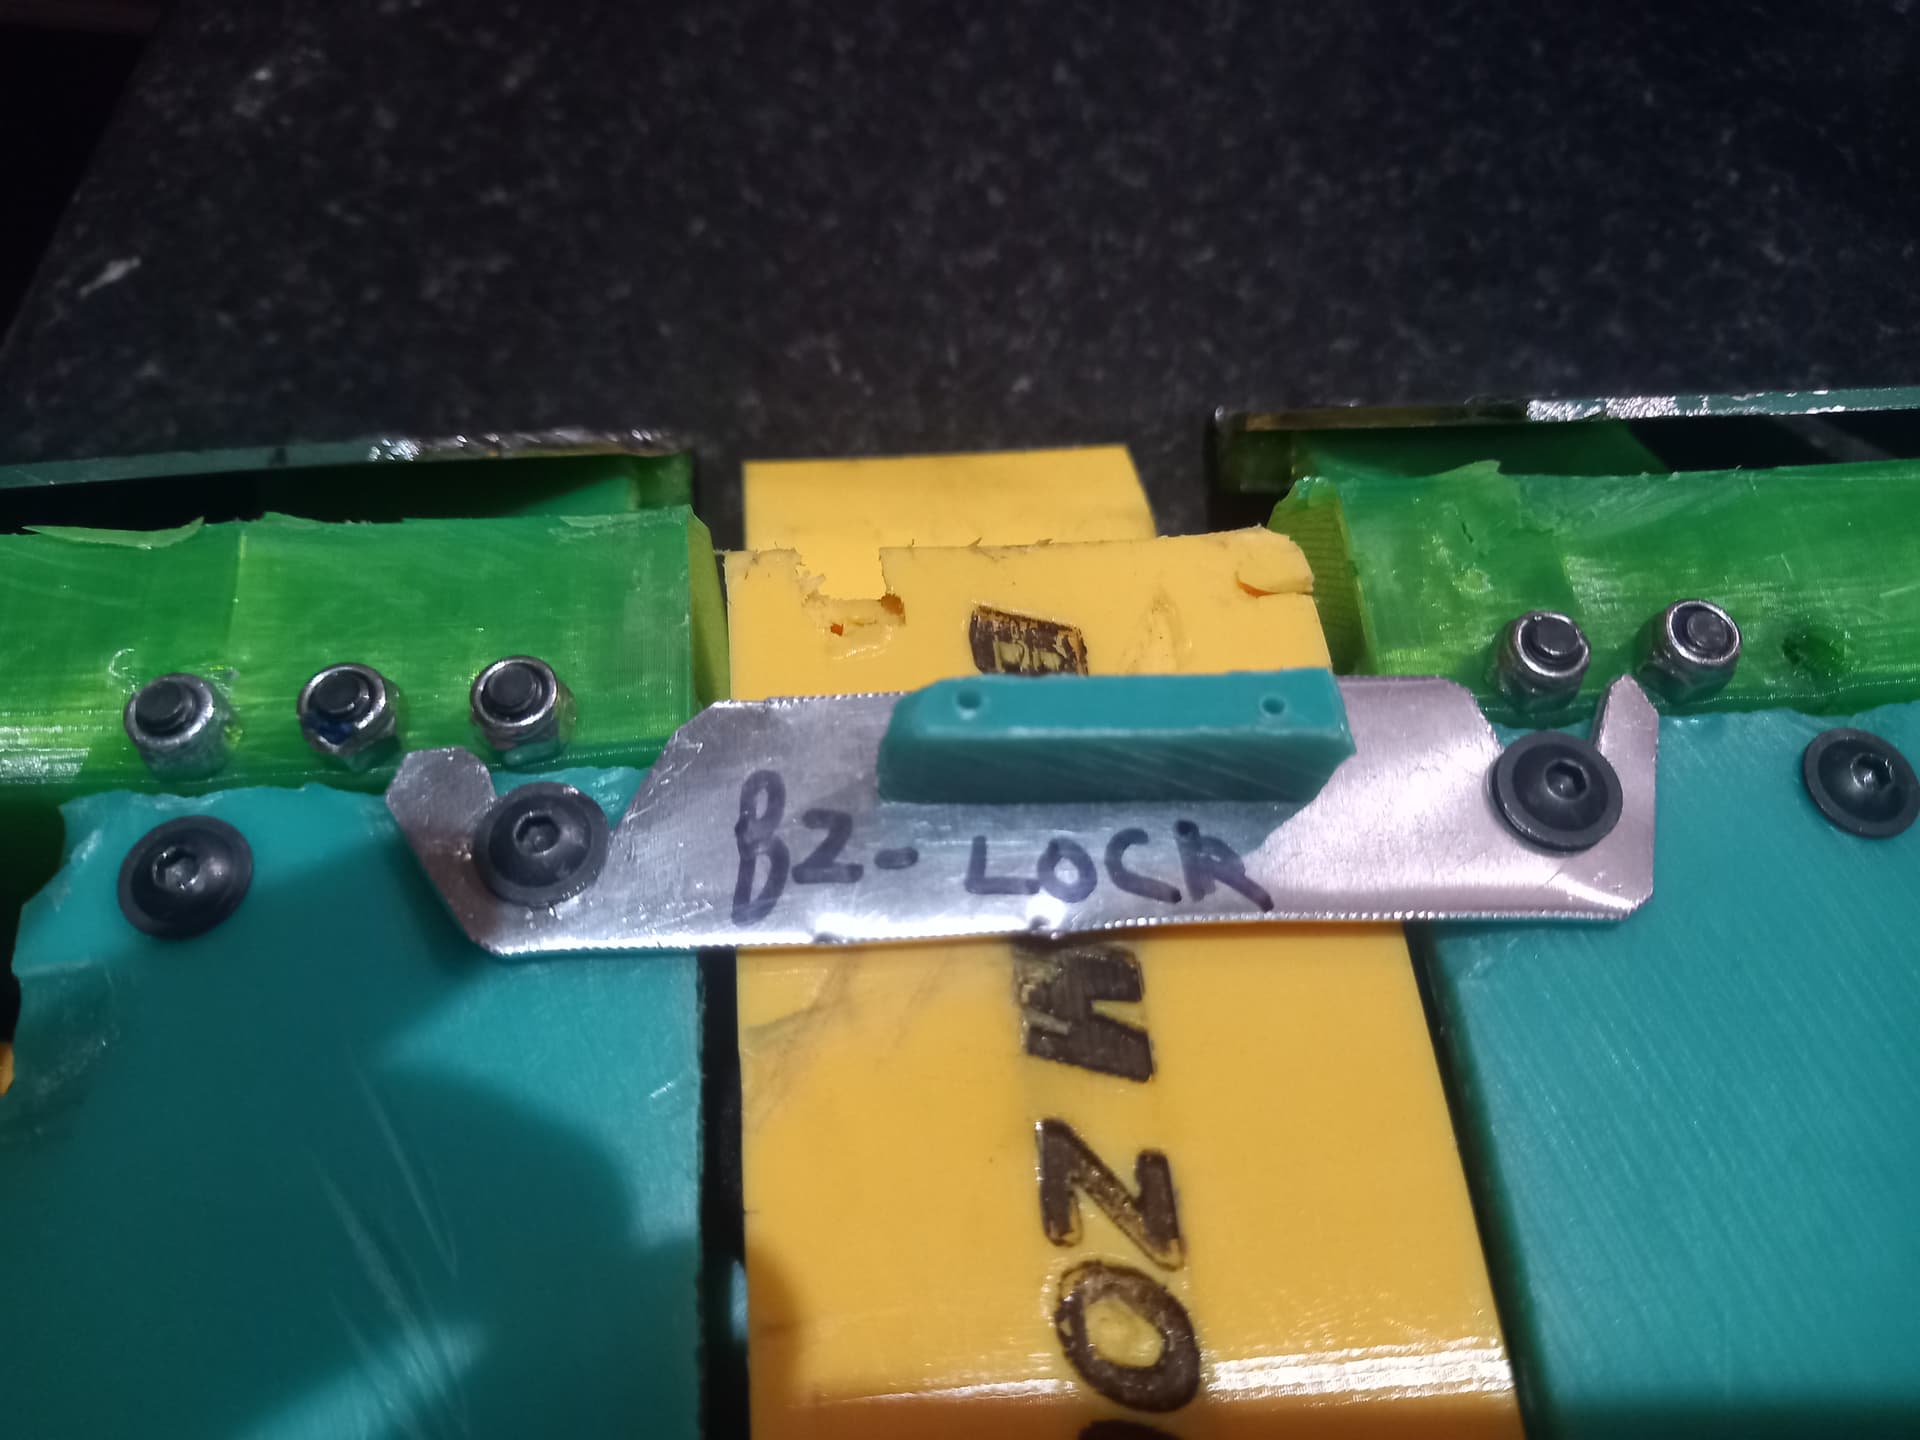
A few posts down you can see an excellent example of a non-typical locking bar on a lifter from Rob’s robot Boom Zoom. There are so many ways to do a locking bar, just make sure you check with your EO if you are doing something out of the ordinary.
3. My Top Tips
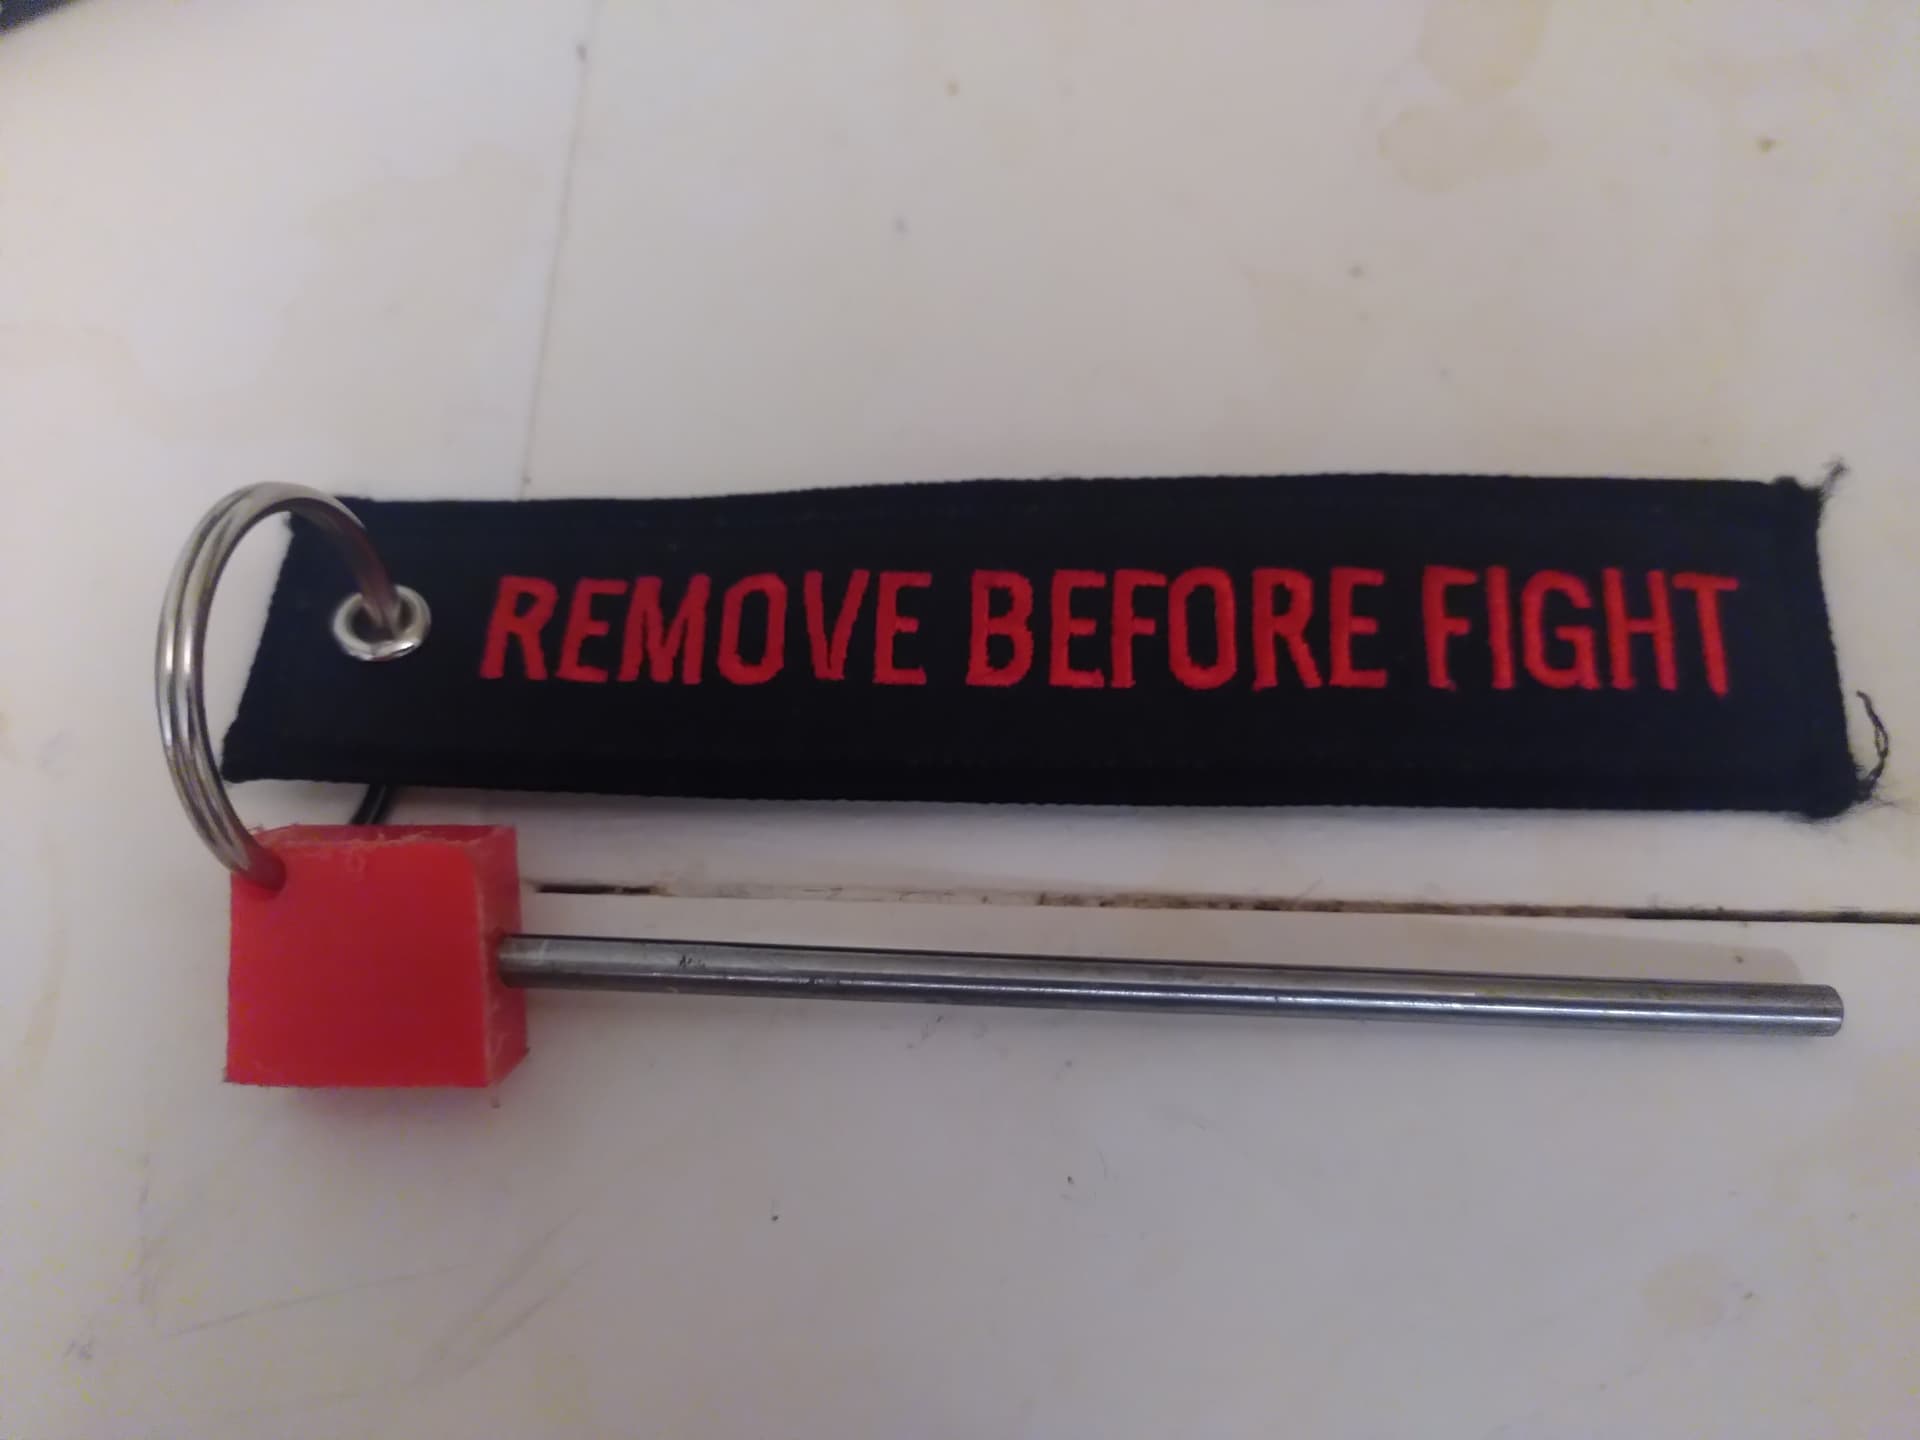
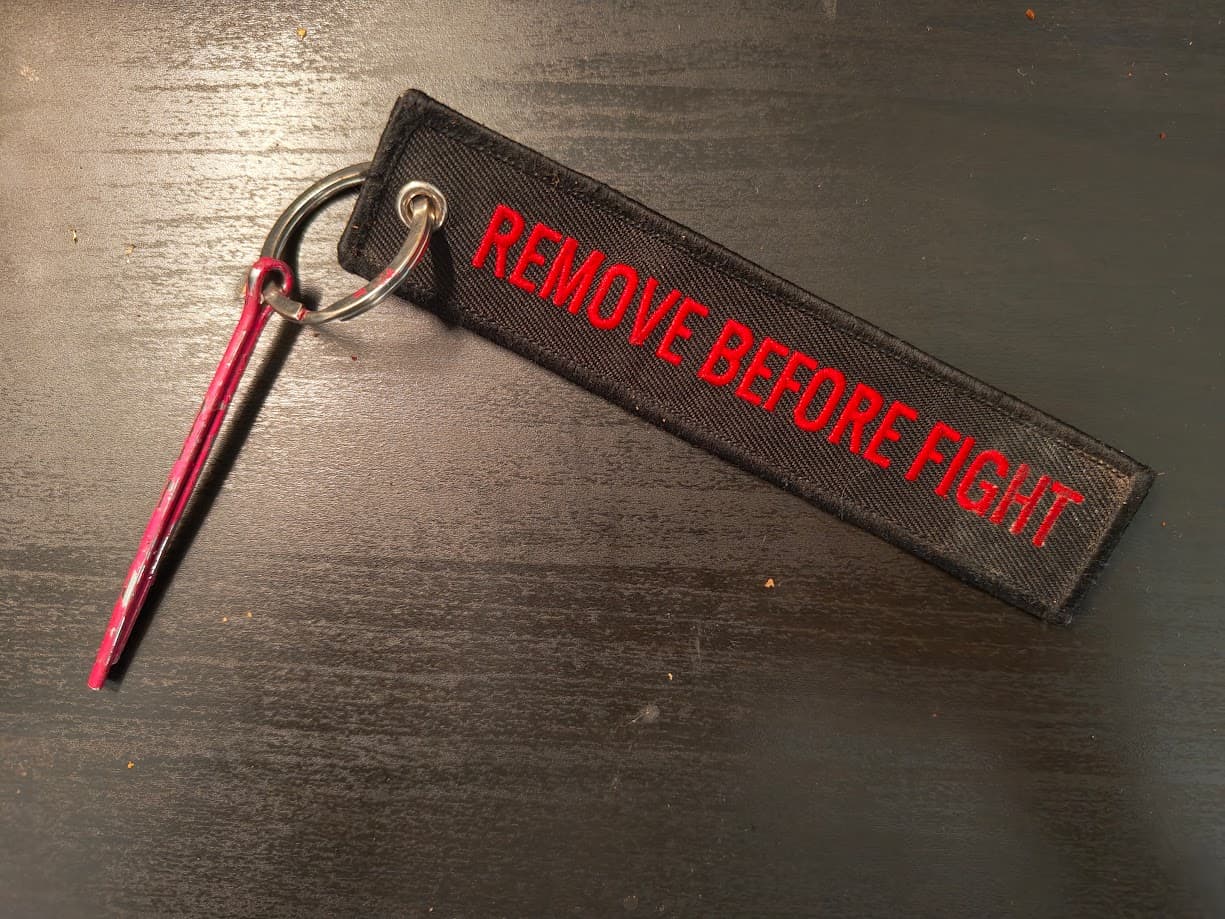
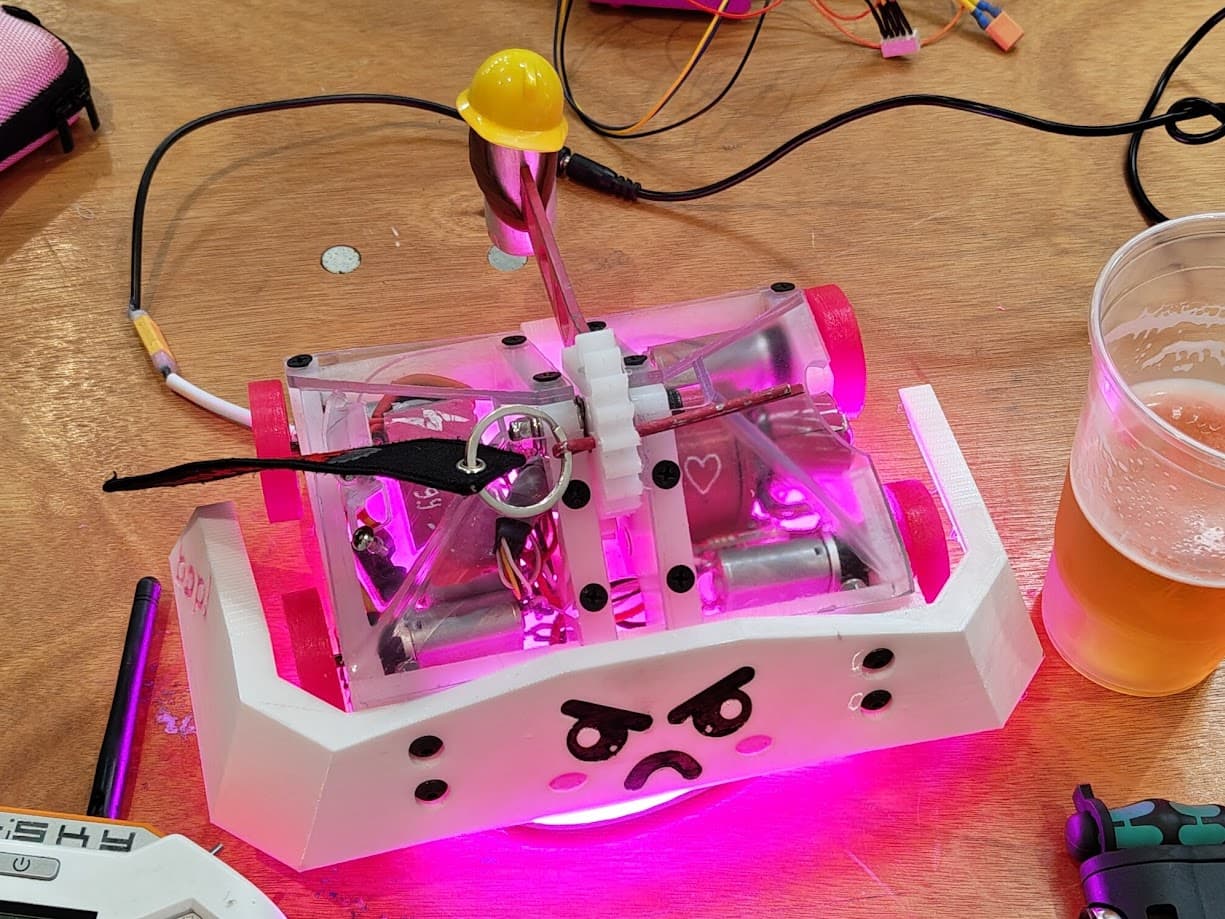
Make your locking bar visually distinct!
Paint it or add a keyring of some sort, so that it can be traced back to you. Marking your locking bar is part of the rules so you may as well make sure it’s a unique one.
Don’t make it an afterthought!
Designing a locking bar into your system makes life much easier down the line.
Make it from something readily available!
This is the biggest piece of advice I can give! Instantly you don’t have to worry about running foul of using tools or similar. I’m a big fan of using split pins/cotter pins on my beetleweight
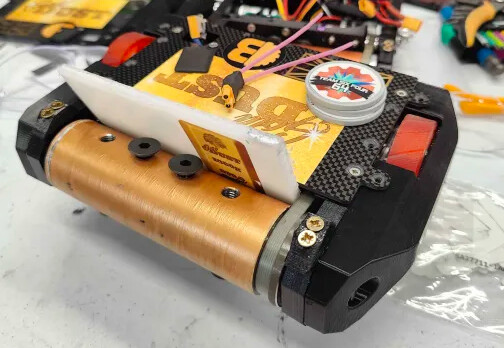
Though you may find other useful non-tools items. I’ve also used stainless steel bar like this
And at these thicknesses, it’s incredibly easy to bend and make a more distinct shape, even adding a loop onto the end. For antweights, something like this may well be an elegant solution.
ANYHOW.
Please do add to this thread with other thoughts and ideas, I think as antweights join the locking bar club it’s worth having a resource like this to give people a starting point. Please do correct me if I should make any changes above
<3