Need For Tweed (Bev)

This is Gareth and myselfs Bev, made for the BBB 5th Birthday party Bevs event just gone. this was a super fun little project that we started working on back in December 22. the robot (if you have an eager eye) looks a lot like gareths beetle Gear Down For What. But for the sweet topping (the Bevs Fun status/spirit of Bevs) was a 5 axes multipurpose Robotic arm. this is a break down of the Build of the Chassis and drive. keep an eye for the iminent post of the arm assembly from Dr Brushless.


The drive sides are 20mm HDPE spaced with 20mm aluminium Bar. the drive is a set of 6384s paired wit some VESC’s running 2 T10 timing belts and a set of 3D printed wheels.


The robot haf a plethera of little 3D printed brackets and covers but i wond bore you with too many details :slight_smile: the main chassis was (like the drive sides) spaced with More aluminium bar, staying true to the Gear down style of build.


Forks were 20mm HDPE also and then a lil 5mm HDPE wedge accompanied them on thear adventures. all the other Totally finctional bits of the robot :wink: were also 5mm HDPE. the robot also had a couple different attachments. my attempt at a set of wire cutters were… frankly wonderful i mean whofull, but they had the spirit i could tell.

Gareth Loves VESC’s

6 Likes

Please, don’t hold back on the fiddly bits and details!

Fantastic machine all round. Is there anything in particular that made you choose t10 belts? I have always been wary of stretch as they don’t seem to have much in the way of reinforcement.

1 Like

am a fan of the T5 and 10 bets for combat mainly due to the variety of options for god cost. find that the belts are pretty good at keeping tension (very minor stretch over plenty of use) also like the flexibility of them. got a good supply of aluminium pulleys so do find myself just using them and then pairing them up with printed pulleys on wheels or other lower stress transmission parts. do tend to use them a lot as well with smooth pulleys finding the surface area is actually pretty good when used this way( with beetles mostly) but yea tbh the biggest thing after ease of use and cost is the fact i have just not tried much else that i have found better:sweat_smile:

then for the little details, thats really just the electronic mounts, motor guards, some small spacers and motor covers. then thear was quite a lot of 3D prints in the arm itself (i think only one thing actually broke so pretty good haha) and that was a mix of ABS (wheels and arm stuff) and PLA-ST (covers and spacers)

Arm bits!

Befitting the spirit of Bevs, we decided to maximally utilise technology for stupid, and attempted to construct a (bevs)combat-proof 5 axis robot arm atop Felix’s lovely chassis.

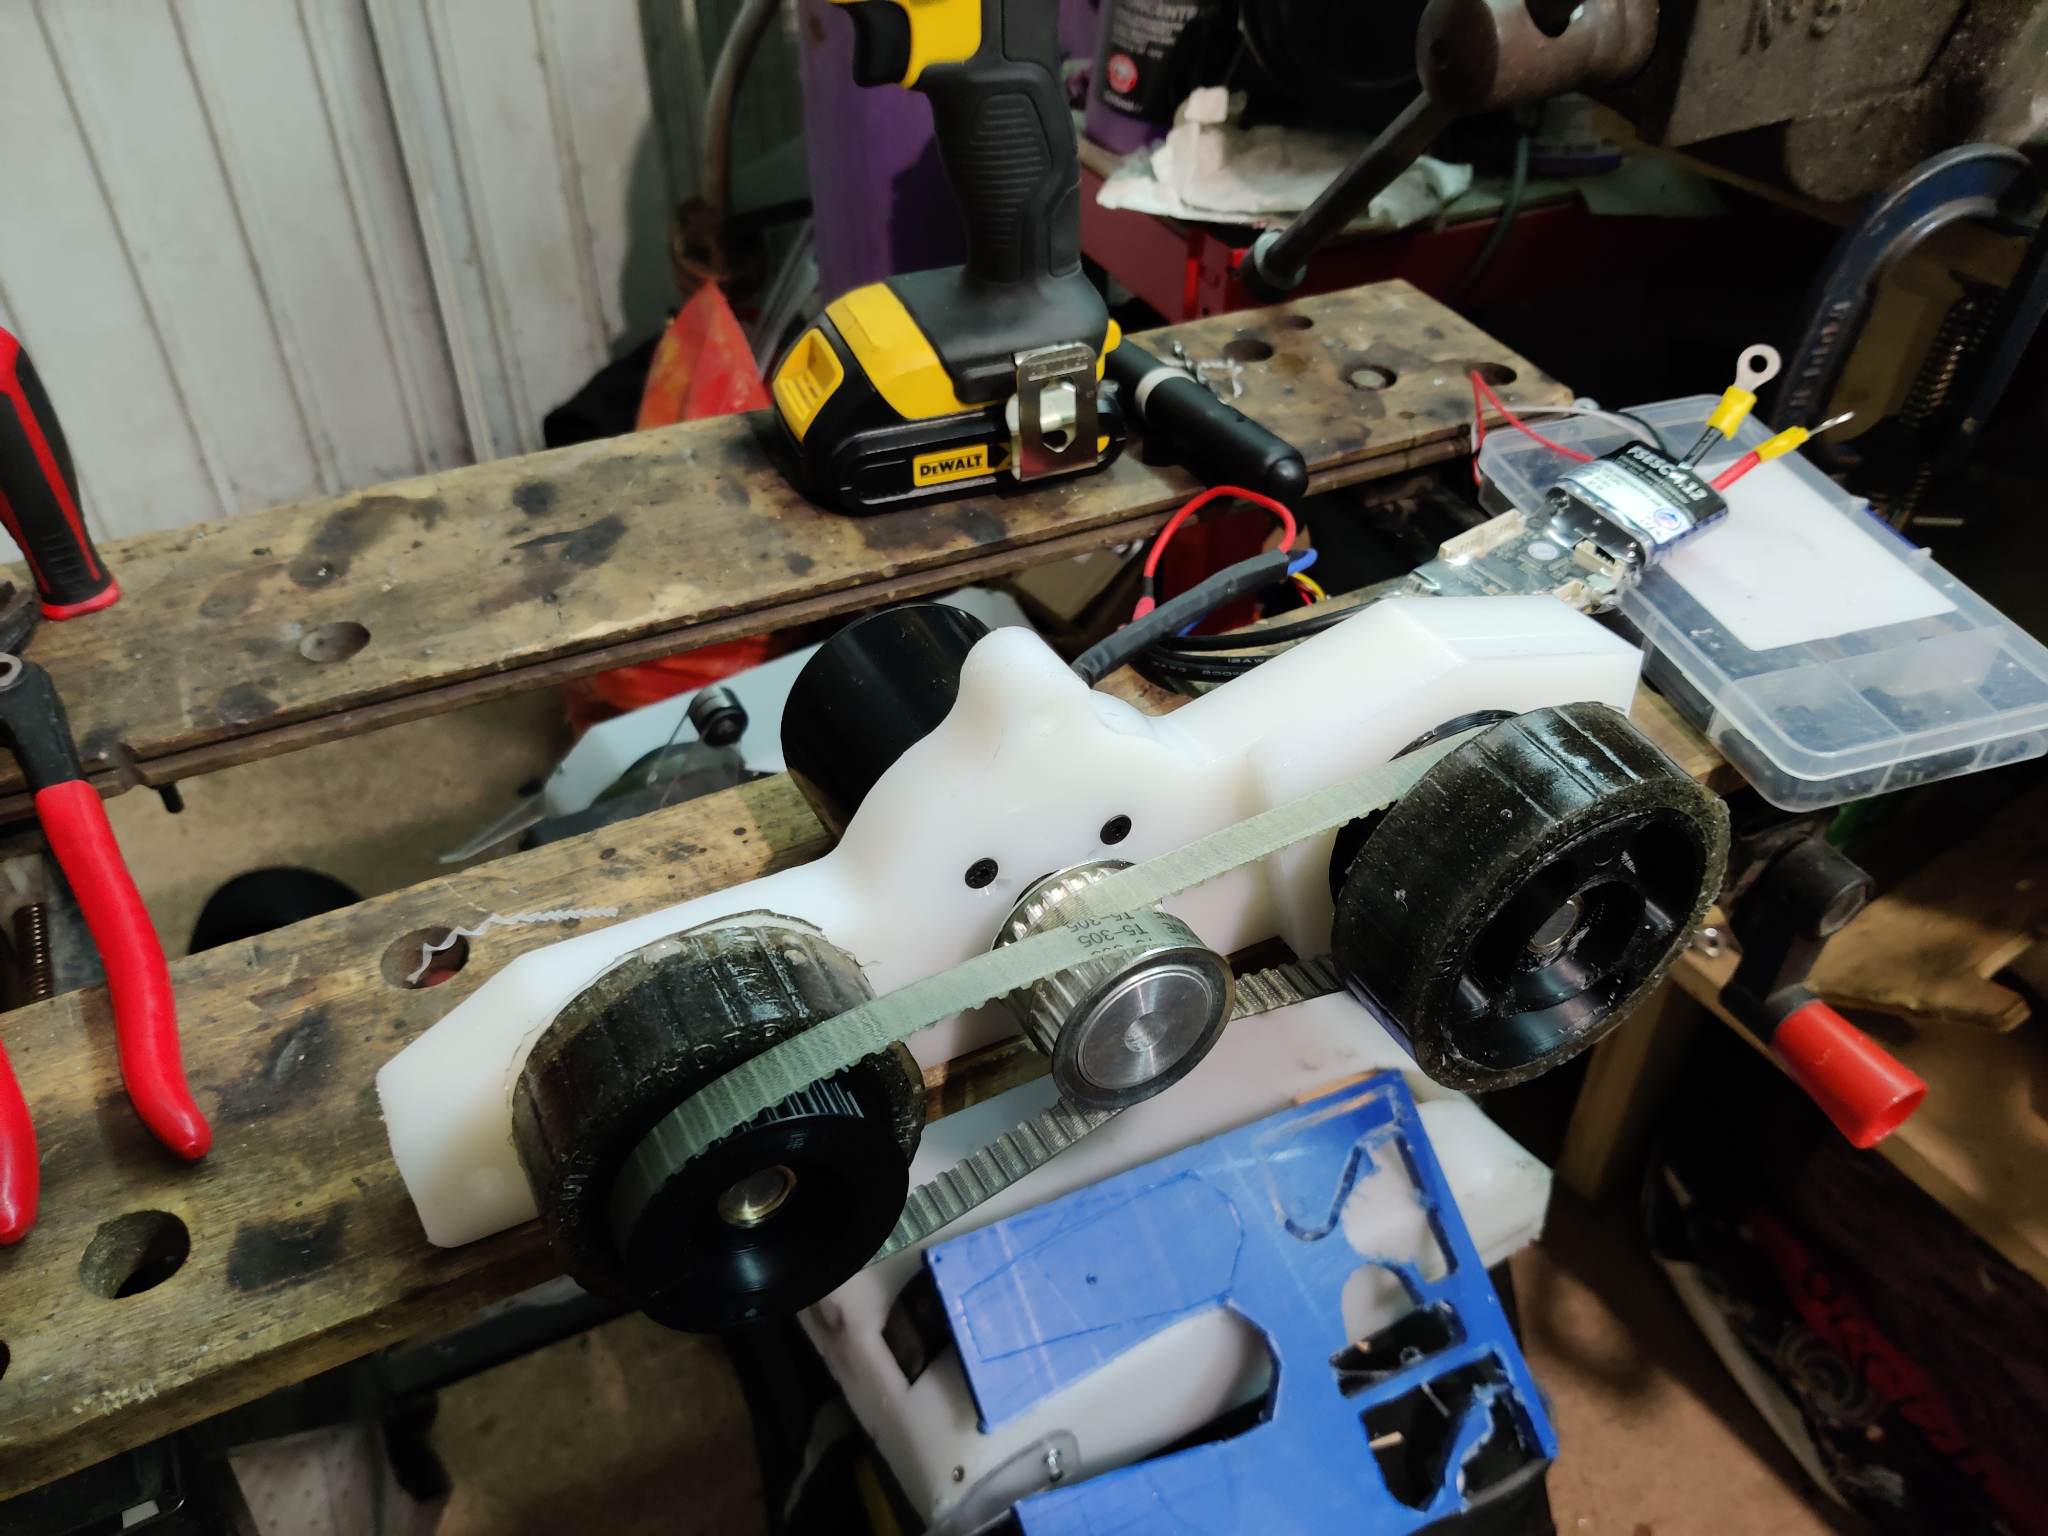
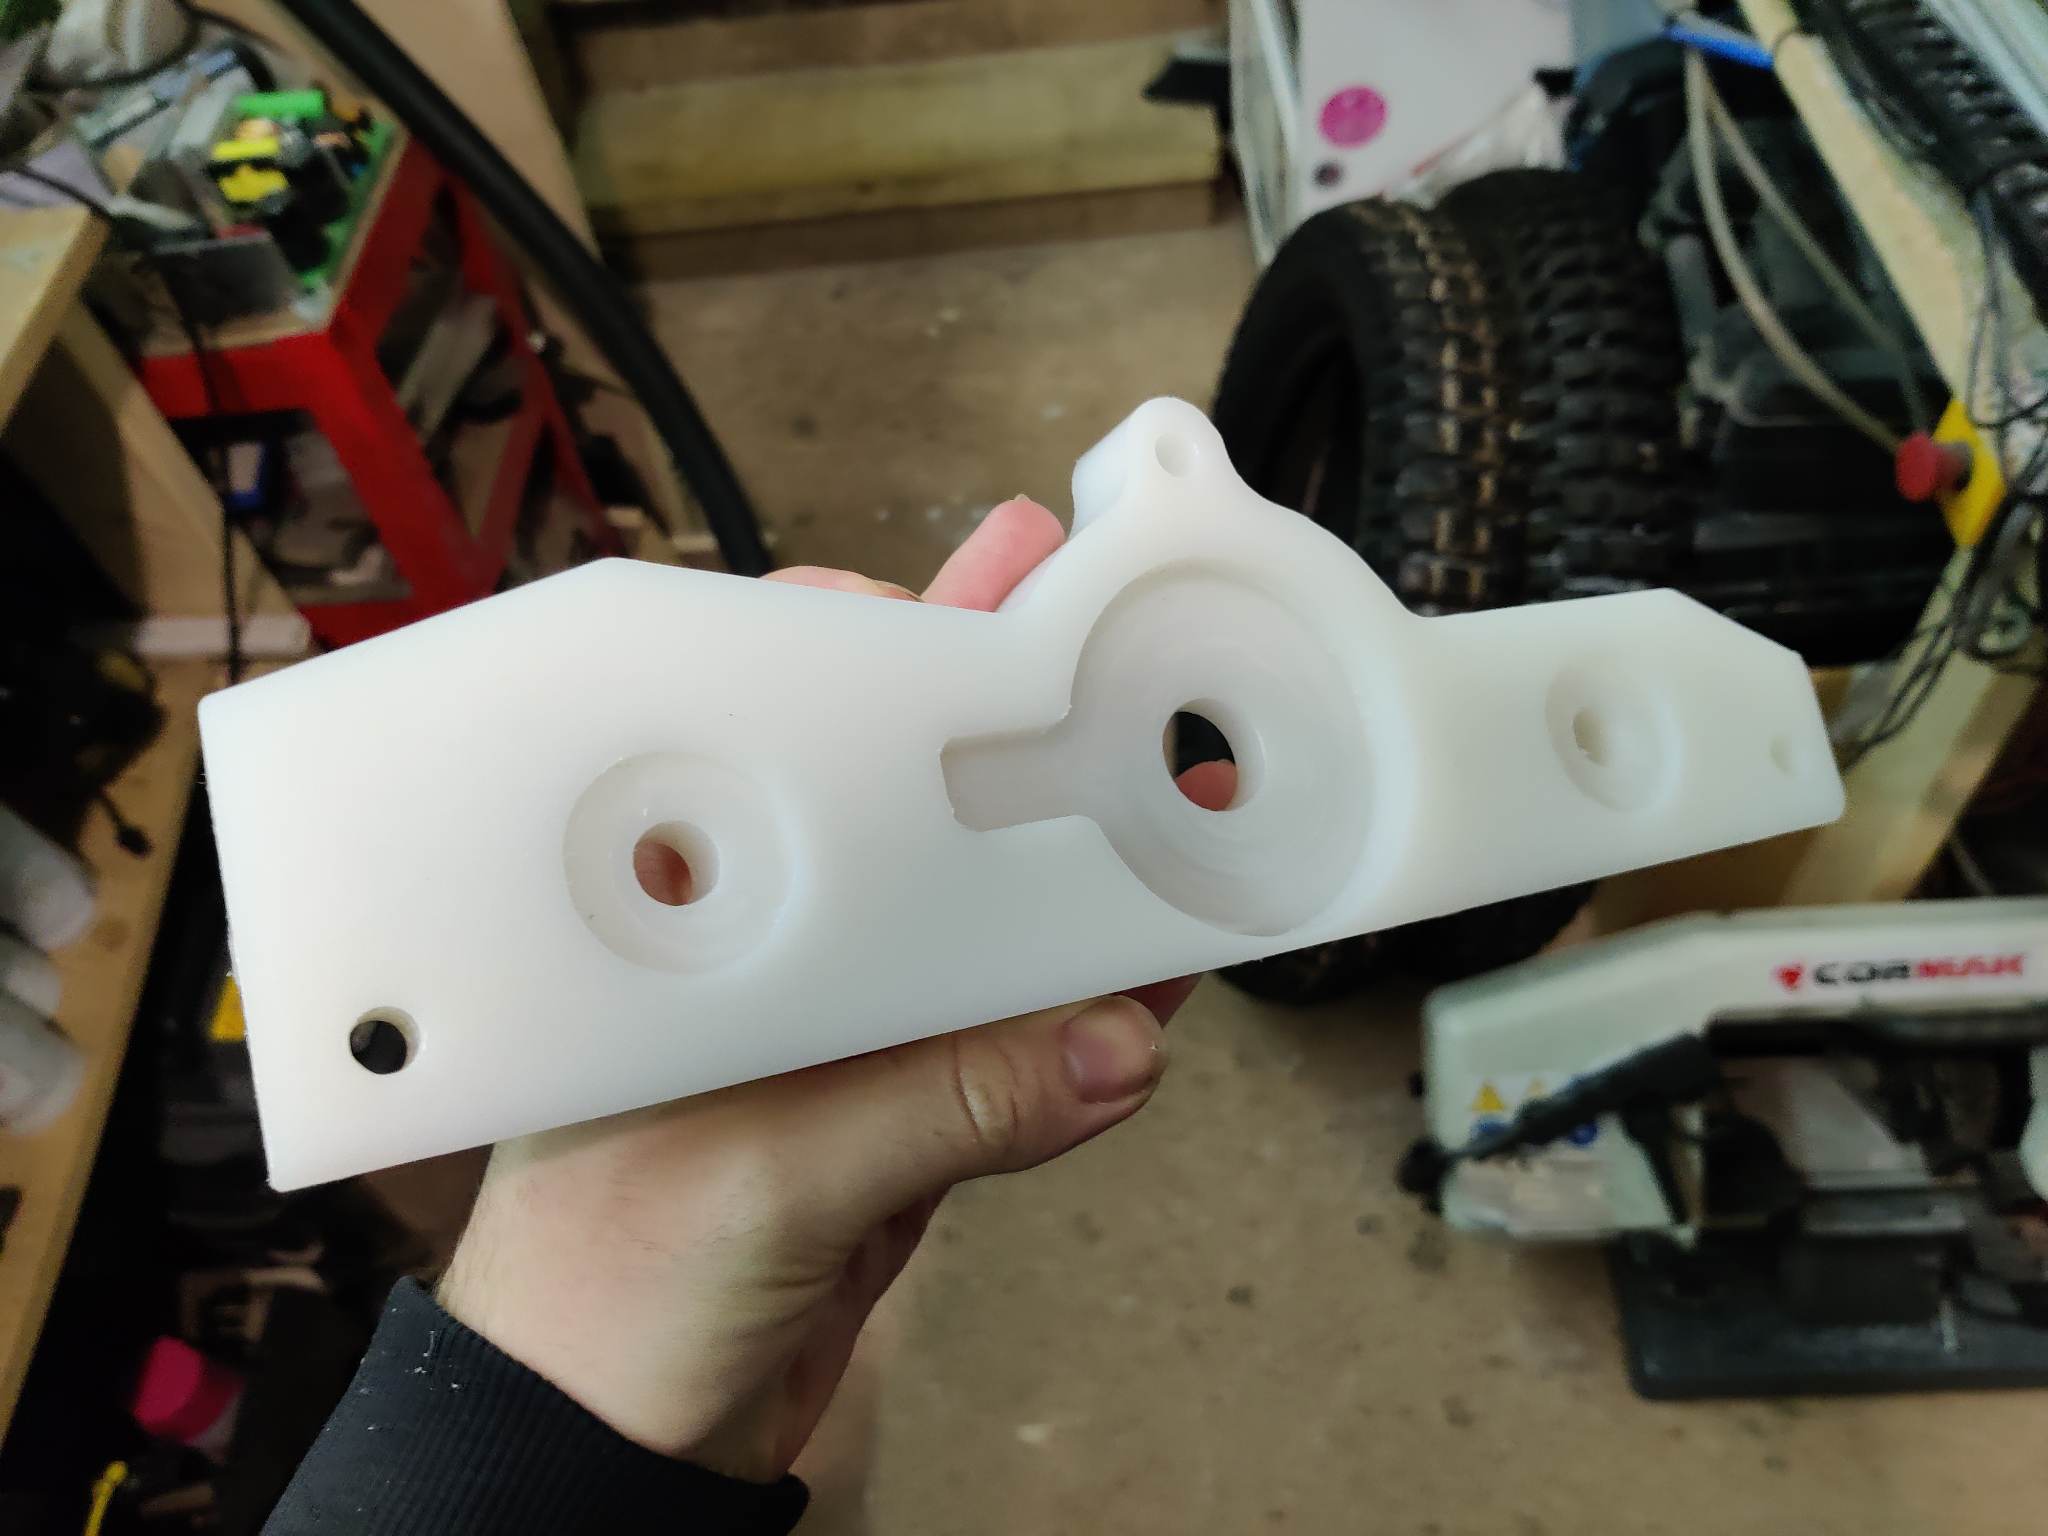
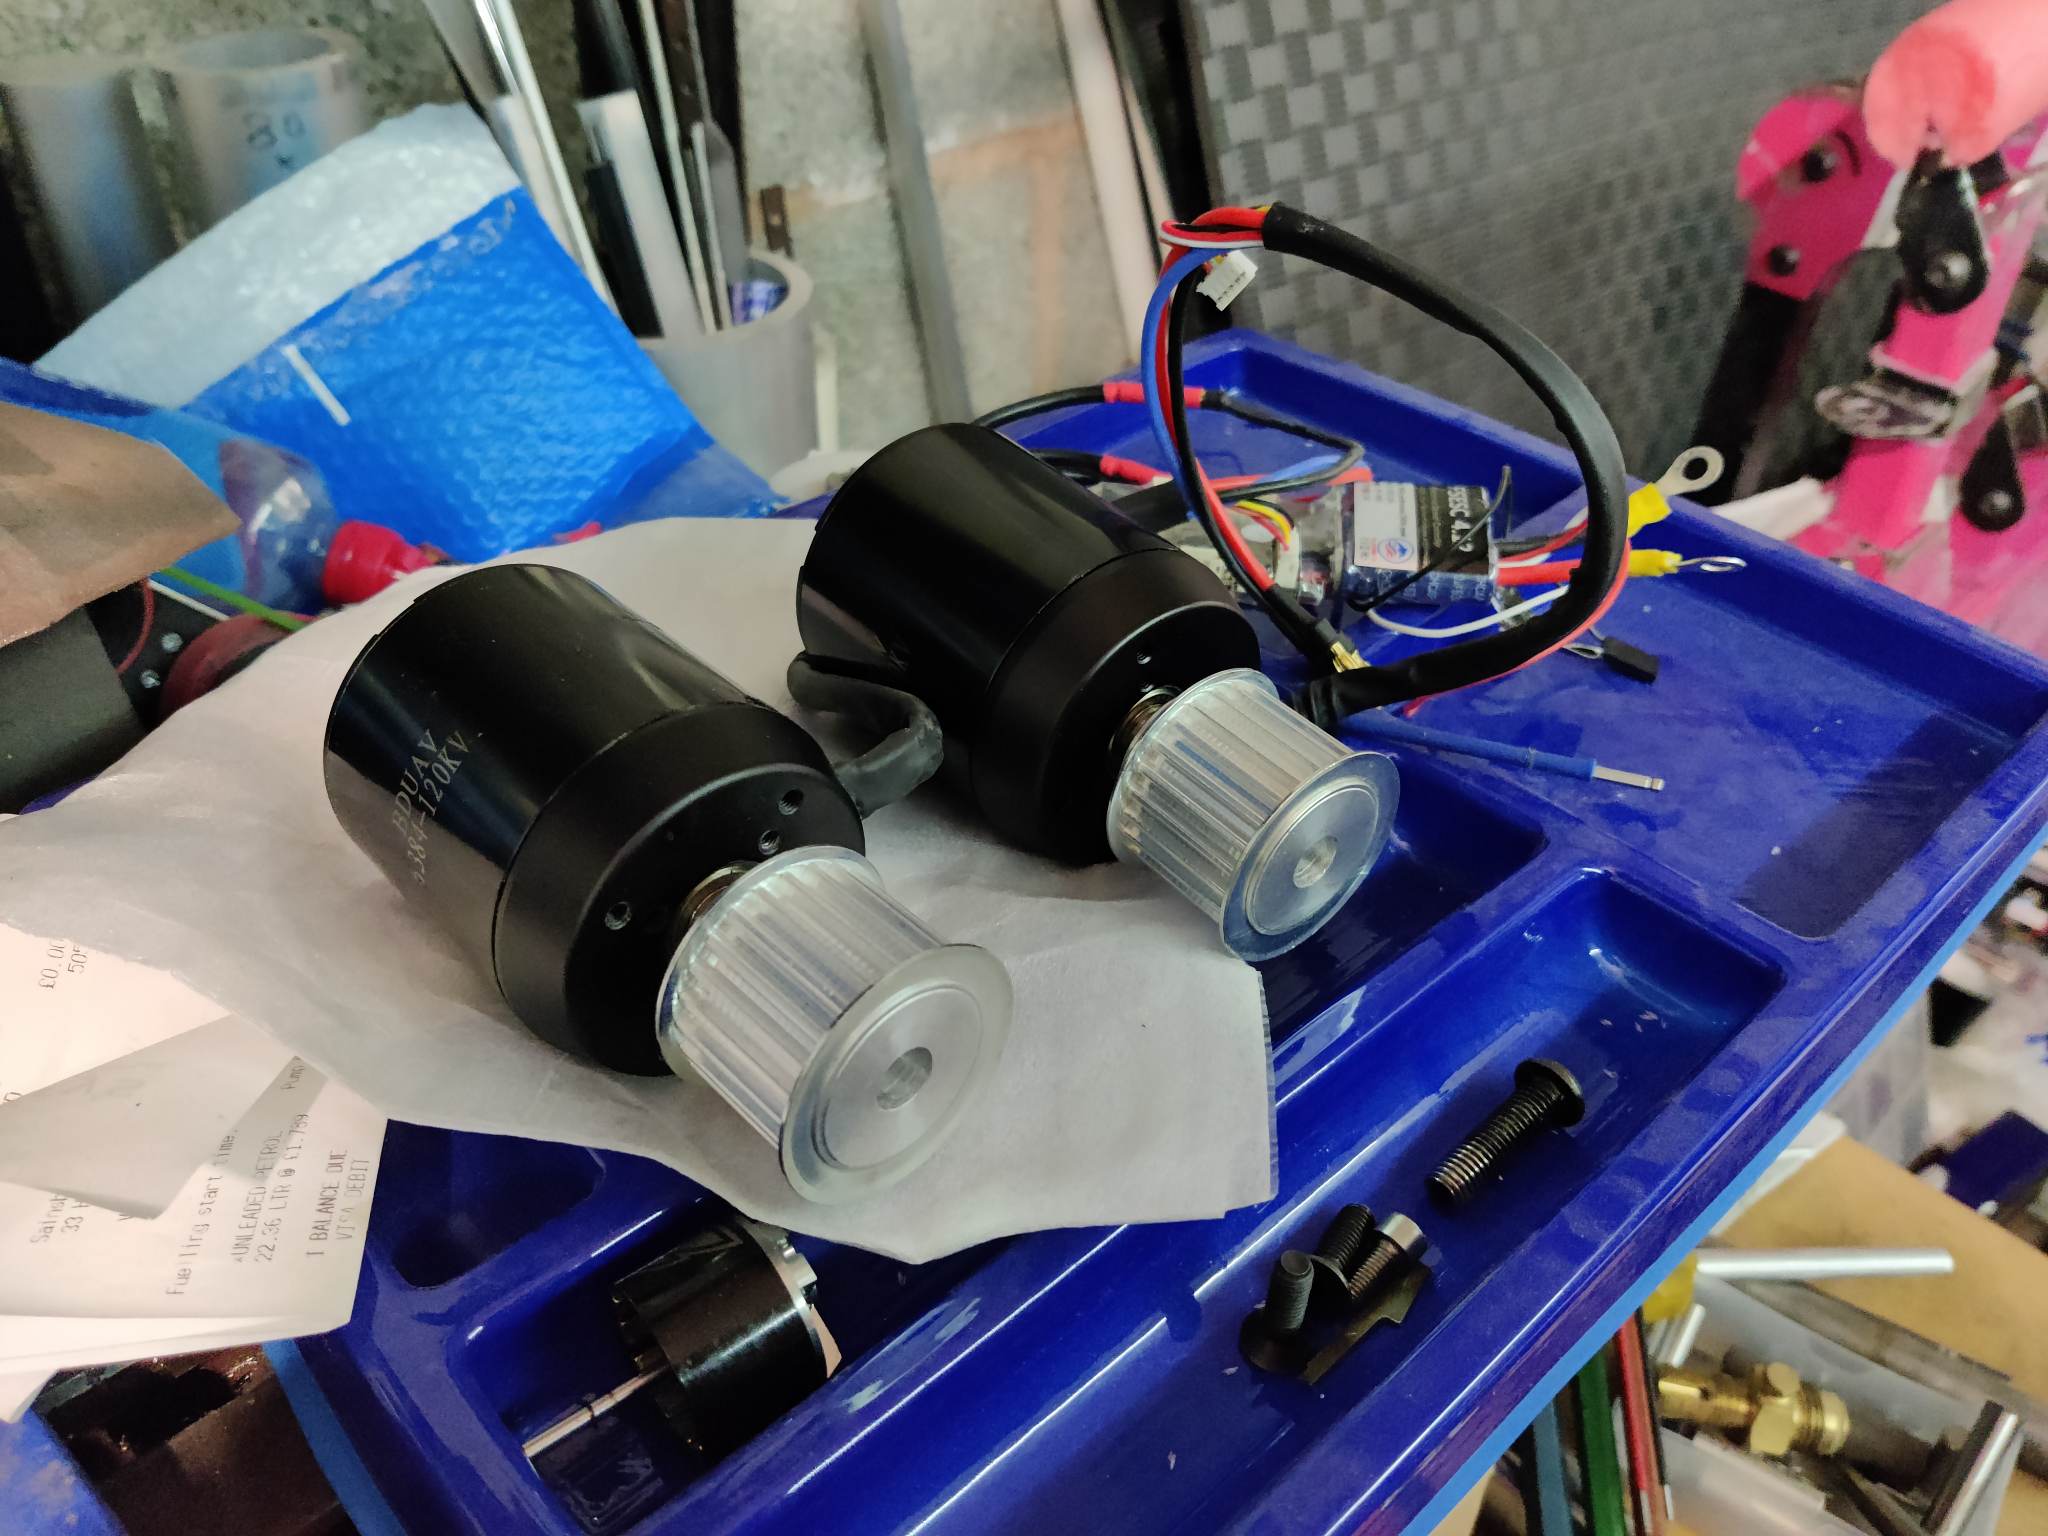
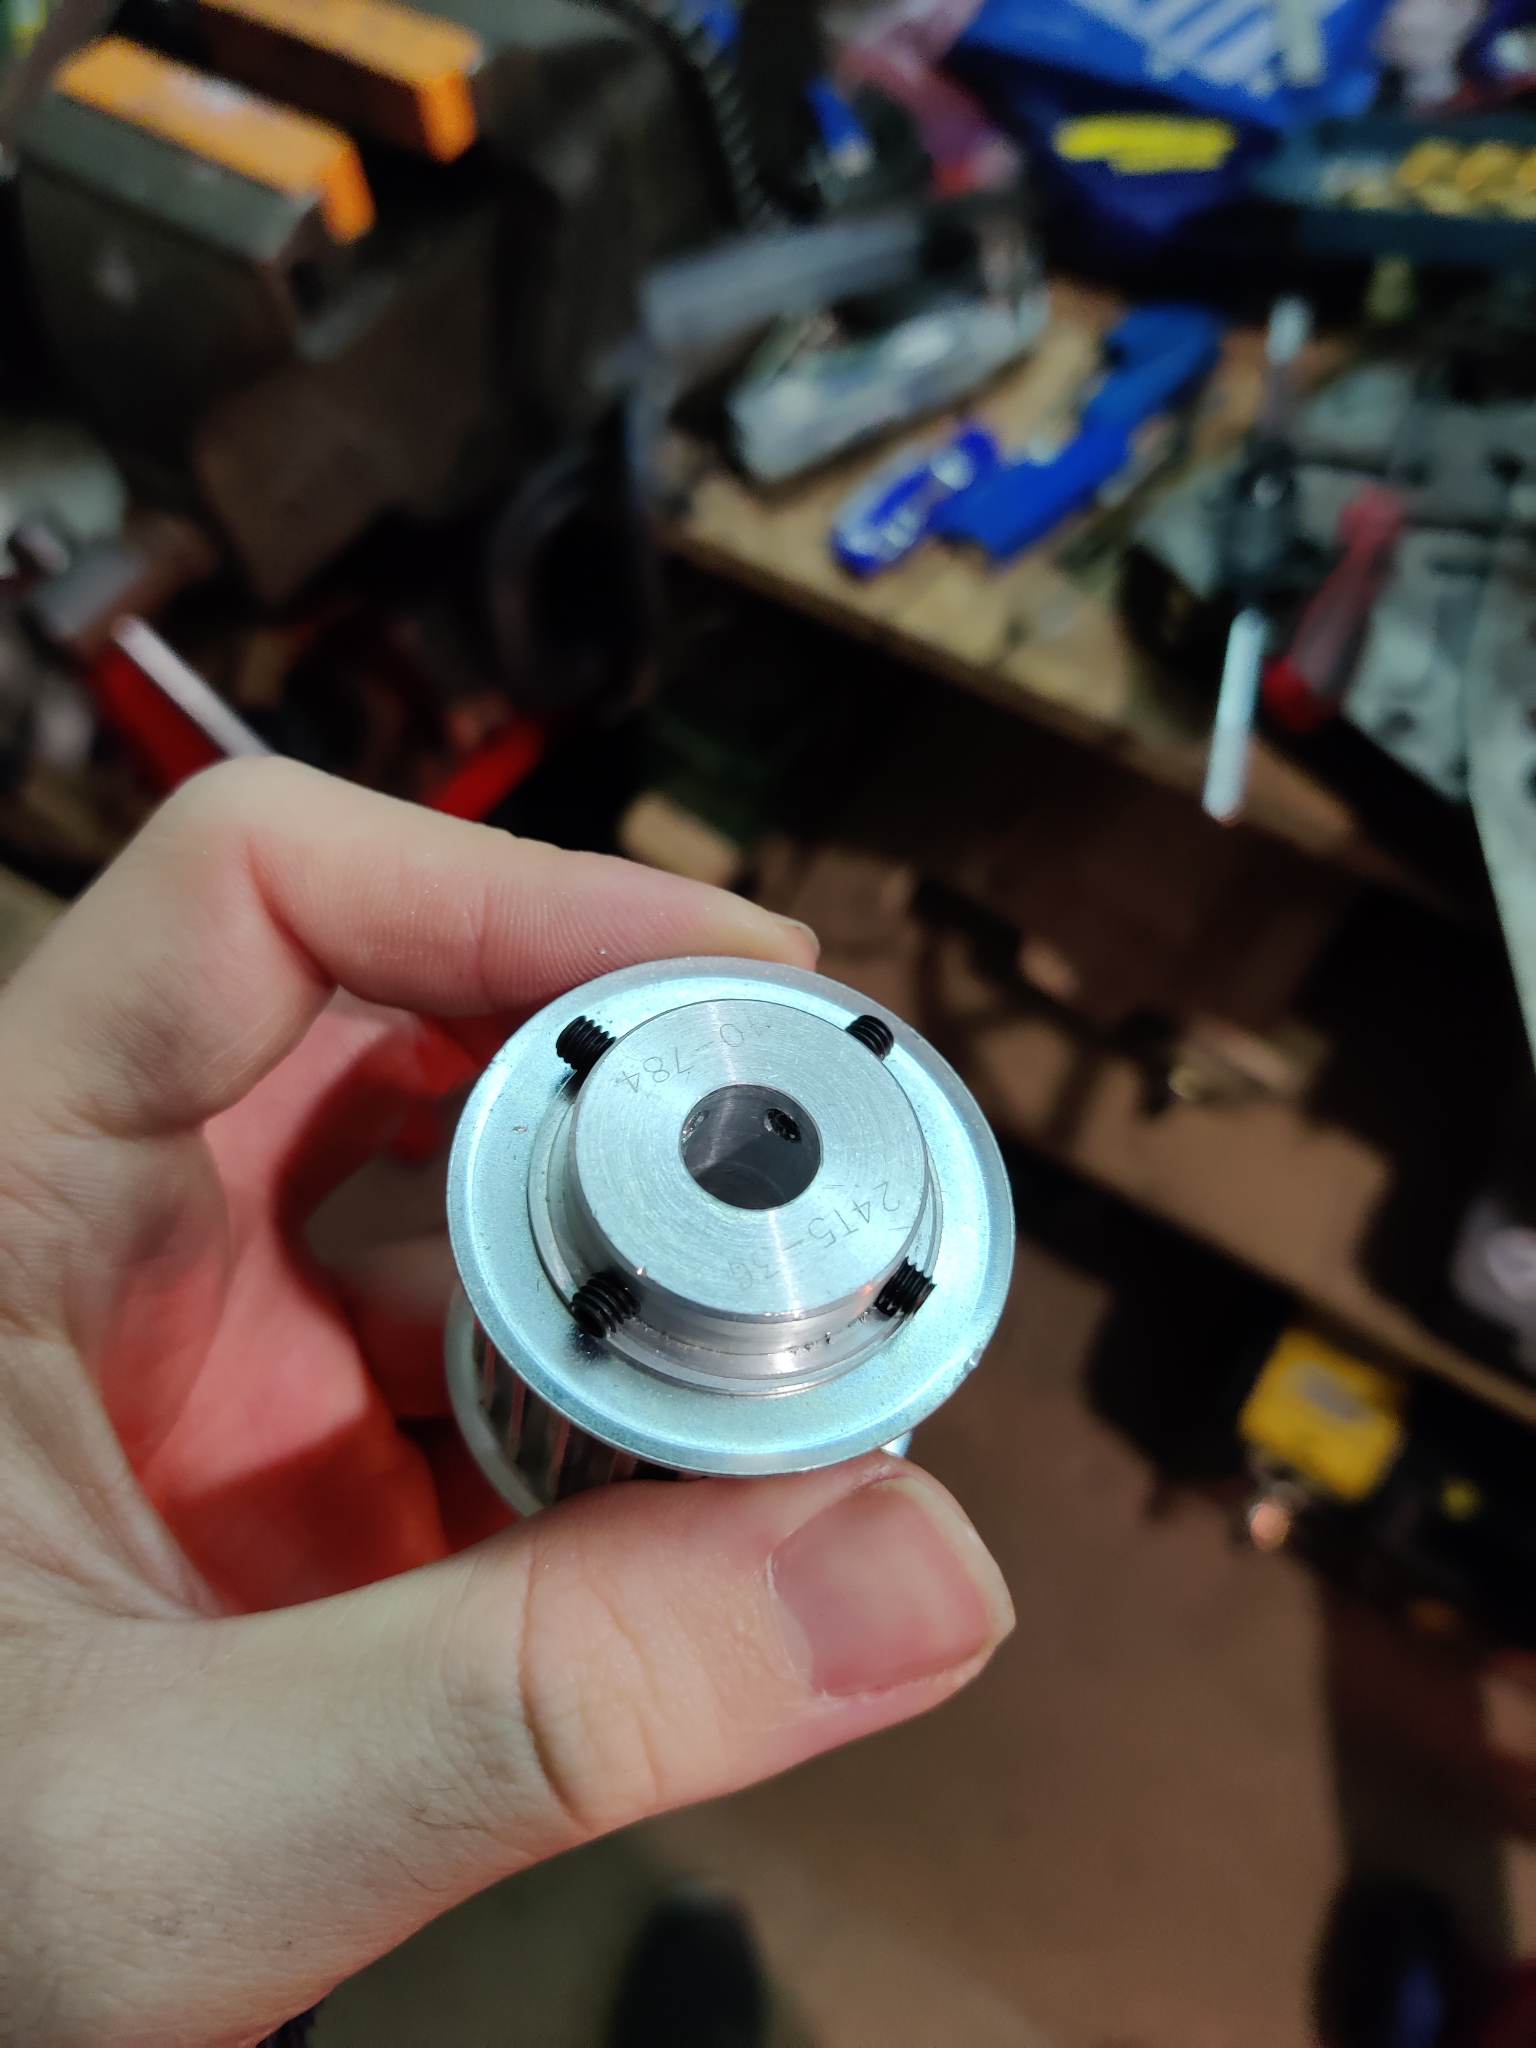
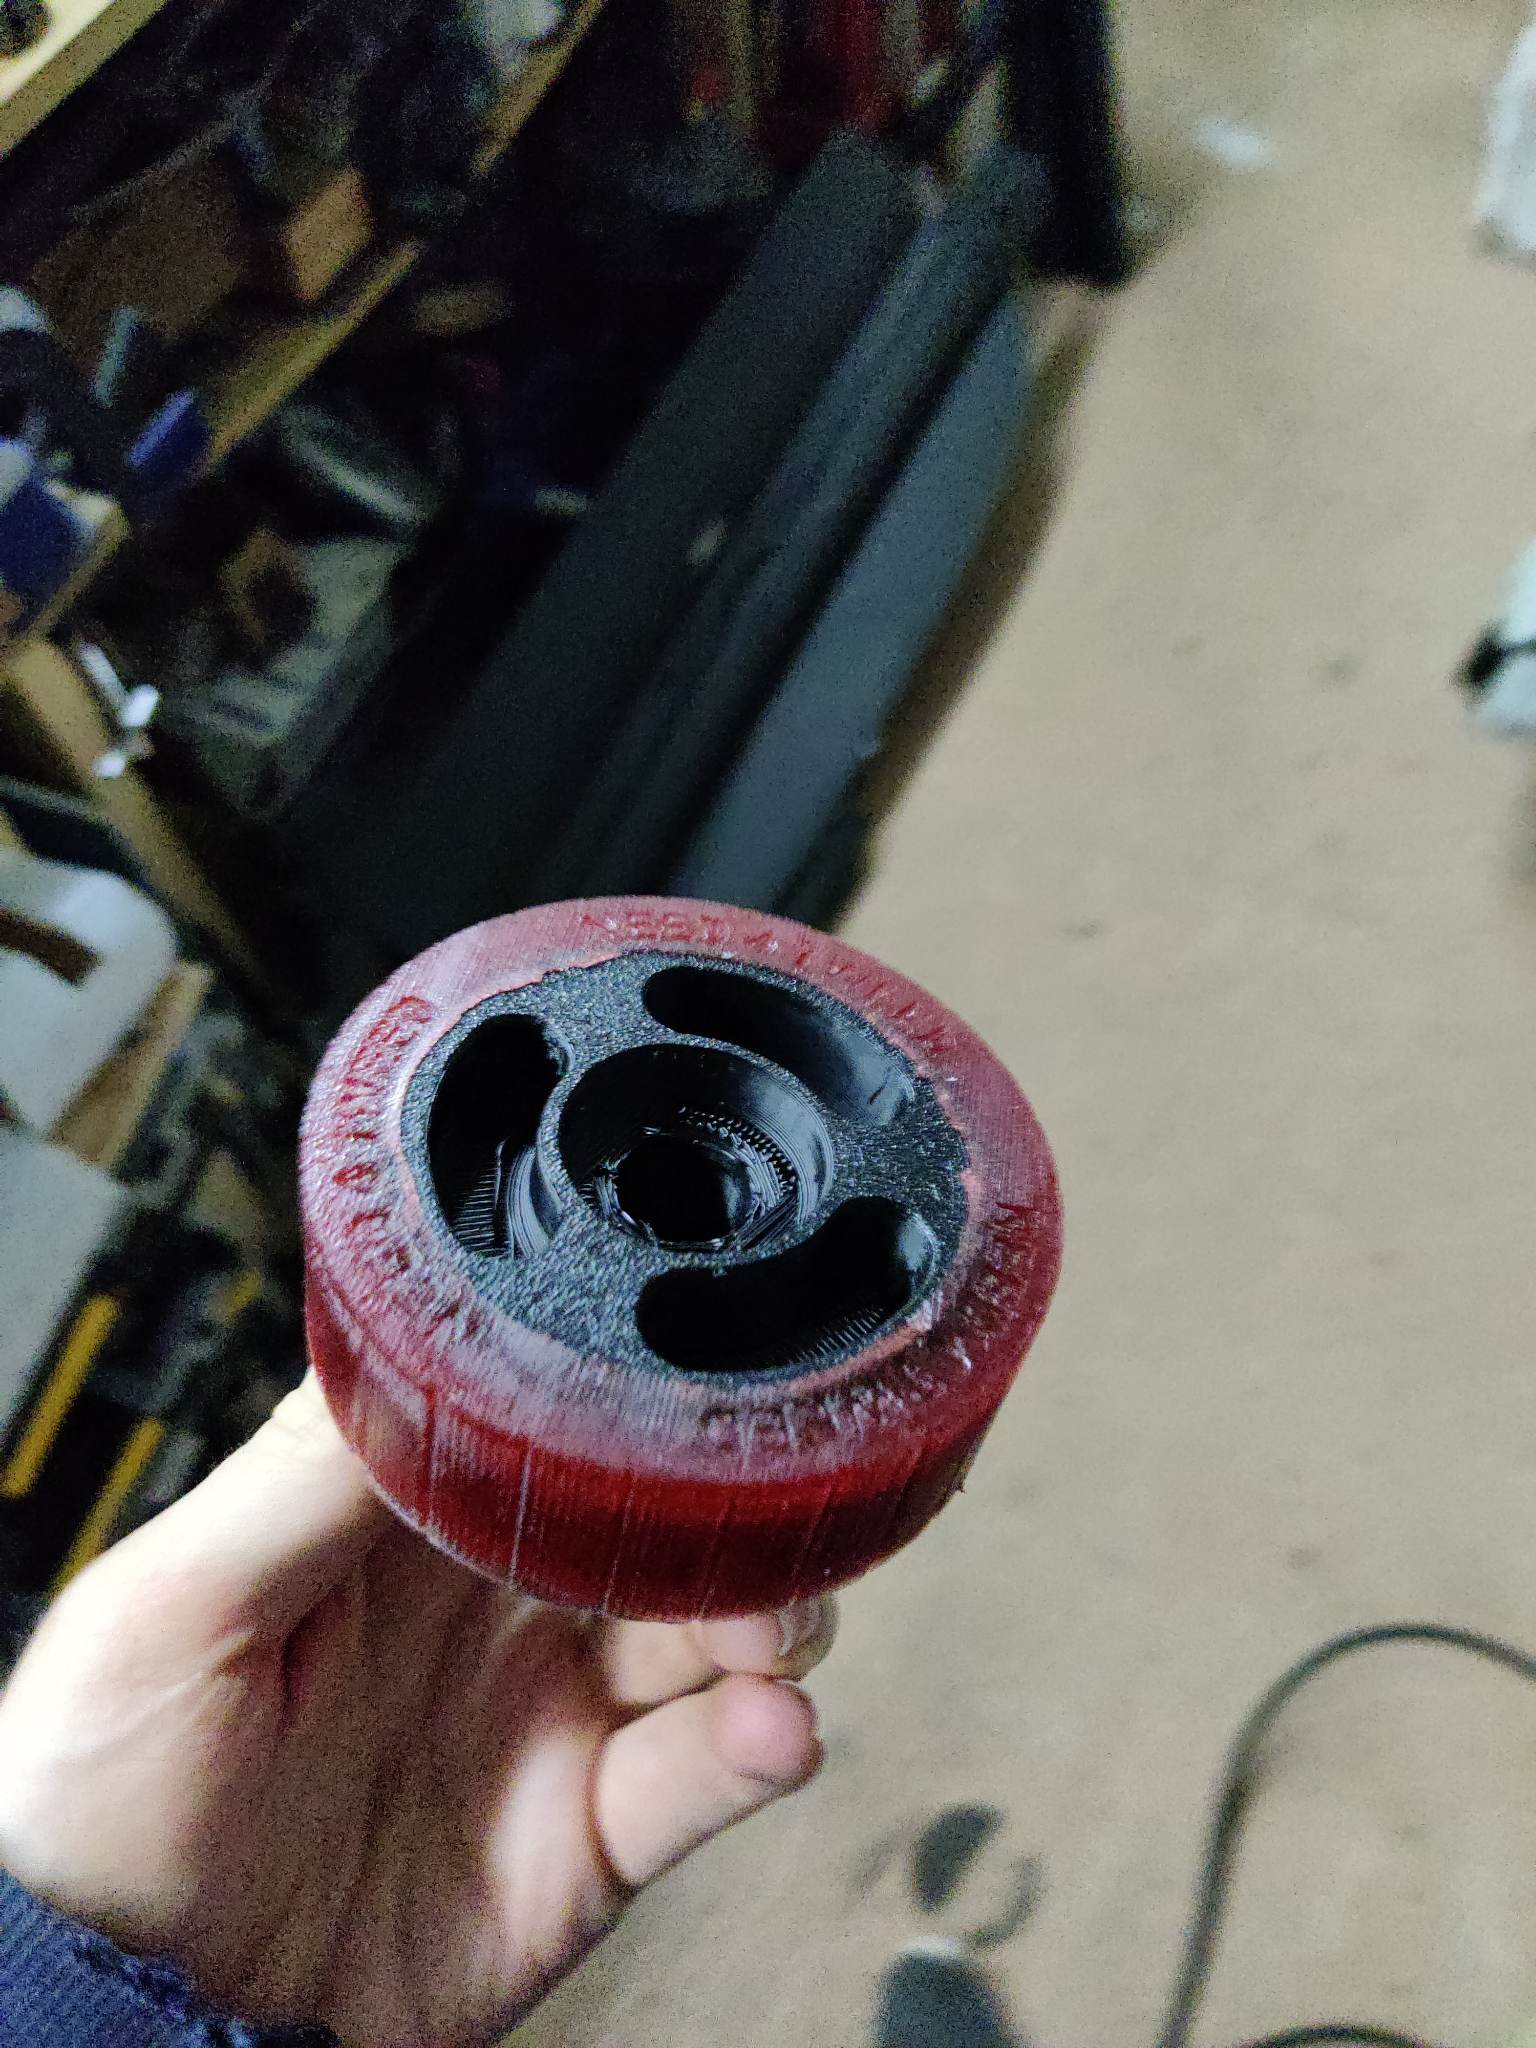
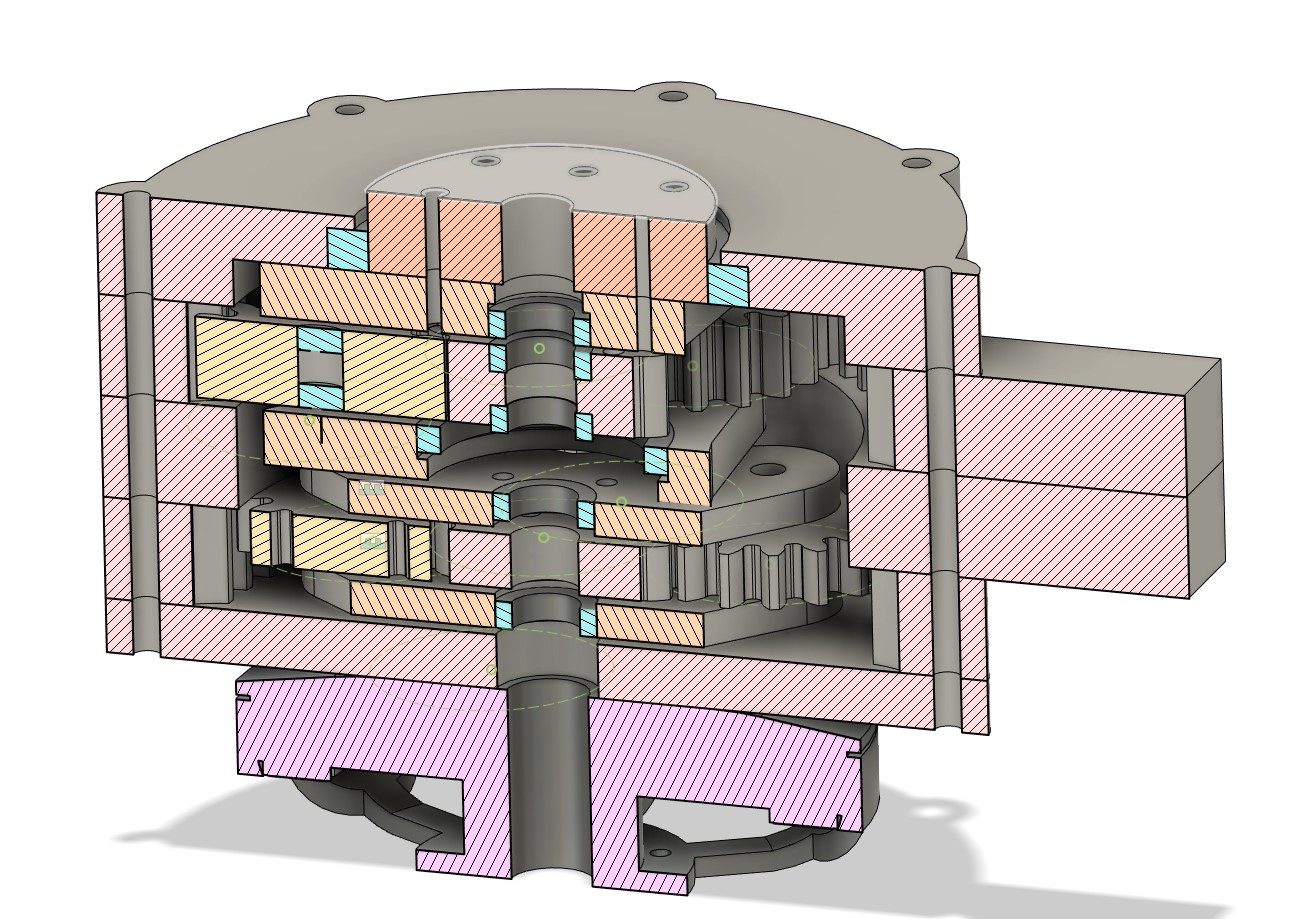
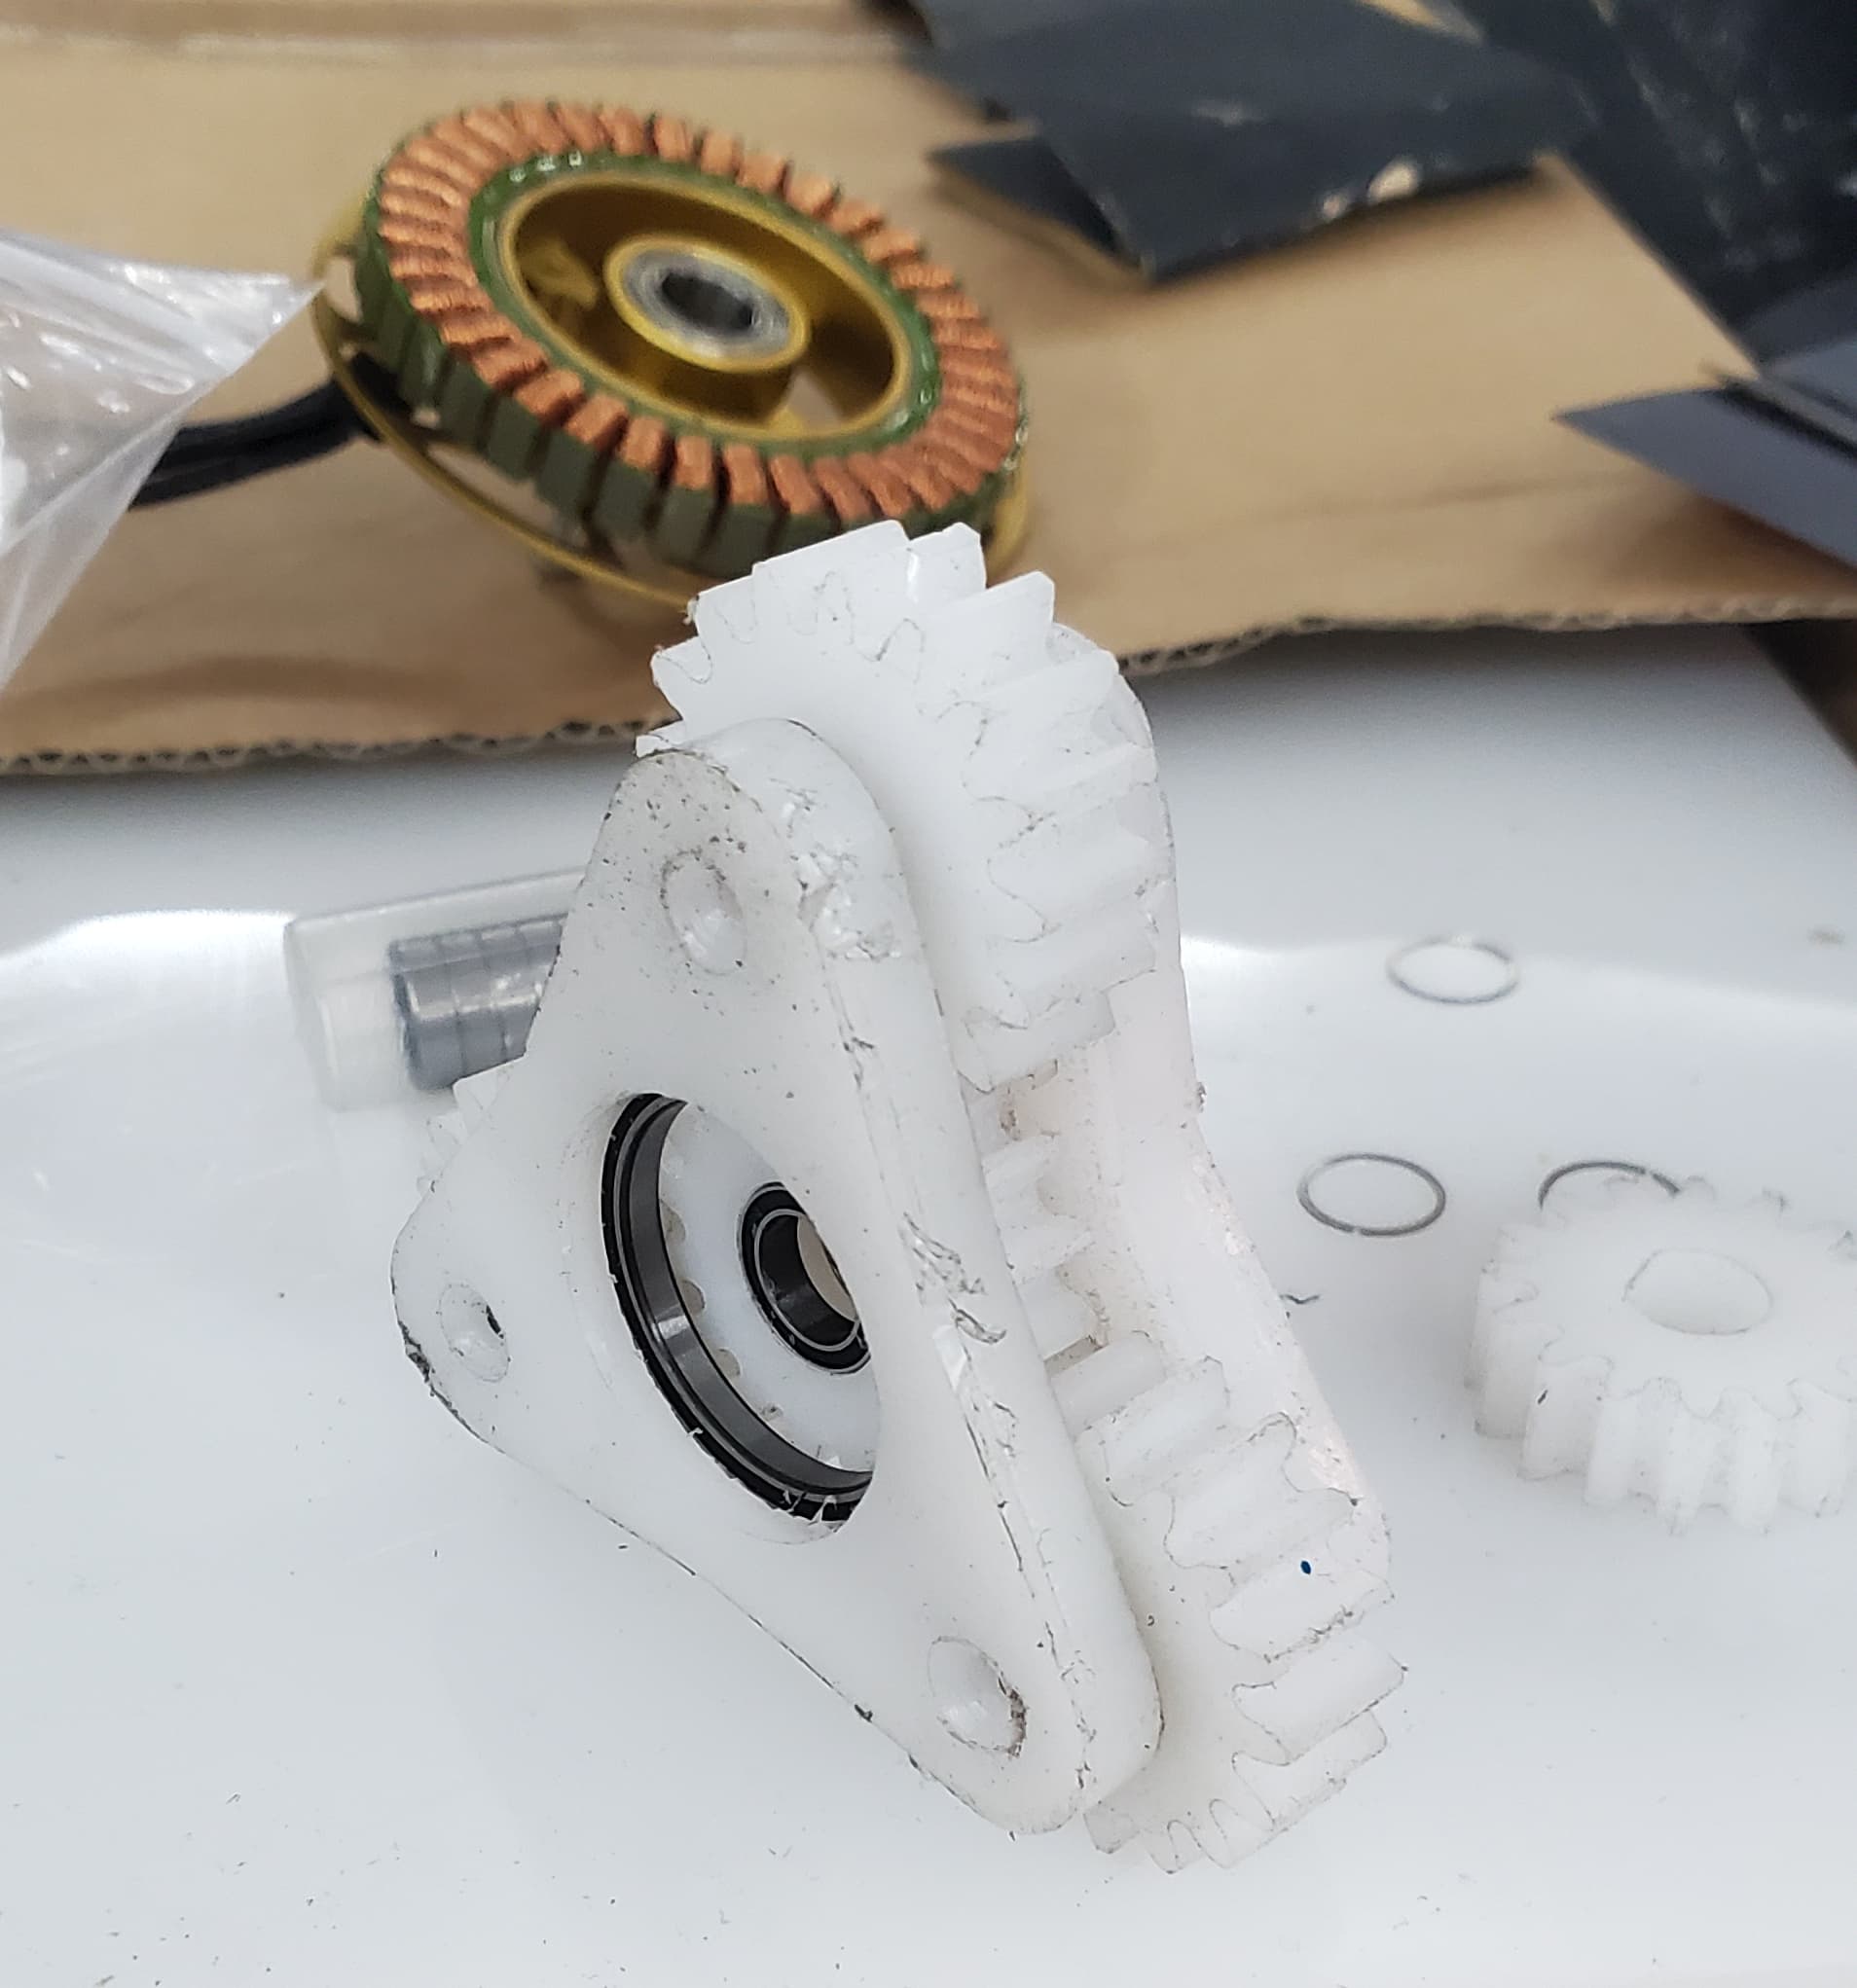
For the first three axis (the ones bearing the most load) I used fusion 360 to design a 2-stage planetary gearbox that could fit to X8308 motors (I had some spare from other projects), and could be made in our workshop (on the mini-lathe and CNC router). Whole lot was Mod 2, first stage used 8mm thick gears, 2nd stage was 12mm.

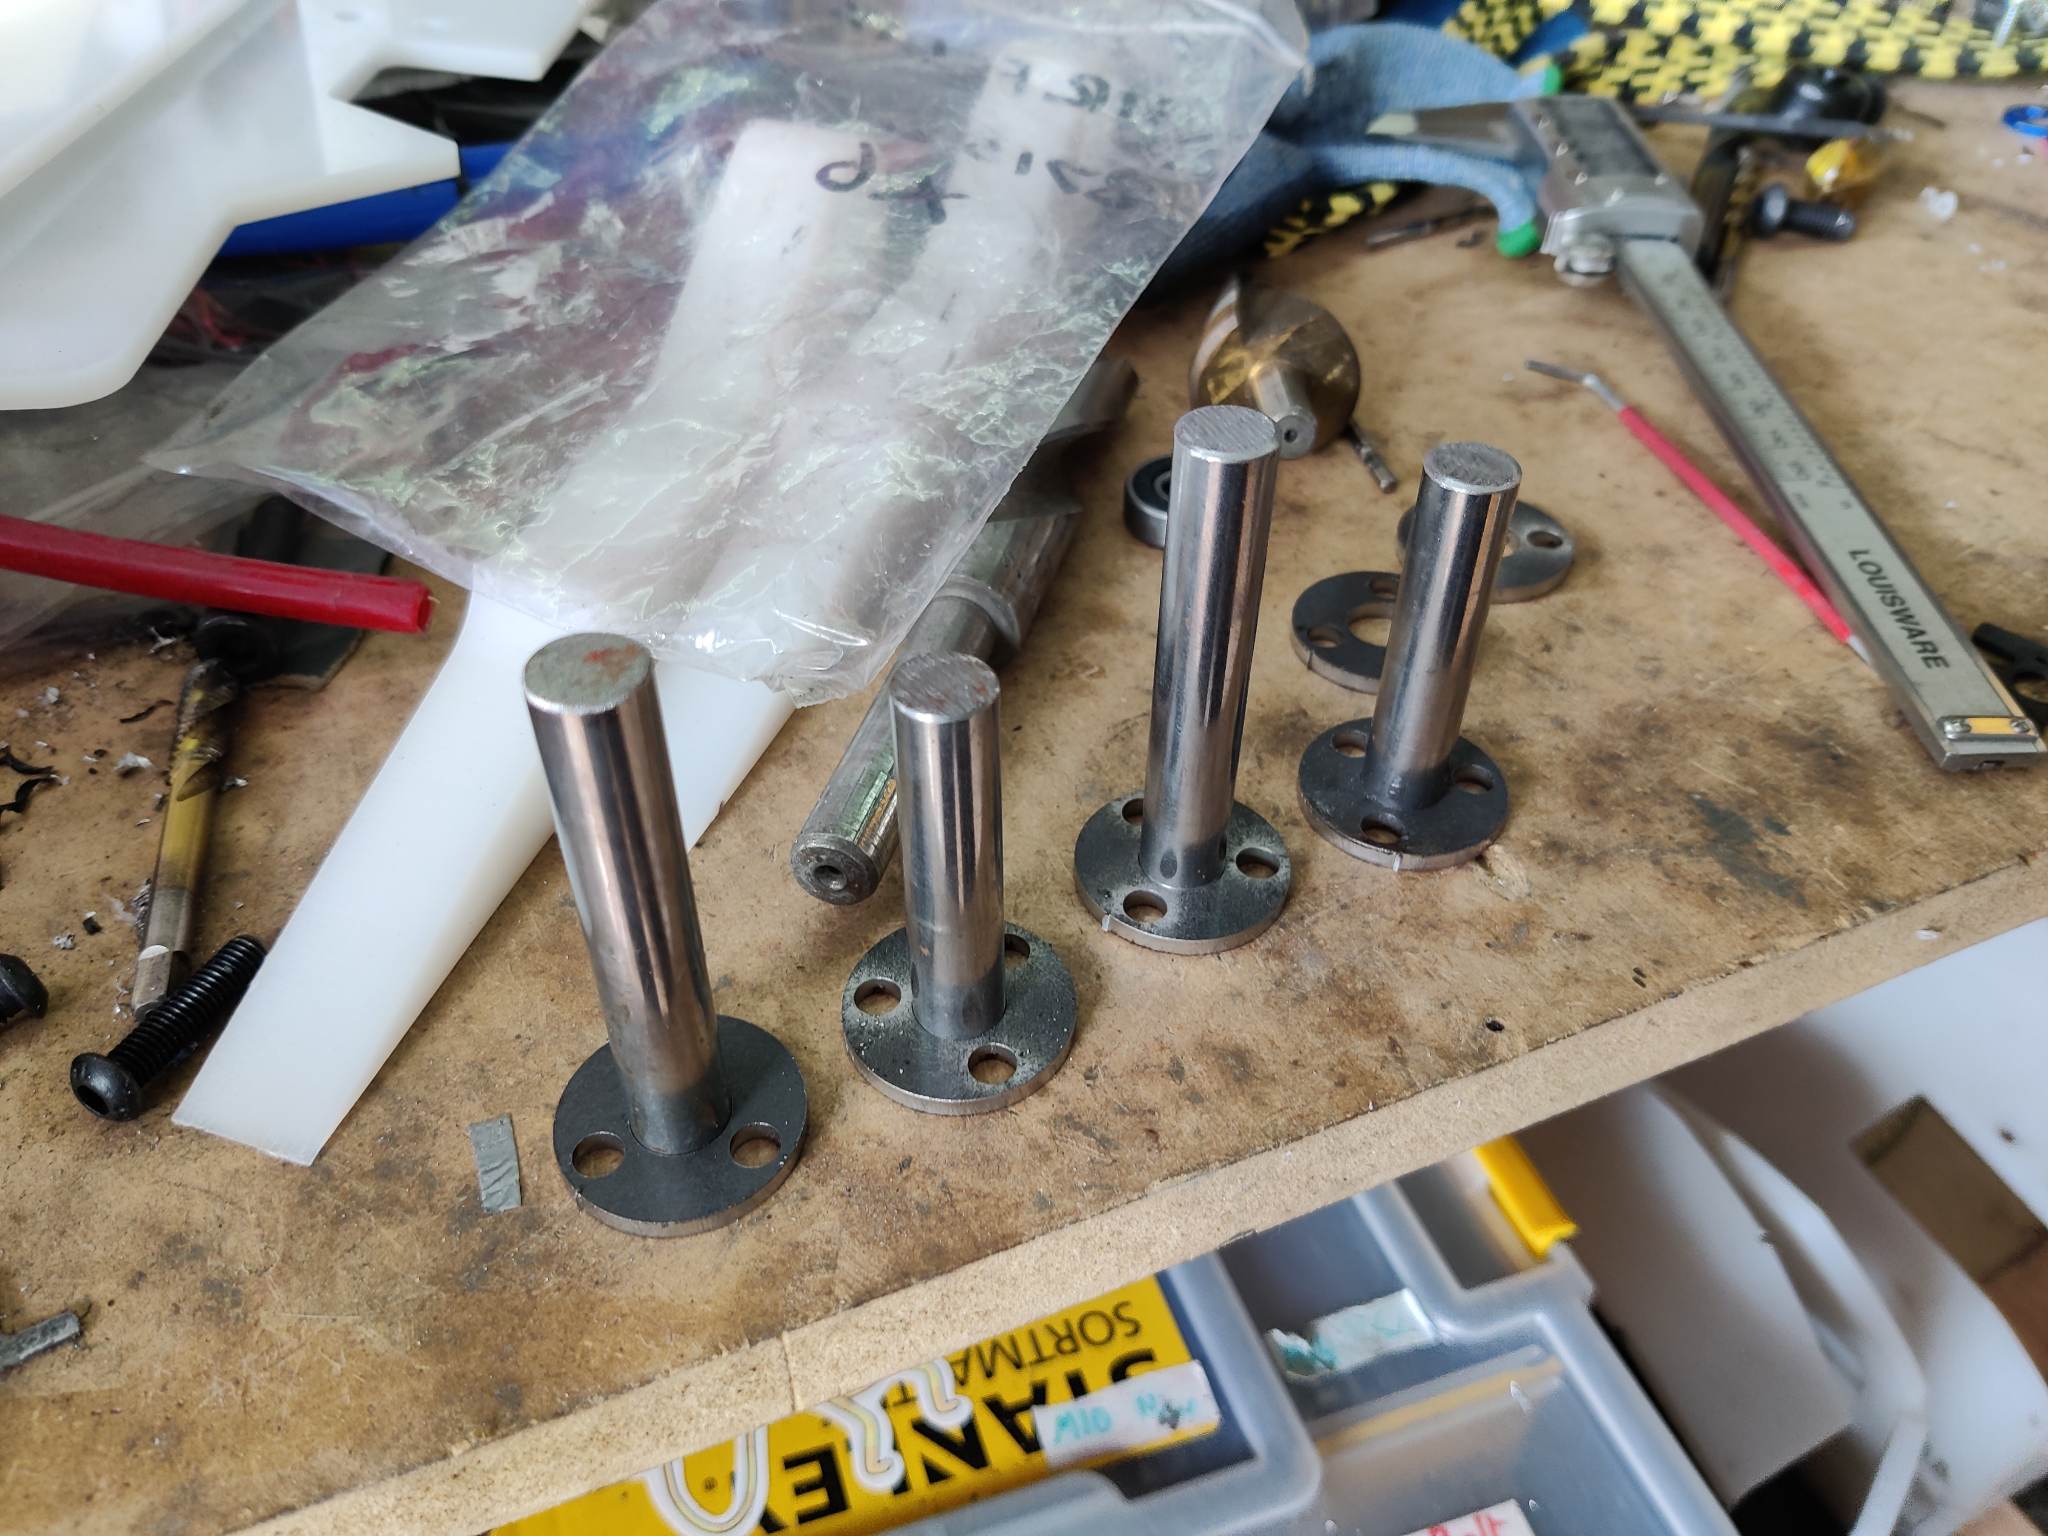
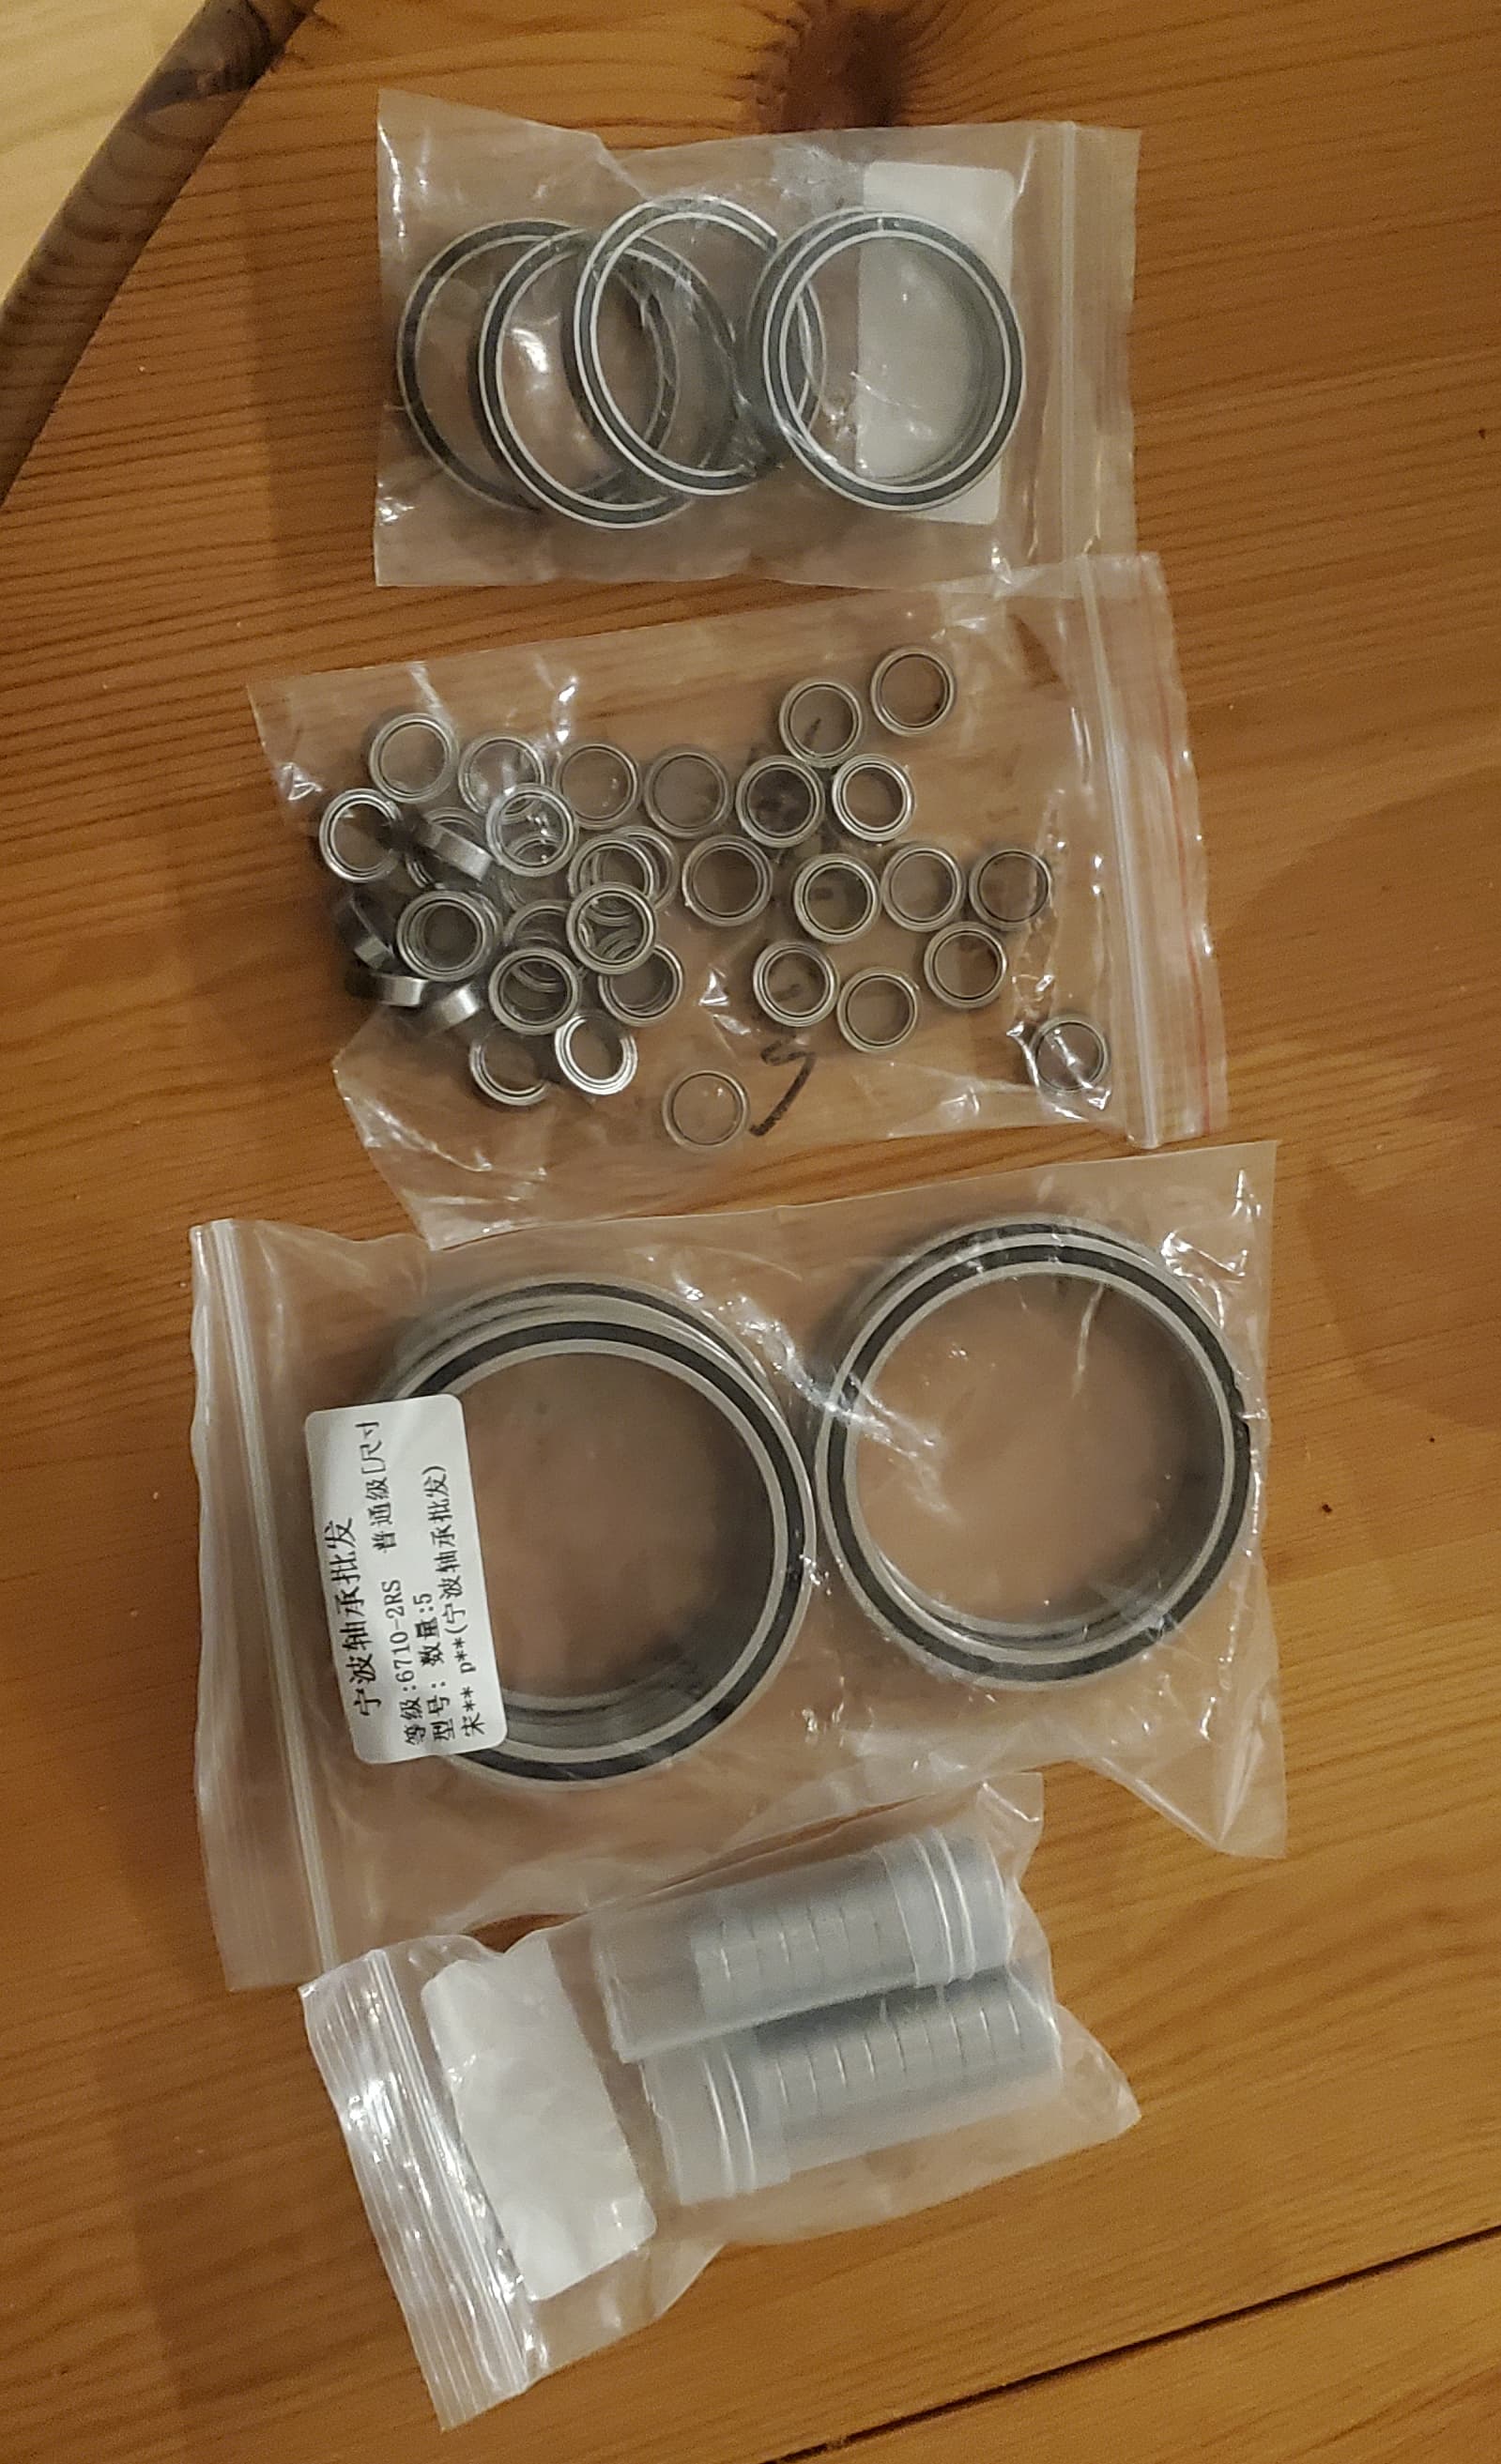
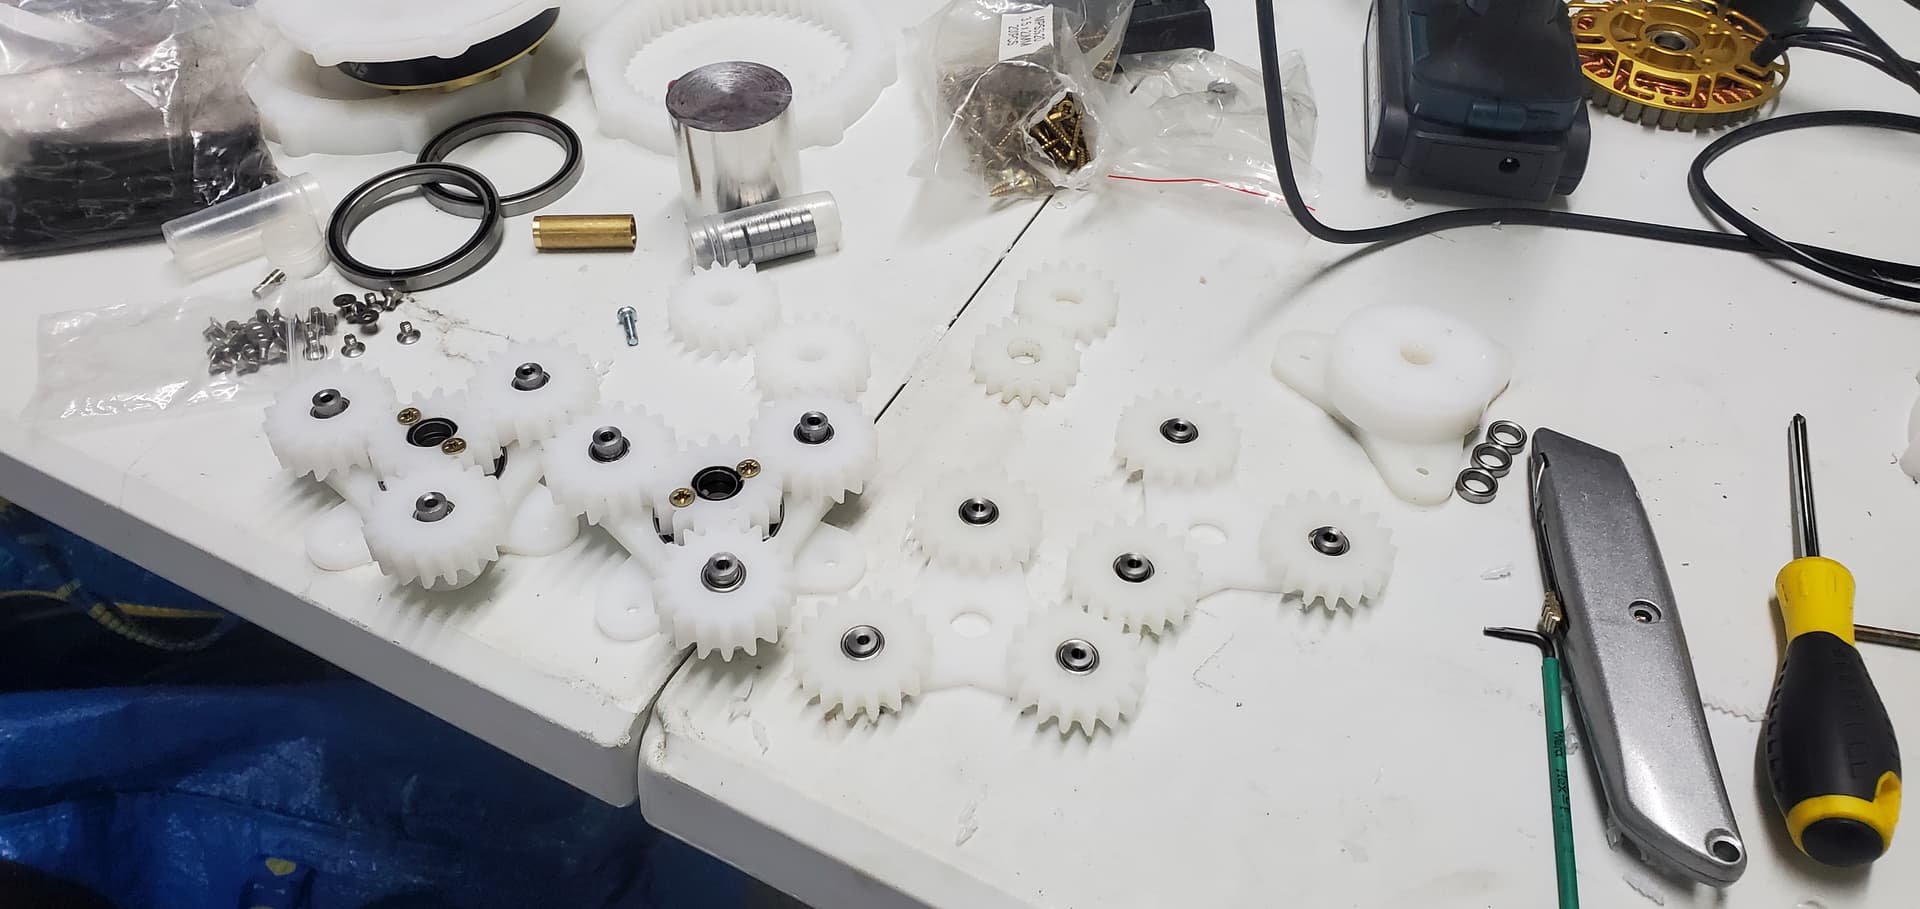
A load of cheap bearings were bought:

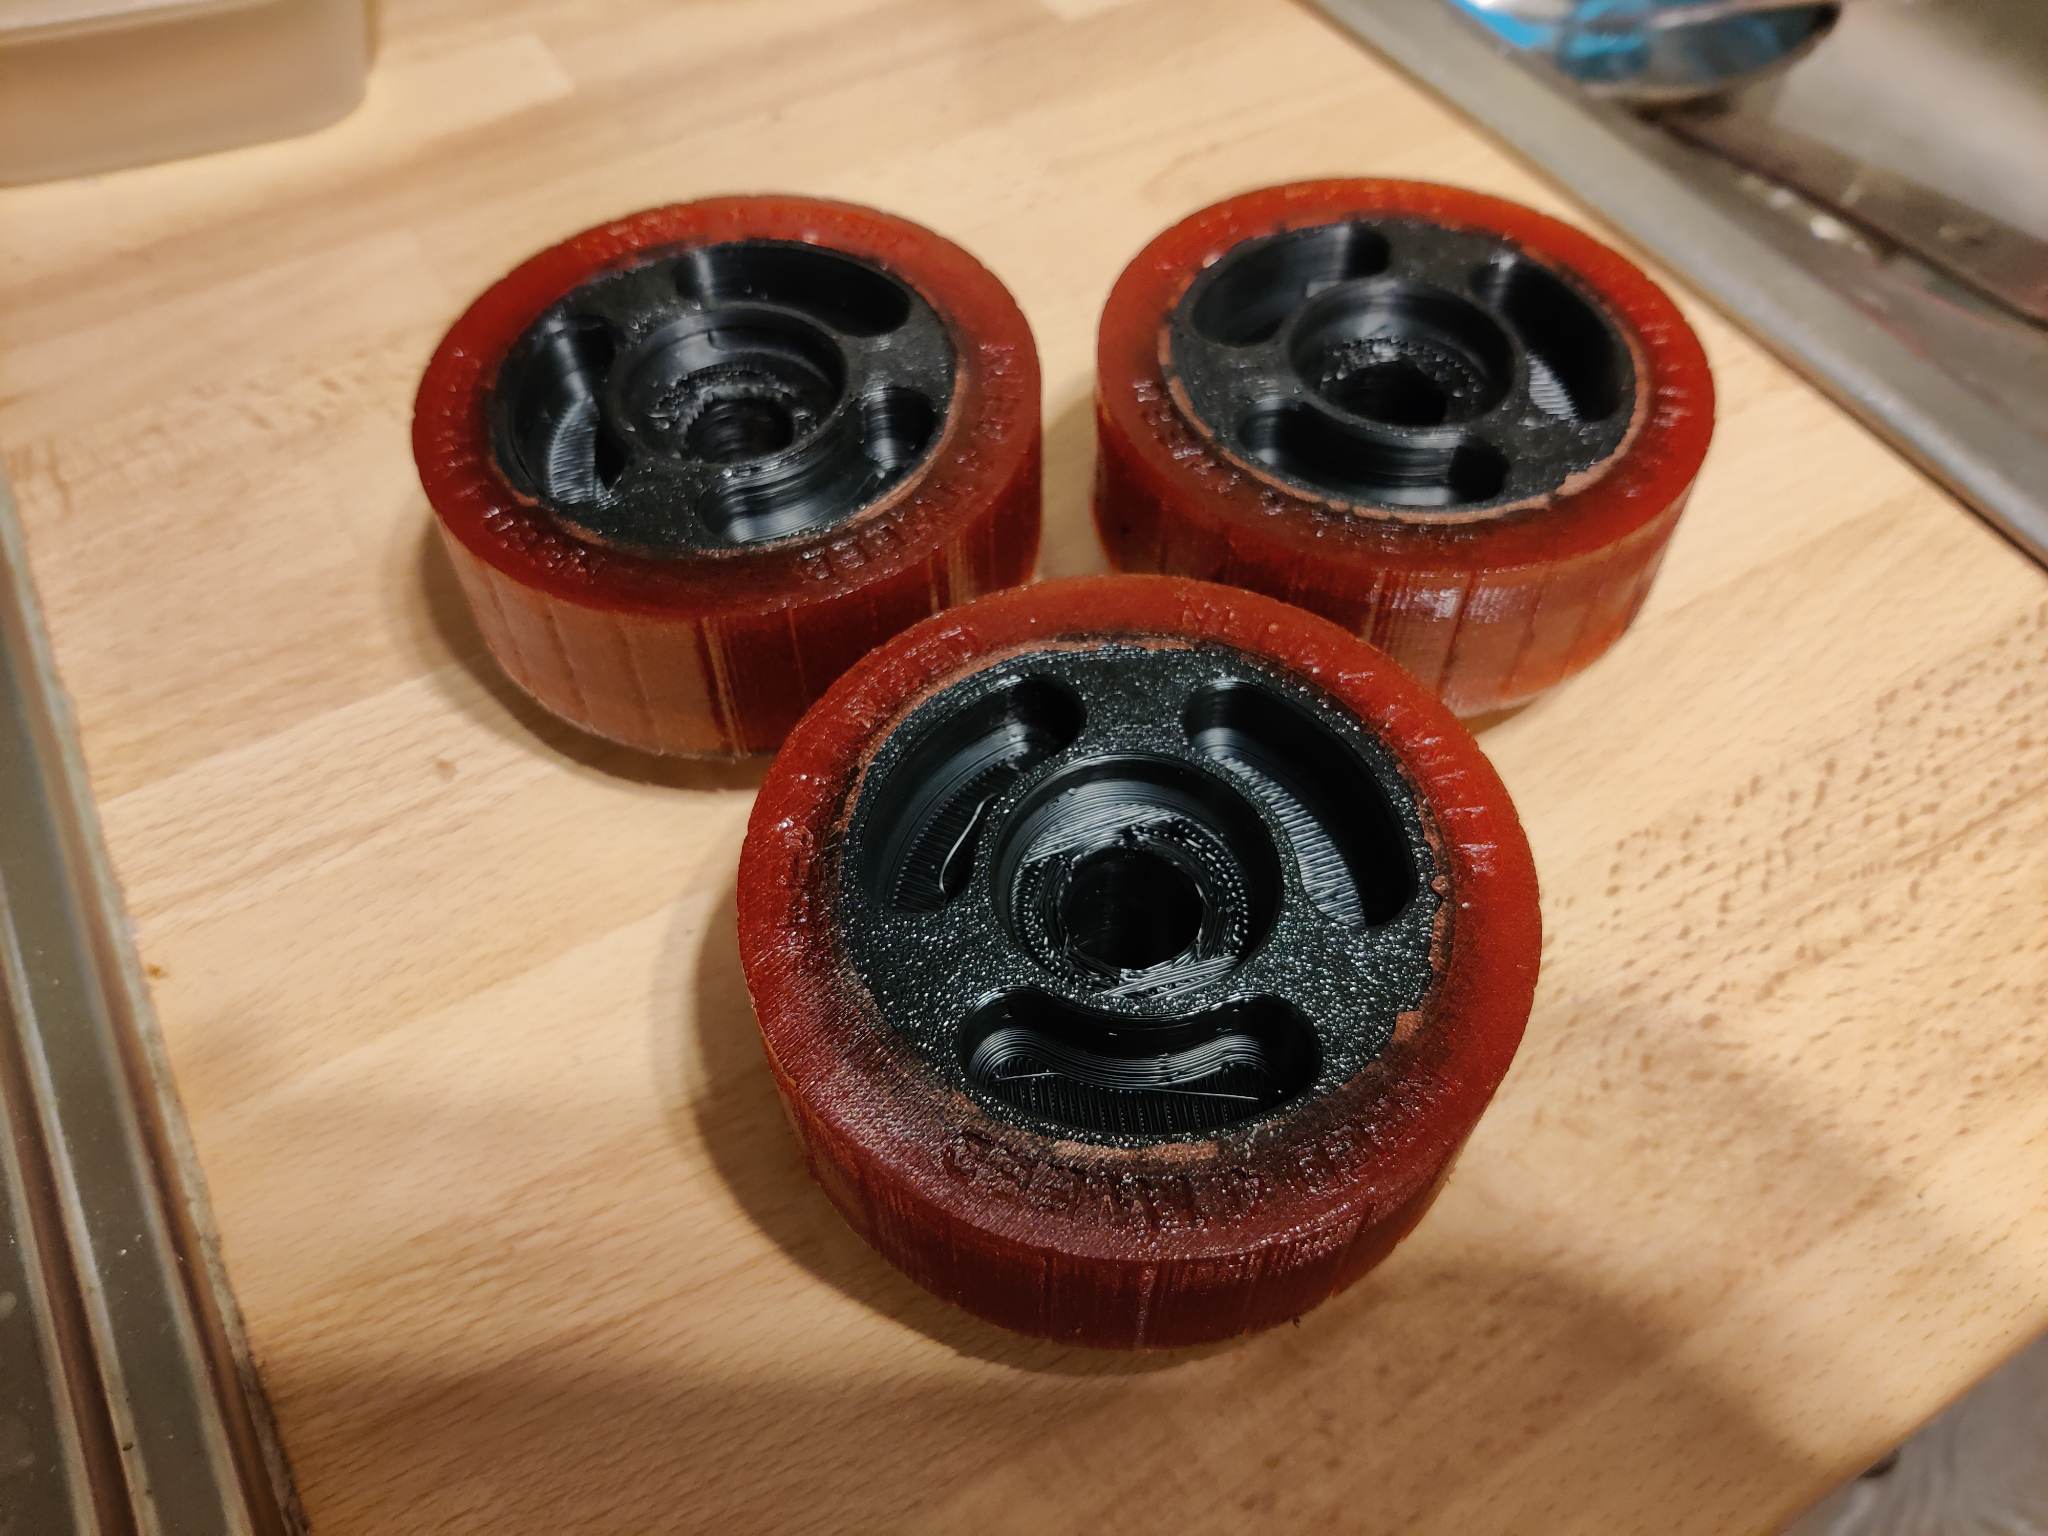
a bunch more HDPE gears were cnc’d:

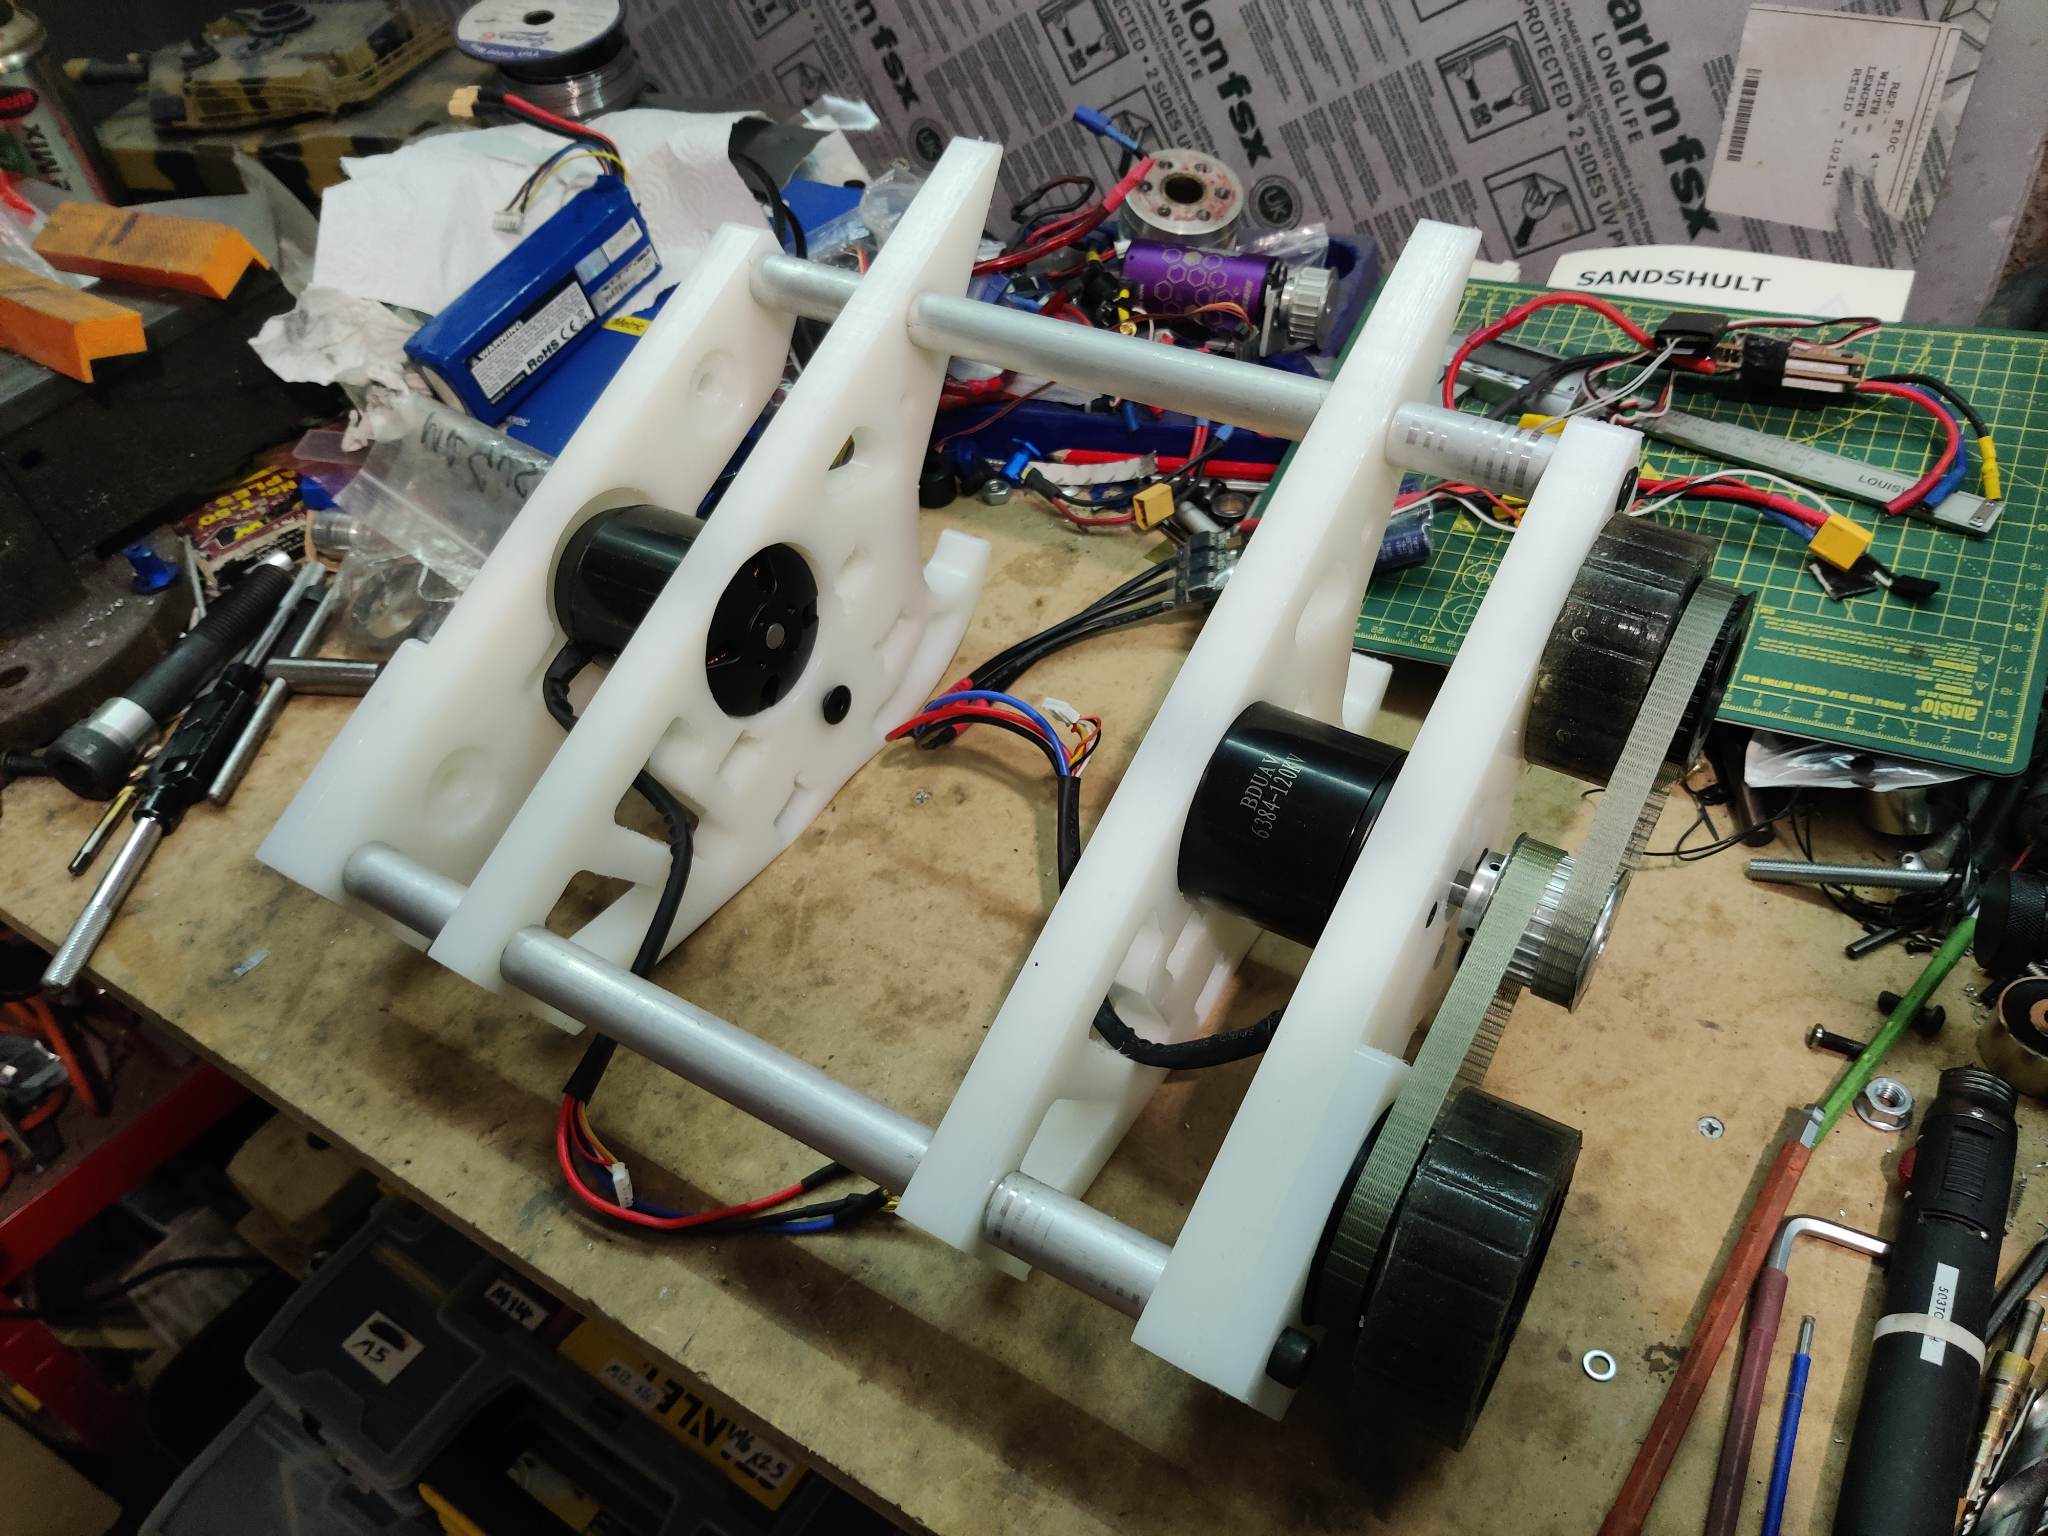
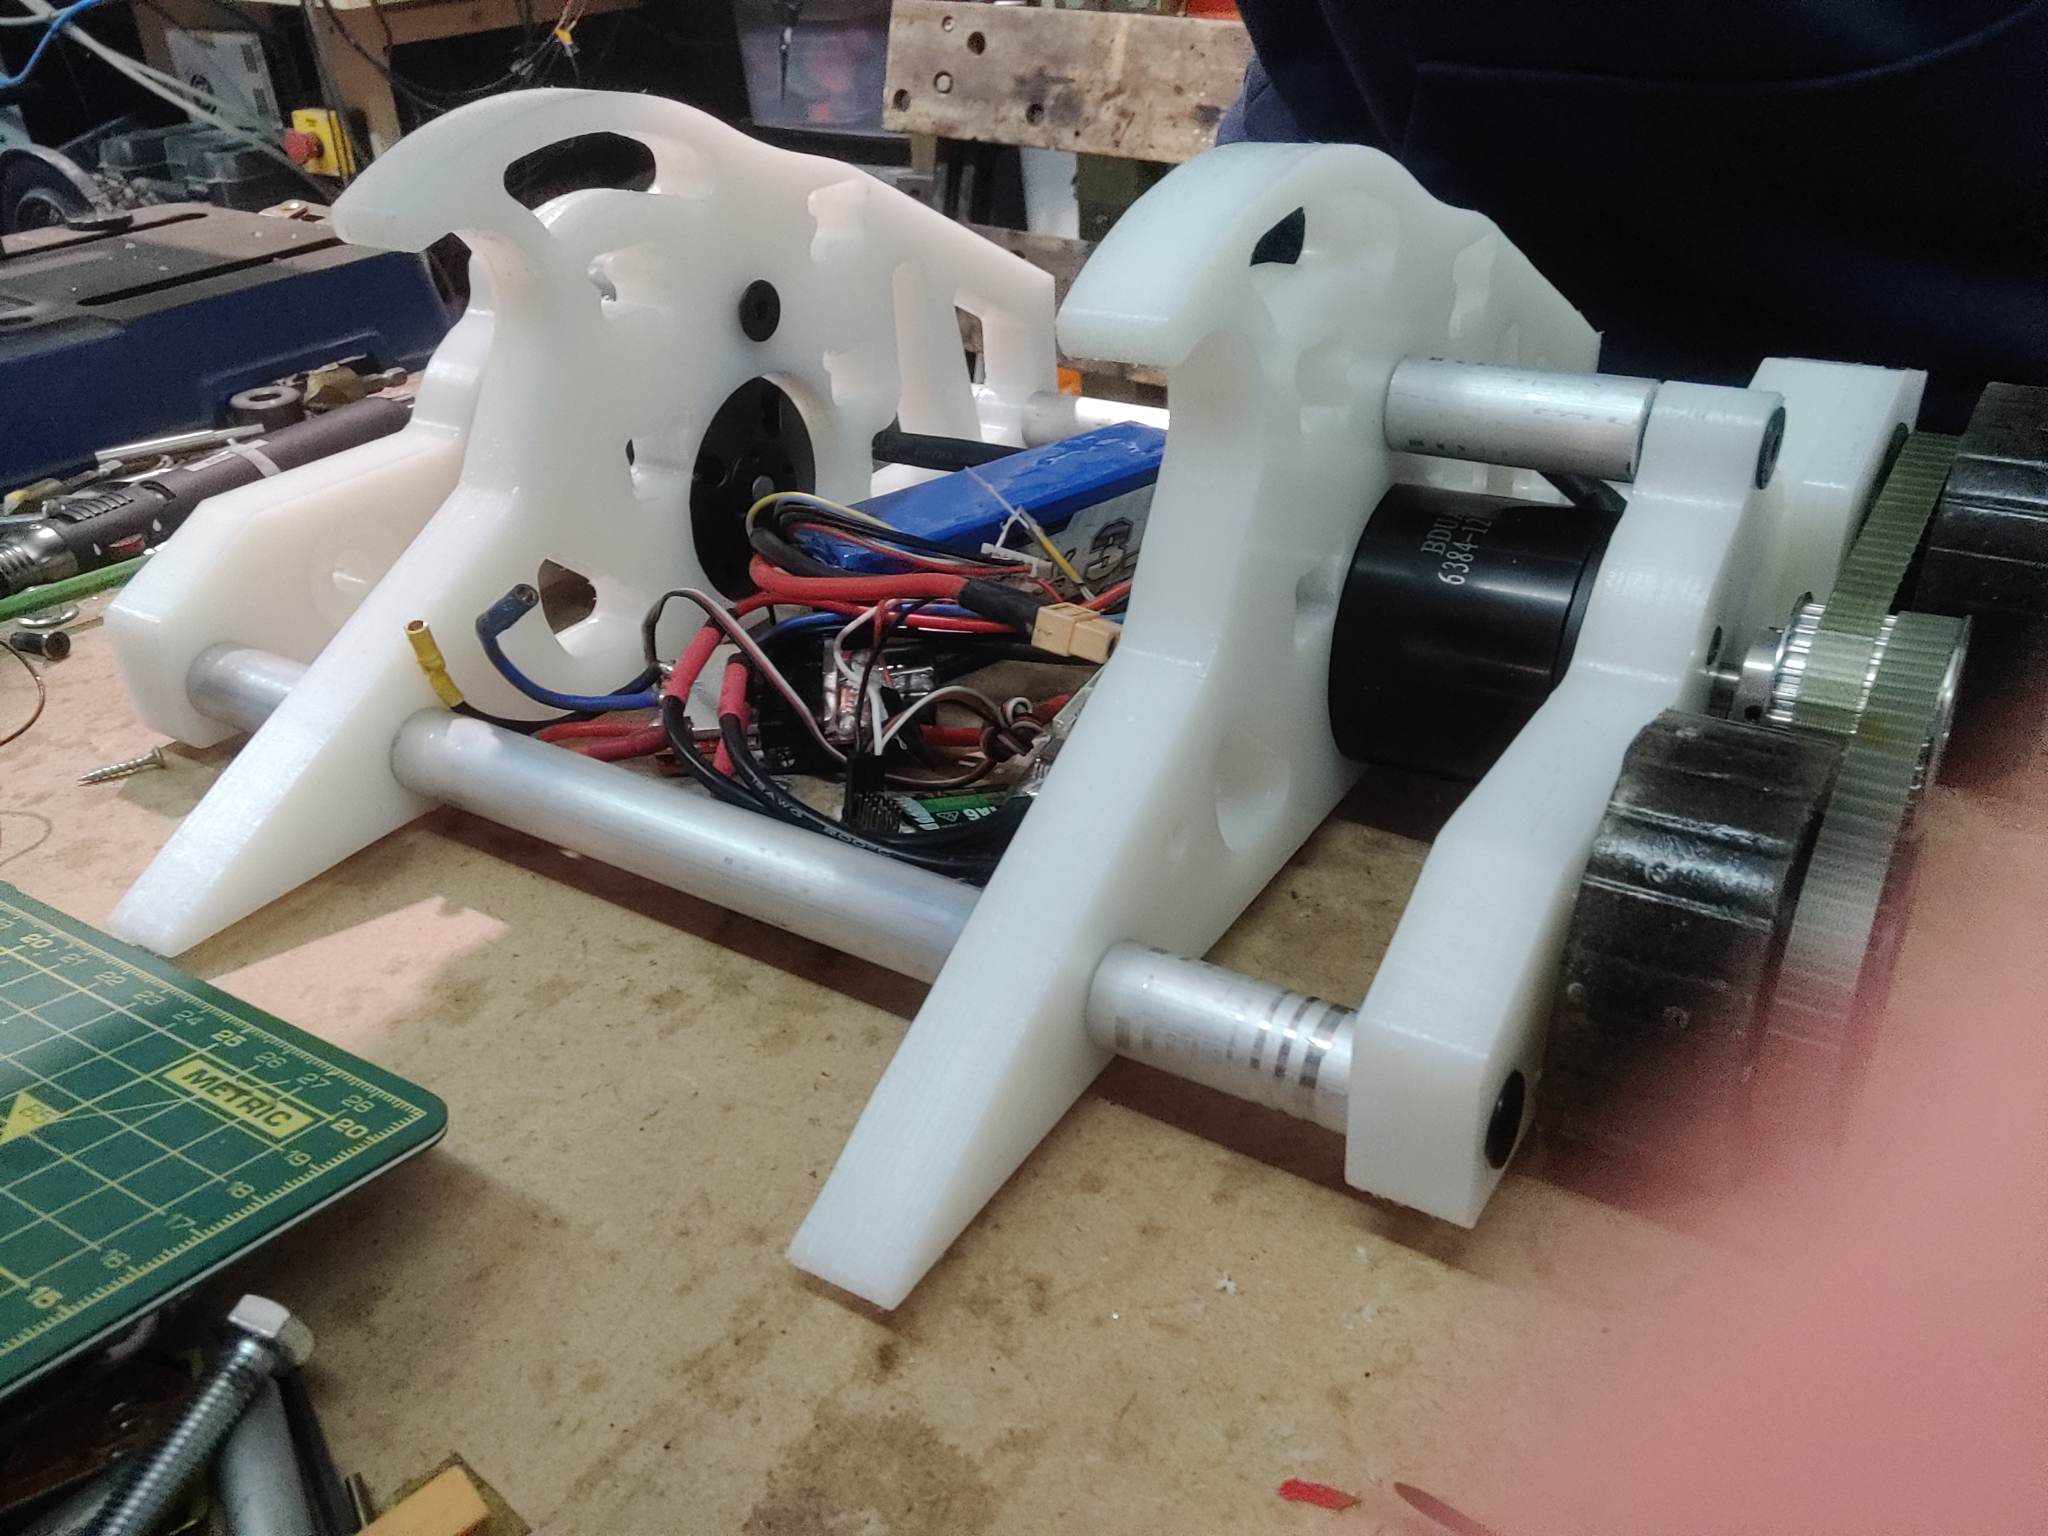
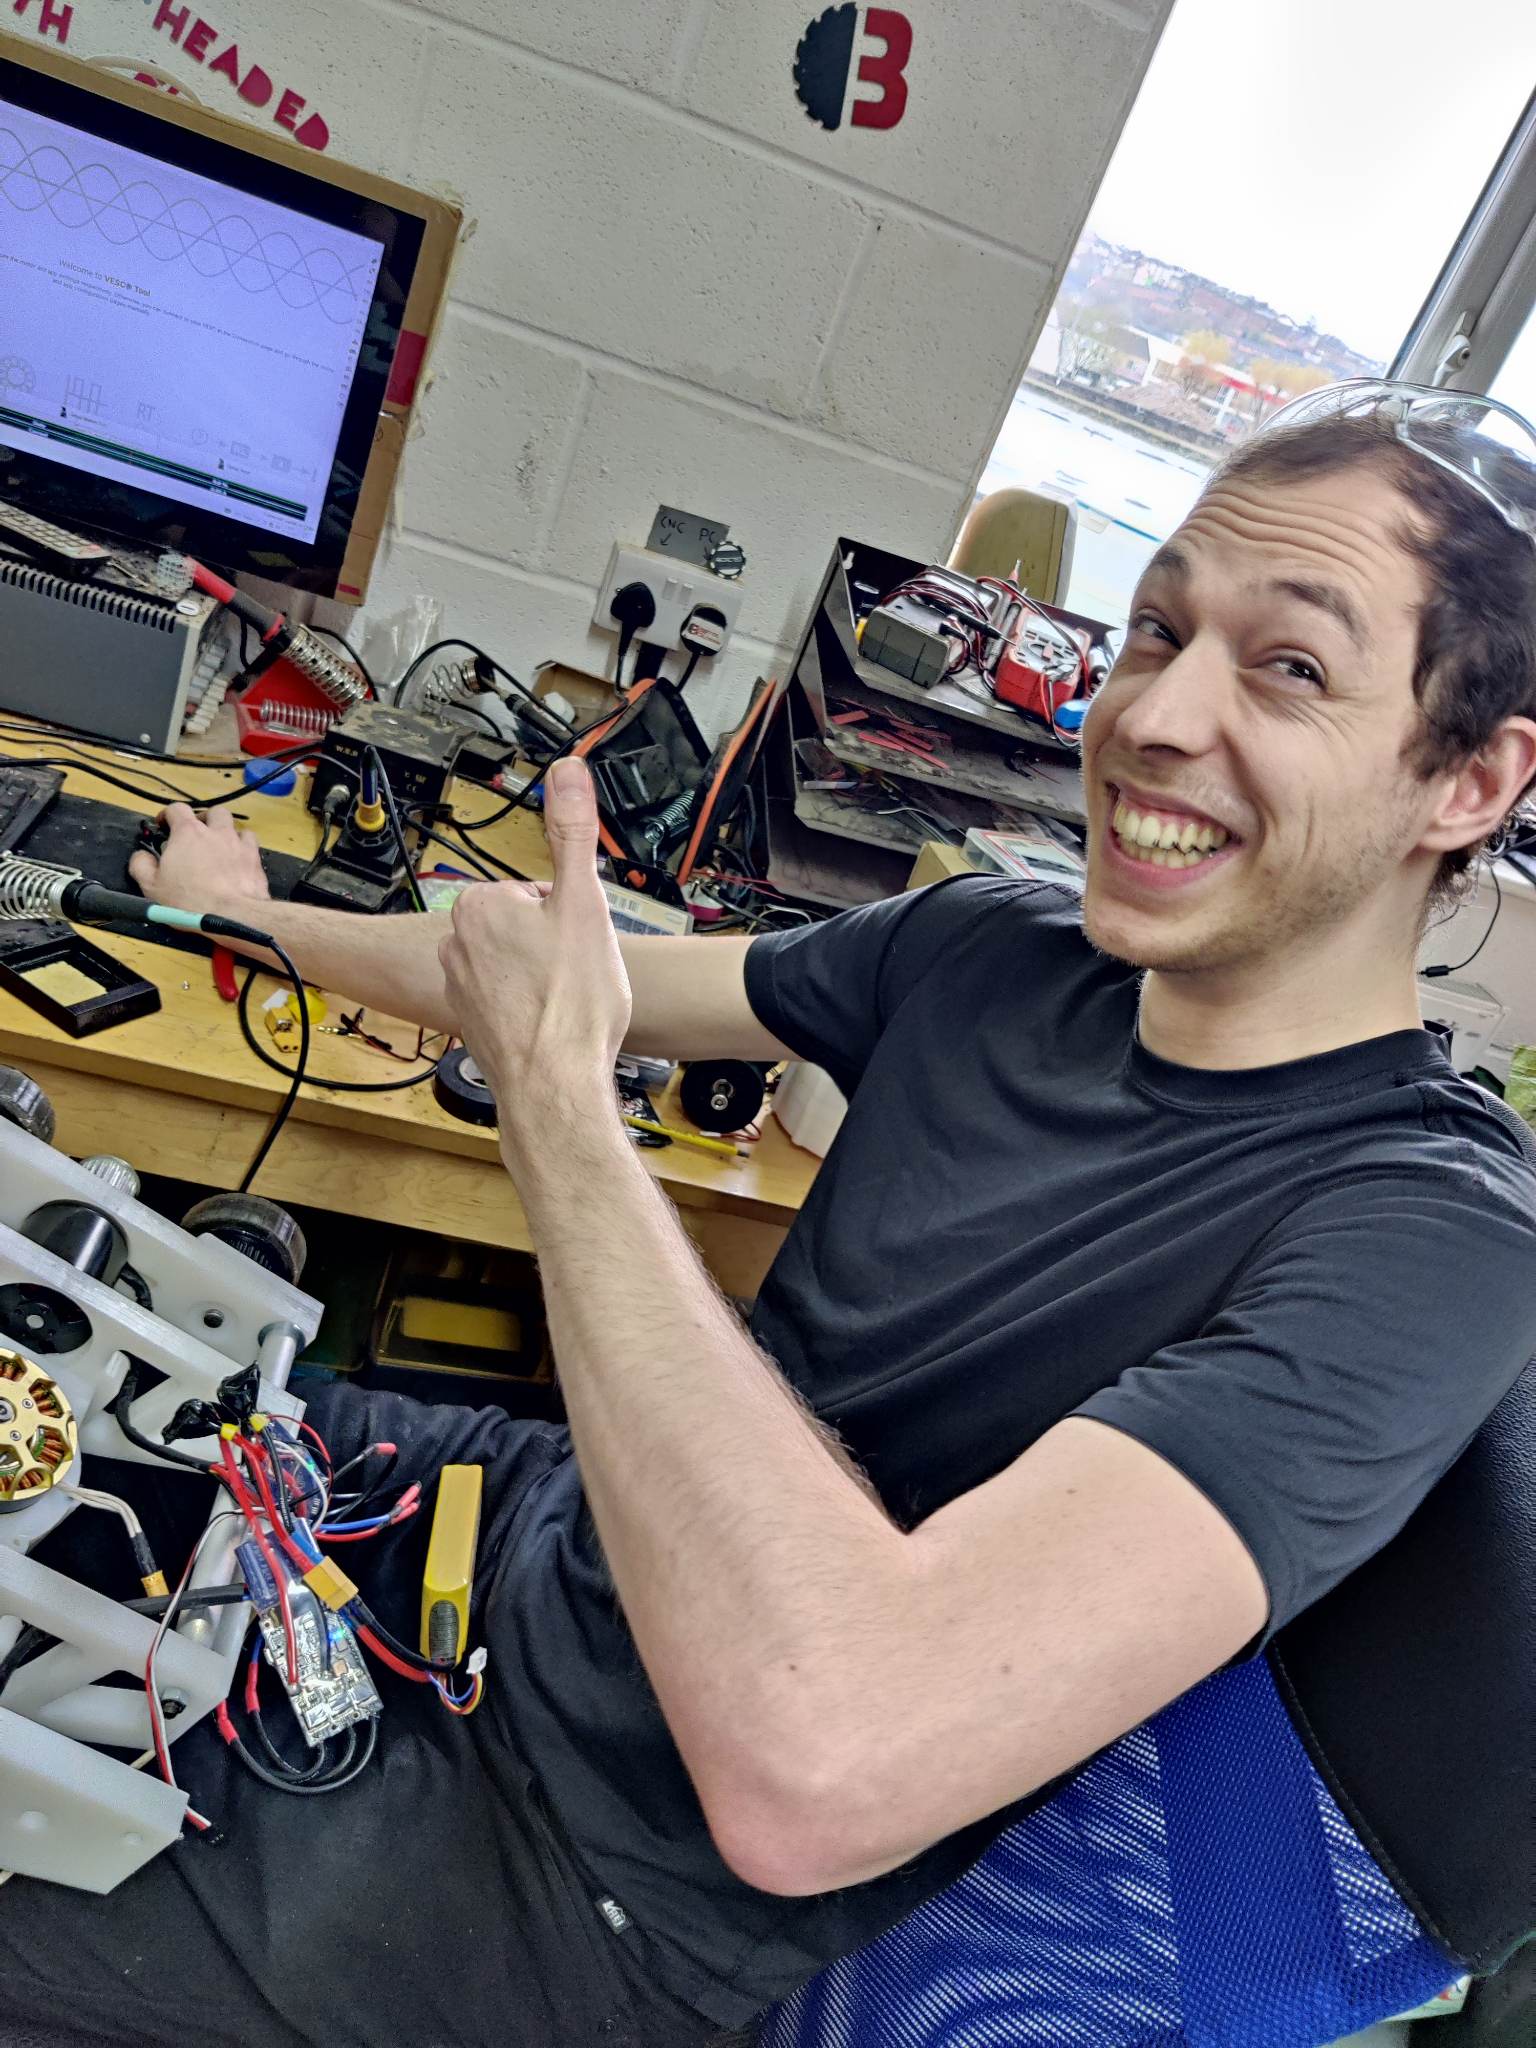
And the thing actually span pretty nicely!

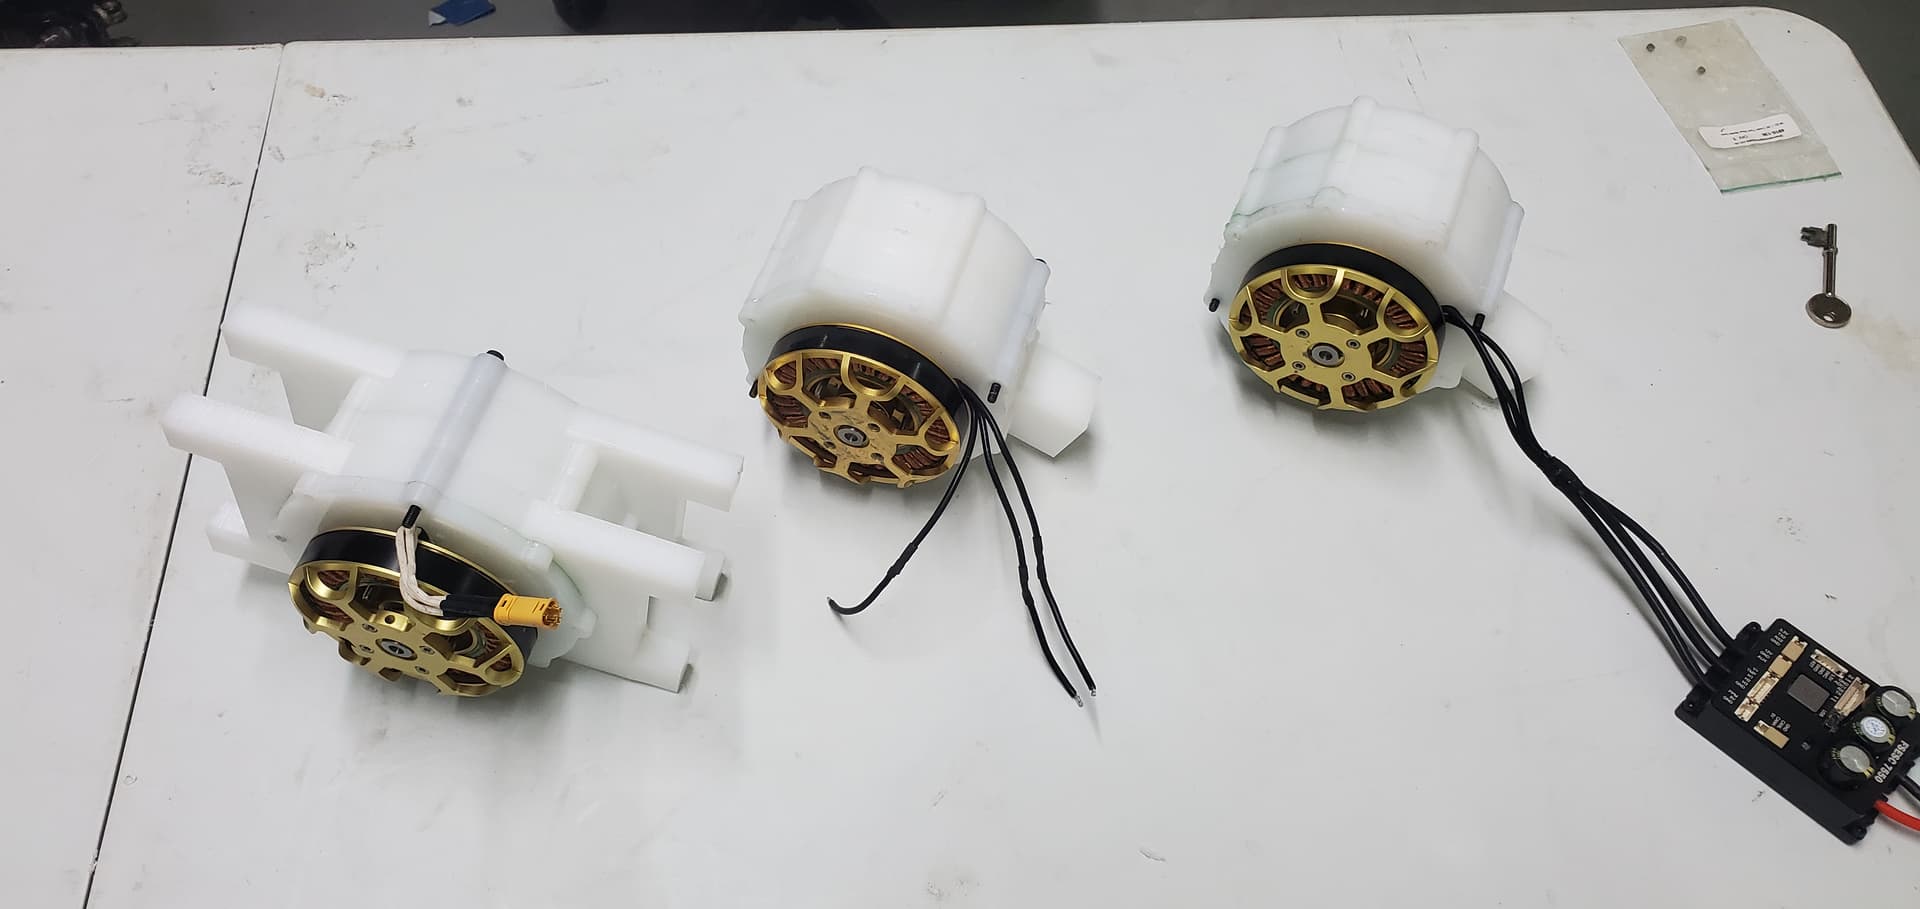
Copy and paste 3 more:

A lot of post-processing later (a total of 30 “toothed friction devices” were cnc’d for these gearboxes!): (One gearbox has a slightly different outer case to jigsaw into felix’s chassis)

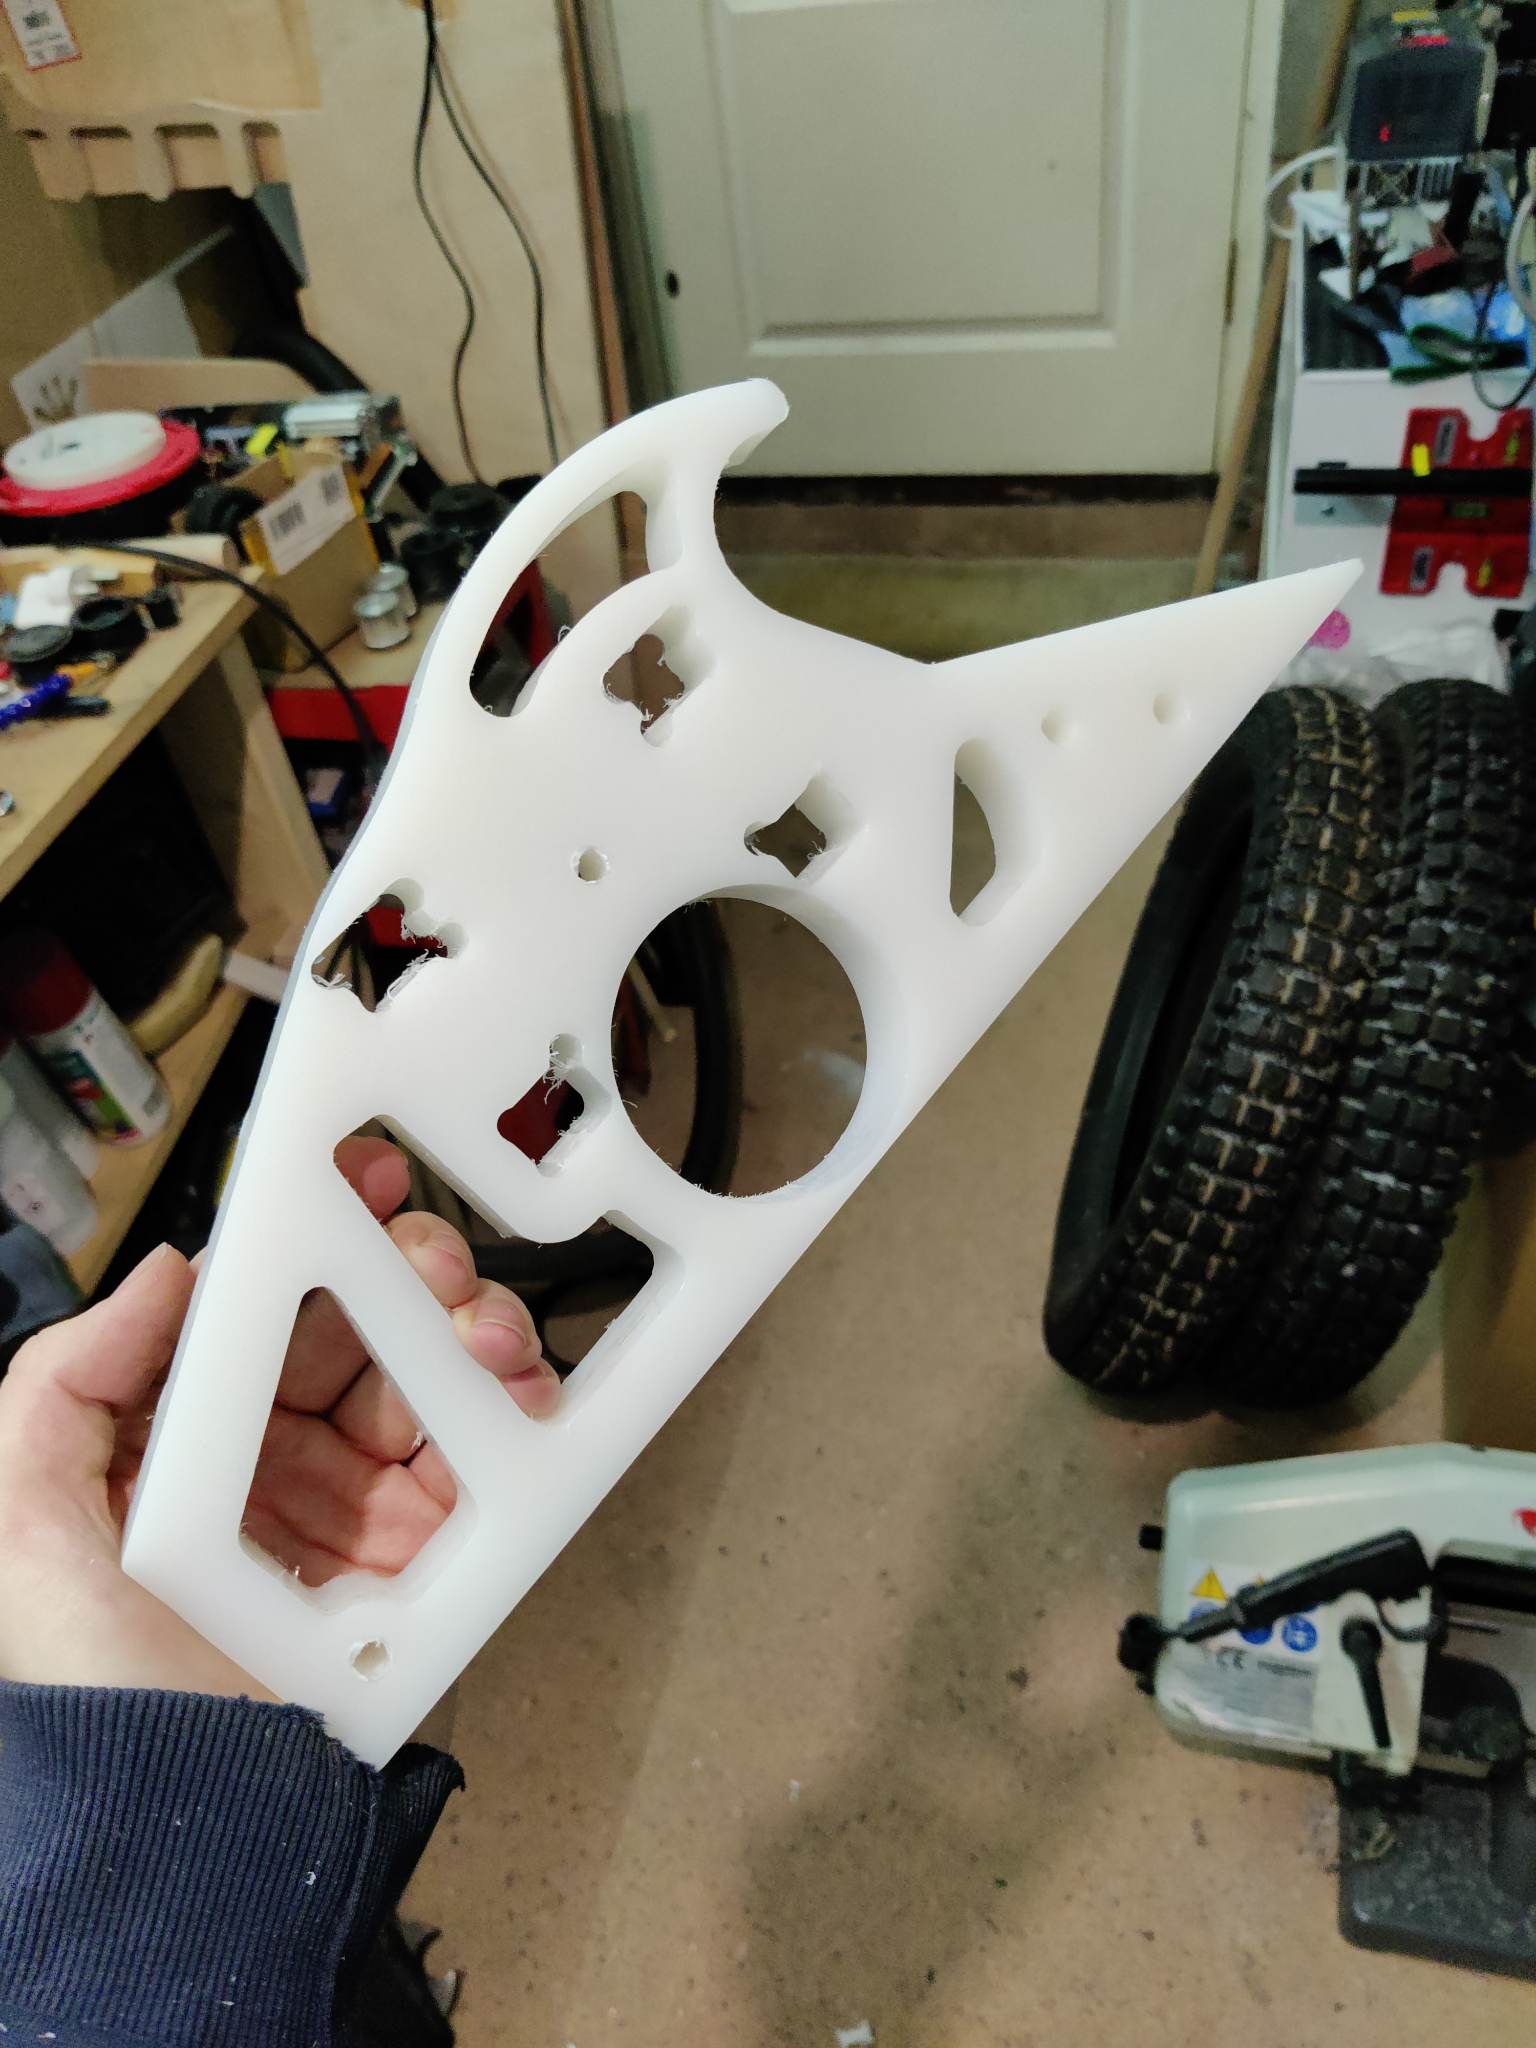
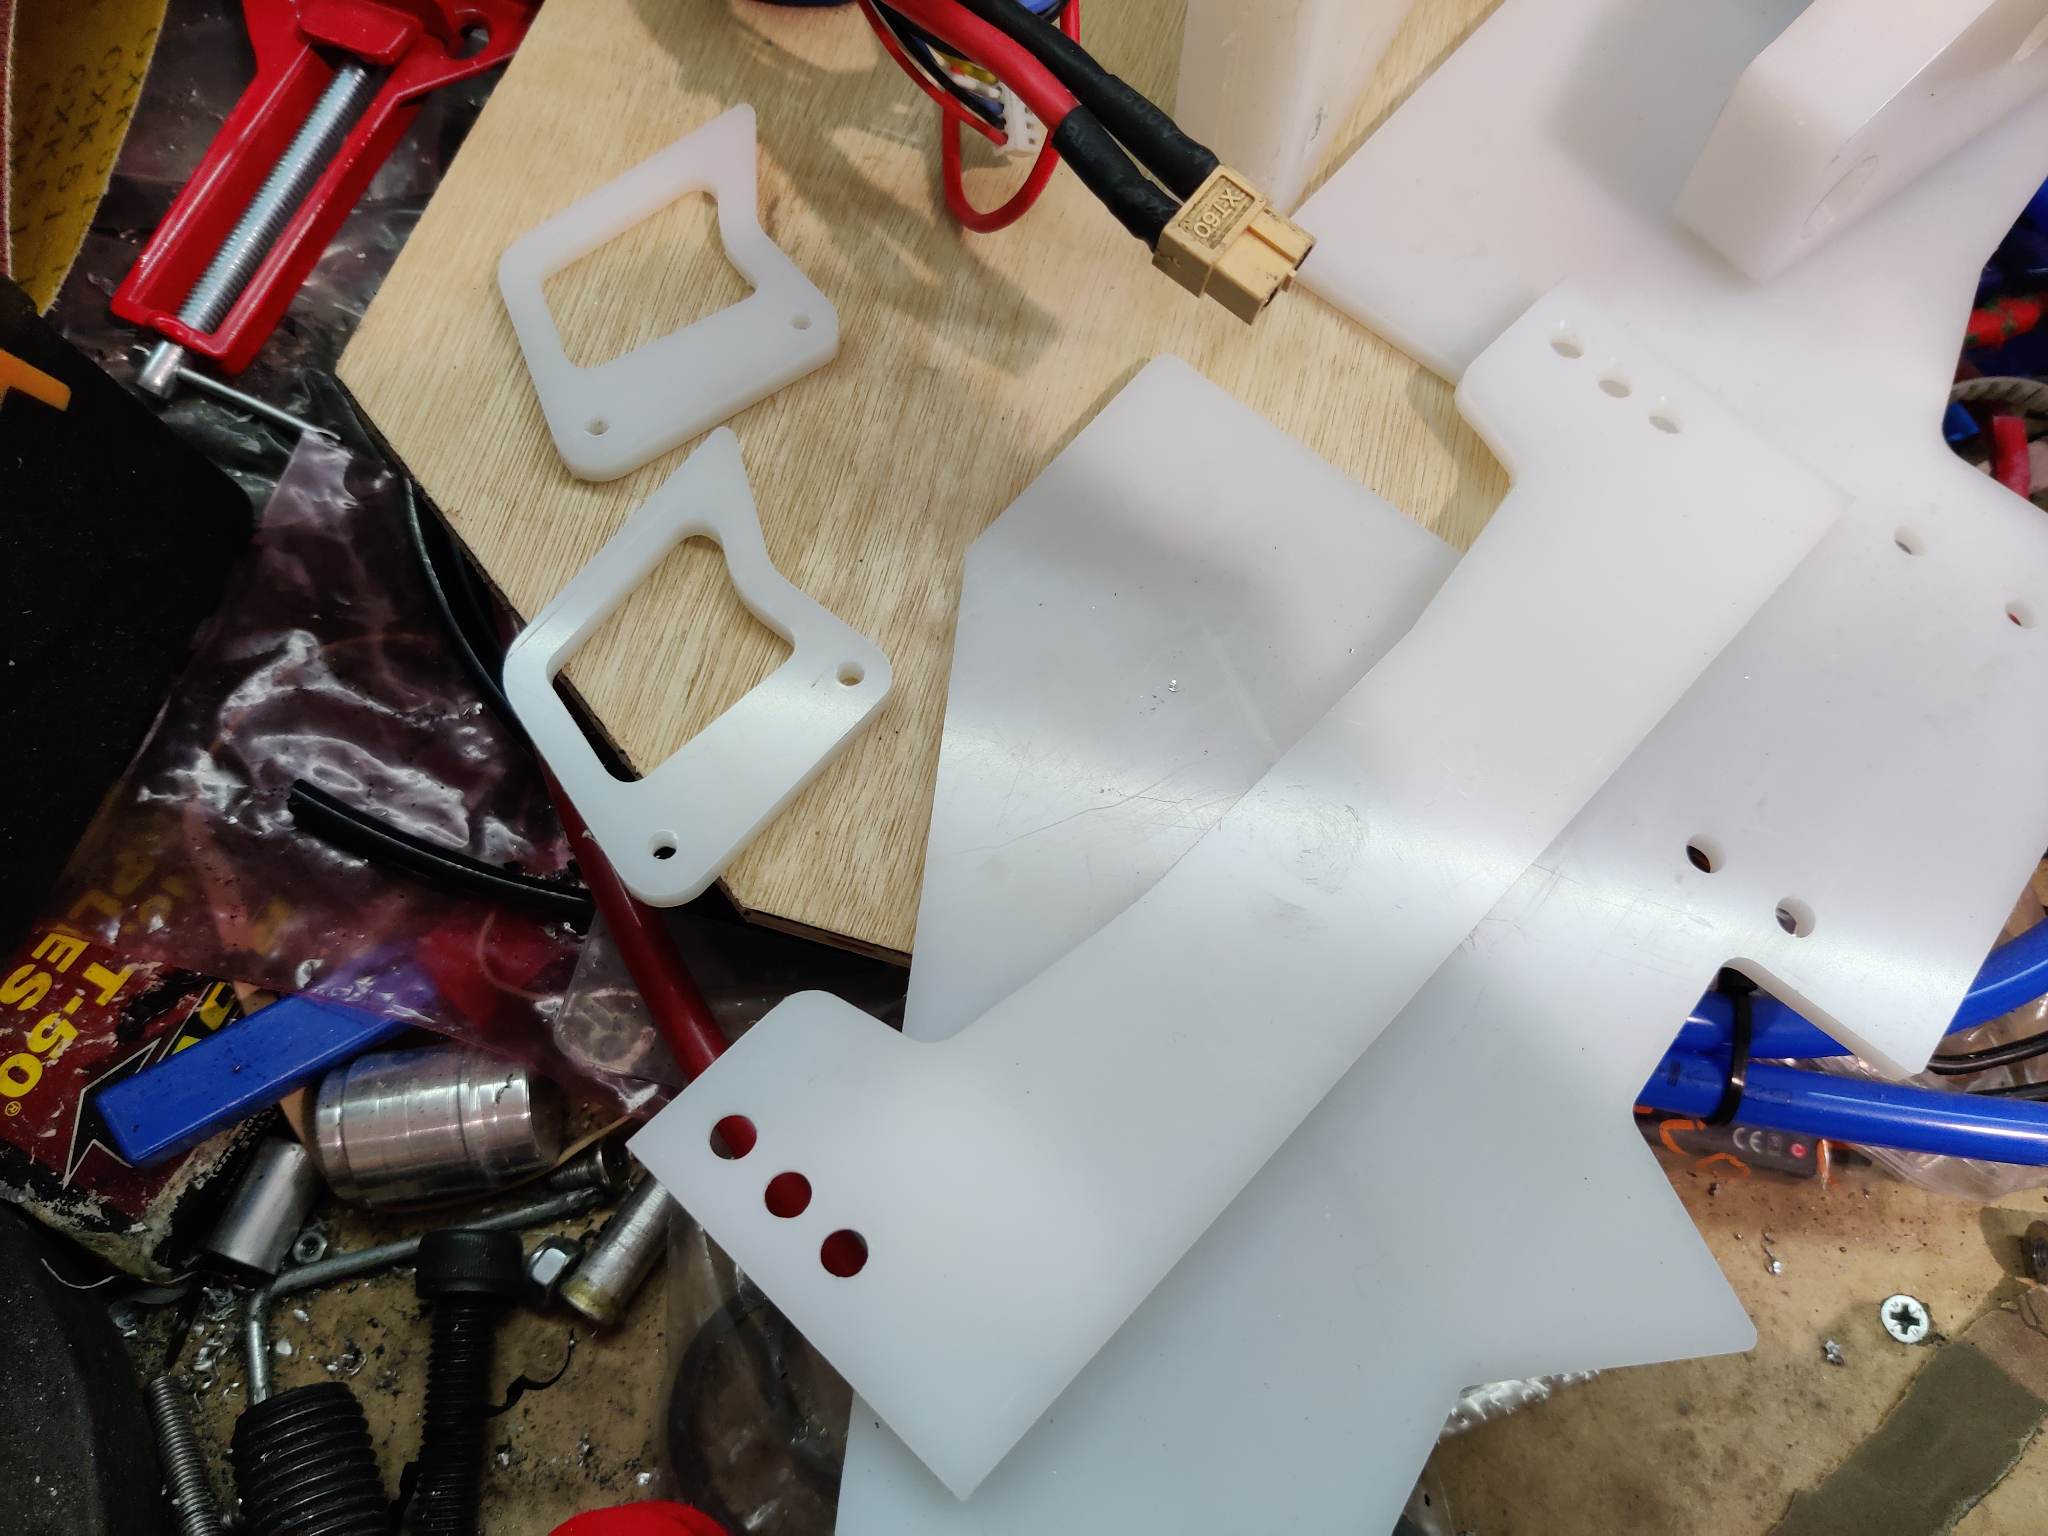
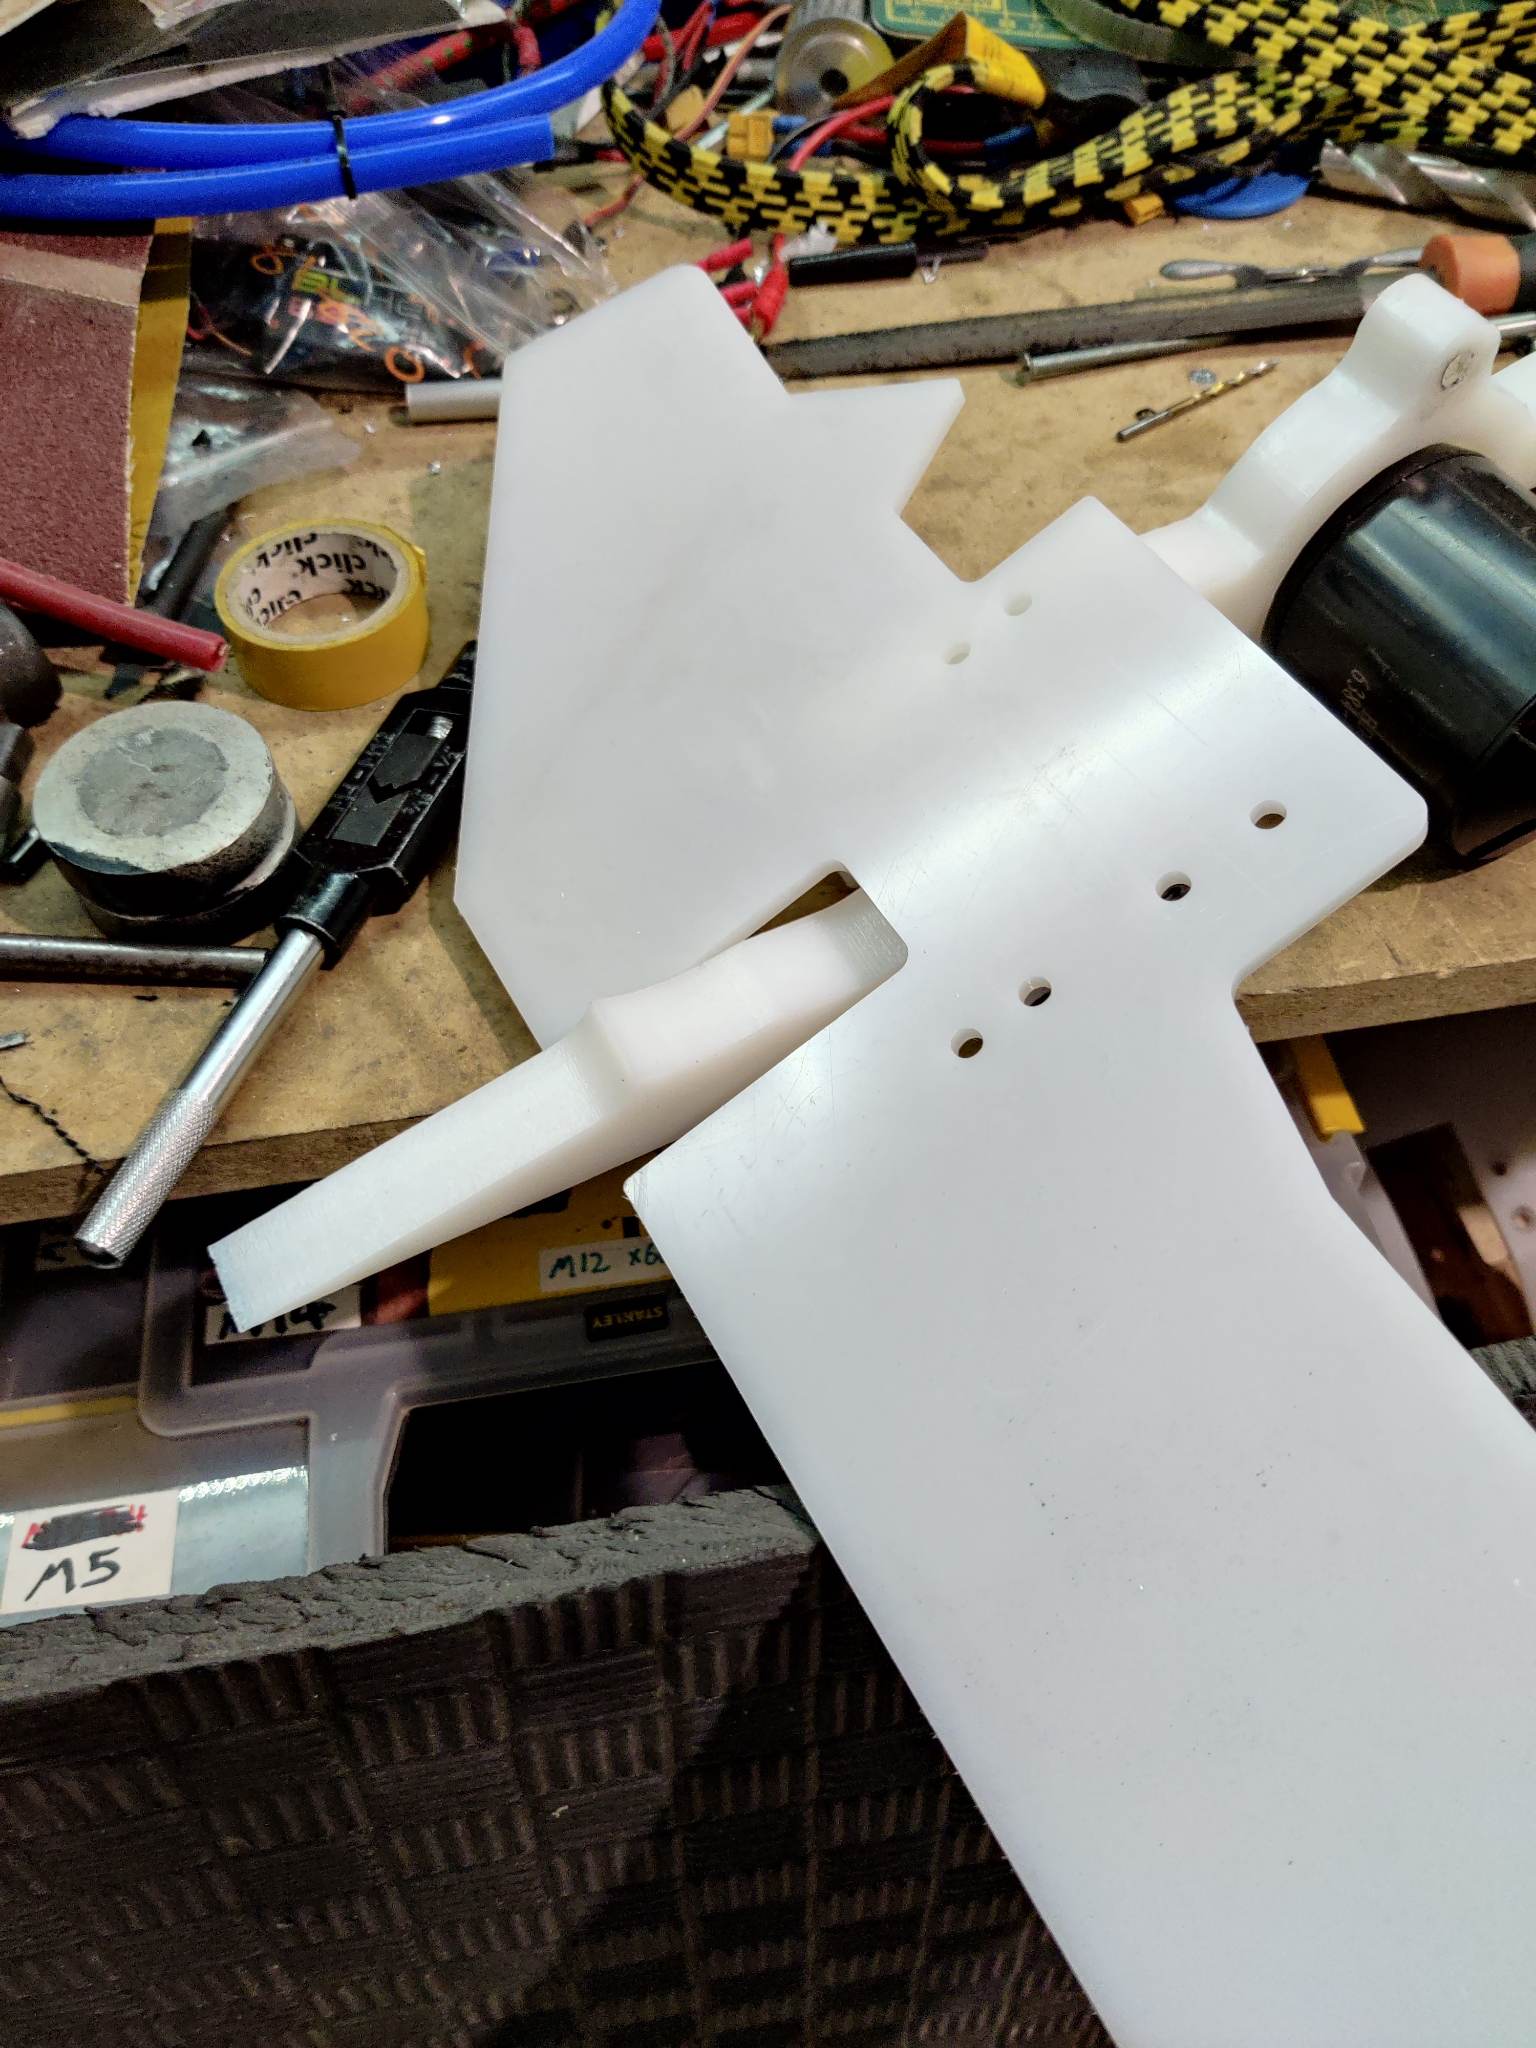
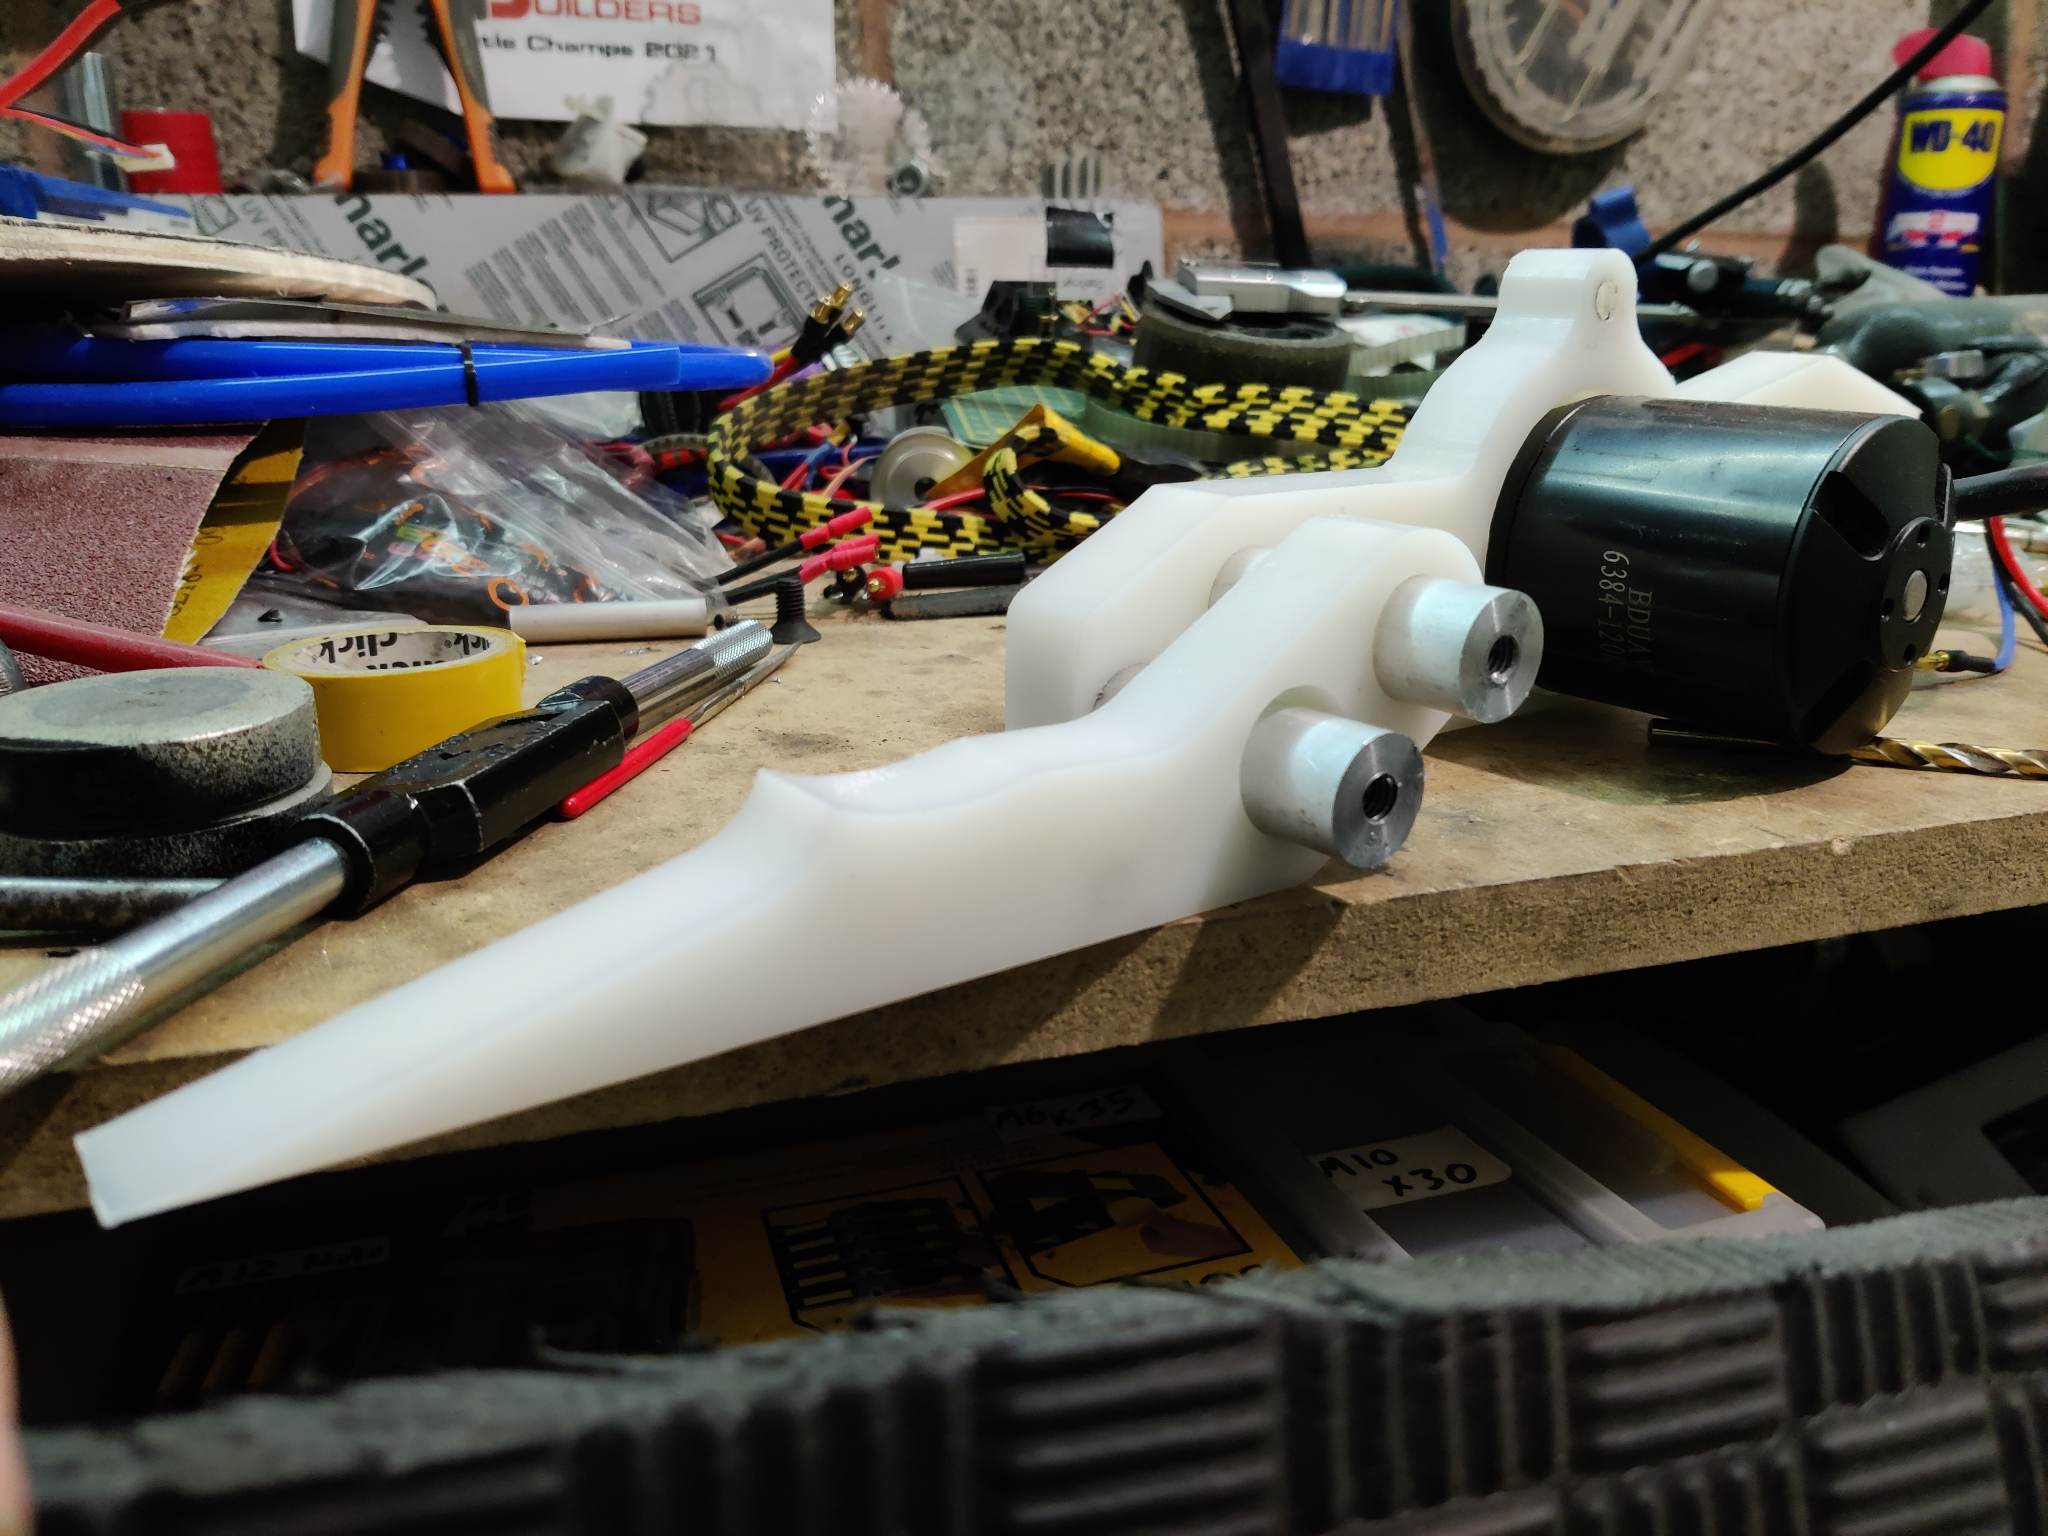
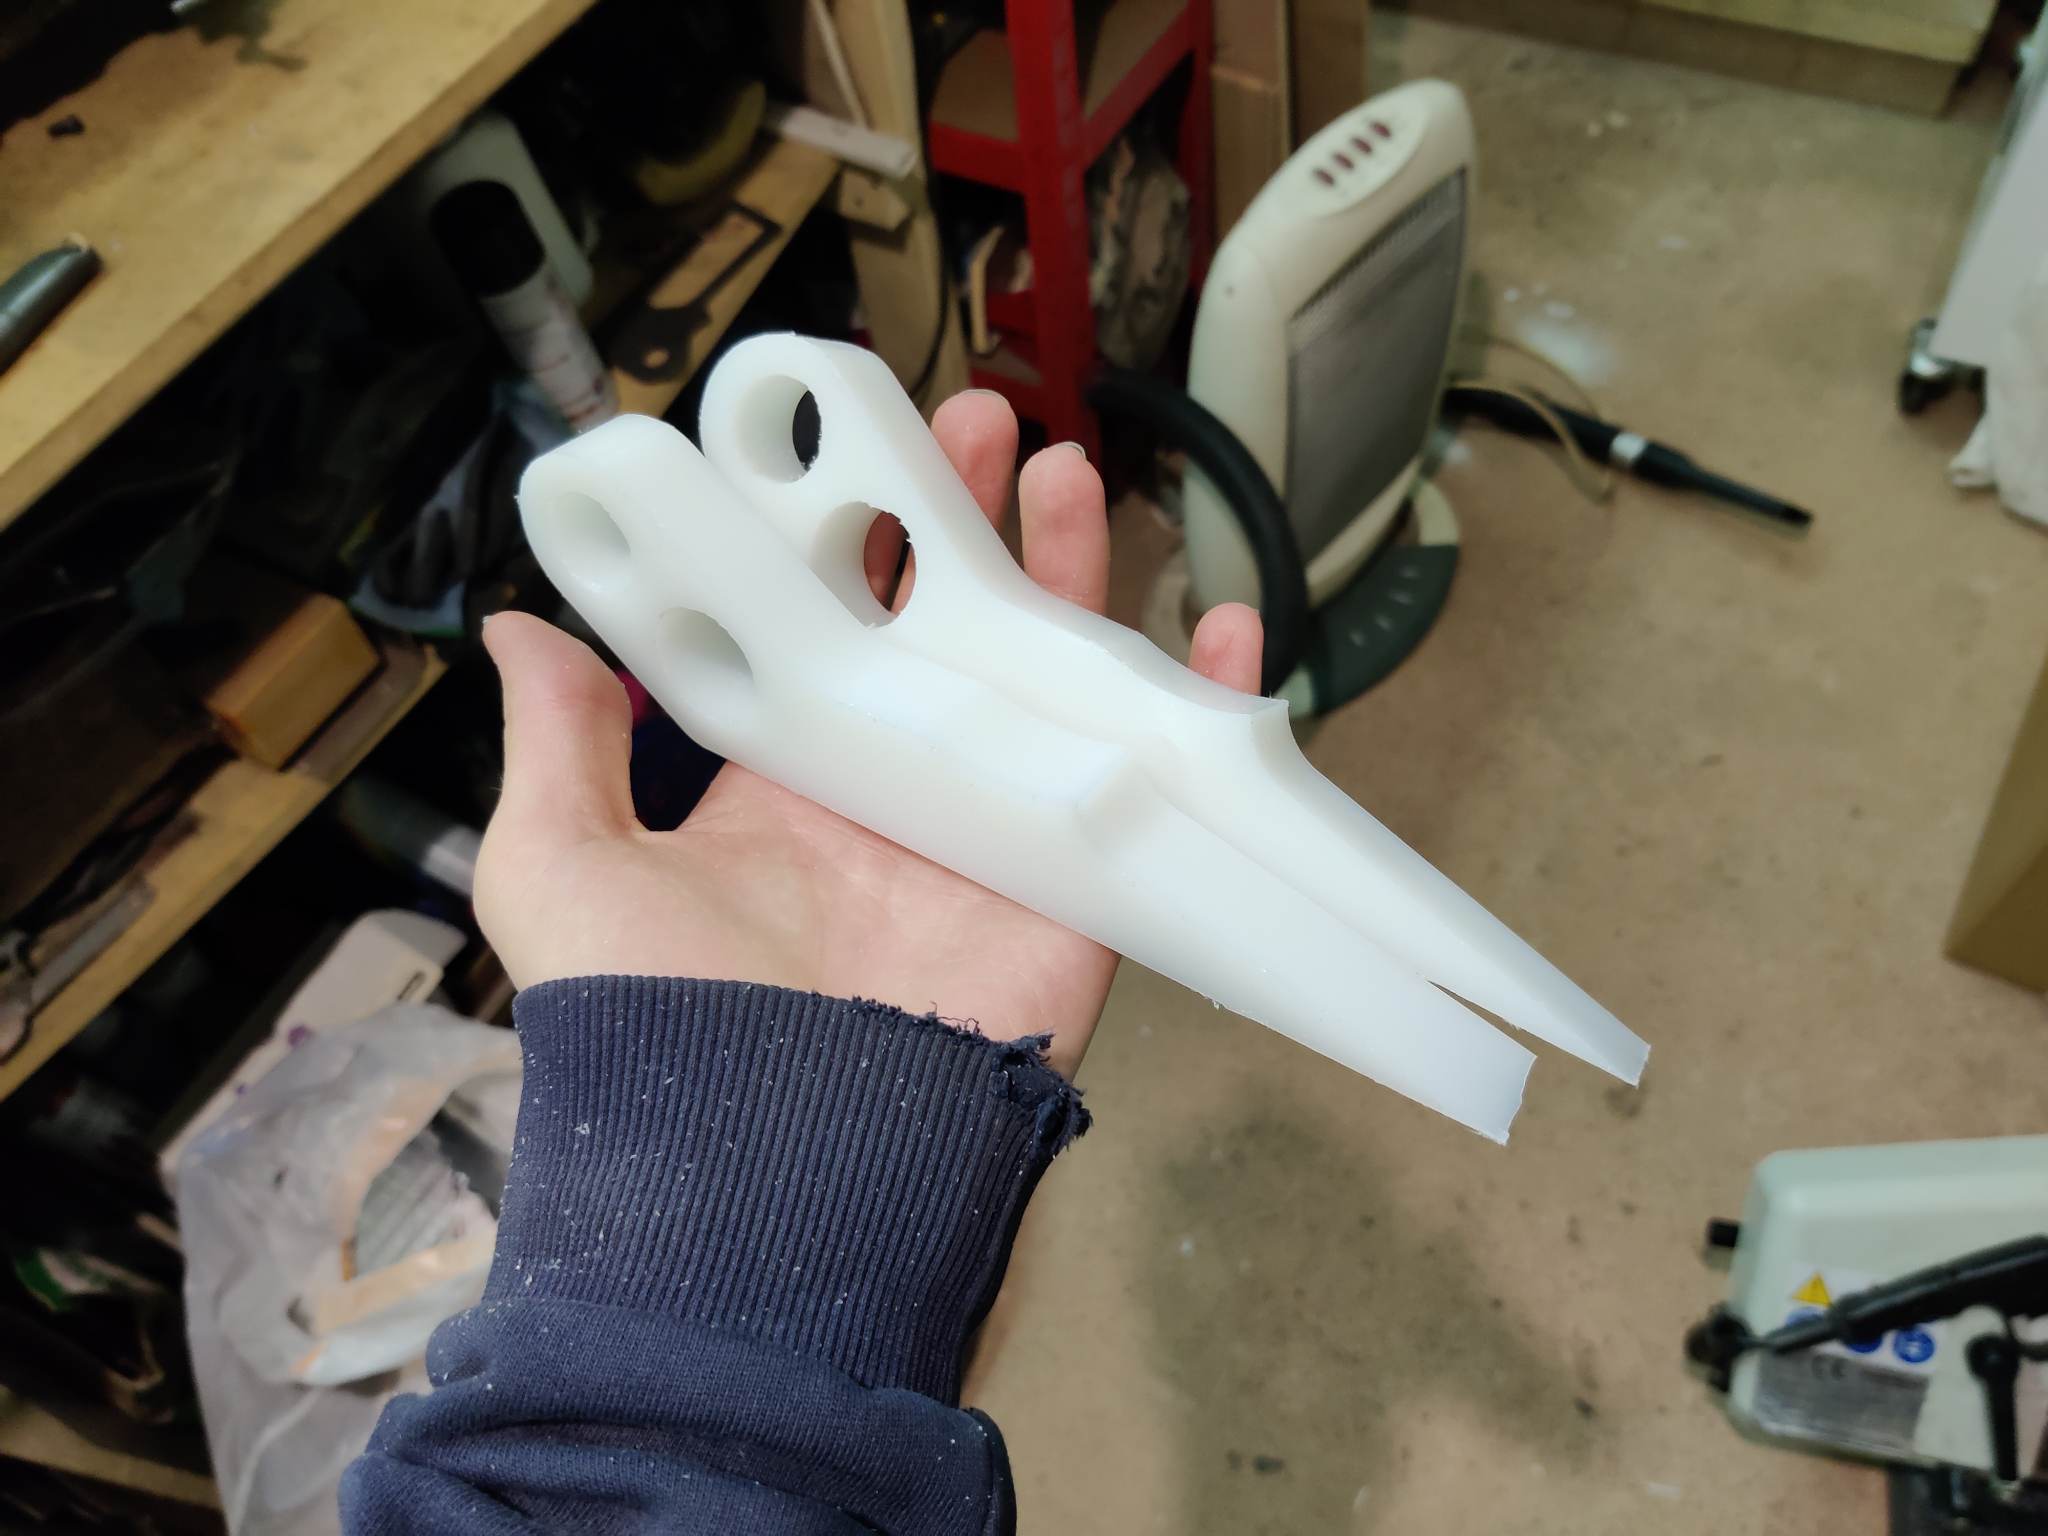
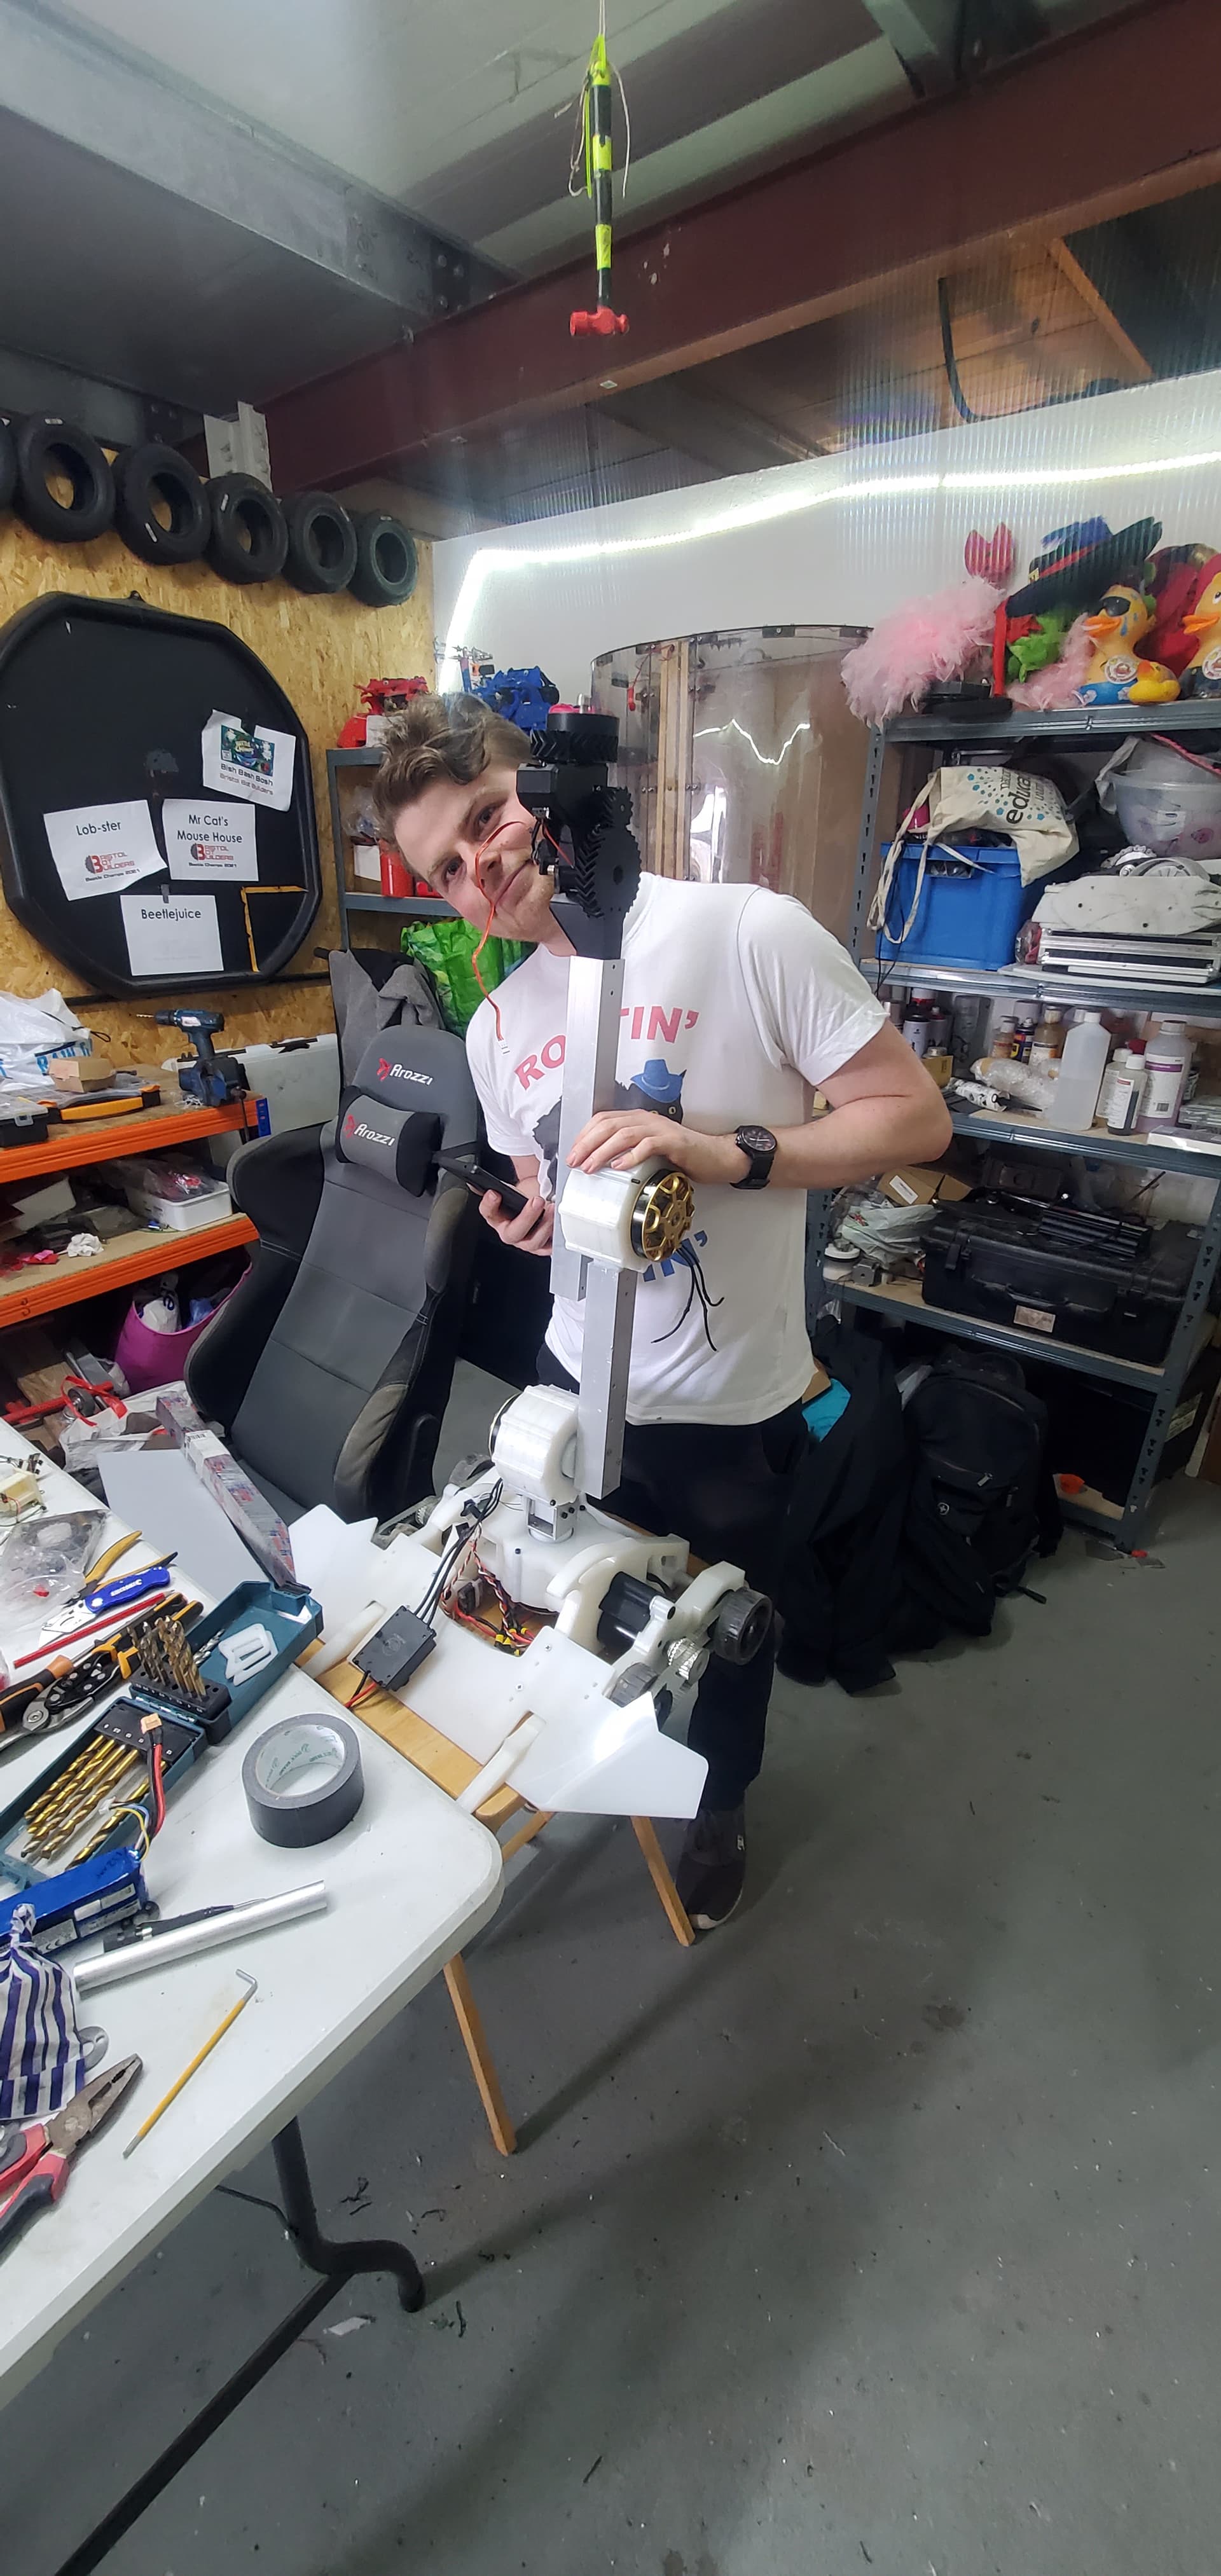
Some aluminium box section and a chassis later, its starting to take shape! We were somewhat running low on time by now, so the final two joints were a hastily-cadded 3D print hacking some random servos to incorporate a 3D-printed spur stage for extra torque and some limited protection for the servo’s gearbox.
(Felix for scale)

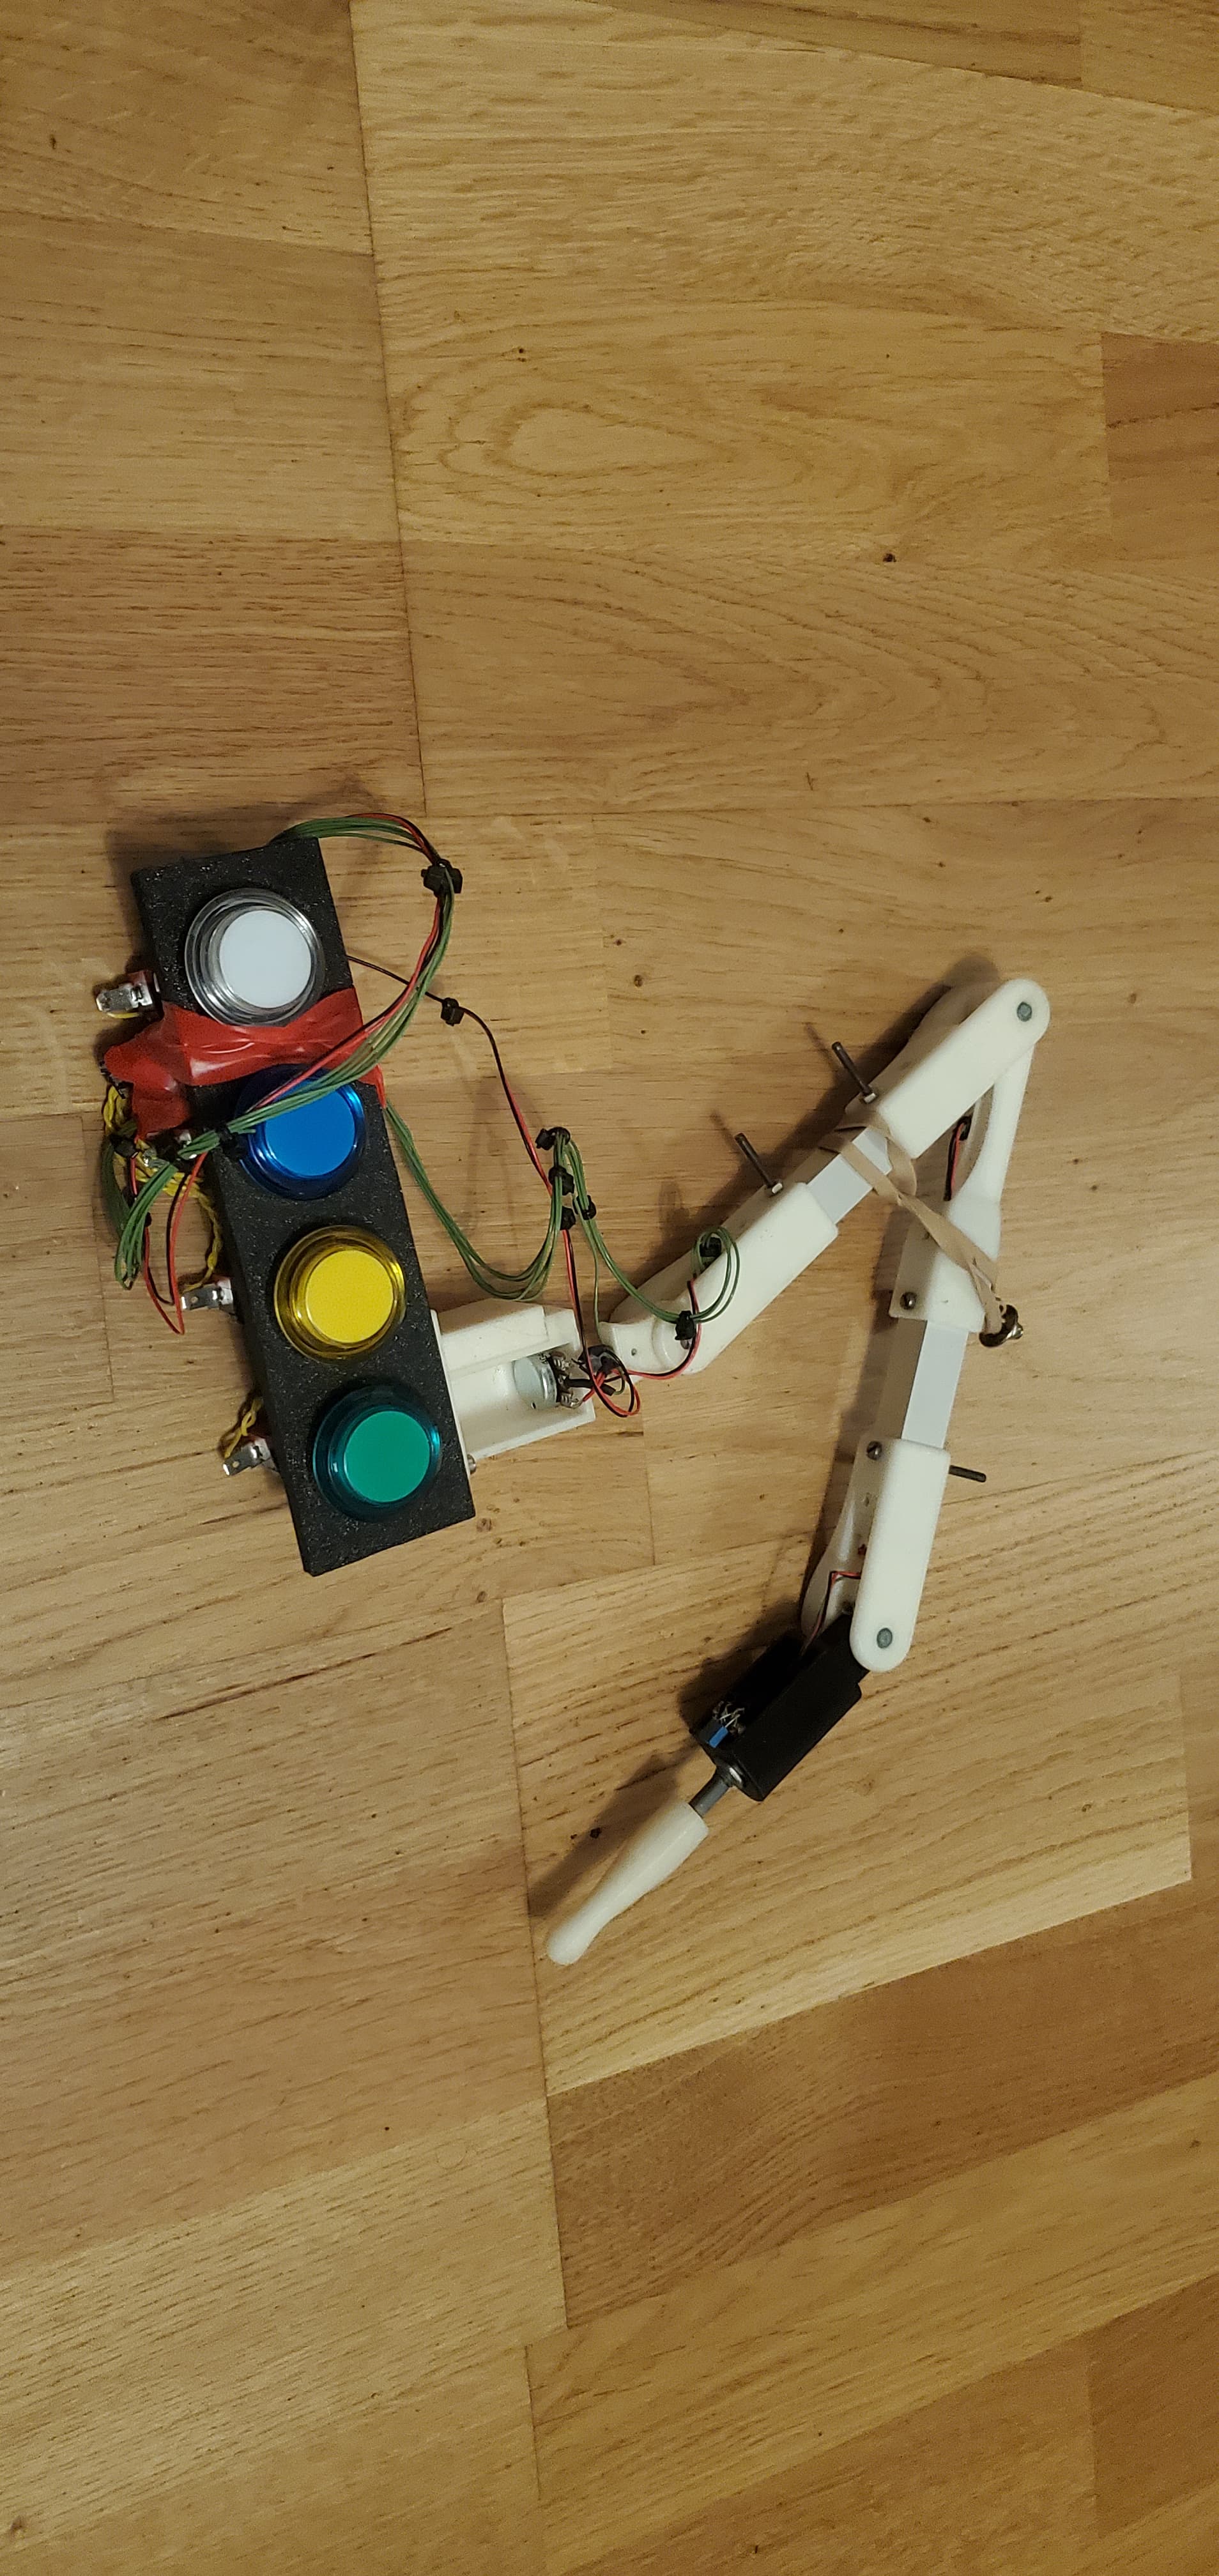
A good time to introduce the controller - essentially a handheld scale model of the robot arm. An arduino nano is measuring potentiometers in each joint, and sending the information to my custom ESC’s using a haistily written serial uart protocol and some 433MHz ebay-special radio modules. The buttons perform various calibration procedures, activate the 6’th servo channel (for the snips) and digitally arm/disarm the big robot arm:

After adding some 3D printed motor covers, some custom esc-encoder motor controllers, and a rapidly tuned PID position-control algorithm, it comes to life! Each joint in the big arm acts like a servo, and tries to copy the angle of the corresponding joint in the small arm. The setup makes for a reasonably intuitive way to control 5 axis at once!
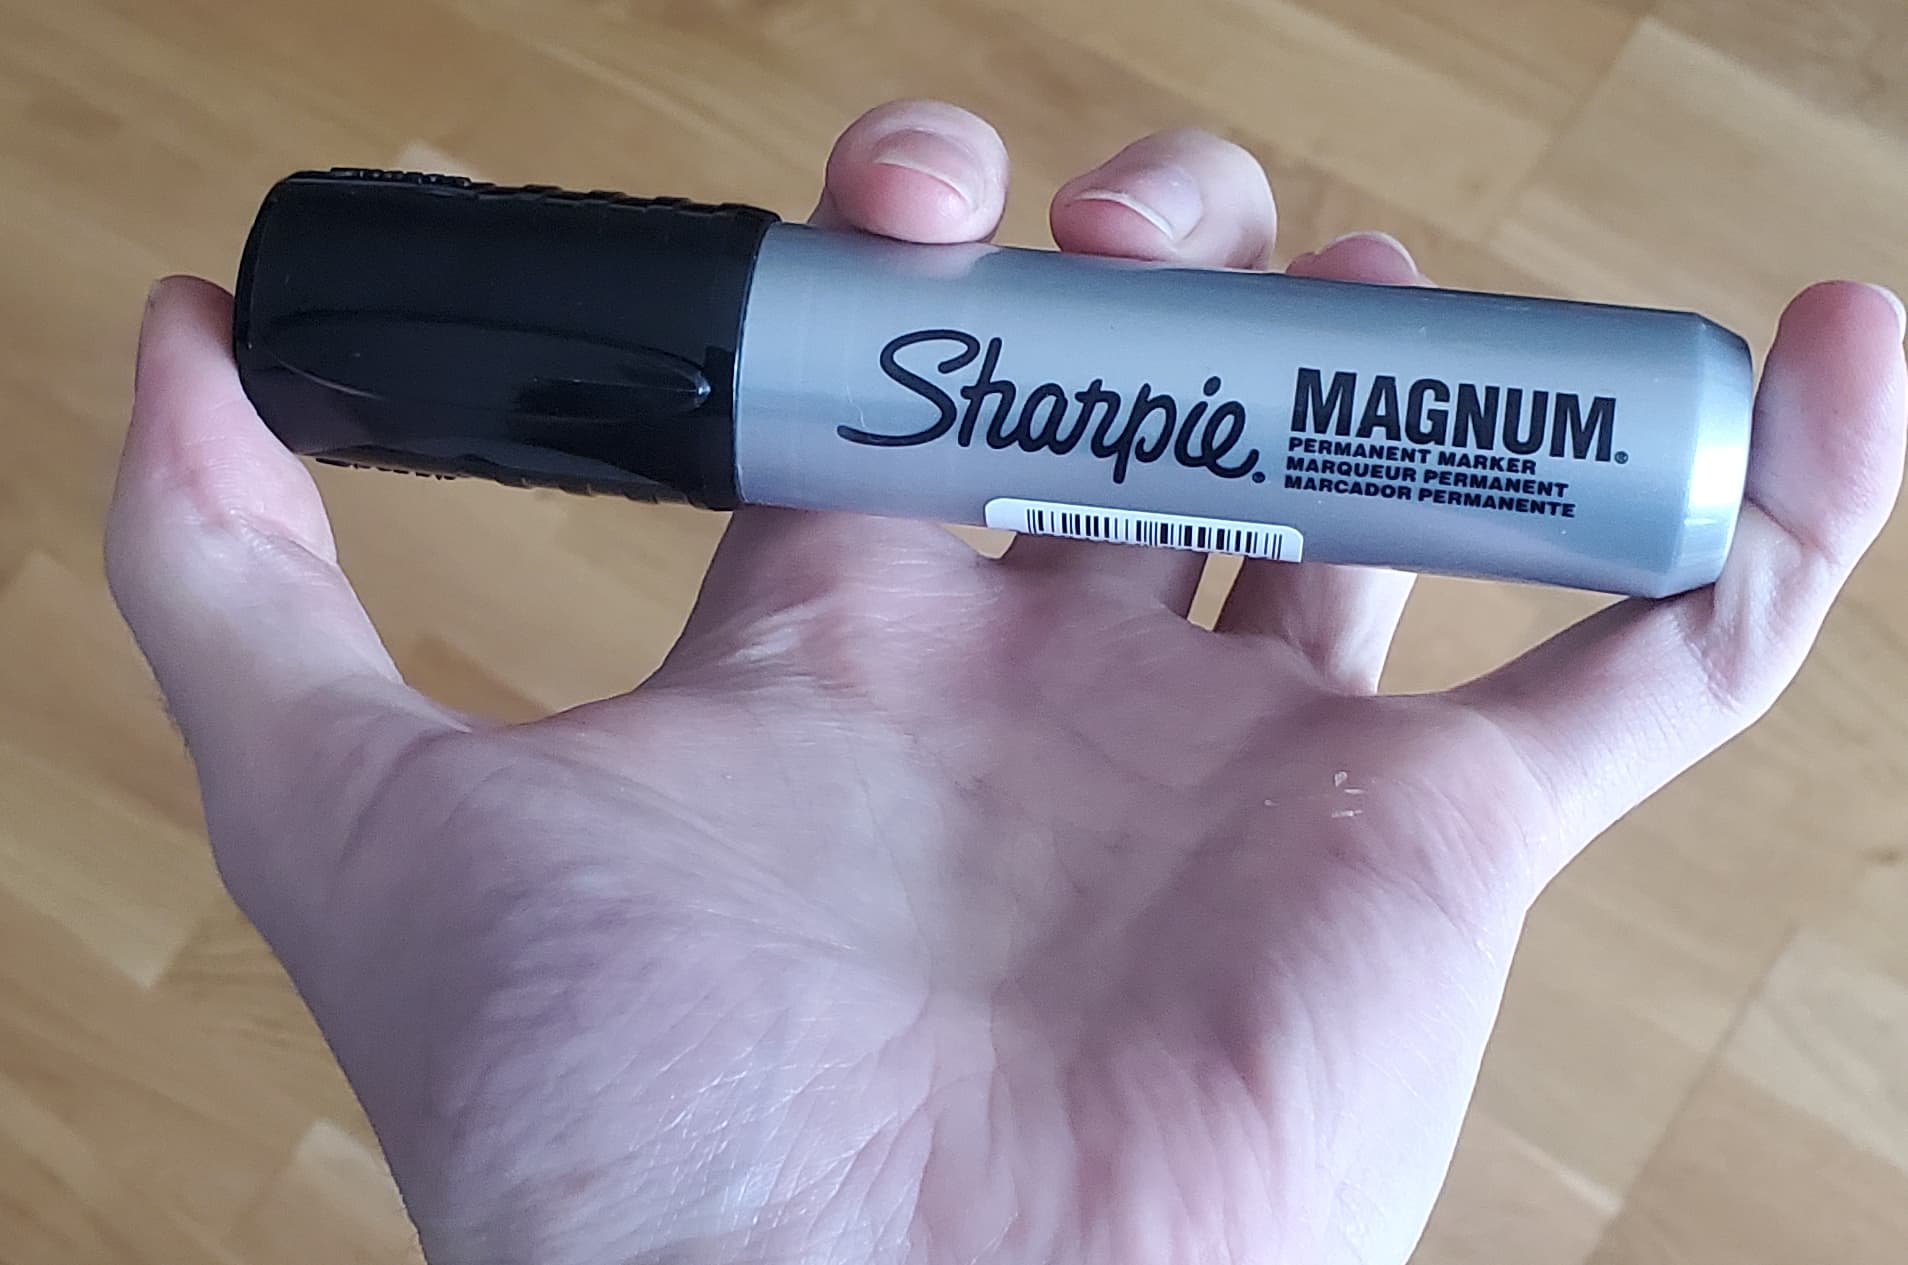
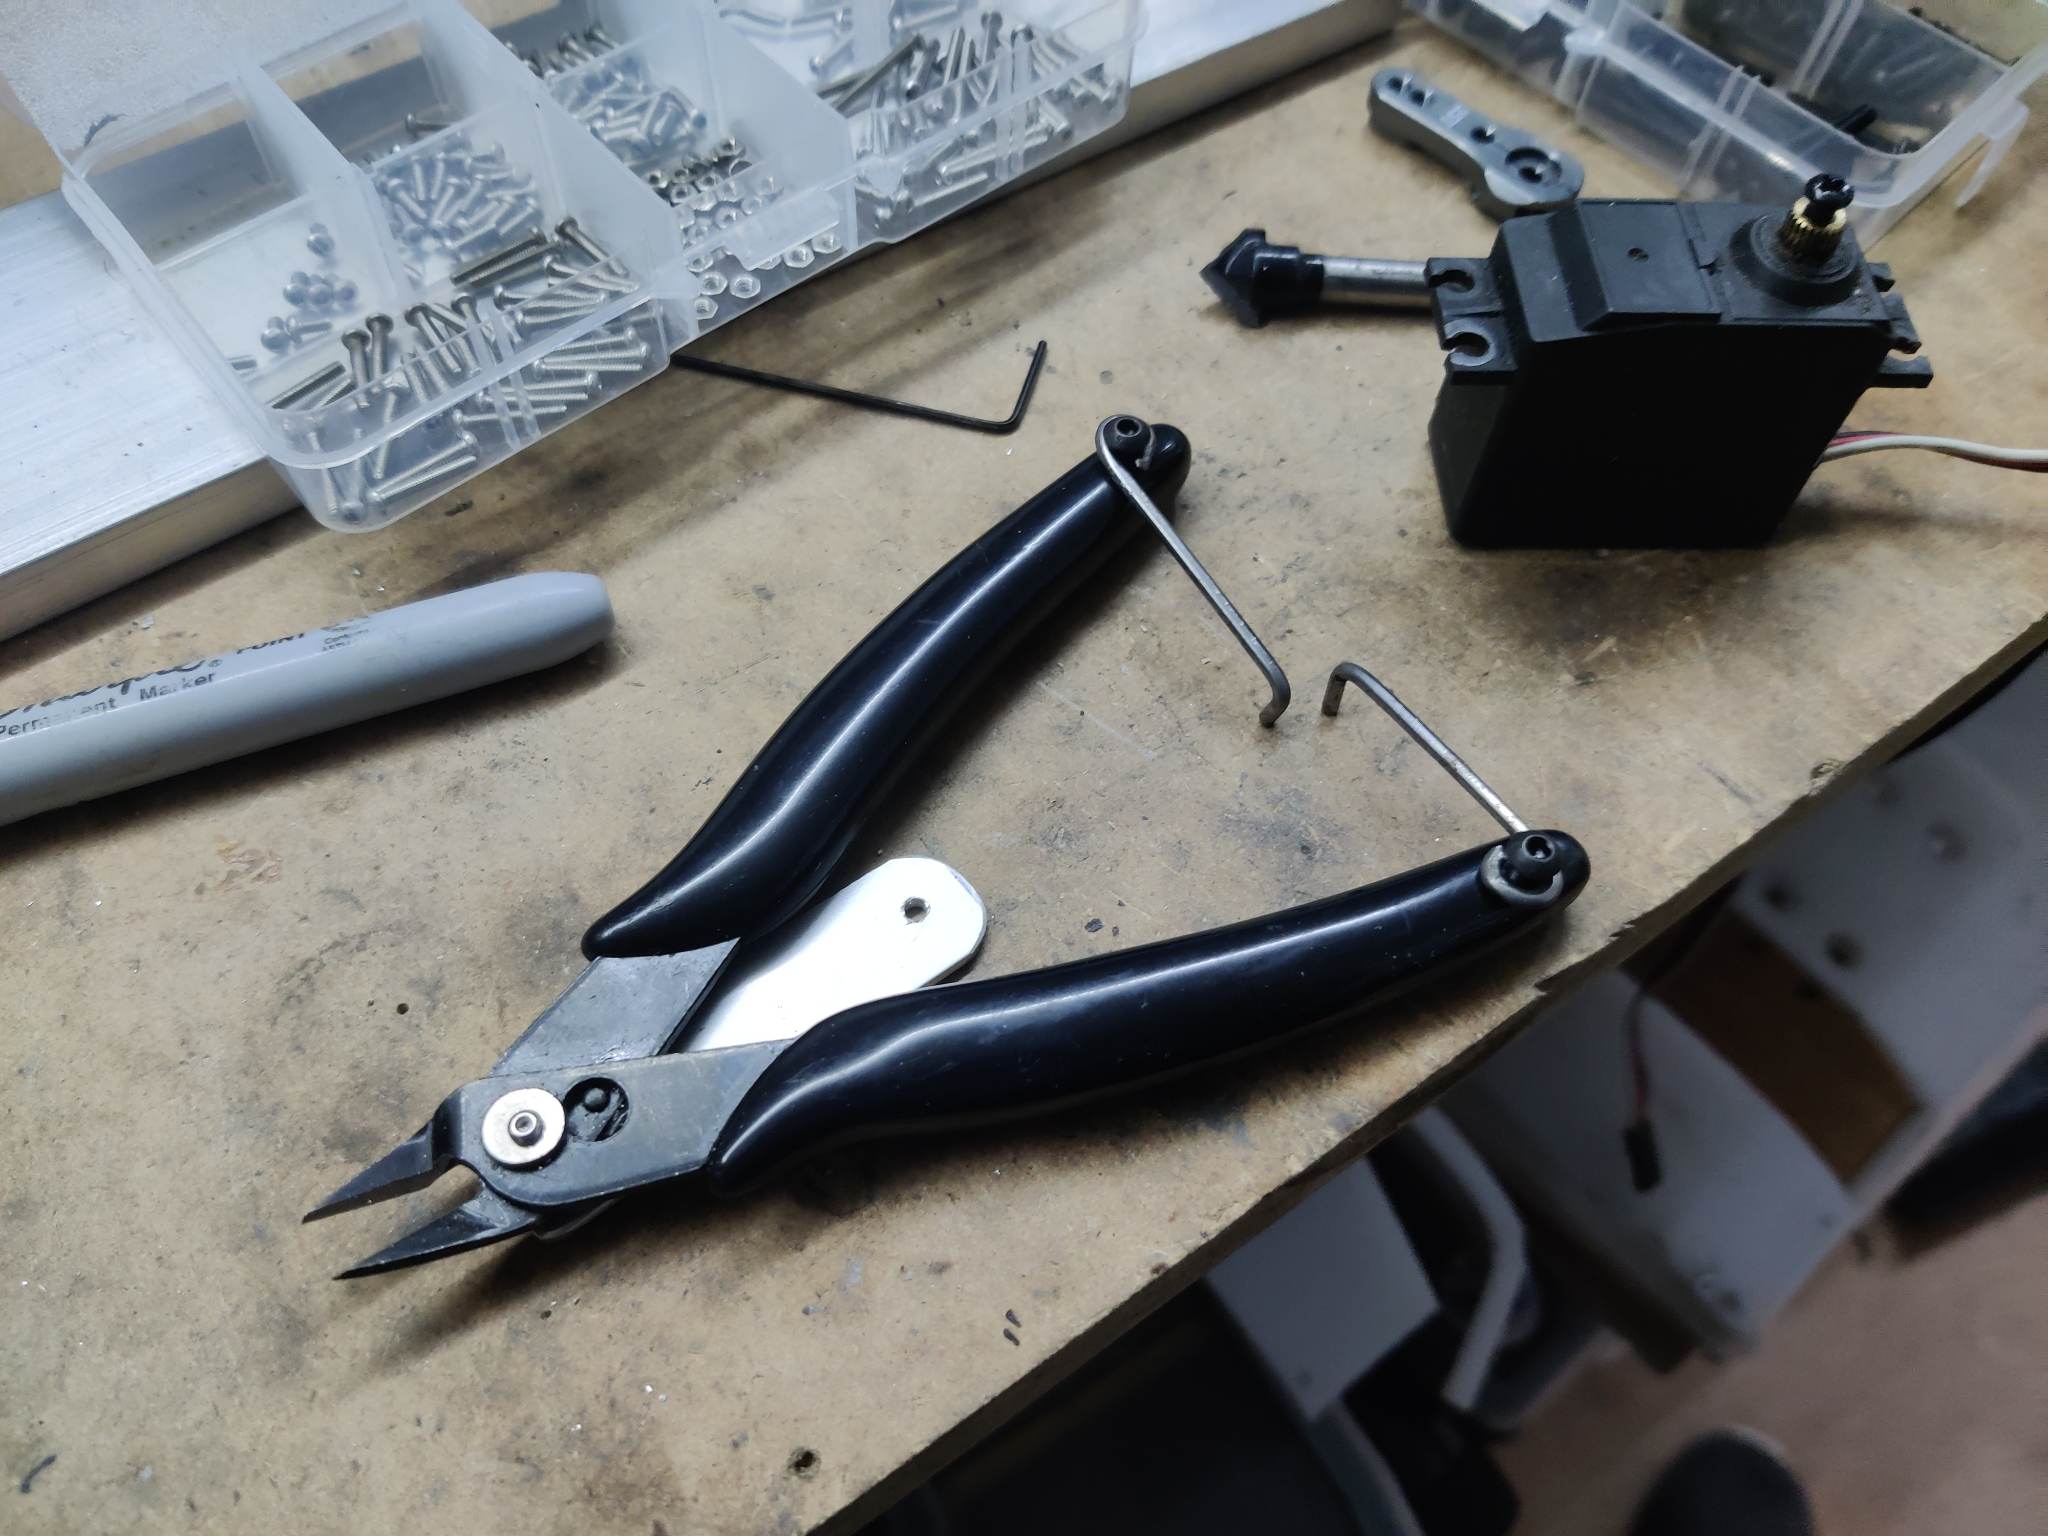
MAGNUM Sharpie:

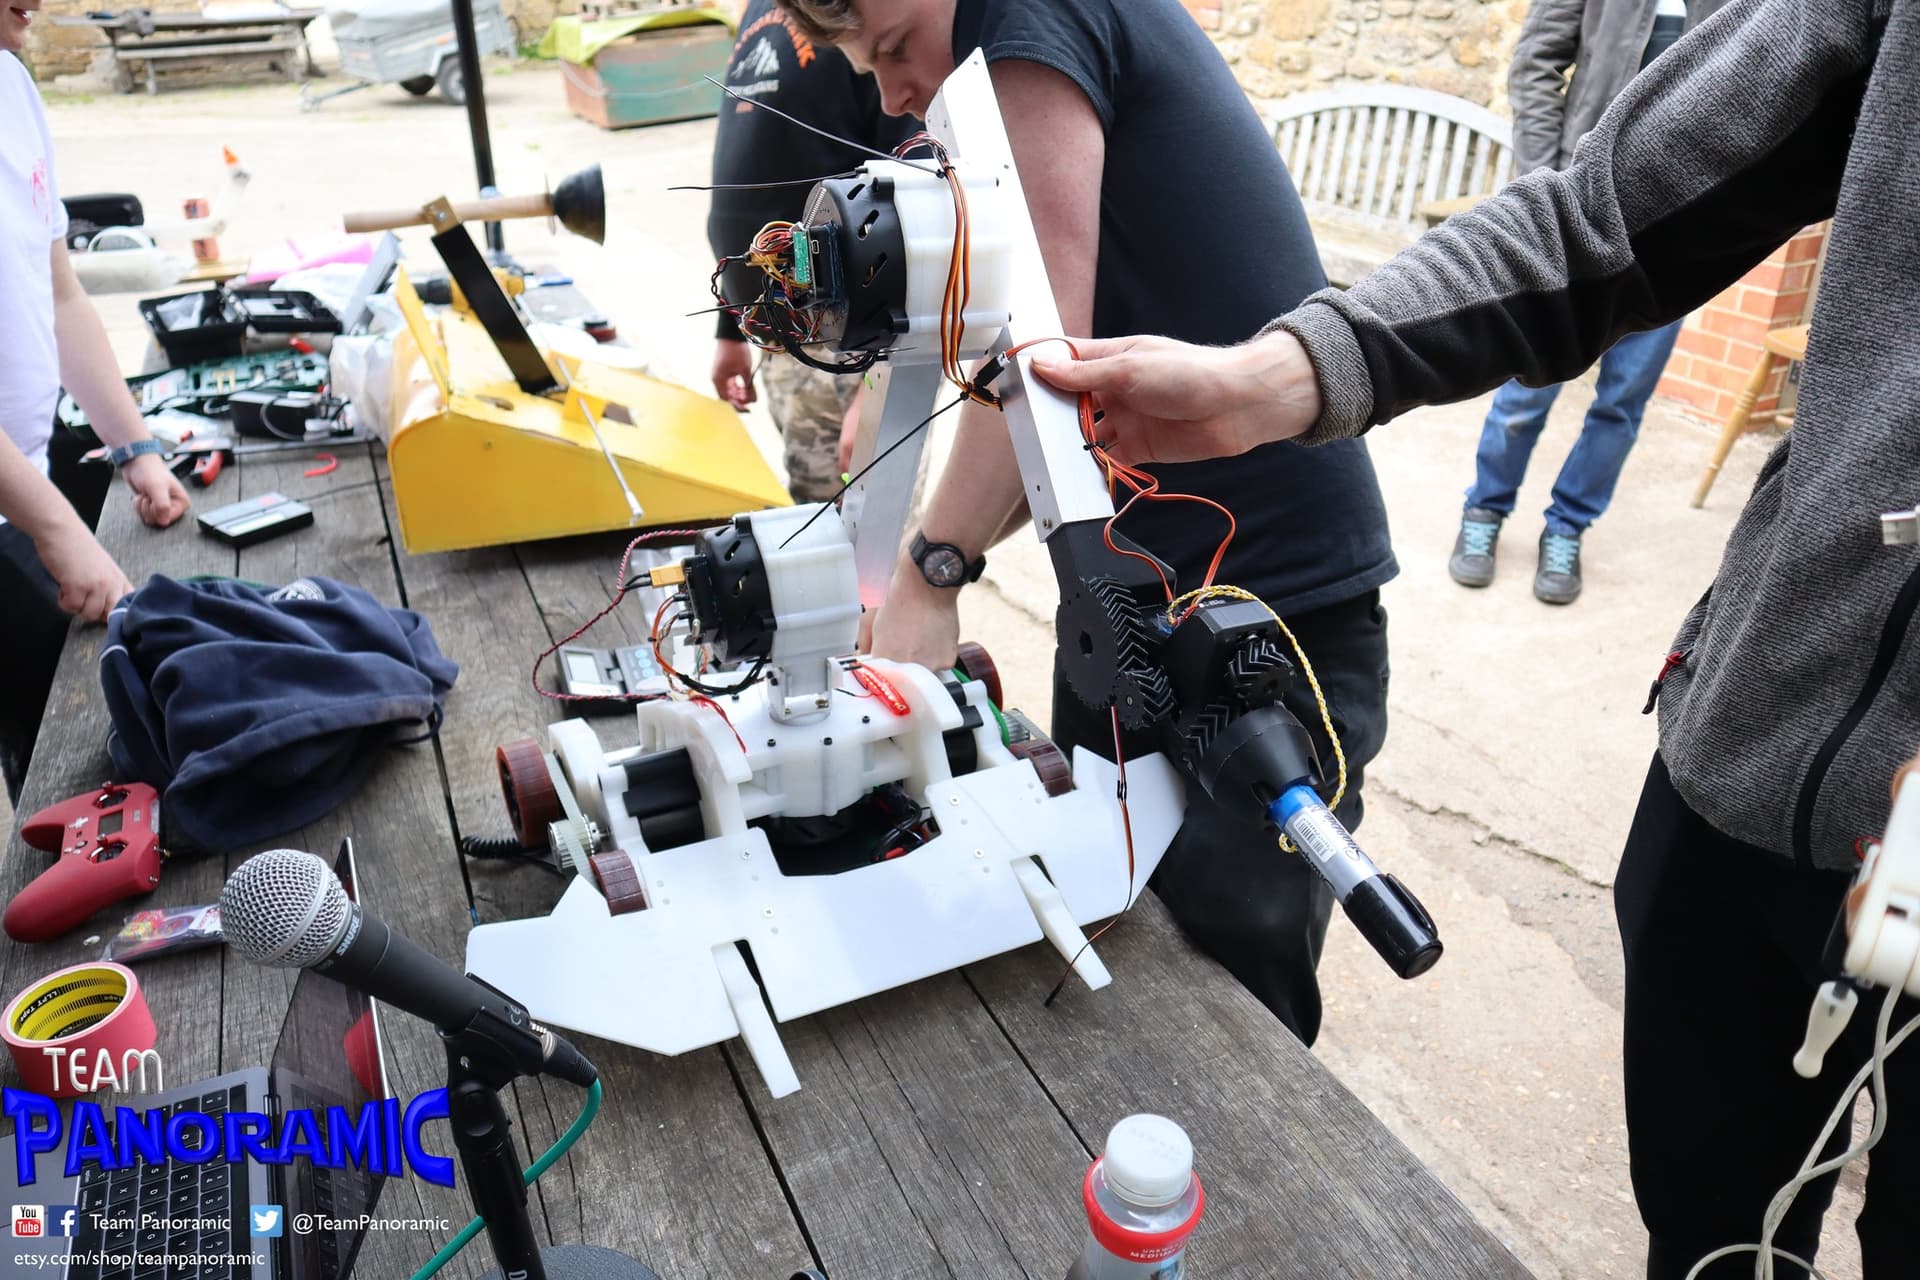
And the final product! (Thanks to Harry Tee for the photo!)

We had a blast debuting this machine at BBB’s Northdown havoc / 5th birthday party event (check out the event video here), and hope to bring it back in future! - maybe with some better tuned PID, lower latency radio controls for the arm, and maybe a wider array of wacky attachments!

4 Likes

It amazes me how the sport progresses, I never thought I’d see a 5 axis arm on a featherweight, never mind one that works so well. That’s the beauty of the Bevs, no pesky spinners to destroy that lovely work :wink:

I look forward to seeing more of this in the future, well done guys :+1:

Gorgous build! That might be the most brushless robot to ever brushless. I look forward to V2 which will be able to write words like “arseholes” and “they fixed deathmatch in Valorant” live on opponents during a competition.

1 Like

10/10 would watch it try to draw dicks on robots again. THREEEEEE HDPE planetary gearboxes, the base of the robot being monstrous in it’s own right… It’s legit as **** and the coolest robot. Genuinely in awe of it. Great job by the both of you.

So grateful I was there to see this thing, incredible machine and very entertaining! Easily one of my favourite bots.