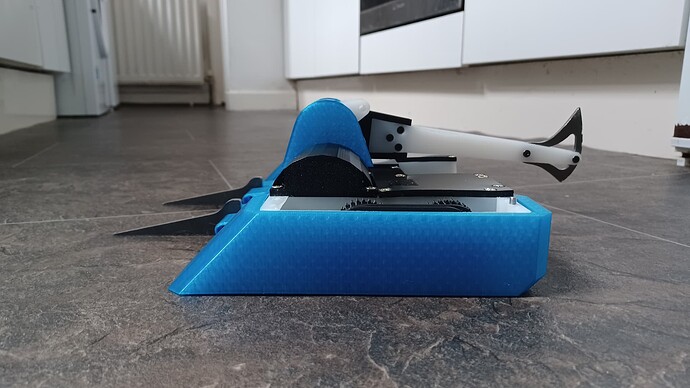
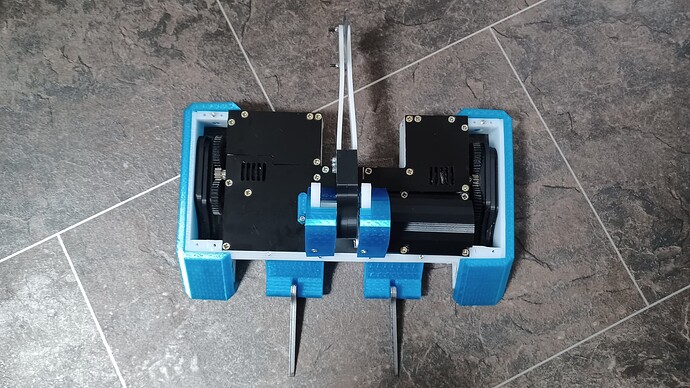
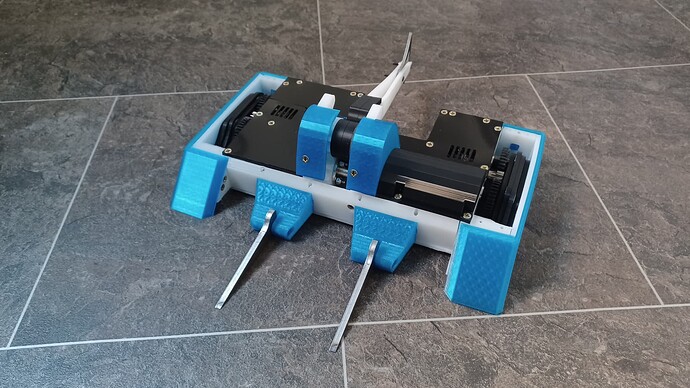
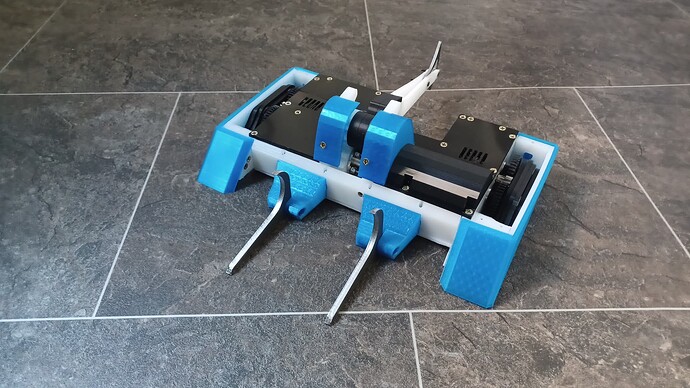
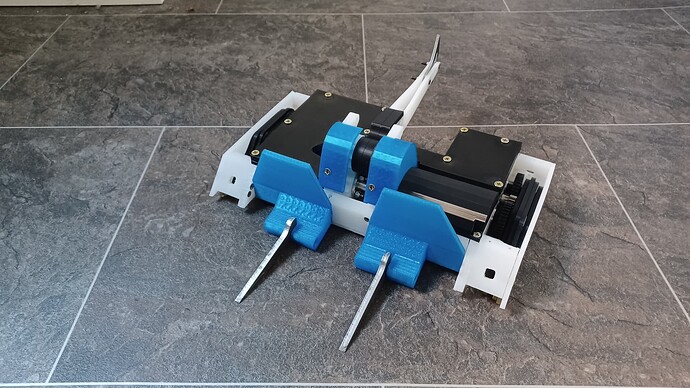
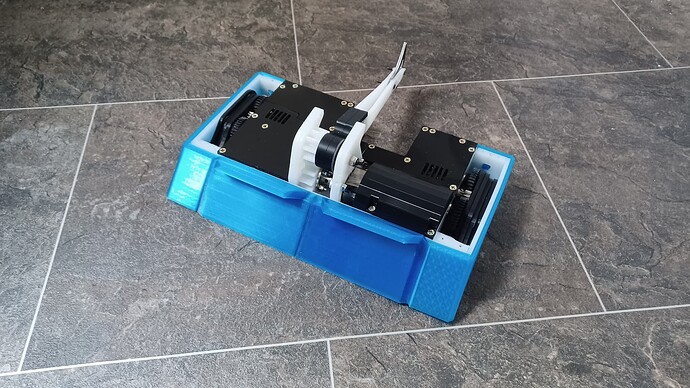
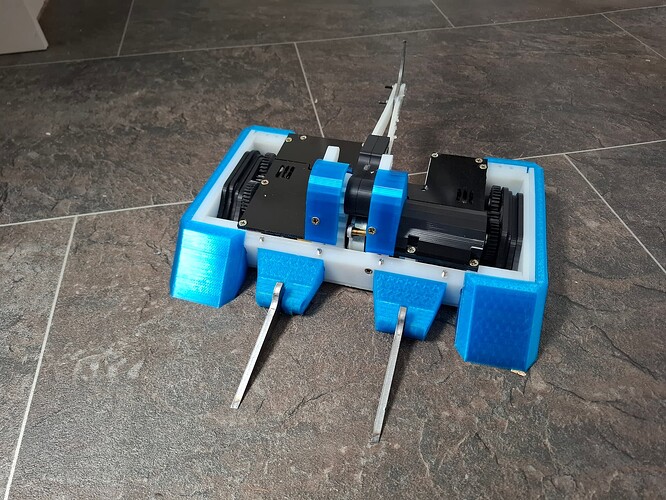
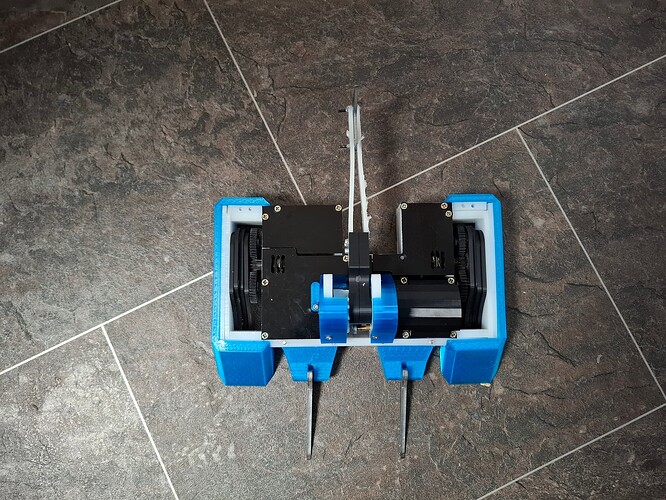
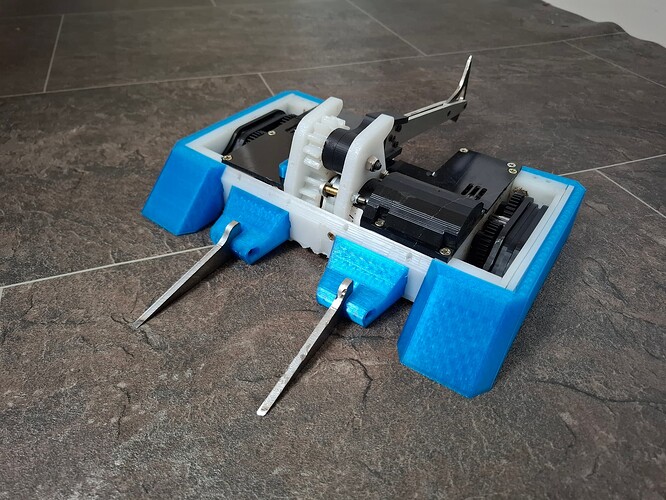
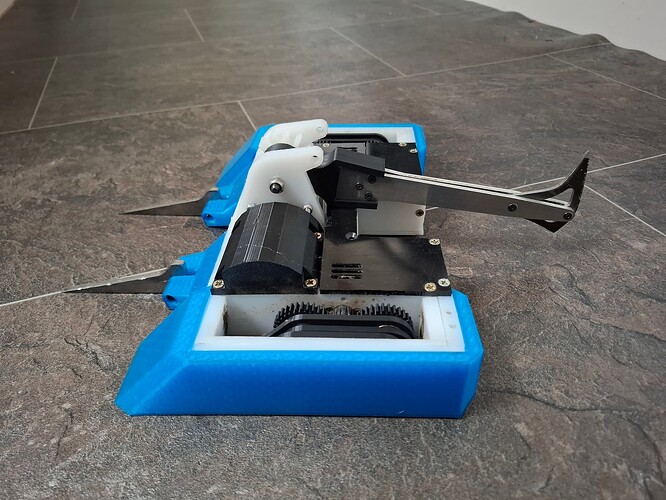
Overclocked - a Shuffling Axebot

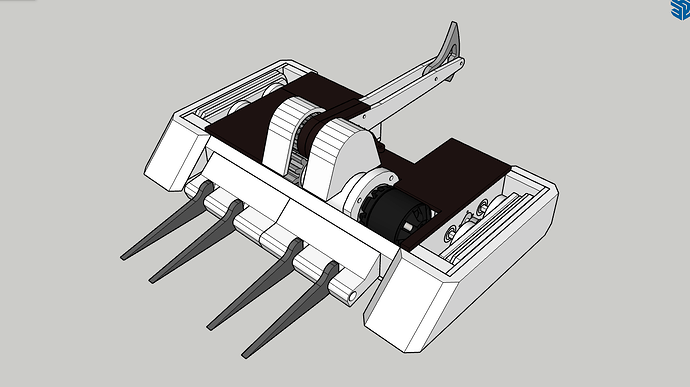
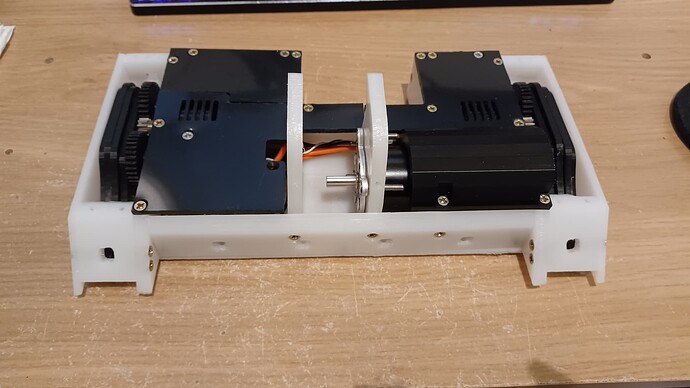
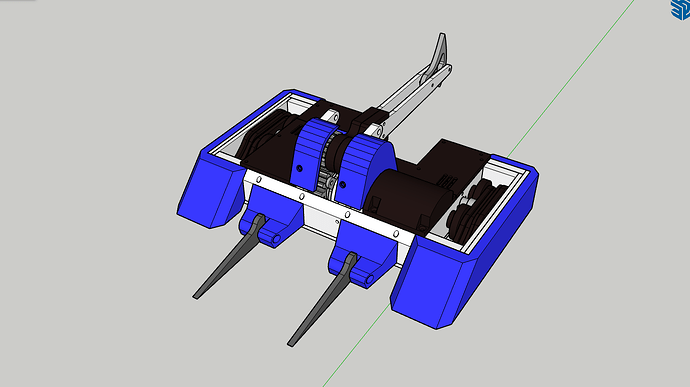
Back when I started designing my half of Accept Cookies, I wondered if the weapon motor could be put onto a beetle. Thus I started planning…

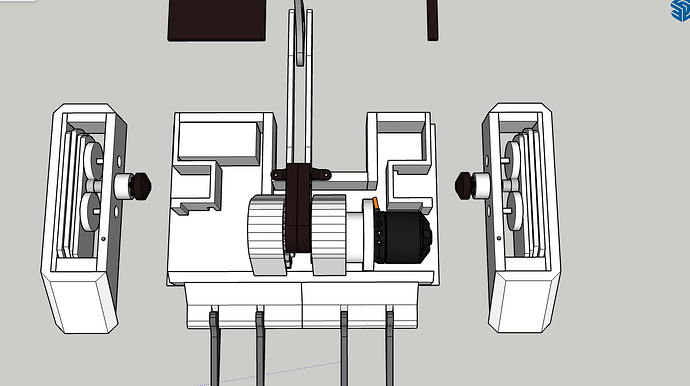
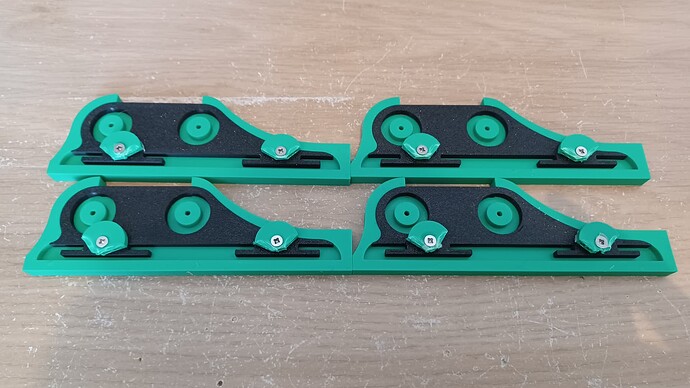
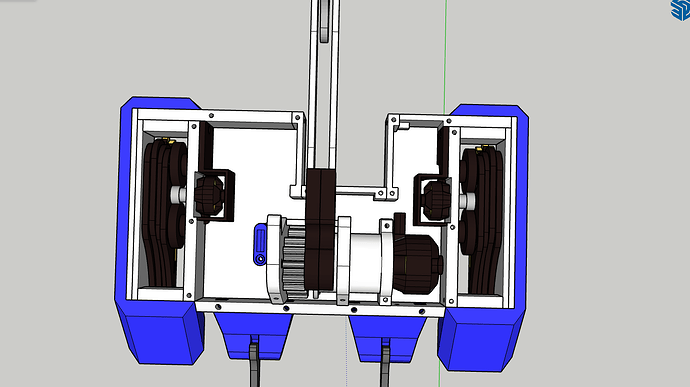
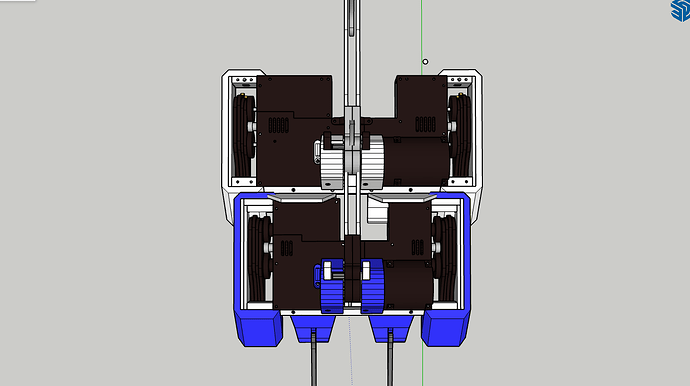
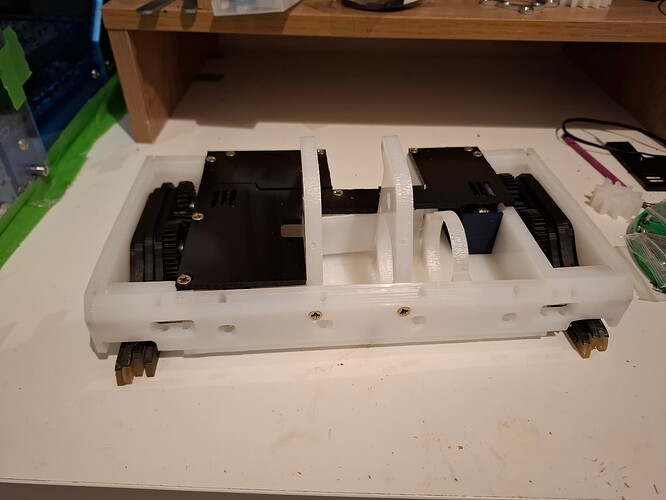
The idea was to use dual cam shuffling pods, which would be bolted on separately, so if necesary I could swap out a drive pod quickly. Big thanks to Sion for your help and chats about shuffling mechs.

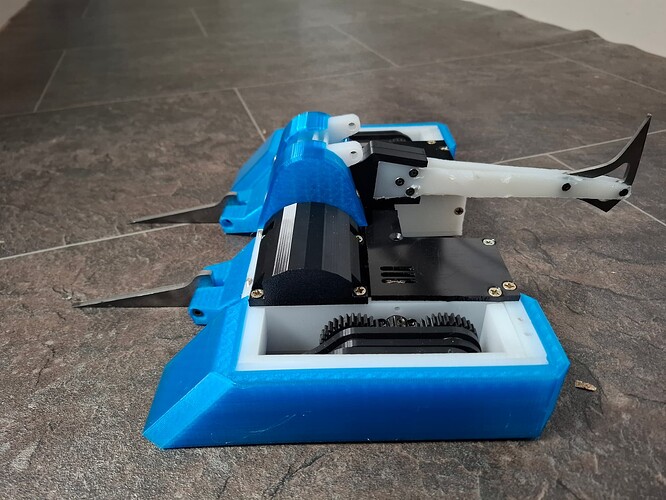
I also reused the forks and axe arms from PMXL, to save on some costs.

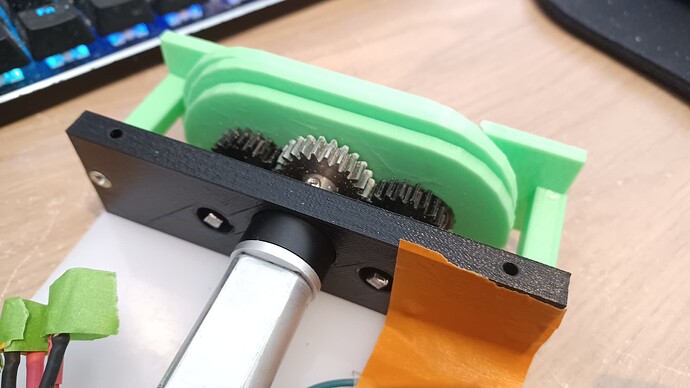
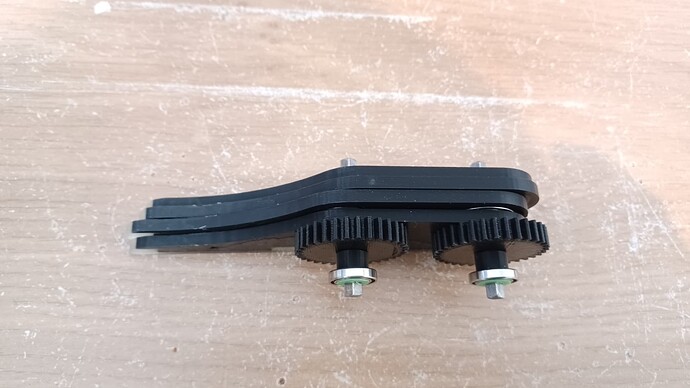
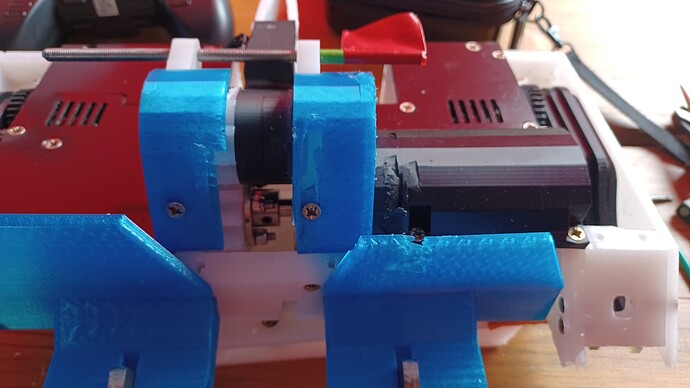
First thing to prototype was the shuffling mechanism. V1 uses a BBB brushed motor, with a 24:20 reduction to the cams.

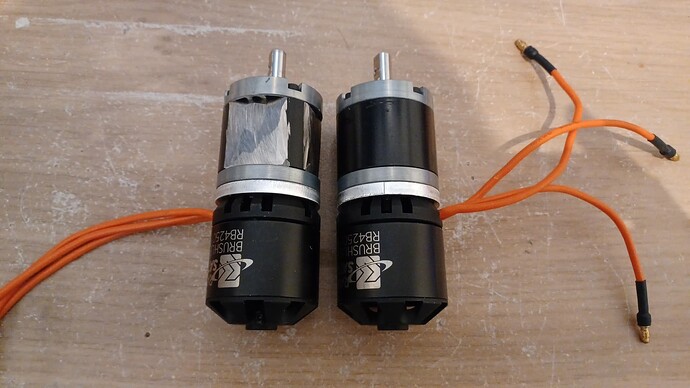
Okay, I had the mechanism working, now I needed to get some speed out of it. I tried my 1804s on a 5:1 gearbox, but they lacked the torque to move the shufflers. I then spied a 2836 on my shelf from older versions of PMXL’s weapon. Hmm…

That’s more like it! Next step was to get some grip. Around this time, I also picked up a Bambu P1S as they were having a big sale. As an aside, I didn’t realise how good some of the more modern features like a magnetic build plate or auto-bed levelling were to the printing experience until I got this.

With grippy feet, this really became responsive.

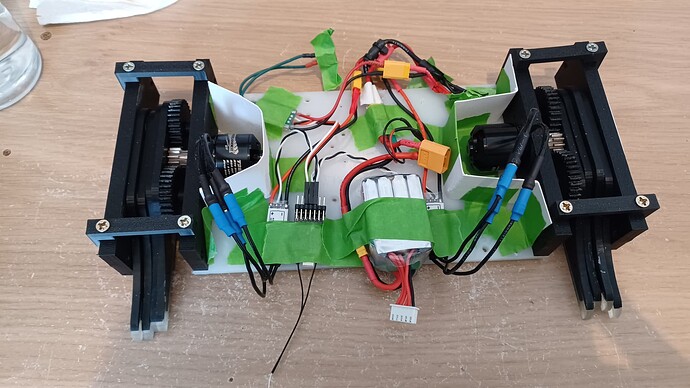
With that done, I could then focus on the main build.

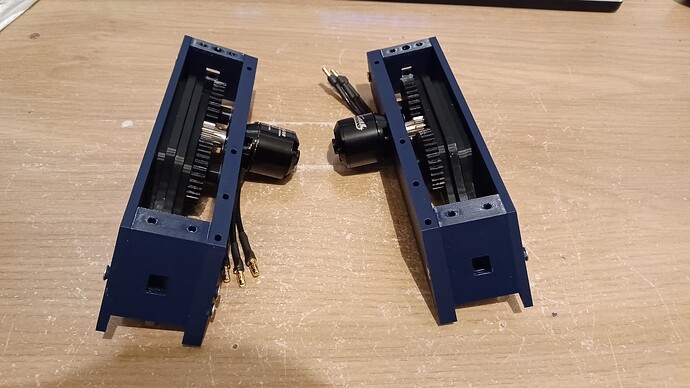
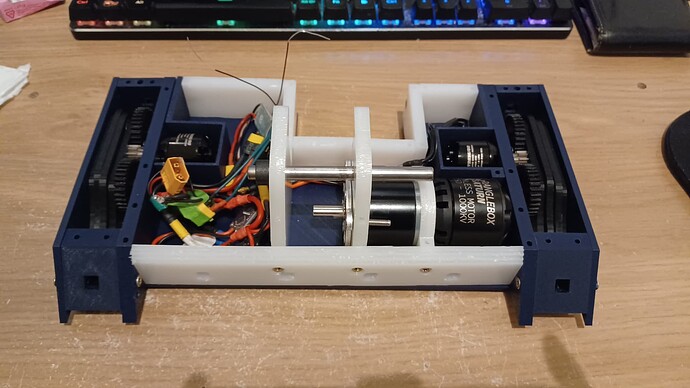
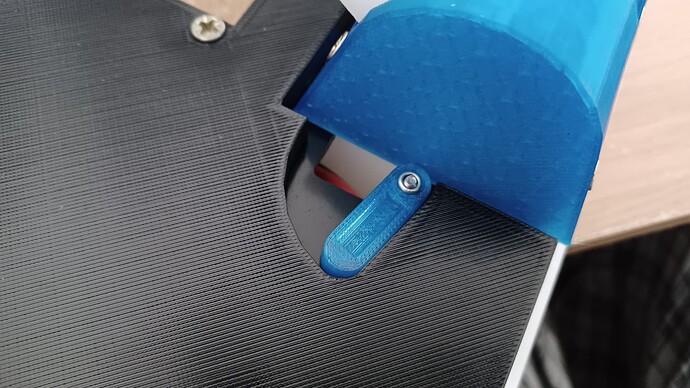
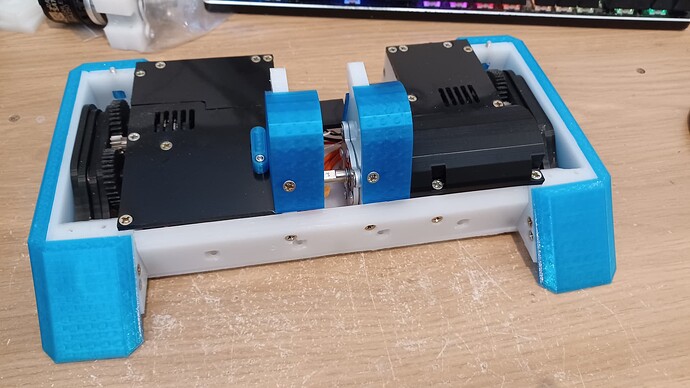
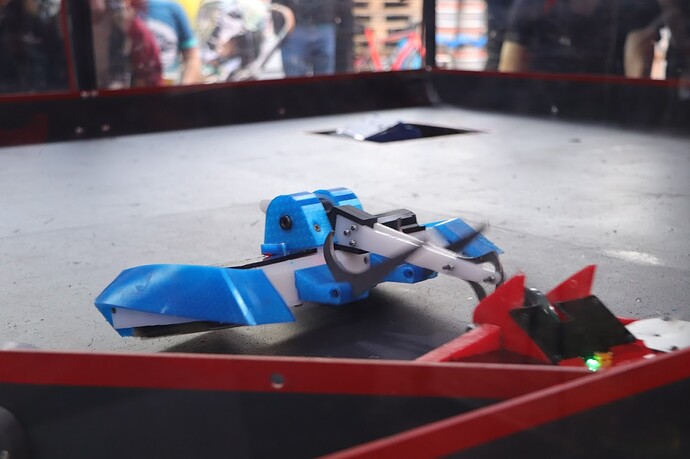
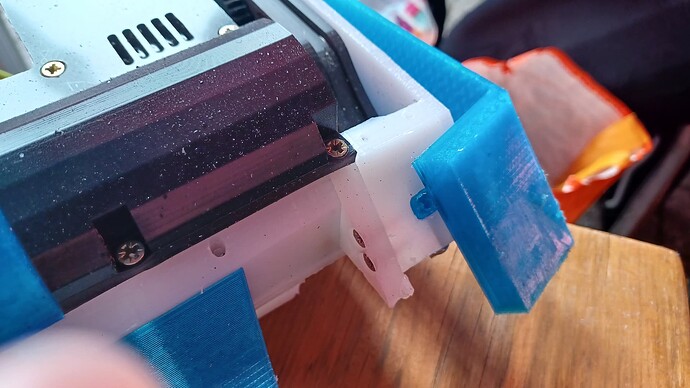
At this point, I realised I had run out of the usual natural TPU I use, and with them being out of stock, I bought some blue TPU. I think it ended up looking quite nice.

As it stands, it is a few grams over the weight limit, so I’m going to need to pocket a load of the HDPE. I also had to print my TPU with fewer walls than I’d like (3 instead of 5) to further cut weight, and there’s no way I’ll be able to run 4 forks at once.

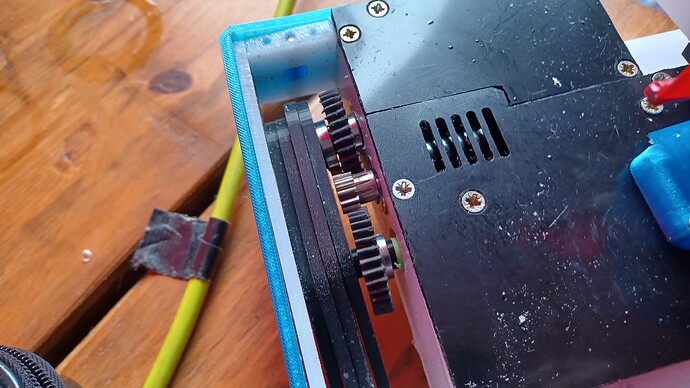
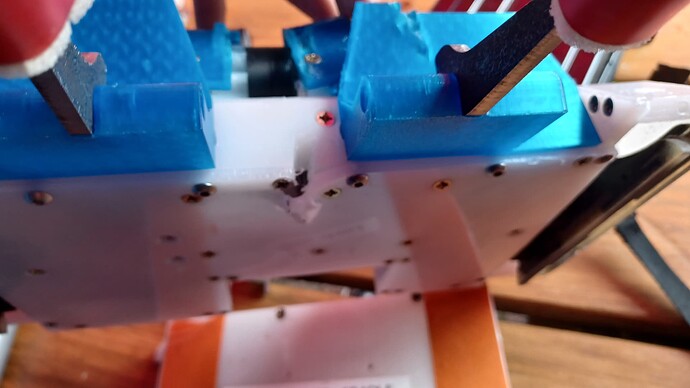
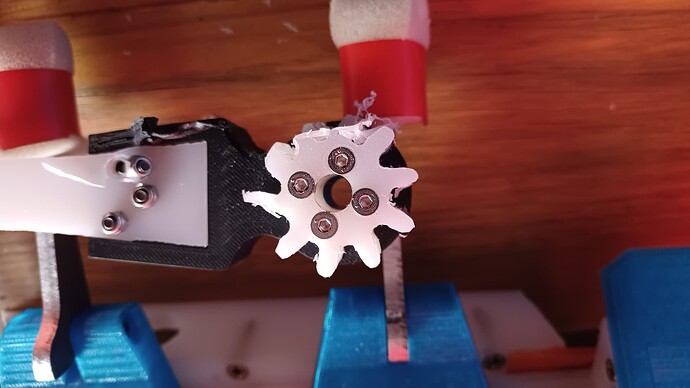
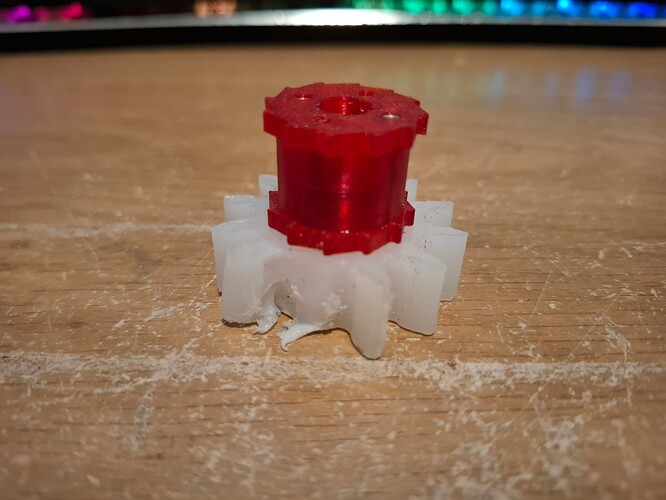
I did a drive test once assembled, and started melting the gears on the left hand side after about 30 seconds! I’ll need to come up with a way of mitigating that problem. Some lithium grese might help, but is probably going to leave a residue across the floor as it is an open gearbox.

Overclocked is set to debut at BBB Summer Showdown on 20th July!

11 Likes

Thomas when someone says “Beetle axes can’t do damage”

Incredible build mate, love to see you continuing to push the boundaries of what’s possible at this scale!

1 Like

From video’s I’ve seen, it’s mostly about how sharp the axe is and/or how much air space is in the robot being hit.

You don’t see many shufflerbots around, so it’s good to know at least a few robots are benefiting from the shuffler weight bonus.

I think there’s a few factors limiting the effectiveness of beetleweight axes.

Primarily, I think the typical construction of beetles (HDPE top plates, ~5mm thick) has the right amount of flexiblity and thickness to prevent axes from fully piercing them. I’ve only managed around 2mm of penetration against HDPE in testing. When I was over in the US, I was chatting to some folks and they said the typical top plates over there are 1-1.5mm carbon fibre, which I reckon axes would have a much easier time with piercing.

As you say, the sharpness of the axe also contributes to its ability to pierce armour.

Mass is important as well. You want more mass at the tip of the axe head for more force when landing blows, but that also increases the bucking when you fire the axe. Even with the relatively light axe heads on PMXL (ranging from around 28g to 40g IIRC), I still get a bit of bucking, and when I tested additional weight (by stacking multiple axe heads together), the bucking only increased, which actually reduced the damage on my test piece as a lot less force actually went into the target.

This has led me to believe that the way to increase damage in a beetleweight axe is to increase the velocity of the axe. In PMXL, the theoretical tip speed is around 28mph, and for Overclocked, I’ve increased the theoretical to ~42mph. Of course, they’re not actually going to reach these speeds, the unbalanced rotating mass and the ~180 degrees that it rotates limits the acceleration that can be achieved. However, I think the true utility of an axe is to hit vulnerable parts of the opponent, such as the link or exposed belts. I’ve yet to cut a belt, but I have managed 3 link snipes!

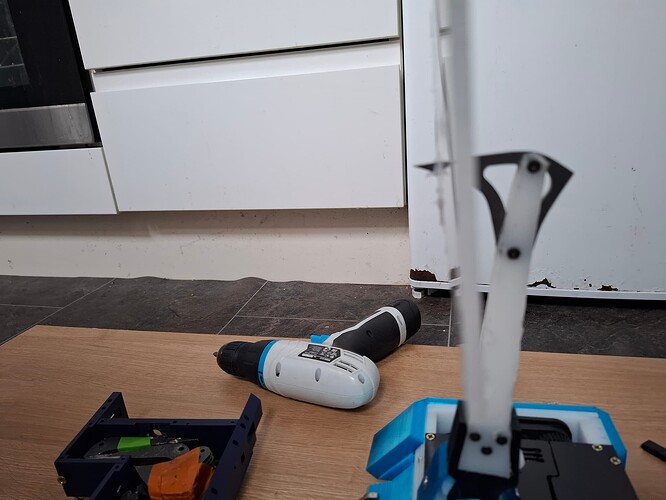
I should be soldering up the weapon ESC today, so I can start testing the weapon.

what a beauty! and moves great for a shuffler, really was surprised by that turn of speed.

whats the idea behind the front pointy bit of the shuffler btw? seems like it would be pretty fragile compared to the rest of the system

1 Like

Yeah, they’ll be be pretty fragile. I guess it’s an oversight on the leg design, but I didn’t like the look of big leg panels as much, and the legs did need to taper towards the front anyway because of the wedge.

Got the weapon wired up today, and it feels more impactful - when I blip the firing button, it has enough speed to recoil when hitting the end stop/target that it bounces back in a sort of auto-retract! However, inspecting the target, it didn’t look like it had done much more than PMXL. I’ll try some heavier axe heads (I conducted the test with my lightest axe head, a 3mm hardox piece around 28g), if the pocketing of the HDPE parts saves sufficient weight.

2 Likes

First event out for Overclocked at Summer Showdown this past weekend. As always, the BBB crew put on a great event.

In the days before the event, I was focused on getting all the configs into weight. This meant pocketing walls where possible, reducing the wall count on the TPU prints, and event taking an angle grinder to the weapon gearbox!

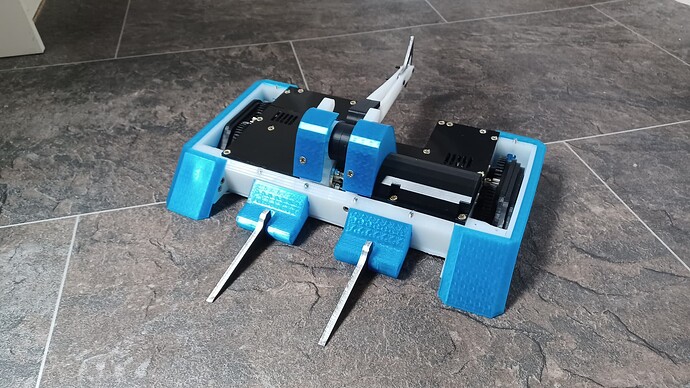
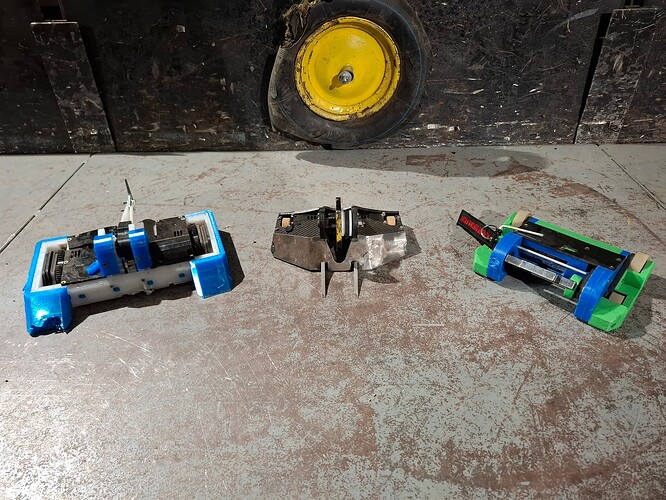
First up is the standard config:

Nothing special here. My usual fare of HDPE/TPU armour and re-using the forks and axe head from PMXL.

The weight savings let me just about squeeze the anti-drum config in weight, dead on 2kg.

The anti-hammersaw config sadly had to ditch the planned shuffle pod top armour as well as the side armour to get it in weight.

The anti-horizontal armour was luckily in weight with the planned 10 walls however.

I feel the first event for a new bot is always a case of data gathering more than seriously attempting to win, especially with something like Overclocked where I had a lot of questions about how it would actually hold up in combat. It ended up going 1:2, with all fights going to a judges decision (though the seond was due to a double K.O.!), and the battery did not drain as much as I thought it would after my tests at home, so that was encouraging!

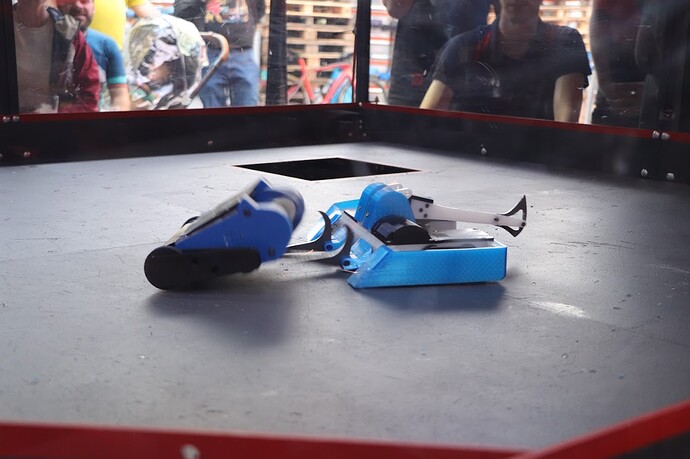
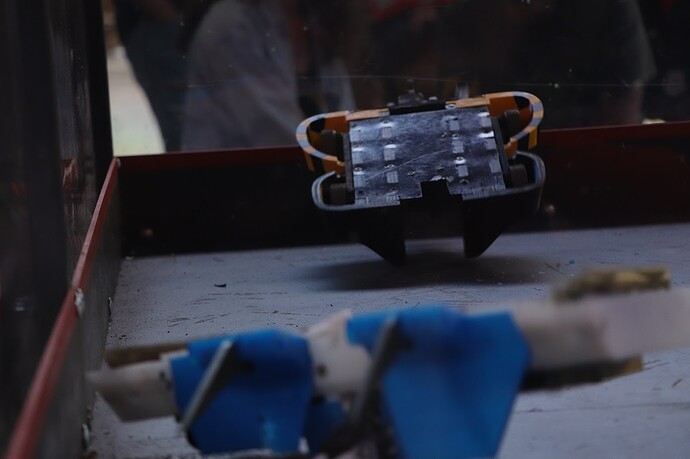
Fight photos courtesy of Ellie Harrington.

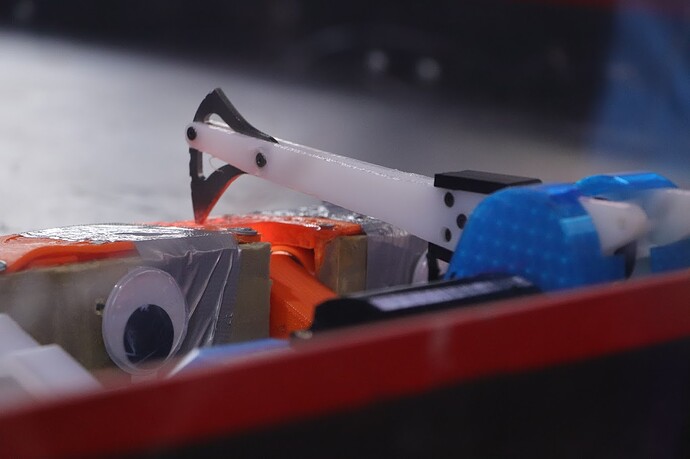
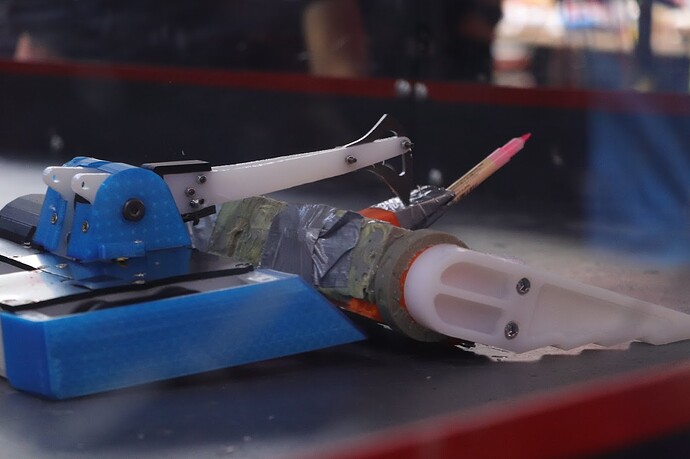
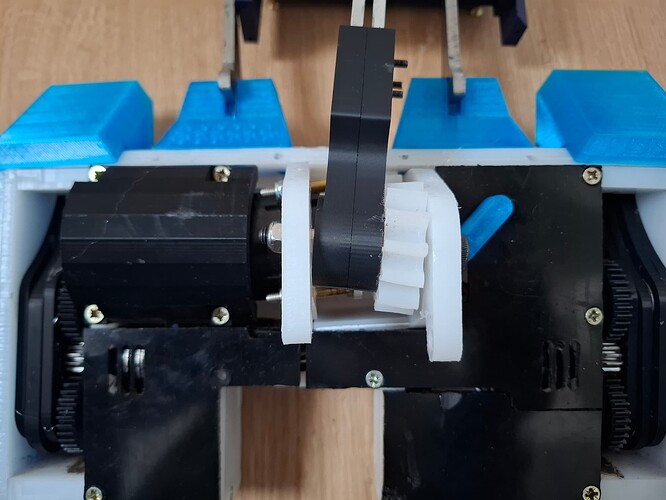
Fight 1 was against the 4WD eggbeater of Bulbaroar and the 2WD vert Dynamite. Despite my tests at home pointing to no real power increase in the weapon, it did manage to punch some holes through the 3mm HDPE lids of dynamite! It also started mulching the 14mm wide MOD3 HDPE gears on the axe, something that PMXL doesn’t do! I did lose one side of drive in this fight though, a hit from one of the others dislodged the bearings in the drive pod bulkhead, causing the gears to come out of alignment and jam. Luckily, none of the electronics were damaged, so it was just a matter of putting the drive pod back together.

Fight 2 was against Jackhammer, a hammersaw. We both went very aggressive, going head on and swinging at each other. Eventually, we managed a weapon-on-weapon hit with inverted both of us. I managed to self-right but another swing seemed to kill the bot while Jackhammer was stranded on its back, leading to a double K.O. Not really sure why Overclocked stopped, as re-inserting the link seemed to resolve the issue.

Fight 3 was against Ugly Duckling, a 2WD lifter all the way from the US. I lost one side of drive in this fight again, though this time it was because the ESC blew a chip. This makes 2 ESCs this bot has killed, both on the left where the weapon motor sits. I suspect that the recommended 20A for the drive motors is being exceeded, and I’m overtaxing the 25A BBB ESCs. The axe did get some good hits in though.

I also entered a whiteboard fight, again against Ugly Ducklign and a new Lilith. However, the same connection issue from fight 2 appeared again, so I was not too active in this fight.
Generally, I managed to get a lot of data on how to improve Overclocked. I need to fix the issue of the bearings popping out - adding some flanges to the spacer prints might help with that. To solve the weapon gears mulching themselves, I’m going to try stacking 3mm aluminium gear profiles and relying on the ratchet clutch to save the motor. For the ESCs, I’ve ordered a couple of the Repeat Dual AM32s, which are 2 channel 35A ESCs, which should hopefully not blow up! For the connection problems, I’m not entirely sure what causes them, but I think it’s occurring when the weapon fires. I’ll add a capacitor over the power lines and see if that helps.

Thanks to the BBB crew for hosting, a good day out and worth the long trip!

3 Likes

Thanks for coming down and bringing such a cool new bot! And for helping pack down you’re always incredibly helpful!

What size were the drive motors out of interest? Are they the 2836s you mention? I’ve only tested the BBB AM32s with 1806s and 2004s, probably wouldn’t go any bigger, that’s useful data thanks! :slight_smile:

Yeah, they’re 2836 1120kv Overlander motors. They recommend 20A ESCs on their website so in theory the 25A BBB ESCs should be fine (I also ran the same motor on the blheli version in PMXL for its weapon in the past). I’m guessing the motor is drawing more than 20A consistently in this specific instance, whereas for PMXL it would have been a very momentary current spike.

I imagine they’re drawing quite a lot of current for a sustained time doing that crazy shuffle mech, but it’s a guess! :slight_smile: Keep me posted how it runs with a dual :slight_smile:

I took Overclocked to Dojo’s September event with some minor upgrades. Firstly, I replaced the drive ESCs with a Repeat Dual AM32, for the increased amp rating. I also added flanges to the spacer blocks in the shuffler mechanisms to help prevent the bearings from popping out the bulkheads.

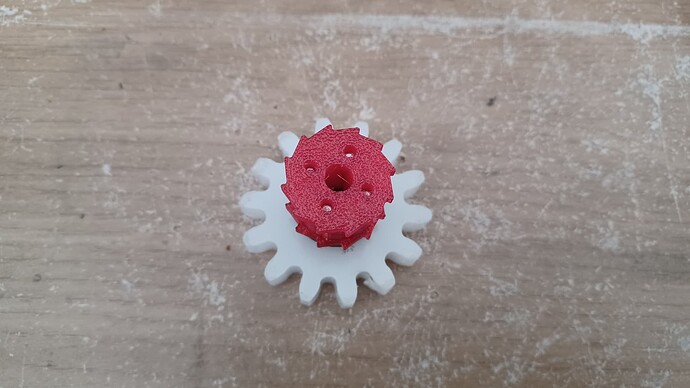
After the last Dojo which I took PMXL to, I found that the ratchet cut into the HDPE gears had worn away, so I’ve moved it into the axe arm itself. This makes them easier to replace if they wear down again, and lets me have sharp ratchet teeth as I don’t have to account for the radius of the milling bit.

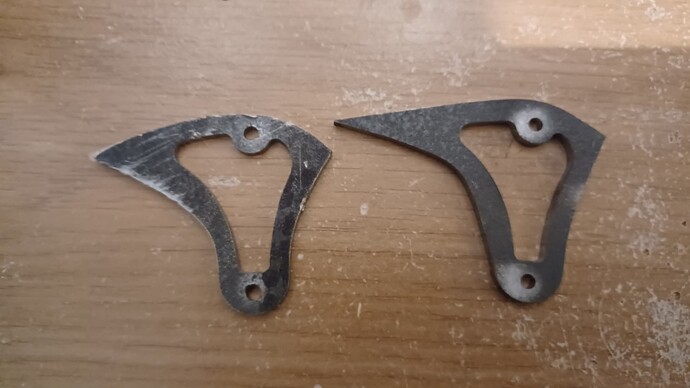
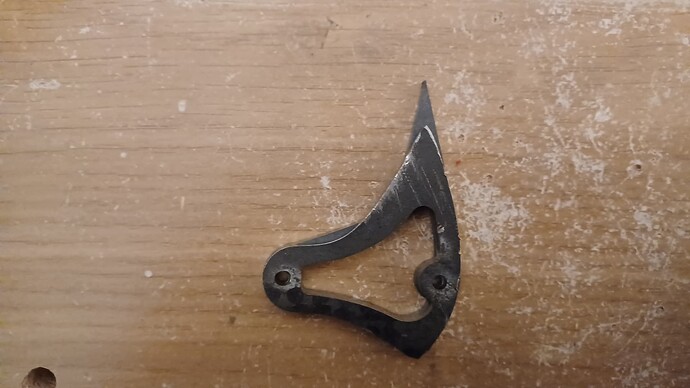
I also got some sharper axe heads.

Unfortunately I don’t have any fight footage right now because I left the camera at Dojo, oops! So rather than going over each fight, I’ll just summarise the event.

The new axe heads are much more effective than the old ones, with the axe now digging into top plates. In the first fight against Icebreaker, I managed to lift it a bit when retracting the axe because the axe embedded itself in the top plate!

The shuffler pods need more protection. One hit from a (admittedly large) horizontal in Chris Griffin 2 exploded one of the shuffler pods, and in a later fight against Dolos, it managed to clip one of the shuffle pods while operating in vert mode, again exploding the shuffle pod.

I’ll be focusing on PMXL over the next few months as it’s going to the beetle events I’m signed up for, but I do have plans in motion for improvements to Overclocked.

2 Likes

I’ve almost finished the CAD for Overclocked V2!

Visually, it looks almost the same. The major changes are internal - I’ve downsized the drive motors from 2836 1120kv motors to 2826 1900kv motors, and the weapon motor is slightly smaller, now a 4240 890kv motor. The shuffler pods are also more protecteed, with the front and rear panels extending in front of and behind the pod, with an additional 4mm panel to retain it further. The TPU armour now attaches to the chassis rather than the shuffle pod itself. These changes are going to make it take longer to swap out a shuffle pod, but I think it will be worth it to better protect them in a fight.

These changes let me make the robot thinner, being about 30mm less wide than V1, even factoring into account the additional armour on the sides. This should let me save even more weight.

6 Likes

Looking great Yau!

Would love to see it in action. Fantastic work as always :heart_eyes:

1 Like

Thanks! The current plan is to apply for Beetle Brawl next year with this. PMXL will be the focus for the rest of this year (not that there’s much to do to it aside from maintaining it).

1 Like

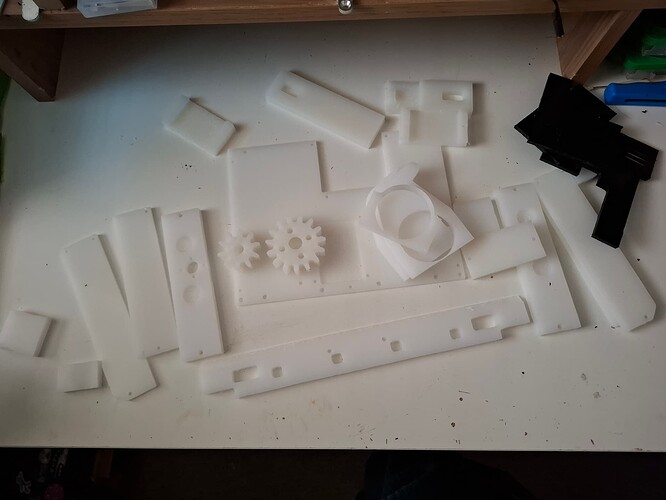
After a bit of a break over the holidays, I’ve spent the past several days finishing off the build. Lots of HDPE machining ensued.

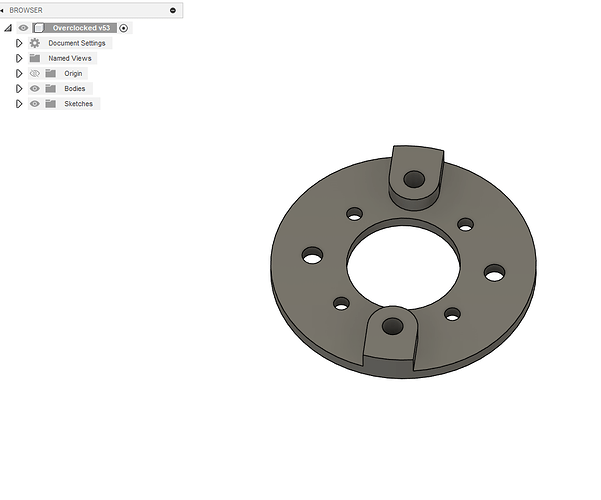
Alex Mordue did me a solid and machined an adapter plate for the weapon motor, as the prototype 3D print probably would not have survived full combat.

Spent yesterday sorting out the electronics, which was mostly moving the wiring loom from V1 over, though I did need to replace the bullet connectors for the weapon motor as the new one uses 4mm bullets as opposed to 3mm bullets.

Functional test

The last bits of TPU came off the printer this morning!

I actually sorted out a proper dummy to test the axe on, which was just a 3D printed/HDPE shell filled with various hardox bits to bring it up to 1.5kg.

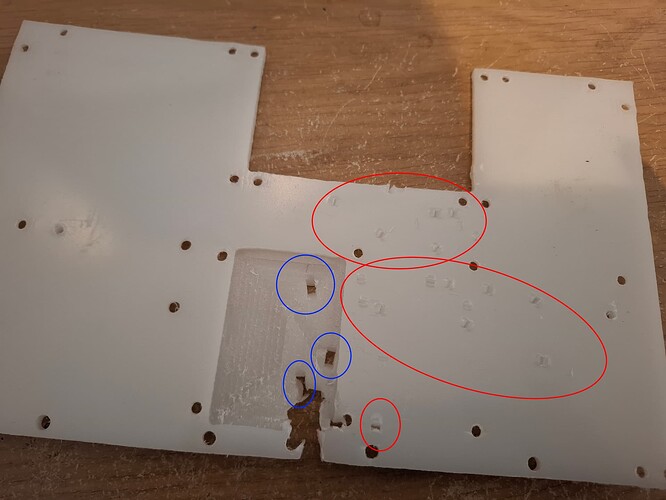
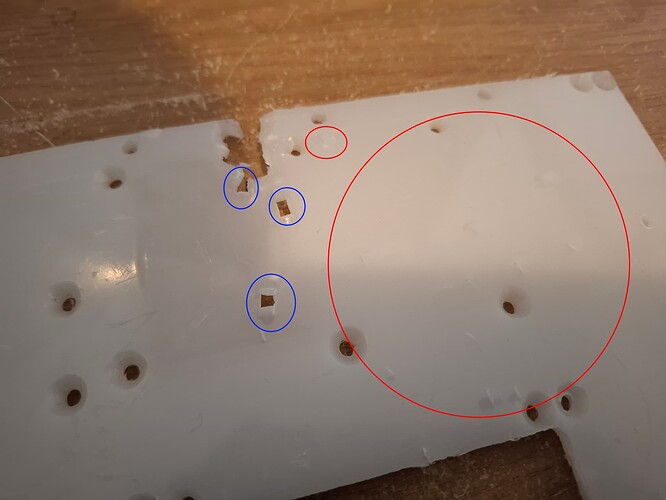
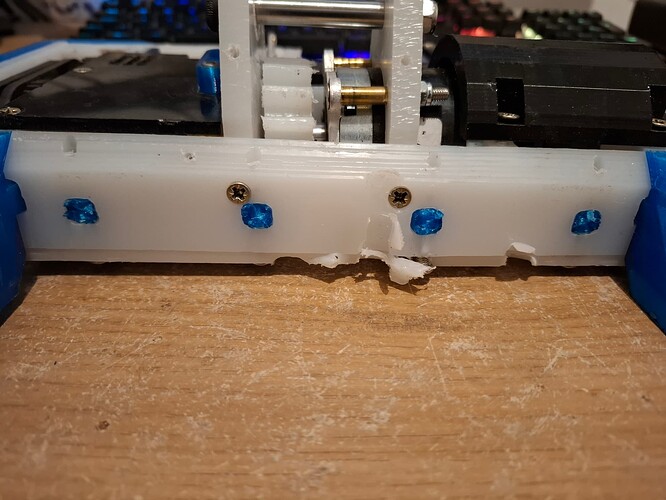
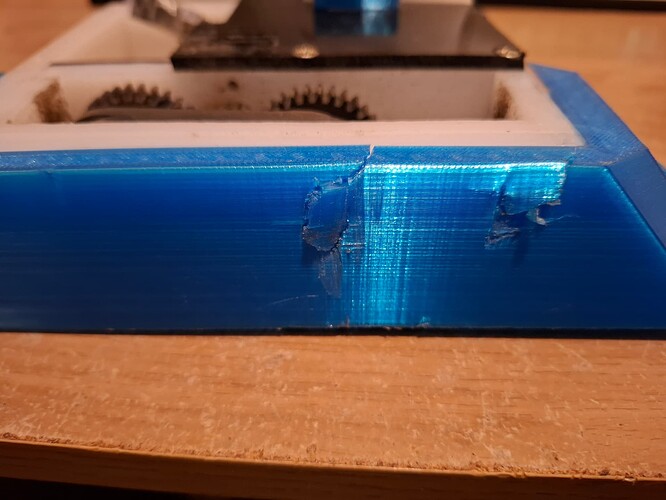
I was intending to test he axe against the 4mm baseplate of V1, but I missed on one swing and hit the 2mm pocket for the gear…

Yikes!

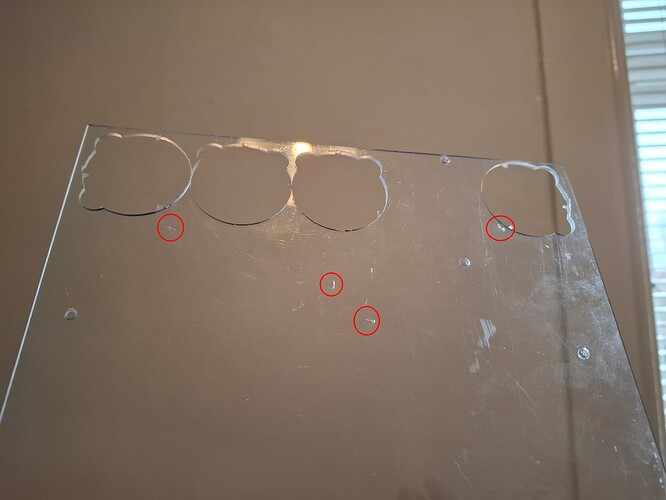
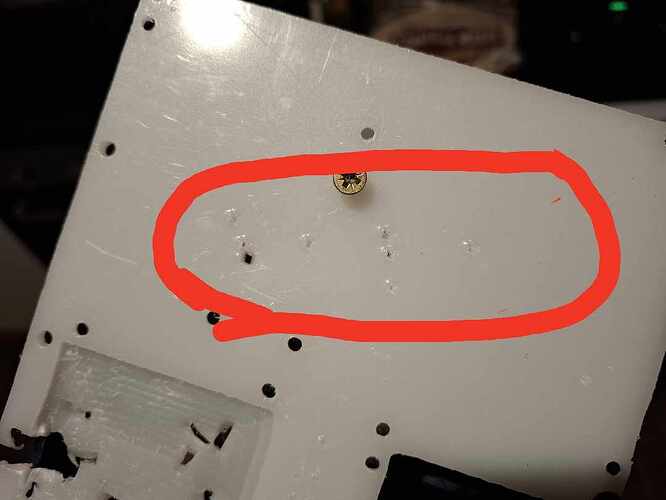
Blue circles are the 2mm impacts, the red circles are the 4mm impacts. 4mm is enough to stop the axe from penetrating the plate, but the back side gets dented slightly.

I also tried some 2mm polycarb, which held out much better.

Pretty much ready for Dojo on the 18th, just need to sort out the other configs. I’m probably going to have to drop the side armour TPU when I configure for top attack bots, as it weighs ~1980g as pictured above.

7 Likes