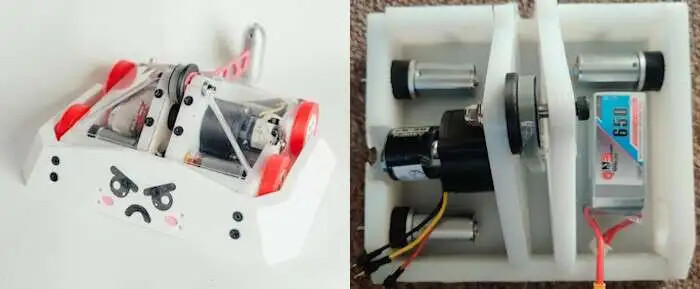
Hi, After making a few ants, I wanted to make a beetle; as I already have experience with cam lifters, I thought it would be the best kind of bot to make. However, I wanted to put a twist on things. The twist I went with? A four wheel drive cam lifter.
It’s currently in the CAD stage but I’ve got a layout and a plan.
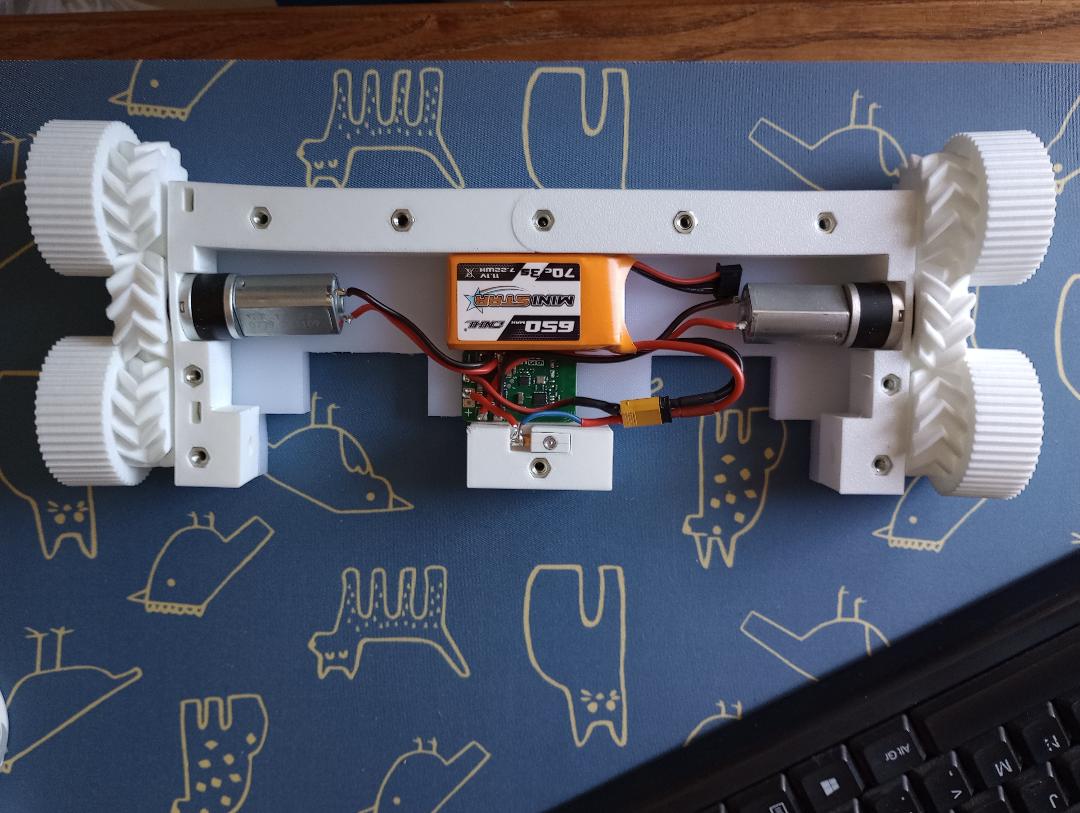
So, I’ve been unable to work on the robot for ~1 week but I’ve started to get actual things done! I have (almost) all the physical components and nearly able to do the POM; I just need to cut the baseplate and wire things up.
As we are getting ever closer to Capital Punishment, progress keeps on progressing!
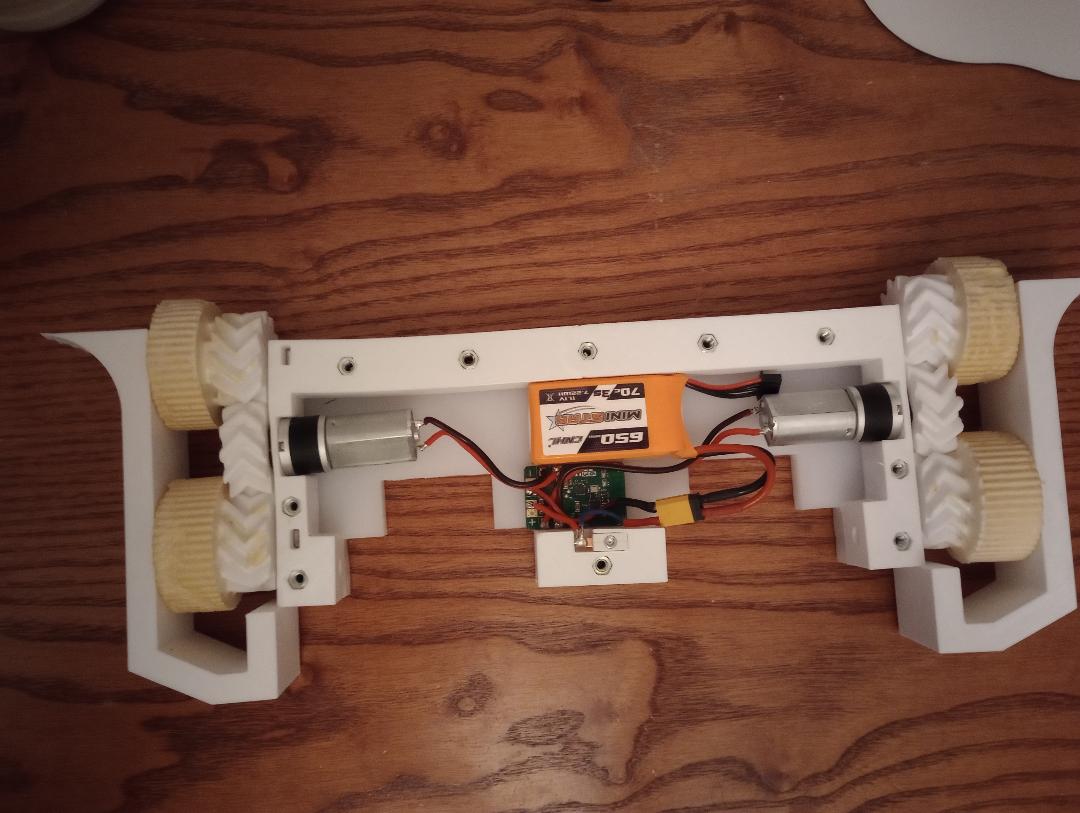
Since the last update, I’ve cut one of the top/bottom panels out, bought new tpu, printed the chassis, and soldered ~50% of the electronics; enough to drive around. However, I won’t submit POM yet as the drive tends to be a bit sticky; I think it’s because the printed wheels I was using for testing were sticking out a bit.
If you have more time before the event definitely recommend supporting around the gearboxes so not all the strain is on the mounting bolts.
Bop for example:
Hello again!
I have cast my own wheels and… it went okay. I didn’t use enough mould release and quite a bit of the tyre stuck to the mould so I literally had to cut them out (partially).
My second mistake, while not impacting performance but still funny, was that, after I had washed the mould release off the wheels, I left them in the sun to dry. You know how old tech usually has yellowed casing? Well, it’s because of UV; the same thing happened to my tyres and they turned yellow.
My third mistake, overfilling one of the moulds. By this point the PU was already thickening so it was harder to pour. Because the tyre sticks out more than it should, the one gear is now rubbing against the PU and creating friction.
Despite all this though, it now drives much better than before! It feels insanely responsive and fells like it’s on magnets!
My dad suggested seperating the gear from the wheel using a square shaft and I think I’ll do it, even though I was opposed to the idea at first.
Okay, so, I’ve made the mounts to hold the forks on the servos, I have cut out a new top panel with the switch hole, and I have cast some new, slightly bigger, wheels. However, I made a pretty dumb mistake when casting.
After changing the mould to be bigger, I didn’t redo the calculations for how much PU I need and I ended up only having enough for 2.5 out of 4 wheels. After I realised that, I hastily made another batch with enough PU. However, I don’t think I mixed it well enough.
There are highs, there are lows.
I am at my lowest in this project rn.
I fried my only scarab with the comp tmr. Thank you Joe for hopefully saving me. Let’s hope I can drive Pi tmr.