Revron (Ant) Build and Iteration Diary
Preamble
In February 2023 I attended my first Antweight event, SCAR 2 in Sheffield. I entered with a fairly simple 4WD pusher called Shoveron.
(shoveron before)
I had a great time, met some great people, learned a lot and even managed to win a fight. One thing that surprised me as a newcomer is just how effective some of the spinners were and by the end of the trip home I’d convinced myself for the next event it’d be fun to build one.
(shoveron after fighting Icebreaker jr and learning what a well designed spinner can do)
A bit of research later and I set a few targets for my build
- 4WD
- Vertical spinner, ideally a drisk
- Use more durable materials
- Go positive W:L for the next event
- Separate armour from chassis
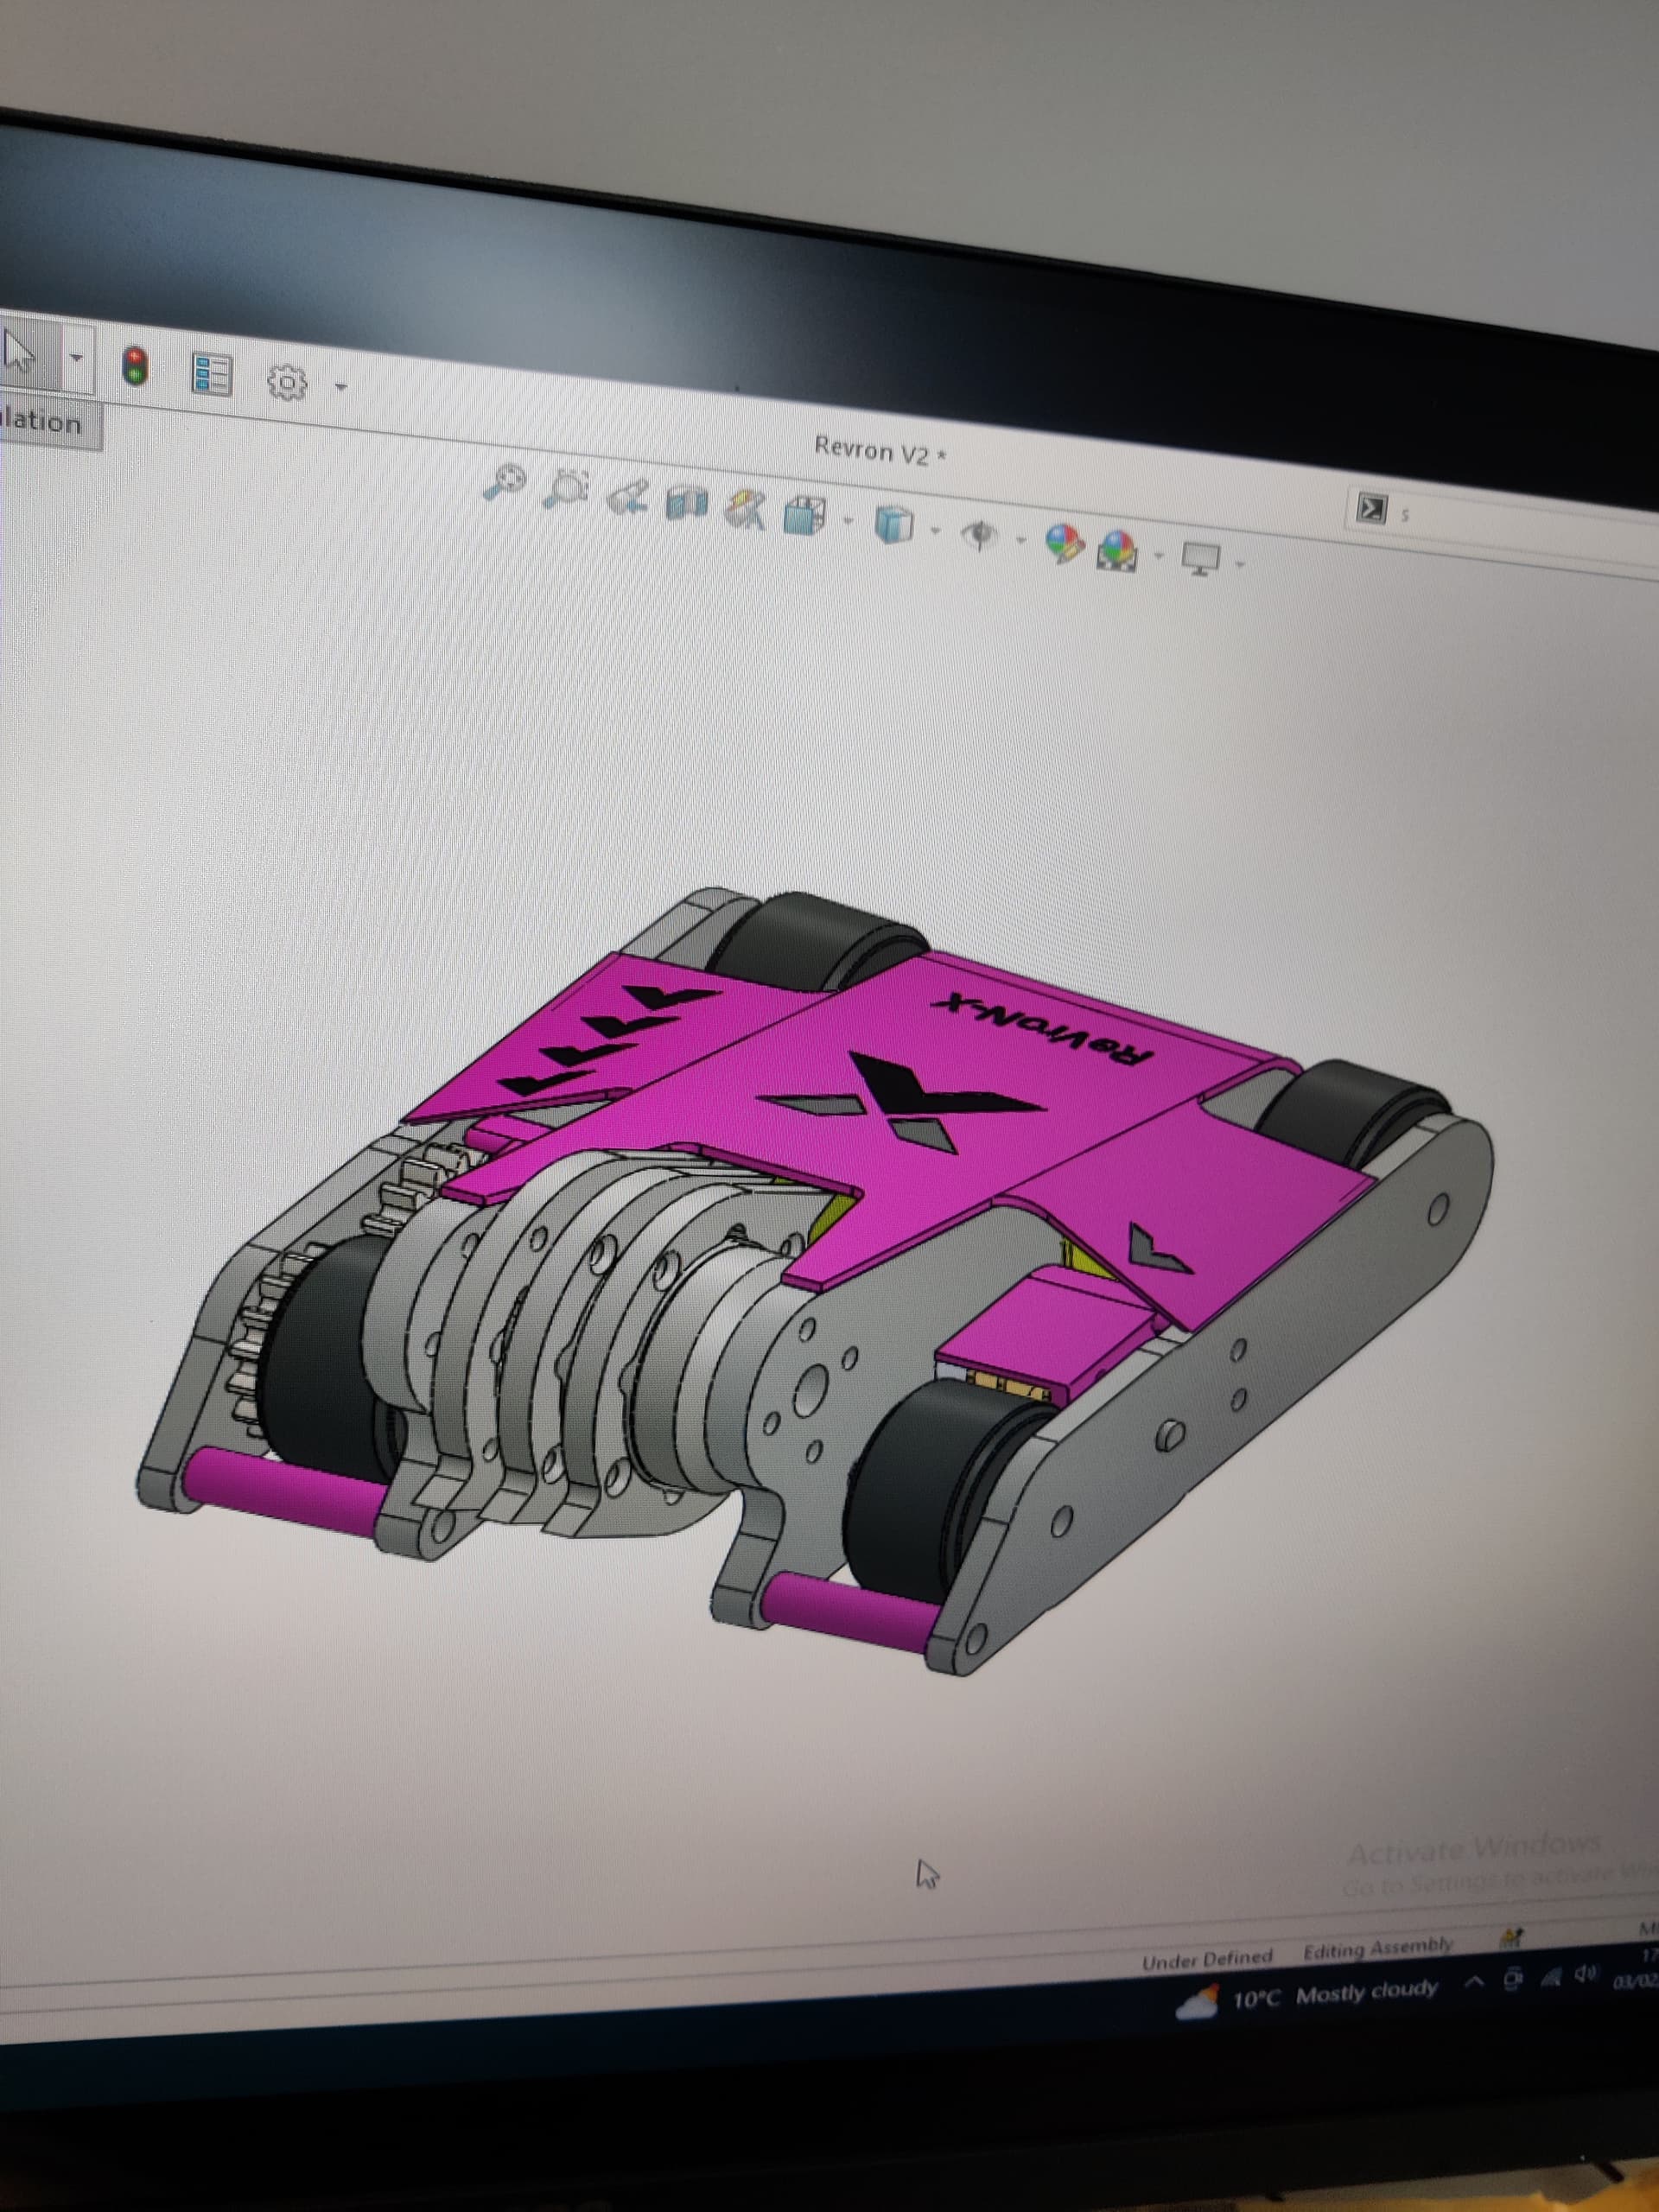
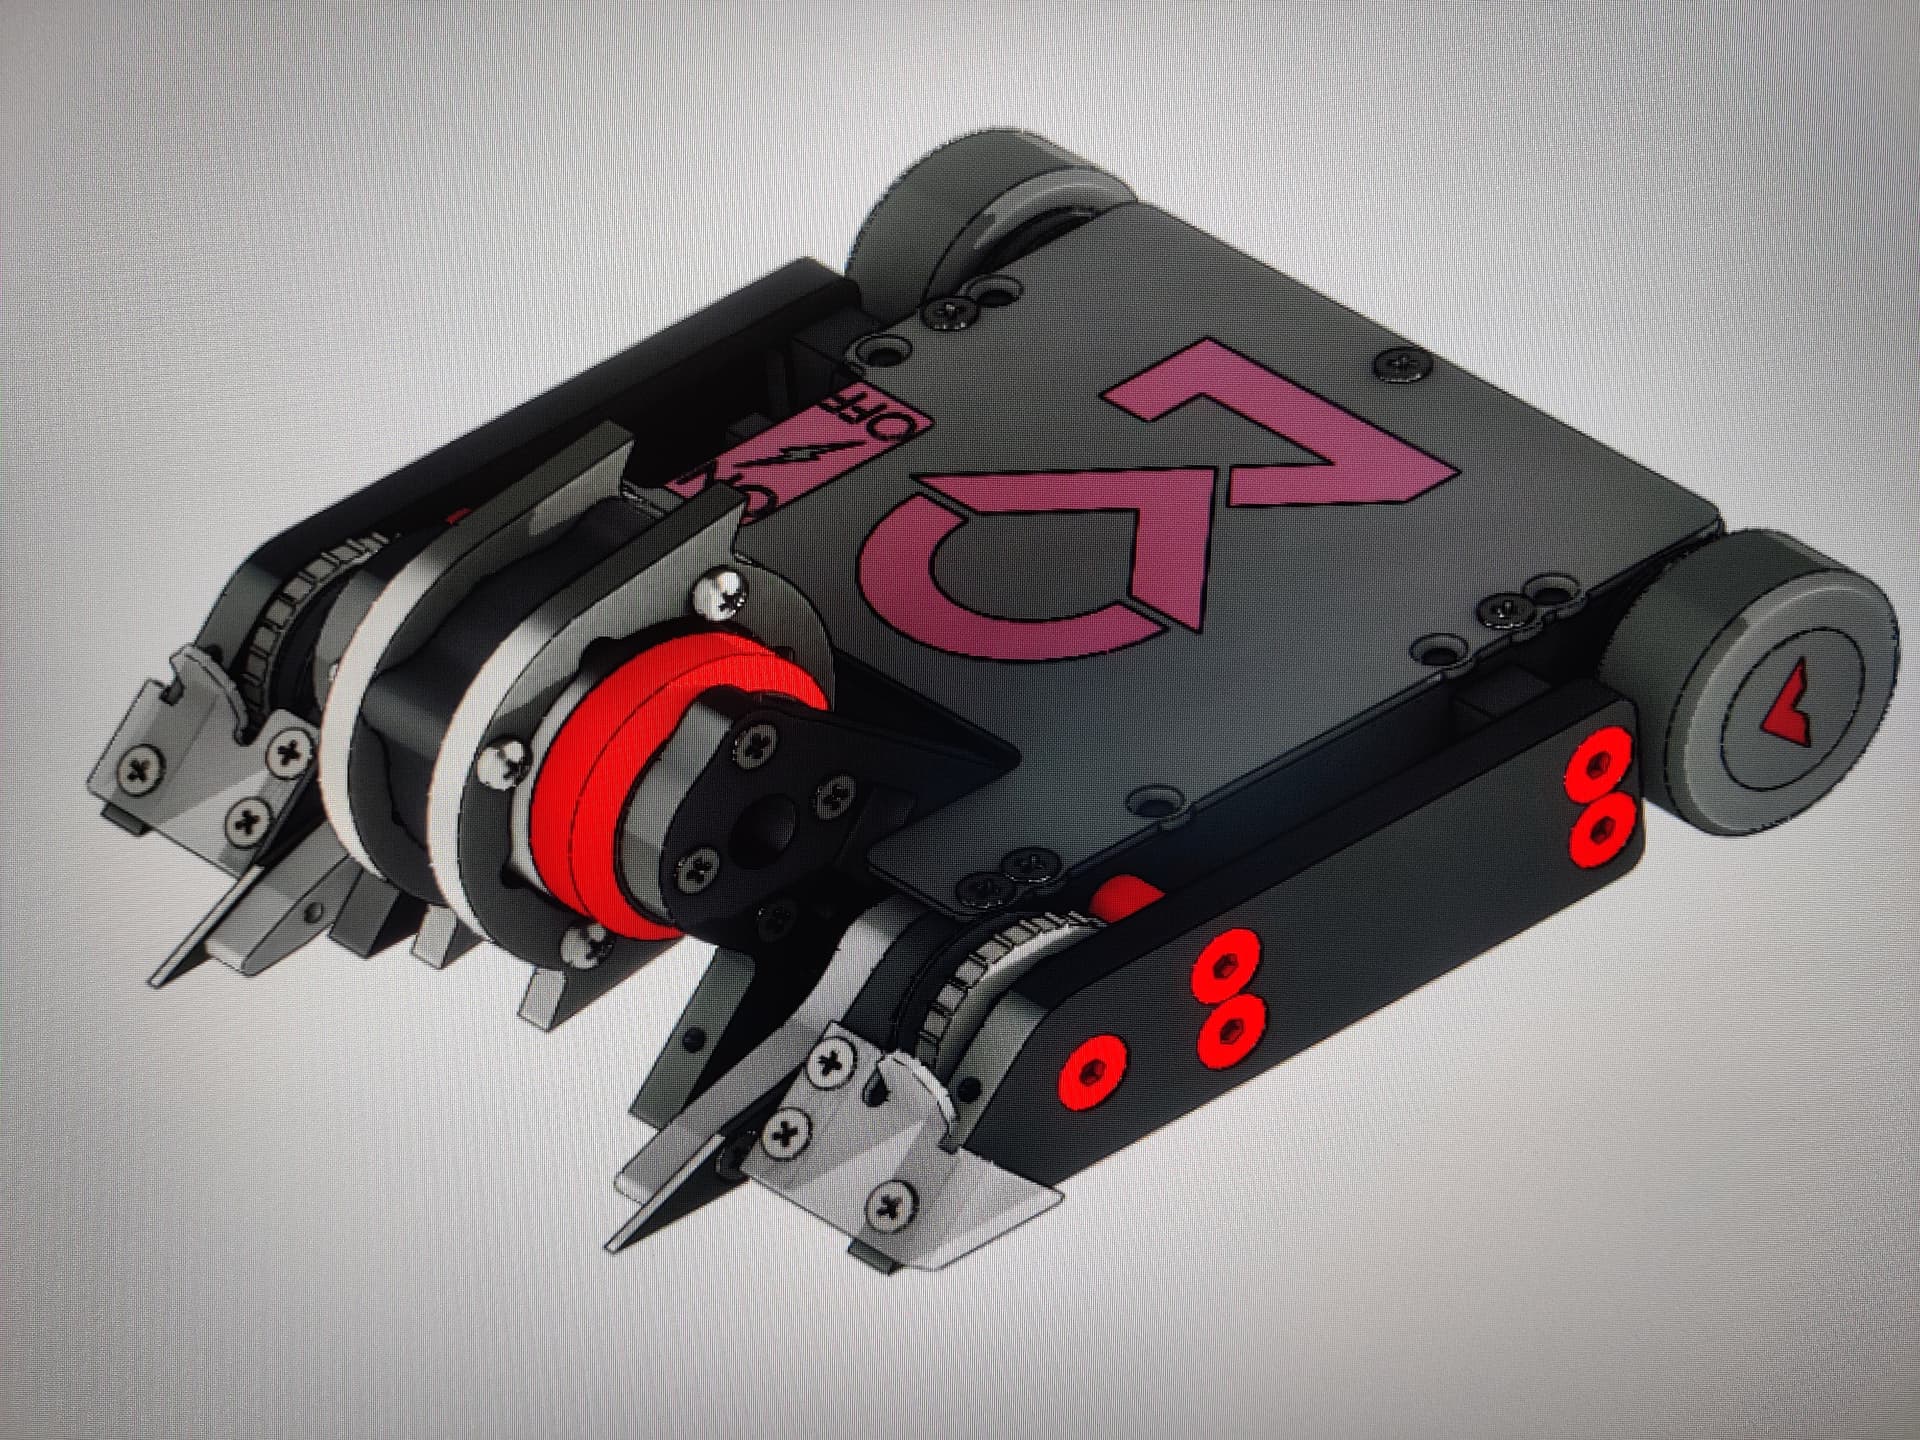
Revron V1.0

(Revron pre SCAR 3)
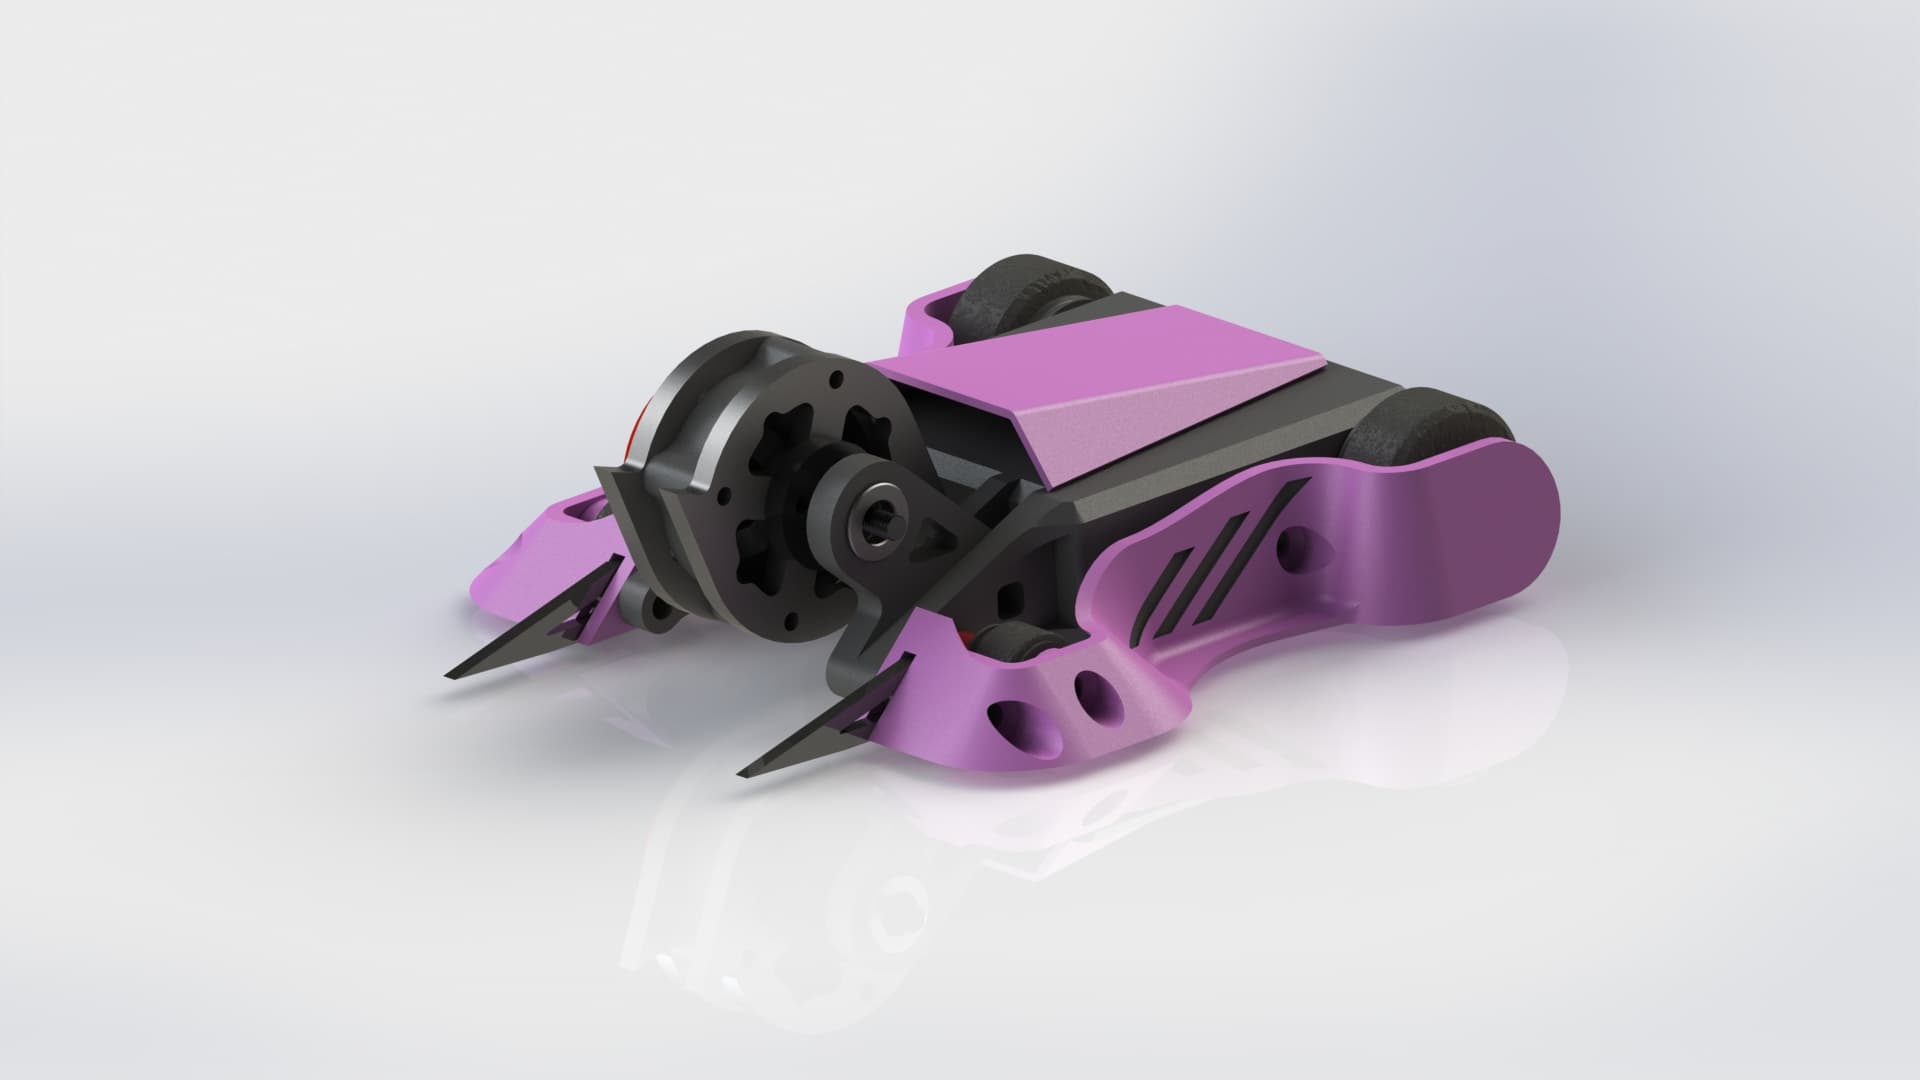
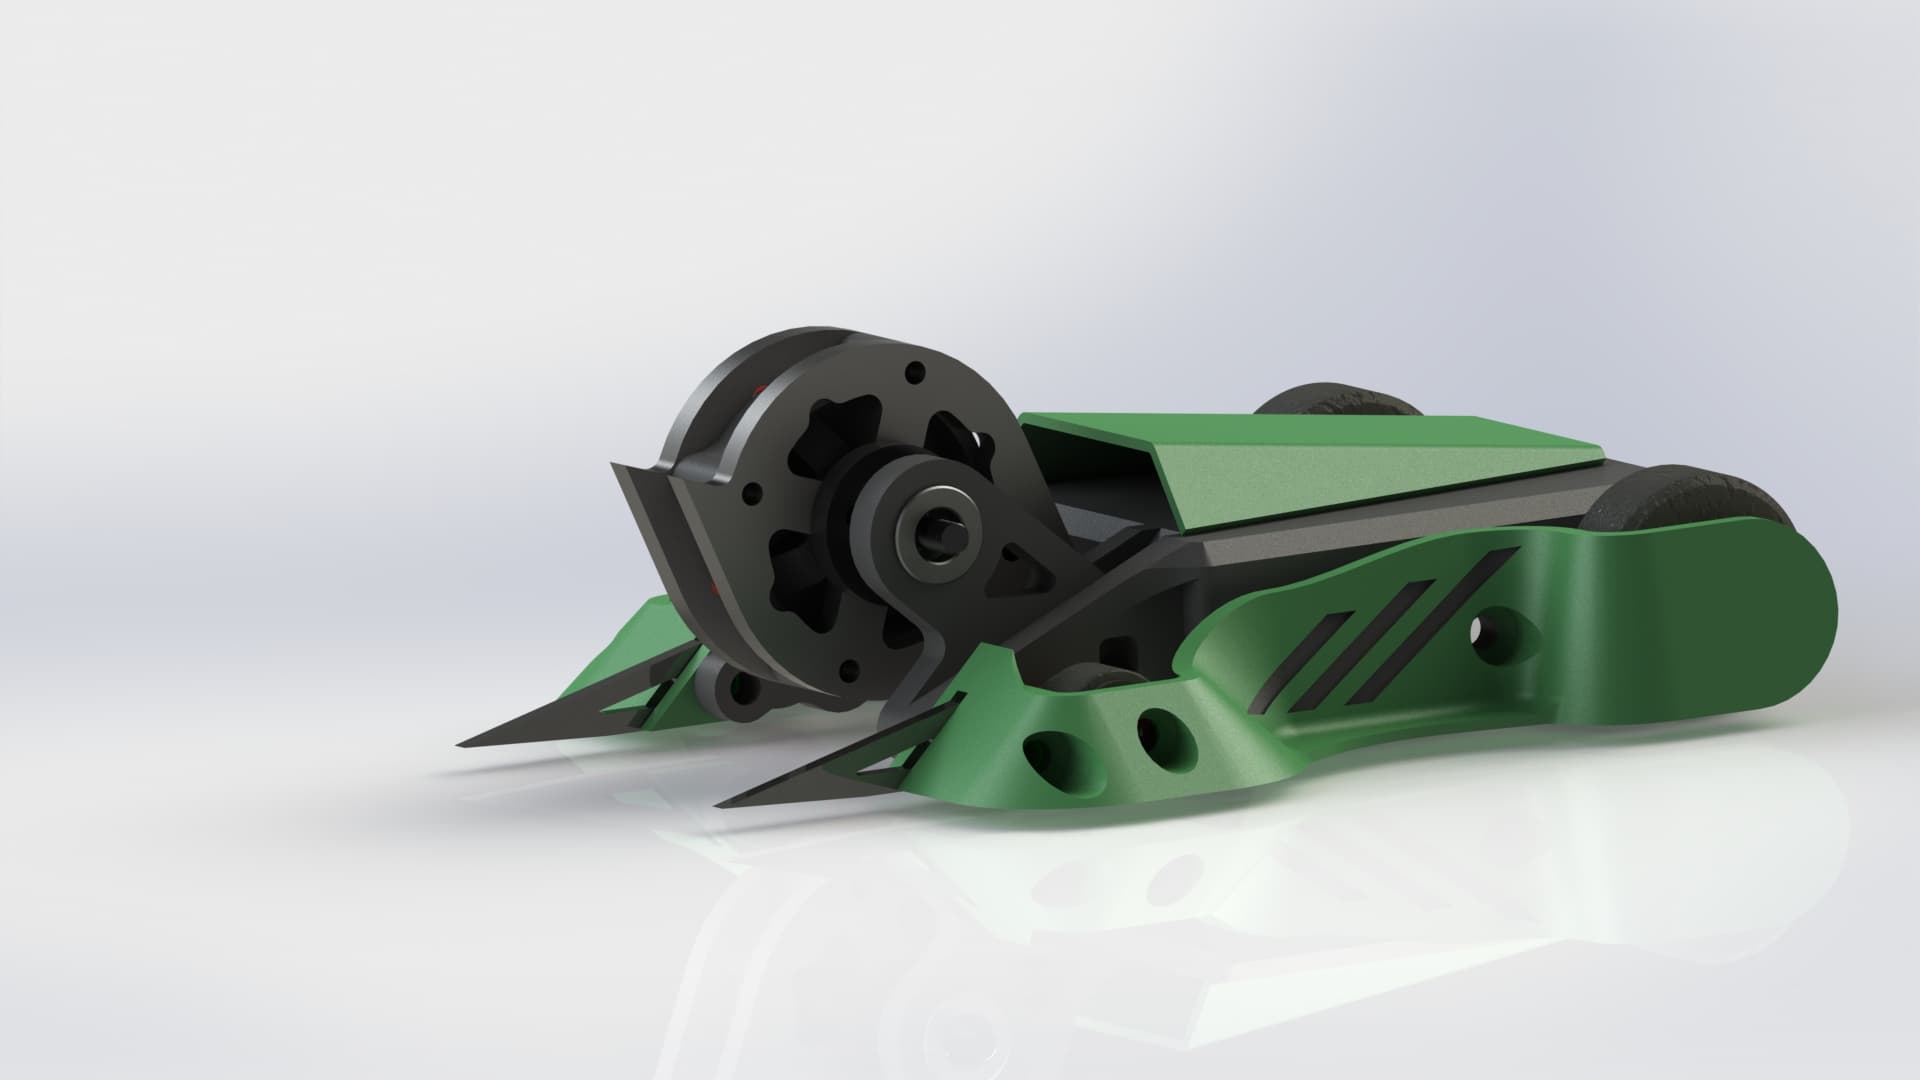
For the first iteration I took a lot of design inspiration from the US beetleweight scene and robots like Lynx and Ablation (the peterbar kits).
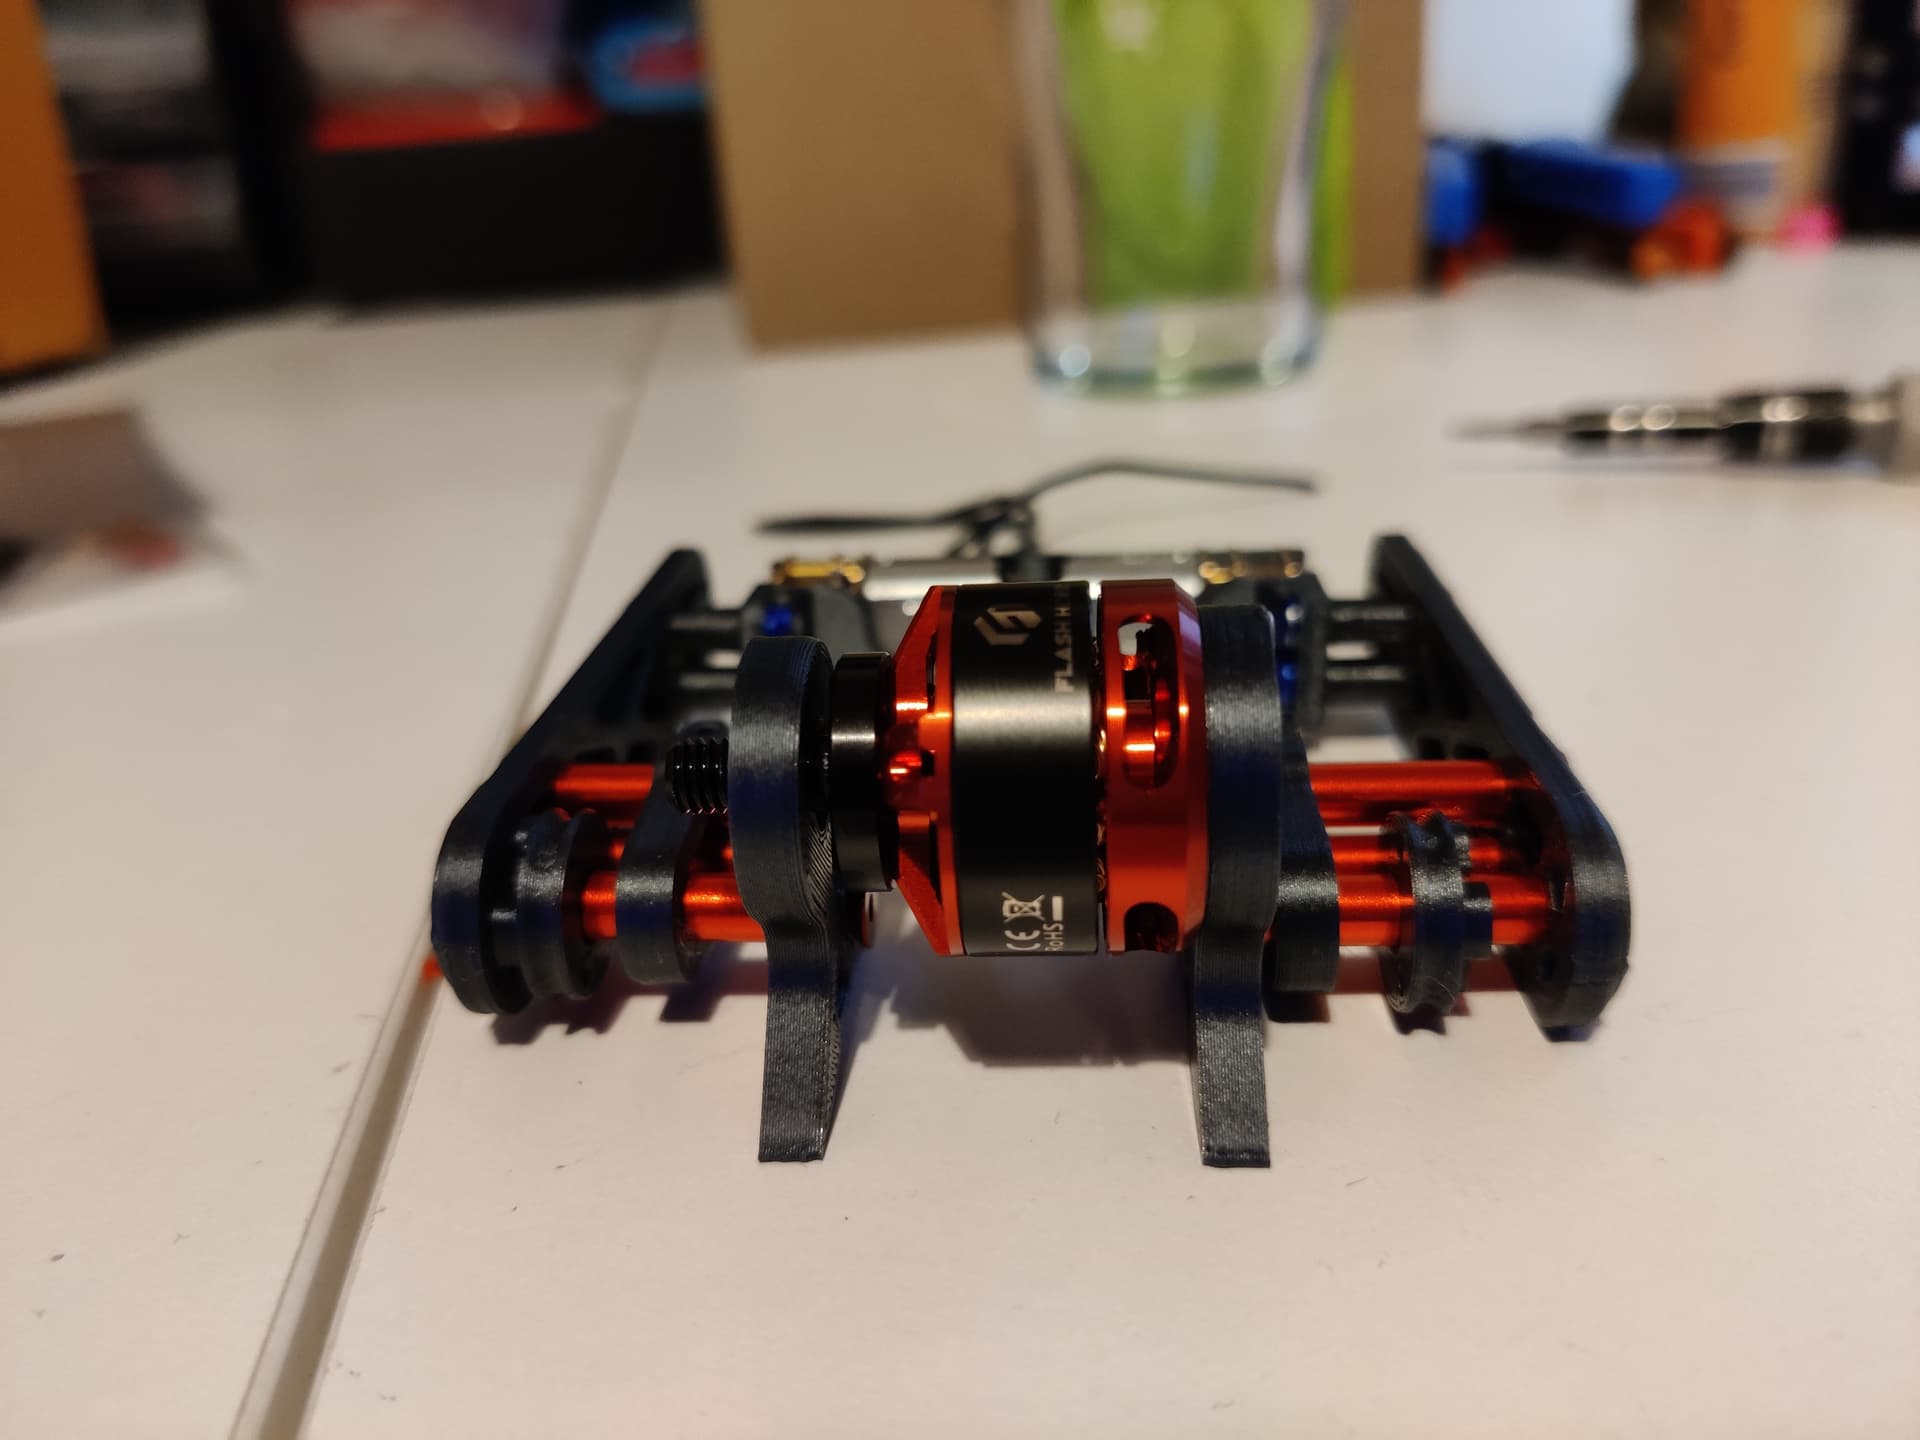
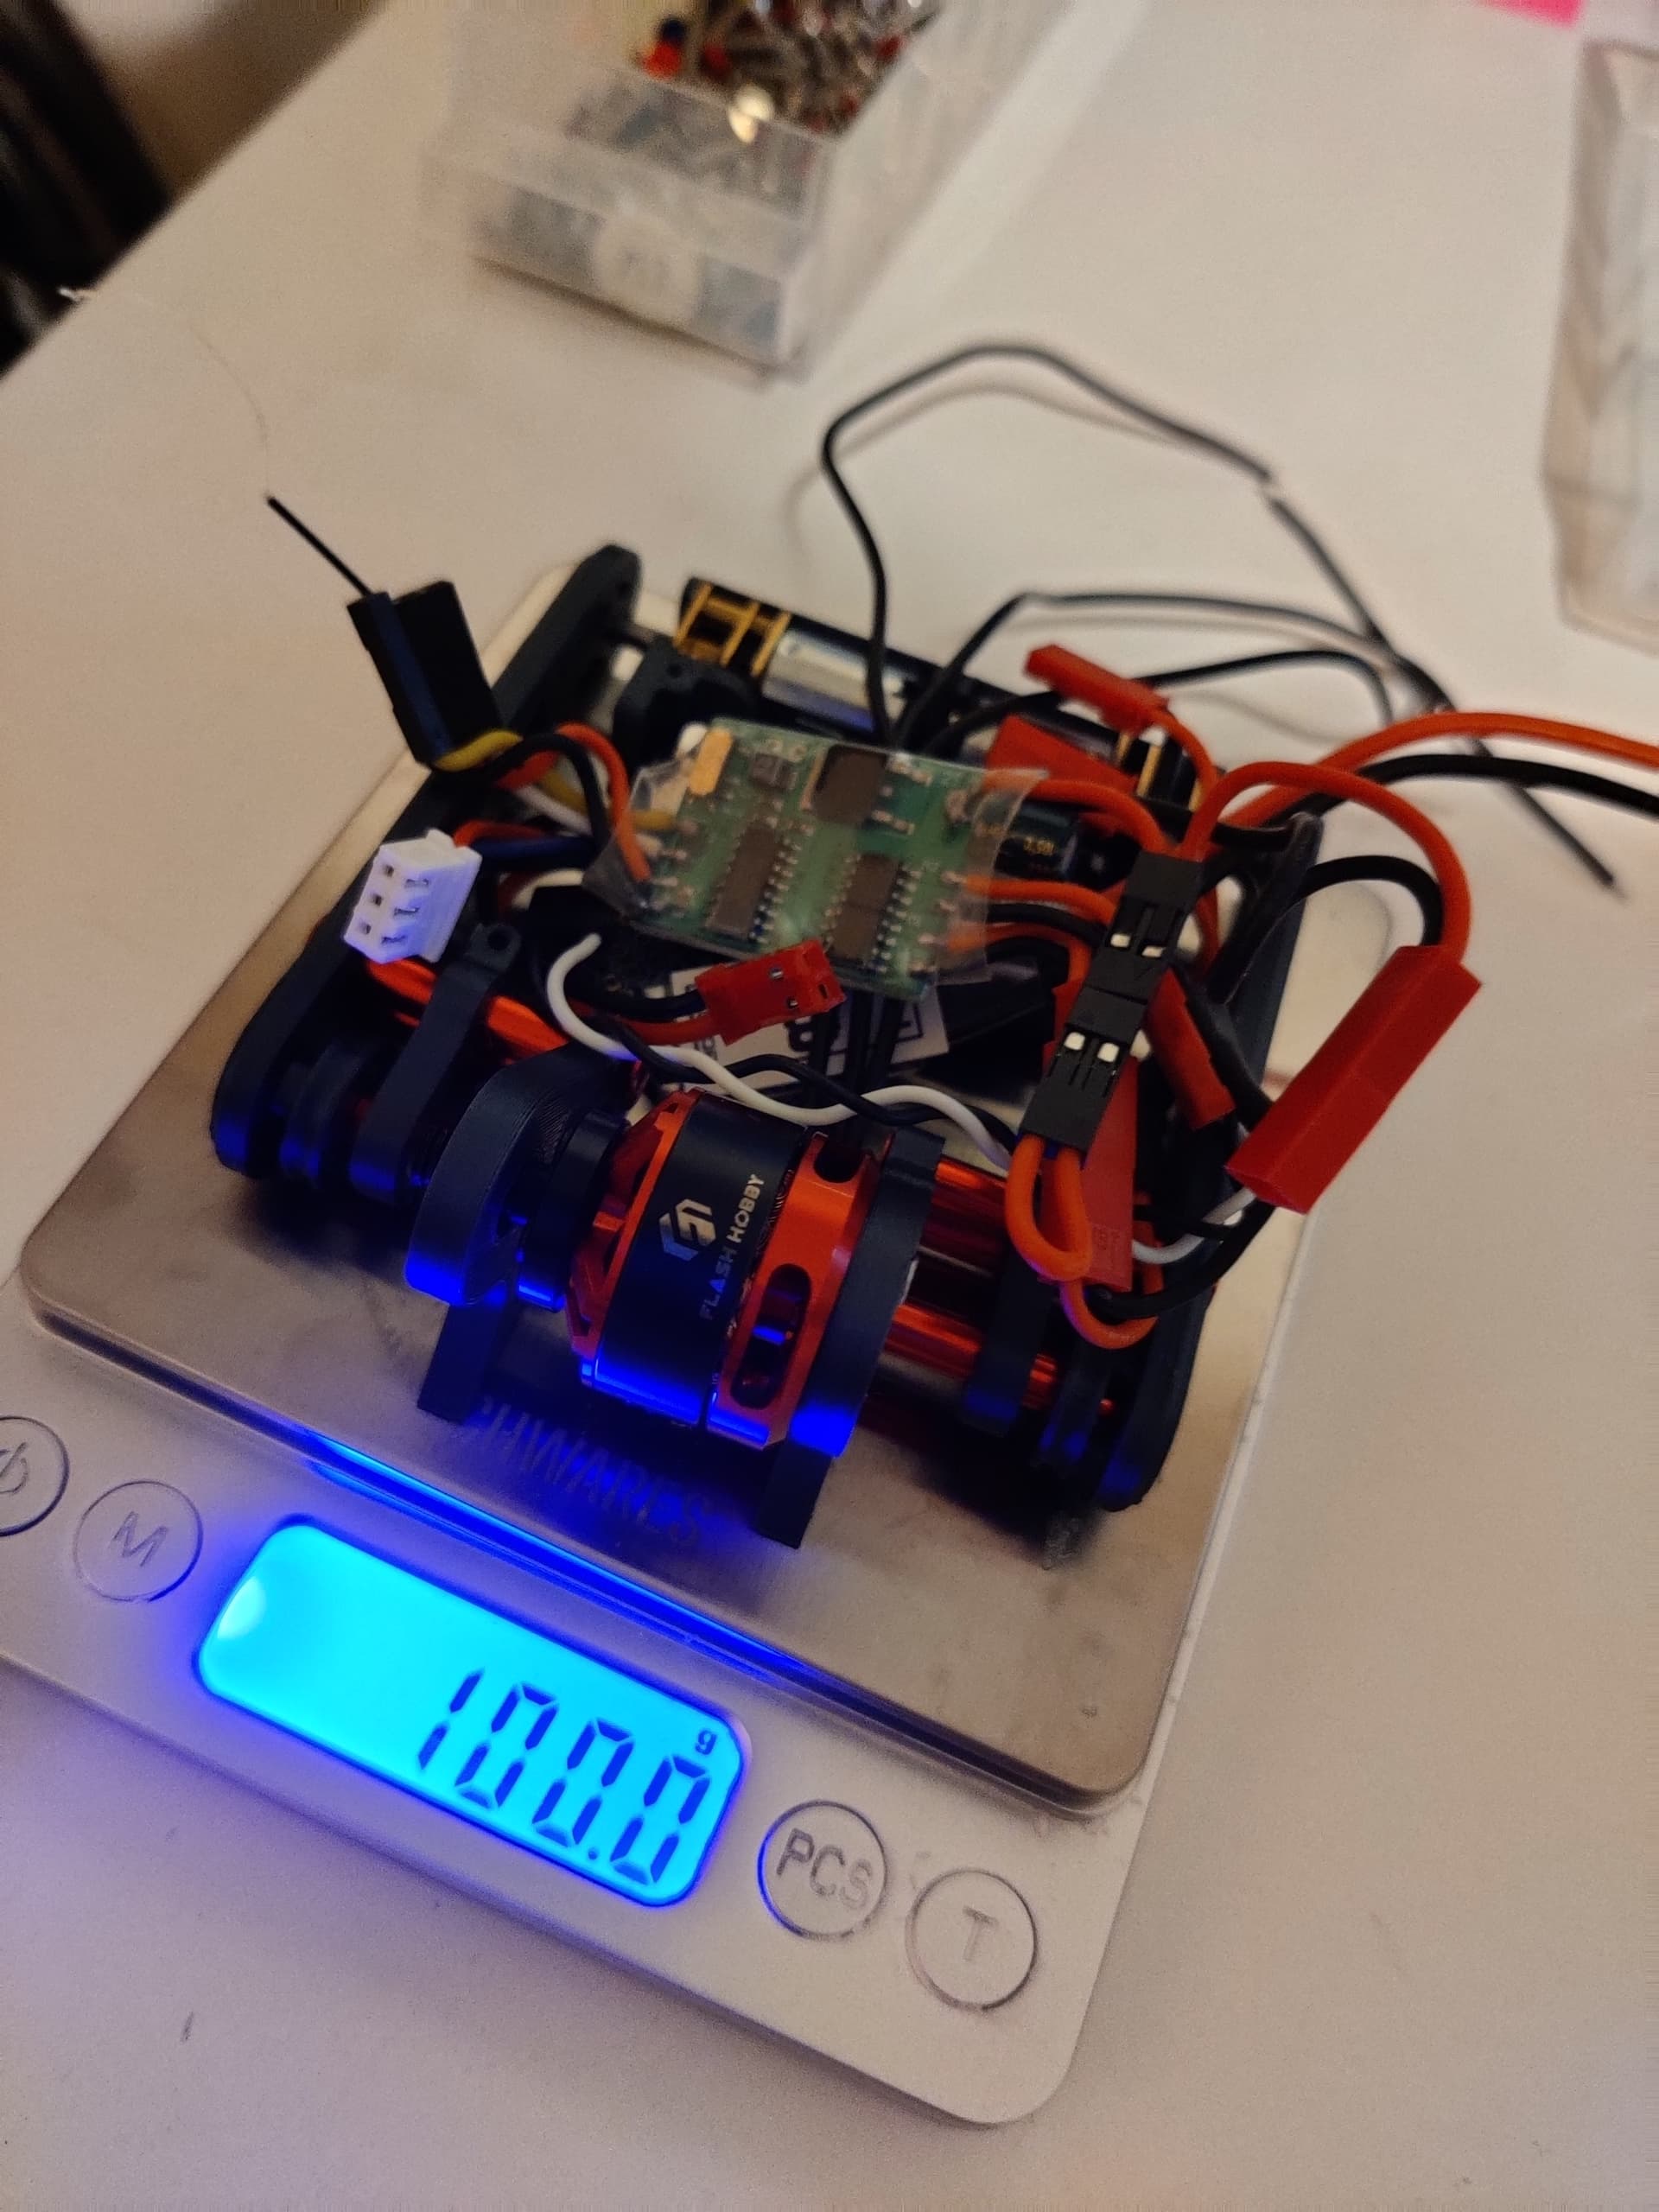
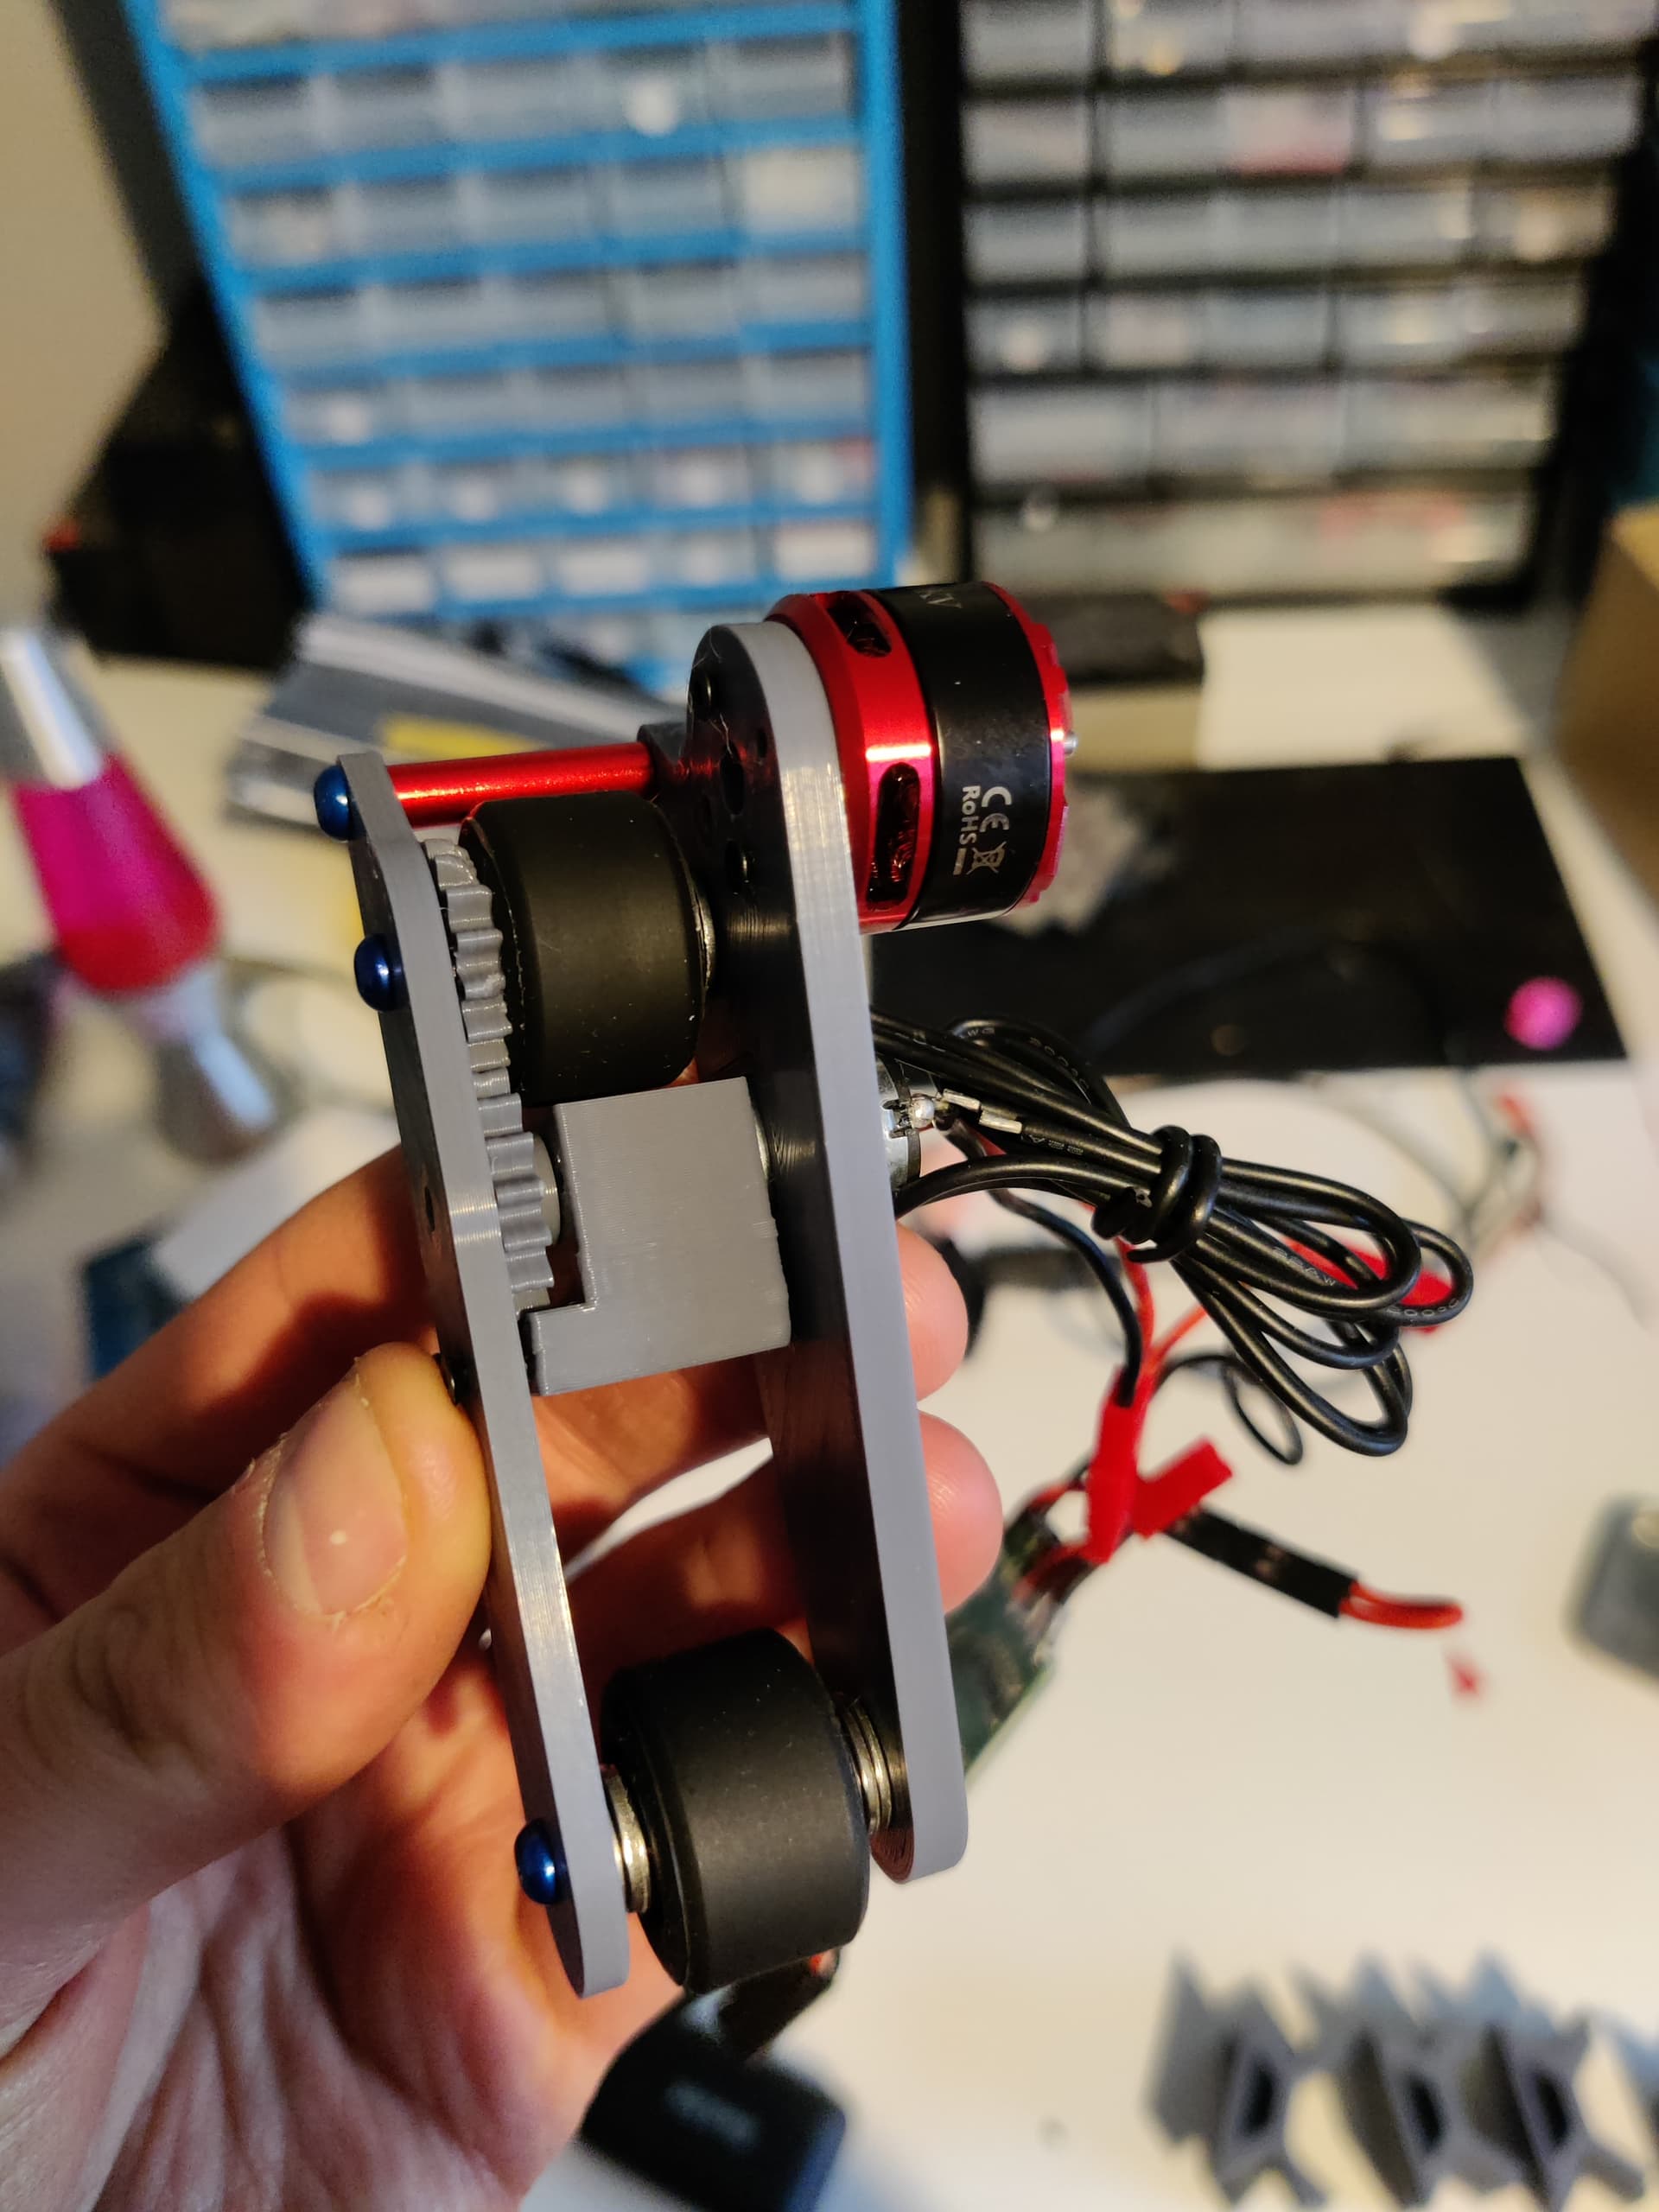
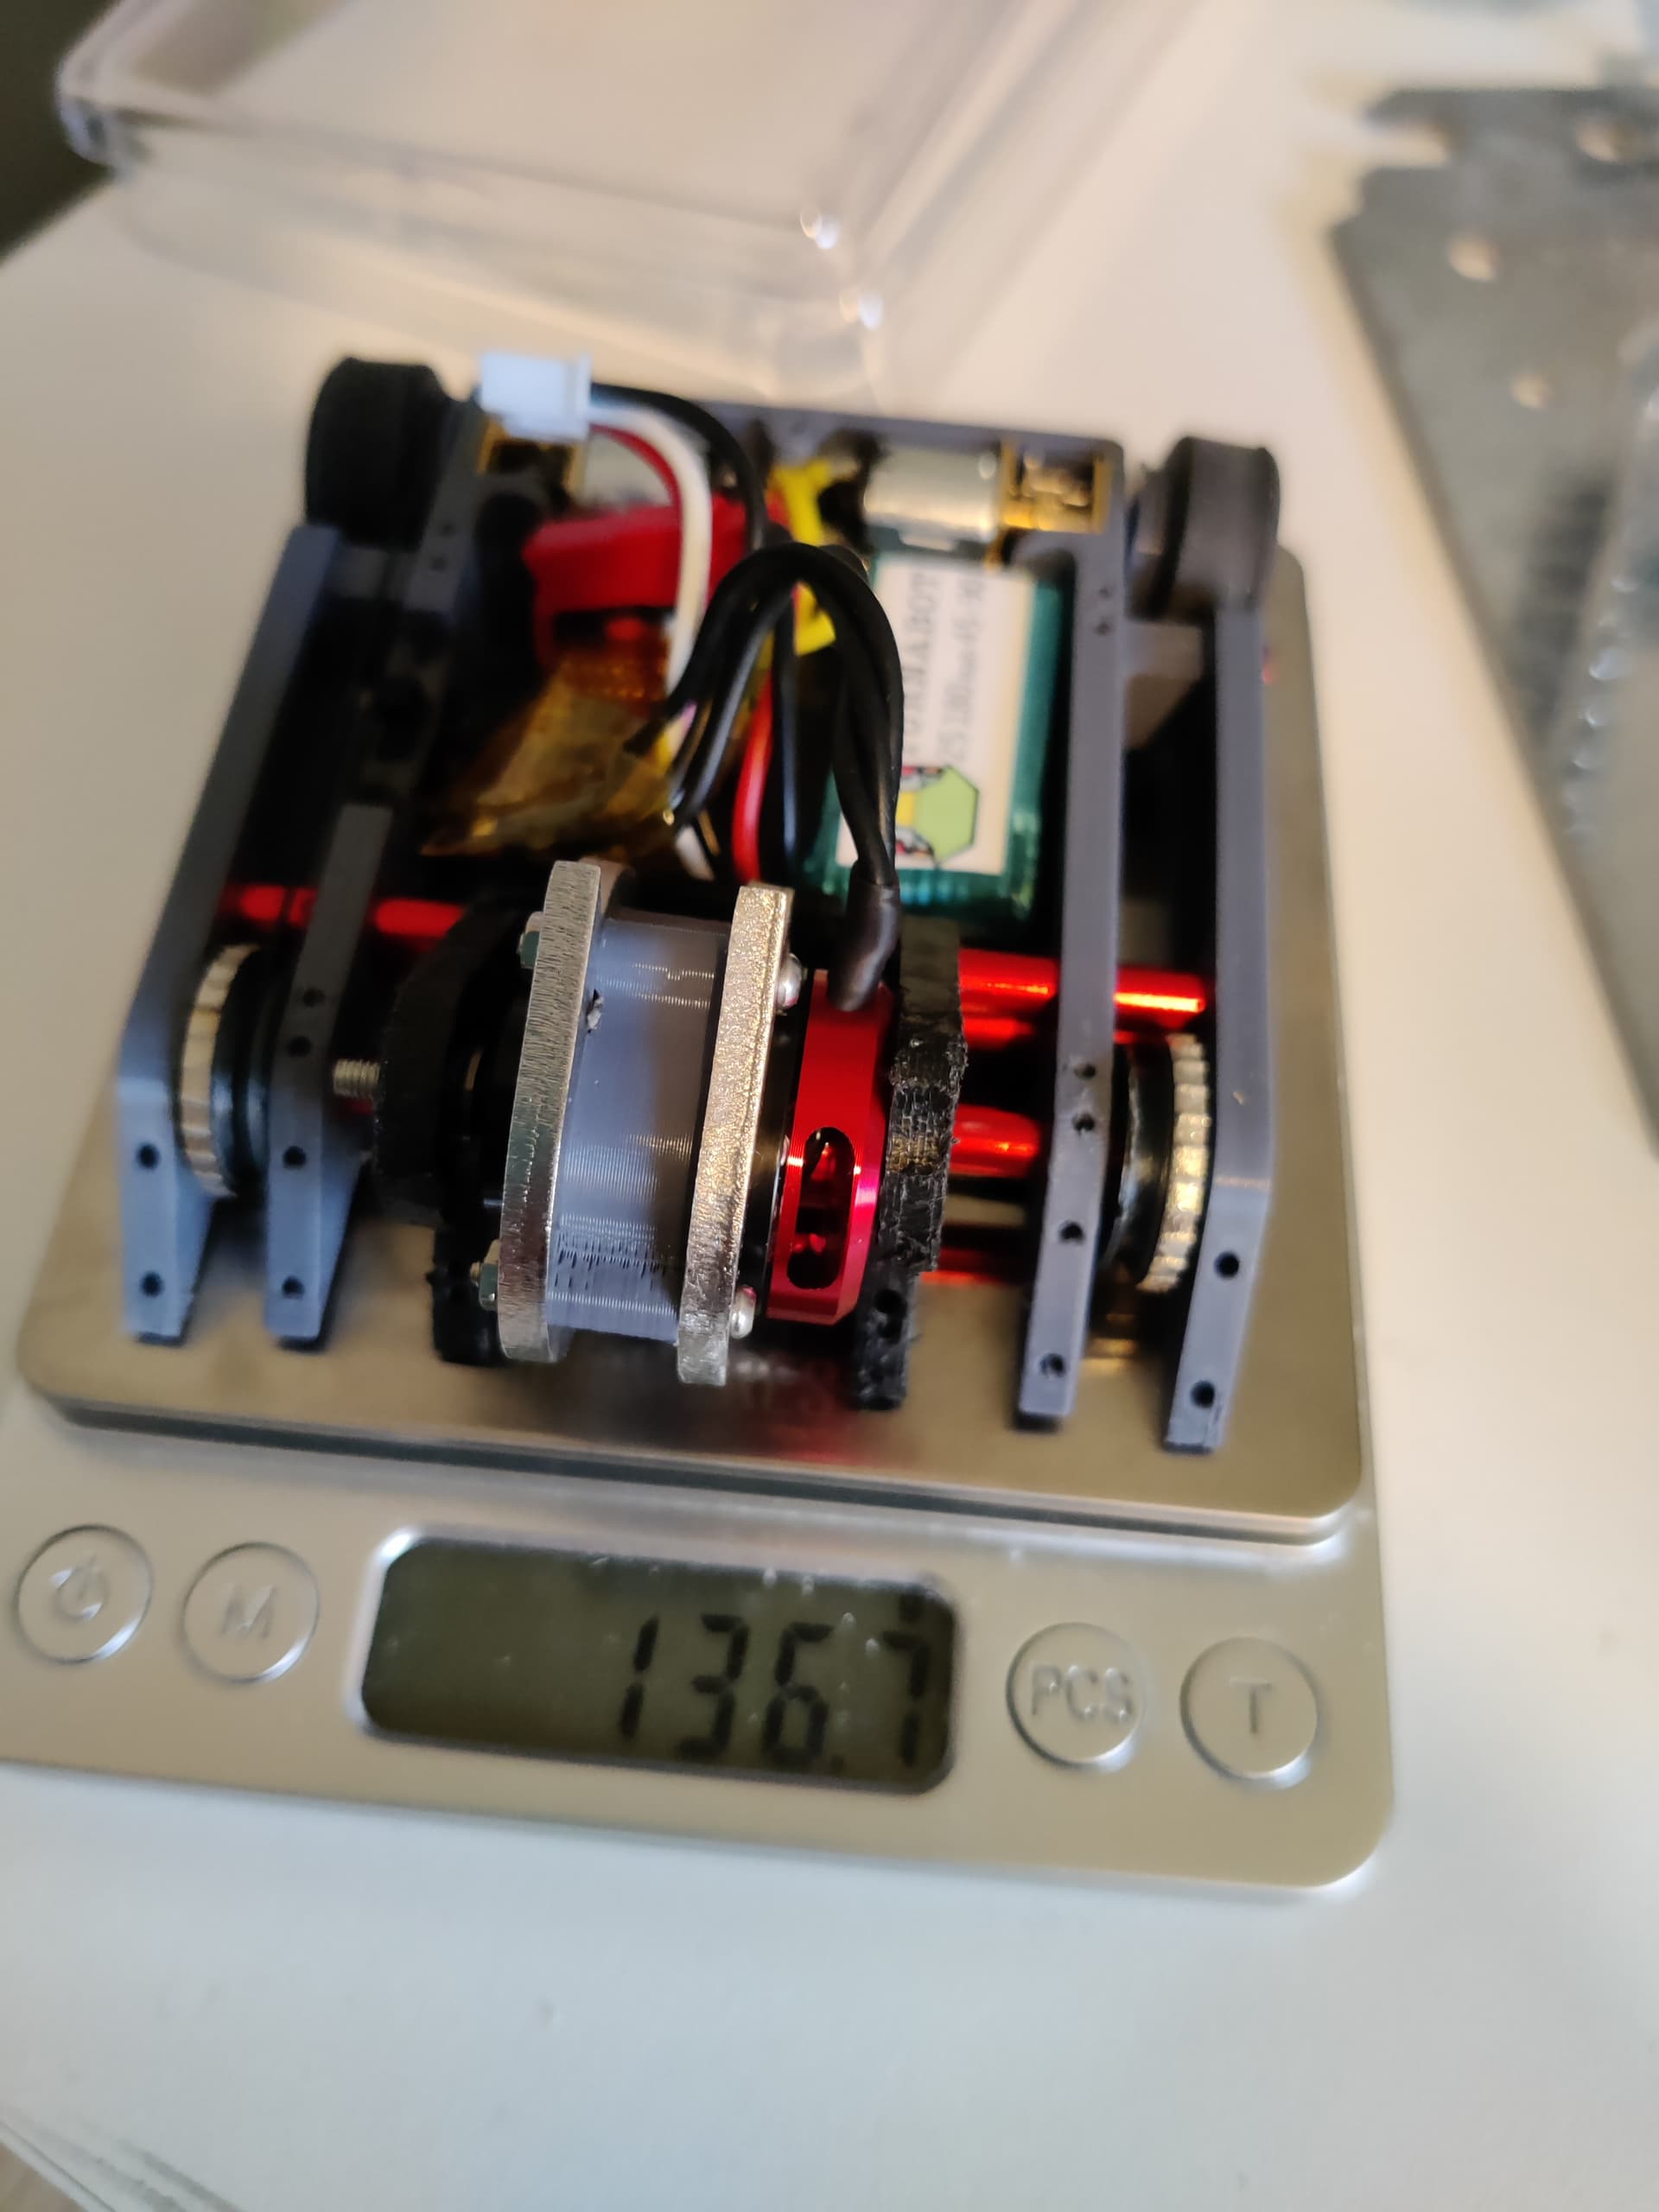
For the electronics I used 2 x N20 BBB 1k RPM motors for direct drive at the rear, Rx and ESC’s were handled by a malenki nano and for the weapon i opted for the BE1806 and BBB brushless esc. The battery was a 350MaH 2s pack which in hindsight was overkill and a bit of a waste of weight. I wanted to start out with pretty well know reliable components so I could spend a bit more time on the mechanical design without having to worry about respecifying parts that it would depend upon.
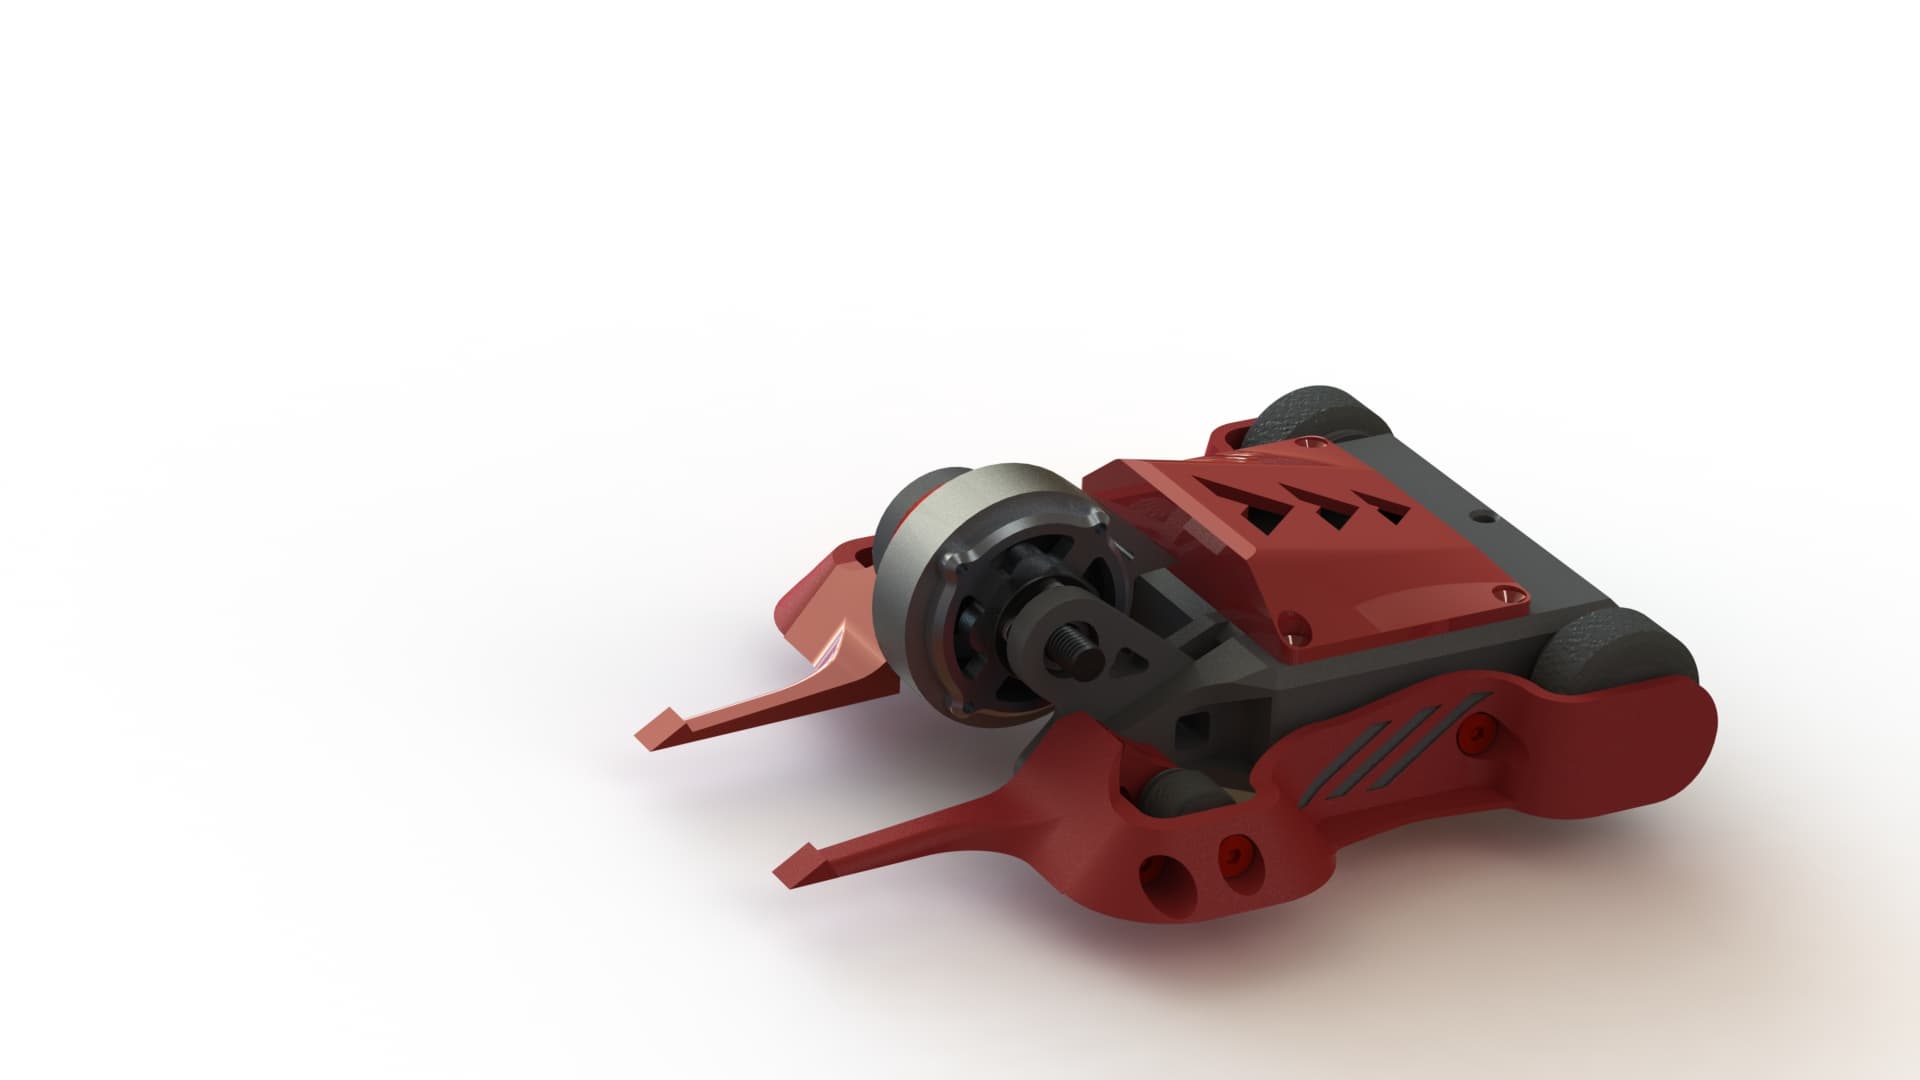
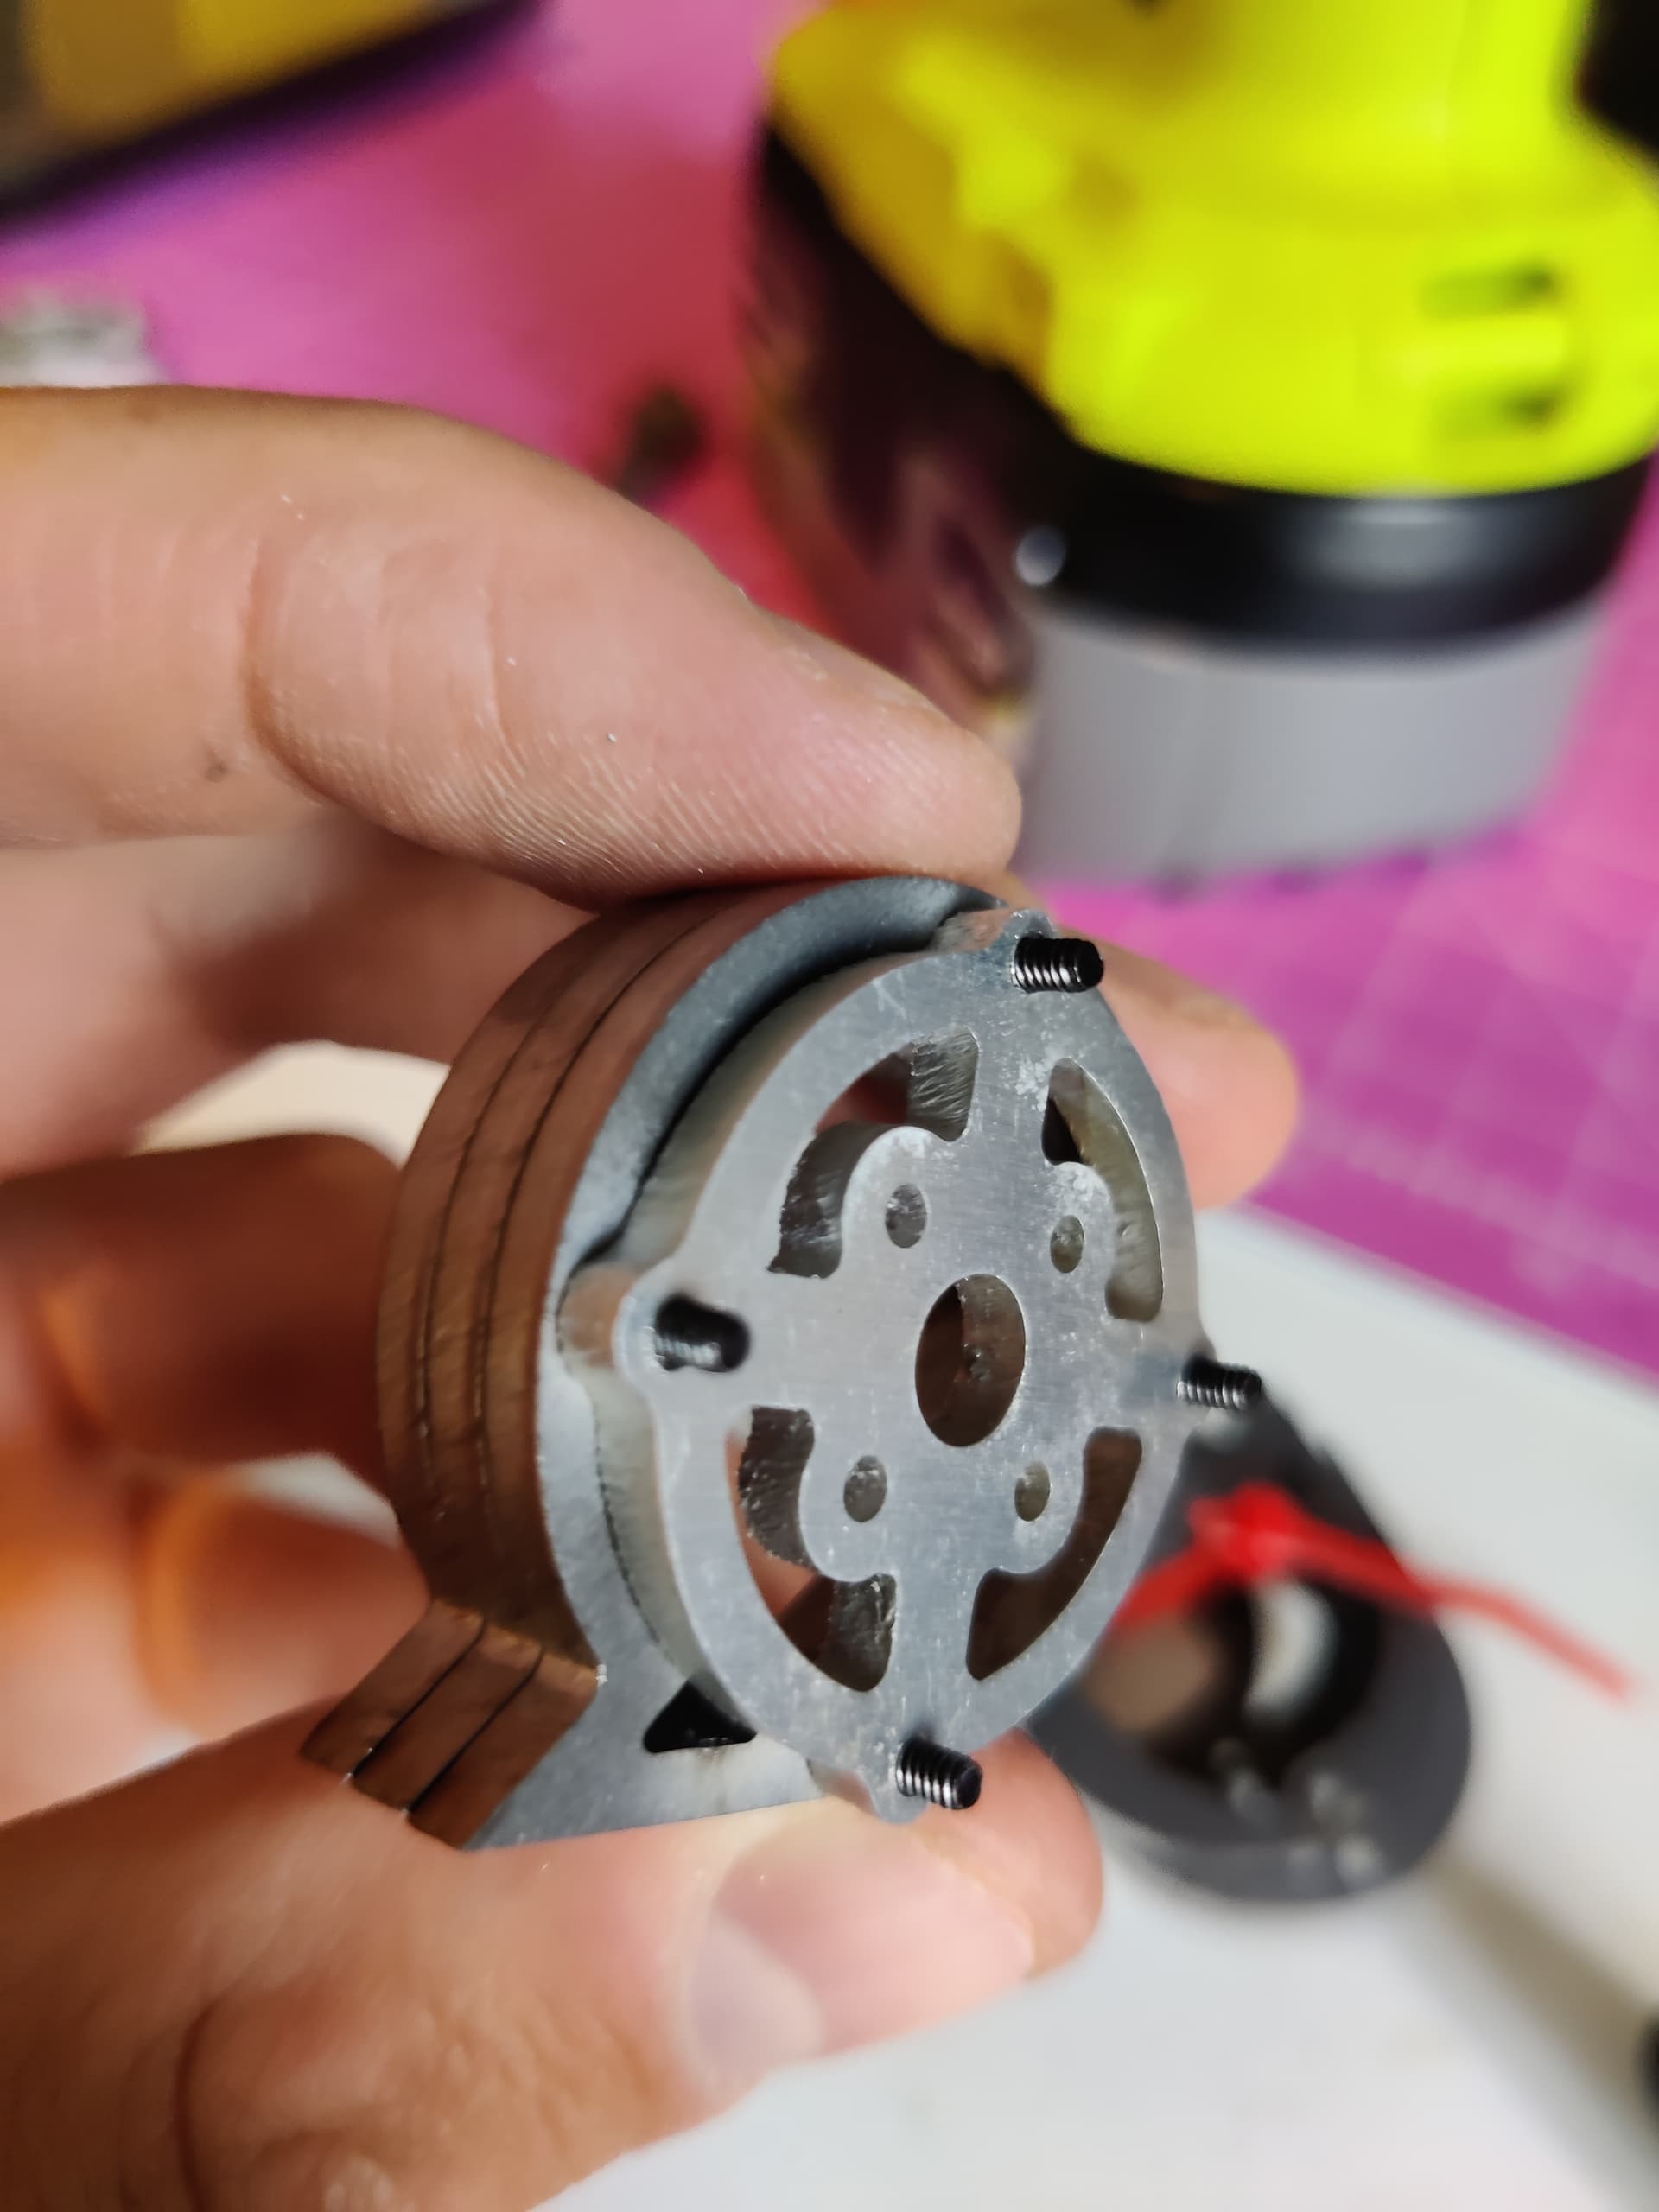
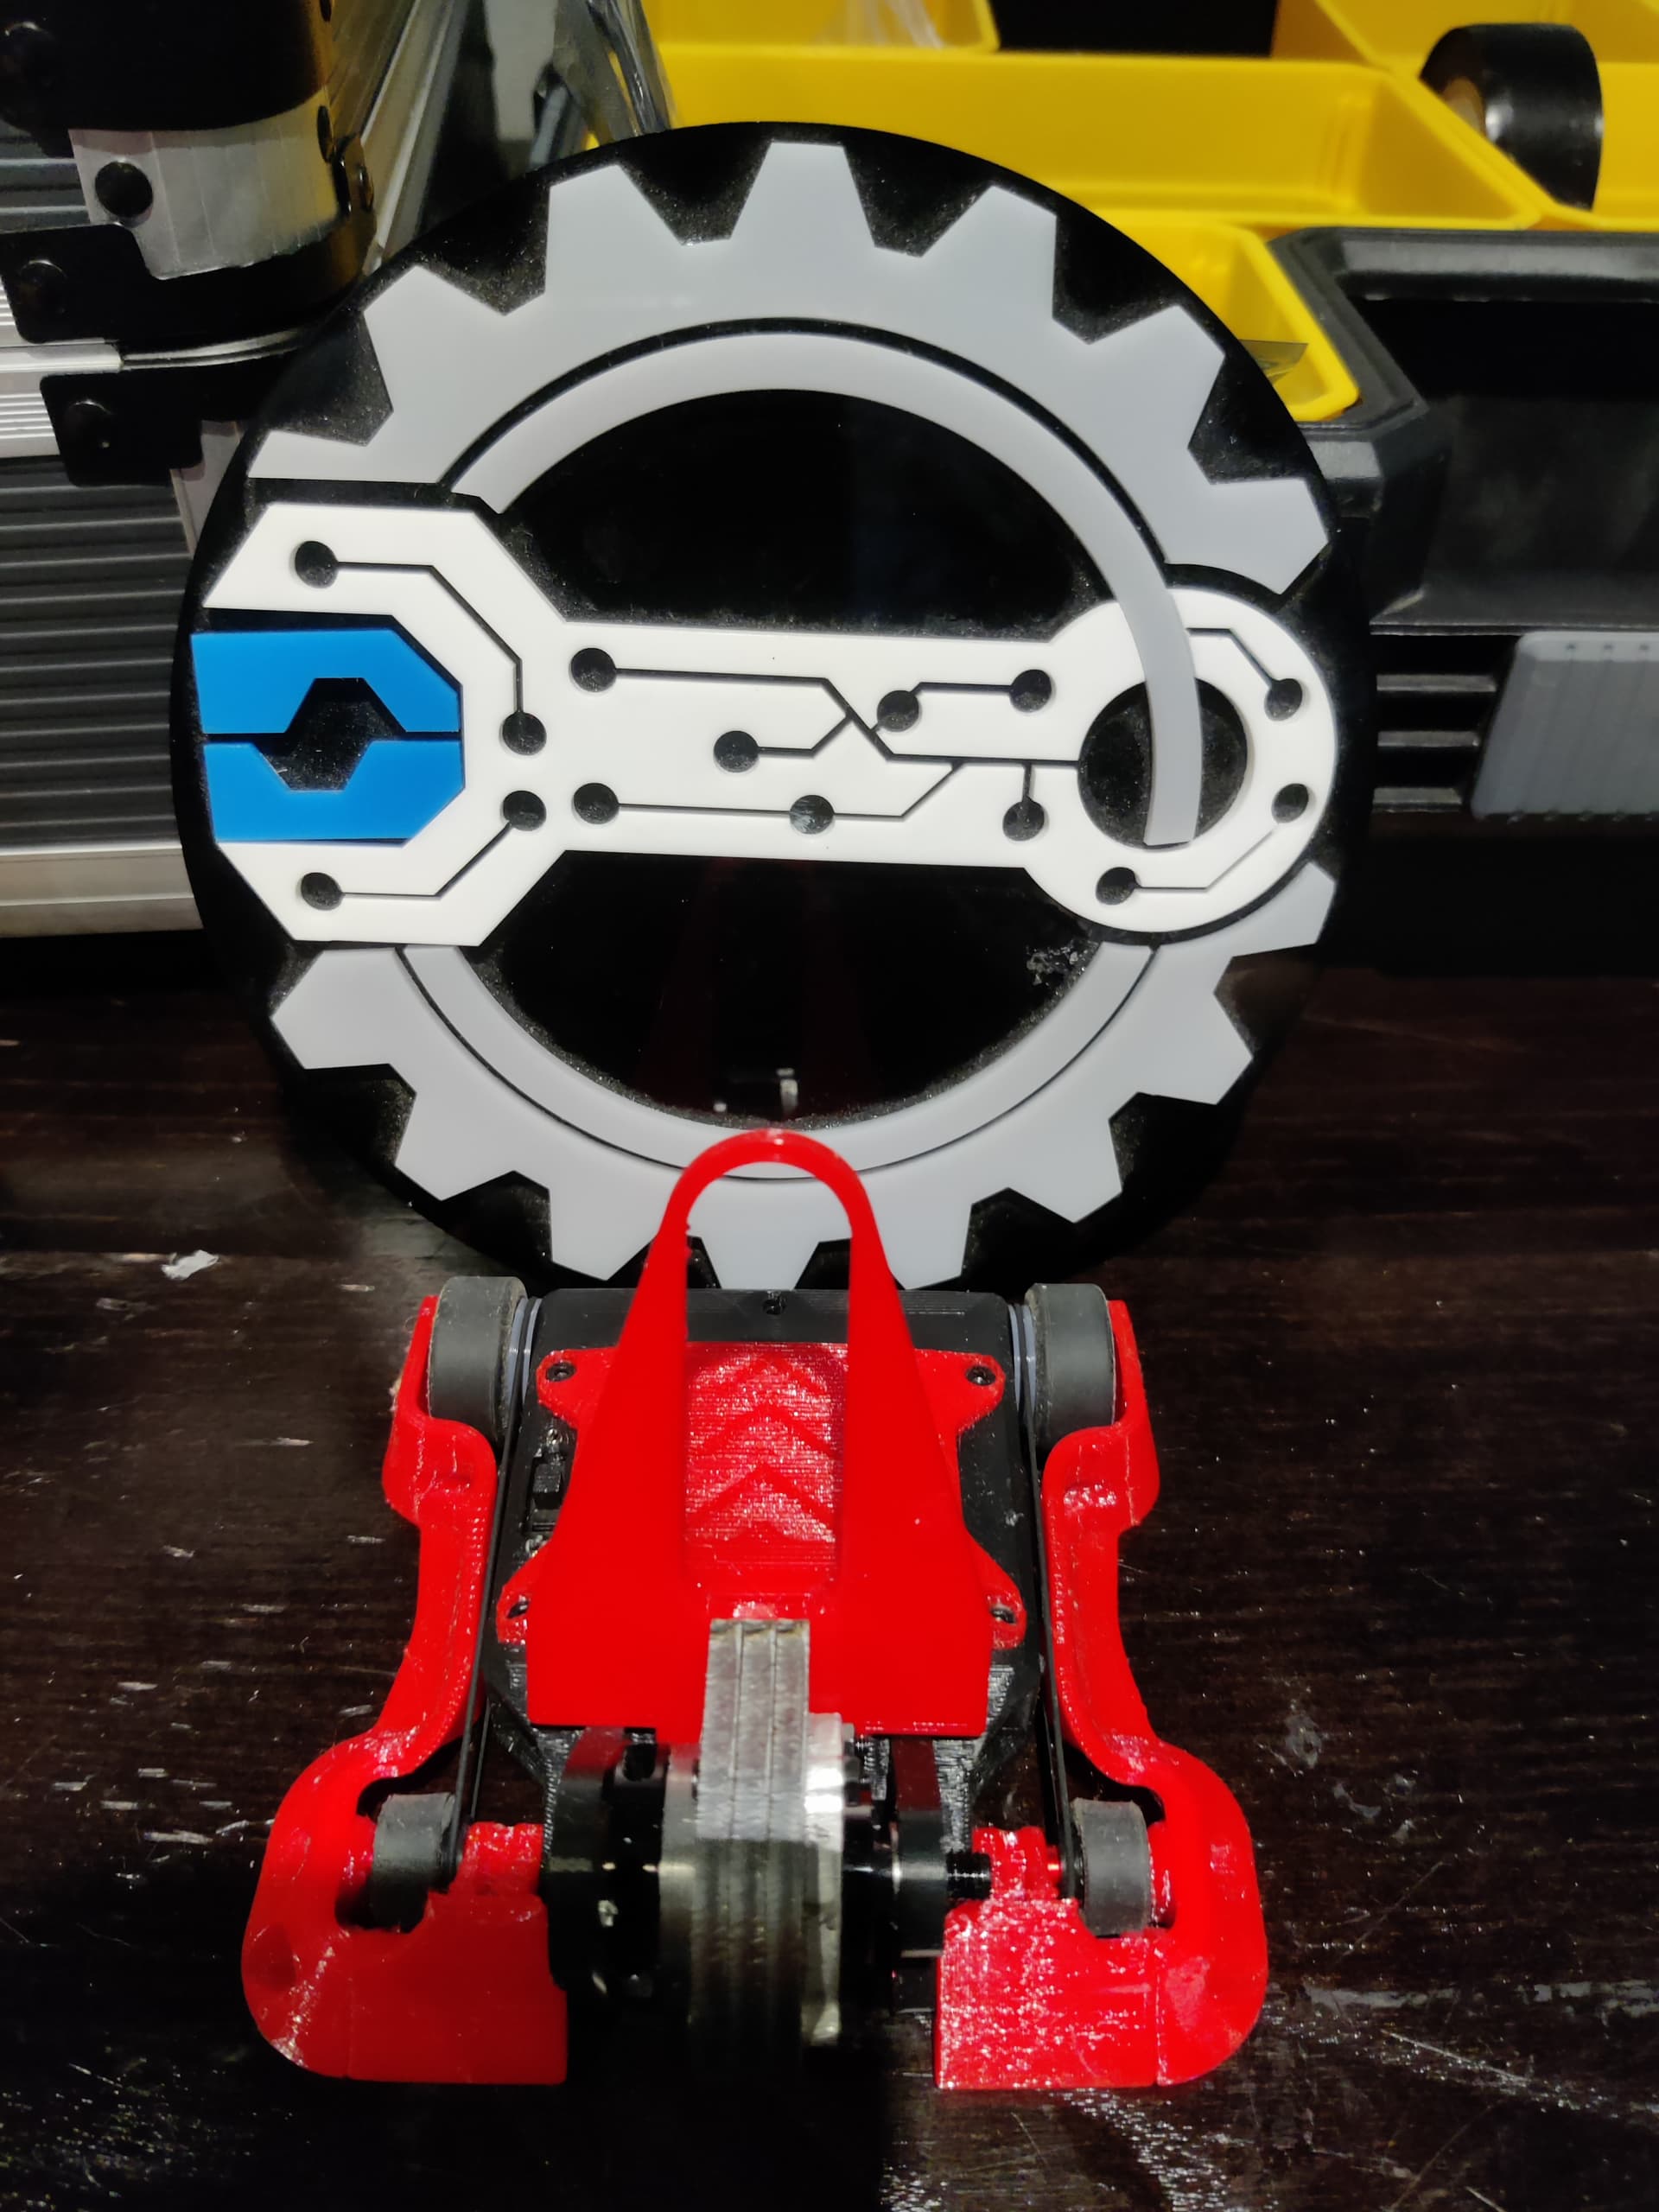
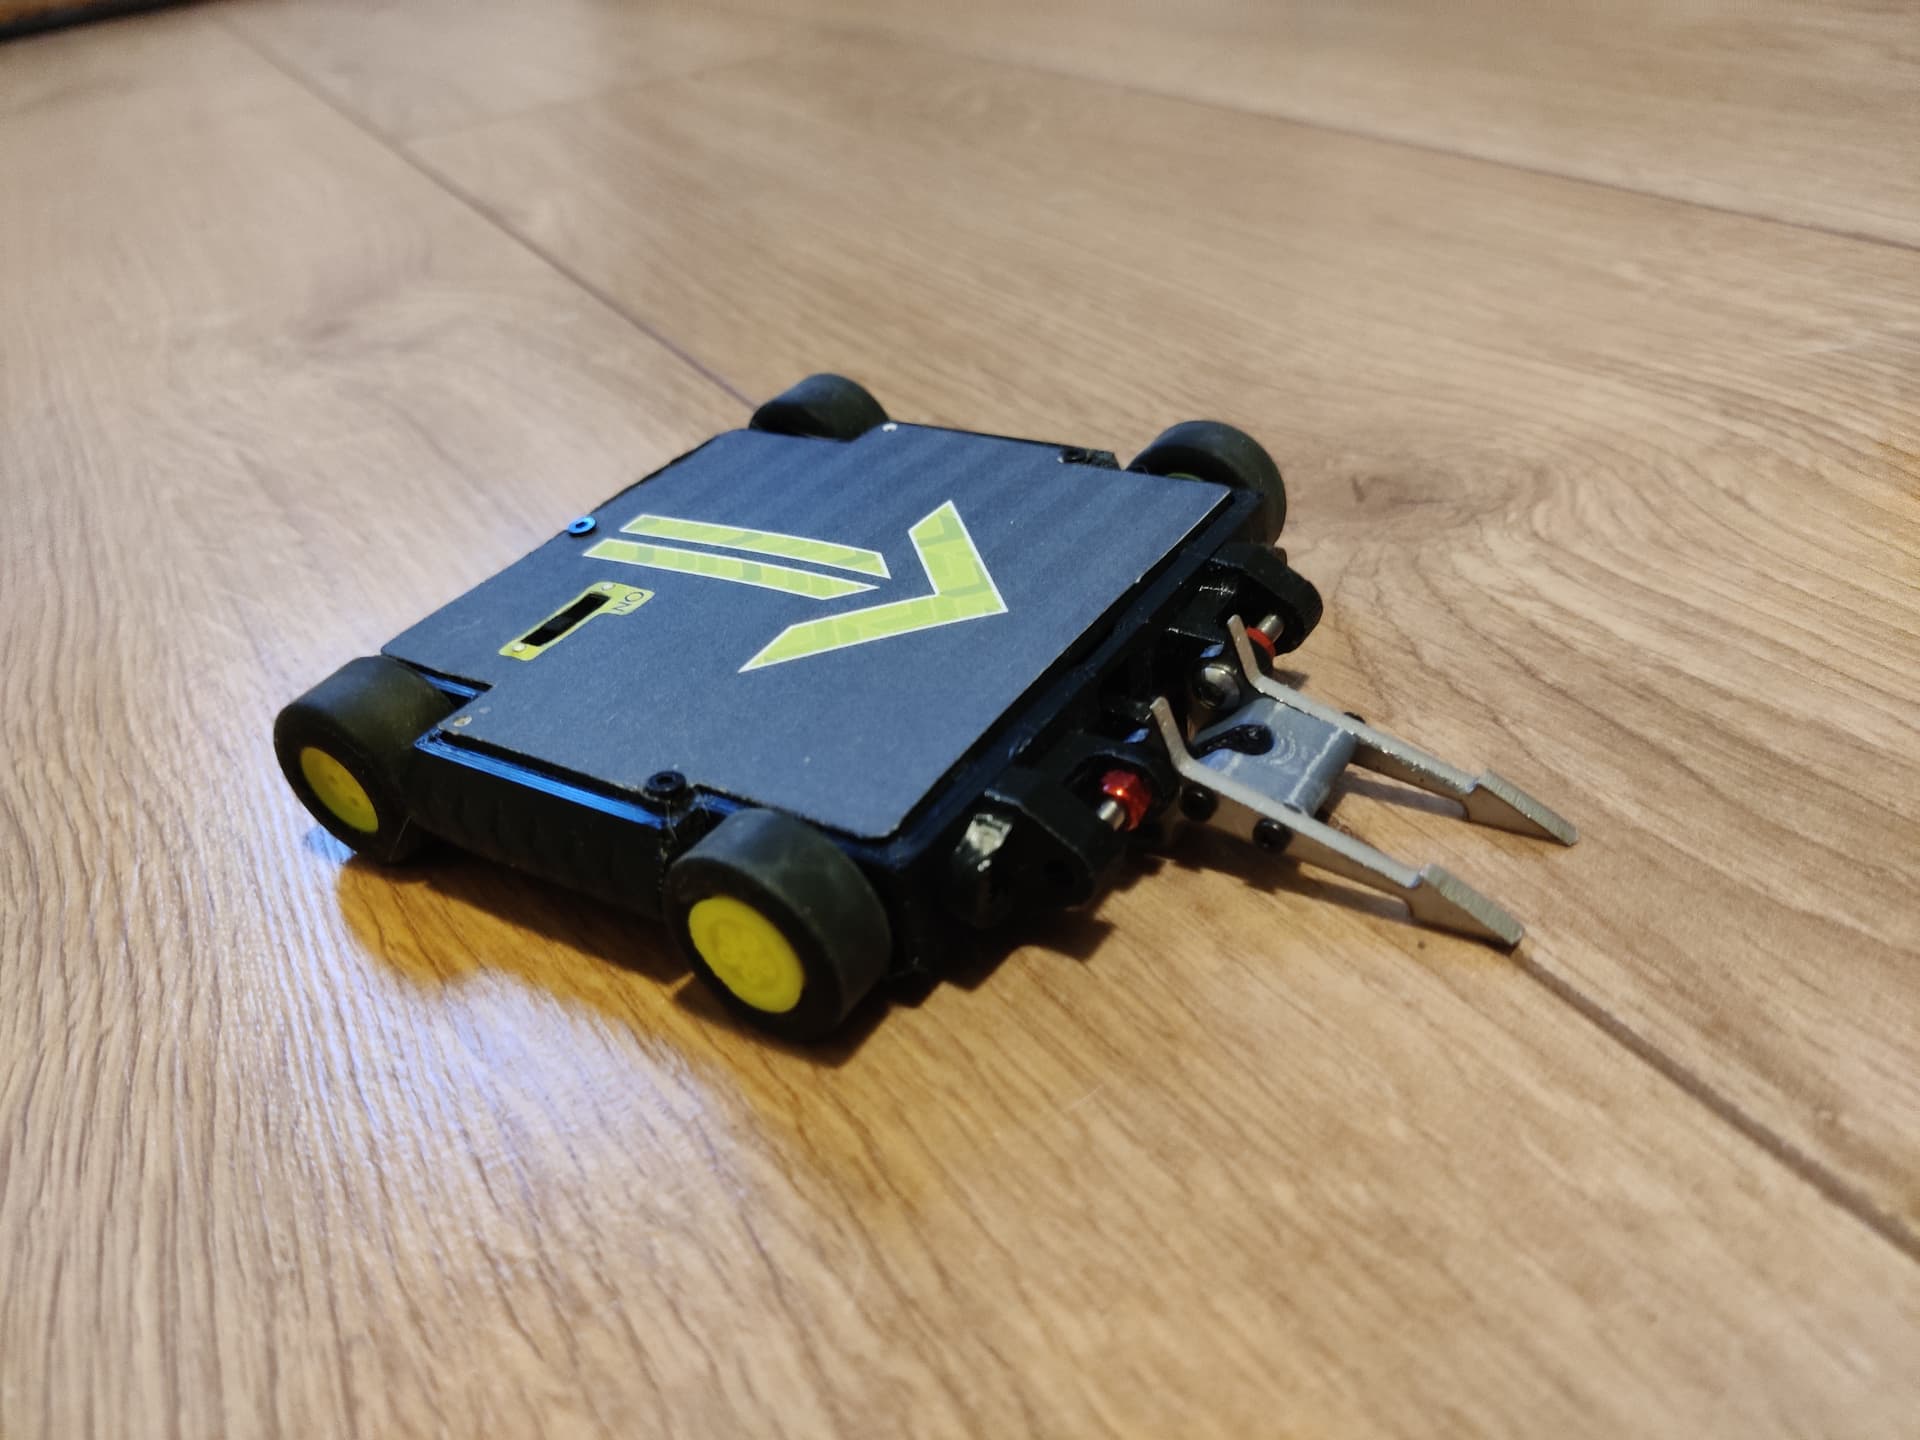
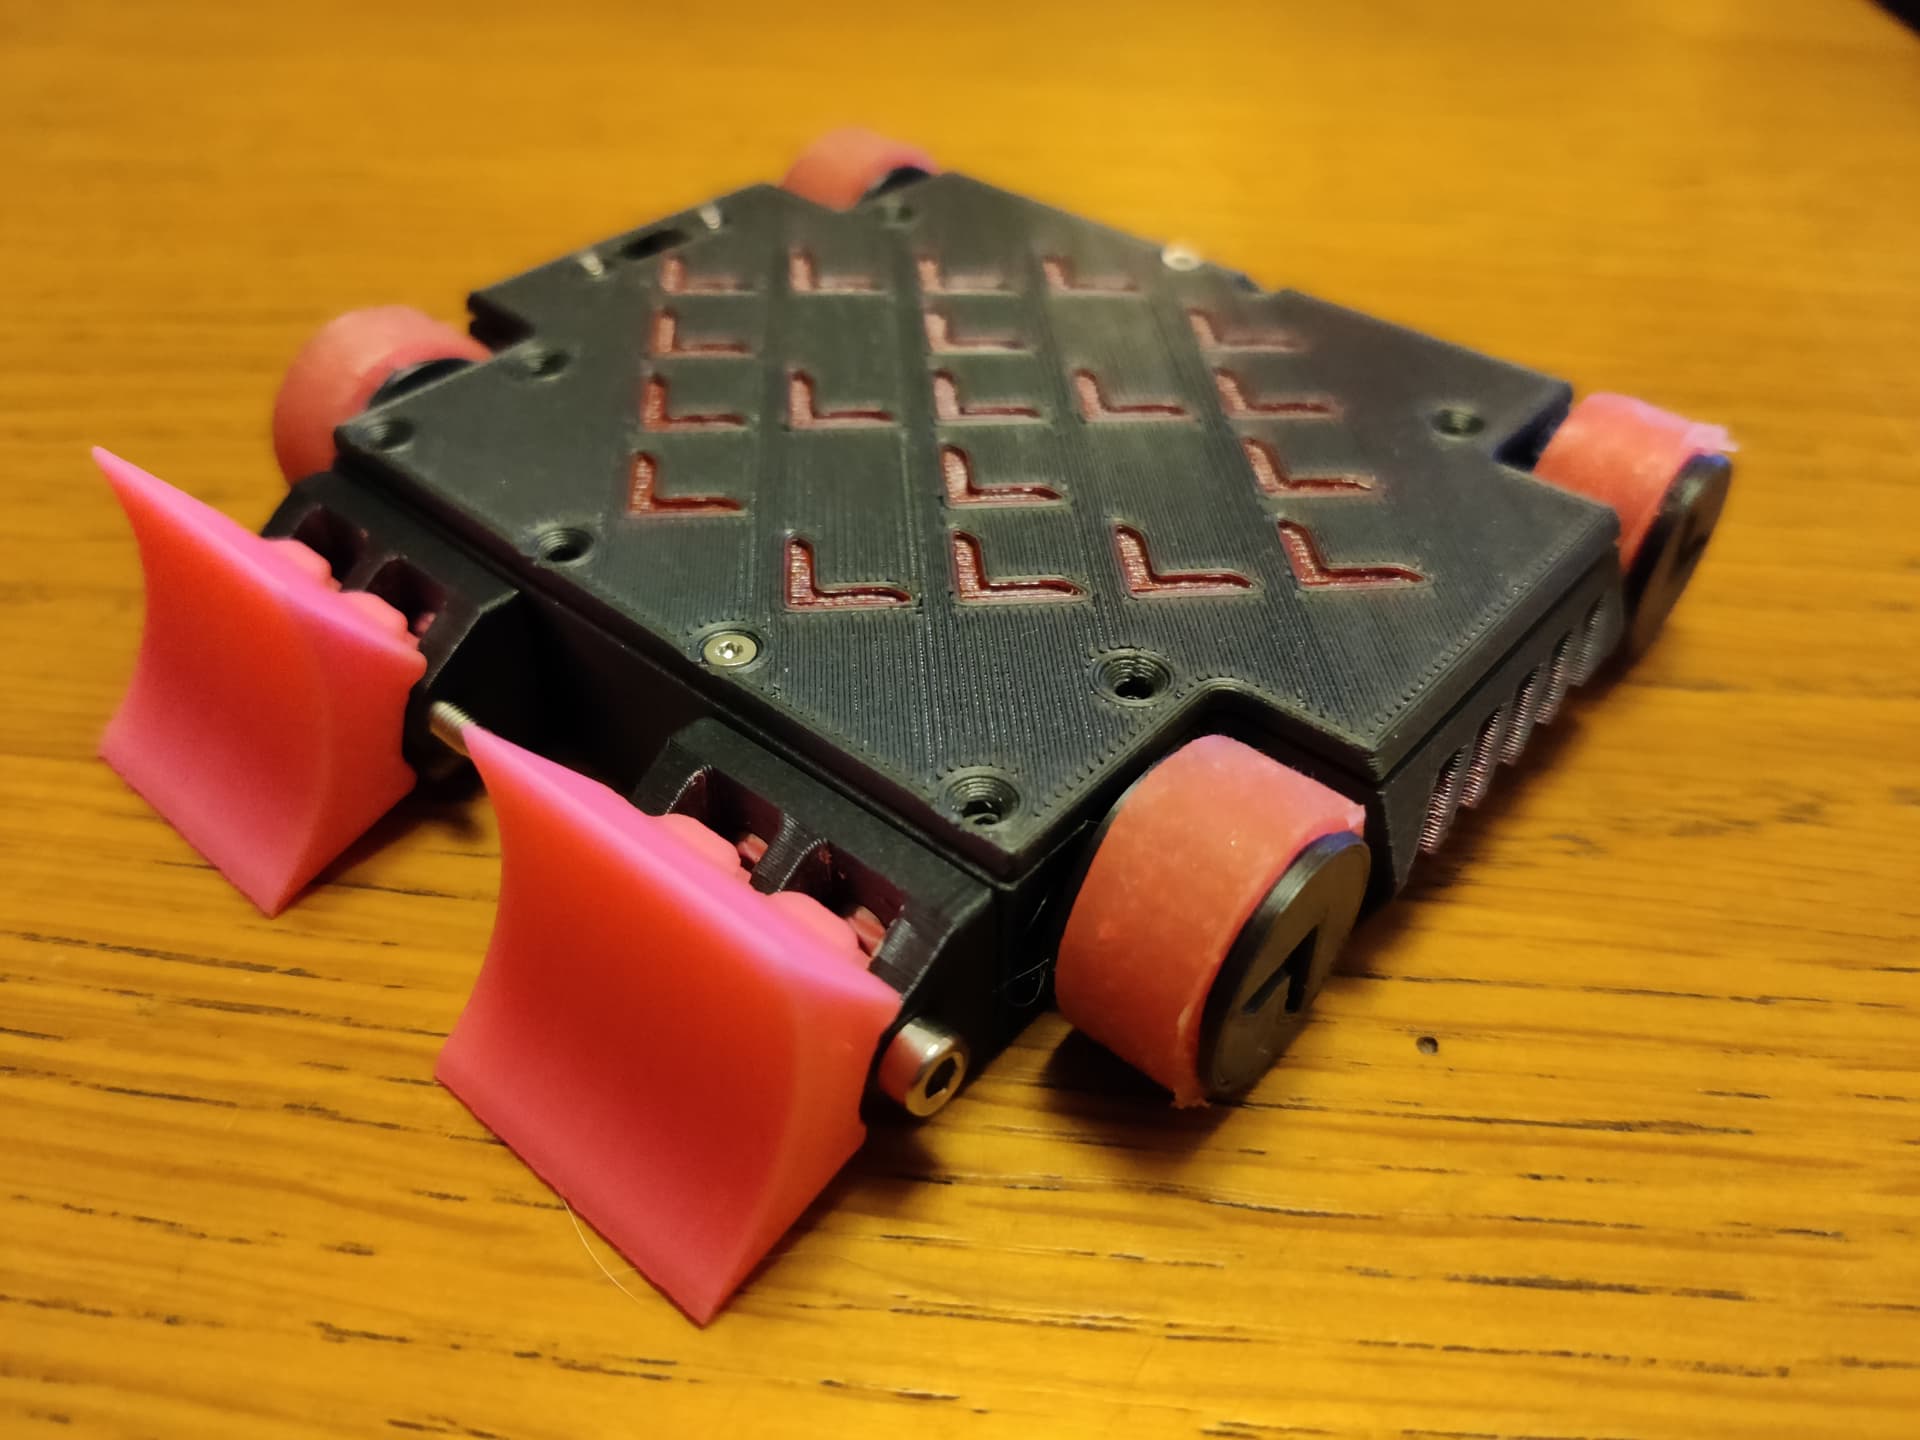
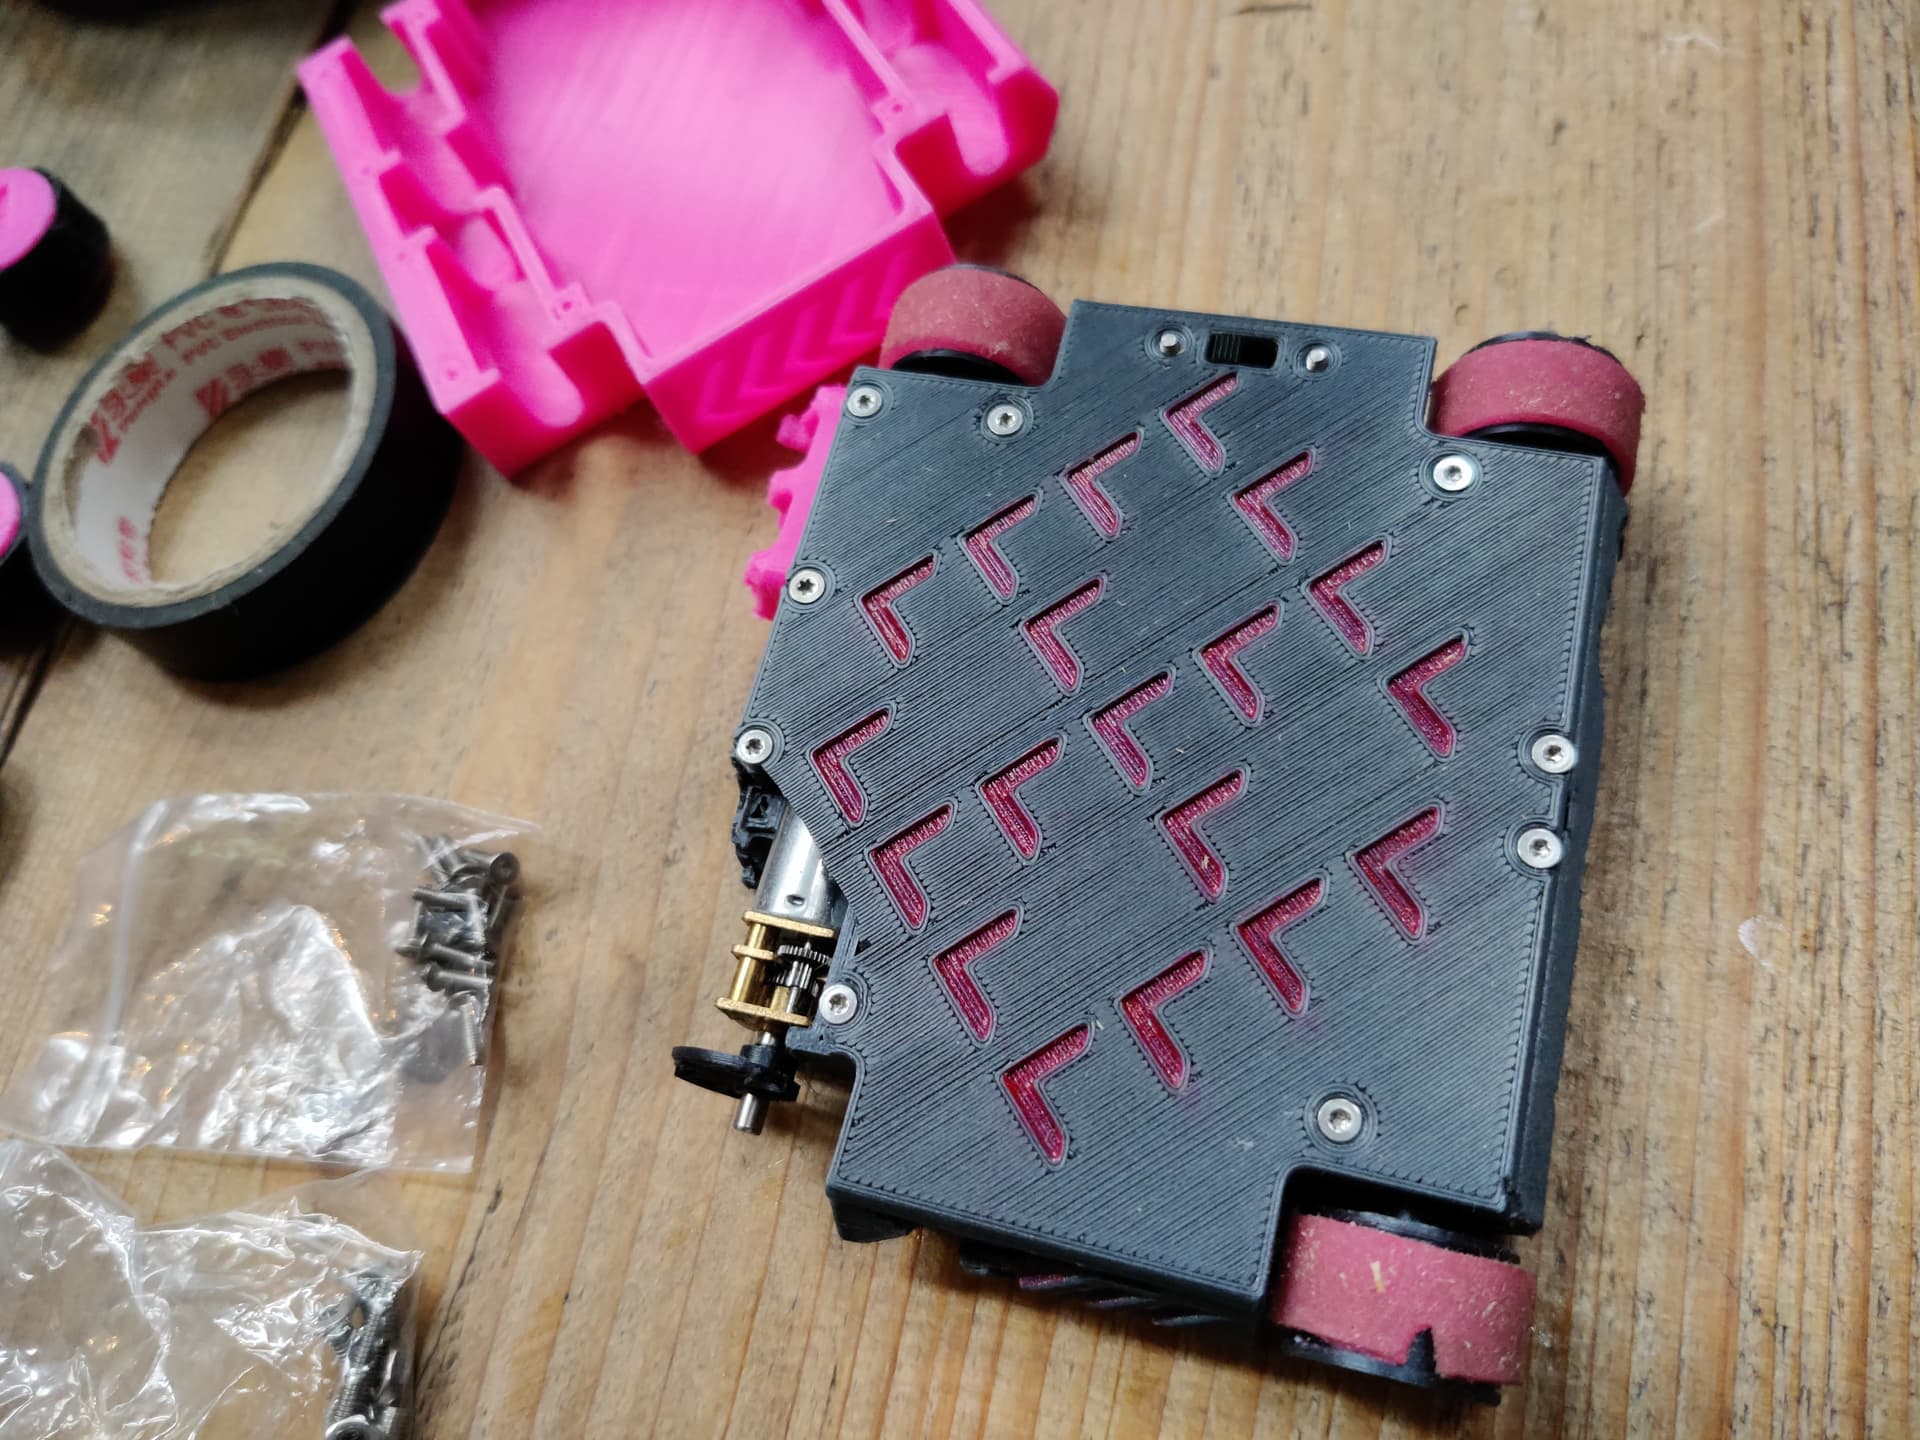
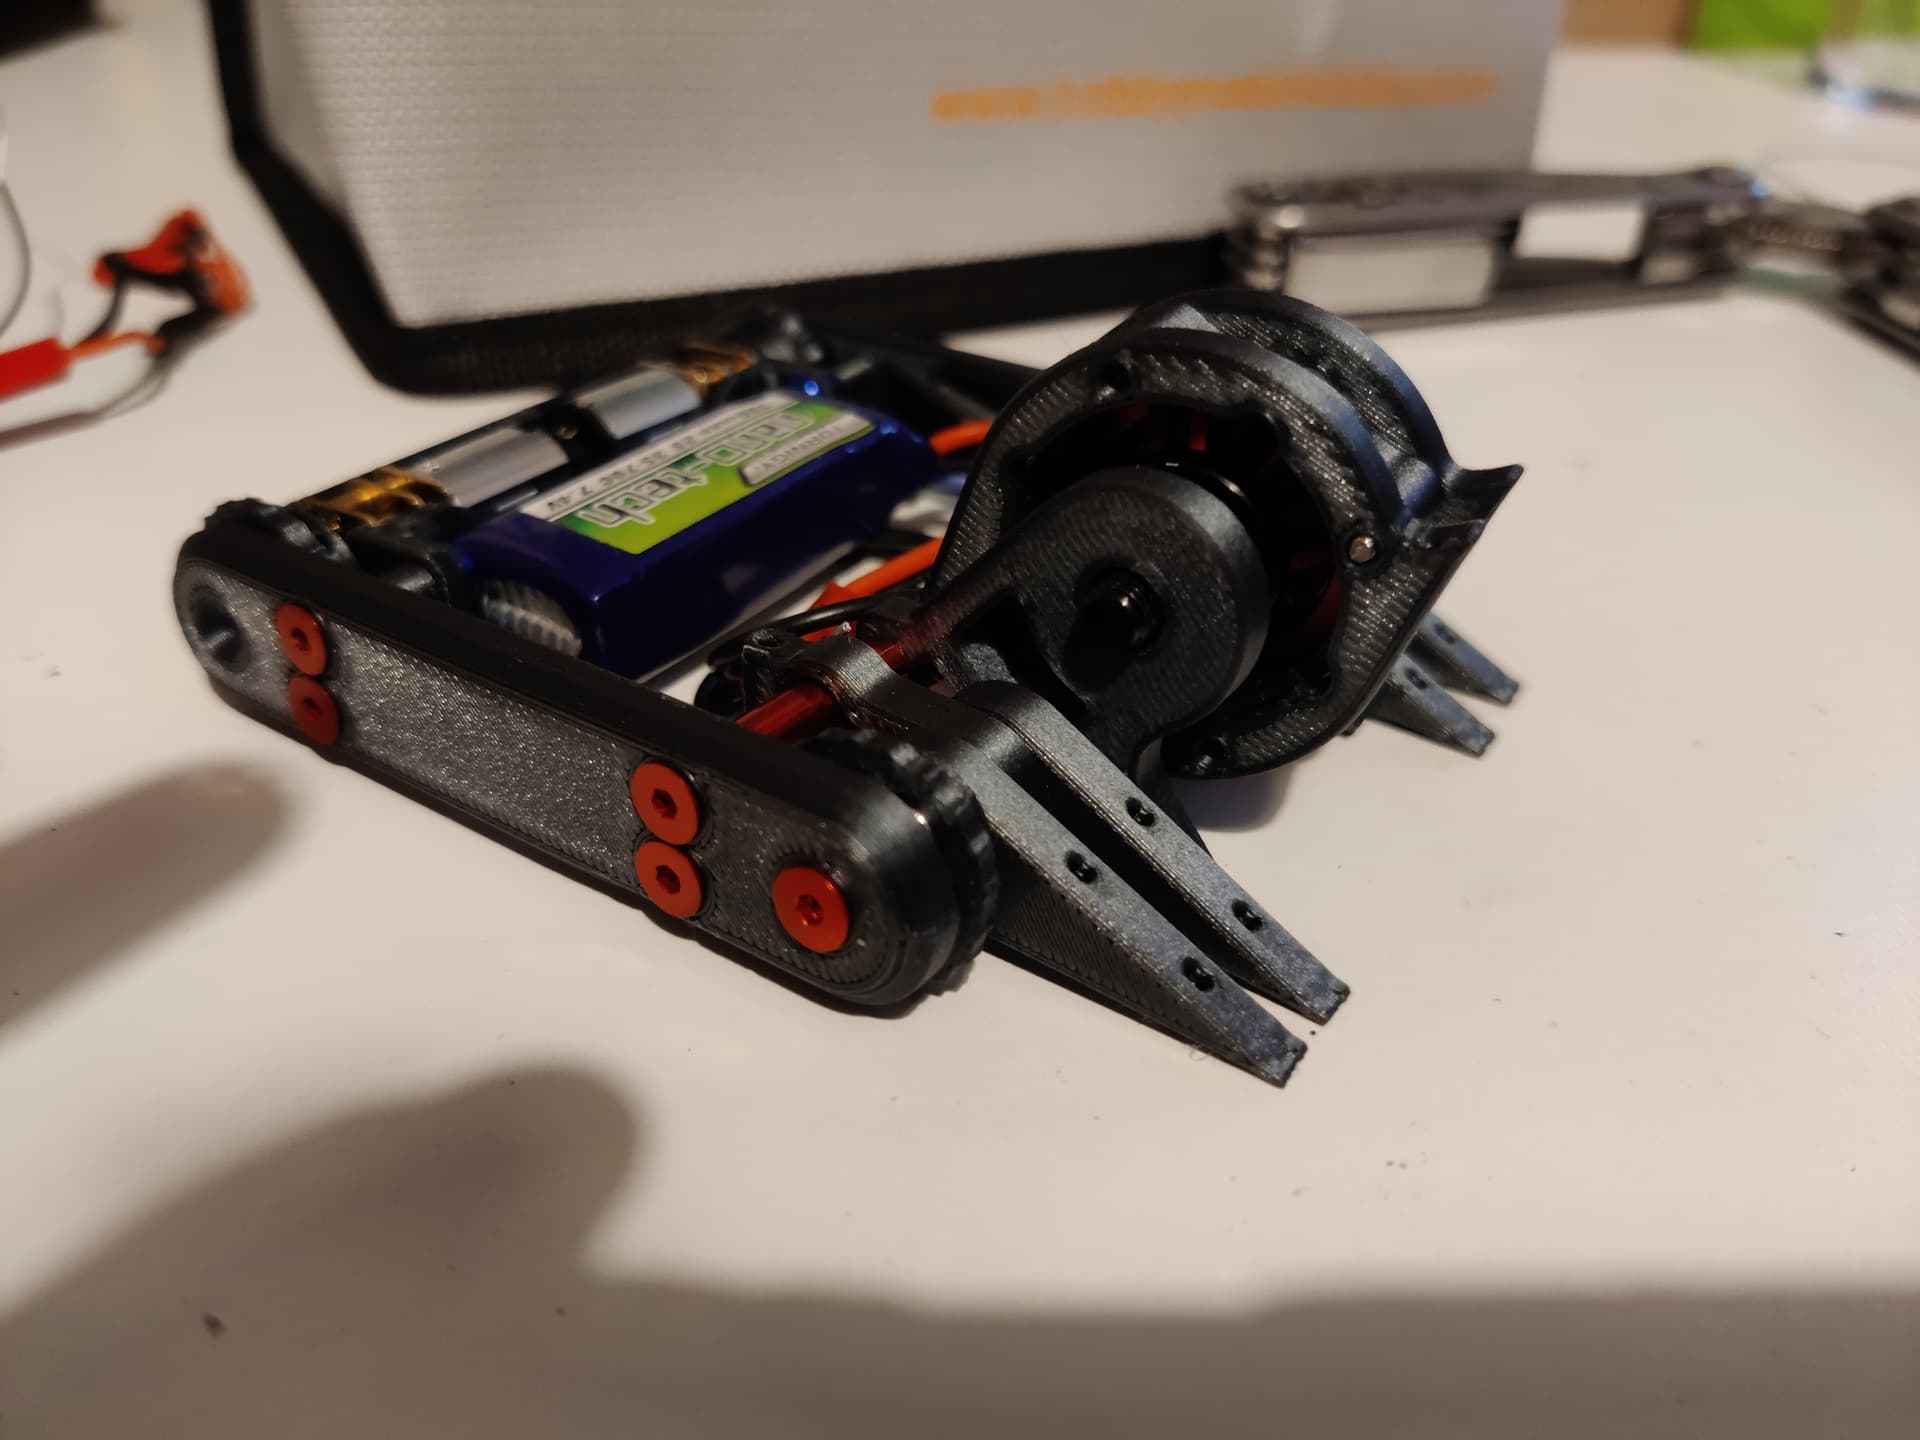
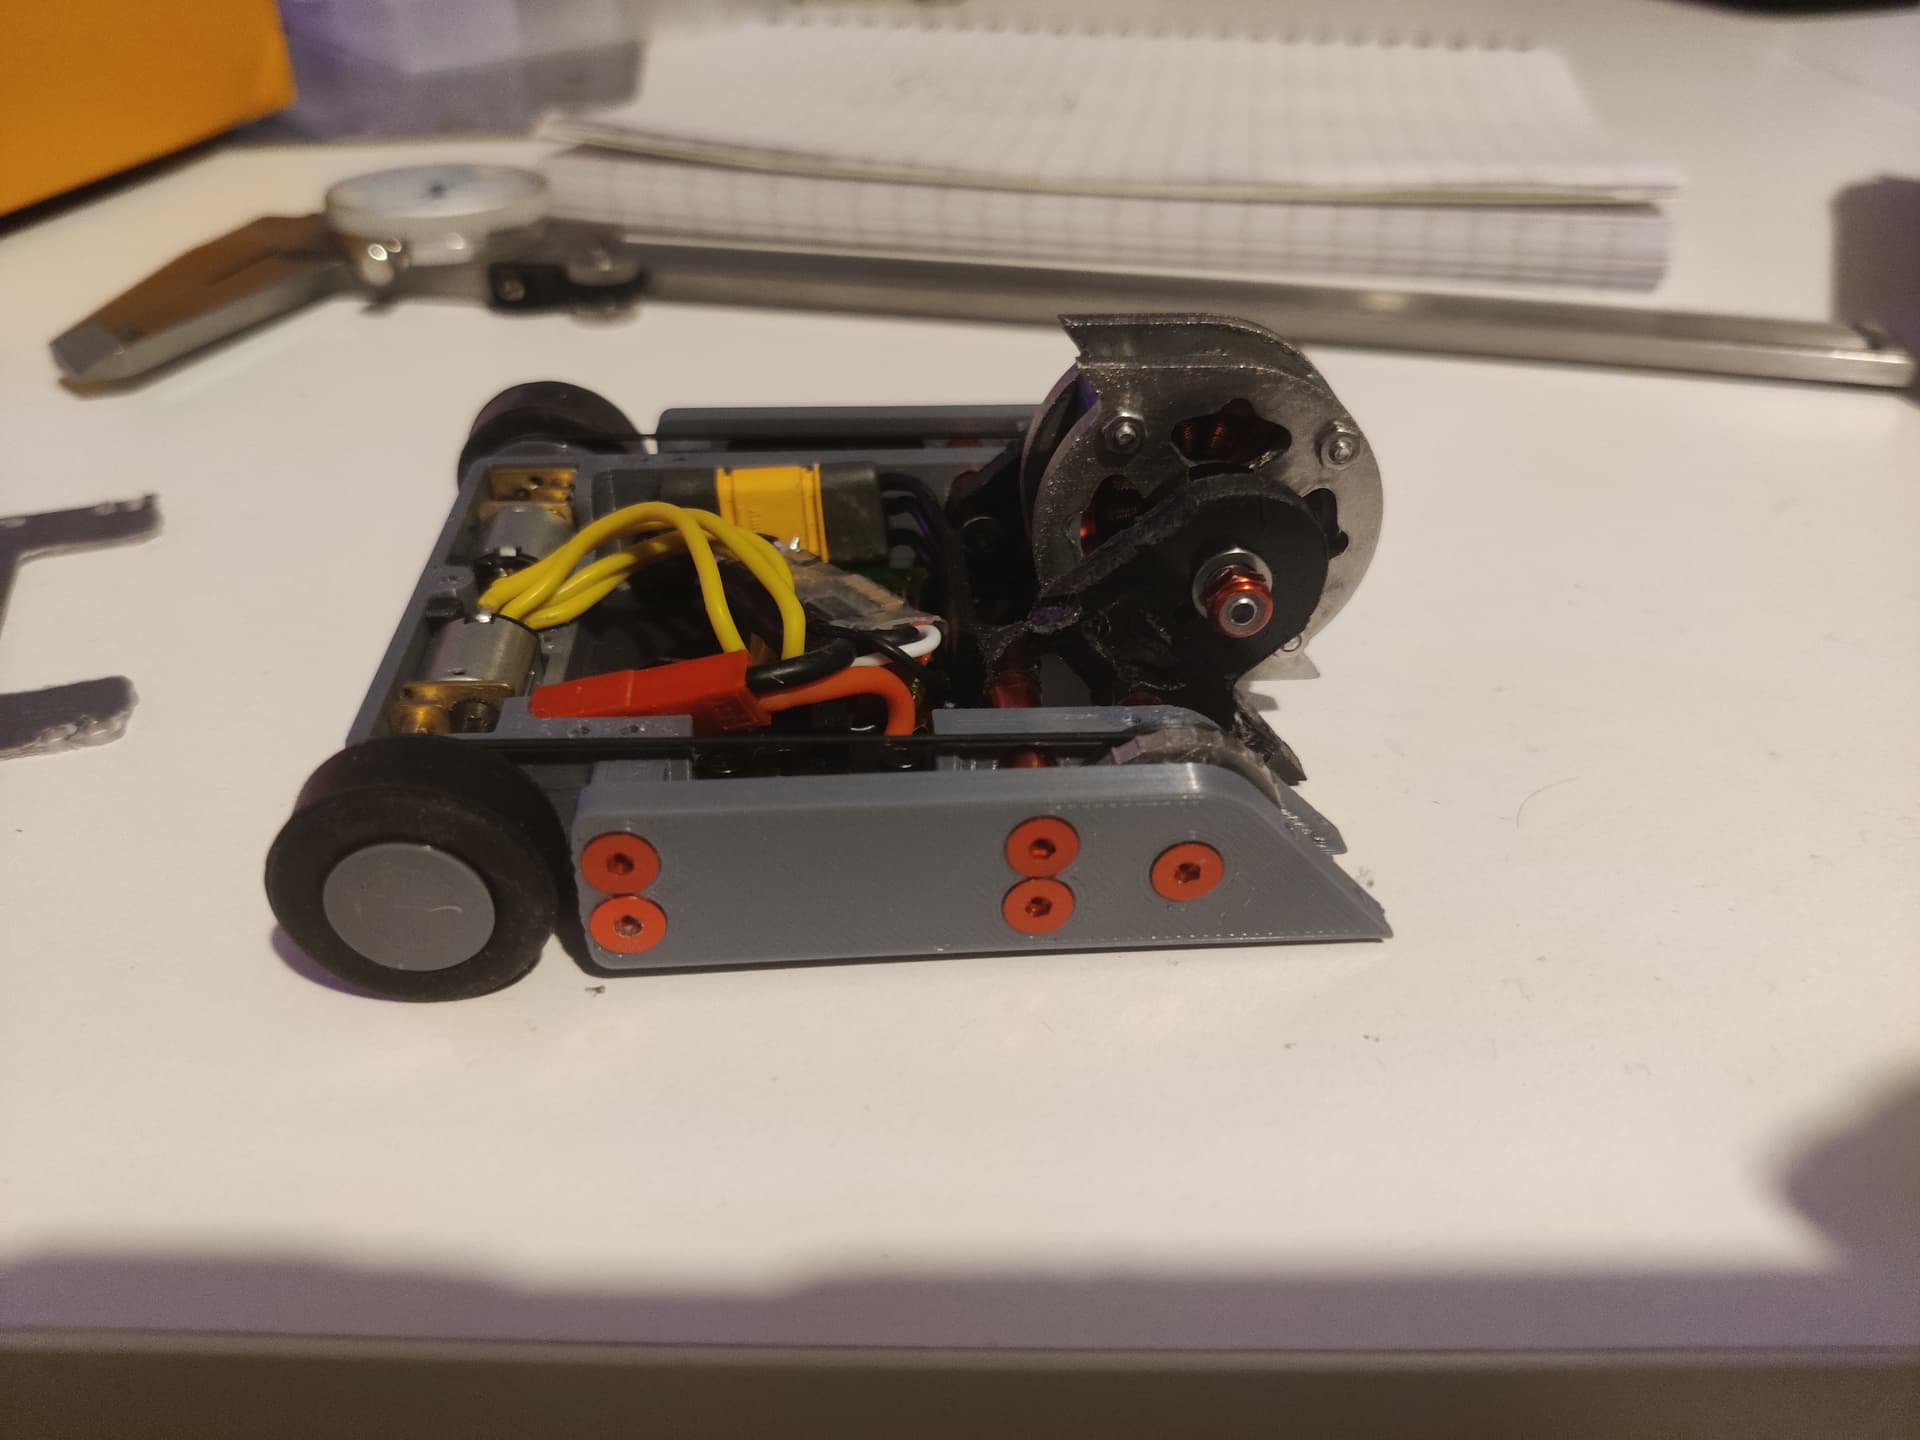
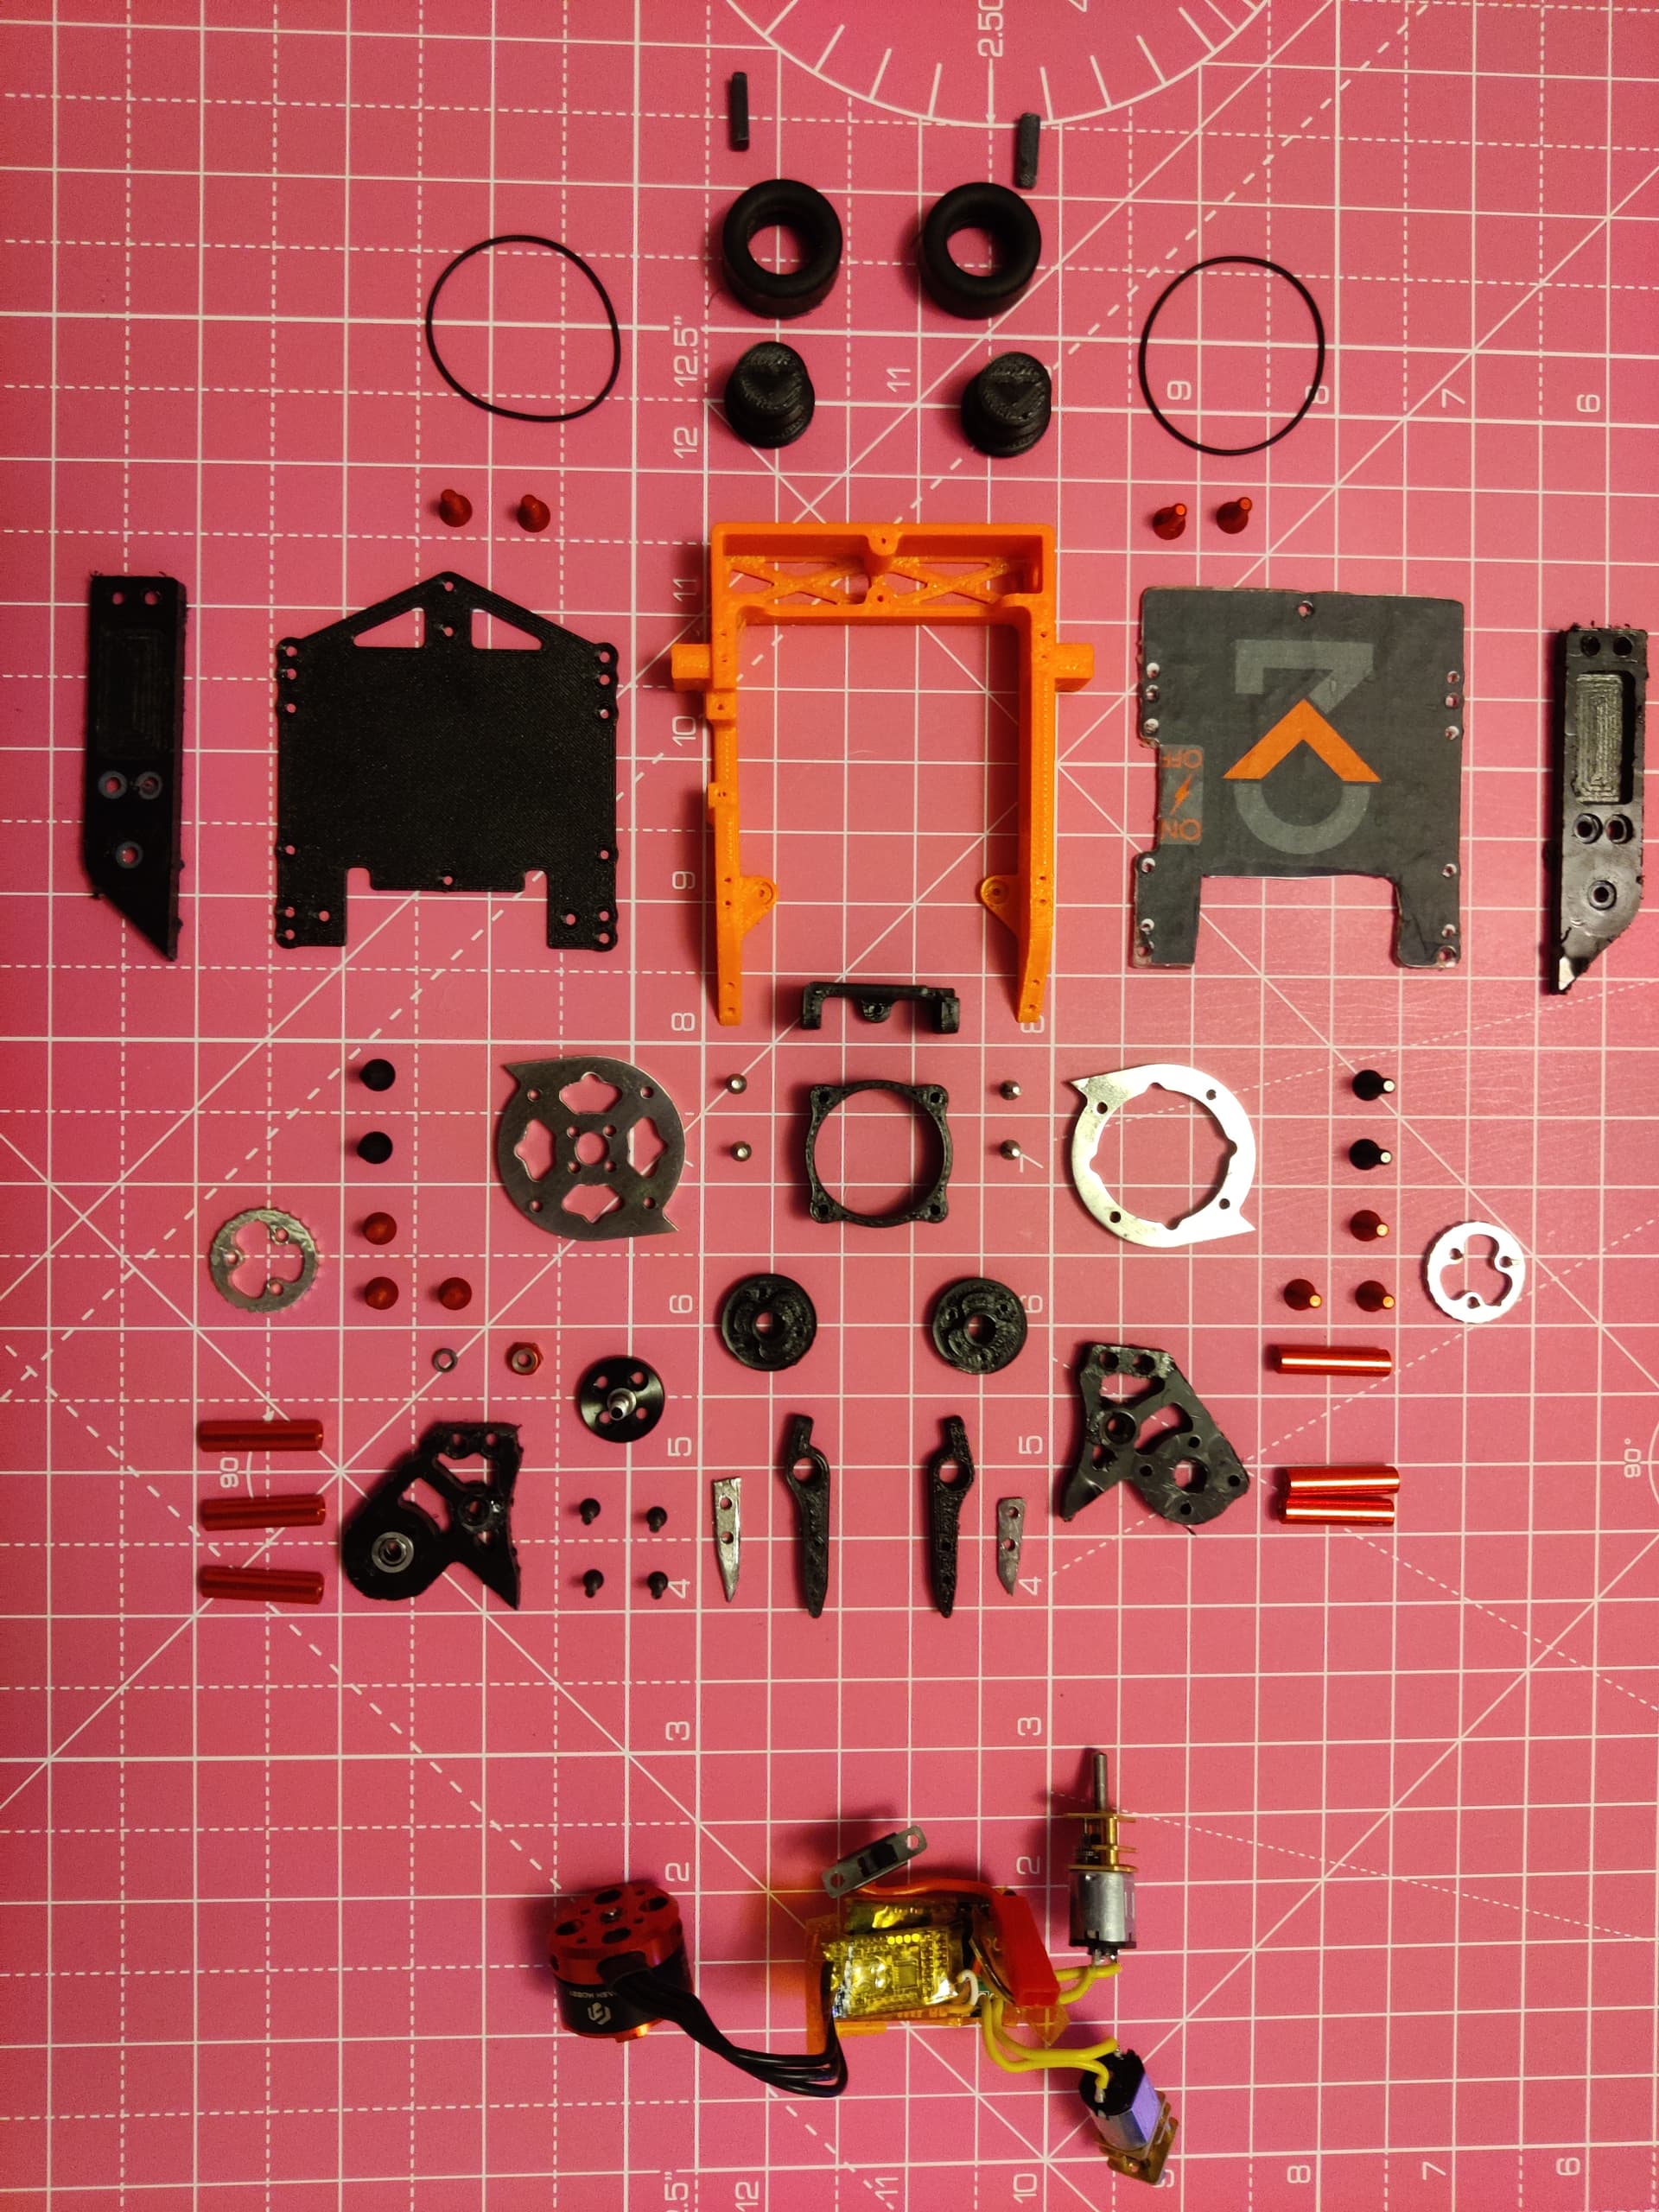
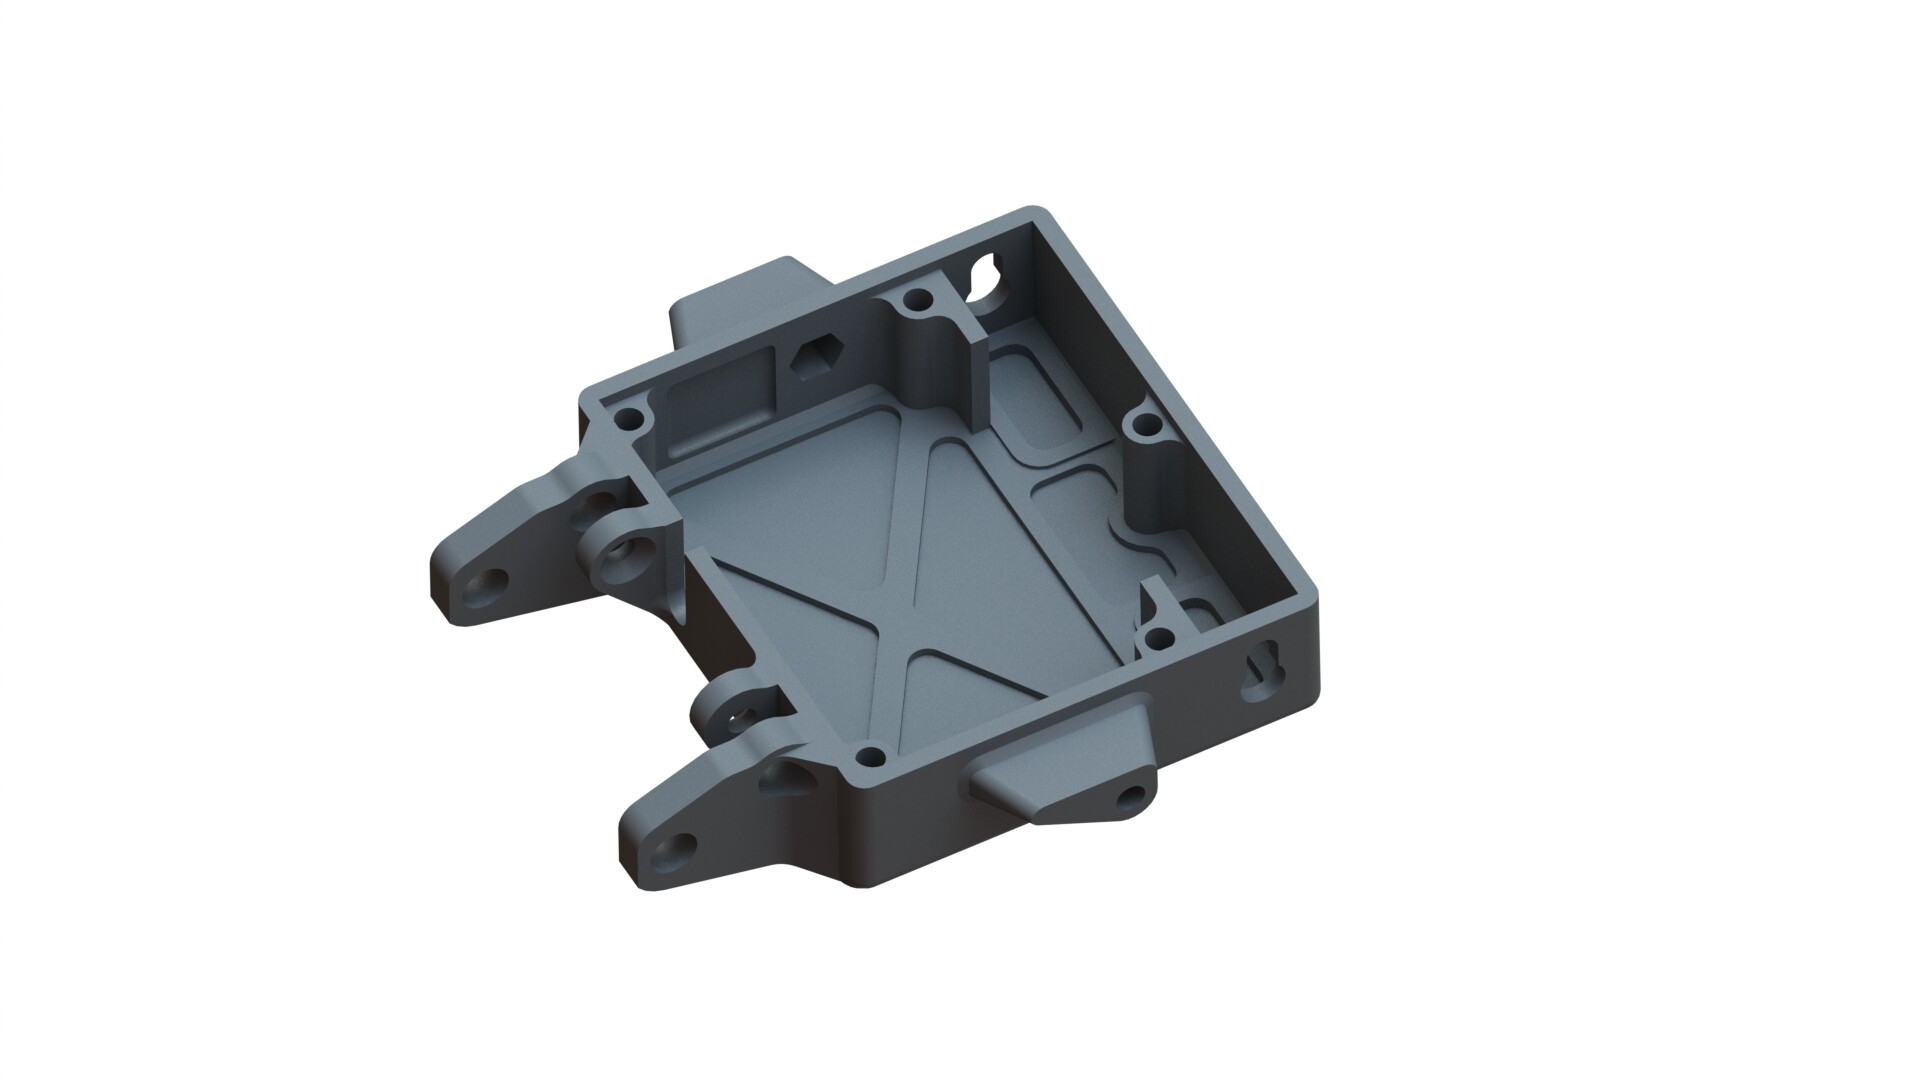
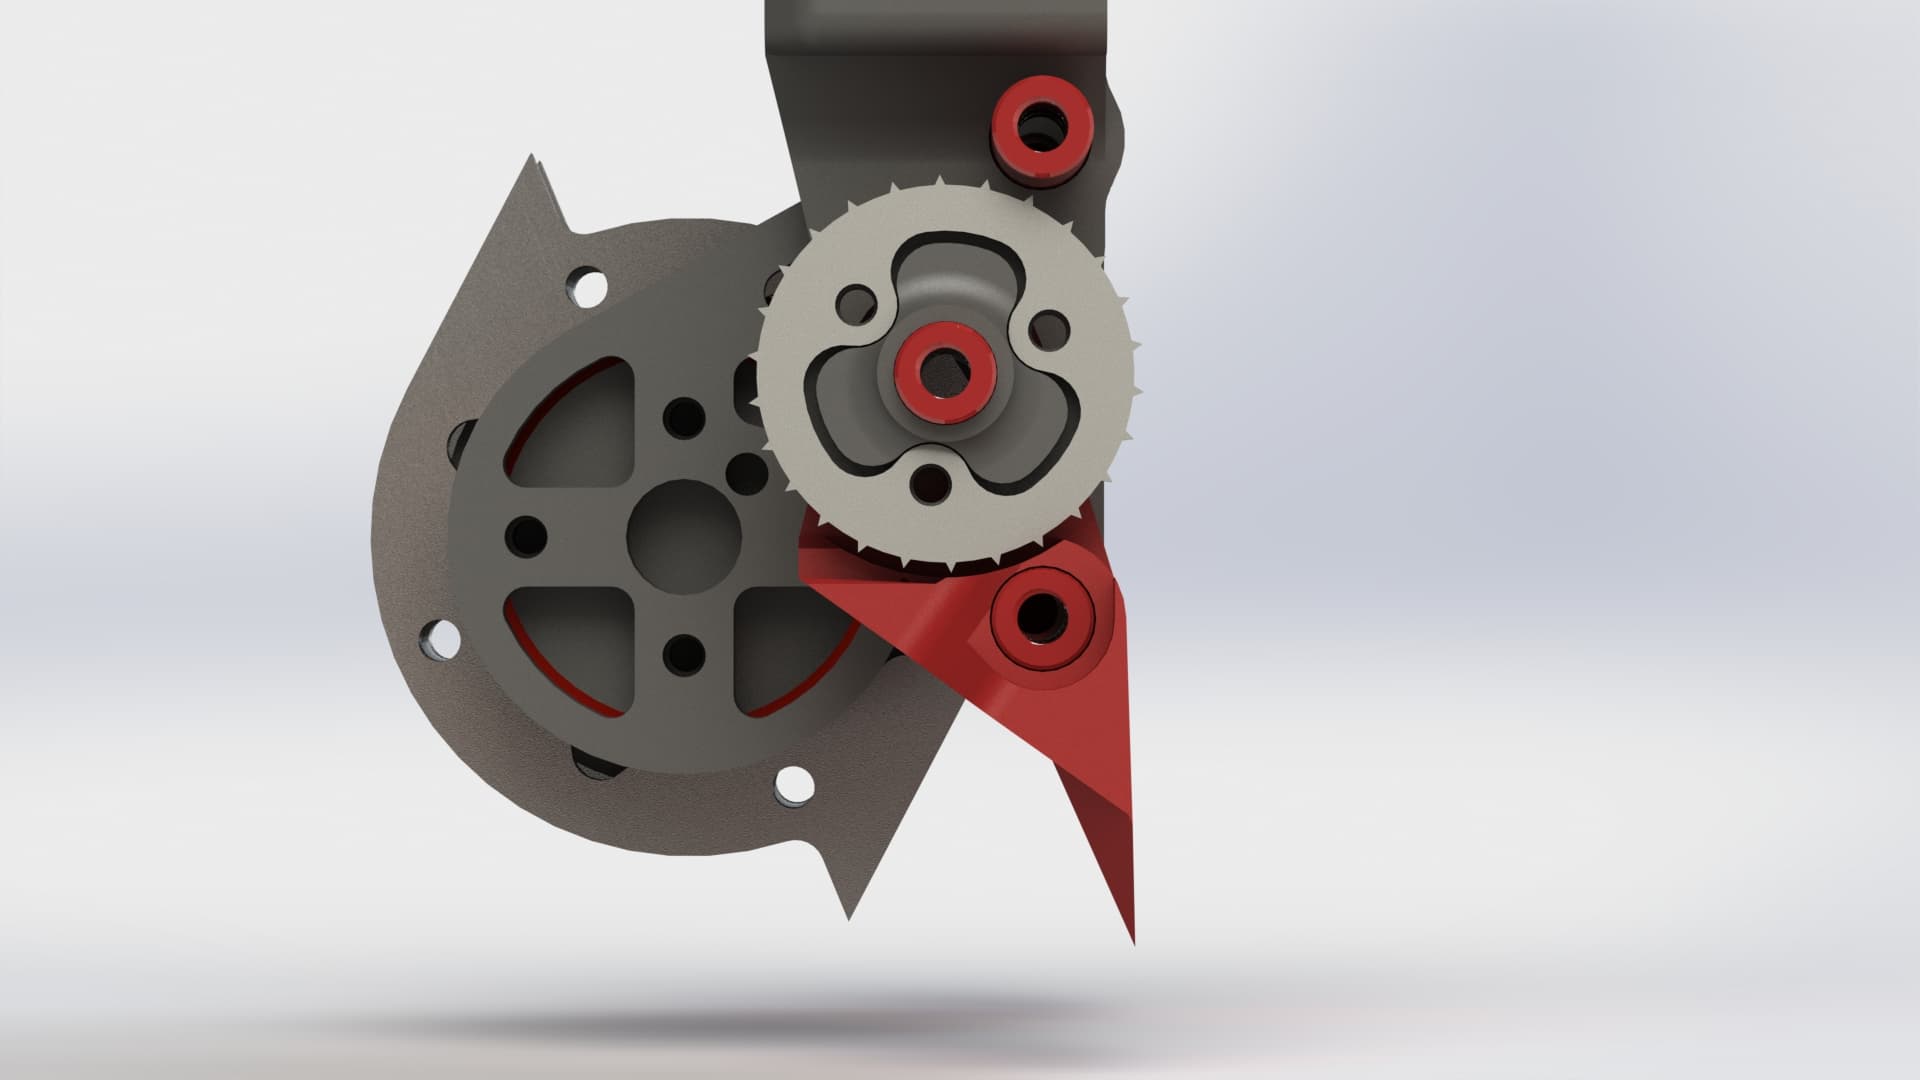
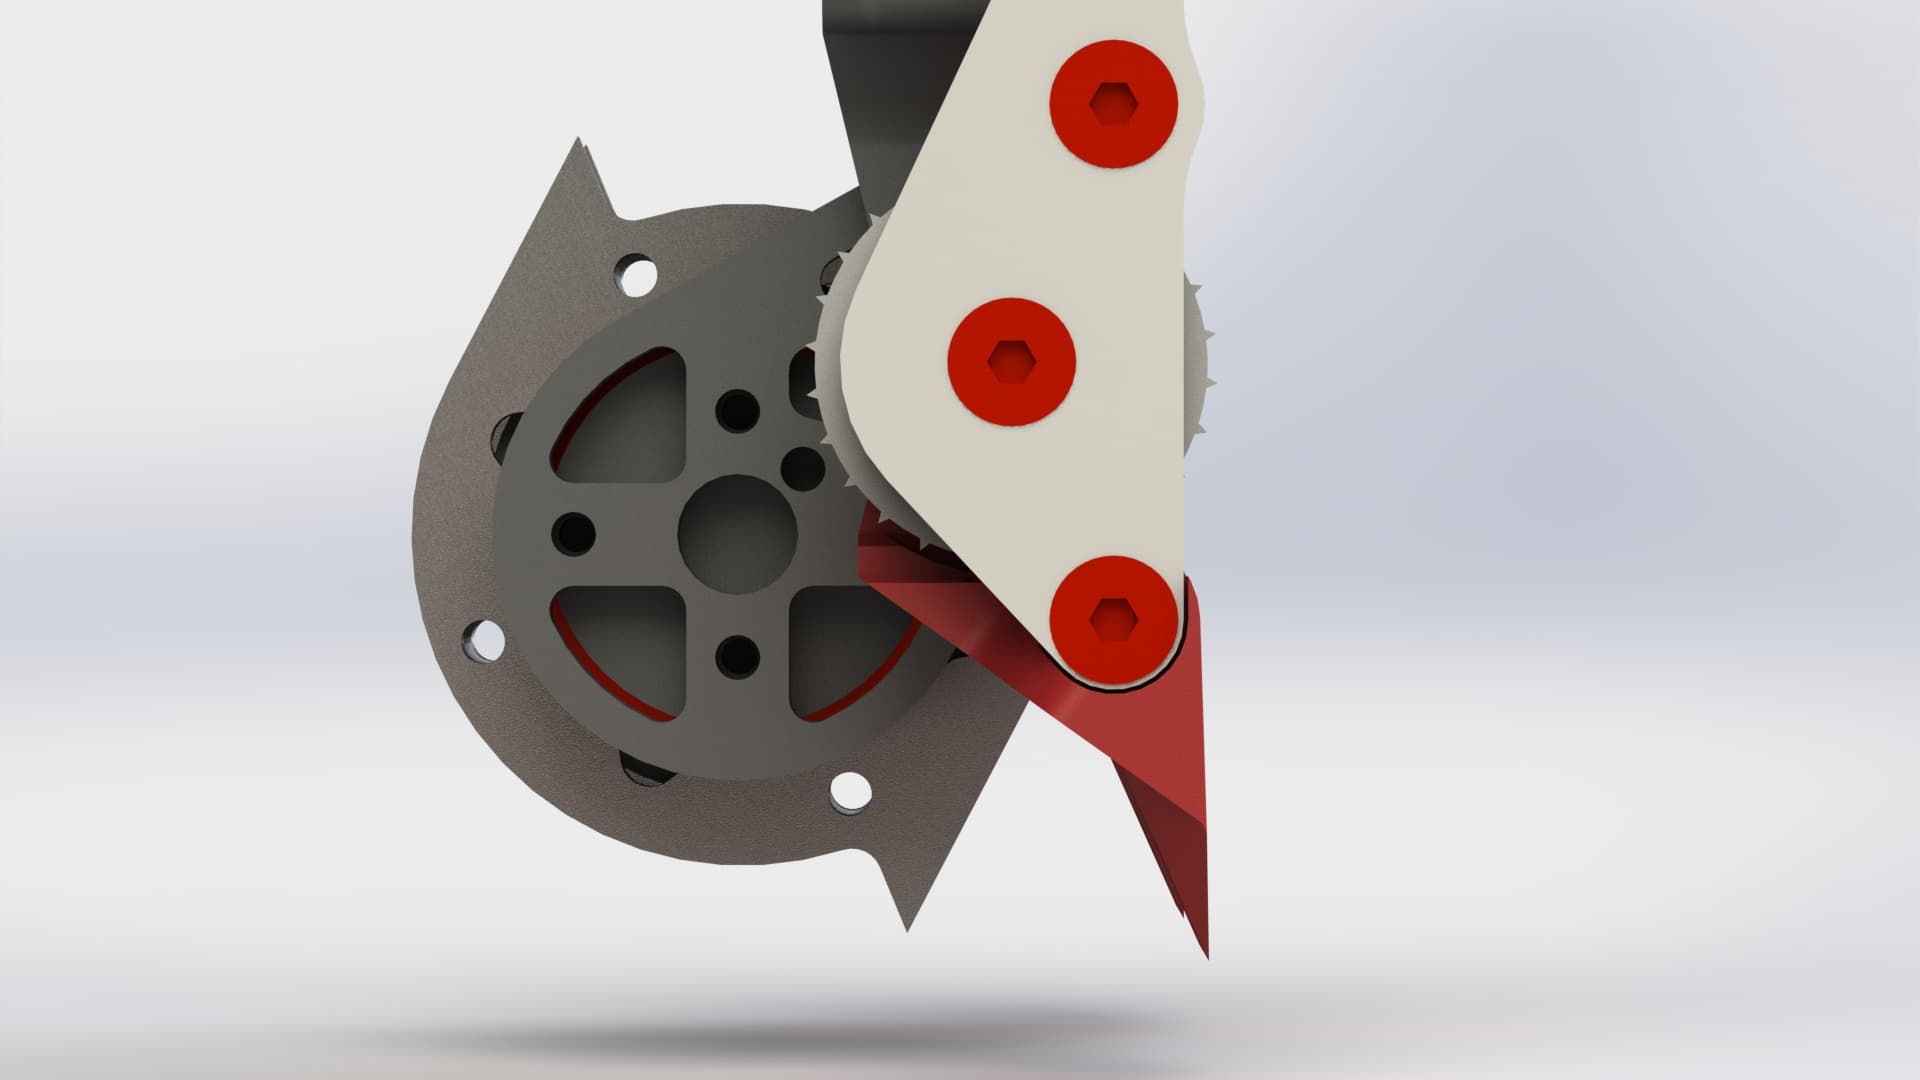
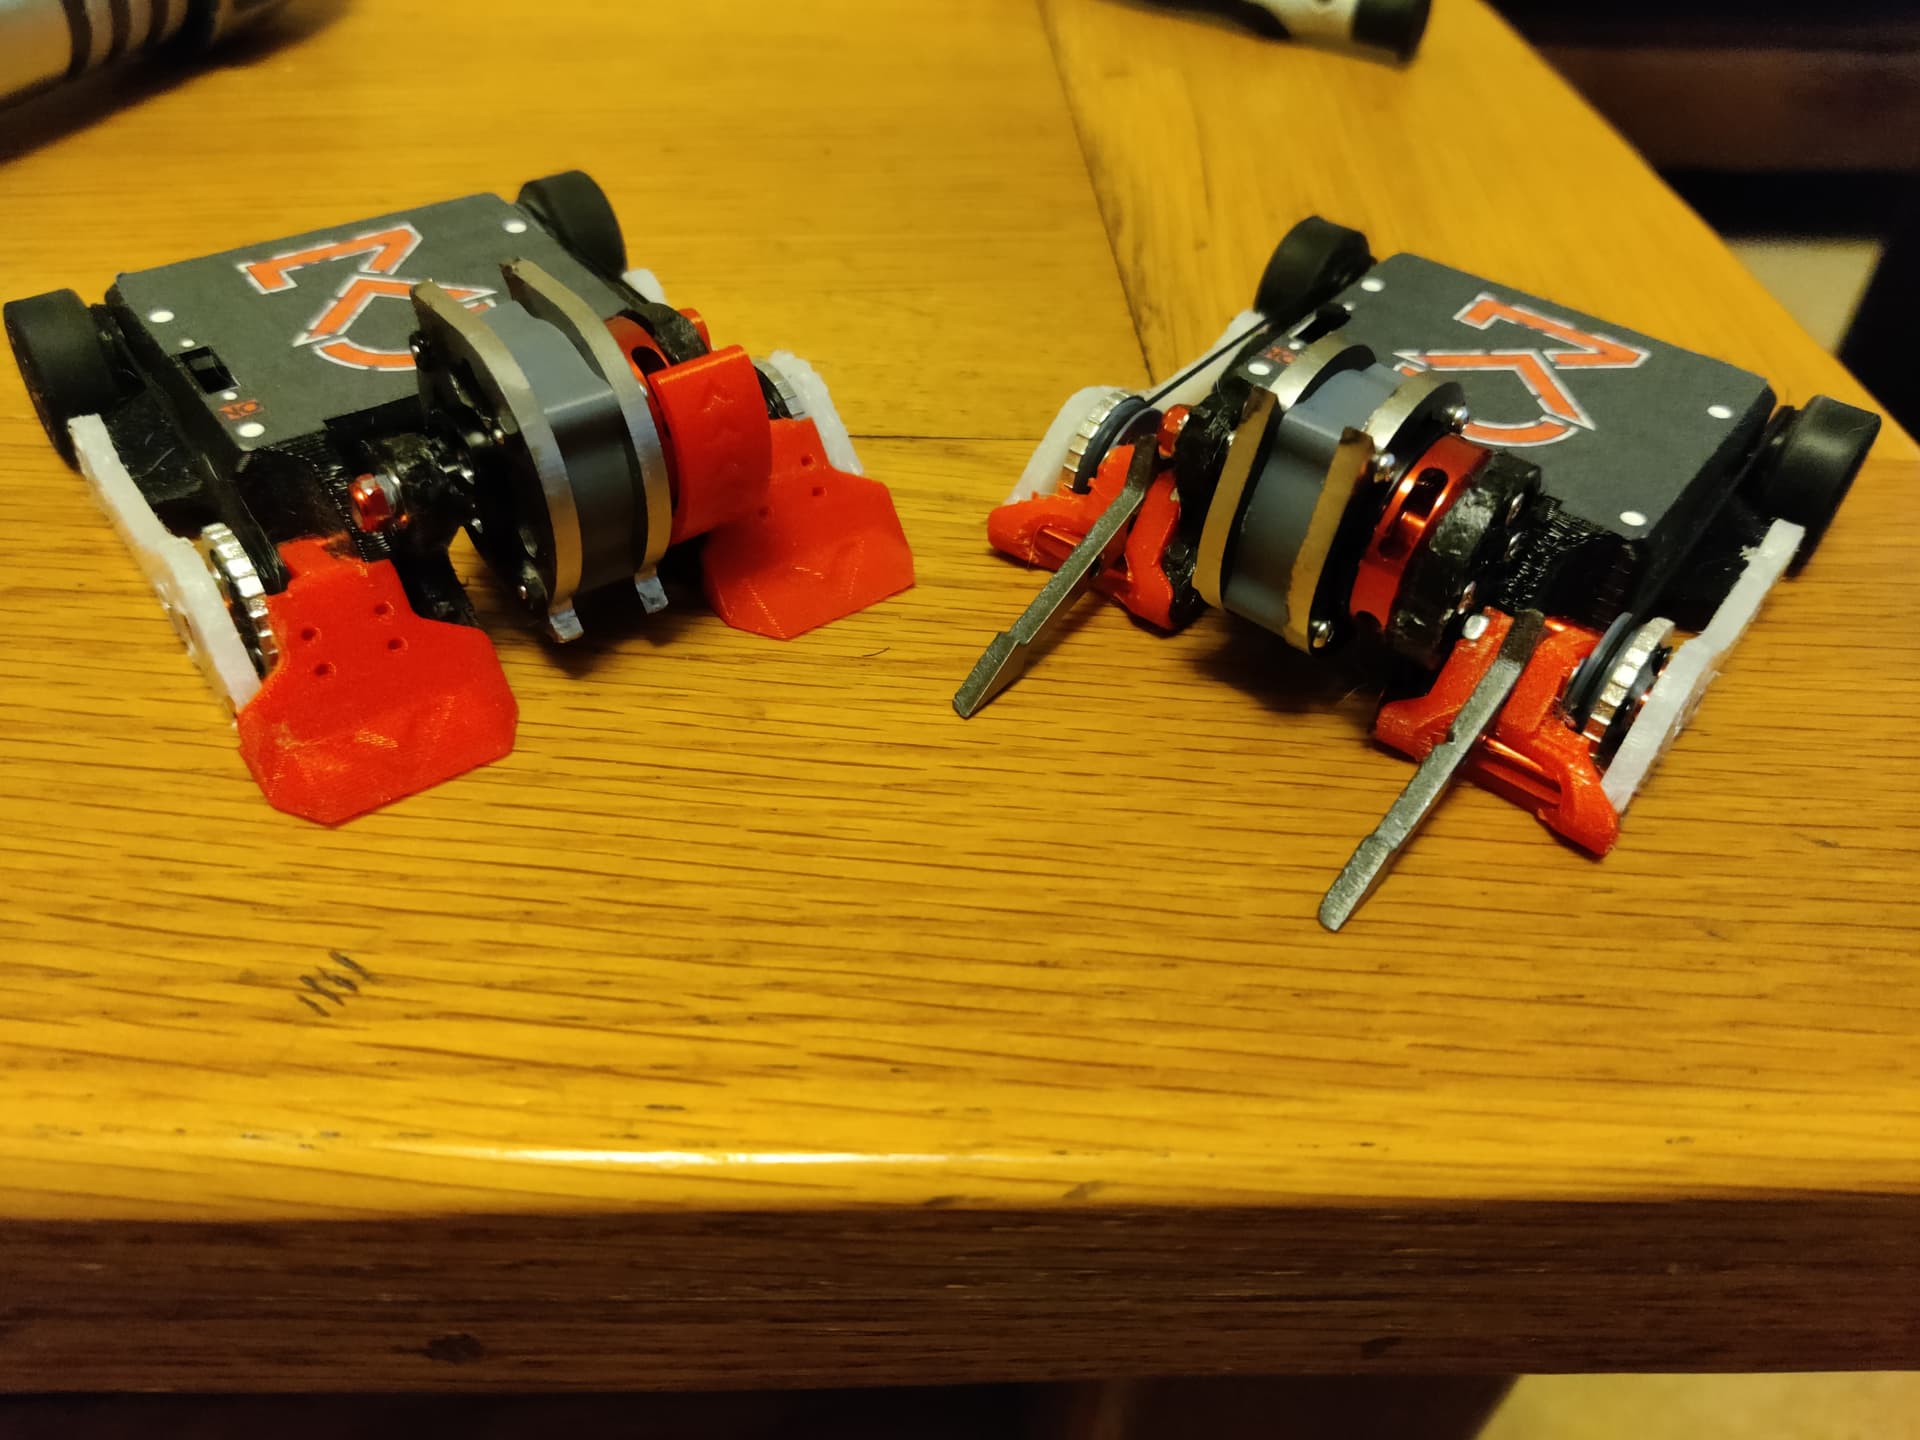
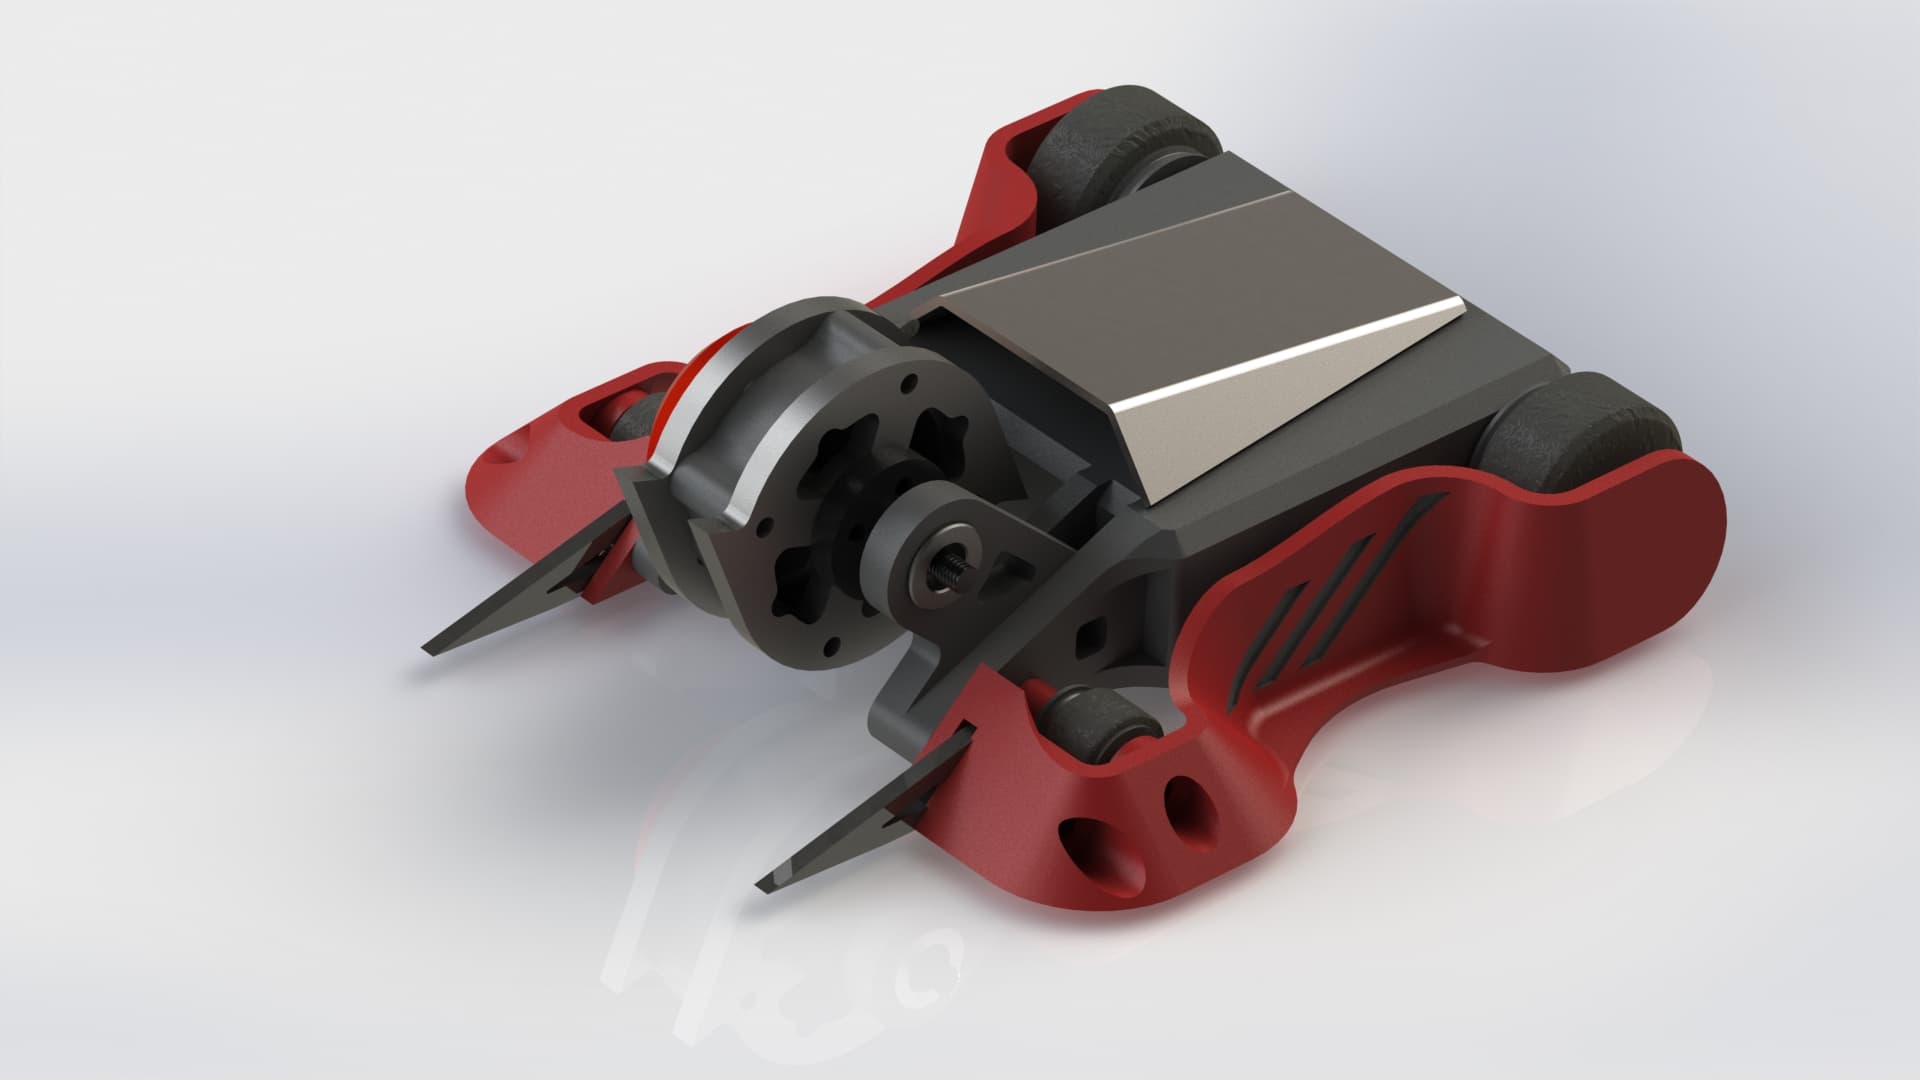
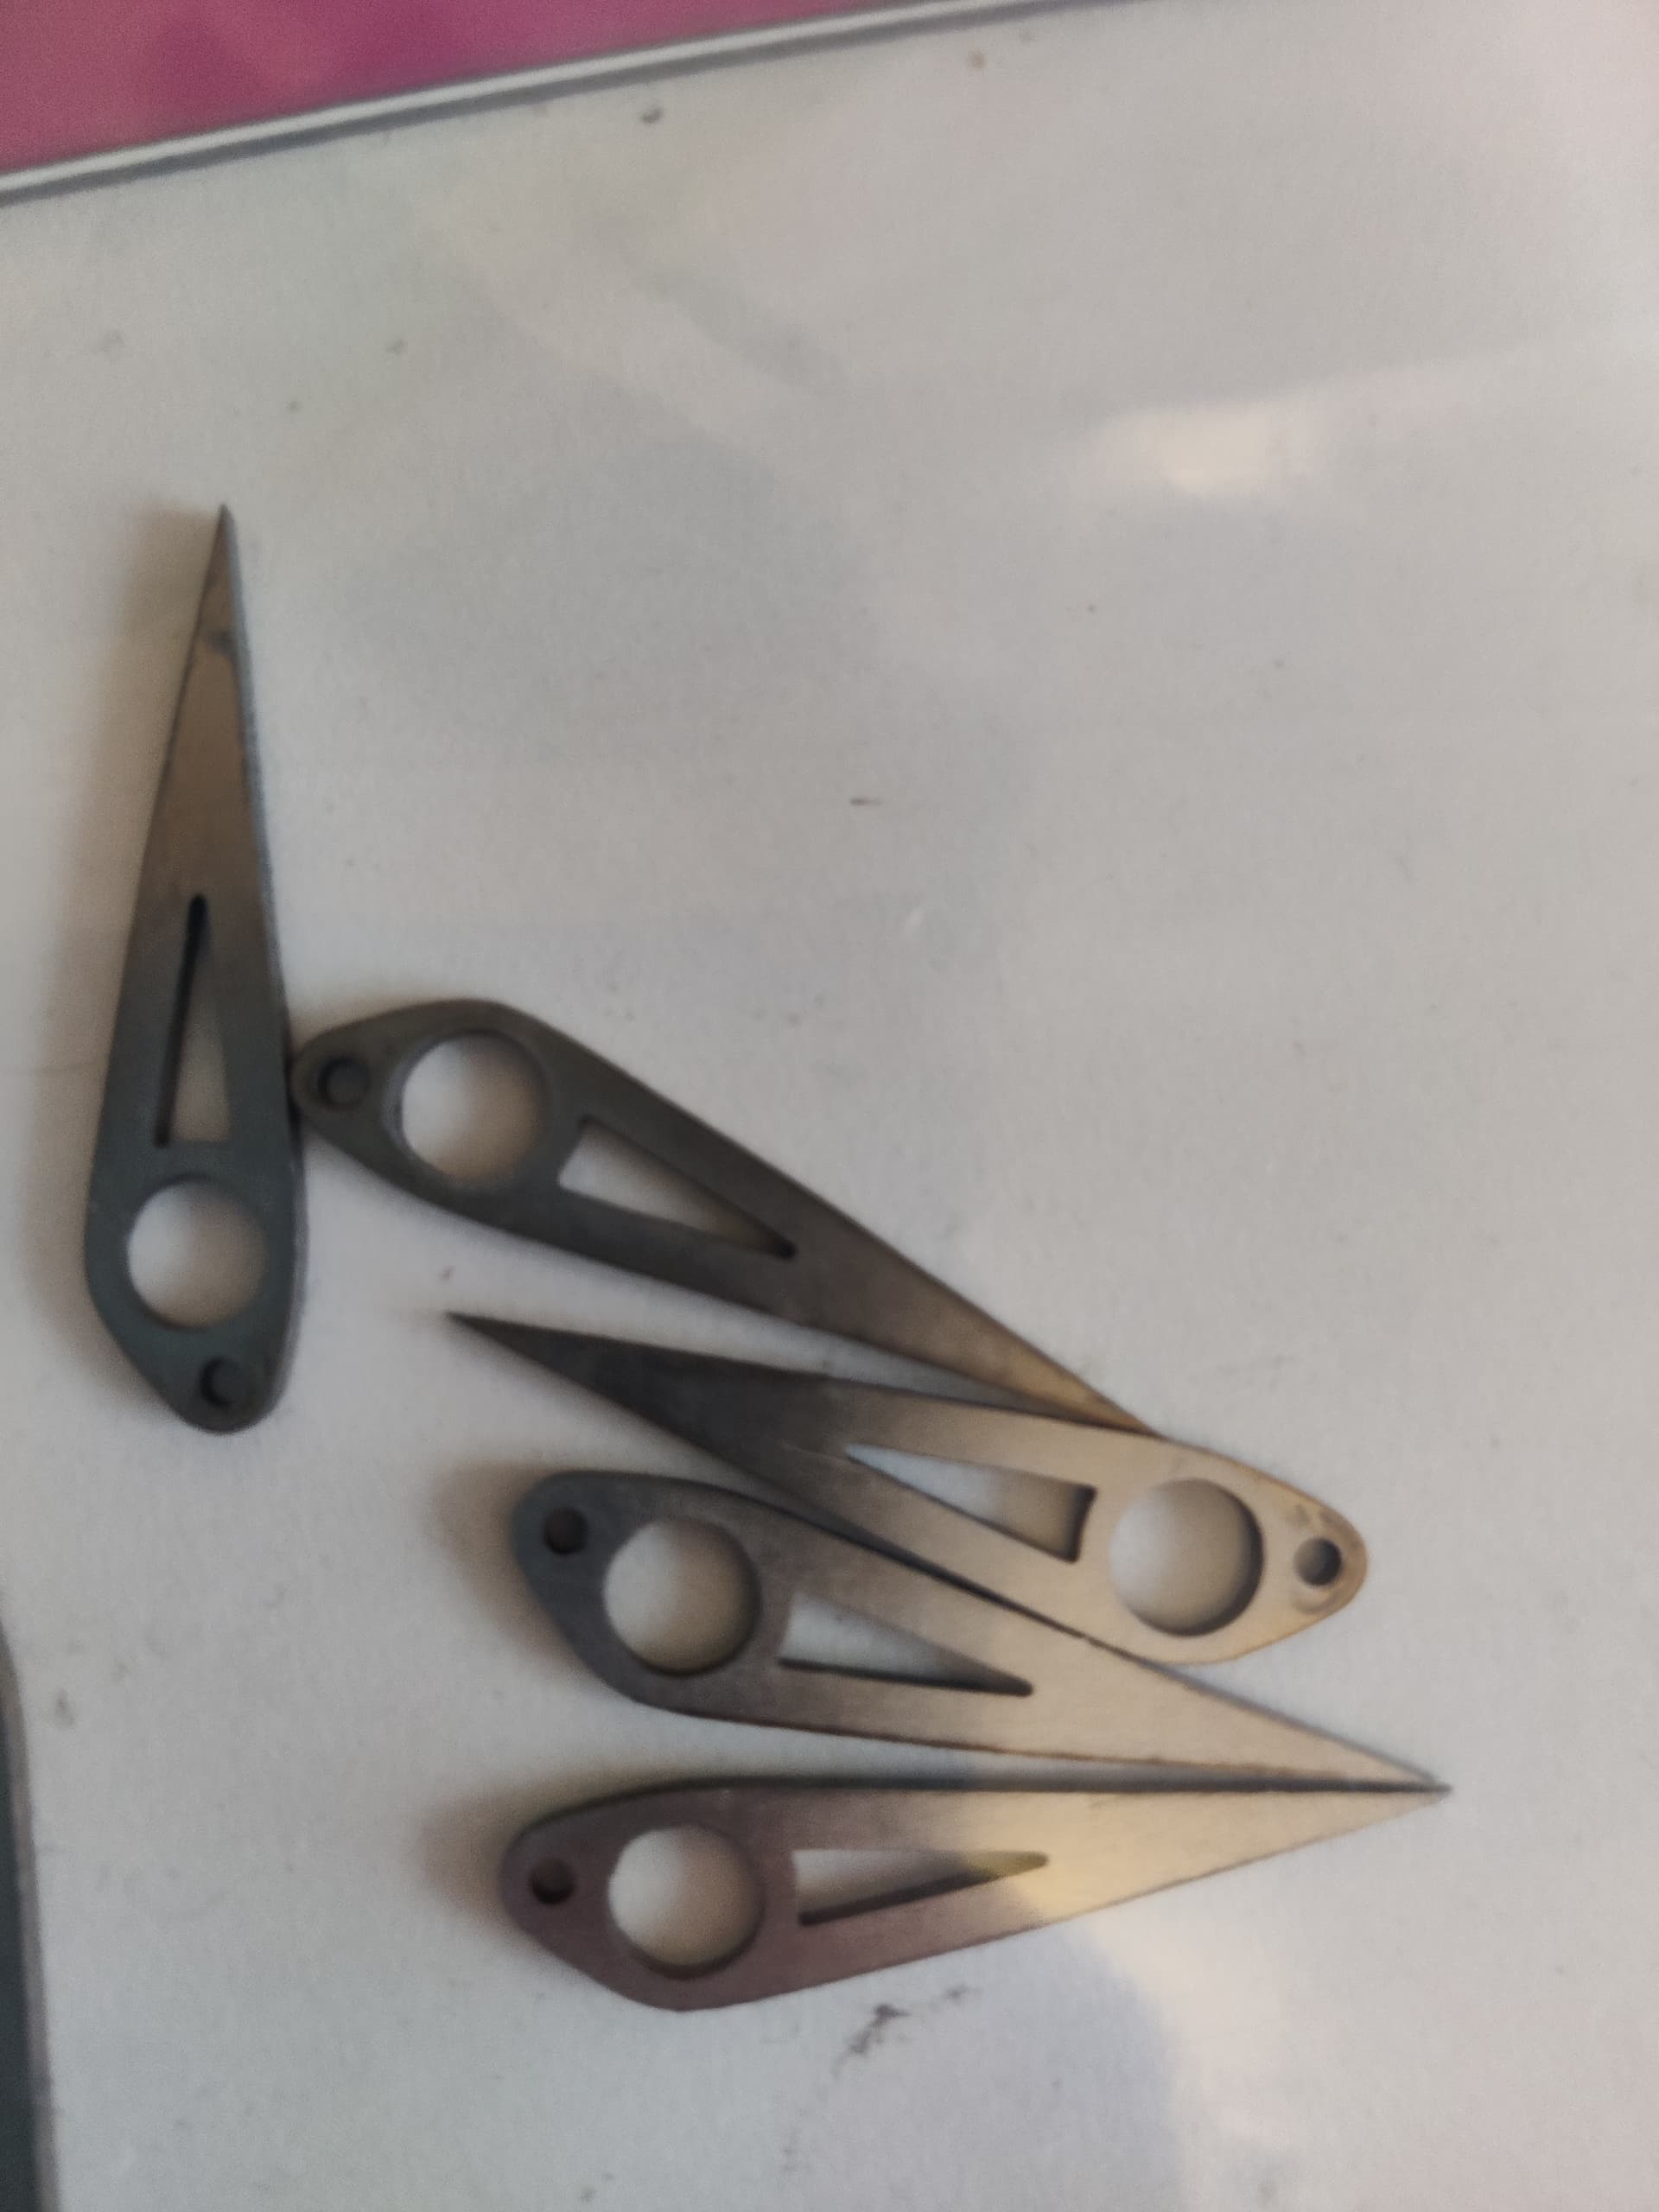
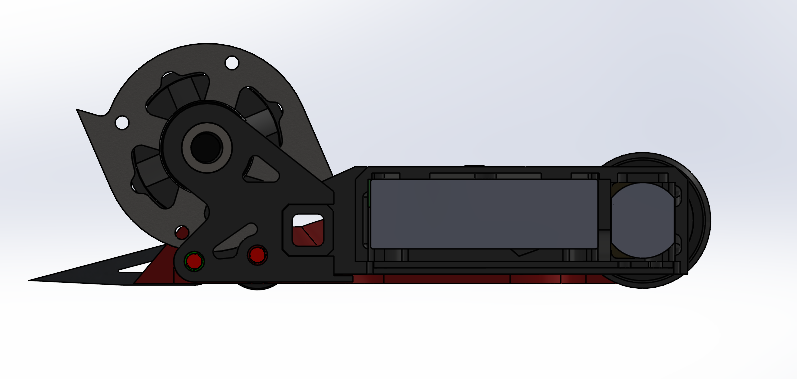
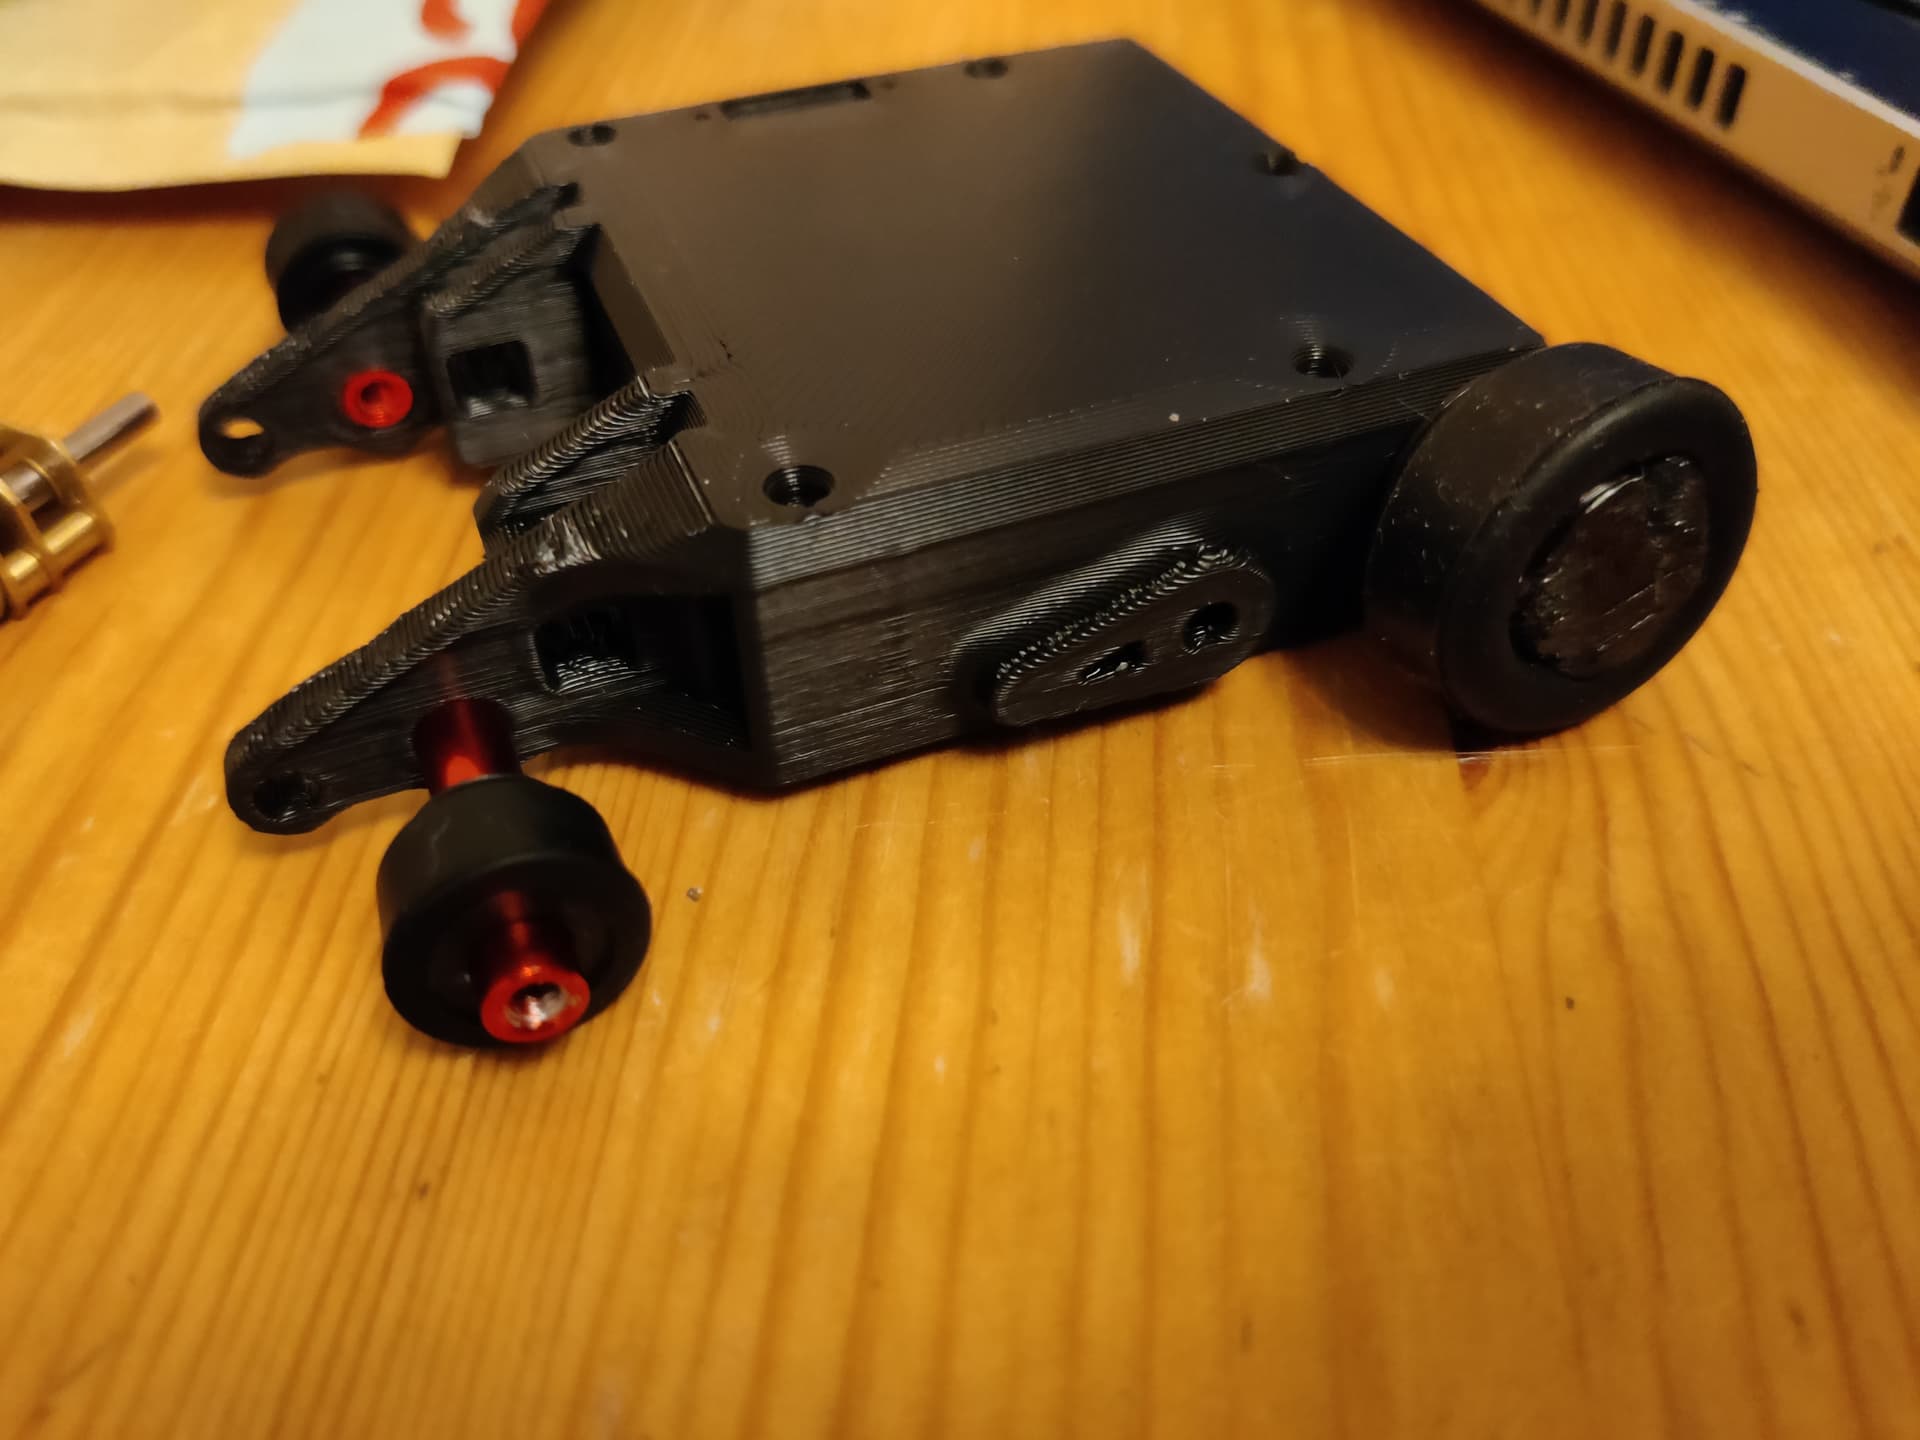
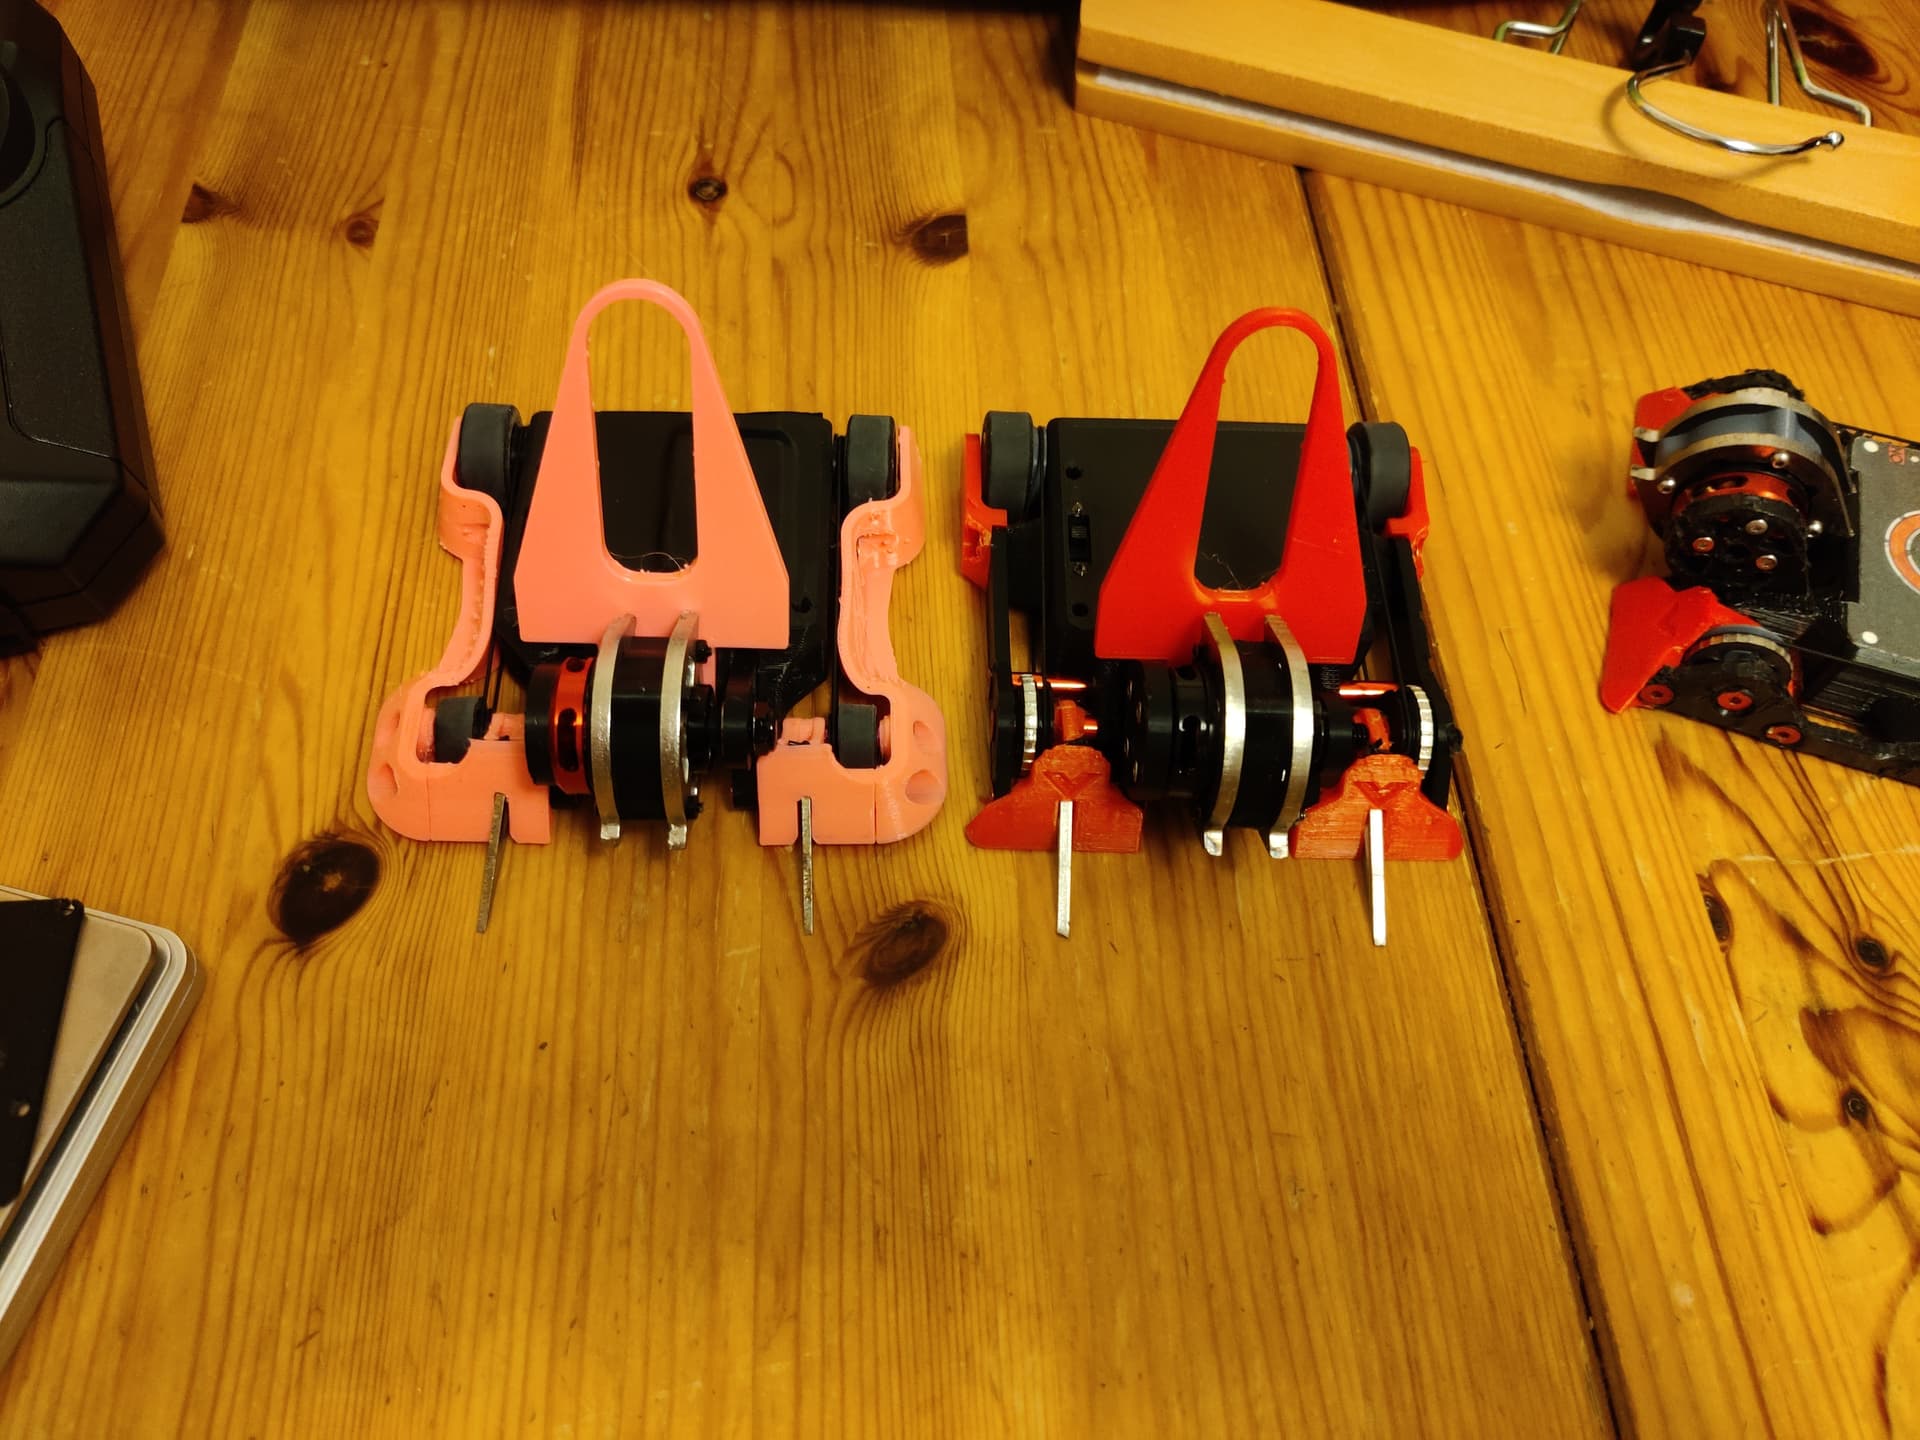
On the mechanical side I decided against tyres and tried out a full cleat system using laser cut stainless spikes attached to printed pulleys and with 1mm thick o-rings acting as belts between the rear wheels and the fronts for 4wd. The chassis construction consisted of a polycarbonate printed pocket for the motors and electronics to be housed. 1mm CNC’s polycarbonate sheet was used for the top and bottom panels as well as the front armour. The side armour was machined from 4mm HDPE and was attached to the chassis using 6 Aluminium standoffs and aluminium bolts. One of the standoffs also doubled up as the axle for the front wheels. The drisk was made from two laser cut pieces of 304 stainless one directly mounted to the motor and the other attached through a polycarbonate spacer. Finally the motor was supported both sides by 4mm HDPE uprights and I turned down the prop mount to allow for a flanged bearing to be used on the rotating side.
SCAR 3
I managed to finish the build just before SCAR 3 and in testing a few issues had become apparent that were fixed the night before. Firstly the front wheels would sometimes bind, this was remedied by a small amount of grease on the standoffs. Secondly the cleated drive did not provide the traction expected. It turns out Ants don’t carry enough weight to make this as effective as it is for US beetles so I swapped out the rear cleats for few O-rings and hoped for the best.
SCAR 3 went well with the weapon working better than expected. Revron won all three qualifiers with a few nice roofshots and made it into the round of 16. It was knocked out in the round of 16 by a very well driven GNC. Revron took very little damage throughout the event and overall I was happy with a lot of the design choices I’d made regarding the chassis construction, armour package and weapon.
The loss to GNC showed some of the areas that needed improvement. Mainly traction, drive speed and my driving ability.
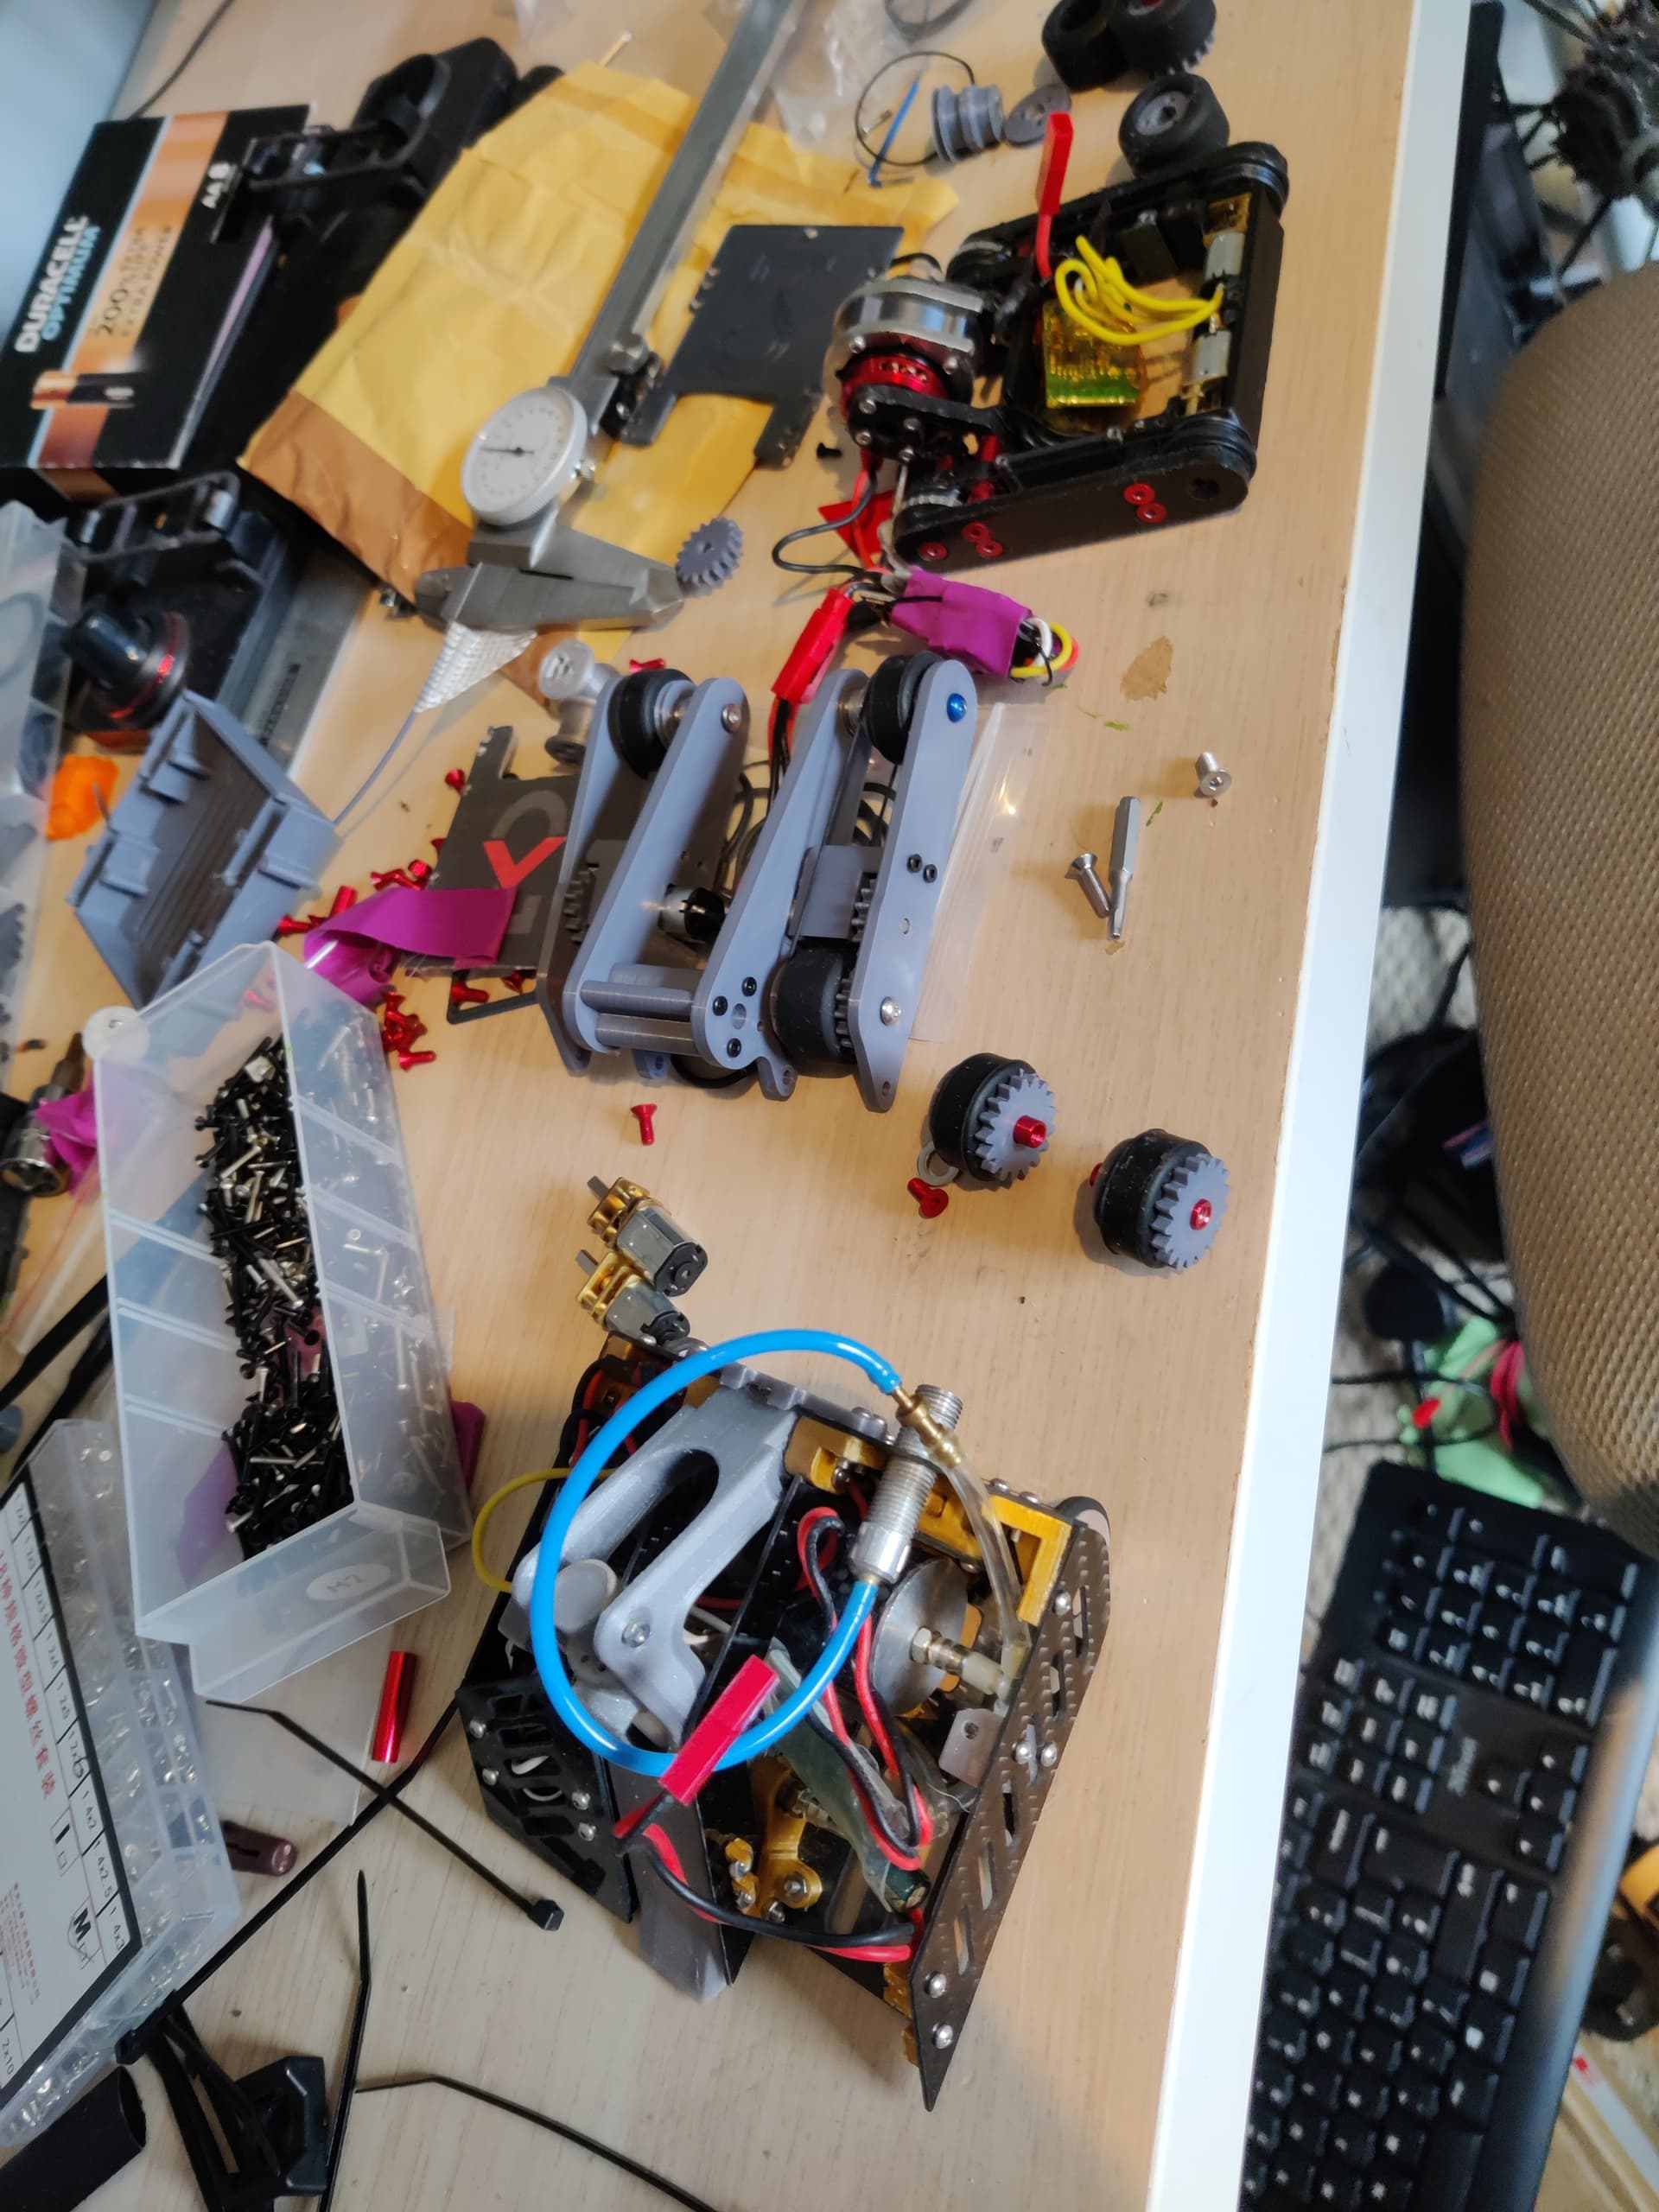
Images of early build
(First chassis test assembly)
(First drive motor tests using borrowed shoveron parts)
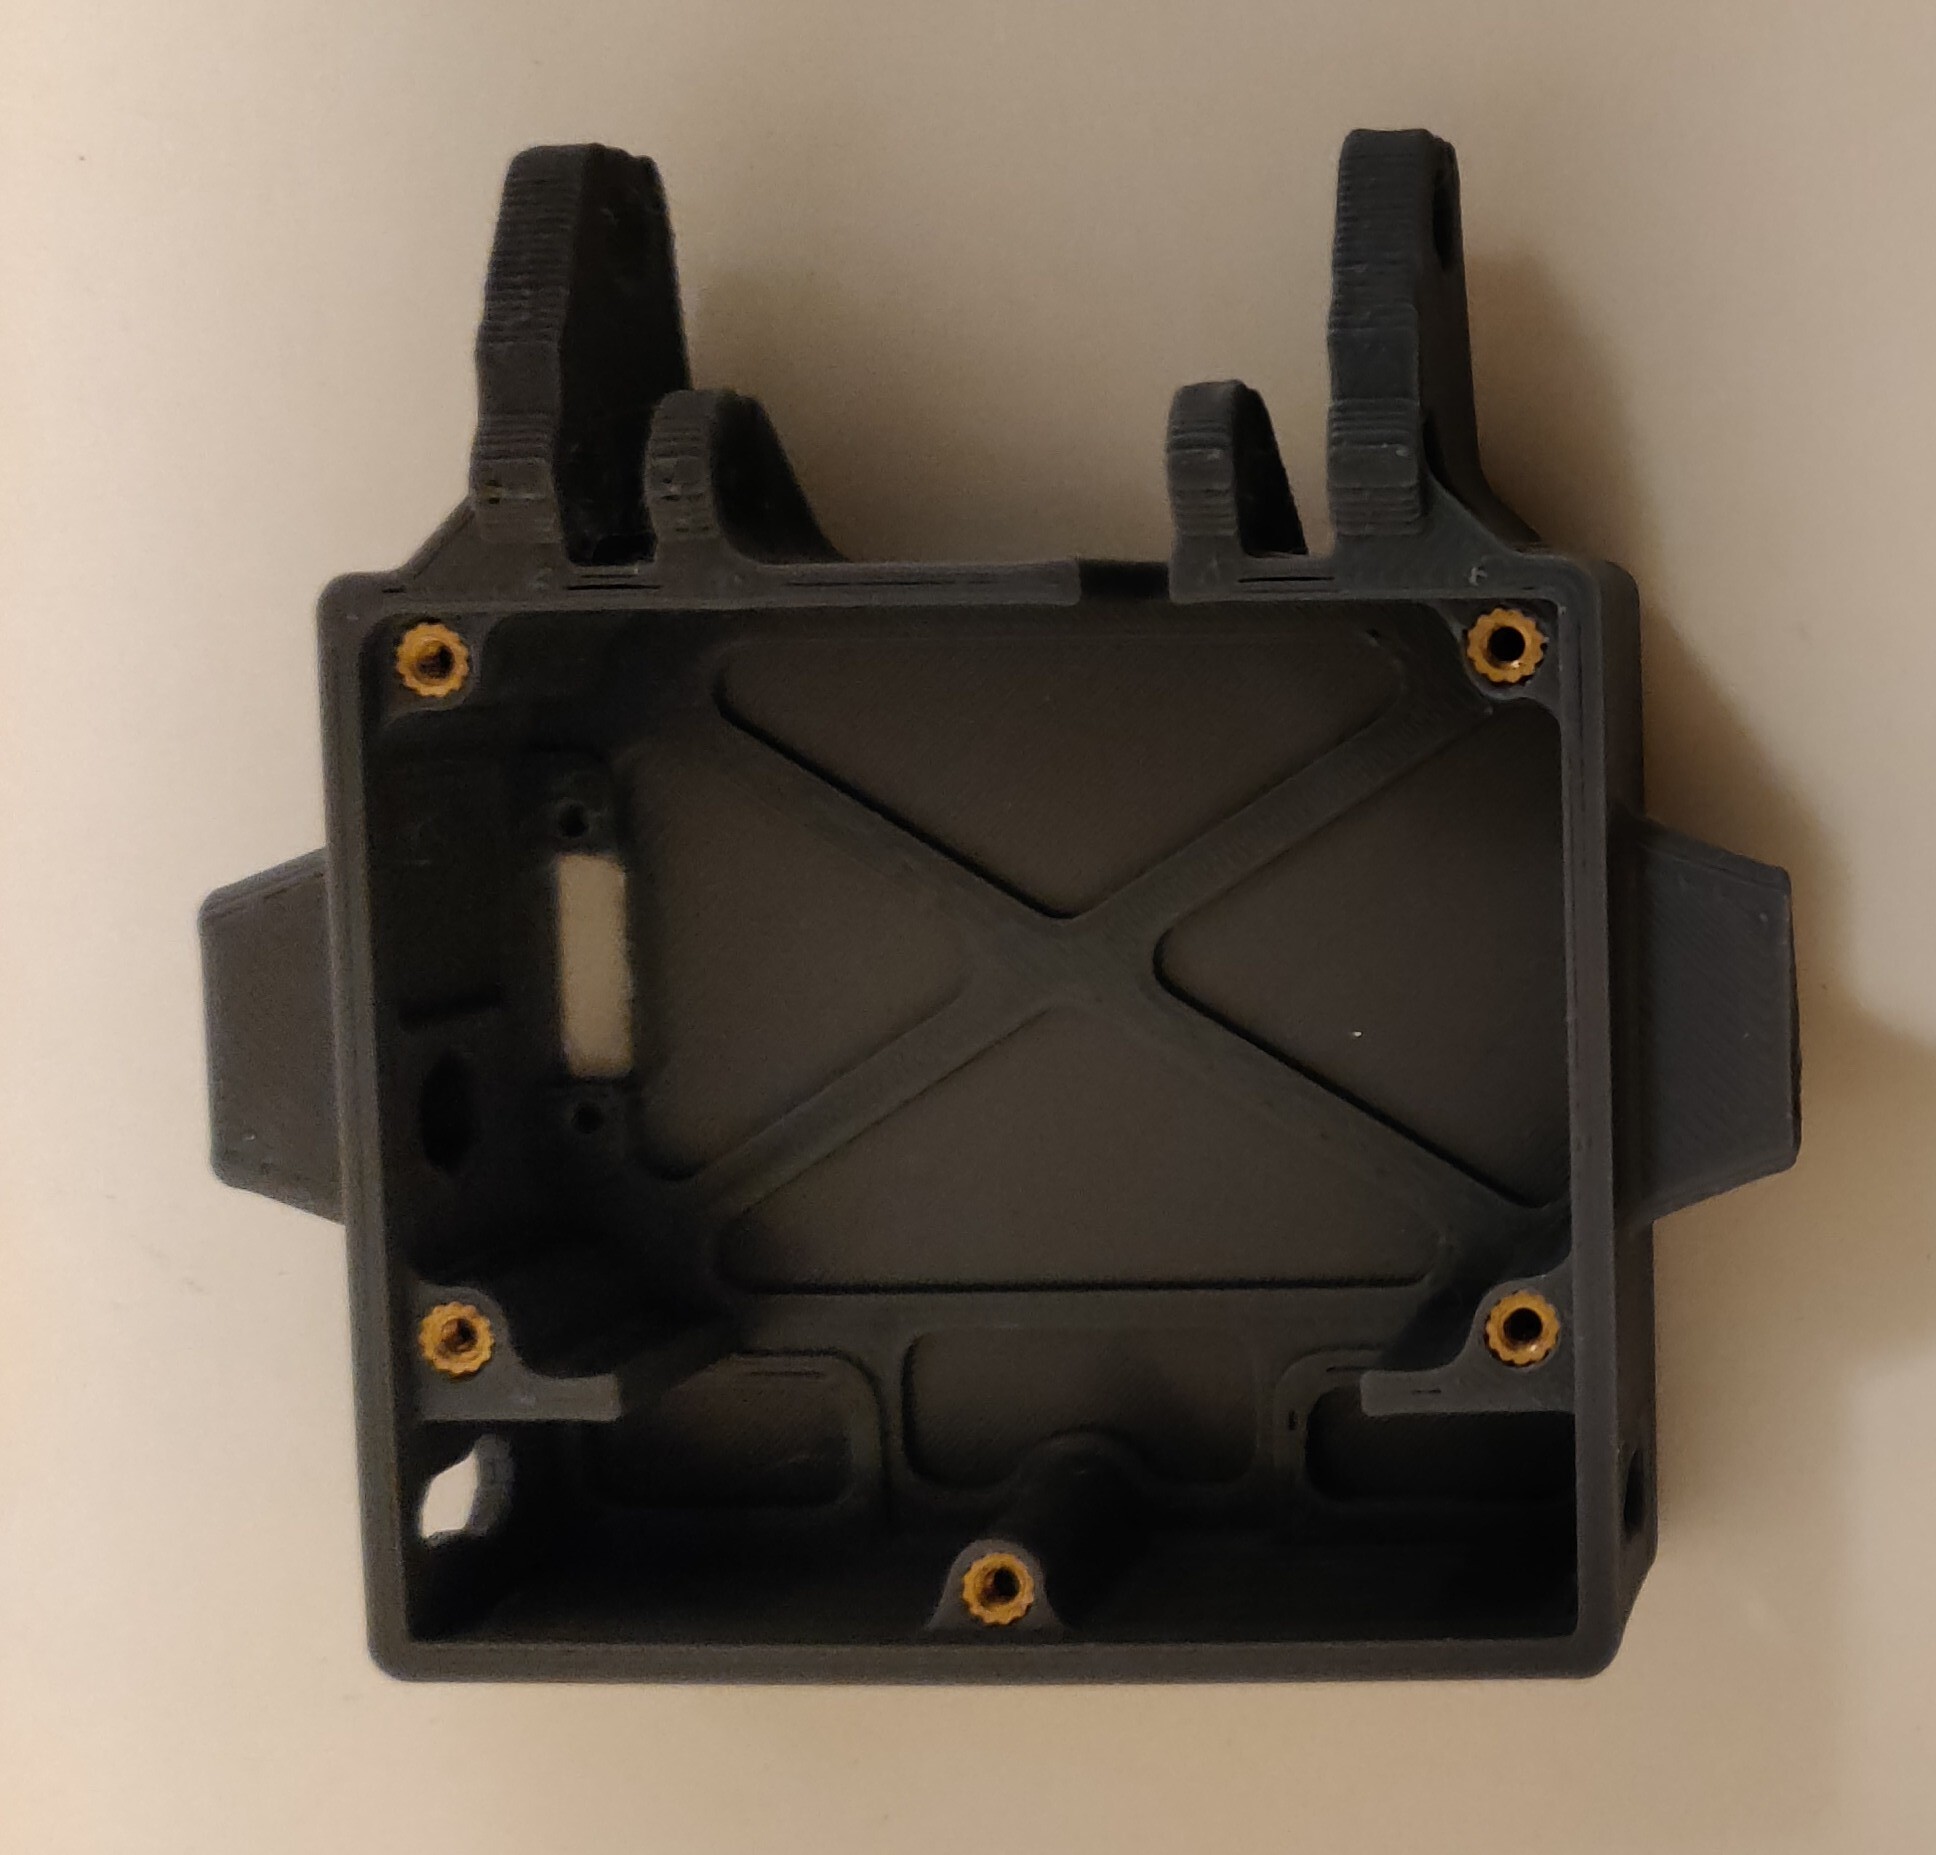
(Final printed prototype with all internal components before commiting to machining and laser cutting)
Thanks for reading and I’ll update this post with the series of updates I made over 2023 as I get chance,
Jordan


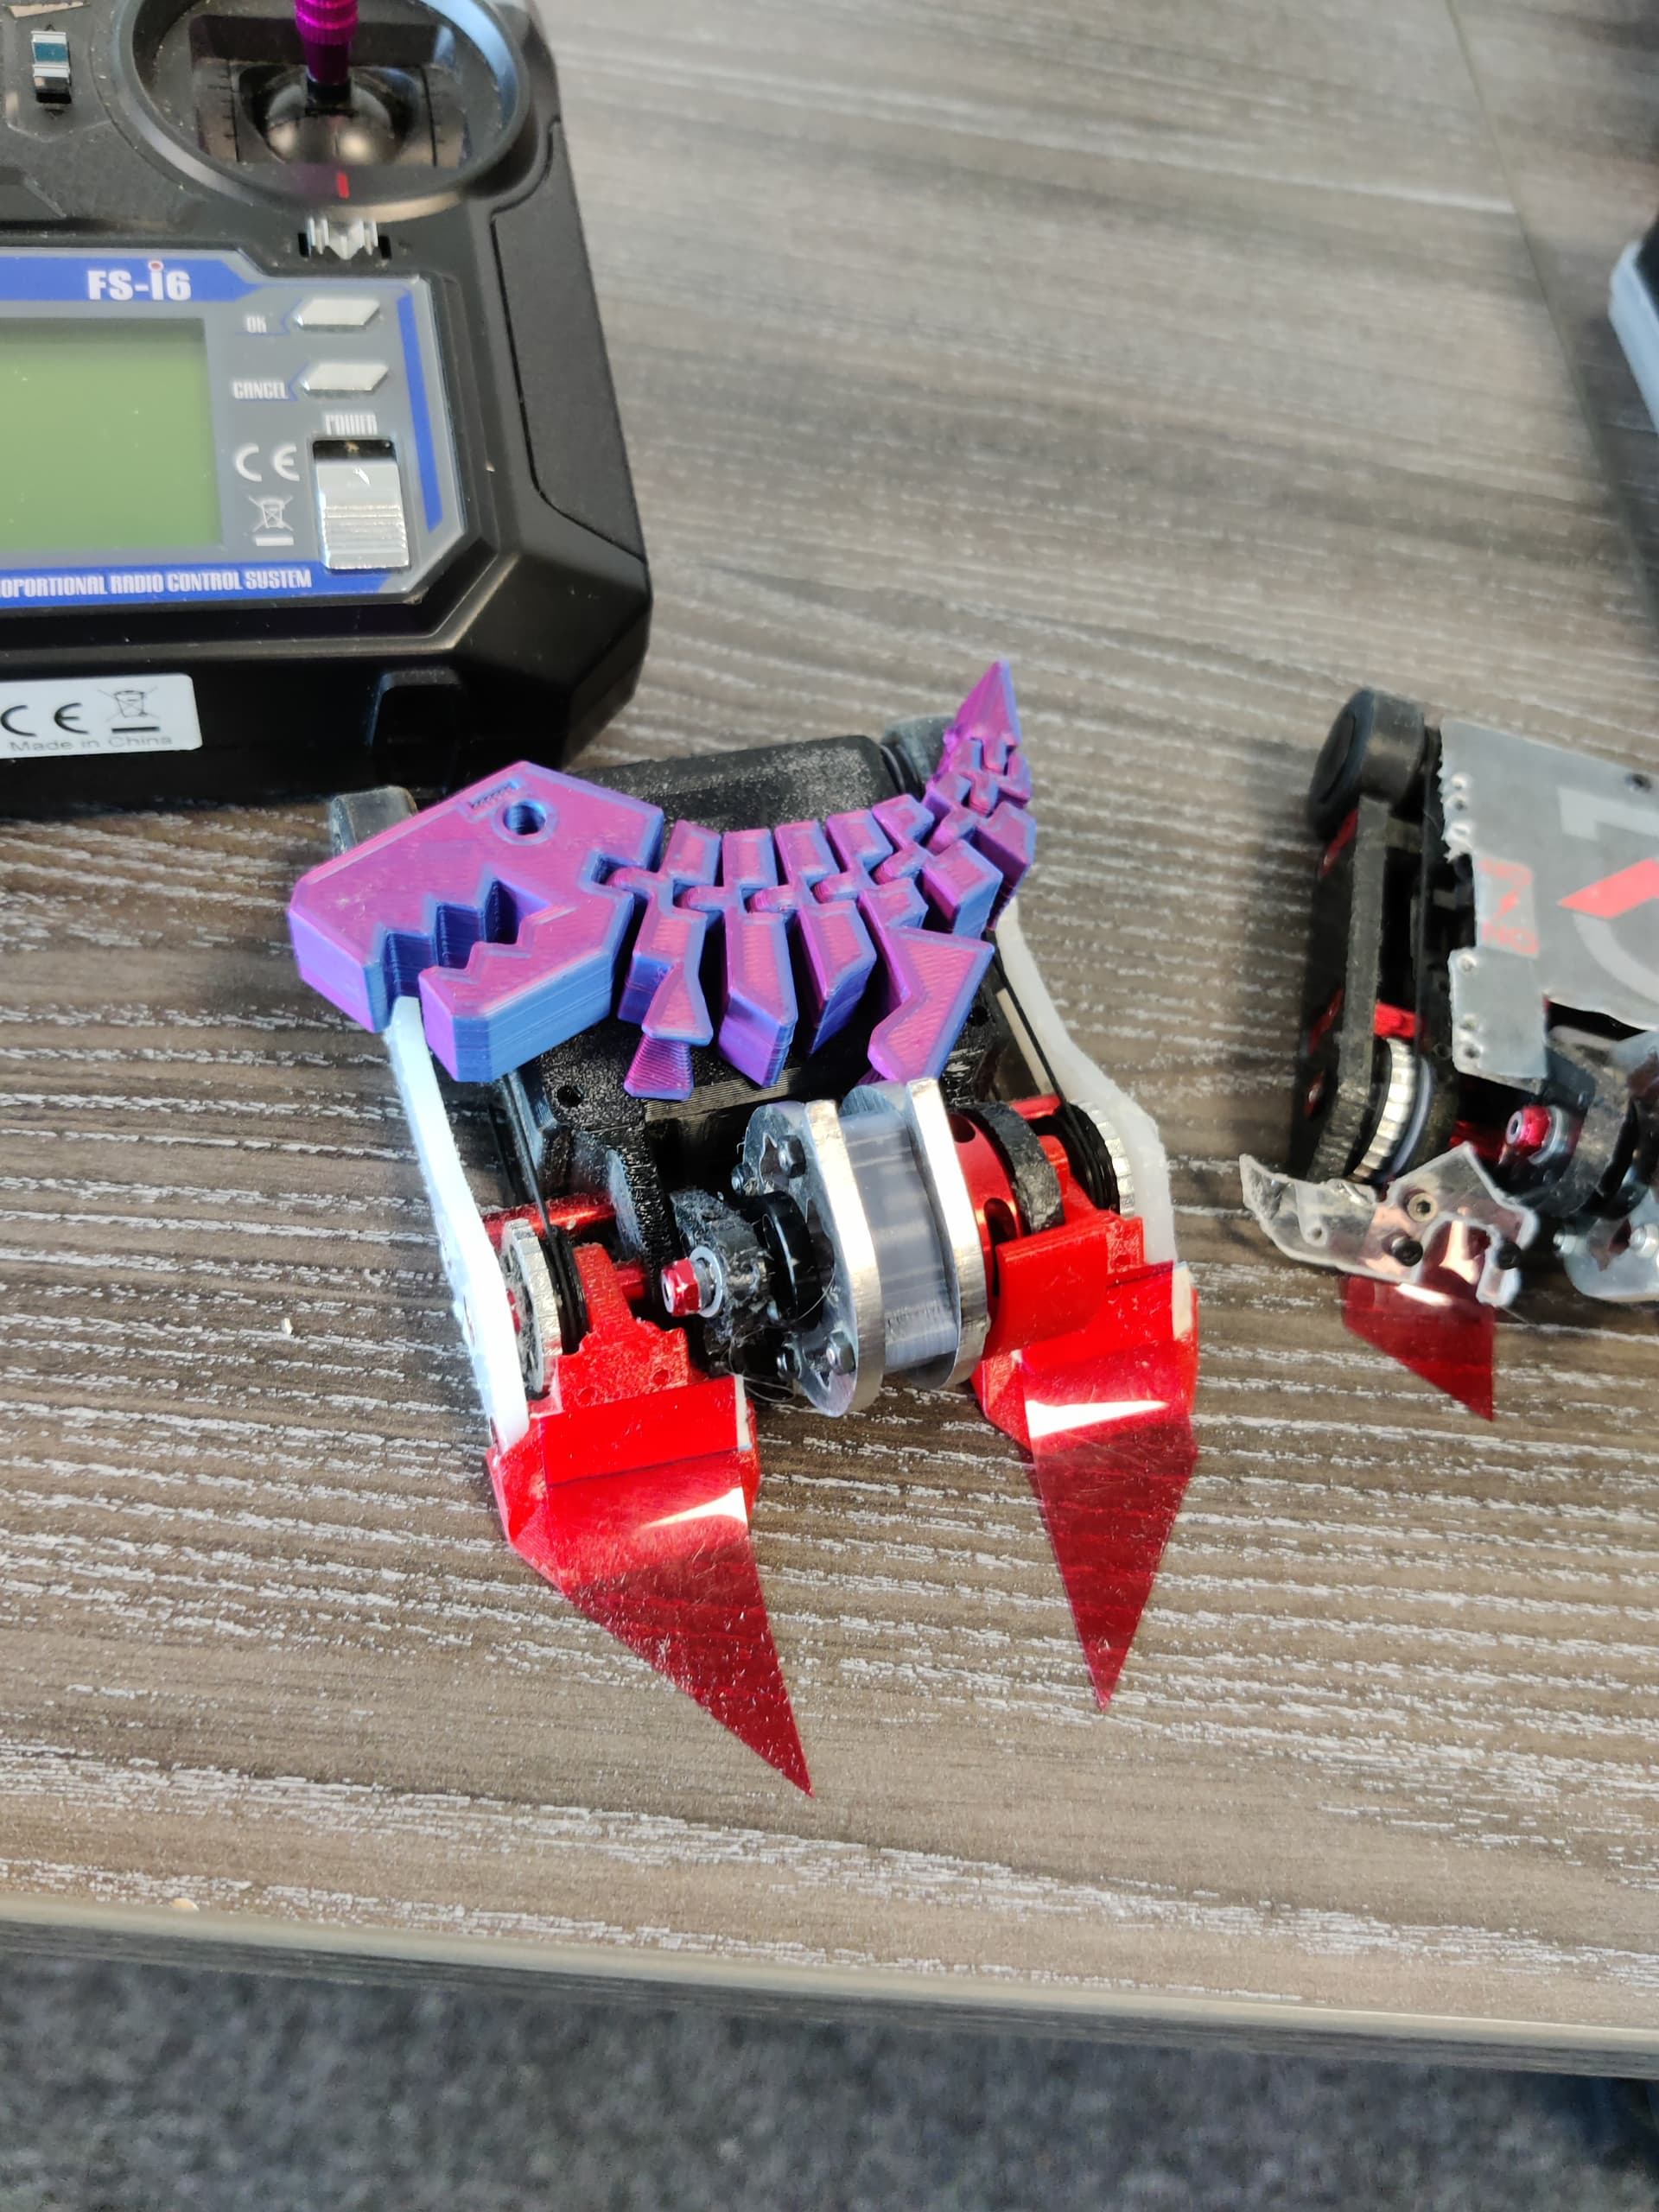

 weapon, drive and fork test")