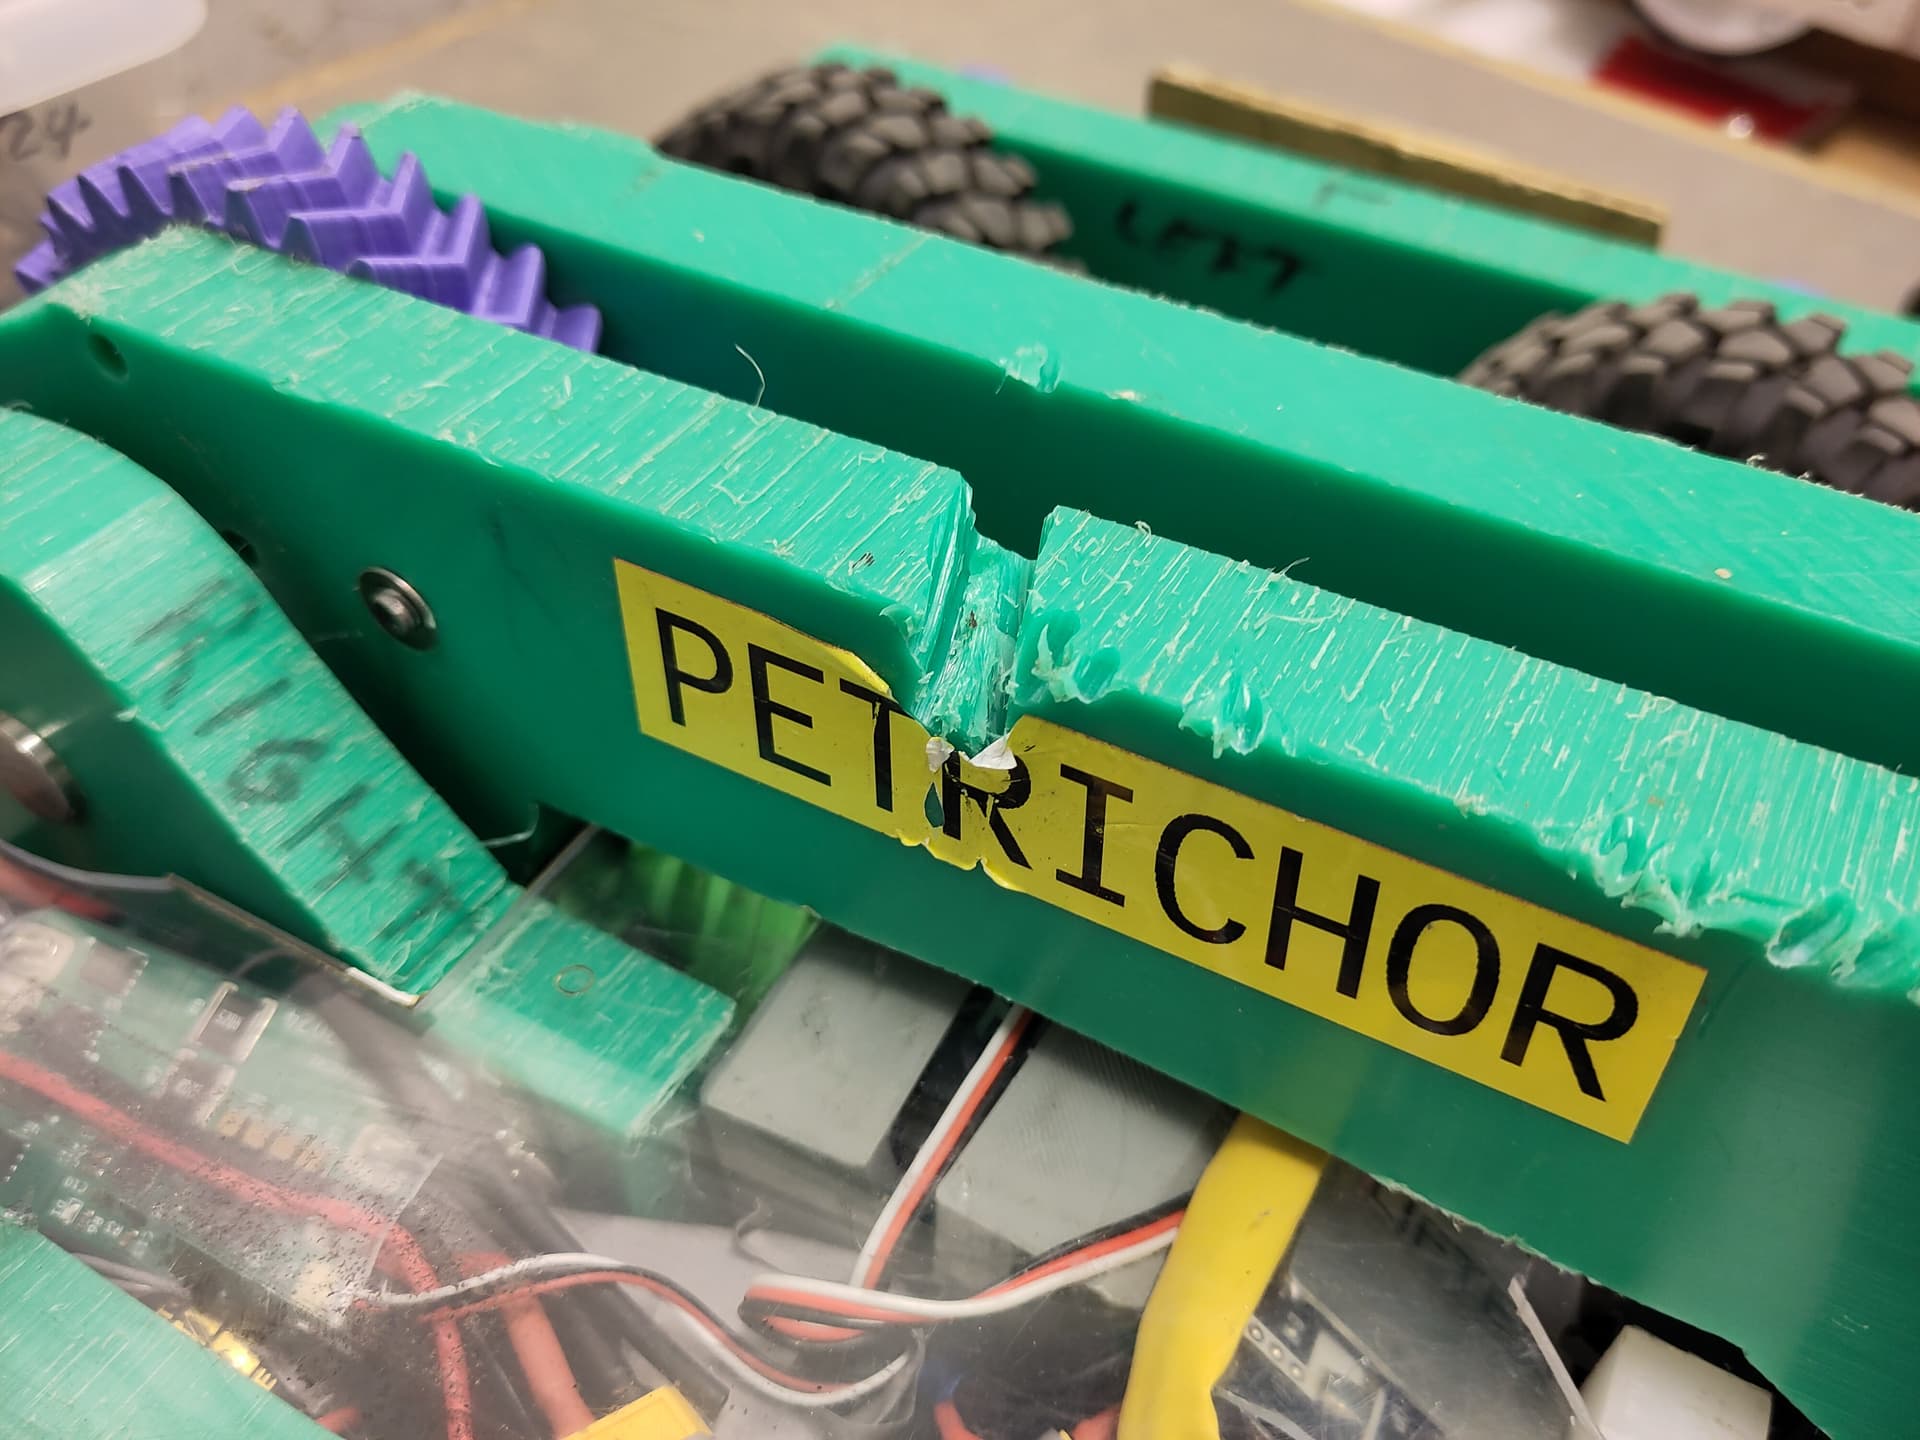
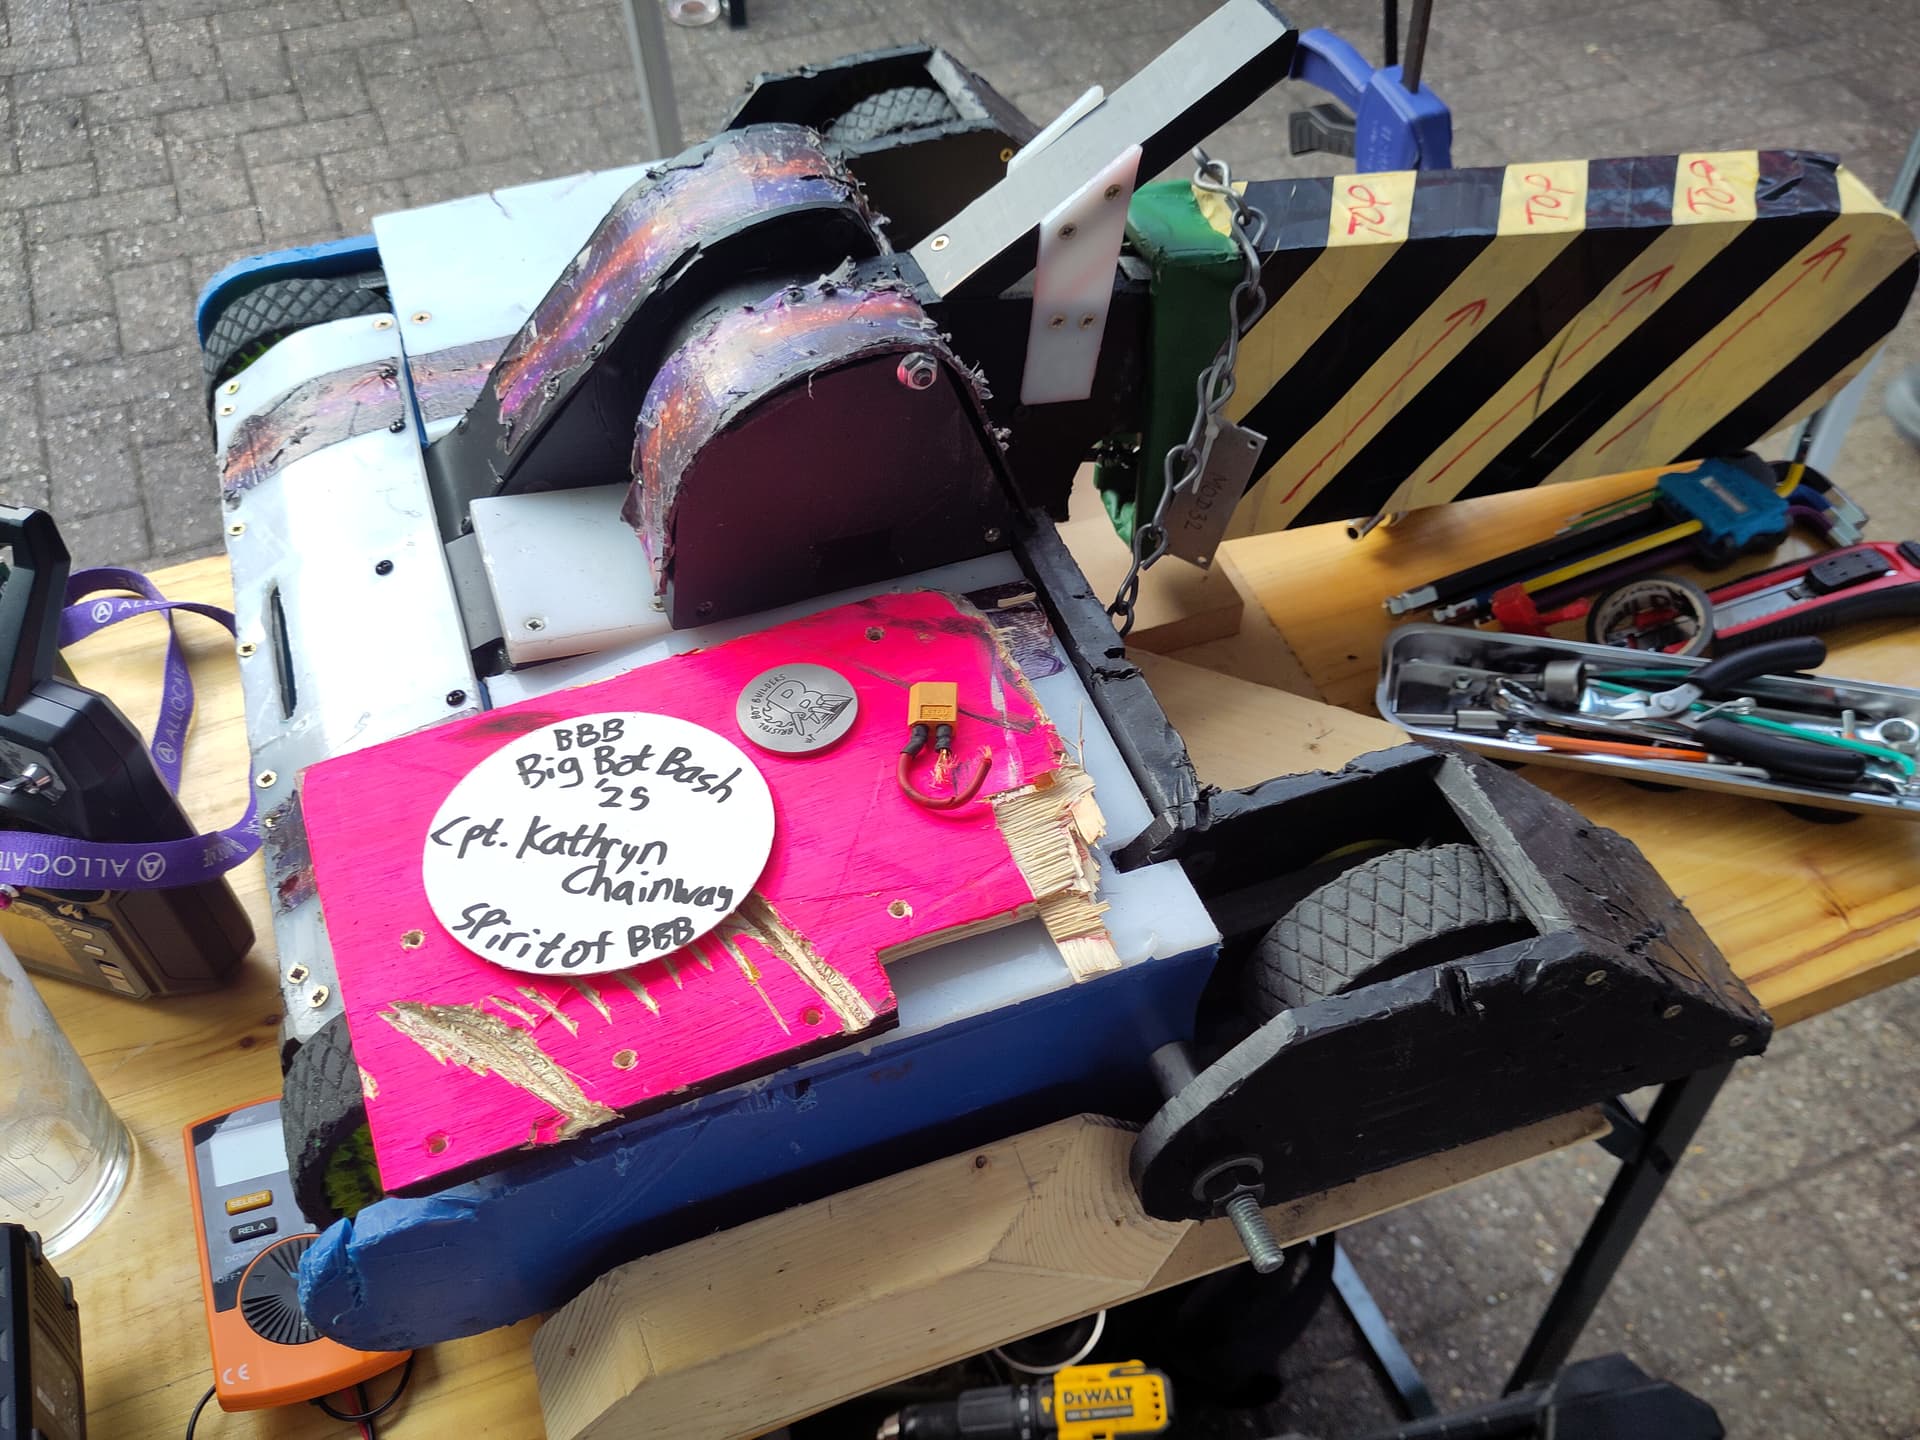
So as of Wednesday she was pretty much finished:
Everything in here was functionally done, just some final bits to fit together and solder up. Naturally, this proved to be more time consuming than hoped. All the little jobs mount up and of course they’re never quite as straightforward as you expect (the difference between theory and practice is small in theory, but large in practice).
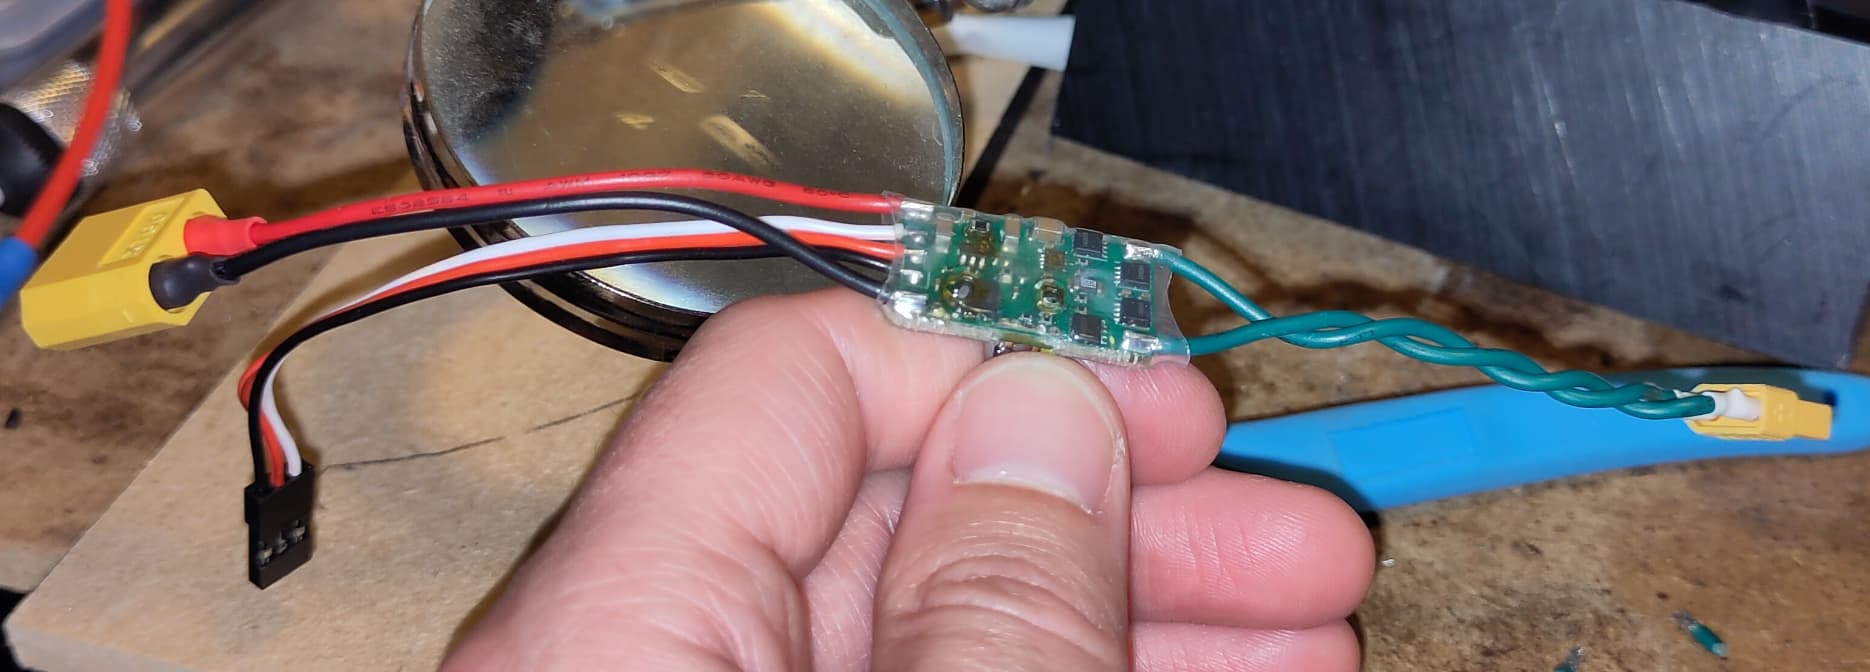
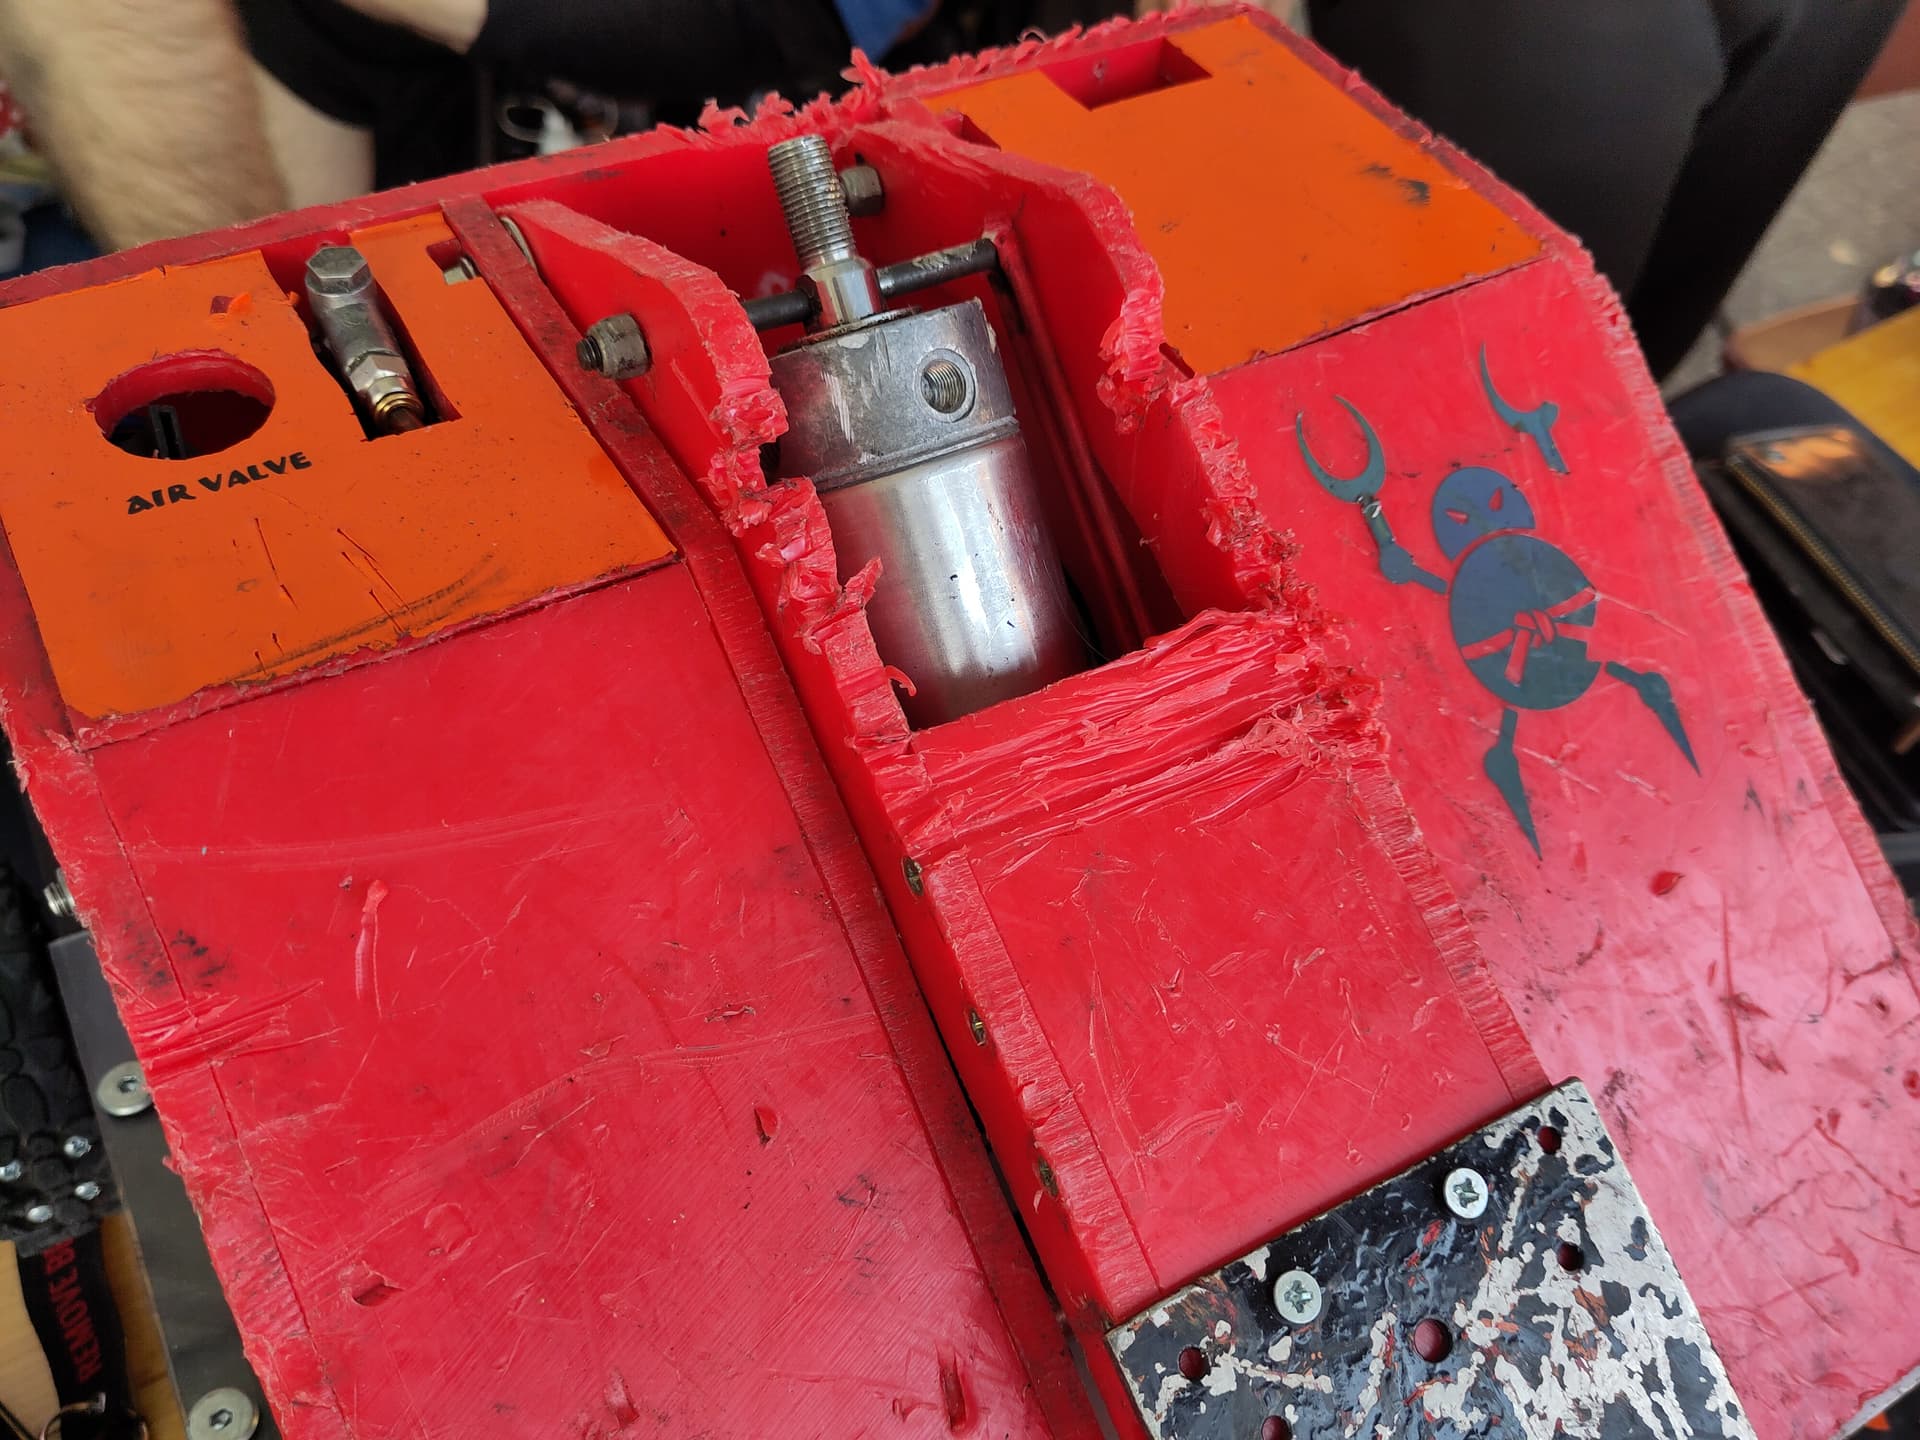
One of the things that went wrong straight away was the ESC for the actuator motor:
I soldered in wires for the limit switches and put connectors on, and it proceeded to instantly go up in smoke when I plugged it in. Not sure if this was heat damage or a dodgy board, but I didn’t have a spare so had to engage in emergency pre-event “have u got a…” whatsapping with
@moop. Fortunately he did so that was on my list for Friday night in the AirBnB.
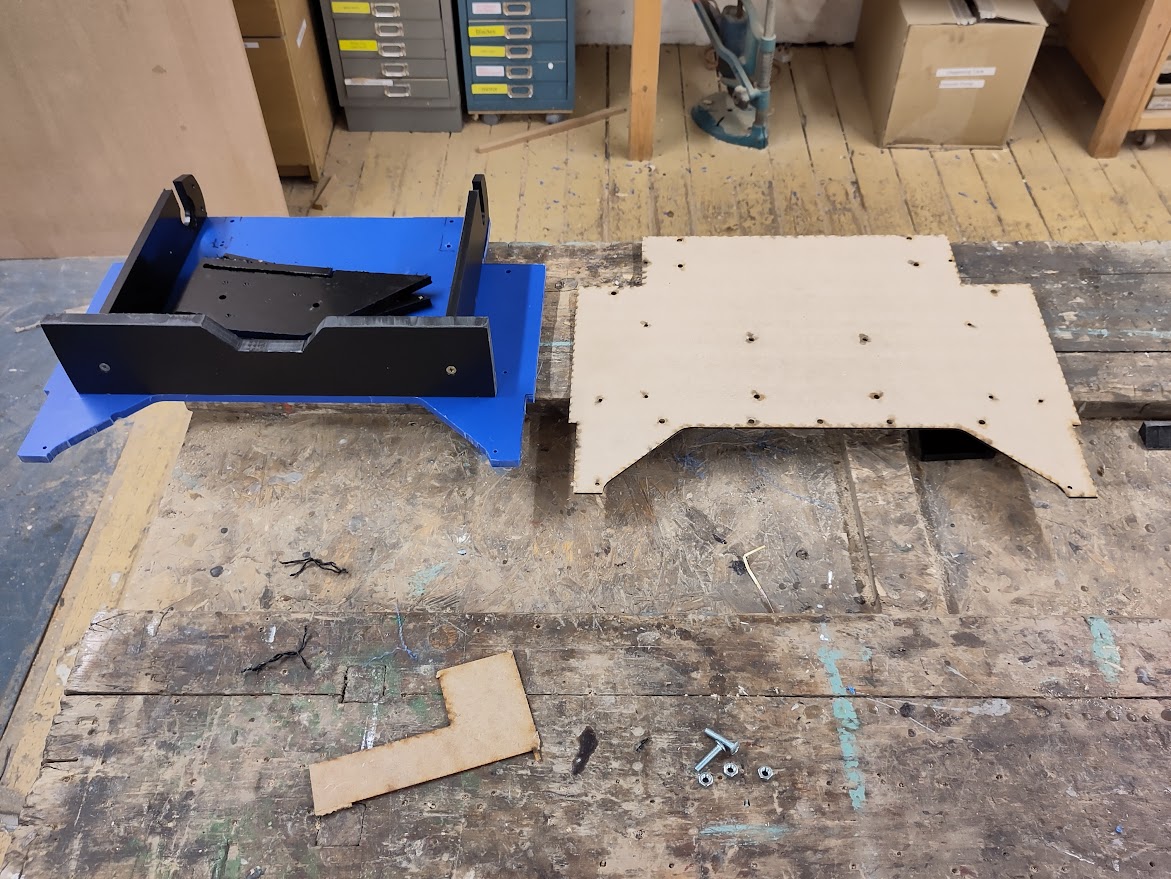
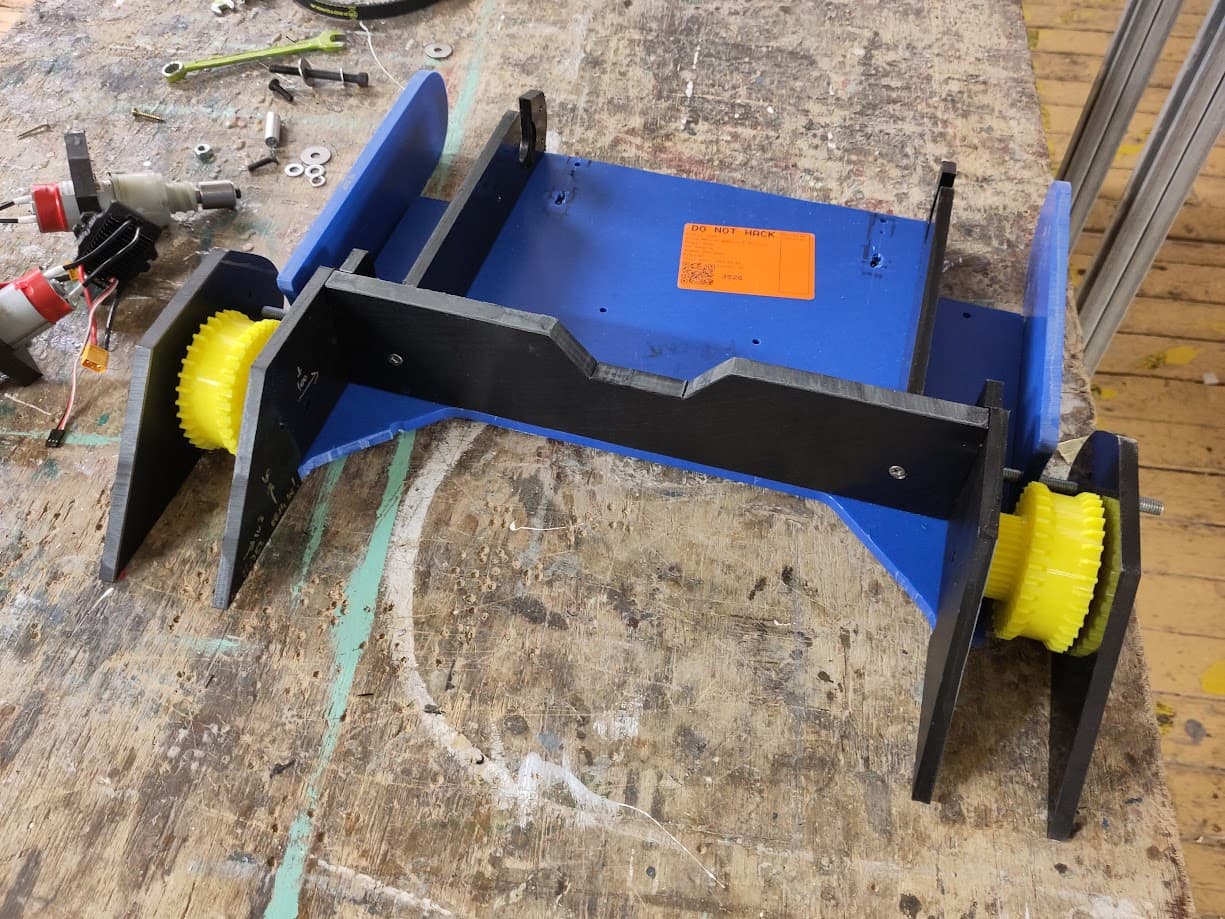
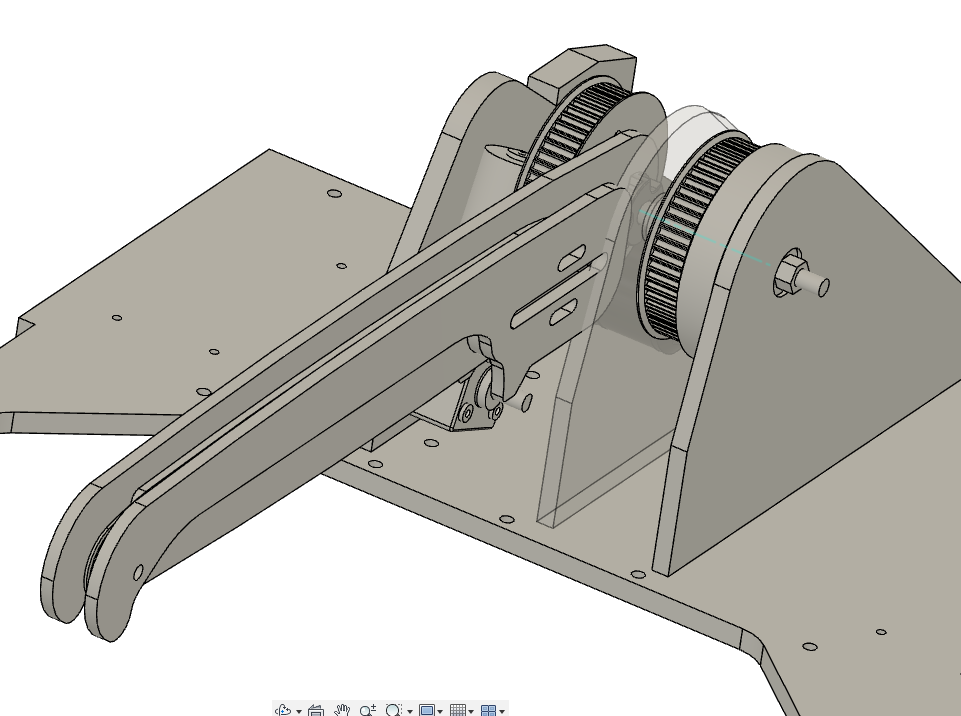
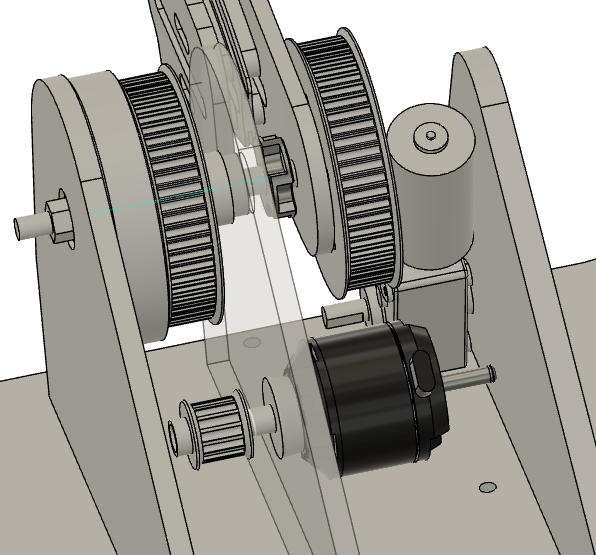
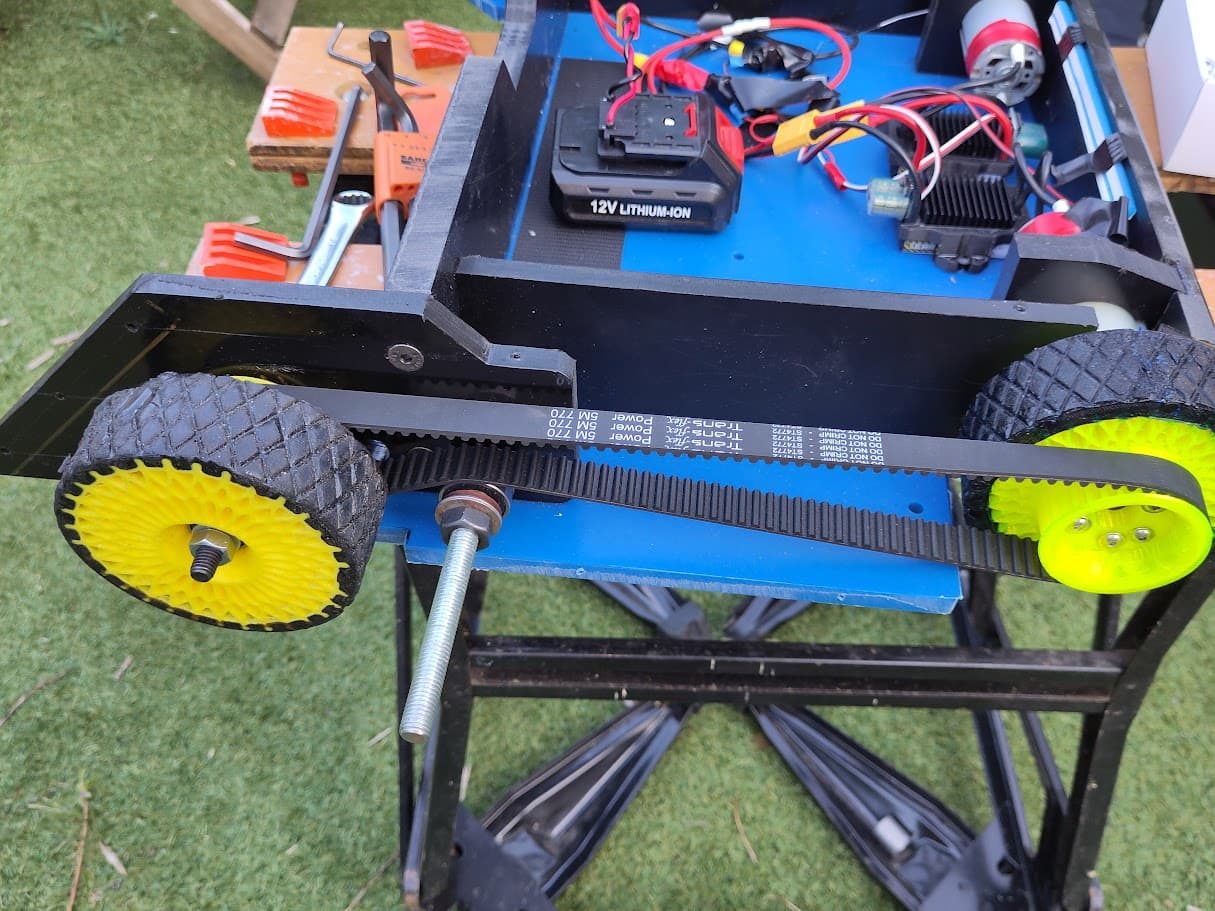
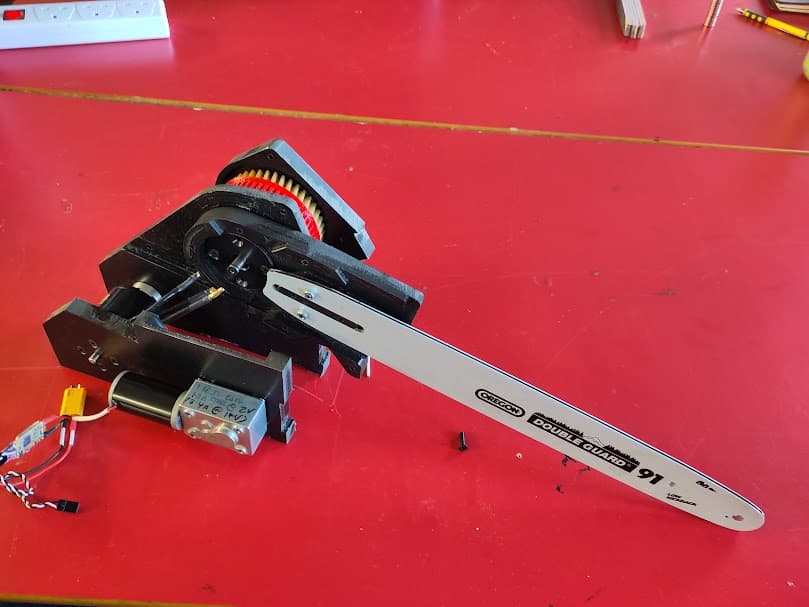
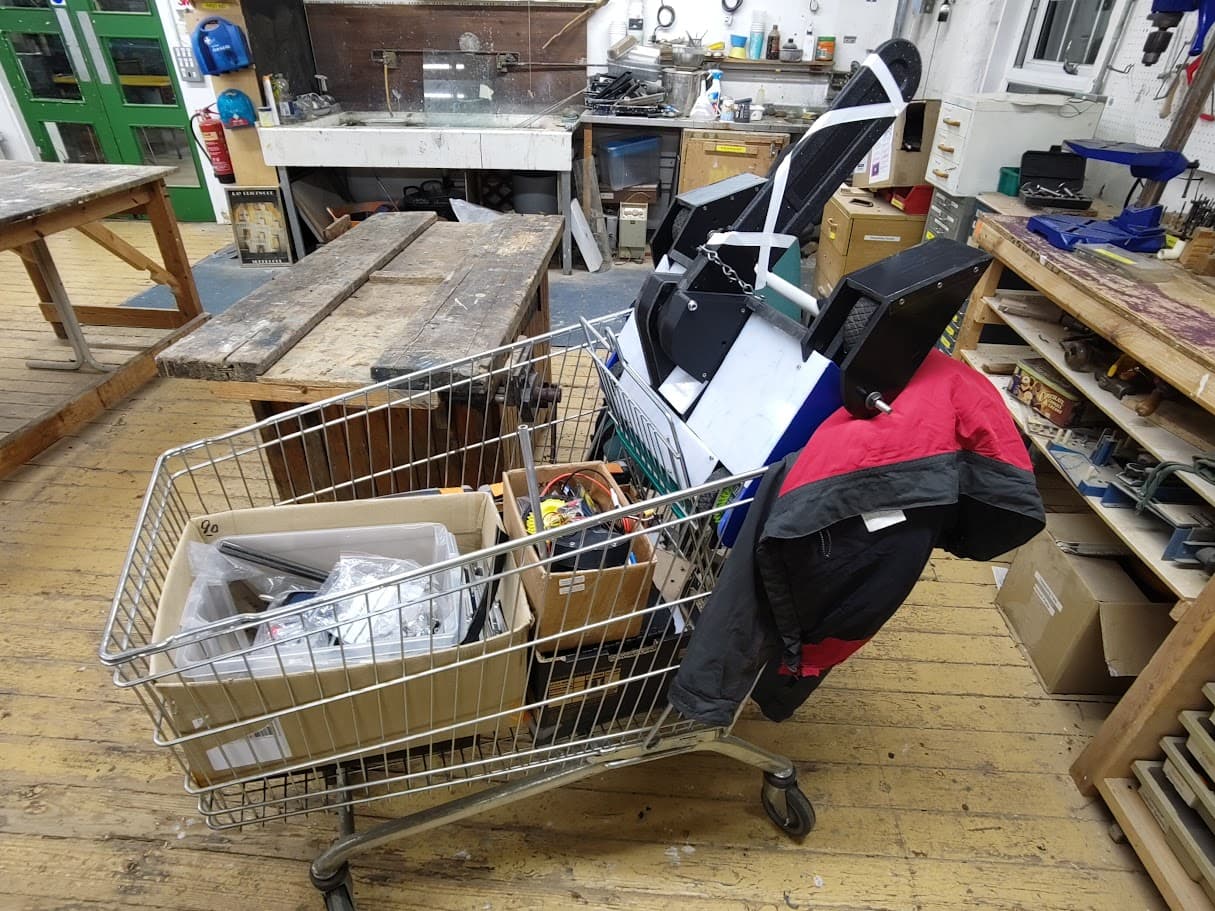
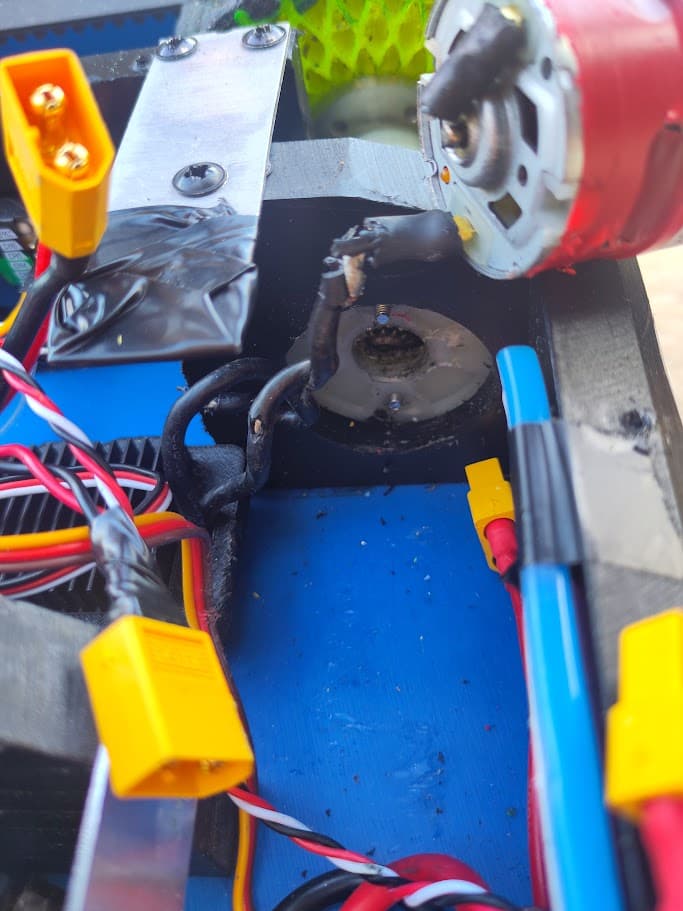
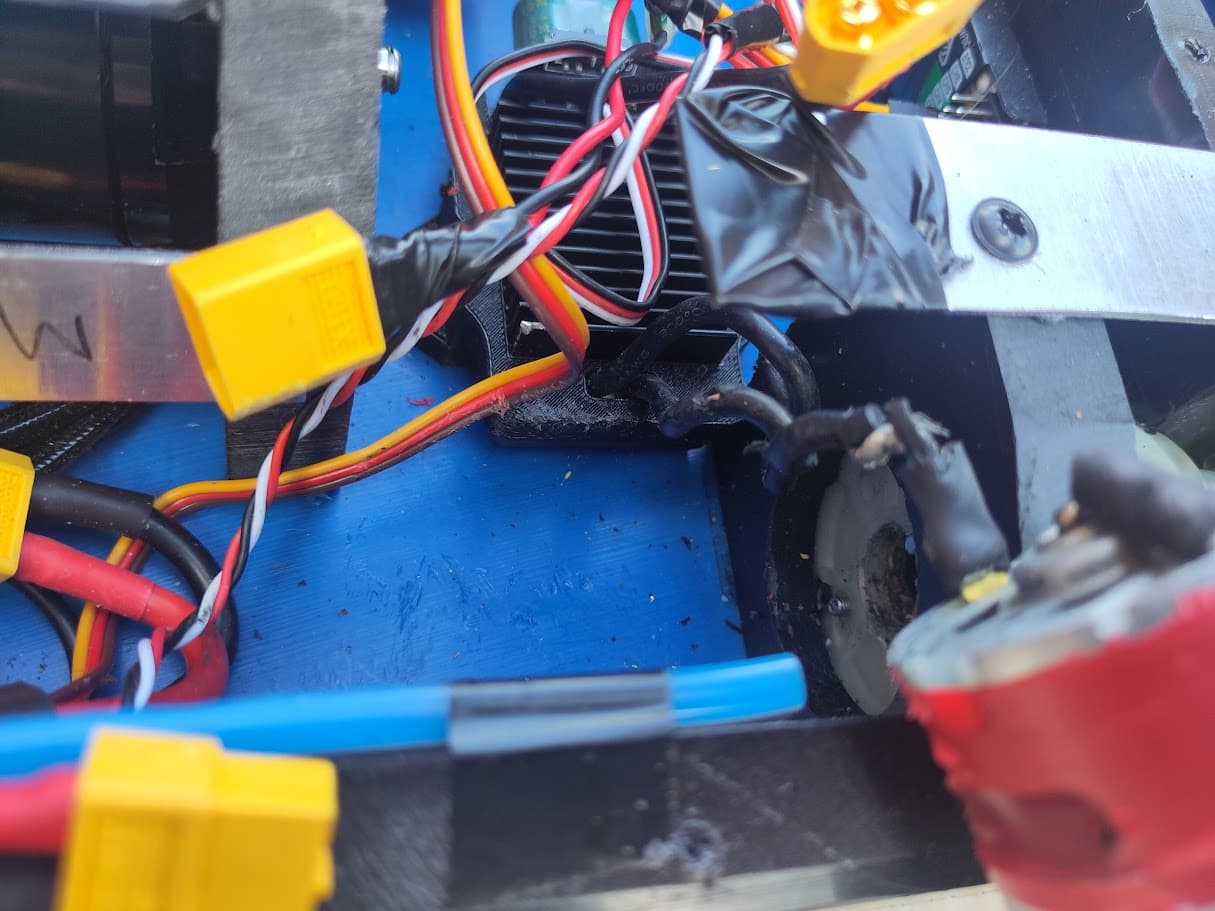
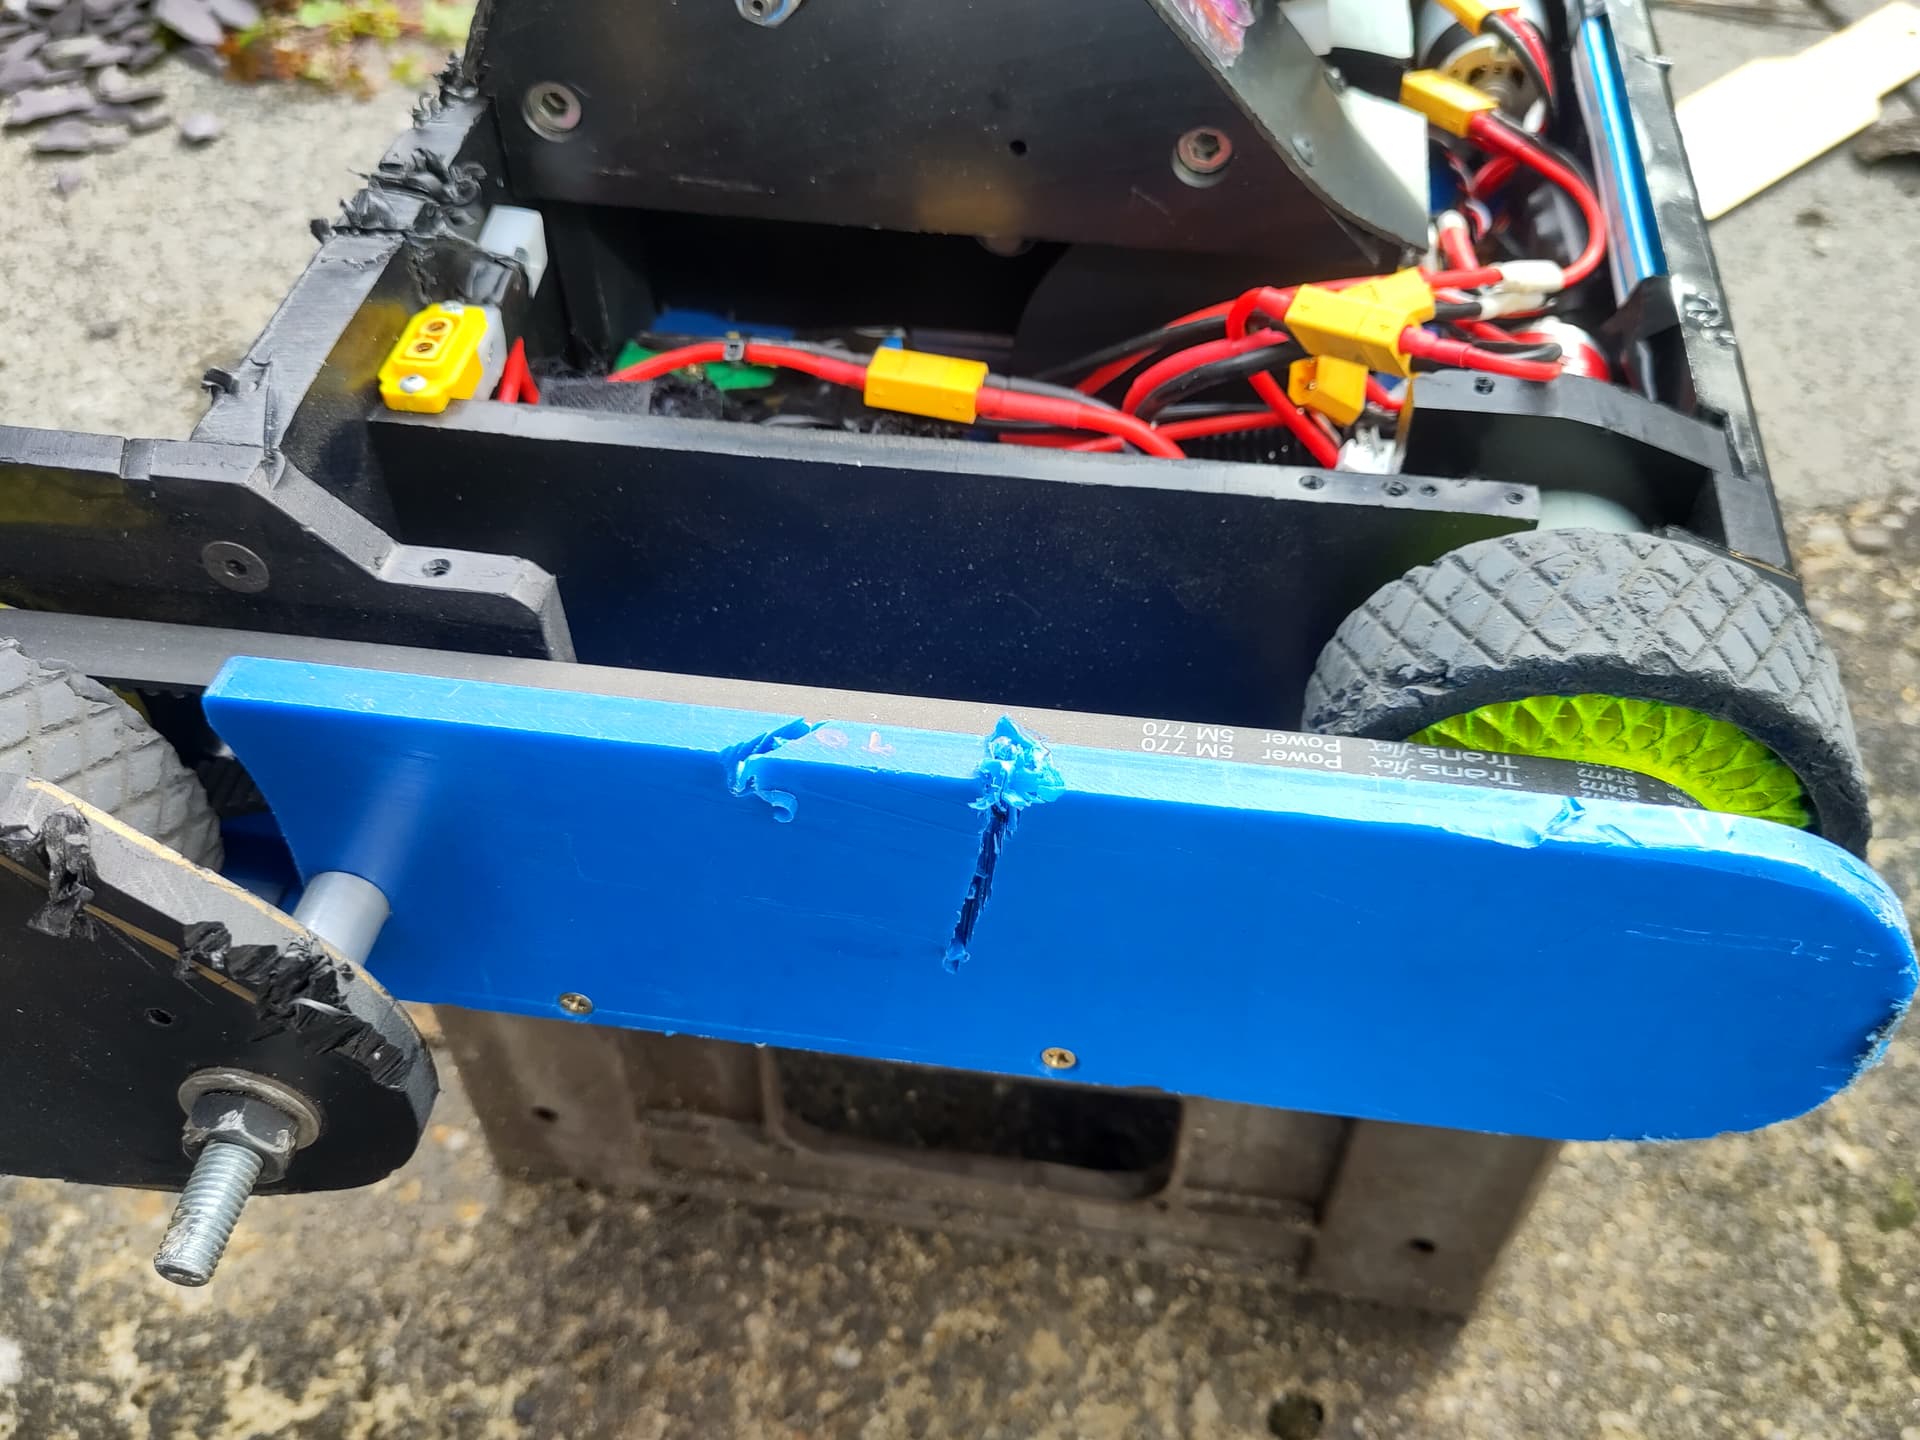
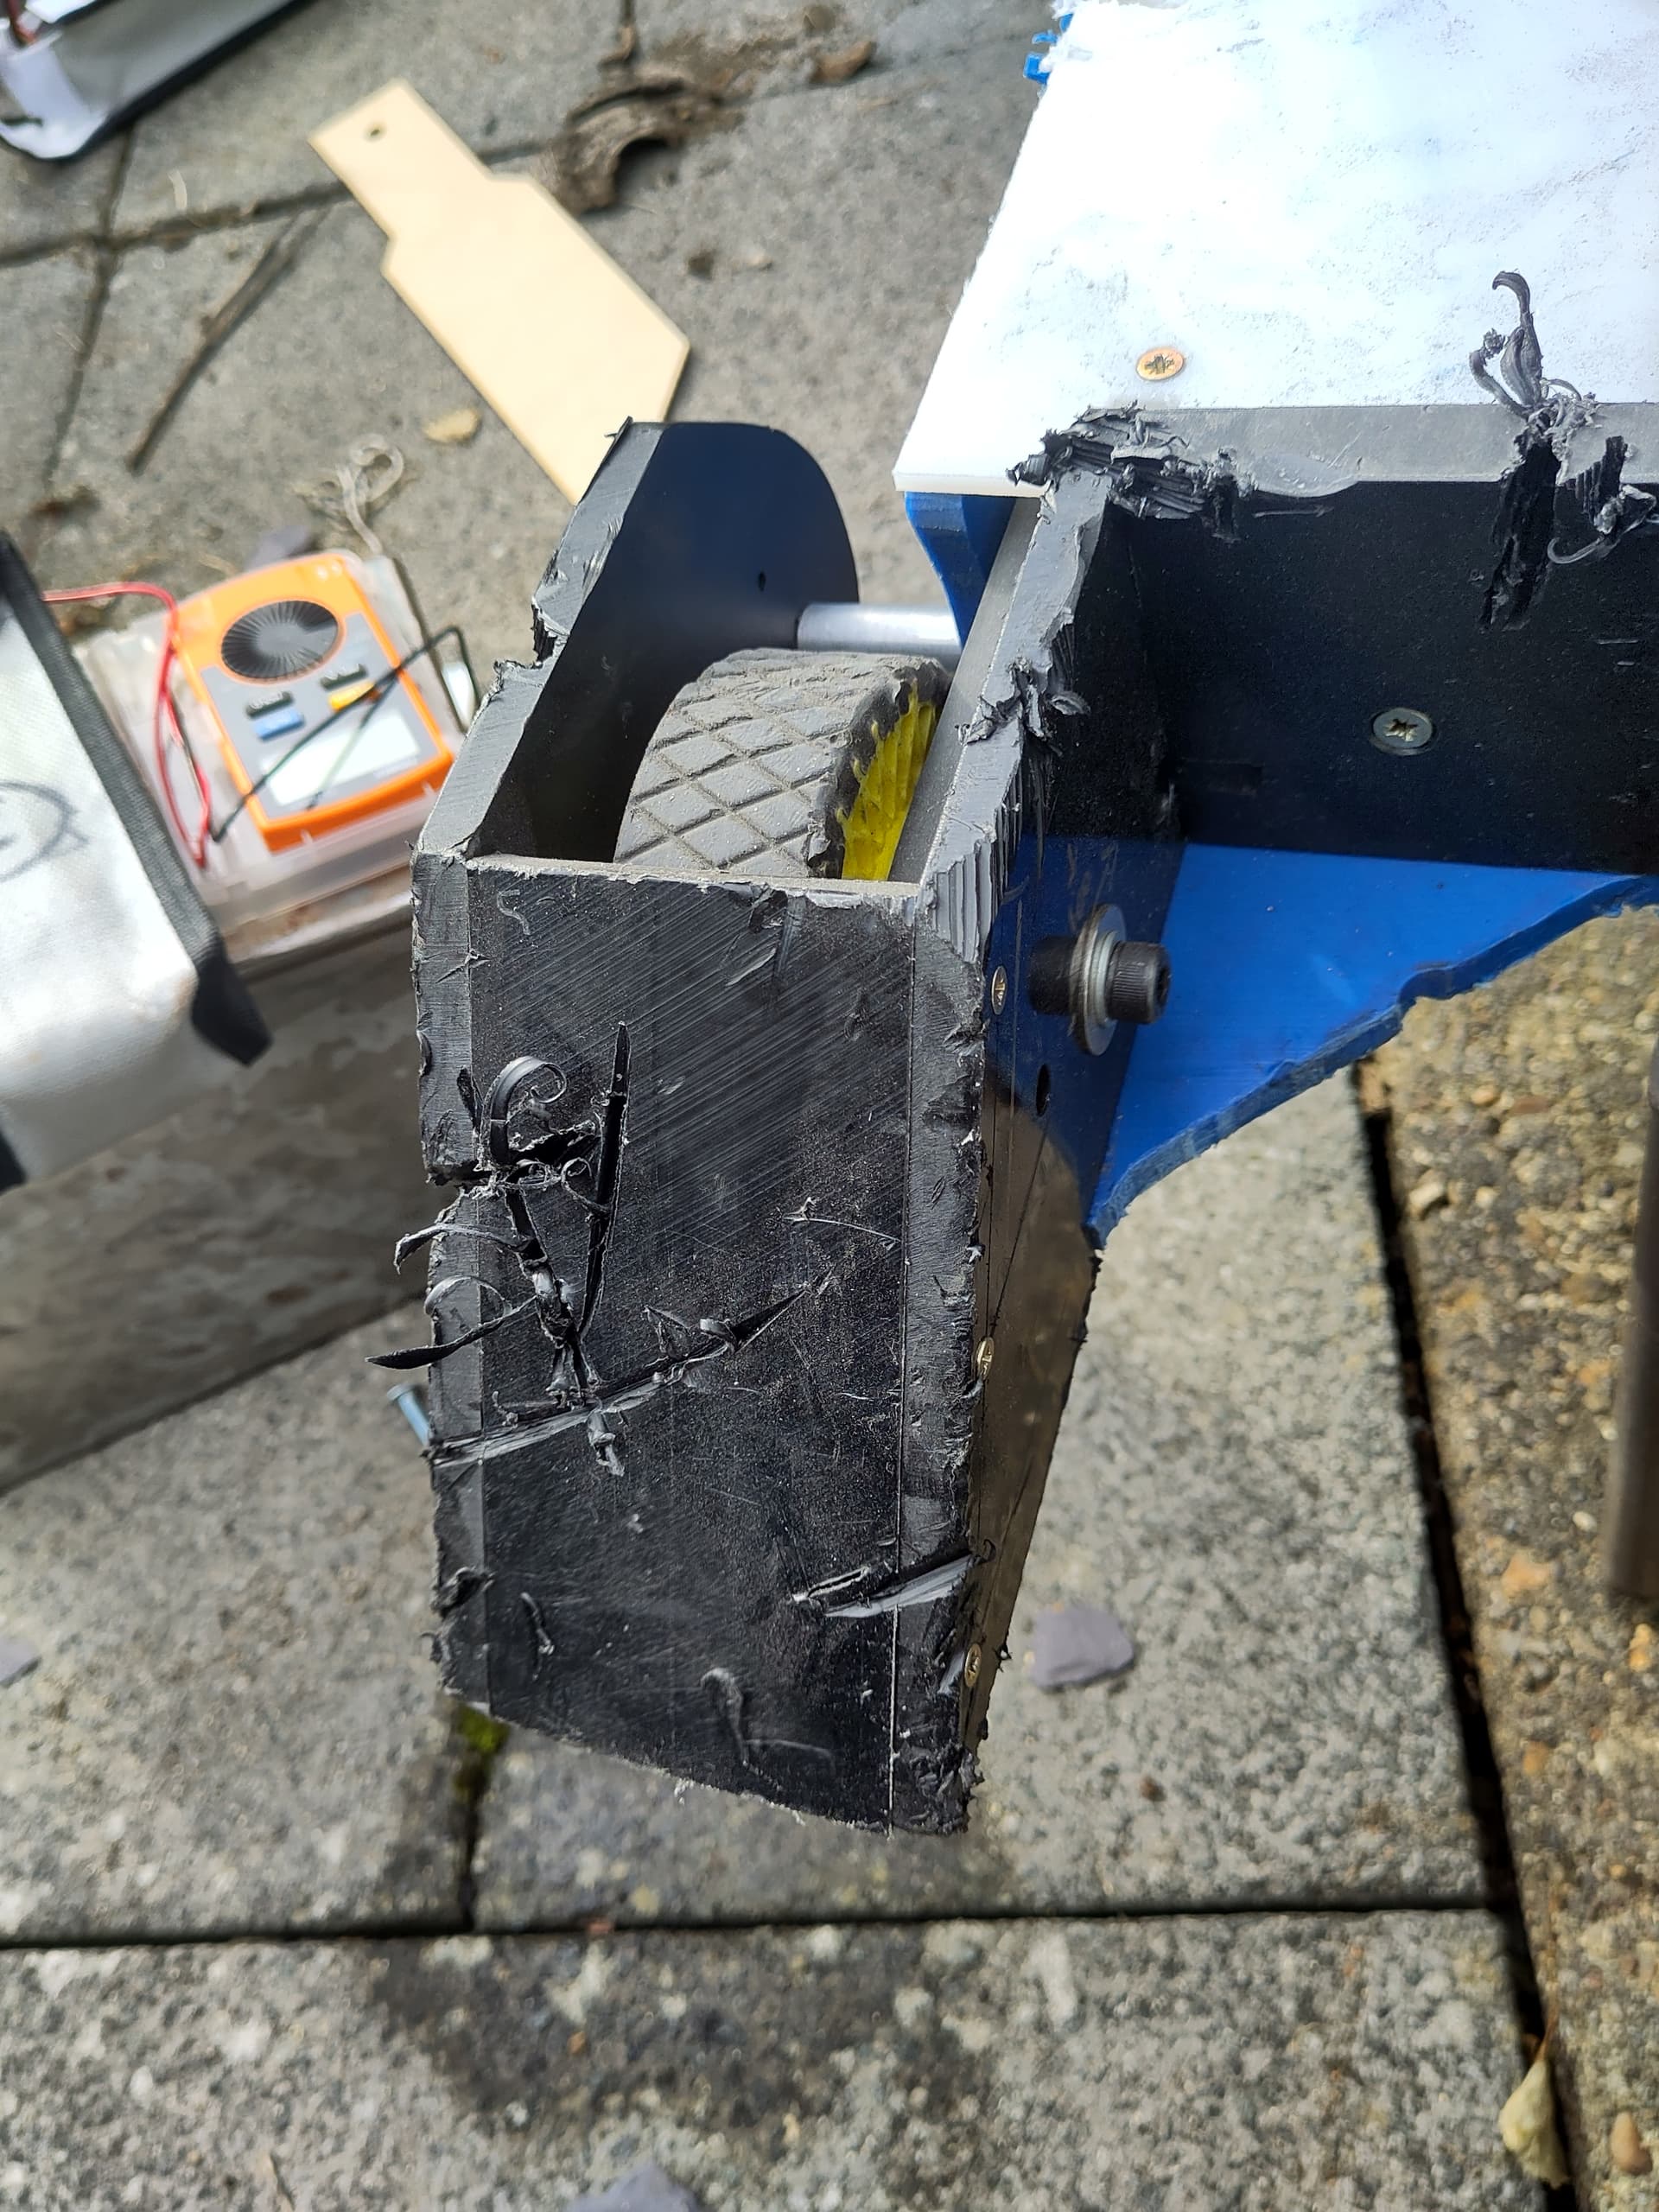
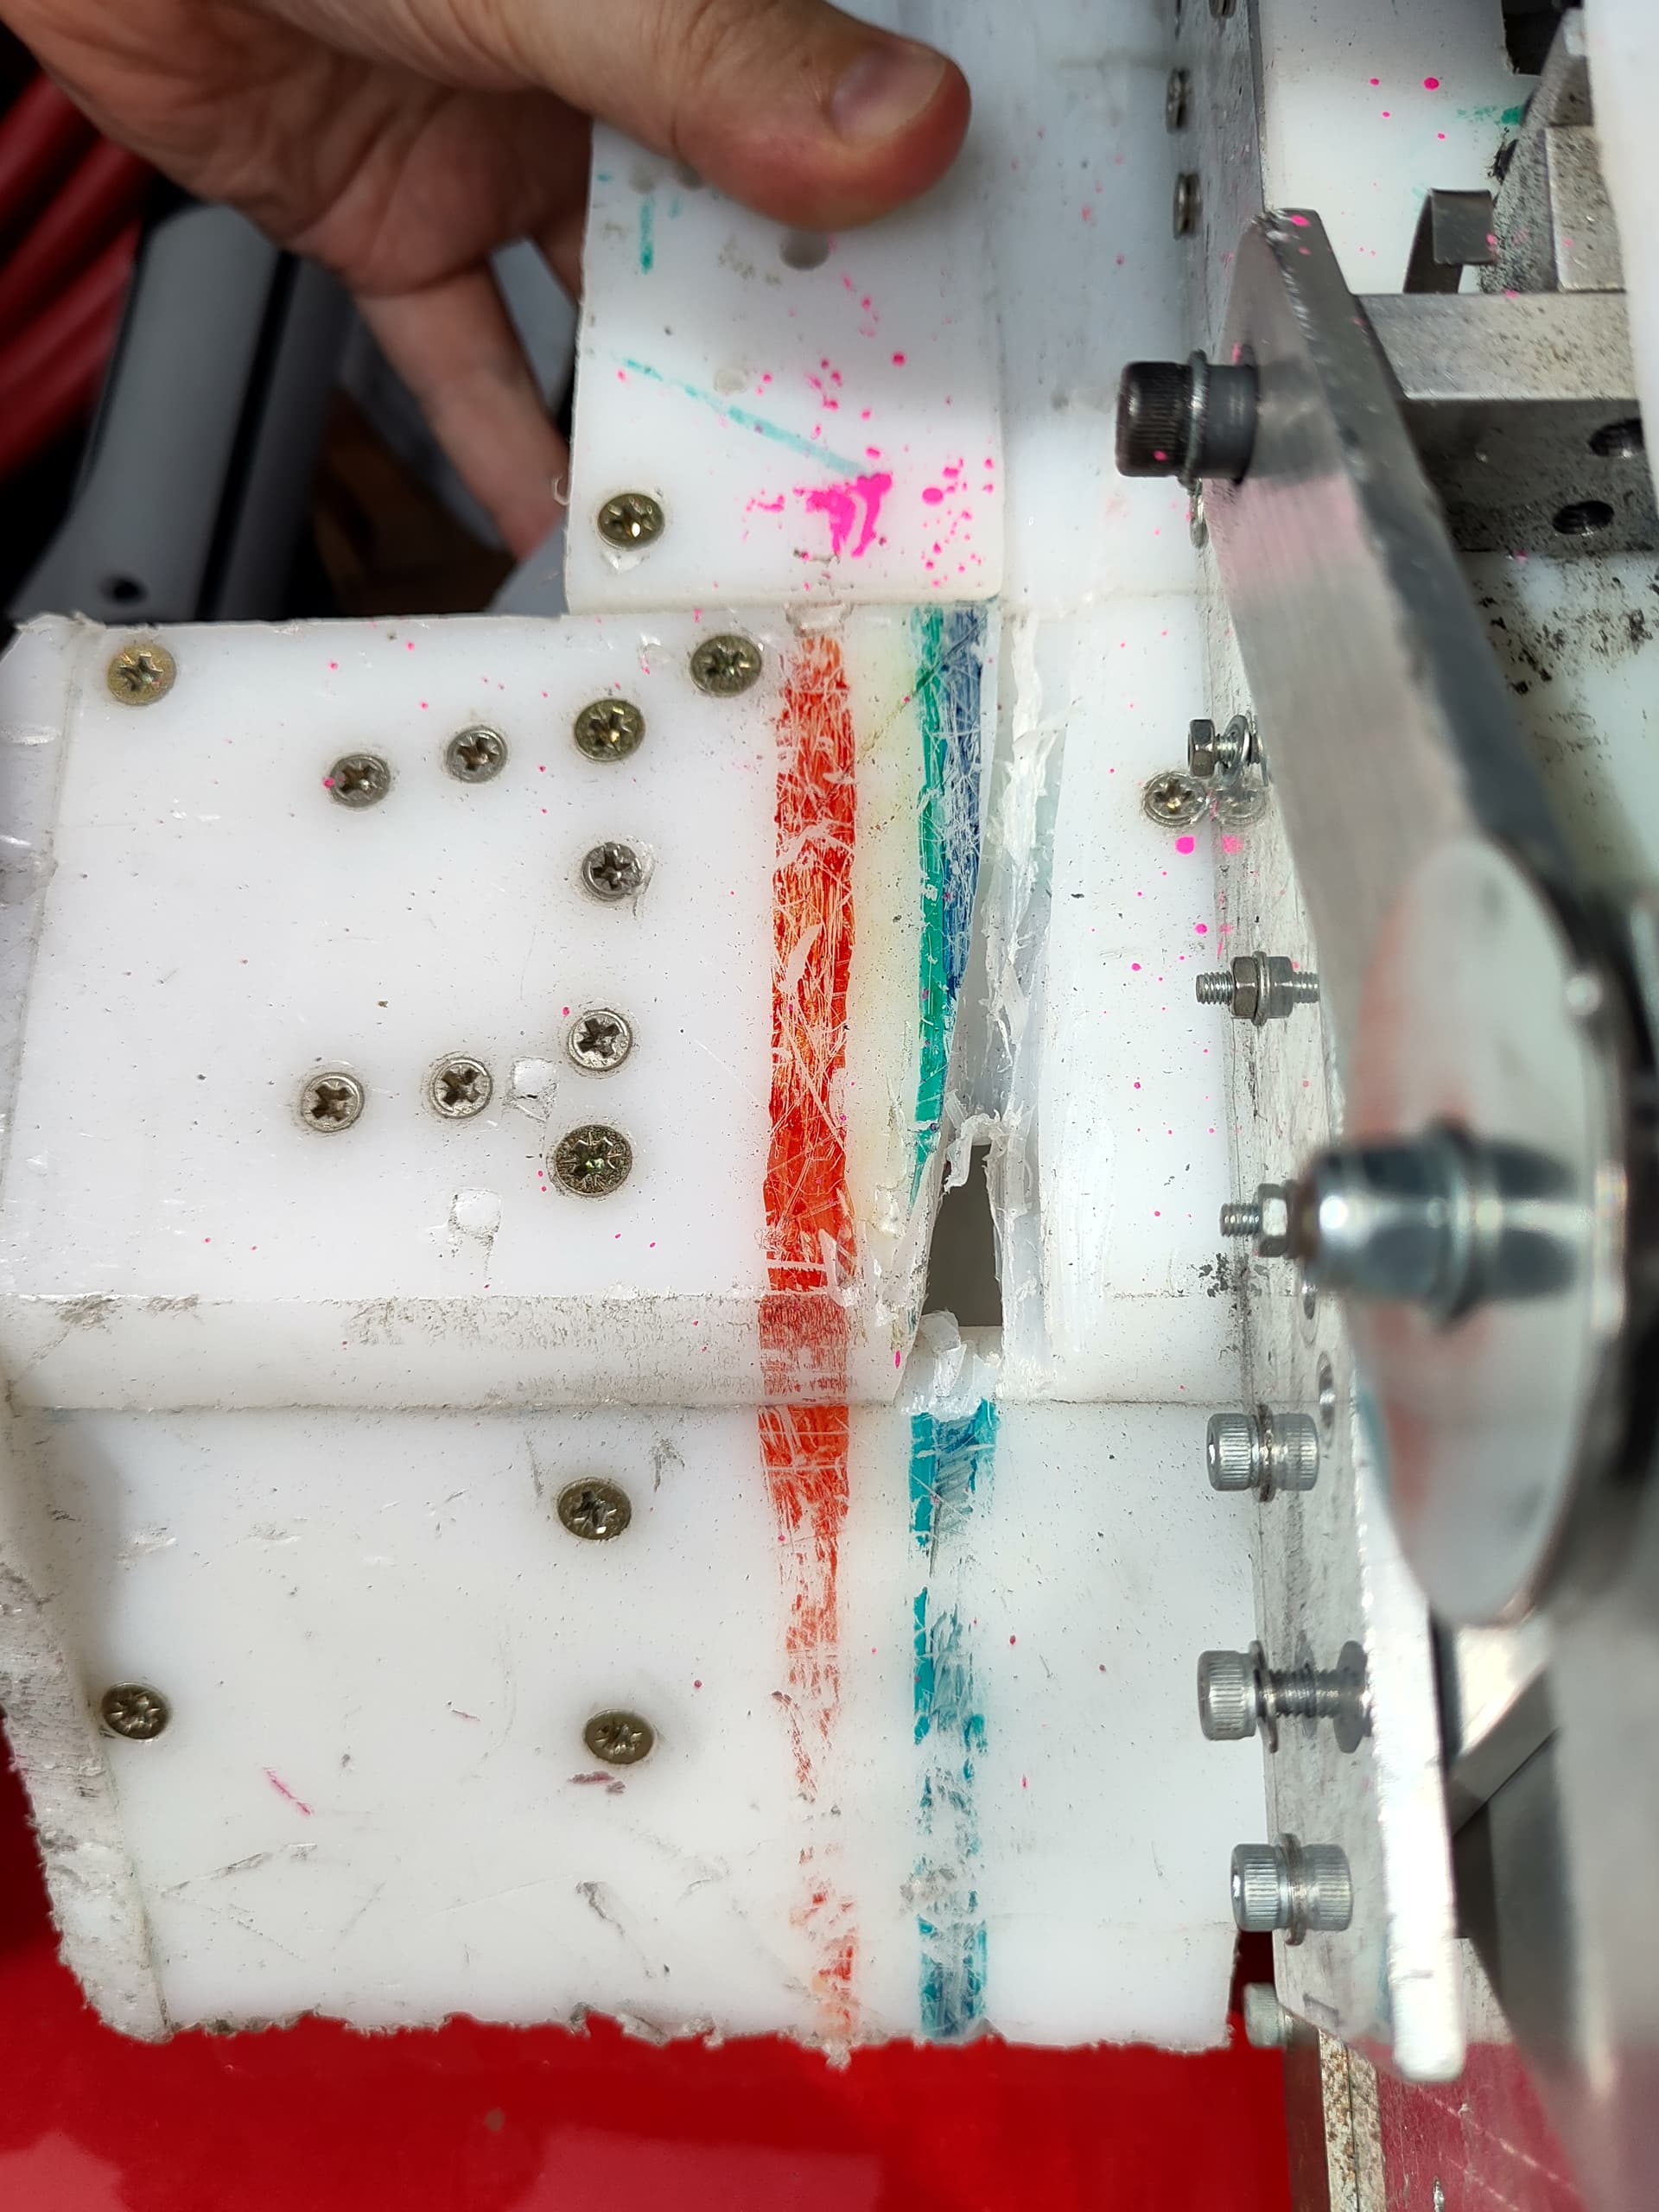
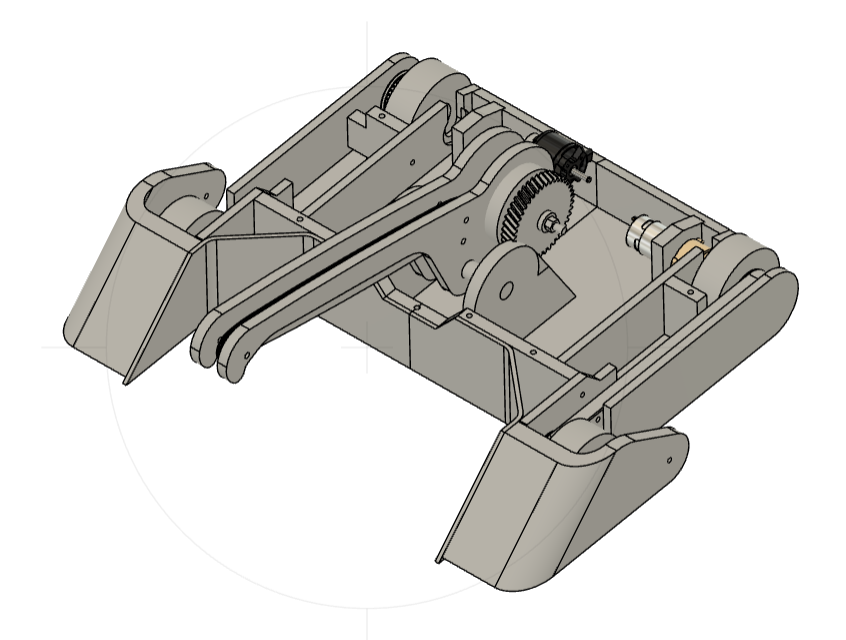
Other jobs to do were just basic stuff like lids and screwing stuff together. One of the things I wanted was to be able to install/remove the whole saw assembly as a module, rather than assembling it in situ, so I put in some little ally plates to hold it all together. This worked pretty well although wrangling the spaghetti of the wiring loom out of the way was a pain.
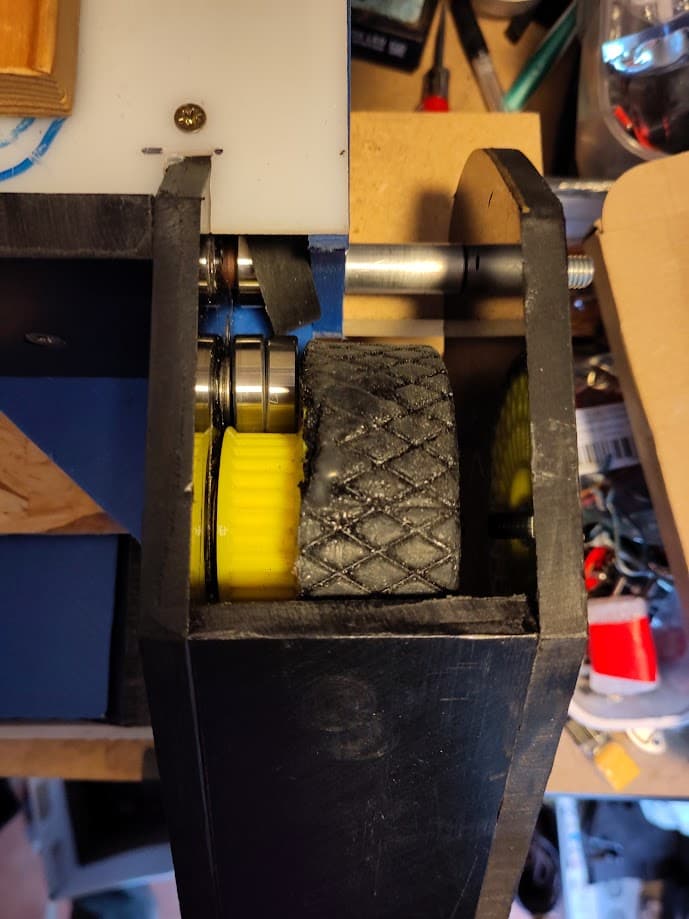
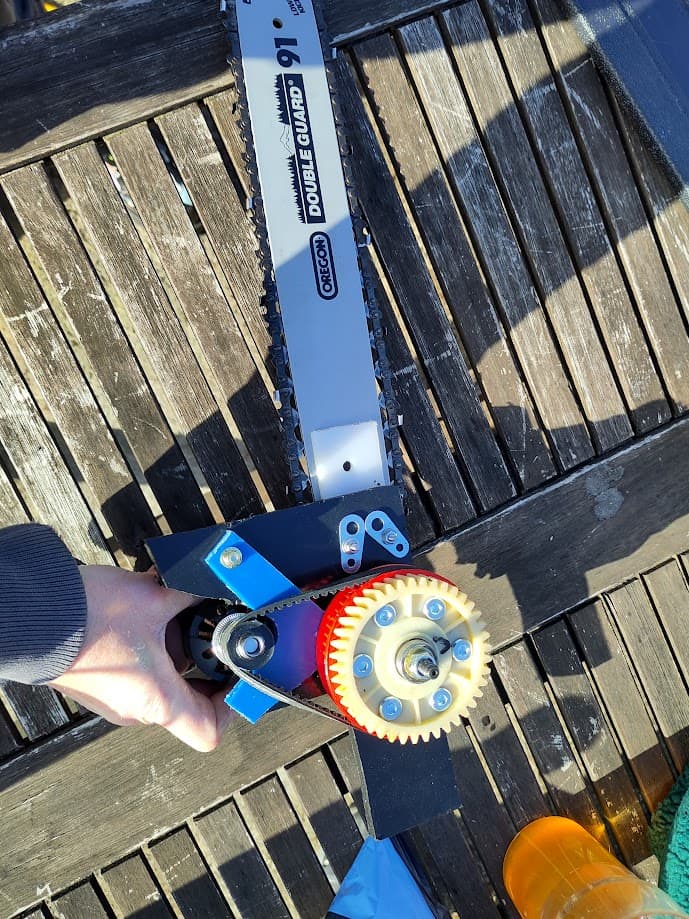
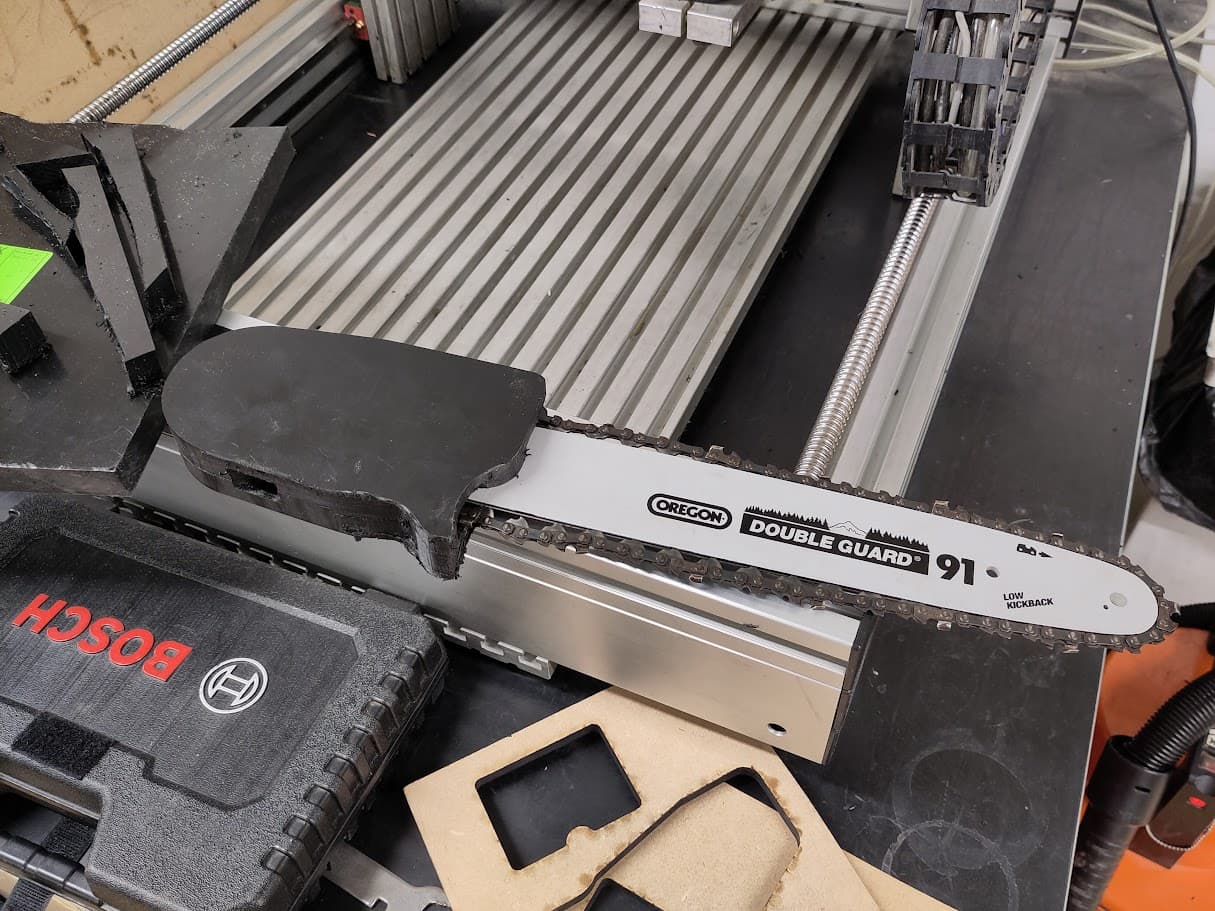
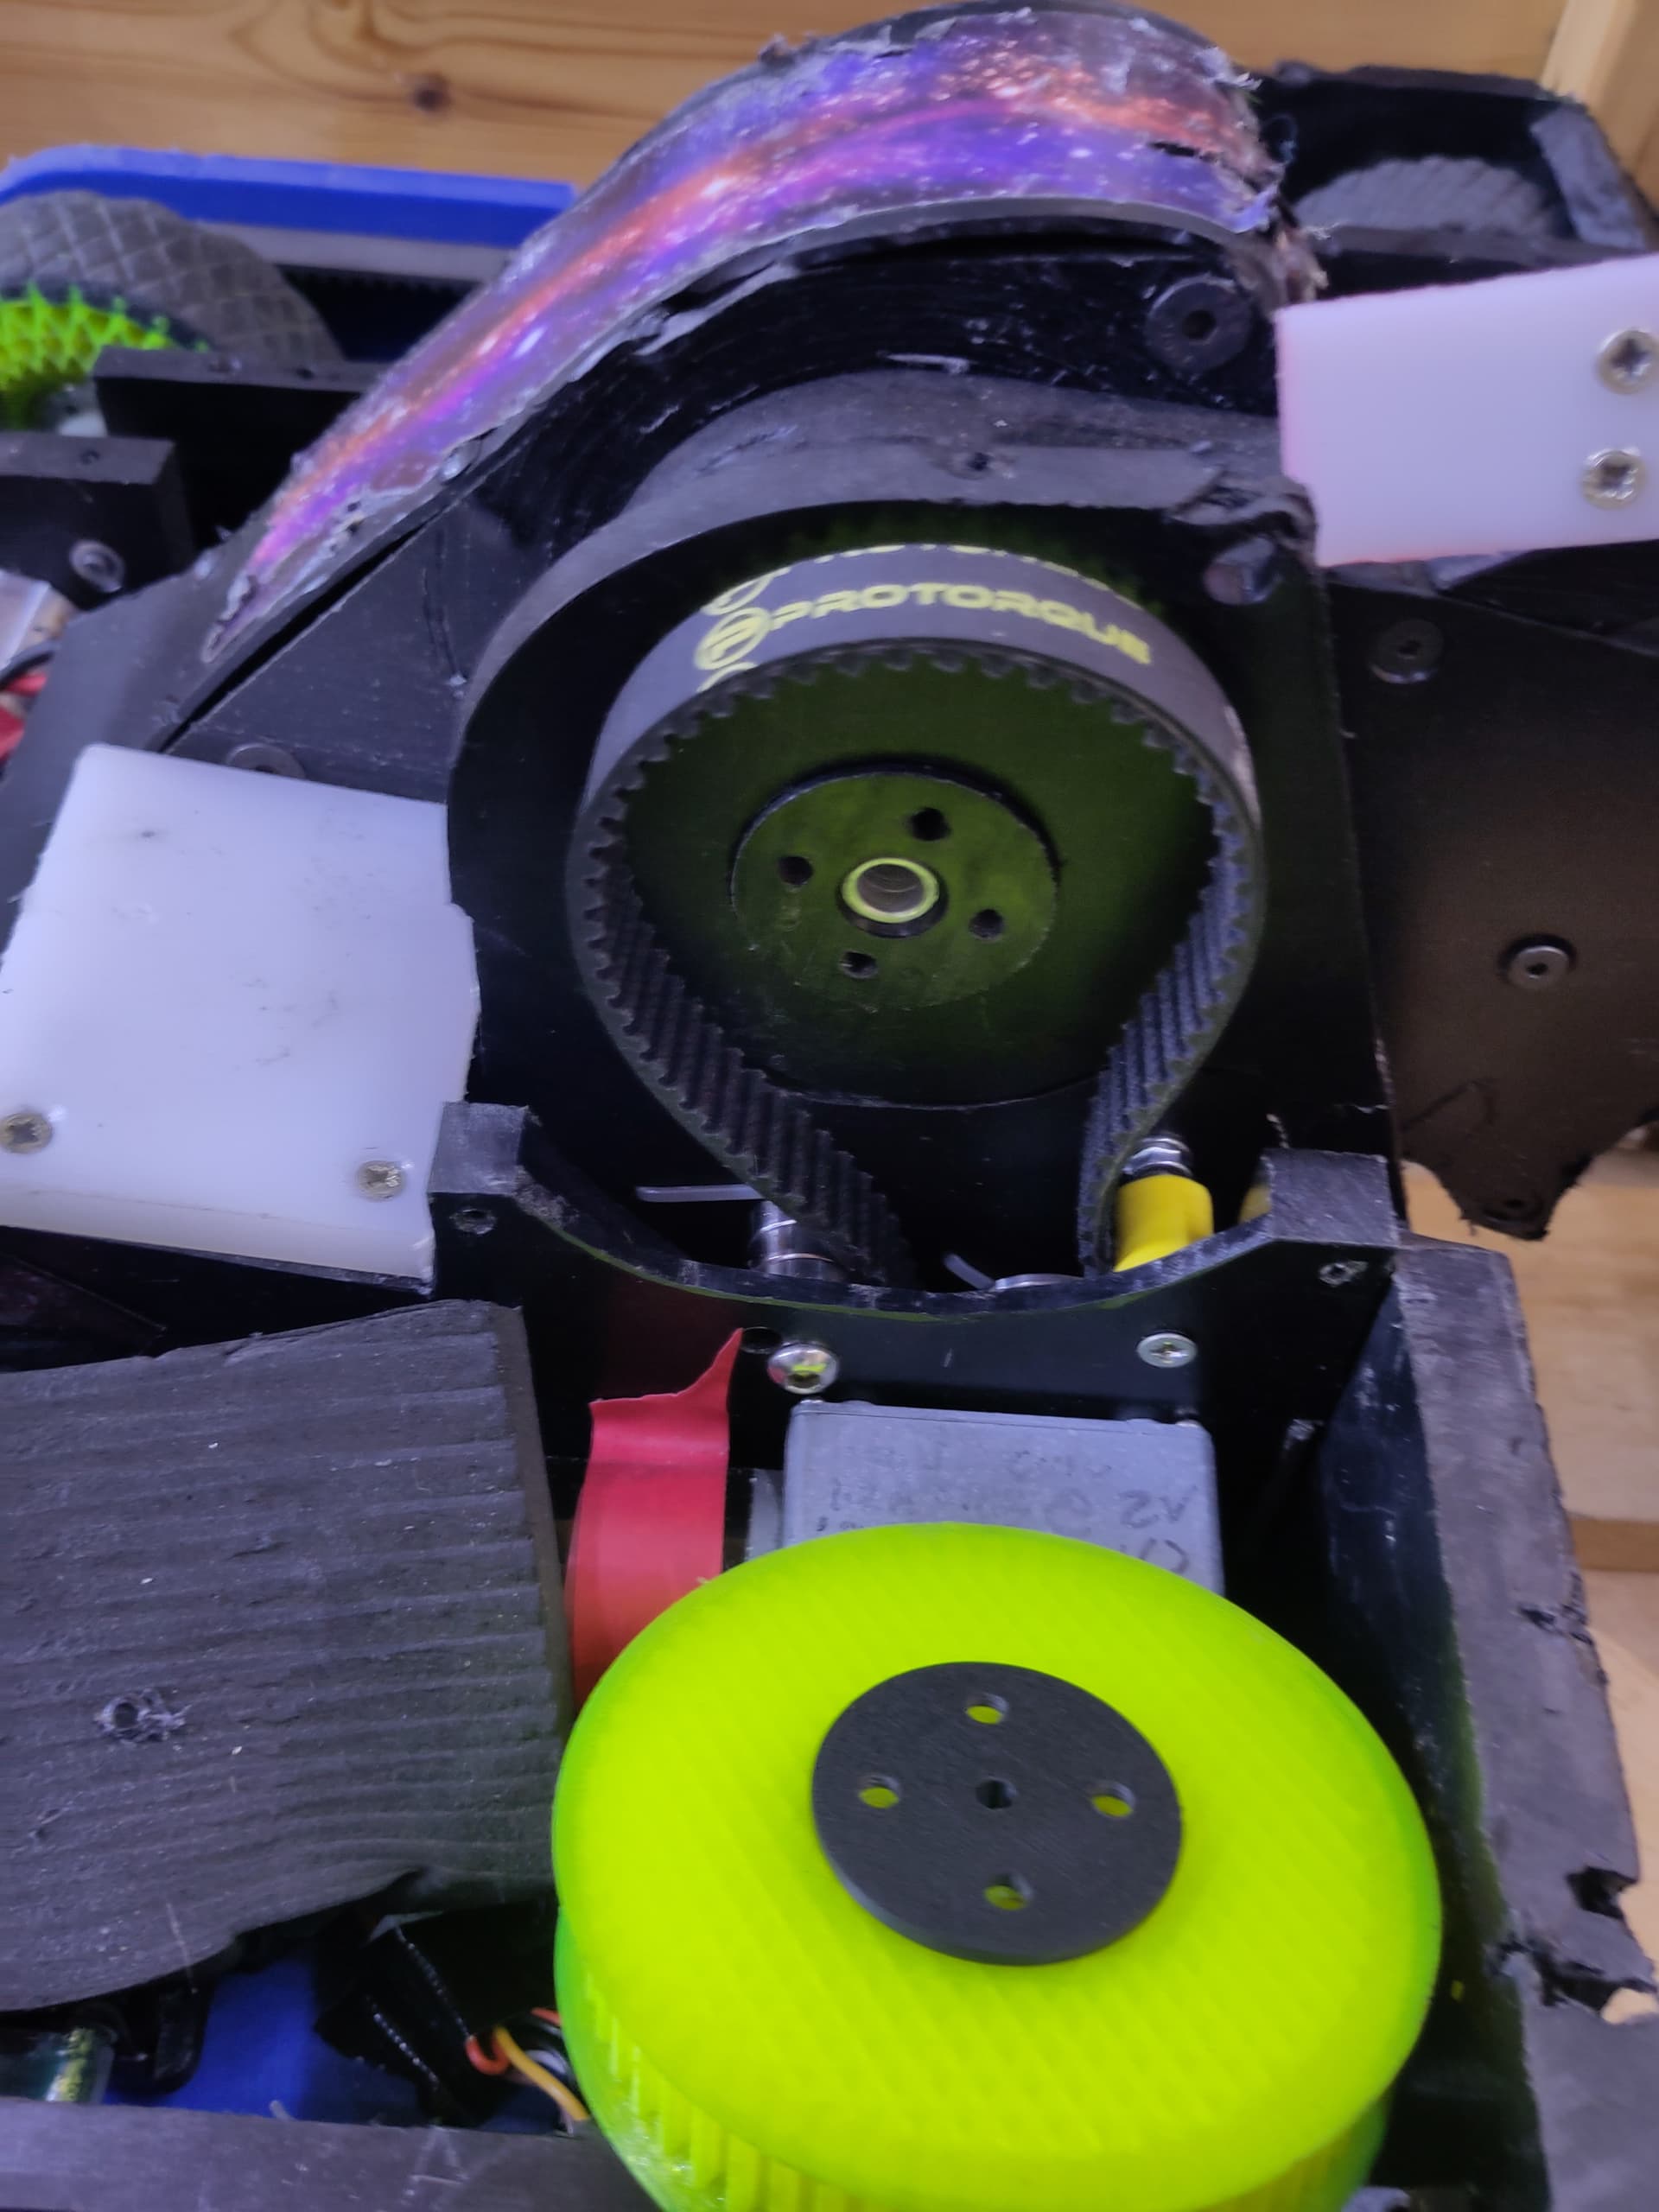
This is where I got to on Thursday night c.11PM:
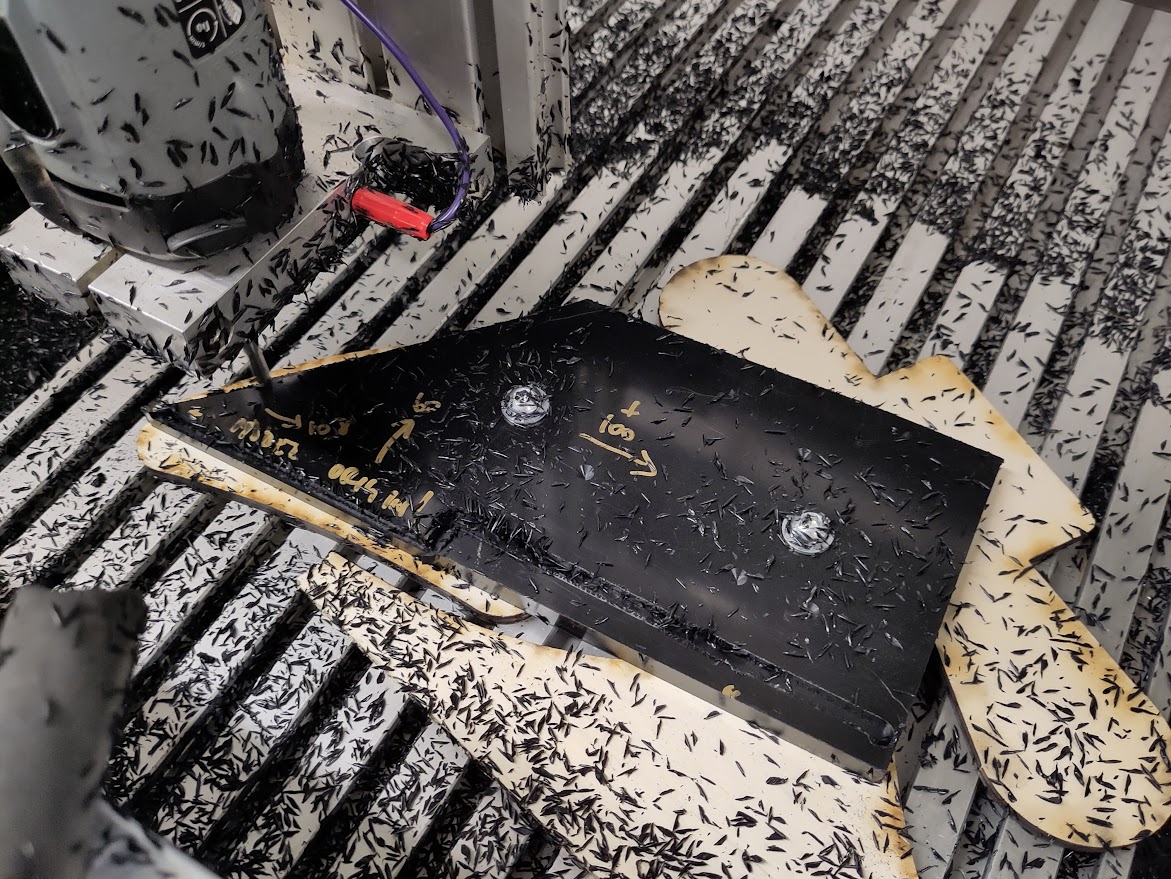
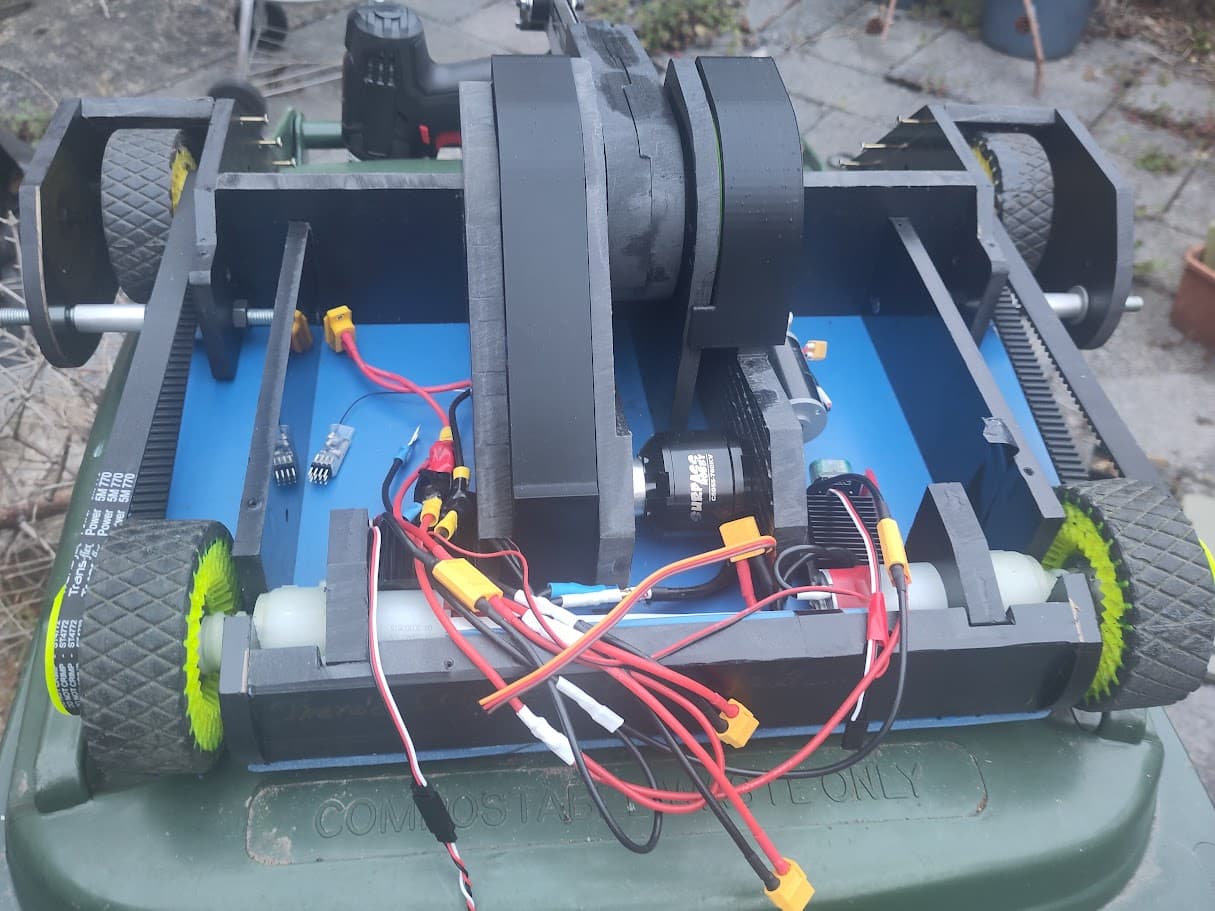
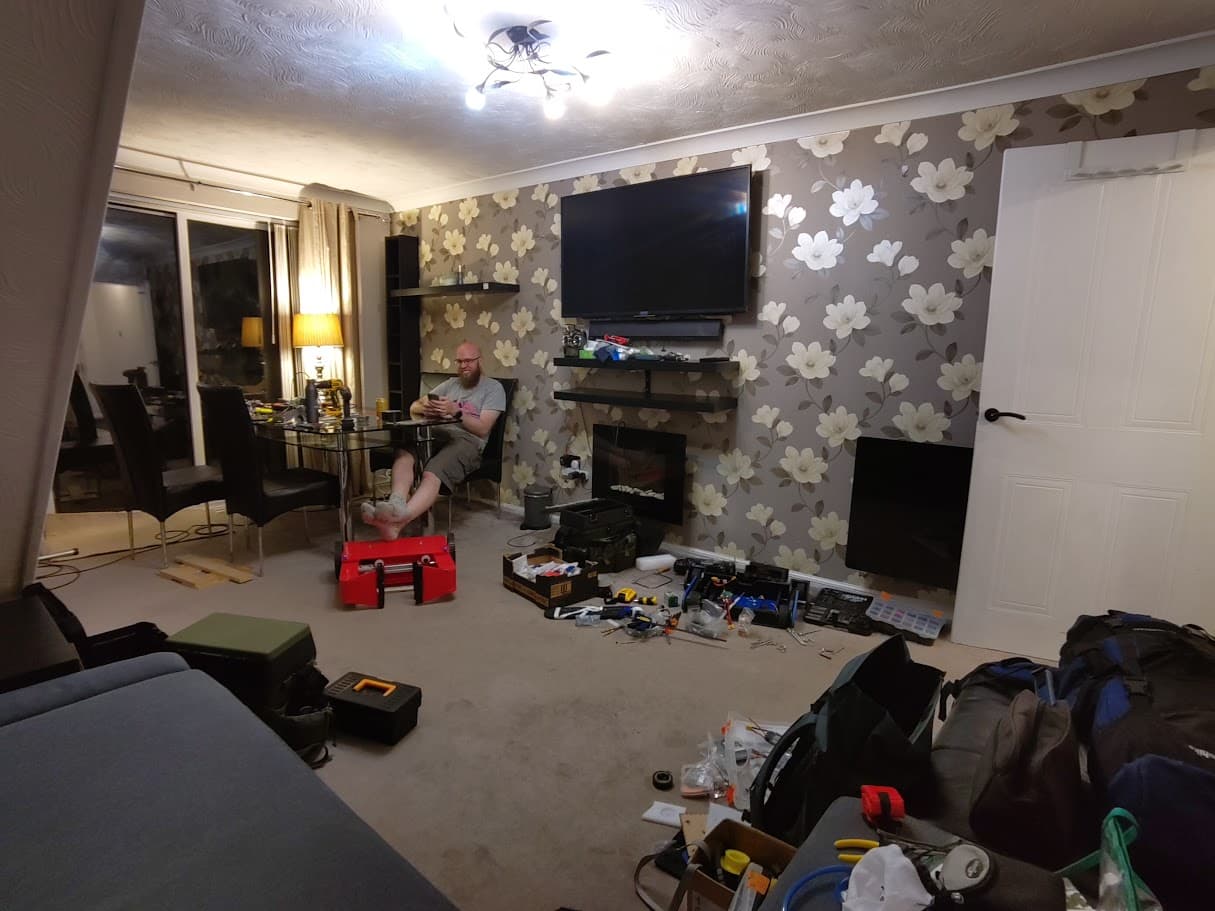
We set off fairly early for Bristol on Friday (complicated logistical reasons) so got to our digs around 3. By 9:30 it looked like this:
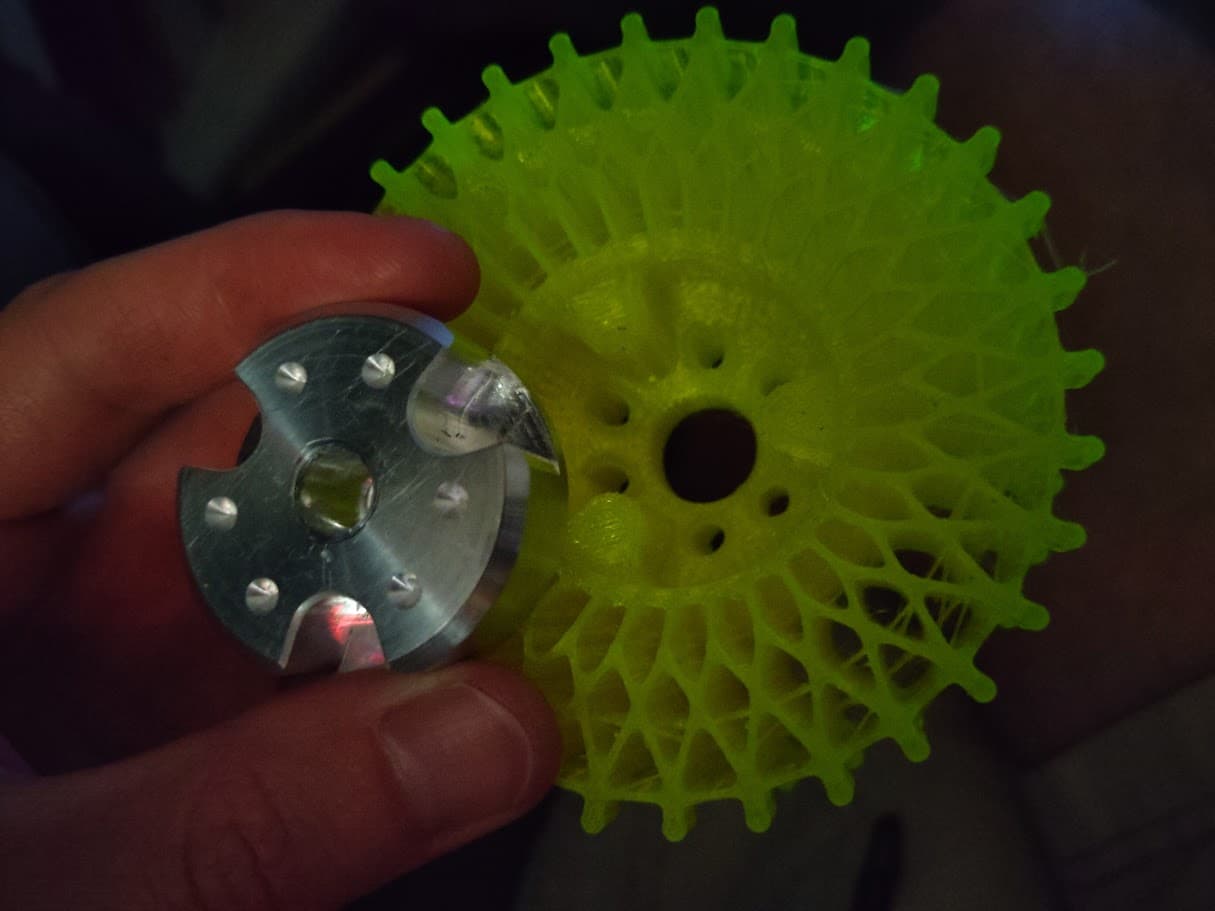
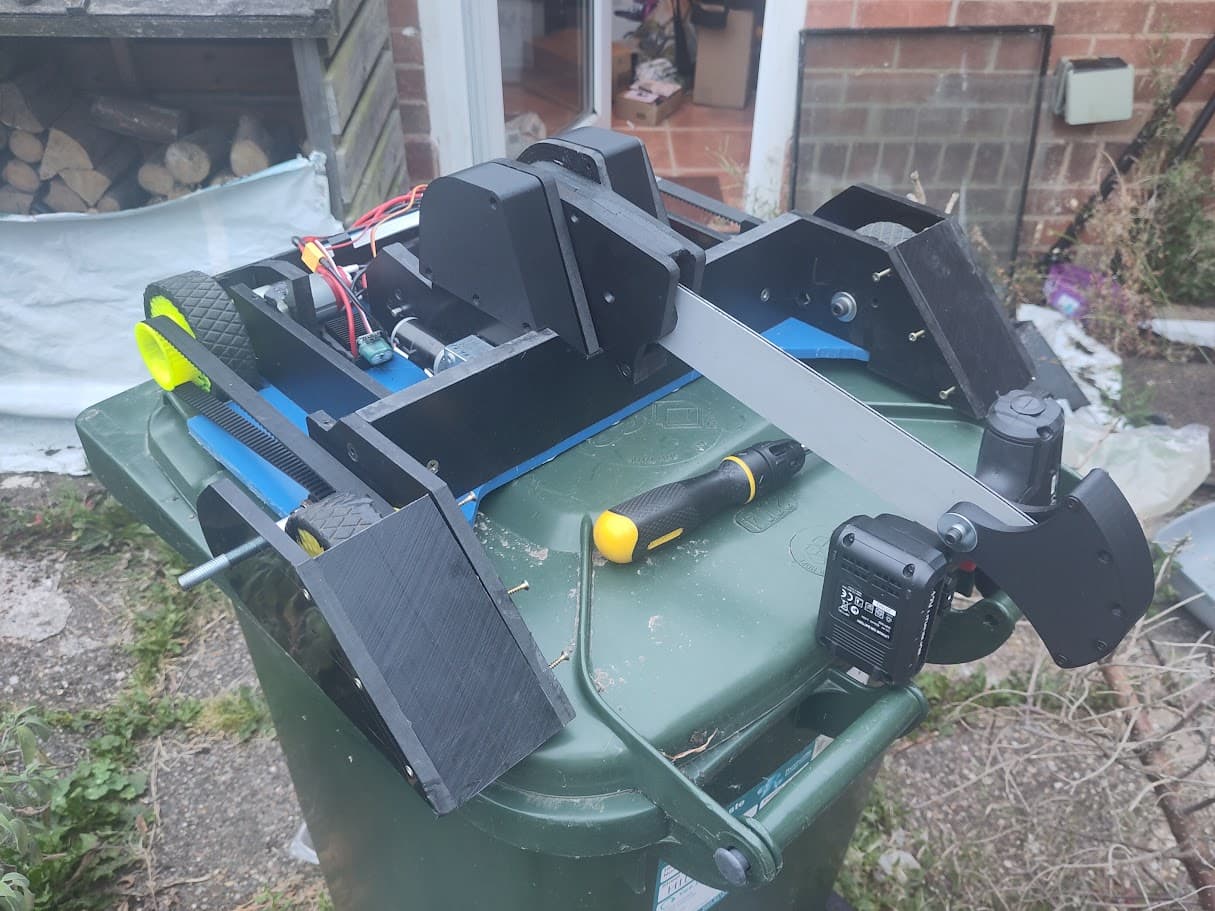
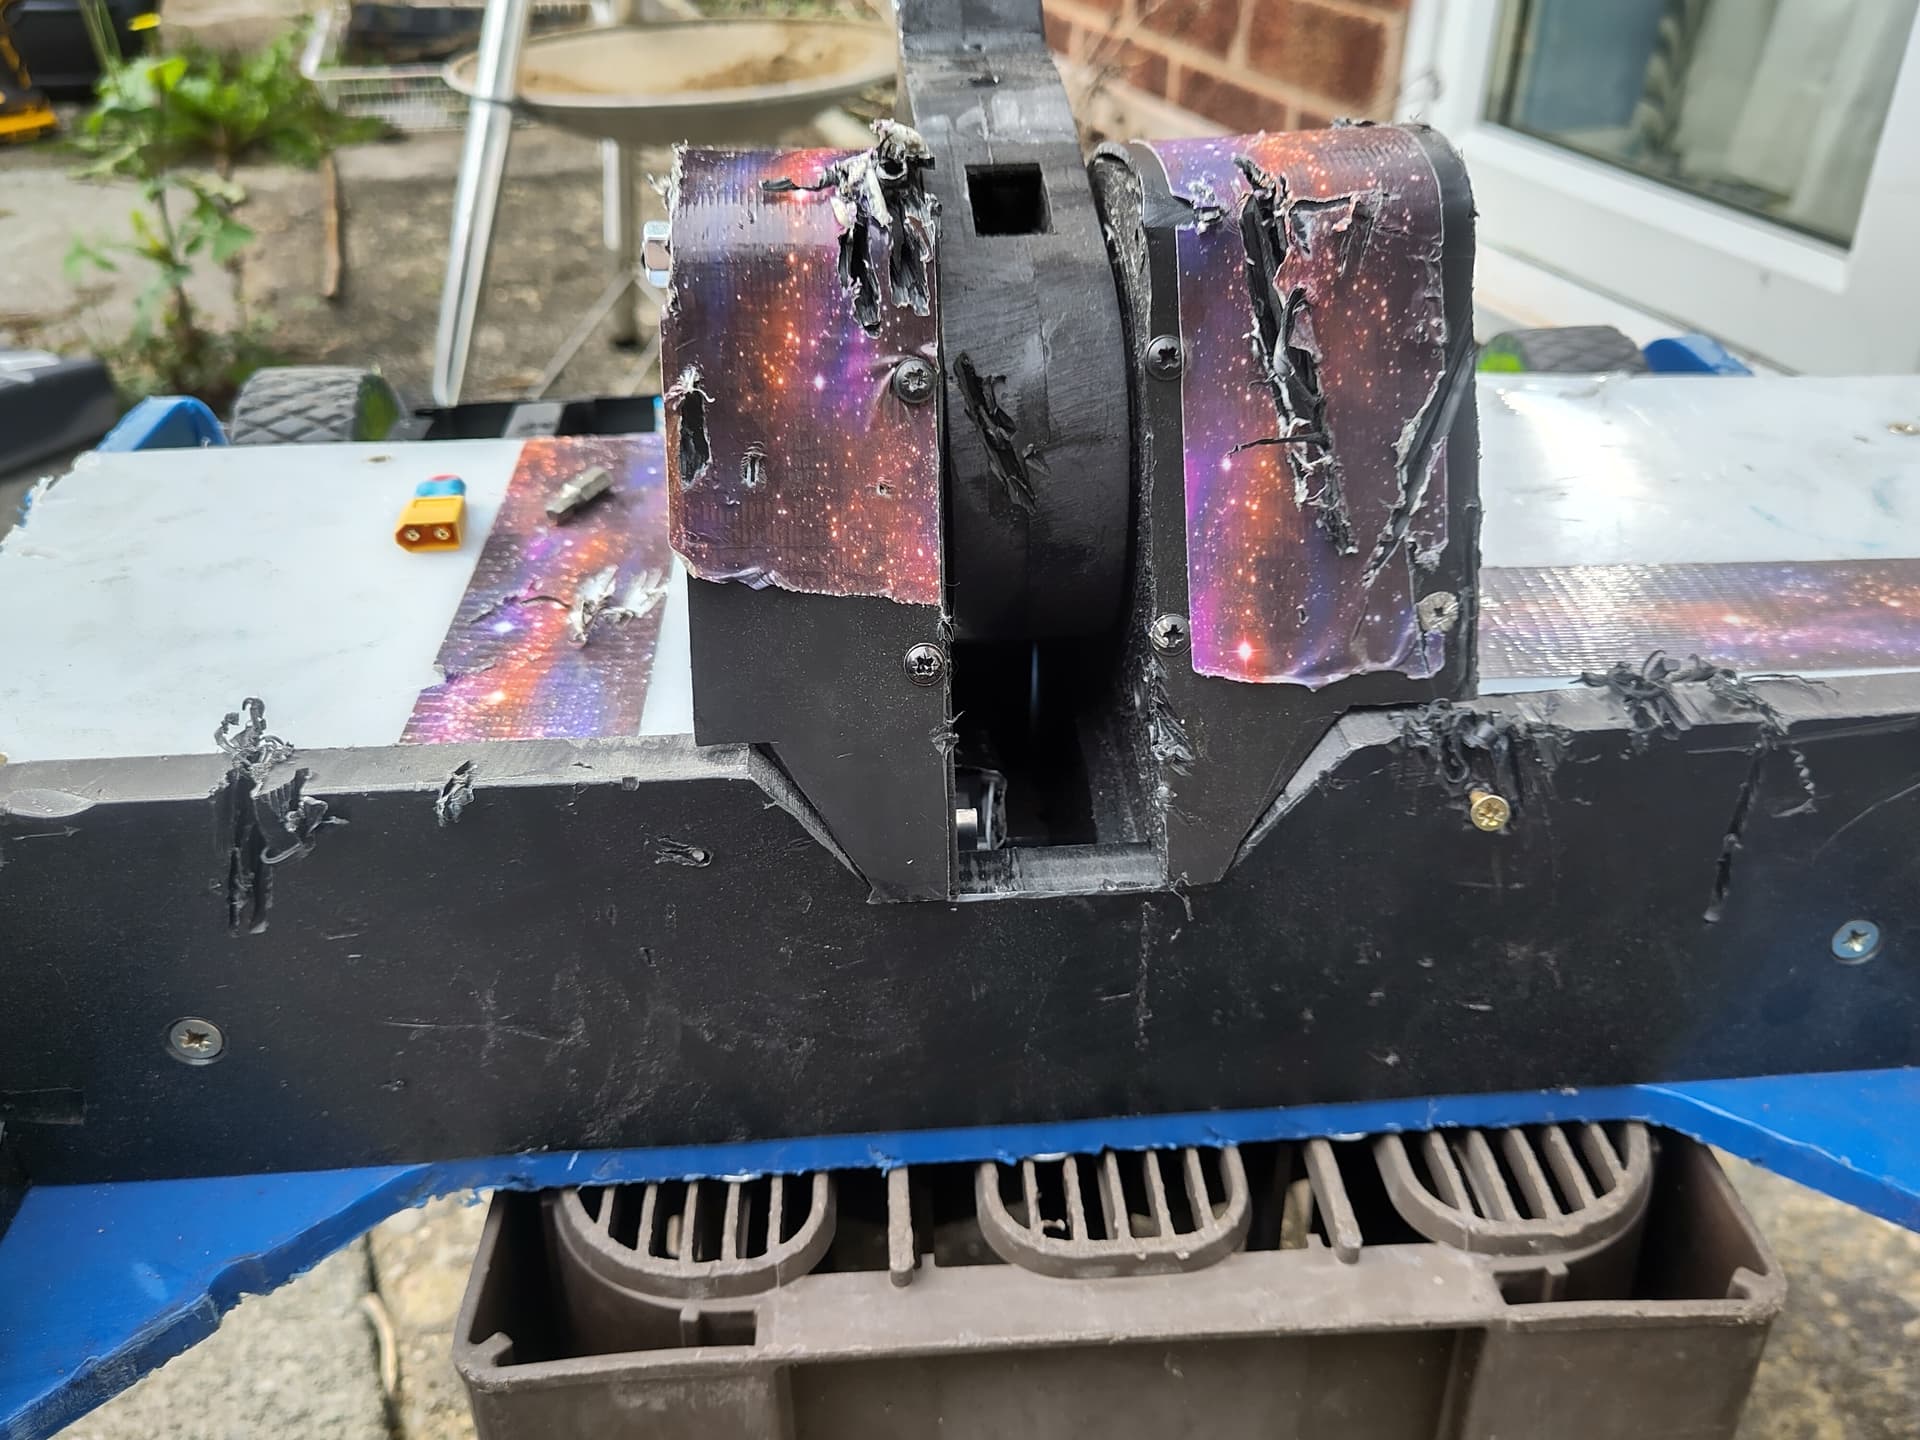
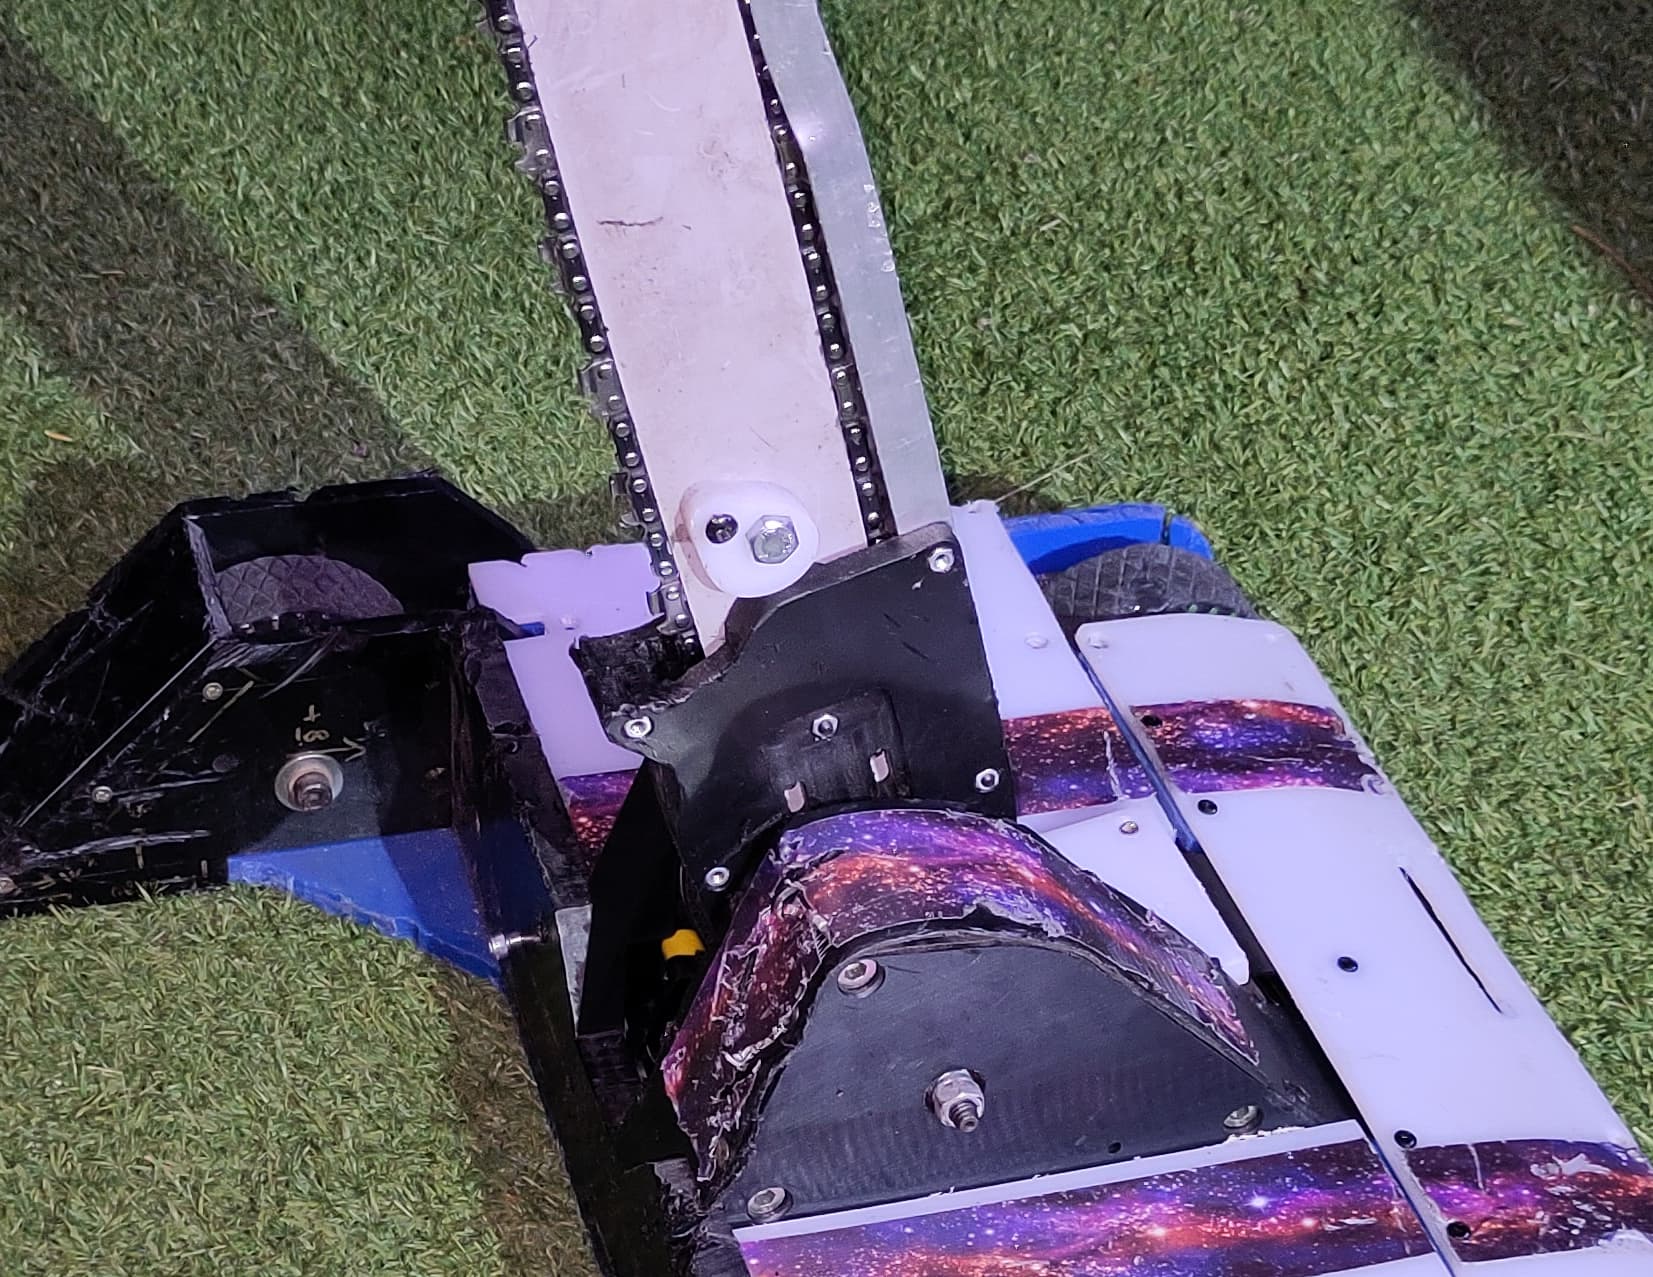
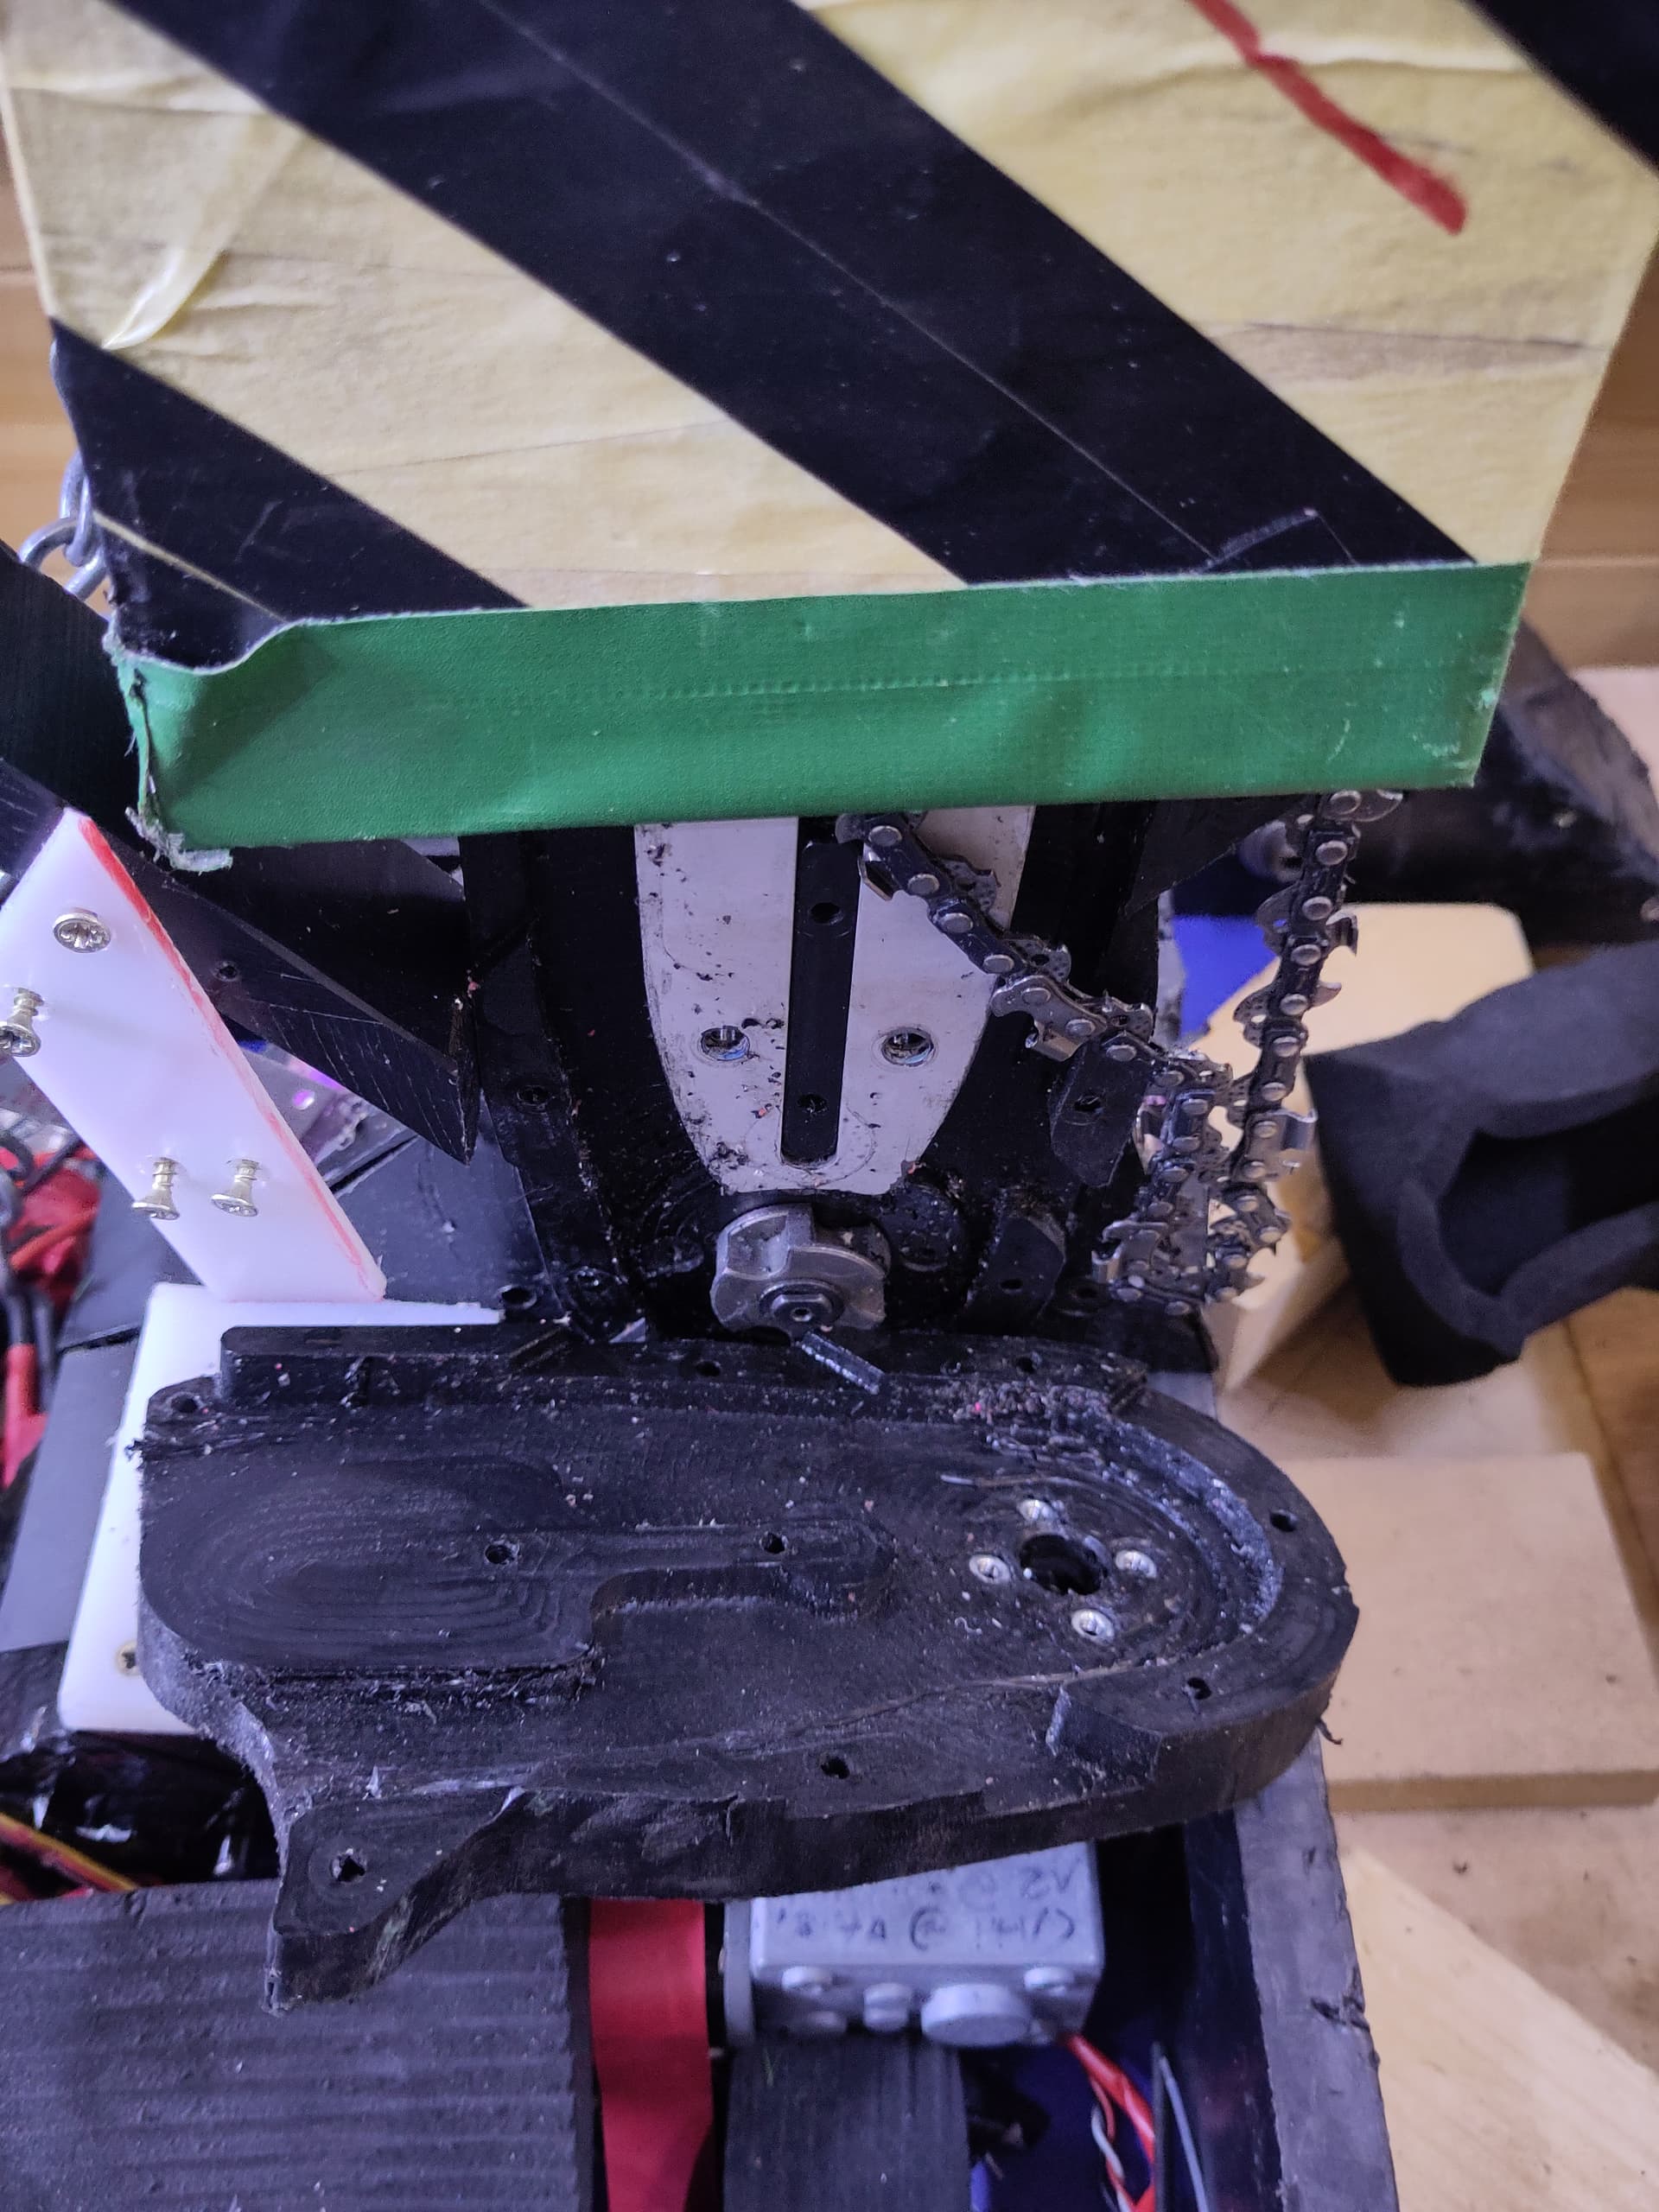
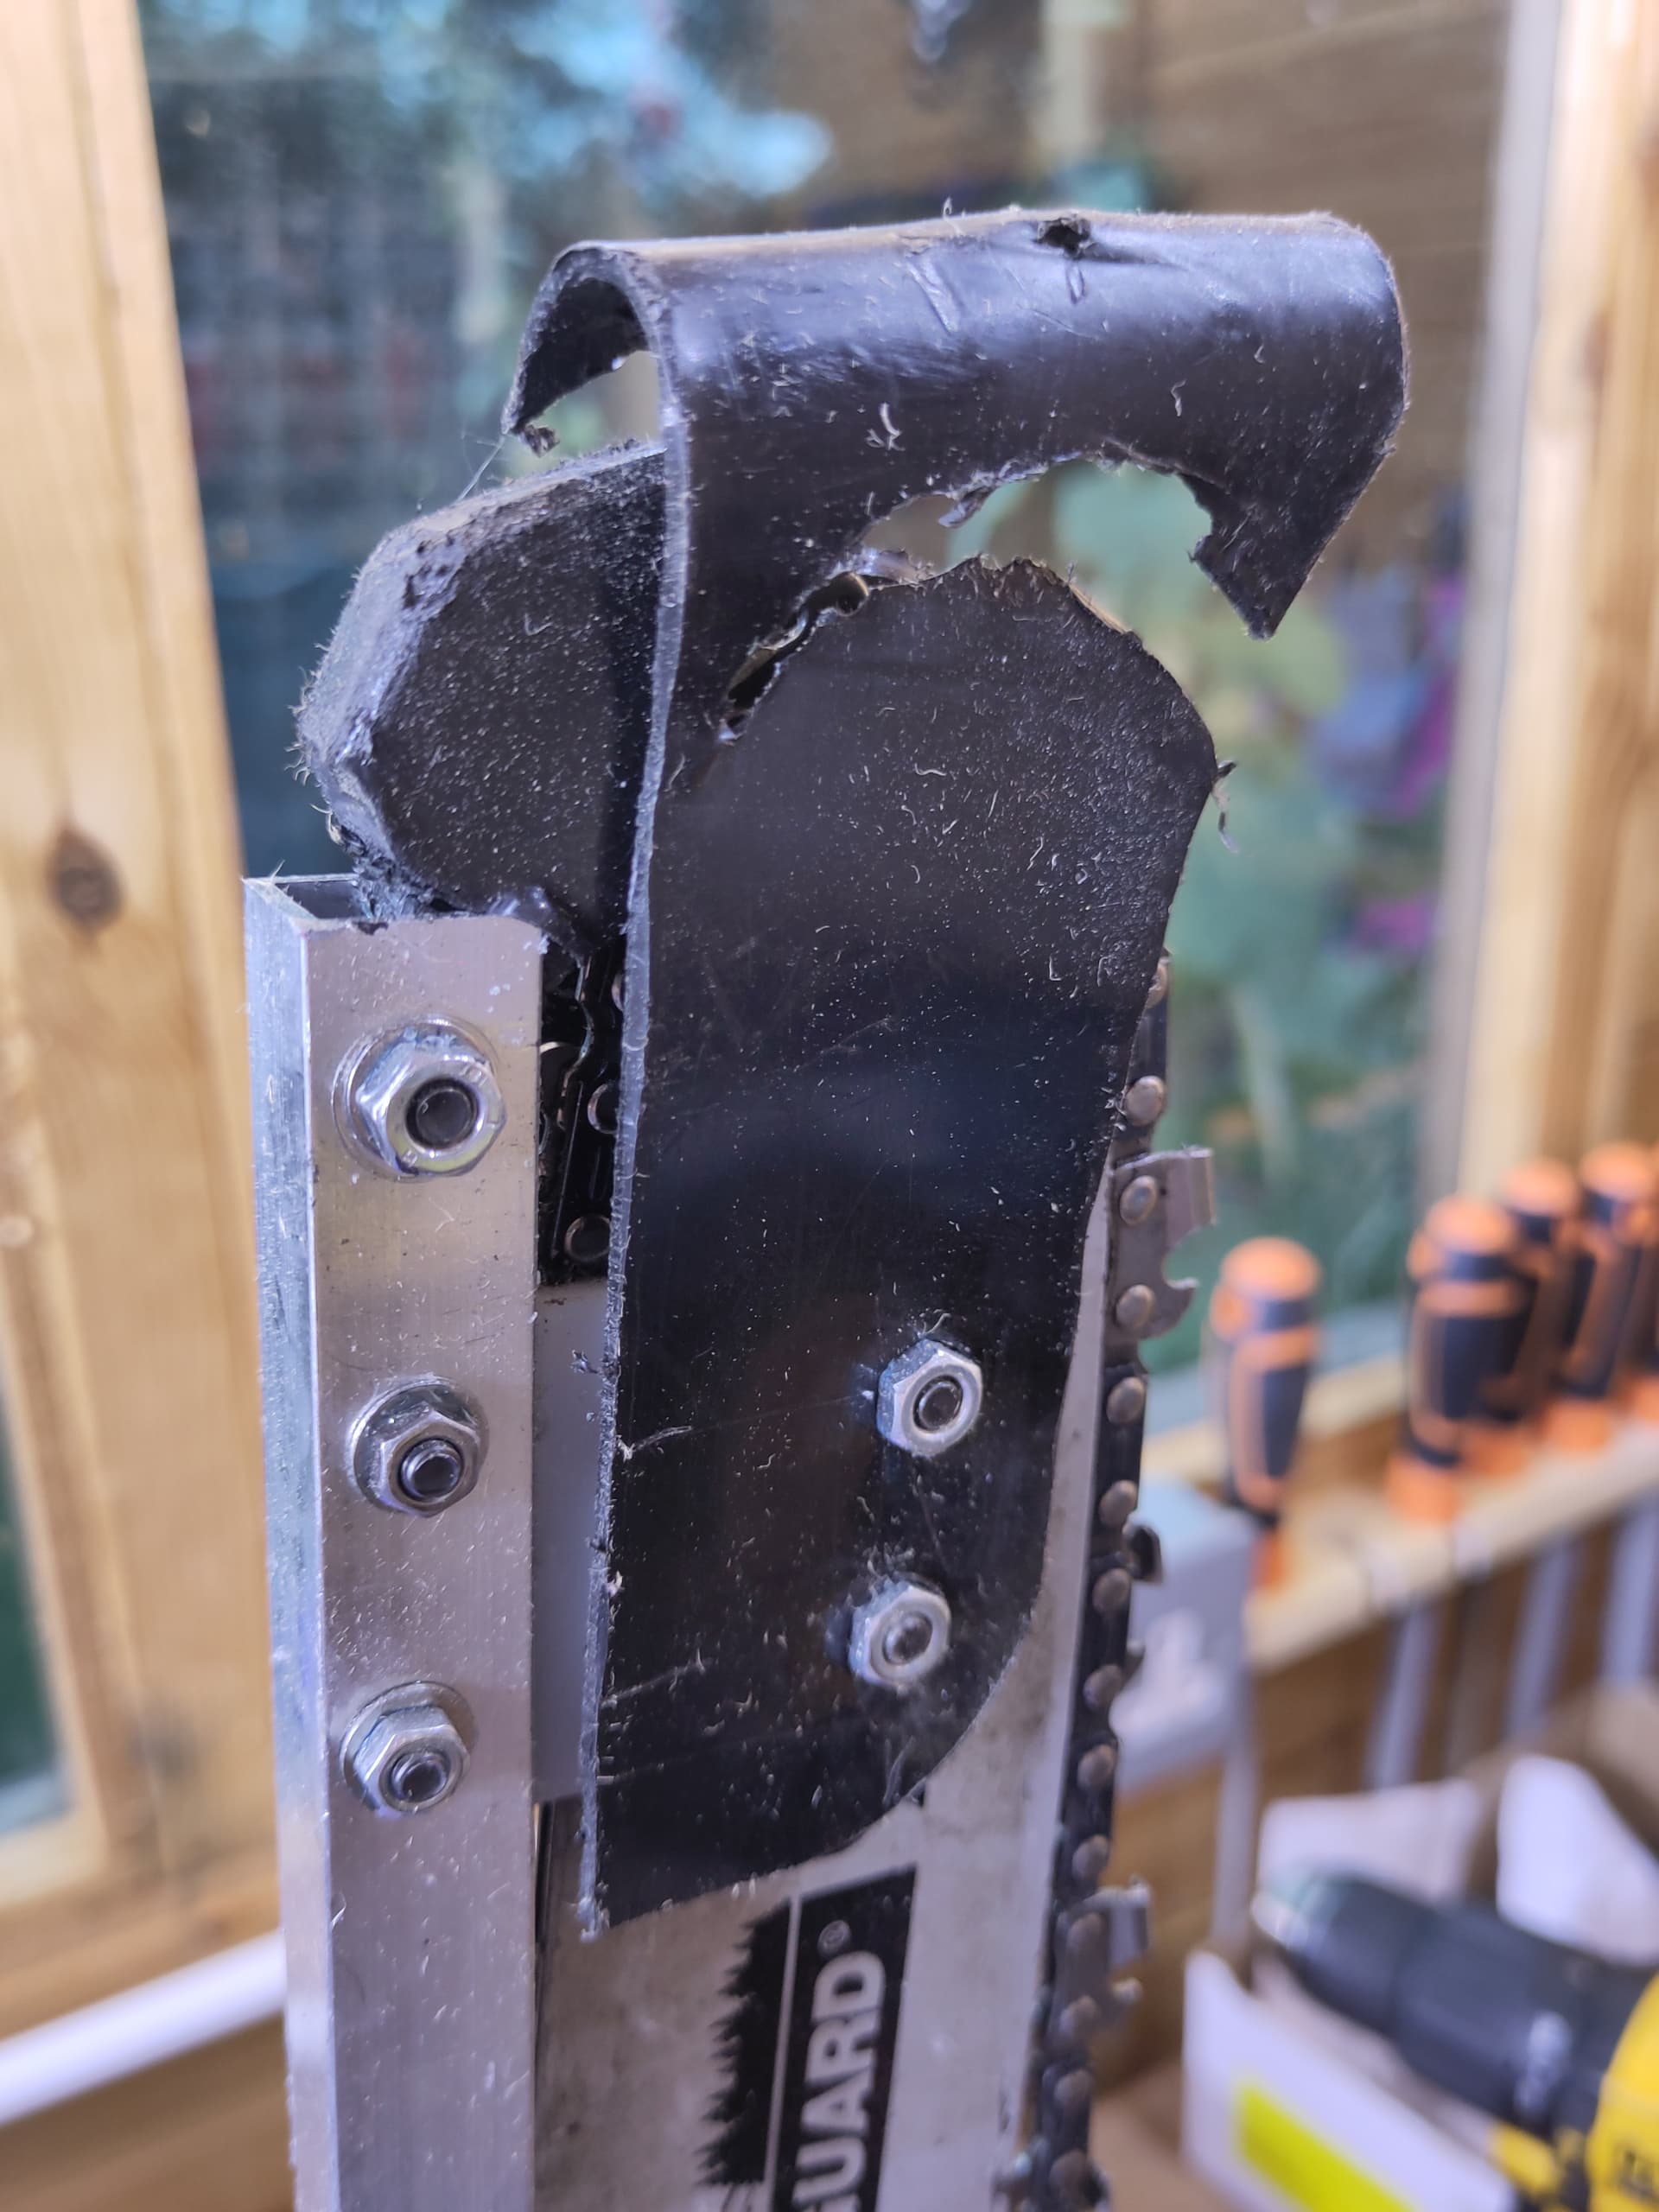
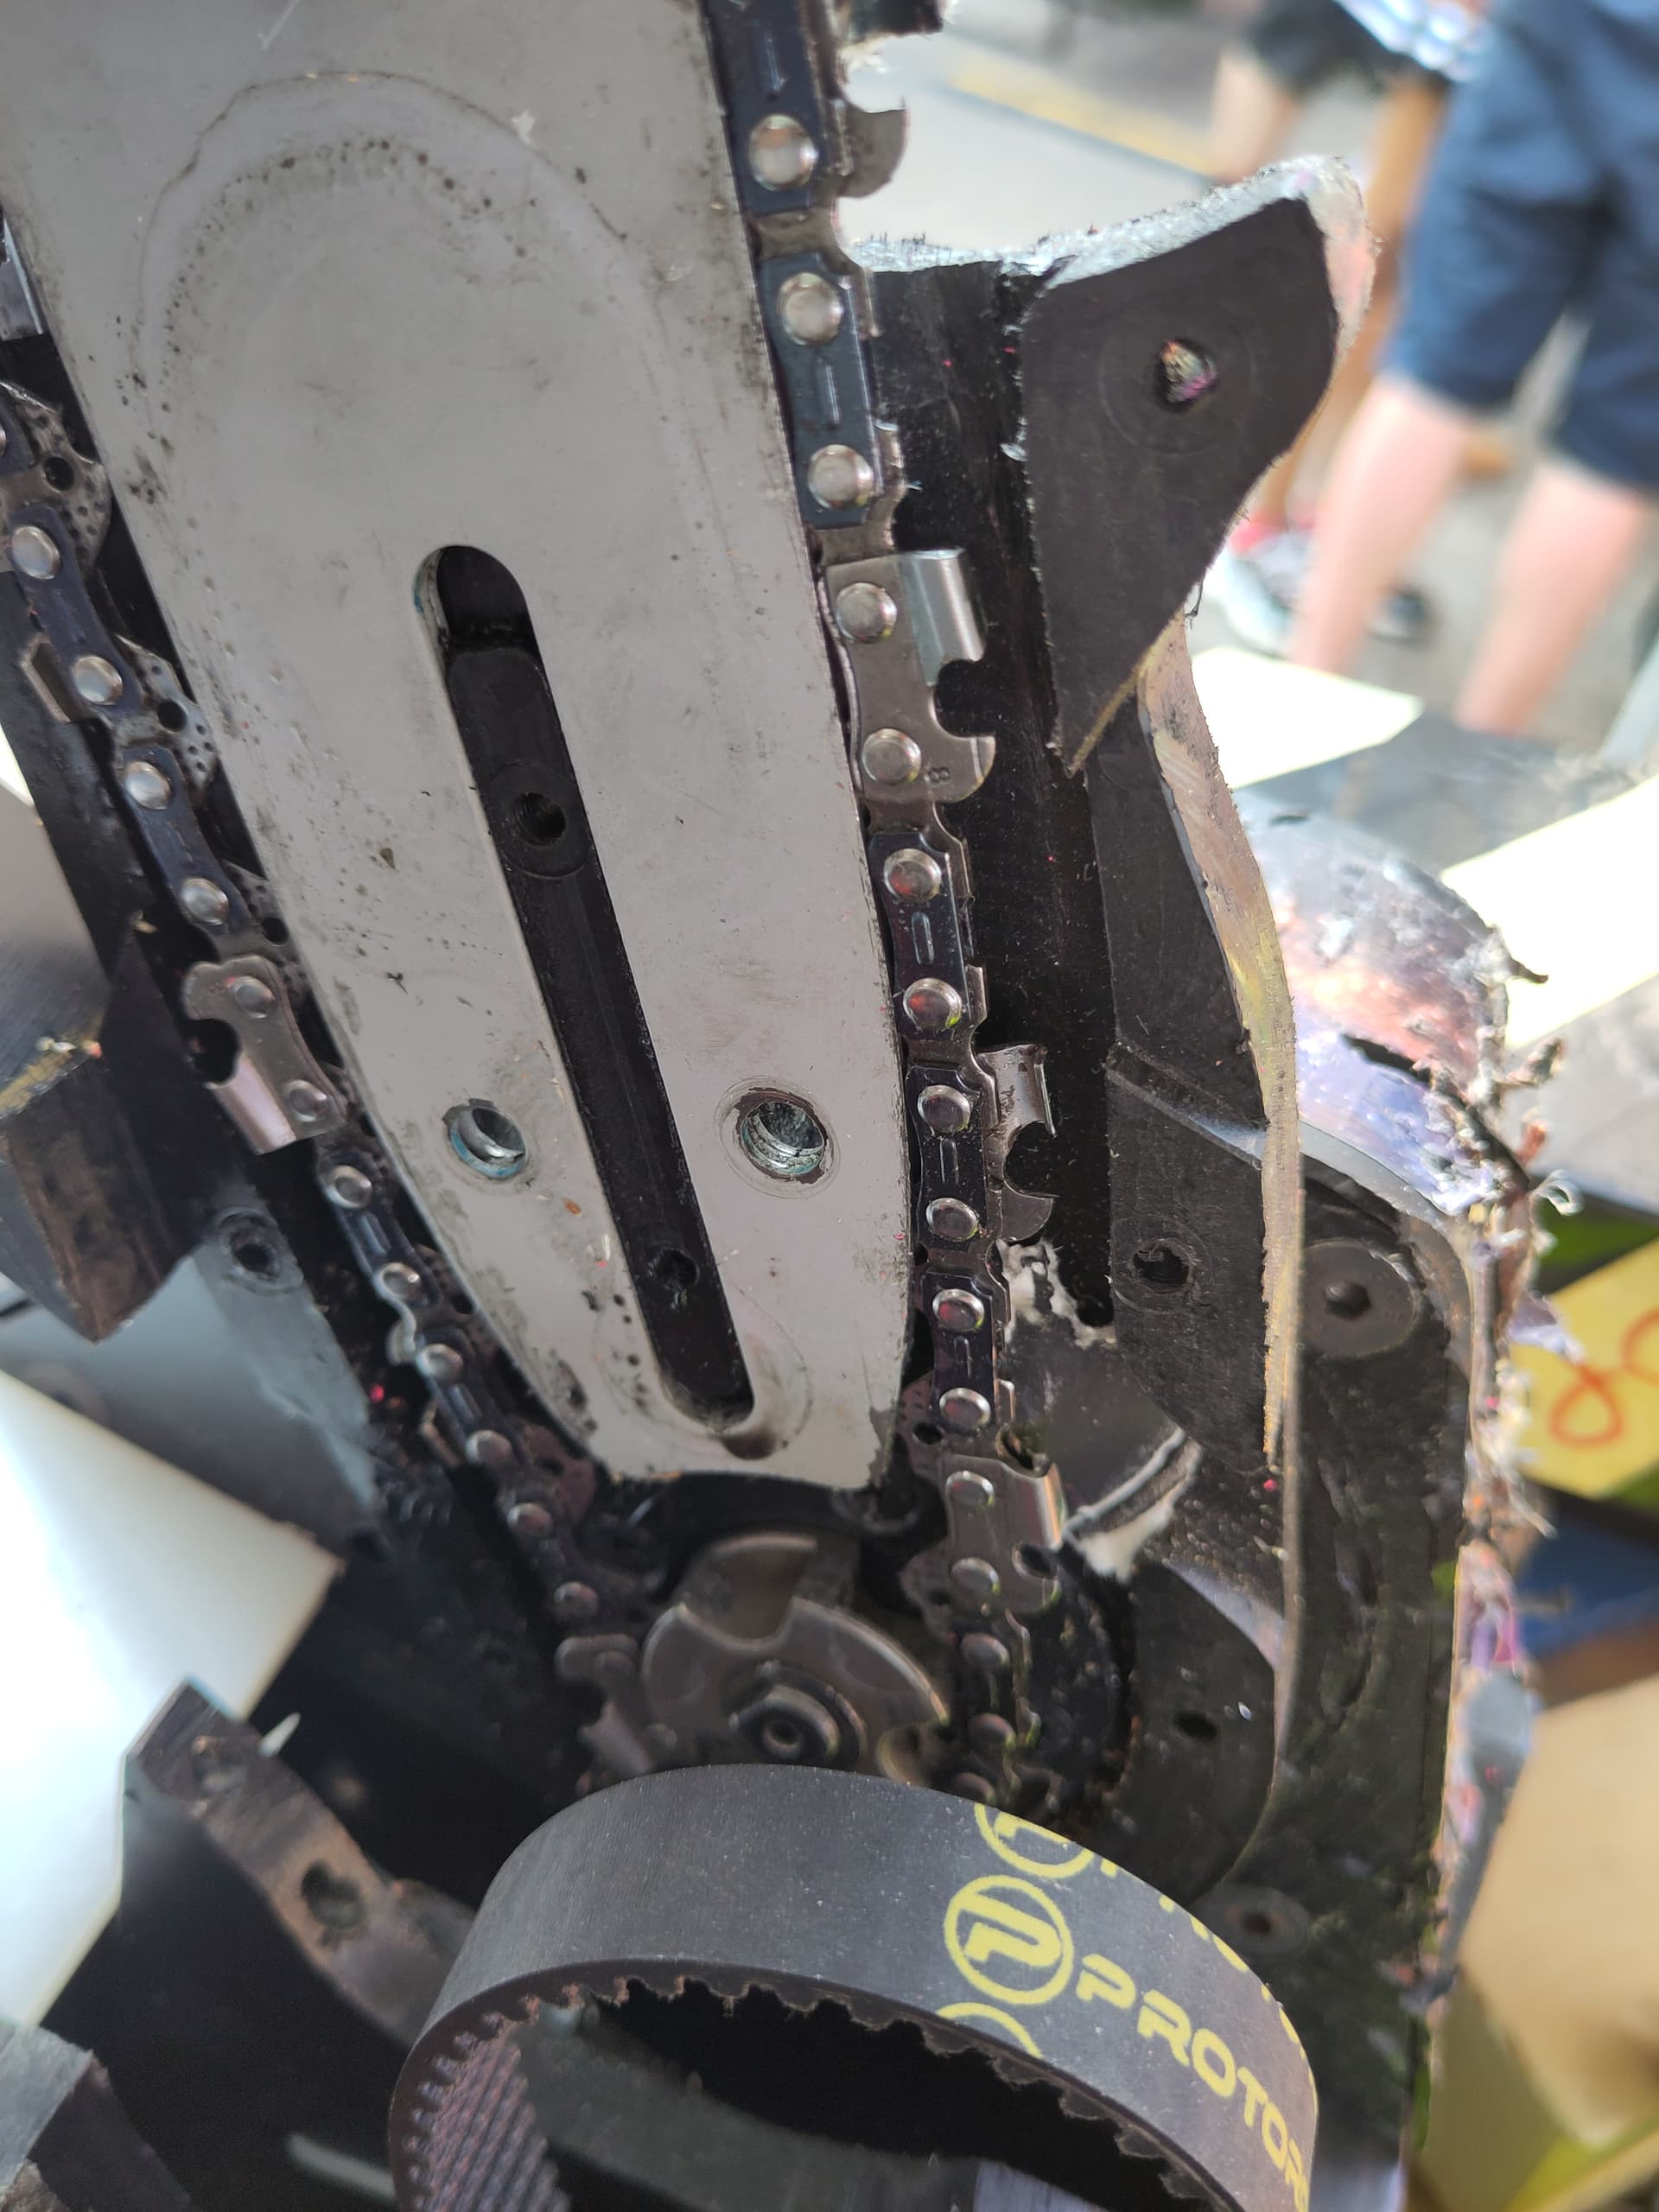
We made quite a mess given that both robots were essentially finished. All I really had to add was a cover for the saw (serving as a locking bar/sharp protection, in addition to the chain that stops it moving), plus a bit of soldering and some extra sheets of thin HDPE over the dubious PLA-ST covers for the two big pulleys.
BEVs
It sounds like everything was finished in time I somehow managed to have some stuff left to do when we arrived at the LHG taproom. It’s all a blur now but I am certain I didn’t go straight to tech check despite arriving at 1130 or thereabouts. Anyways, I did make tech check and passed, then popped her into the arena for the first ever spin up of the saw:
This was quite terrifying, as I’ve never actually made a really dangerous robot before. But also fun. Makes a good noise. Brrrrrr.
Fight 1 - 3-way melee, Pizza Time and Uplift
A massive axe is exactly what I didn’t want to be hitting that flimsy chainsaw early days, so that was a scary prospect. Pizza time took some chunks out of the chassis but fortunately didn’t destroy the saw in a single blow, and I managed some nibbles from Uplift, so at this point I was happy. Annoyingly the drive motors started clutching AGAIN, so that was very frustrating.
Main takeaways from this fight:
-
Saw worked and actually damaged something. Objective for the day achieved. Time for a beer.
-
It’s really hard to control the saw (driving and turning the saw on/off and moving it). I need to practice or get a co-driver to deal with it, or as @moop suggested maybe program an automated “attack cycle” with a microcontroller.
-
The damn drive broke again, fix the damn drive Sam
Fight 2 - Lumber
By a truly BIZARRE COINCIDENCE in the COMPLETELY RANDOM DRAW, my chainsaw robot, armed with a thing designed to chop up wood, was matched against the robot that was made almost entirely from wood. However, a combination of Rory’s excellent driving and (AGAIN) my motors coming undone meant that I was pushed around and pitted without much comeback.
Main takeaways from this fight:
- The damn drive broke again, fix the damn drive Sam, really this time I mean it
Fight 3 - Parasite
The robot drove well in this fight and again managed a few scrapes with the saw, but I can’t really take credit for the win as James was having dreadful luck with things overheating all day.
Main takeaways from this fight:
- I think I fixed the damn drive
Fight 4 - Doubles, with Time 400 Crab, Under the Sunk Cost Fallasea vs Malachite and Variable
@moop & I teamed up for the new doubles event, representing Nottinghack and team galaxy. I didn’t realise the BBB guys (organised as ever) were handing out team tape, so I ran to the car to get the FANCY-ASS SPACE DUCT TAPE and stick it all over our robots before they brought us ours.
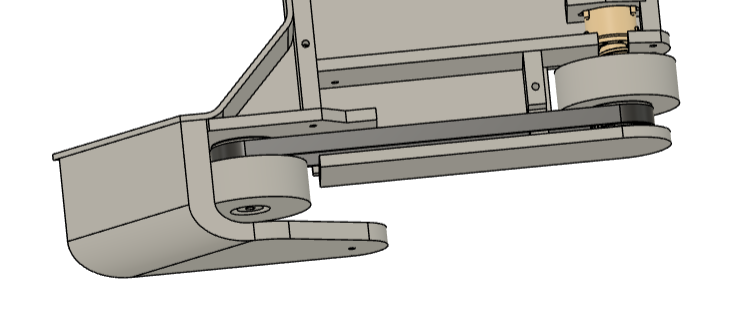
The Captain wasn’t quite driving right in this fight, but had a few nibbles with the saw before being flipped over. Unfortunately the belt for the saw actuation is a bit slack and so it slipped before I could self write, and that, as Kenny Florian would say, was all she wrote,
Main takeaways from this fight:
- I am not so sure I fixed the damn drive
- Need to be able to self right
Fight 5 - Doubles, with Time 400 Crab, Under the Sunk Cost Fallasea vs Easy Over and Flipperpool
We had the list fight of the day and I was hopeful for some fun and chaotic times, but this was a bit of a damp squib as once again I lost drive a bit and then essentially all the non-crab robots just broke themselves. 
Still, a win’s a win!
Main takeaways from this fight:
- Pretty sure I had not fixed the damn drive
Post event
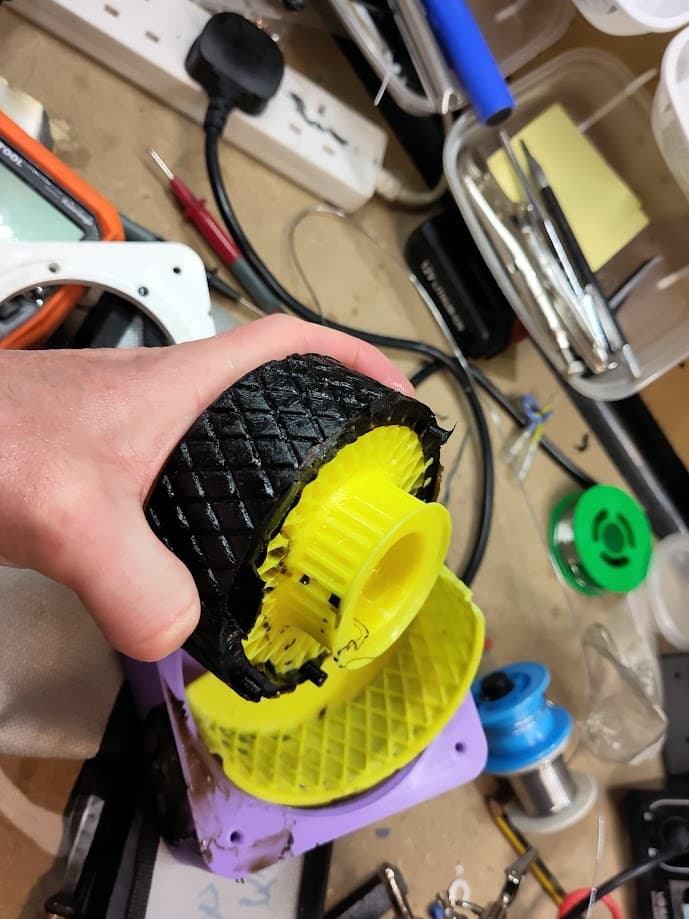
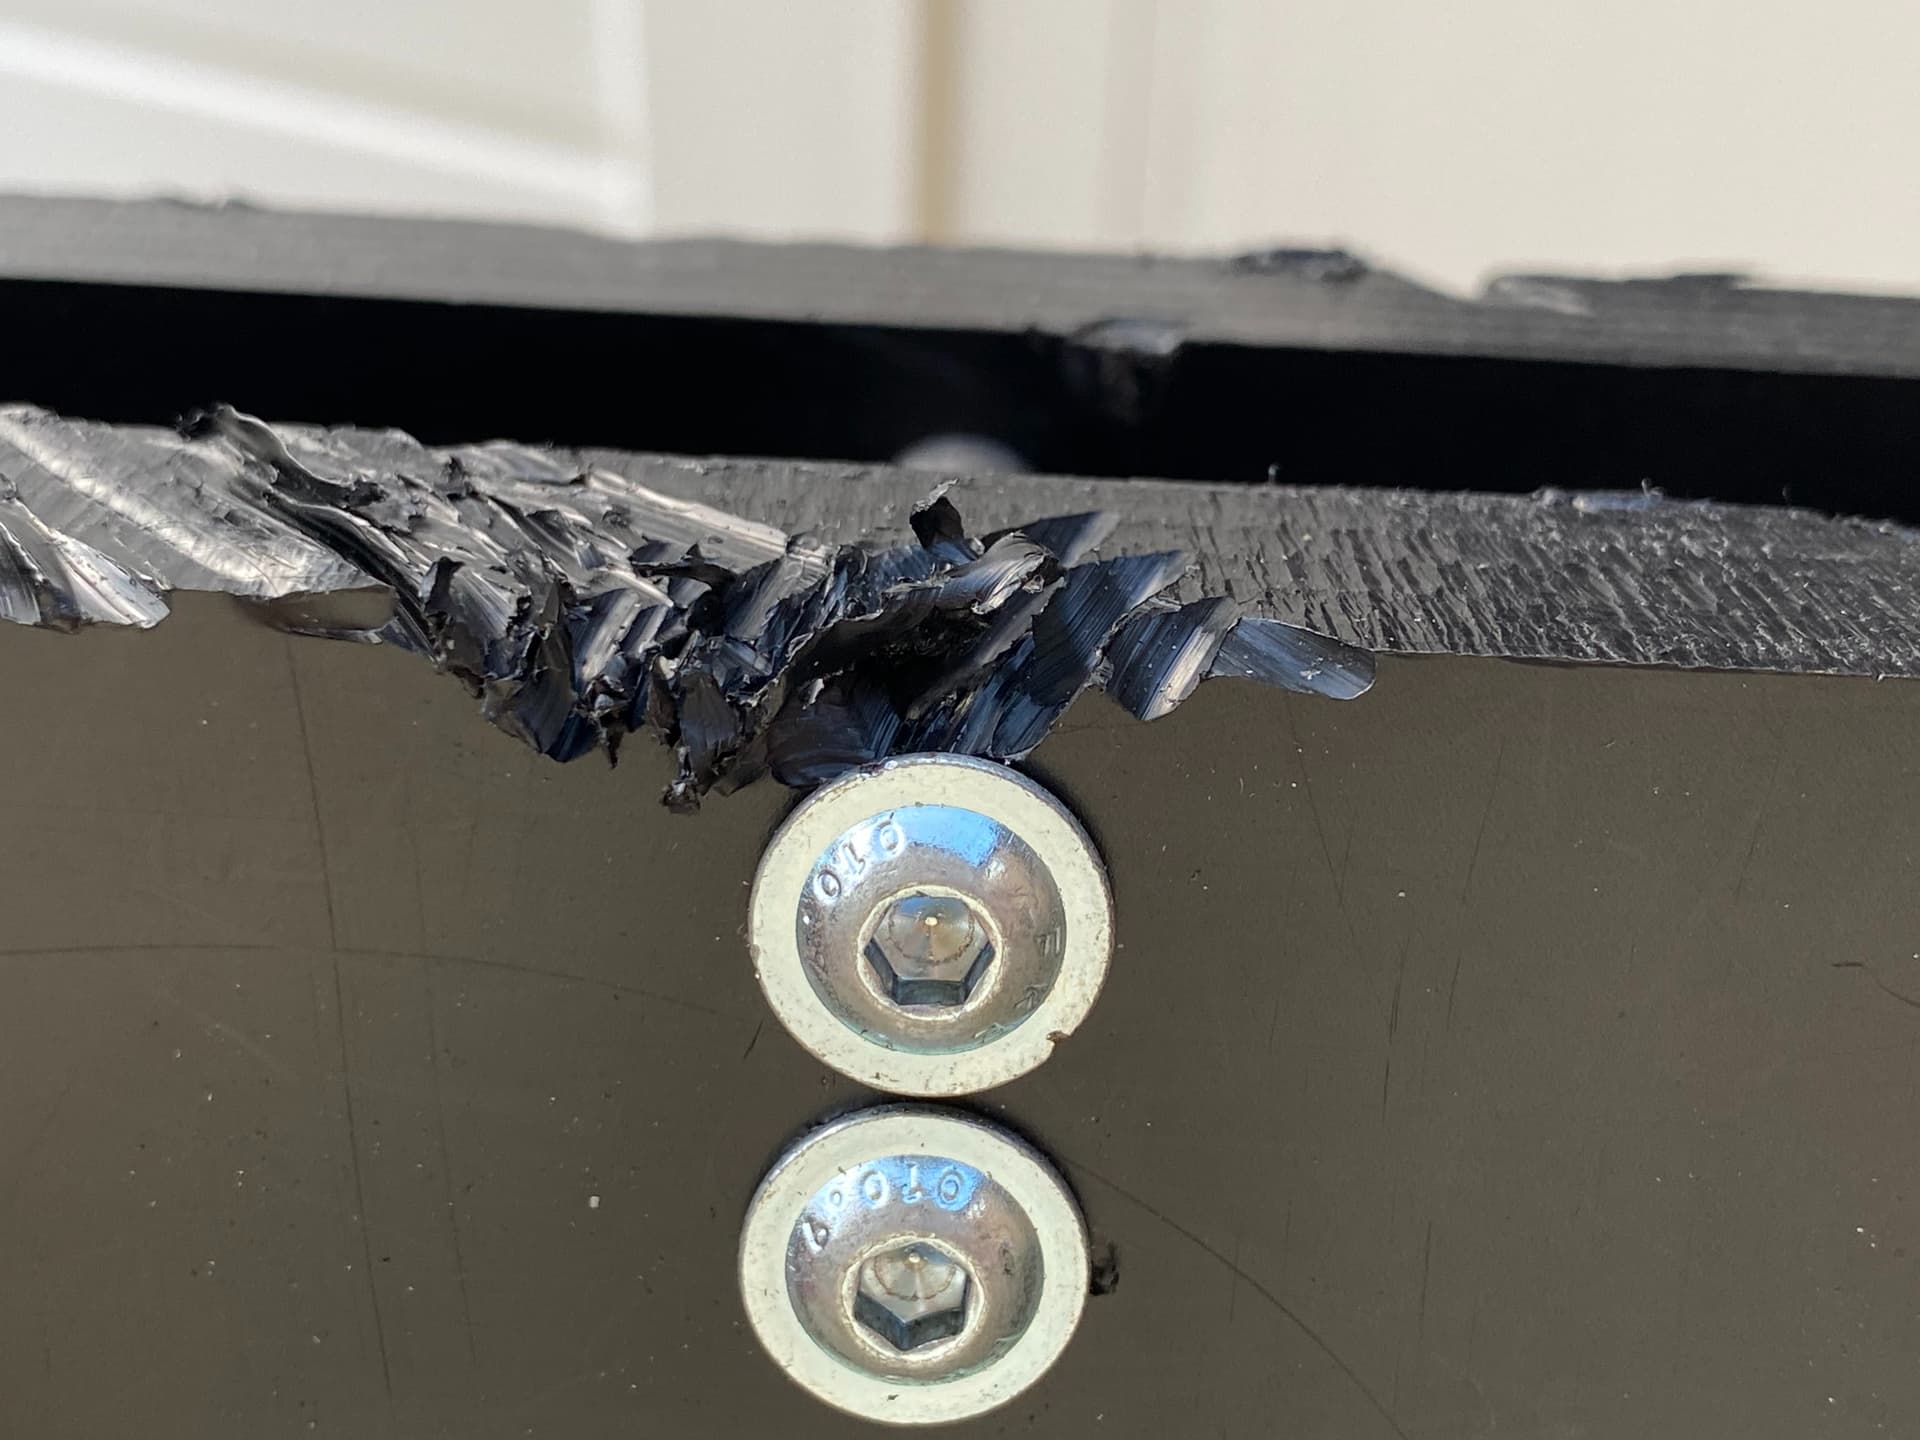
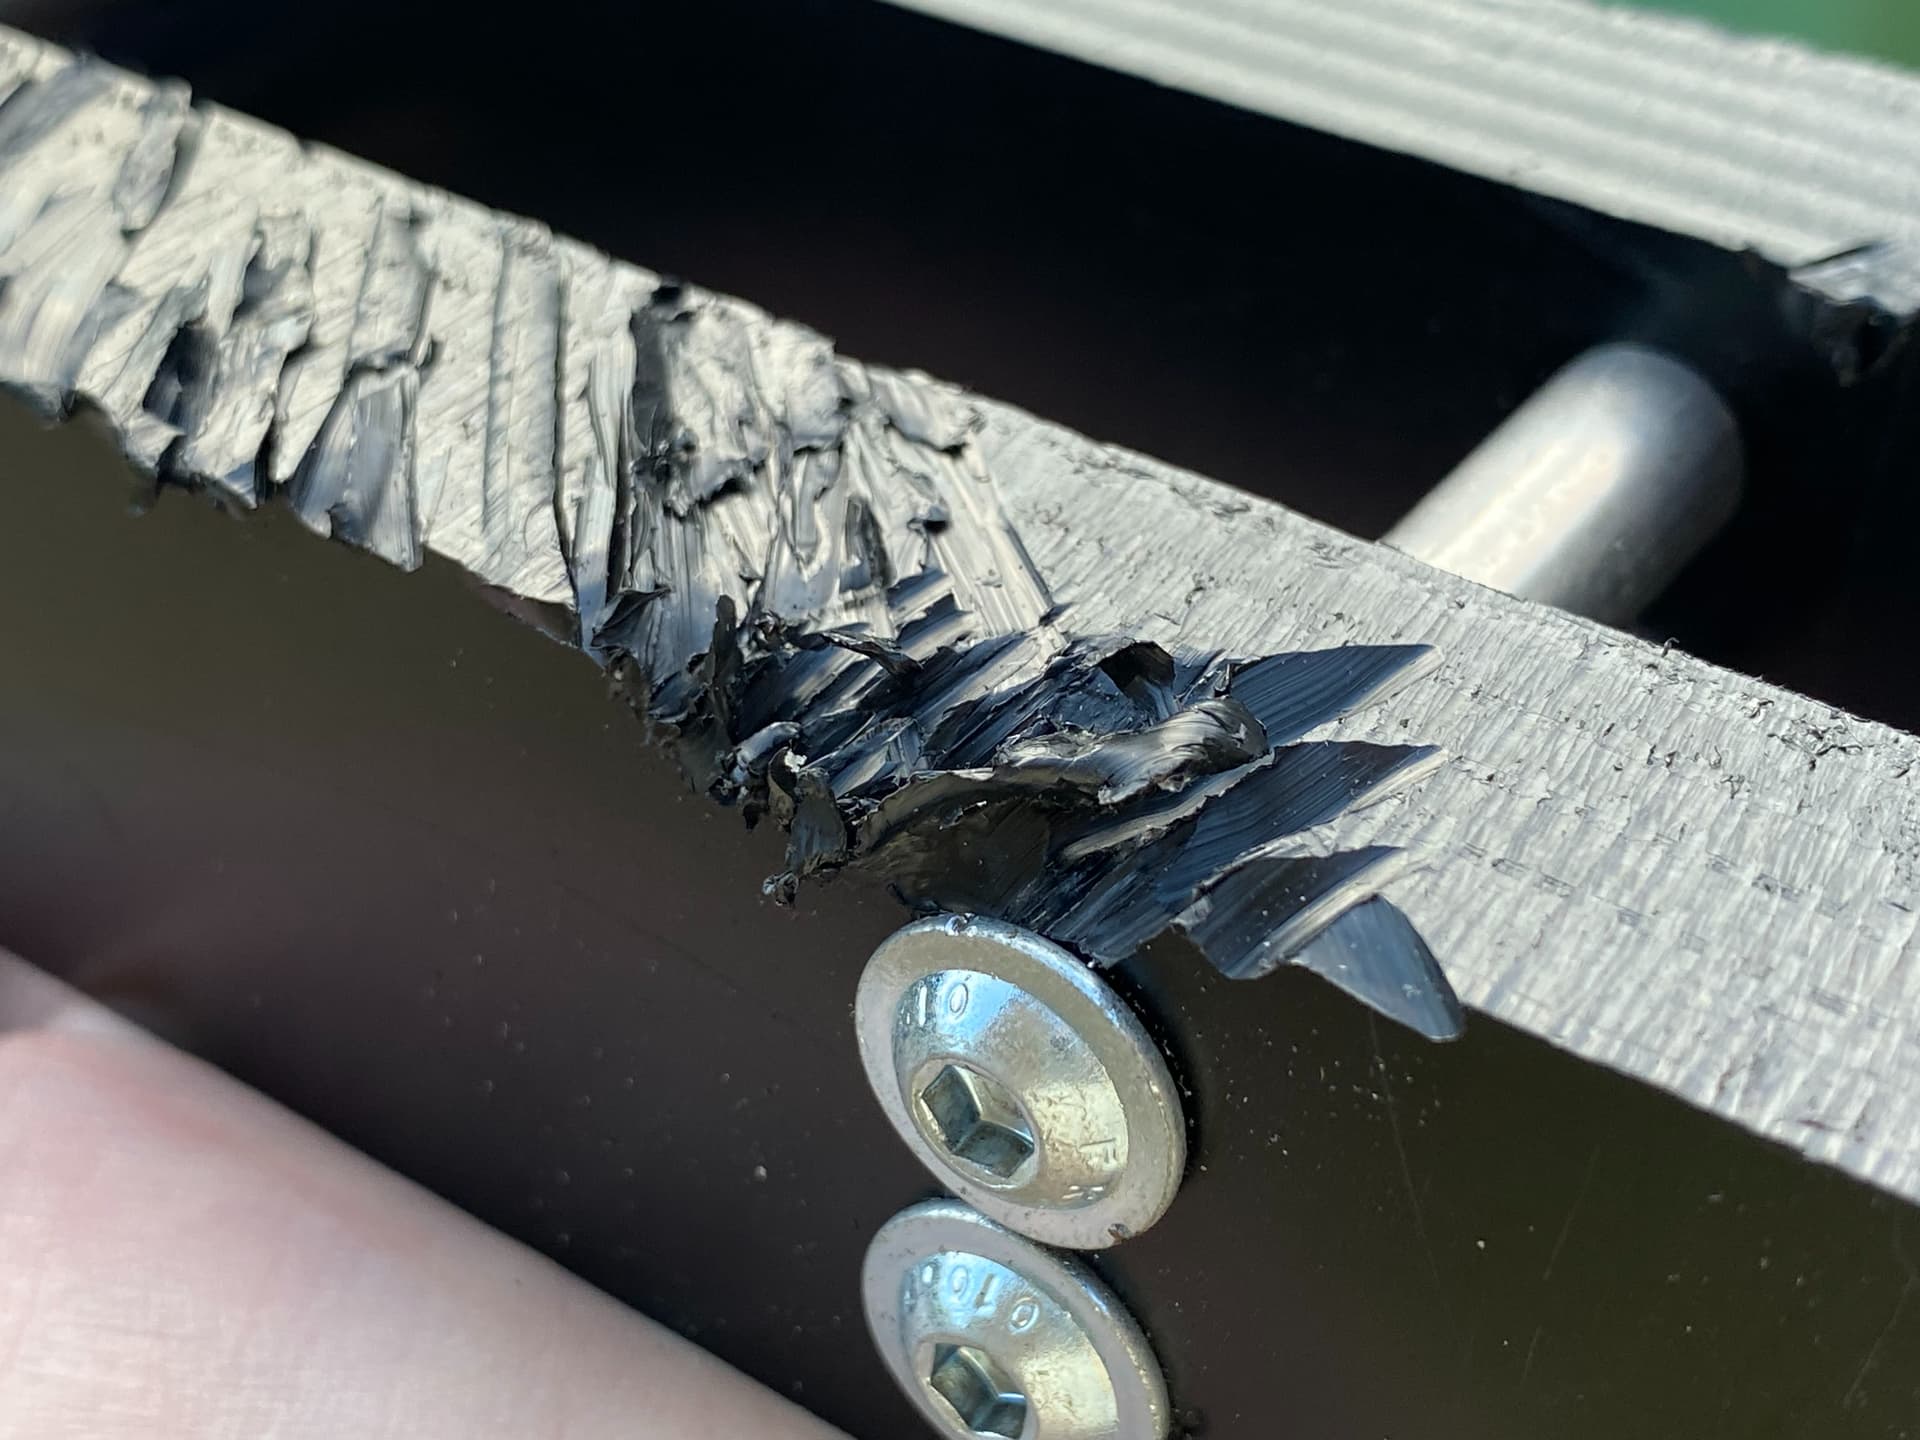
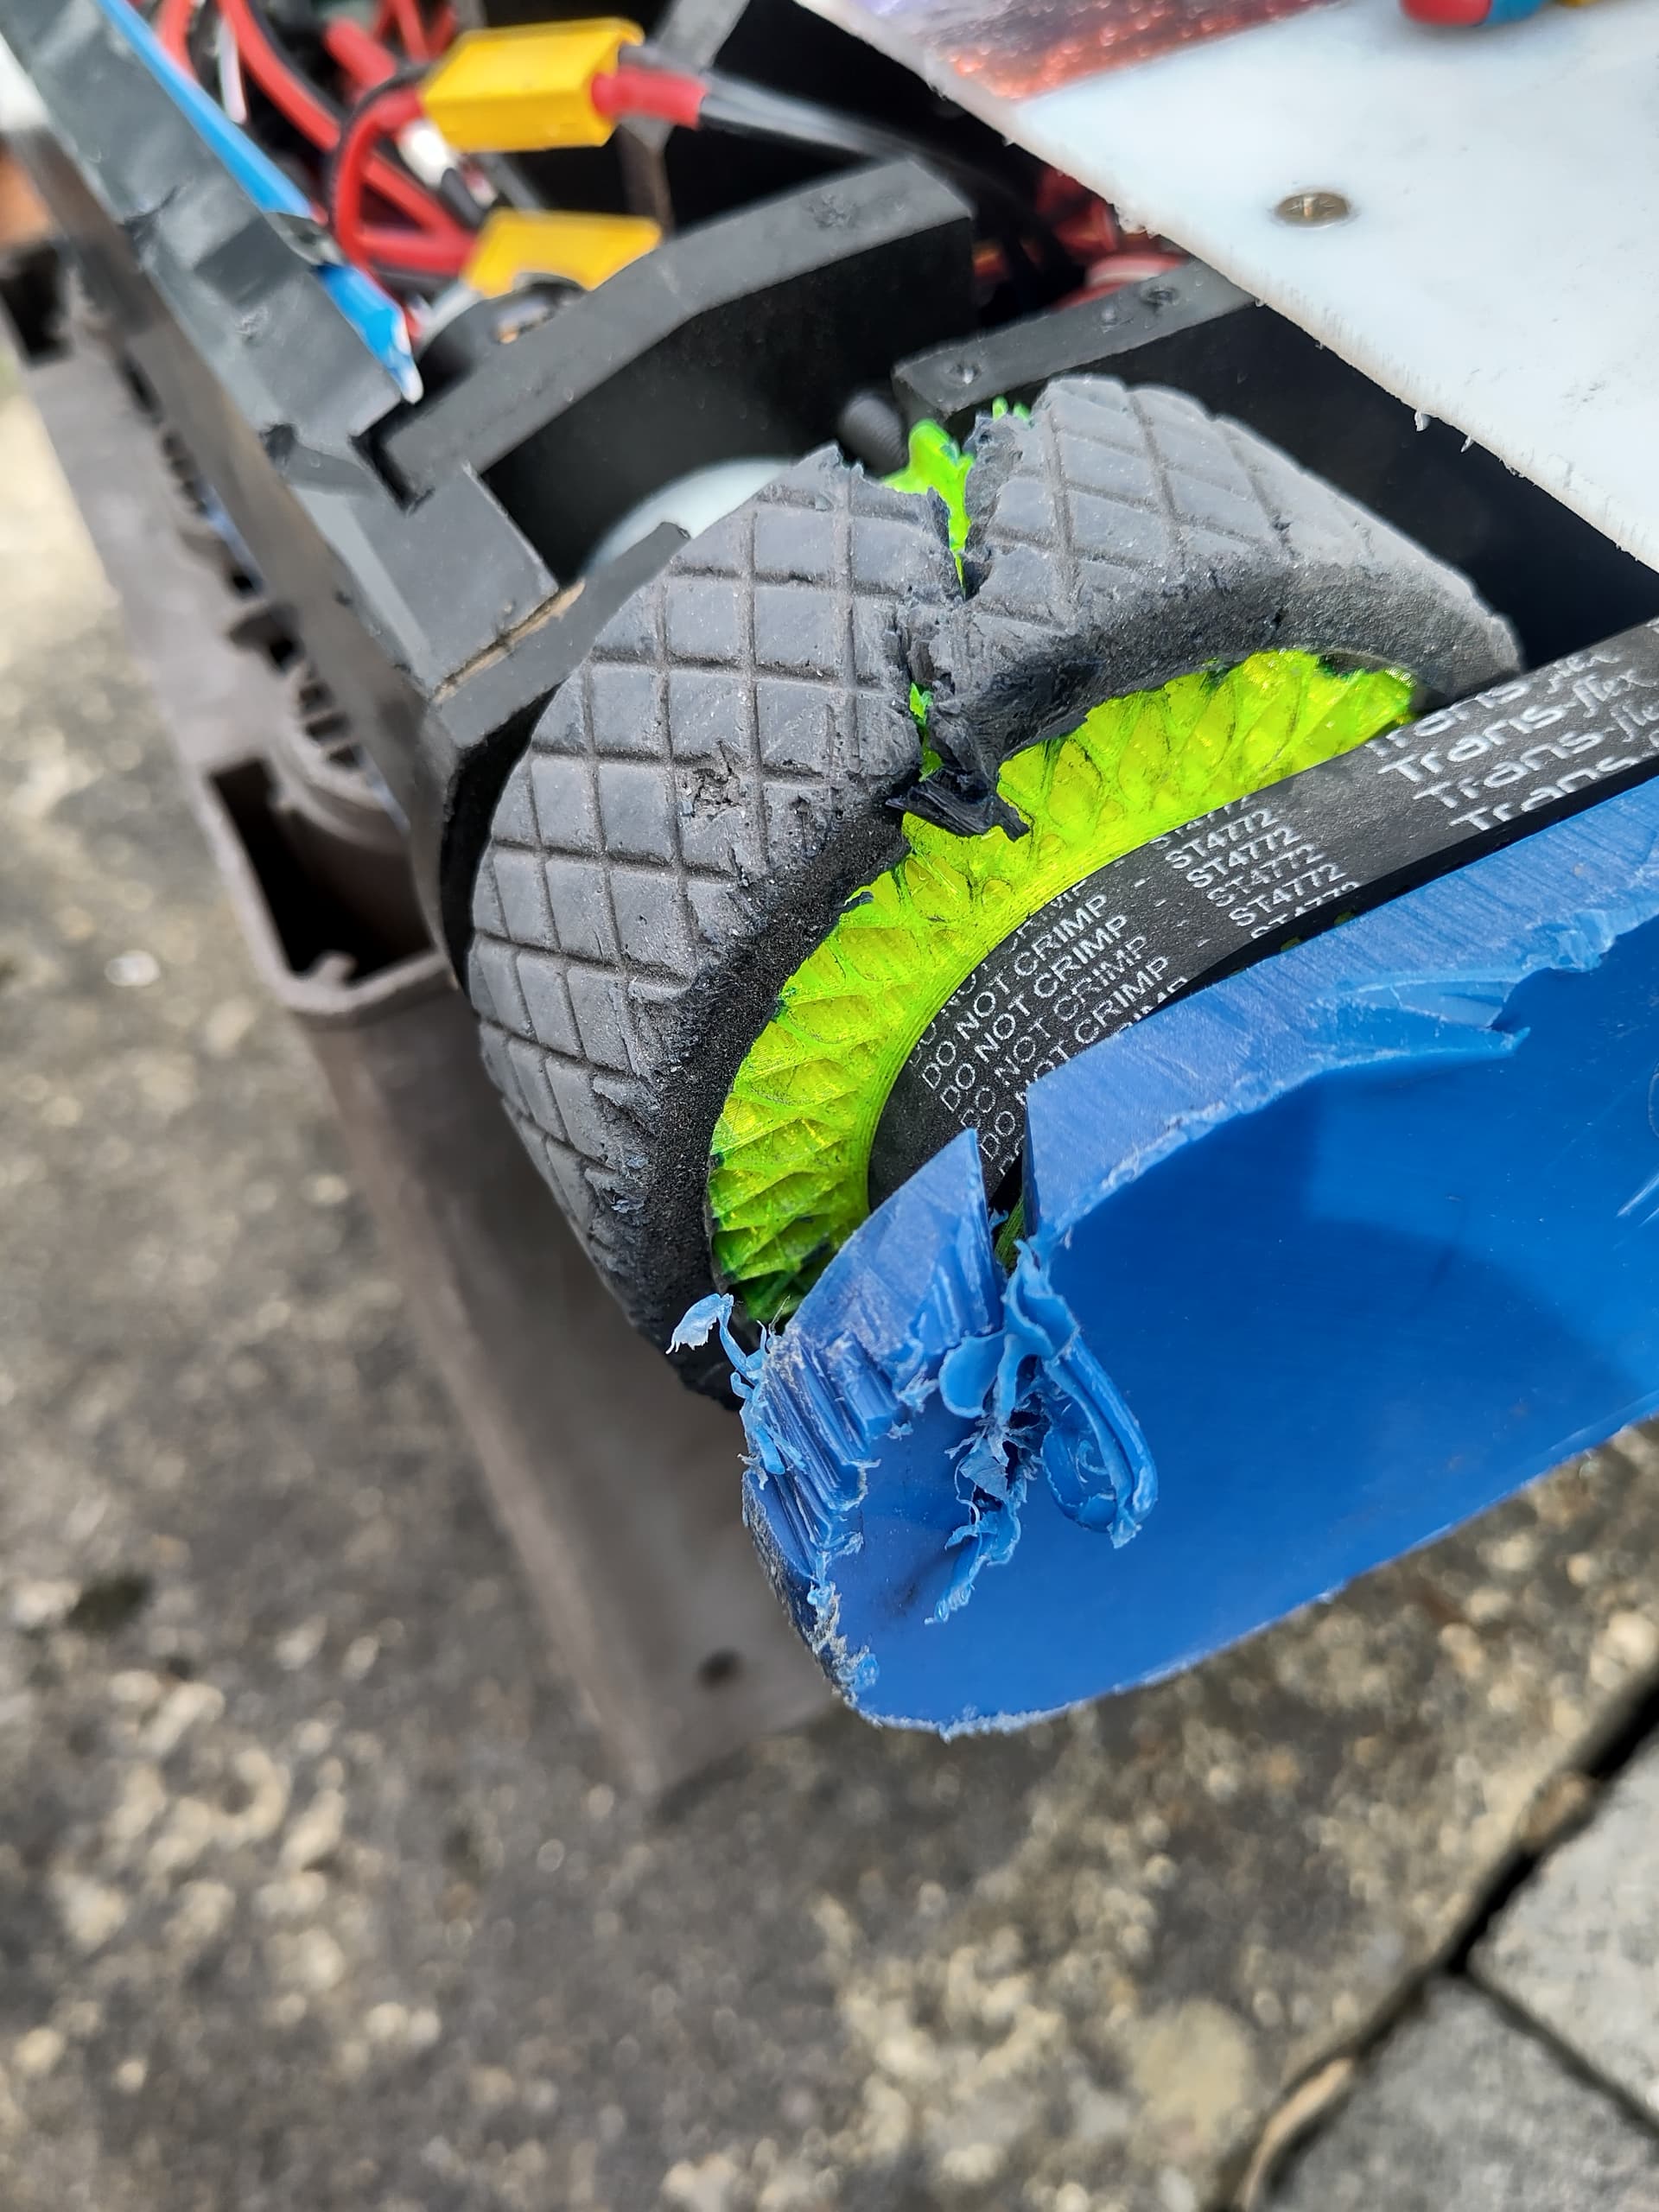
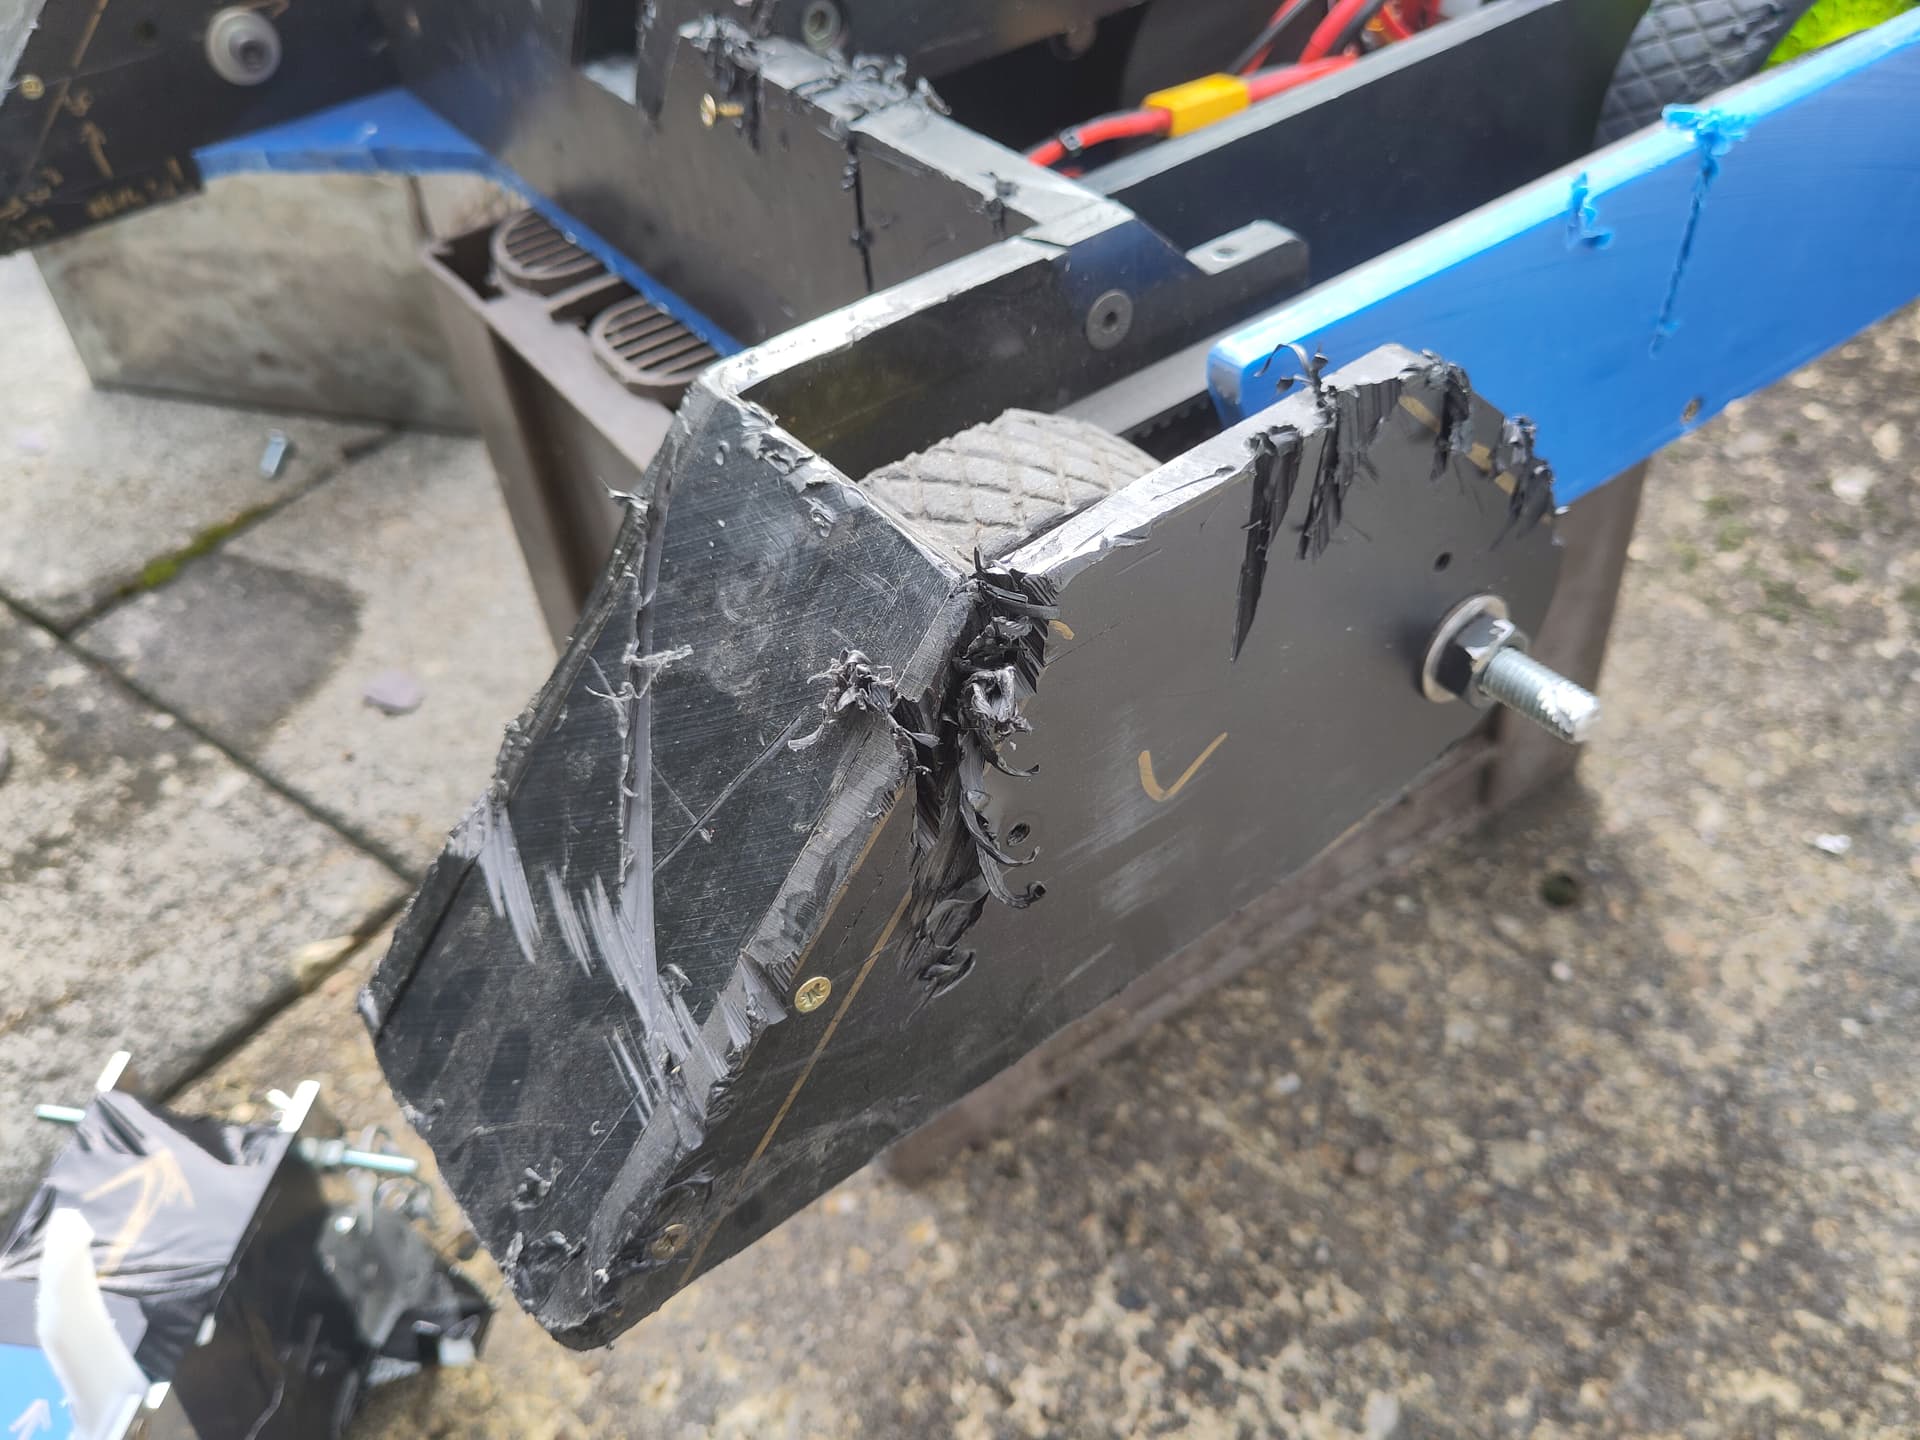
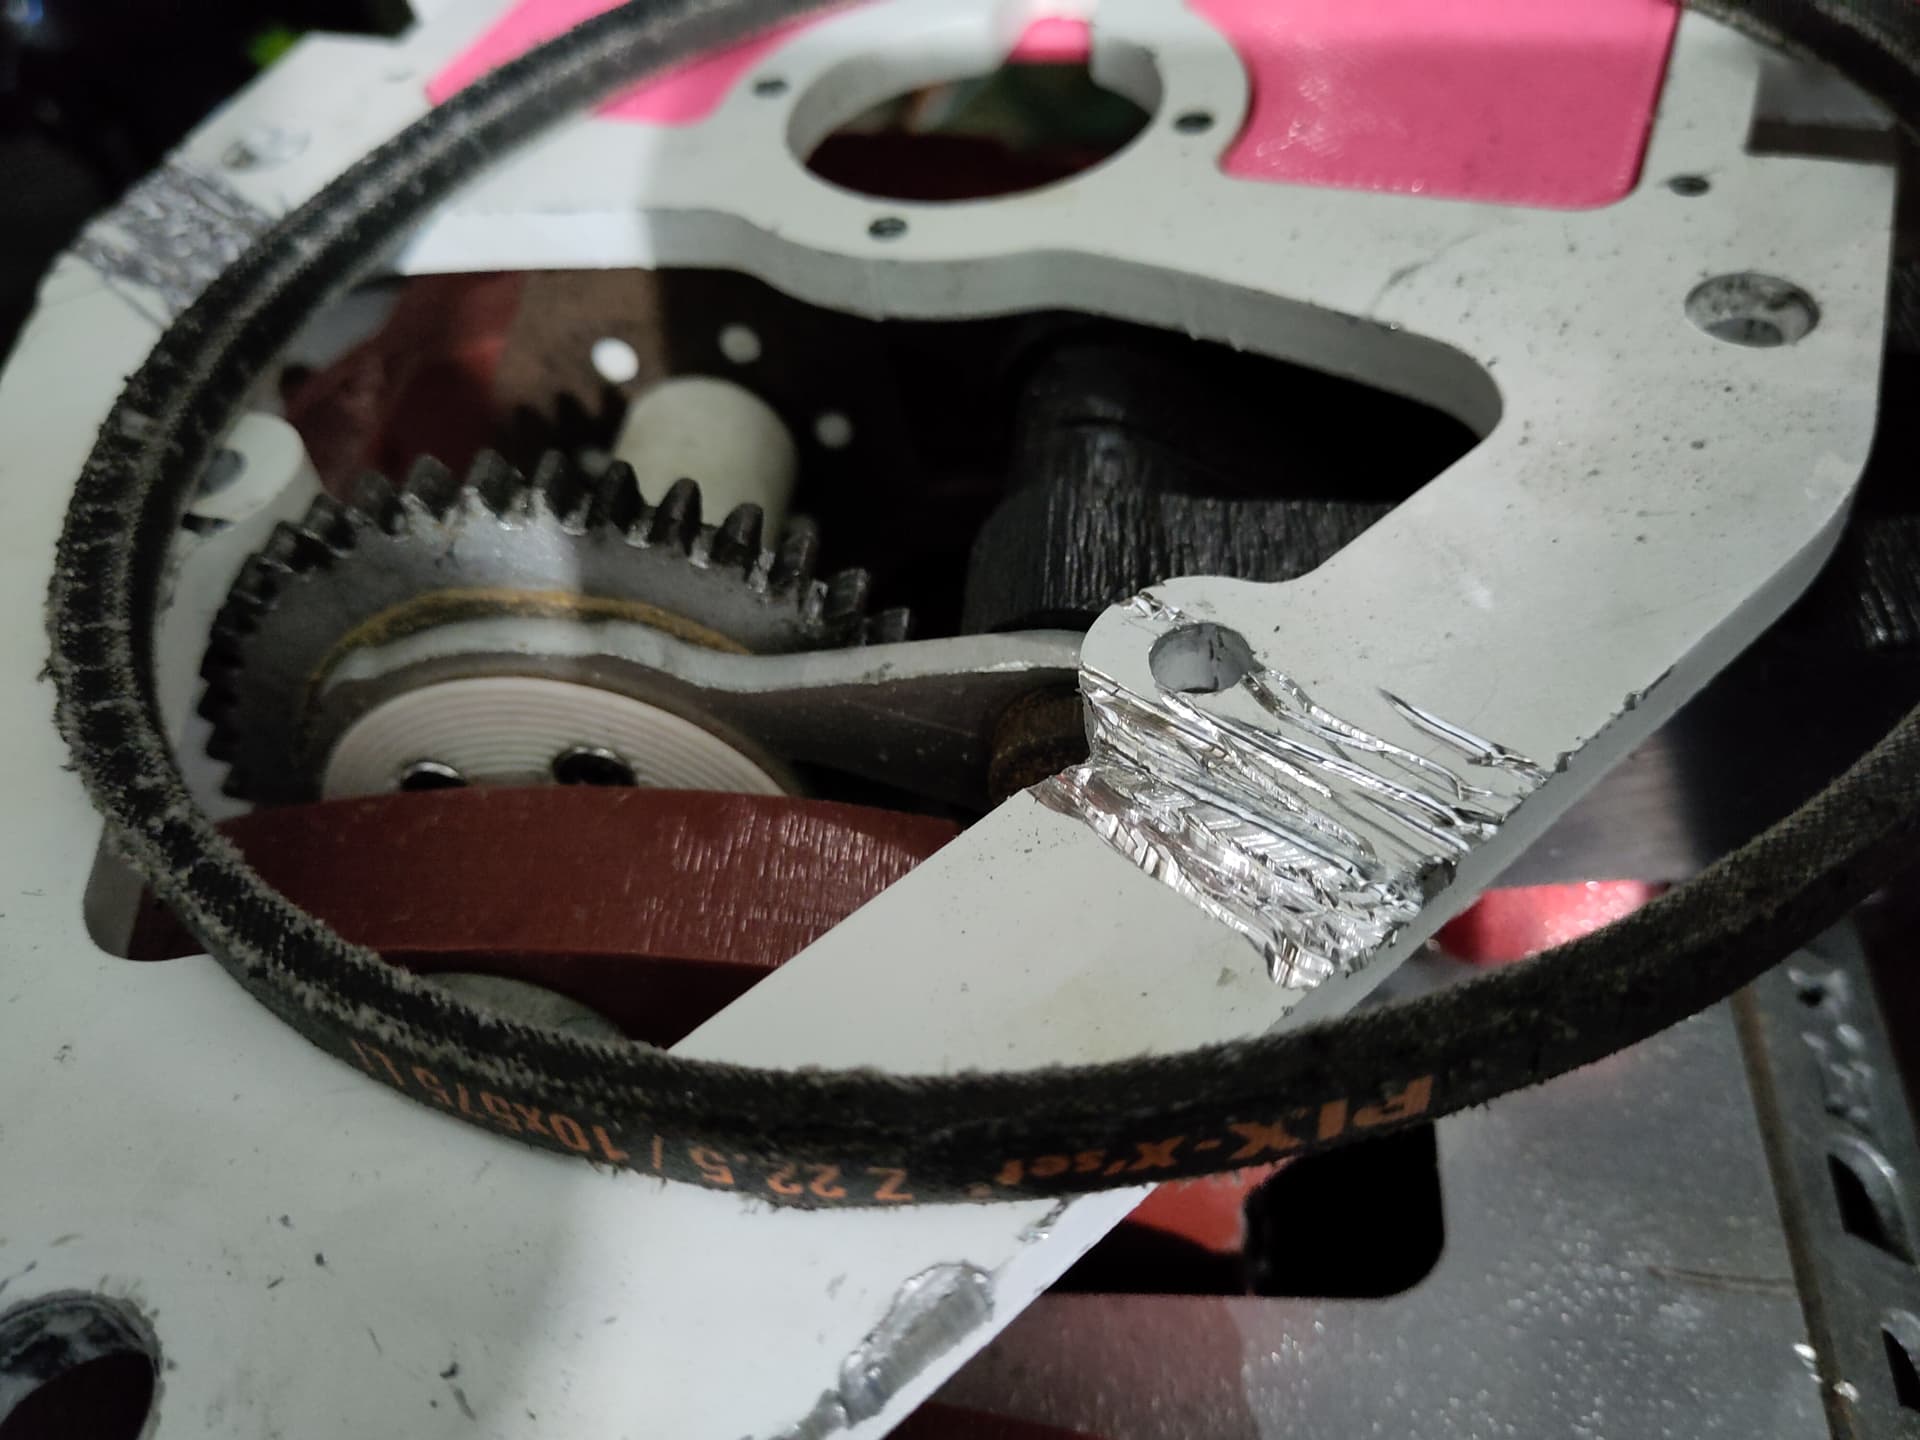
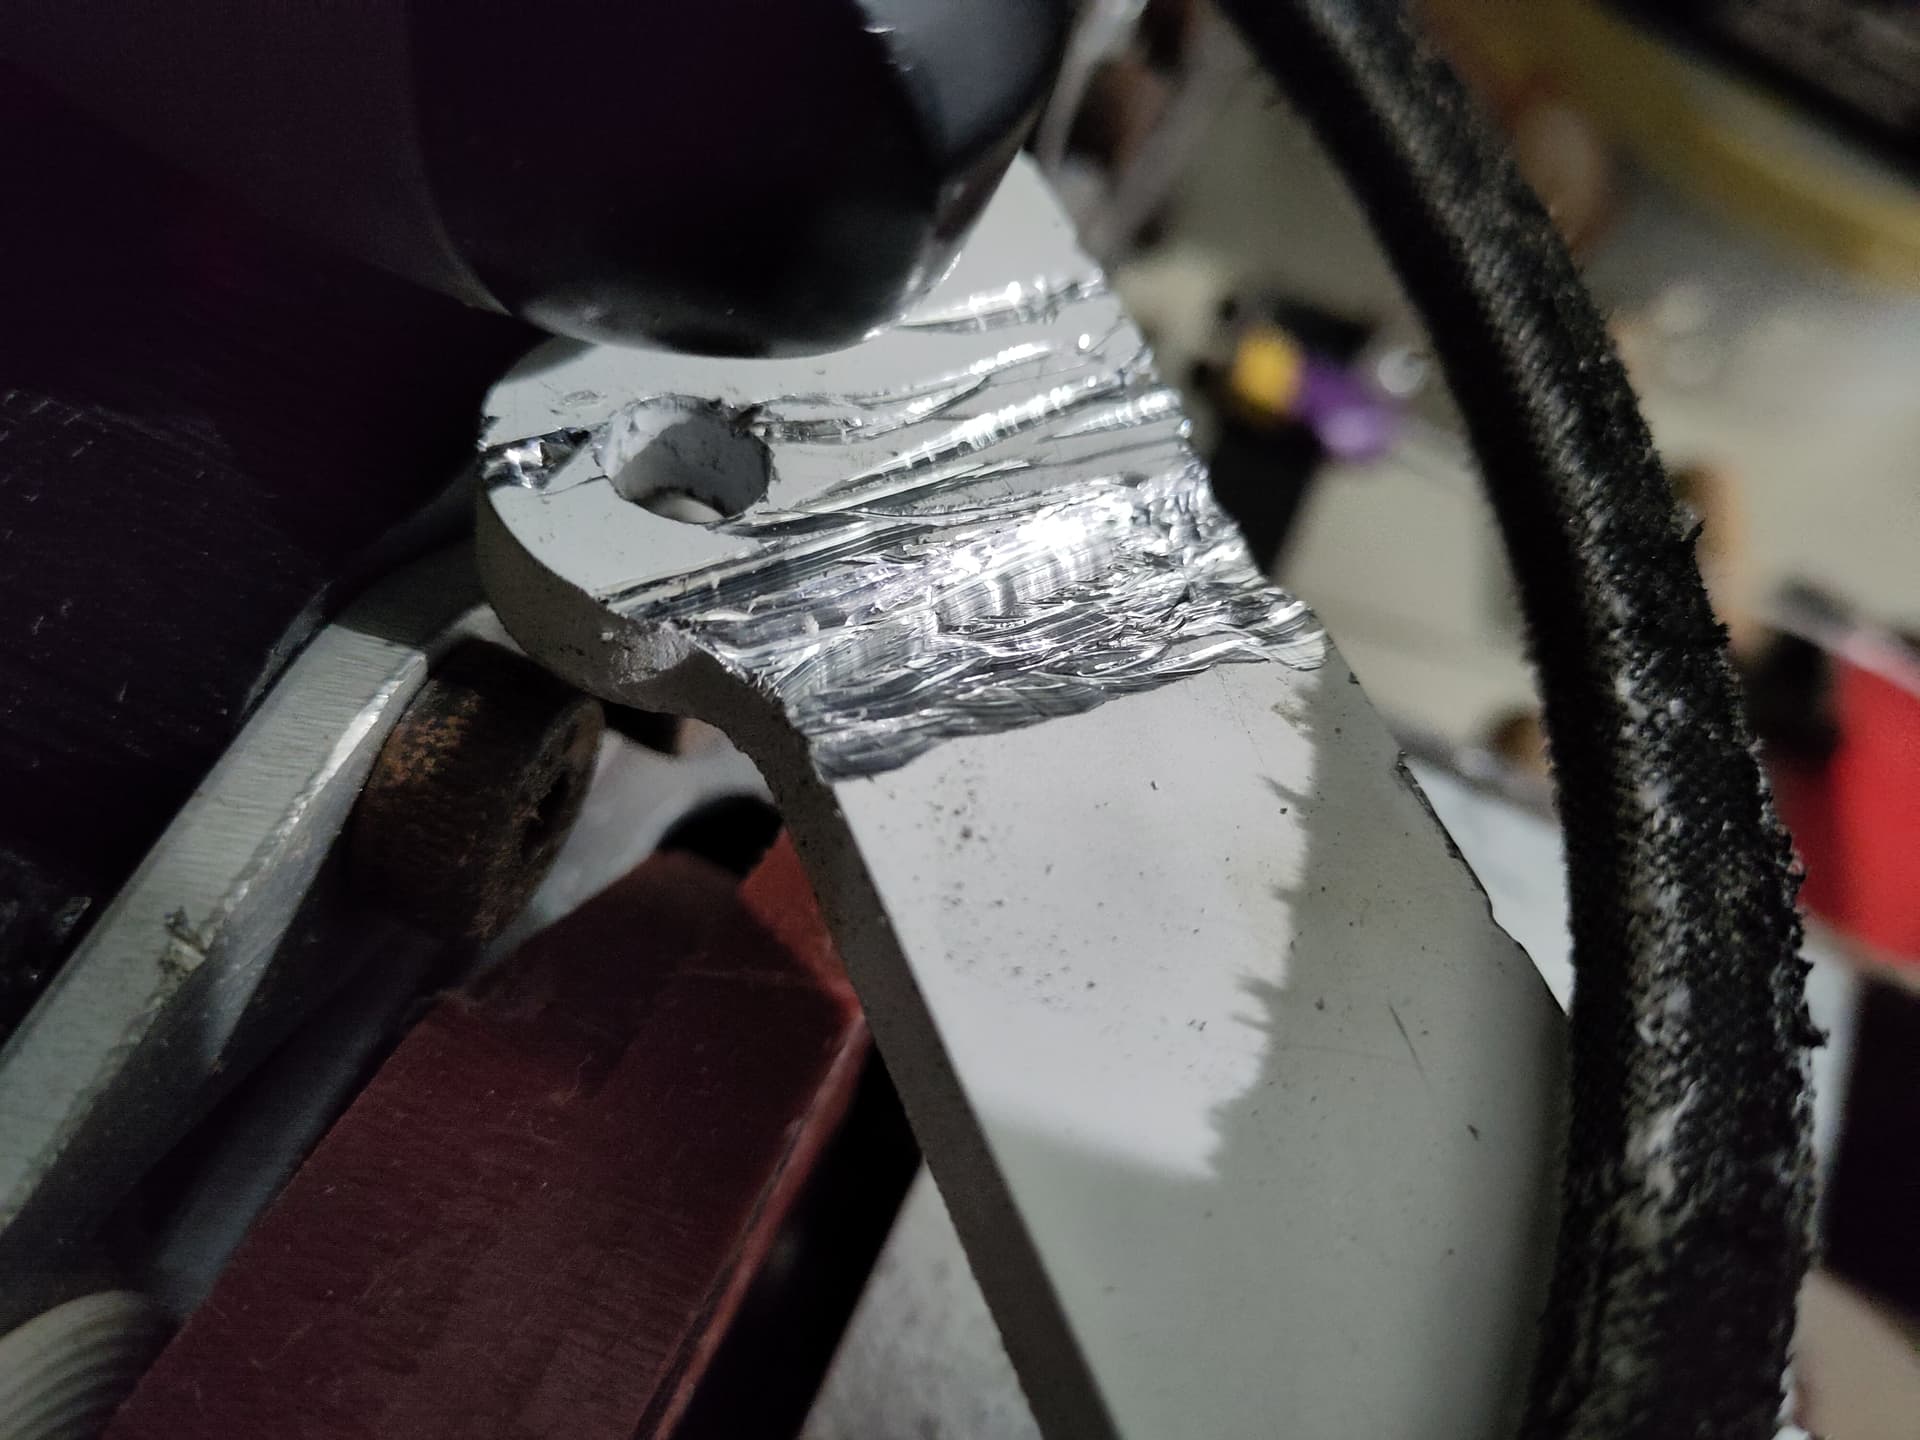
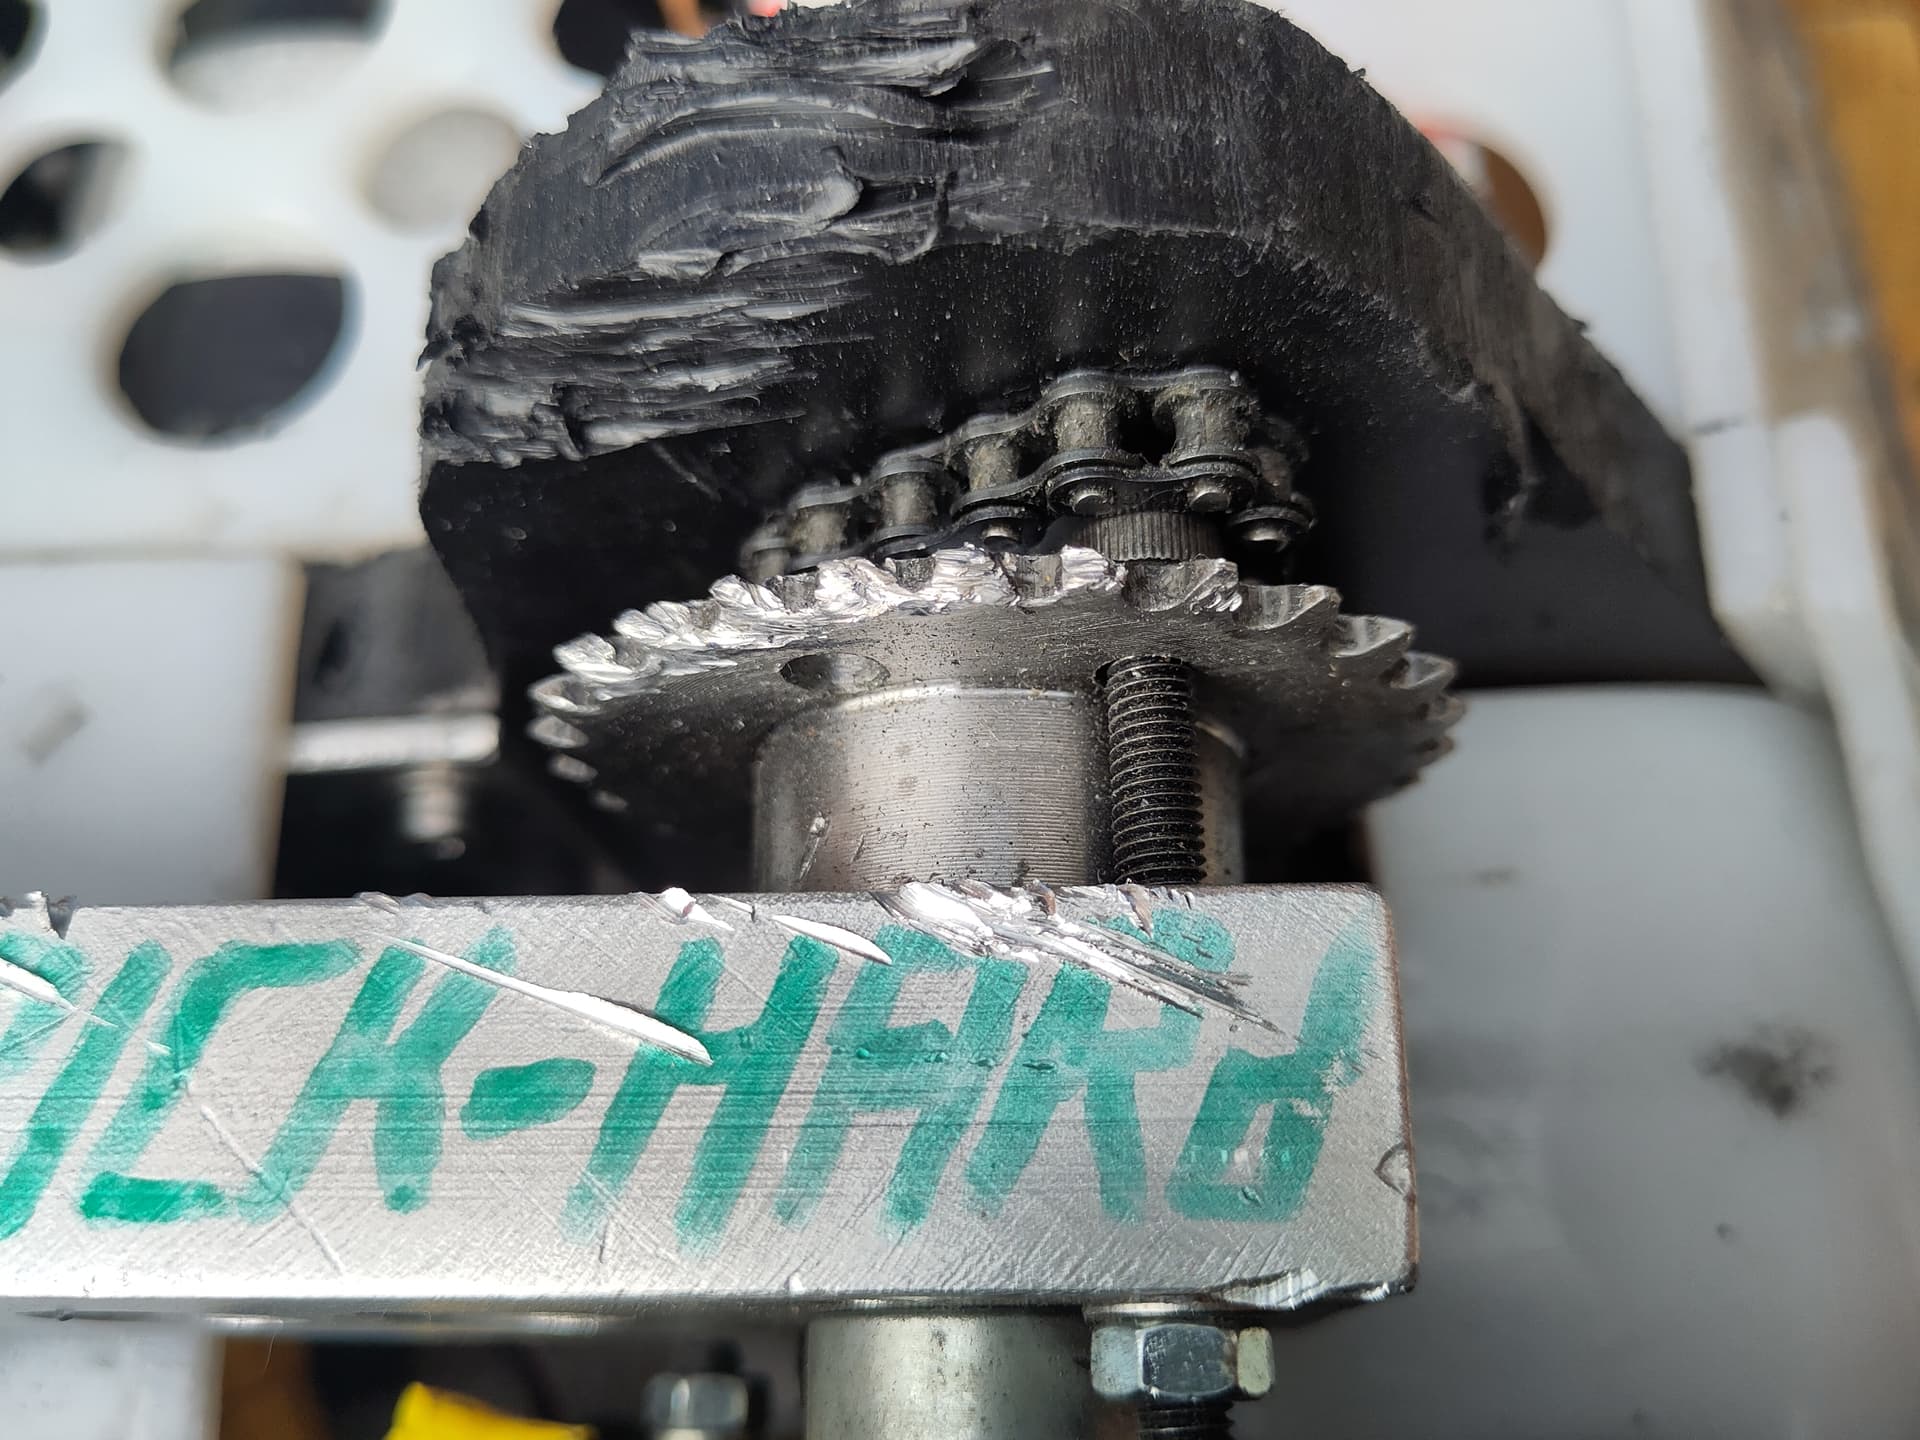
I was in for a surprise when I took the lid off a week later, while stopping off at my folks’ place on the way home from holiday. I was going to drive it around their patio and maybe saw something up, but this is what I found:
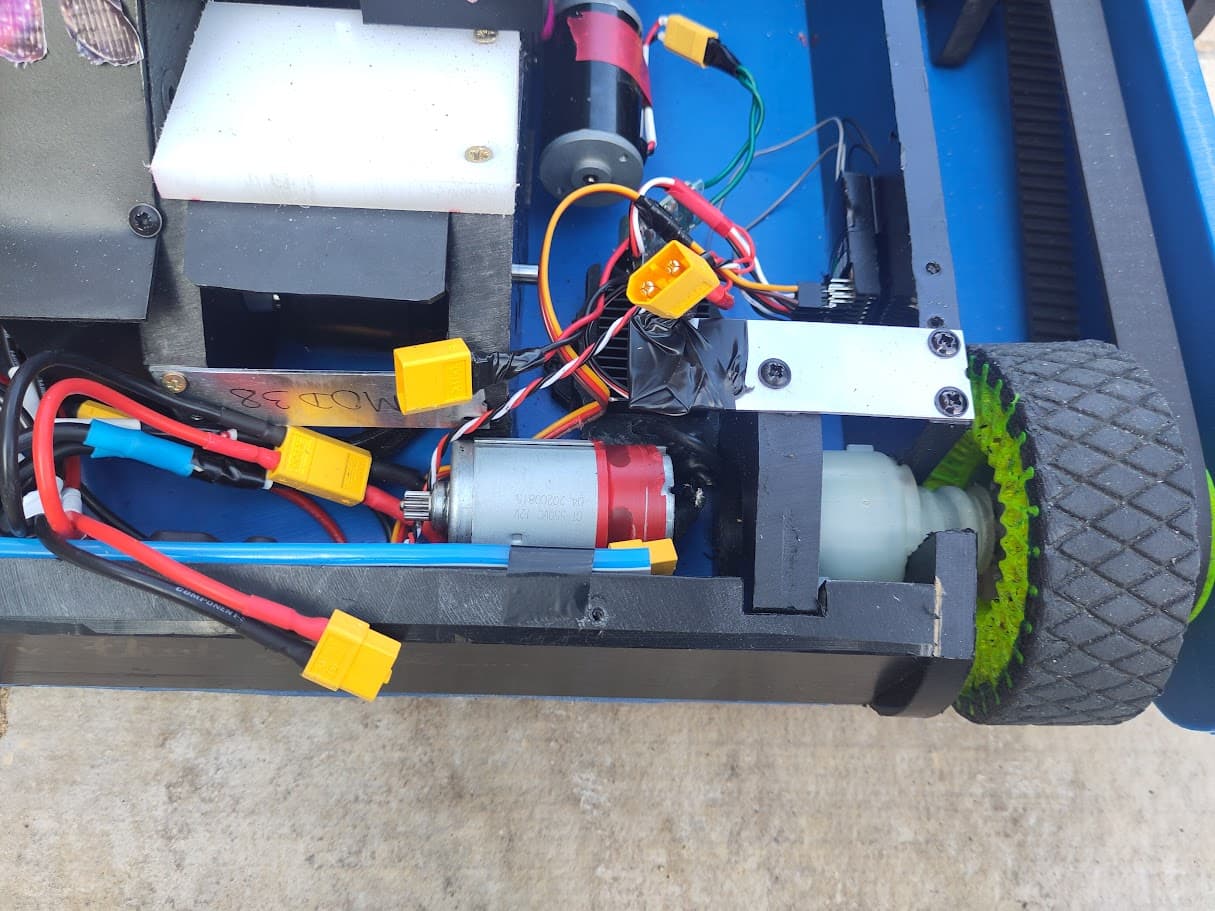
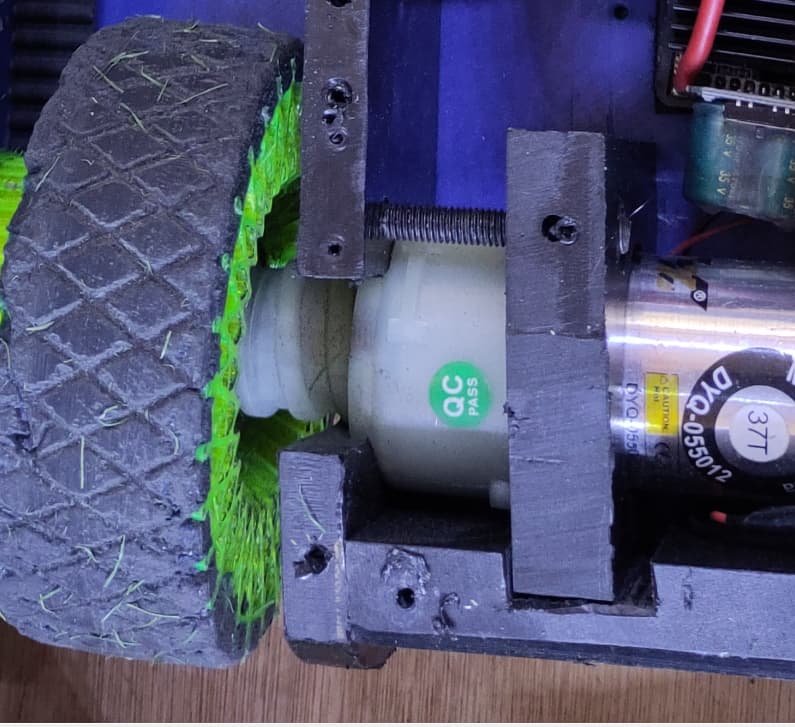
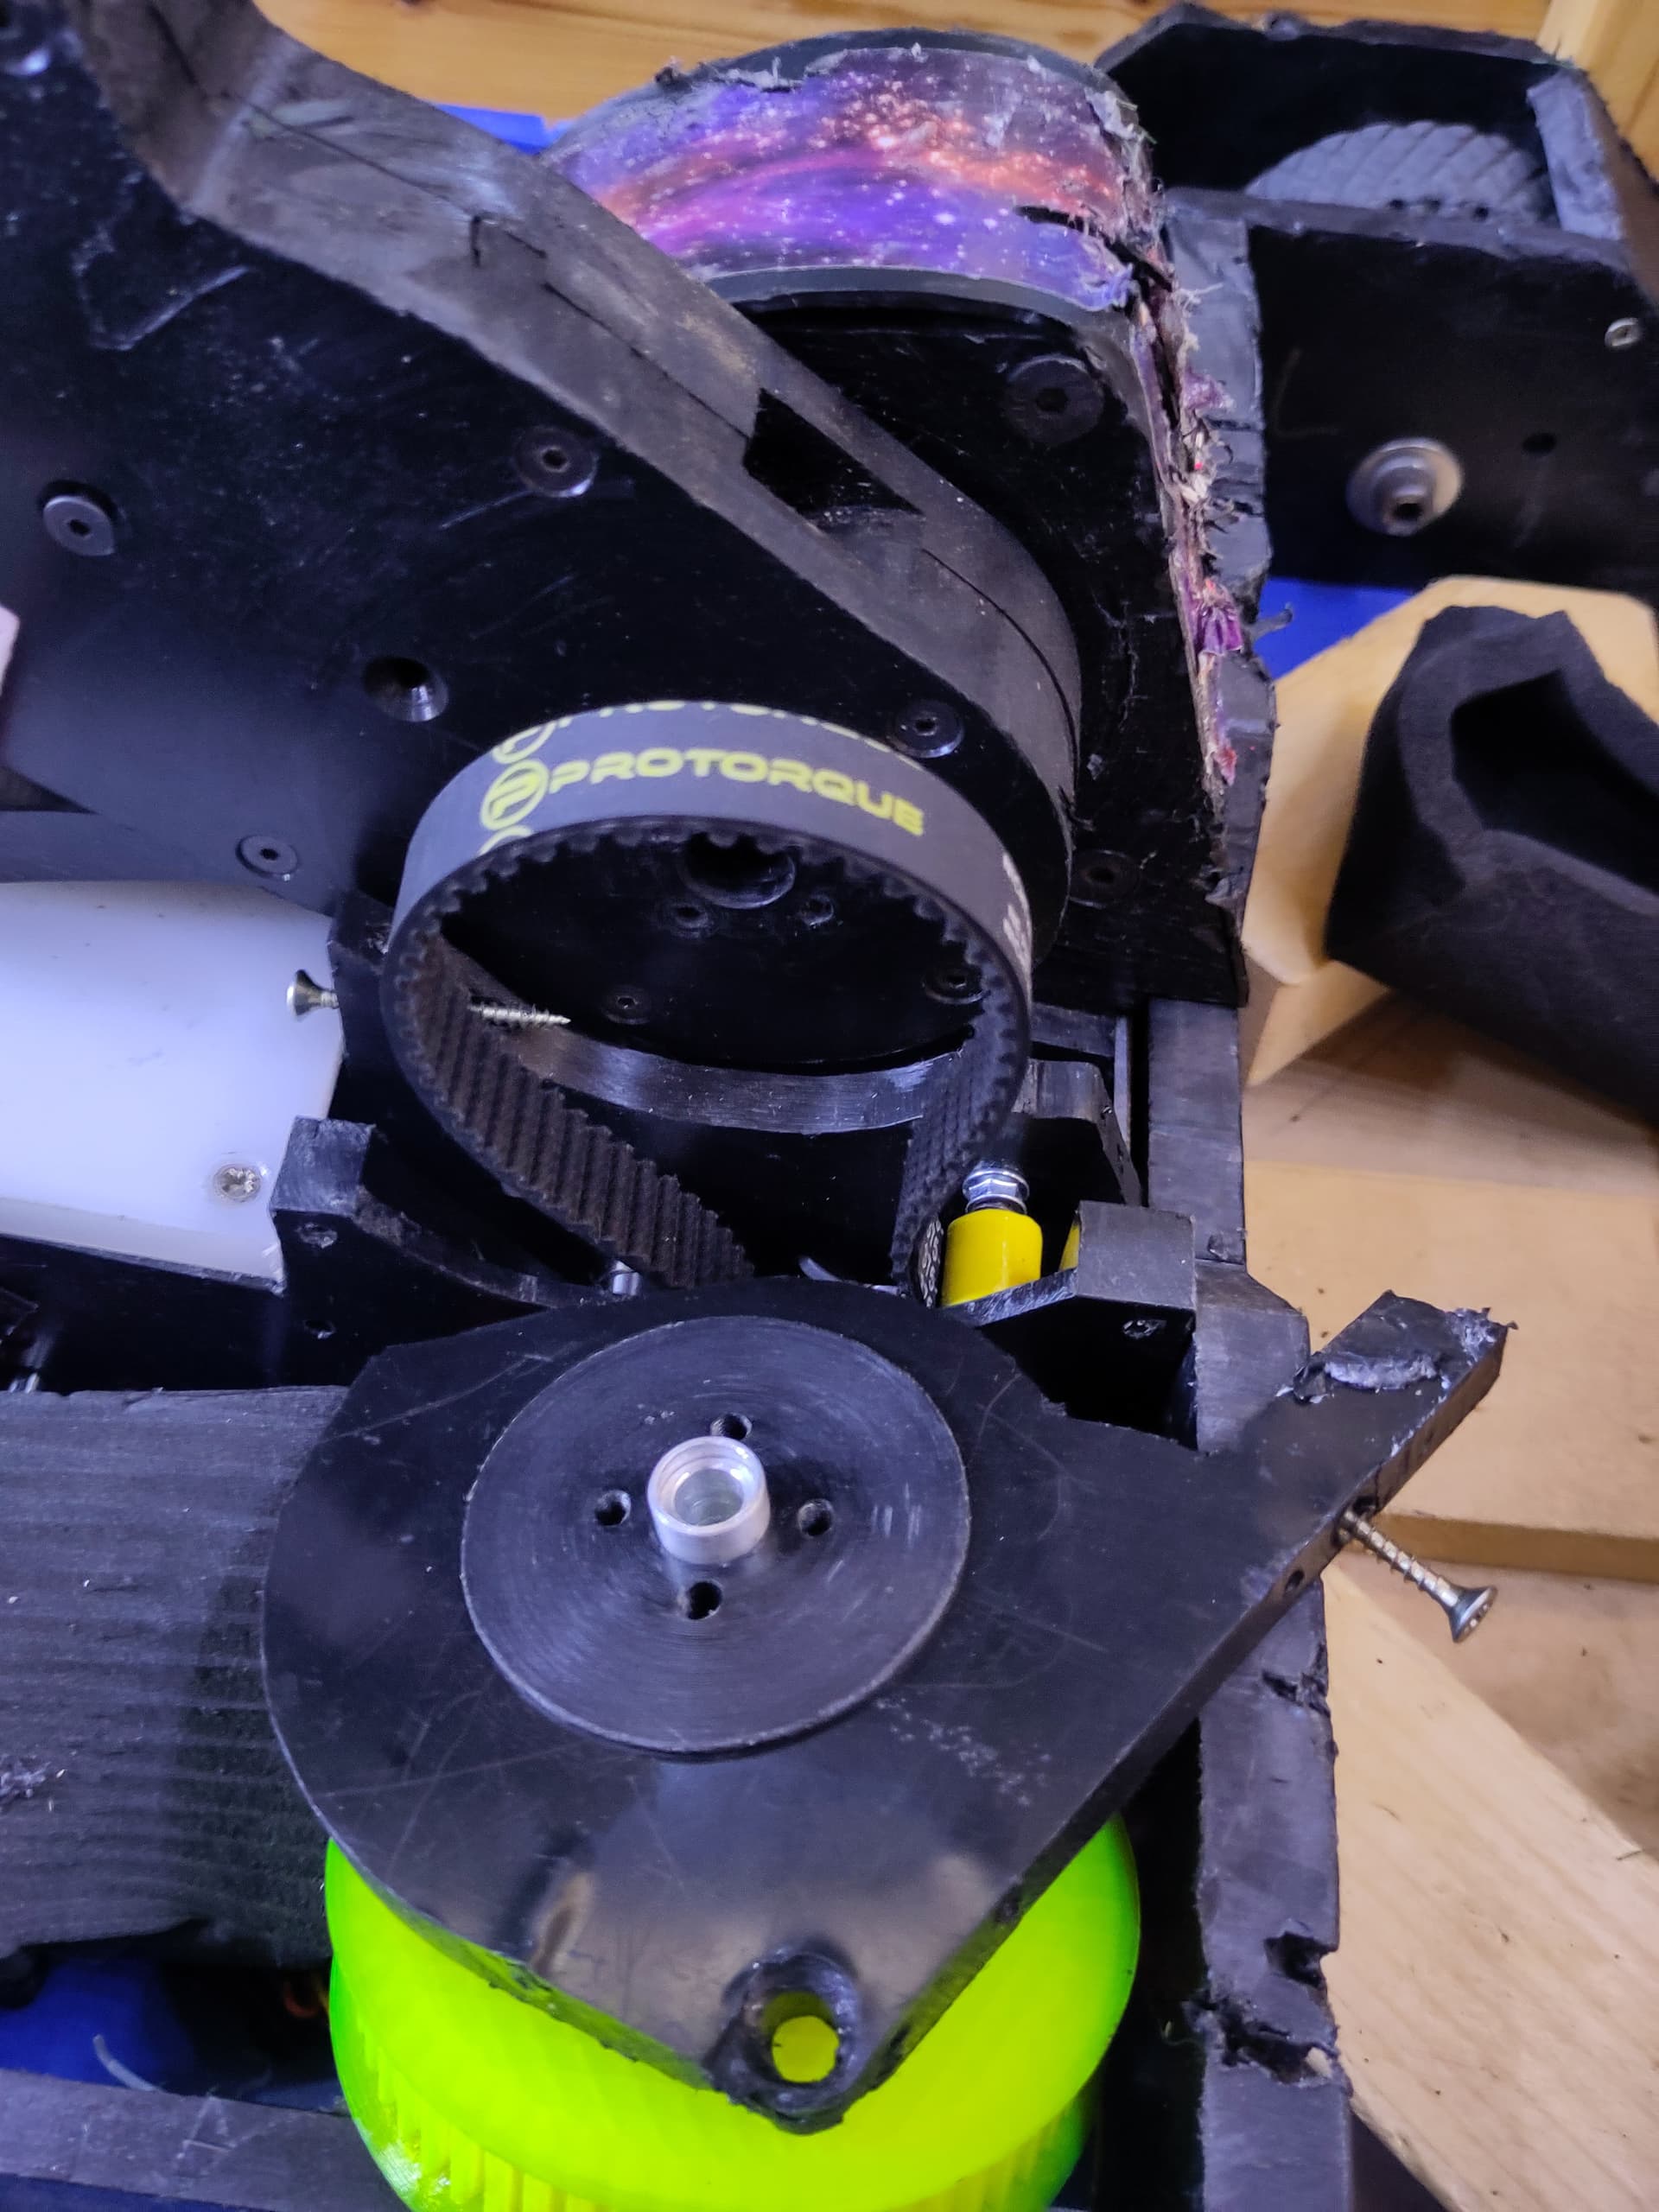
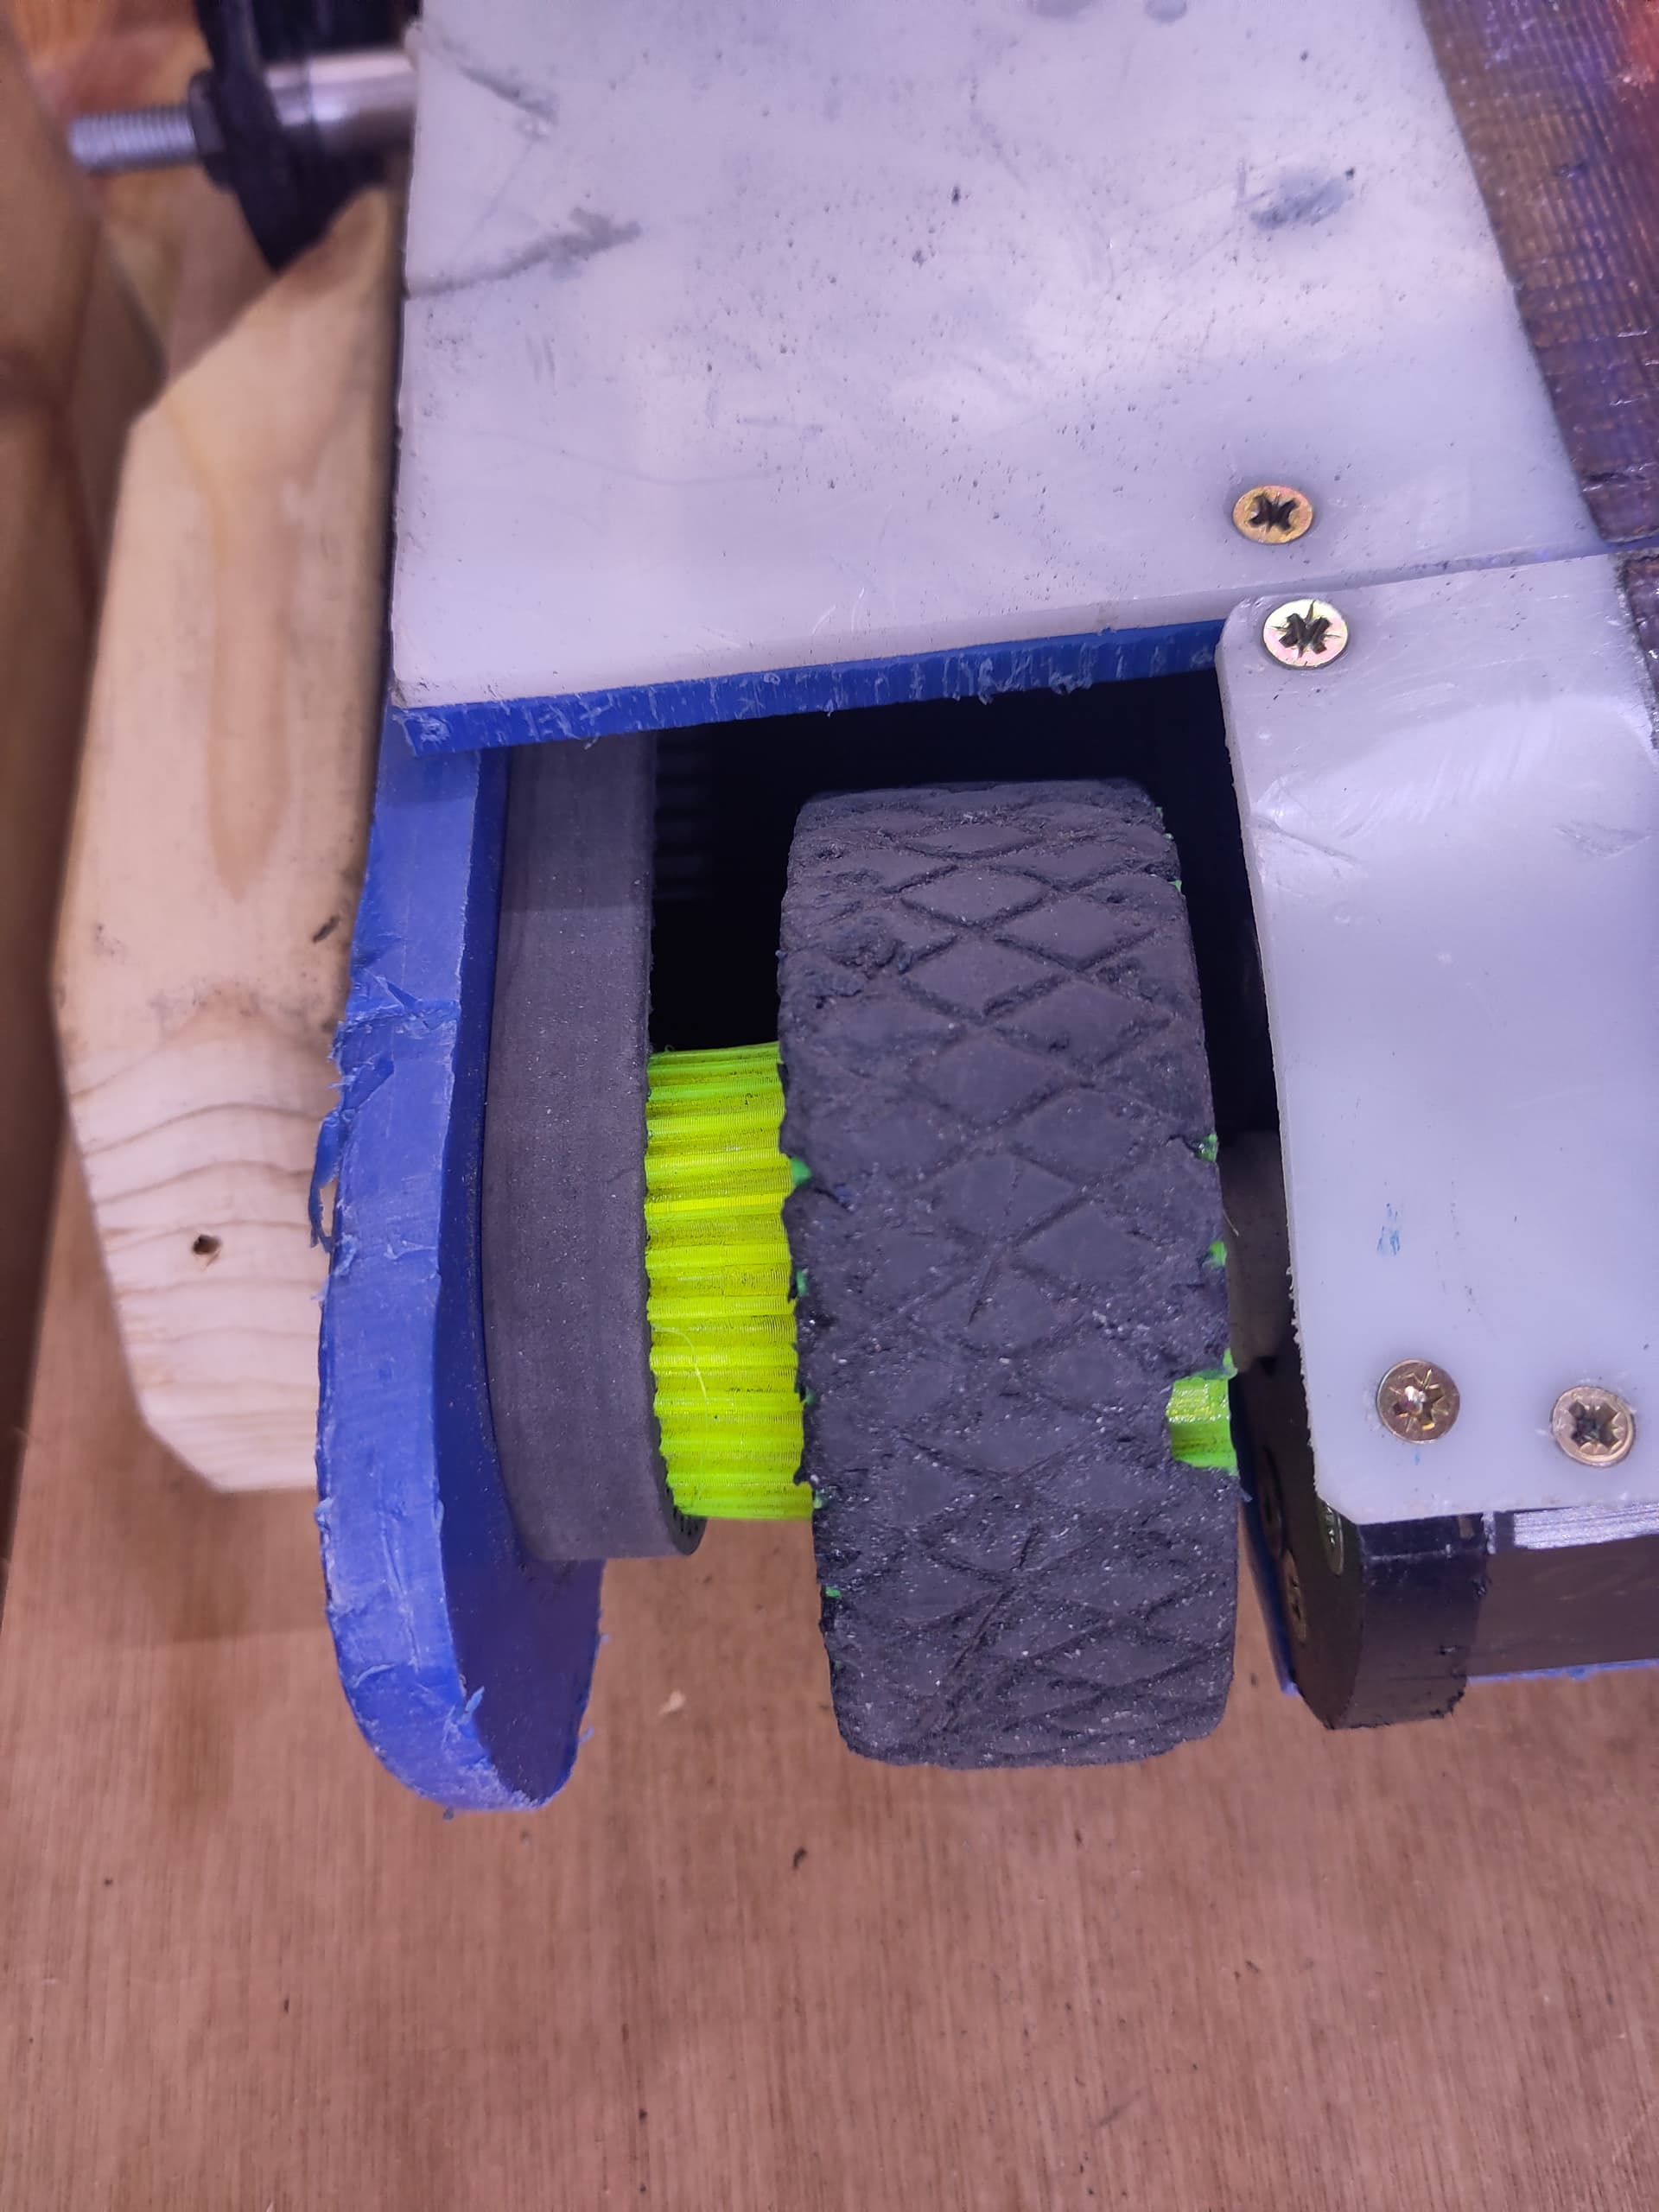
Note the HIGHLY UNCONVENTIONAL arrangement of motor and gearbox.
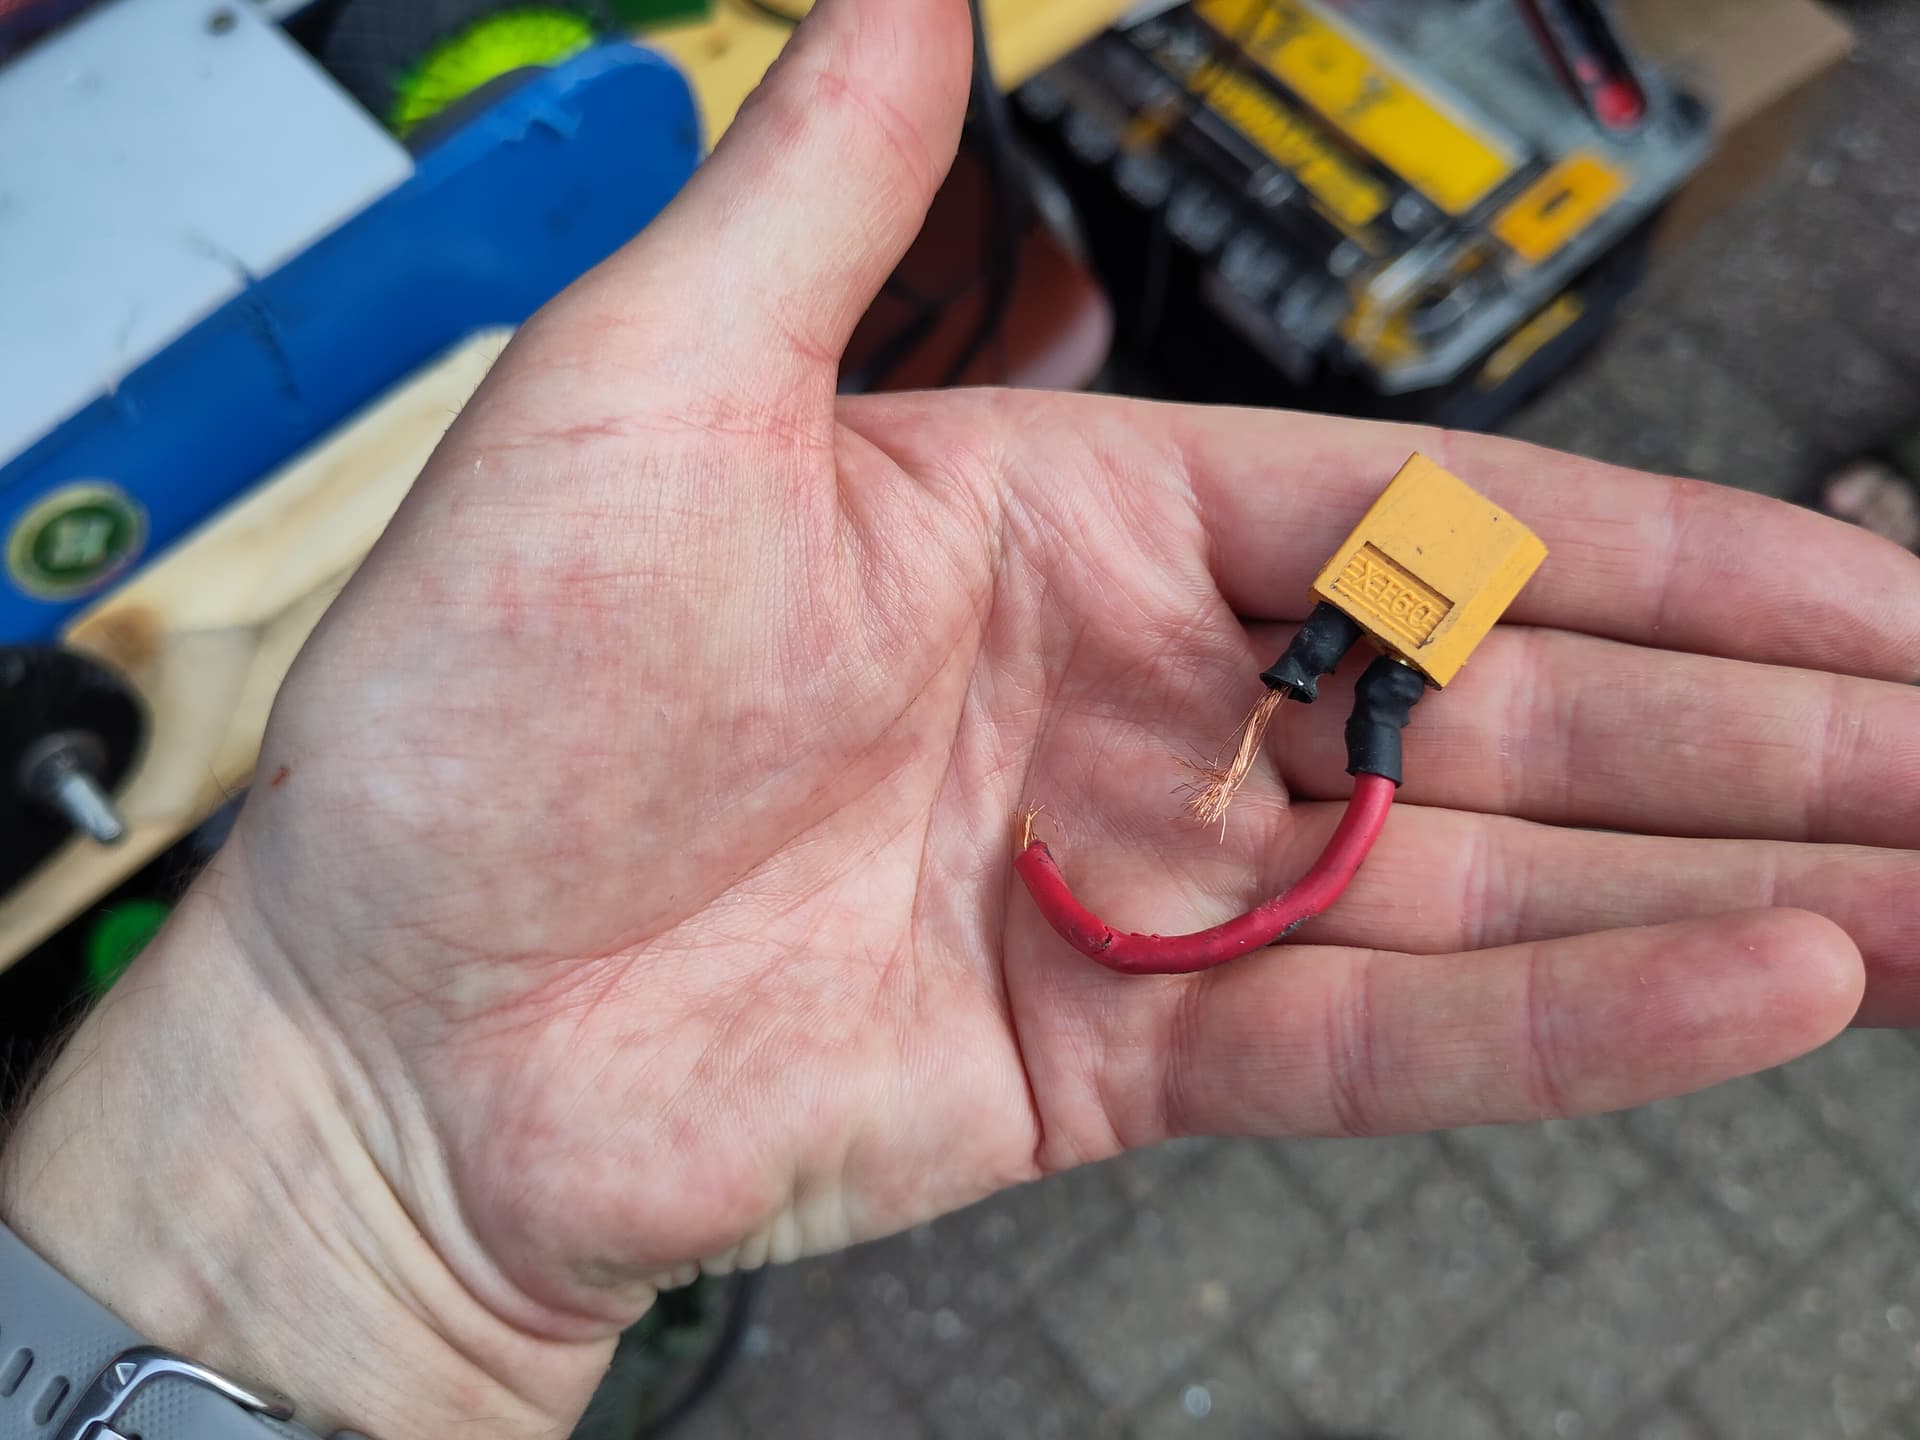
Somehow the right hand motor had just straight up popped out of the gearbox, and played merry hell spinning around until it twisted its own wires to breaking point…
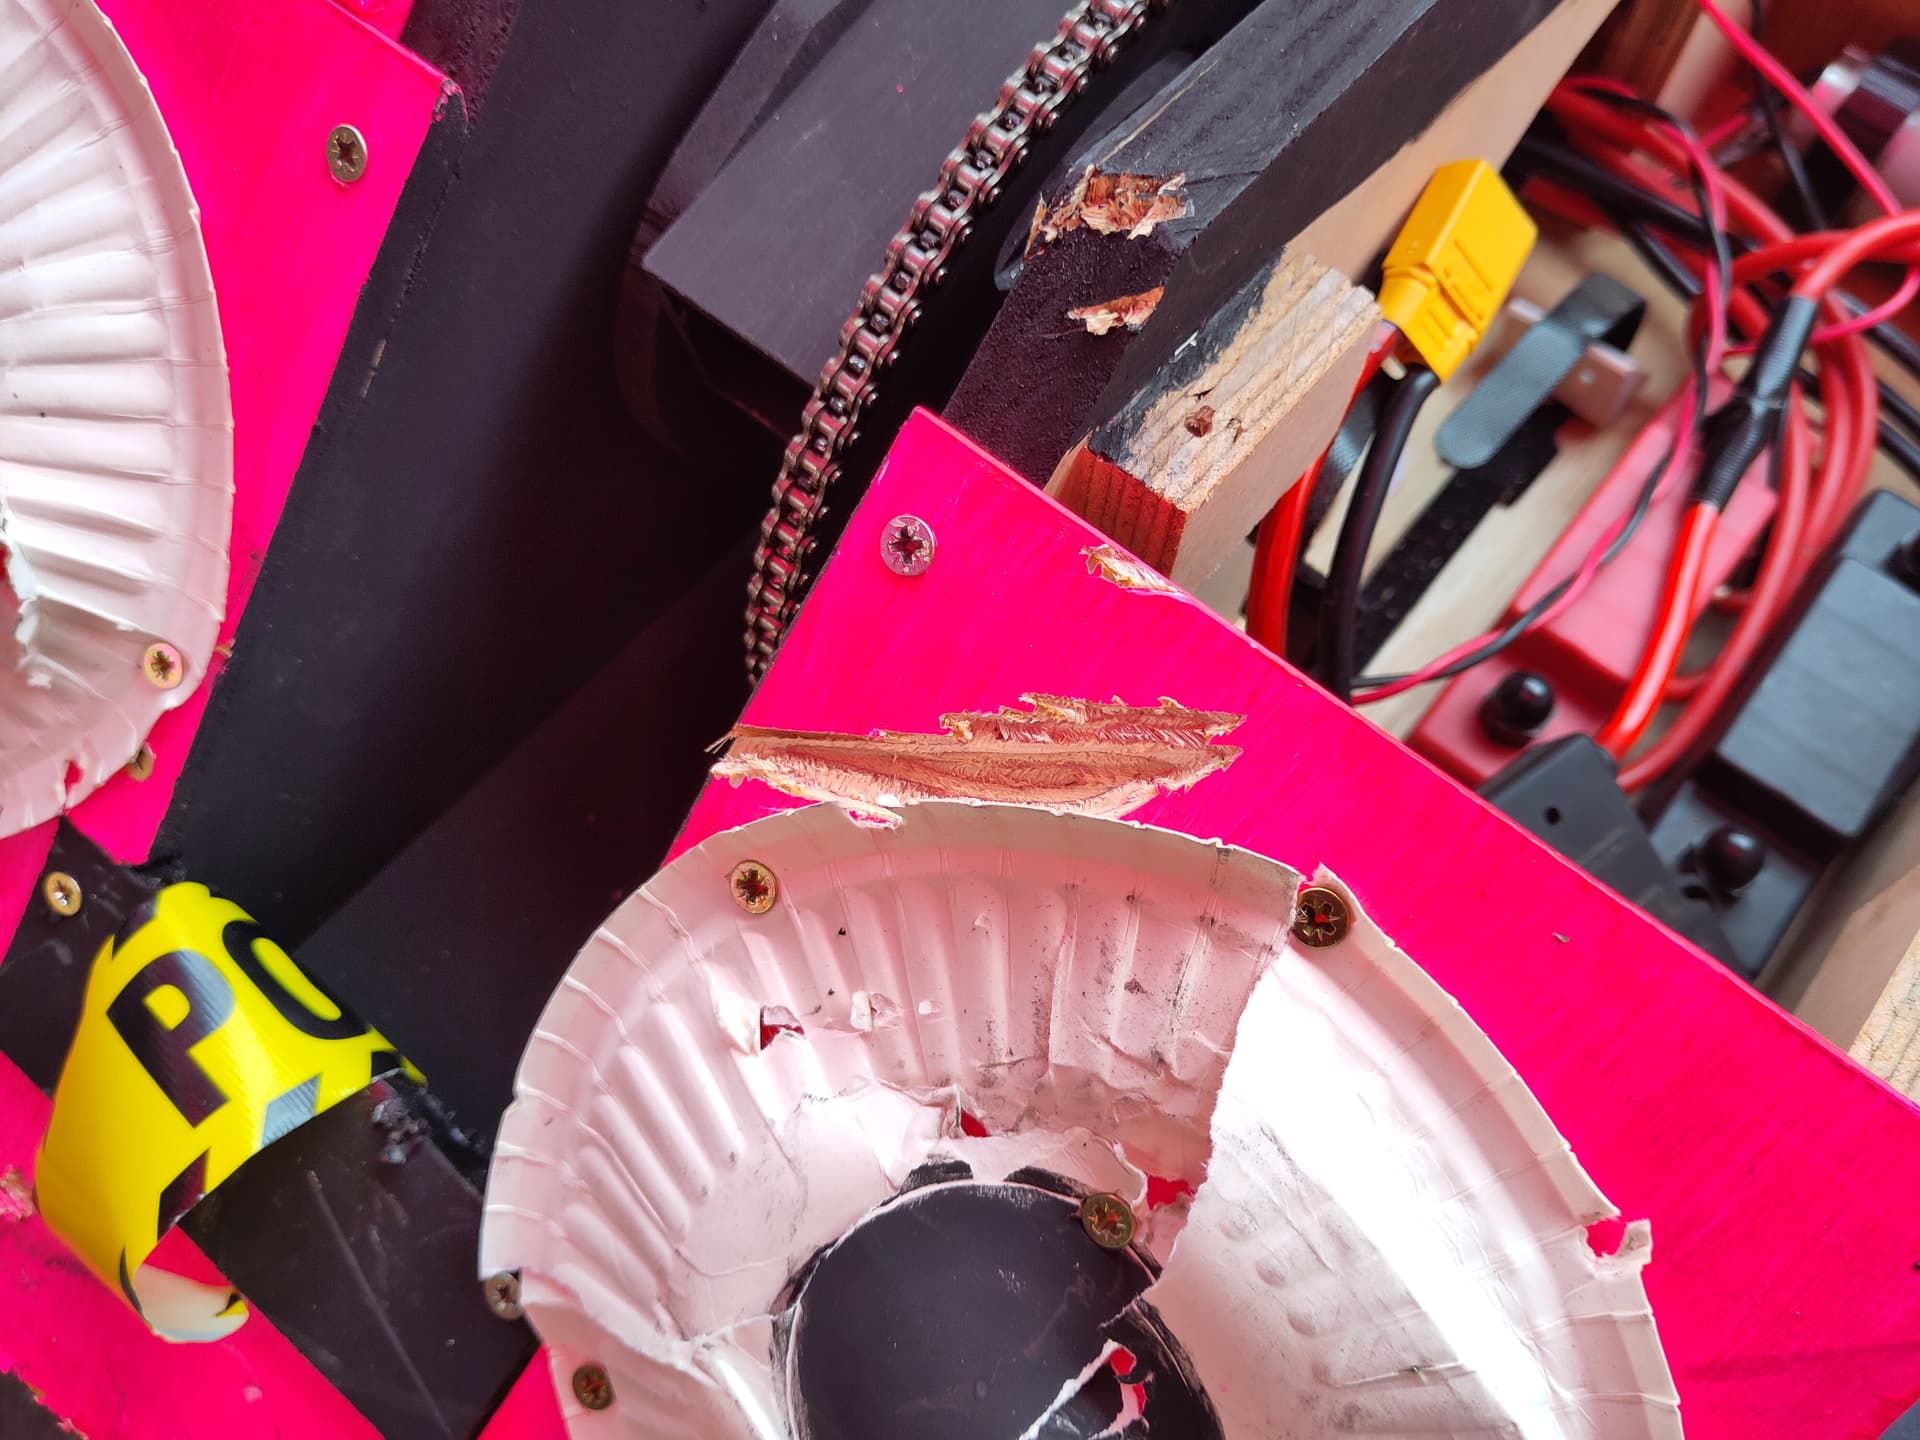
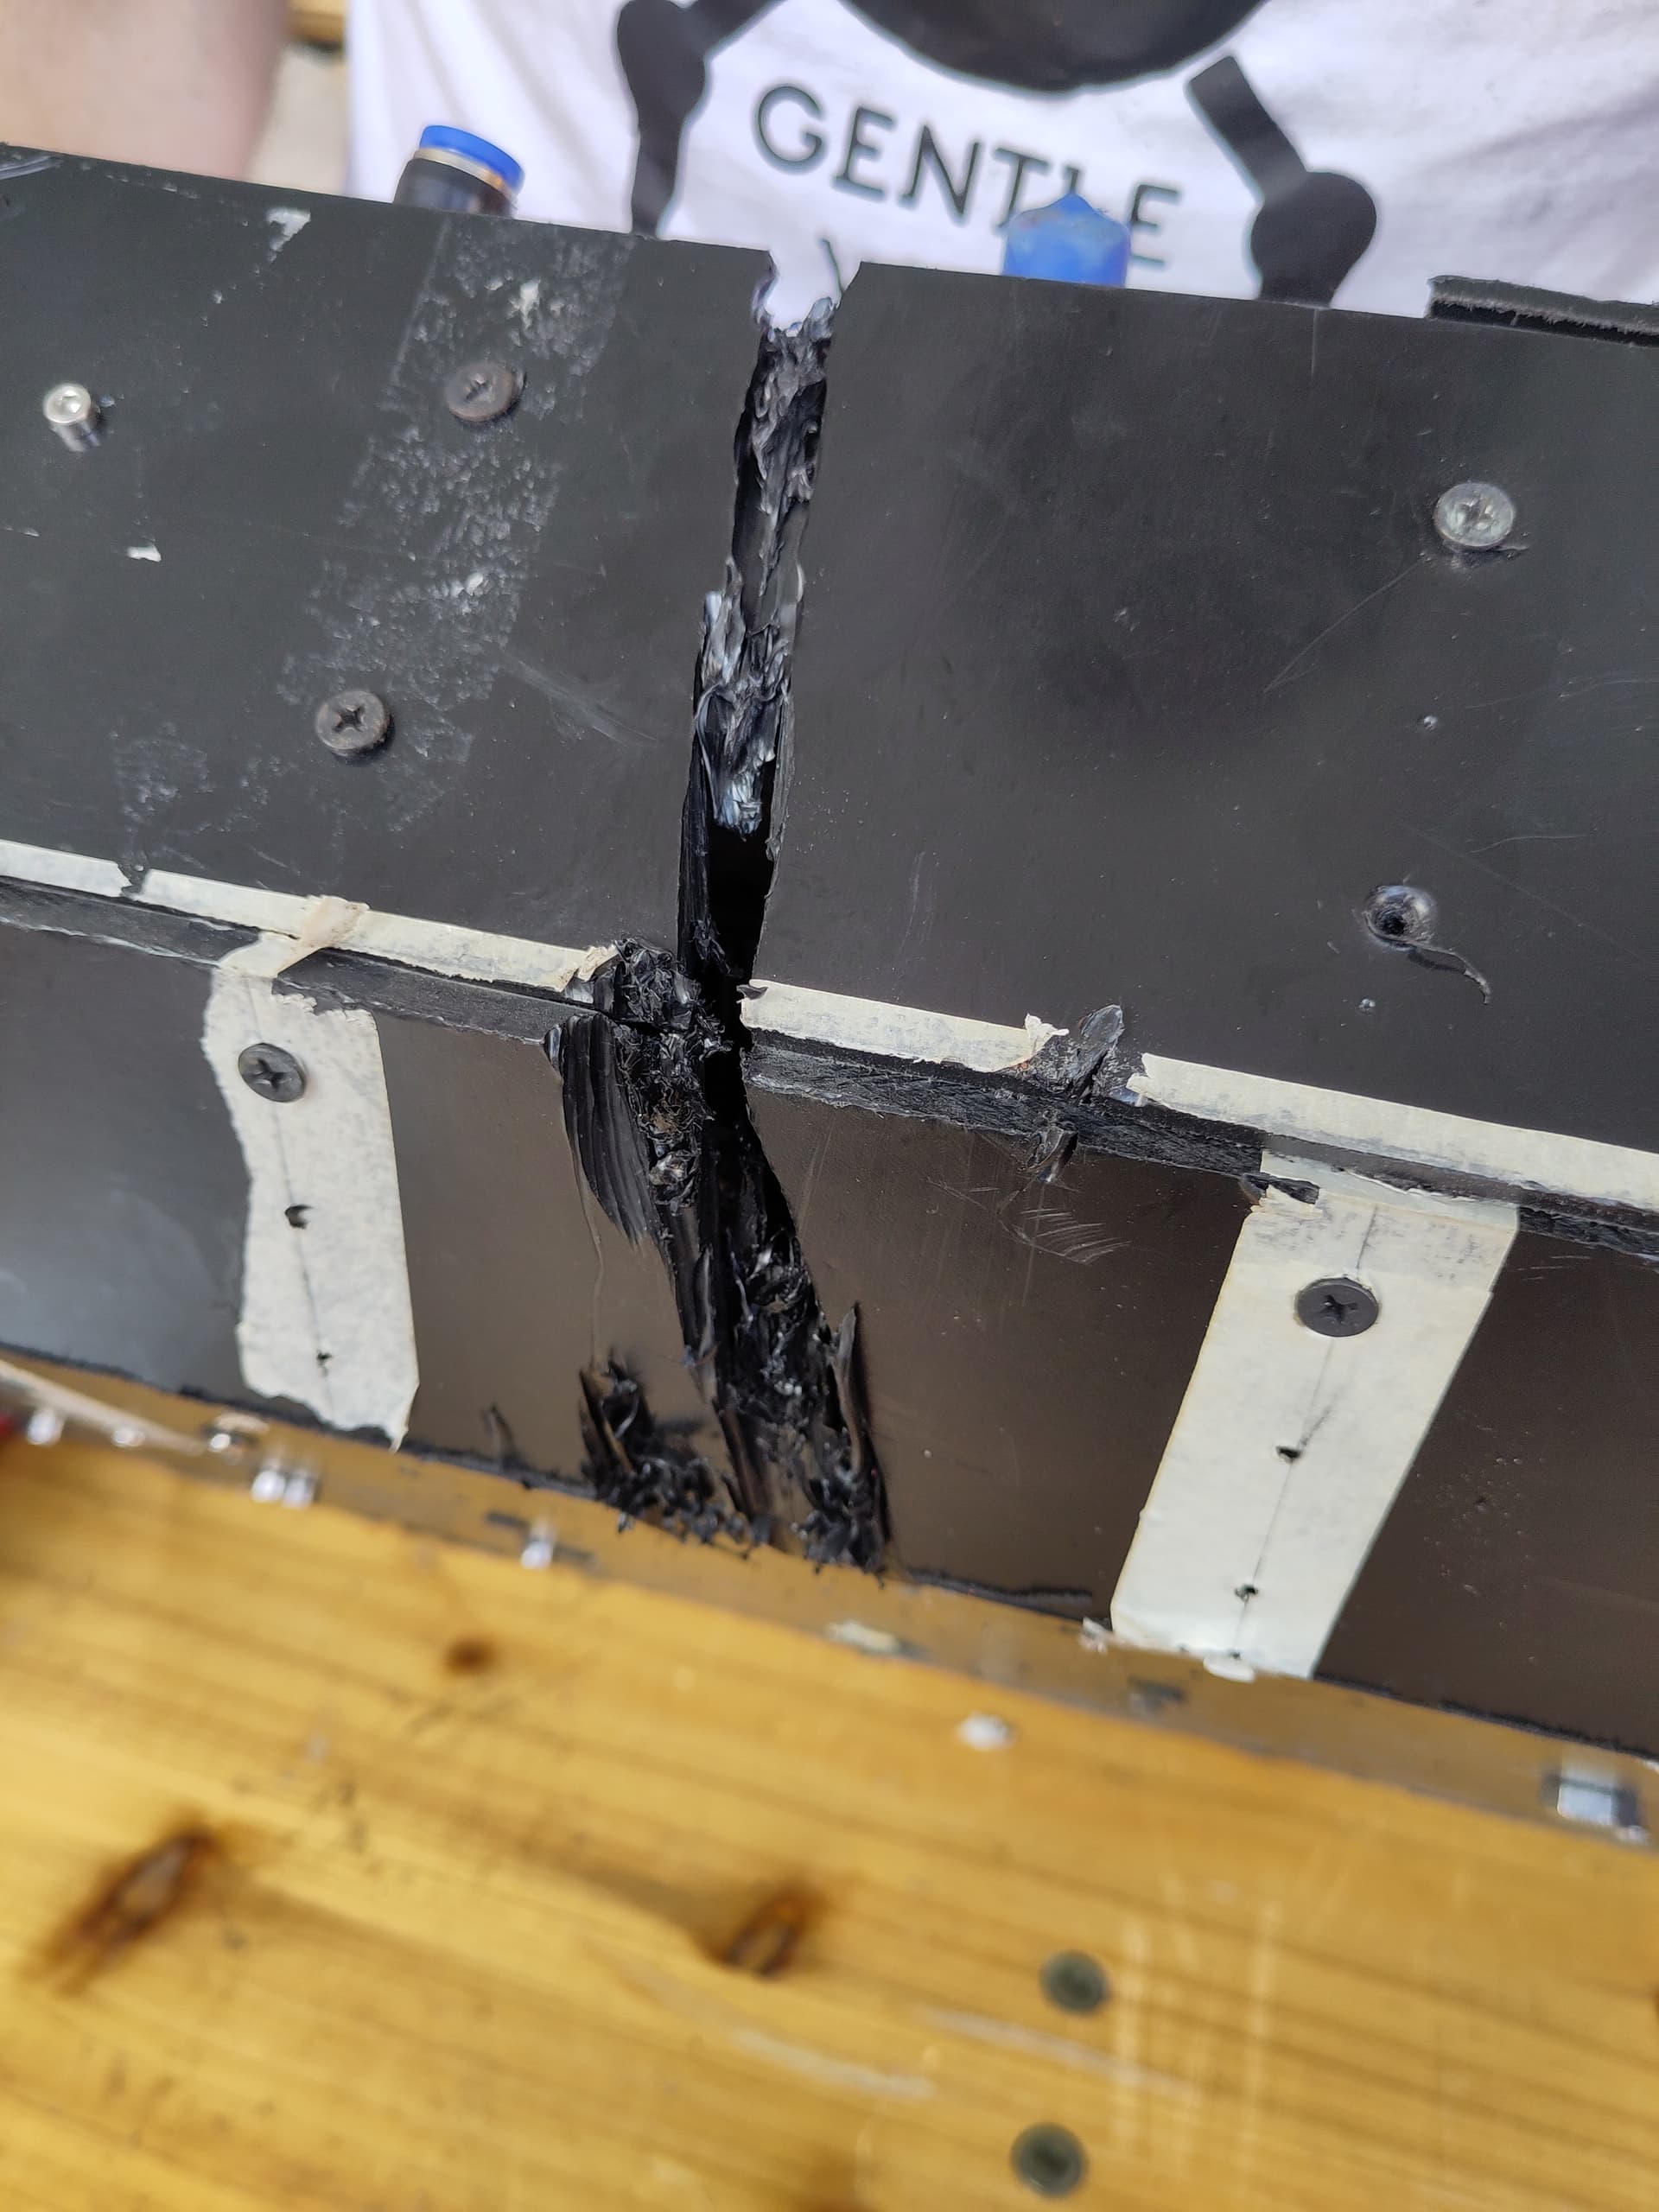
This had done all kinds of heck to the inside of the bot, and it was a miracle it hadn’t actually managed to cut through any wires and potentially short something.
Summary
- Another great BEVs event
- Chainsaw works
- Sam driving the chainsaw doesn’t work
- Need to fix the drive, really
- What the hell happened with that motor
- Make it self right
I’m hoping to get to one or two of the Robodojo events later this year, so I’ll make a few detail improvements for that.
Cheers!
")