Ah, hello there.
I’m going to talk about how I built my first beetle-weight(ish) robot for roughly £200(ish)
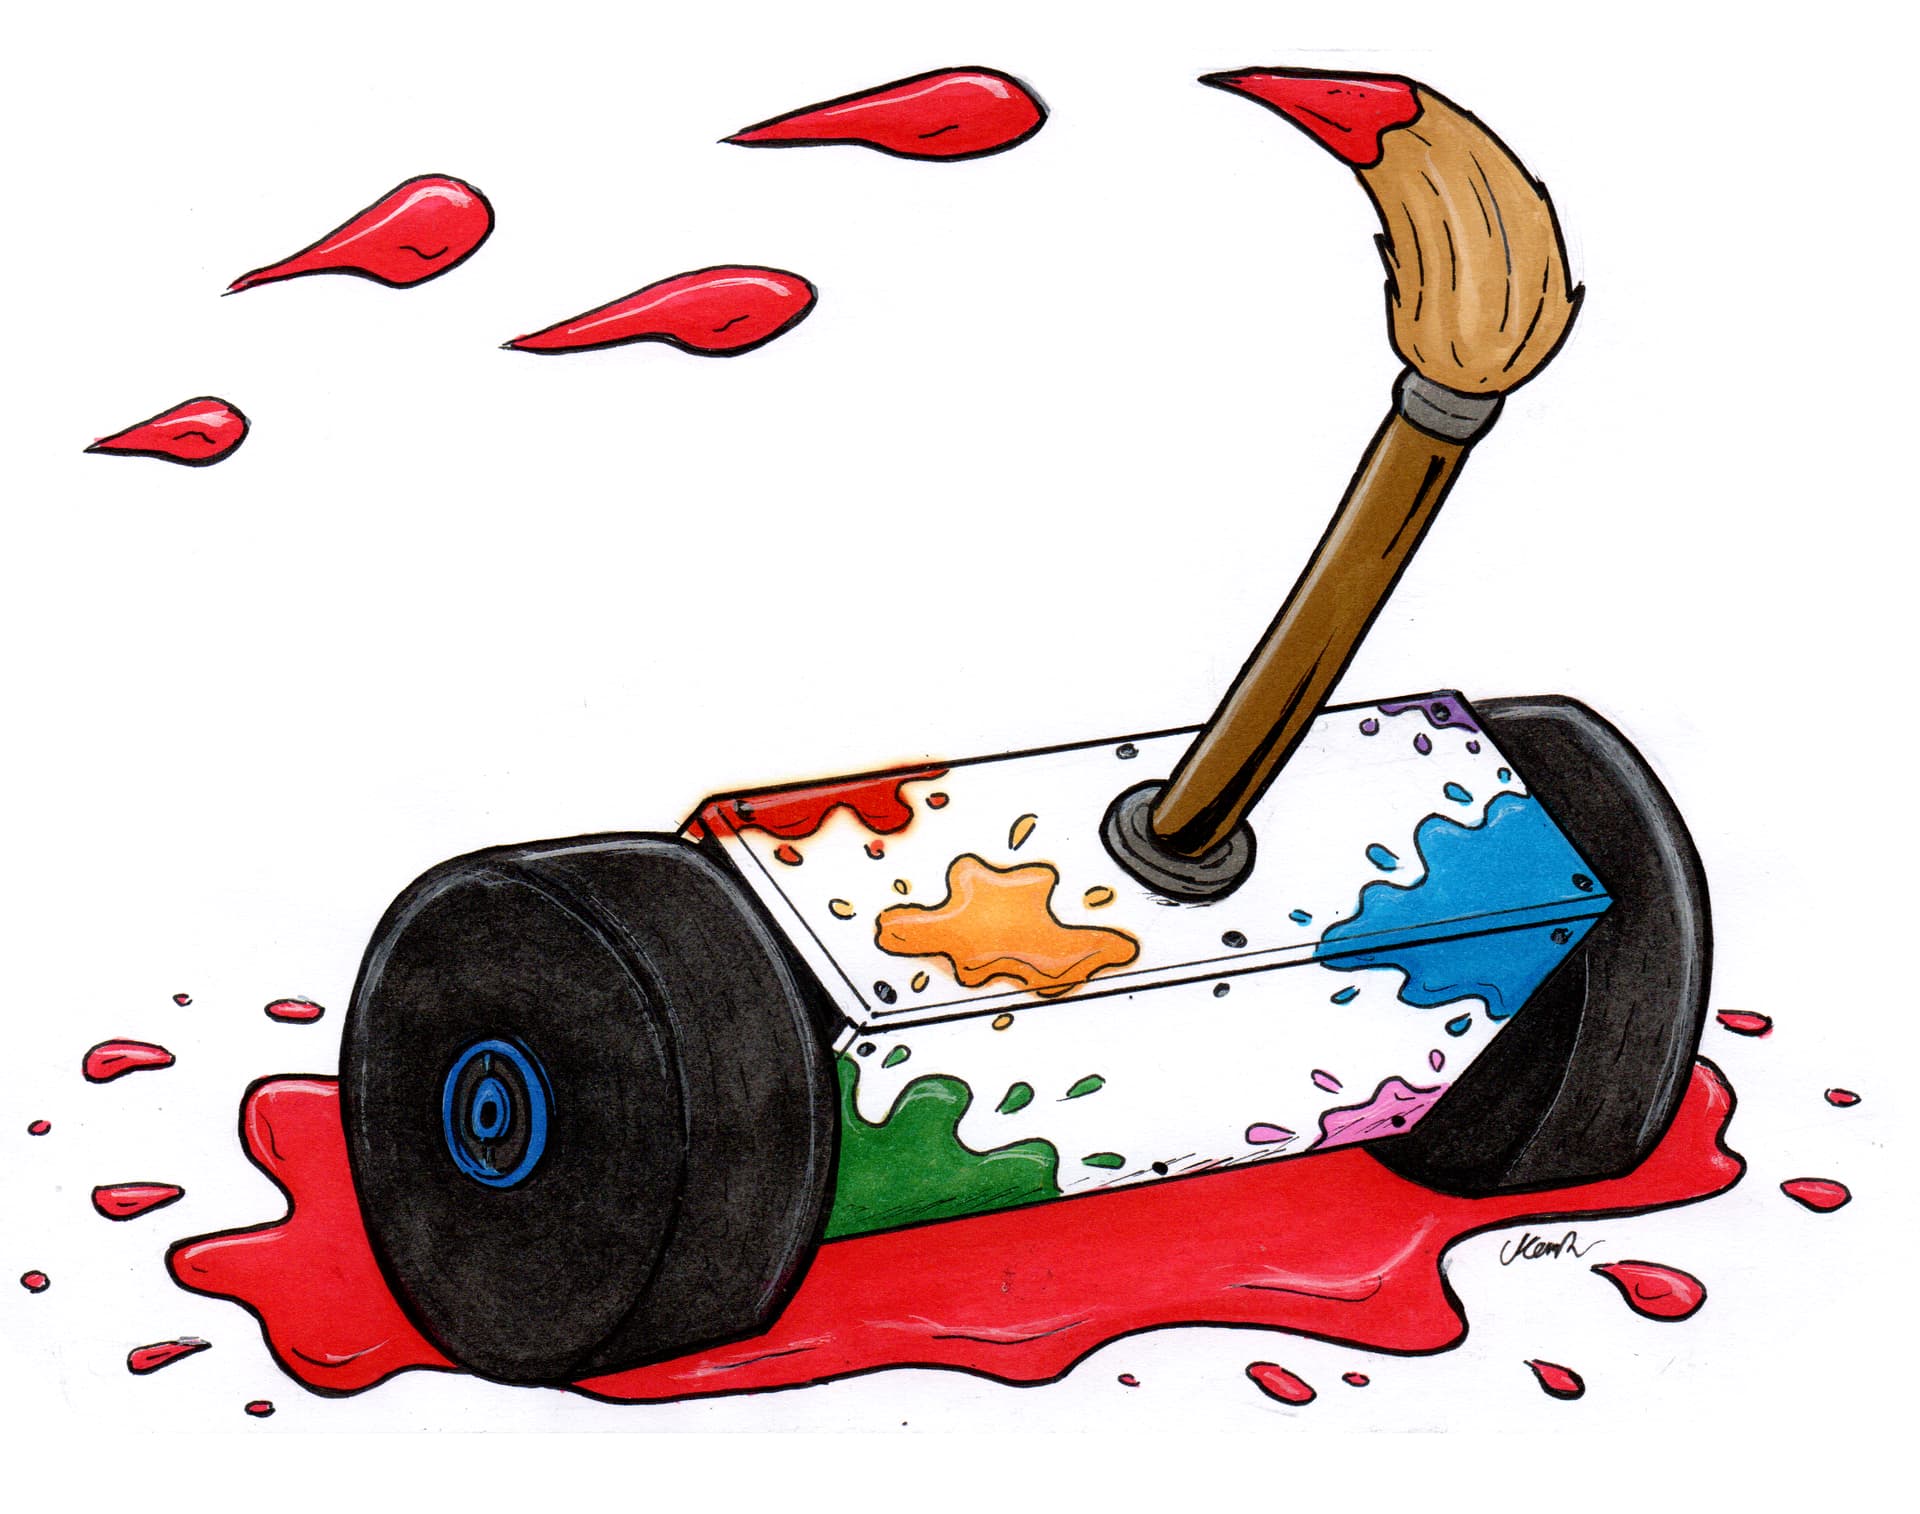
First off, the hardest part of this build was just starting. I’ve been kicking around the idea of a beetle for a while. I changed my Instagram profile to this paintbrush robot in 2022 and thought I could build this in beetle-weight (hence the Fingertech wheels/hubs in the illustration). But I kept putting it off. Until, April/May 2023 after dealing with a family emergency, I decided it was time and got down to planning my first build.
After some research, which involved a lot of YouTube Videos (Jimmi Cottam’s in particular) and calculations I worked out I could do it for £200. So, I set about ordering the parts I needed.
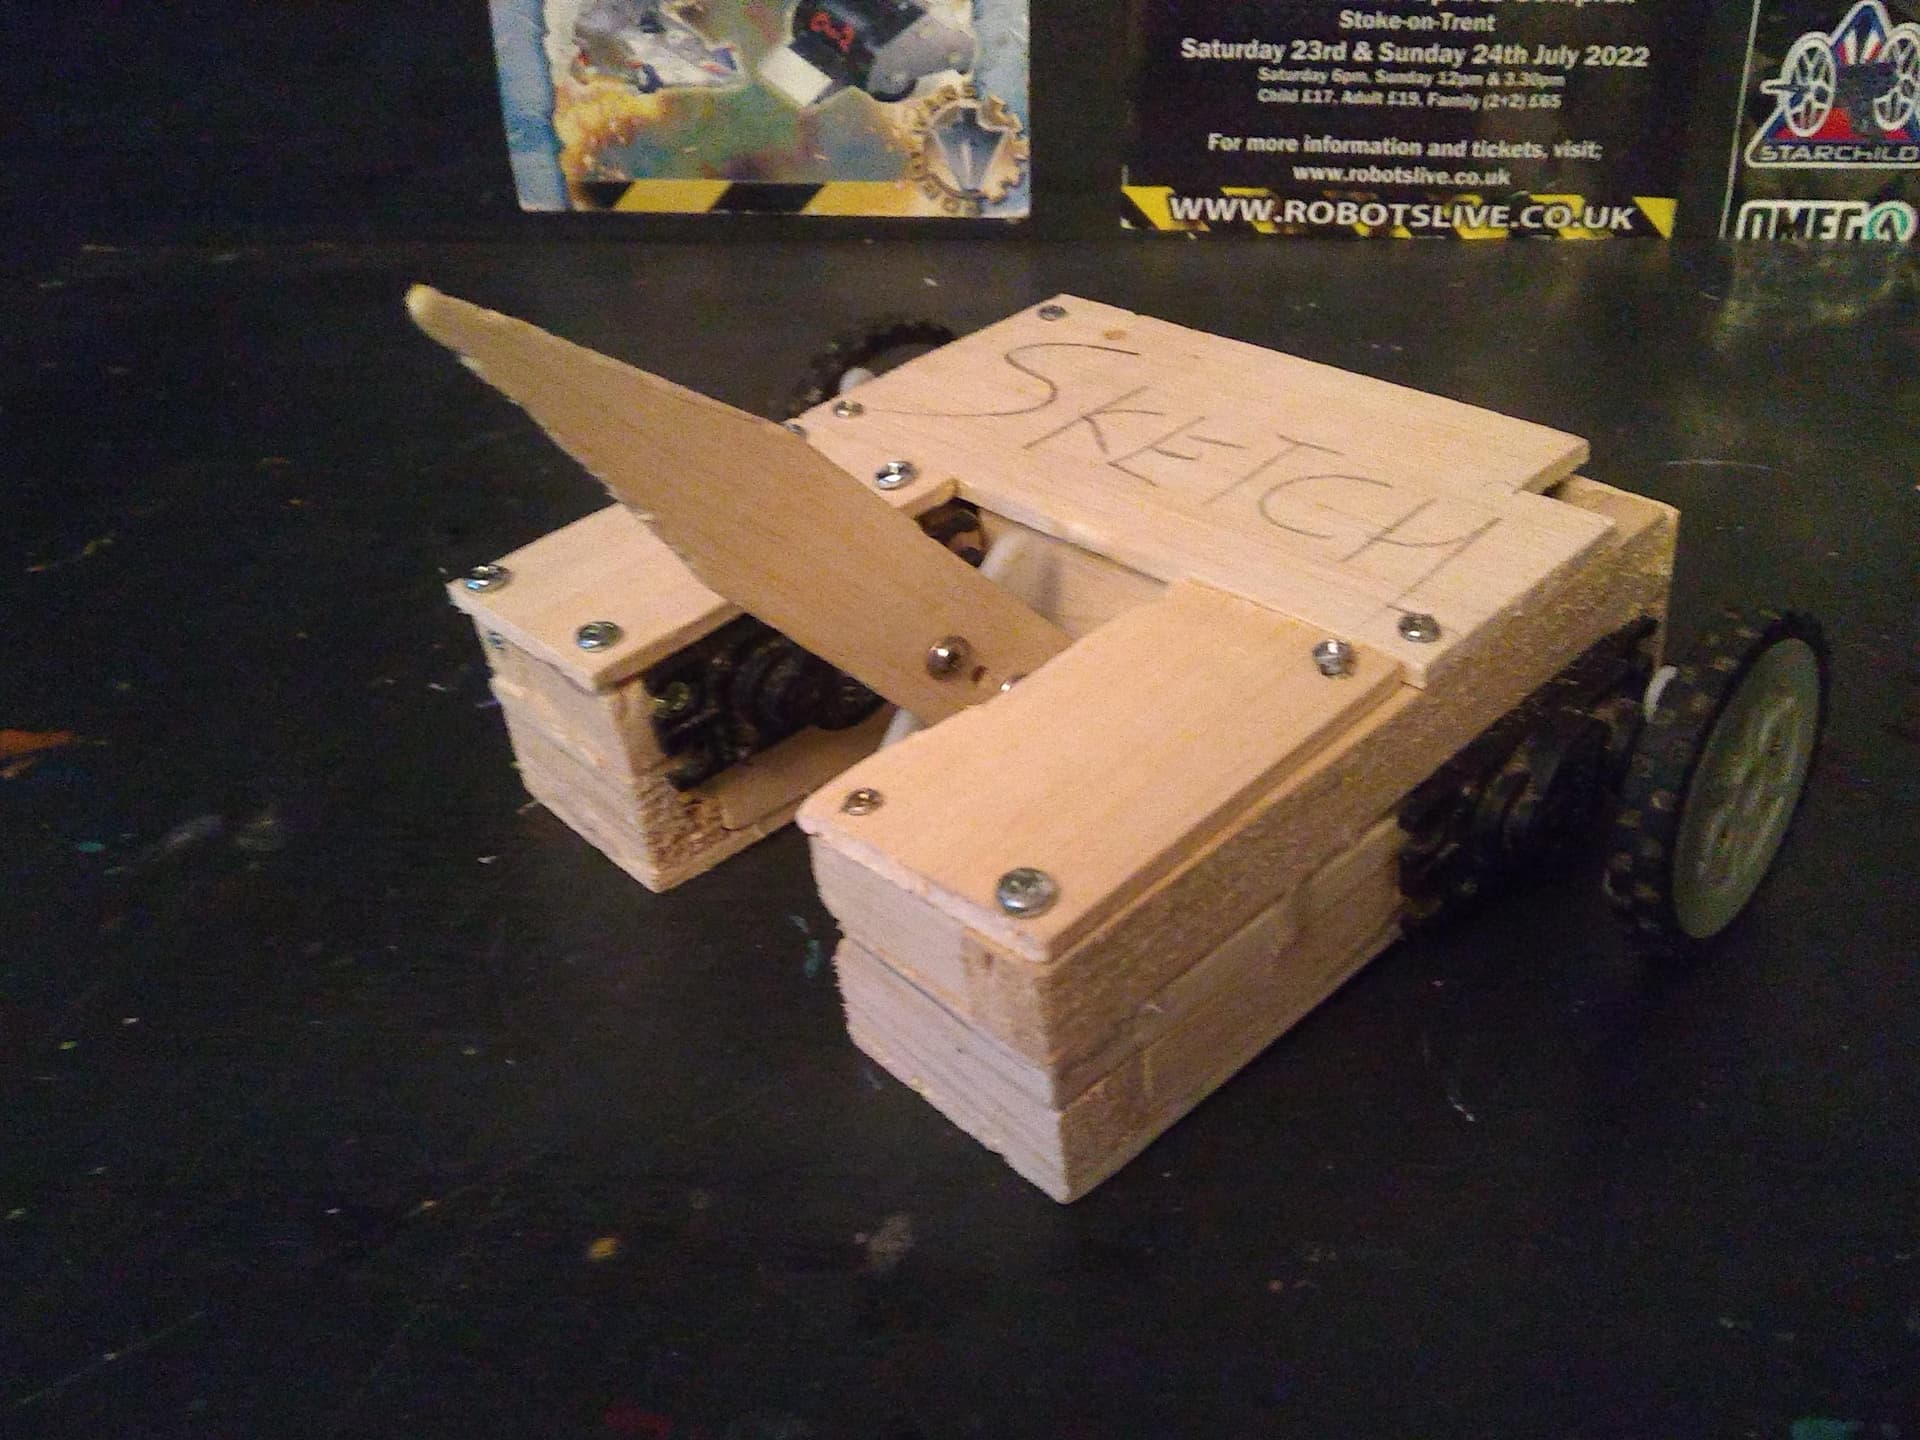
First up was the “classic” Flysky FS-i6 transmitter and receiver which I bought new for £59 (BBB now have it for £46 w/o receiver), which I combined with some old RC kit to make a quick balsa wood (my usual material of choice) test bed to test out the features.
Next up was the big one the BBB Beetle drive kit, which at the time was £97 plus delivery. As someone who rarely spends that much online, this was a big decision. Two days later, after chasing the postie down the street (this actually happened), I had the kit in my hand and it started to feel real.
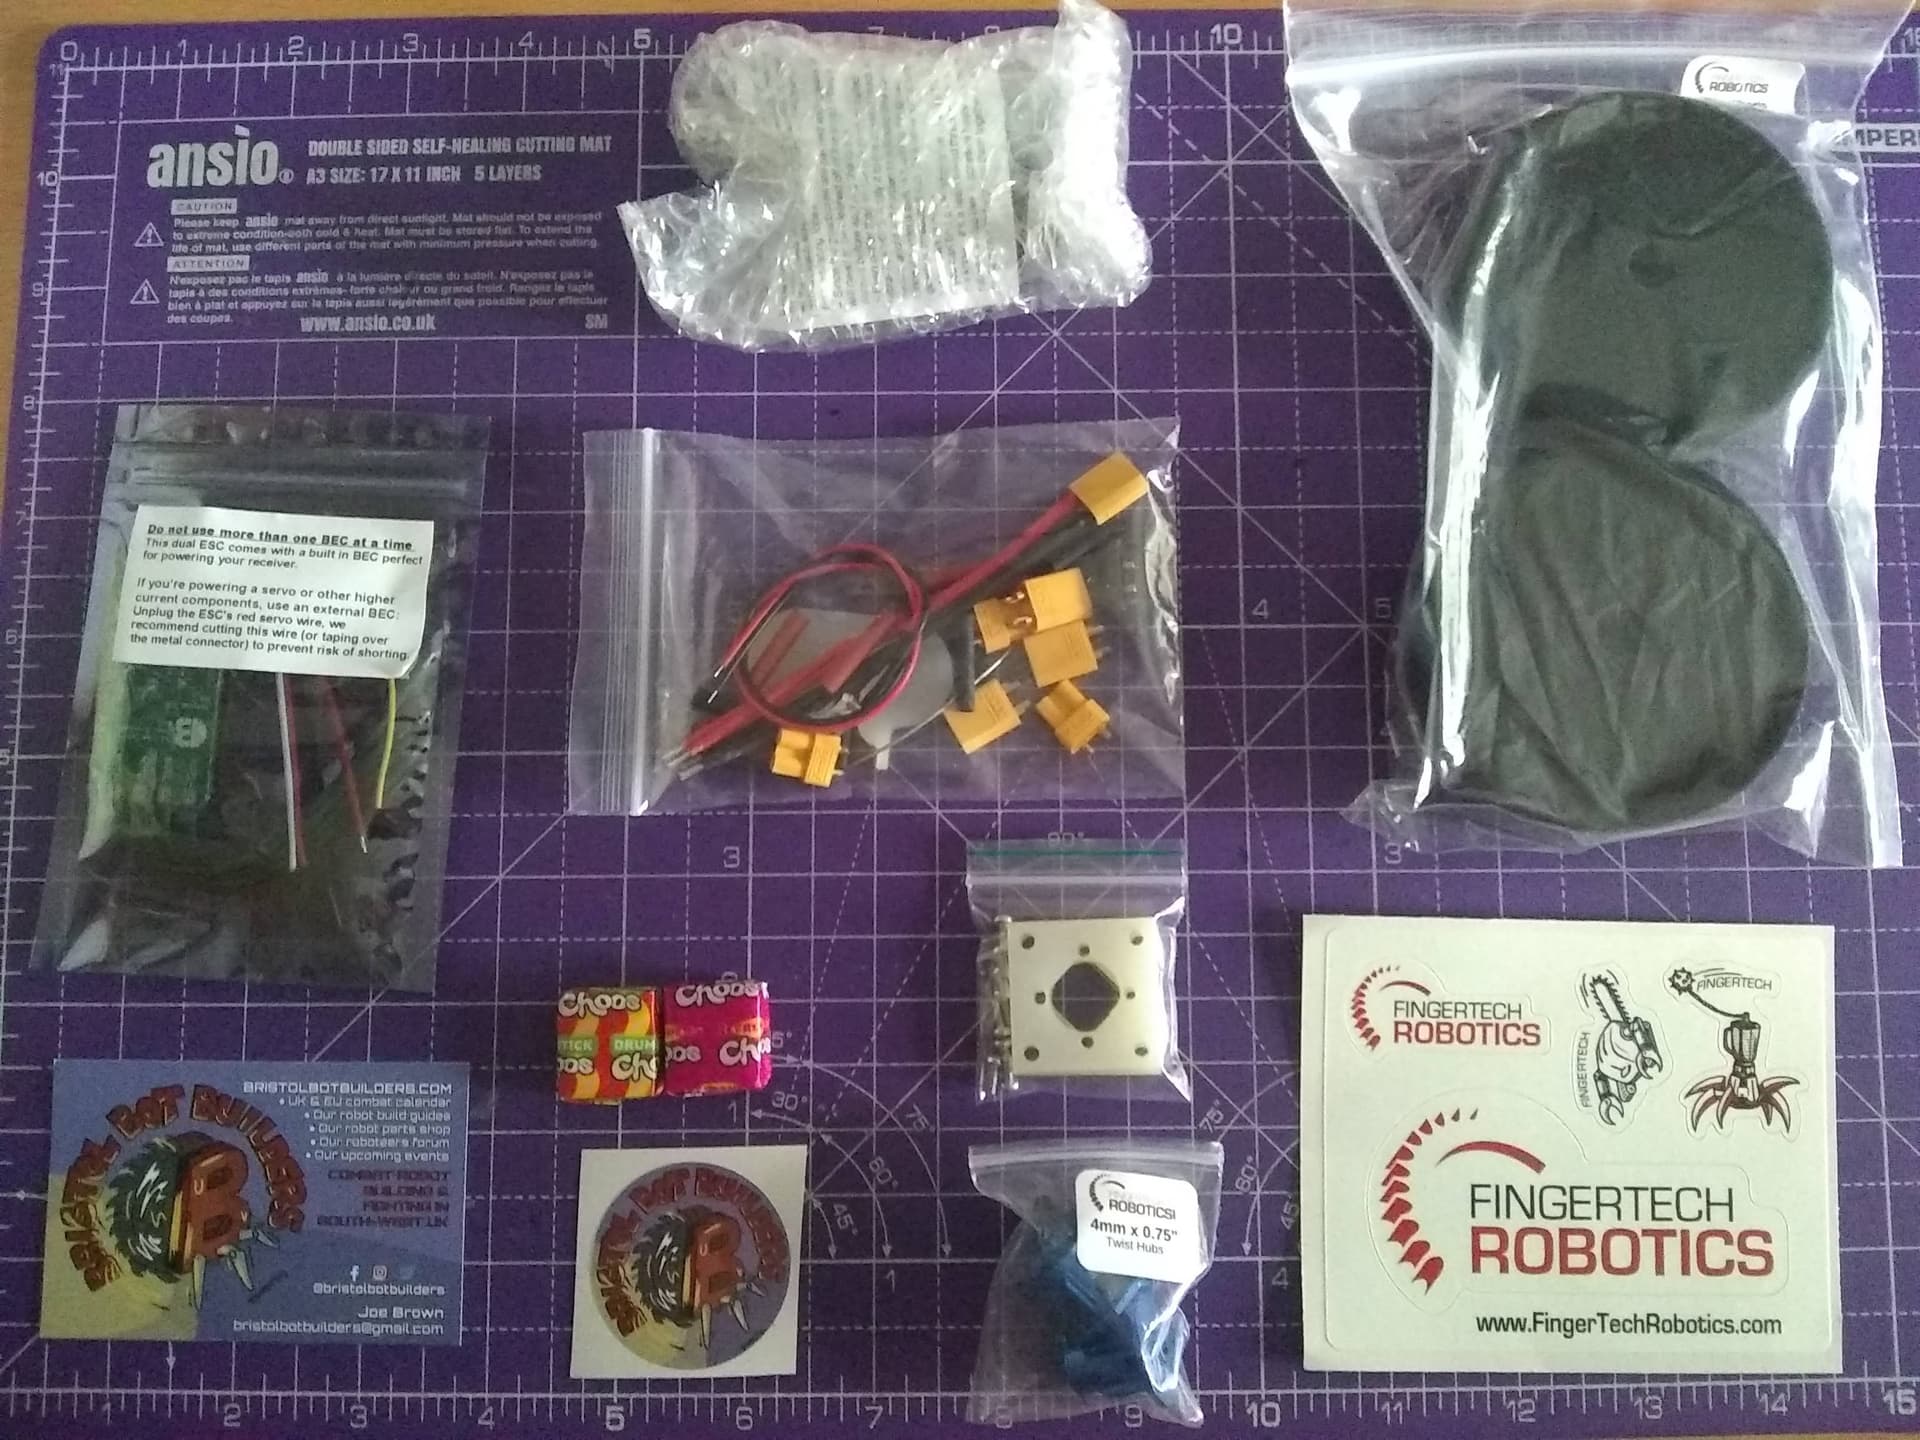
Everything that came with the kit, including stickers and sweets. (Cheers lads)
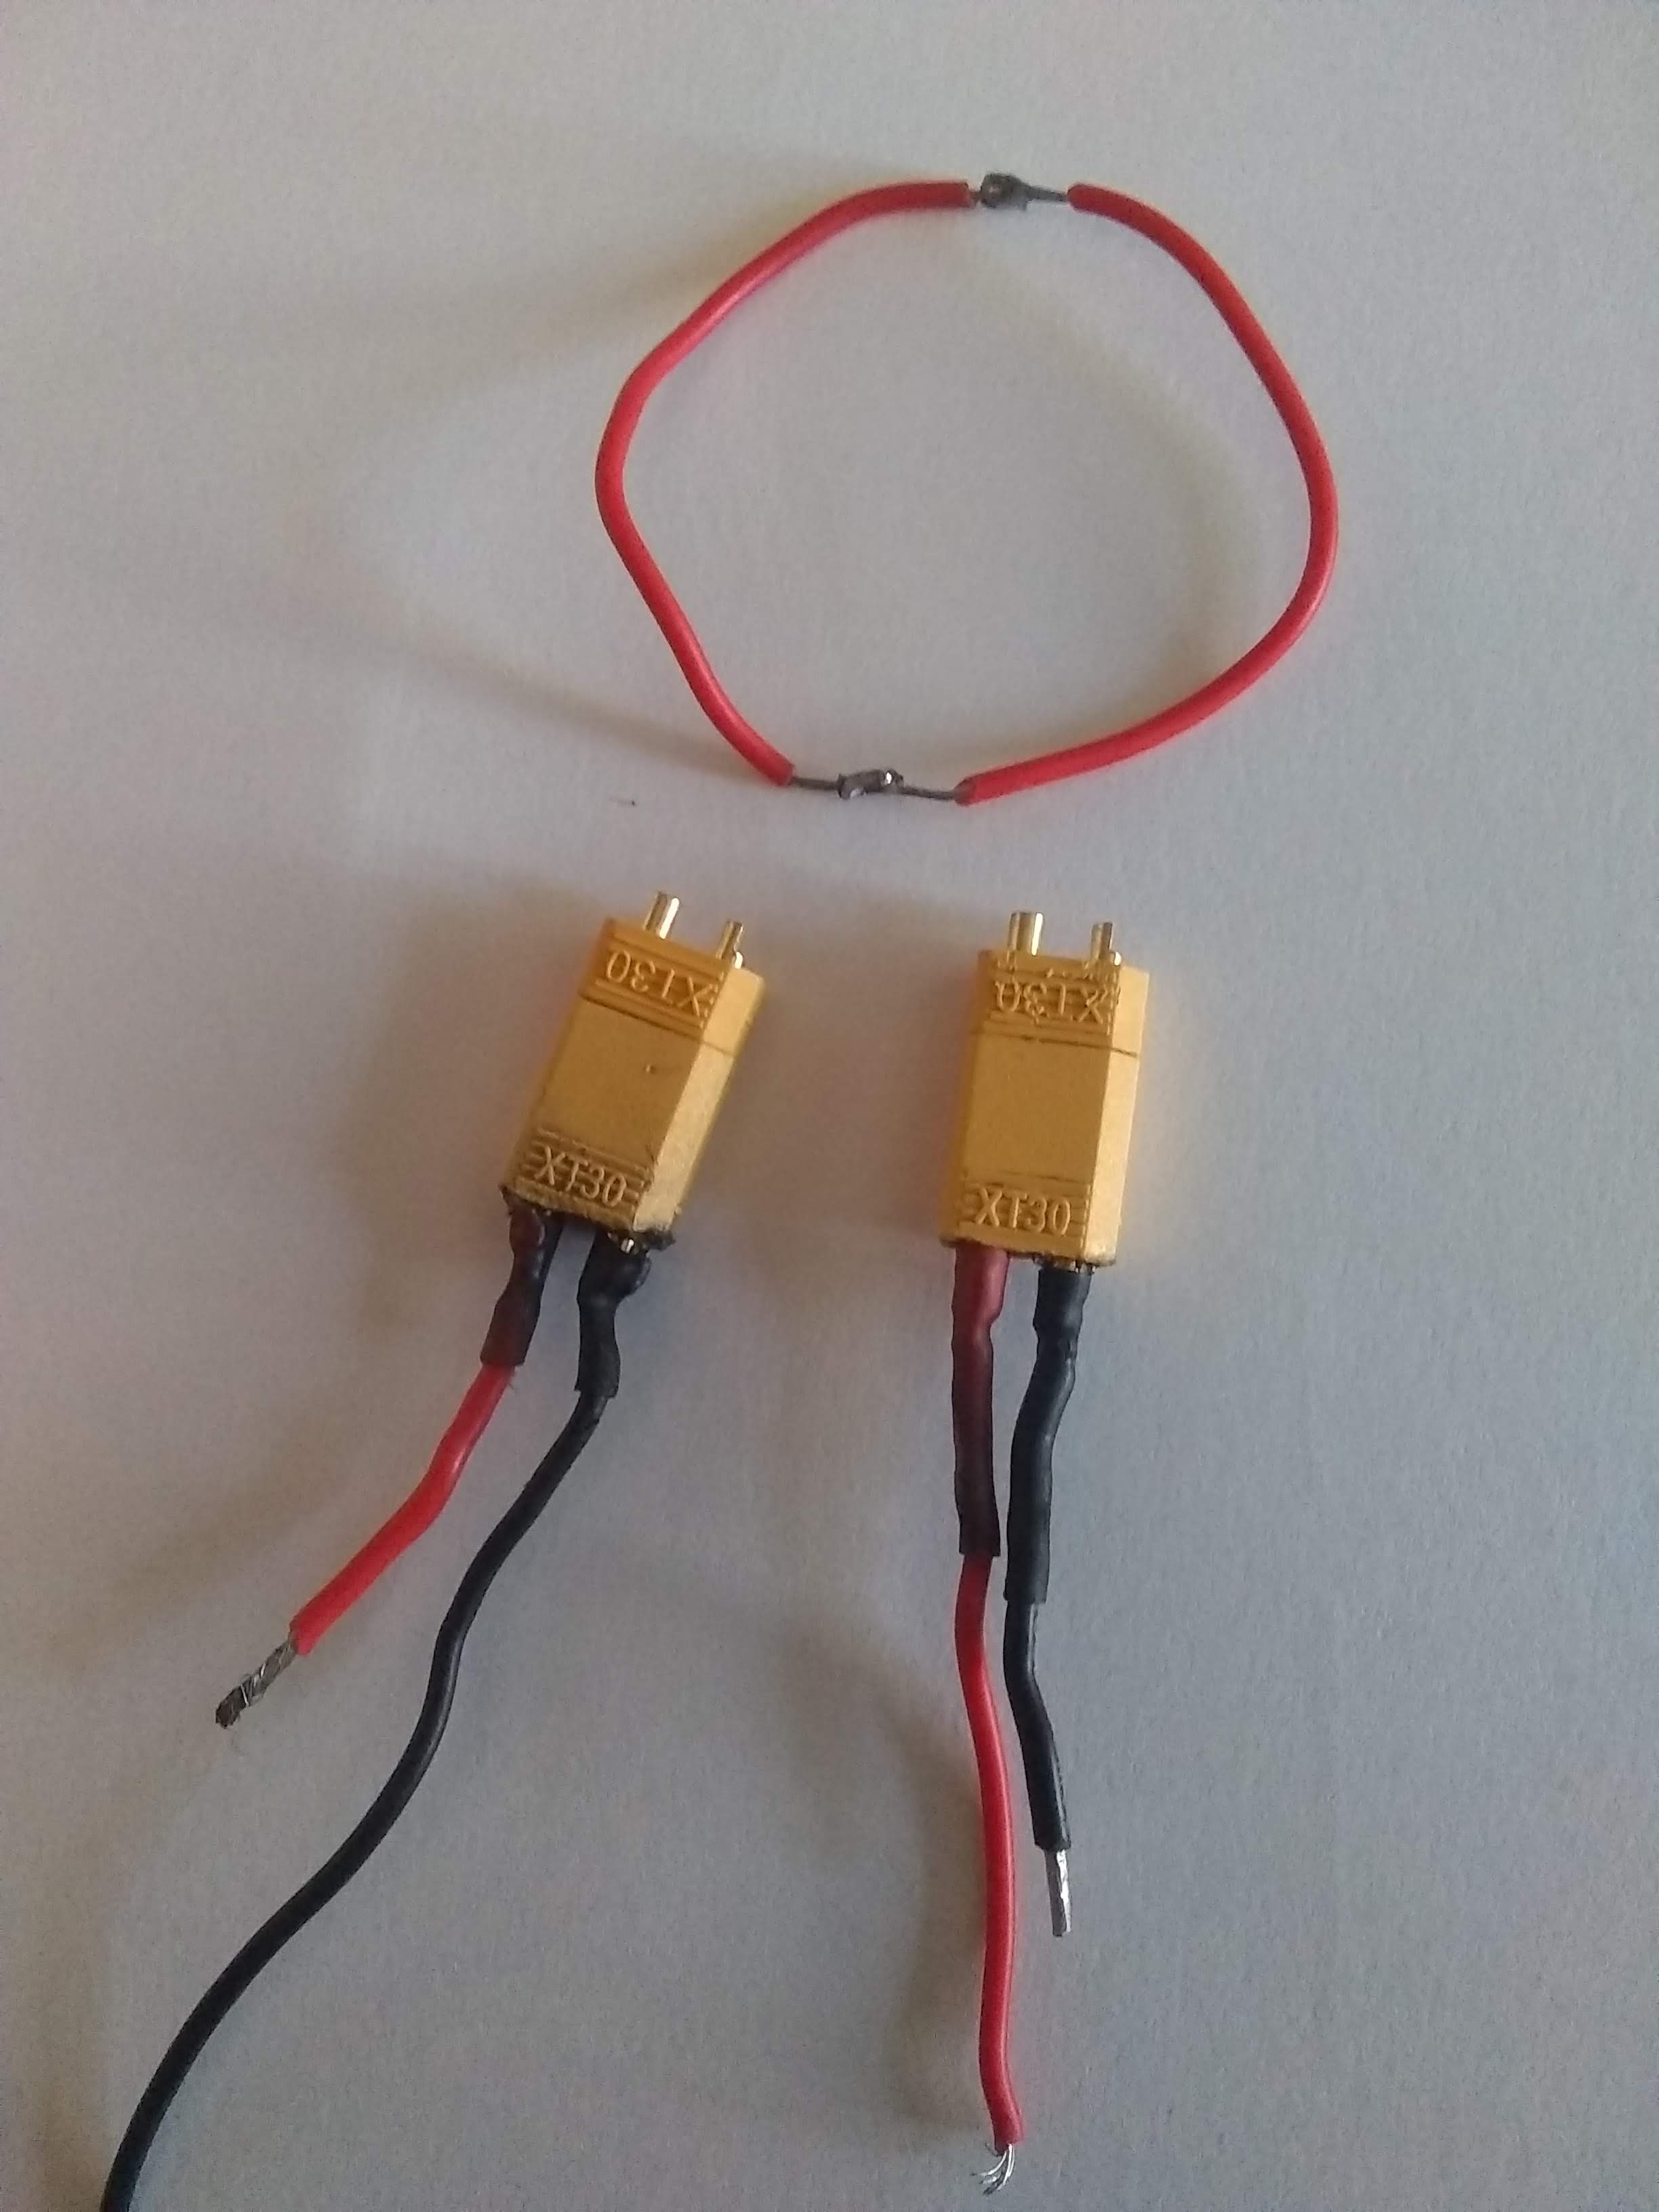
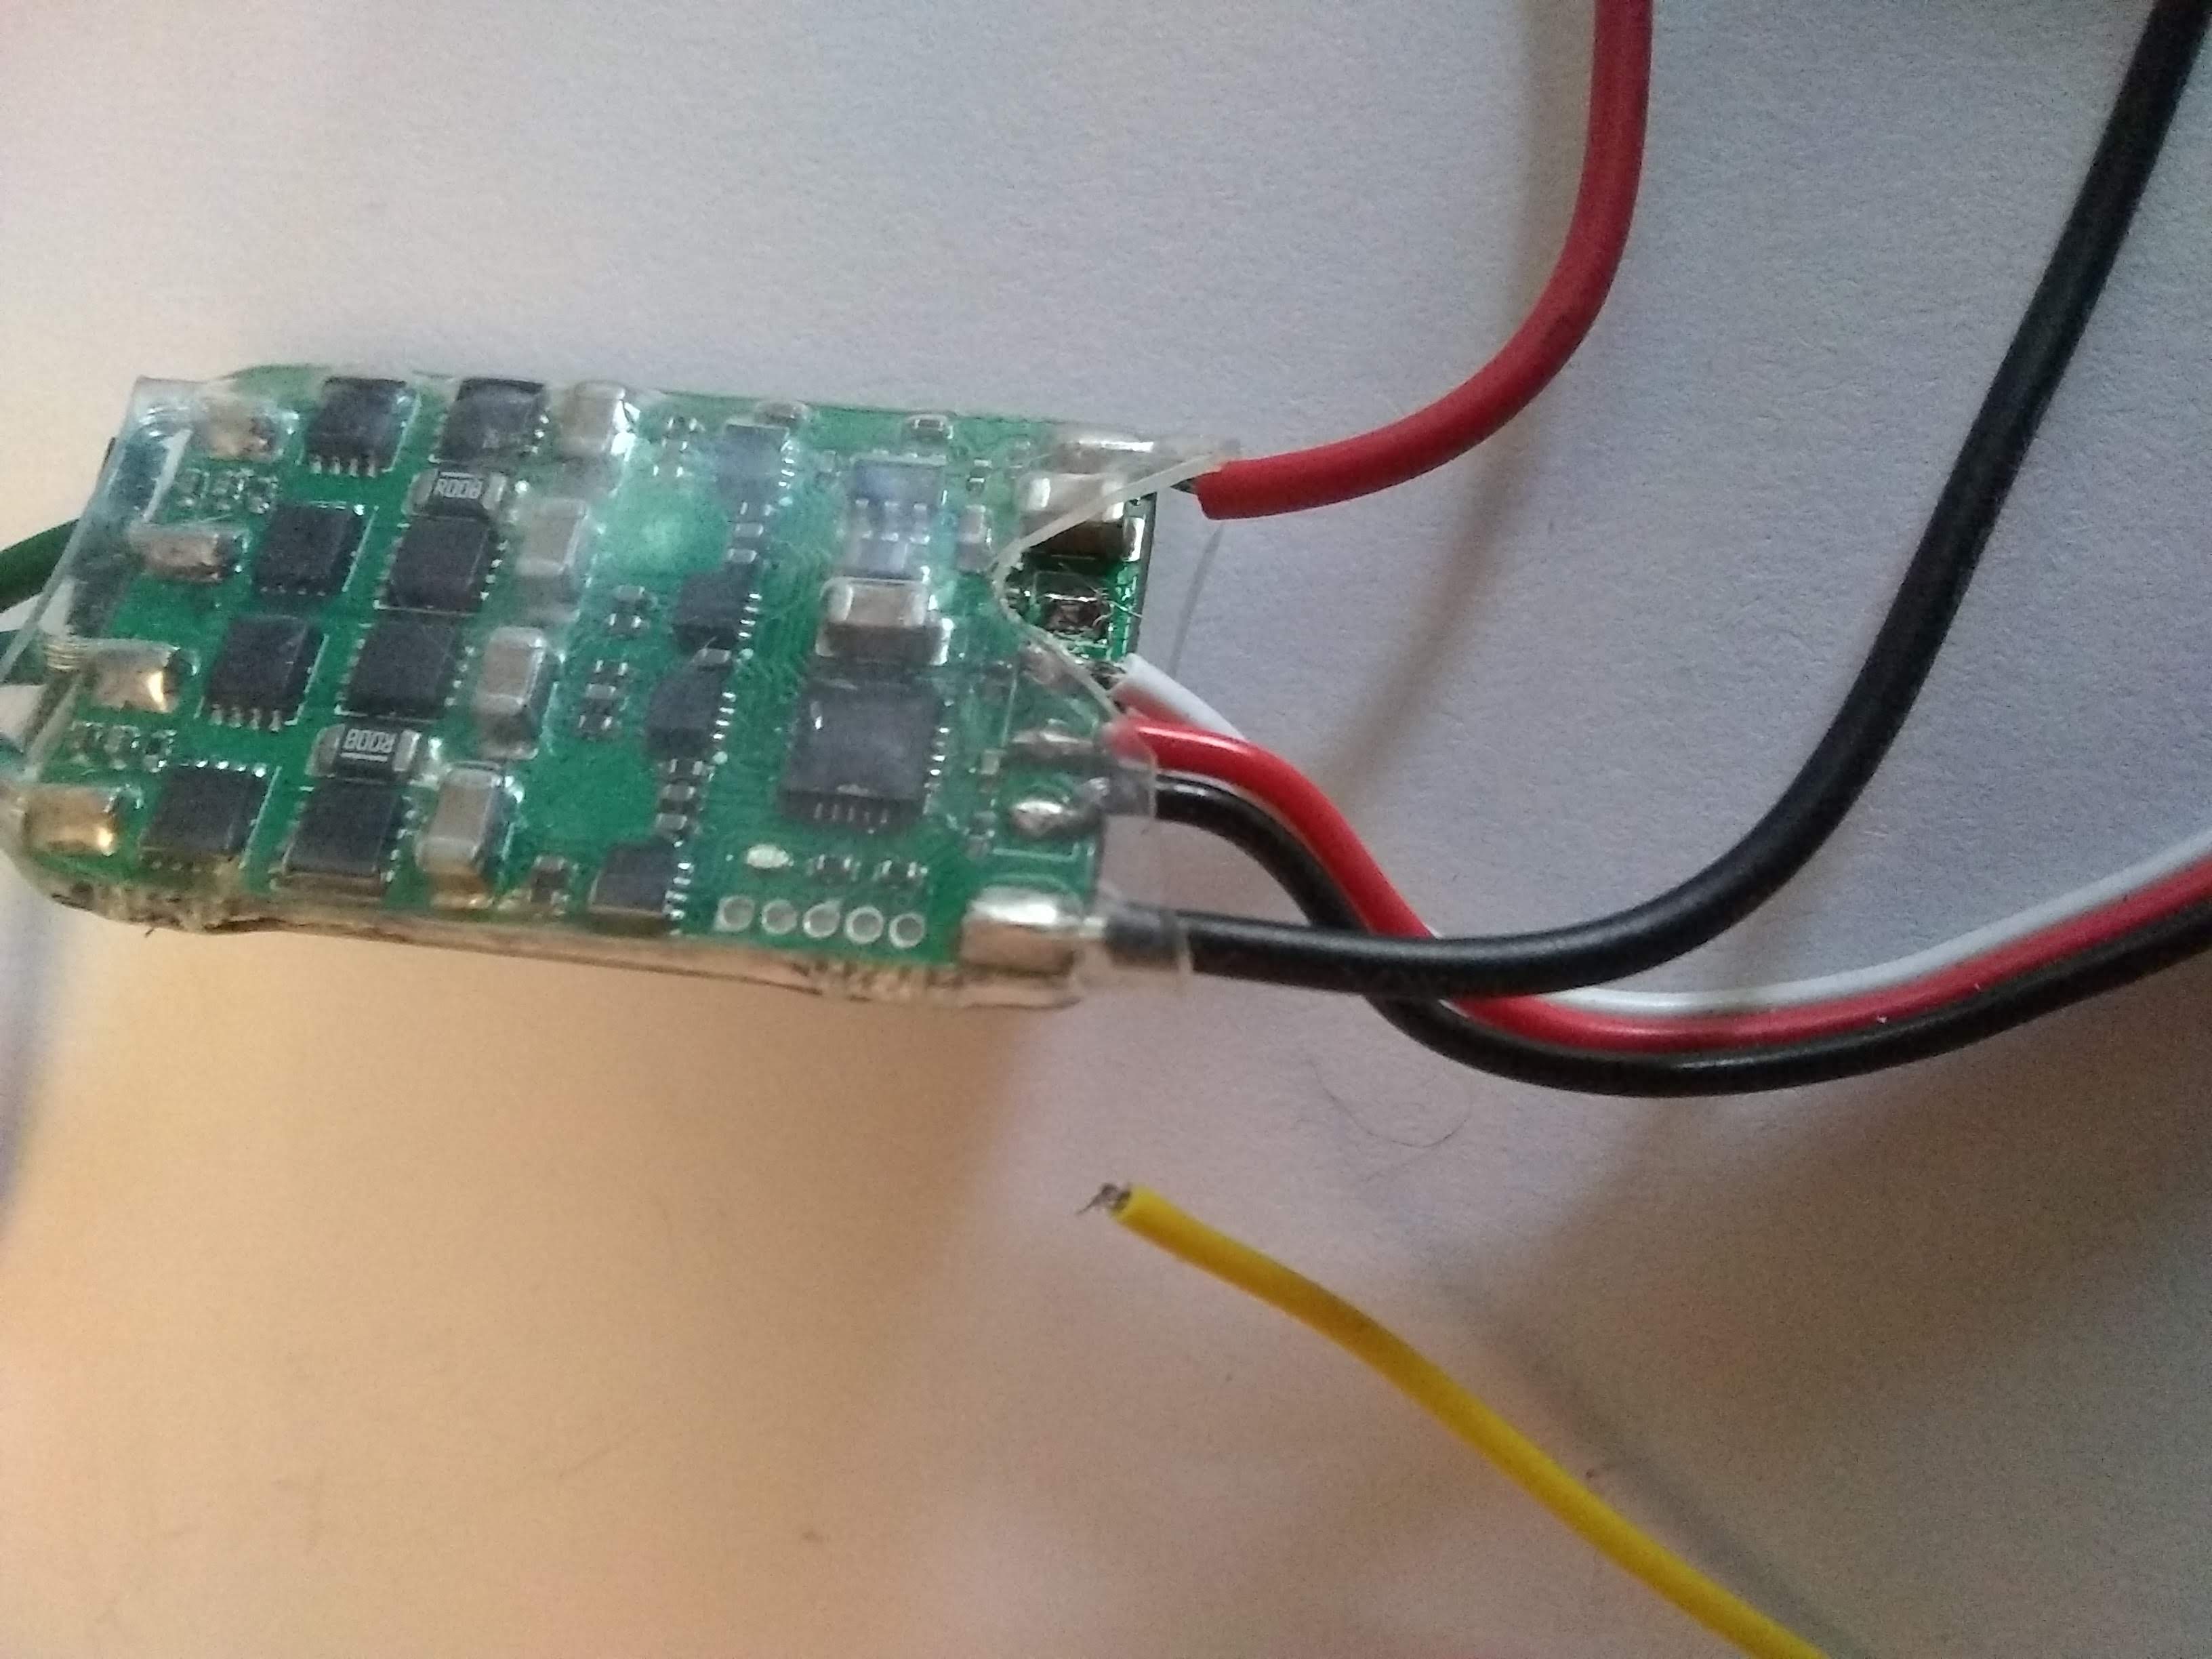
Now on to soldiering. After acquiring a new soldiering kit, it was time to learn the ancient art of sticking wires together with hot metal without burning yourself. I did OK the first time although I’ve yet to repeat my success with the XT-30s and may have damaged a few in the process.

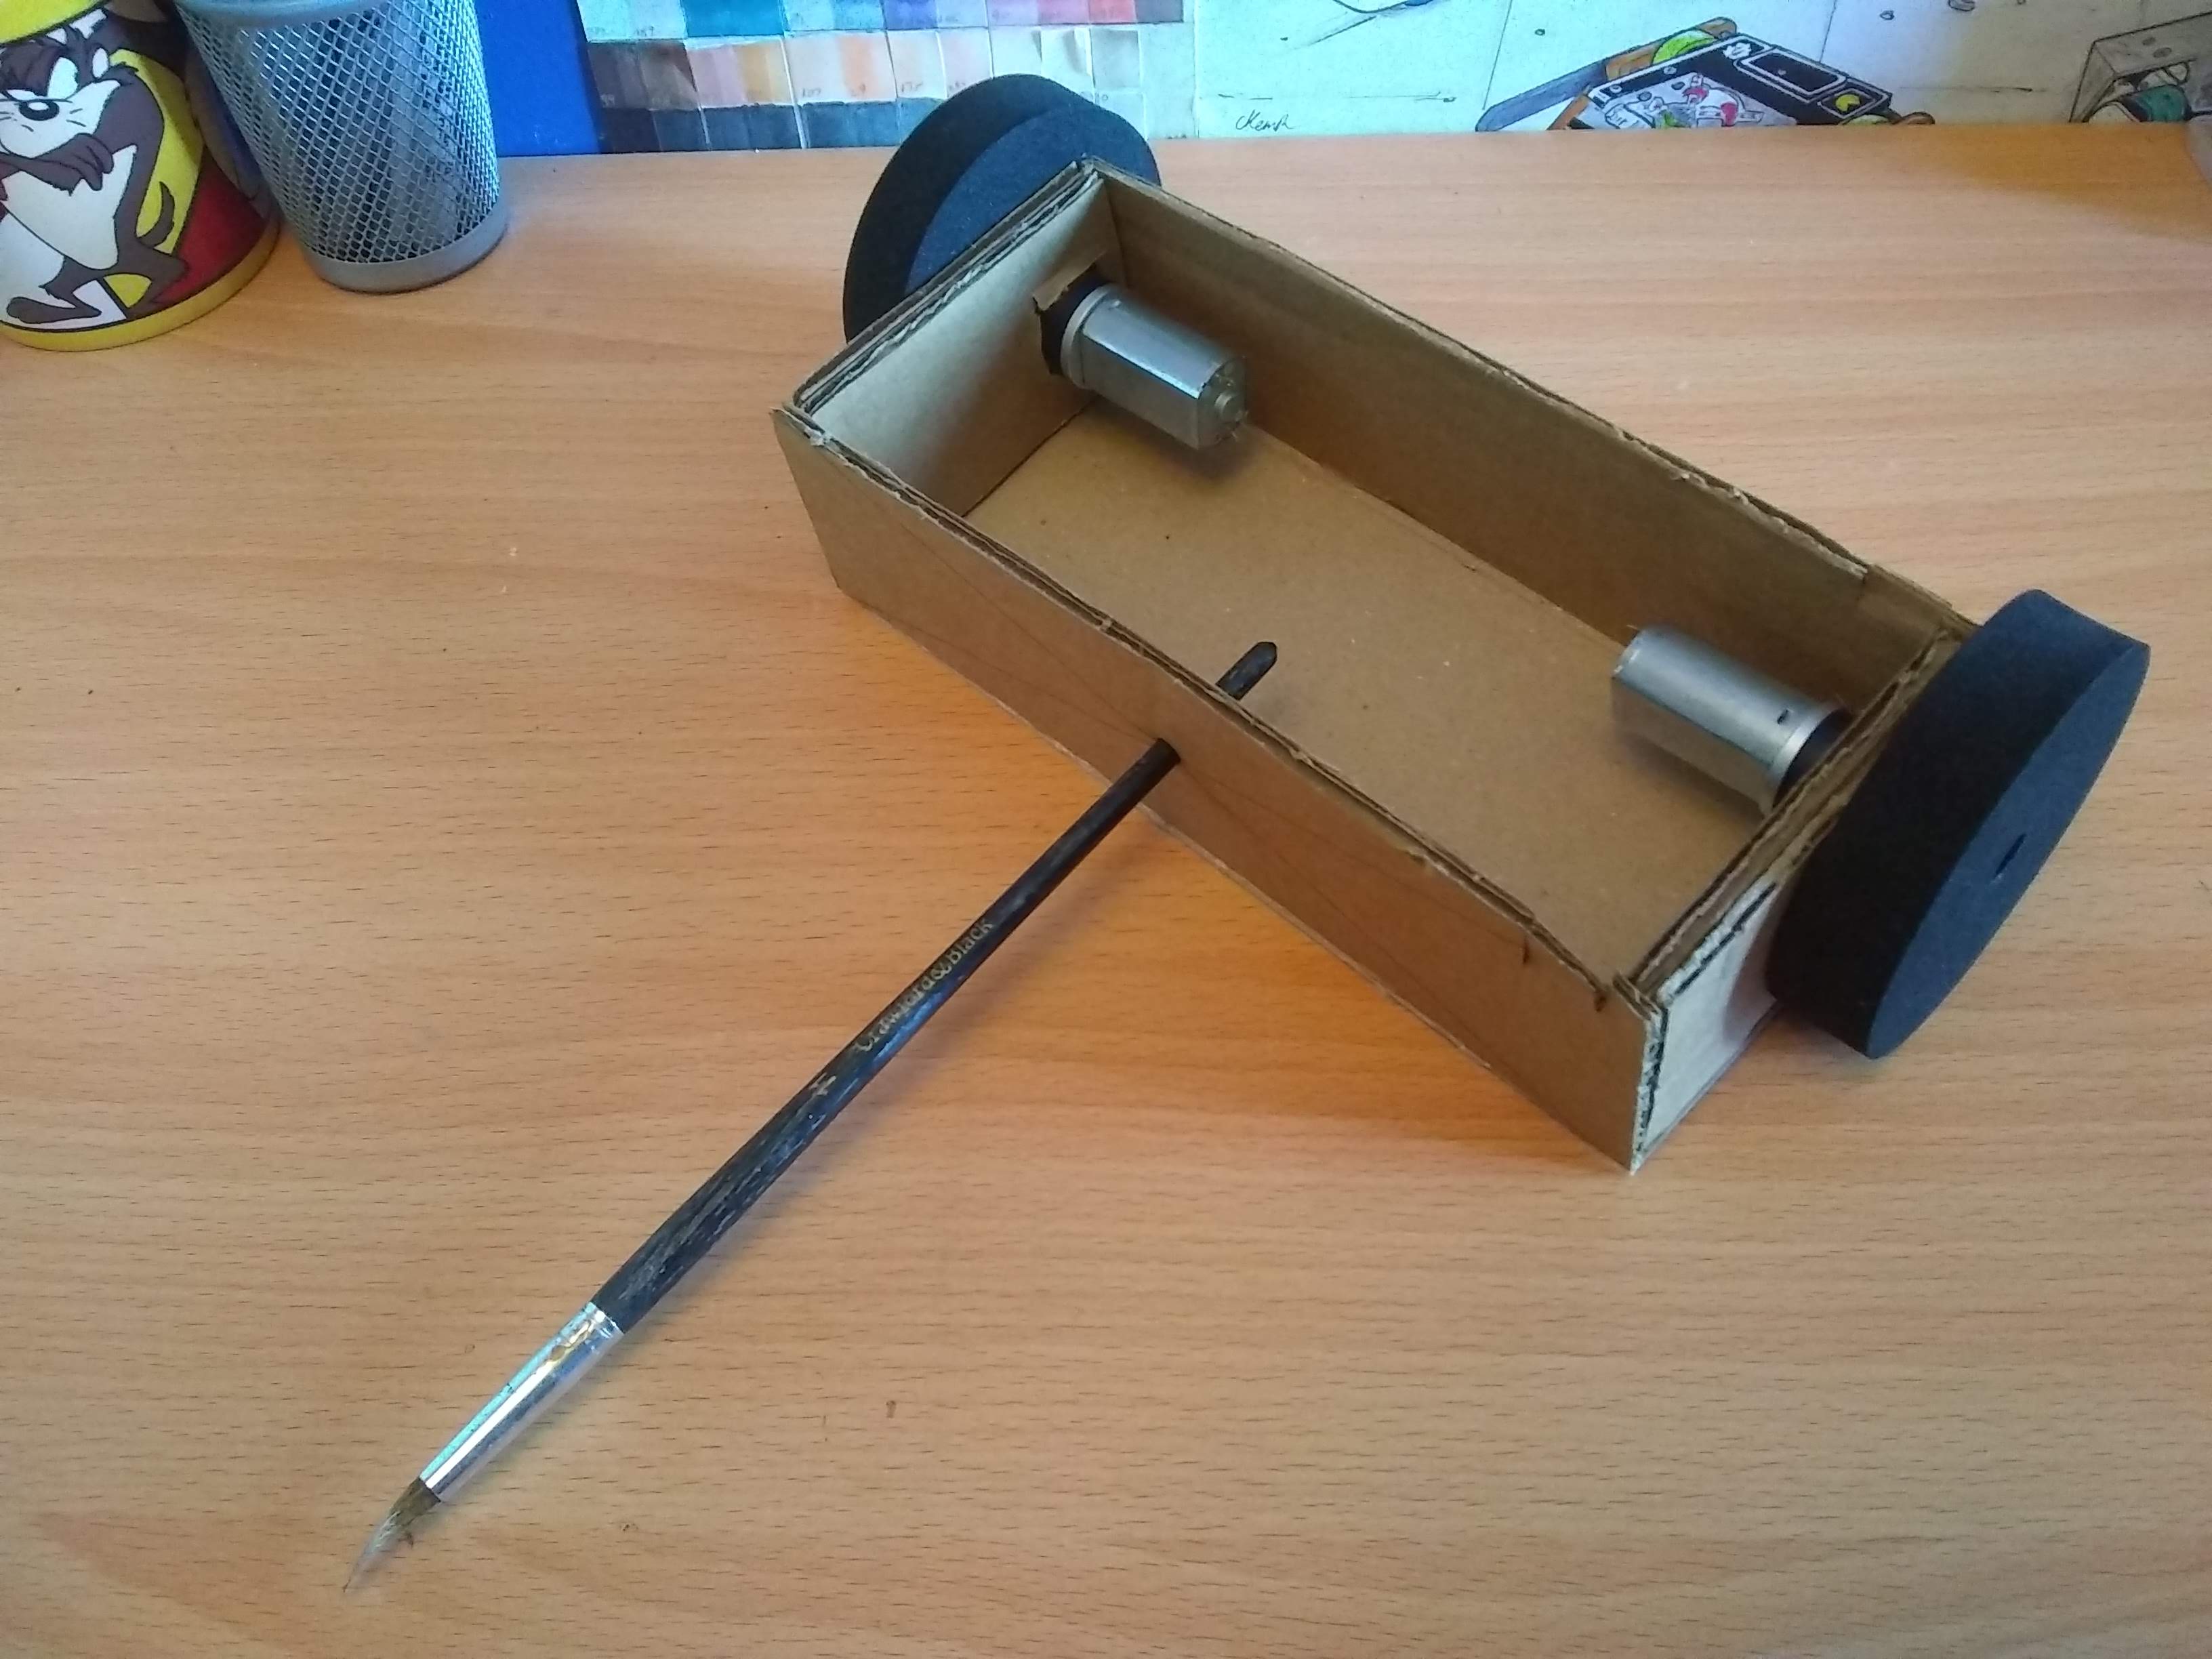
With the wiring almost done, I made a quick cardboard-aided design (the only CAD you ever need) and test-fitted the electronics, I used an old receiver as a stand-in for the Li-Po until that arrived.
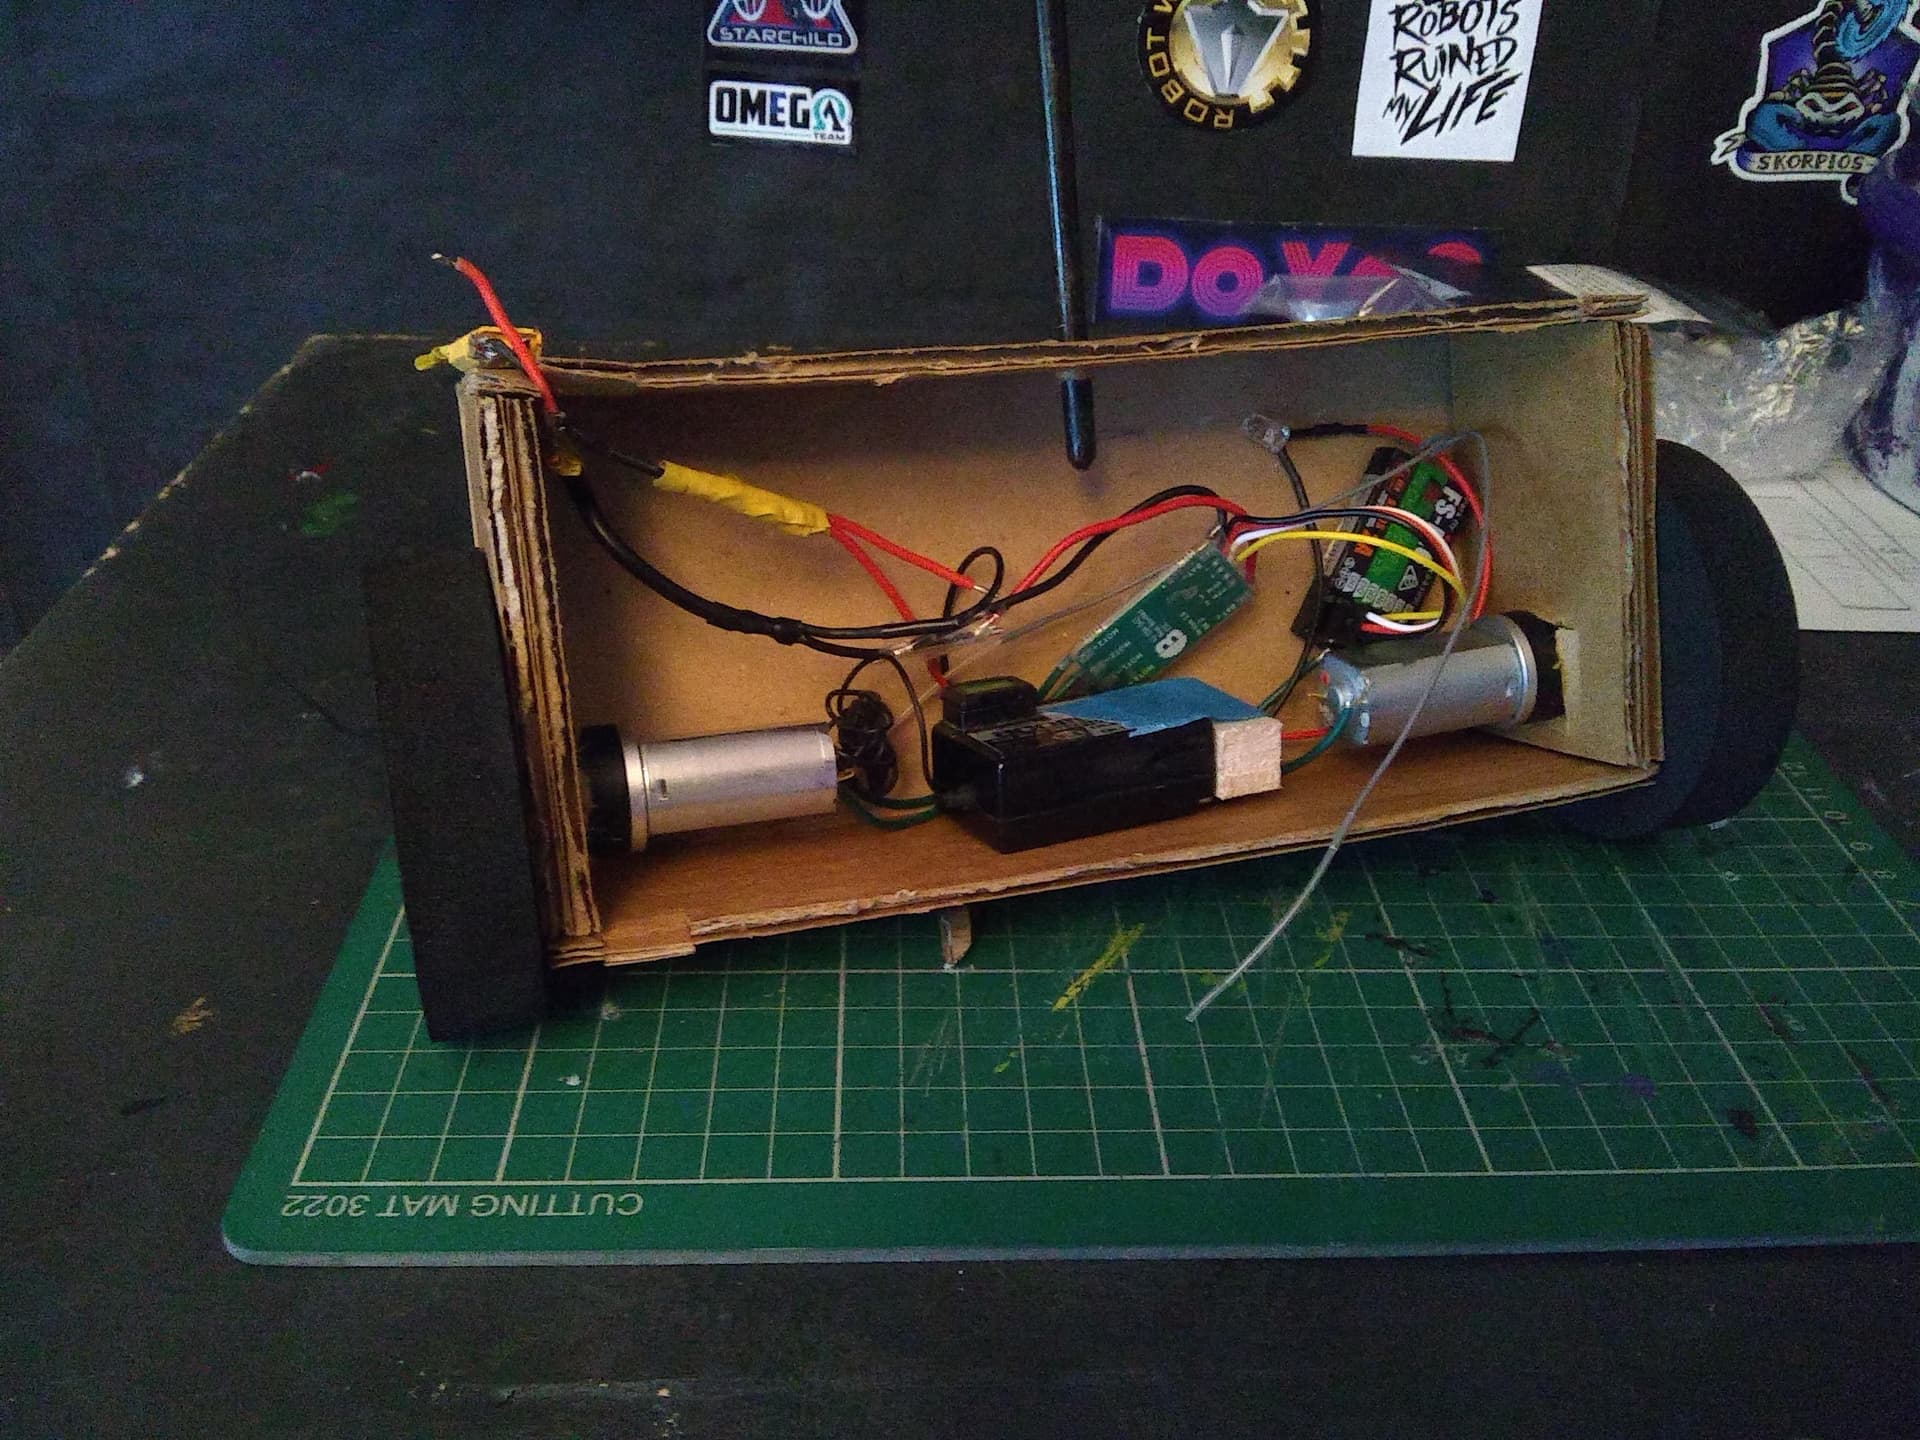
Speaking of which: there is nothing more terrifying than buying a Li-Po battery for the first time. I watched many safety guides and made sure I was prepared to handle an evil box of magic smoke. I, being a bit of a scaredy-cat, went for a 650mA 3S lipo from GNB. Very small and underpowered, but good enough for my needs.
With all the electronics sorted and a successful test (the only minor setback being my badly soldiered link), I set about building the actual chassis of the robot. I ordered 10mm and 5mm pieces of HDPE at 25cm x 25cm each from Trent Plastics. Then set about marking up the panels. Nothing fancy, just a bunch of rectangles. I may have had help cutting these out (thanks Dad) particularly when drilling the 22mm holes needed for the motors. Some practice with hardware is still needed.
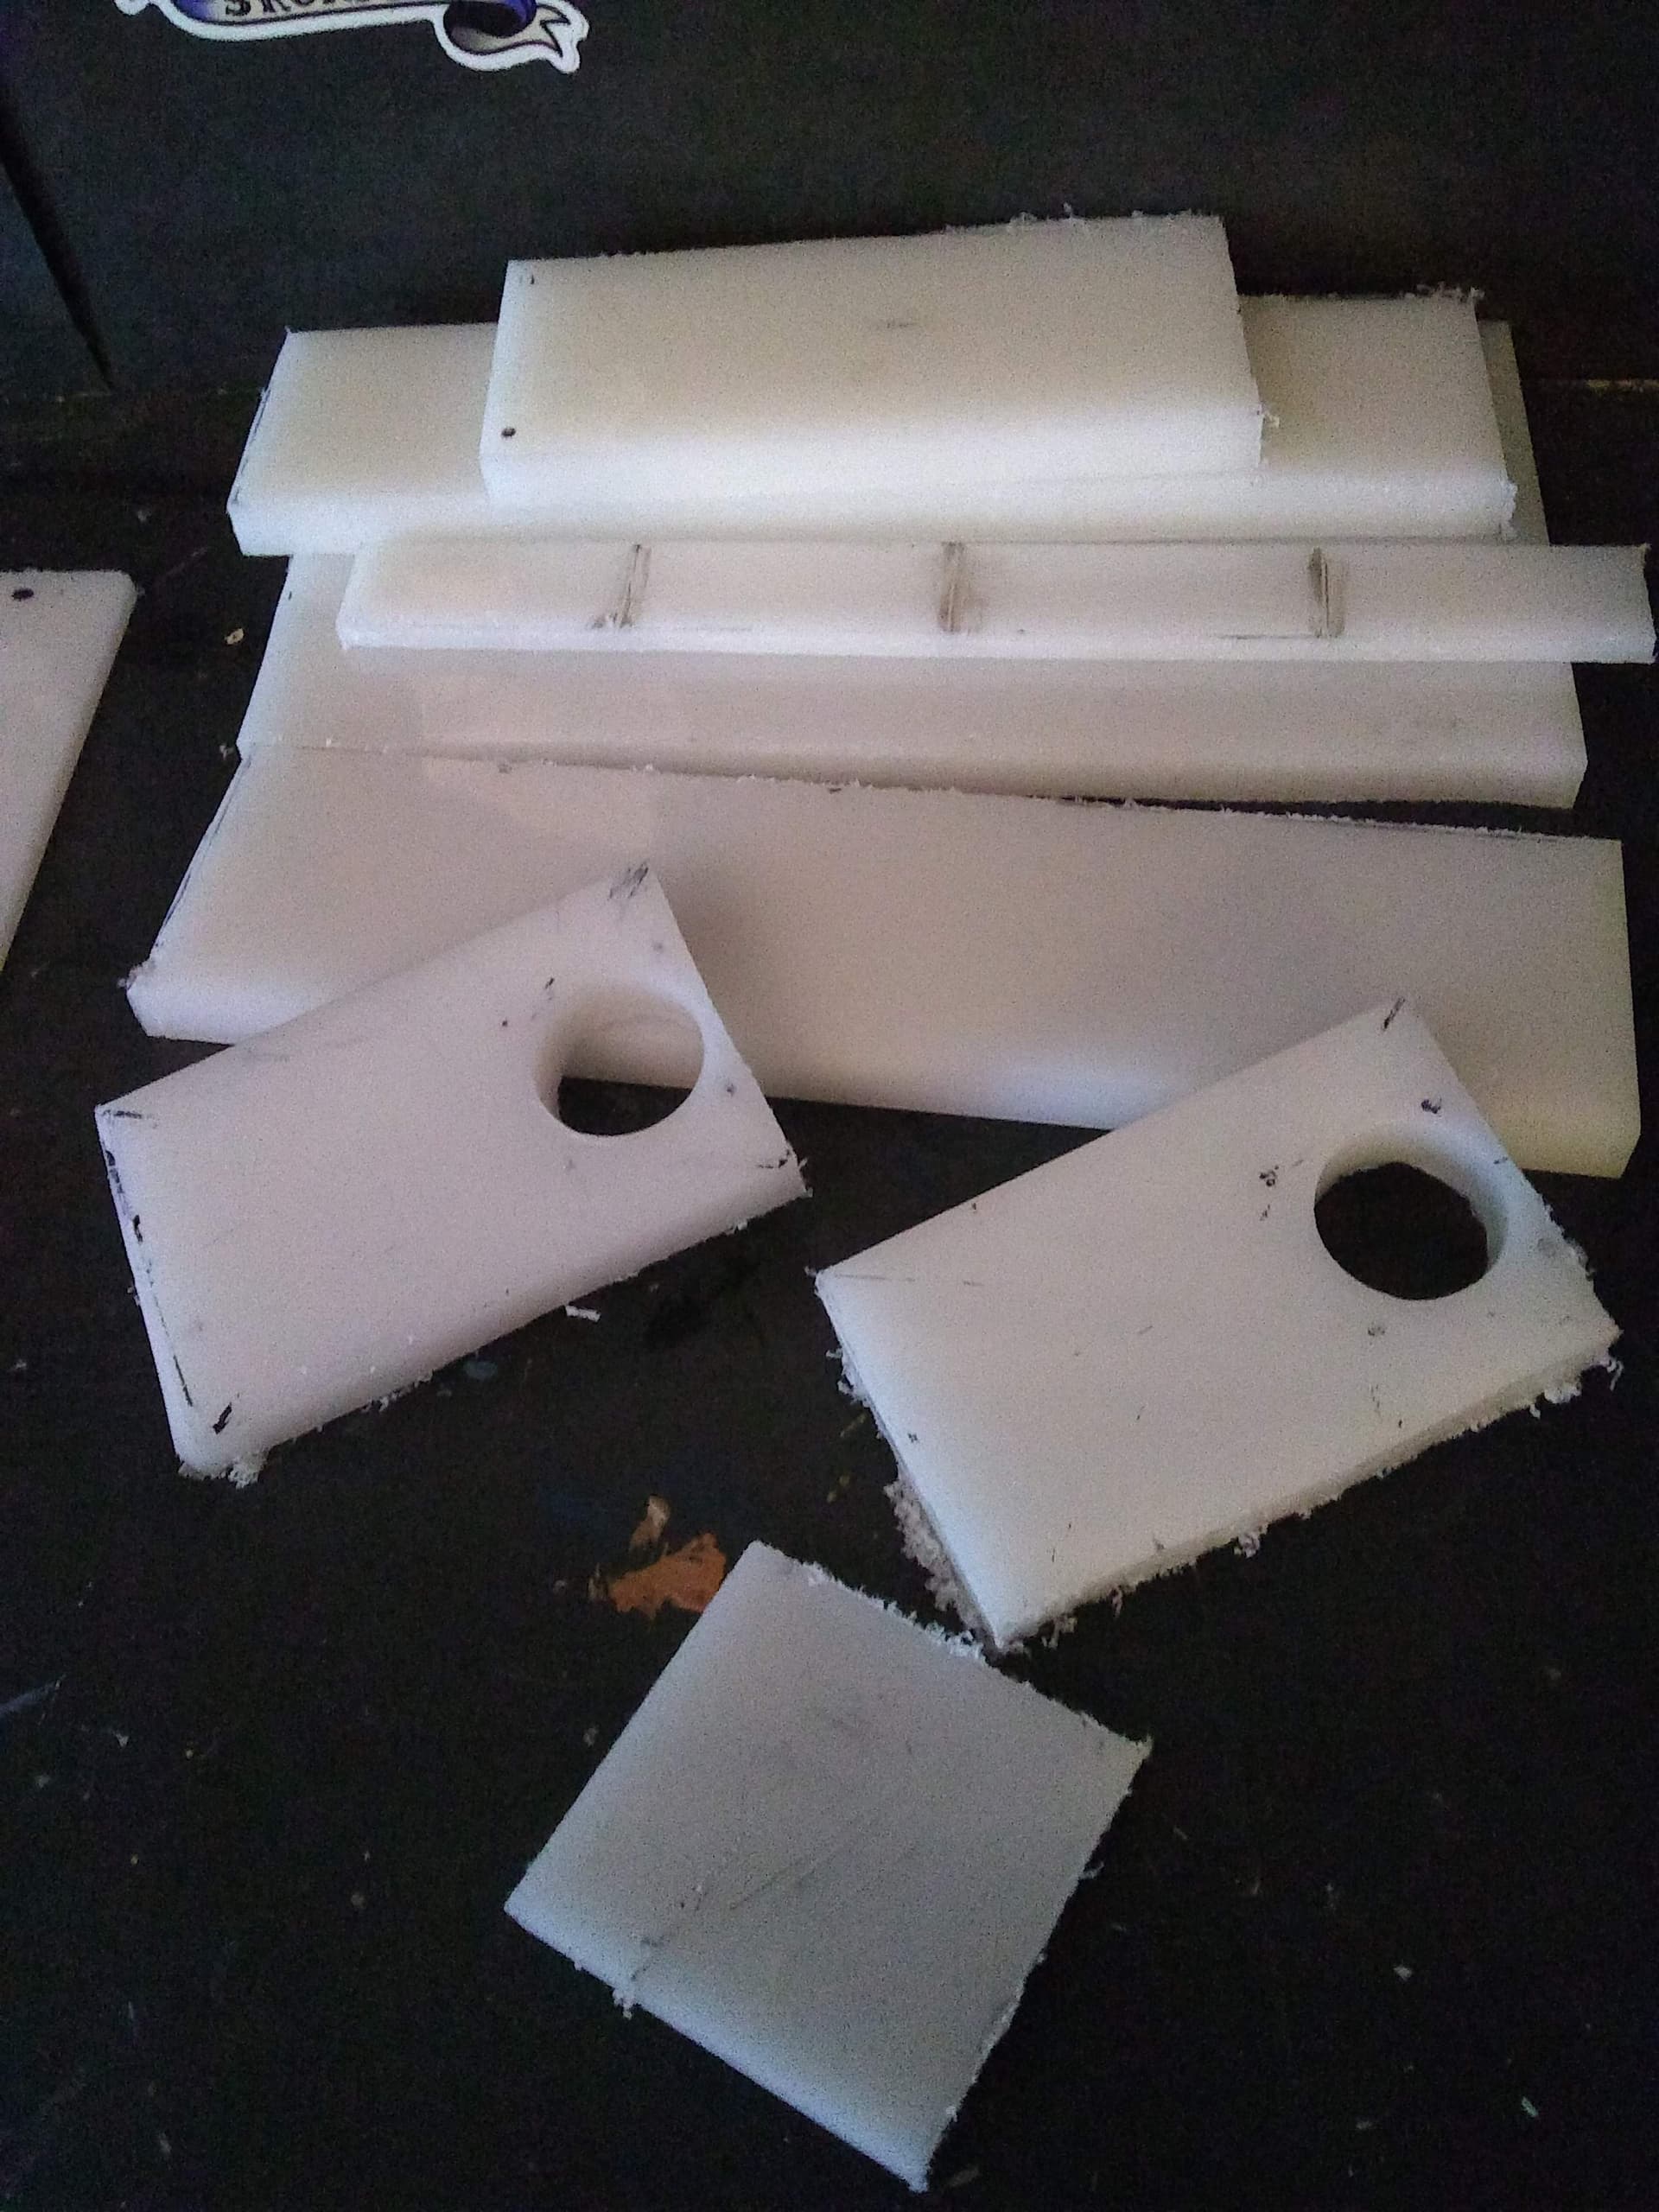
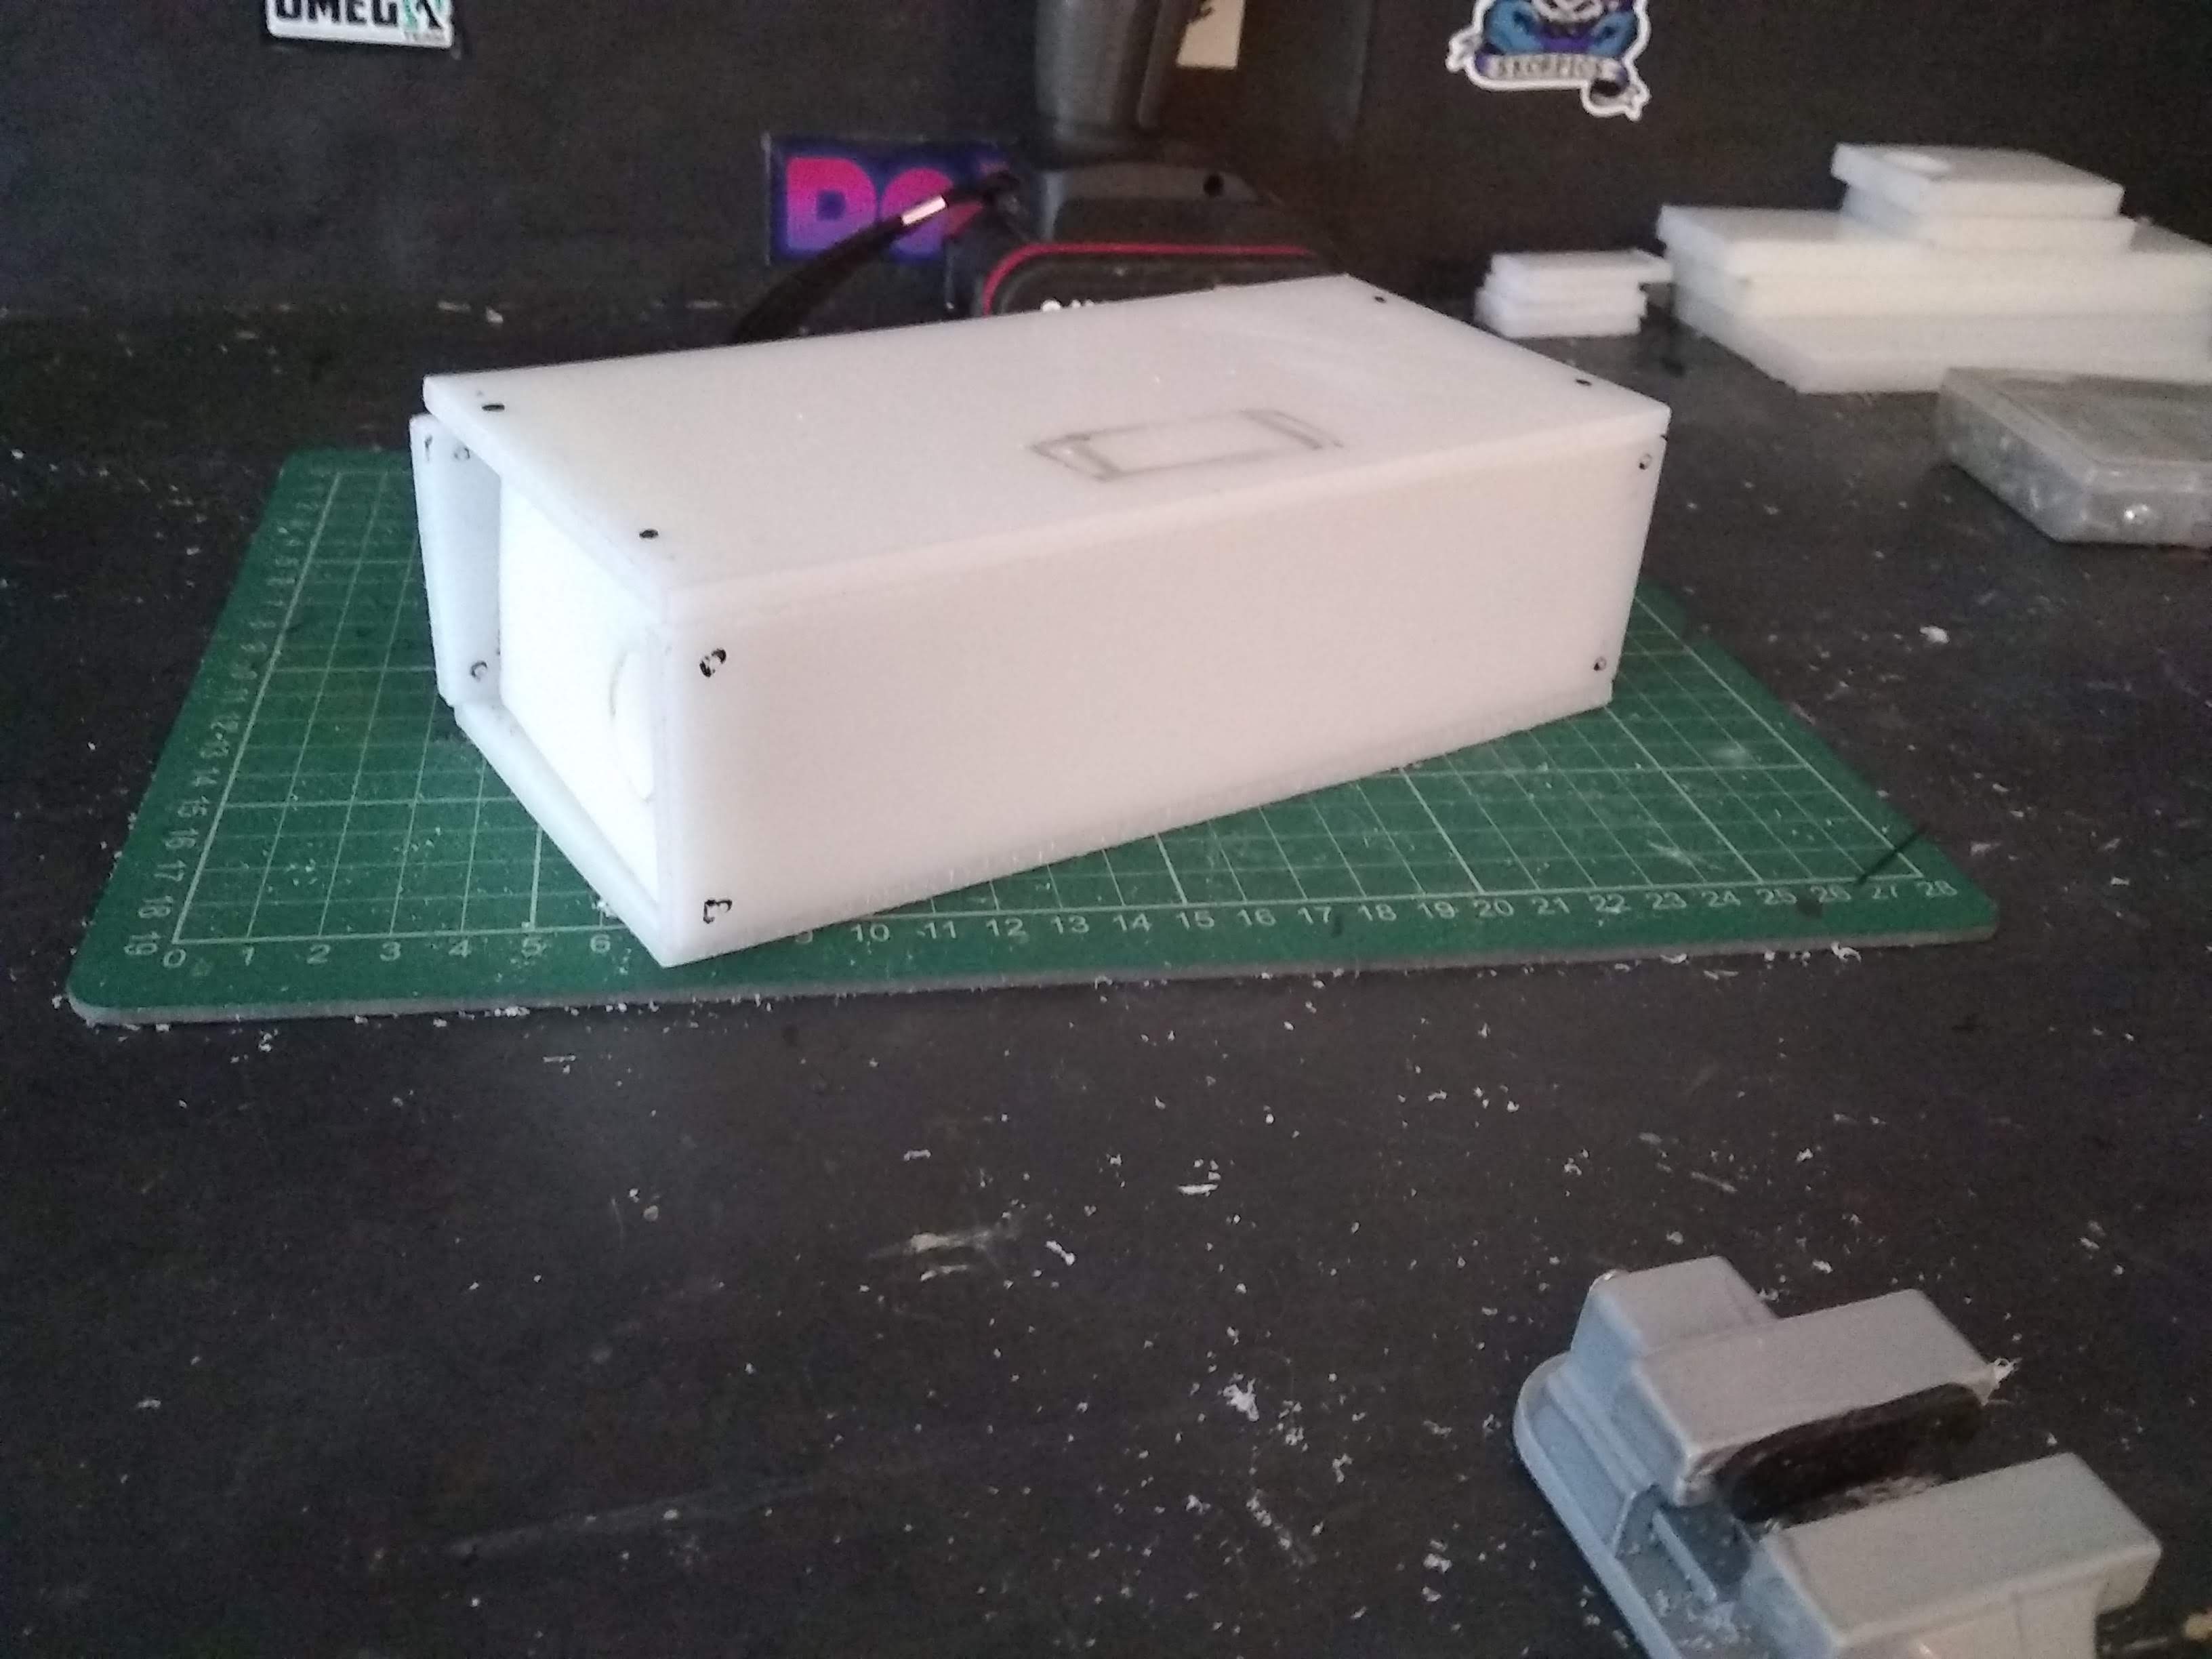
With the parts cut it was time to assemble. Some holes were drilled, some straighter than others, into the 10mm HDPE sides and the 5mm pieces were screwed in place. After some faffing about I had something that was vaguely robot-shaped and was able to add the guts.
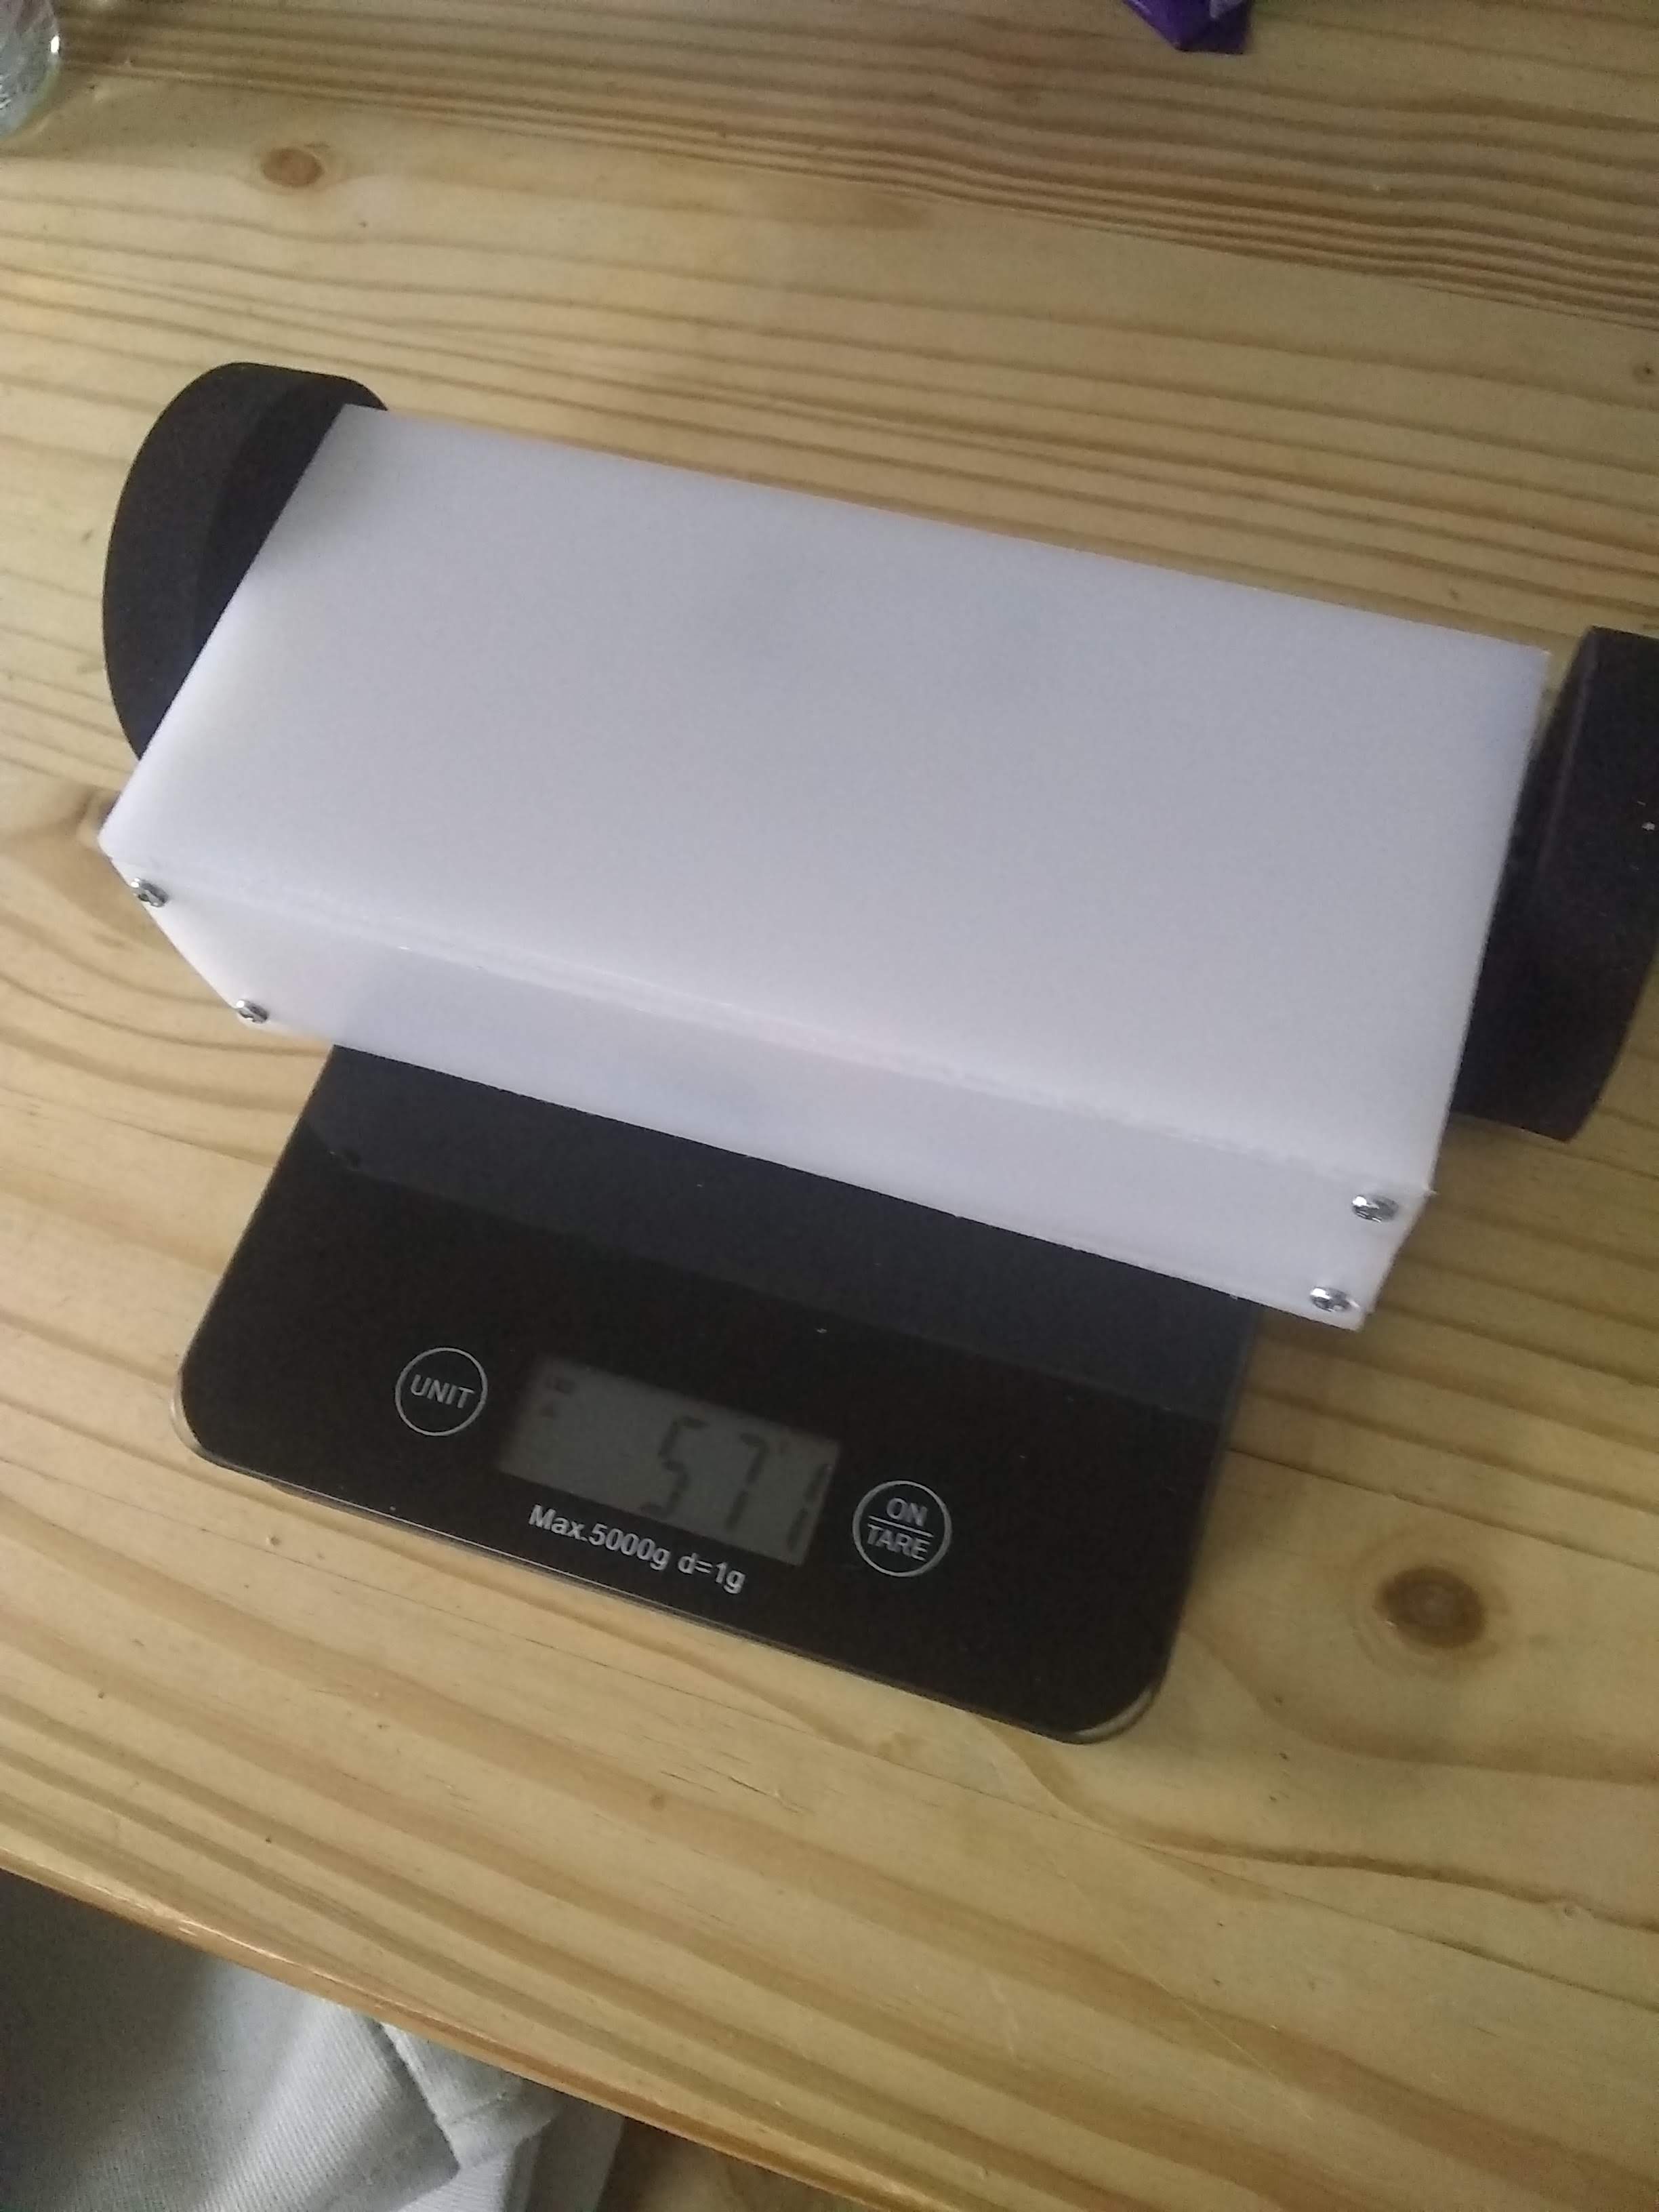
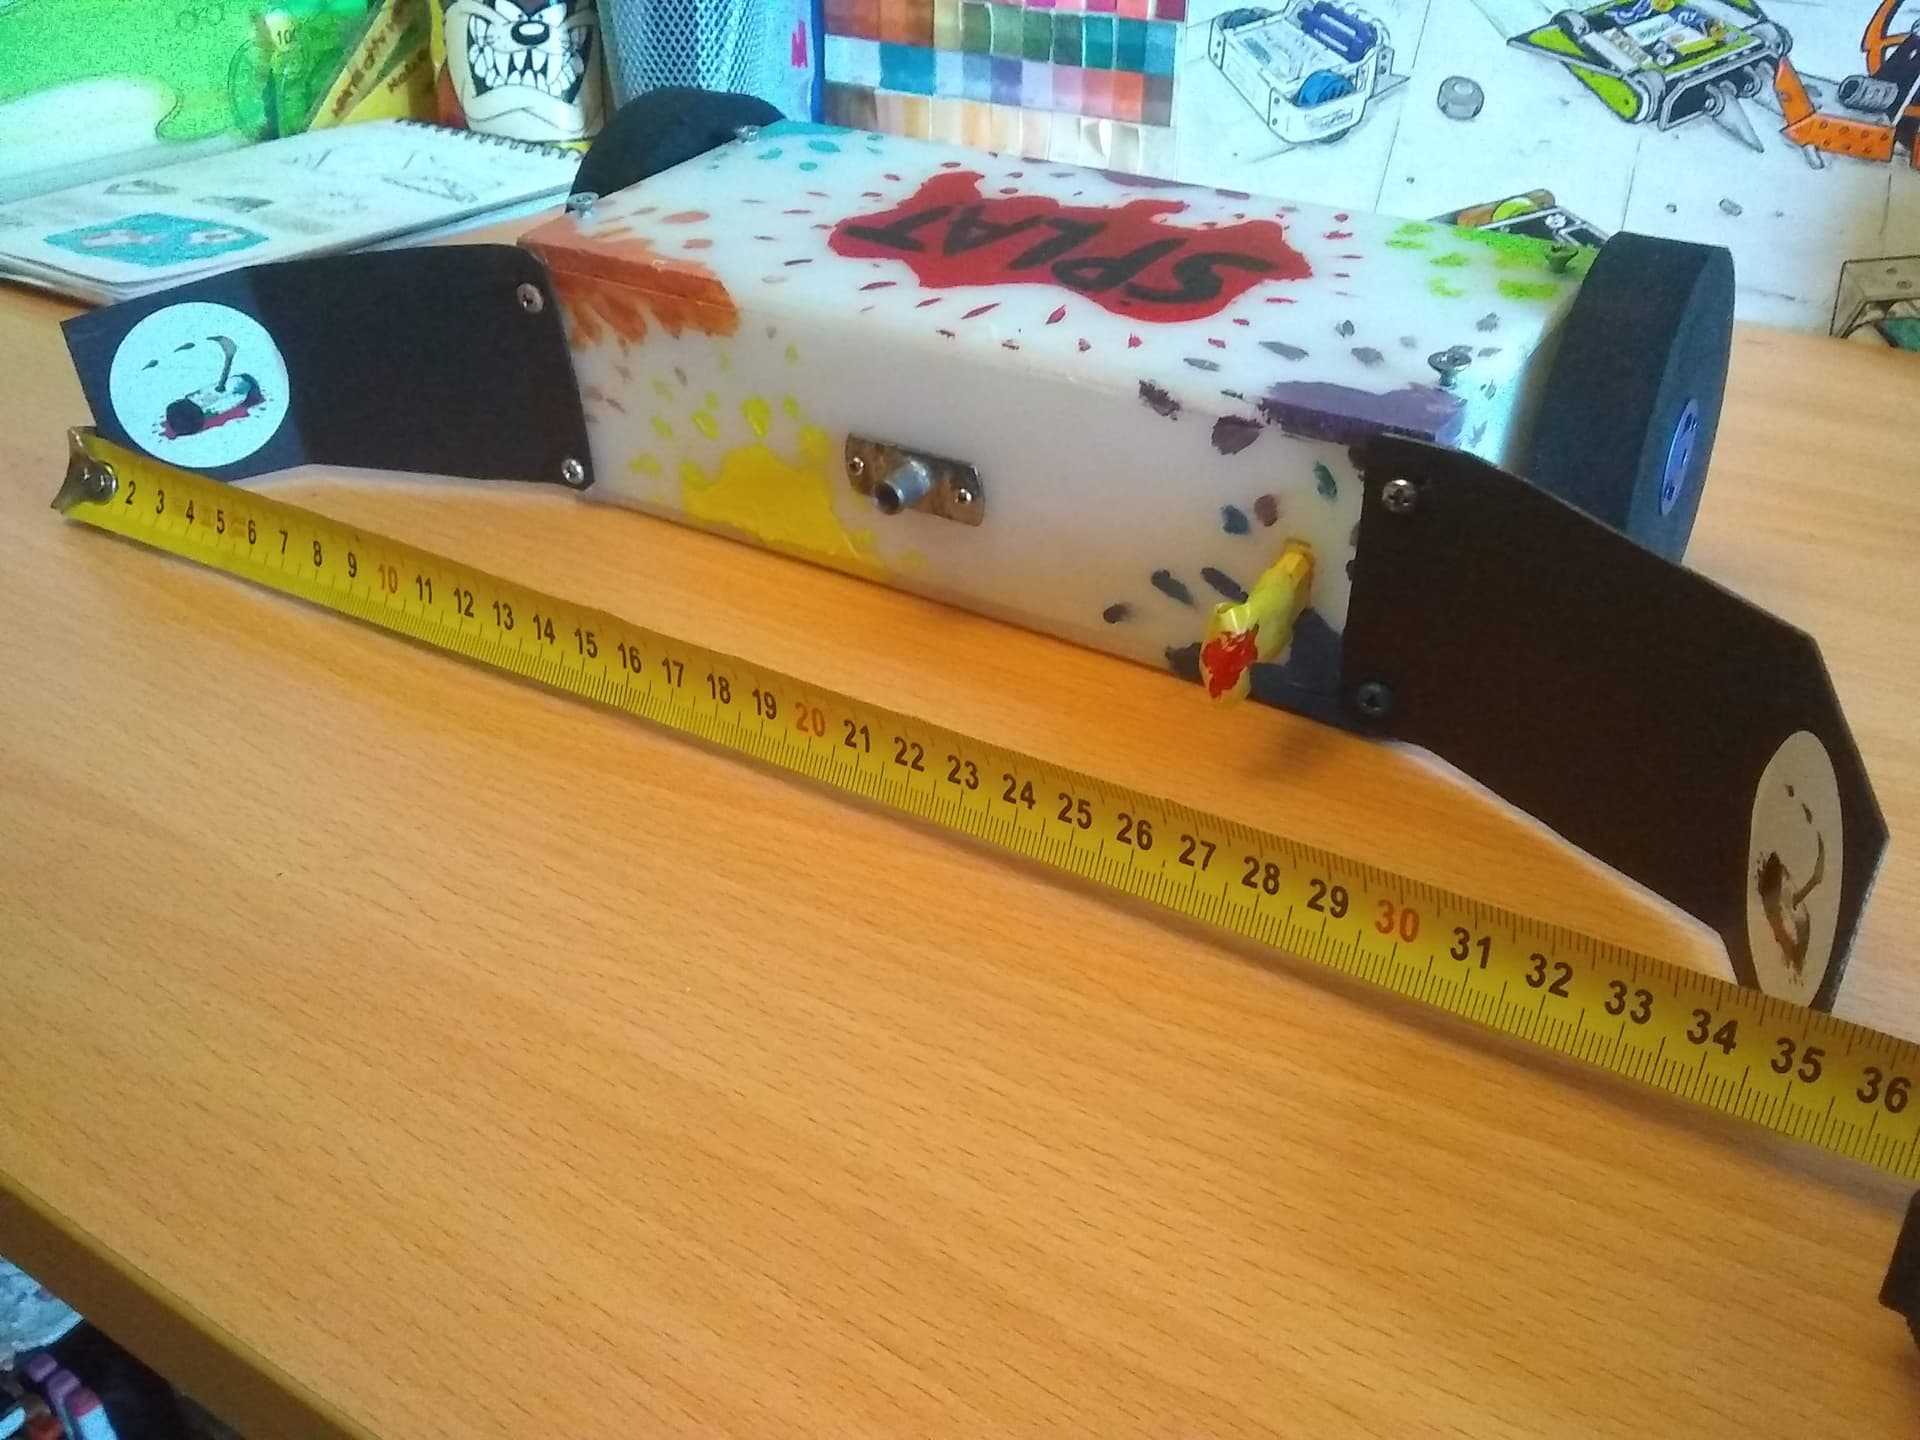
With the electronics in it was time for a first weigh-in and, oh my, were we in weight.
Coming in at a (not so) whopping 600g, it was not much heavier than a US antweight. Well, I can keep my options open, at least.
The bot was interesting to test drive. In that, it zipped around uncontrollably, then flipped over and ejected its guts. Well, at least it can have a good thwacking motion. After securing the innards and getting to grips with the driving. I had plenty of time to add the finishing touches.
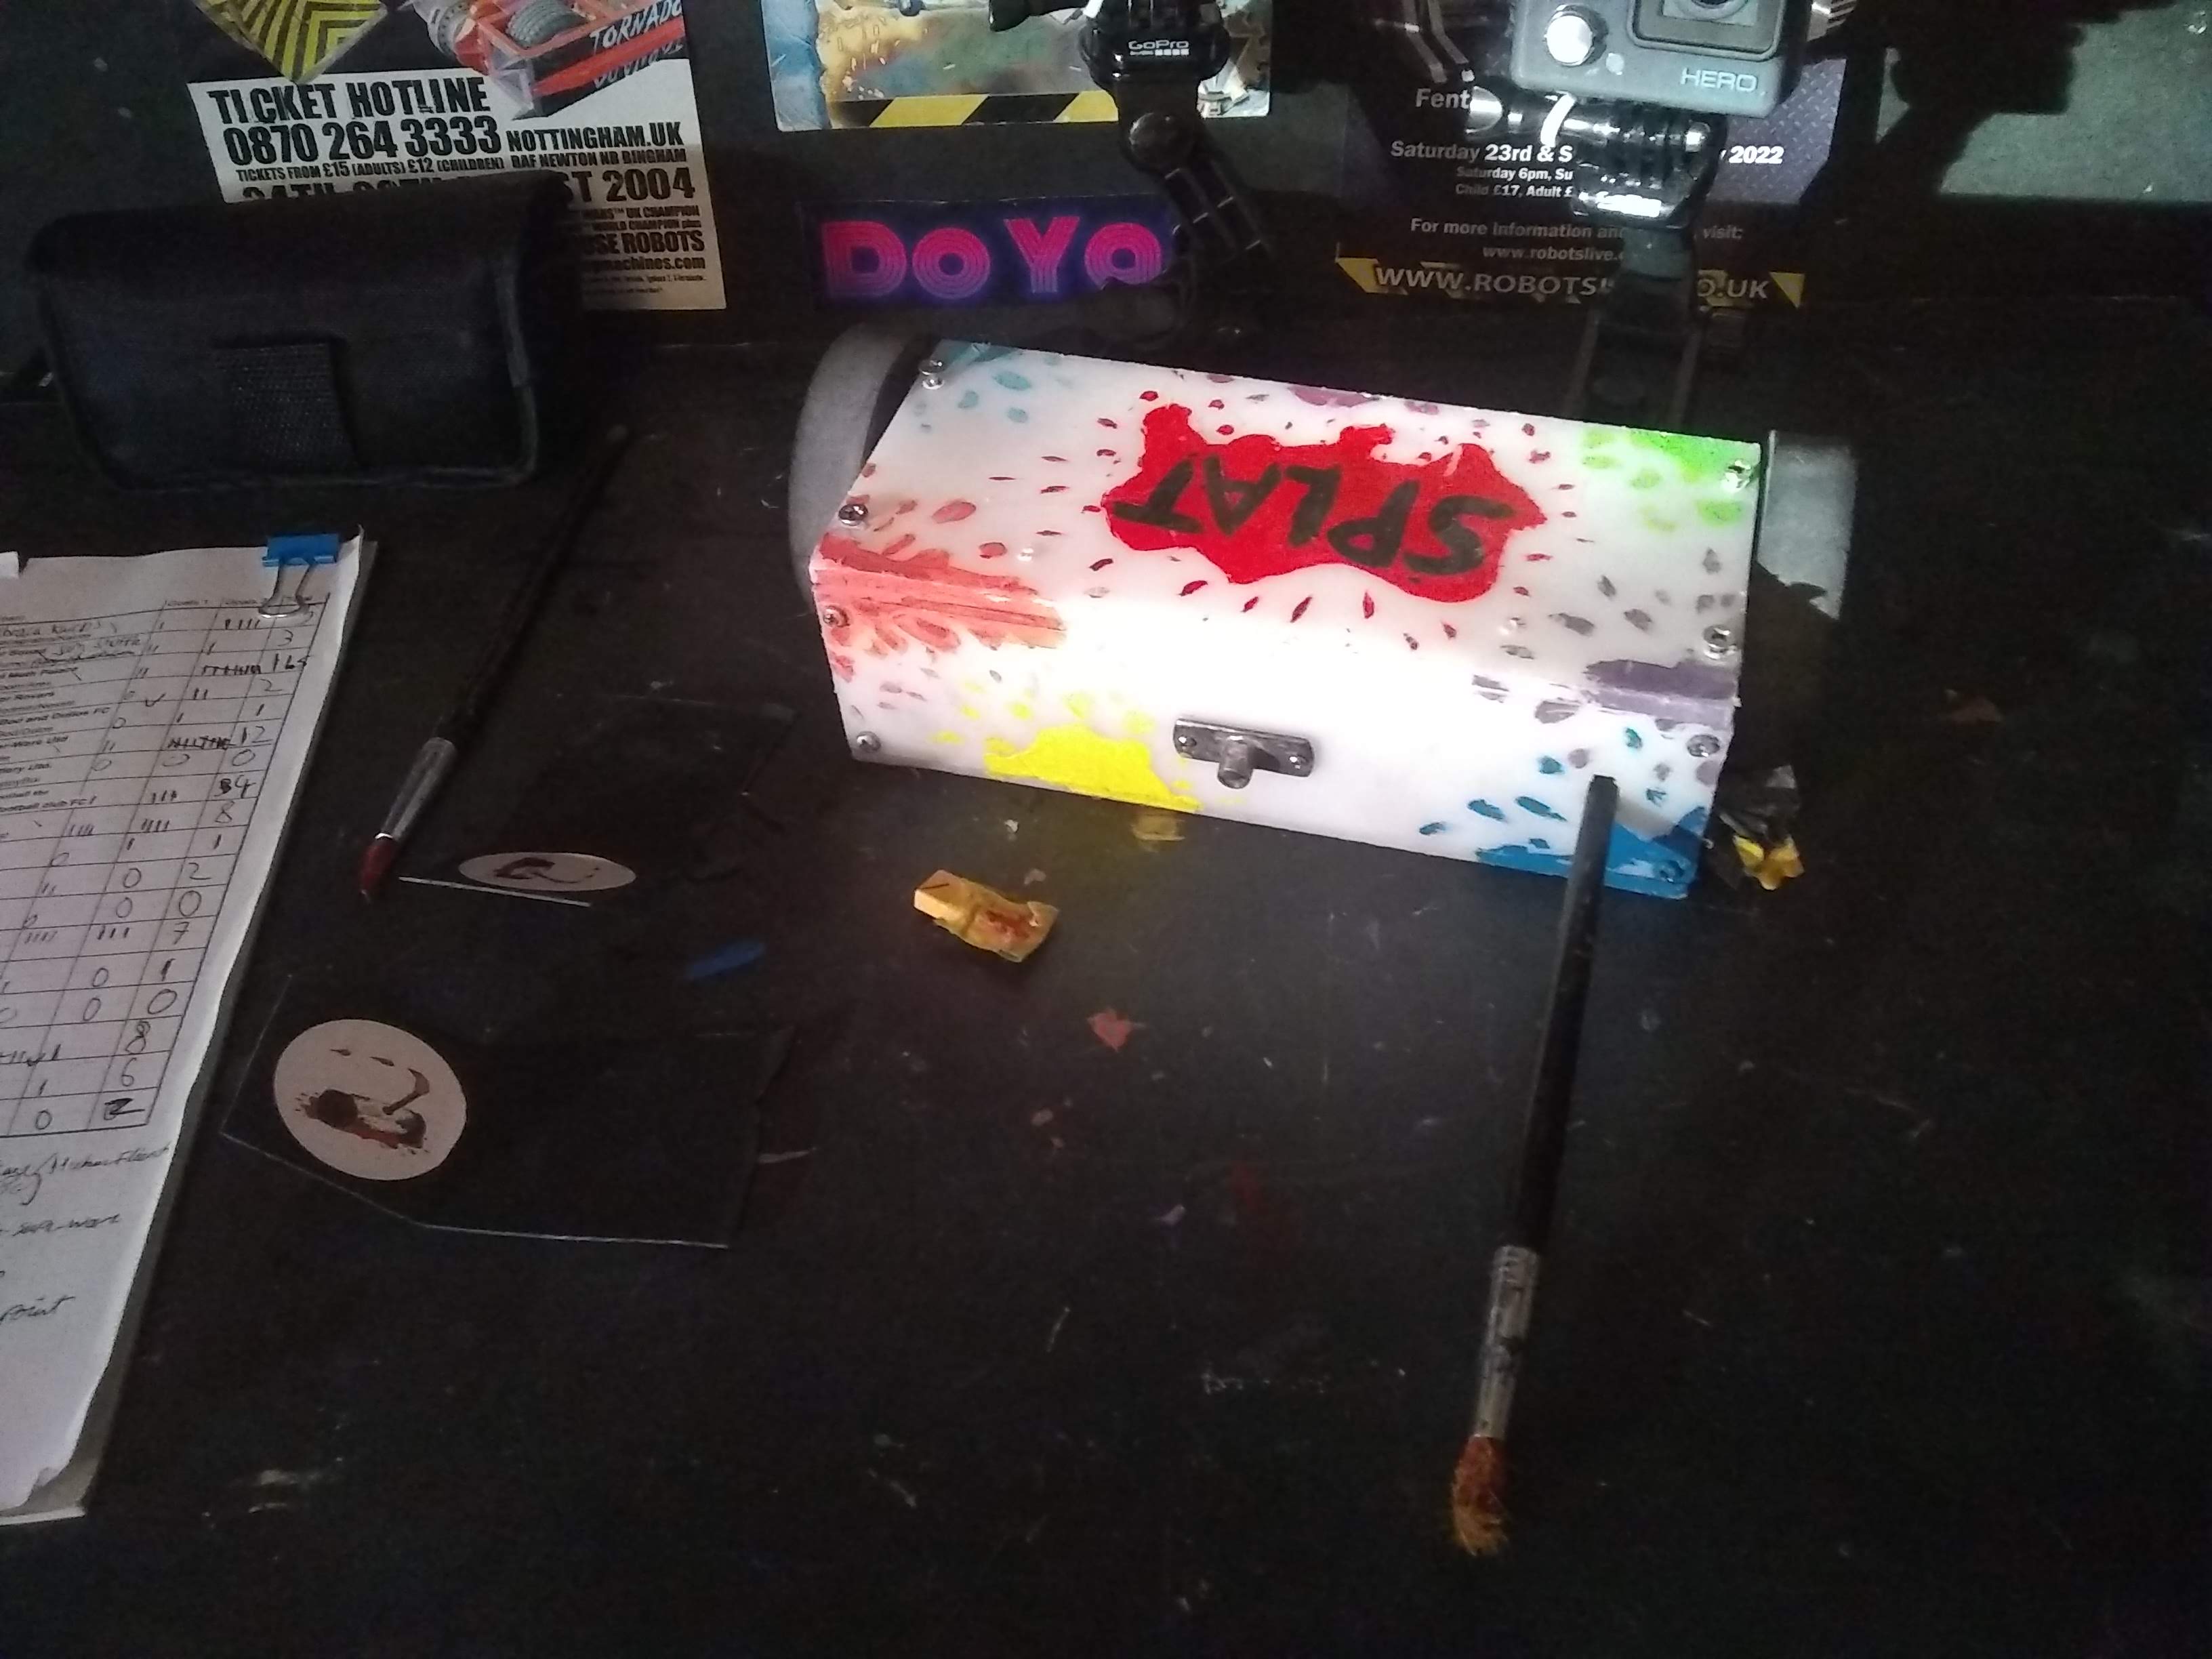
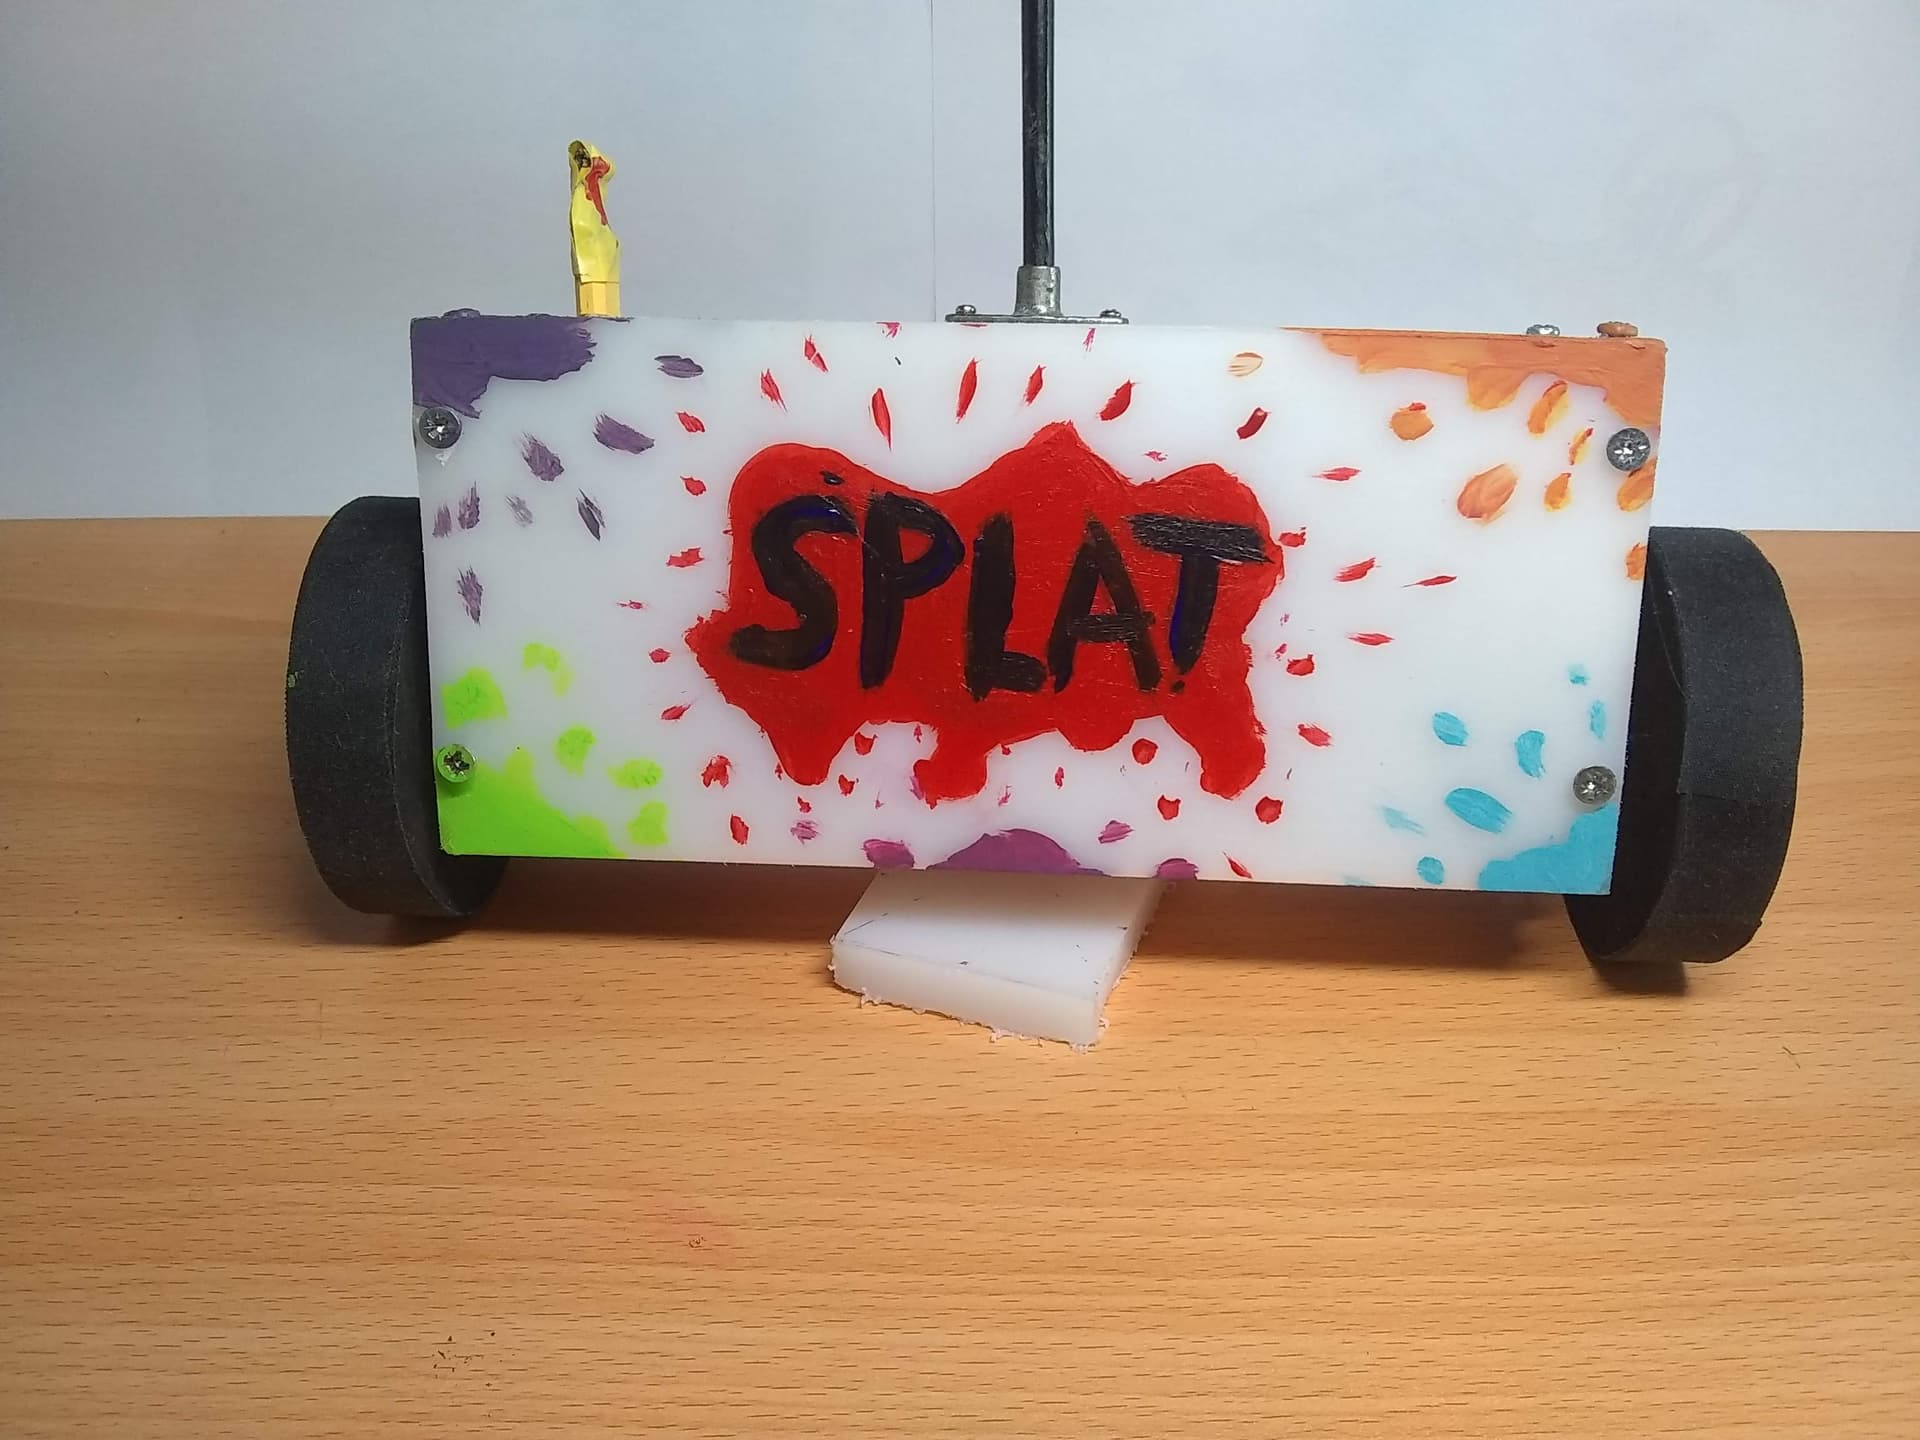
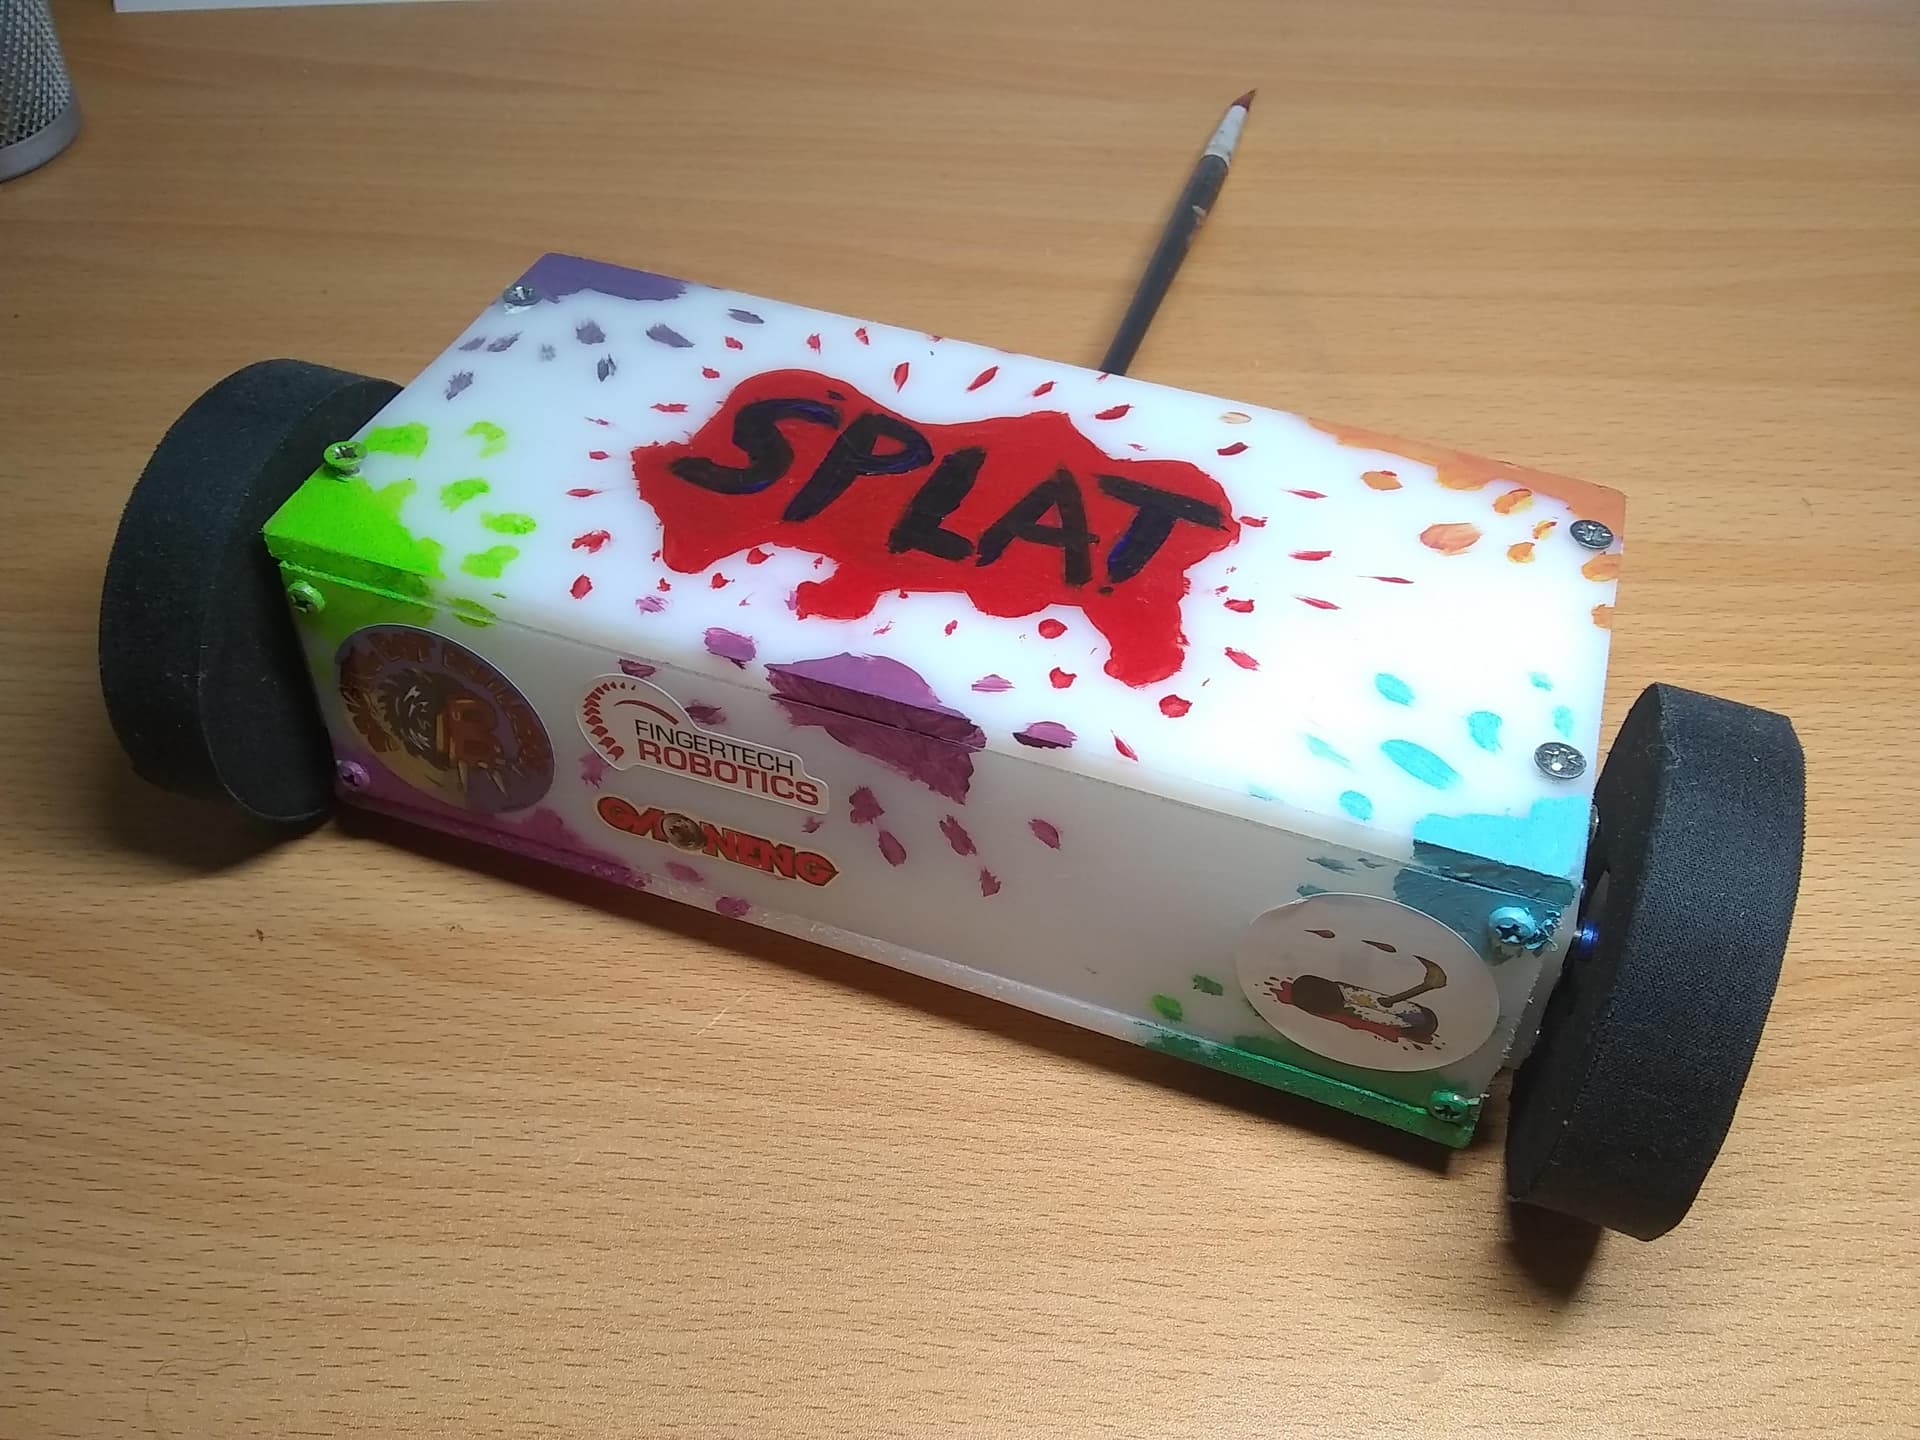
I’m probably not the first to discover this, but painting HDPE is a pain. I sanded down the rough side to give the paint the best chance of sticking. Primer would have been advisable but I just rushed straight in and painted on the Art Attack-inspired splats with good ol’ acrylic paint. I’m kind of shocked at how close to the original drawing I was able to make it. And after raiding my Dad’s shed I had a perfect little mount for the paintbrush. And, voila, a paintbrush Thwackbot!
RoboNerd Prep
With still a few weeks to go, it was time to prepare for the event. As part of the team organising the RoboNerd trials, I knew we were planning a football event and attempted to make a quick attachment that would help stop the ball. They were two wide arms at the max allowed width, and were only made out of thin plastic from a DVD case so weren’t the strongest nor the best. Other teams had similar ideas and put far more thought into their attachments, particularly Ellis Ware and Rob Weston, who had theirs 3D printed.
I also moved the link from the front of the robot to the side as I realised my arms would guide the ball to my link and switch the robot off.
ROBONERD 2023
Up on arriving at RoboNerd, the first thing everyone did was pile all their Beetleweight into the Lego Wars arena. I still don’t know why, but a few people had already done it when I got there and it seemed funny at the time. Apologies to David of Smeg It did allow me to take a photo of my beetle with everyone else’s which I still use as my phone wallpaper.
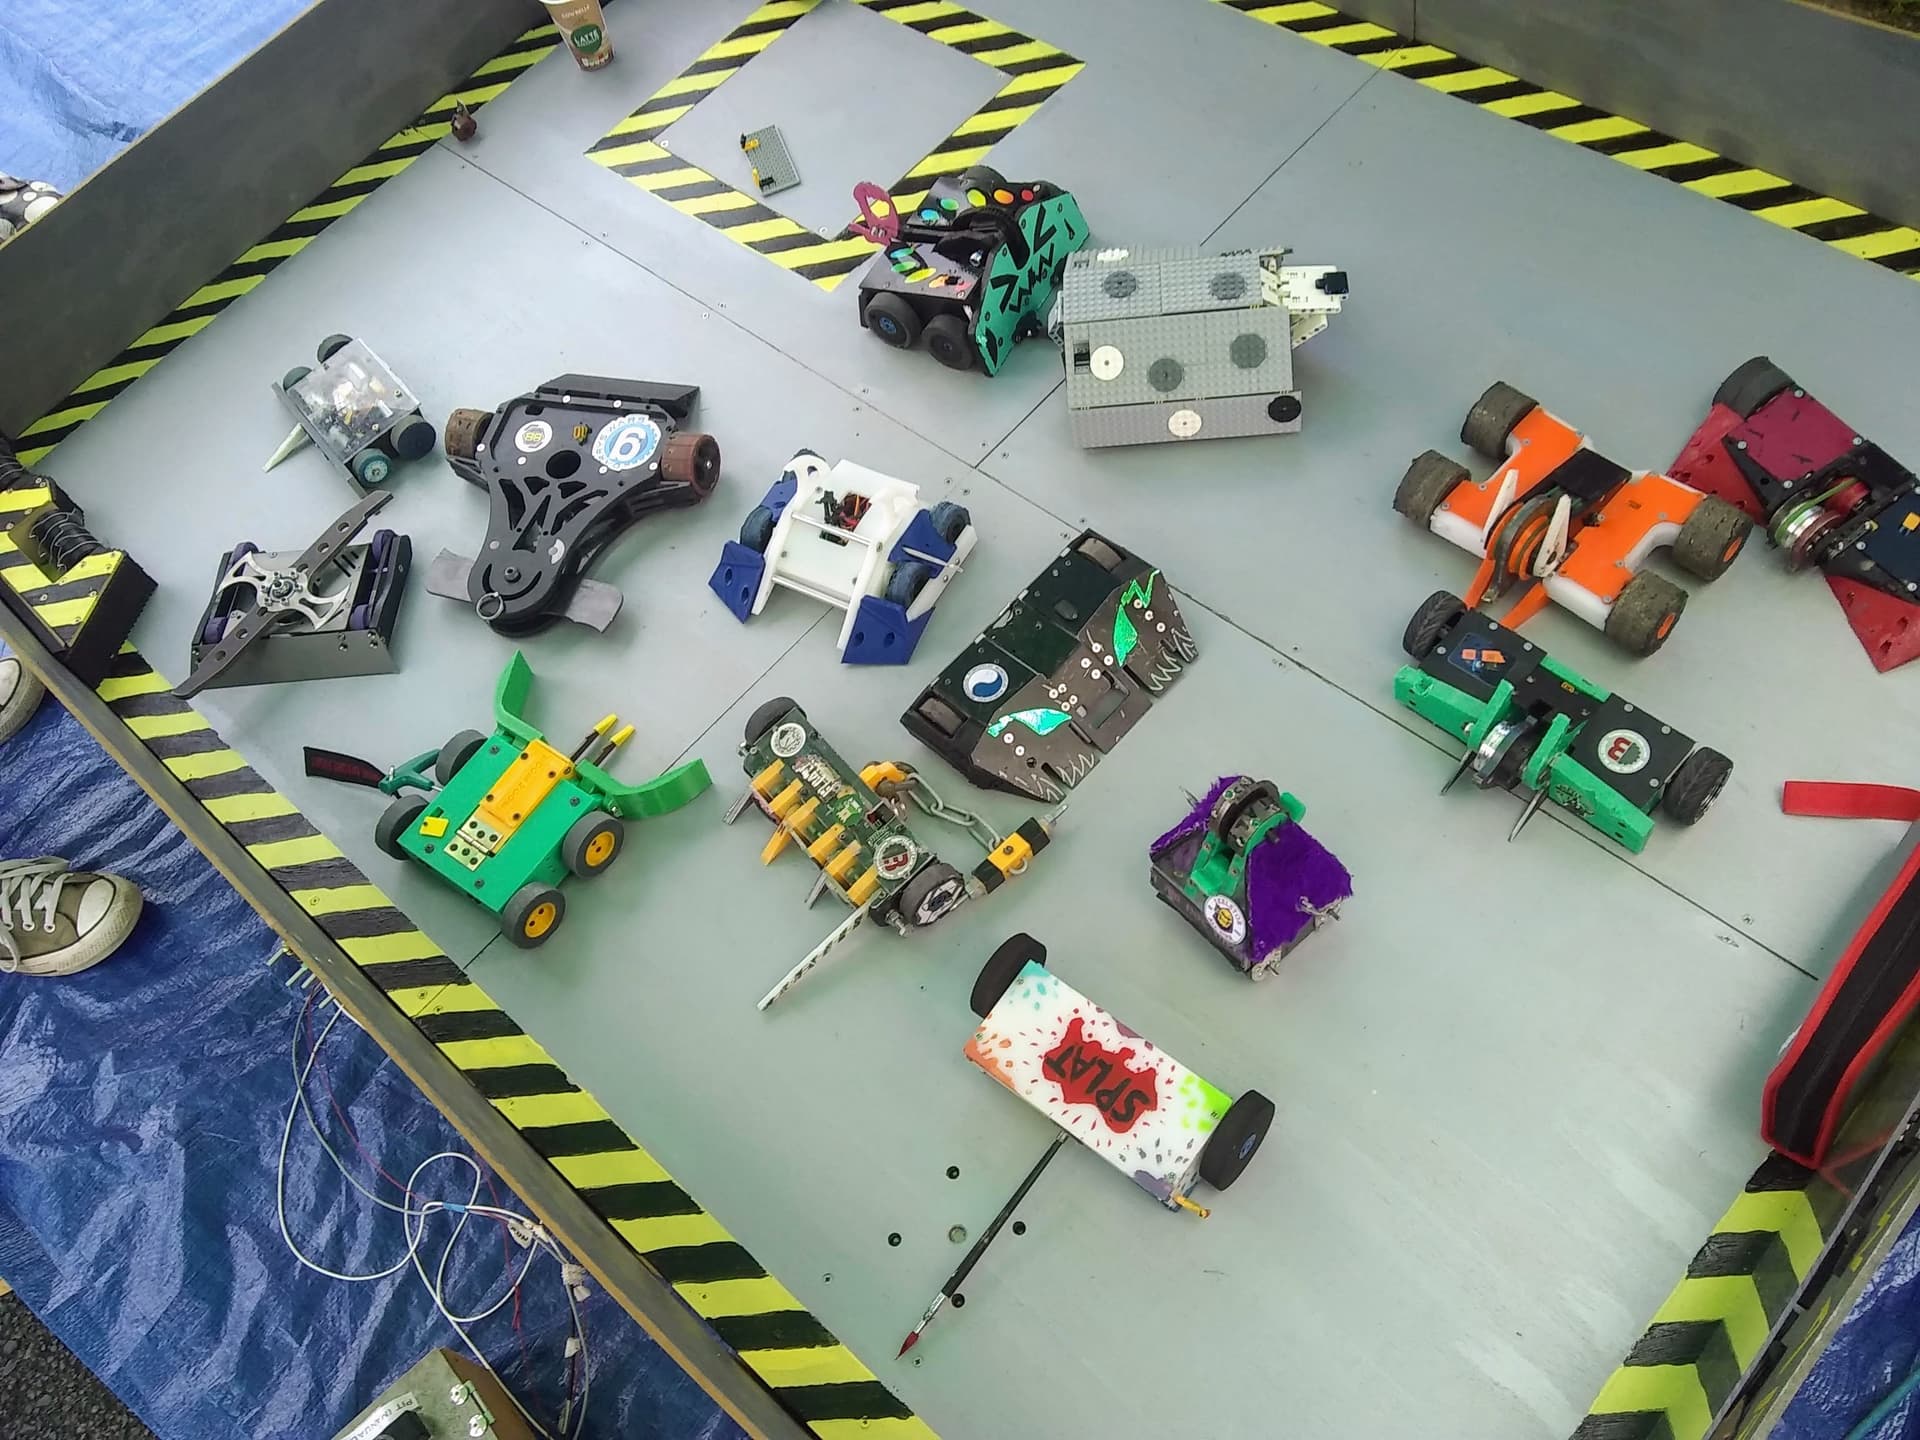
This is my favourite picture, sorry David.
First up was football. During a quick test drive, I immediately snapped off the paintbrush, with no time to repair it, my teammate Siren, built by The Seaborg, and I took to the field. Unfortunately, my flimsy attachments soon broke off after being hit by a solid rubber ball (and the opposing robots). Despite my teammate and I, having a 0-5 score I was pleased that Splat kept working.
With no attachments, I took to jamming the paintbrush into the old link mounting hole as a sort of sudo-lance to guide the ball. Which was somehow better but still led to a 0-2 in our next football match. Despite this, a lot of fun was had by all and this was definitely the highlight of the whole event.
Later in the event, it was time for some grudge matches, most notably with my former football teammate, Siren. There was also a rumble feature Chris Sowry’s, Firebolt in which Splat spent a large amount of time in the air and flying out of the arena. But at no point did the robot stop working, even with the three-foot drops on the the tarmac.
The extended airtime did lead to the battery breaking loose from its mount and sliding forward, which stopped the bot from thwacking but made it far easier to control. In future, I will be putting more weight forward of the wheels for a nicer driving experience. I also discovered that the signal wire from the ESC had come loose, so some care may need to be taken to protect my internals.
All in all, I have lots to learn but I think I managed to make a reliable (if ineffectual) beetleweight for low cost and little expertise. Proof that you don’t need expensive machinery t create brilliant art attacks, I mean, beetleweight robot…