To give the router less material to cut away I cut out the HDPE to rough size. I had foolishly allowed my sister to borrow my Jigsaw so I had to get the elbow grease out and use a hand saw. Sadly the rain came before I could setup the router.
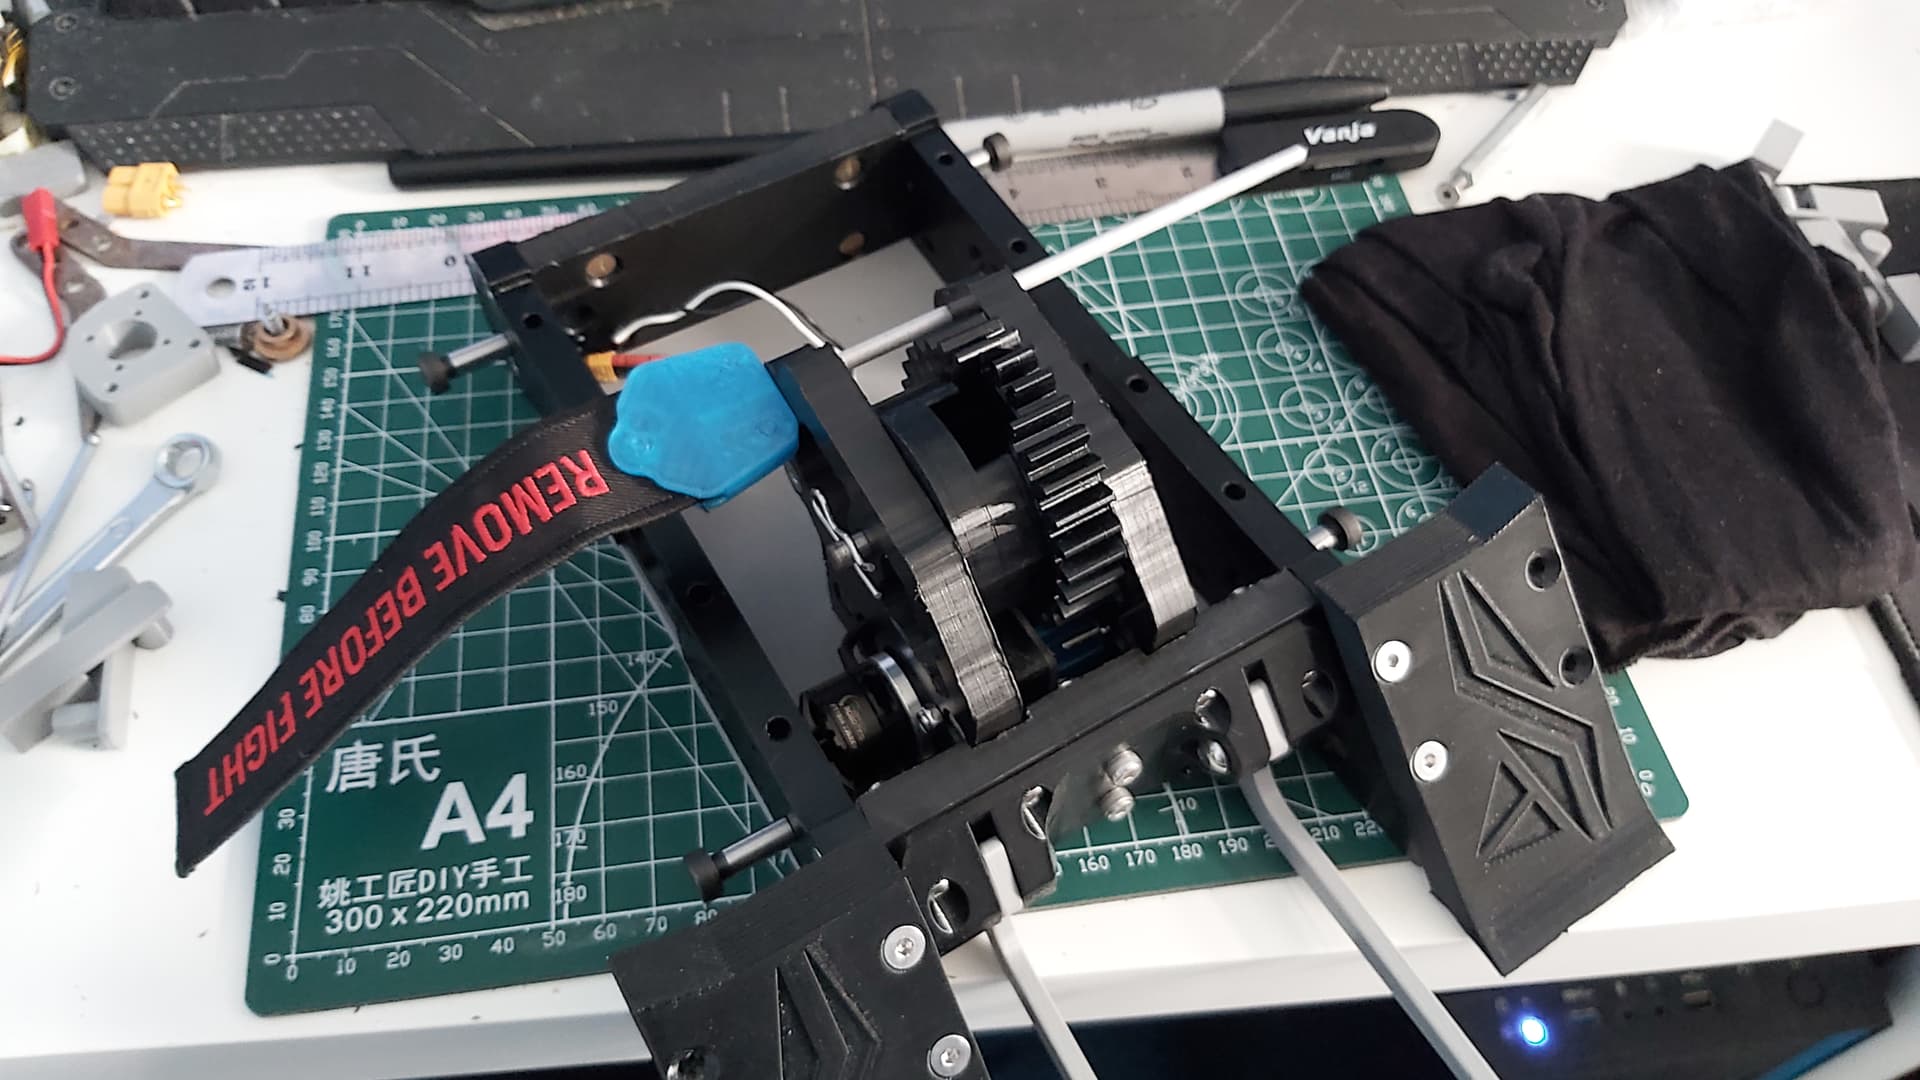
The bridge for the lifter was drilled, cut and sanded into shape before multiple test mountings. I also reworked the band placement so there was less tension and I can actually move the arm with ease.
Once I was happy with that I charged up a Lipo and preformed a self-righting test before a basic lift test on the old DB.
Like on the old lifter it extends to max reach and then a quick reverse and it’s righted. The reason lifter didn’t fully close is cause the mounting bolt for the forks was catching on the servo horn attachment. Won’t be a issue once the forks are installed.
The lifter to my surprise can lift without forks. The little lip on the lifter panel isn’t as effective as the fork will be but it’s a good sign. Hopefully this year the lifter will get to see some proper arena action.
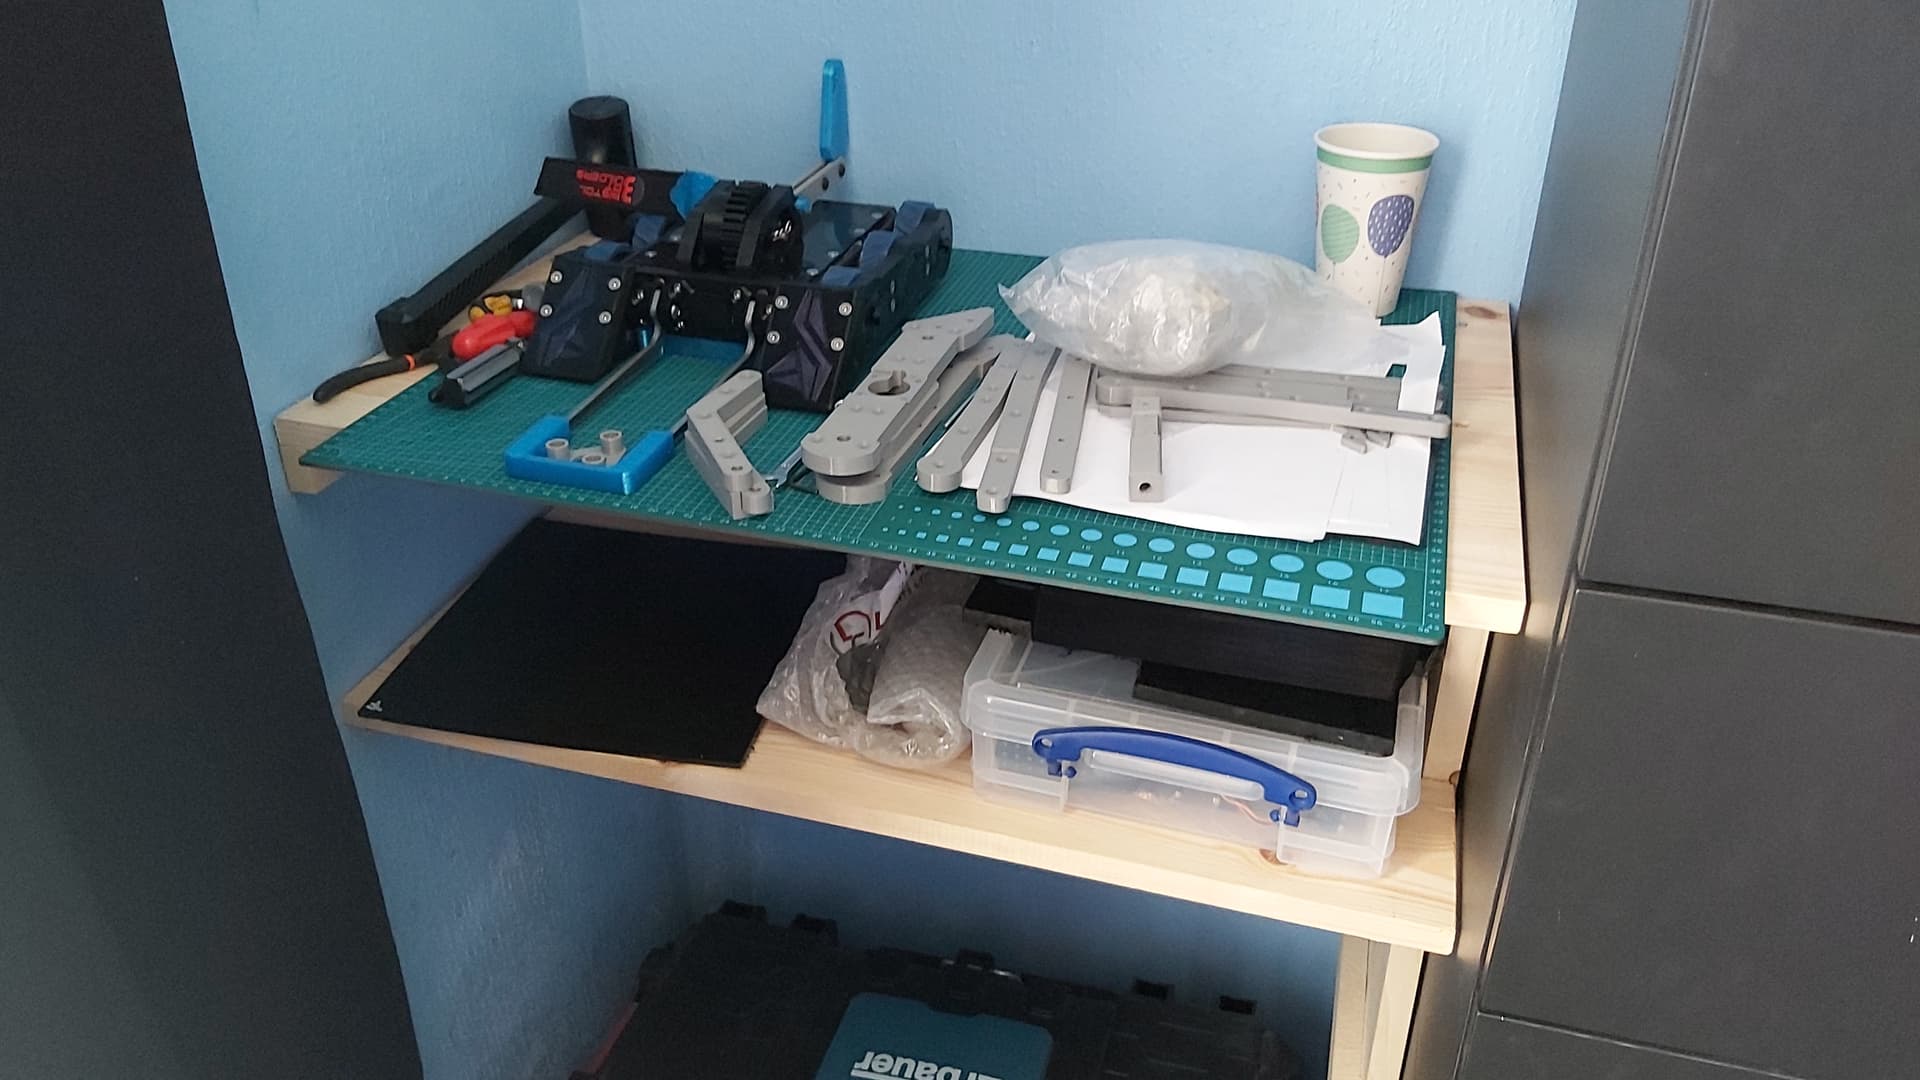
Quick on the heels of the last test I 3D printed some PLA mockups of Data Breach’s forks and with them fitted already makes the lifter far more effective.
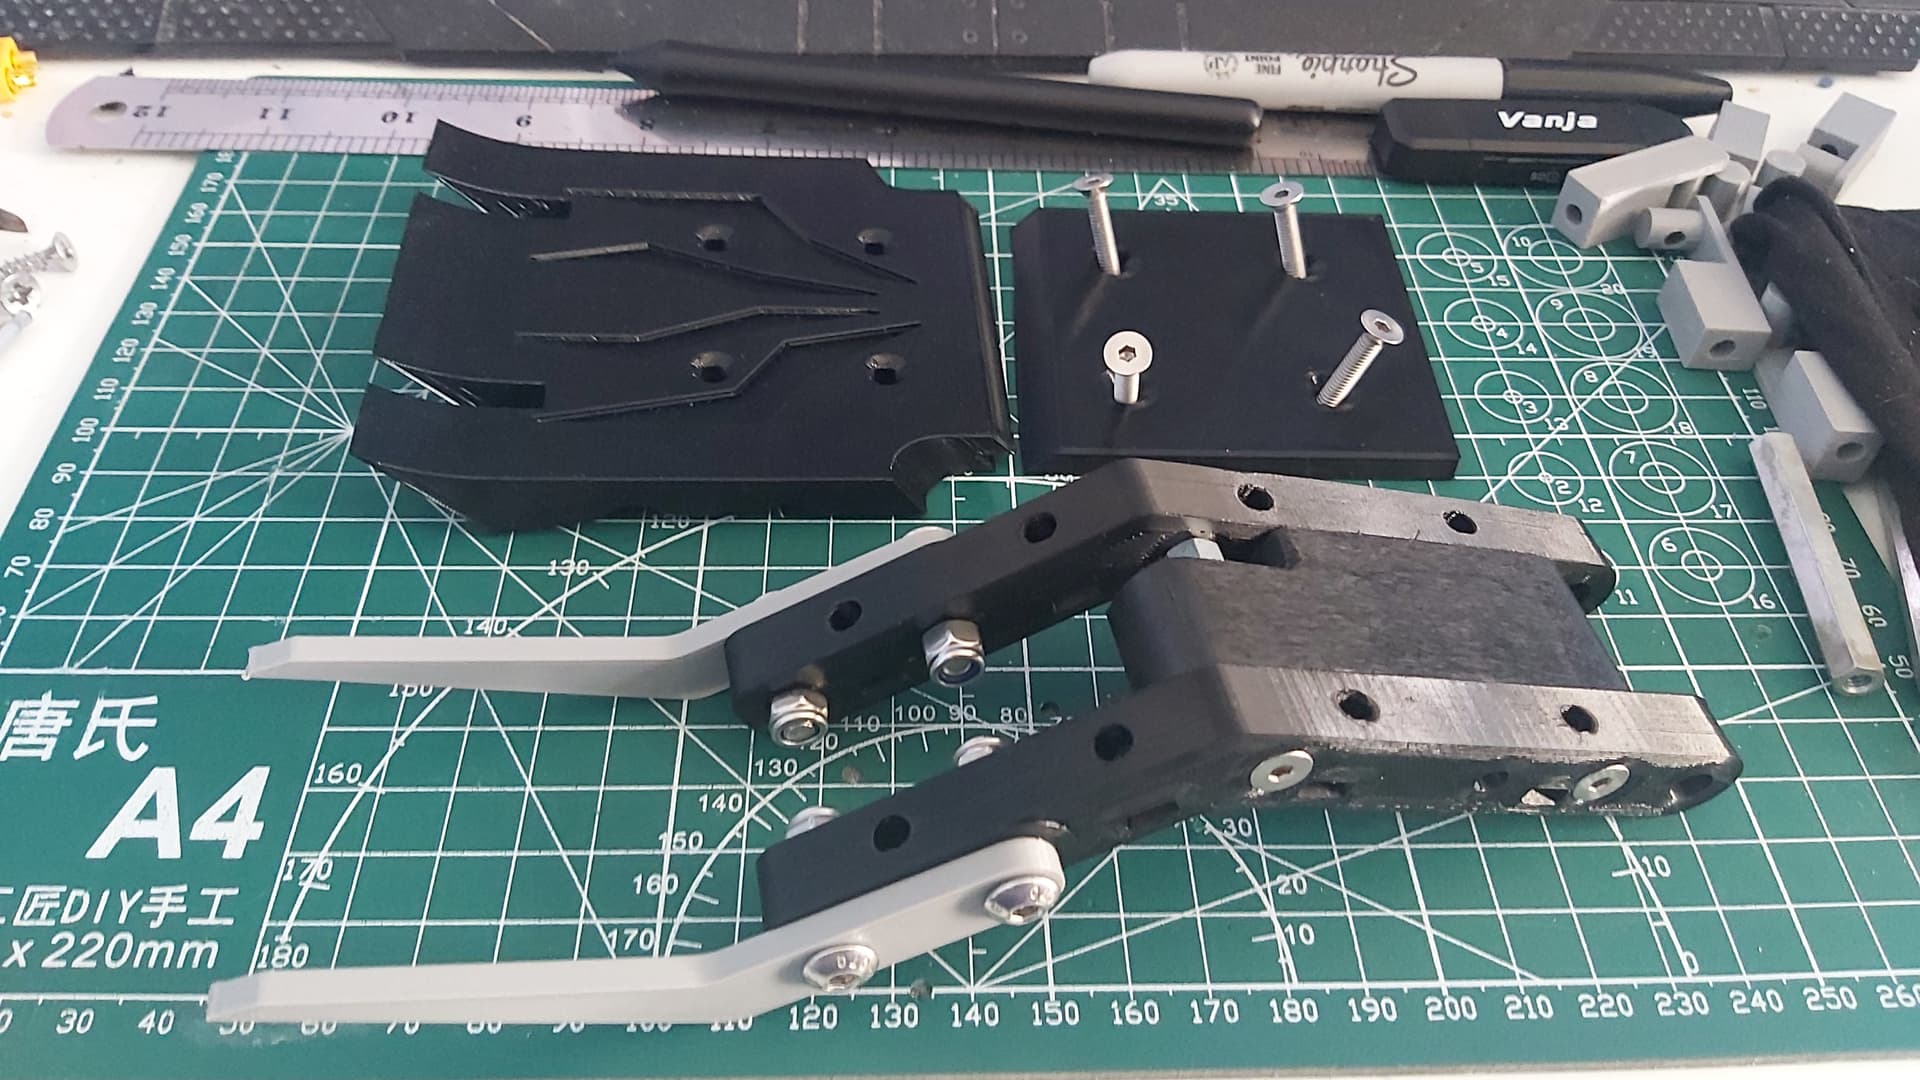
The forks for the axe (left) and the lifter (right.)
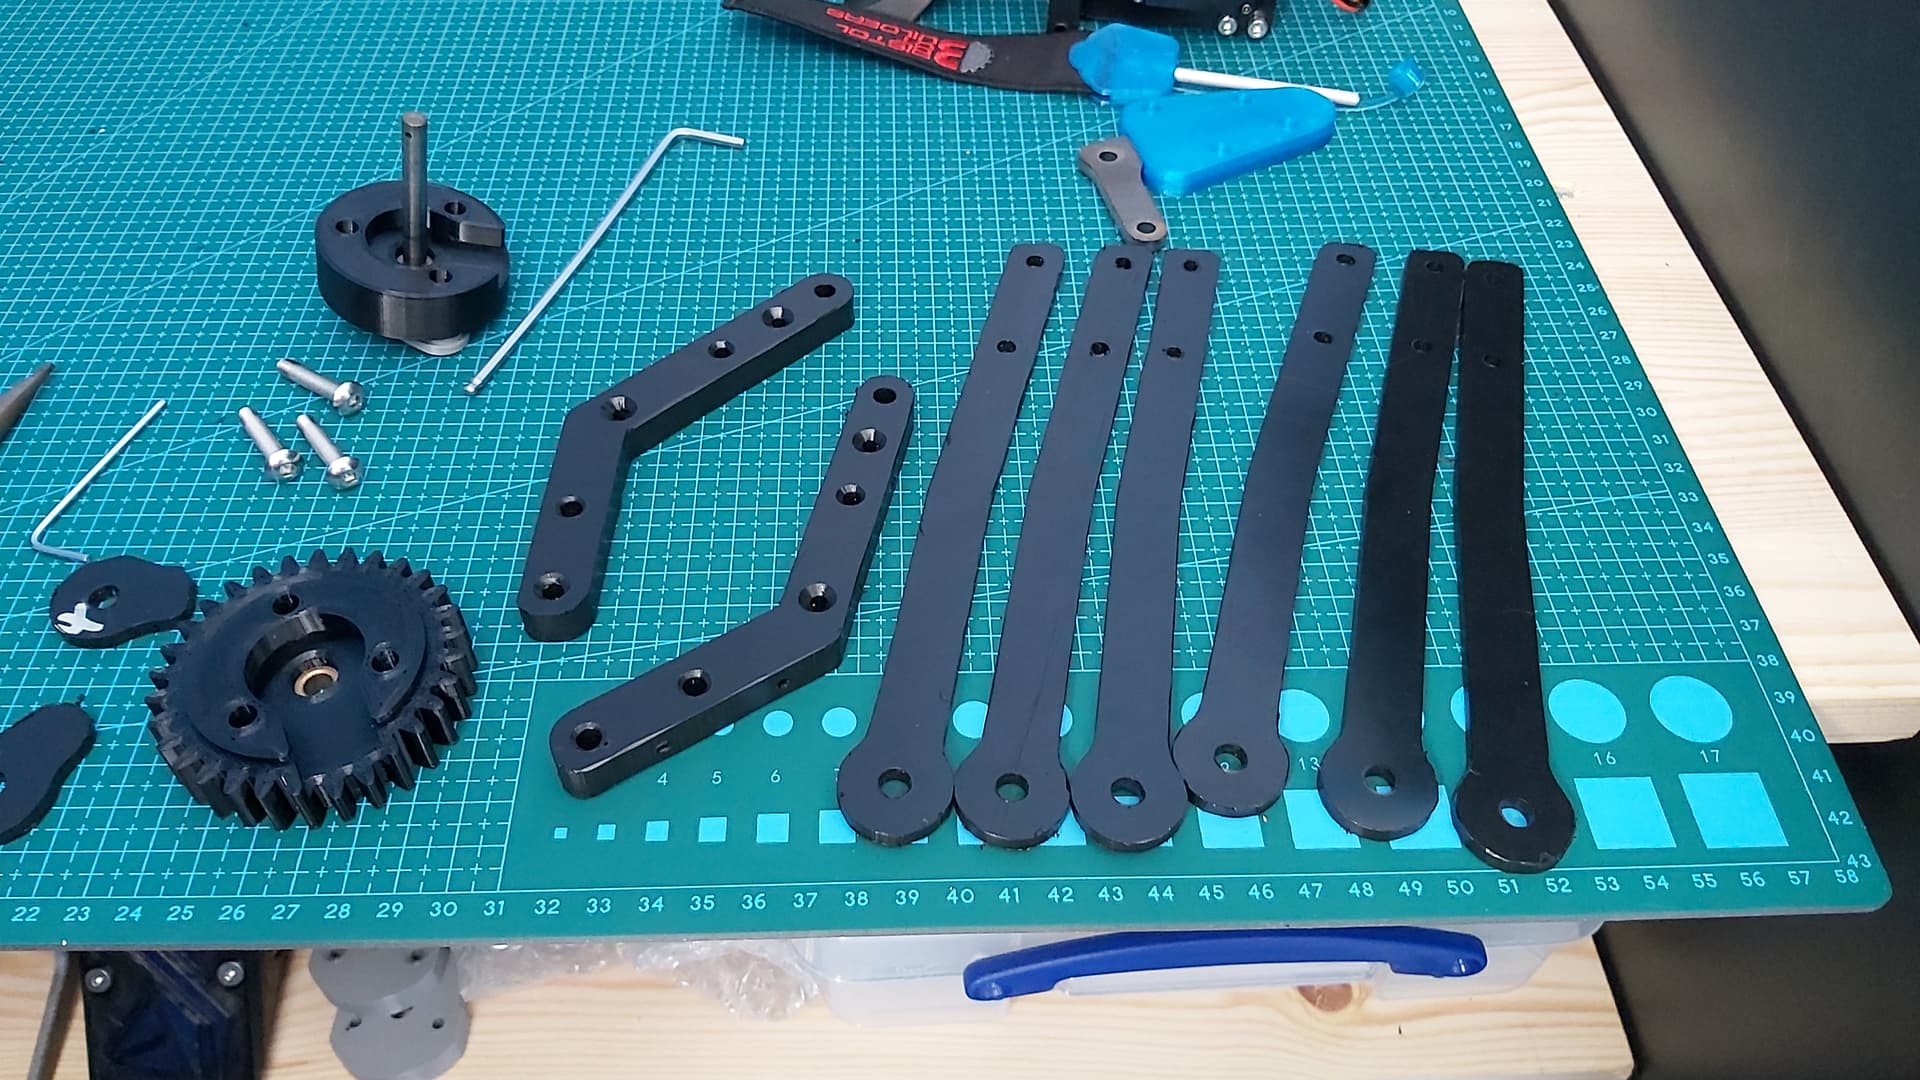
Another clear day and back to work on Data Breach. I managed to get the front of the axe module finished and the rear of the robot. I had hoped to start on the lifter but ran out of time.
The panels with their templates on the router. The retaining nut for the bearing had come off and I had to replace it with one of the more reliable nyloc nuts I had to hand. The quick fix seemed to fix the PLA melting issue I had the other day.
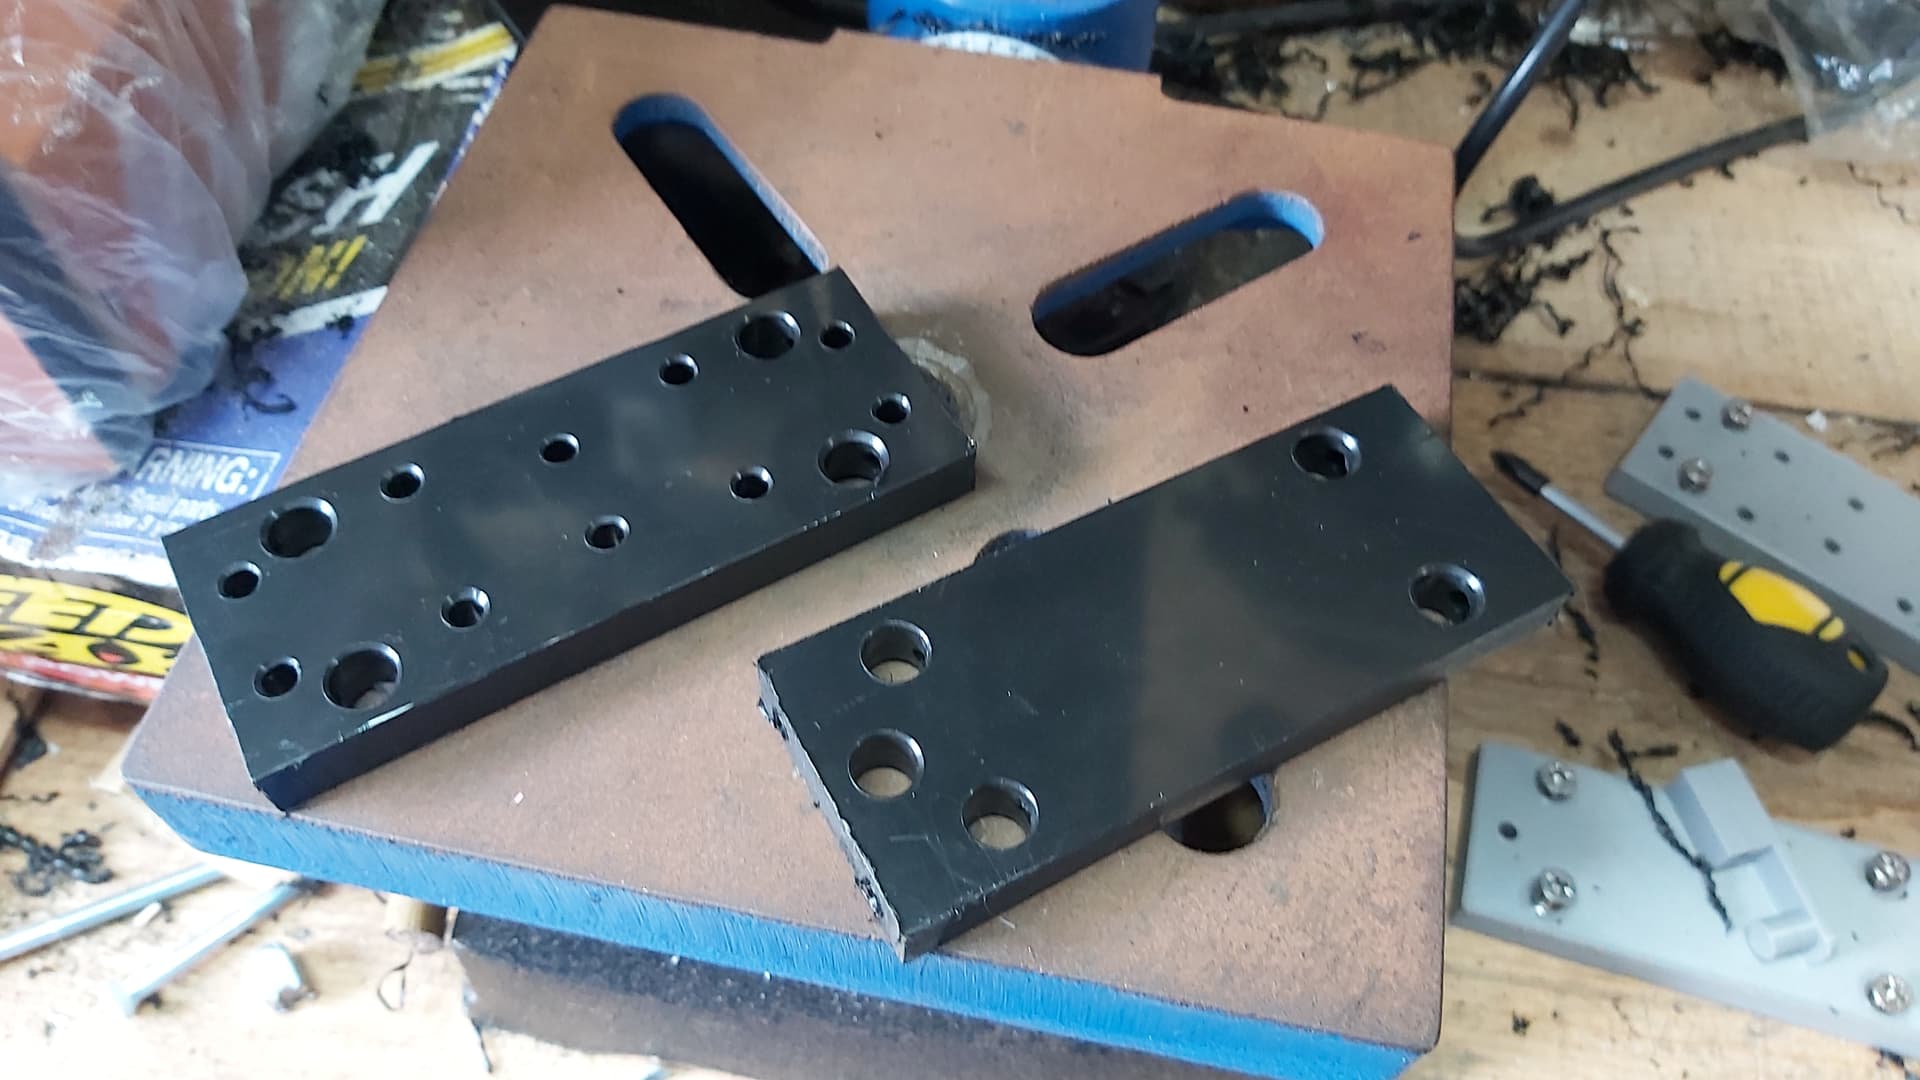
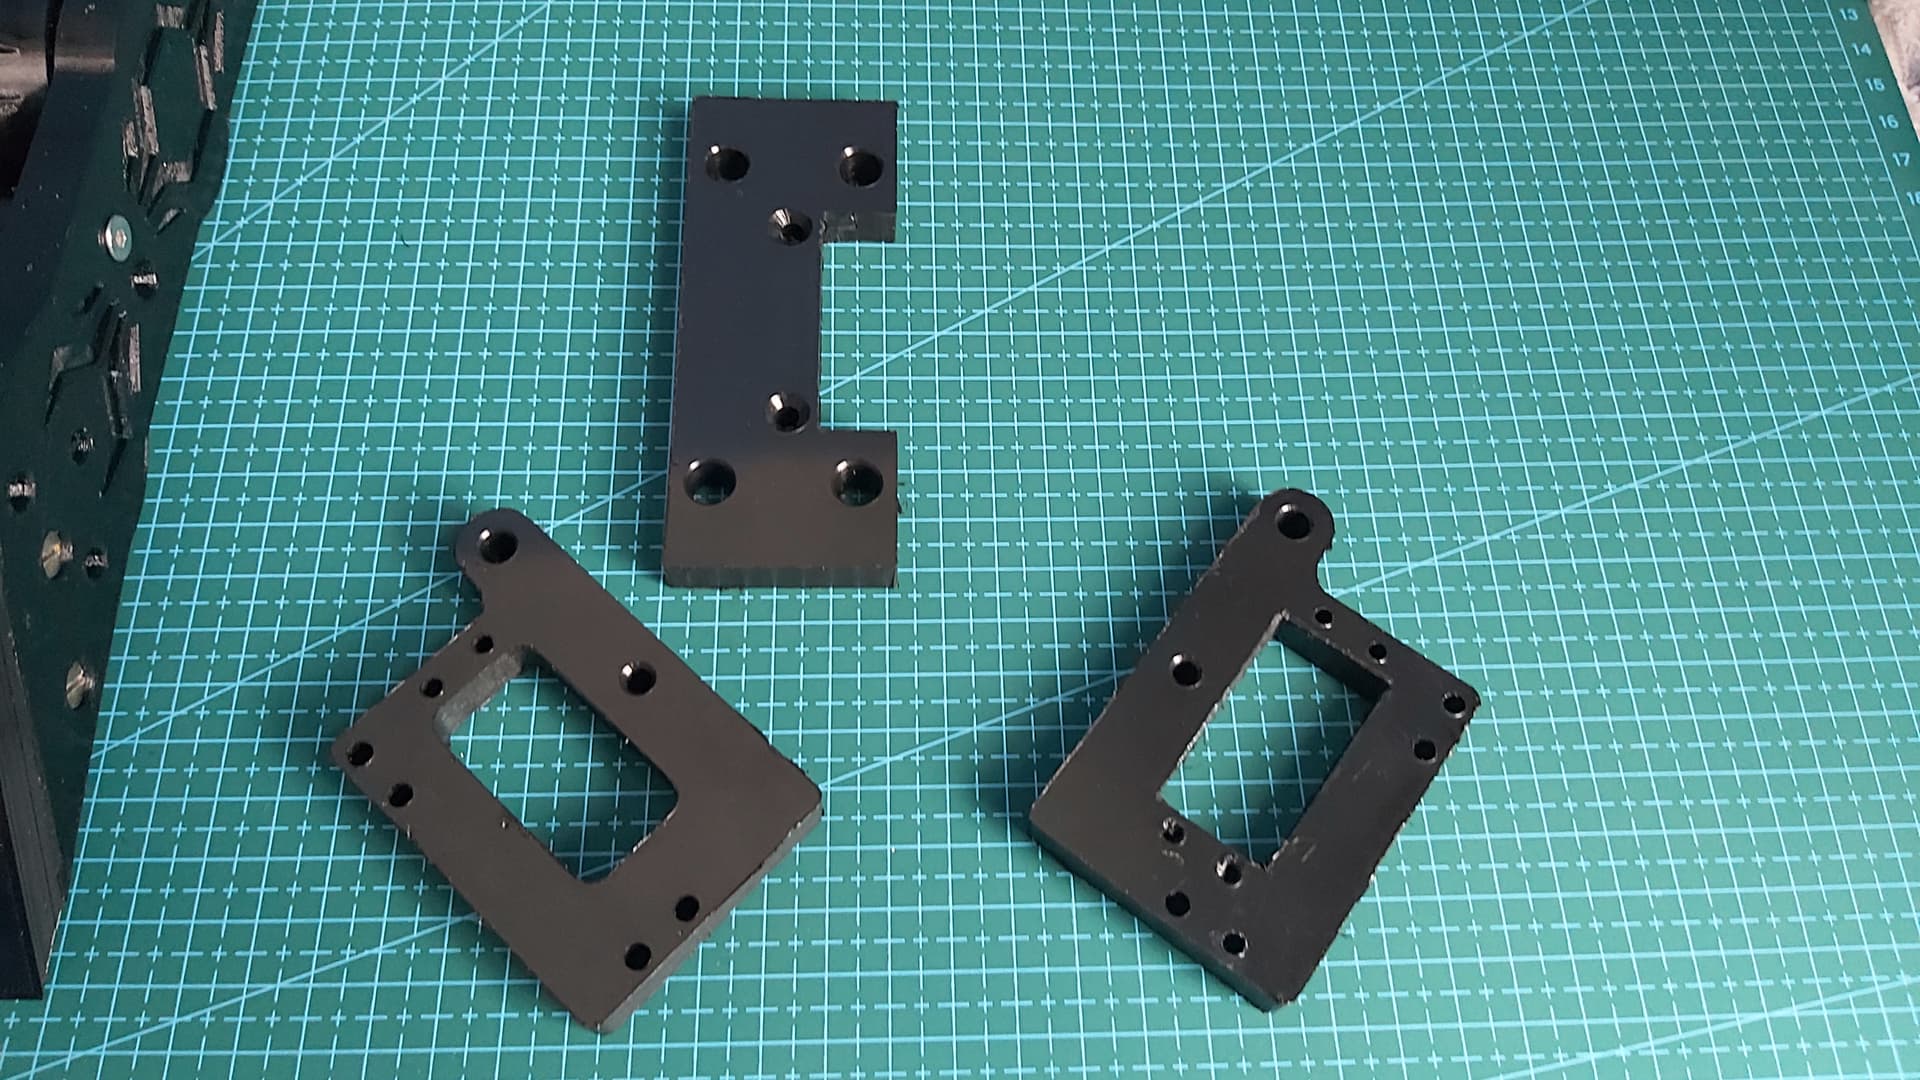
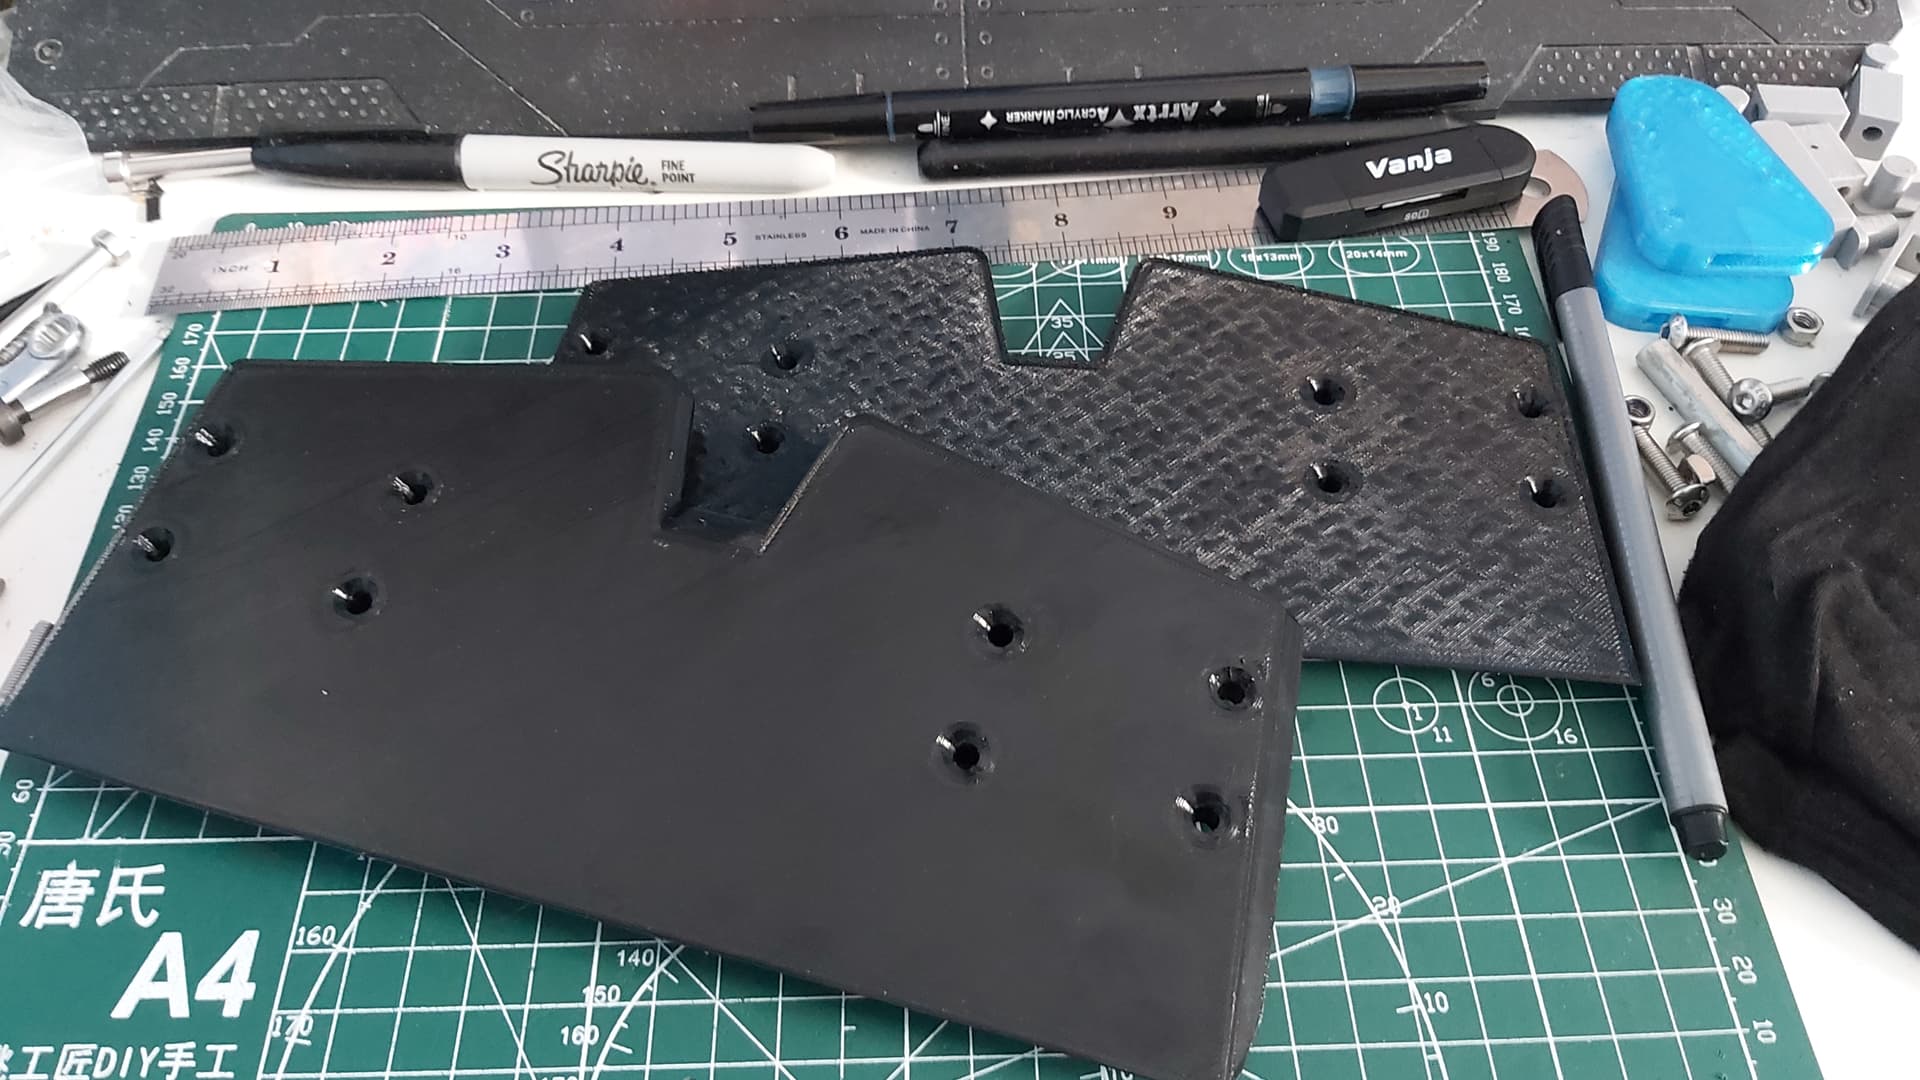
The finished parts. I didn’t take a picture during the process but the axe module front needed two slots for the uprights to slot into to help with alignment. It involved using my bigger clunkier router to clear out the material (not ideal) and then clean up with some wood chisels.
Both fit perfectly into place. The axe module is 99% (baring the axe arm itself) done. I couldn’t resist mounting them with the test TPU bulkheads (which should hopefully have their nuts arrive in a week.) Seeing more black parts taking the place of the PLA is so rewarding.
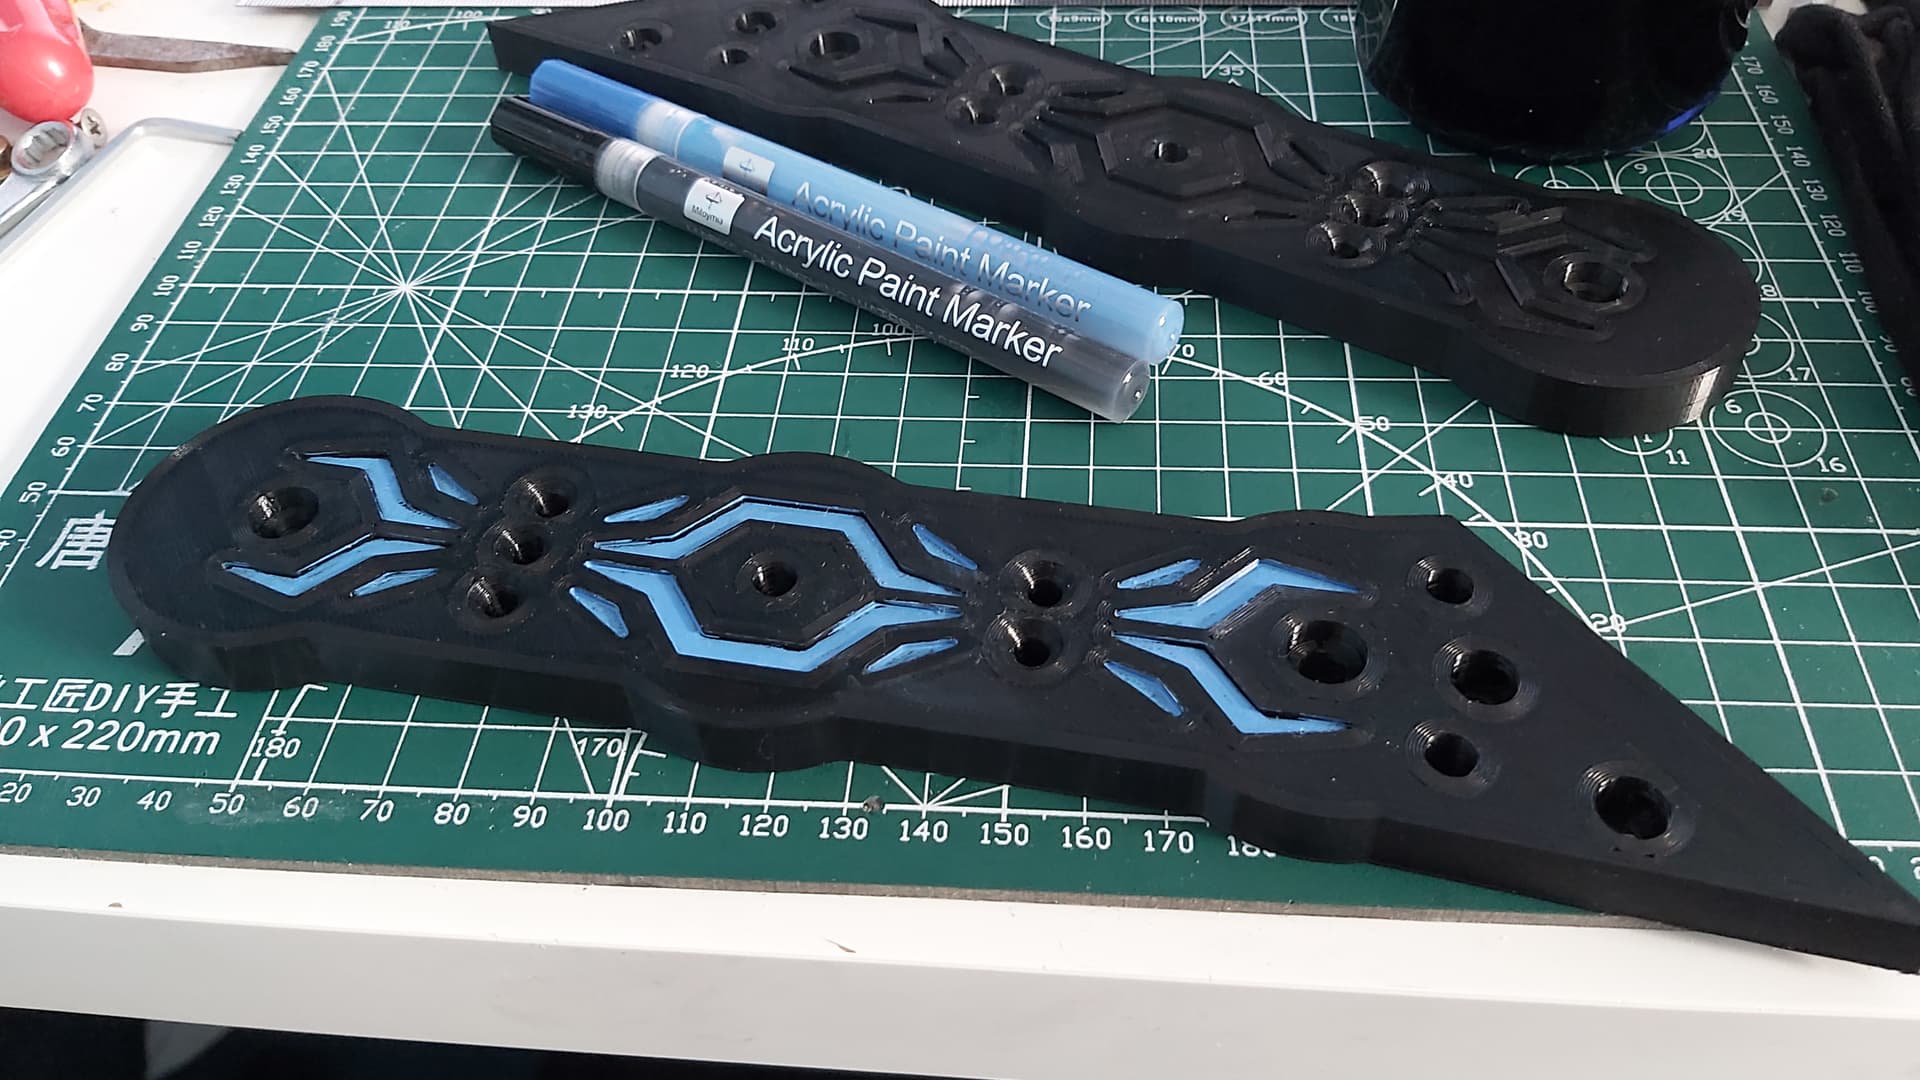
Over the weekend I used the old side panels to test out how well the paint pens will do at bringing colour to these designs. Not a fan of the shade of blue but hopefully I can fix that on the actual parts.
Since my last post, some progress and exciting developments have been made.
First of all, I can confirm Data Breach is returning for Robot Rebellion 2024. (Fourth year lucky?)
I printed out some TPU lifter arms to test how they’ll flex in lifts. Like the test bulkheads, they will use captive square nuts to attach the front and top faces. The HDPE bridge provides some rigidity.
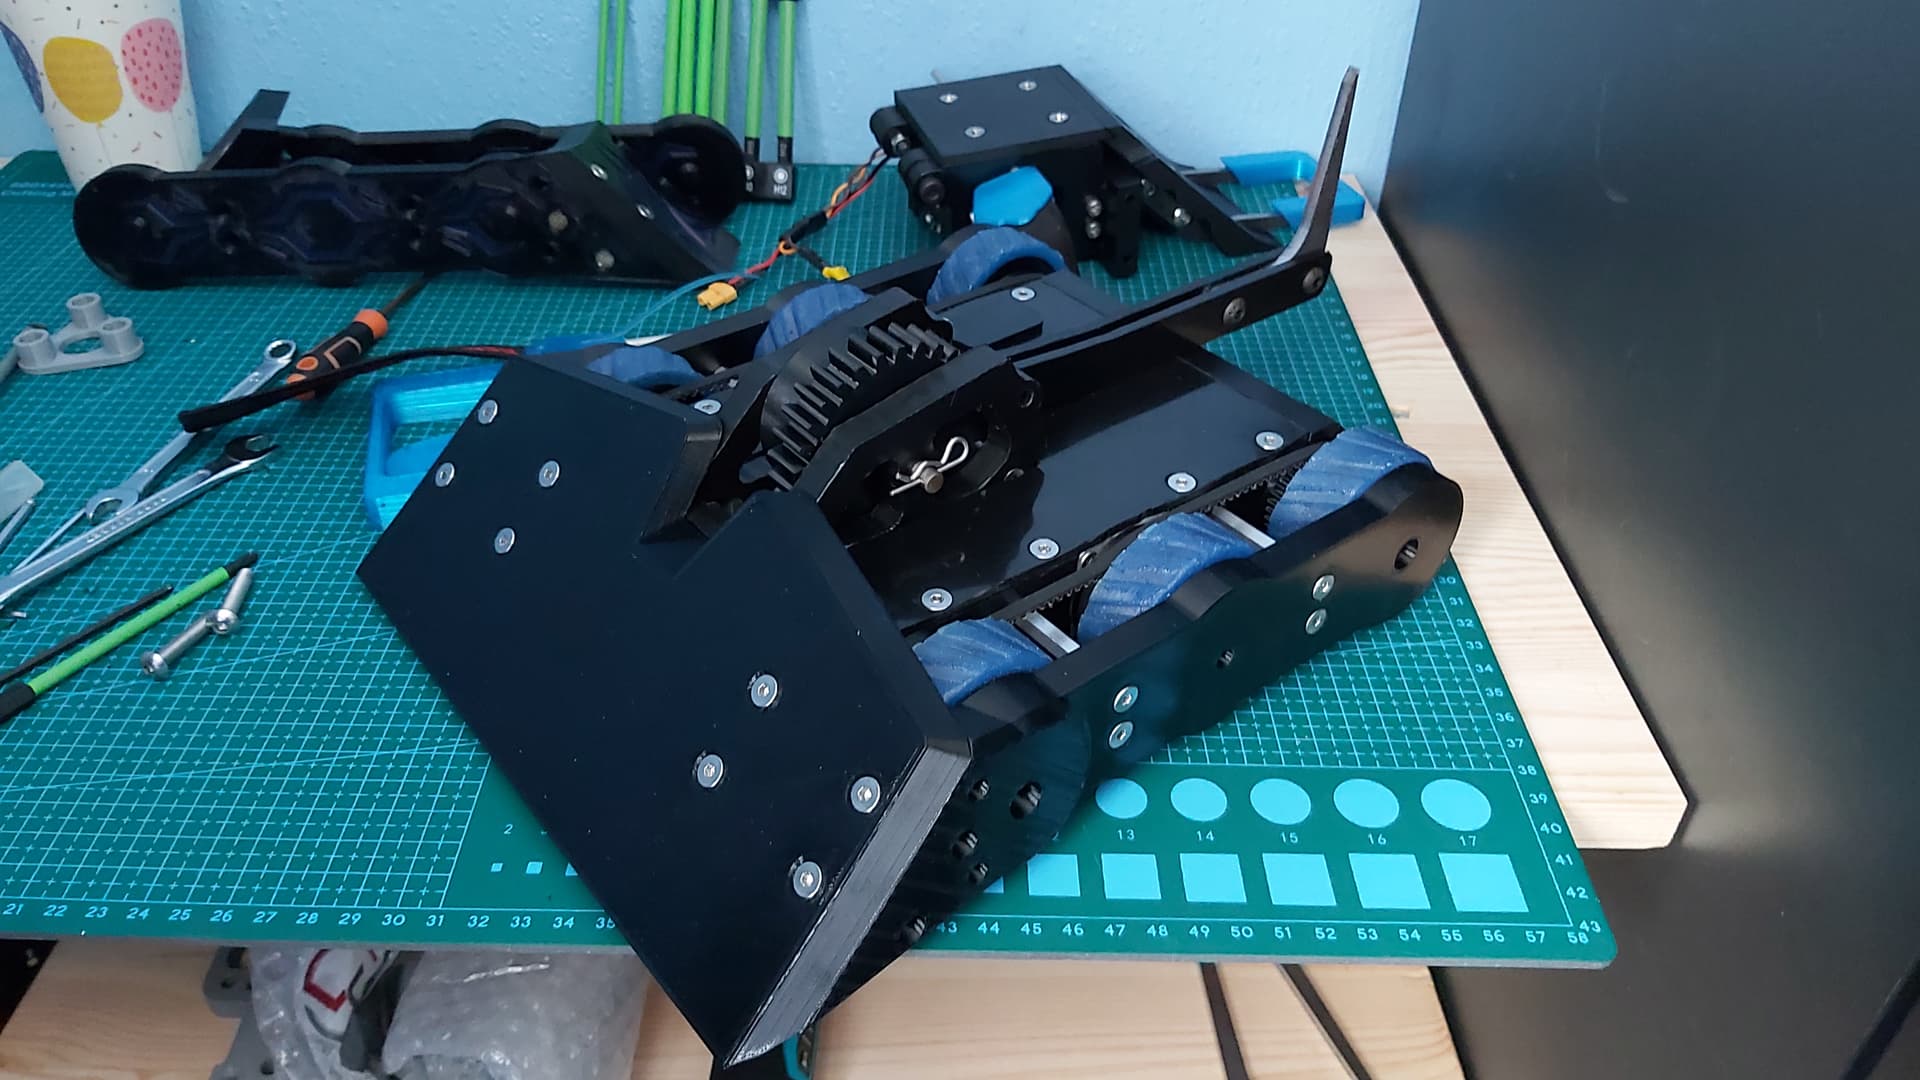
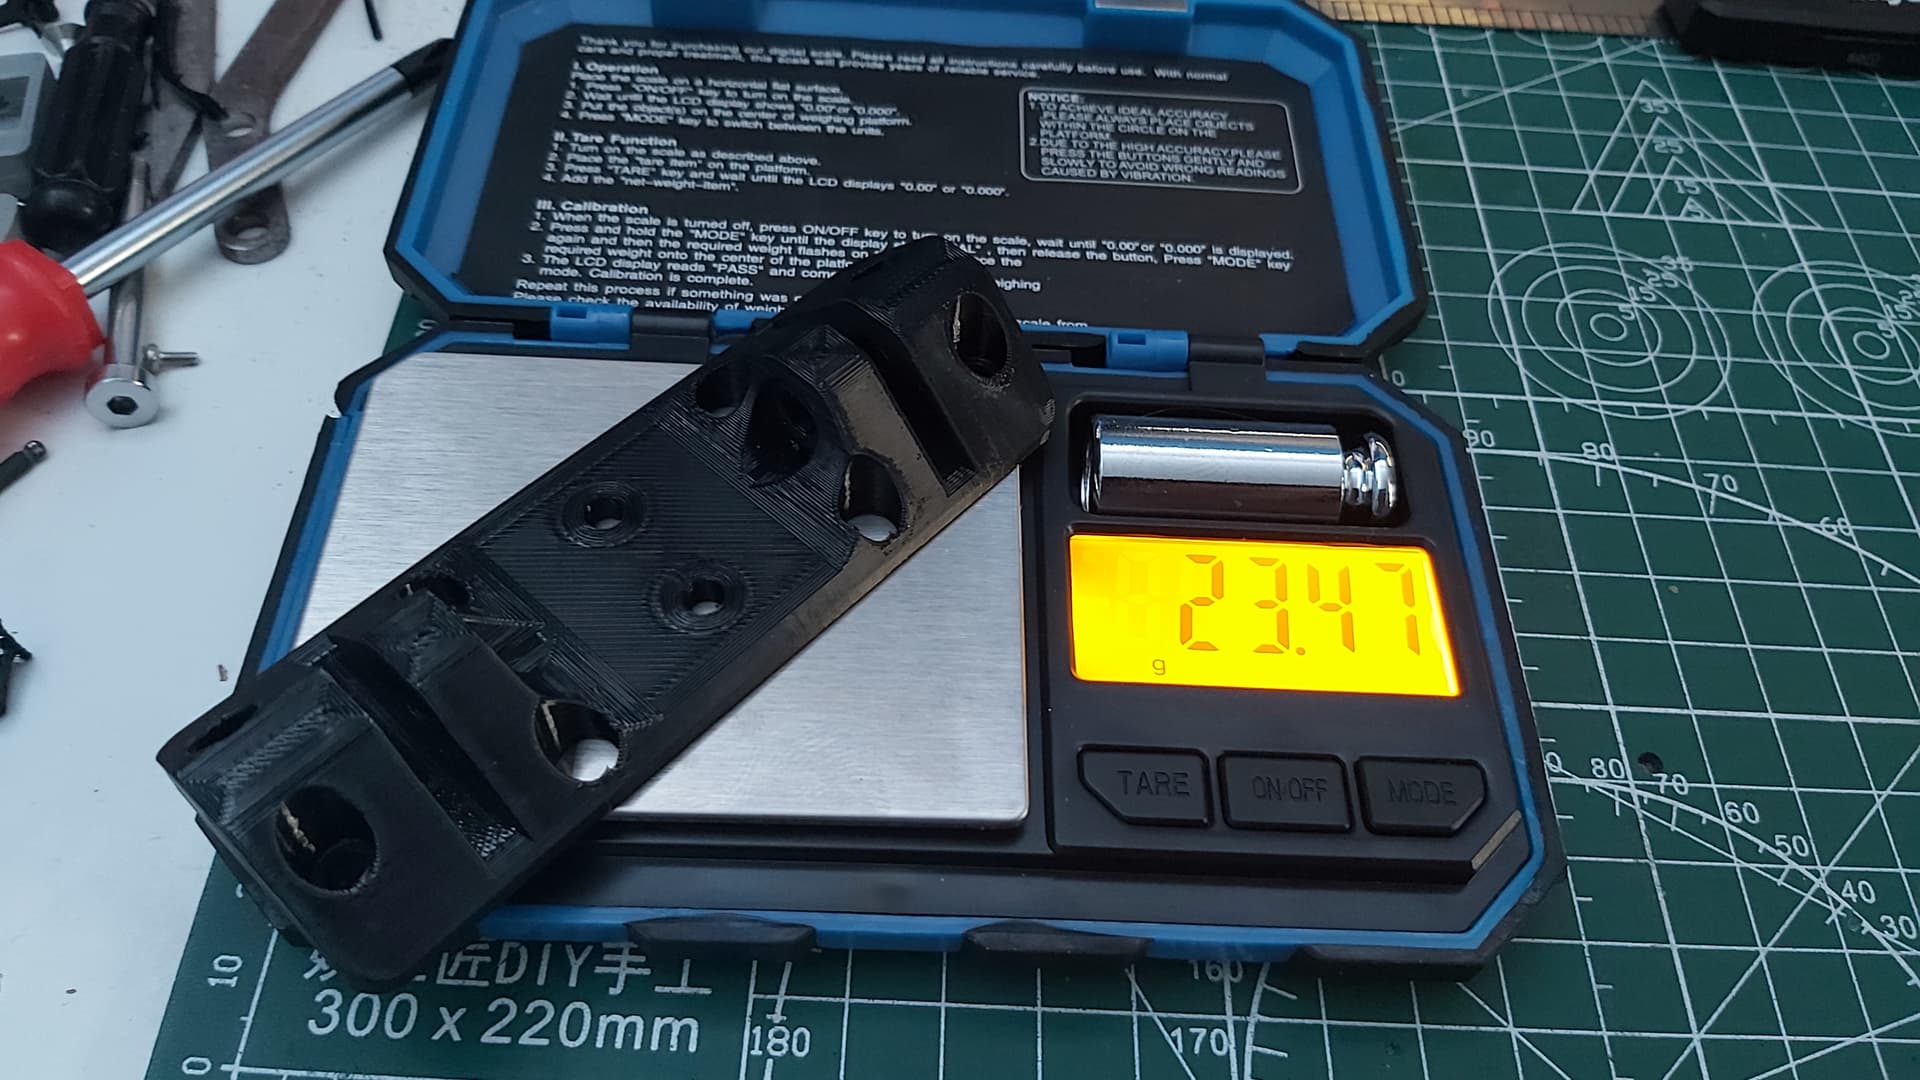
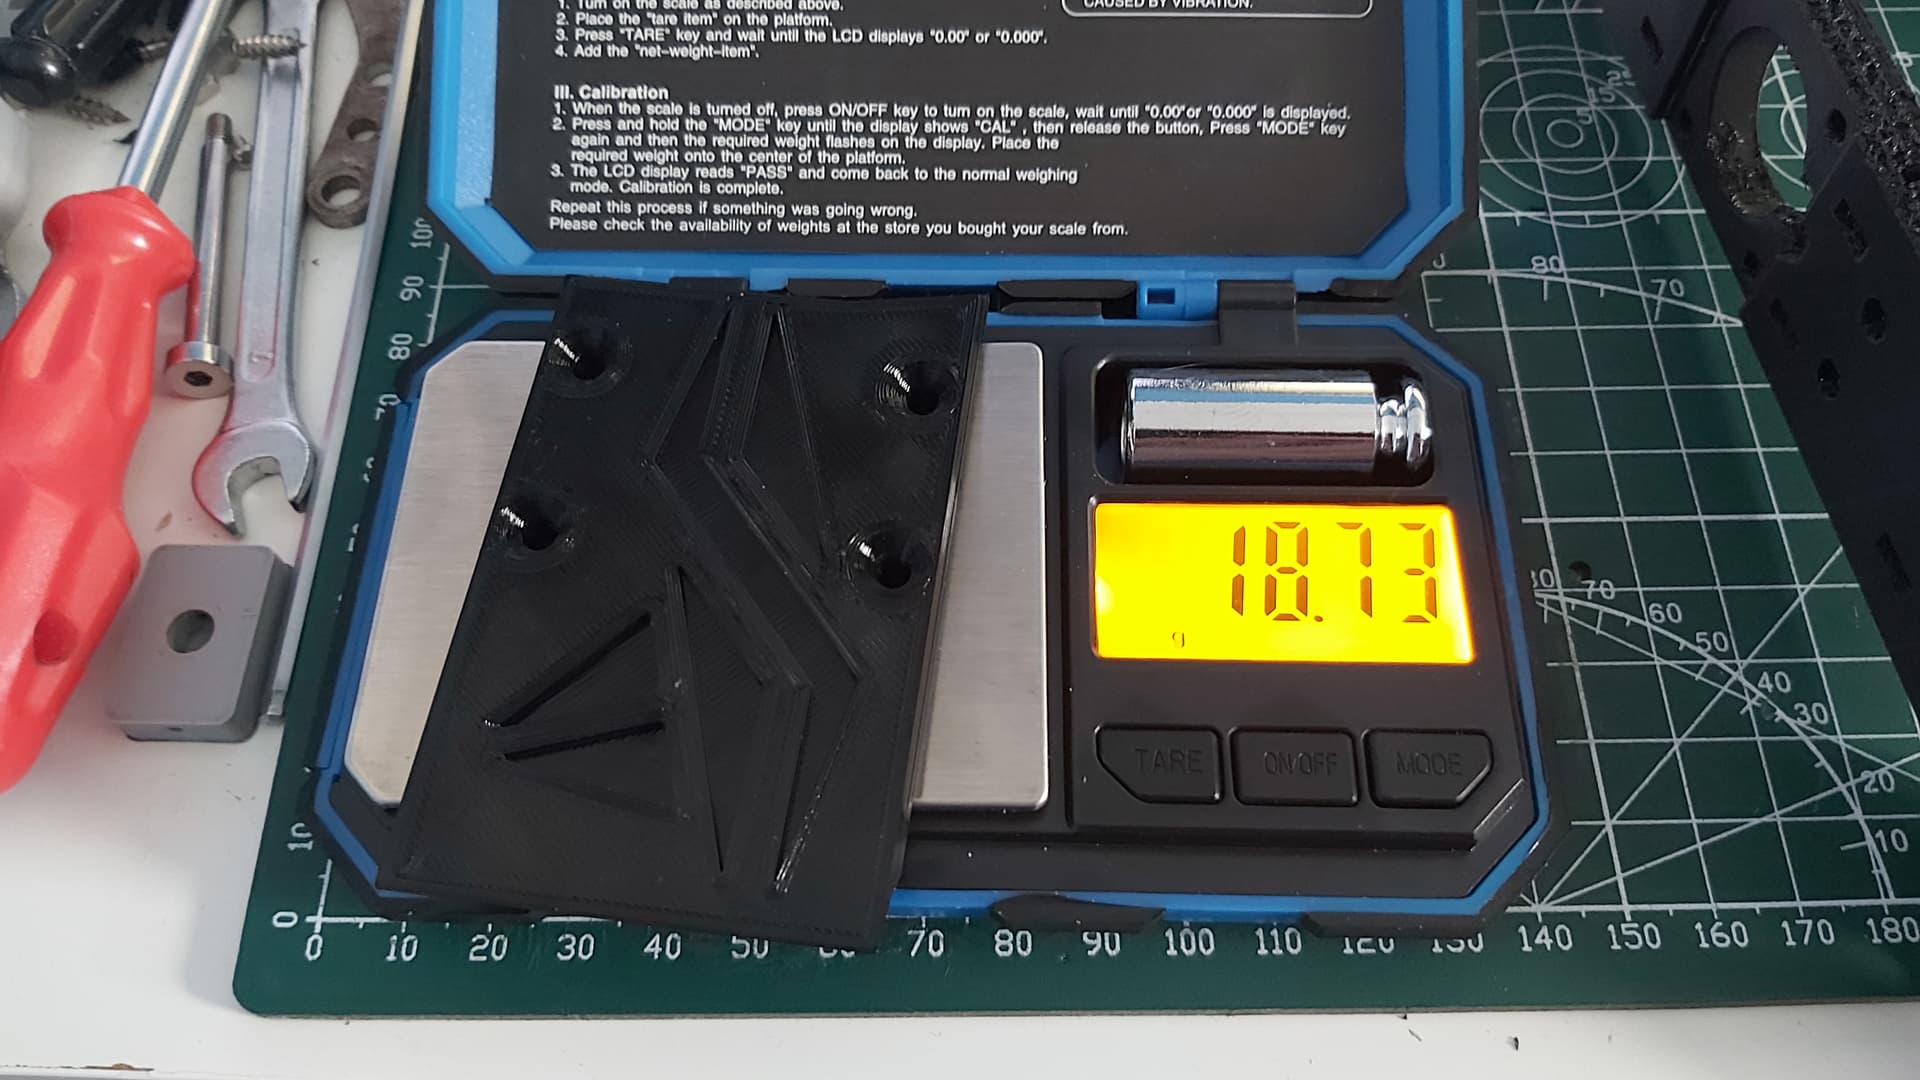
The front anti-HS wedge minutes after being printed. It’s designed to be attached to slightly angled side panels to “deflect hits”. I tried to keep it simple but will need a rework as I would later learn about a slight weight issue.
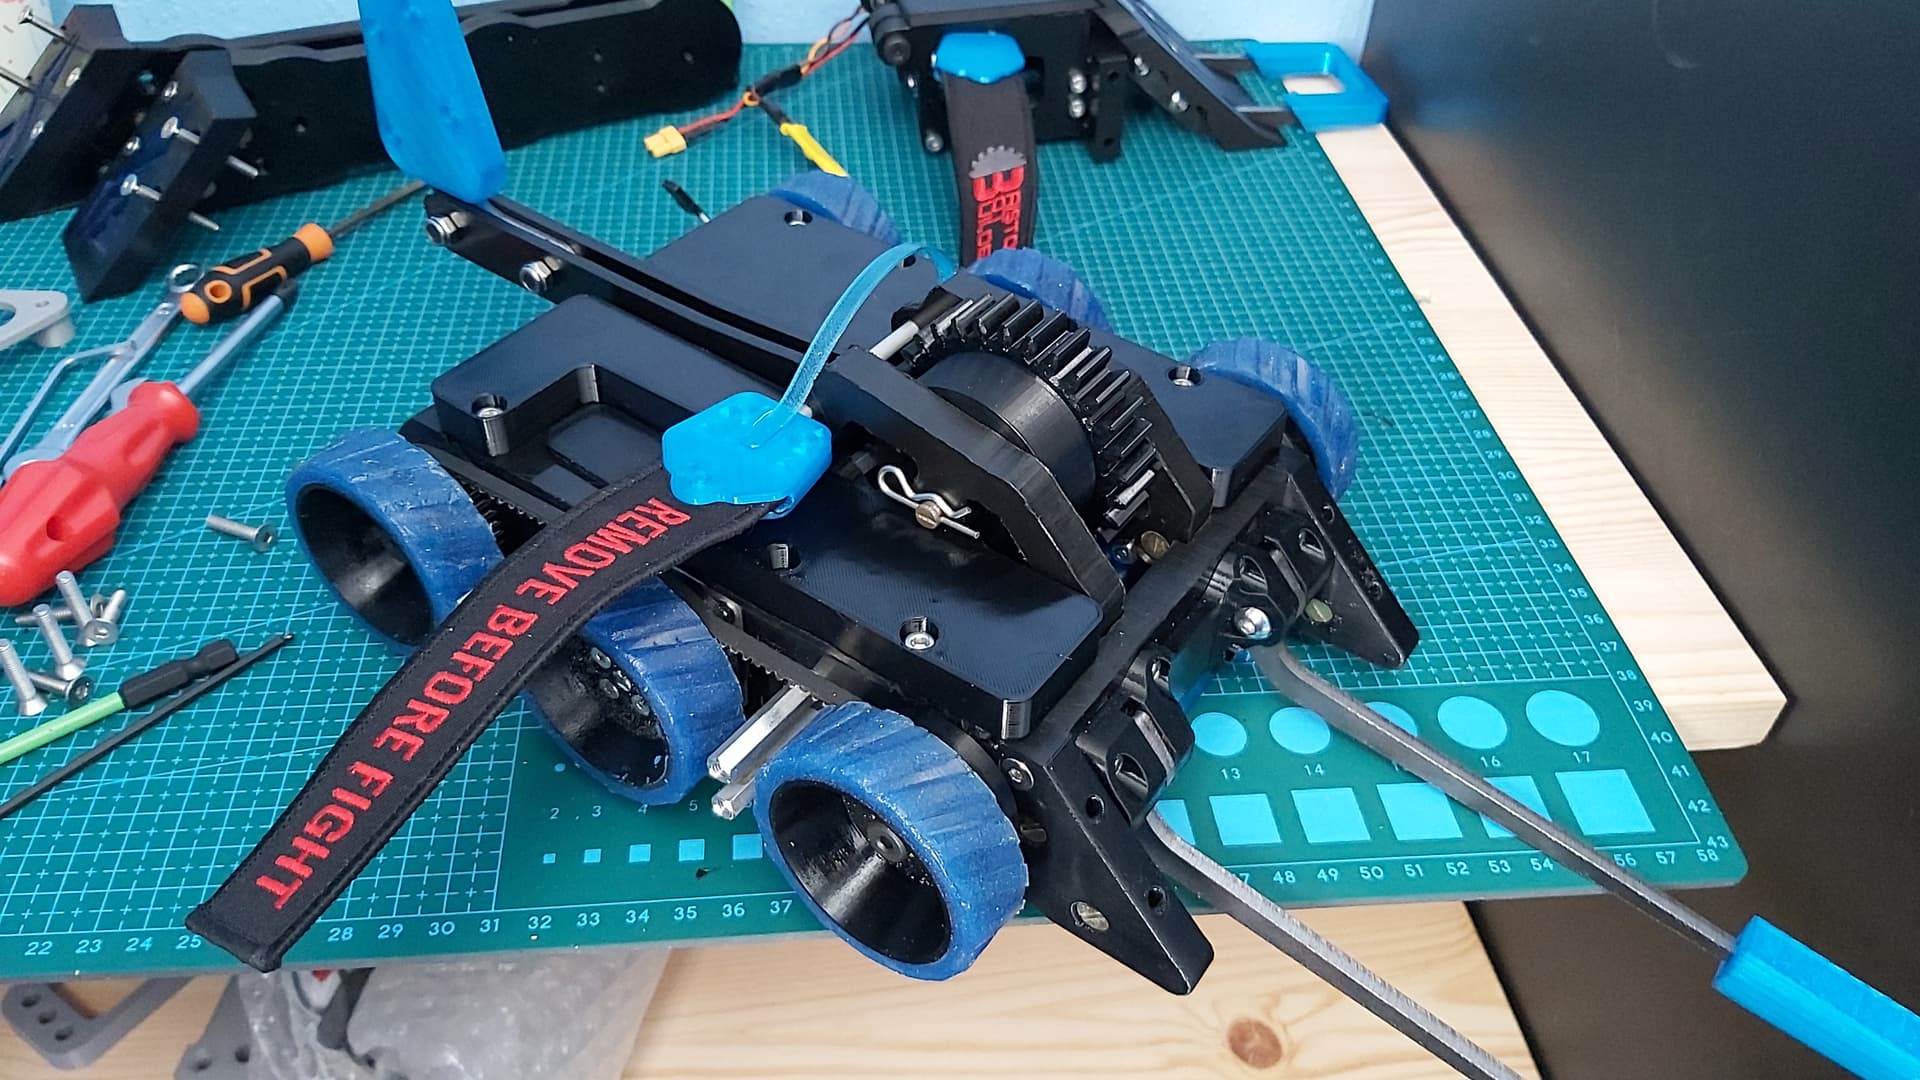
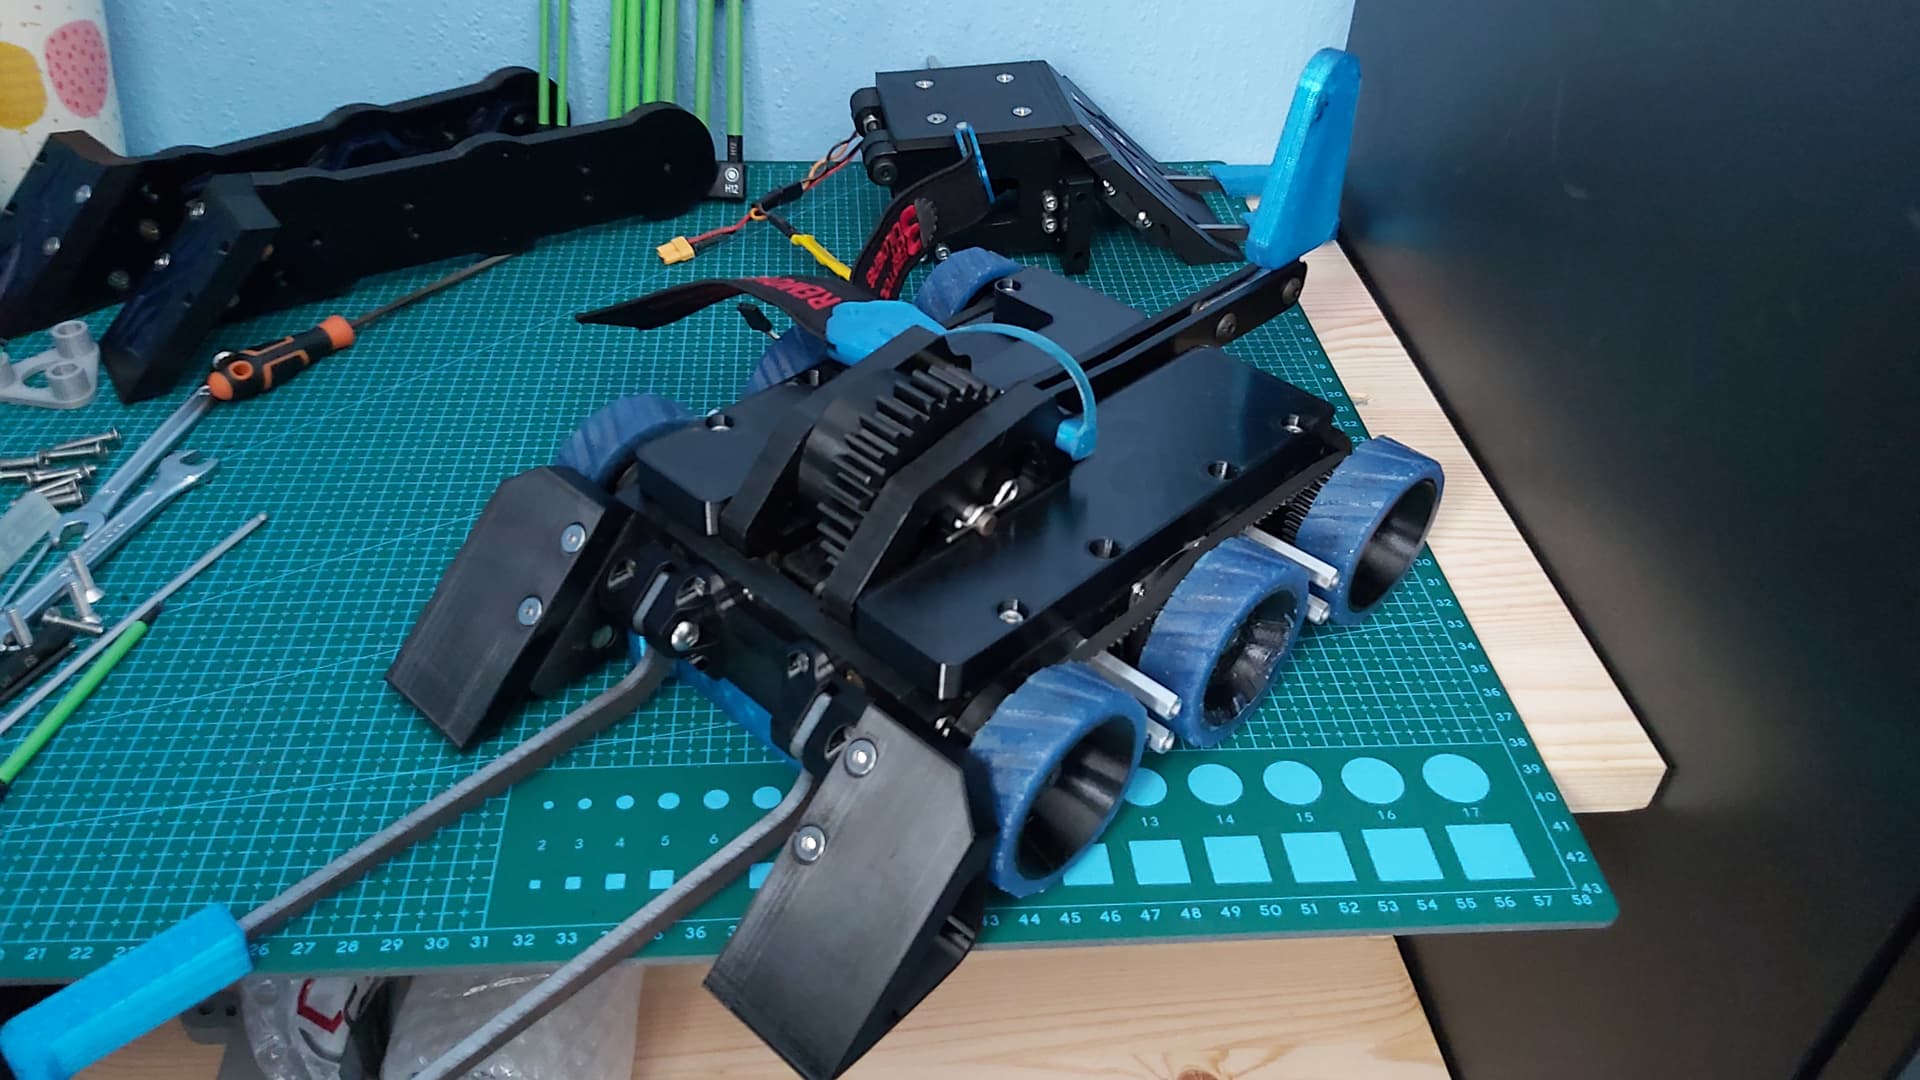
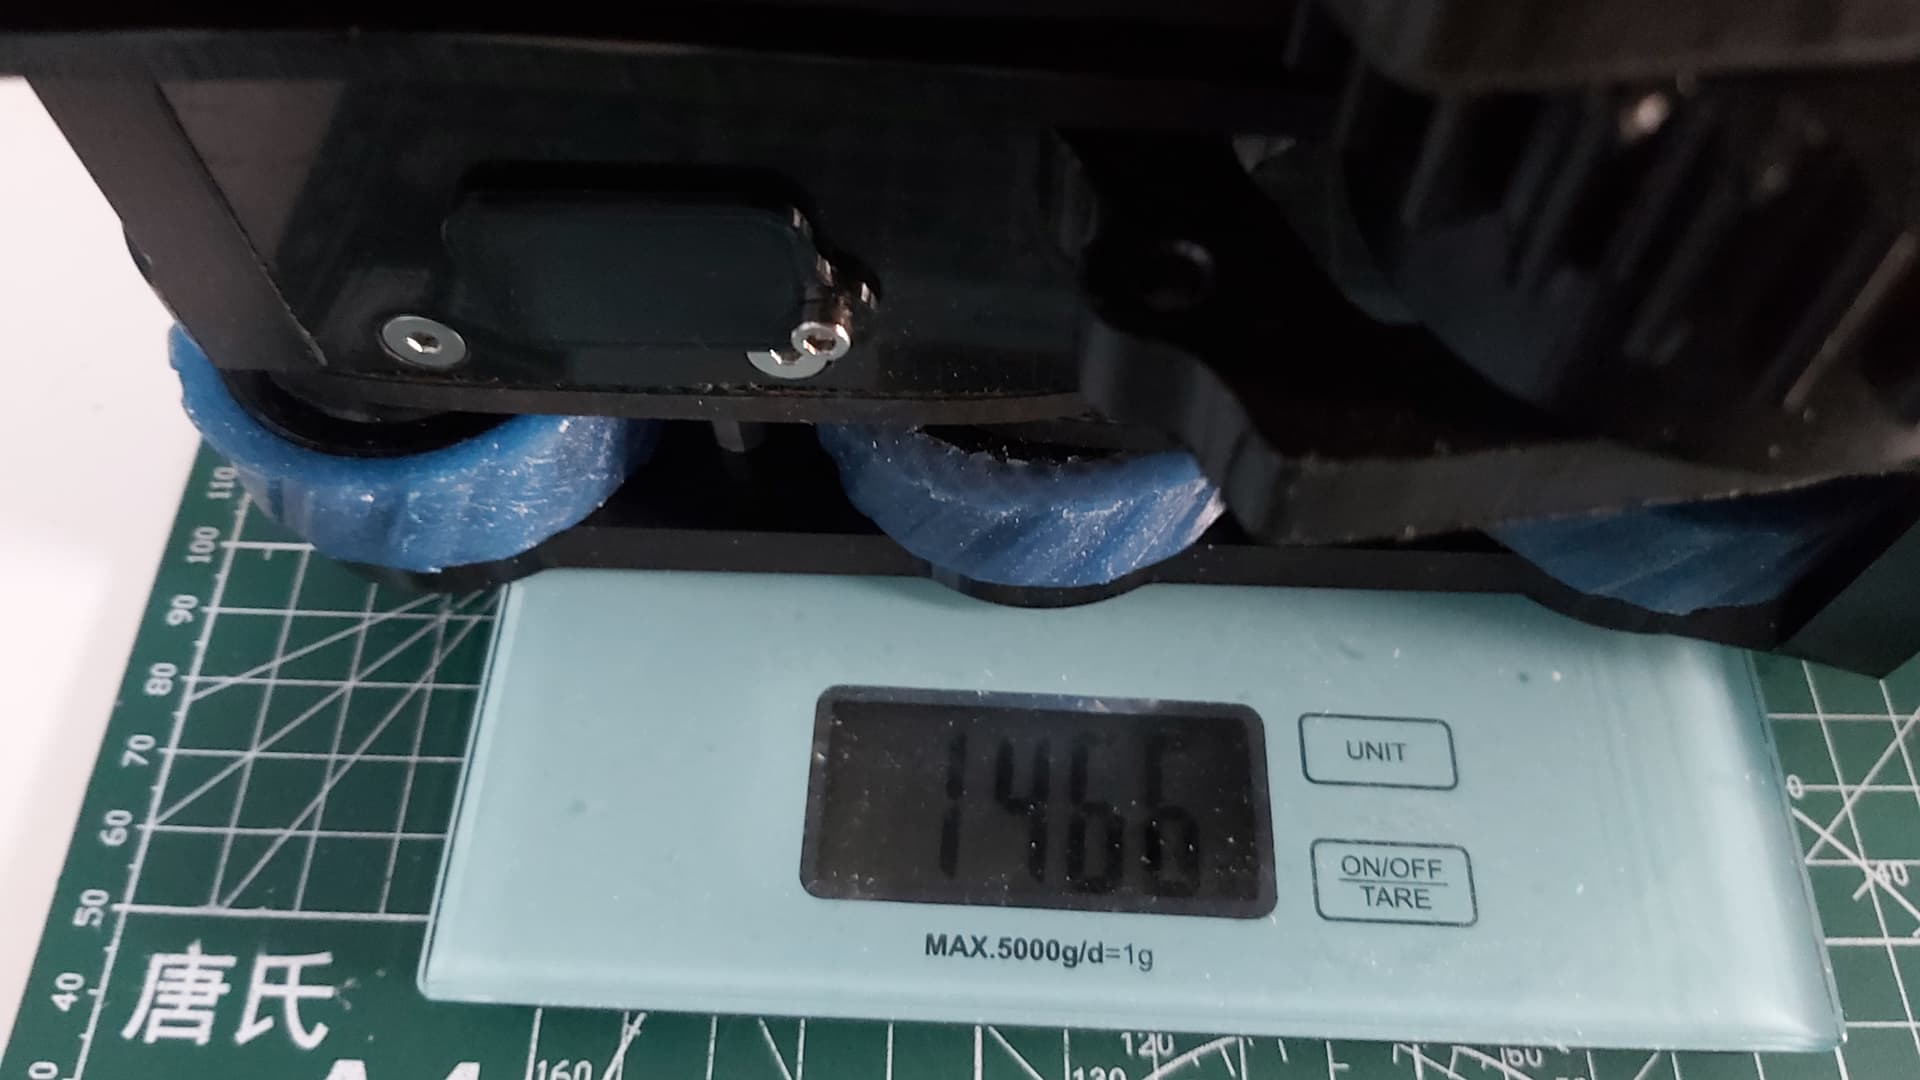
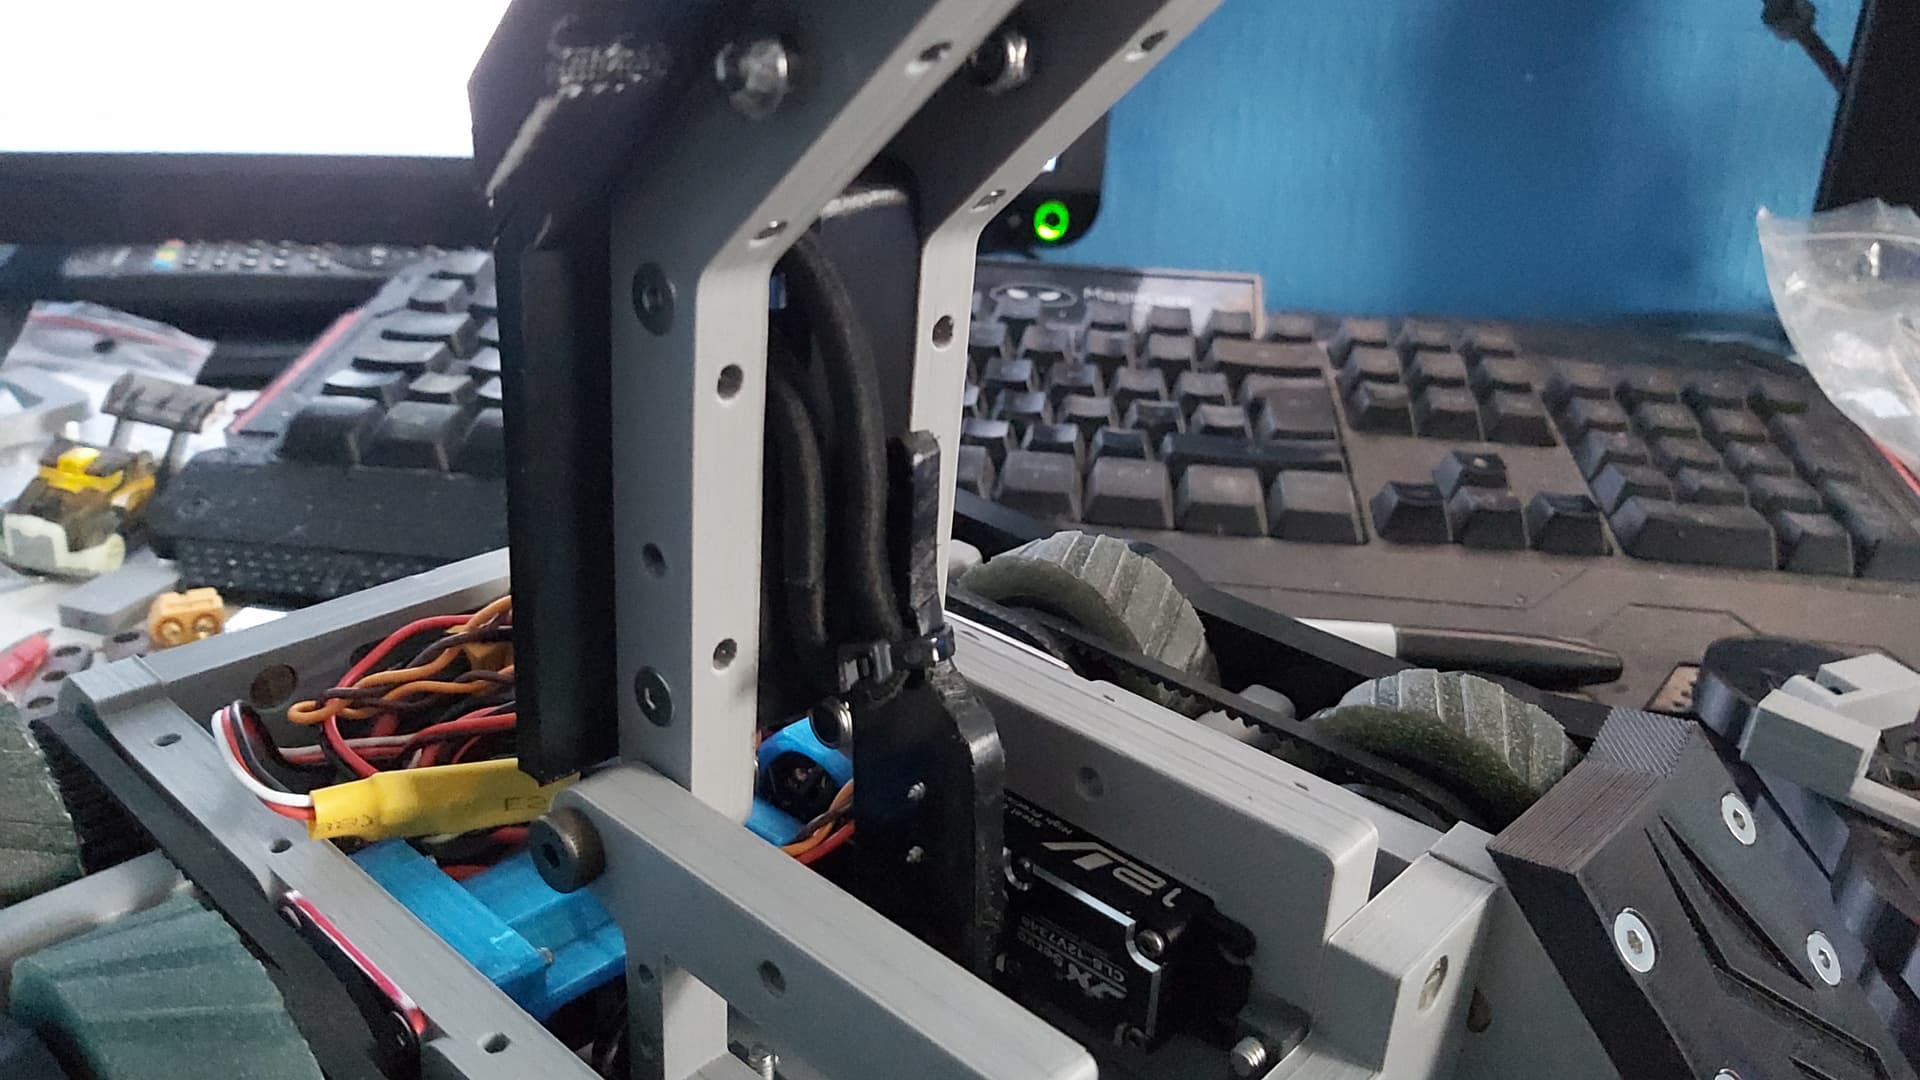
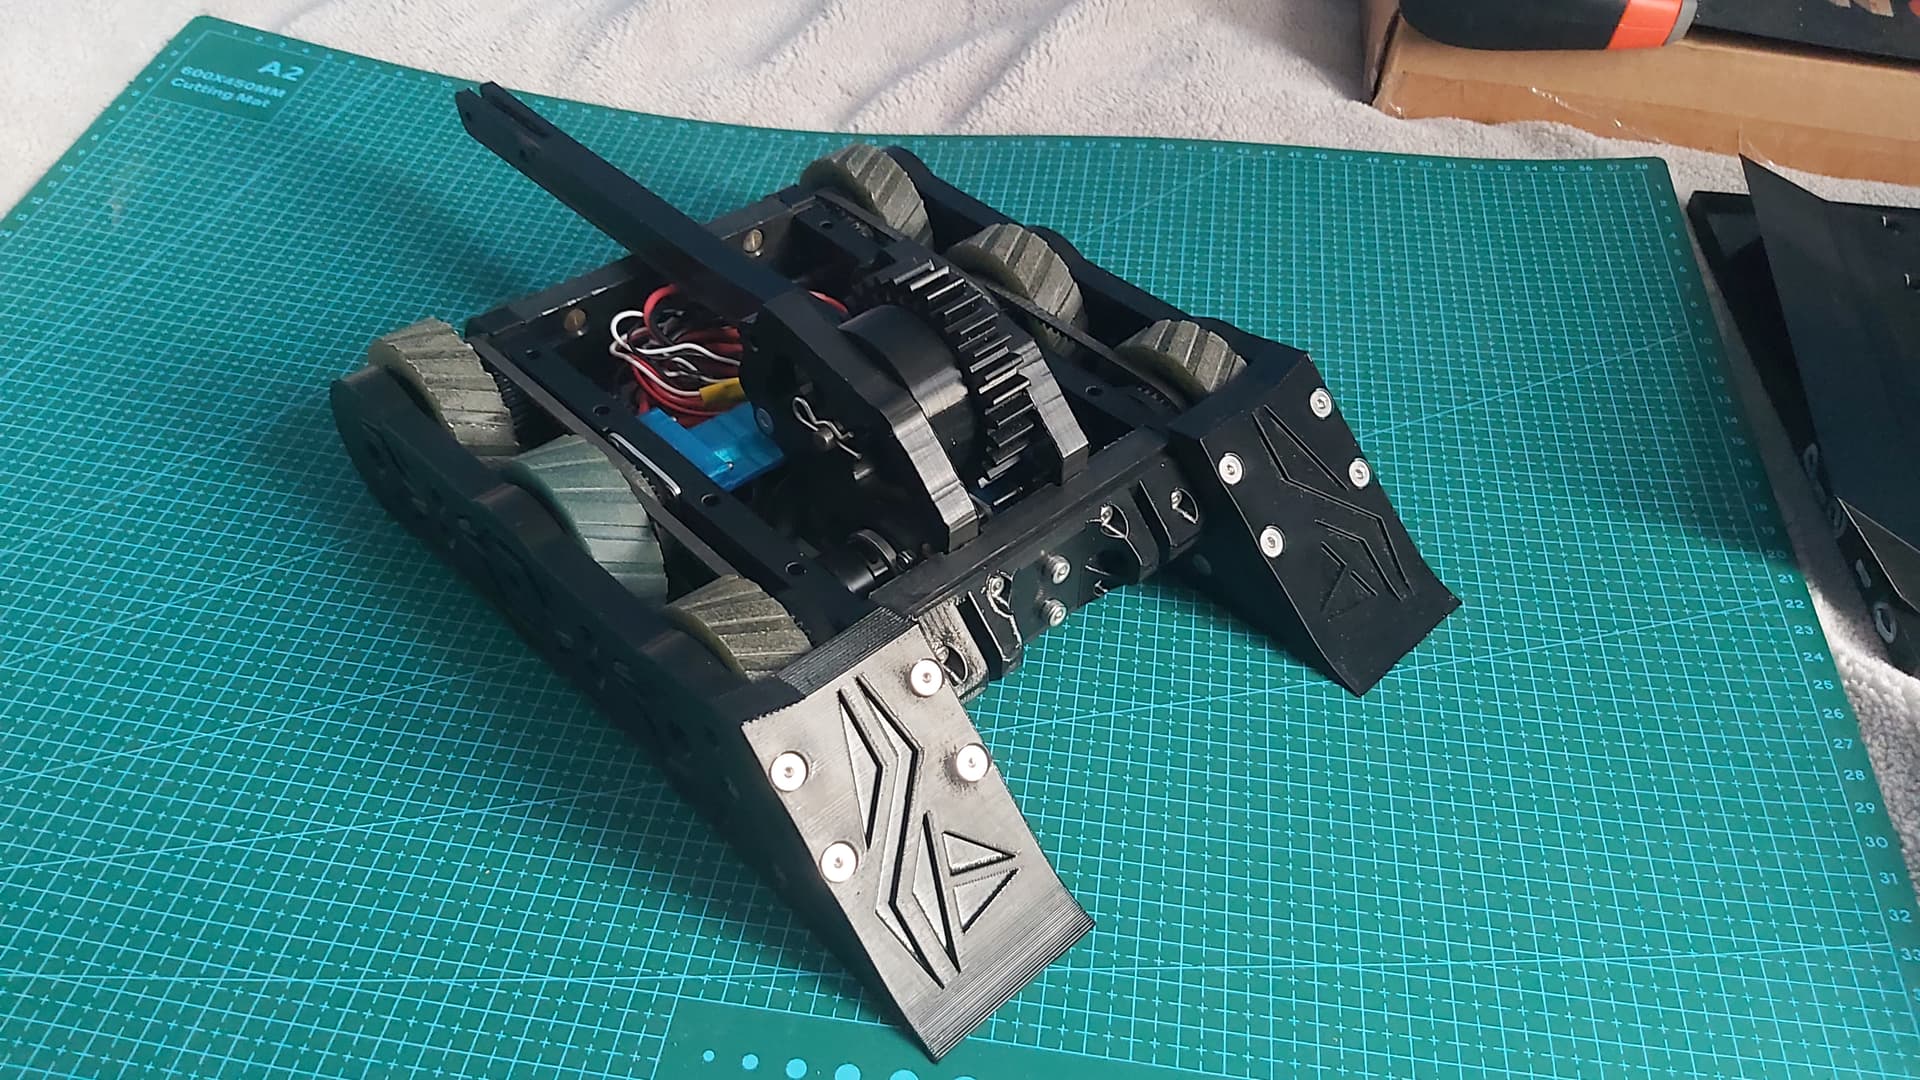
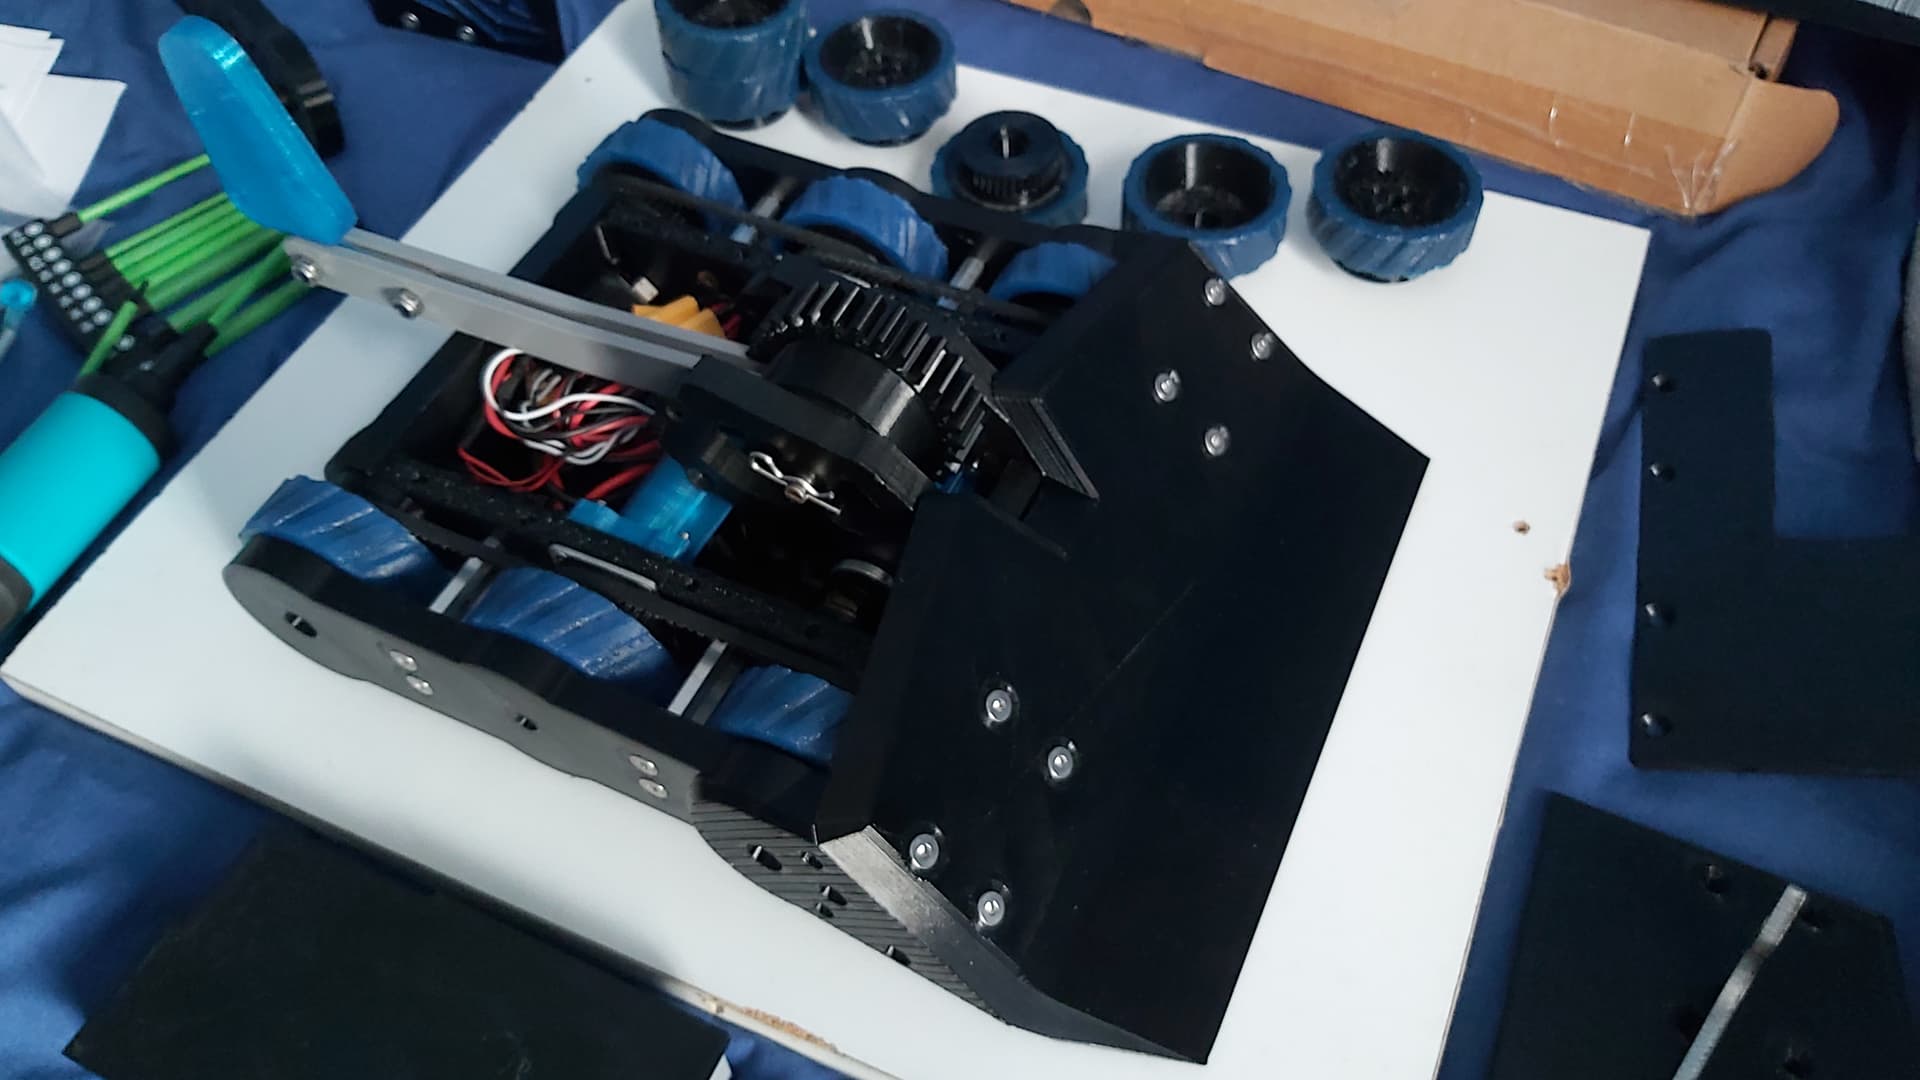
While the anti-HS sides were printing the square nuts finally turned up, I installed them into the TPU bulkheads and the lifter arms to finally have them bolt in. I transferred the electronics and wheels to get a gauge of how well the assembly holds up. Happily the bulkheads firm up nicely when bolted in.
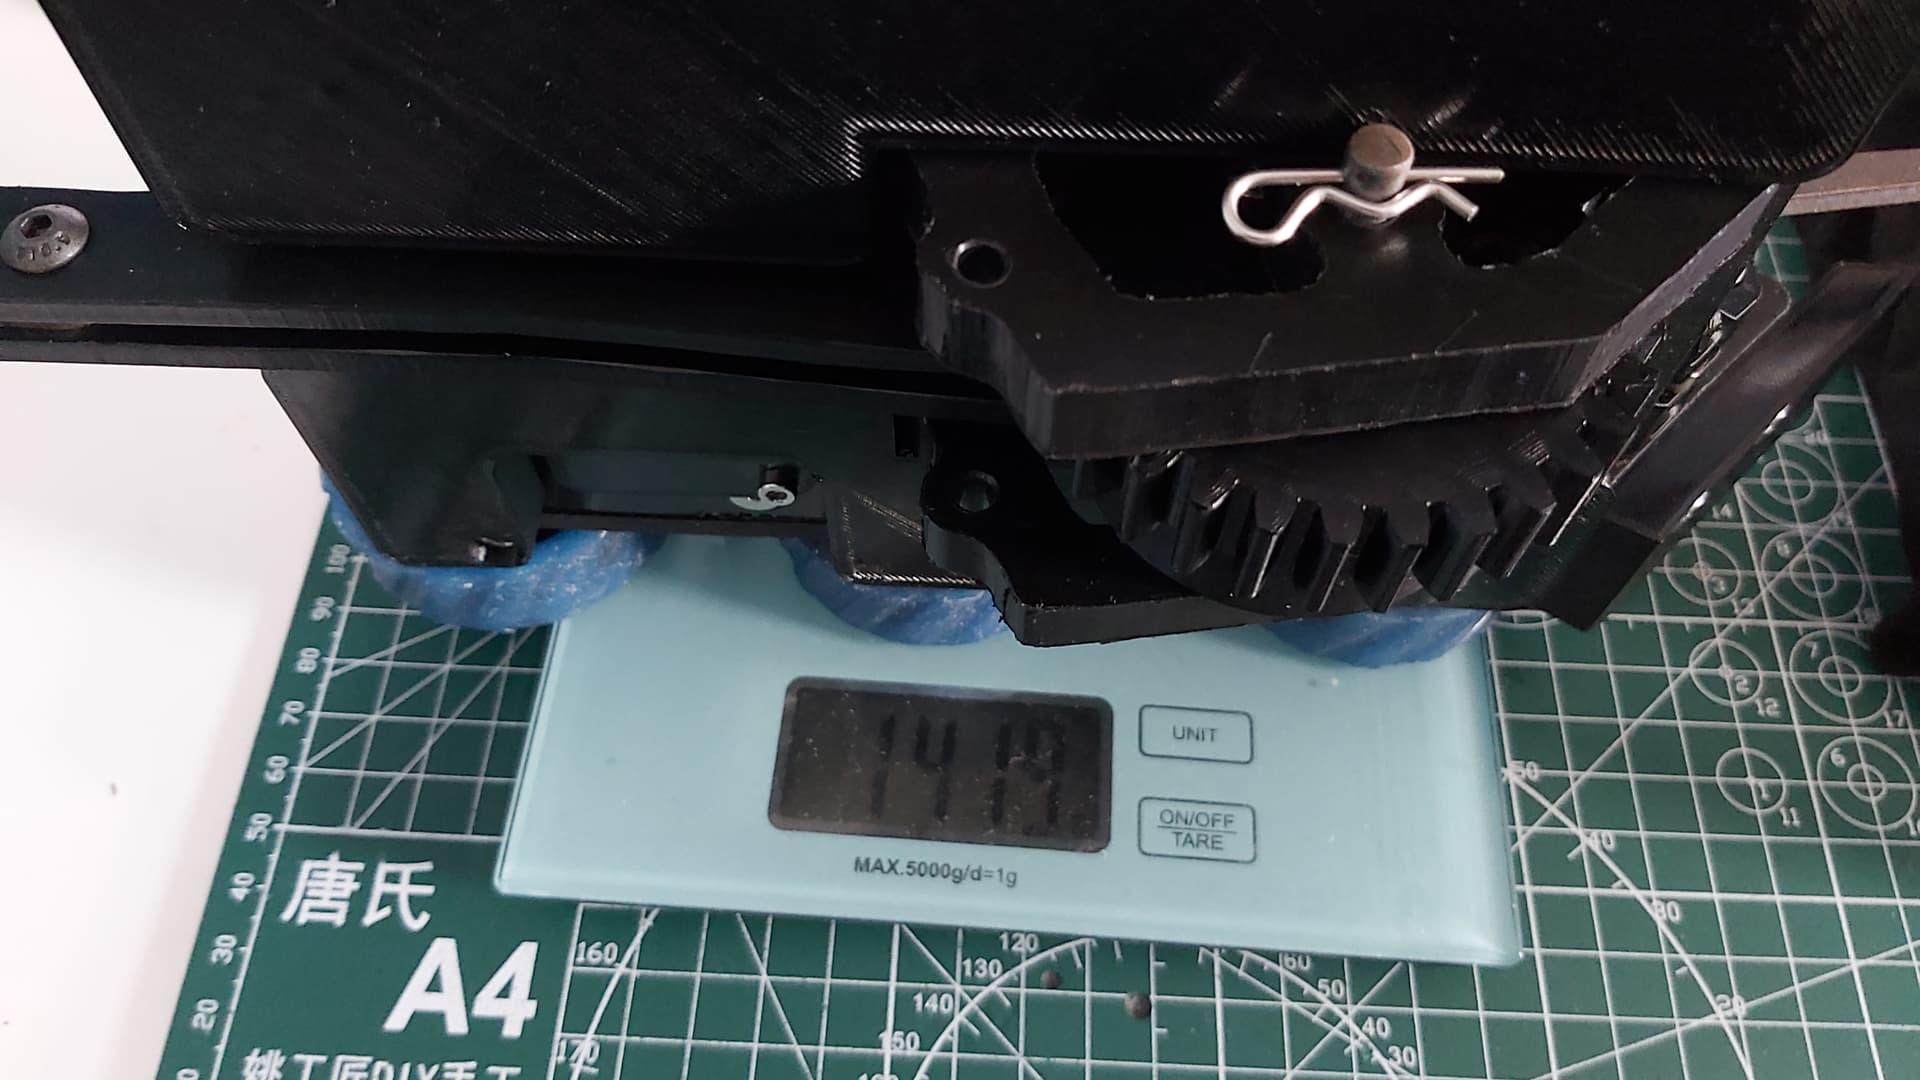
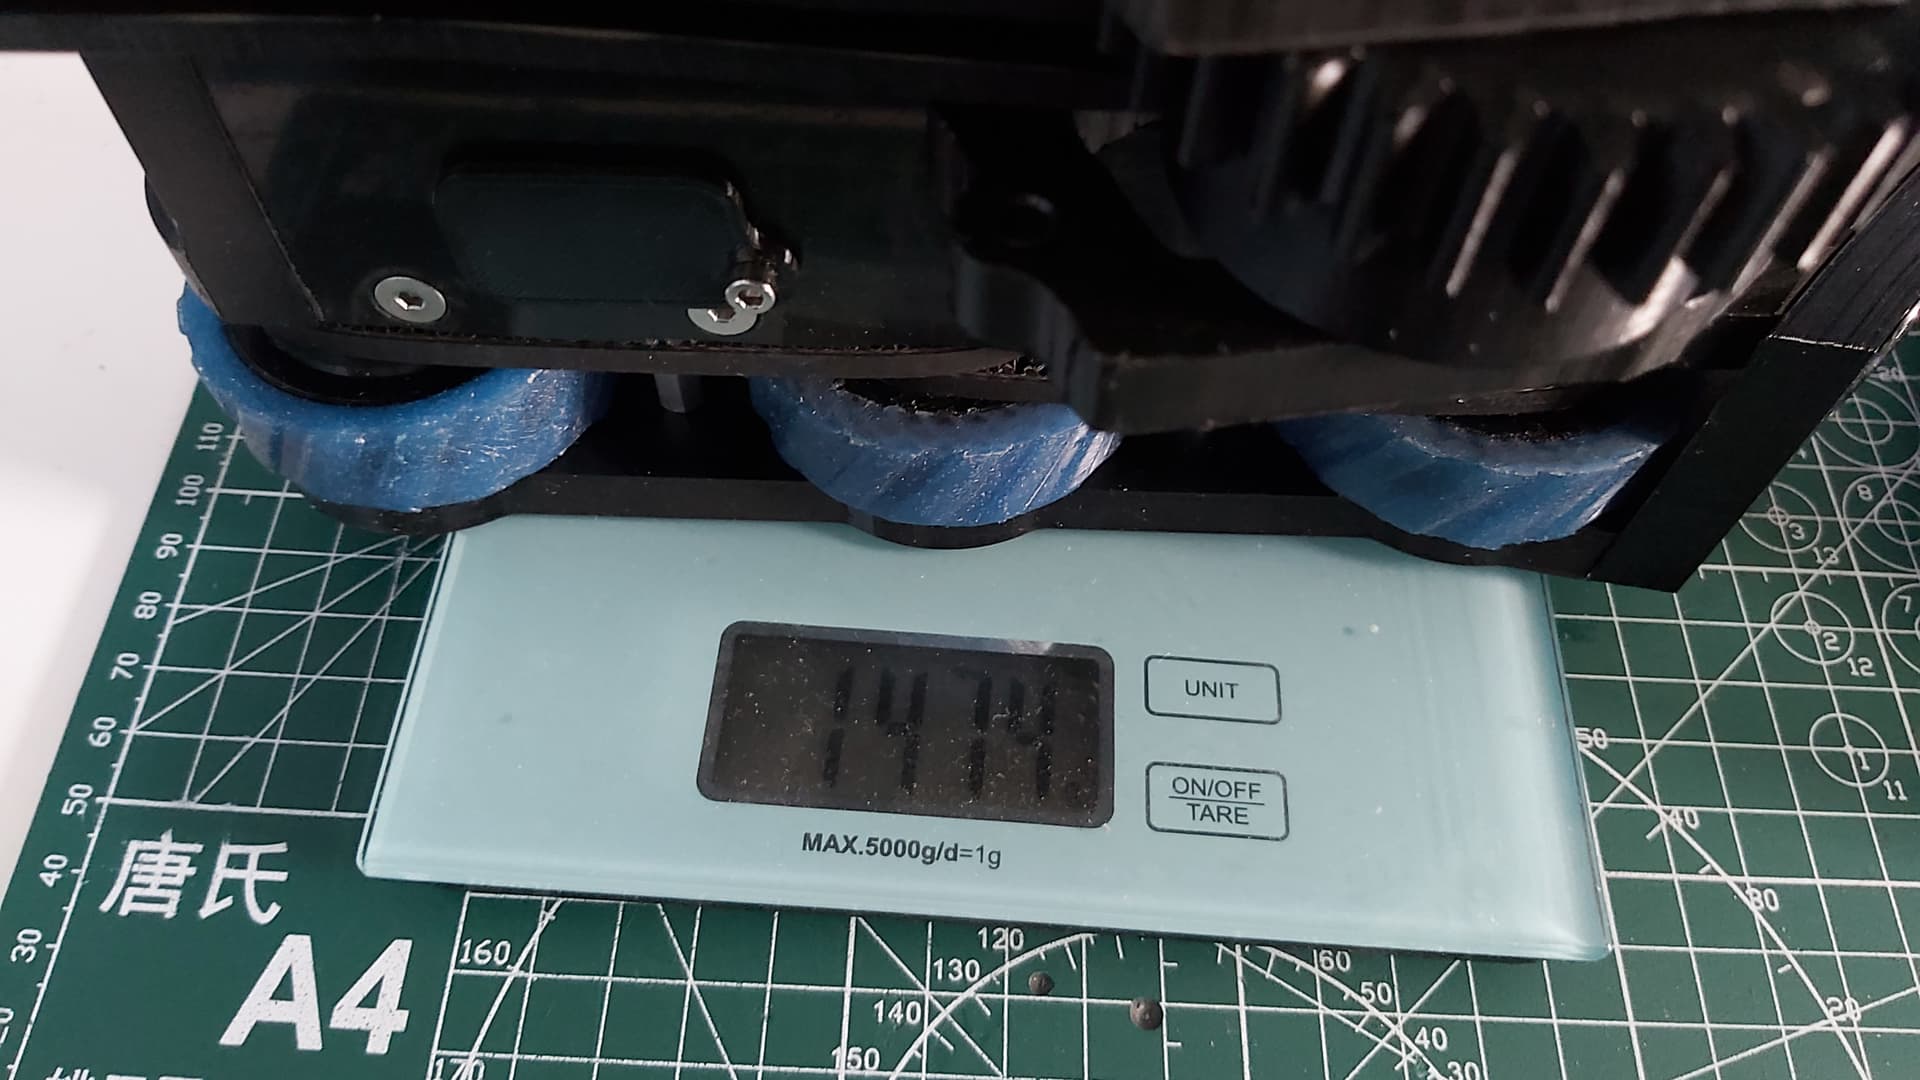
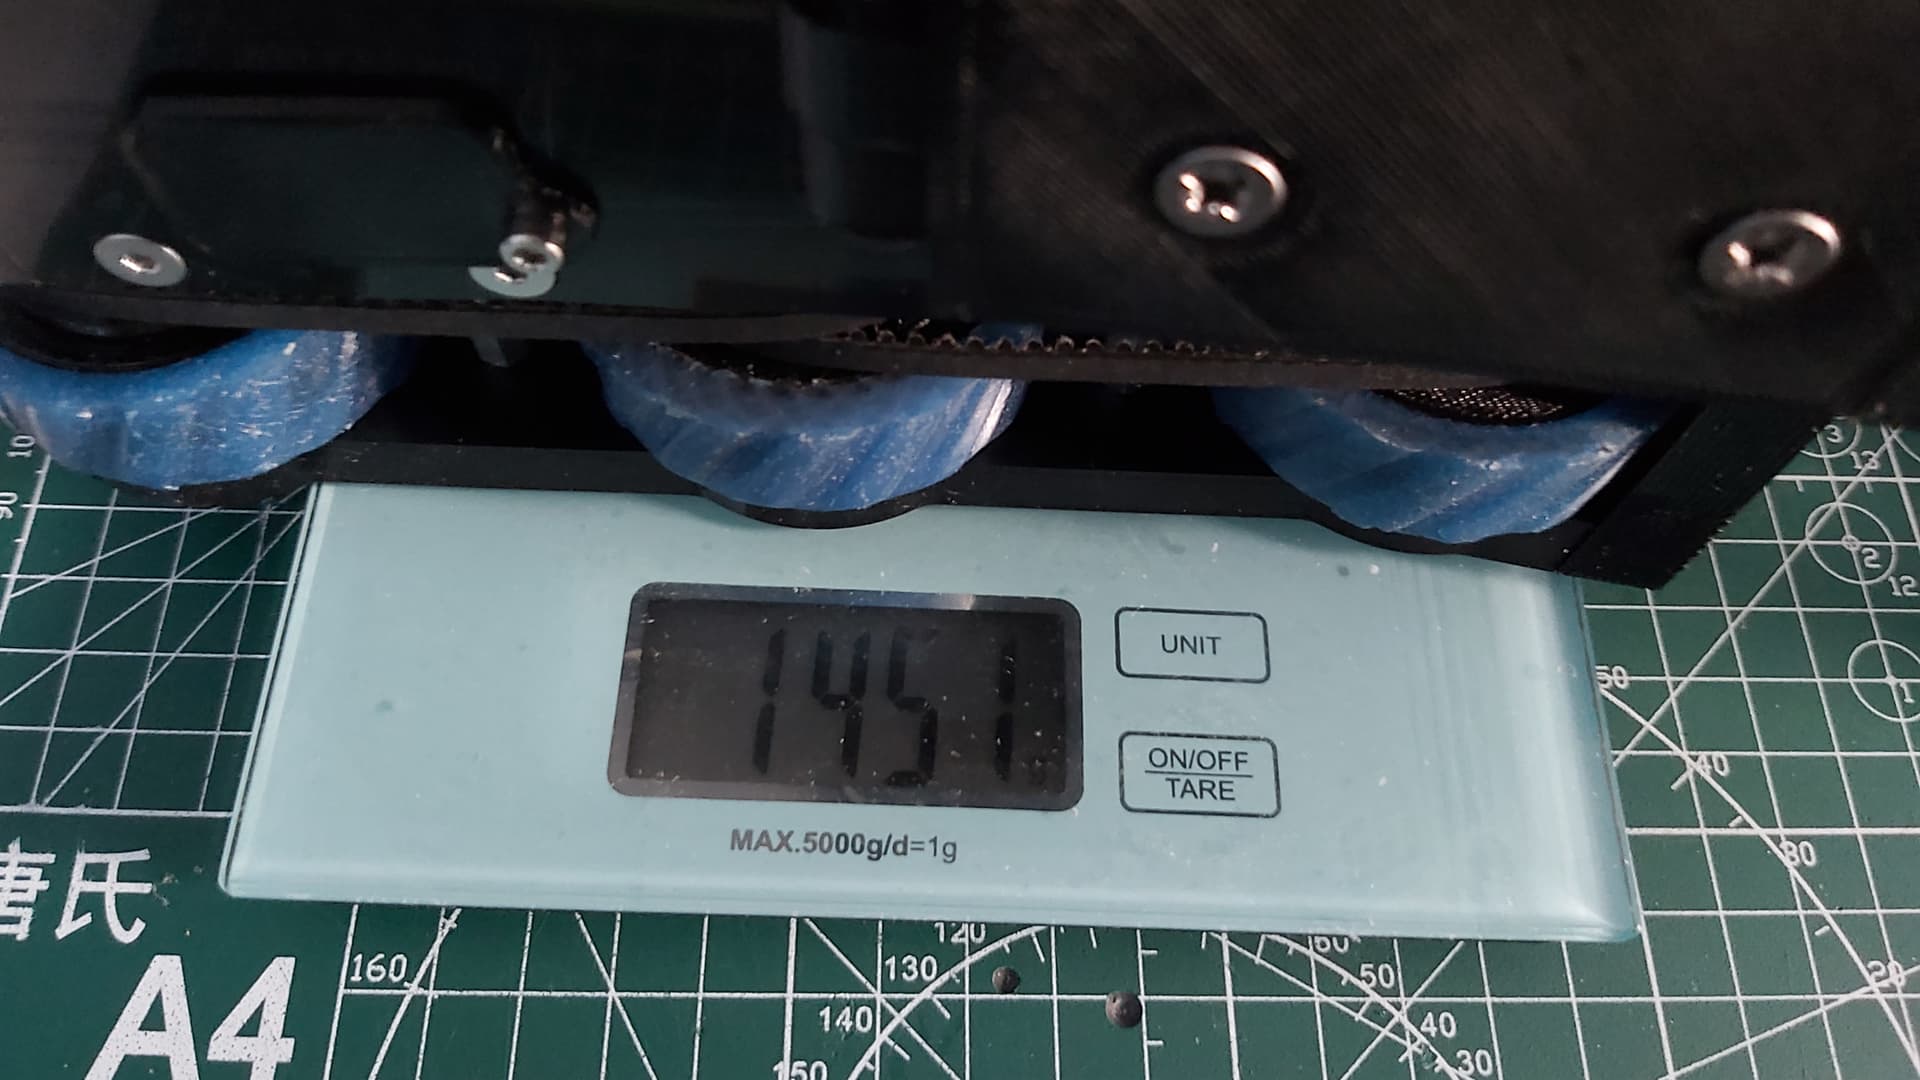
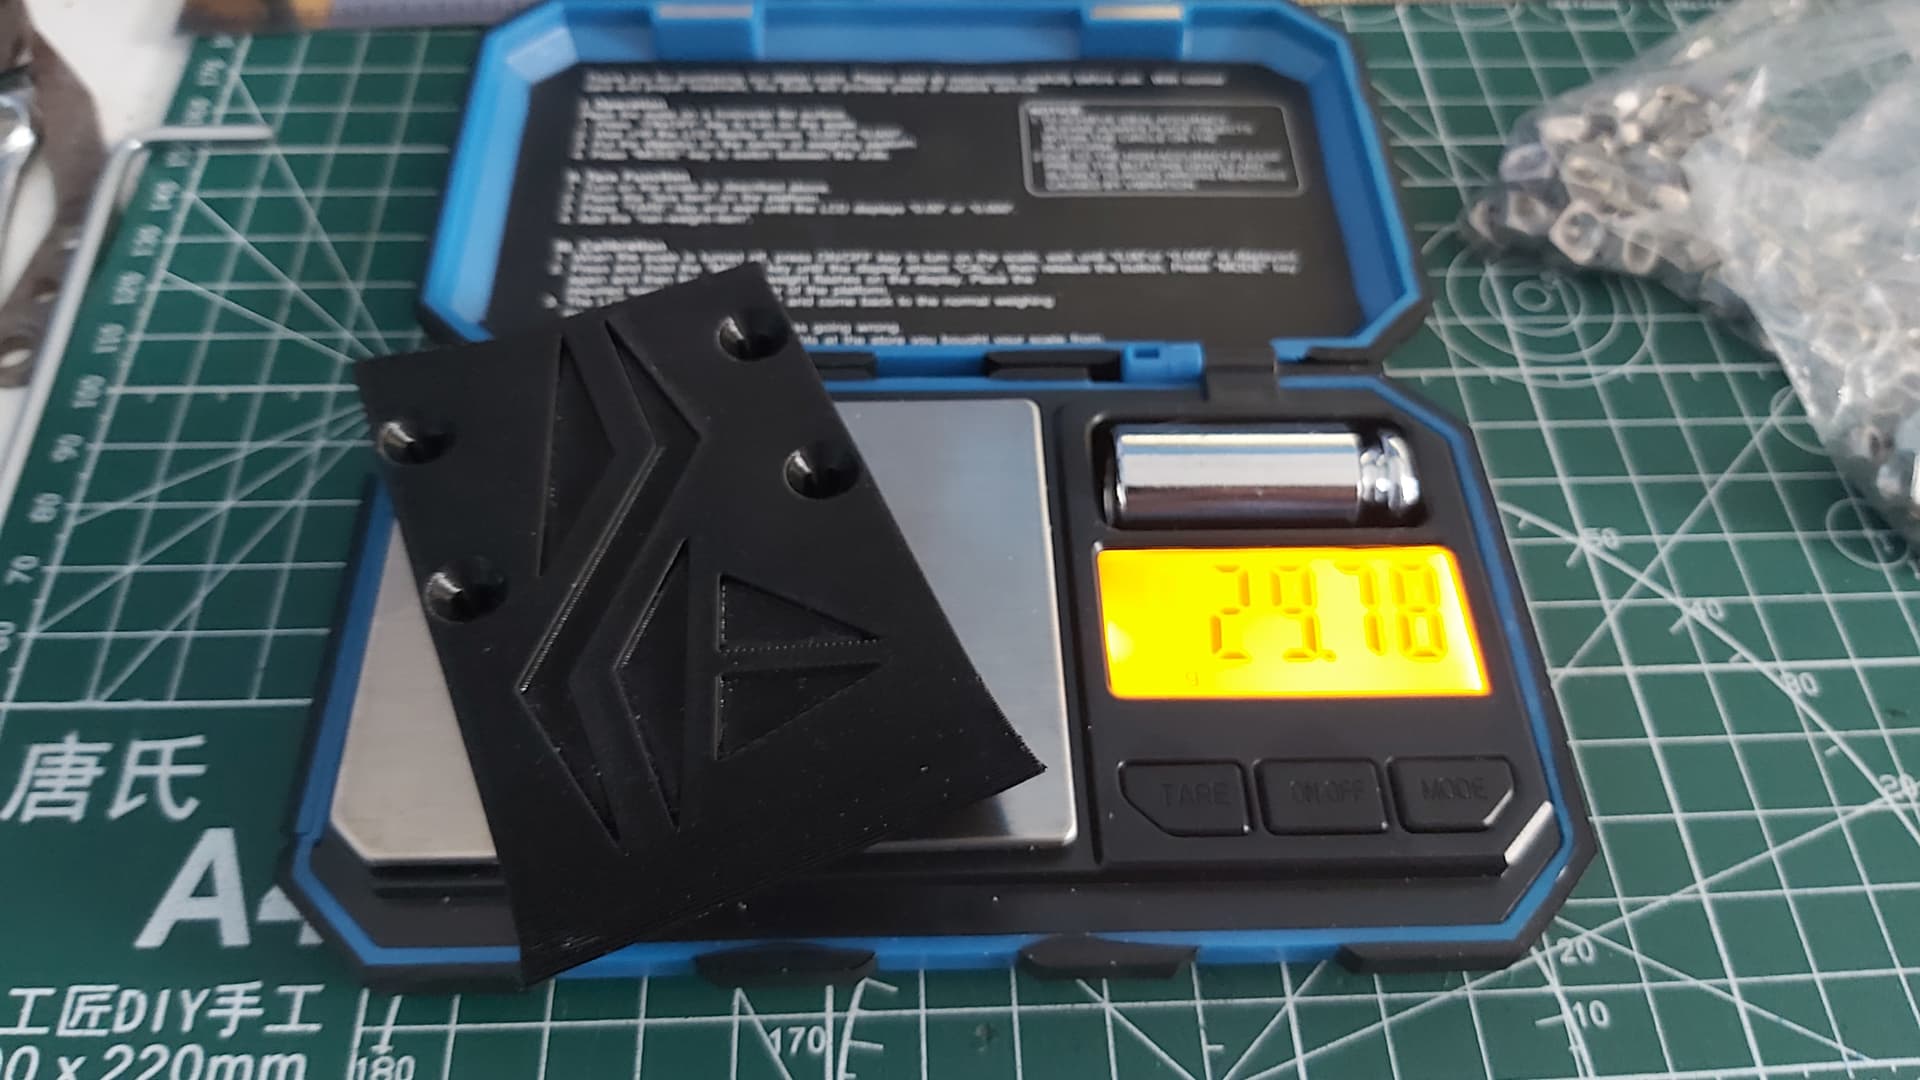
It was at this point I learned DB was going to need to diet. Normally I calculate as much of the bot’s weight before starting the build and try to give myself a healthy margin for parts I can’t calculate for. In this case, I underestimated the added weight of the new fixtures. But I did make the TPU parts a tad heavy with slightly higher walls and infill. The robot is roughly 1.45kg at the moment about 100 grams heavier than I aimed for.
You can also see the TPU axe arm I printed to test out a “flex” axe. The main axe arms will be HDPE.
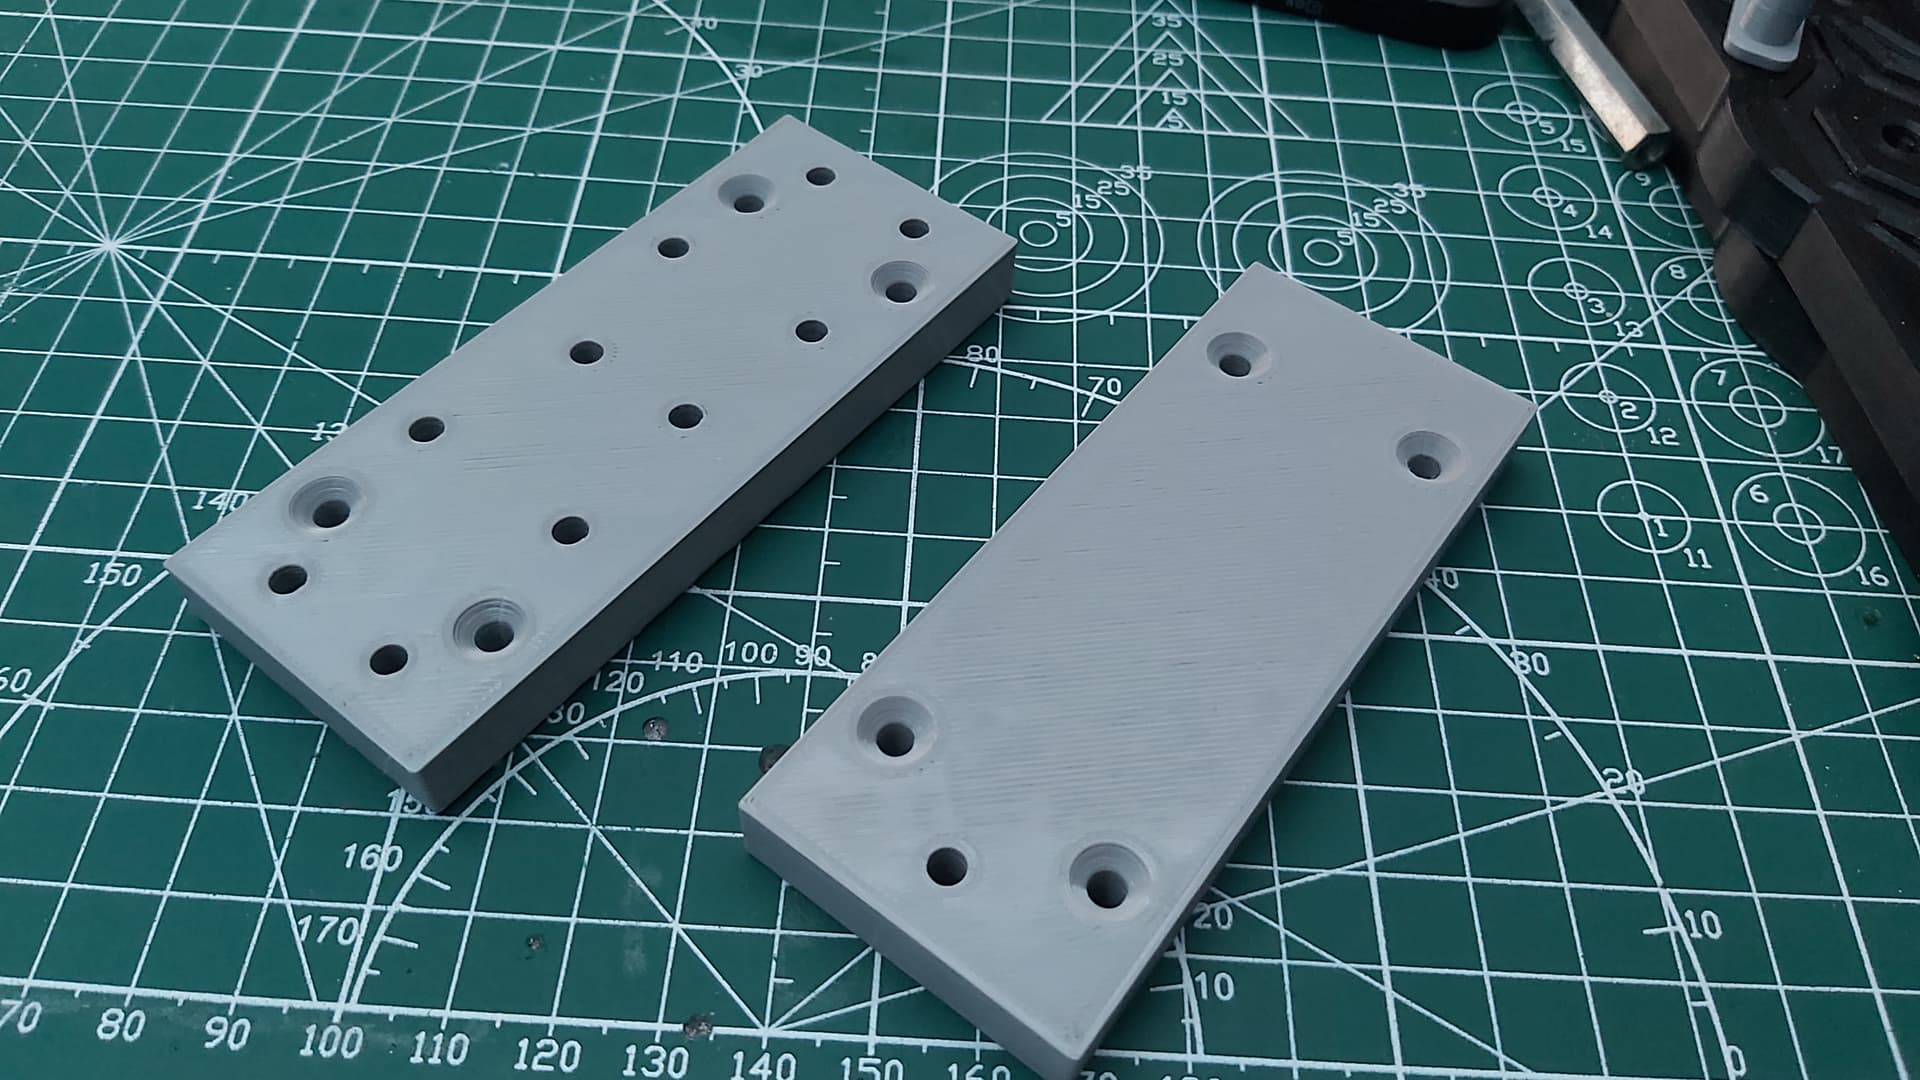
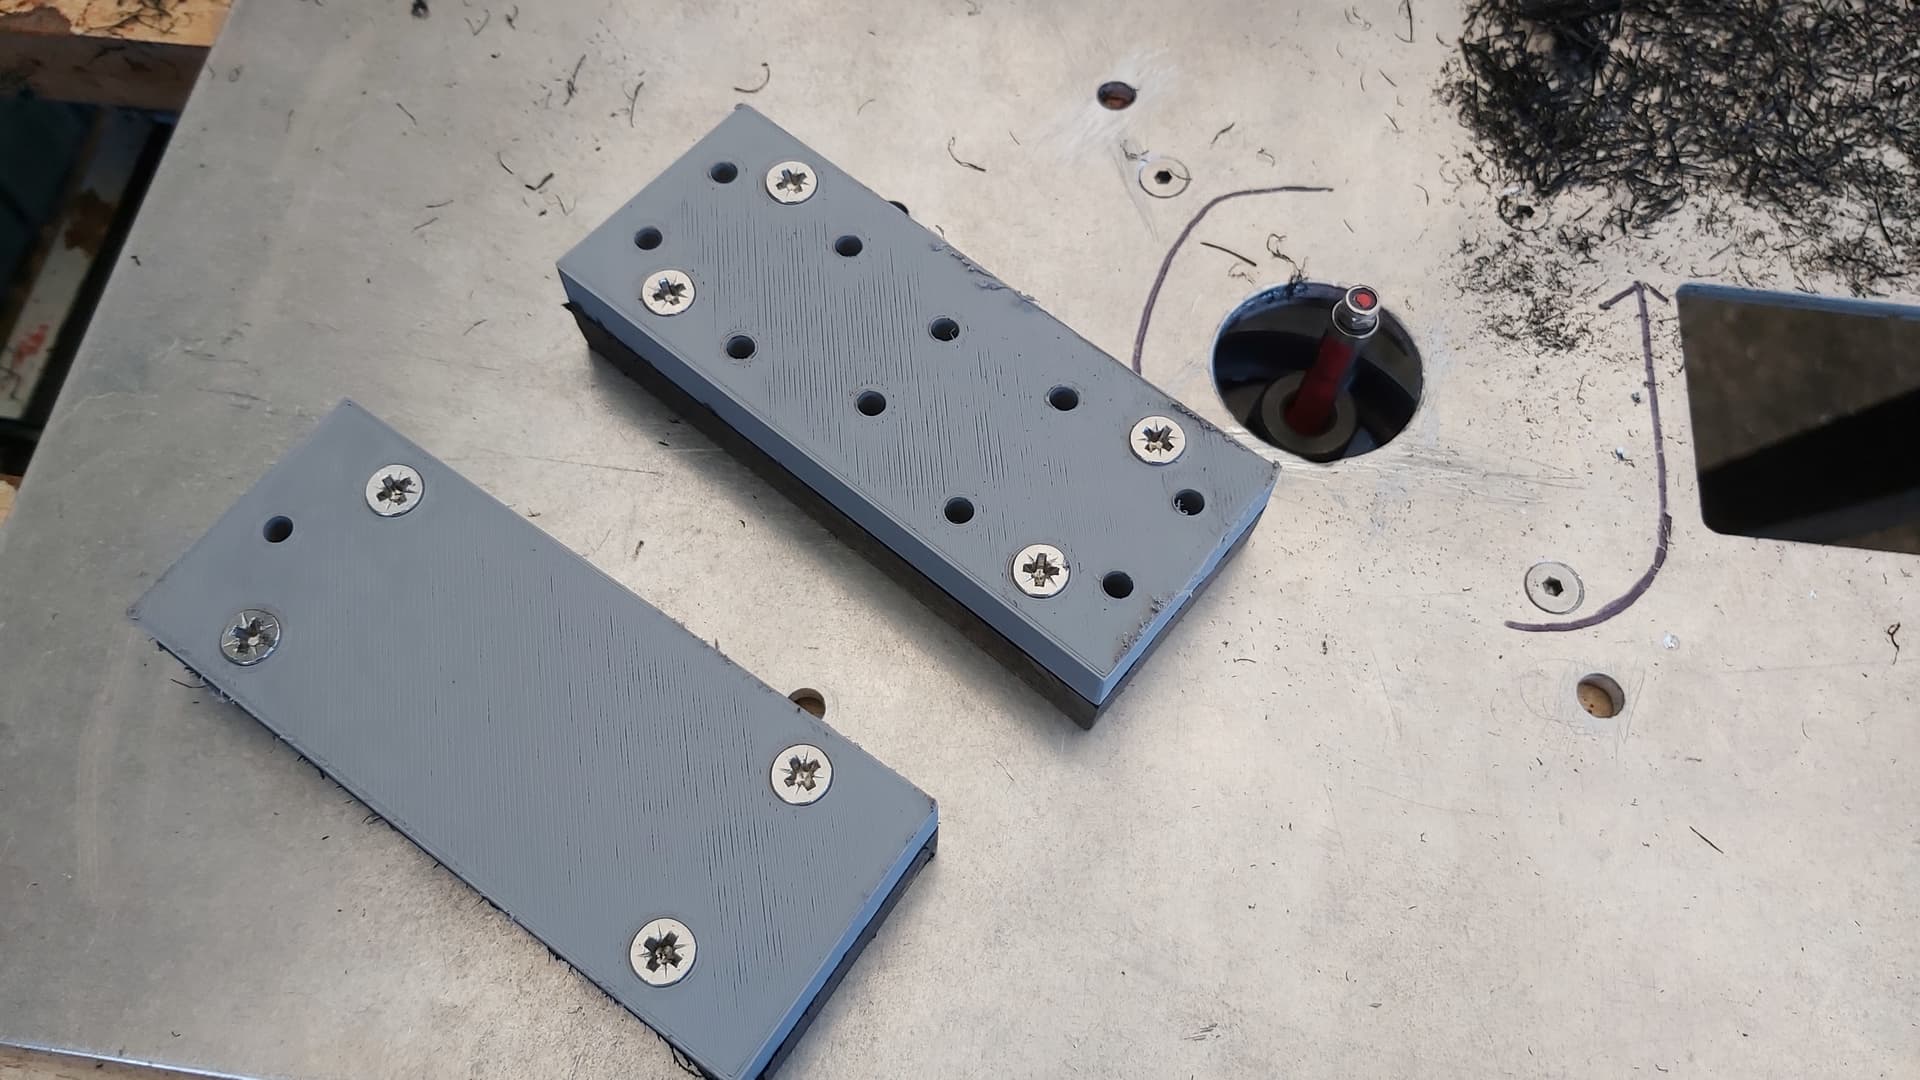
The top plate and bottom plate were made and test-fitted. The axe module was torn down to remove some bolts and other heavy bits that added nothing to the functionality. At least 10 grams were saved. The wedges should hopefully shed 20-30 grams once I reprint them. Some fun with maths ahead.
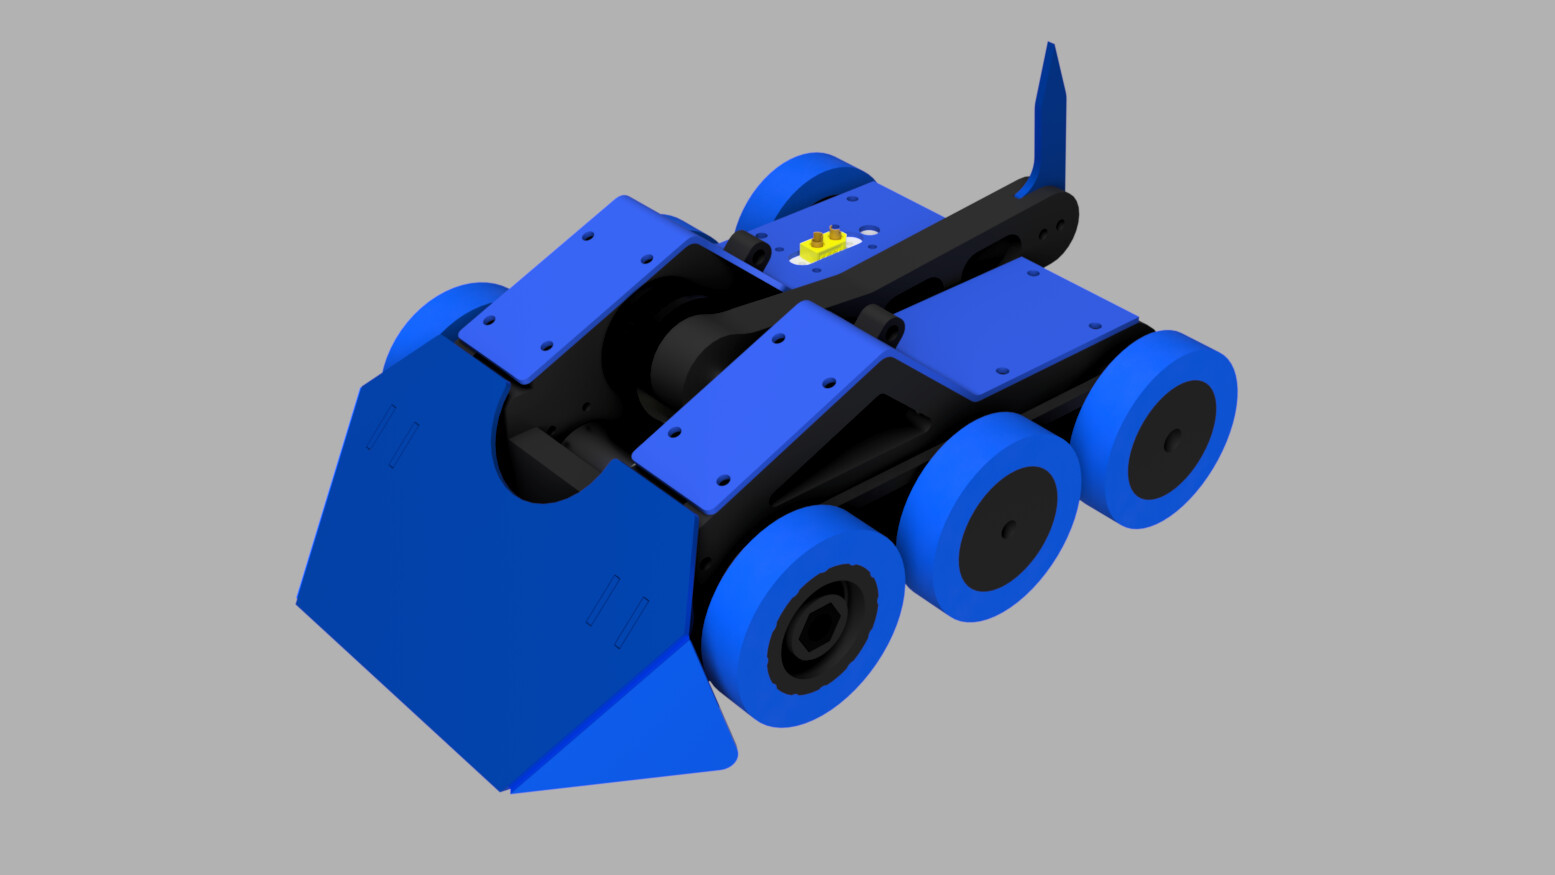
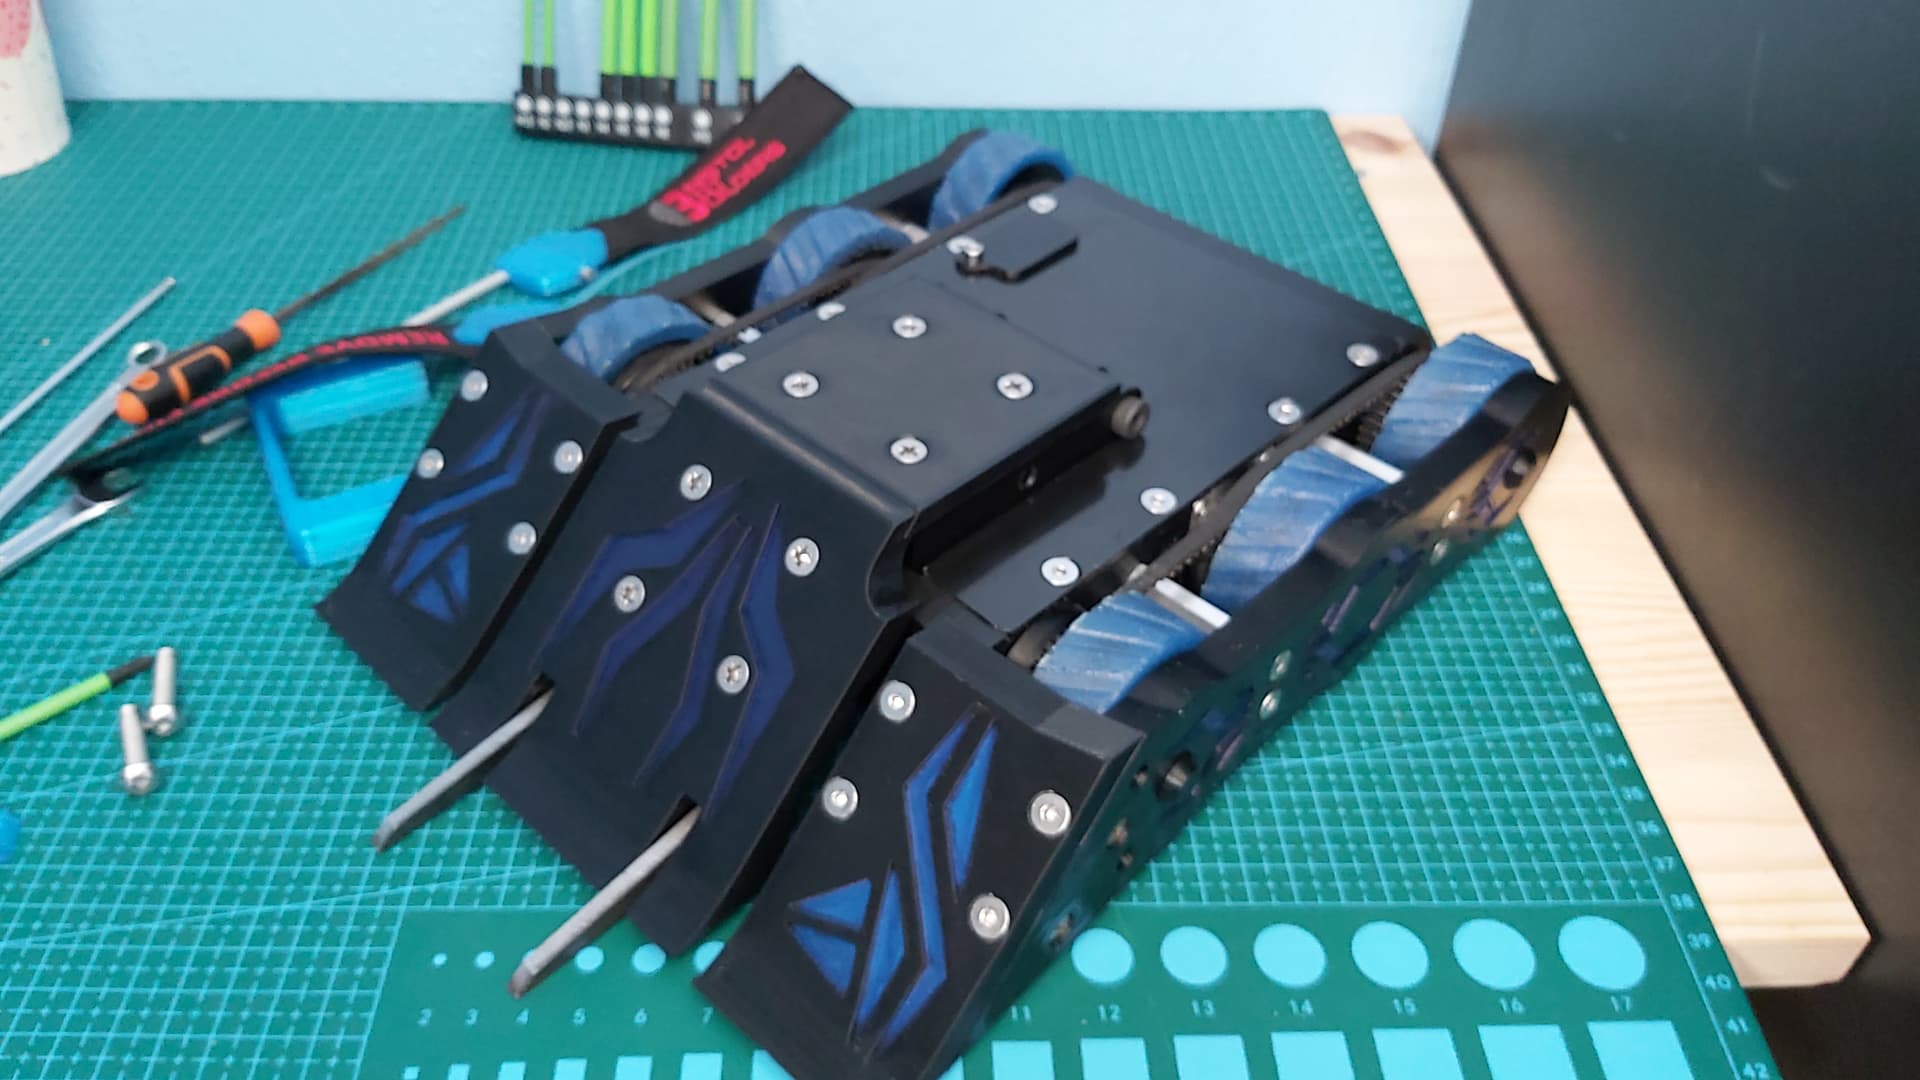
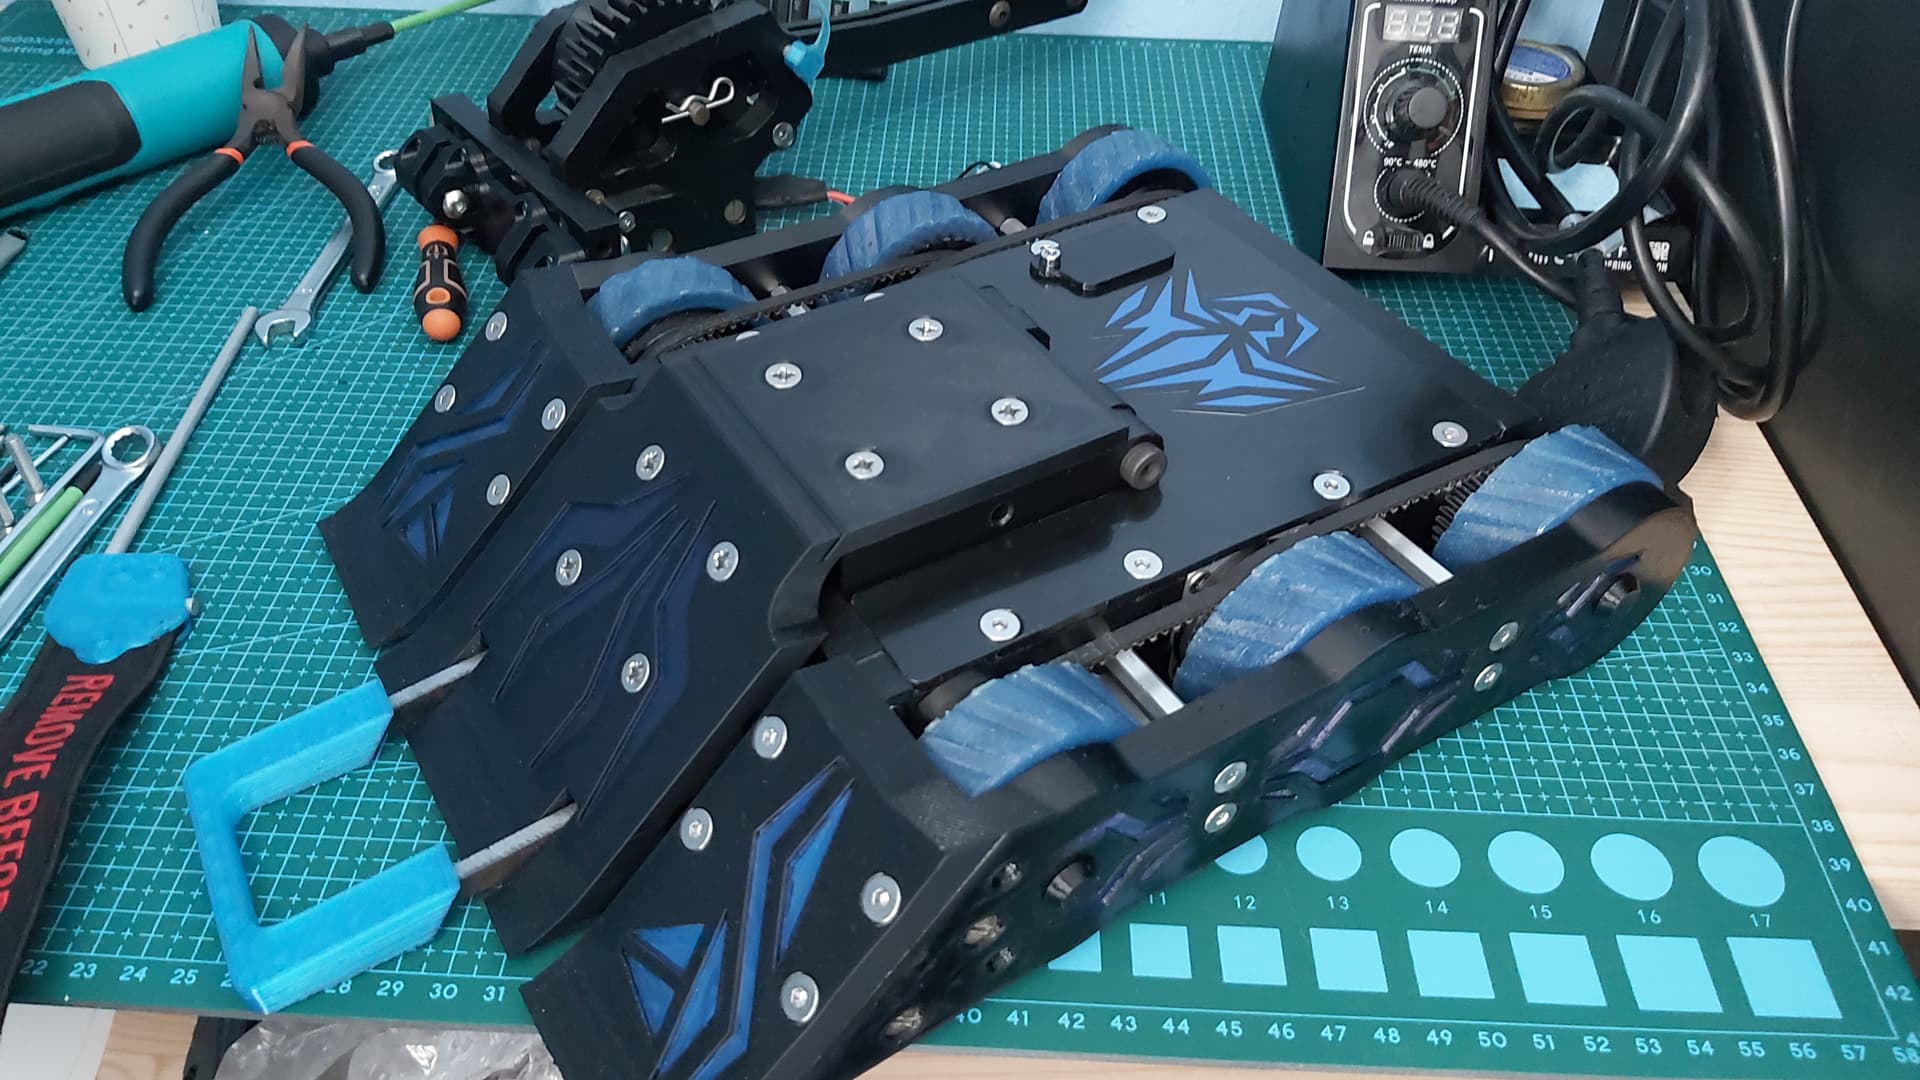
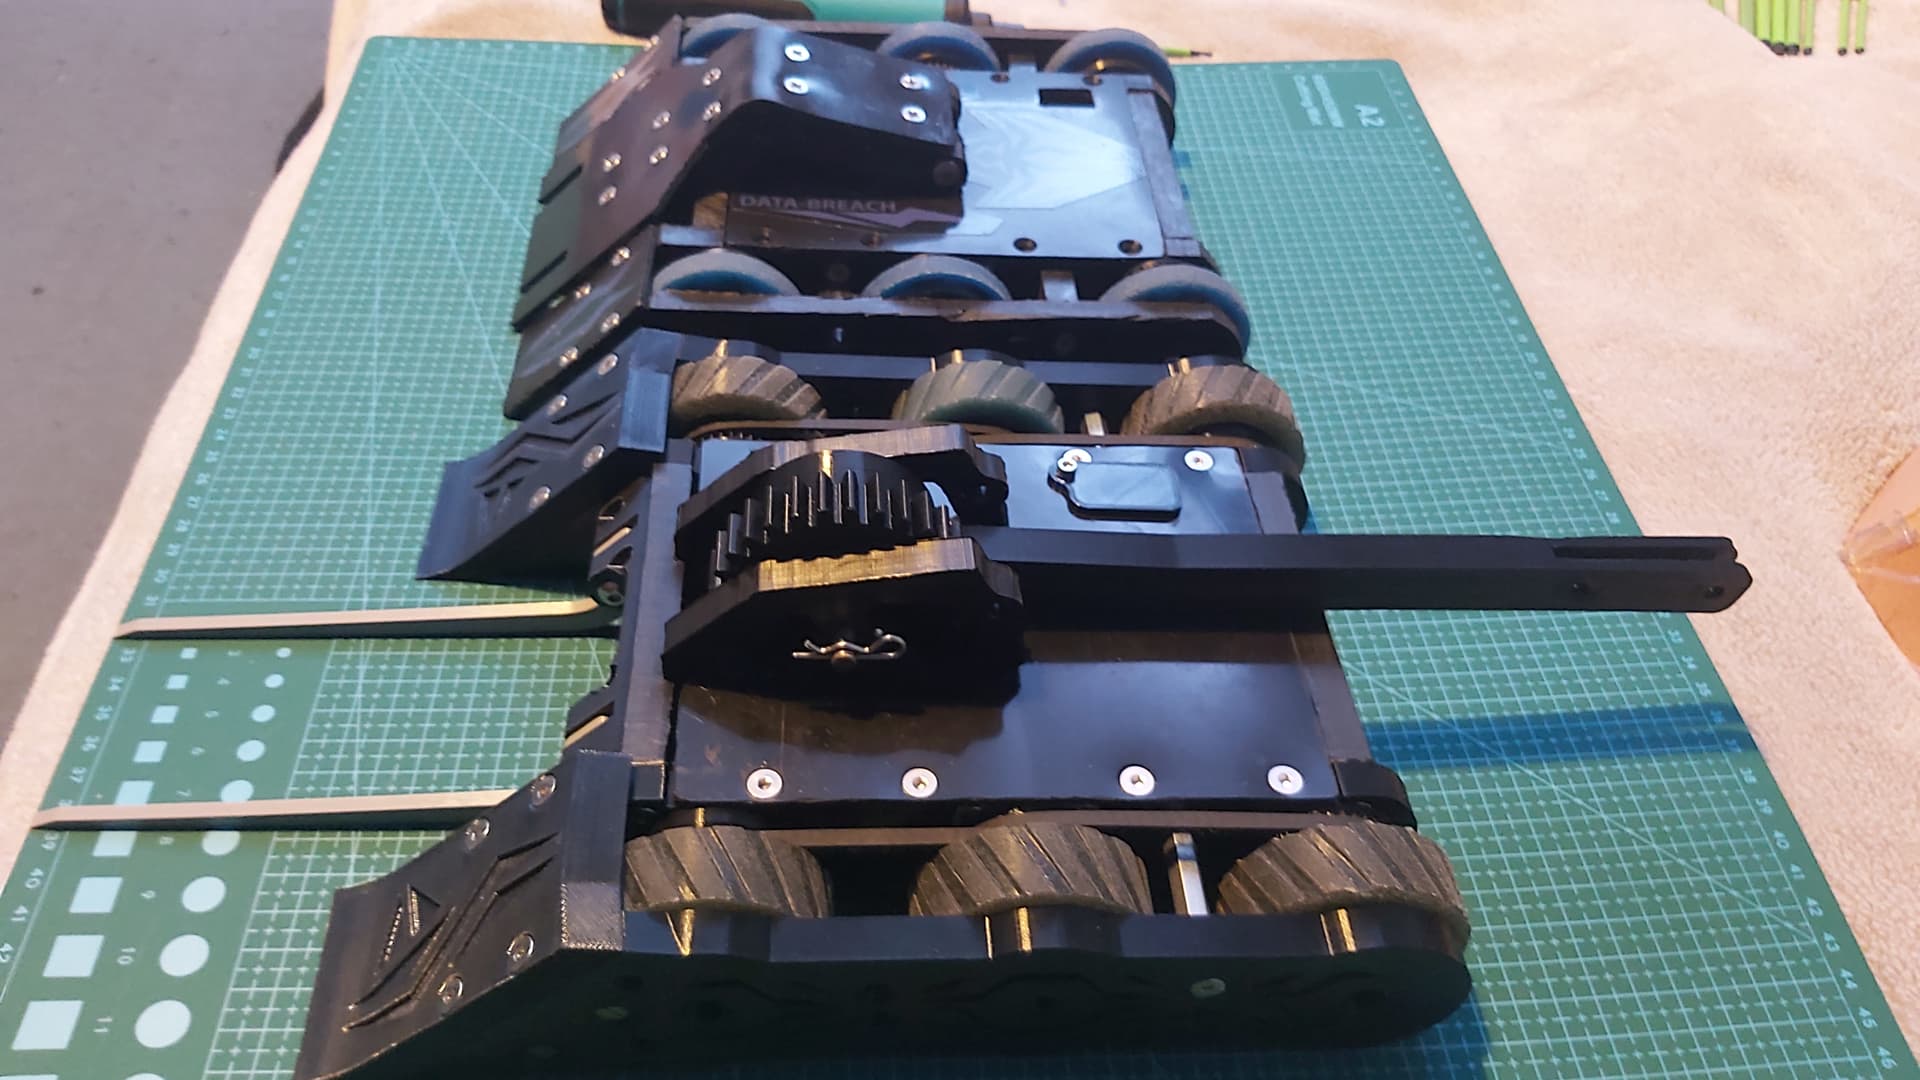
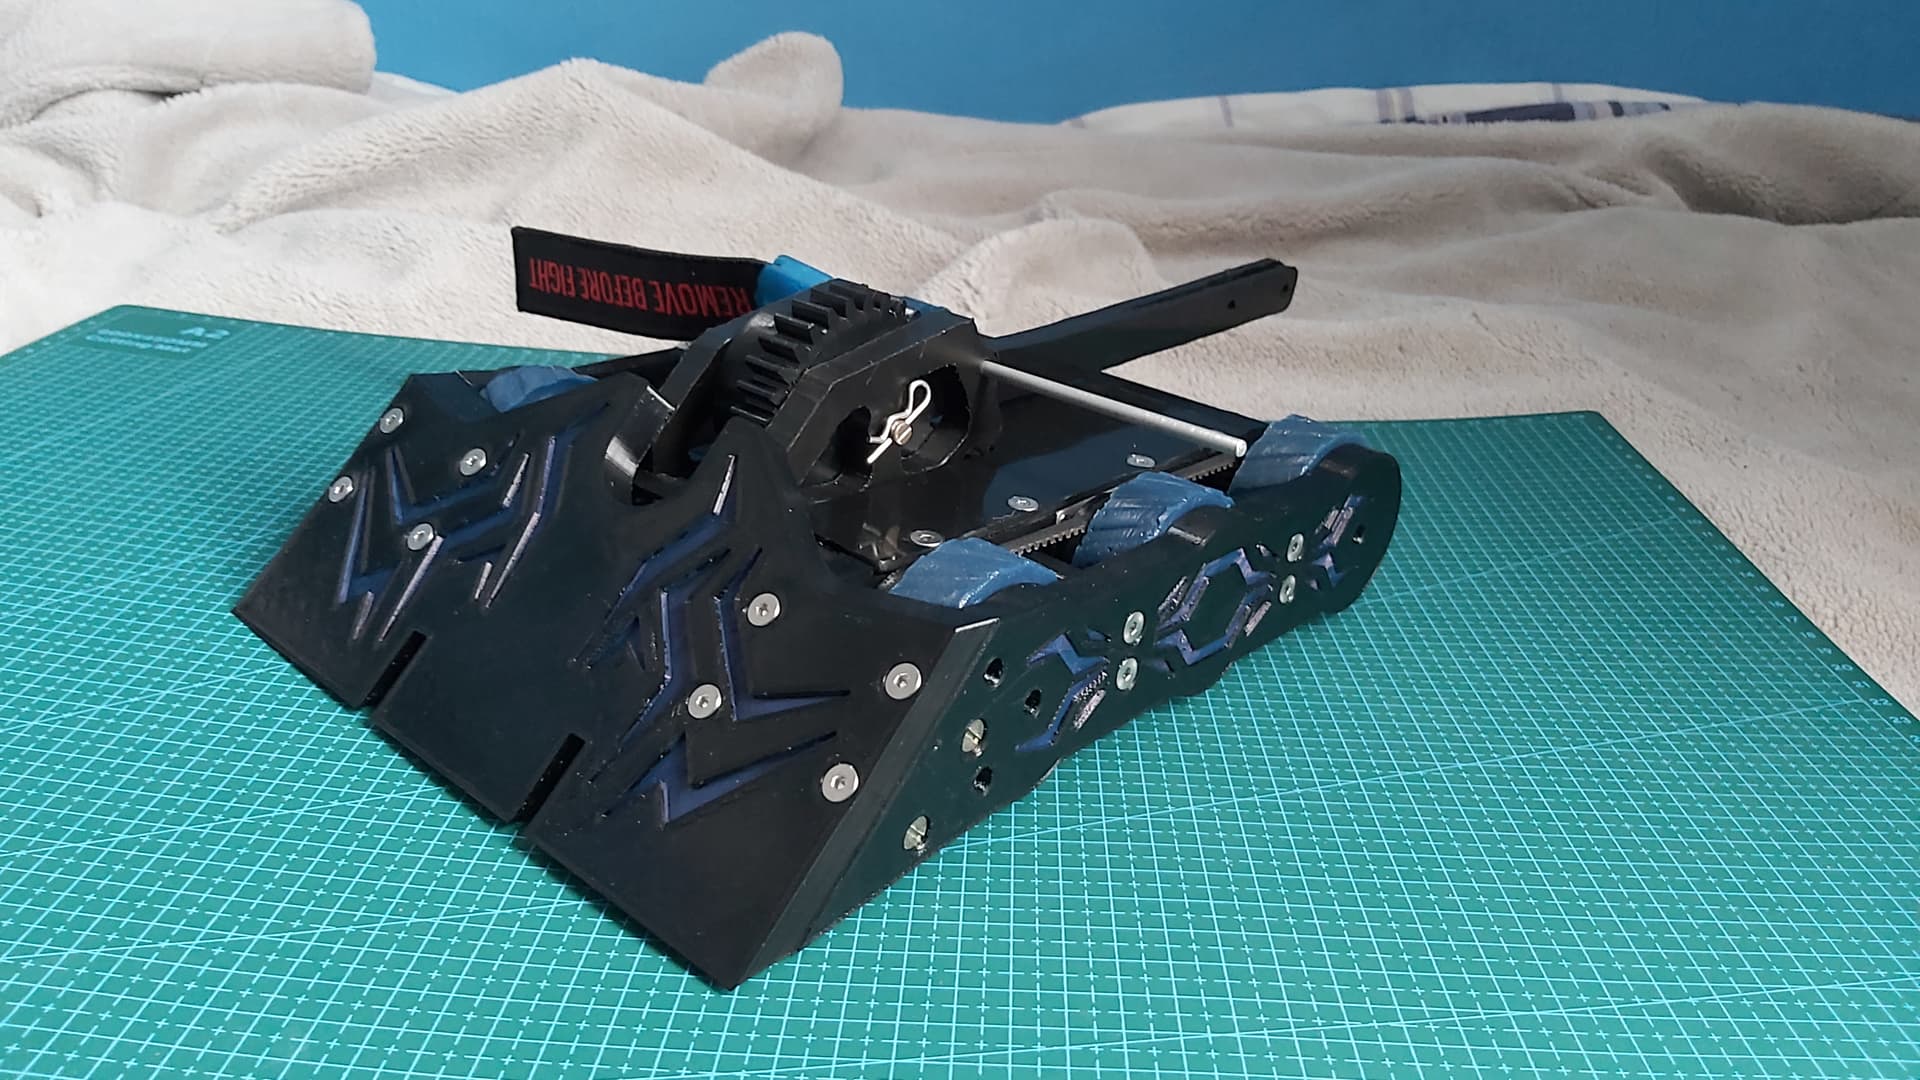
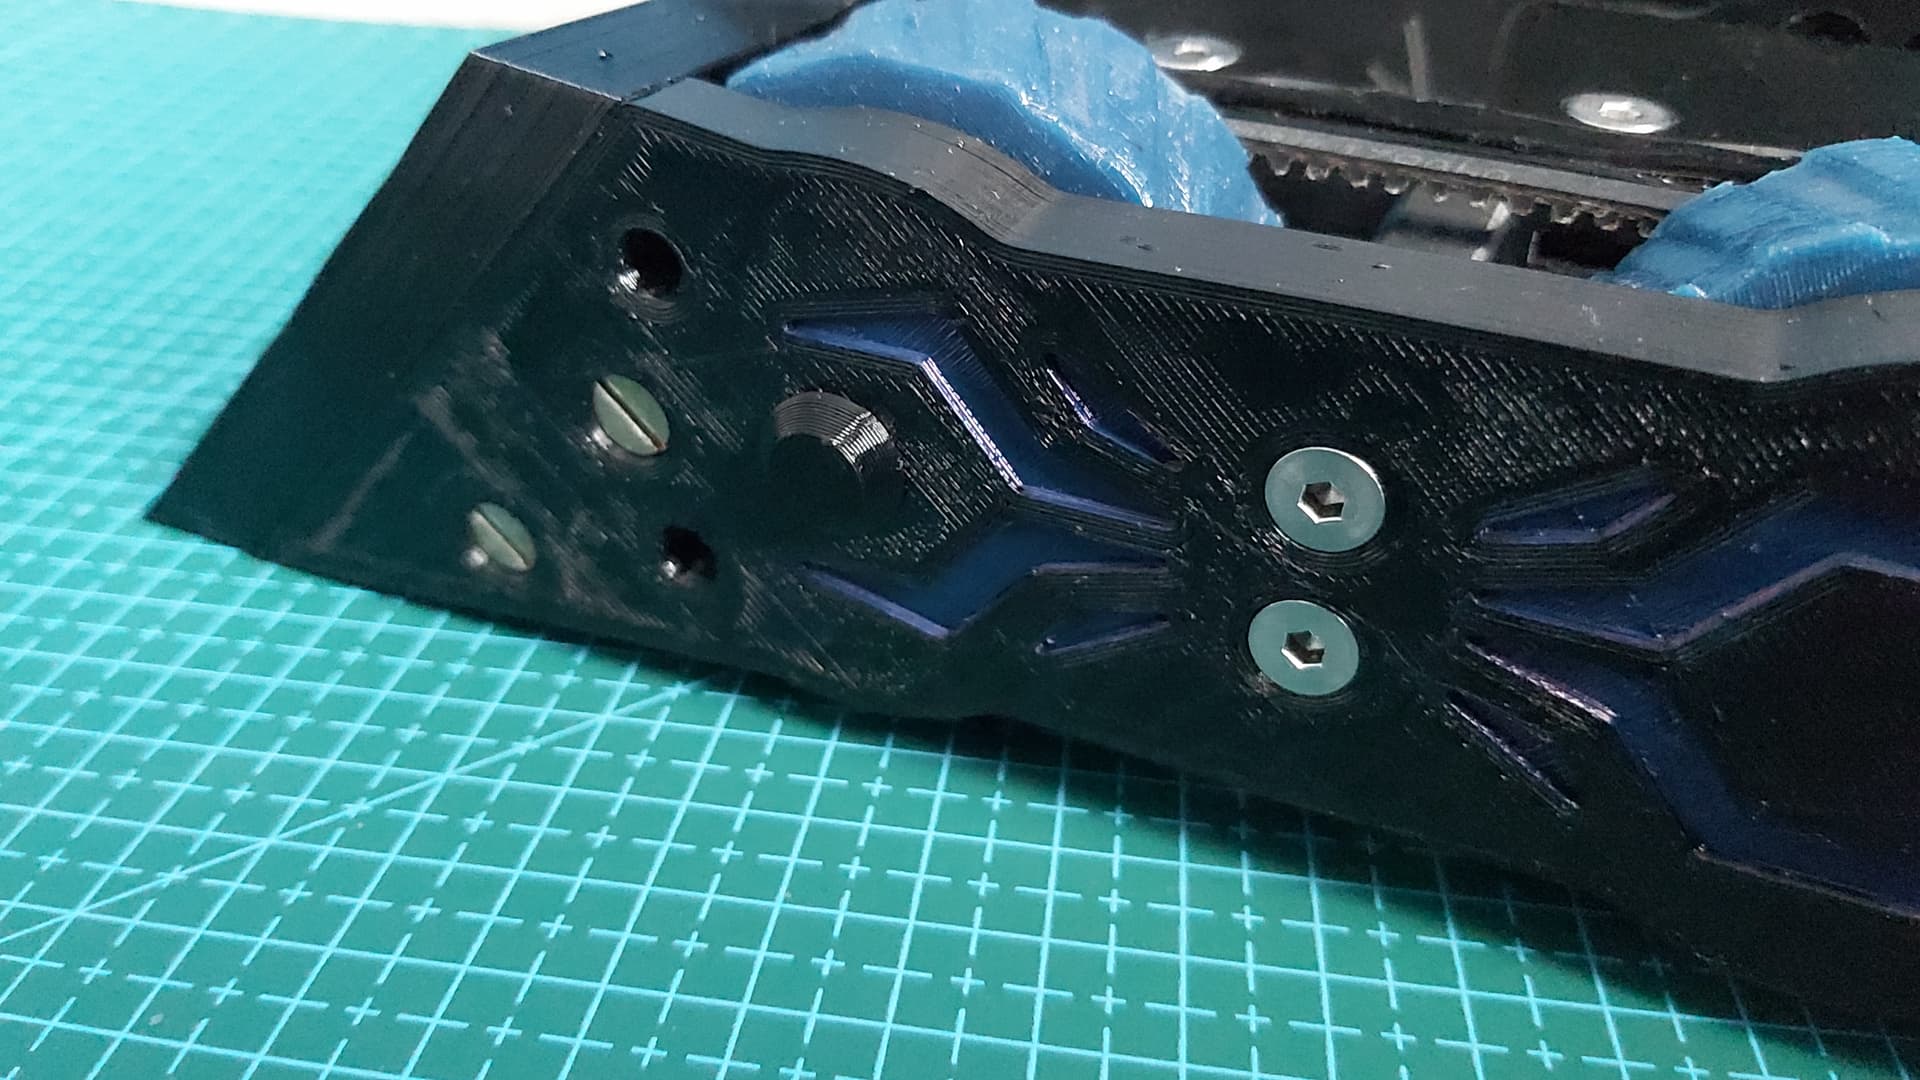
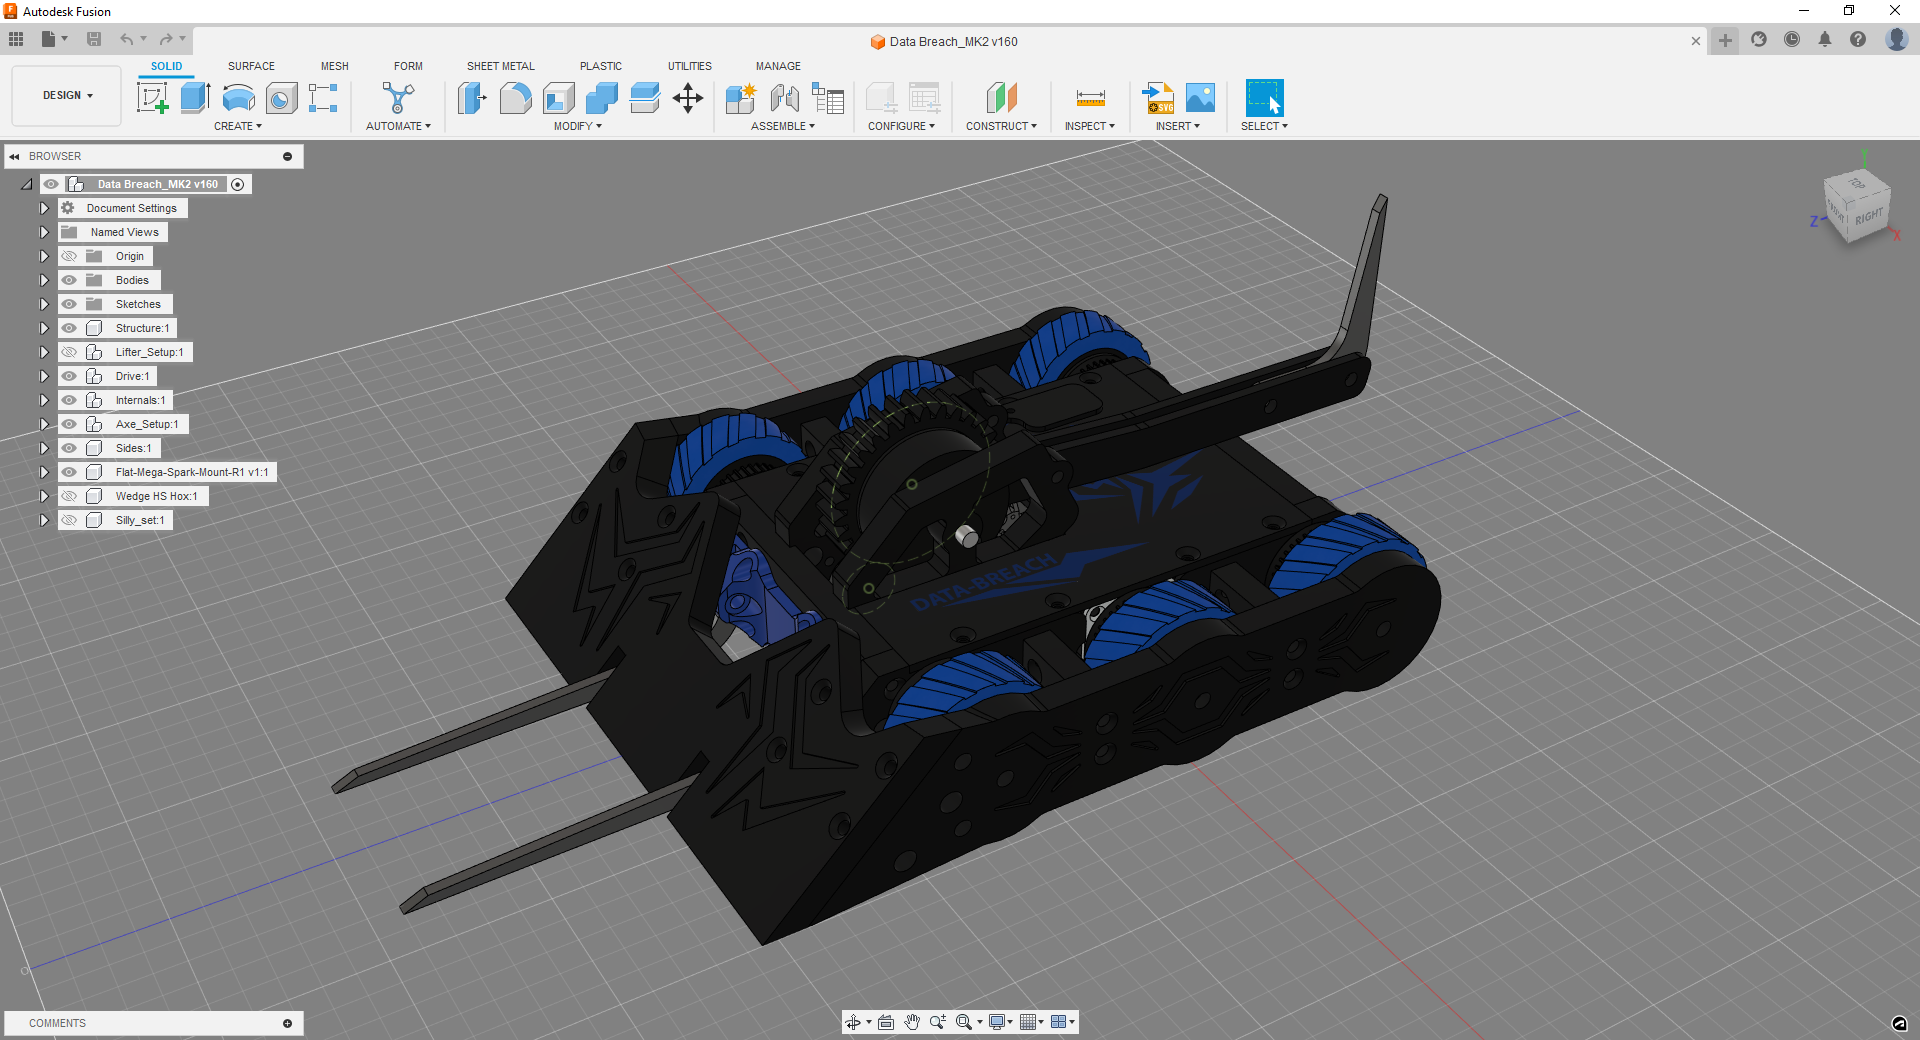
Data Breach’s diet has begun with new parts slowly getting printed. But first a neat side-by-side with the MK1 Data Breach shell.
You can see how nice the blue breaks up the black. I will get decals and colour in the indents on the TPU parts once they are printed. MK2 is only 20mm wider than MK1 but it really looks so massive.
But back to the diet. The first parts getting a trim were the TPU motor guards that stop the wire-loom catching on the motor cans. I simplified the shape and removed excess material from the geometry saving me roughly 5 grams for the pair.
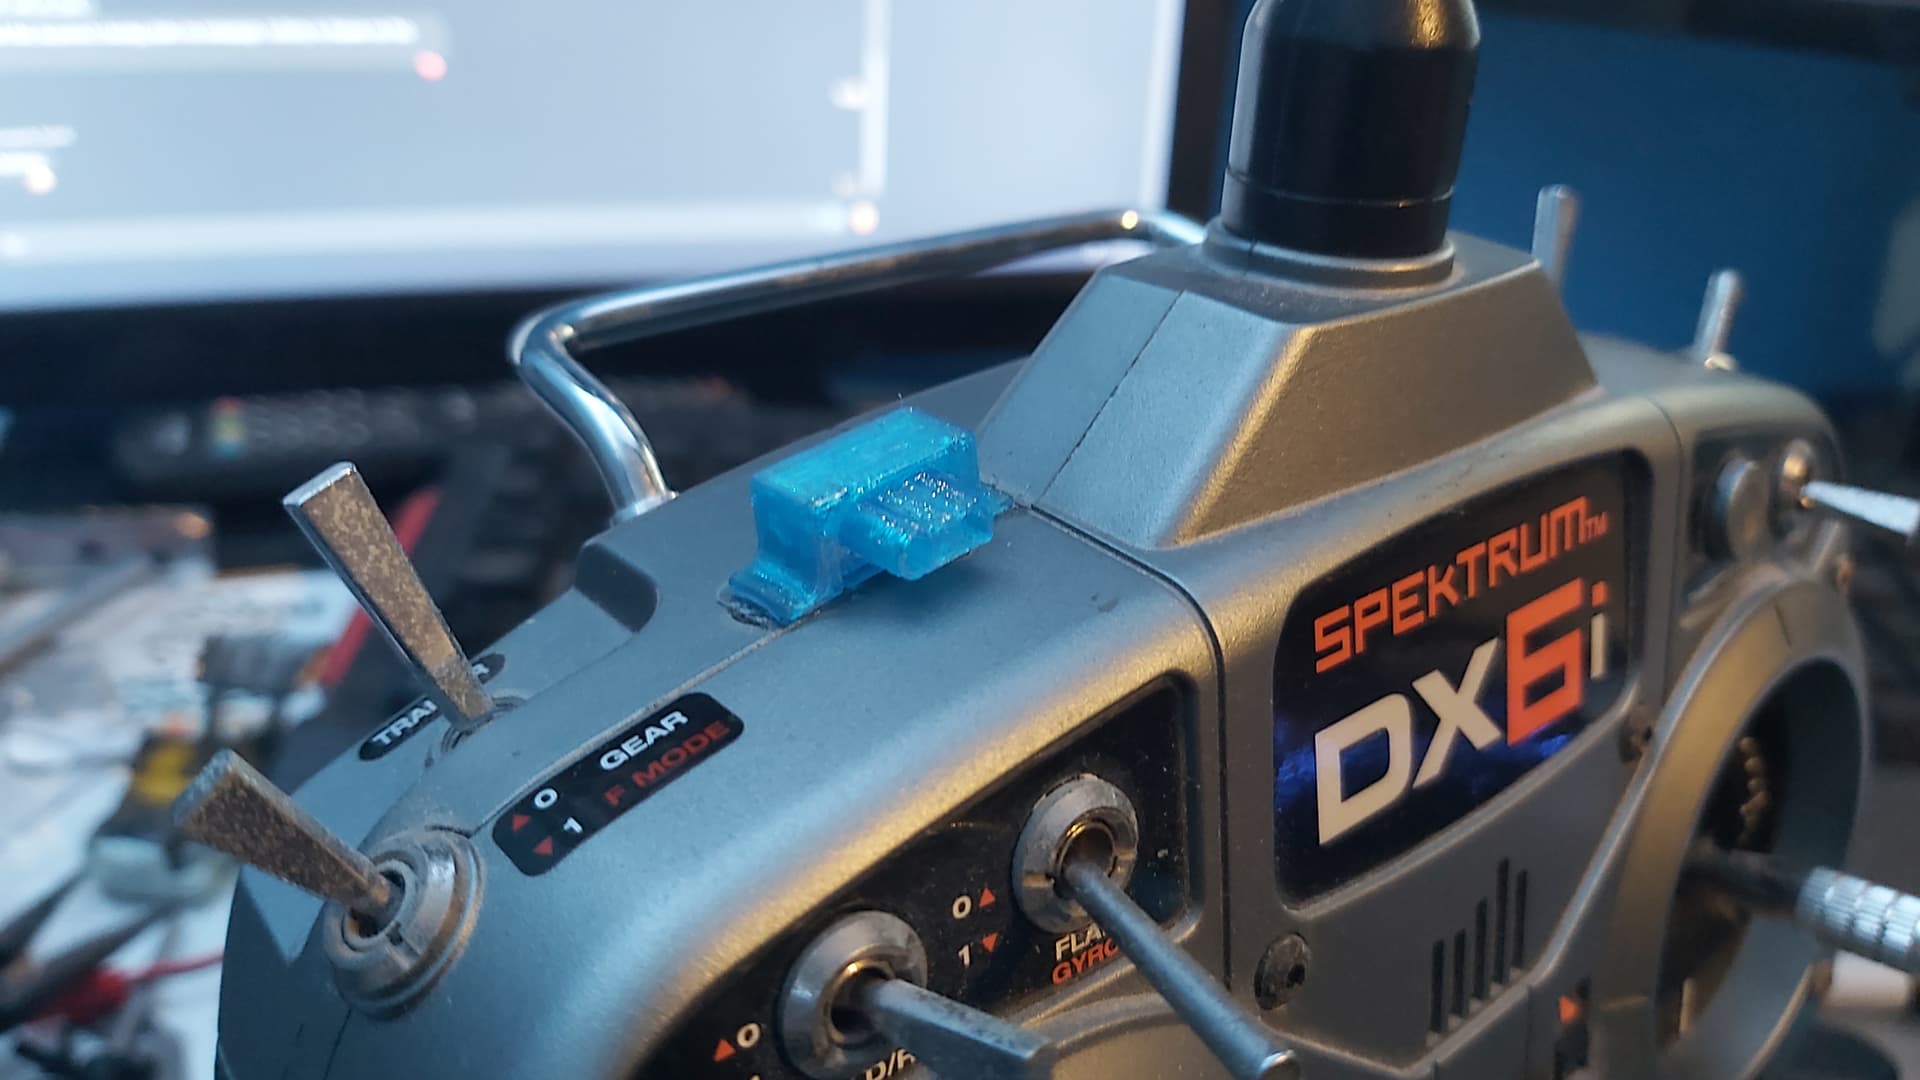
After some builders discussed making little link holders that stick on their transmitters to save them from holding links I had to make my own to pair with DB’s cradle which is designed to hook onto my belt or pocket so I don’t lose track of it after loading and unloading DB from the arena.
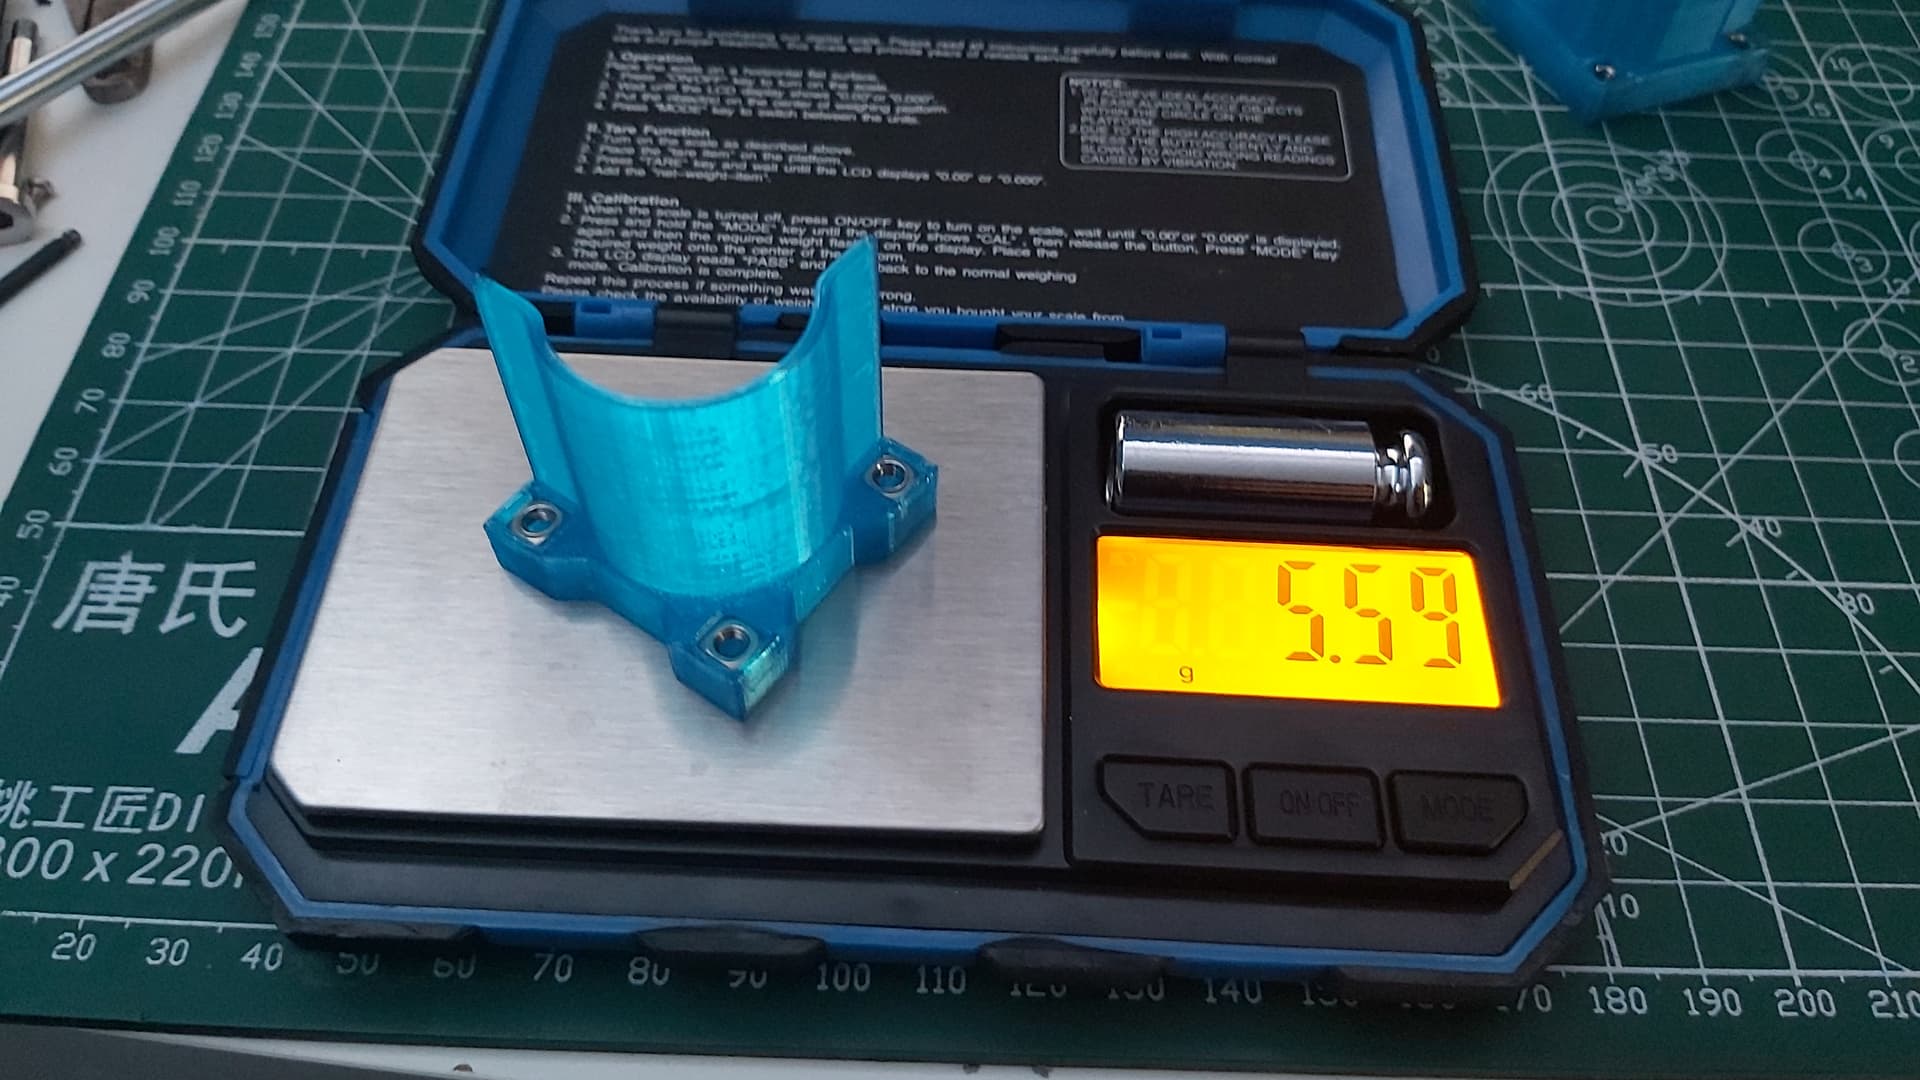
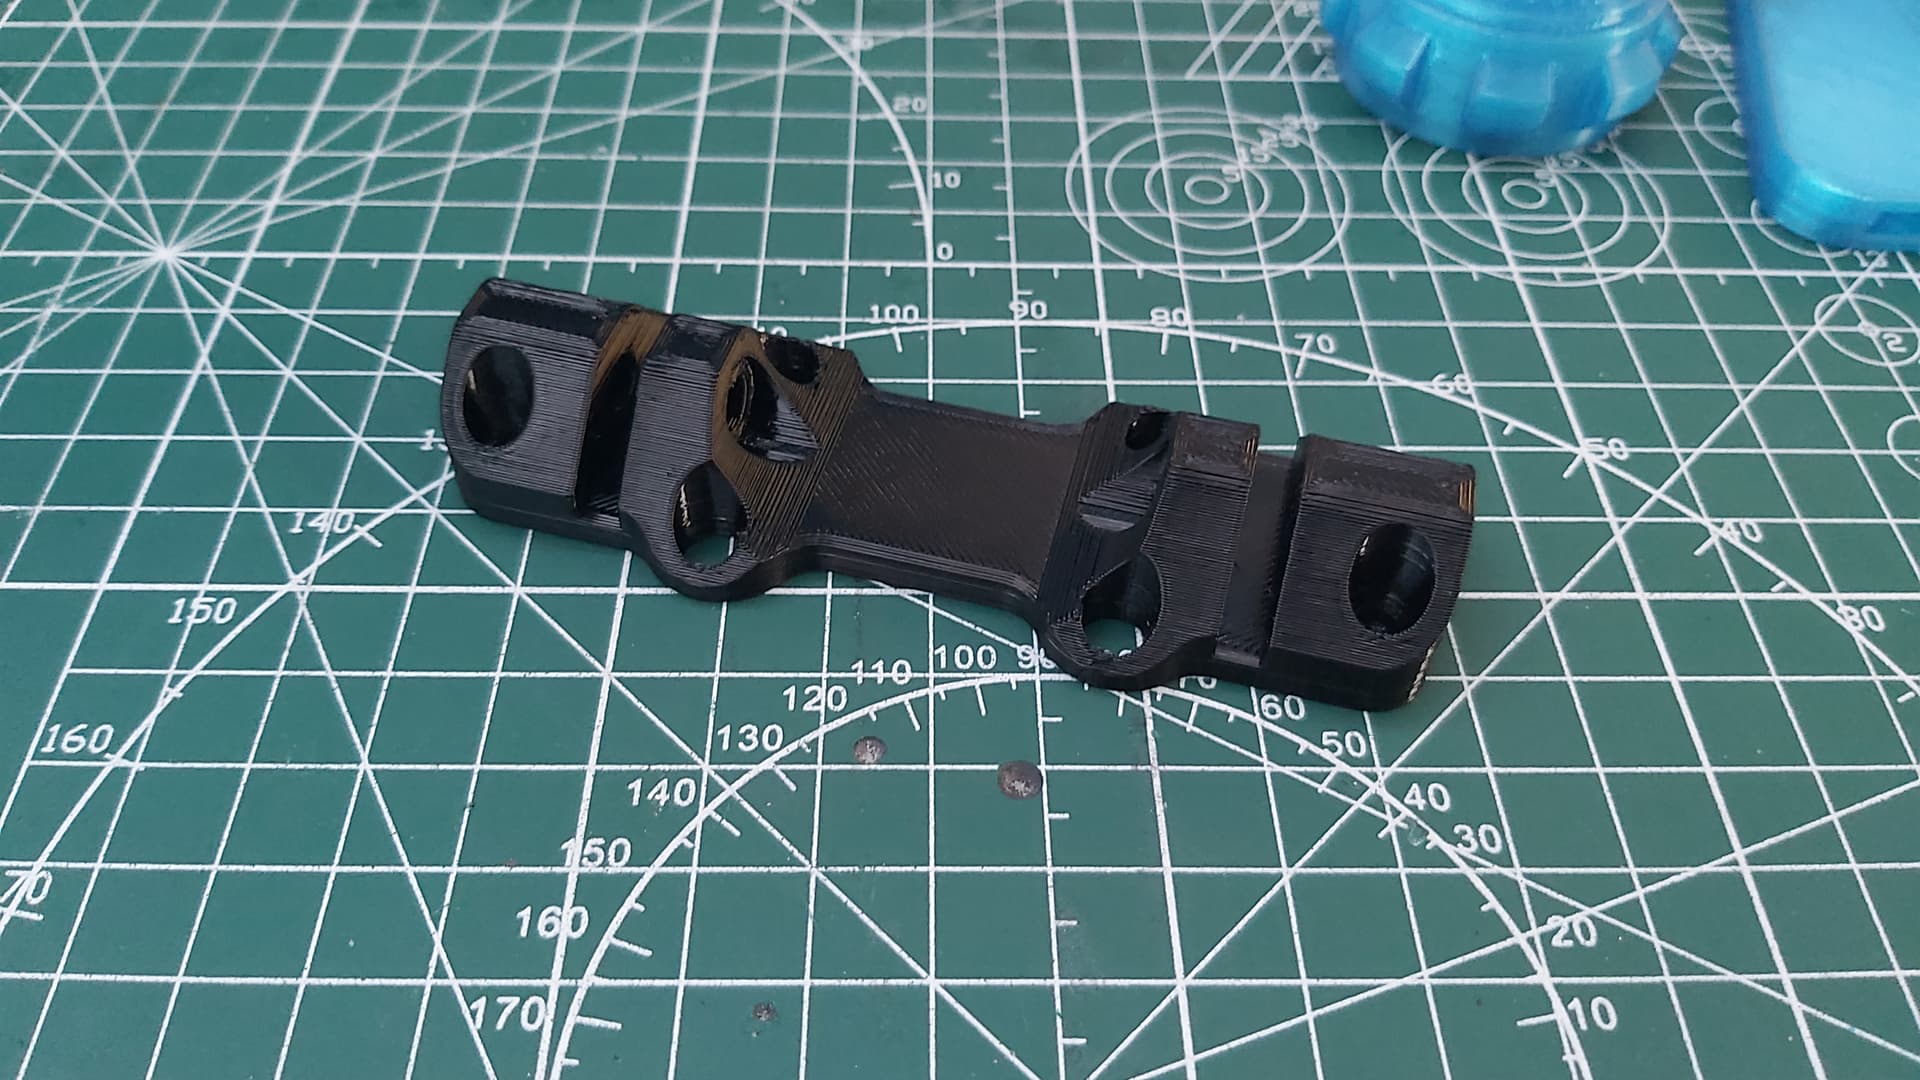
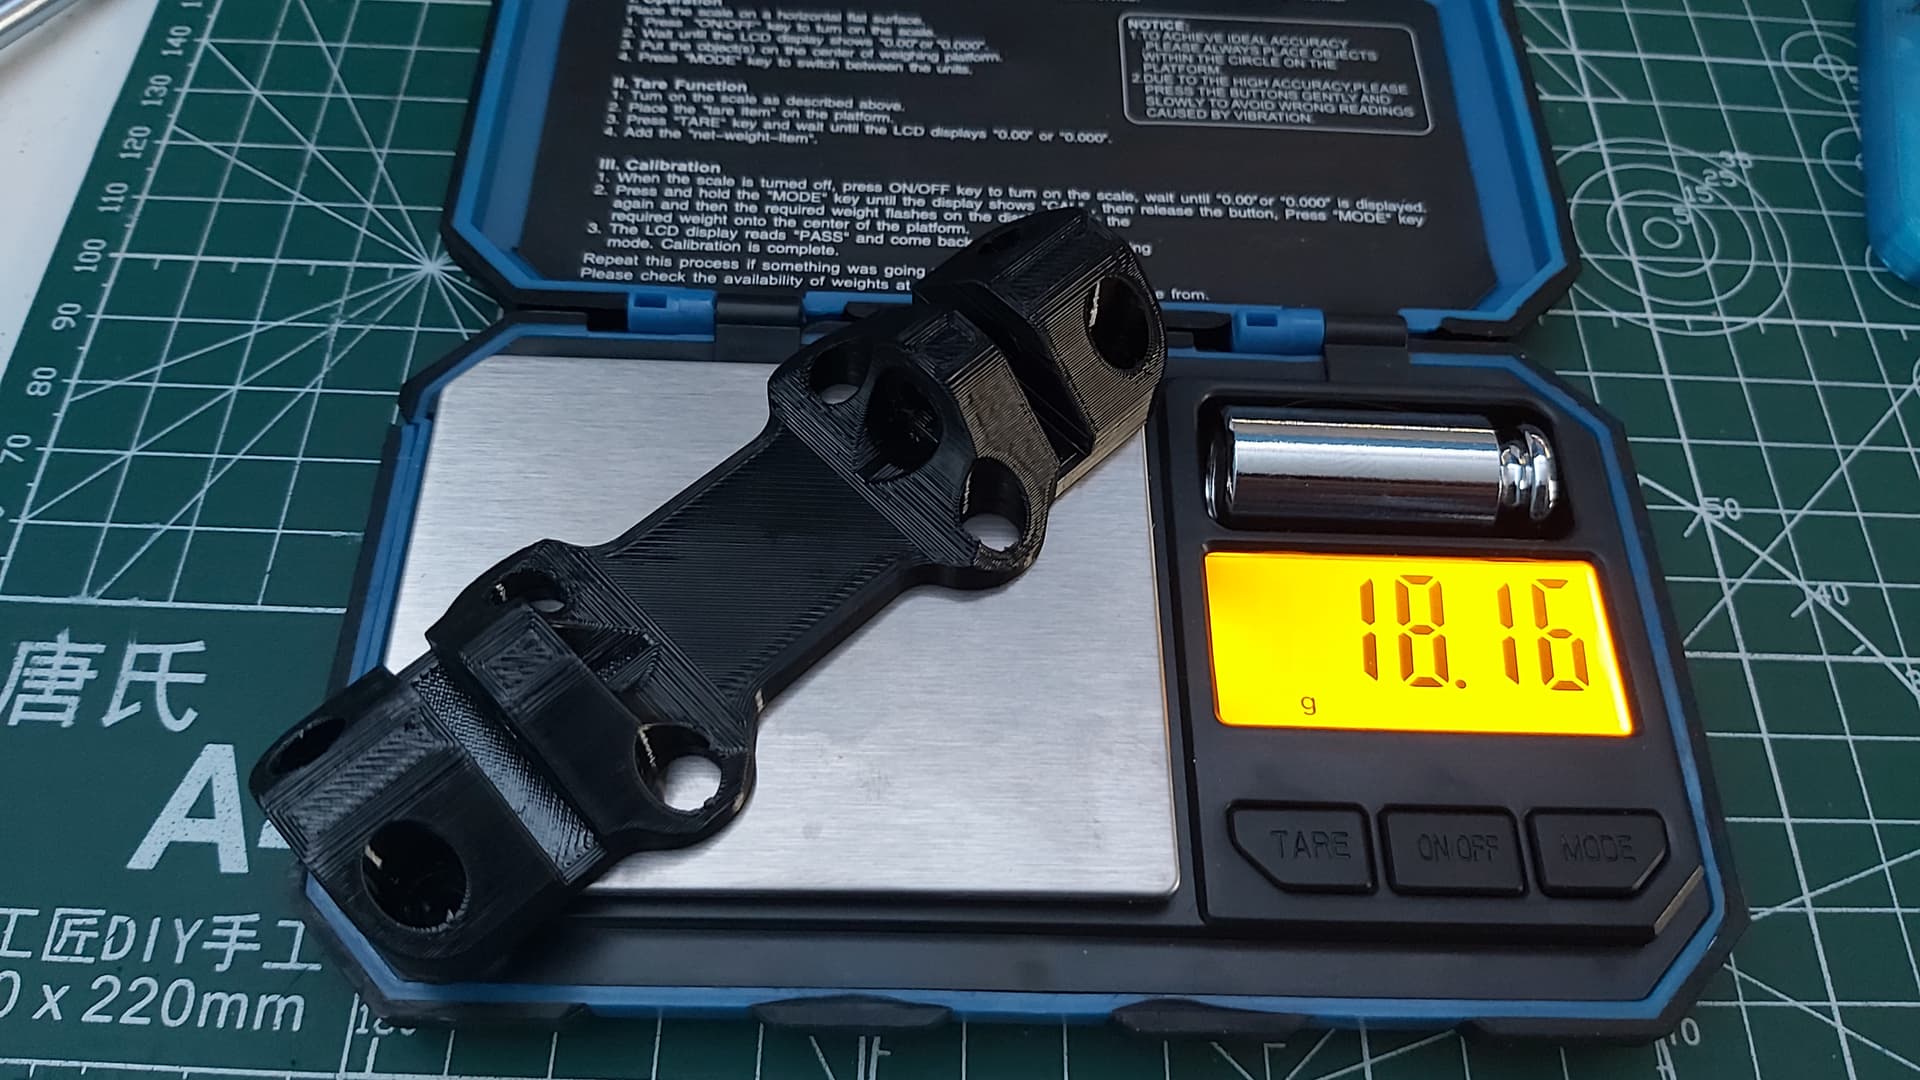
Another part reprinted to save weight was the fork mount. Like the motor guards, I made the mount too chunky and made a quick trim that has helped save 5 grams and I think looks cooler mounted on the front of the axe module.
A rather scary operation but a successful one. Trimming down wires to shed 2 grams. but more importantly, clean up the wire loom so it takes up less space with excess wires.
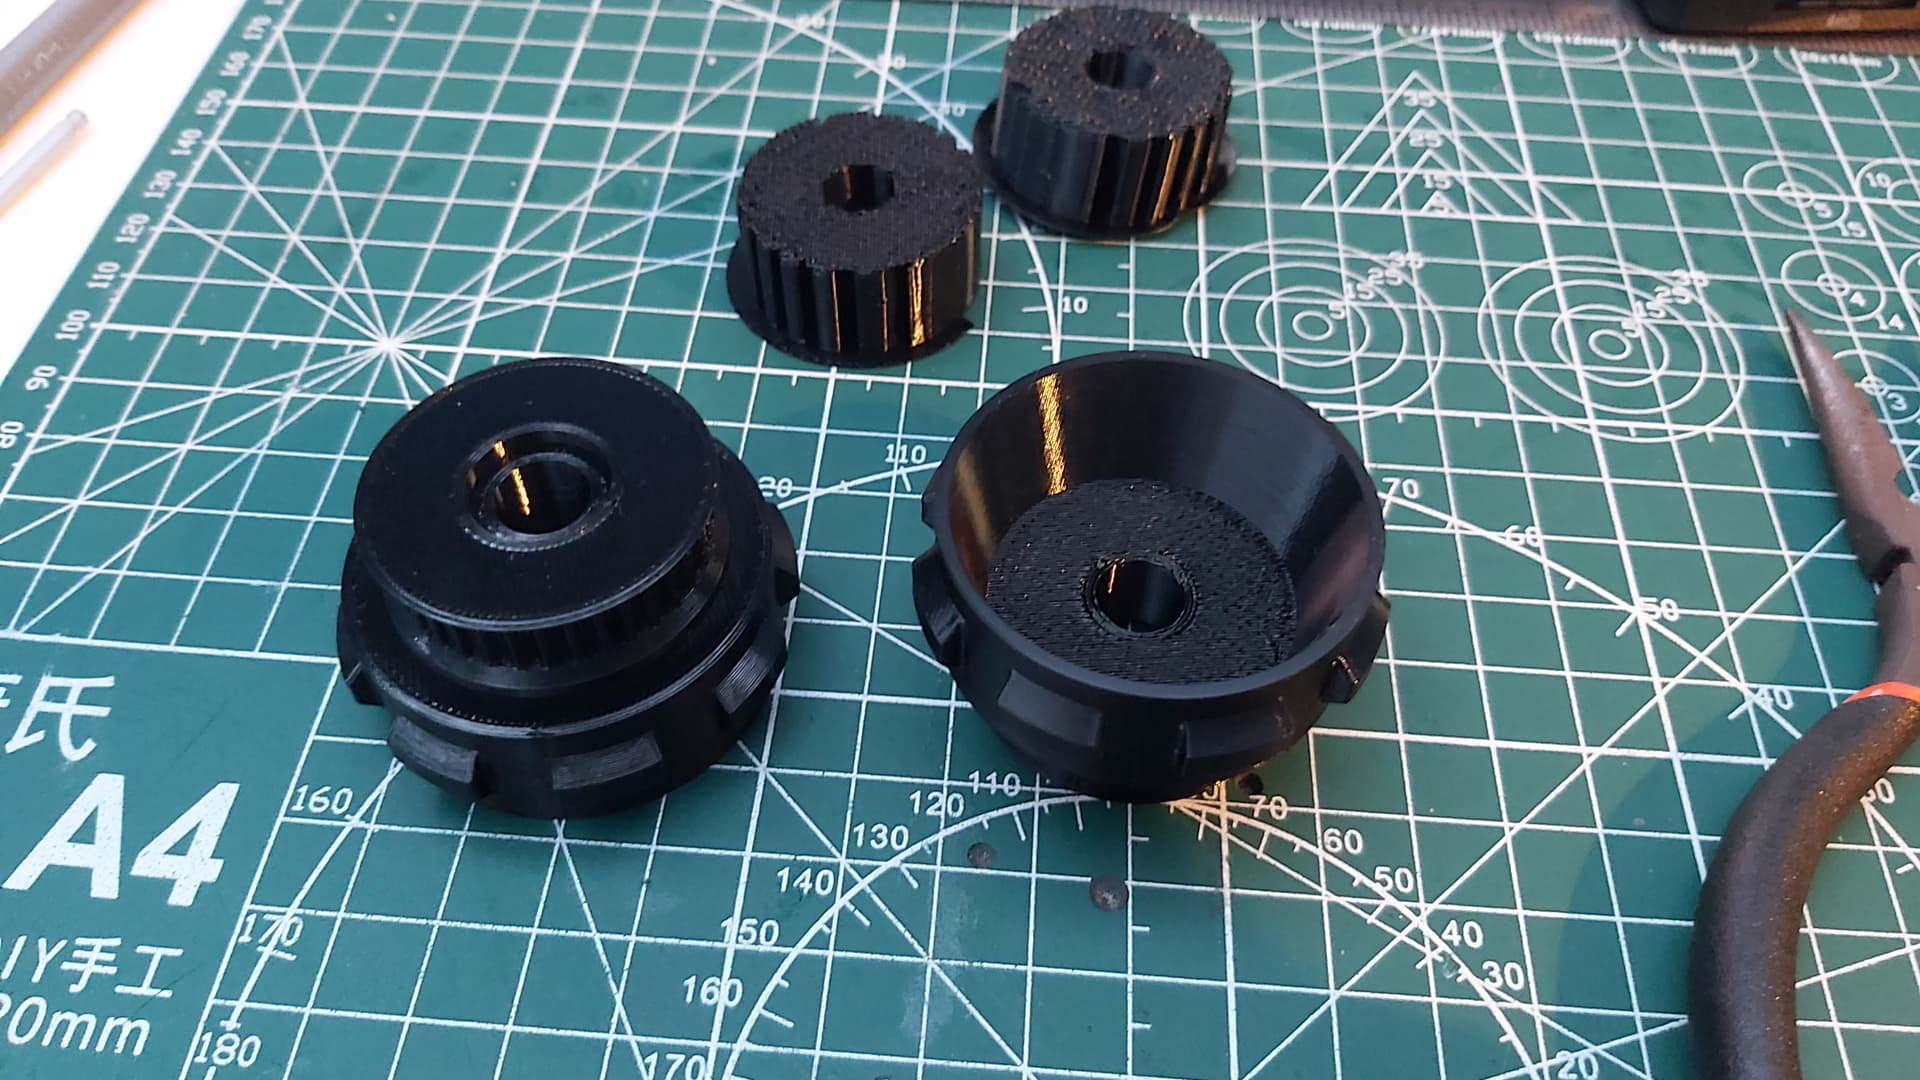
Now I did have some head-scratching to do, as comparing my weight calculations and the actual weight, I found some parts were not lining up. It turned out the motors, ESCs and the tyres were heavier than listed/anticipated. Not ideal at all but thankfully a little chat in Discord helped find a solution to cut weight on the tyres. By revising my TPU wheel hub designs I was able to make the hubs slightly bigger without adding more than a gram of weight which means the rather chunky tyres are cut down in thickness which should hopefully squeeze out about 5 grams from each wheel but I’ll wait until the wheels are cast before celebrating.
I’m waiting on some more prints to finish and hopefully, DB will be more comfortably underweight and ready for the Hardox parts to arrive.
The other item is a full TPU chassis. This was a test to see if replacing the bolt-together setup with TPU bulkheads and the HDPE rear would save weight and boy did it. The single-piece chassis with its captive nuts and barrel nuts saved 28 grams. Admittedly the chassis is 5 walls and 15% infill but once I know how much weight I’ll have left with the revised prints and the Hardox I can invest back into the chassis to increase the walls and bump up the infill a tad. It looks a little rough due to the supports and having to print upside down (when the lid is off). On MK3 I’ll redesign the chassis to not use embedded top and bottom plates.
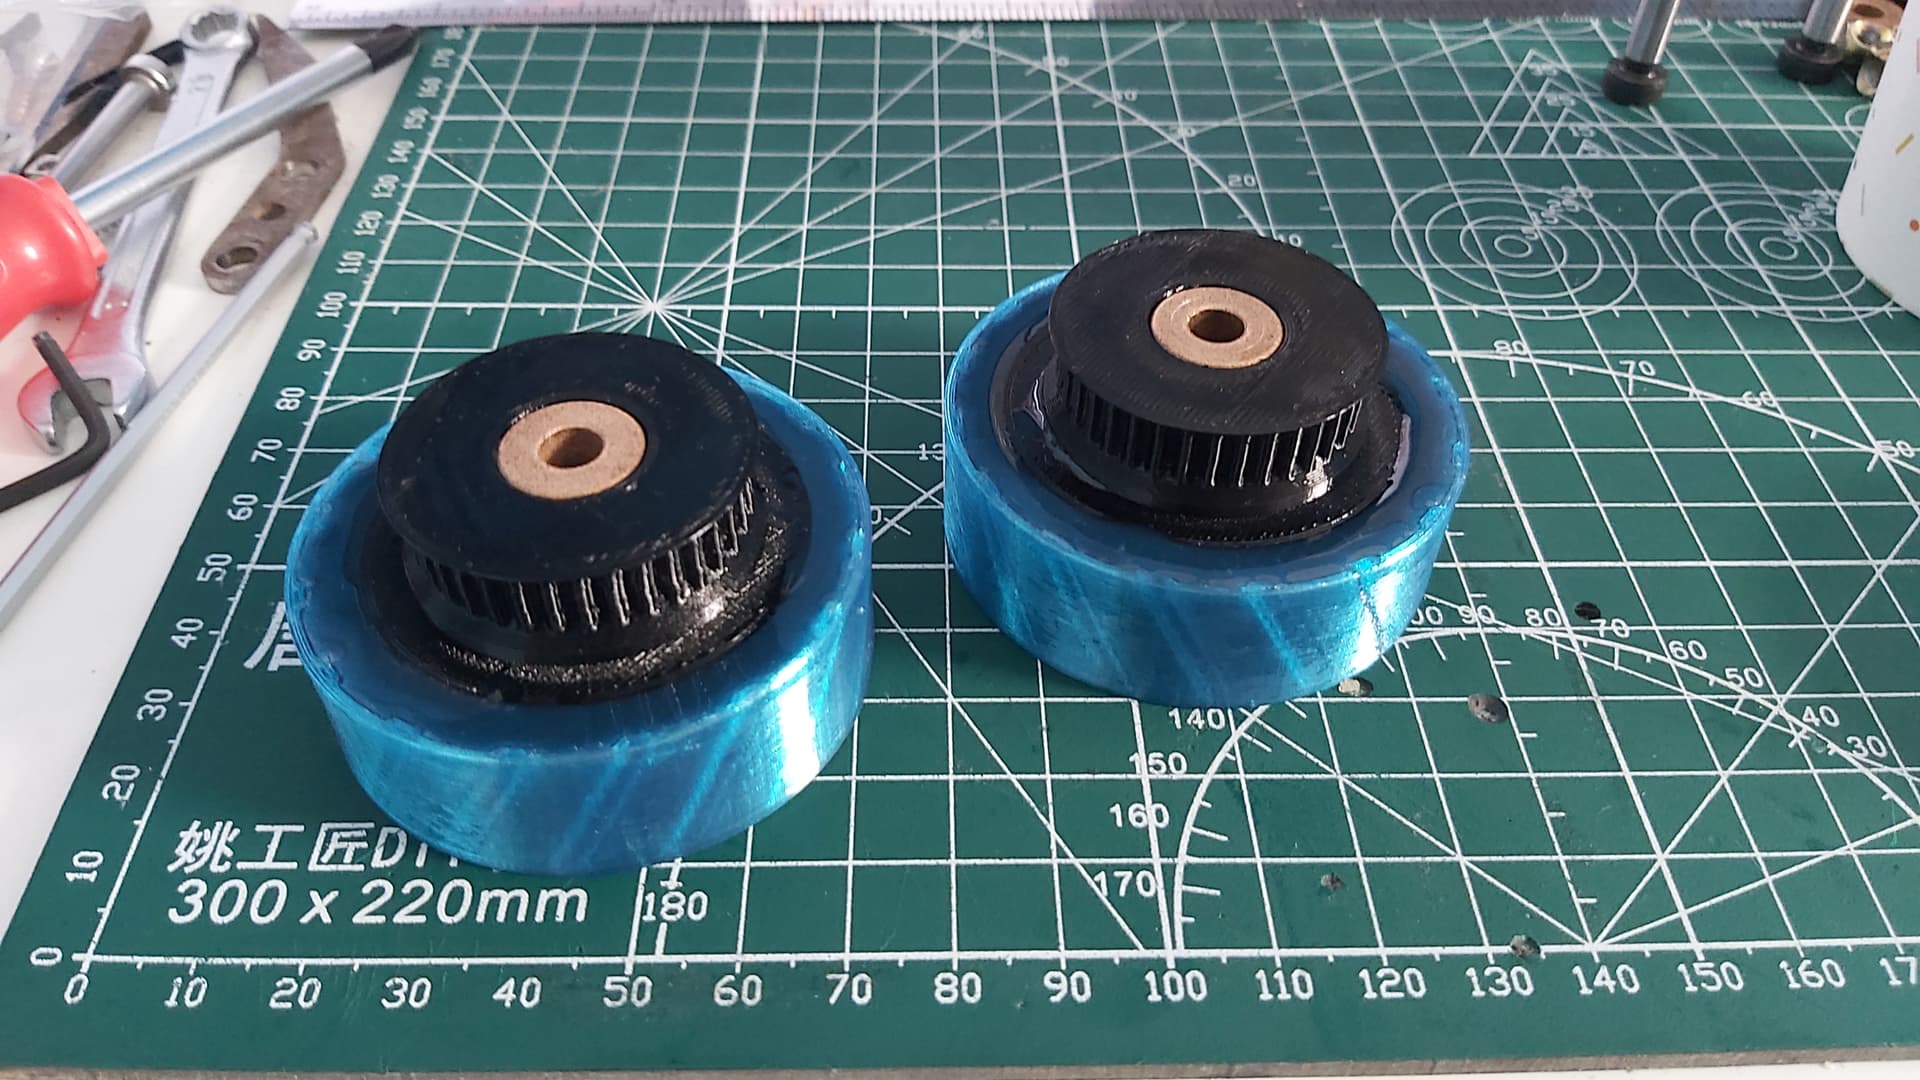
The first pair of revised wheels were printed and the thinner tyres were cast. The rubber mixture might be past its best (I’ve ordered a fresh kit) but will do it for now.
A few hours later demoulded. Having gone back to Vassoline as mould release made it easier to remove from the mould compared to the spray on release I tried out on the first wheels but leaves the finish less crisp. Hopefully, once it’s been given a test run on the bot, the glossy finish will clear off.
The parts were 99% done it wasn’t till after I took the picture, I realised I forgot the side bolt holes for the barrel nuts. A quick trip back to the shed with the jigs soon fixed that.
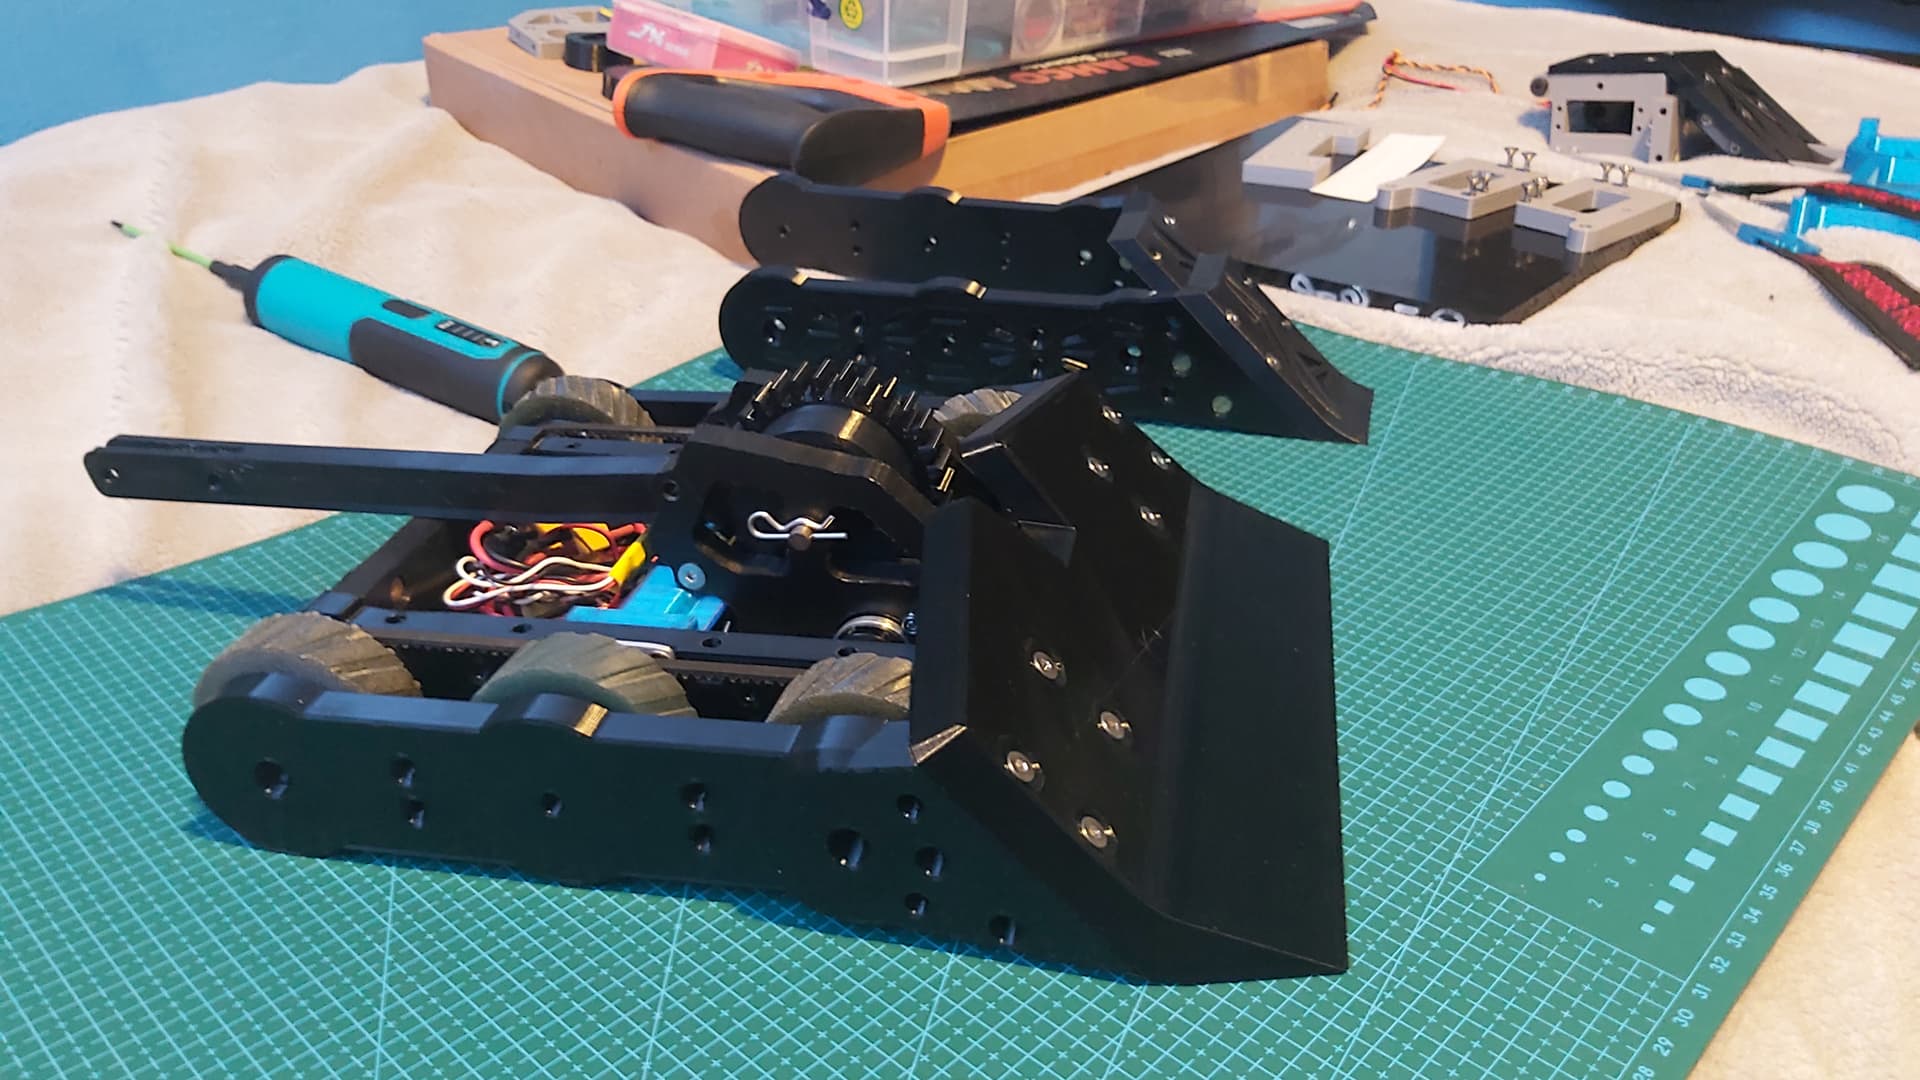
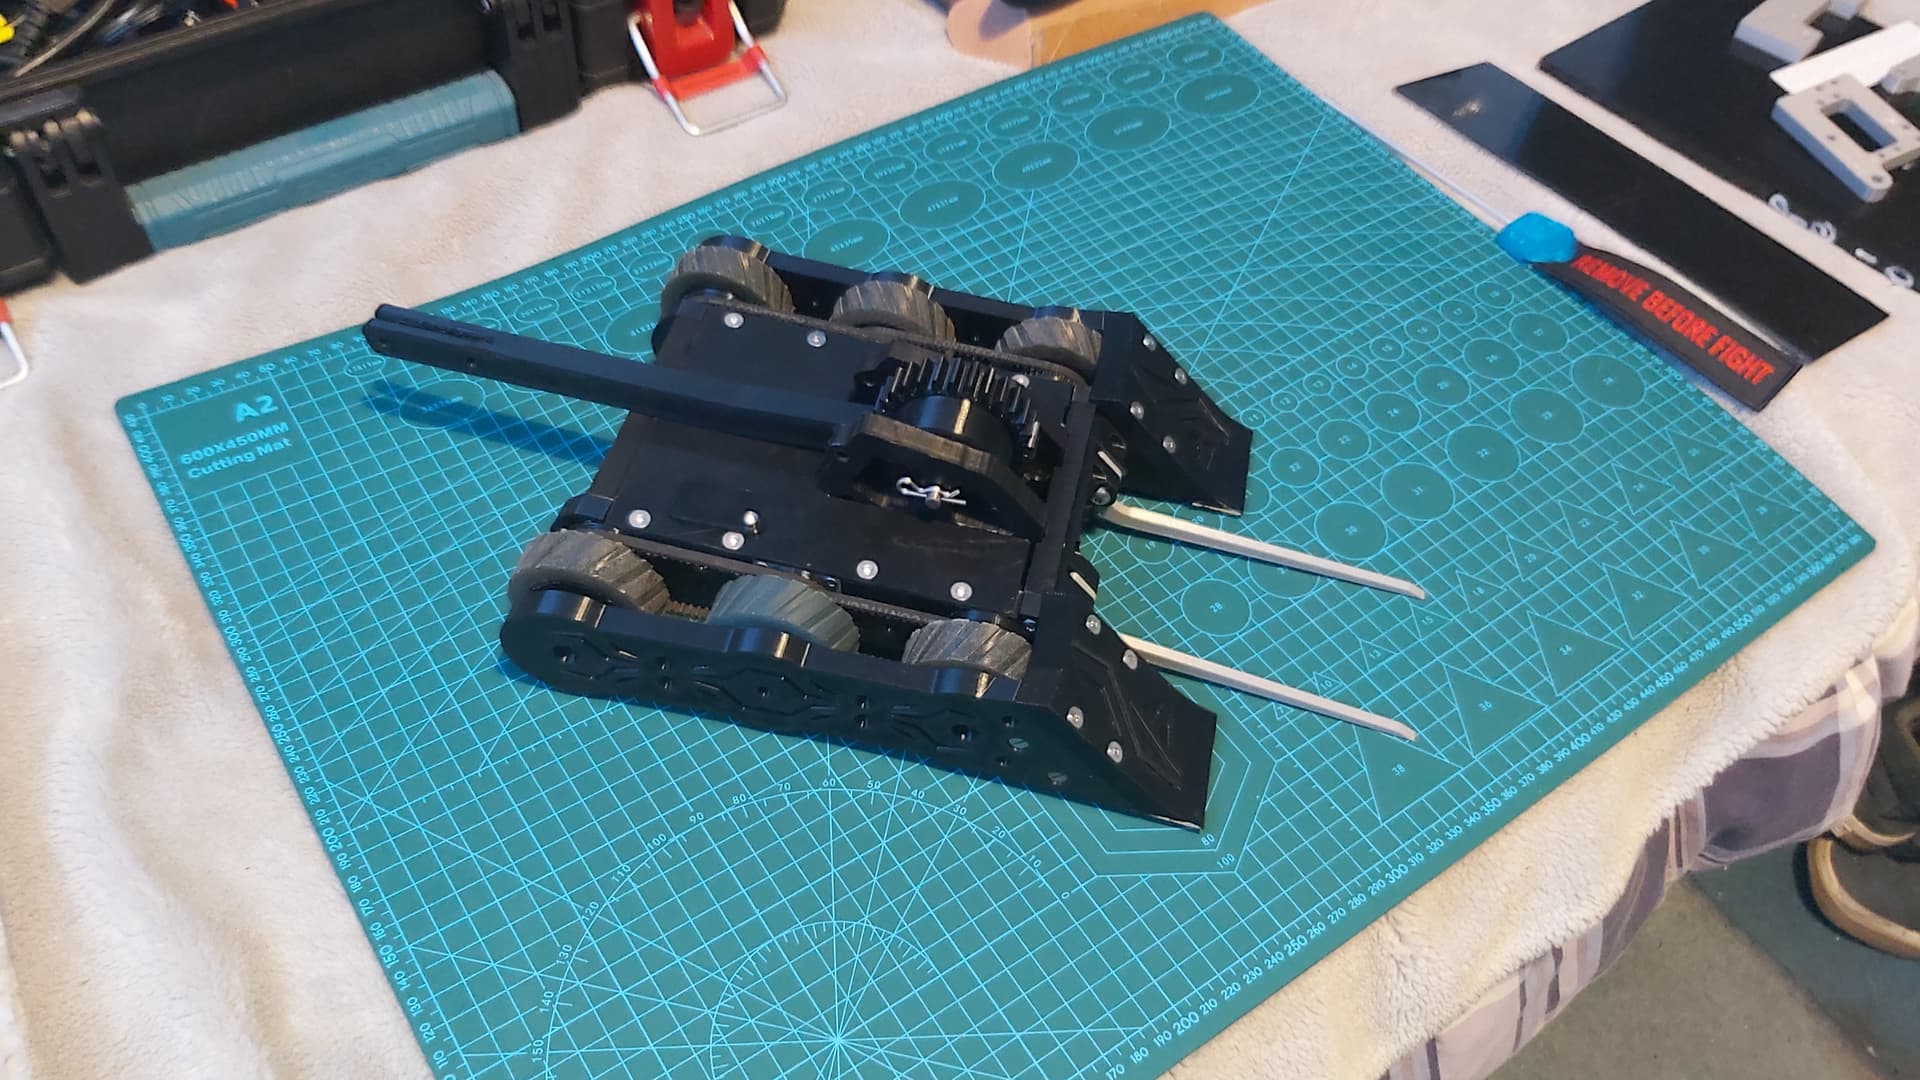
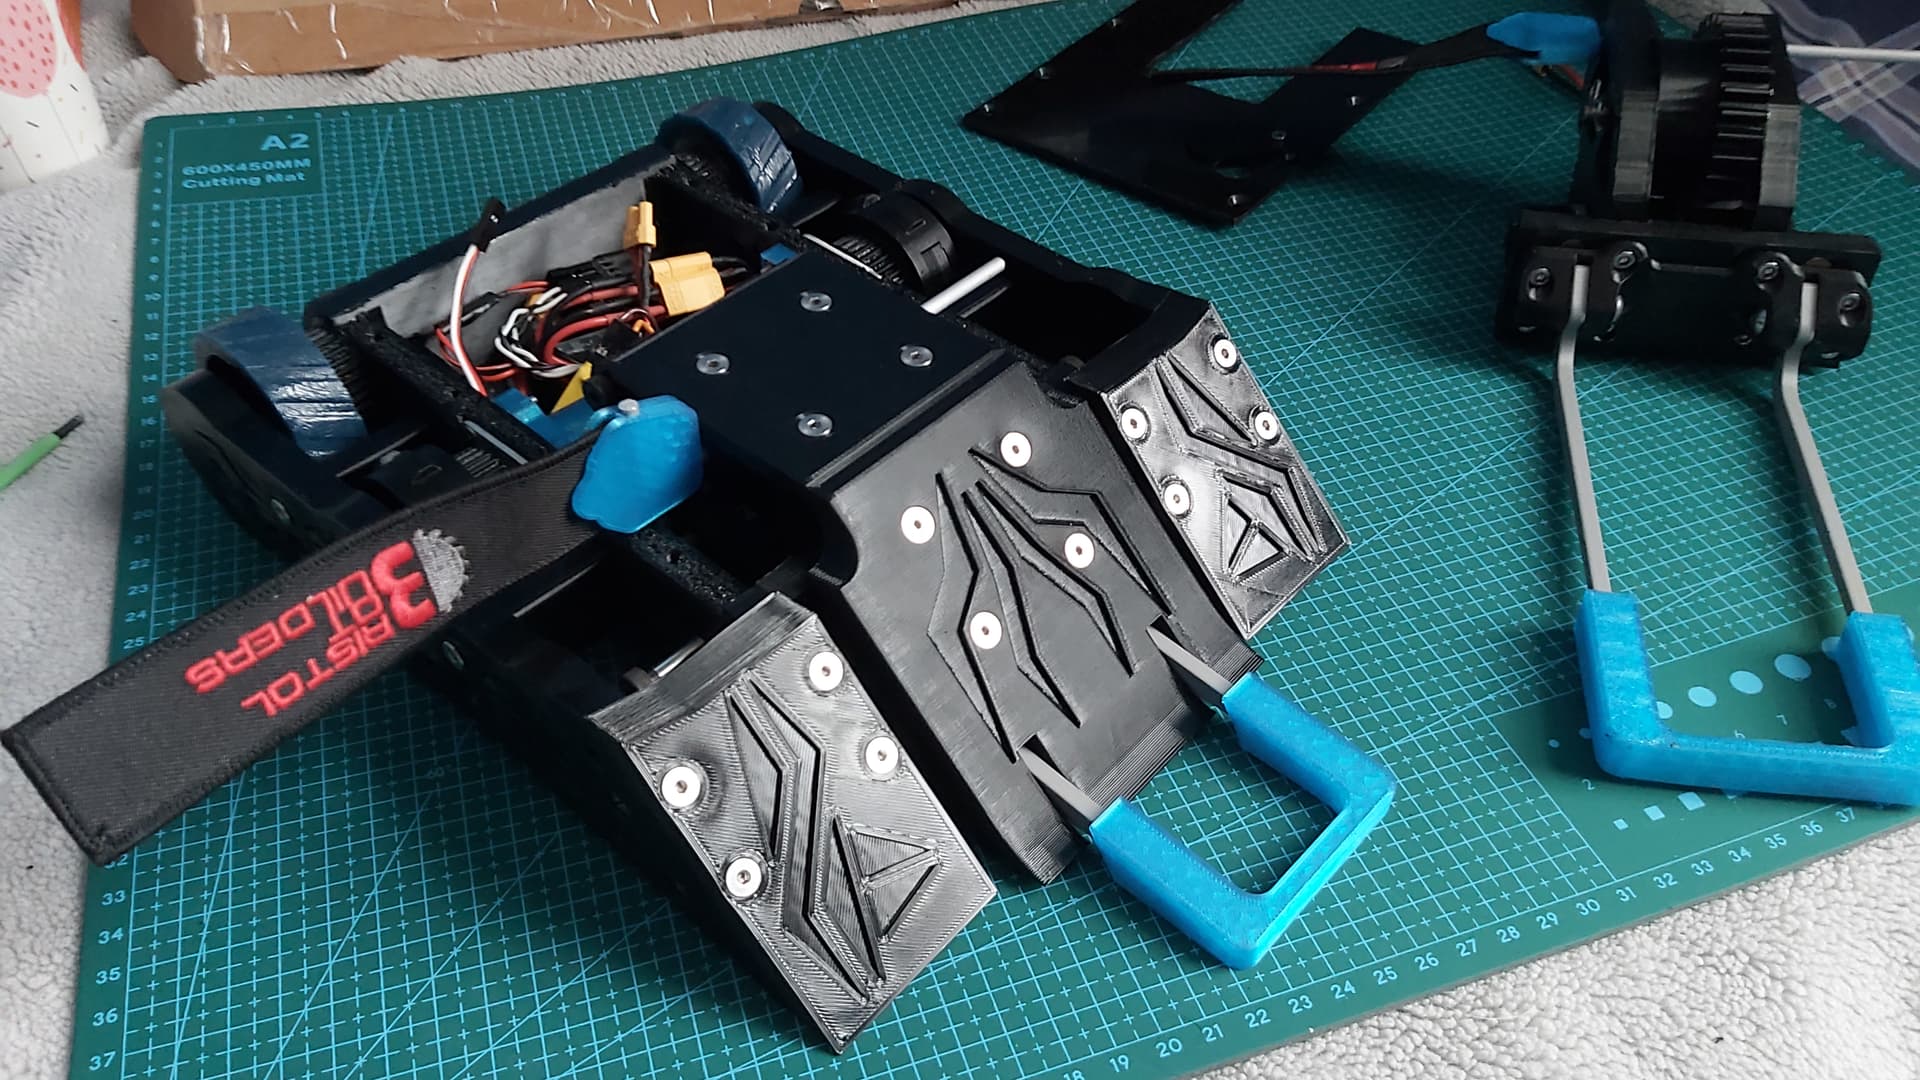
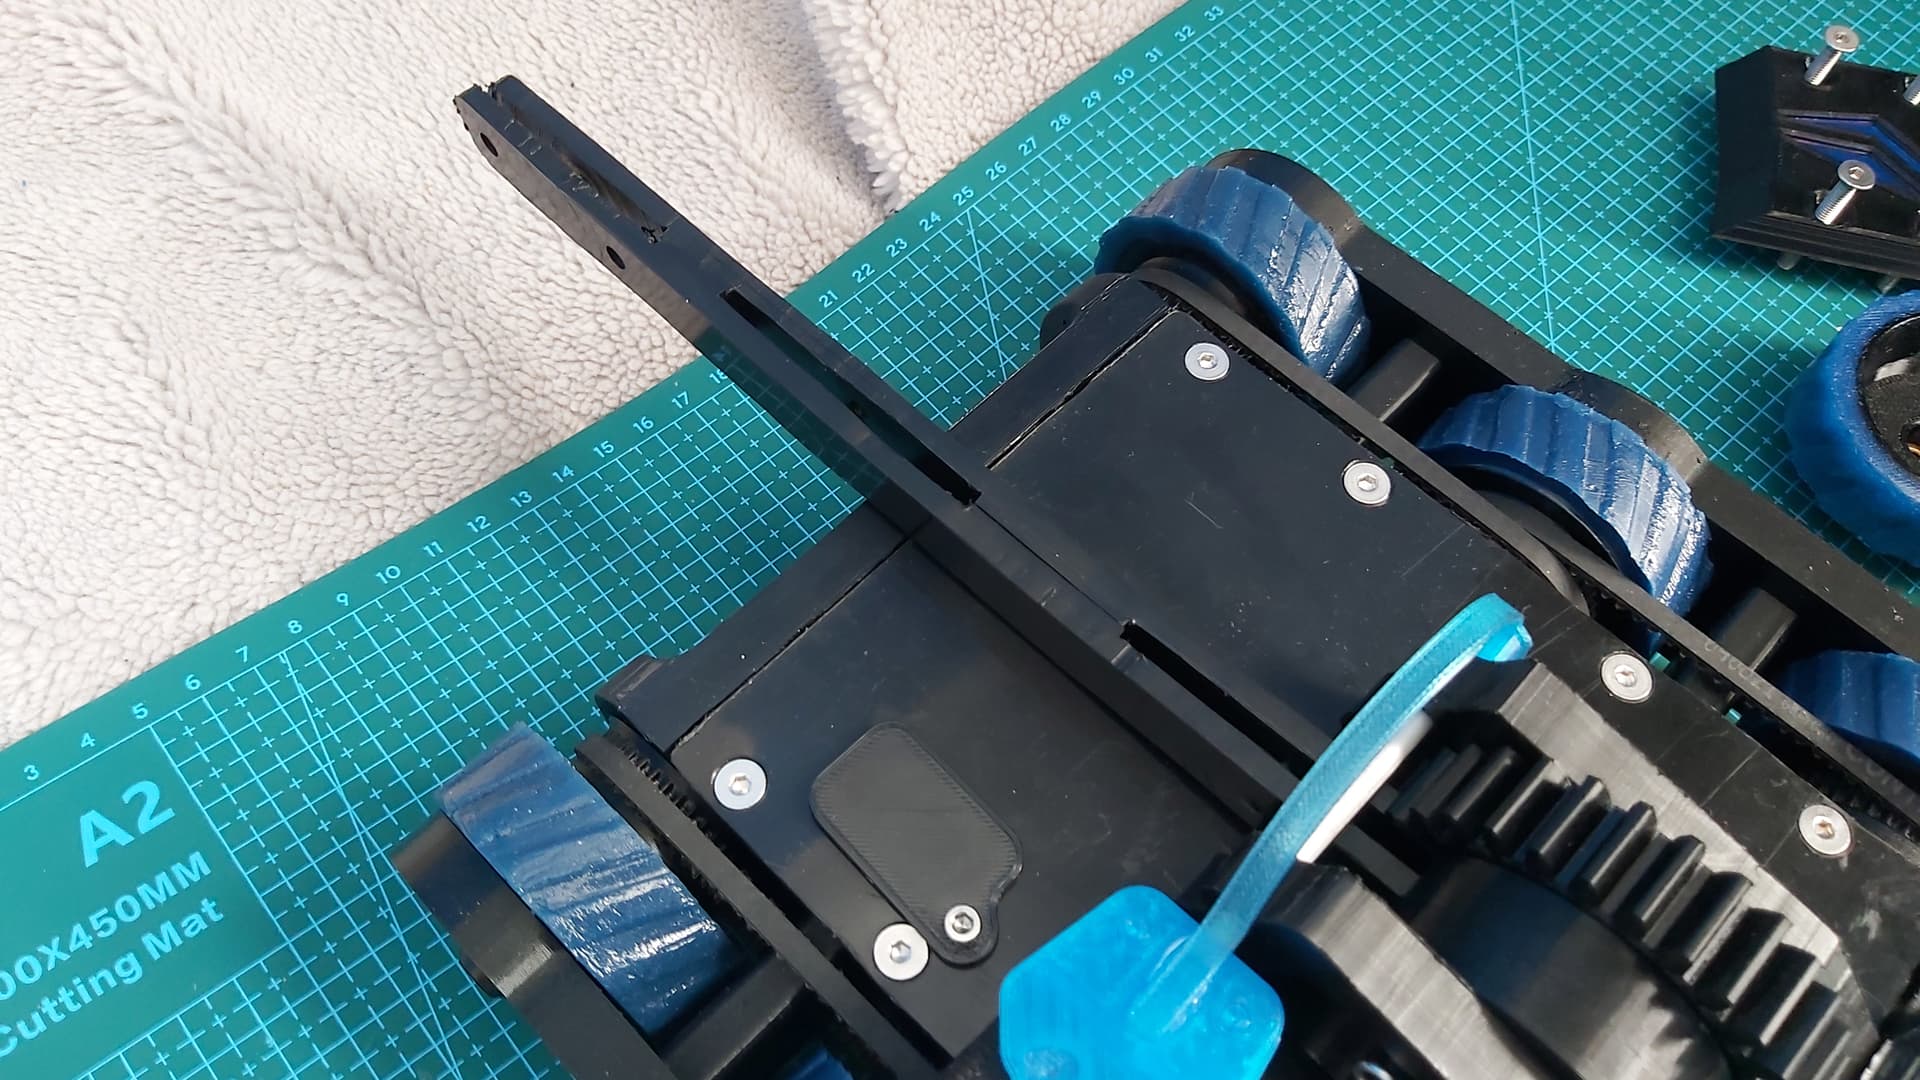
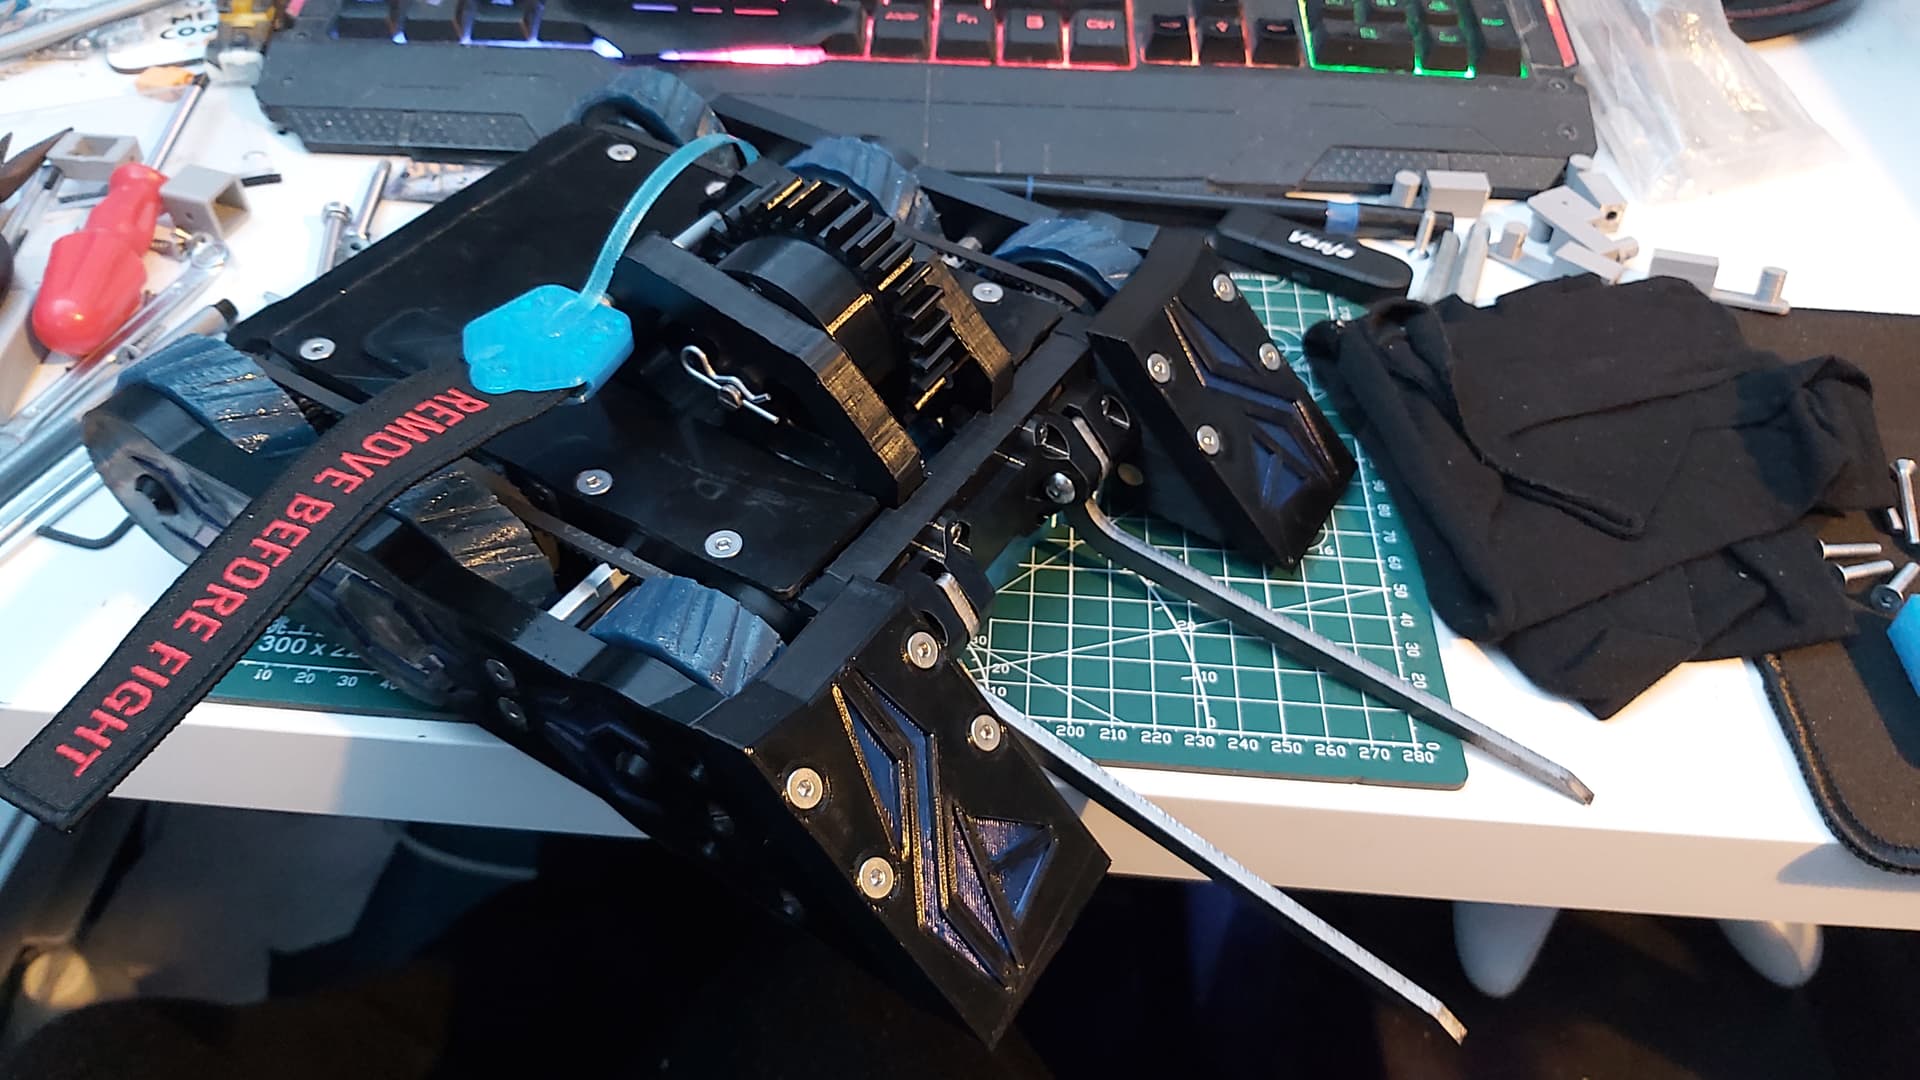
Test fitted to the bot. I had to fiddle with it as the uprights were refusing to stay square the downside of using the Fingertech aluminium nut strips.
After all the fiddling the lifter is fully installed and the front wheels, fresh from the moulds, are fitted. Once the middle wheels are cast and the 6 wheels given a bit of time to fully cure I’ll get to doing a POM and test the TPU lifter arms and the TPU axe arm
Thank you. I must admit the execution is mostly dumb luck. Somehow the printer produces amazing TPU prints when nylon and PLA have struggled. The router trick worked better than expected.
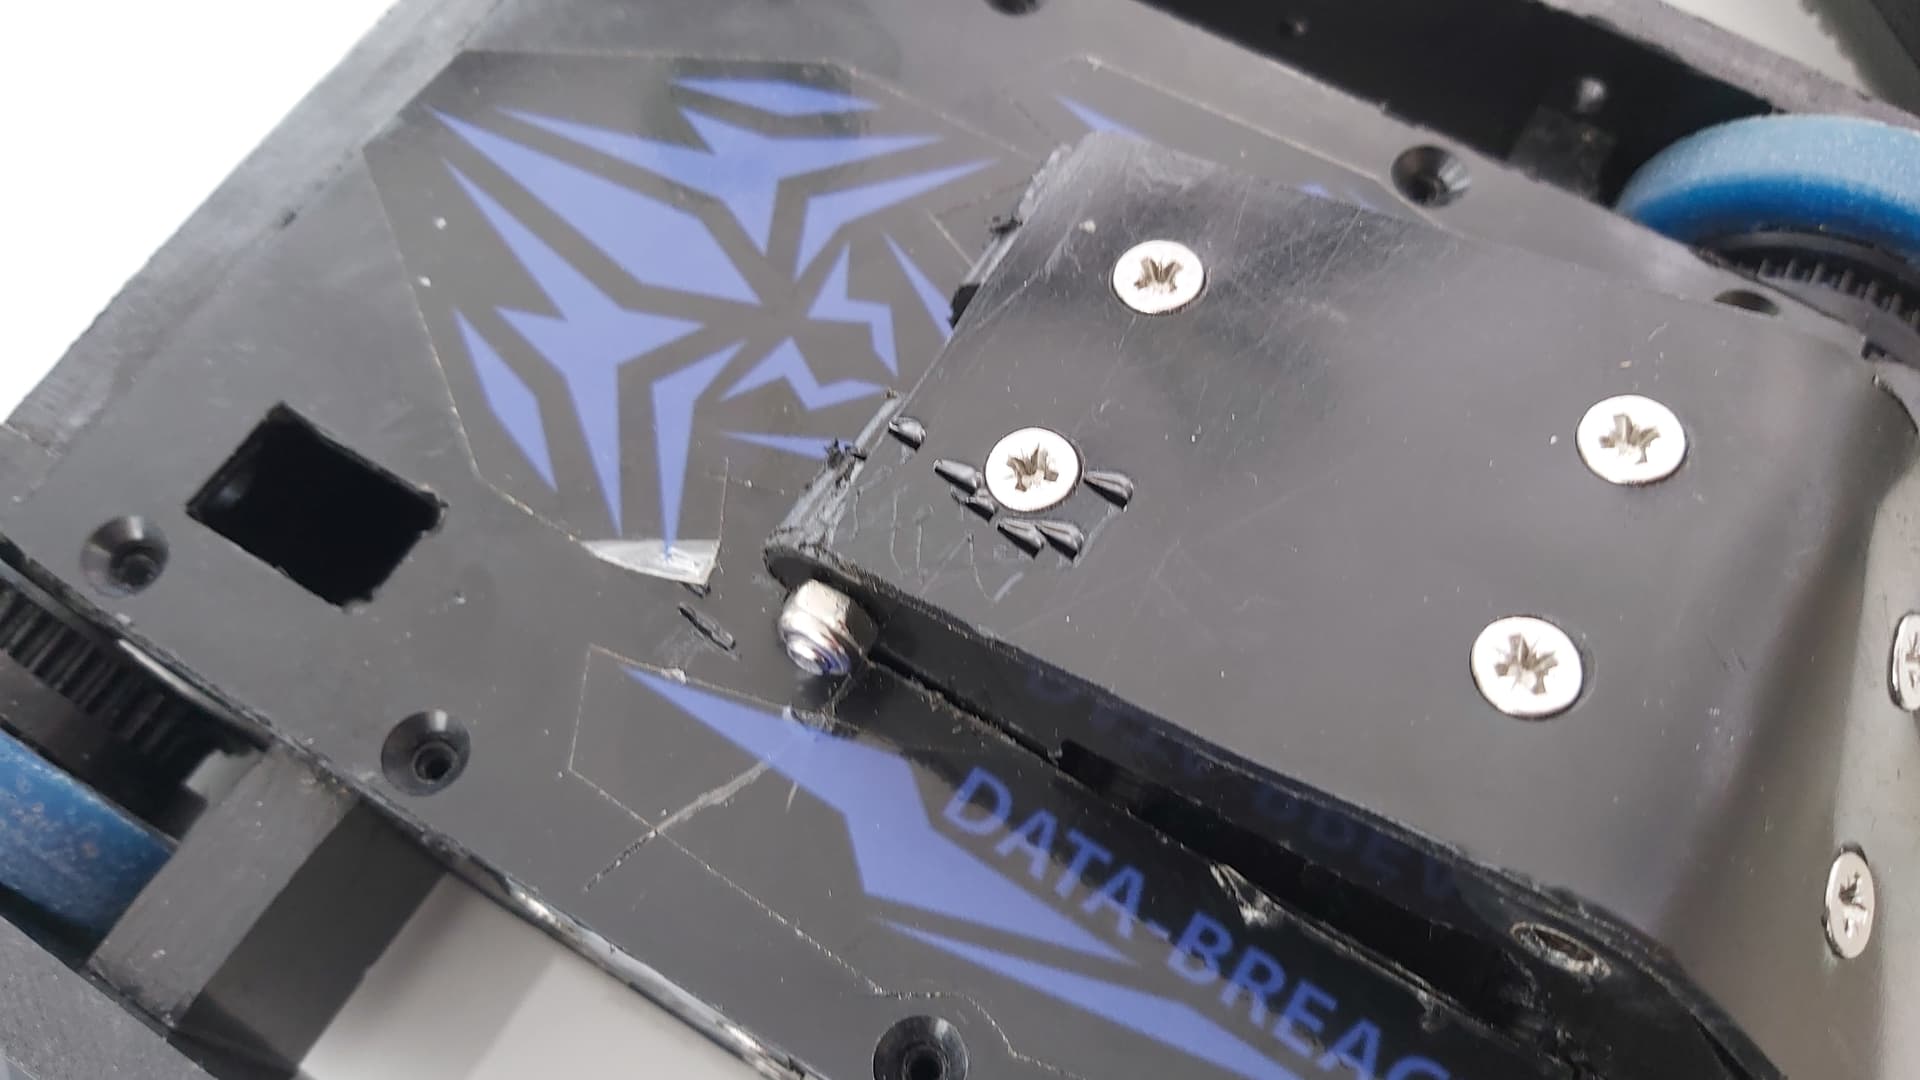
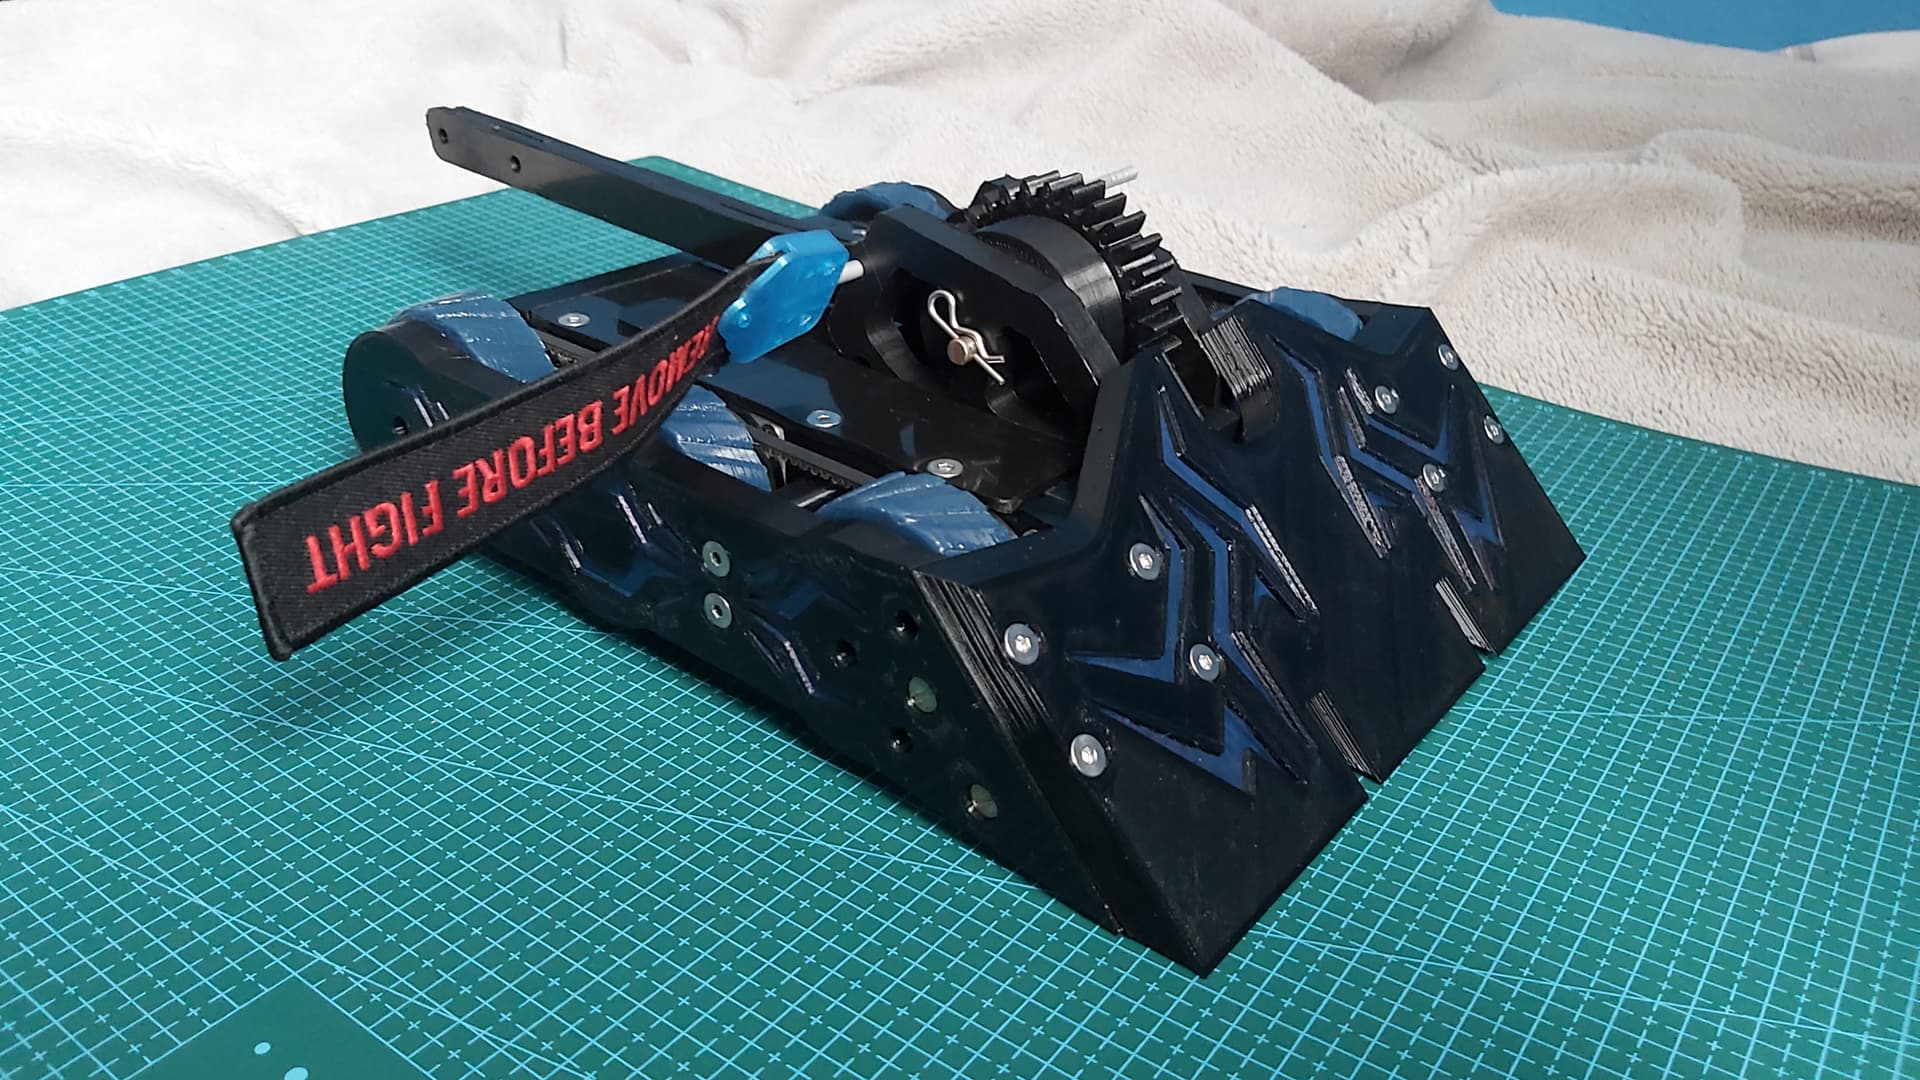
With the first set of wheels cast (and will be recast with the freshly bought rubber as the old PU I have is a year old and gone milky) I got out the paint pens and coloured in the indents on the TPU panels.
Here it is with my anti-vert wedge, sadly despite my weight saving of roughly 80g, it’s looking likely the robot will be just overweight with the forks and axe head-on with this wedge so it may have to be sidelined for the wedgelets.
The anti-HS wedge(s) the printer jammed on the last few layers on the first wedge after a cleaning up I got the second wedge printed at least I have a spare I guess.
Work has been on hold for the past week due to an unexpected issue with the printer. The nozzle was jamming constantly and a tiny leak started to appear. After buying a new nozzle and heat block I reassembled the hot end and gave the extruder a once-over (the gear was coming loose.)
With the printer restored I was amazed at how well the printer was improved with fresh hardware. No blobs or imperfections that started creeping into the last few prints with the old nozzle. Heck, the supports were removed so cleanly that I’m blown away.
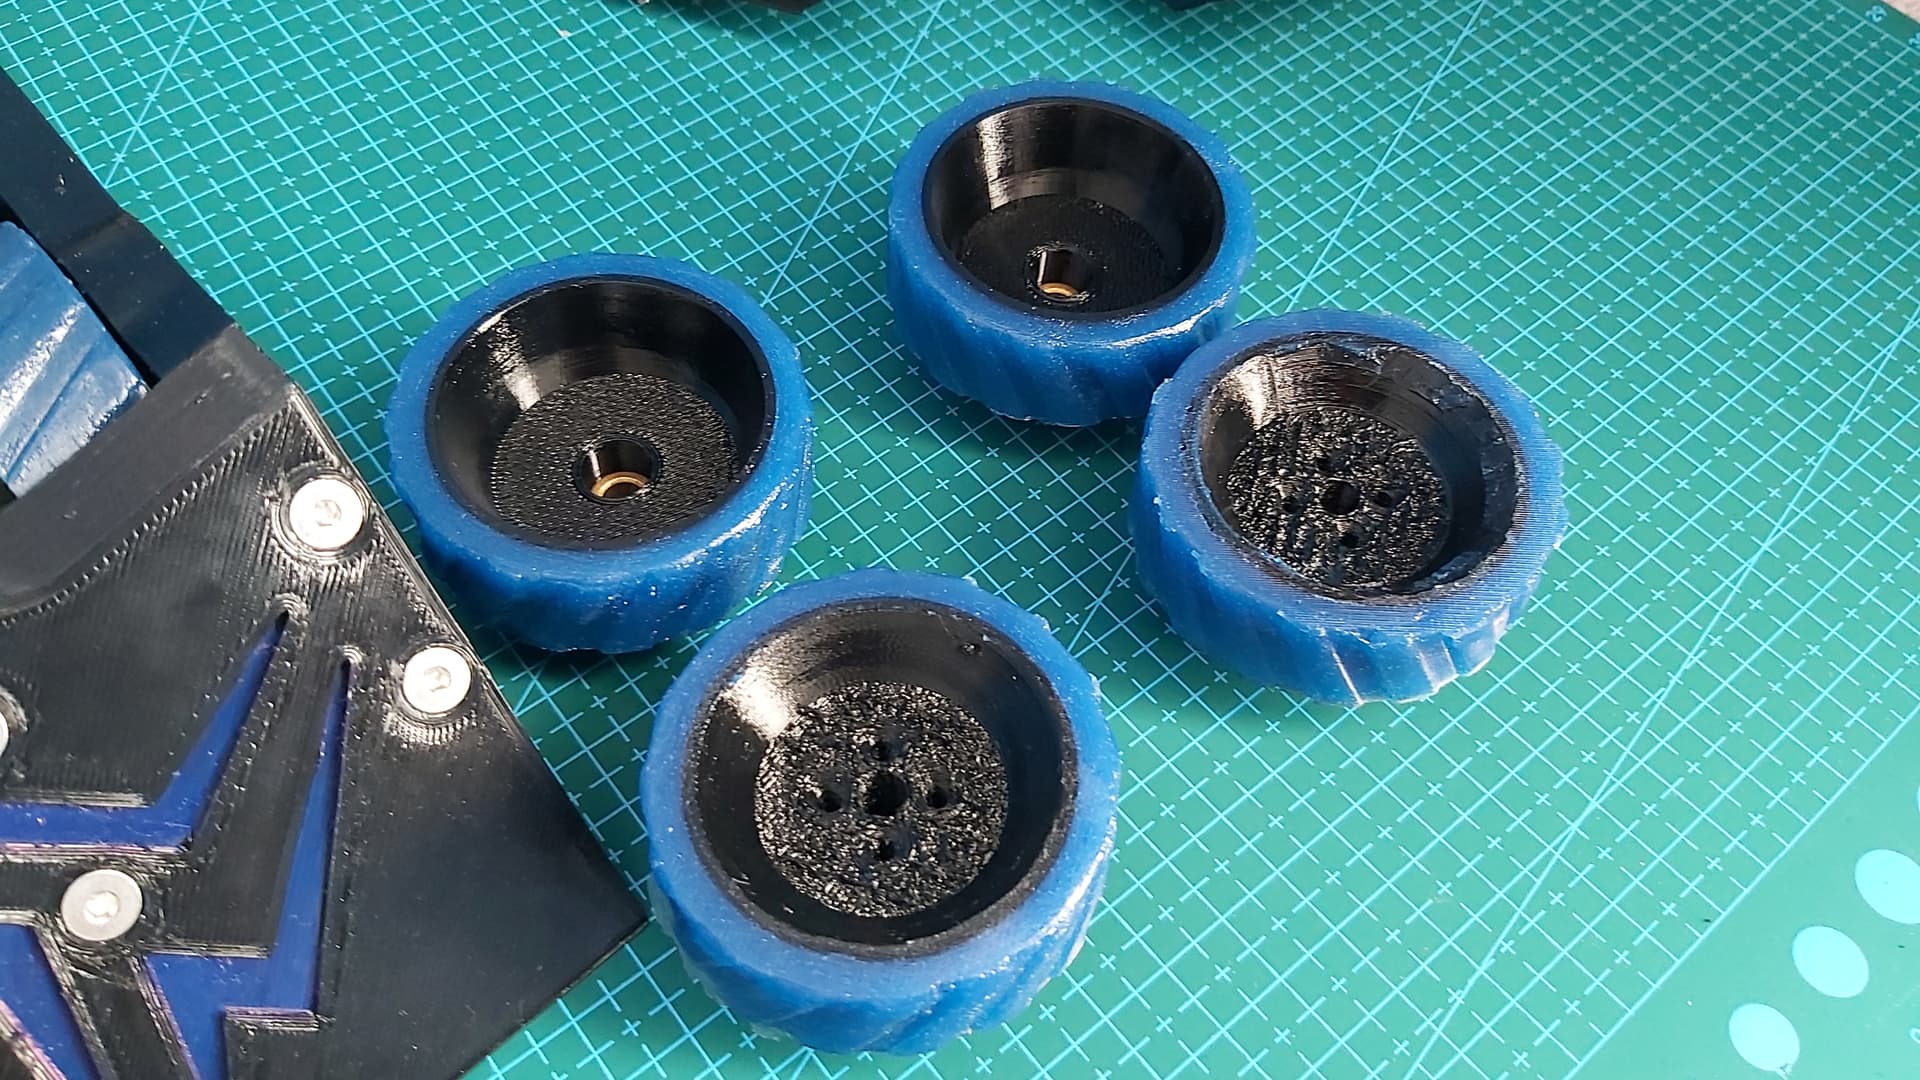
Roughly 12 hours later I removed the wheel from the moulds. Here you can see the quality difference between the insides of the wheels pre and post-nozzle change.
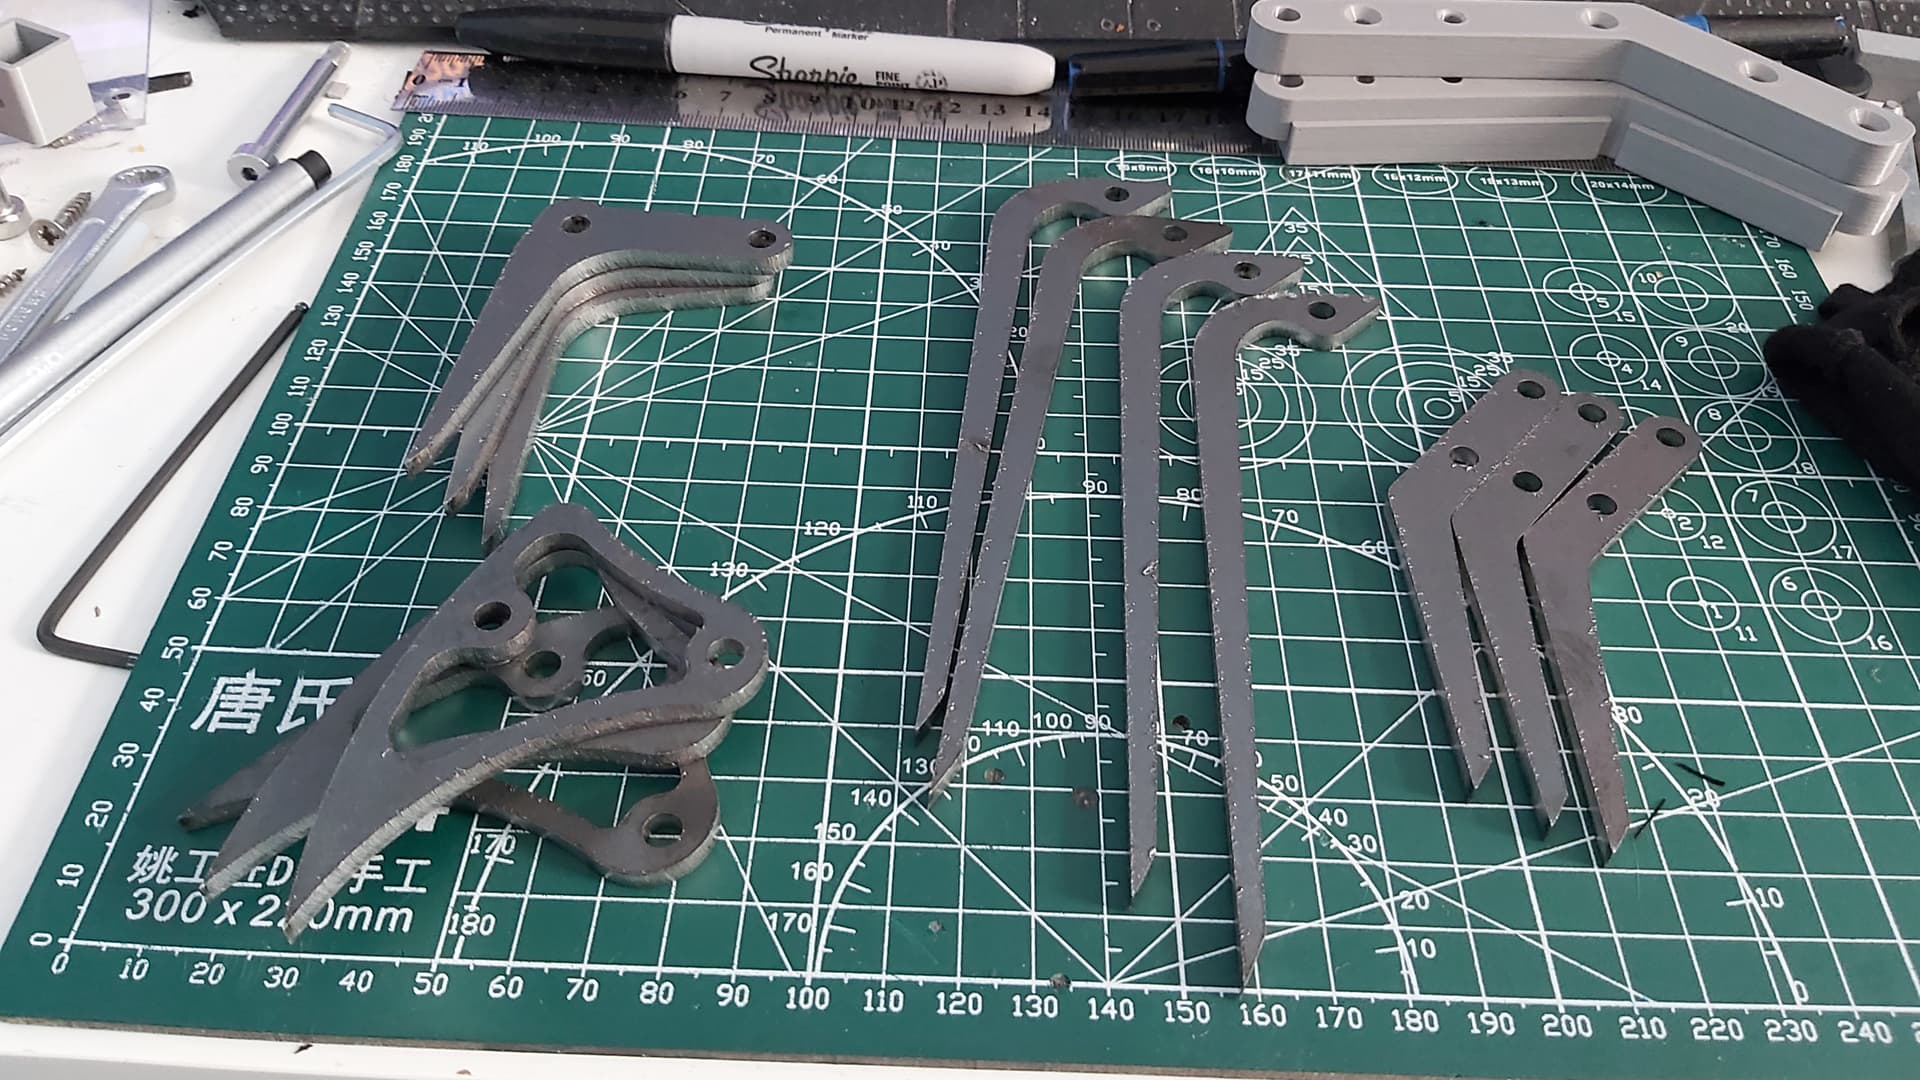
To squeak out a little more weight I removed some material from the axe arm now dubbed the long-reach axe arm. I’ve designed a shorter arm with the same weight-saving
Sadly the fancy wedge needs replacing with a tweaked version to be under the weight limit with the forks on. The axe arms need to be reworked just to make them cleaner with less material.
I then filmed some tests, firstly can the bot self-right in axe mode (without the forks)
And happily it self rights great in both directions.
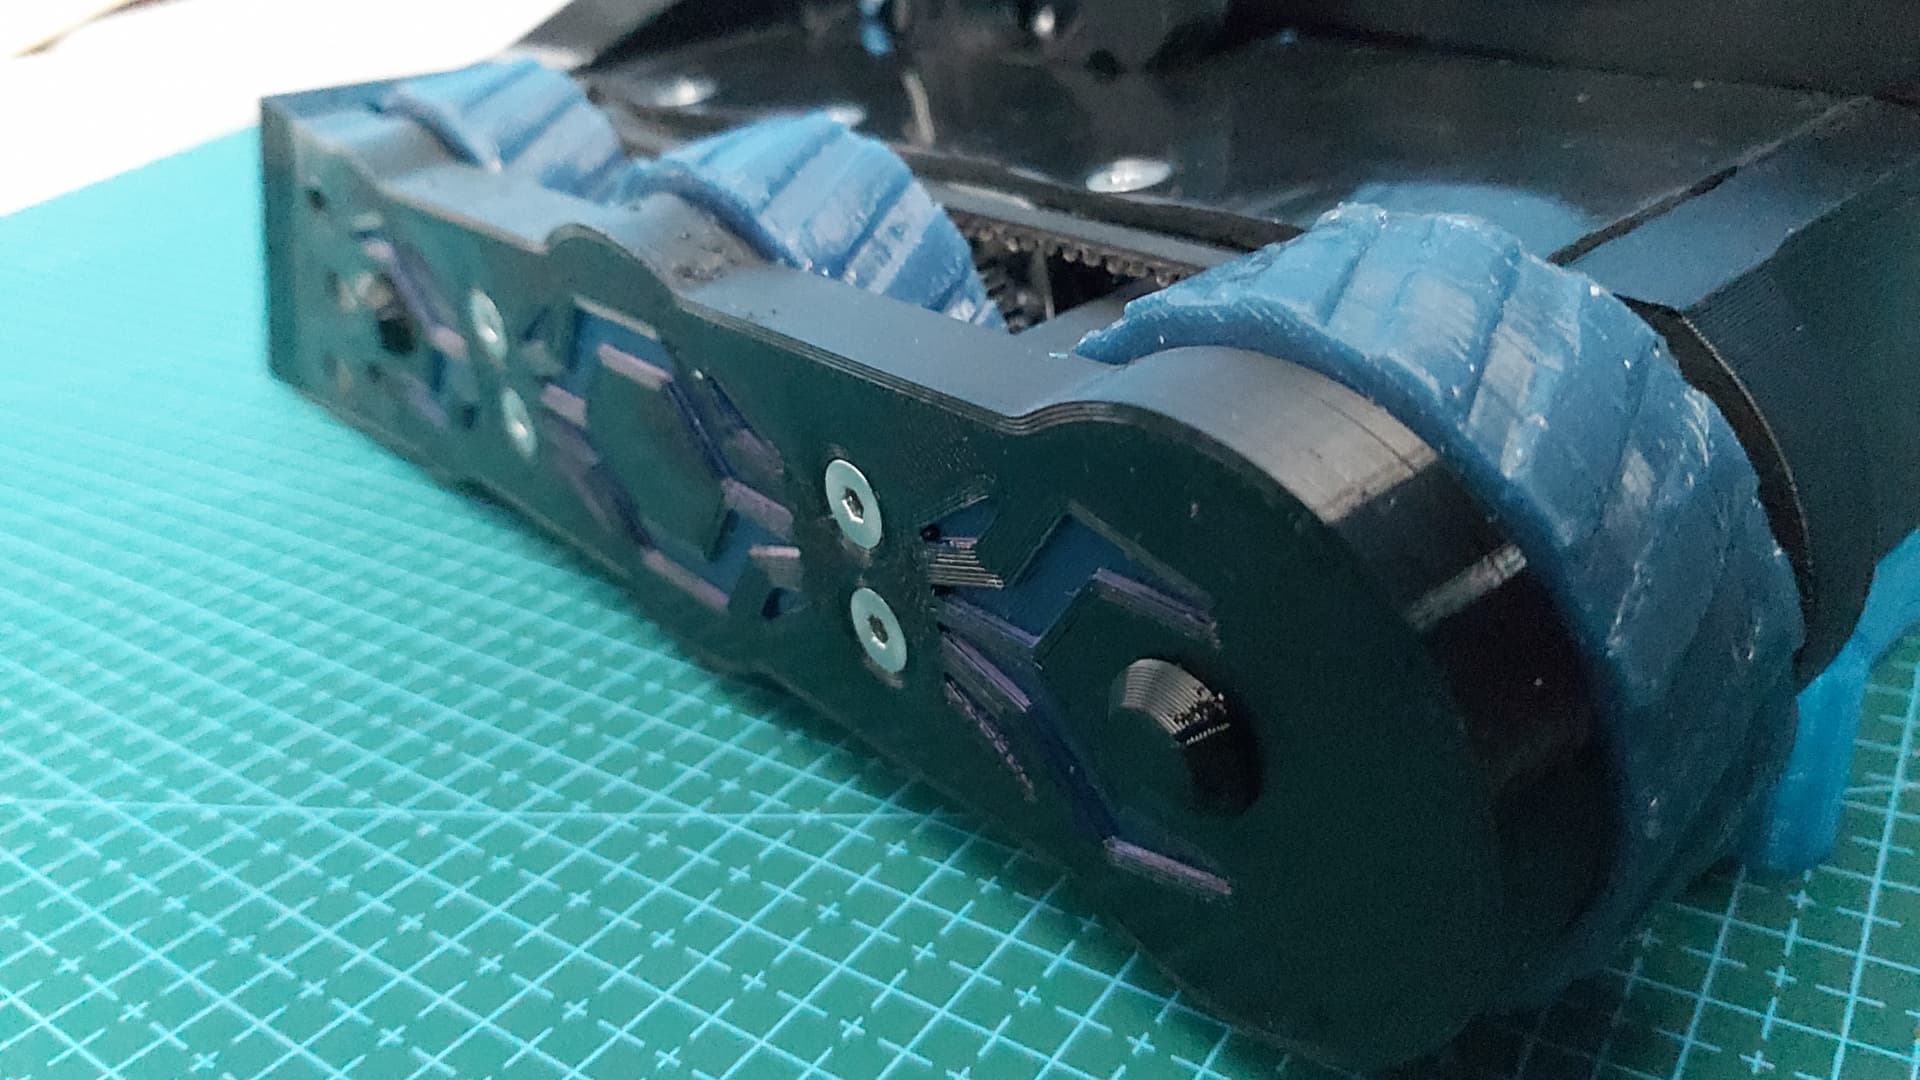
Sadly I then attempted to record a proof of mobility but… there was an issue the wheels kept sticking. At first, I thought it was the dead shafts being done up too tight but didn’t fix it. I then did a series of tests. first was taking the back wheels off and the bot started driving normally, I then tried all 6 wheels without the sides and it was working but still wasn’t great.
At first, I thought the side panels were bending in and pinching the wheels but then I had a thought when I was uploading the videos to YouTube. The side panels didn’t affect the drive during the PLA prototype testing earlier in the year and it hit me. The PLA chassis was rigid and didn’t flex, the TPU chassis however does flex. The chassis and side panels are flexing into each other pinching the wheels.
Not the ideal situation. Now I have to consider solutions. Solution 1) go back to HDPE bulkheads and risk the weight but have a more rigid structure. Solution 2) make the wheels narrower to add more air gap. Solution 3) find a way to make the TPU chassis more rigid.
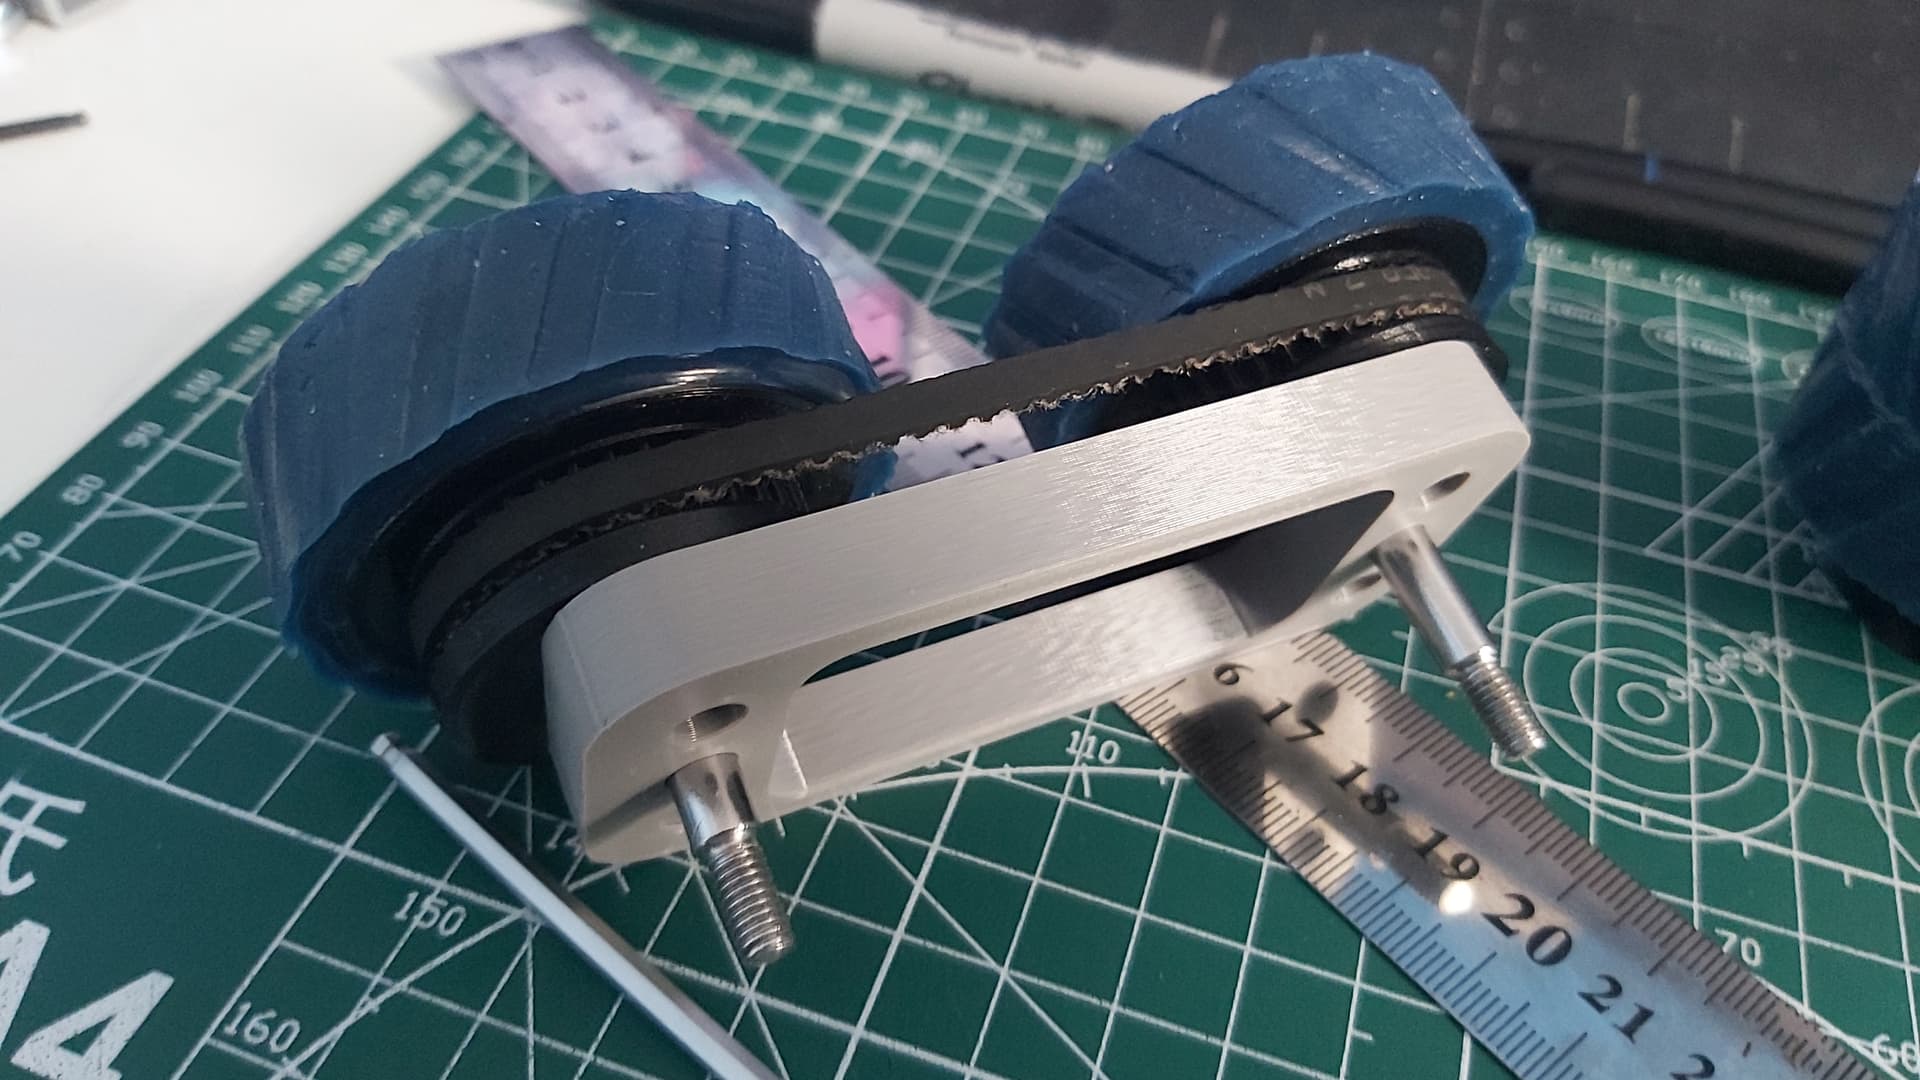
Or solution 4) move the wheels 1mm closer to the middle wheels to reduce the belt tension and use longer shoulder bolts so part of the shoulder is embedded in the TPU for more support.
After a late night of stripping down Data Breach and testing out what was causing the flexing in the chassis, the answer came to me the belt tension which worked fine on MK1 (all be it a tad too tight in hindsight) was way too tight for the TPU to handle.
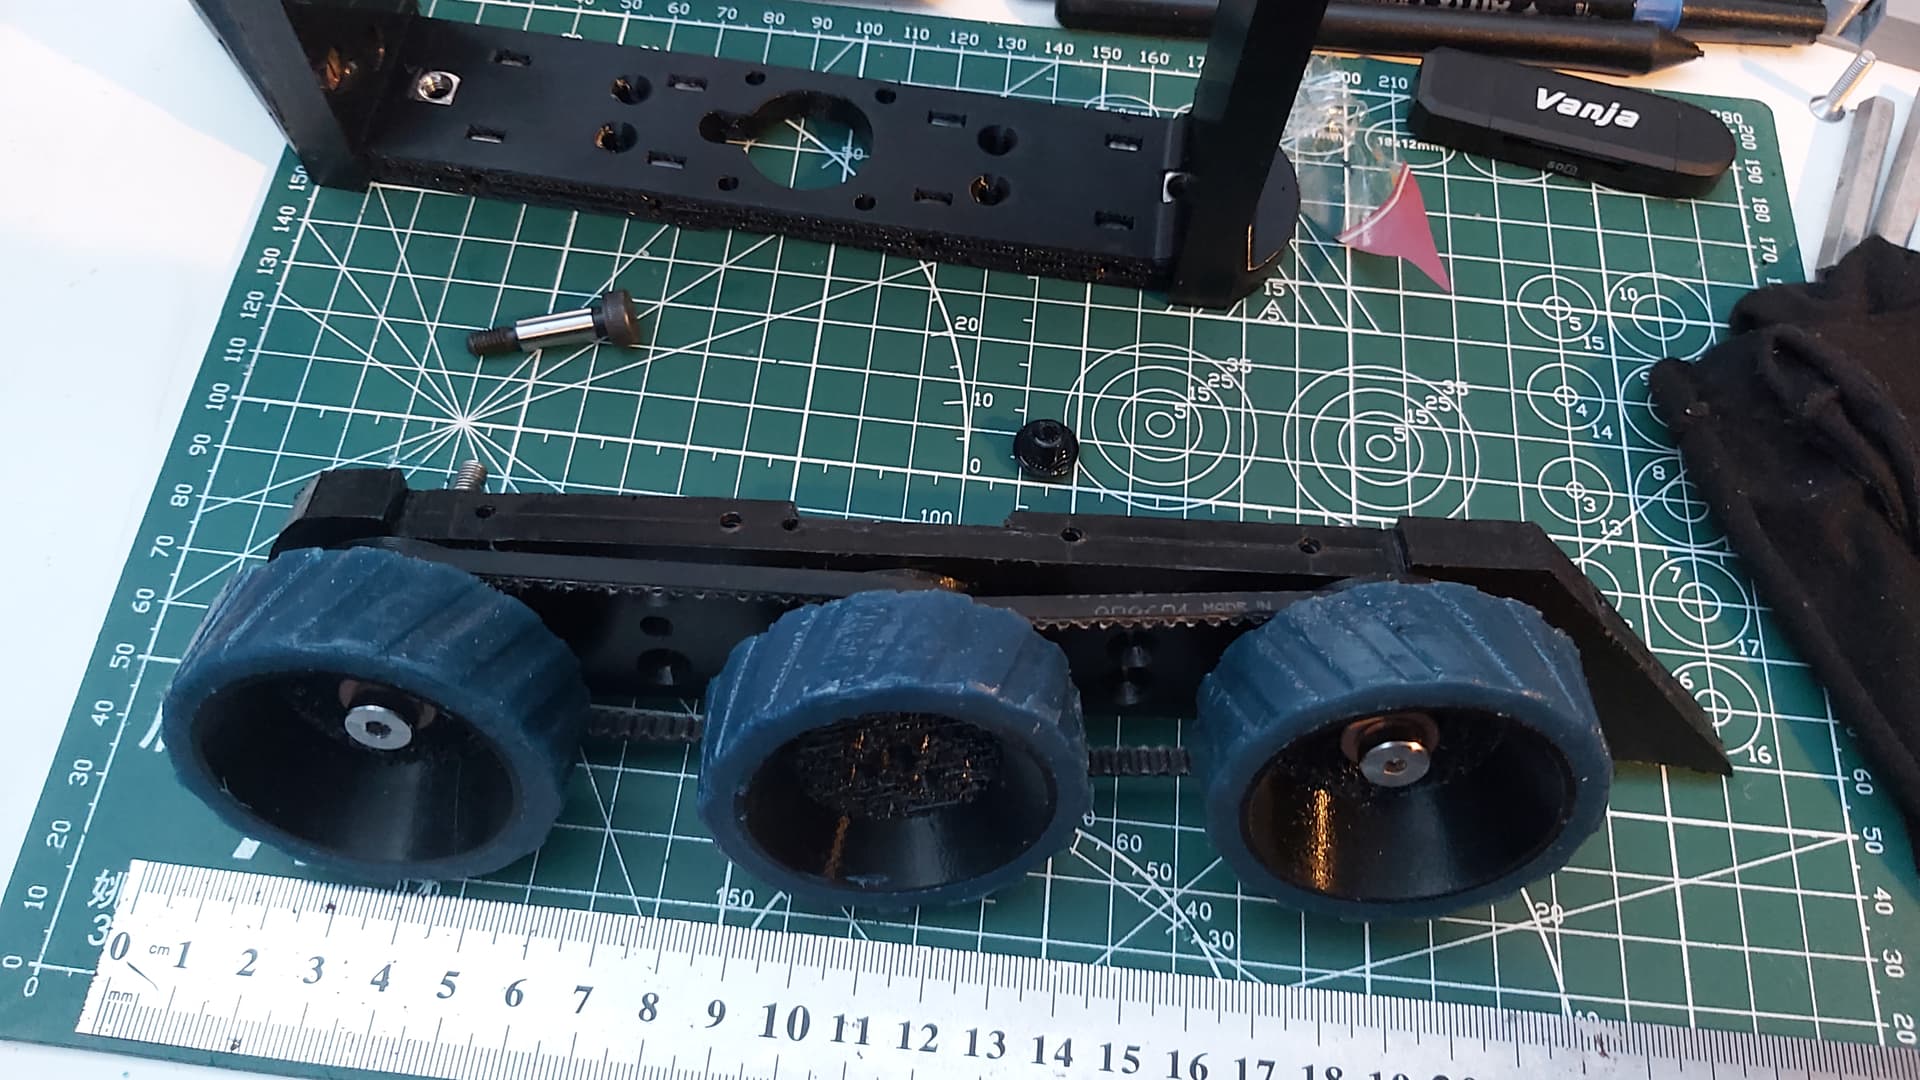
I tested the TPU wheels on an old test HDPE panel I made for MK1 which used a slightly smaller distance between the wheels to see how better the wheels handled the tension and it seemed I was close to a sweet spot where the belt had enough tension to engage the pulleys but wasn’t bending the wheels.
So to find that sweet spot I made a quick PLA jig with a selection of distances to test out. In the end, reducing the distance by 1mm was the right amount. 72.5mm down to 71.5mm. (I seriously can’t recall why I had the tension so tight on MK1 in the first place.)
I mentioned the shoulder bolts tweak because, after a chat on Discord, I realised I should have the shoulder bolt supported by the shoulder and the threaded portion. A quick eBay order of some longer shoulder bolts from 16mm to 20mm (I needed to buy some for the lifter anyway) and that will be sorted. I’ve already made amendments to the CAD for chassis which I’ll print in due course.
If nothing else this will help me better understand designing TPU parts for when I make MK3.
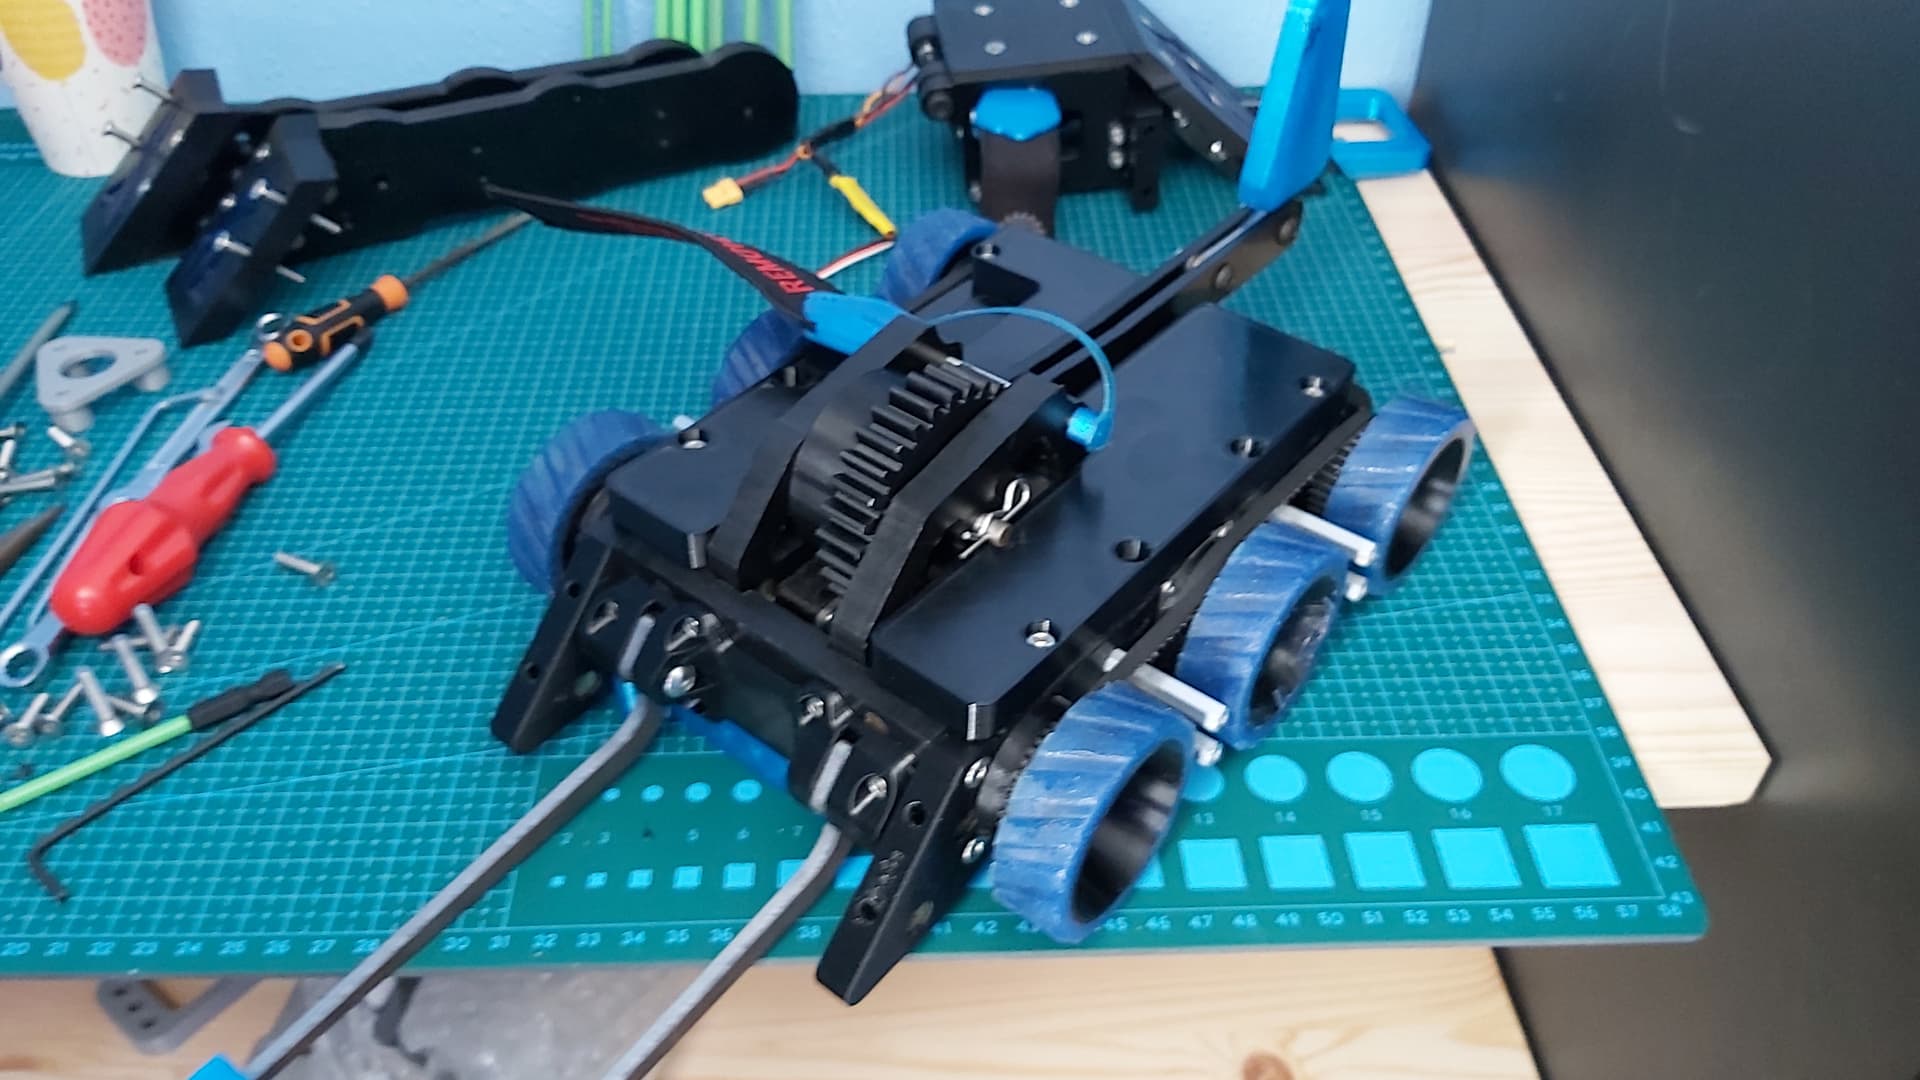
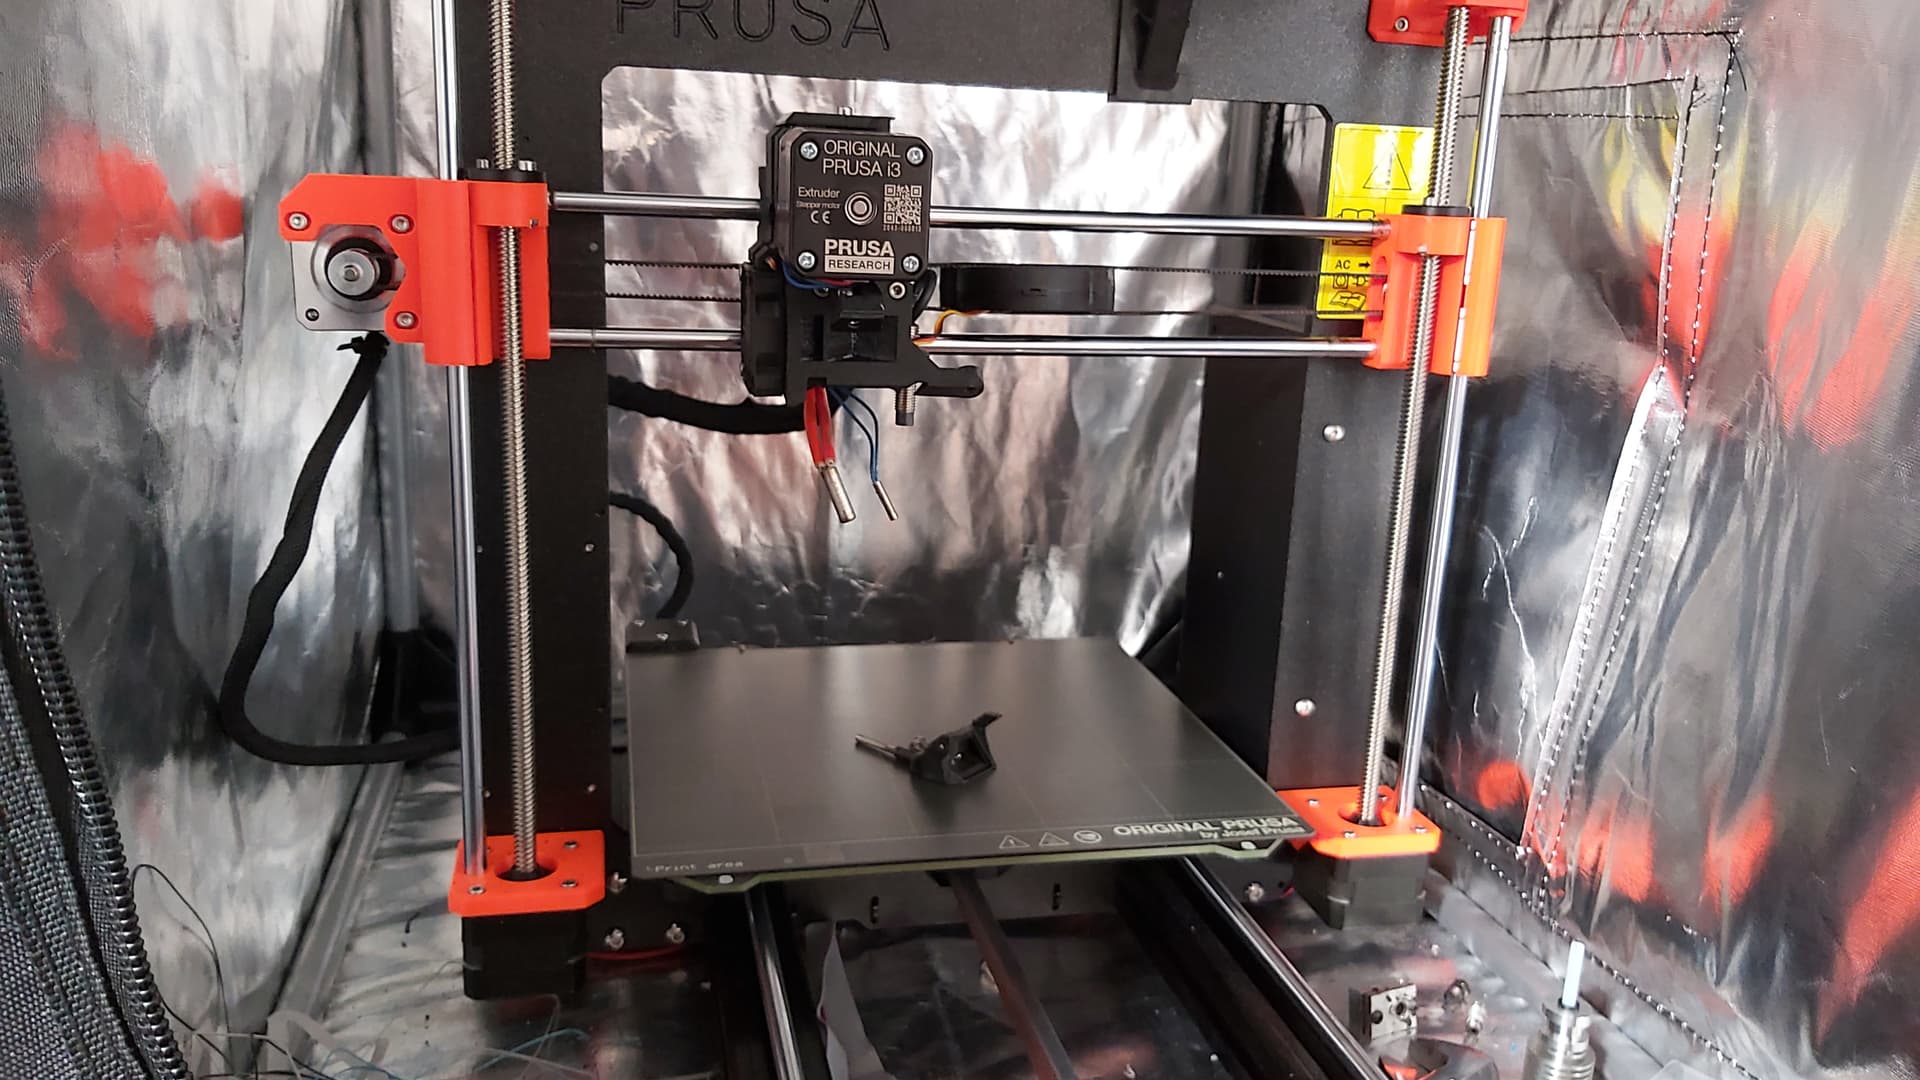
With the new chassis printed and the new shoulder bots arriving in the post, I rebuilt Data Breach and took it for a spin.
I won’t lie after I stopped recording I did jump for joy to have resolved the issues and have Data Breach mobile and one big step closer to being ready for the arena.
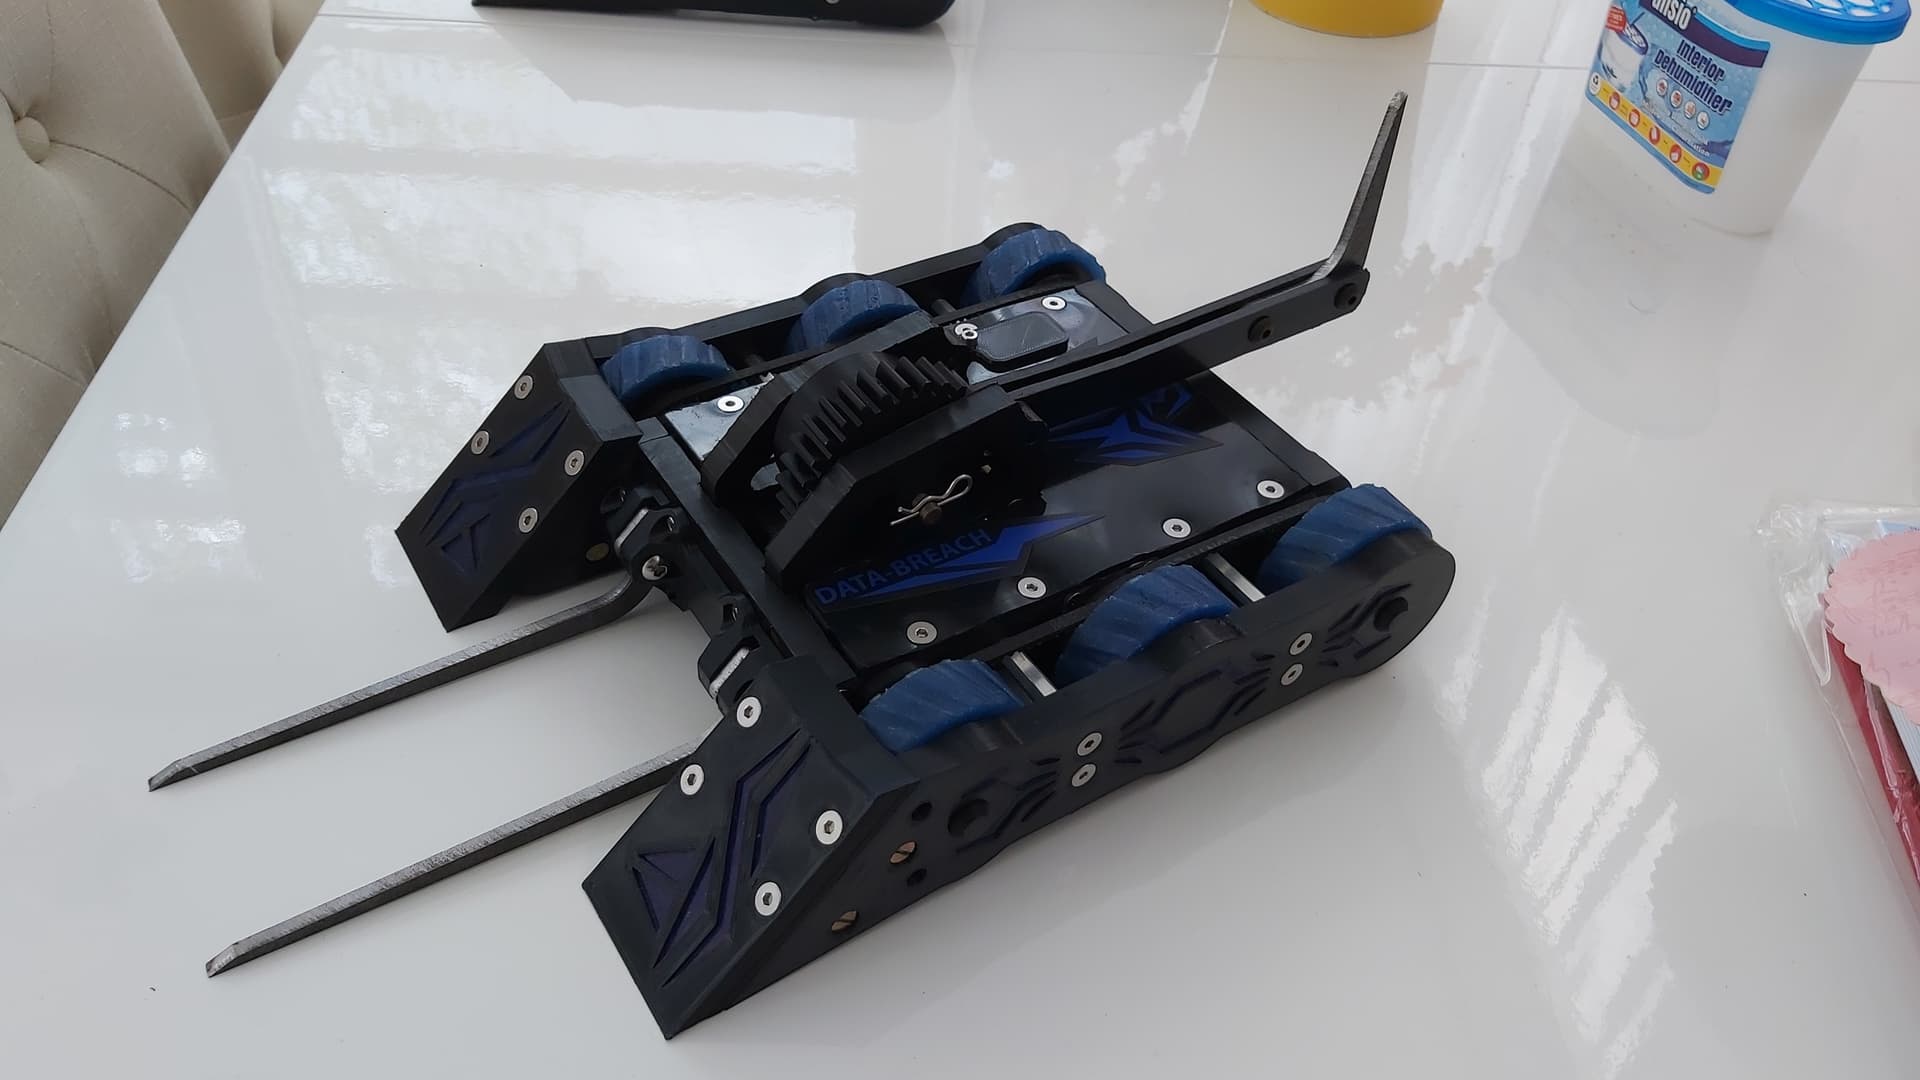
Hot on the heels of the drive test I reattached the forks this morning and took DB outside to test the axe and see if it can self-right with forks on.
I tested the self-righting first and happily, it can self-right.
I then did some test firing and annoyingly the motor still cogs here and there when I move the axe. This means the axe struggles to fire on command and takes a few seconds to move. I had hoped the Repeat Robotics ESC would iron out that issue. The mechanical side of things on the other hand is doing great so far. No slipping gears or resistance to impede the weapon.
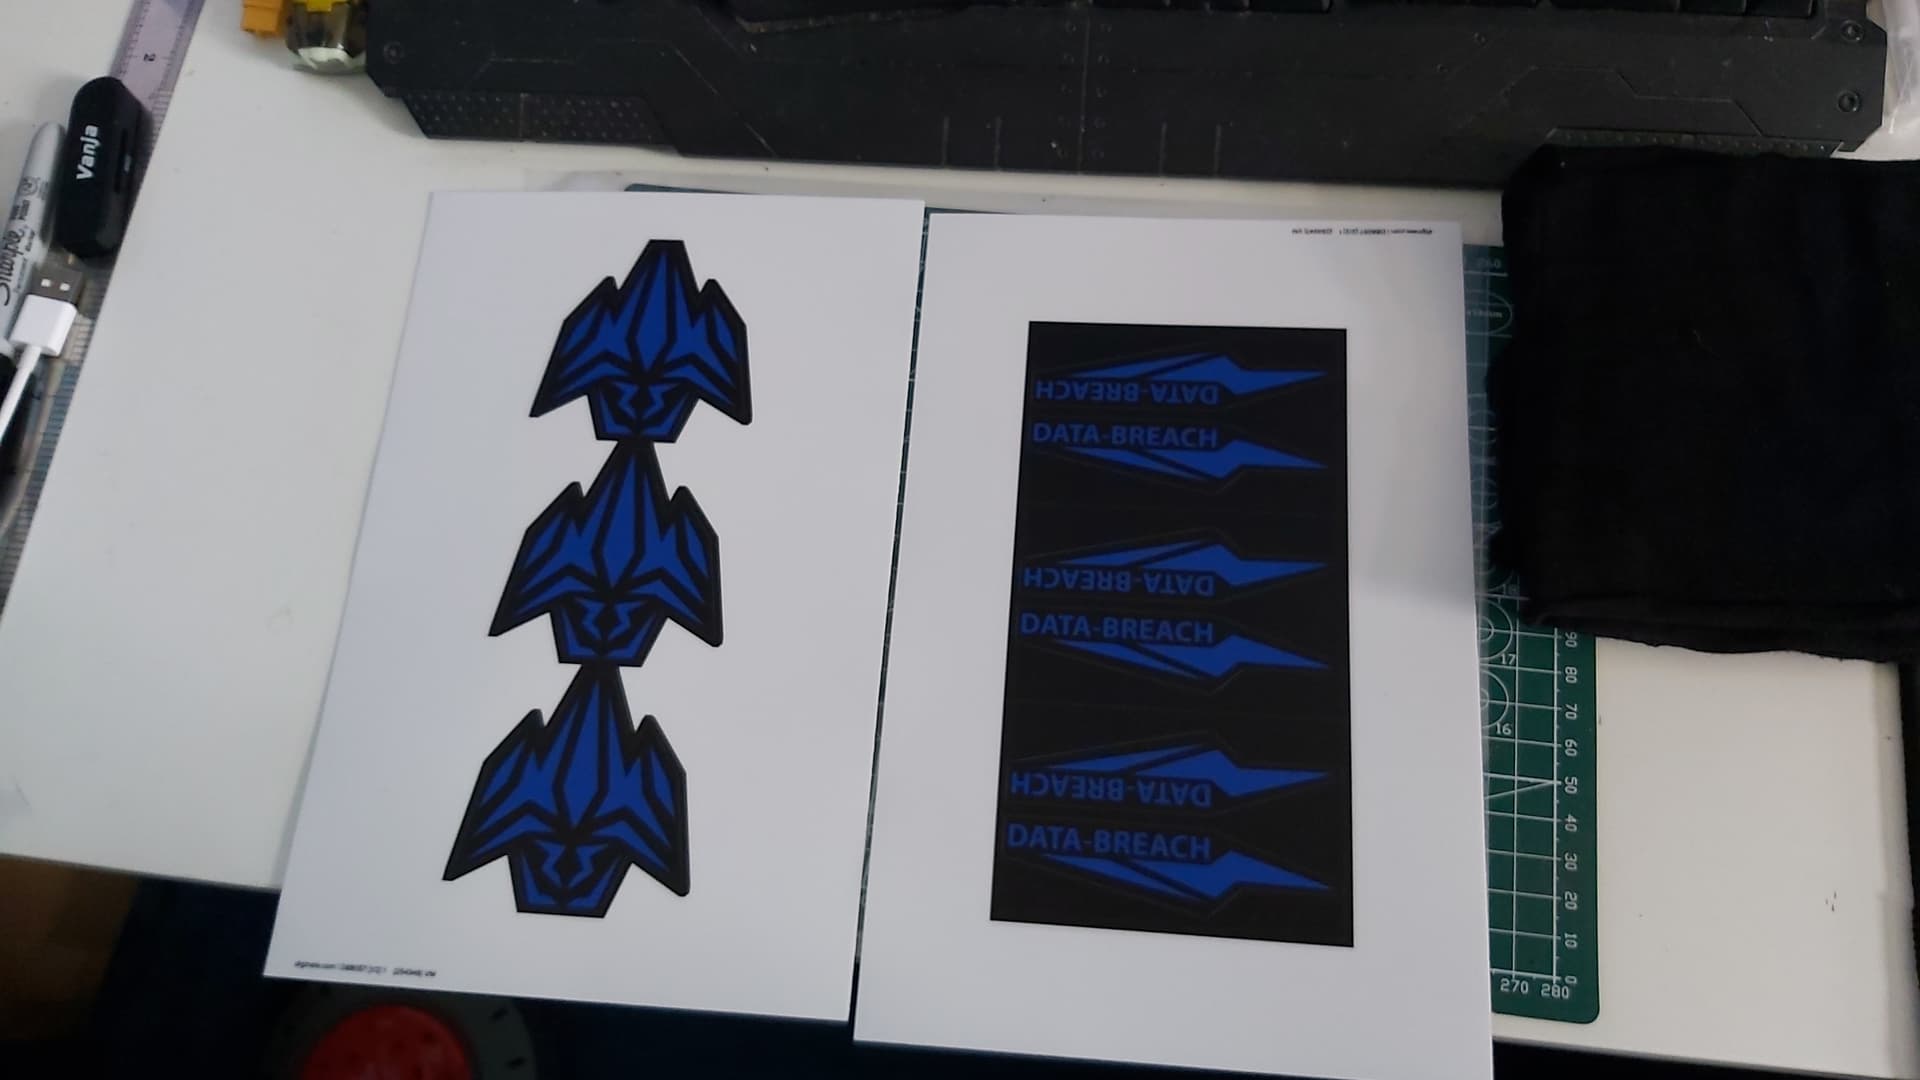
I’ve ordered some decals for the top plate to finish the look. And speaking of top plates the TPU armour panels for overhead attacks are getting printed as we speak.
The TPU top amour and the Anti overhead setup minus the wedges. The aim is defence but with more clearance for the wheels. This funny enough looks closer to the early concept I had for Data Breach.
After talking with other builders on FB I ordered an ESC programmer to tweak the settings on the ESC(s) for the axe upping the KV to match the motor’s and turning off braking.
And then it was time to test the axe with the new ESC settings, happily the axe is more responsive and the lack of braking makes it easier to control plus it’s looking more violent than before.


")