Data Breach Beetleweight Build

Been a little quiet for the past month with DB finished it was mostly a waiting game for the draw to finalise what spares to prioritise. But I have been doing odd jobs. The Hardox parts were given an overnight vinegar bath to clean off the rust before removing the burrs from the laser cutting with a sanding wheel.

I printed off a spare chassis and a pair of wedges. Thankfully printed much quicker now I found the optimal speed settings in the print slicer.

Apart from any draw-related extras DB is as ready as can be. I took the opportunity to try and test to fit everything into a single toolbox and success everything now fits into a single toolbox. 2022 was 3 toolboxes, 2023 was 2 and 2024 is now 1.

It’s Rapture week! With the draws unveiled Data Breach will be fighting in Heat L breaking the trend of being in the early heats (heats B, A and C the last 3 years.) I’m quietly confident with this heat even with the 2nd seed Attitude Adjuster present. Not that I think Aggro Wobba and Cormoran will be easy.

Knowing who I’m fighting in my heat and those fighting in heats I need to keep an eye on should I (by some fluke) make into the 2nd place rumble or the top 16. The last few bits were made, an overhead armour package that’s compatible with the lifter which only weighs 1.35kg. I had to reprint the top armour as I goofed and forgot the holes for the locking bar to pass through.

I also fished out my anti-big wheel bot setup and revised it to fit the new wedge bolt pattern. I need to make an HDPE top for that setup then I’m all set for the journey up on Friday and the action across the weekend.

2 Likes

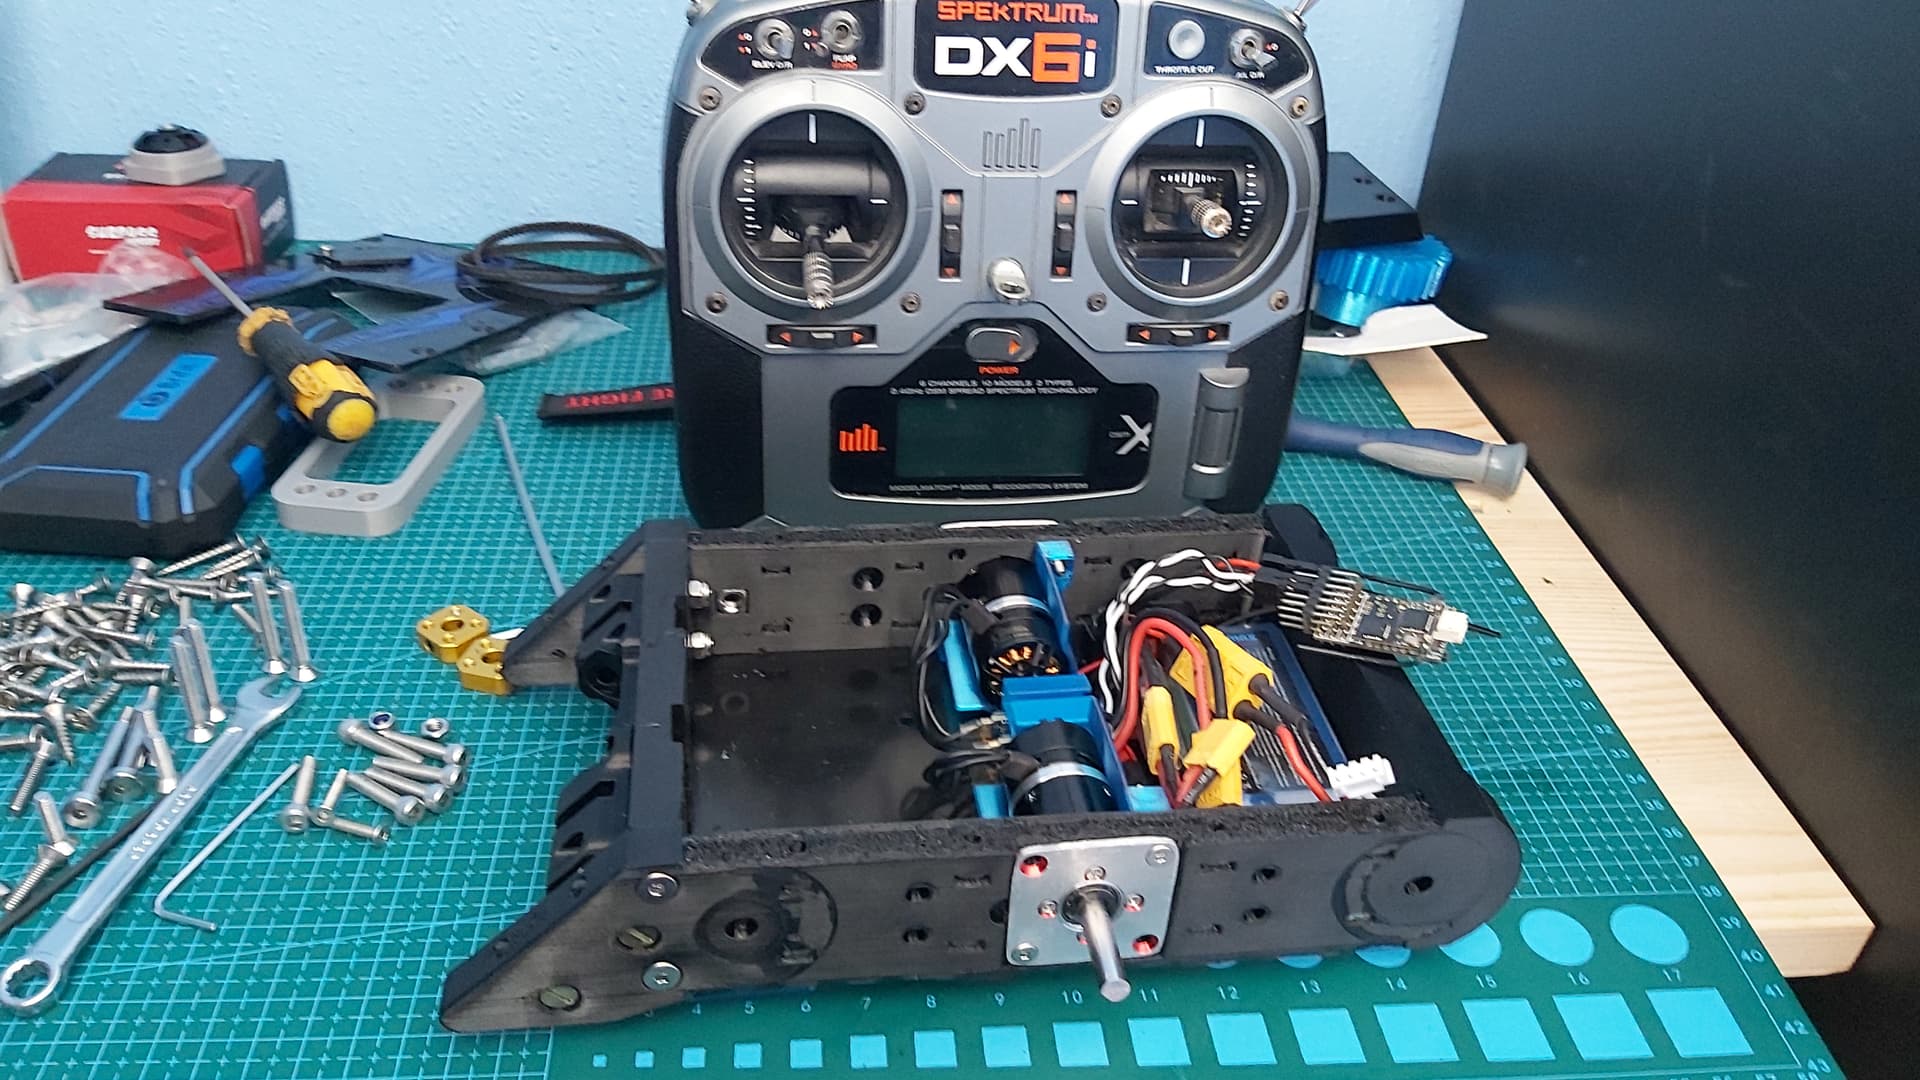
Data Breach took part in the Robot Rebellion this past weekend. Sadly our 4th run at Robot Rebellion was plagued with issues that robbed Data Breach of a good performance. Here’s the event report.

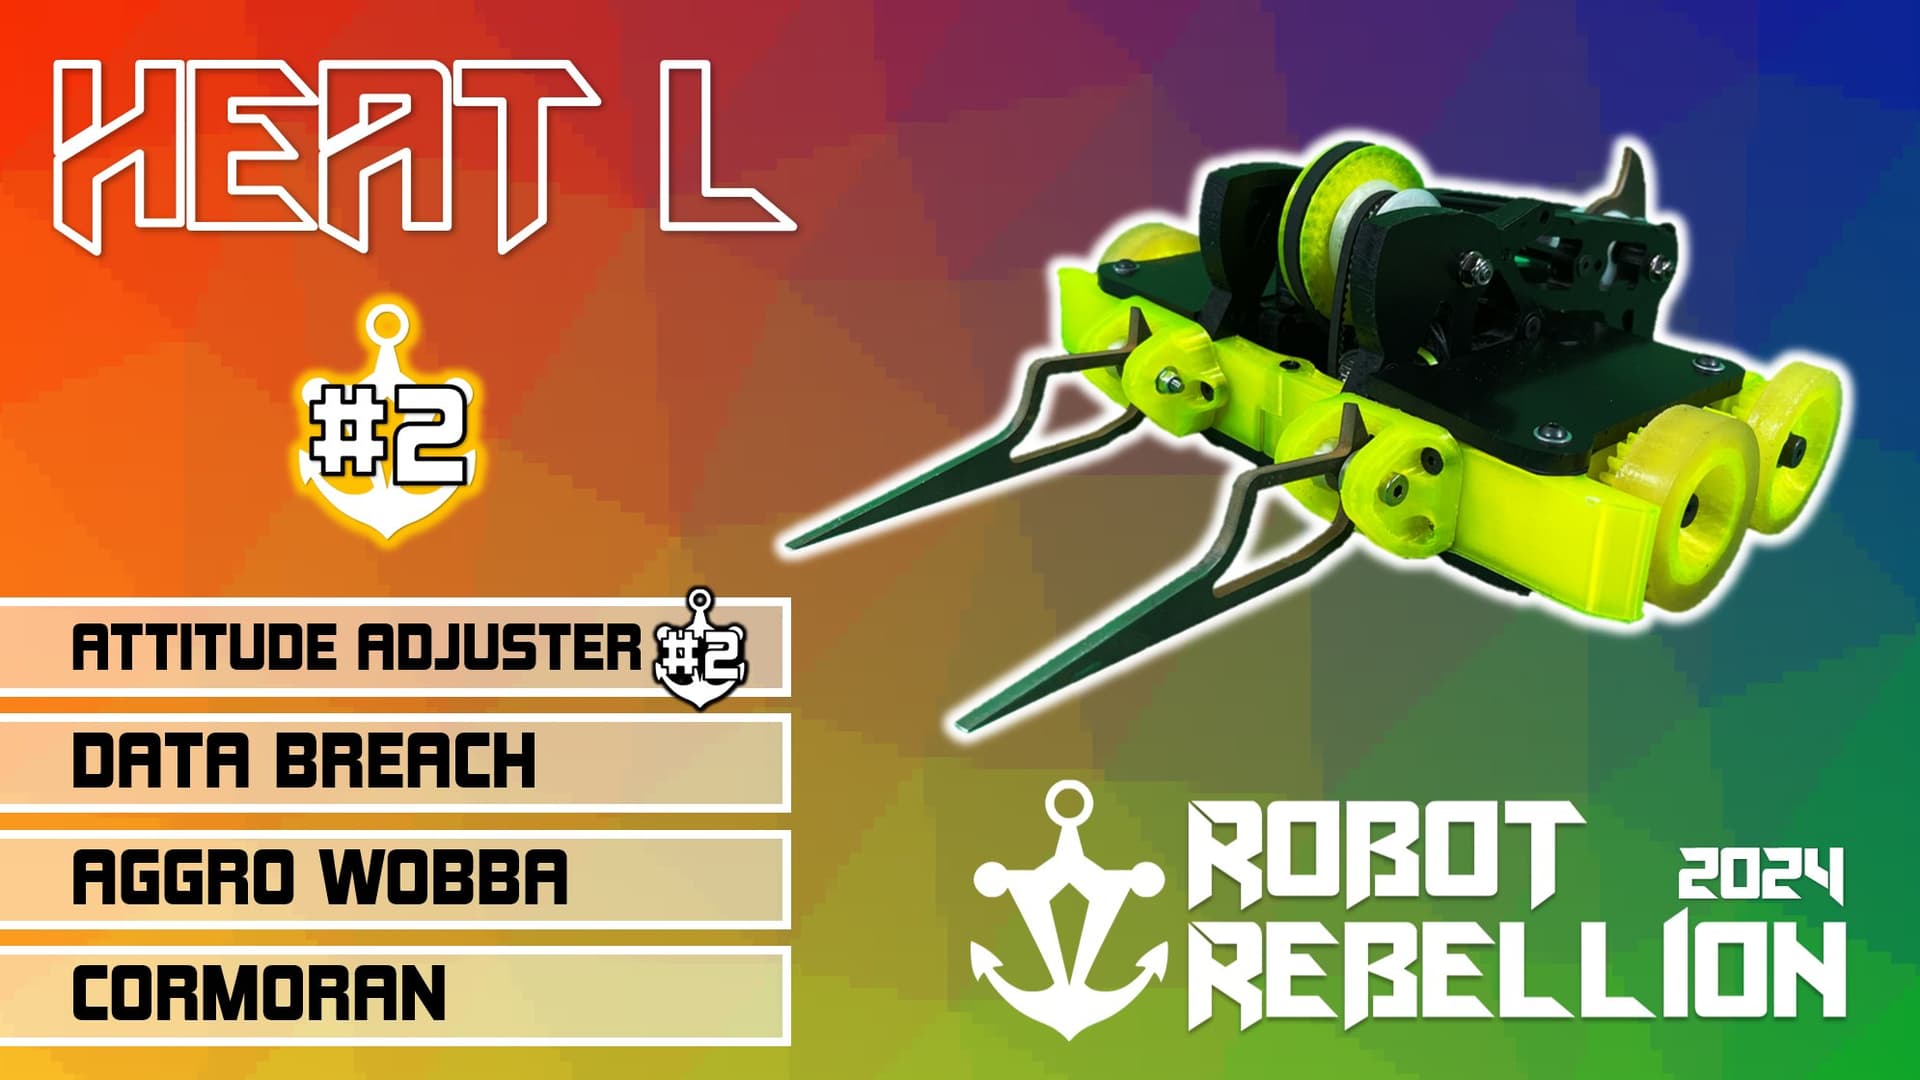
After passing Tech Check, DB was set up with the lifter to take on Attitude Adjuster. Scott wasn’t available this year, so Jack from Kitchen Grill drove in his place. It was going to be interesting to see if I could beat Attitude Adjuster with Jack’s limited time with the bot being a factor in my favour.

Sadly after a good back and forth DB suffered drive issues out of nowhere. One side stopped working then both stopped. Jack tried to help revive DB but the ablative TPU armour was too damaged to offer any more protection and I tapped out.

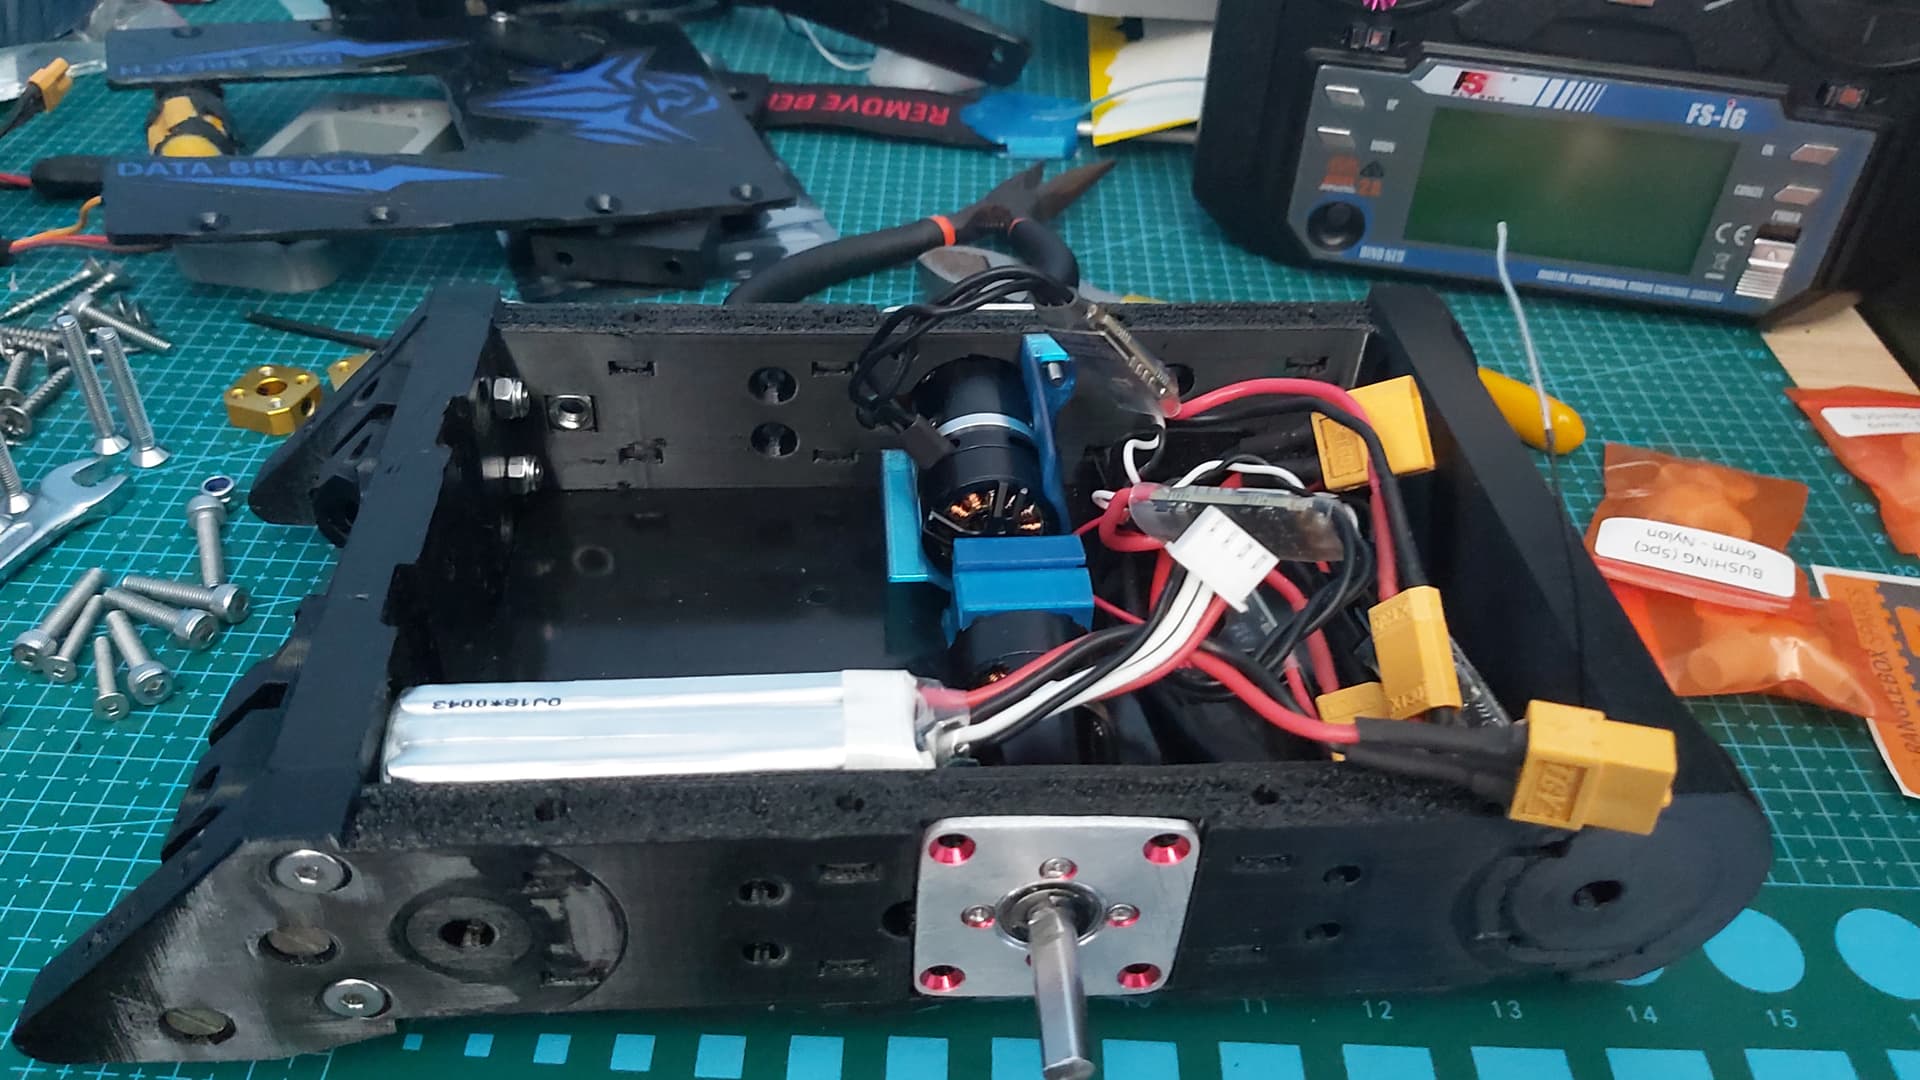
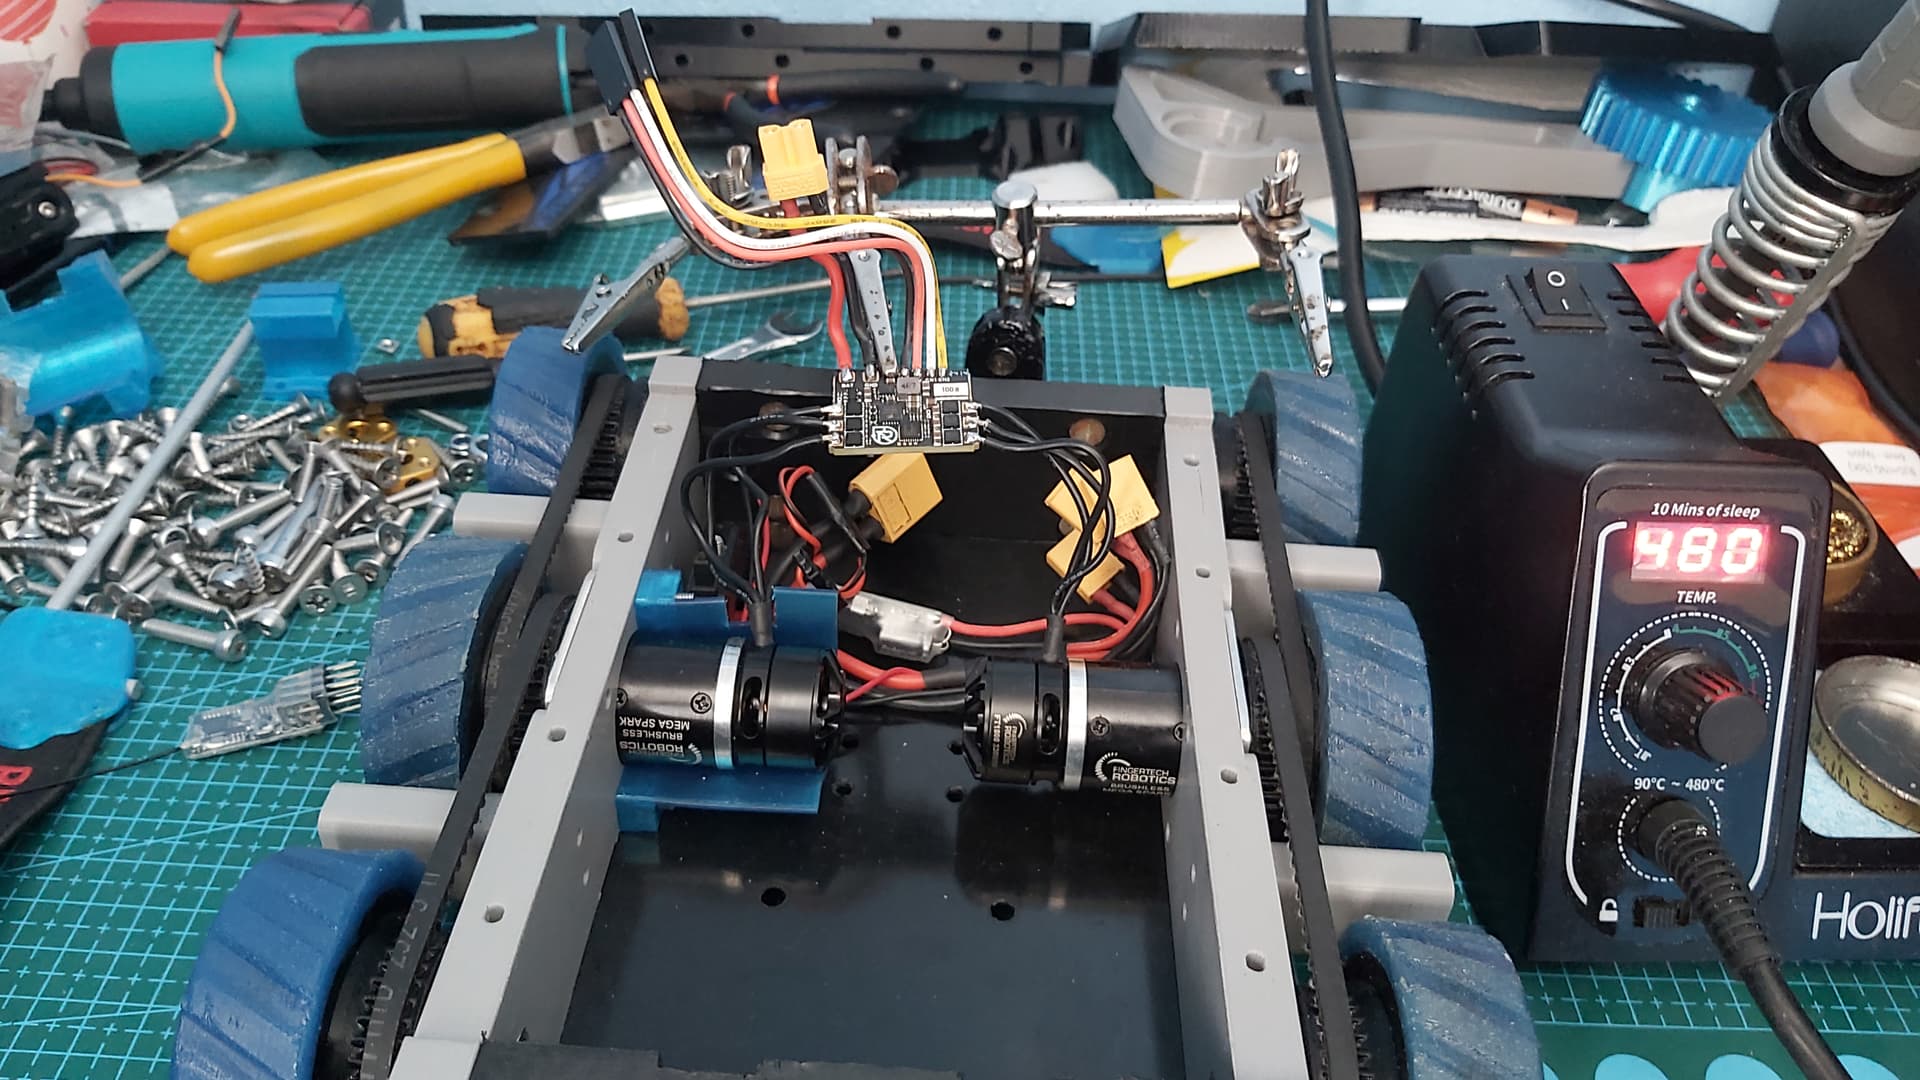
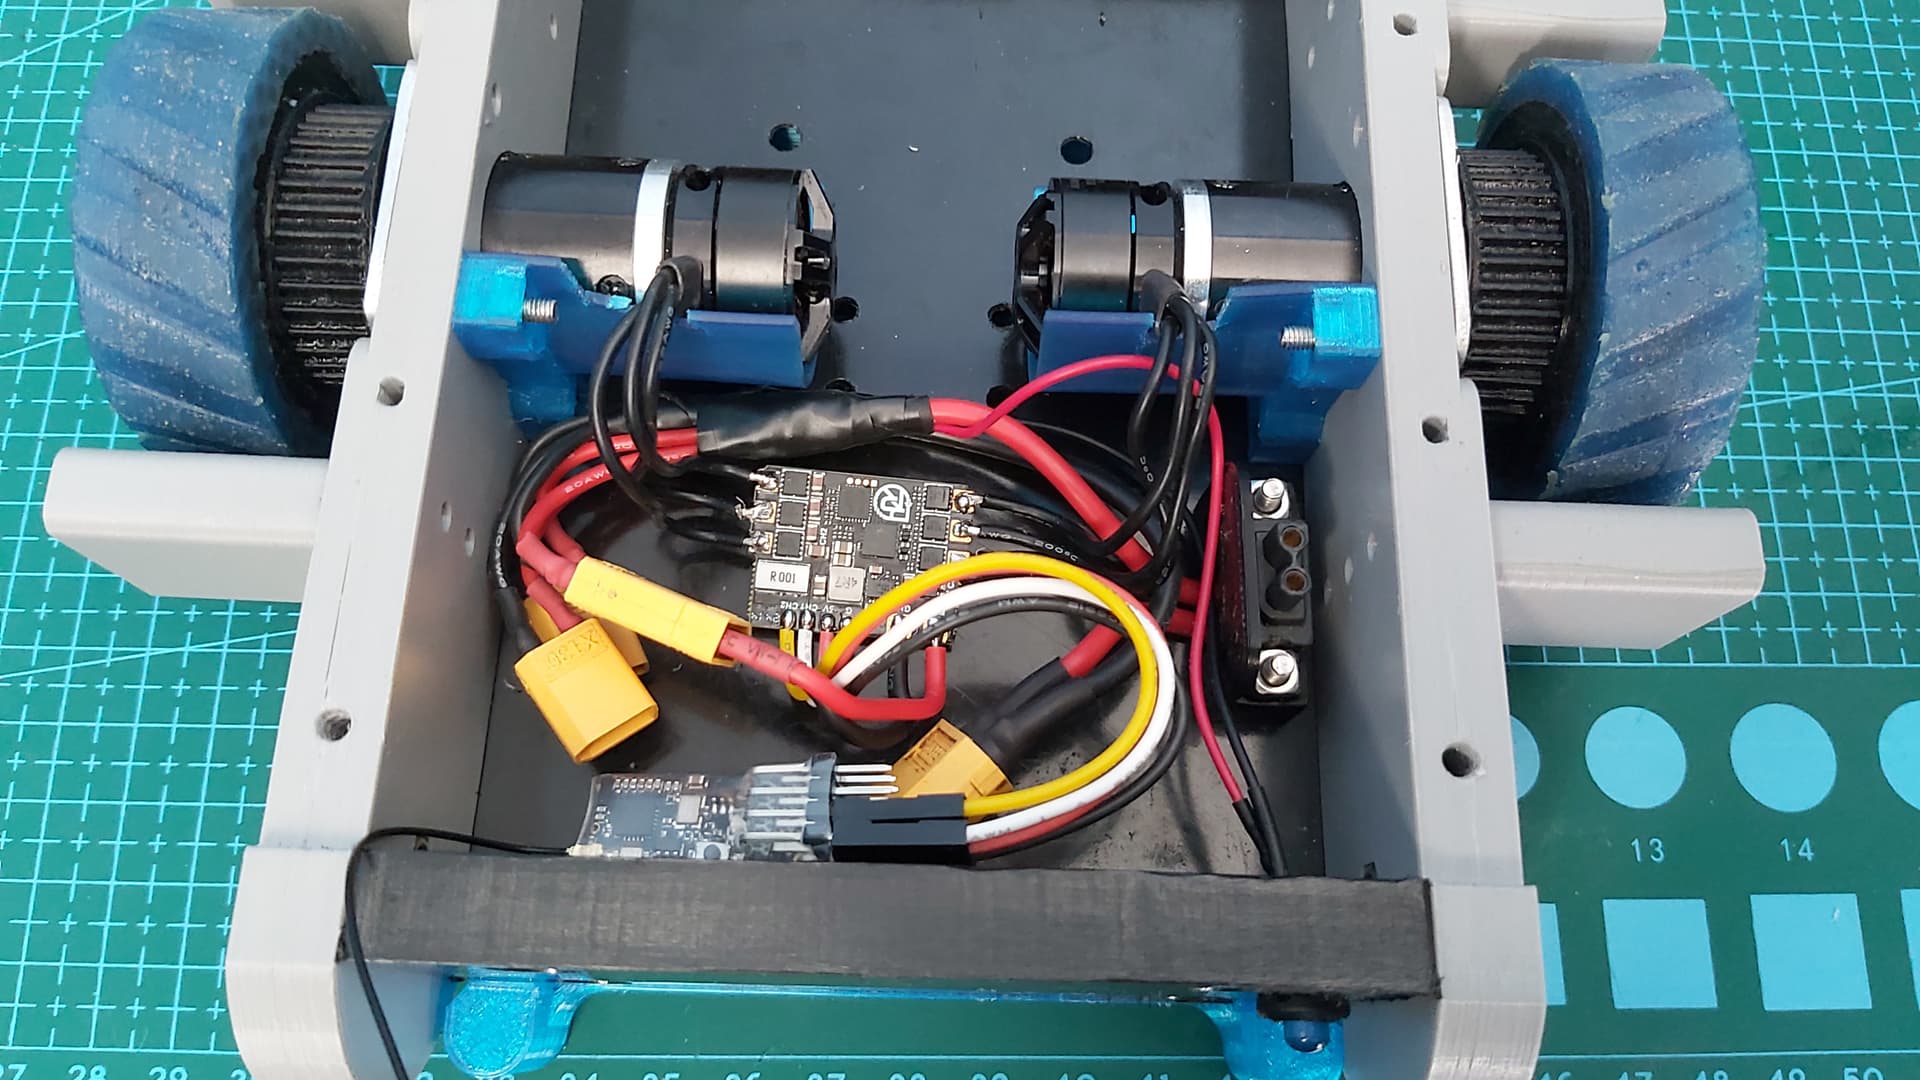
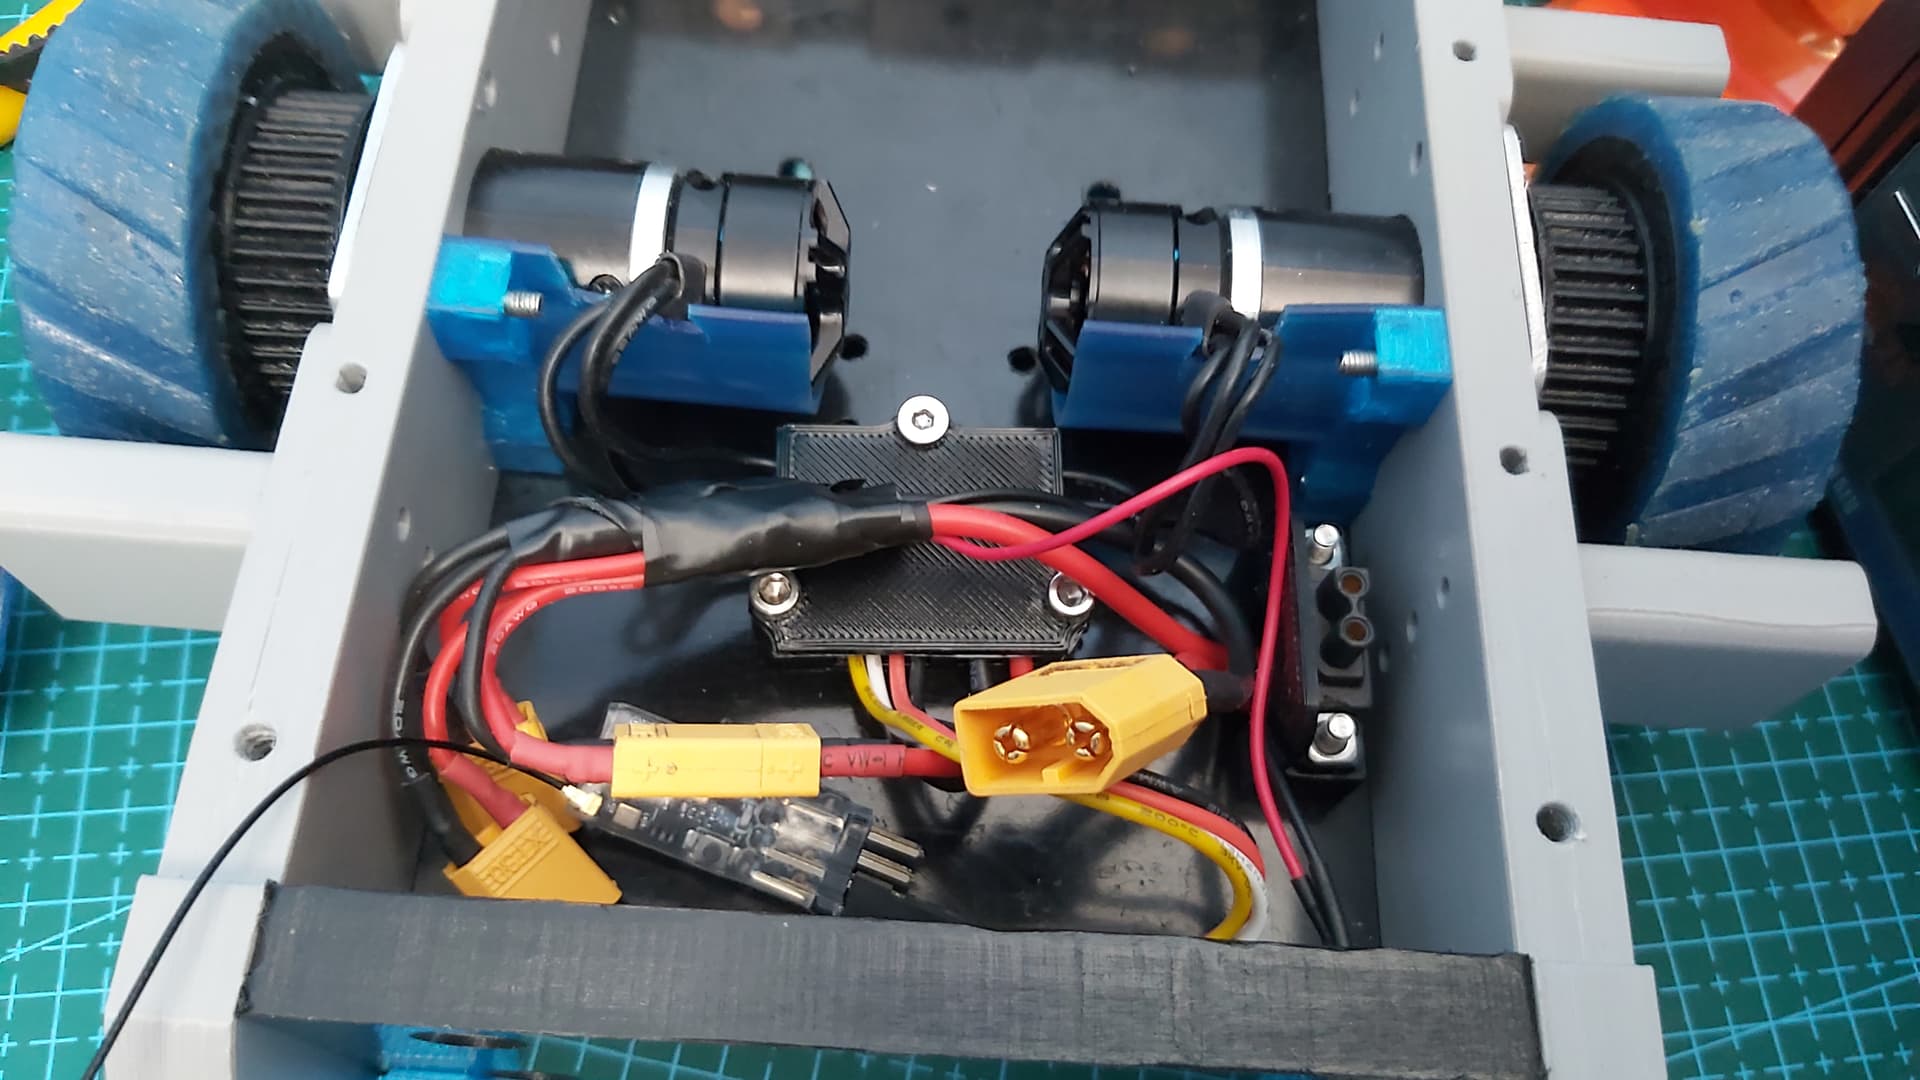
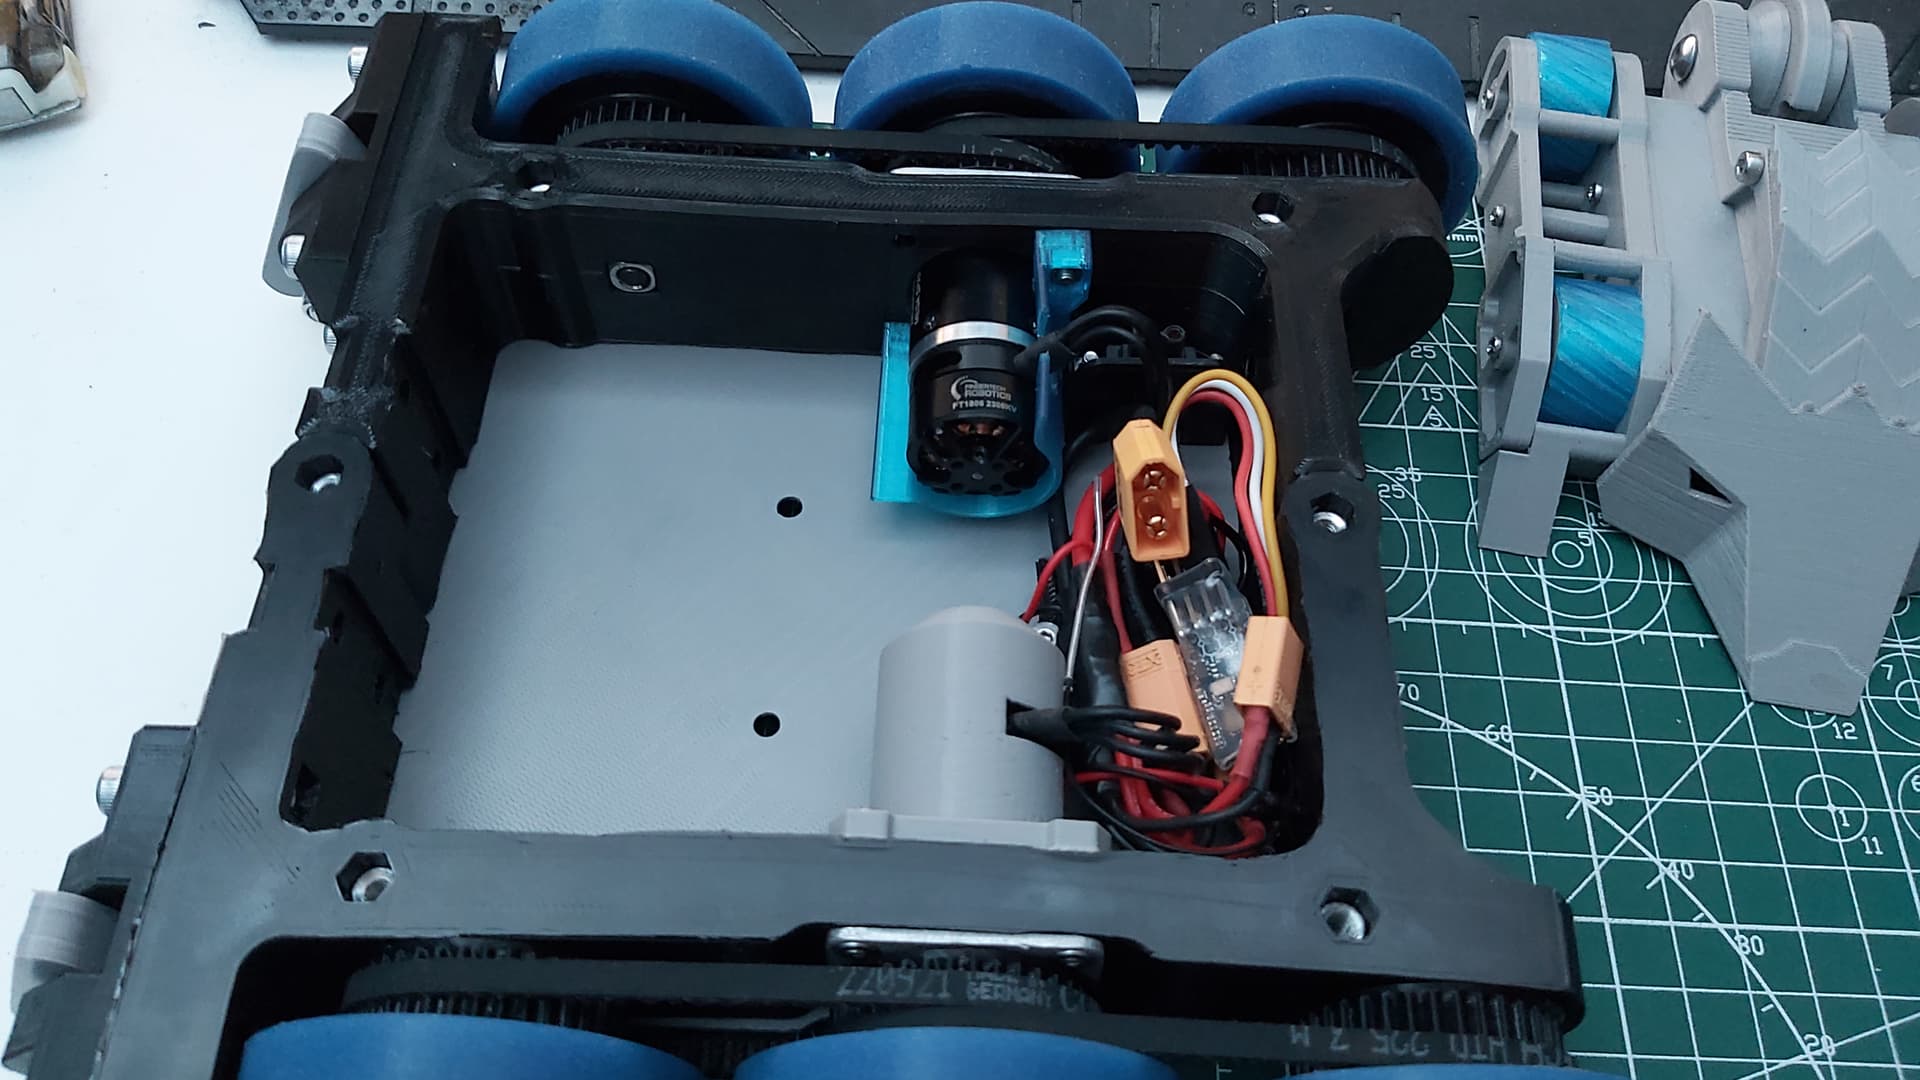
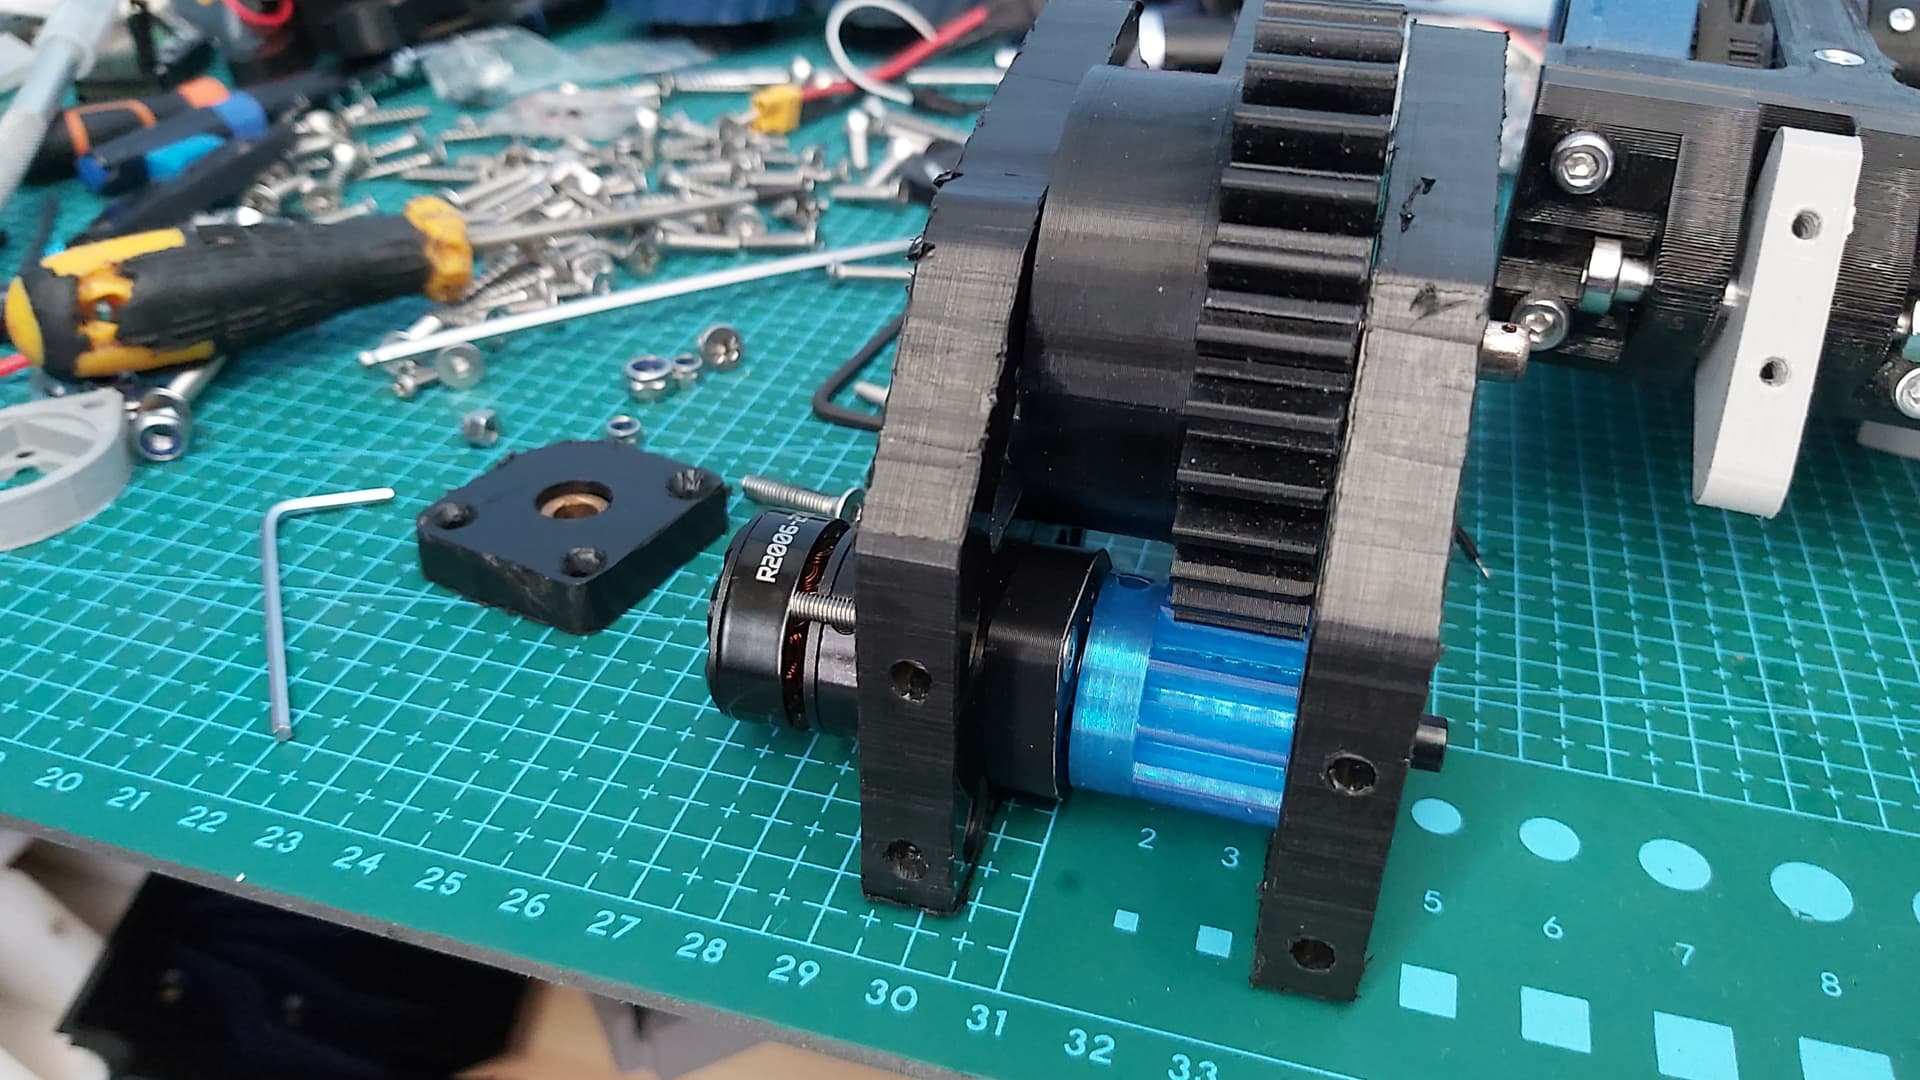
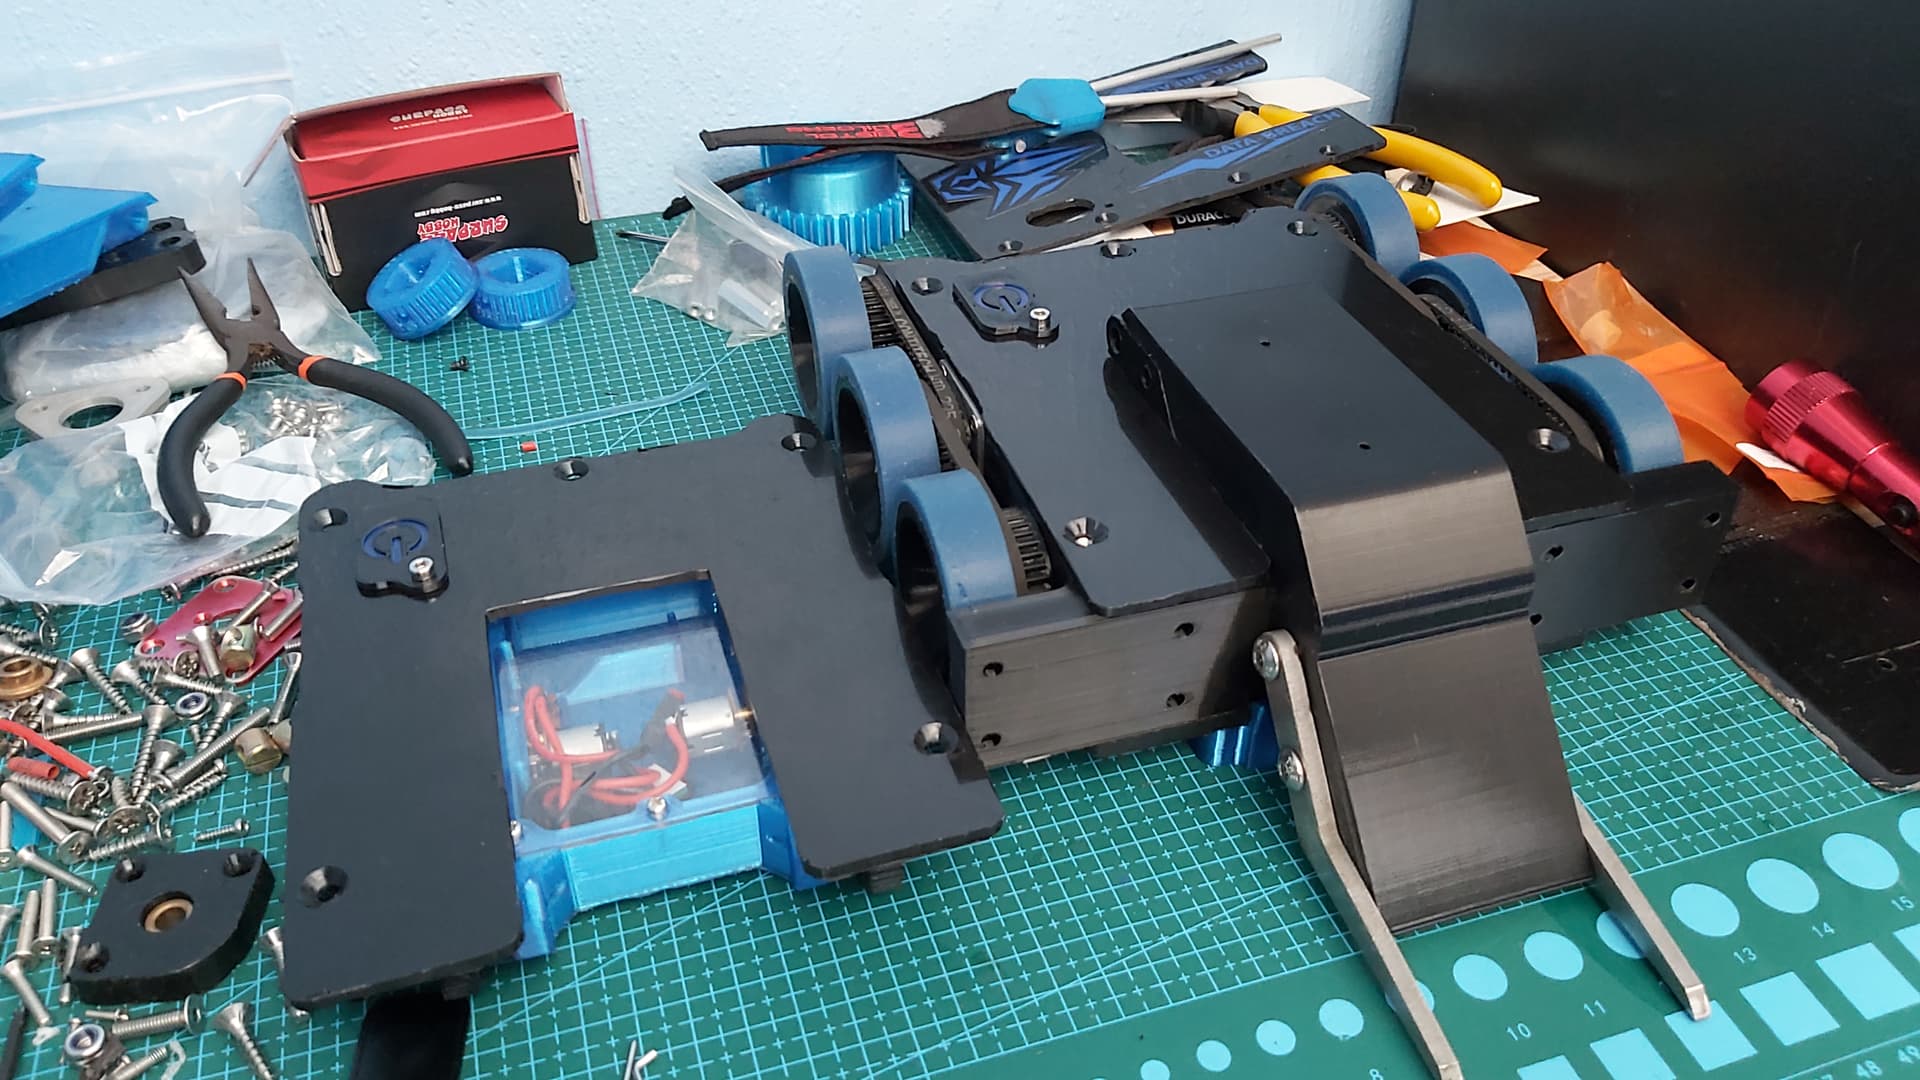
After returning to the pits to inspect the bot I was puzzled. No loose connections, no loose grub screws, the battery had plenty of power left and nothing had burnt out. I powered up the bot to do a bench test and the drive started working again. Whatever caused the cut-out was still a mystery. I had to simply hope that if it happened again a quick power cycle of the transmitter would fix it. Talking with Ellis, the strongest theory was that the Repeat Robotics AM32 ESCs might be cutting out due to some kind of electrical feedback from the drive during impacts. Sadly I didn’t have the capacitors that come with ESCs on hand to attempt to hopefully counter this by soldering them to the powerlines as Ellis suggested.

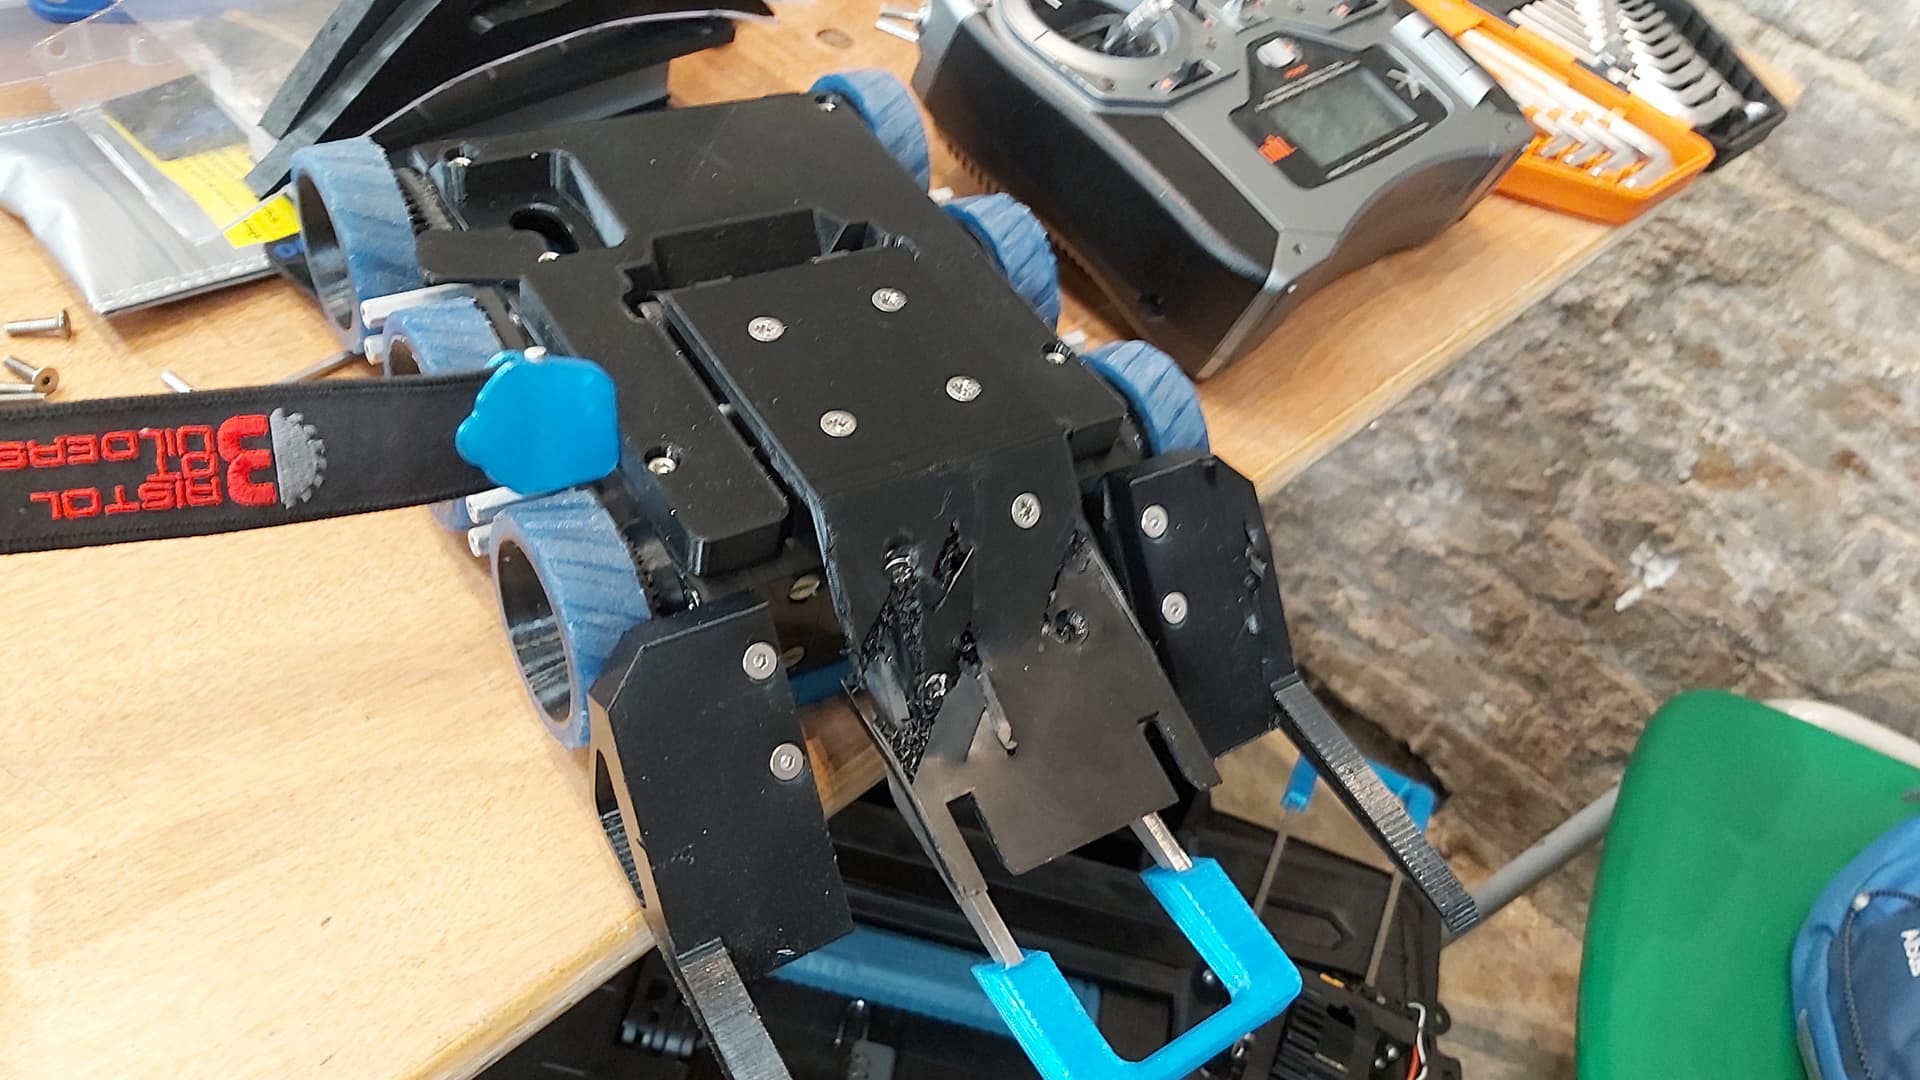
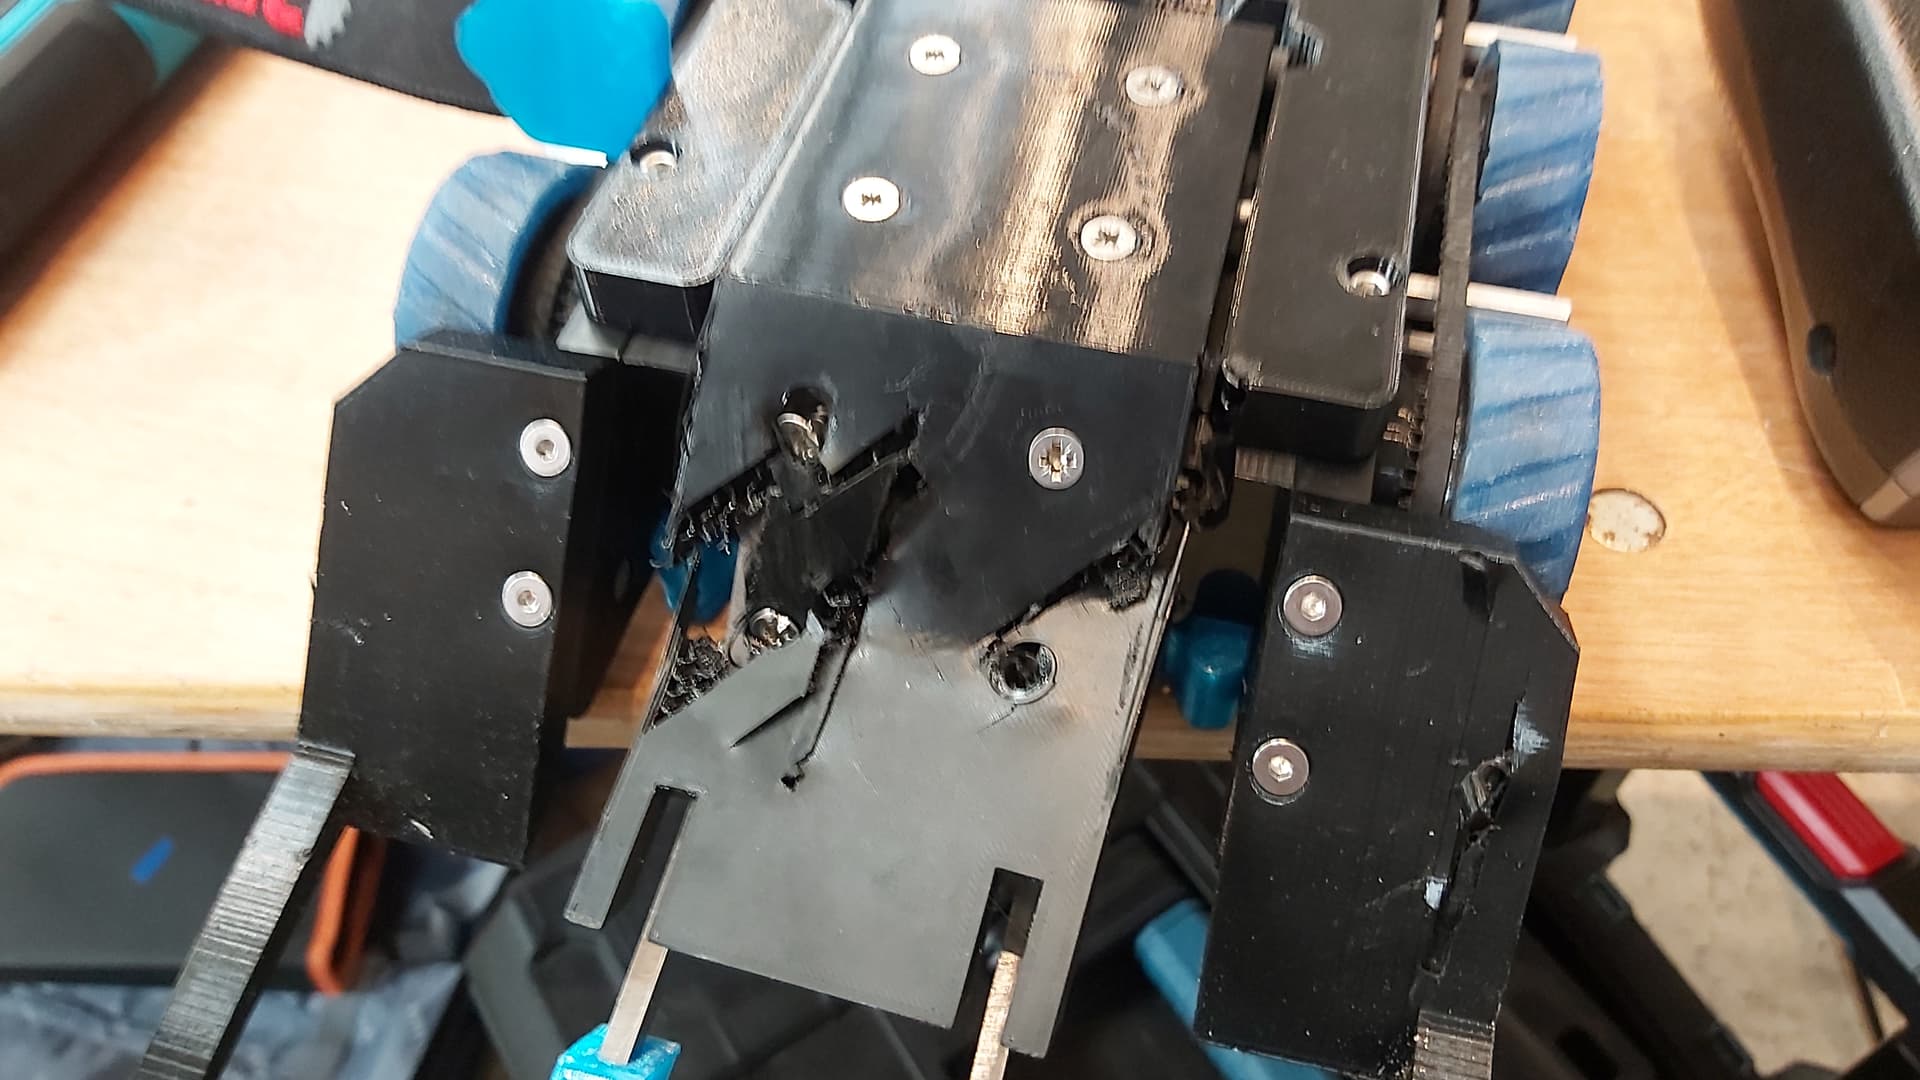
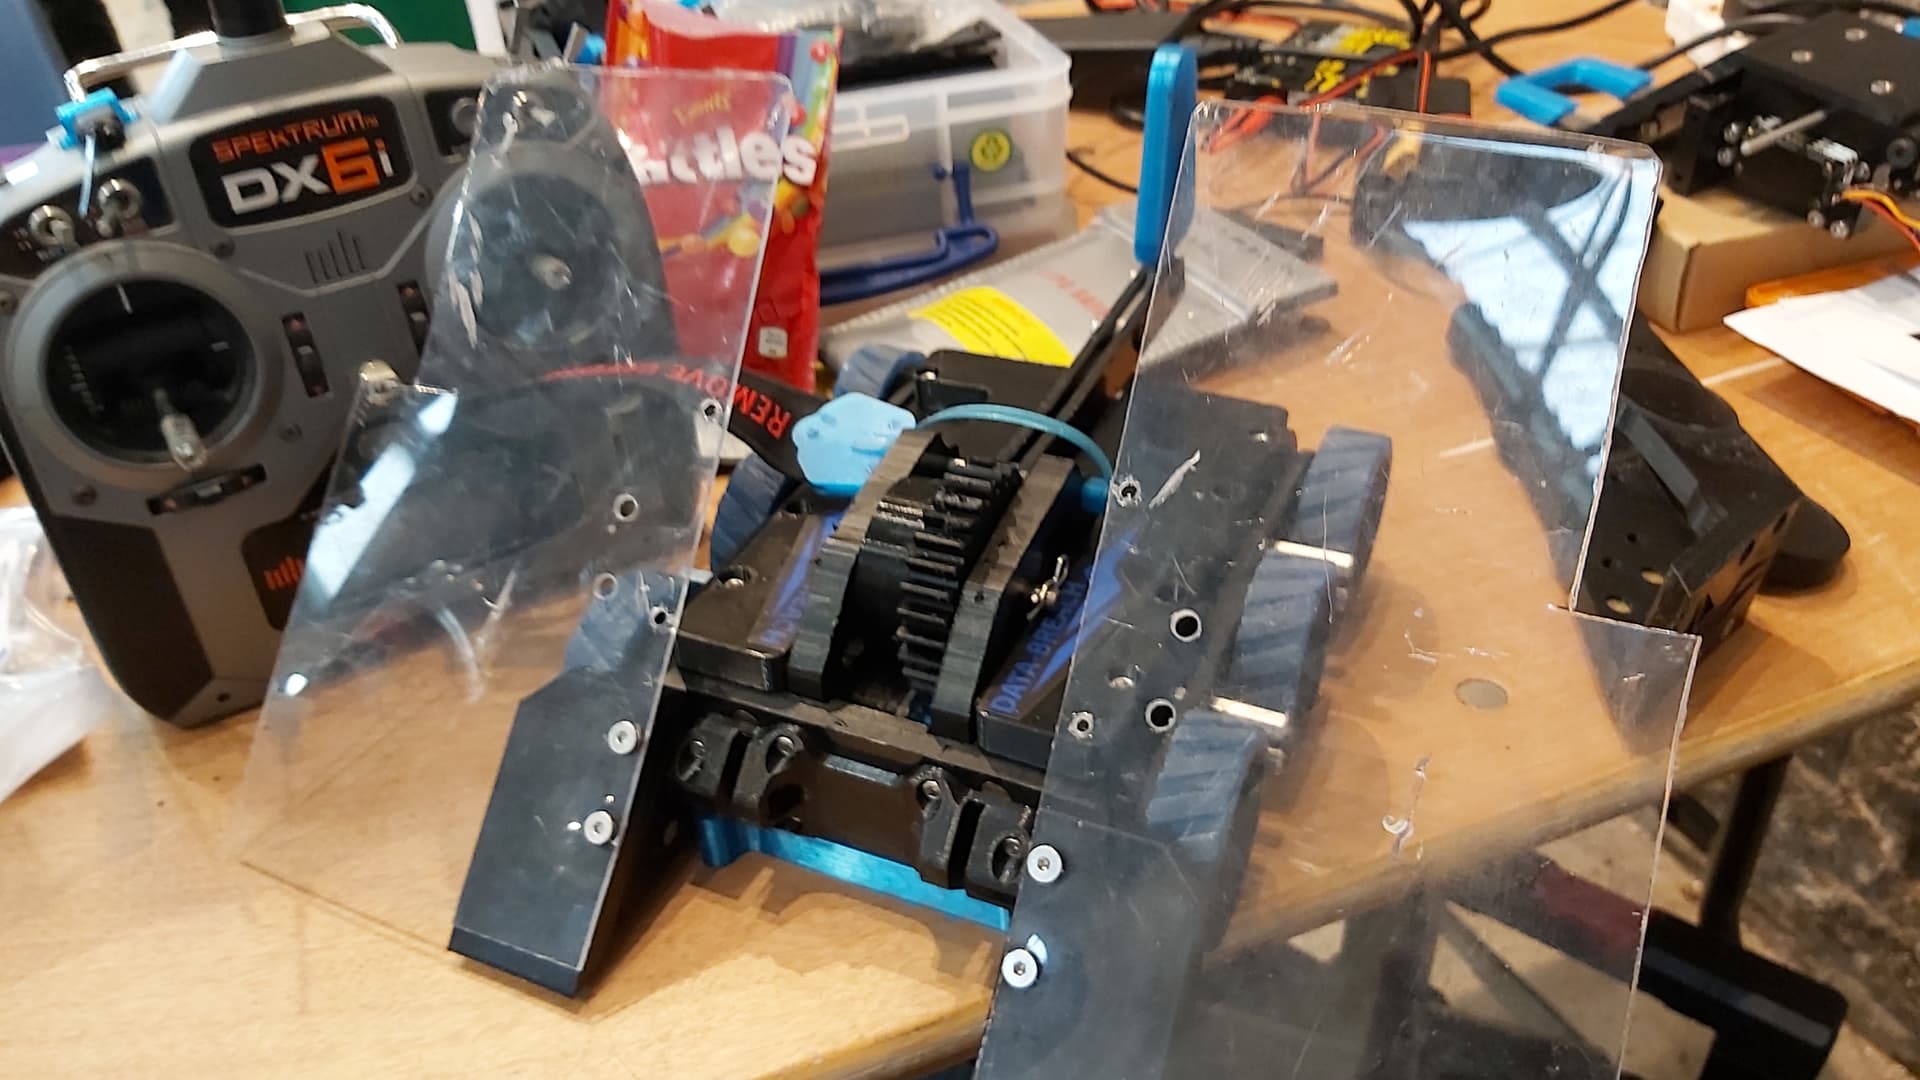
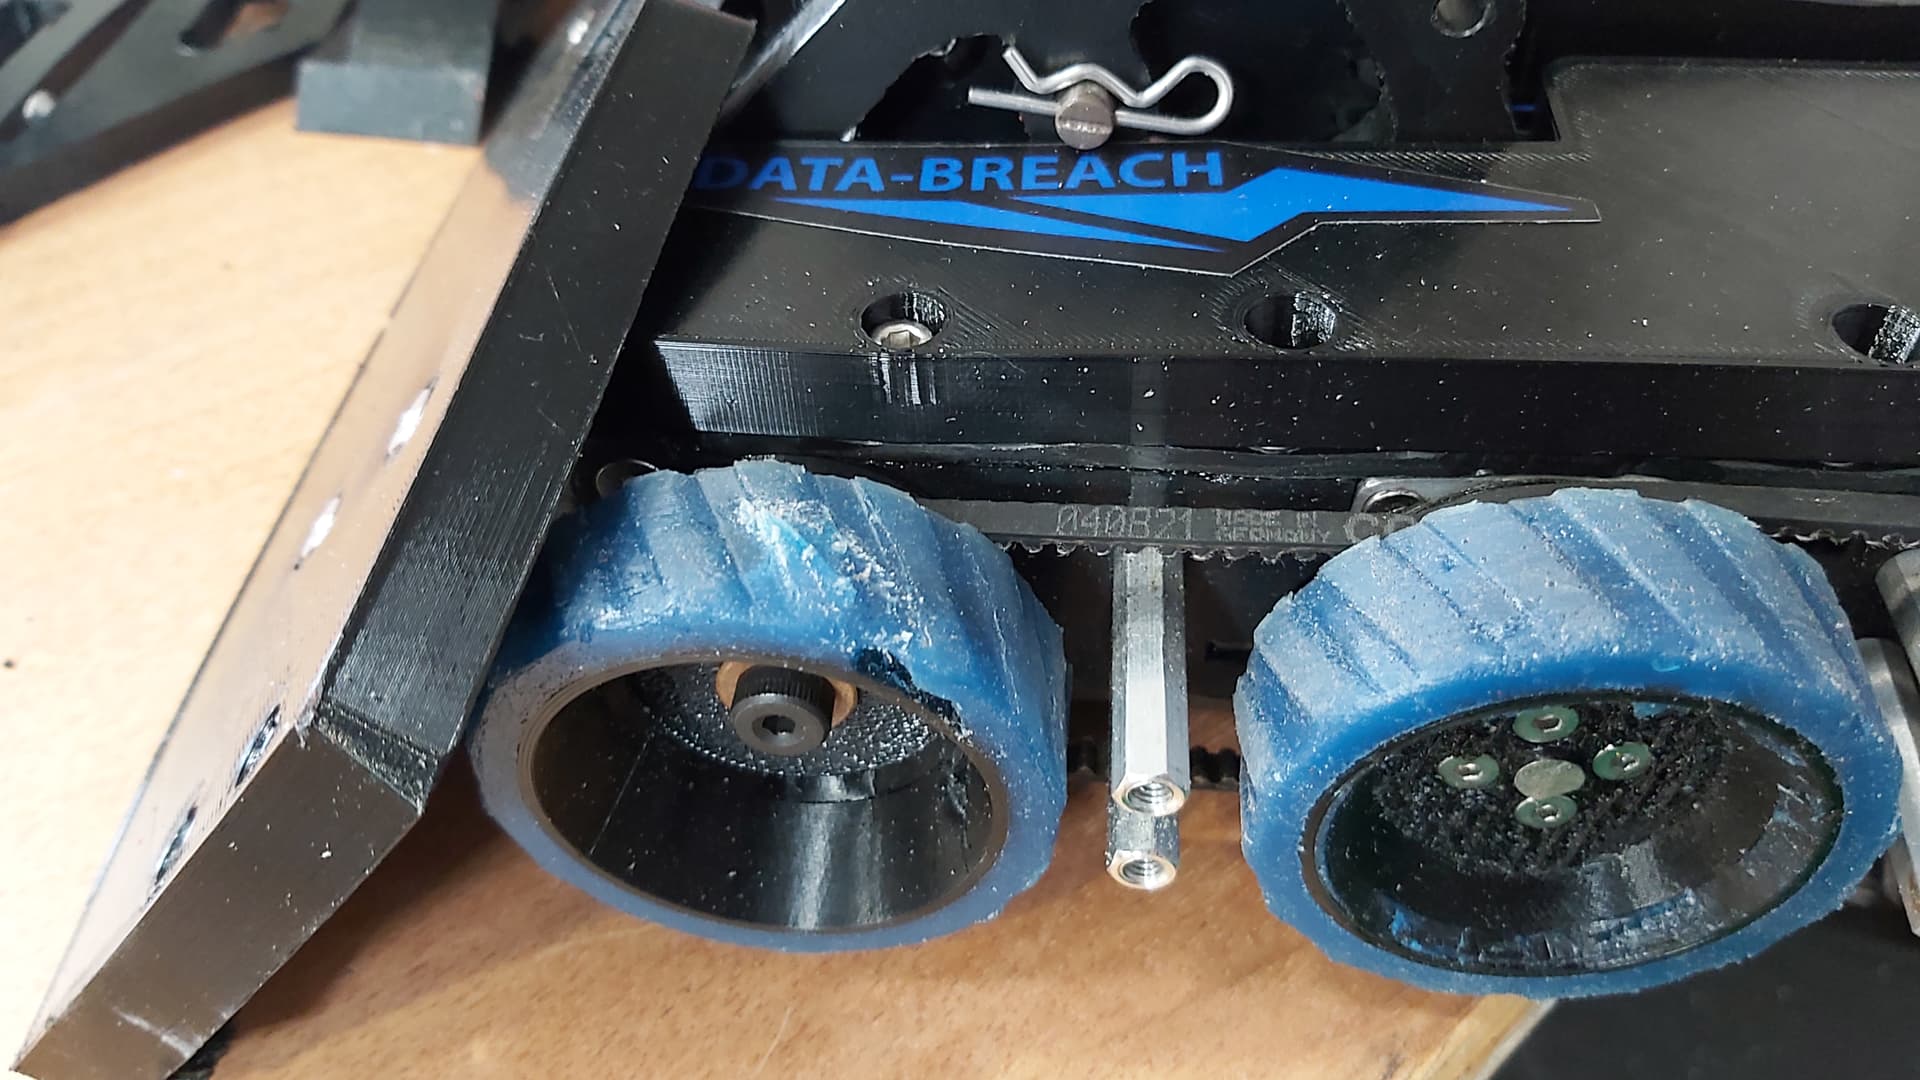
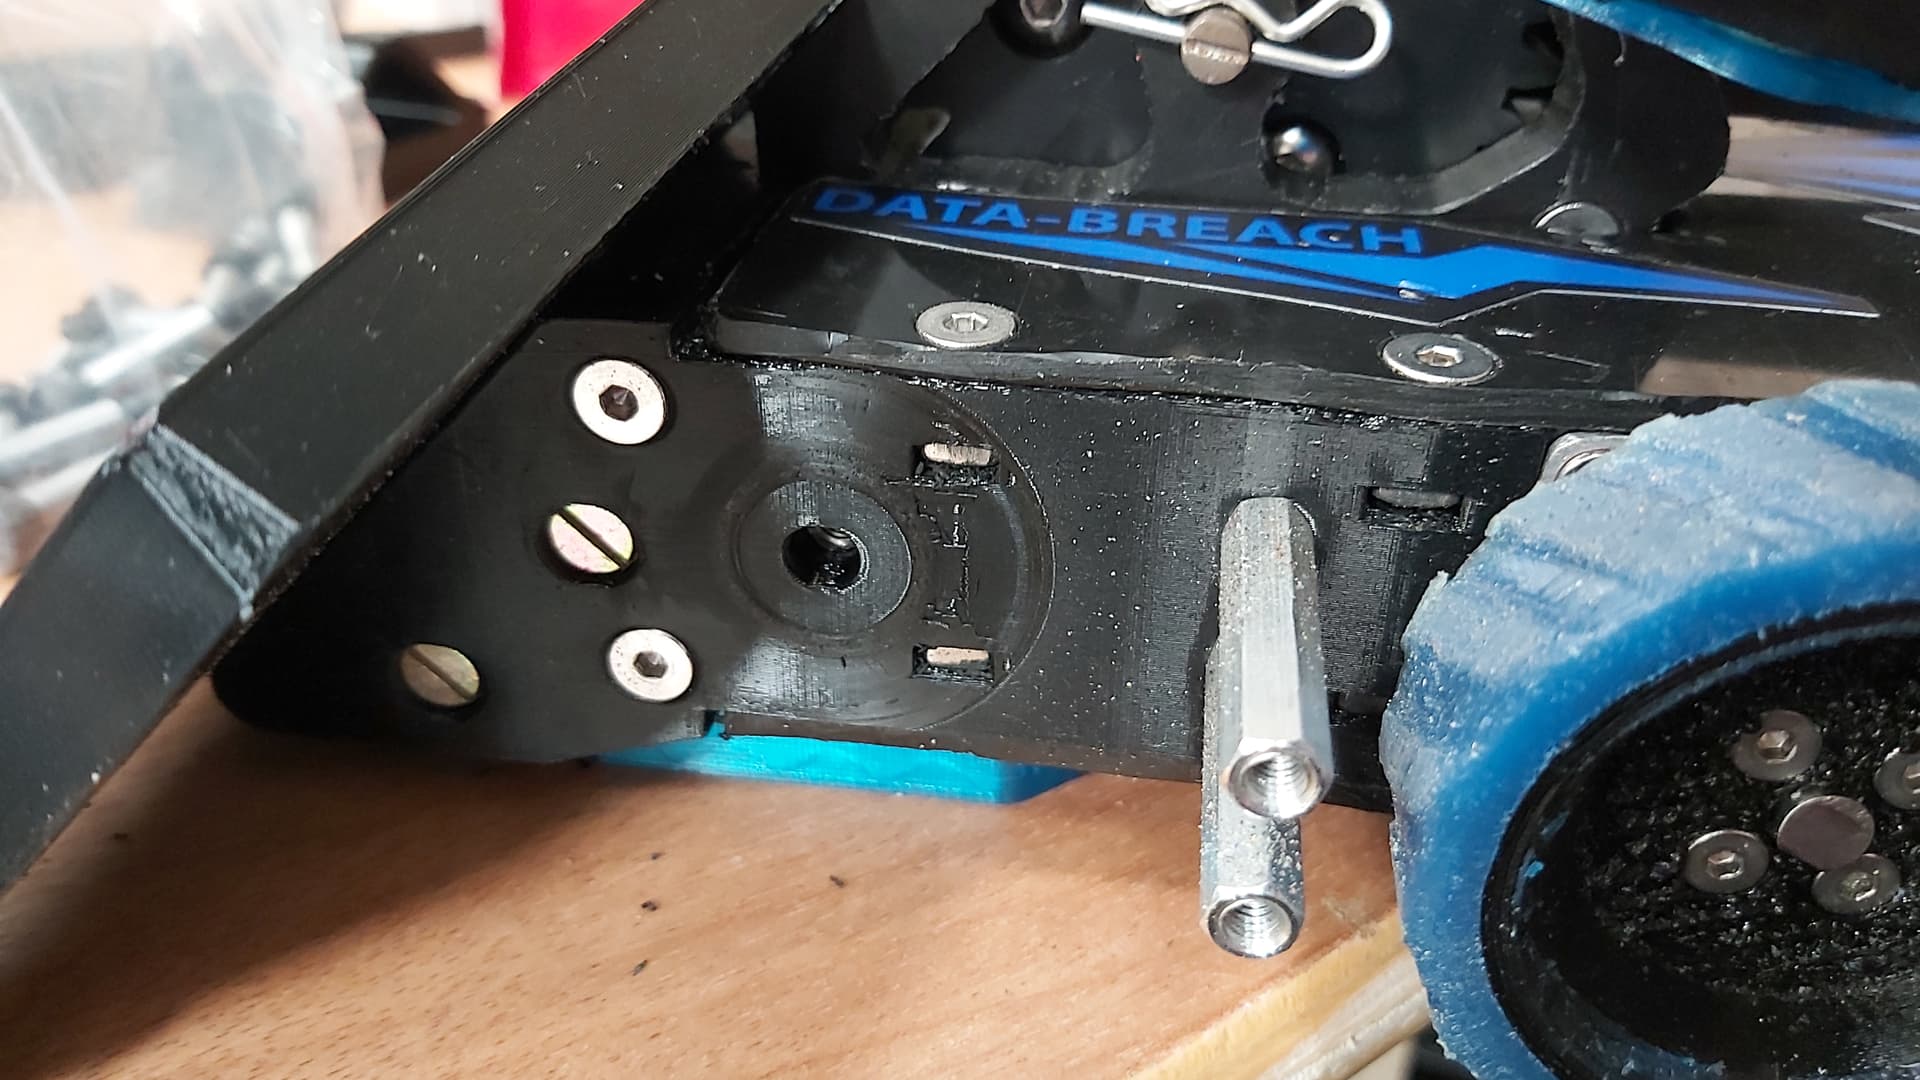
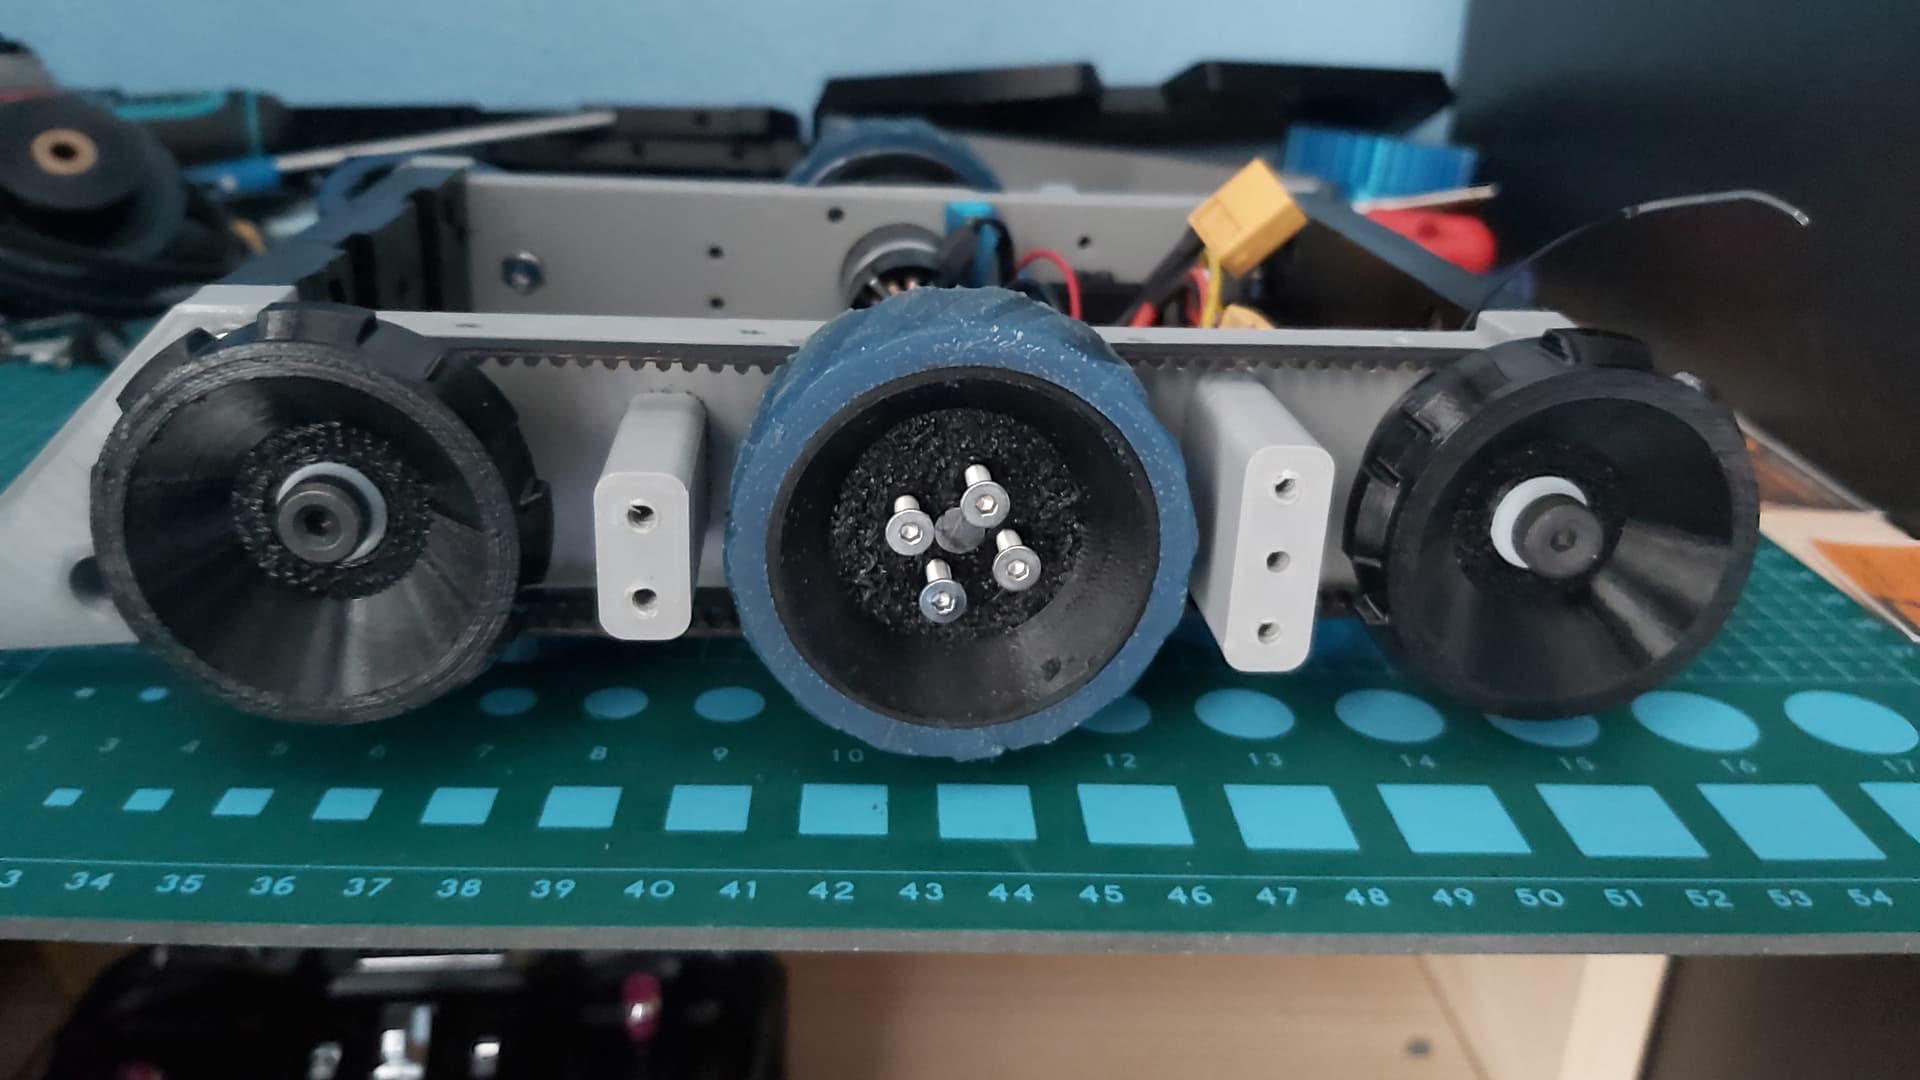
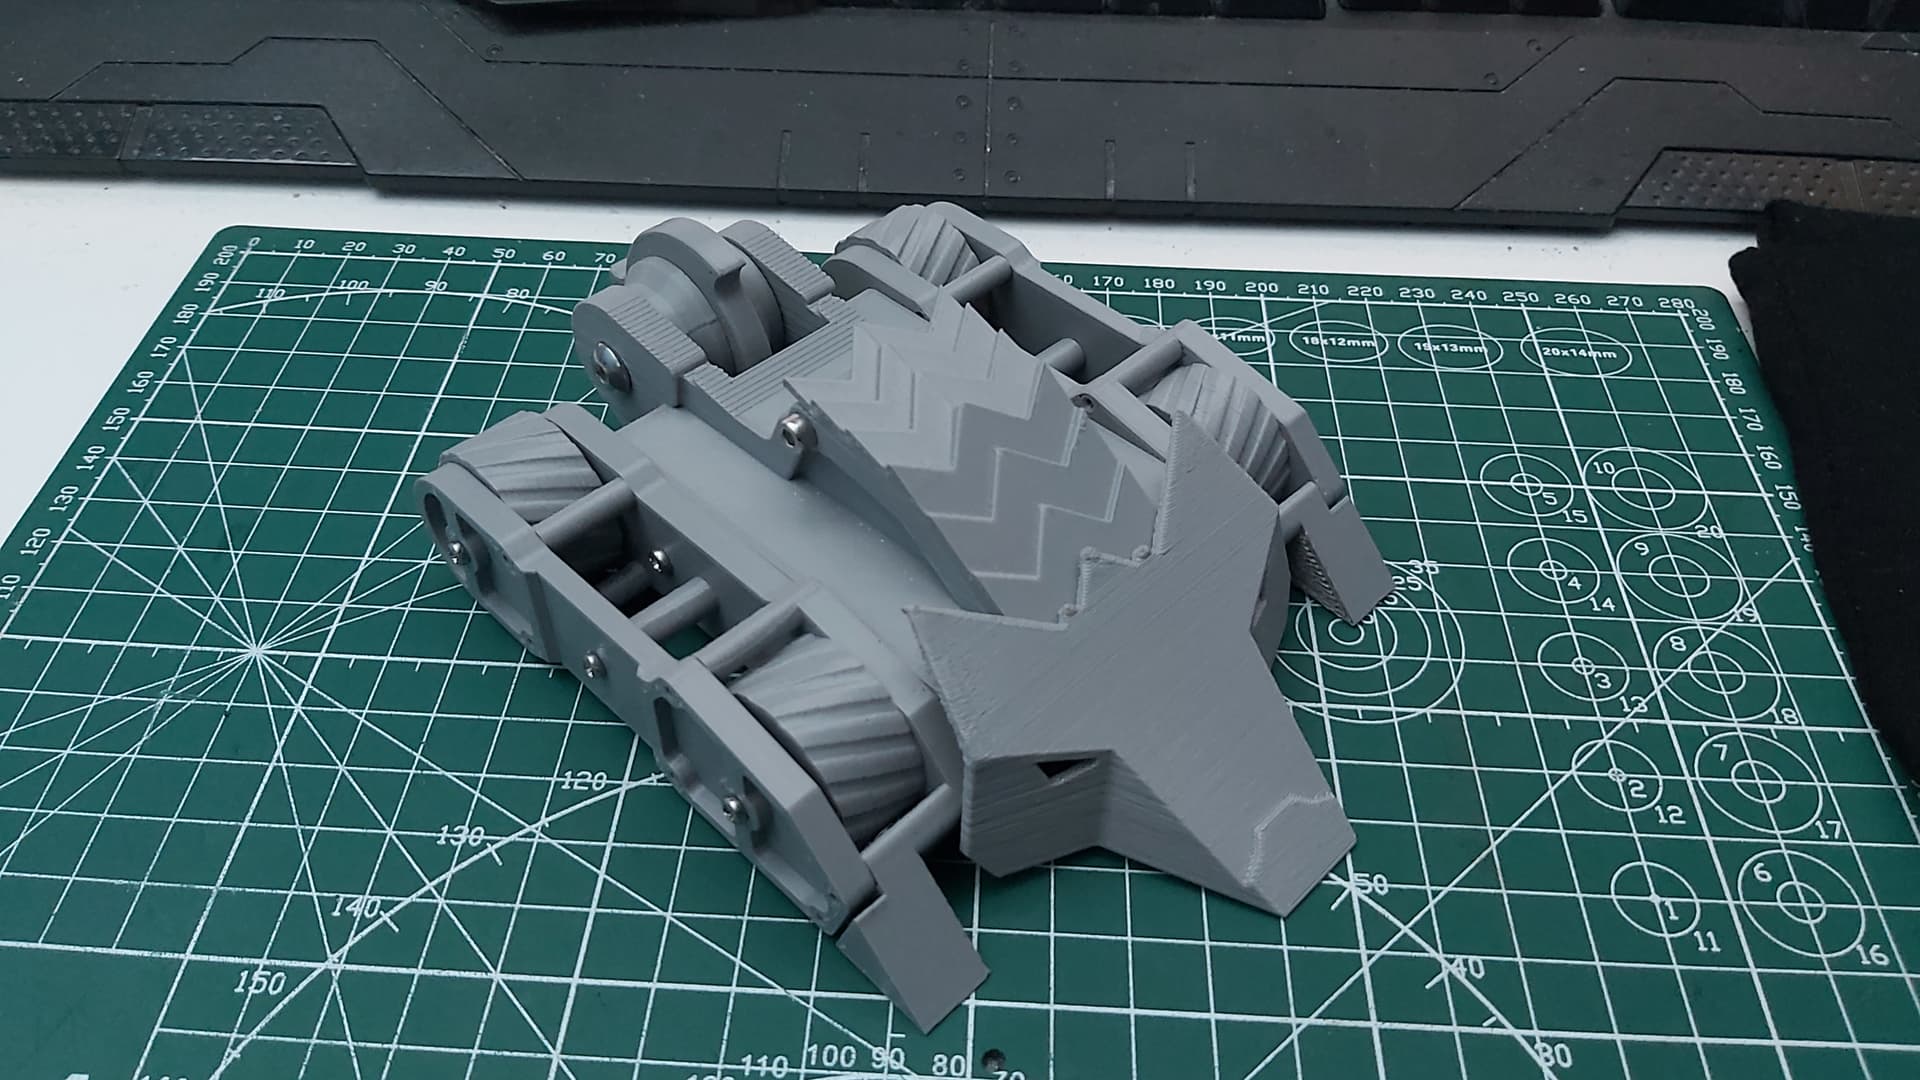
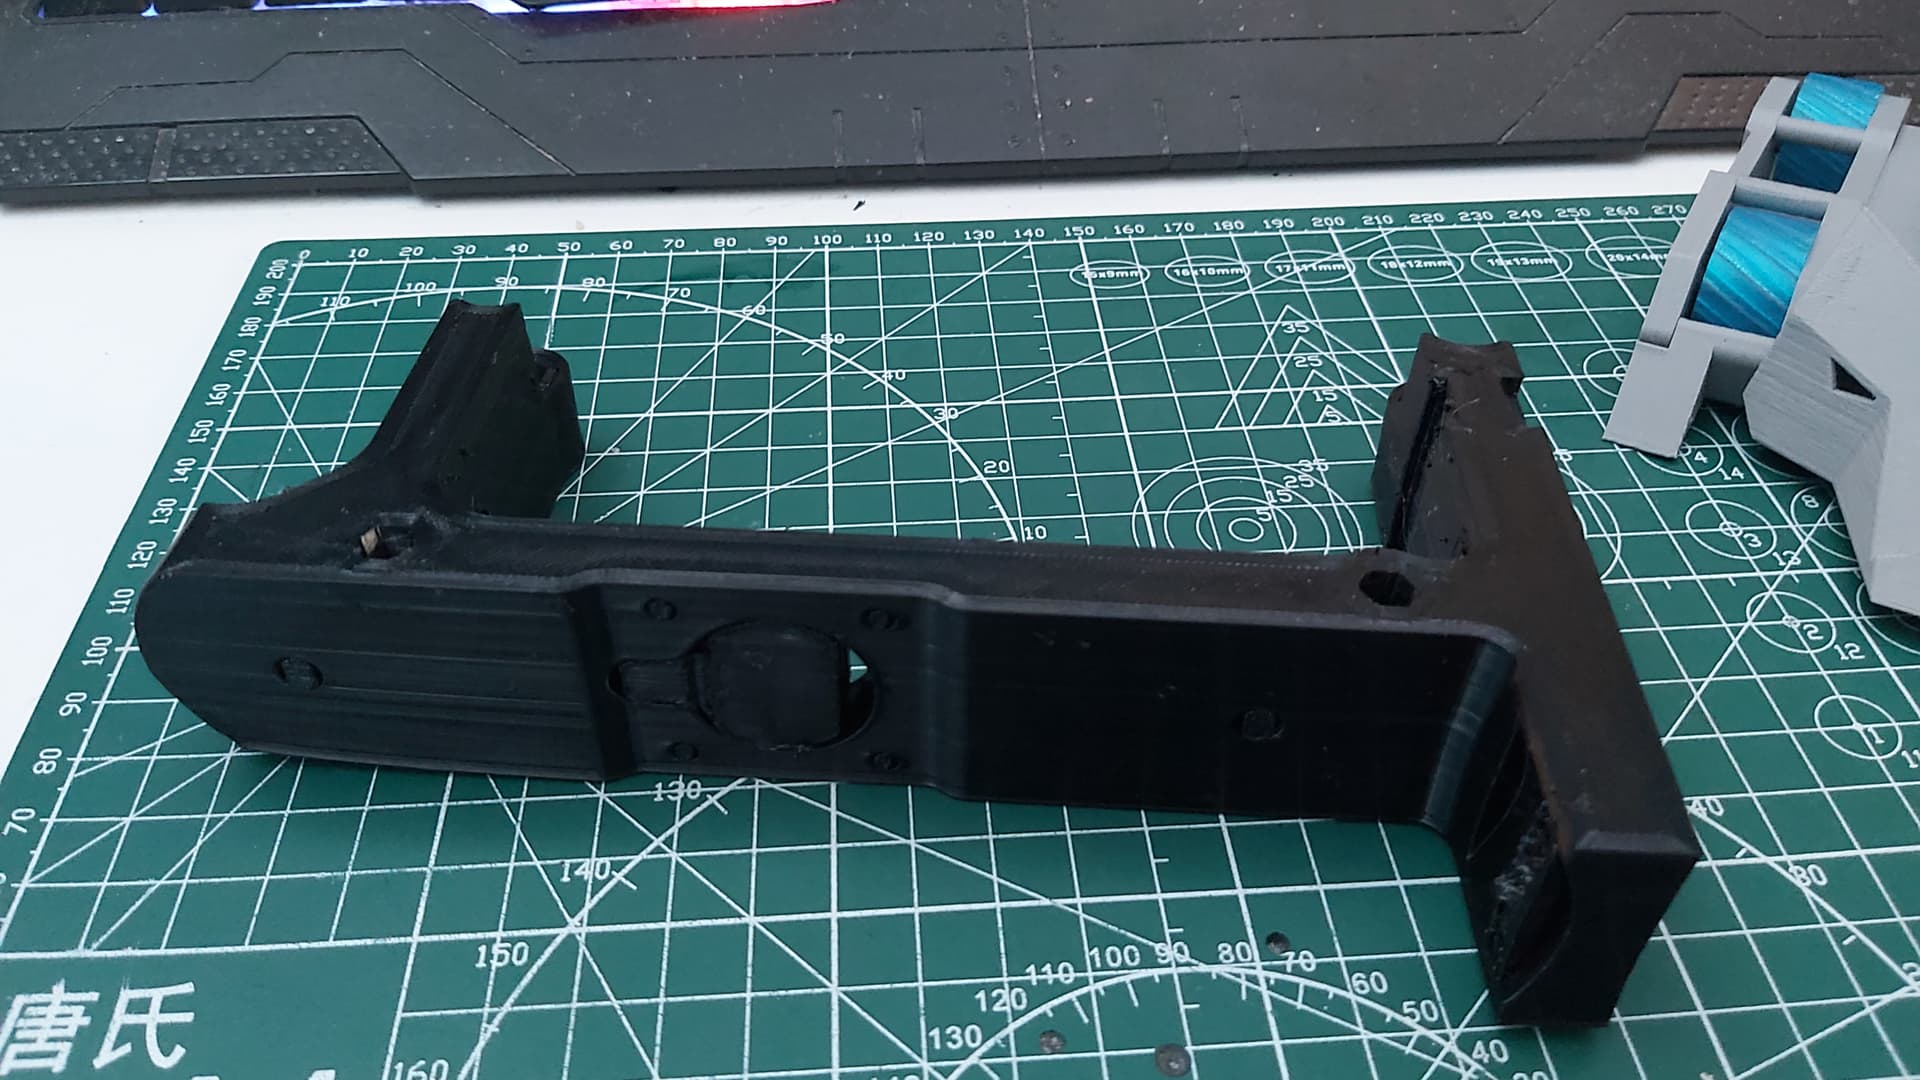
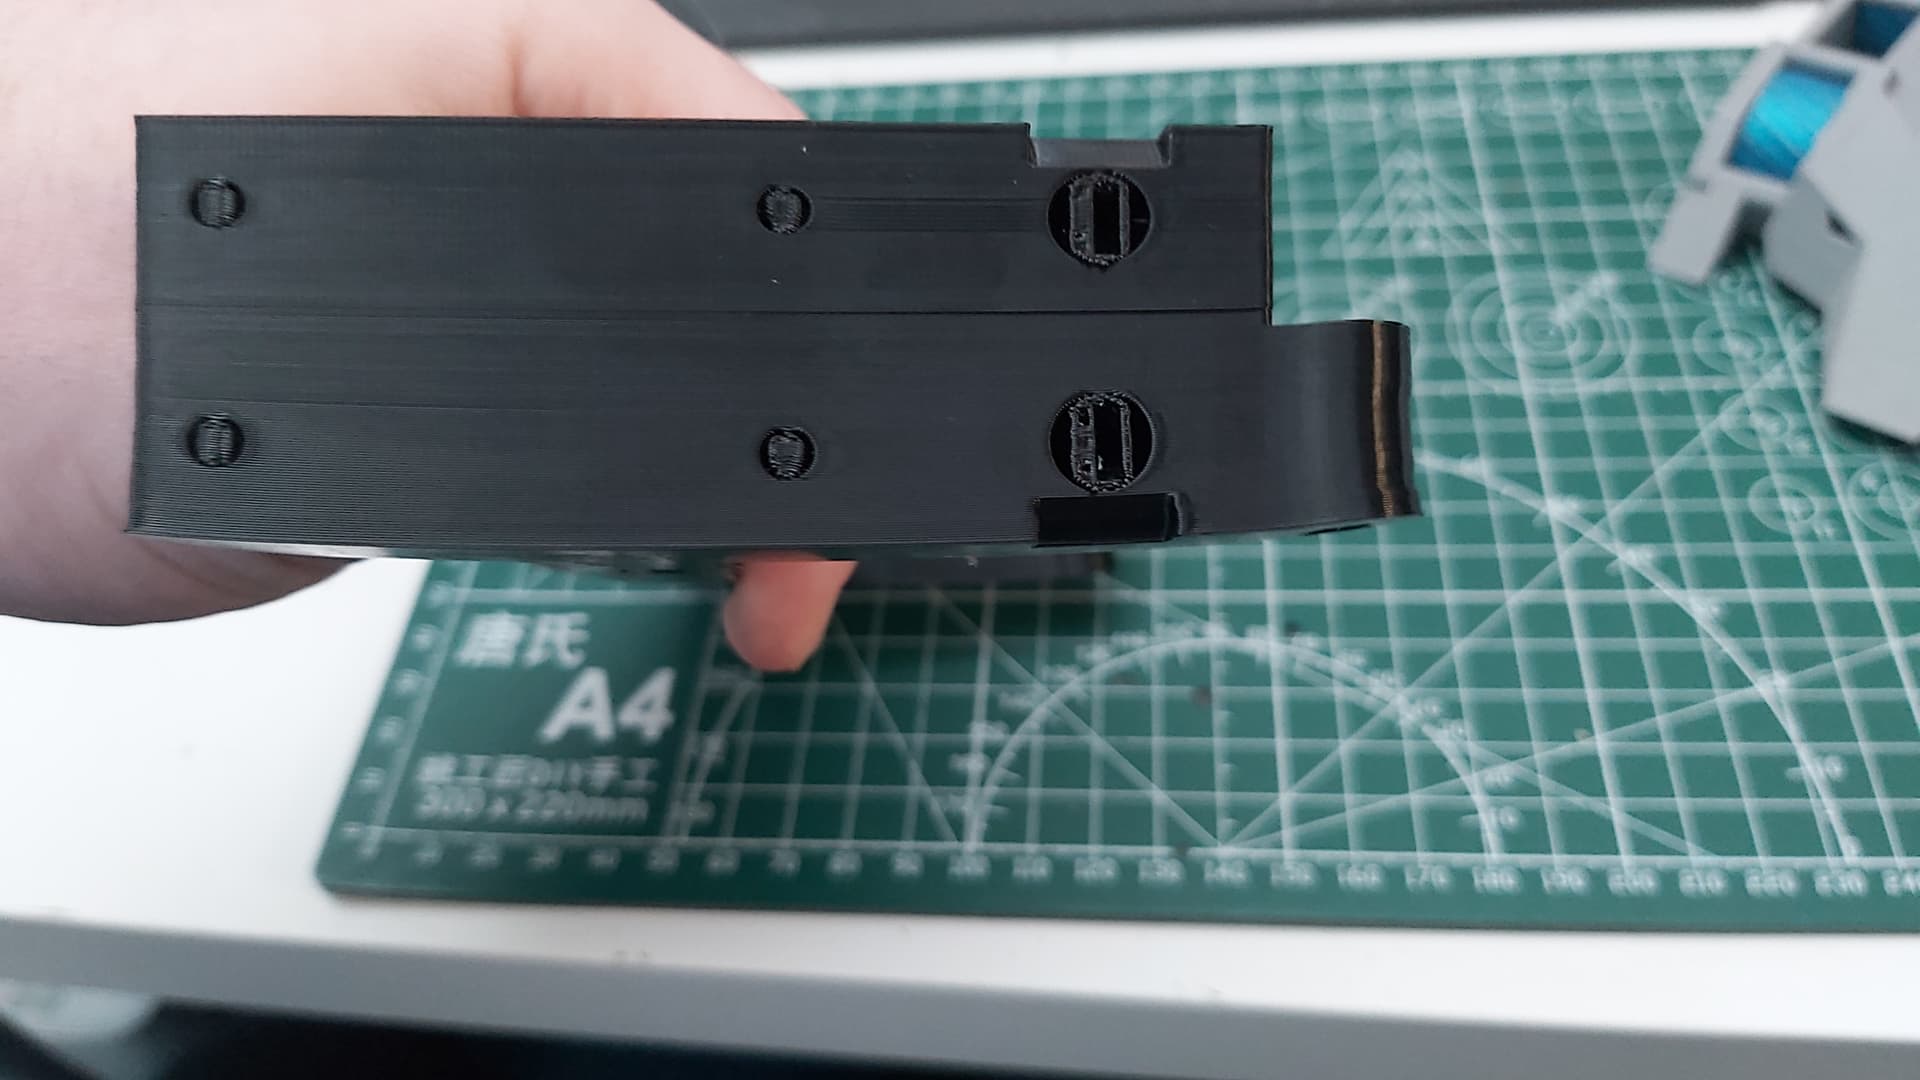
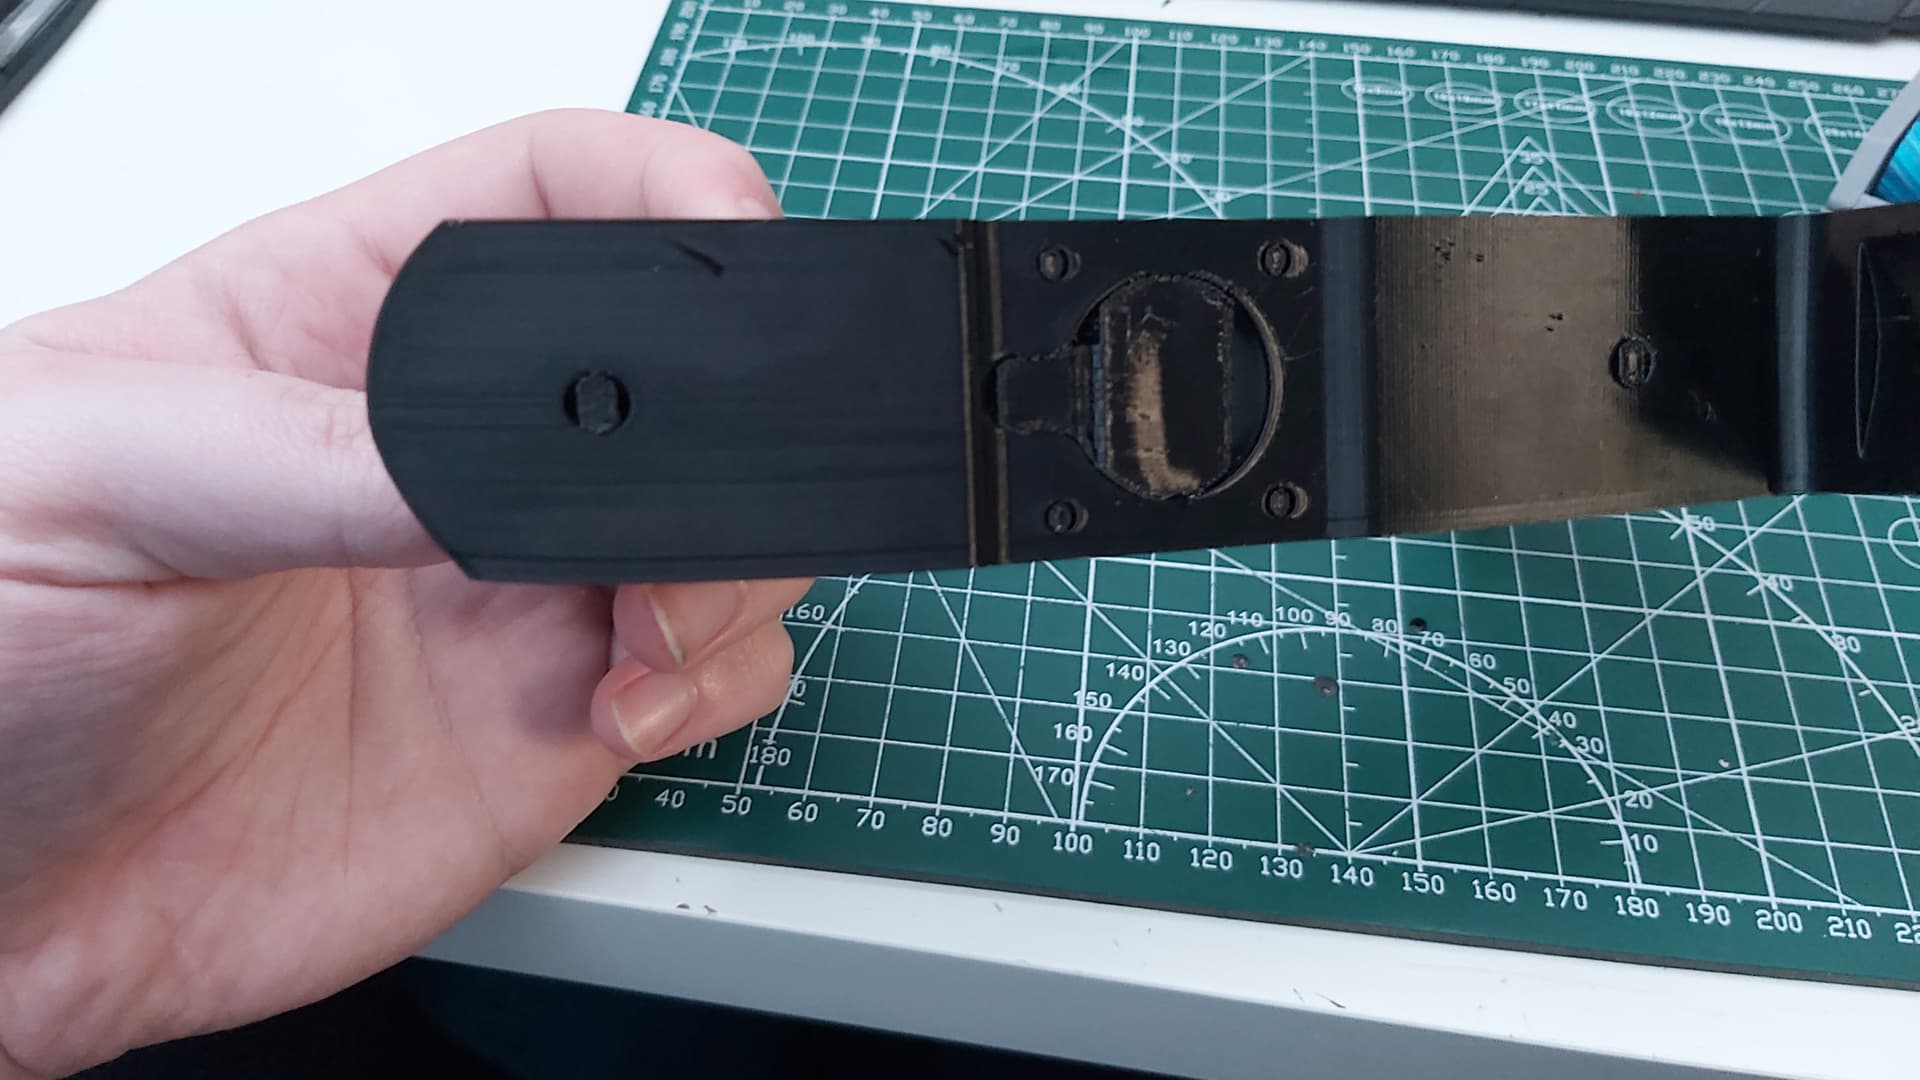
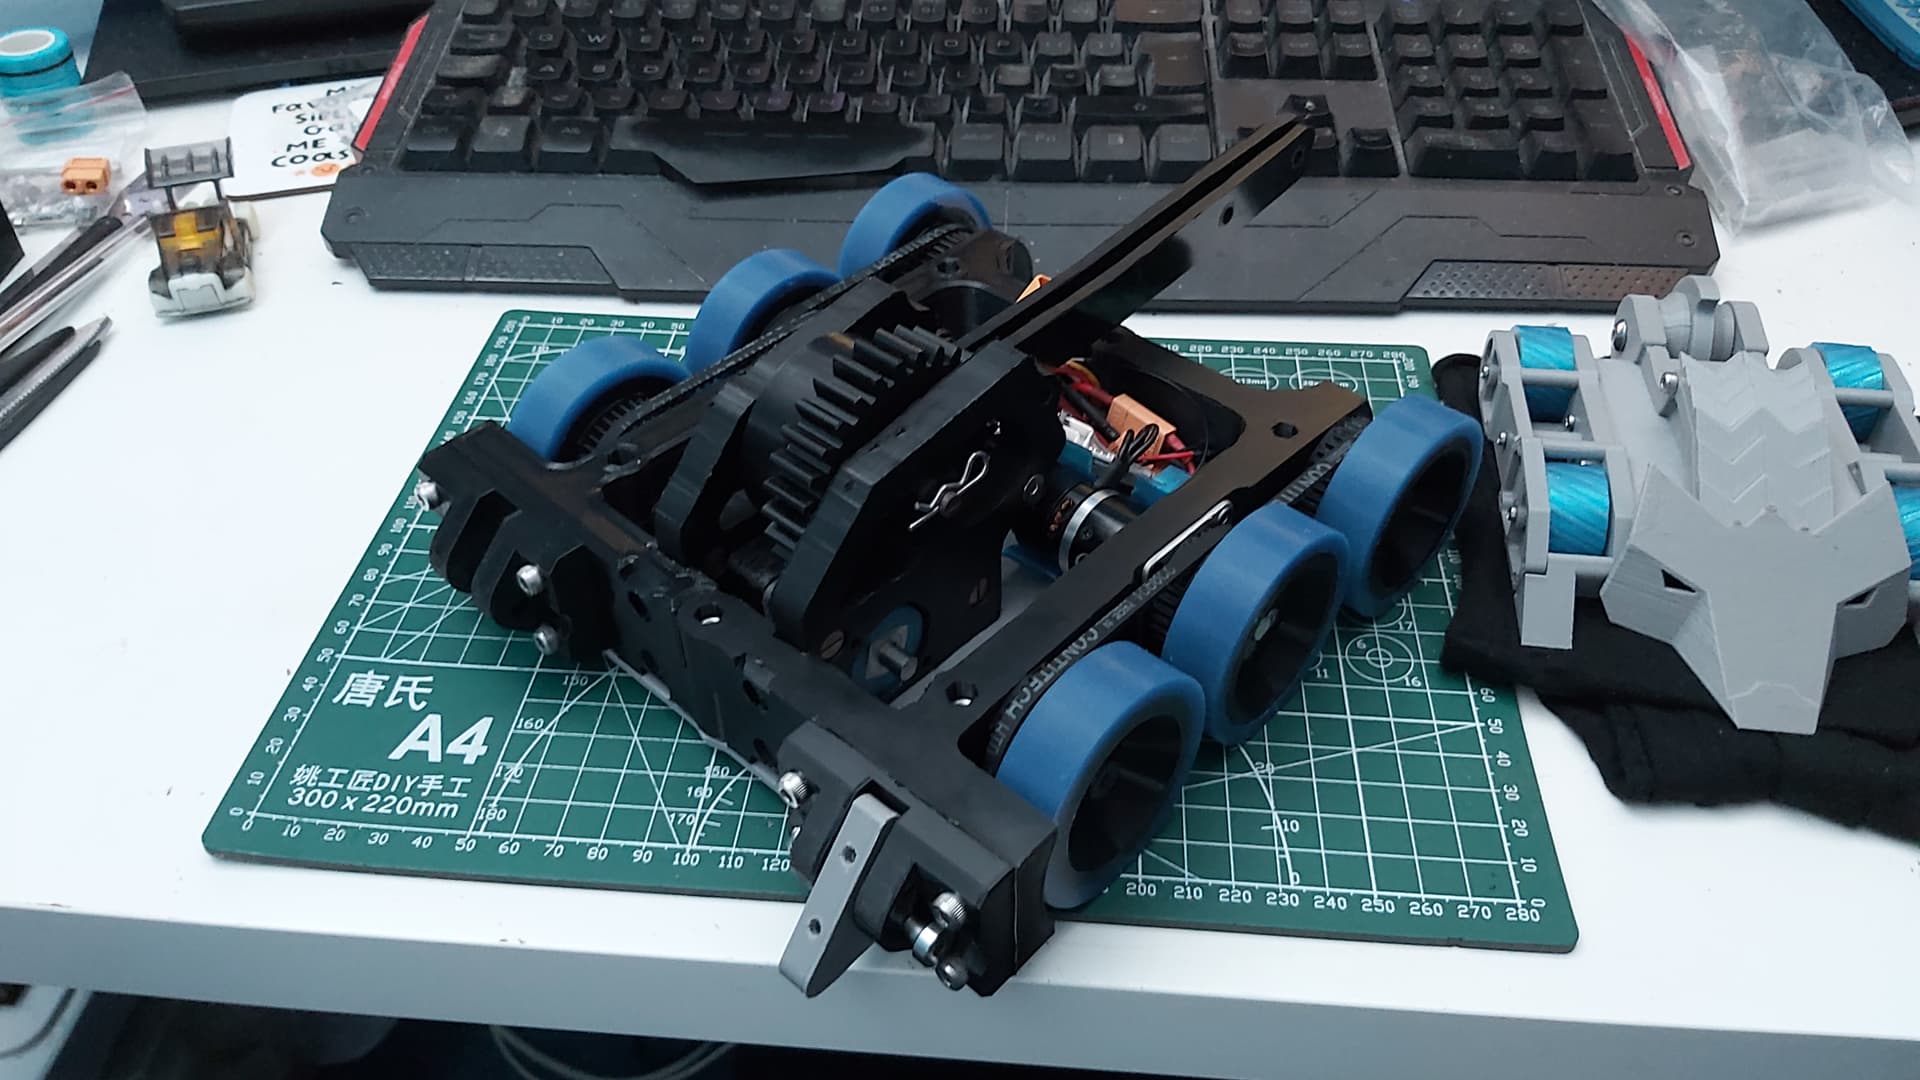
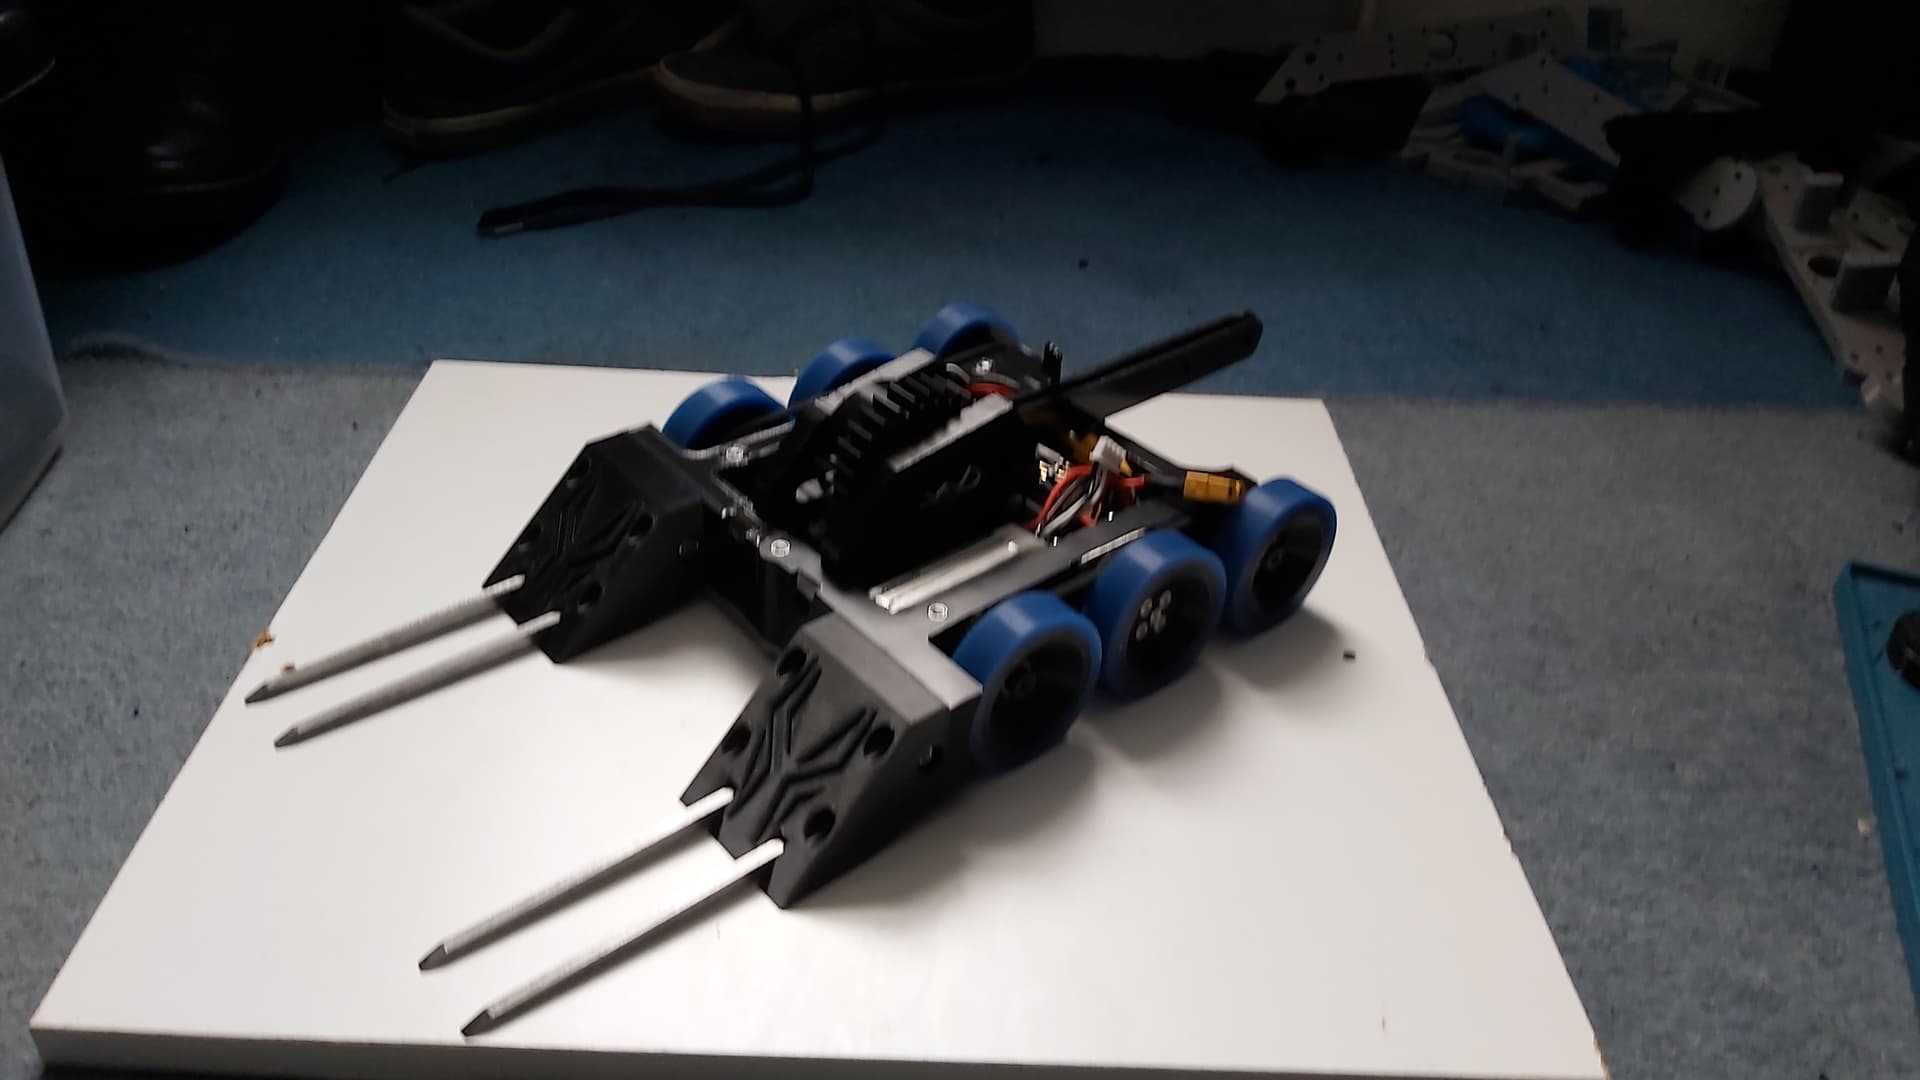
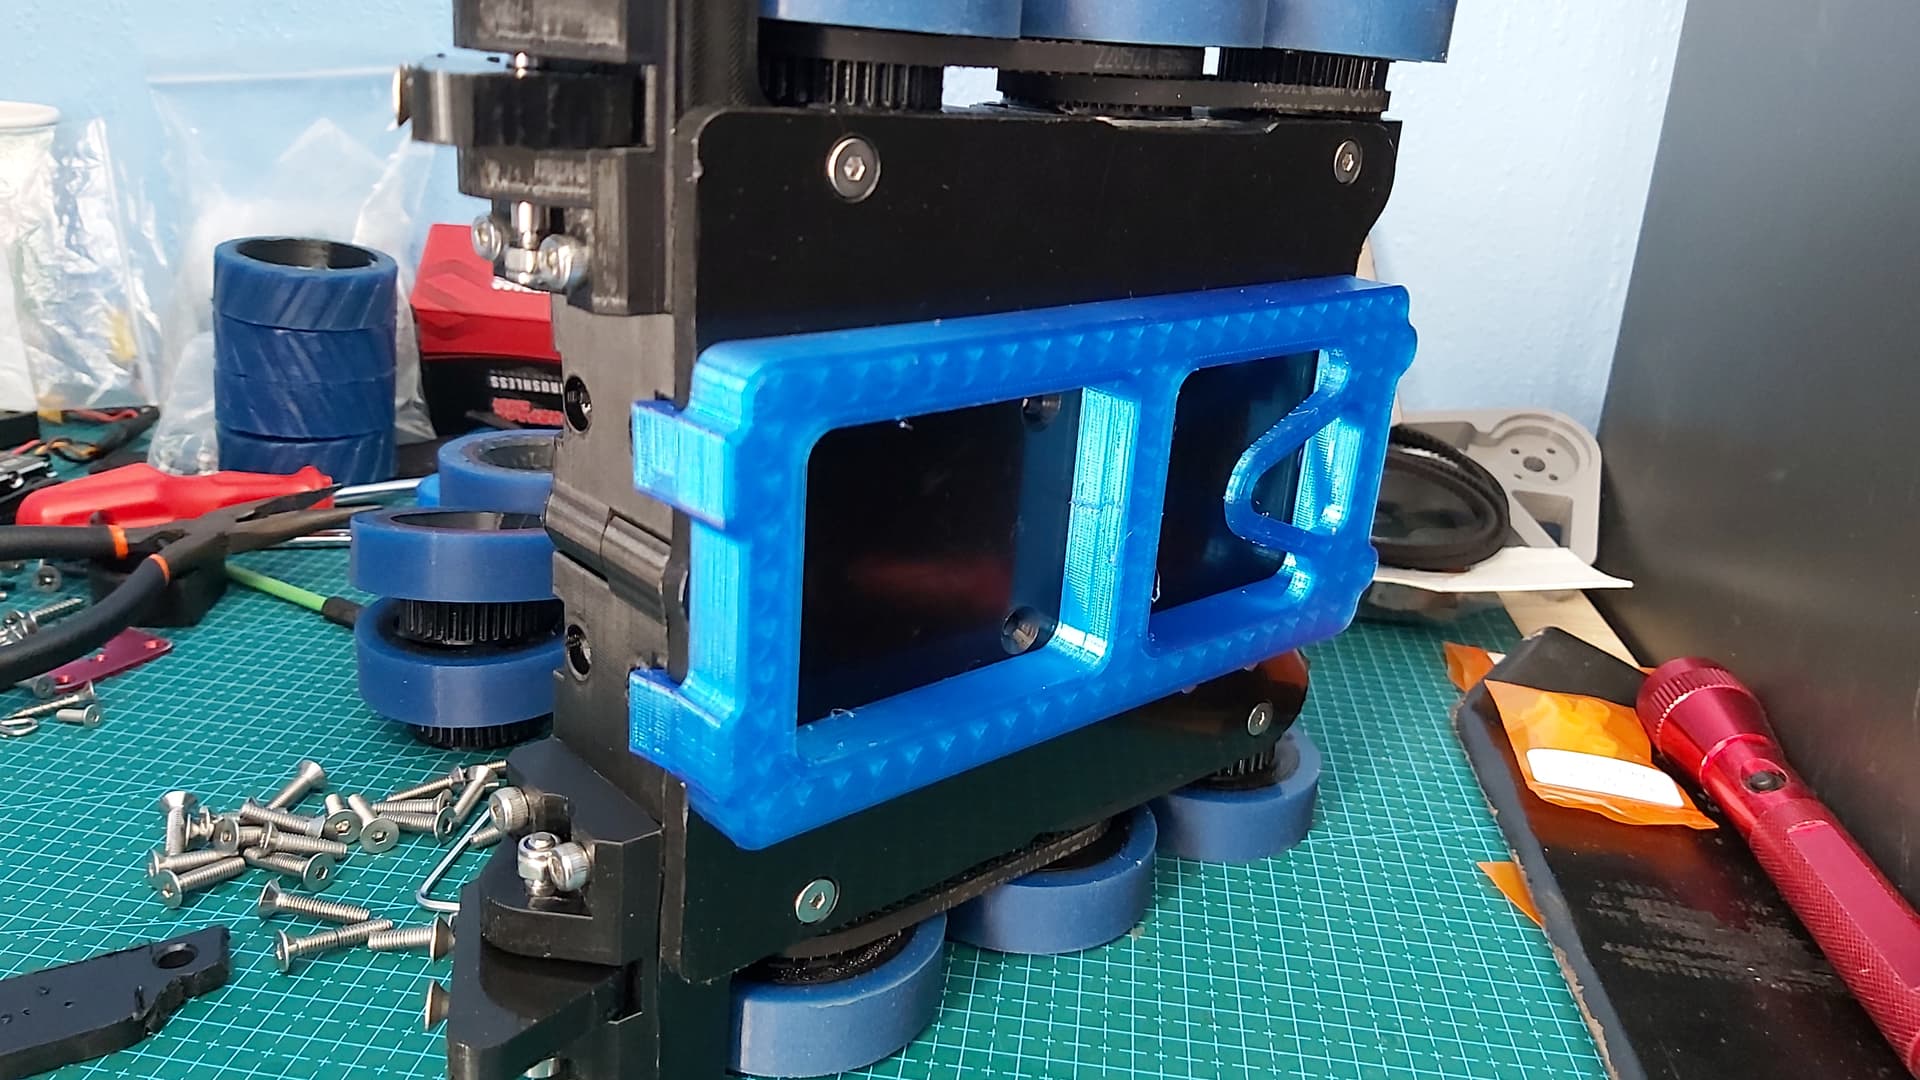
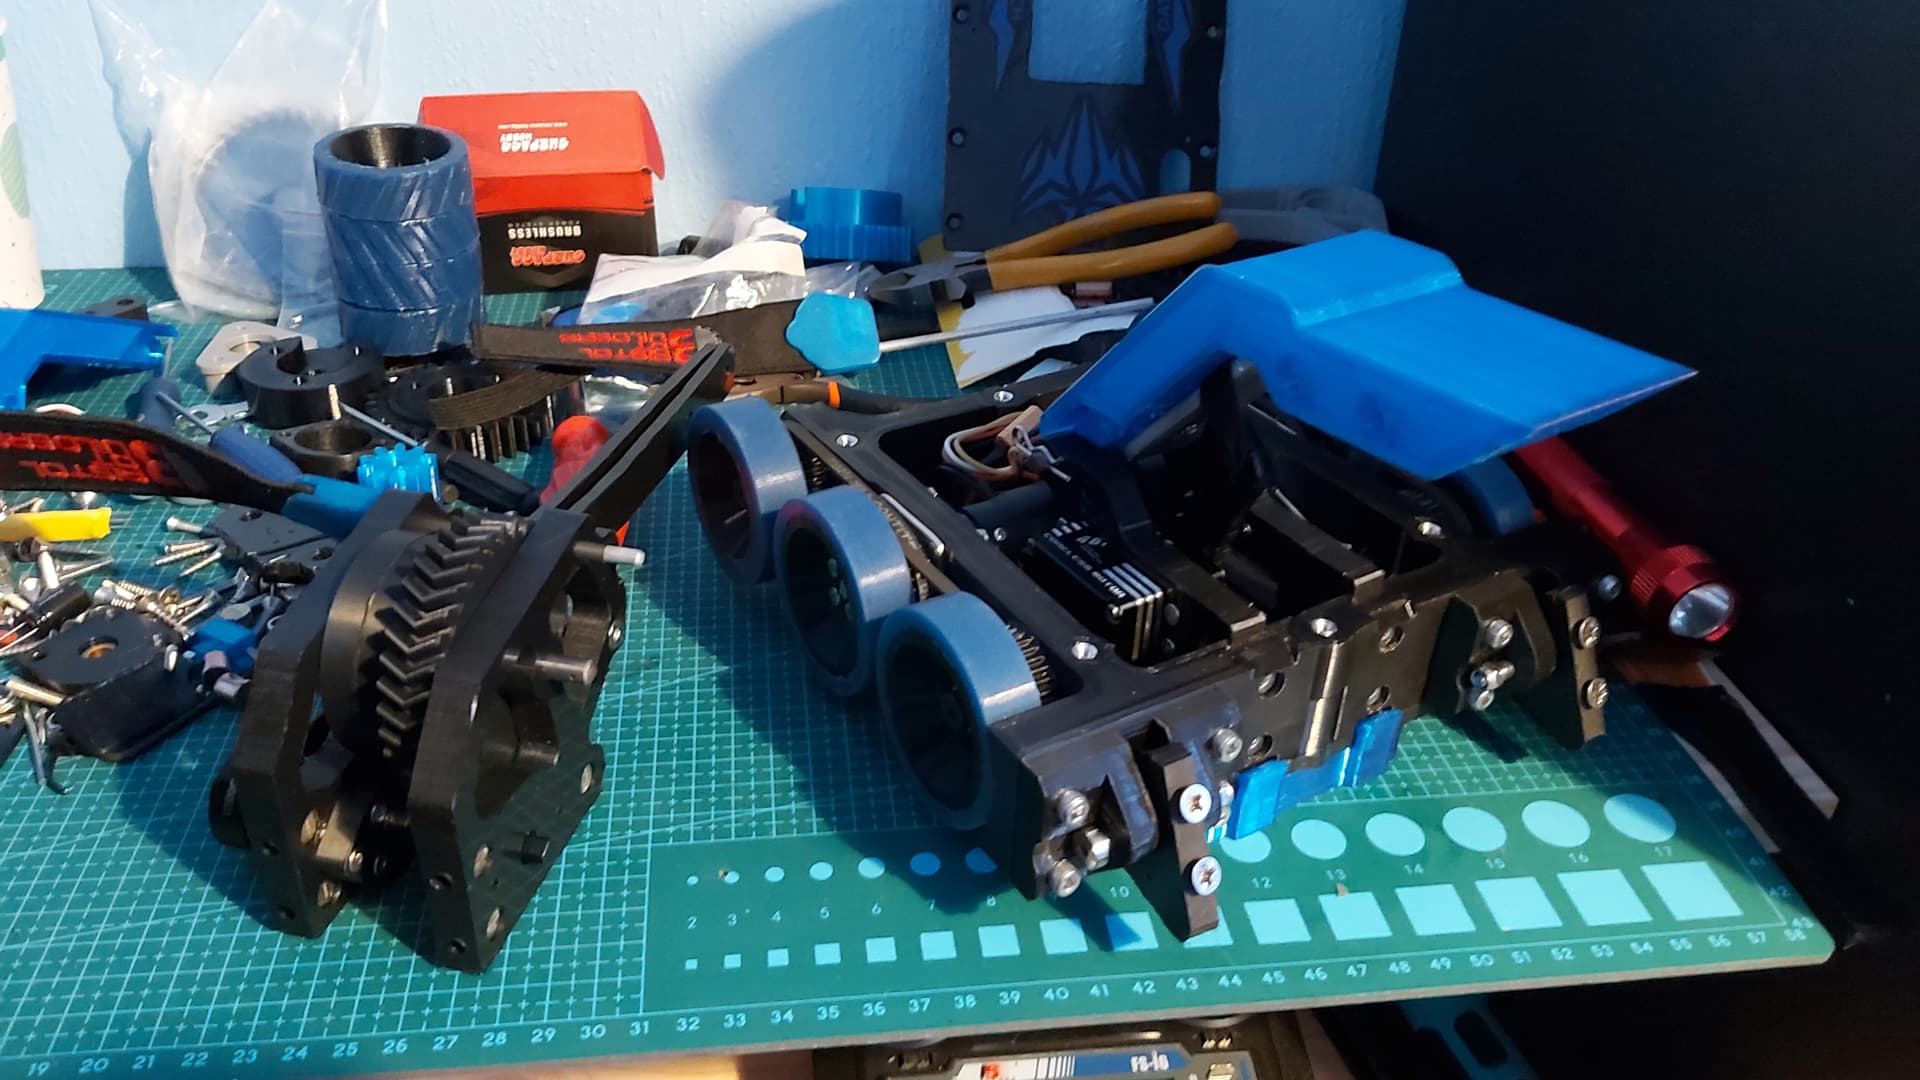
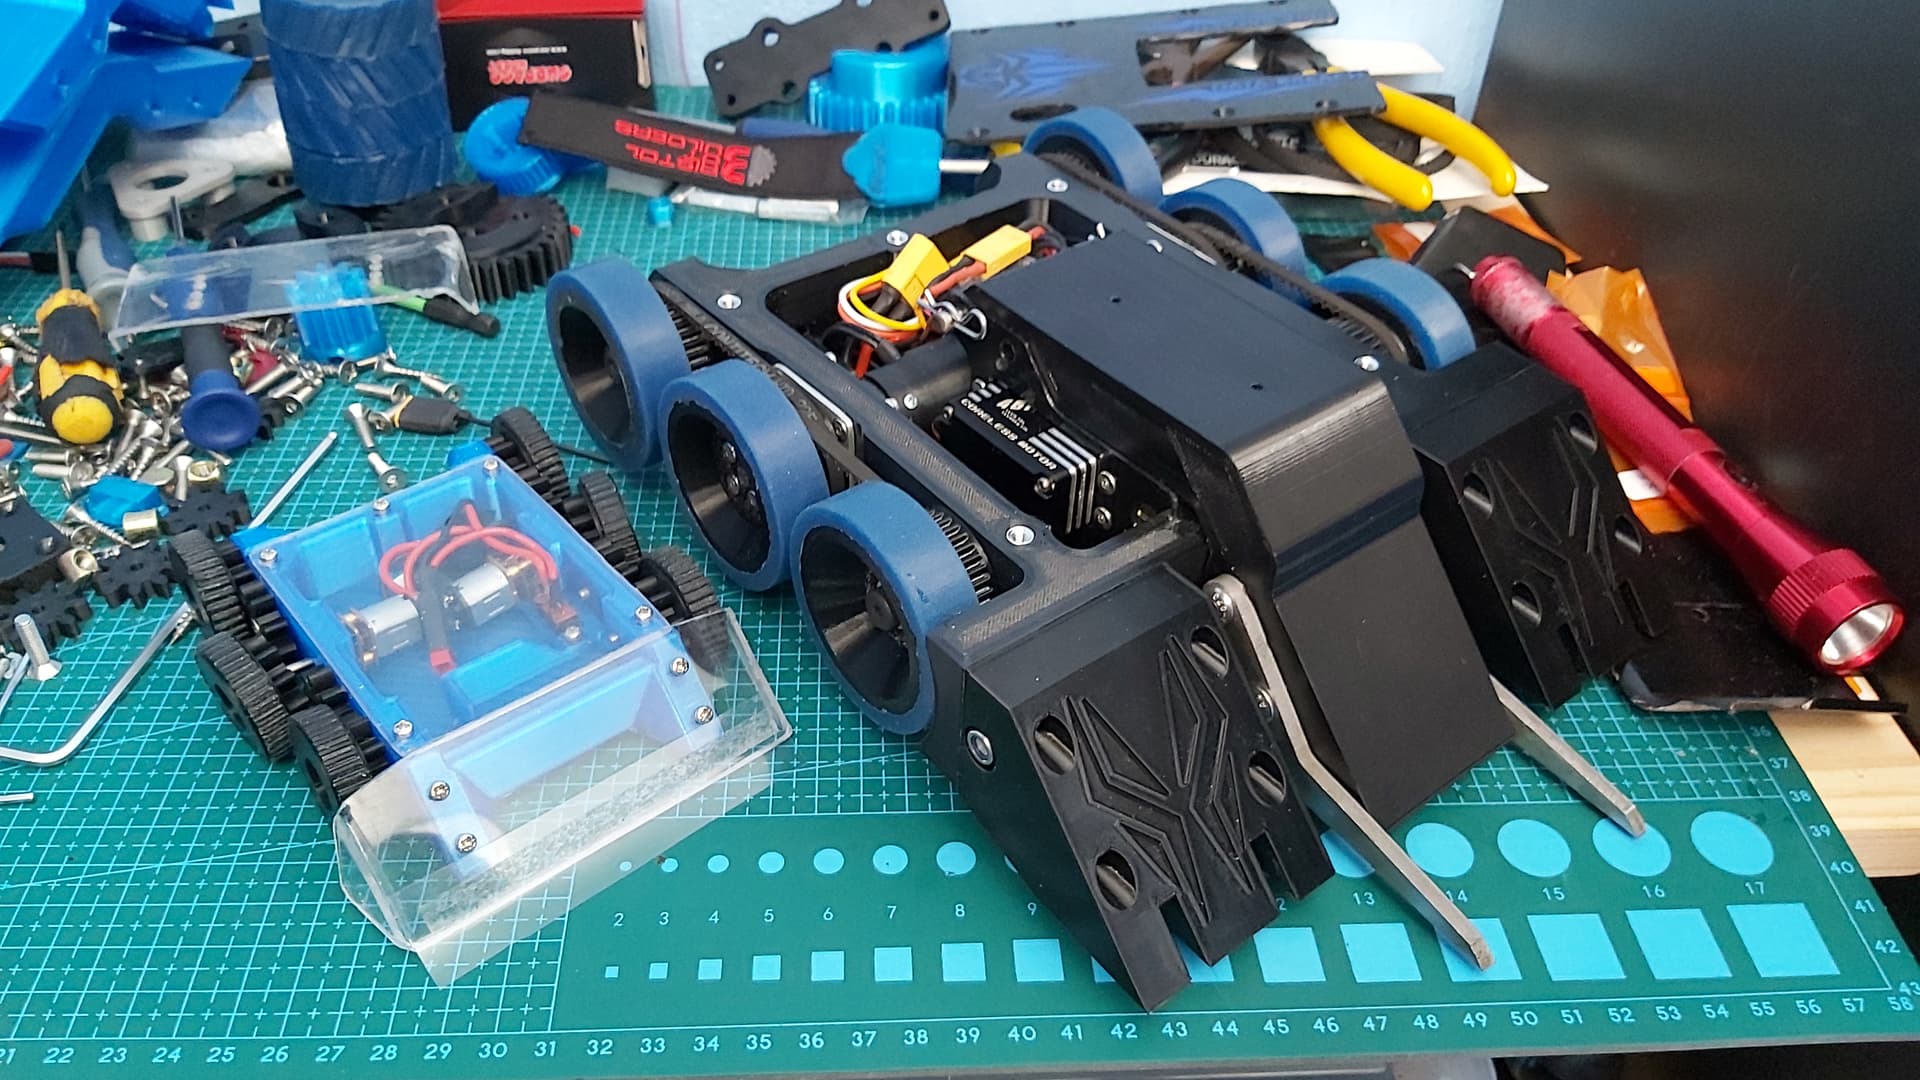
With that looming worry I reconfigured DB to run the standard Axe setup for Aggro Wobba which sadly brought its issues. The TPU chassis and side panels squish and flex a lot and annoyingly had started to squish into the wheels meaning the wheels were dealing with extra friction that hampered what should have been a good axe bot fight. DB lost by the judge’s decision. The inside of the sides had clear friction grooves from the wheels And my top had some nice marks from Aggro Wobba’s axe (no idea if I left any on Aggro Wobba’s top.)

With two losses I was standing at 3 points on the board. I was now fighting for the 2nd place spot in the heat to have any hope of maybe progressing past the heats. I needed a win and Cormoran was in my way. I removed the sides and fitted the polycarb panels from my anti-big wheel setup which proved effective and I must say this was the most fun fight. With almost an oota and pitting to boot. Cormoran couldn’t reach DB with their saw but my axe had the reach which was handy for attacks.
As I attempted to ram Cormoran into oota zone we became entangled and we had the be freed. On the restart, I once again went on the attack and narrowly recovered from a drive cut out. But sadly both bots got entangled again when I attempted to pit Cormoran. This triggered a judge’s decision which DB won but at a heartbreaking price. DB needed a K.O. win to have enough points to earn 2nd place in the heat and a place in a 2nd place rumble for the remaining top 16 places. Missing out by 1 point.

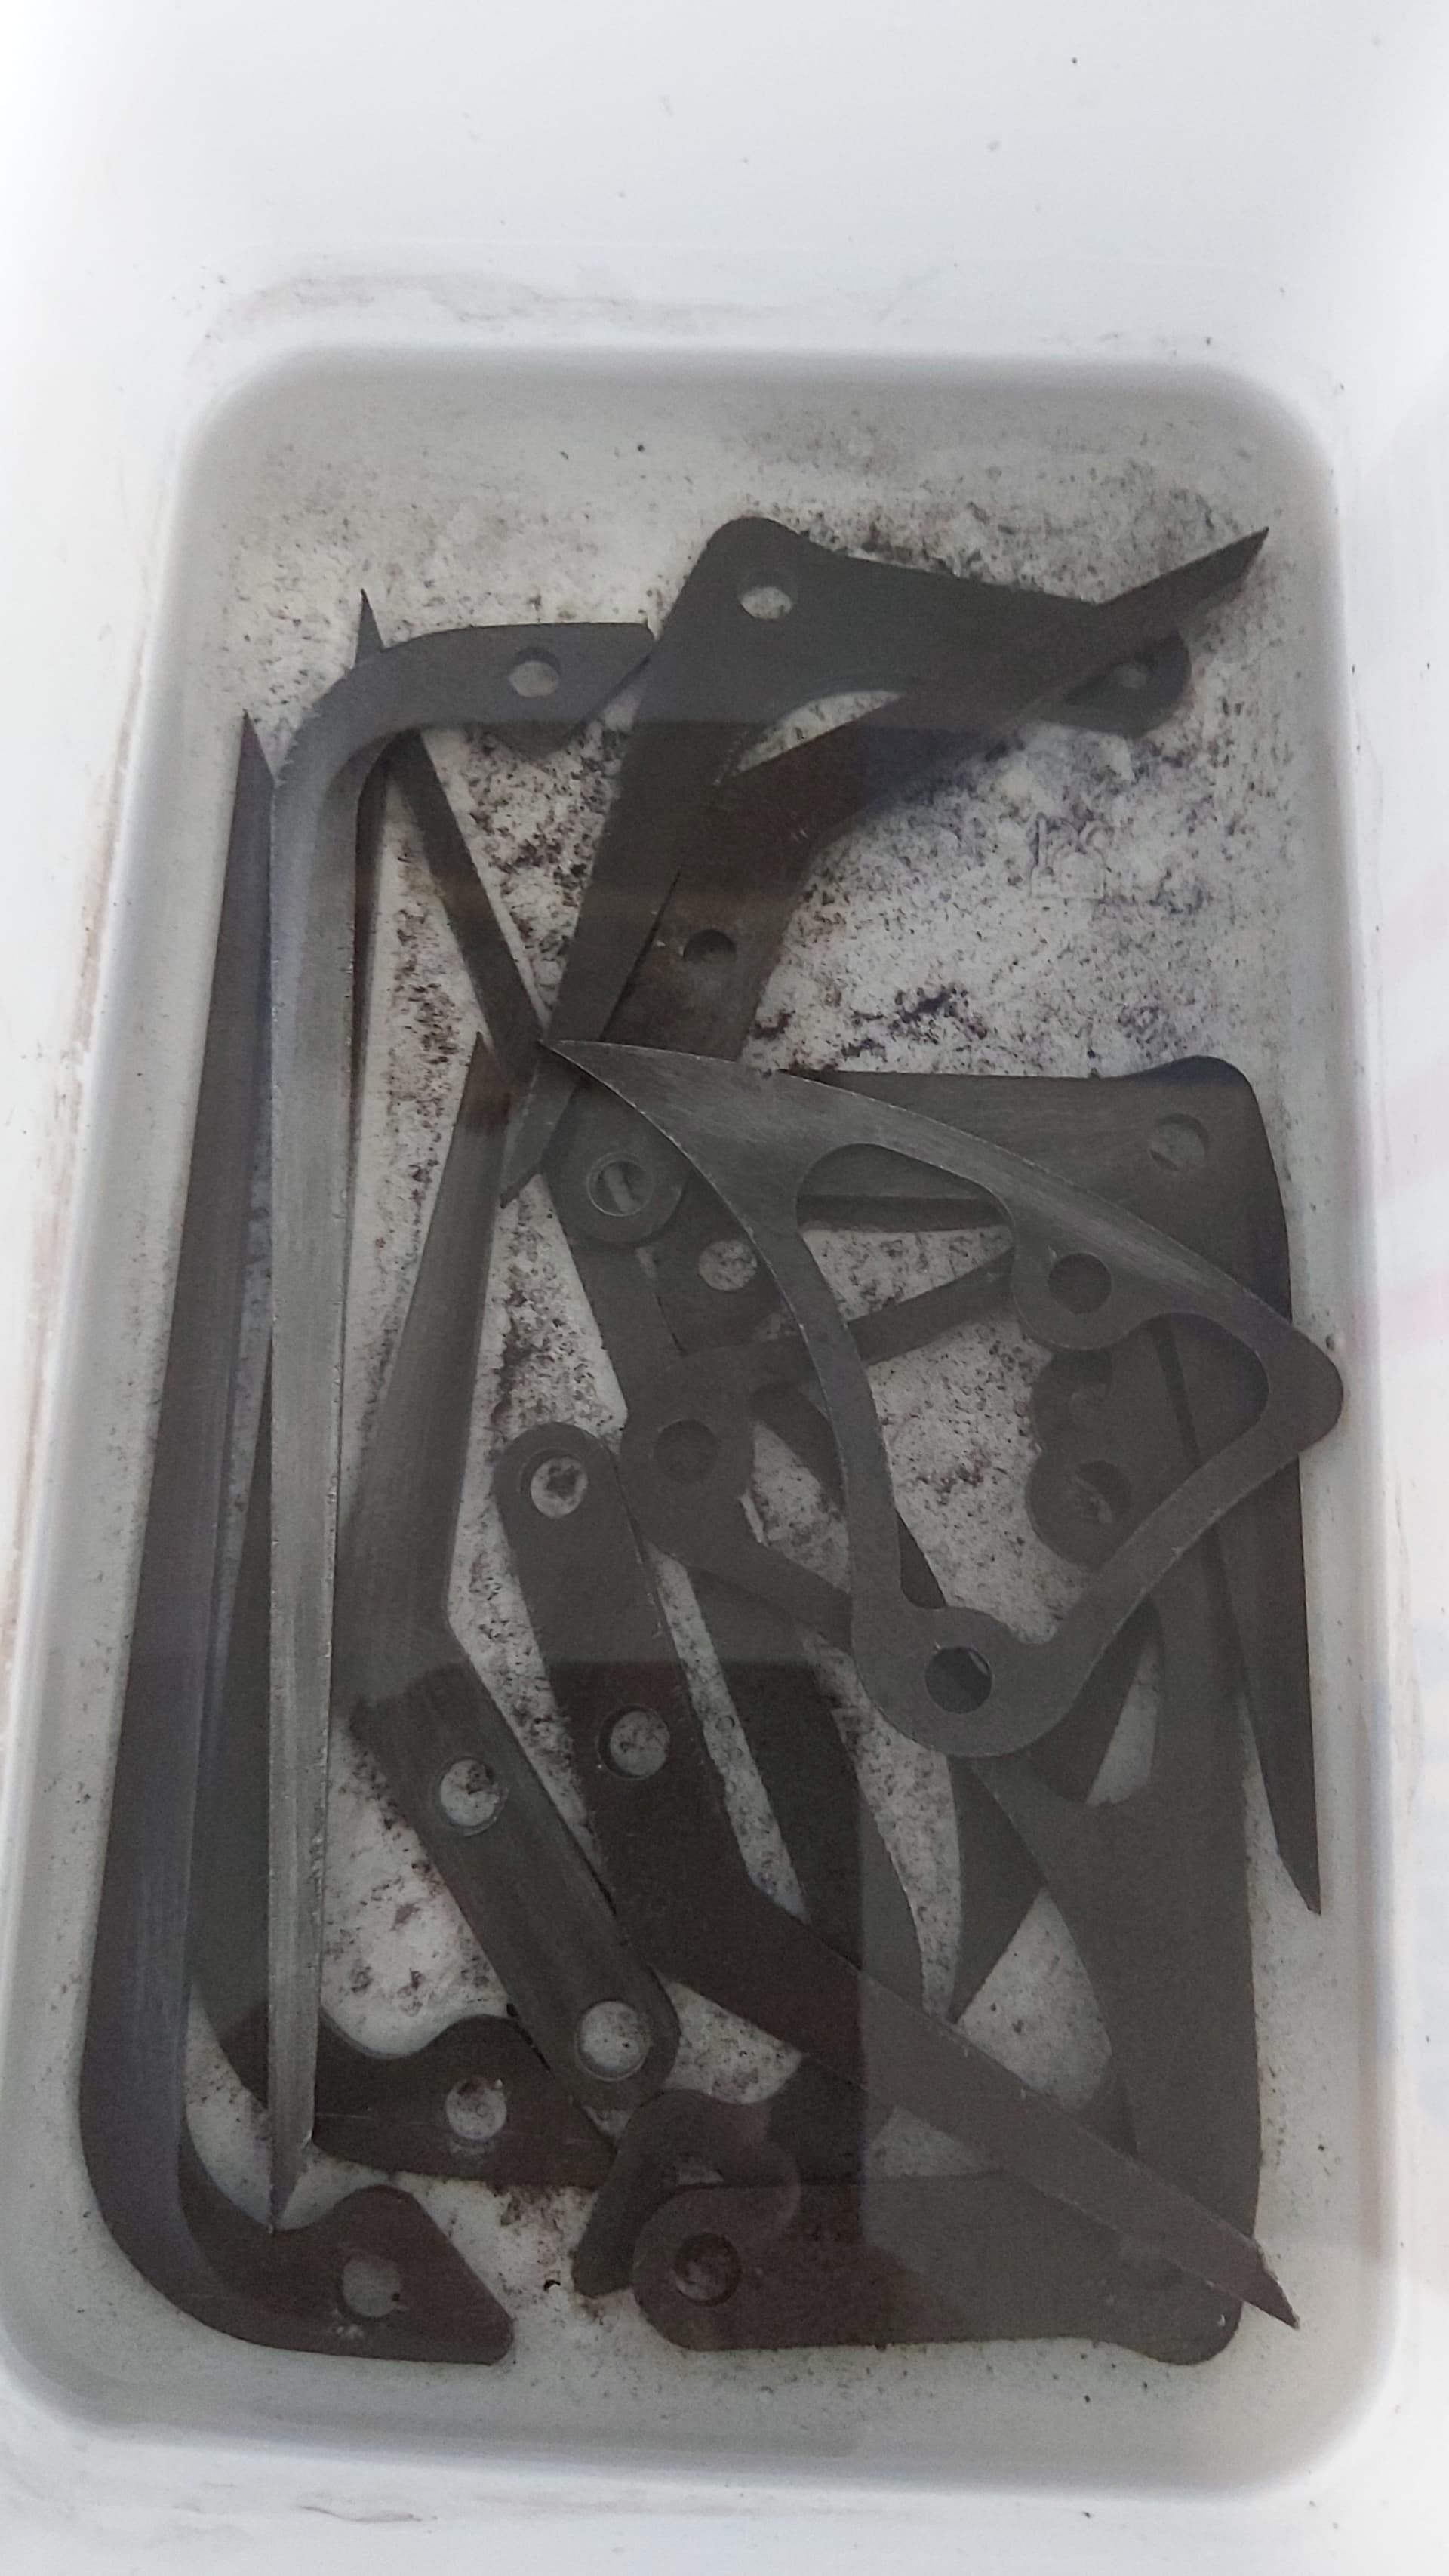
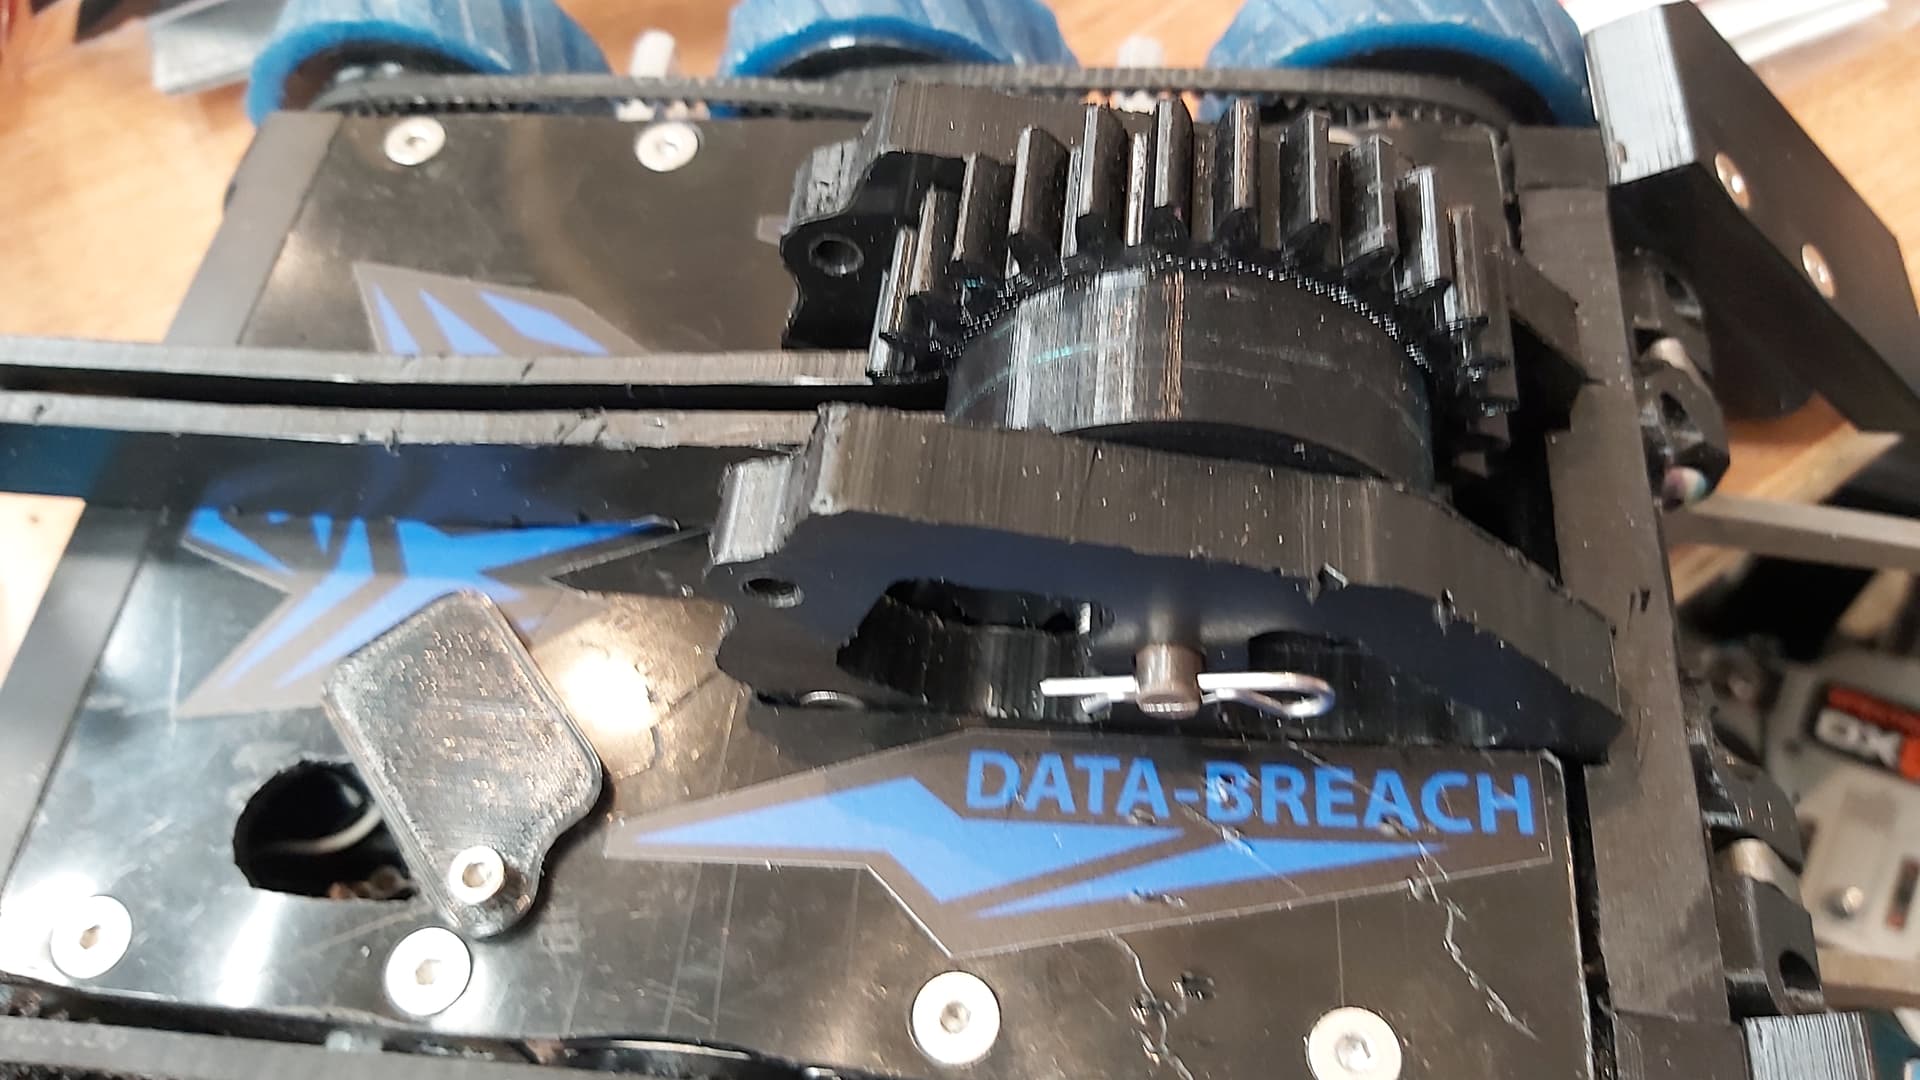
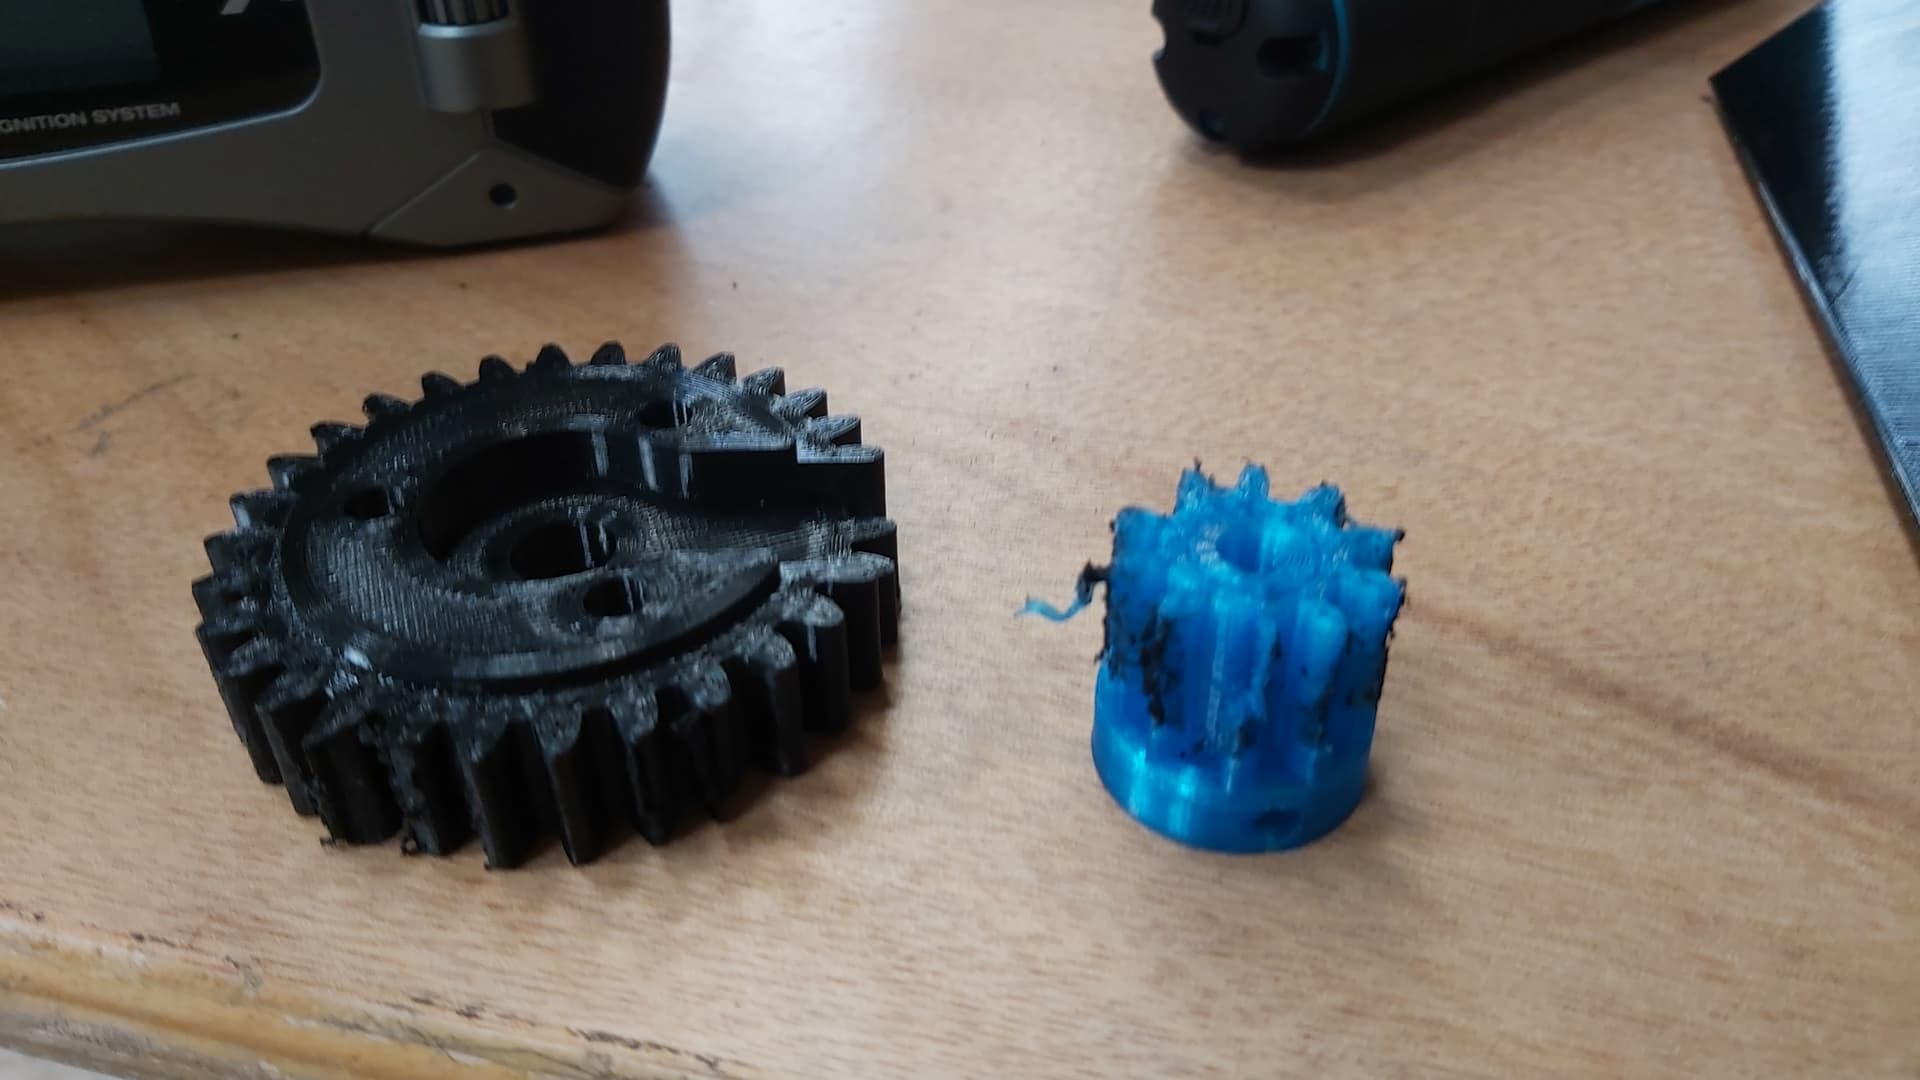
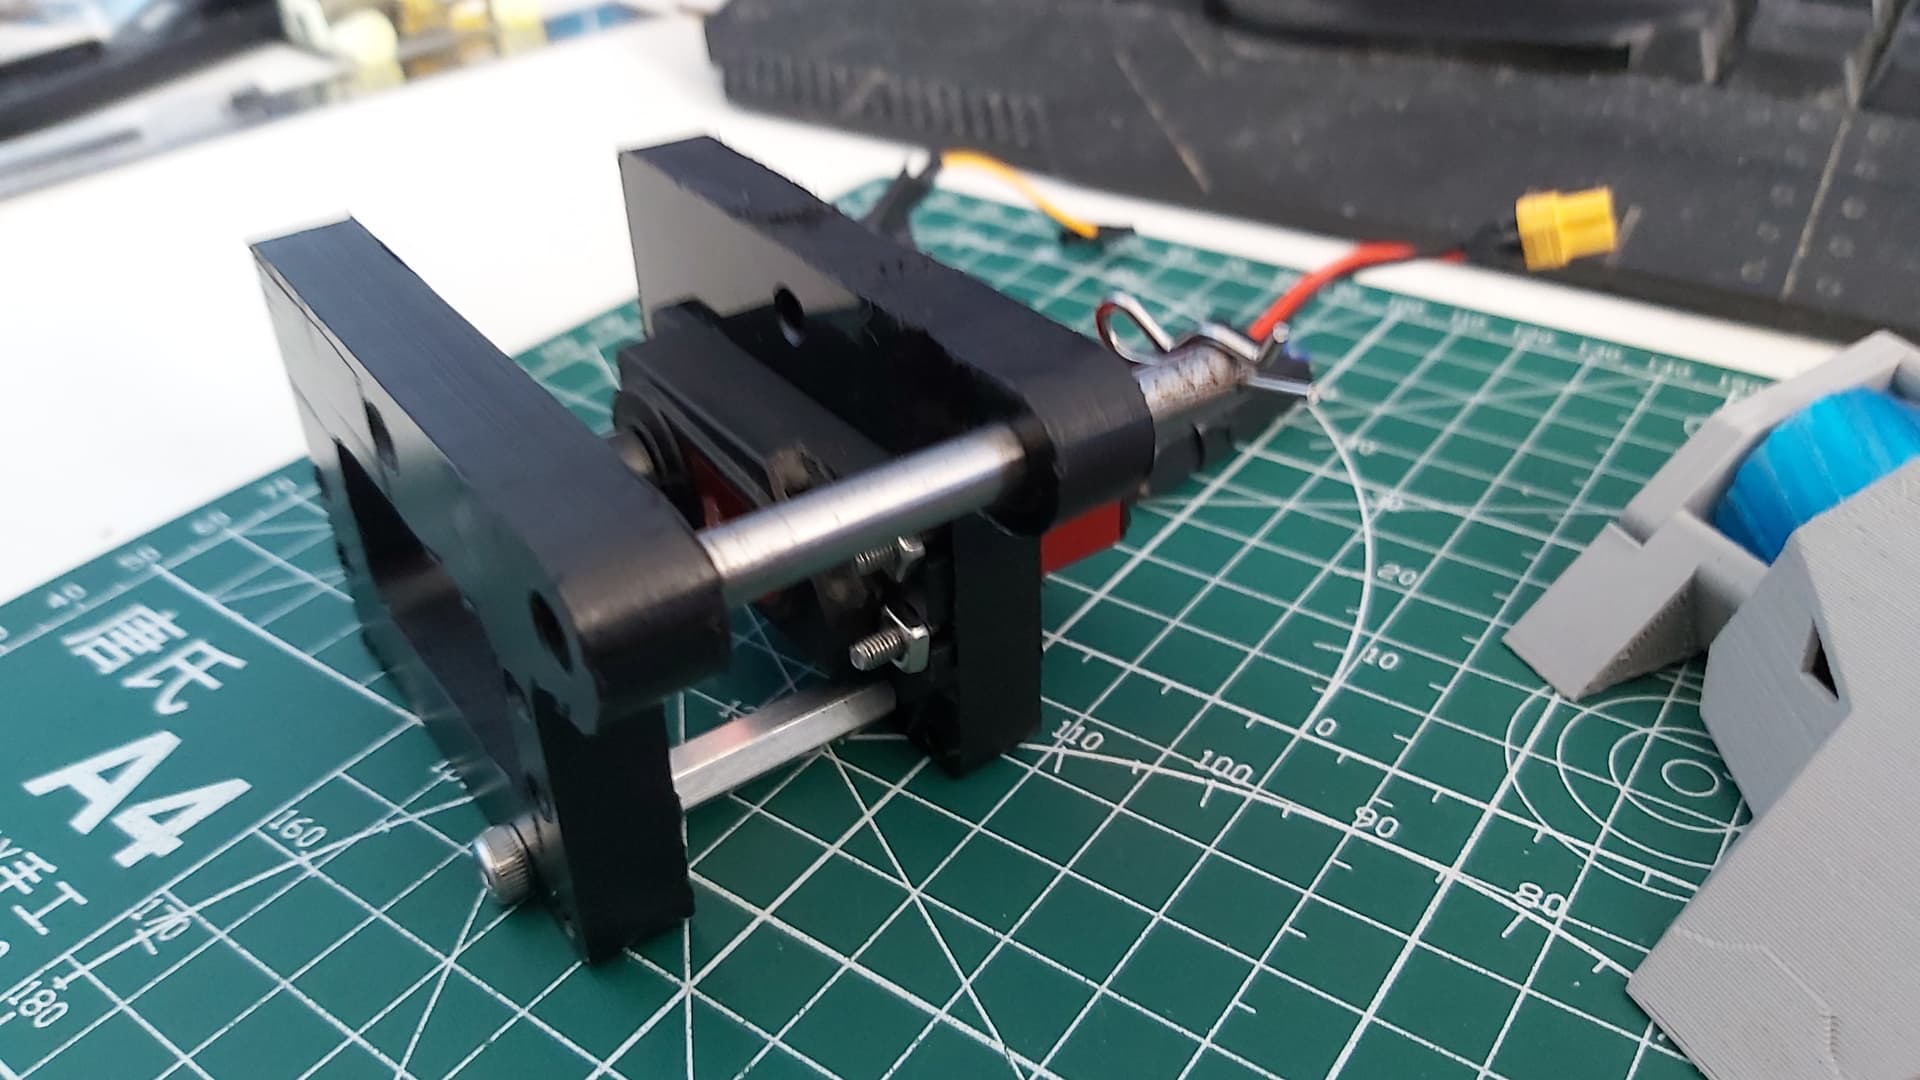
The polycarb was scratched a bit by the saw but more shockingly I had stripped the teeth on the weapon gears which I quickly replaced (improved serviceability for the win.)

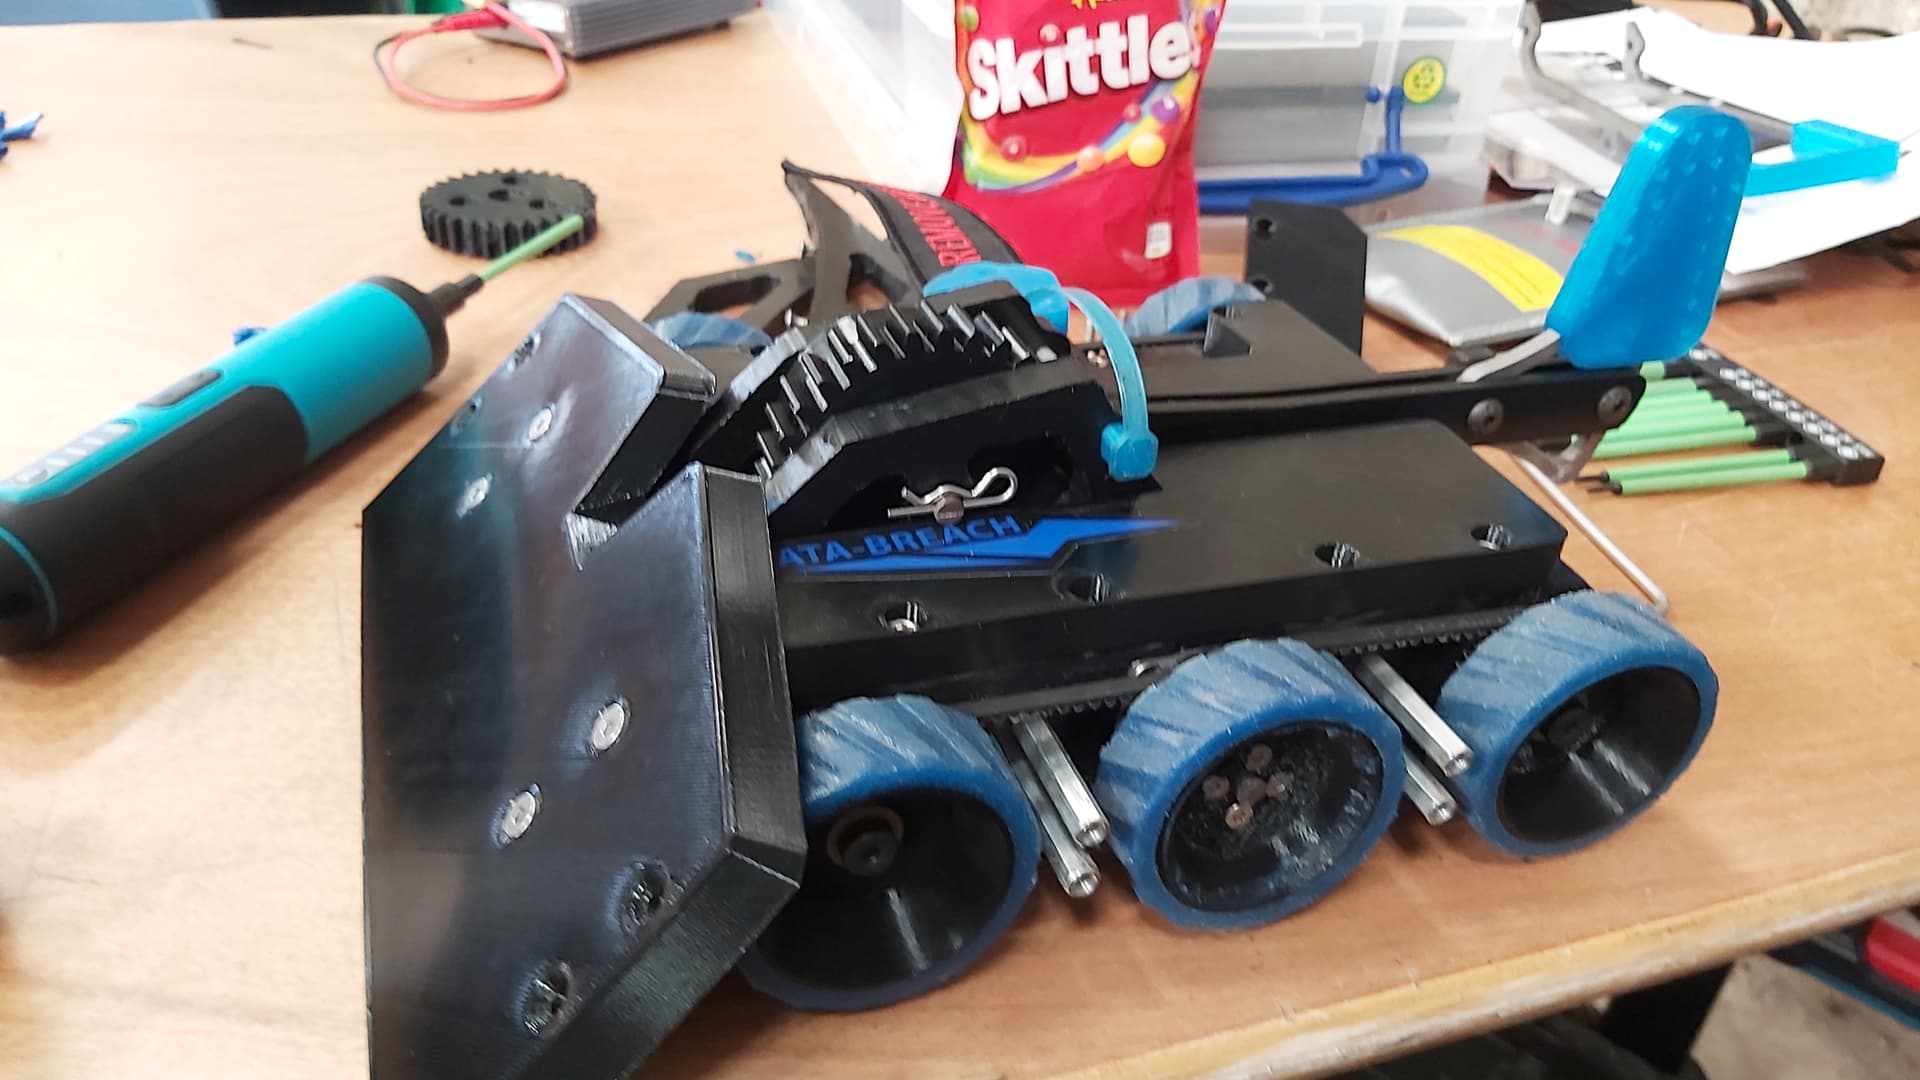
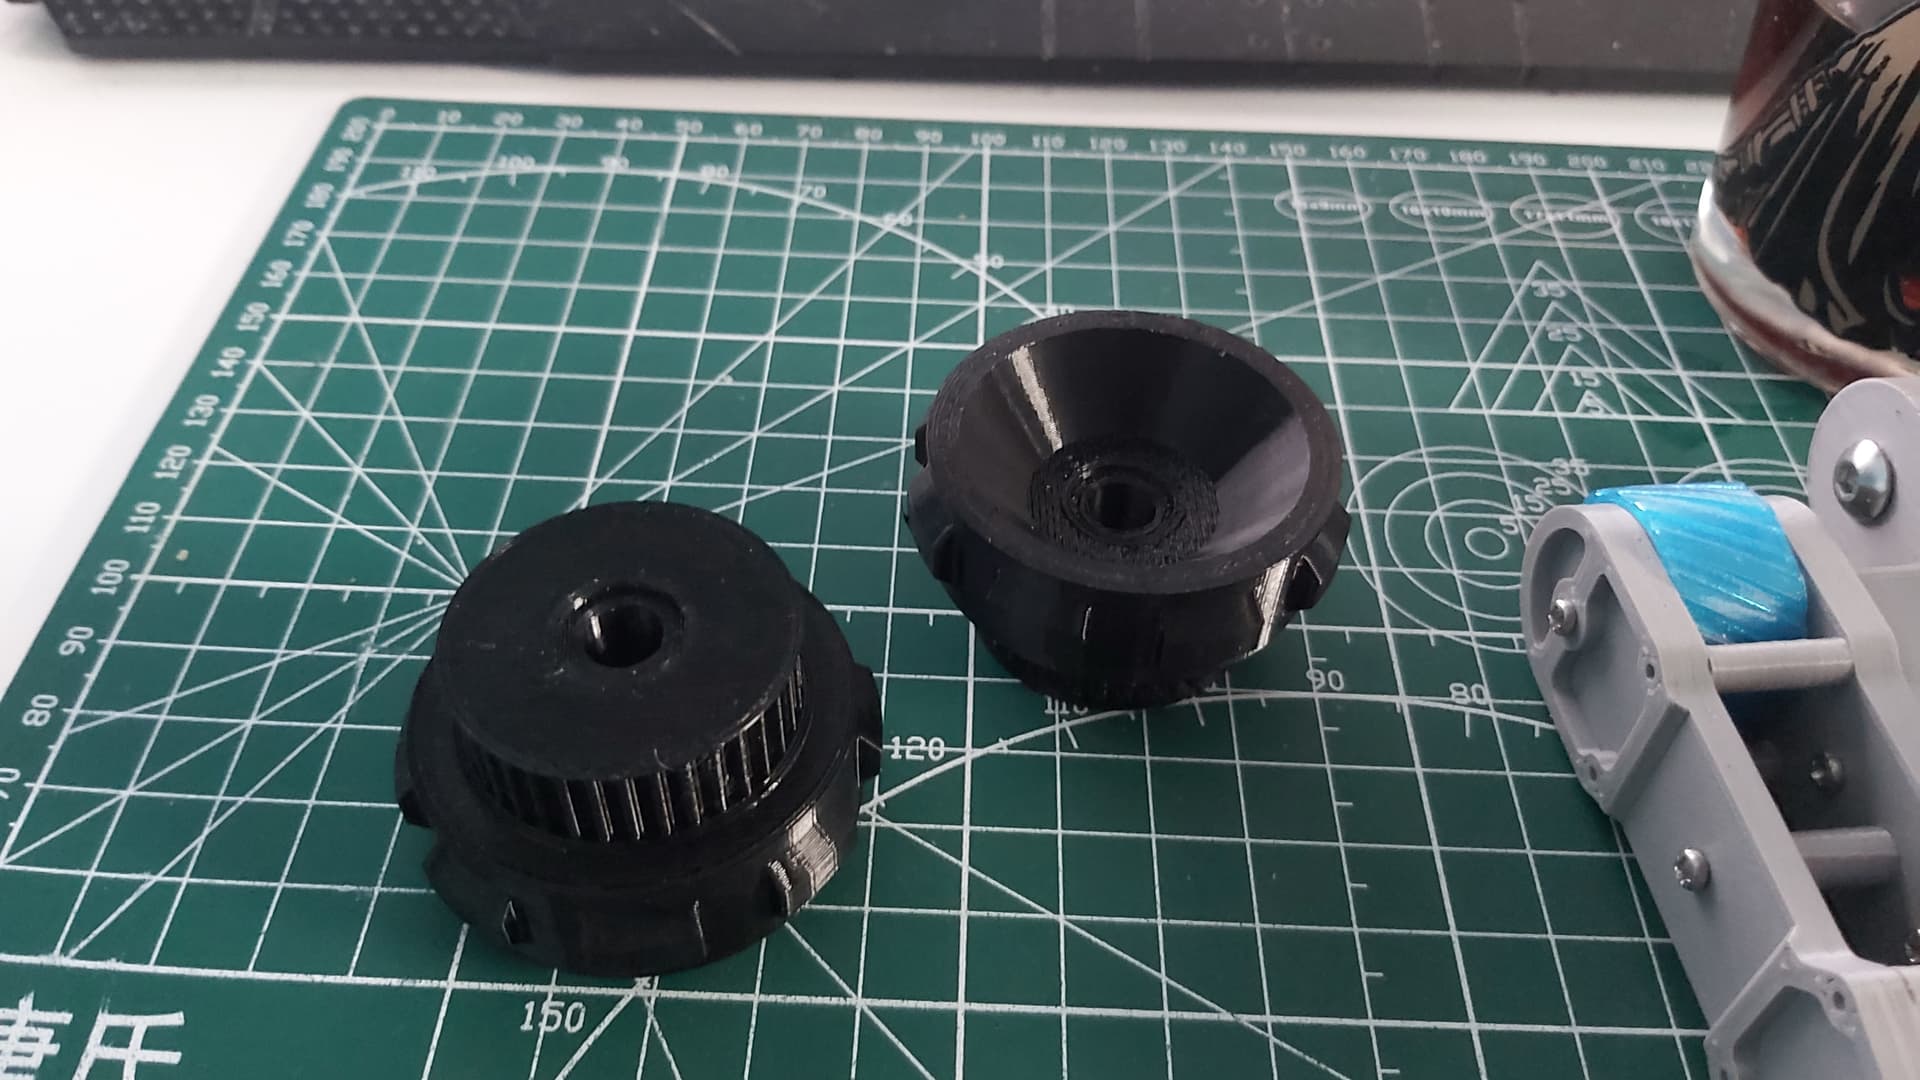
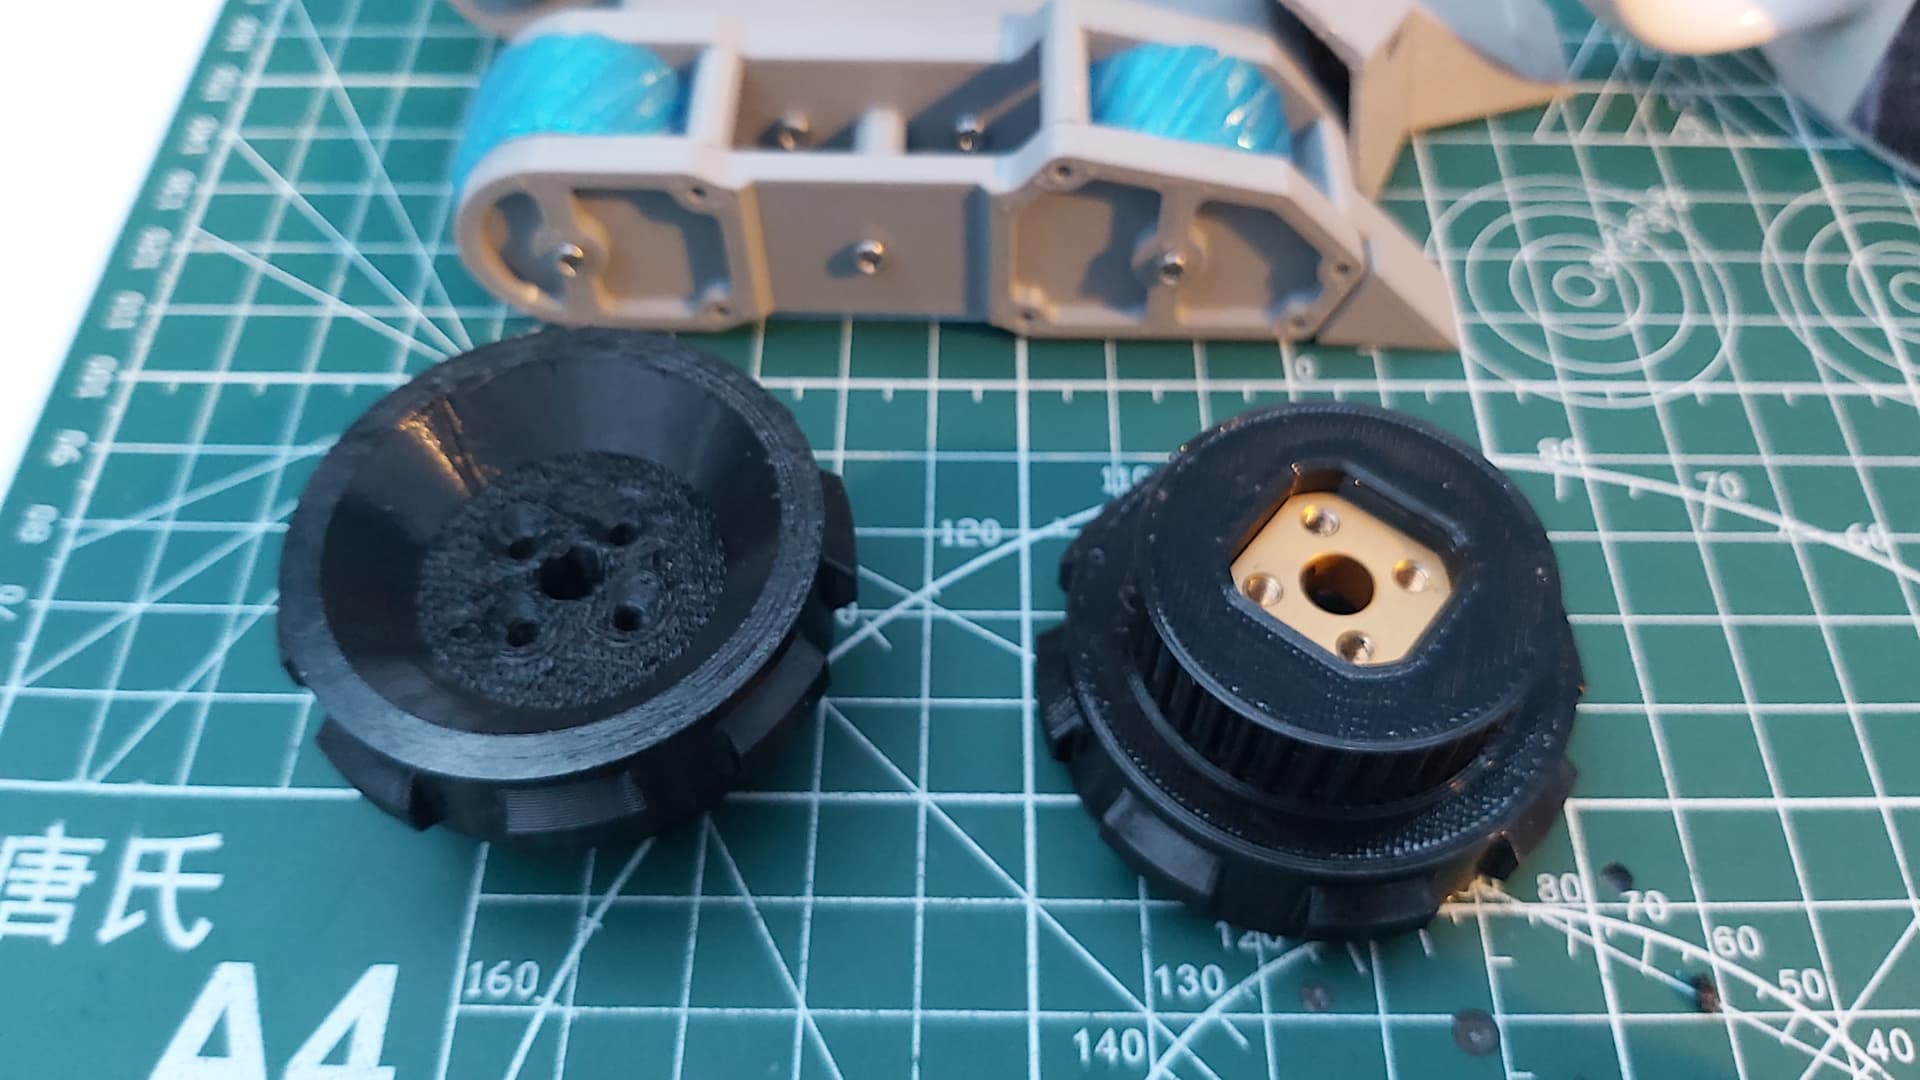
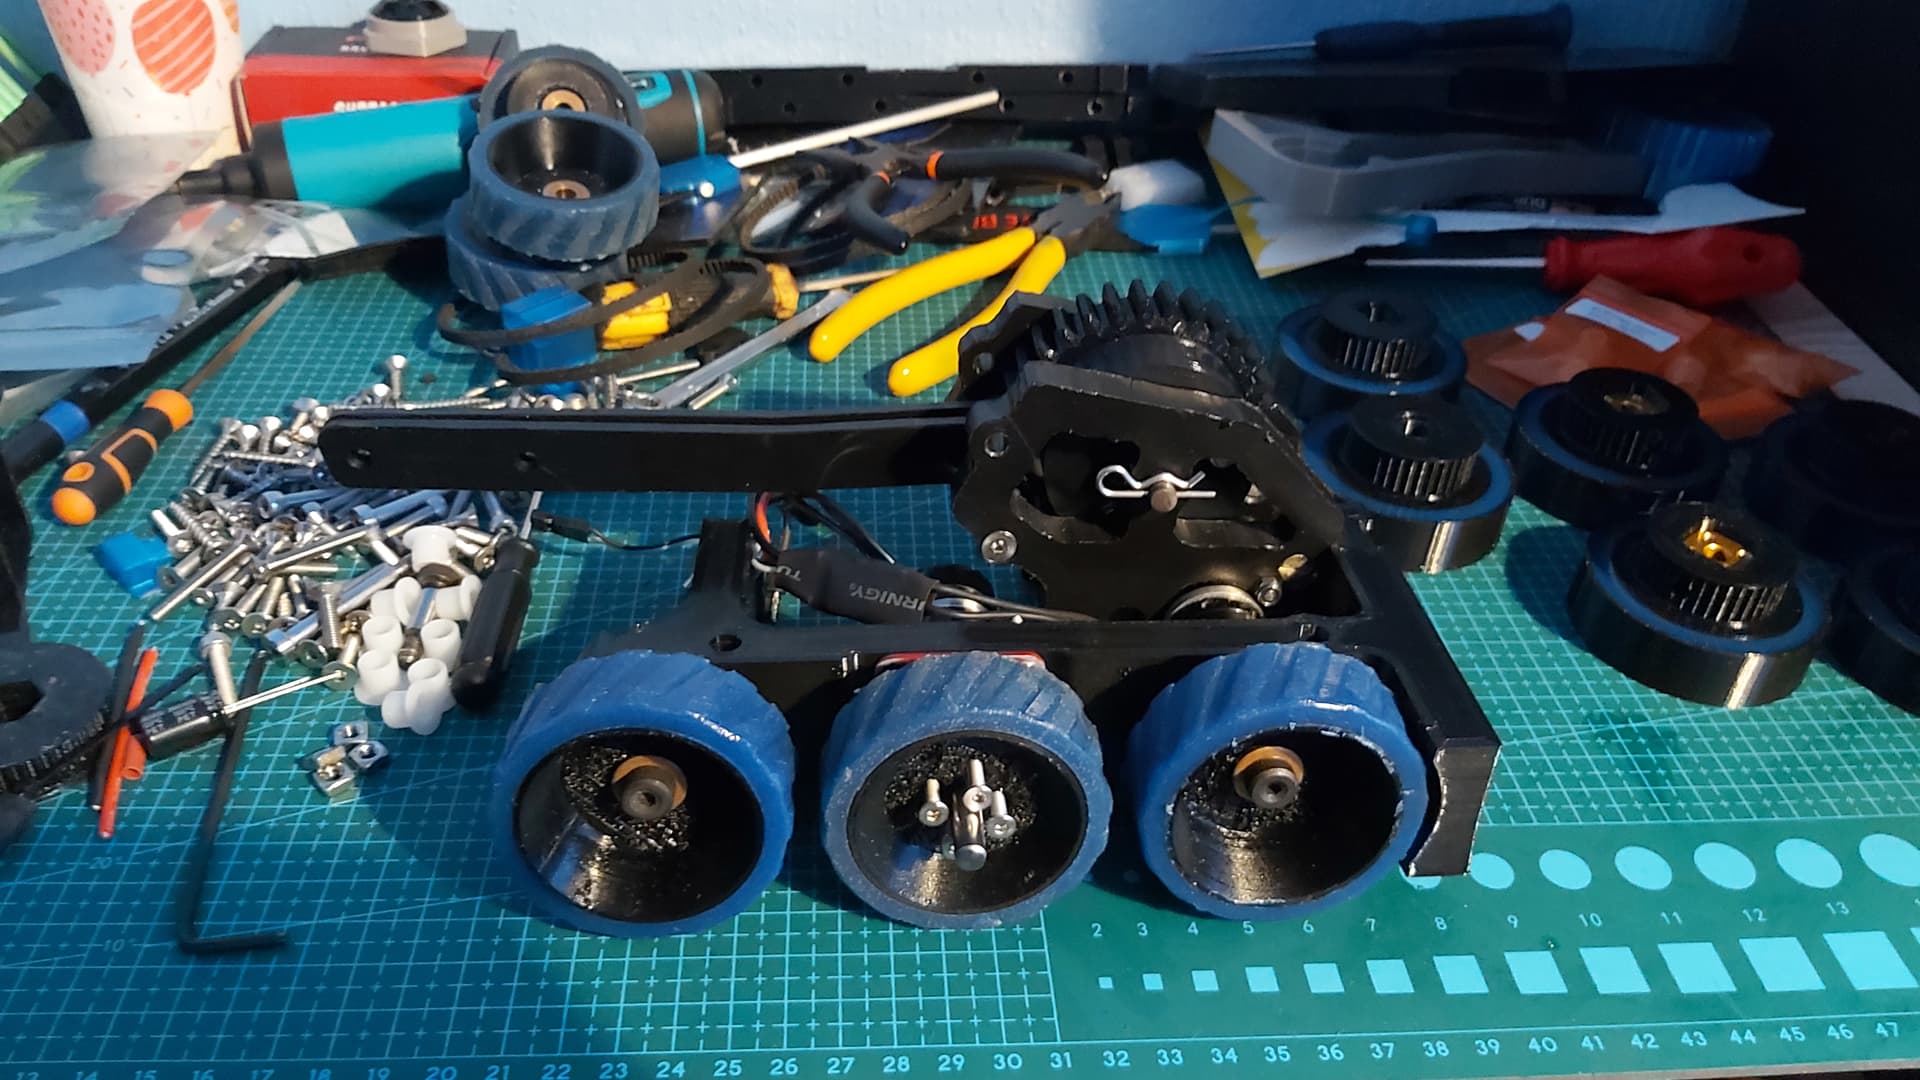
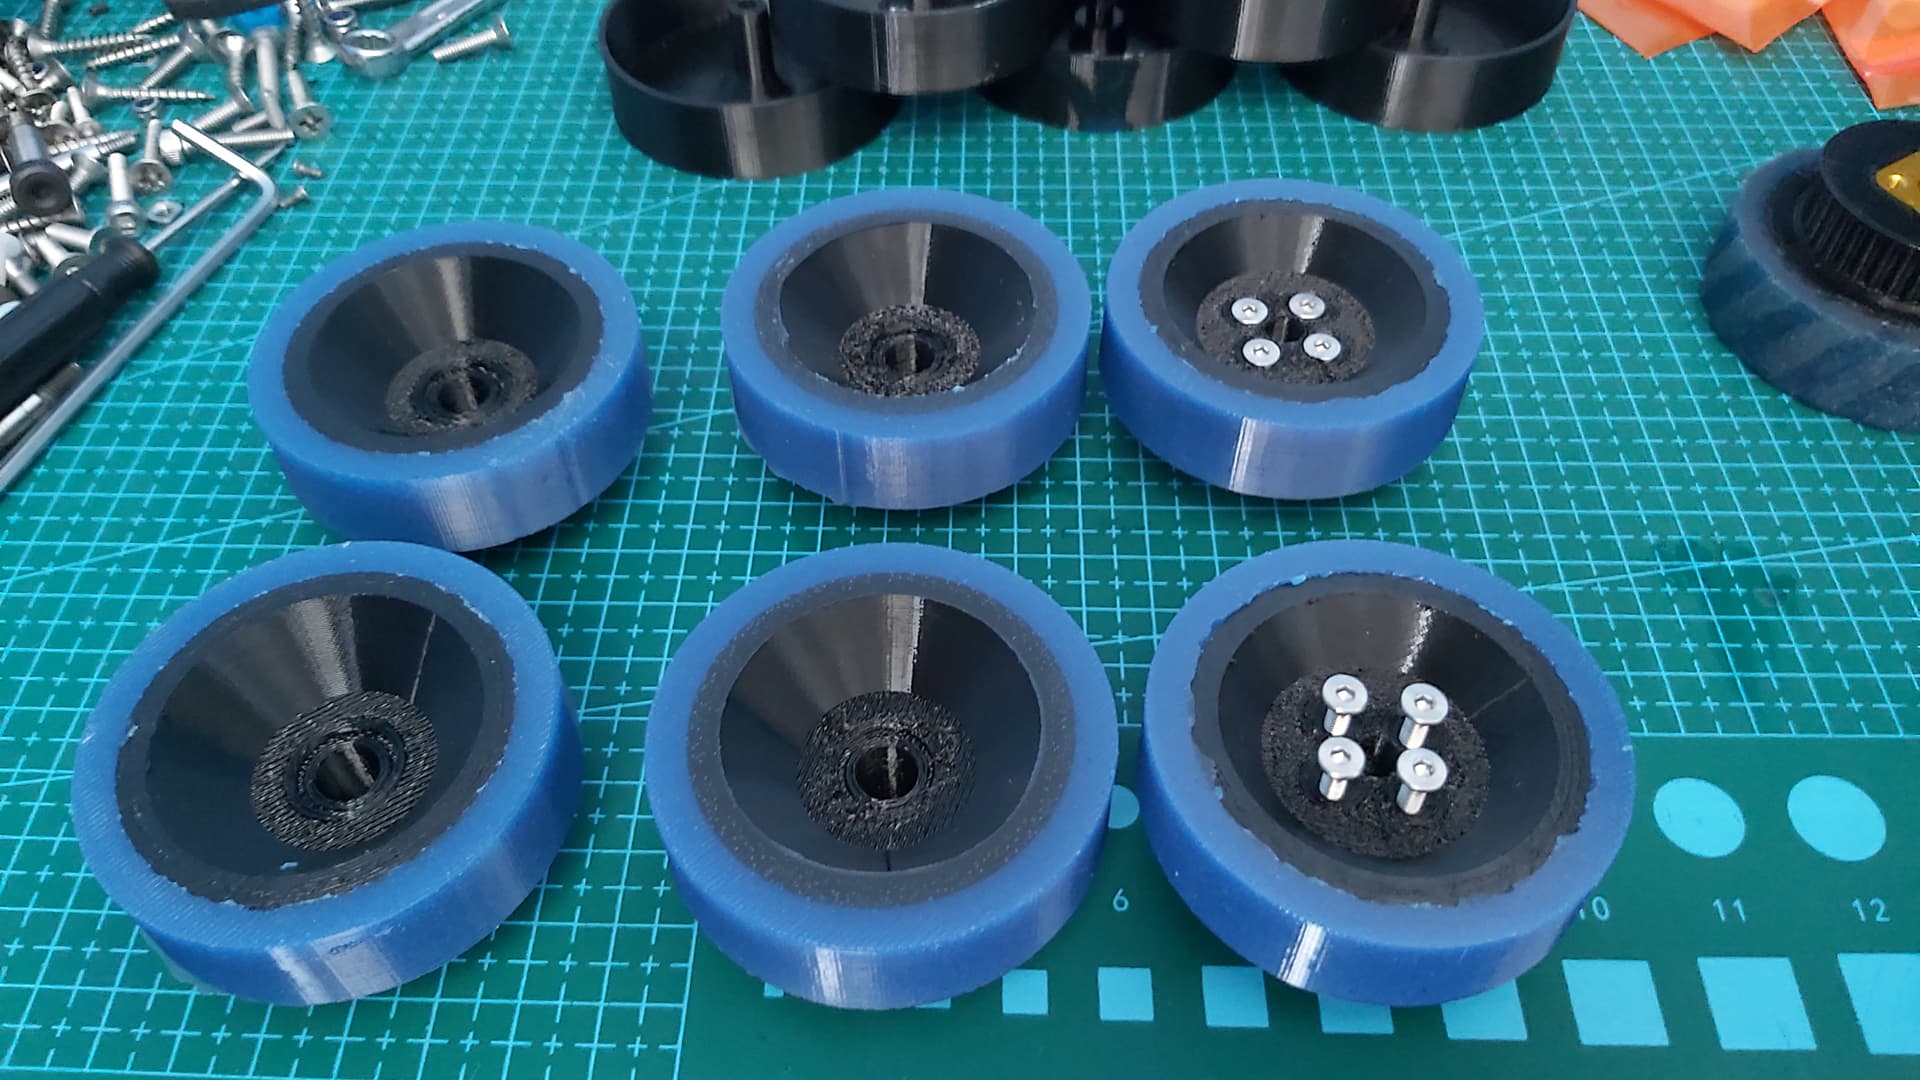
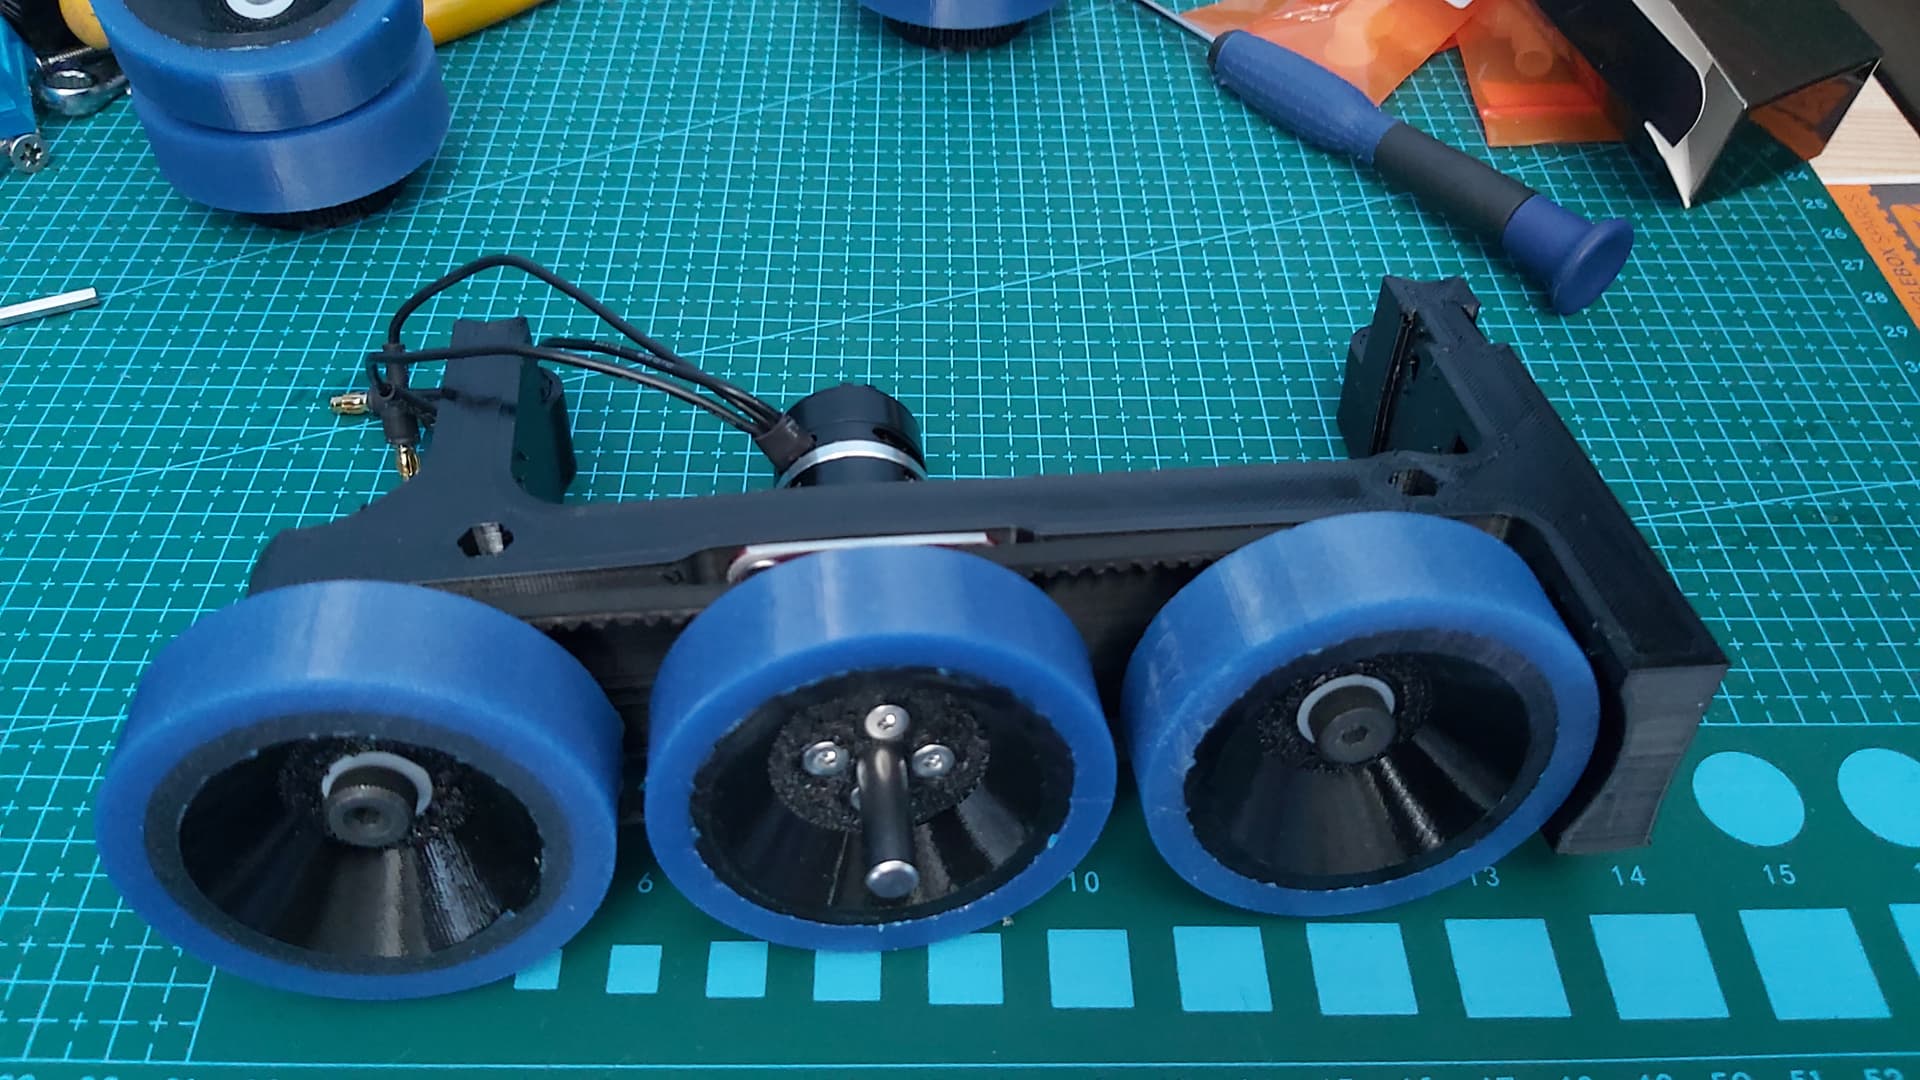
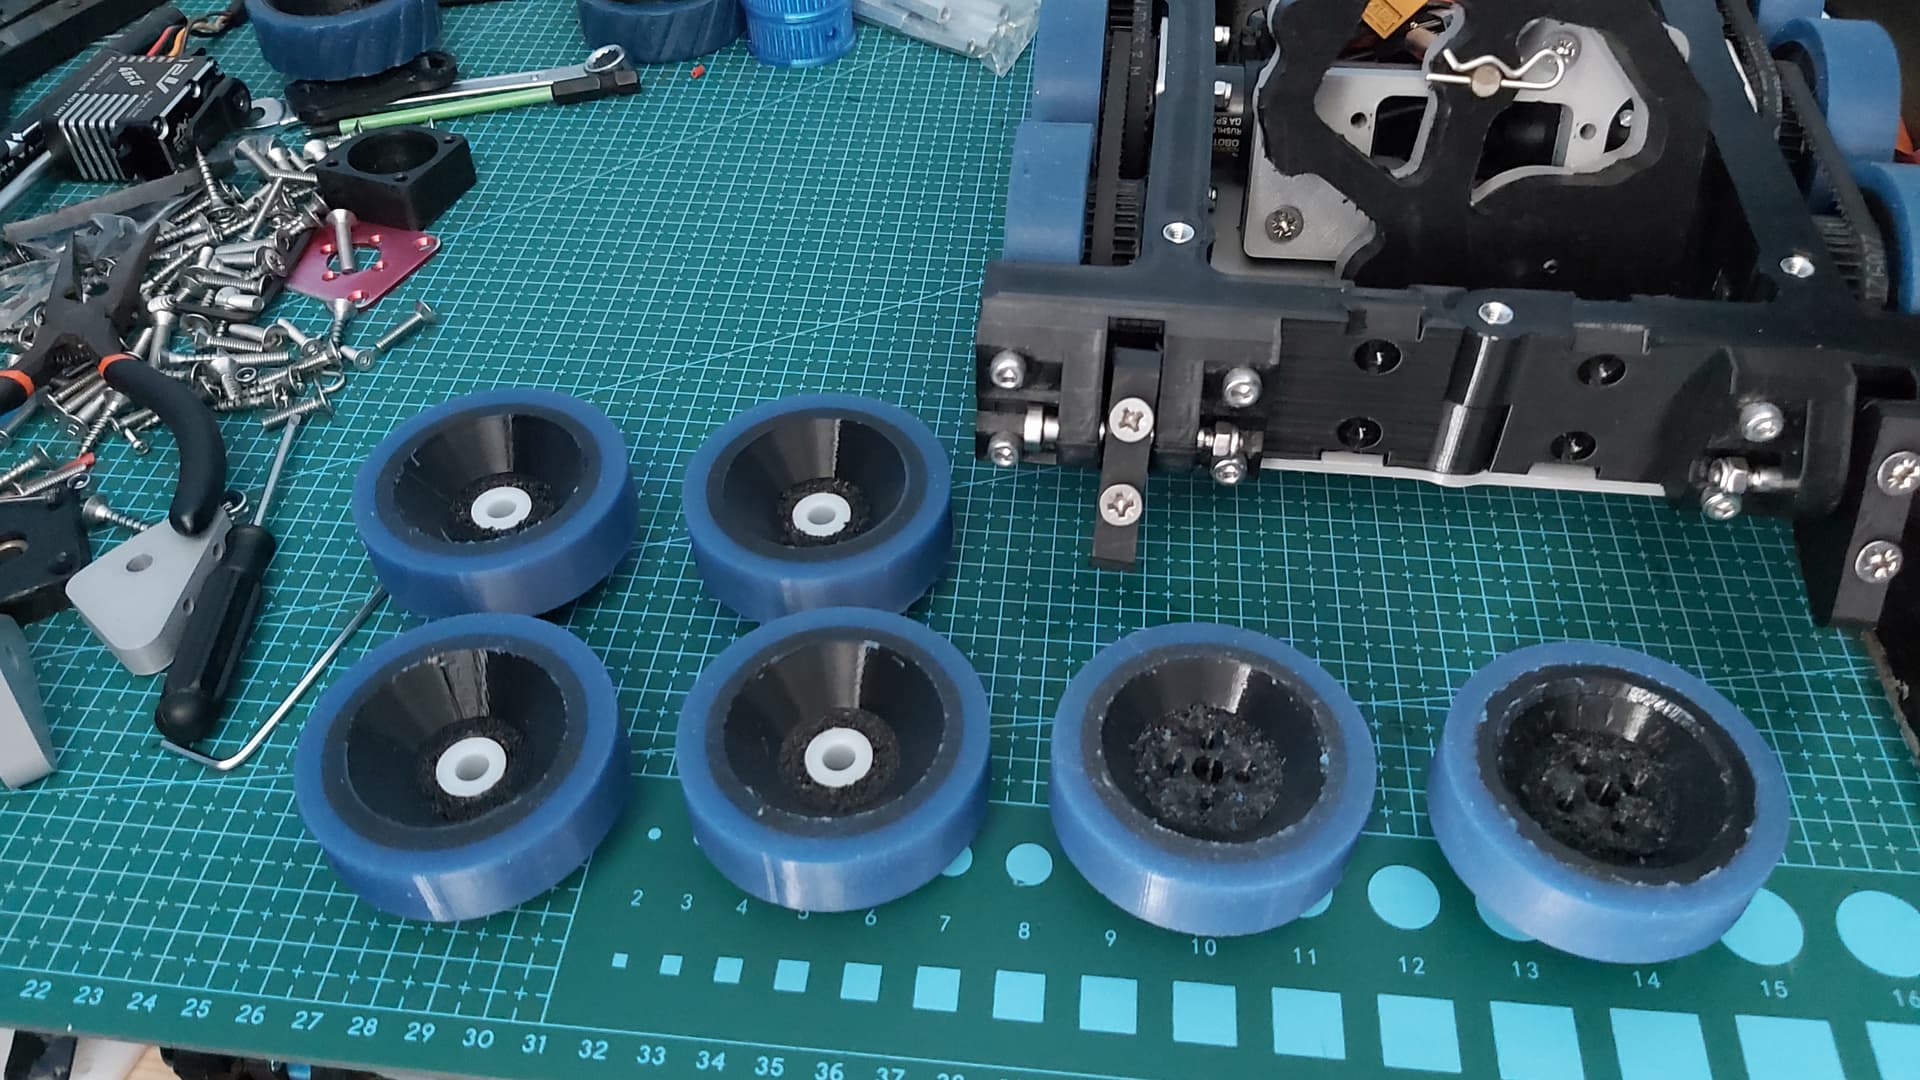
The next day I took part in the “This Is Fighting Robots” theme side event and sadly the axe decided to jam when it was turned over resulting in being counted out. Which was a shame as DB tanked some direct hits to the wheels and kept going. The TPU hubs were damaged and some chunks were taken out of the tyres but it kept going.

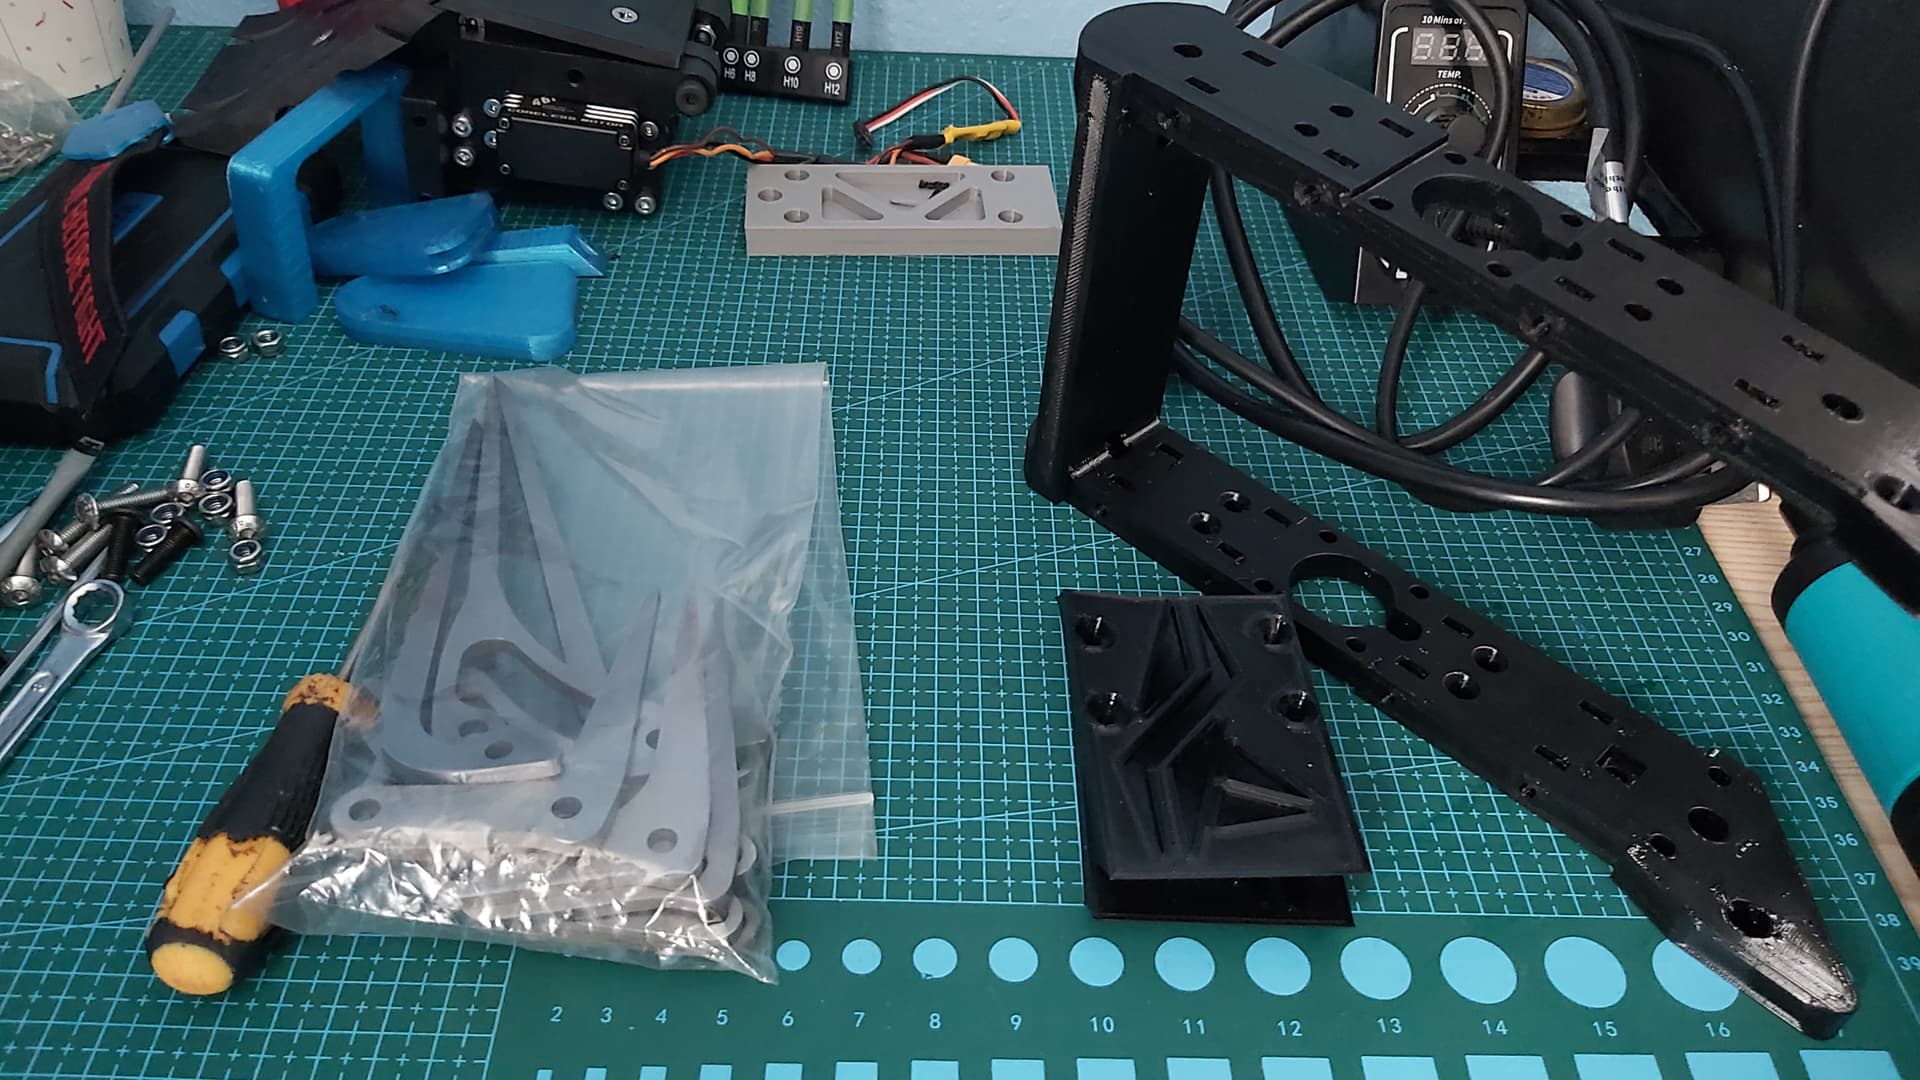
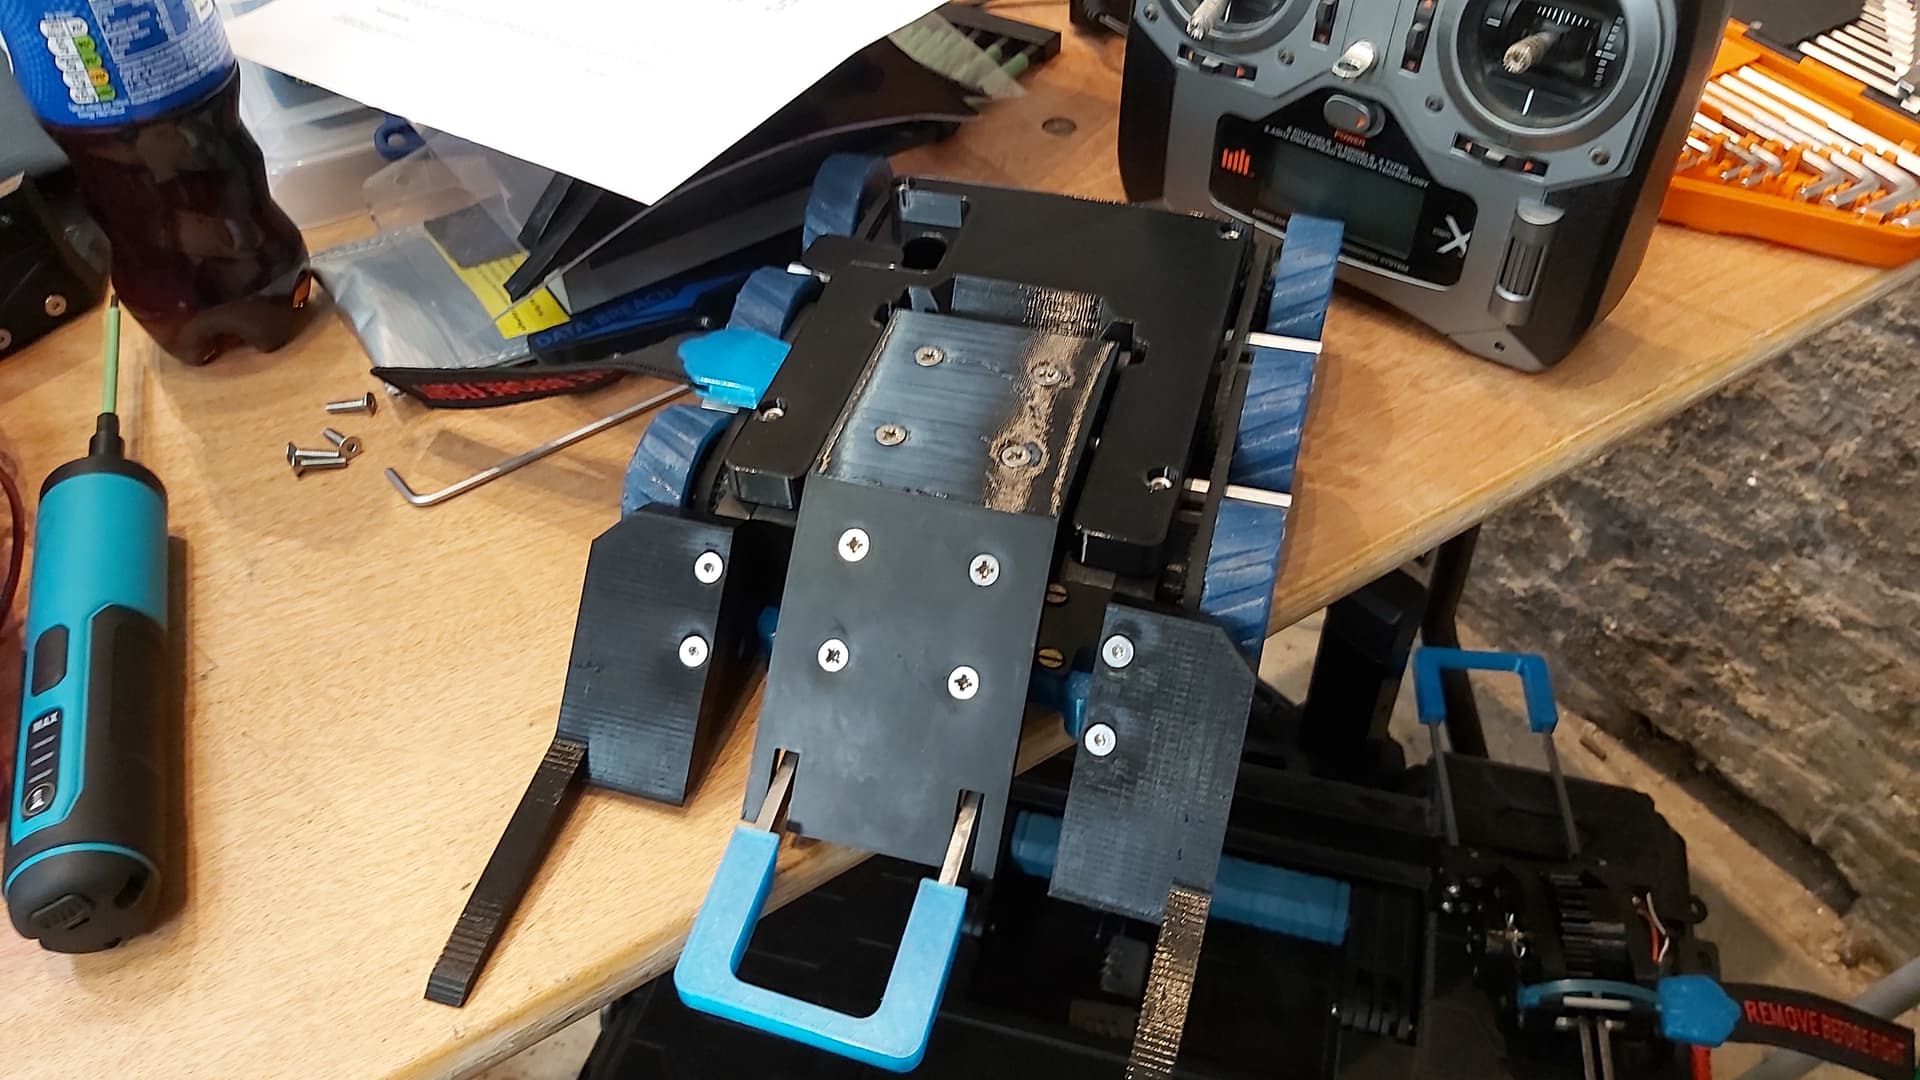
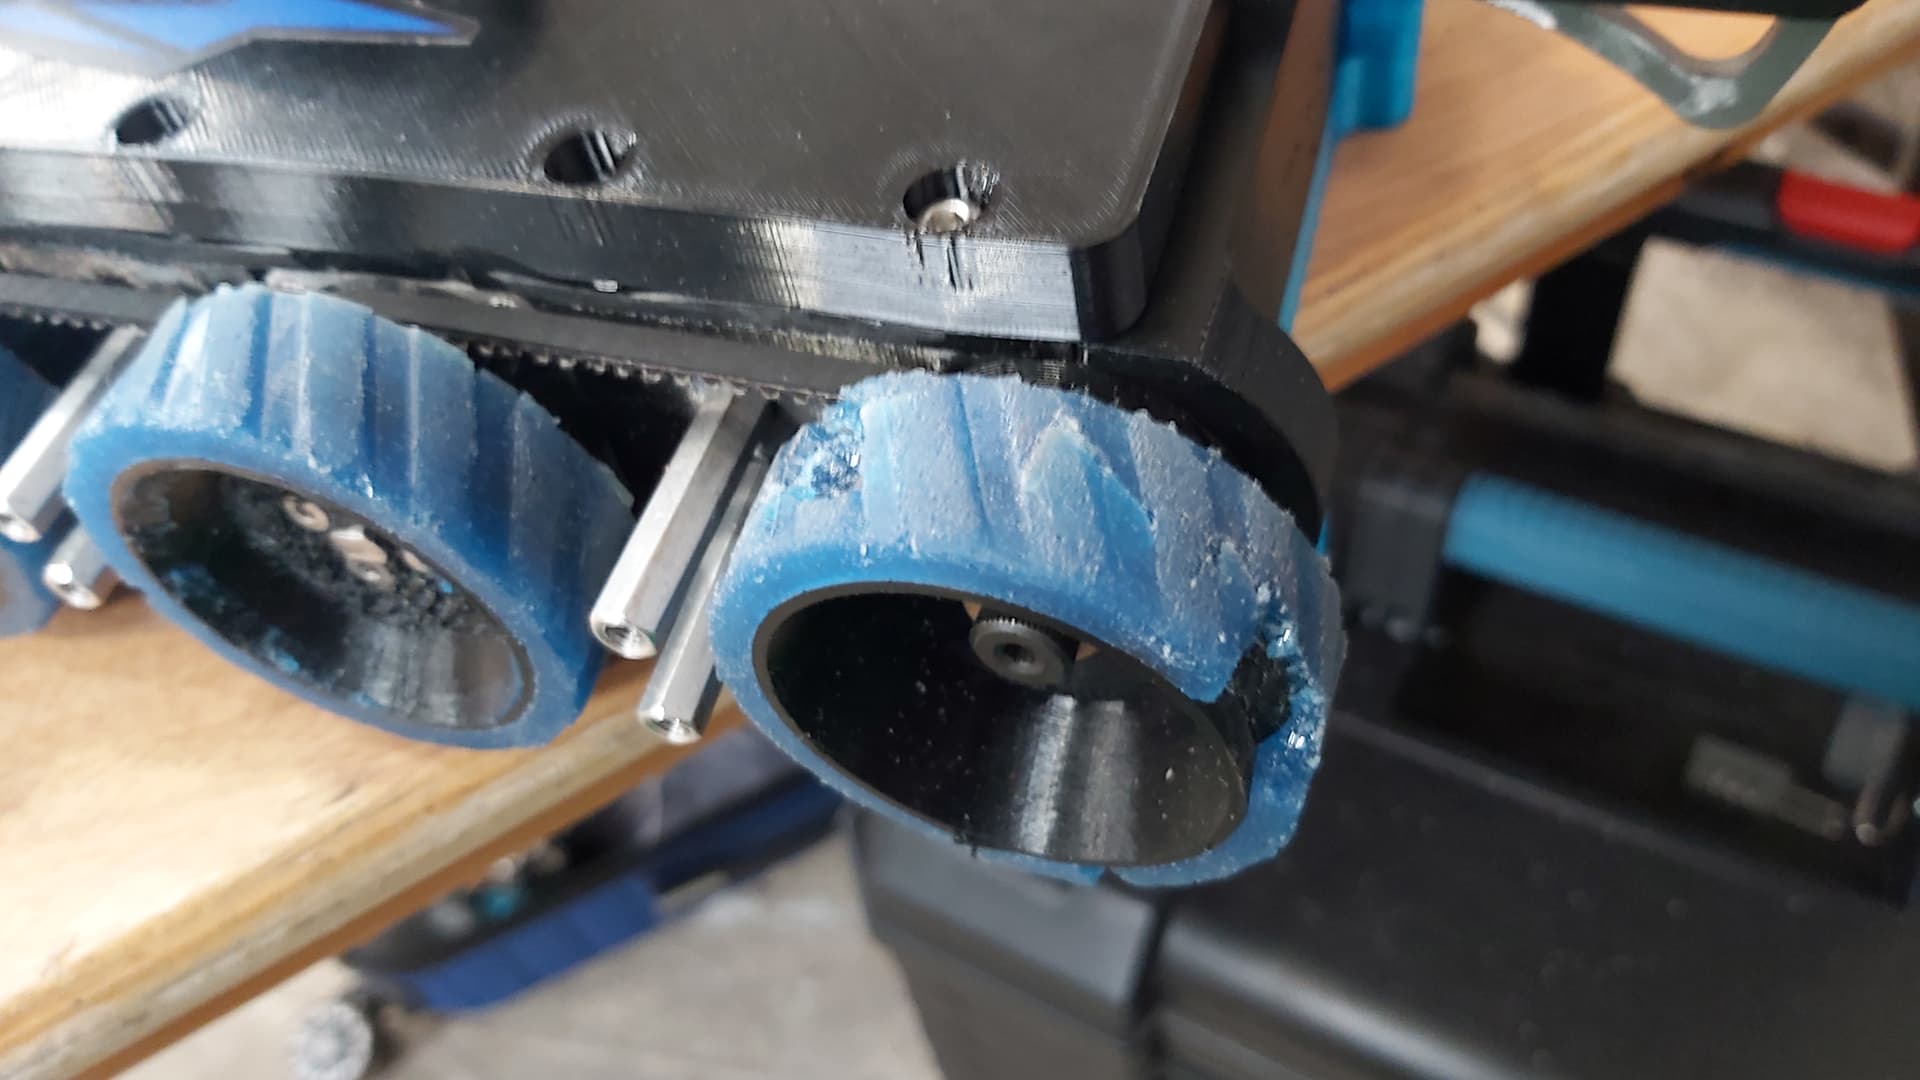
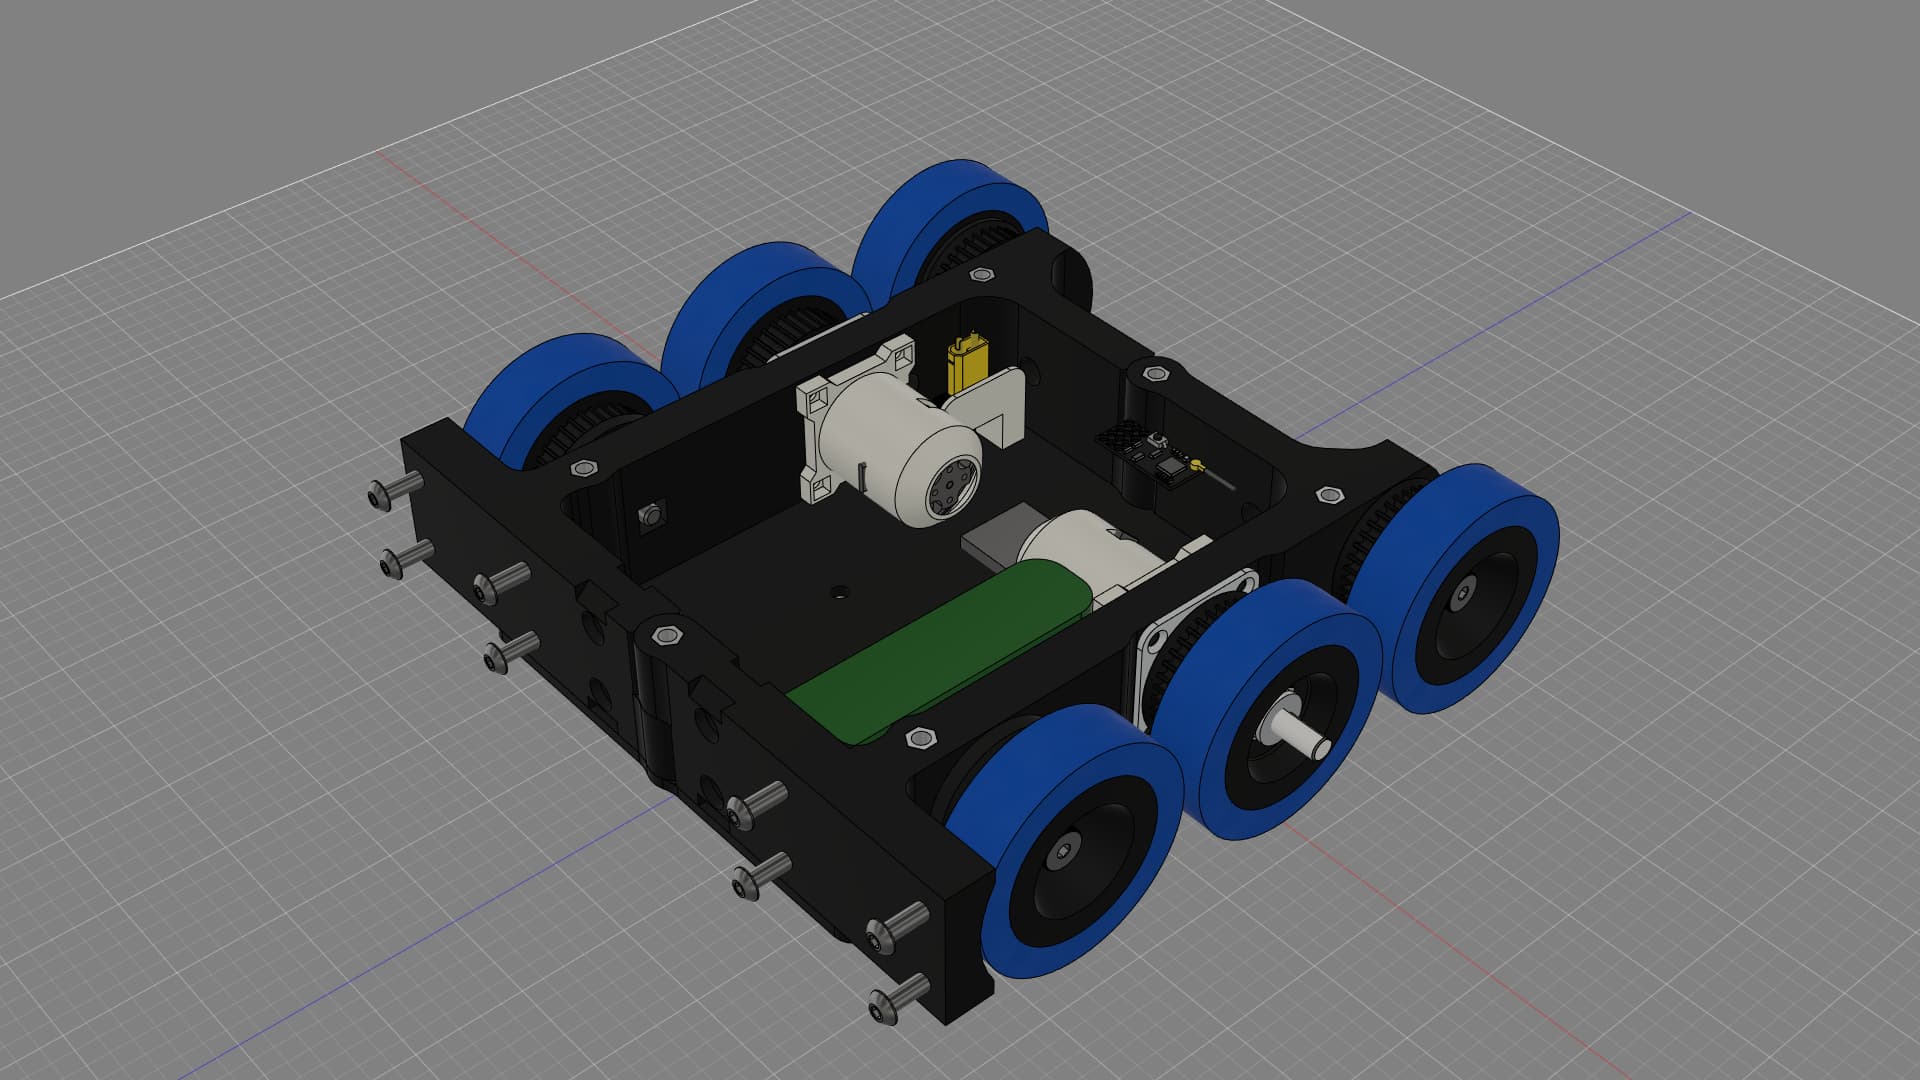
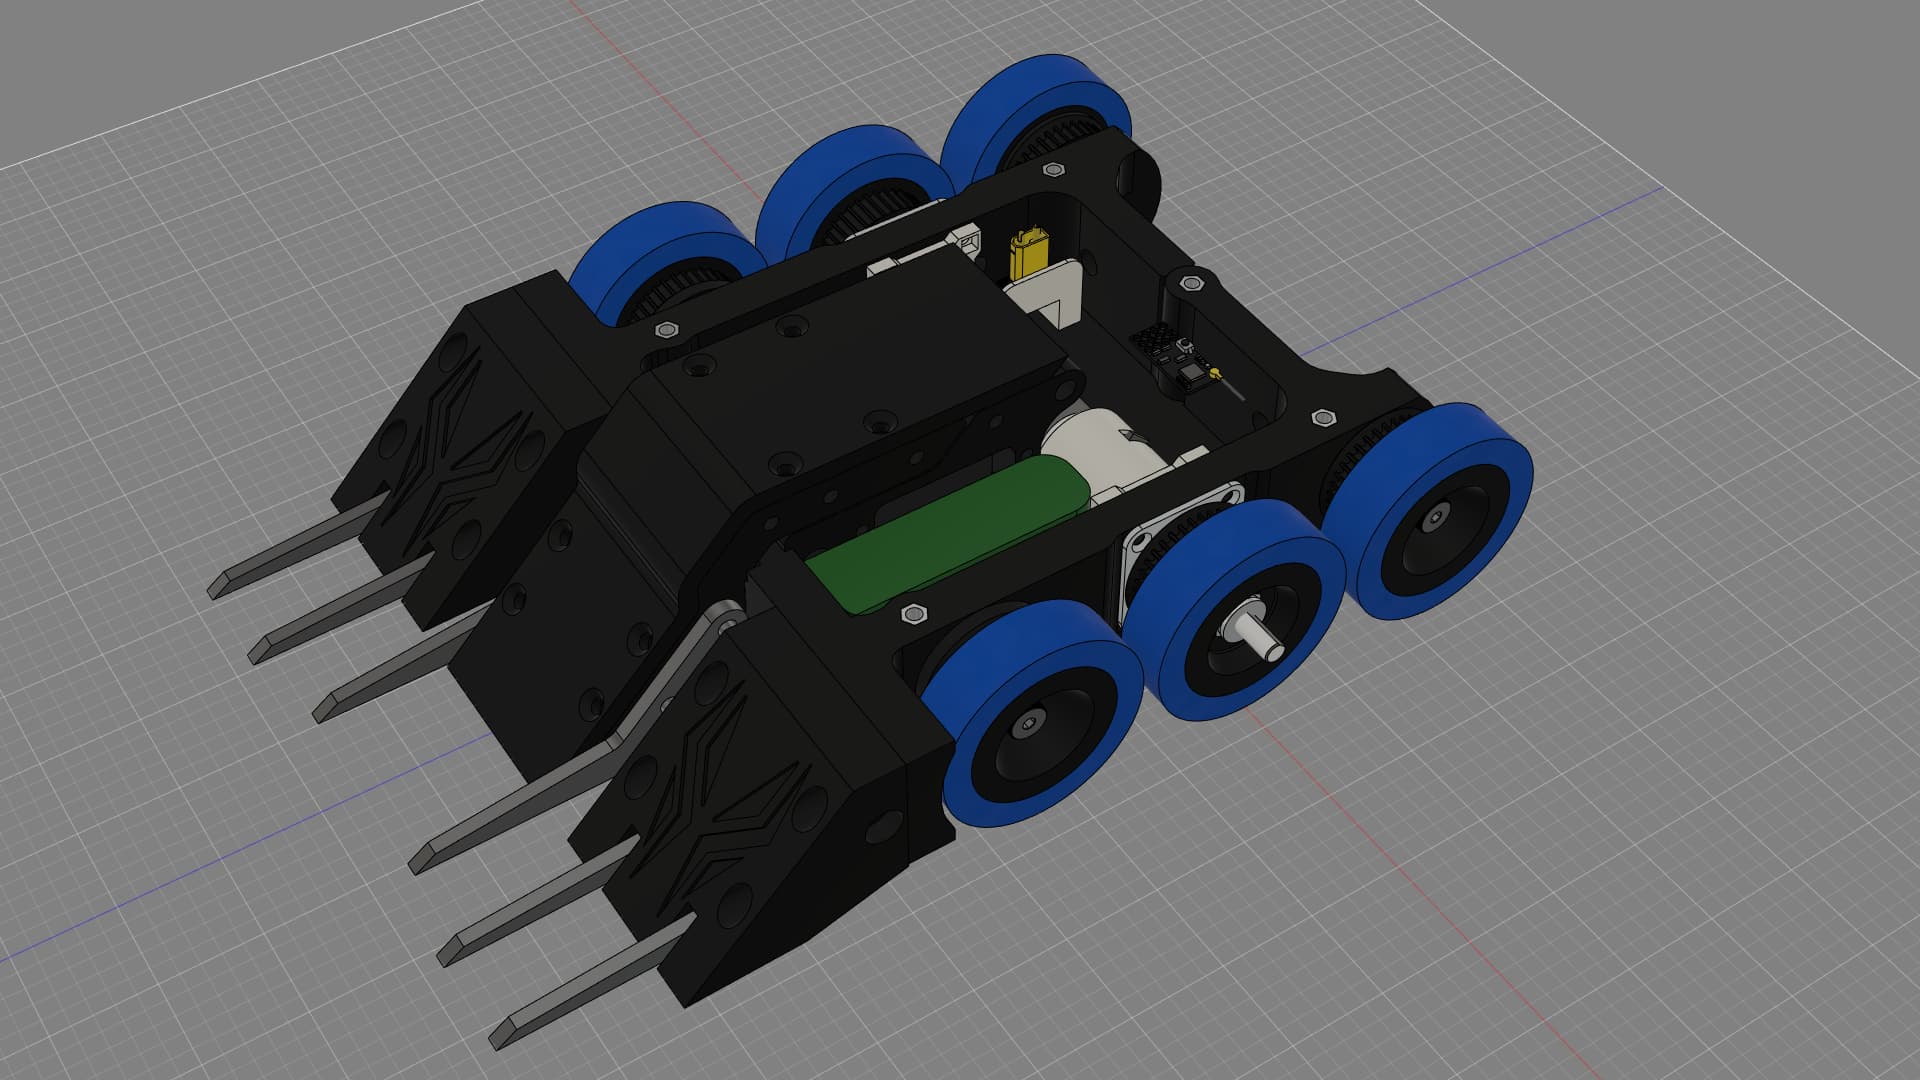
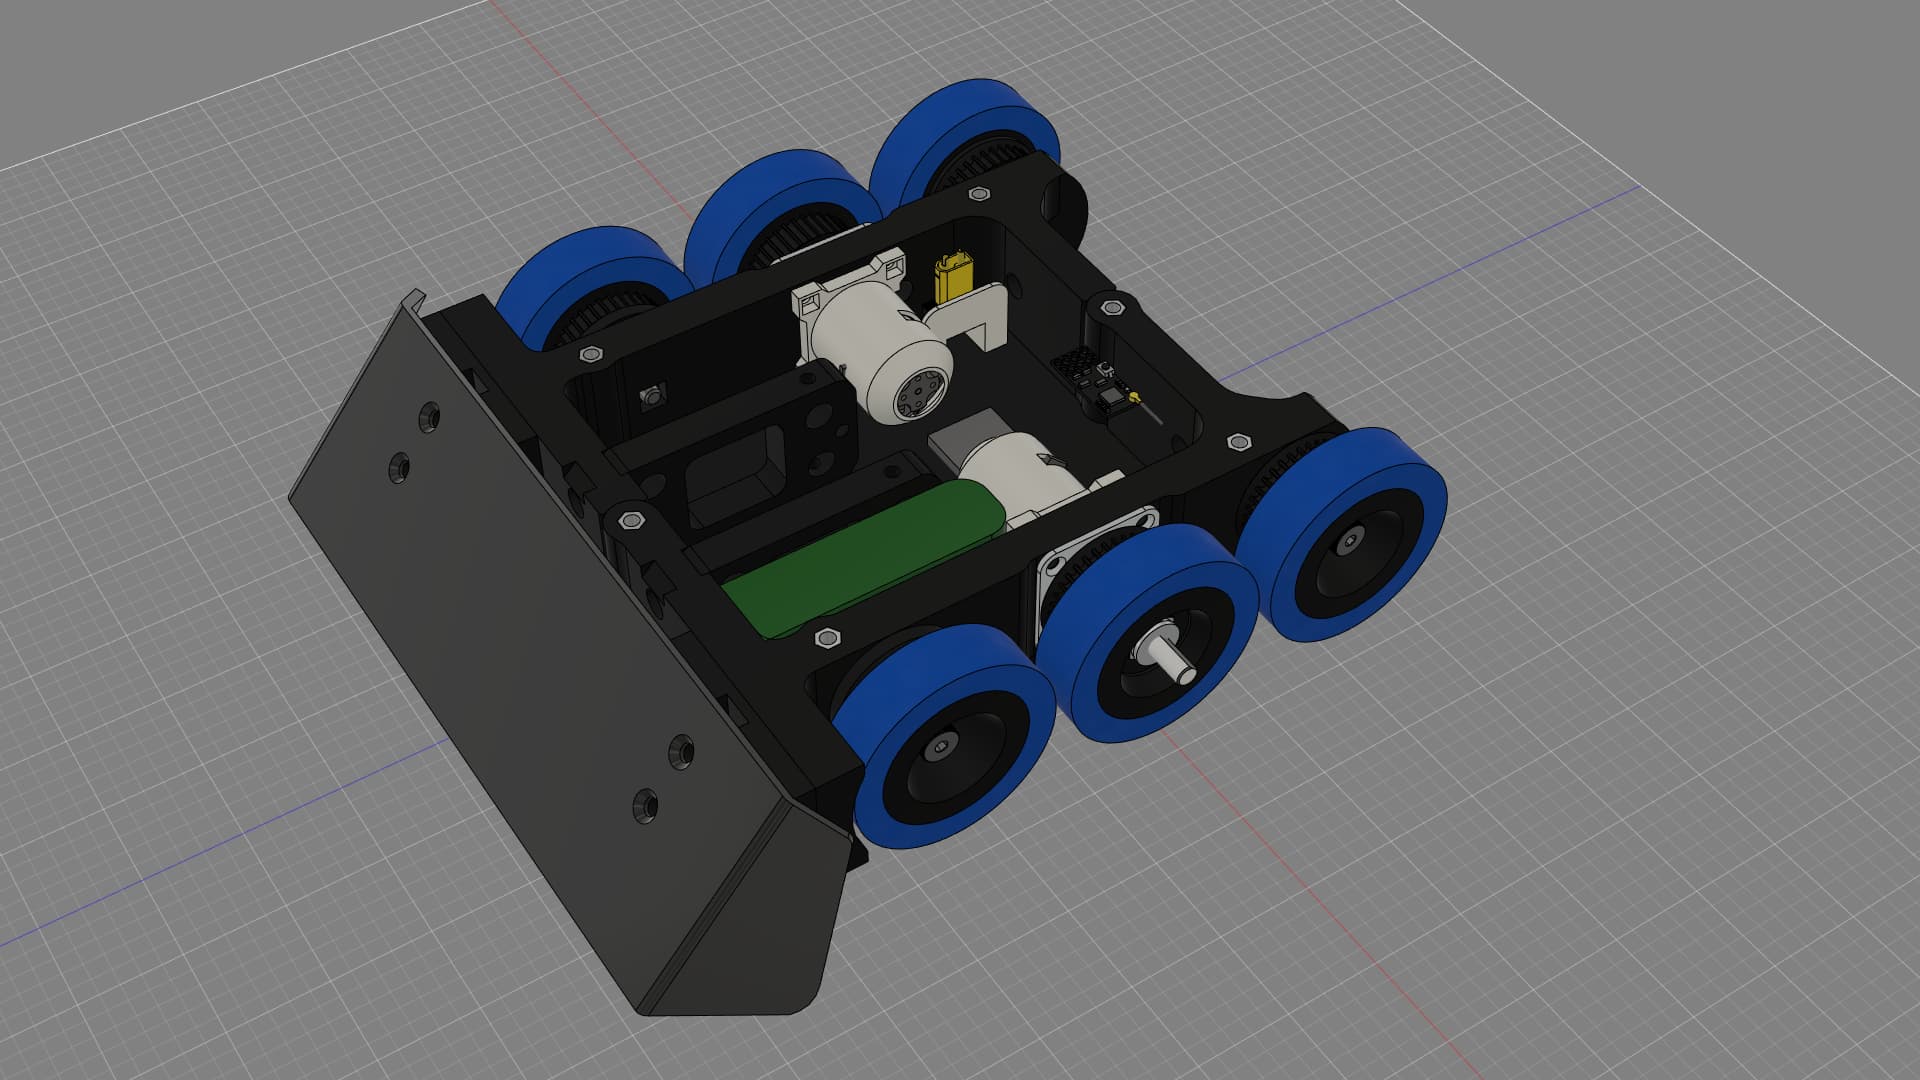
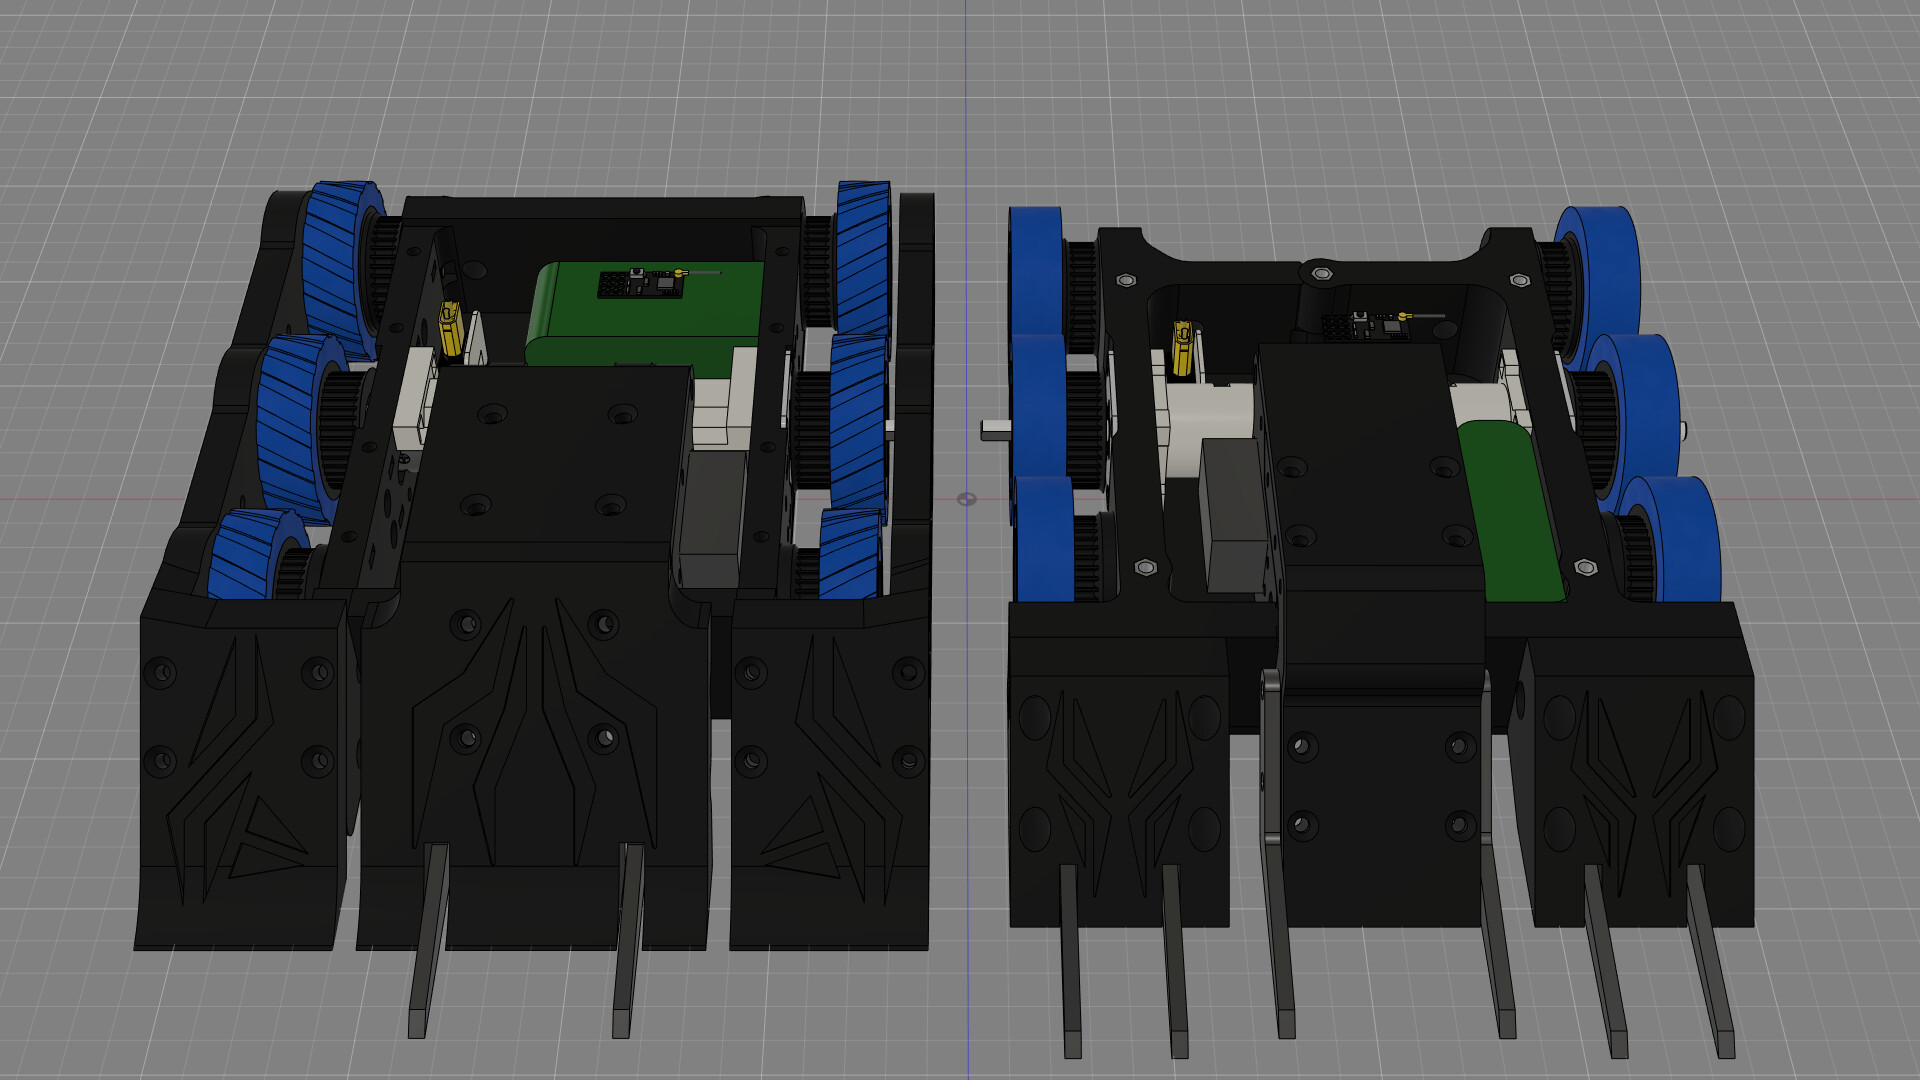
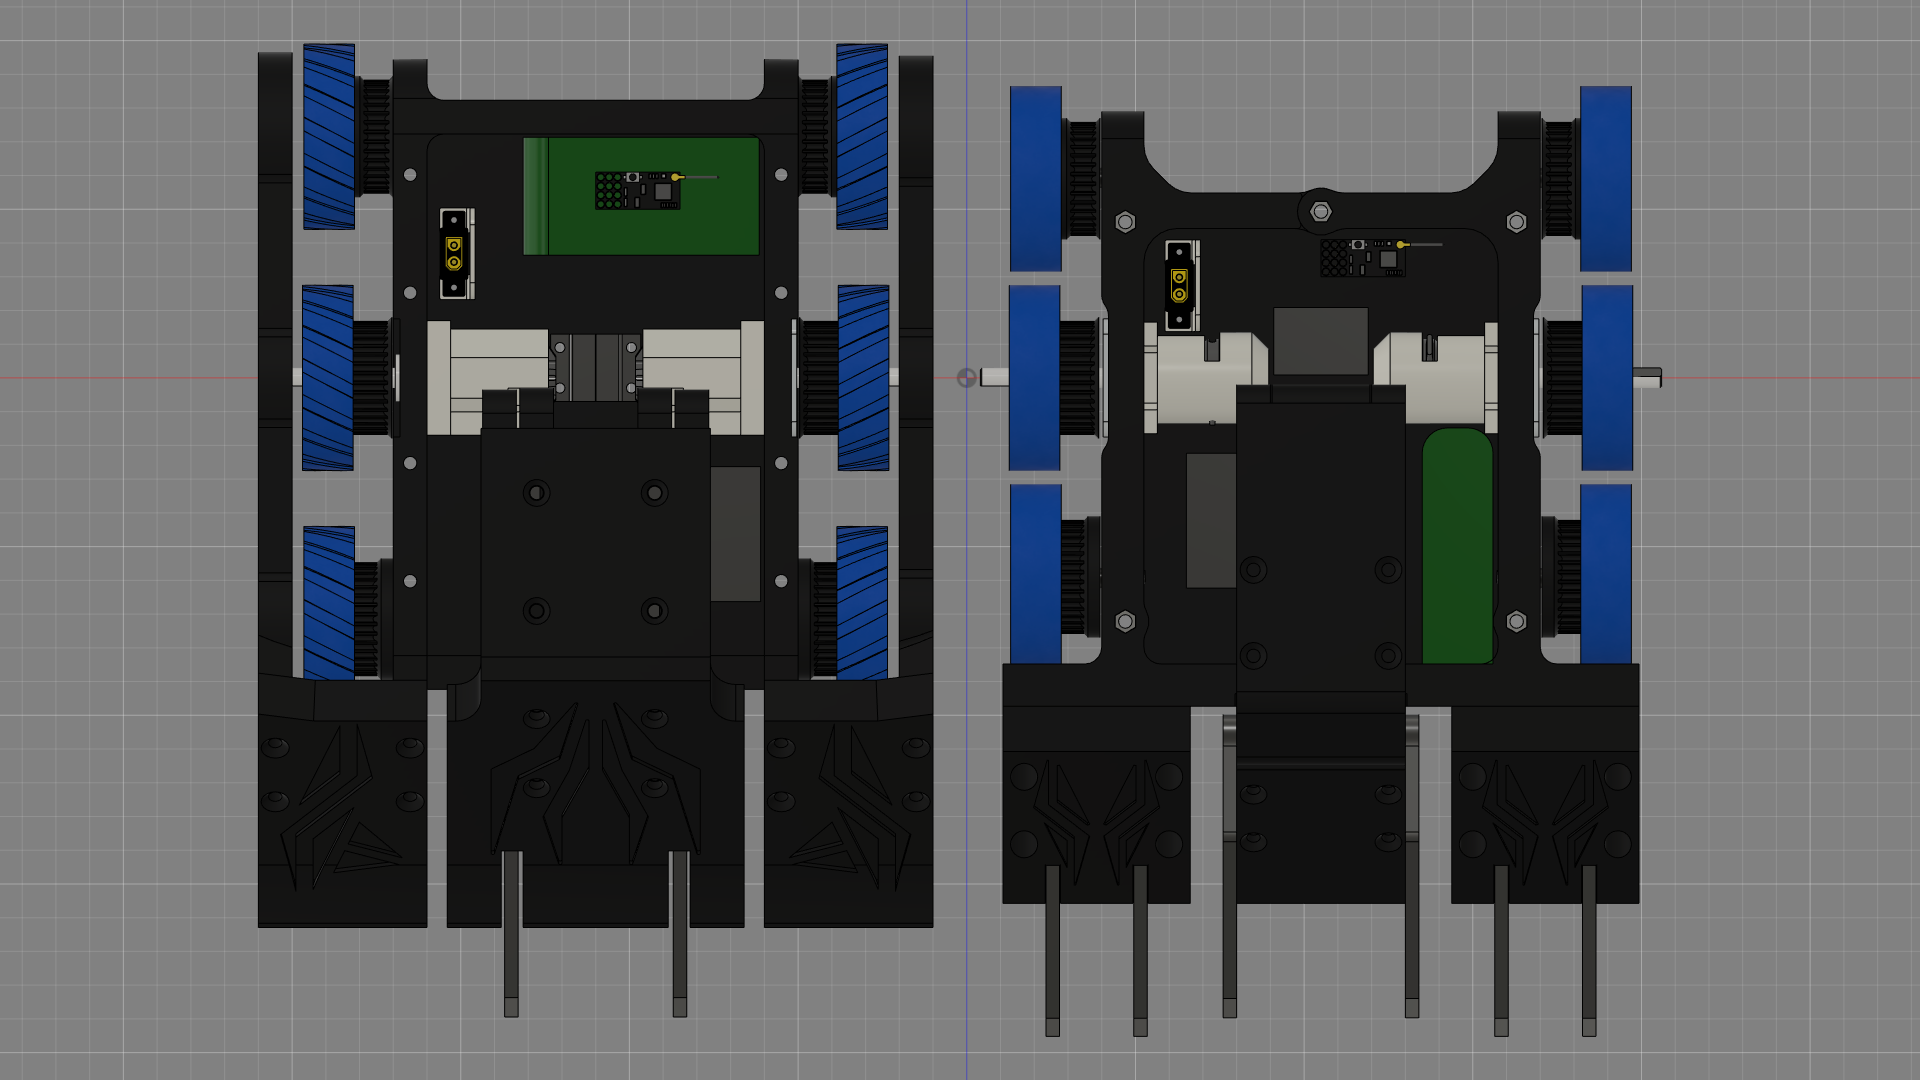
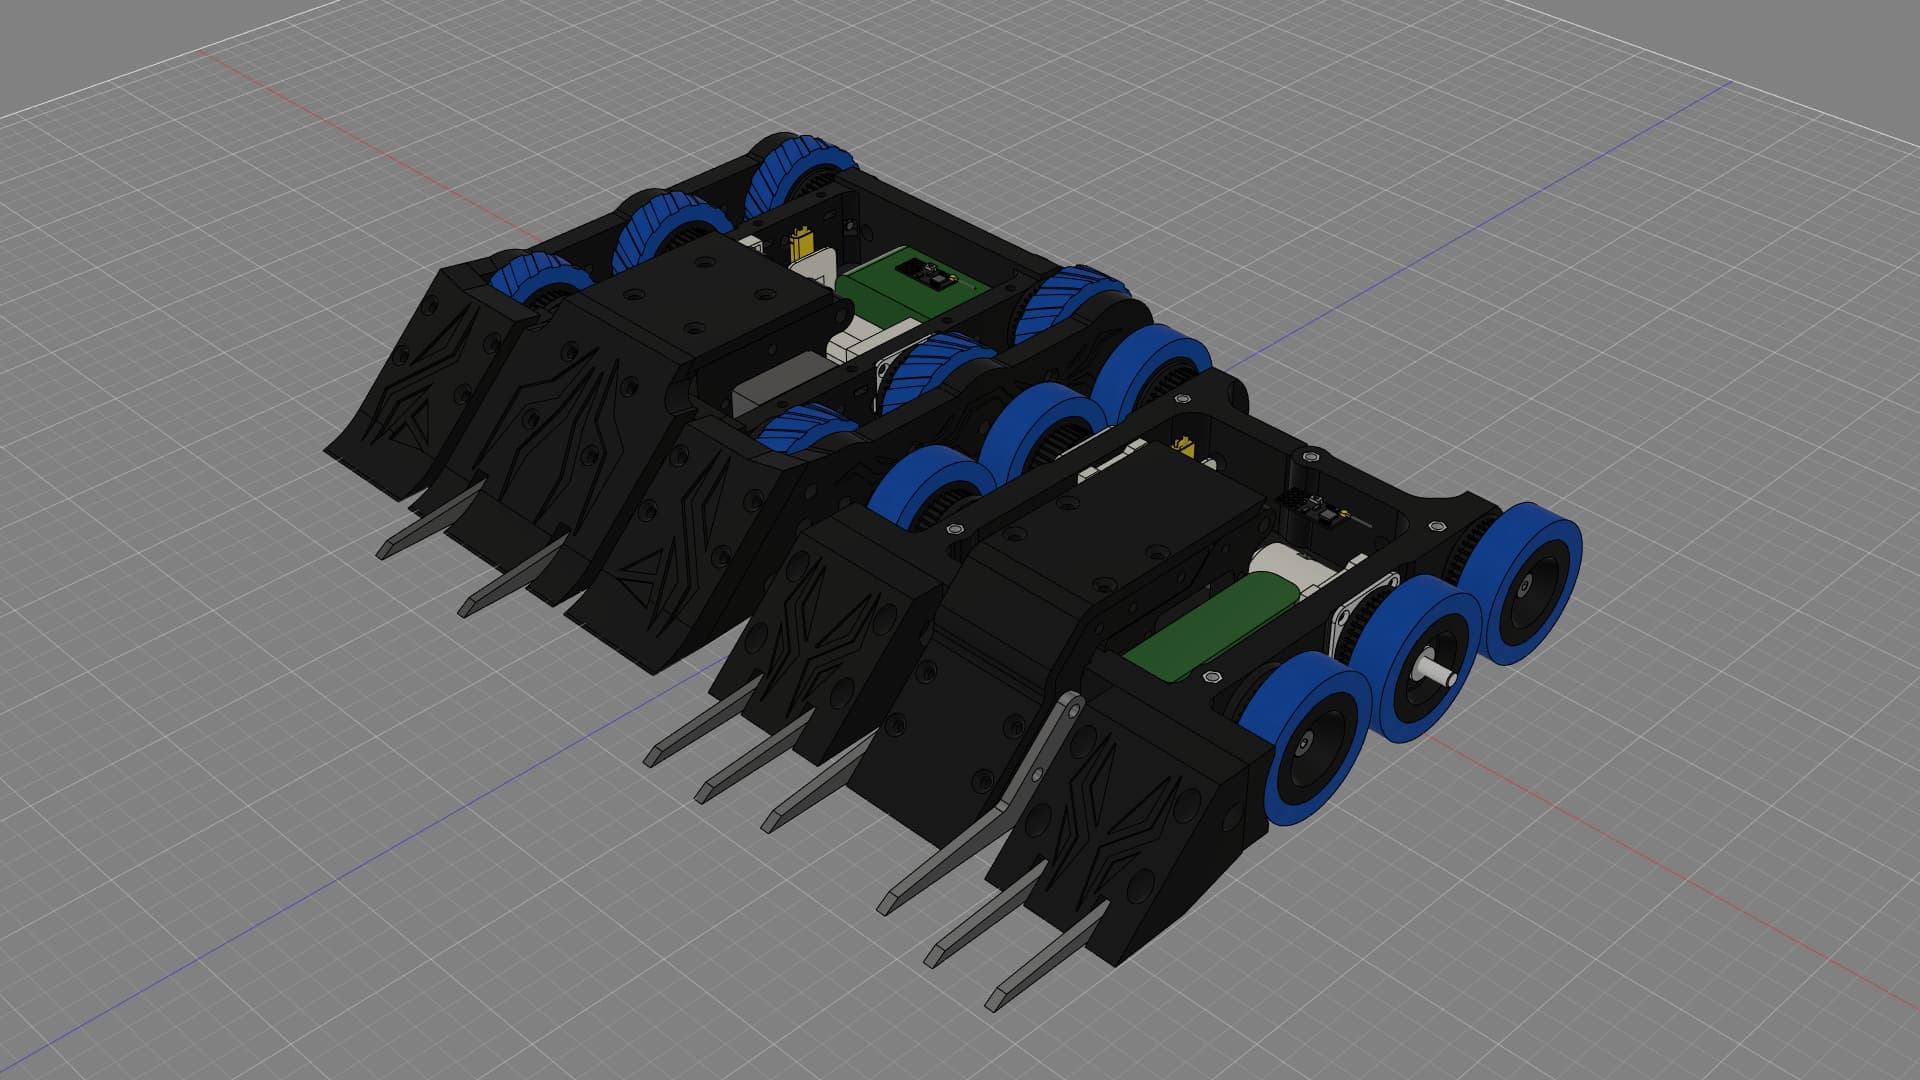
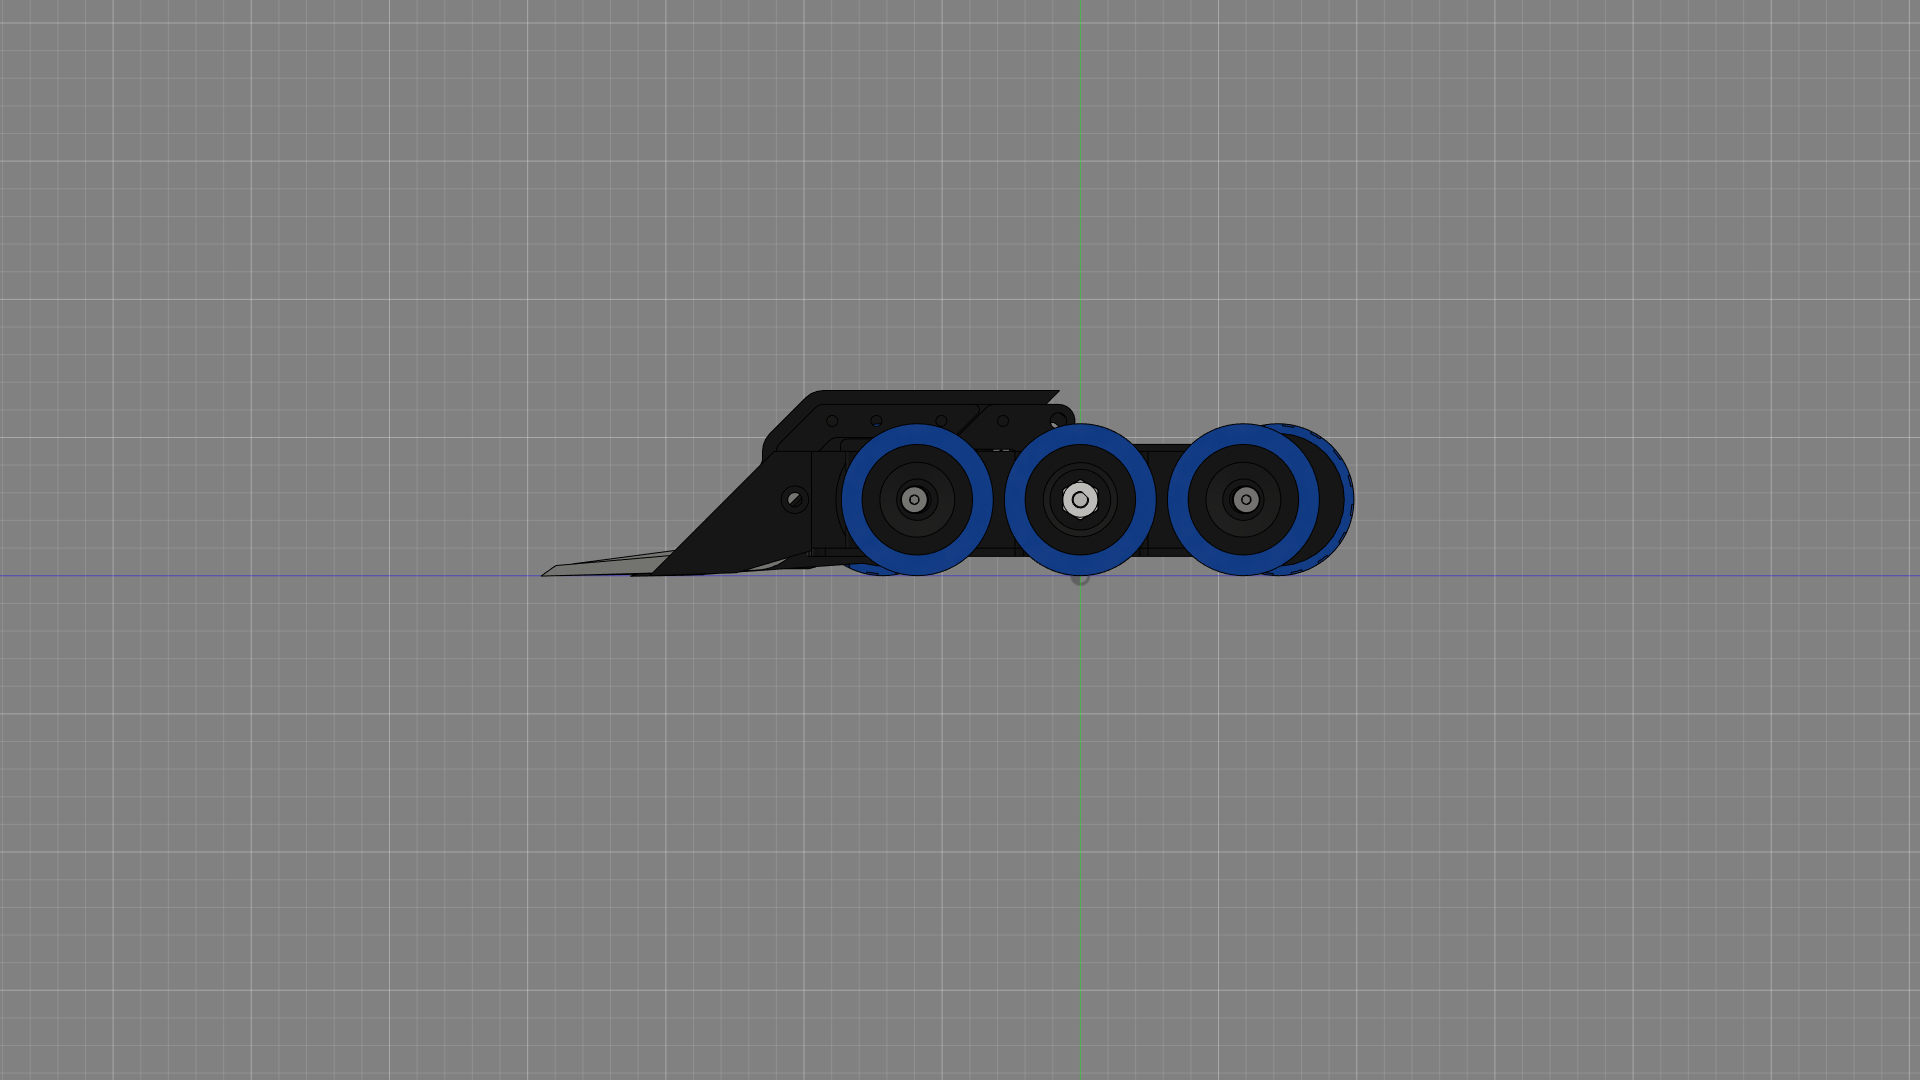
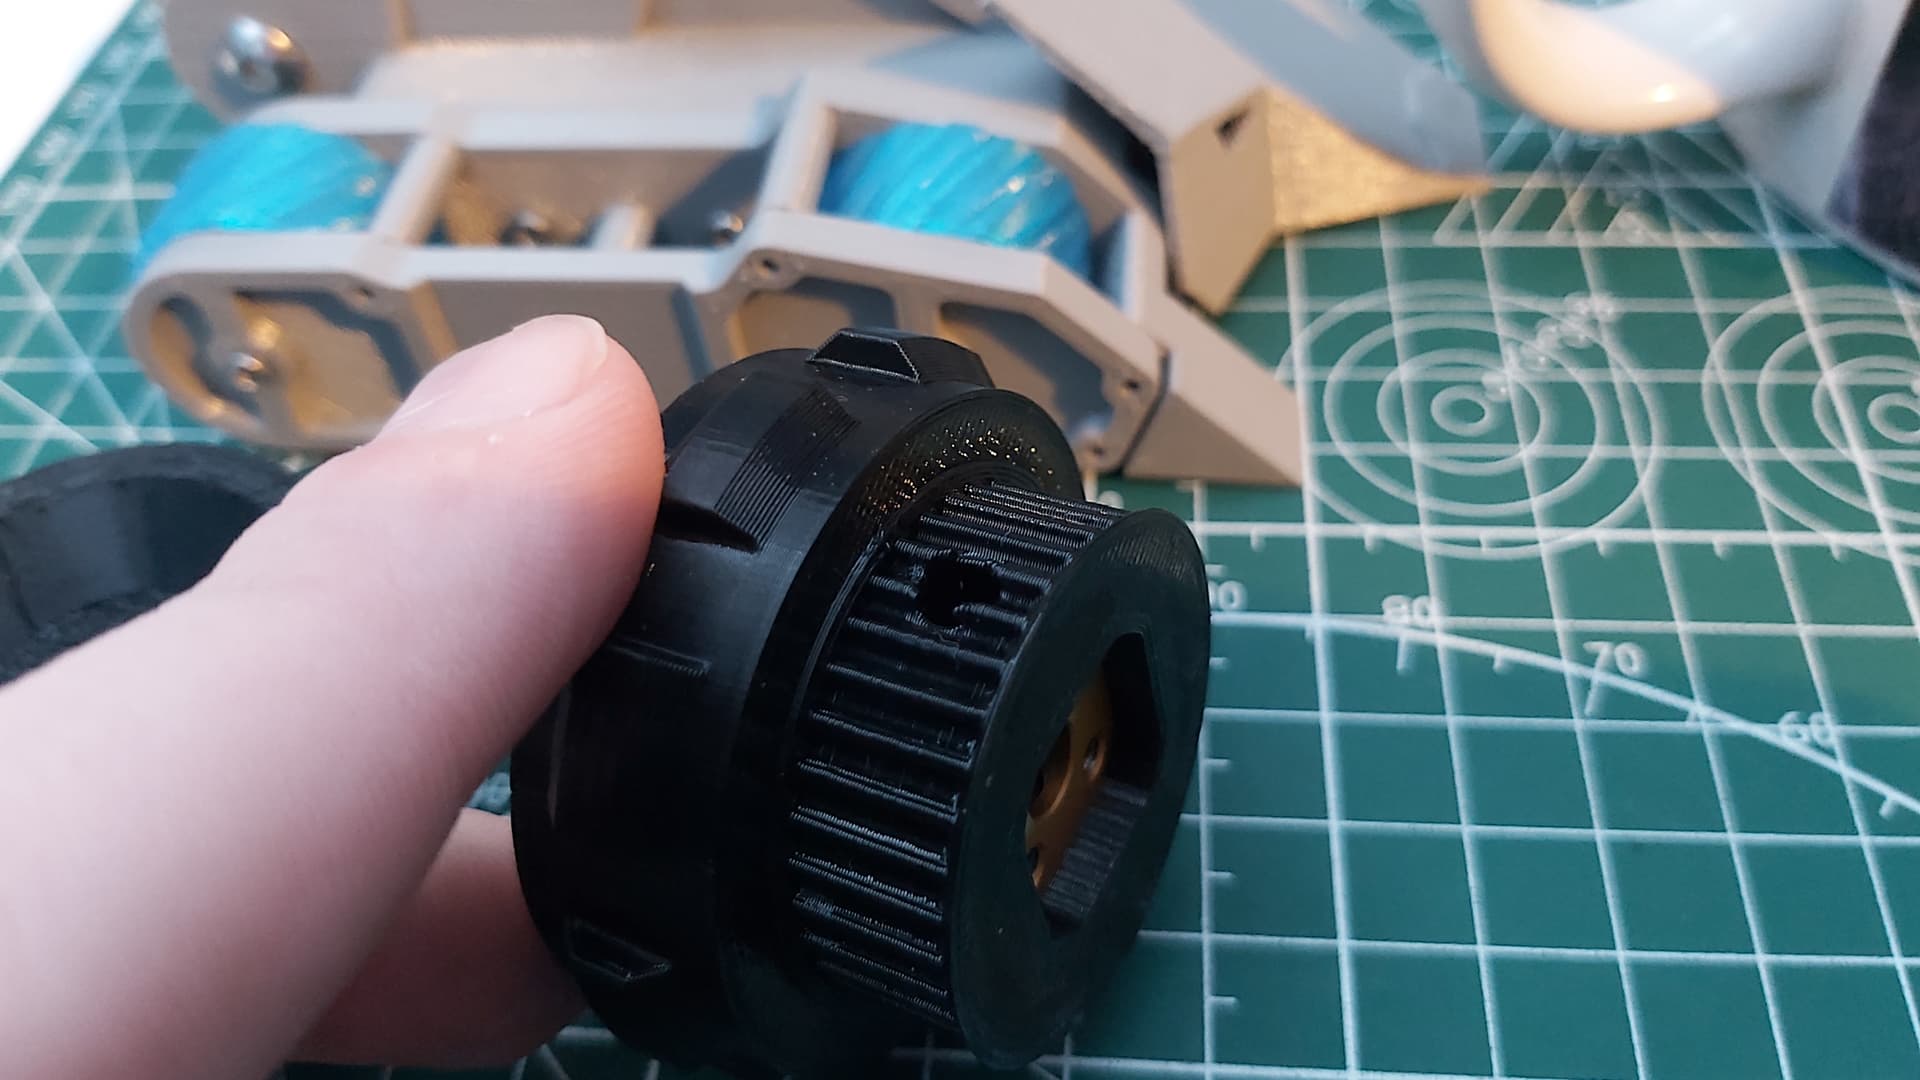
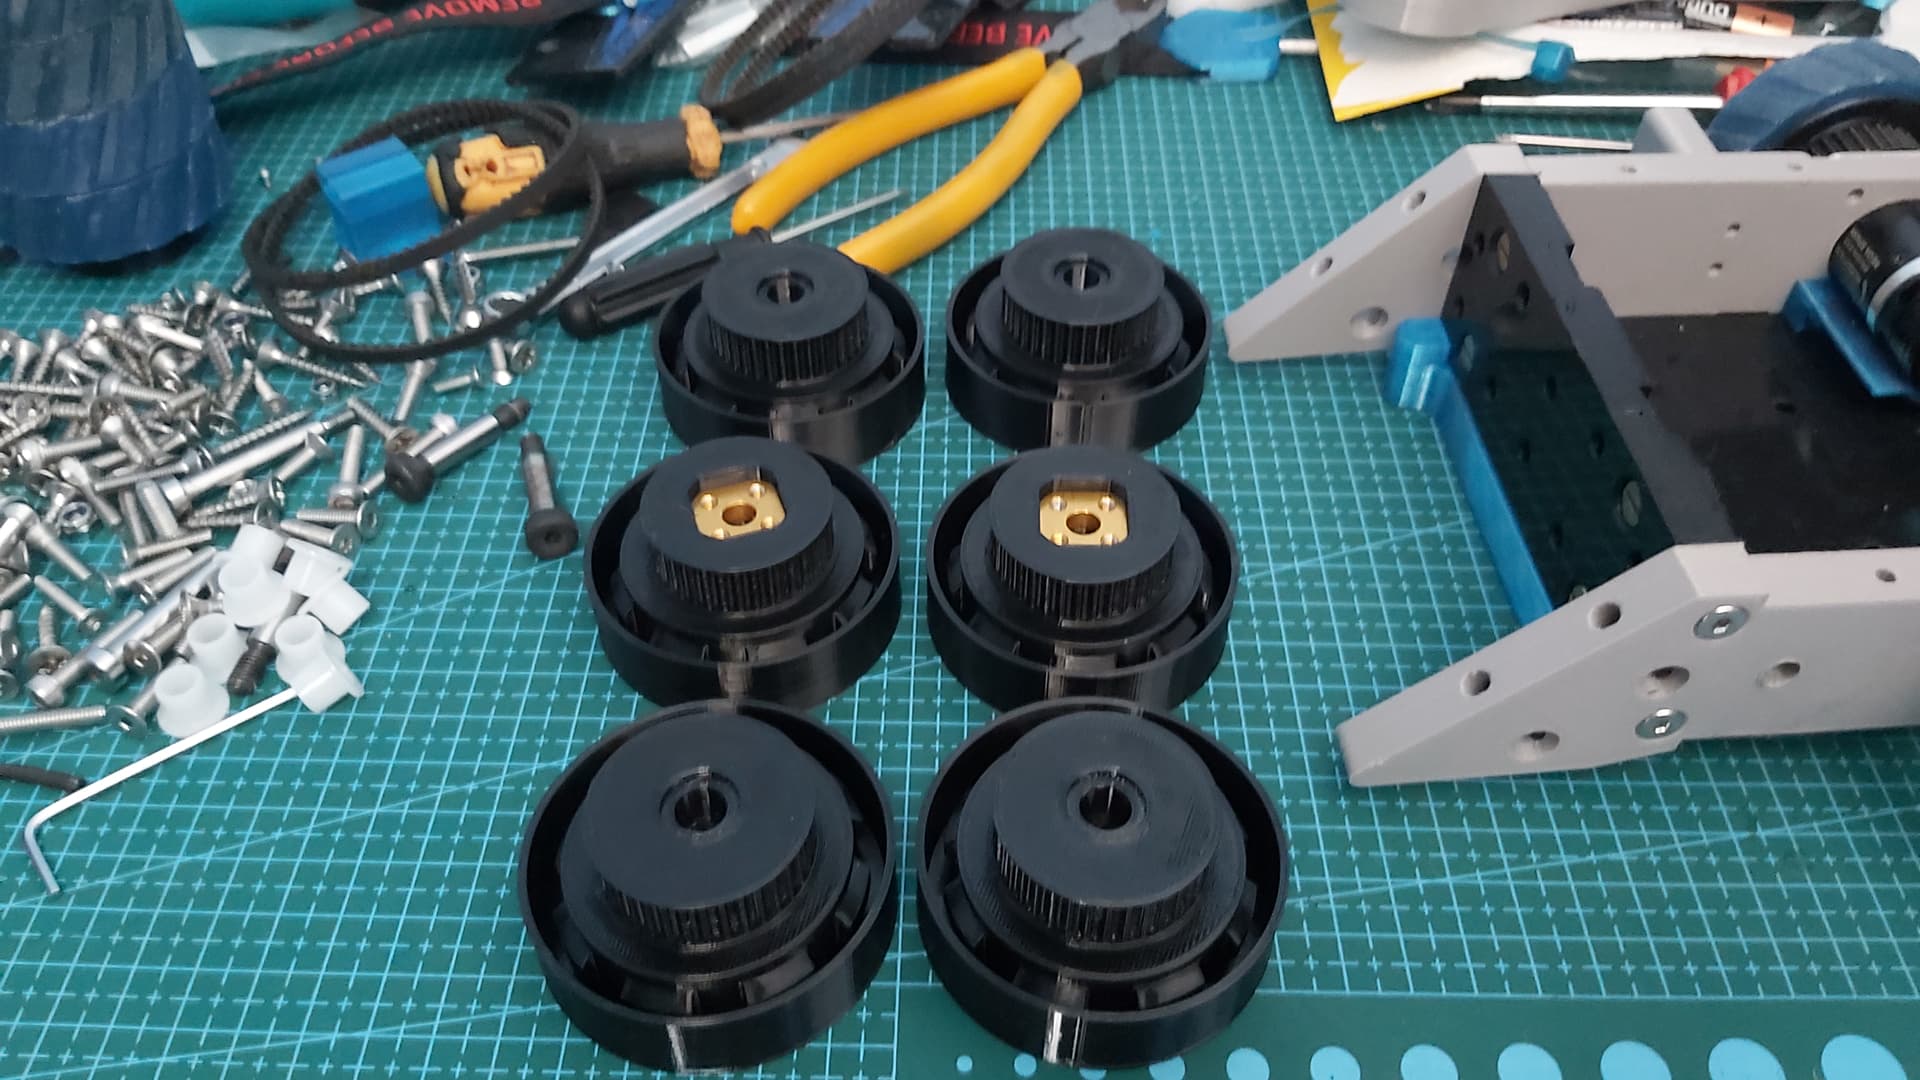
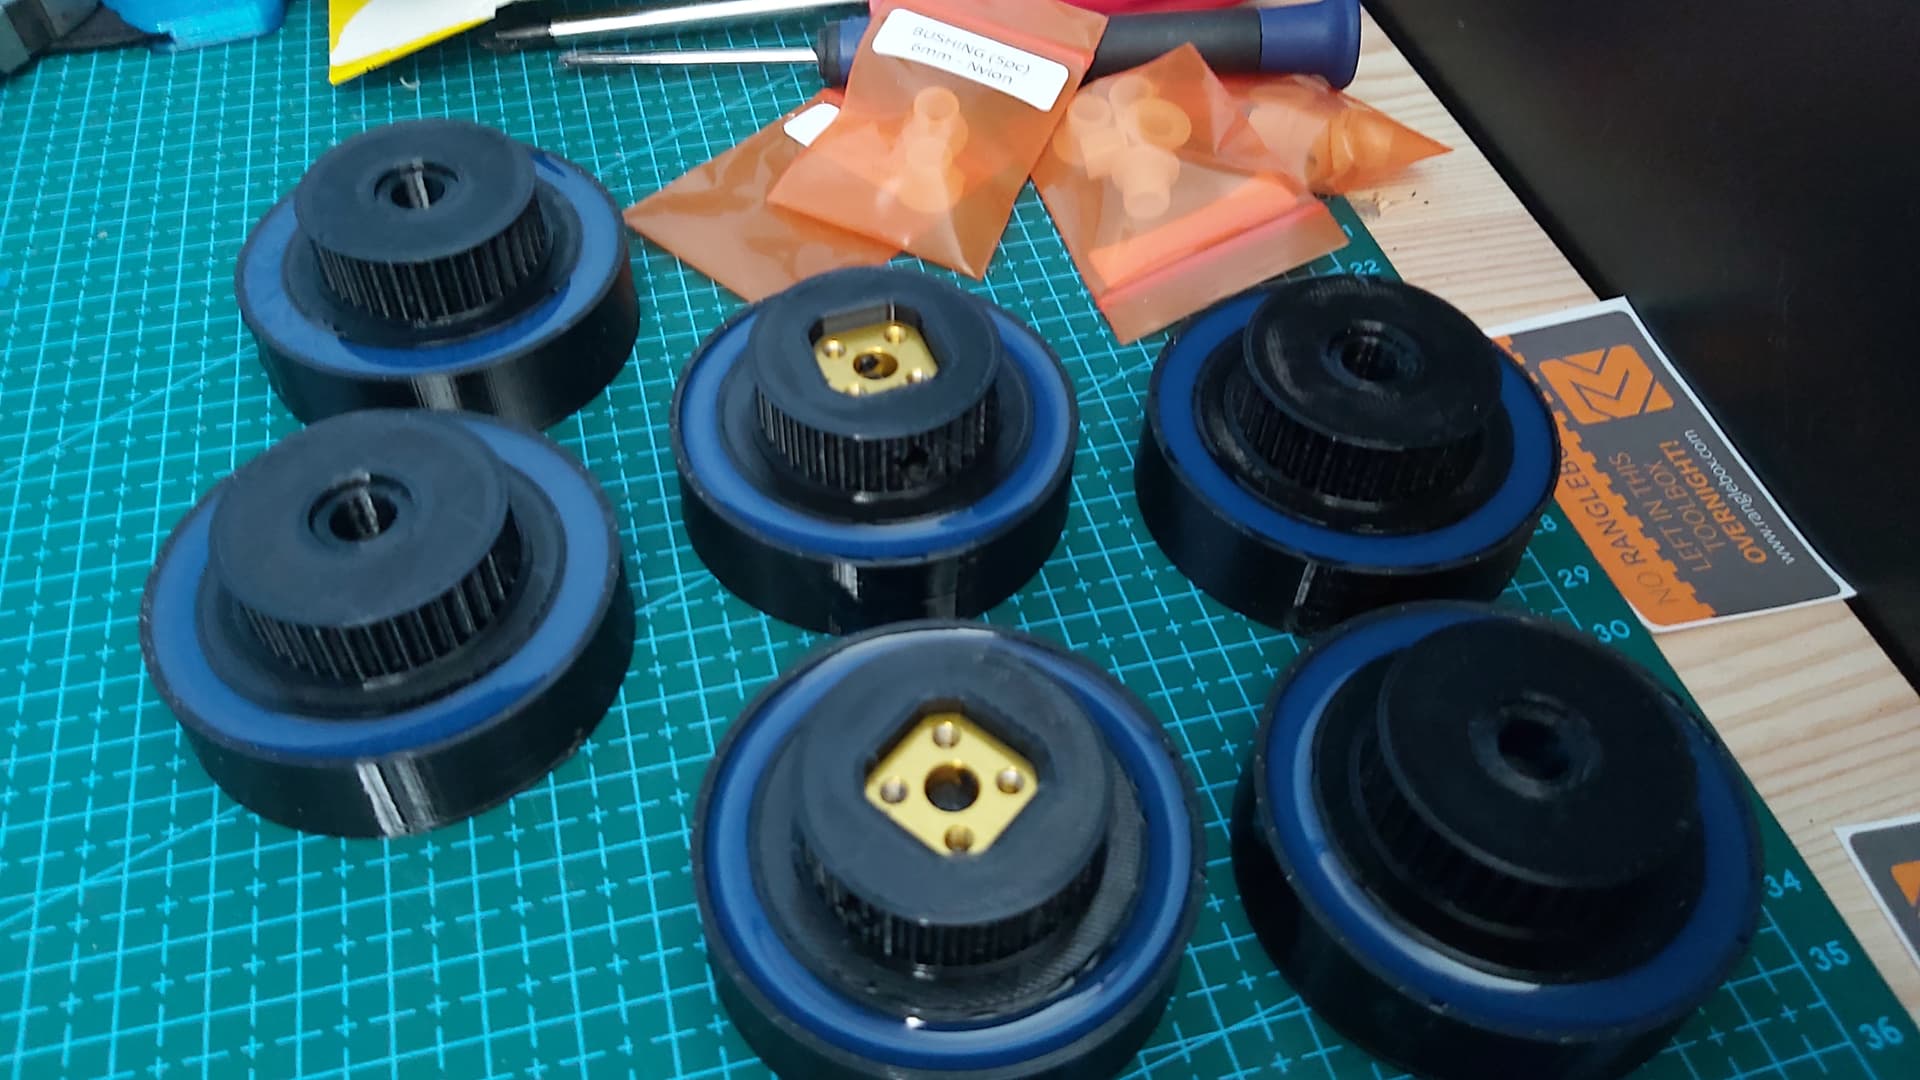
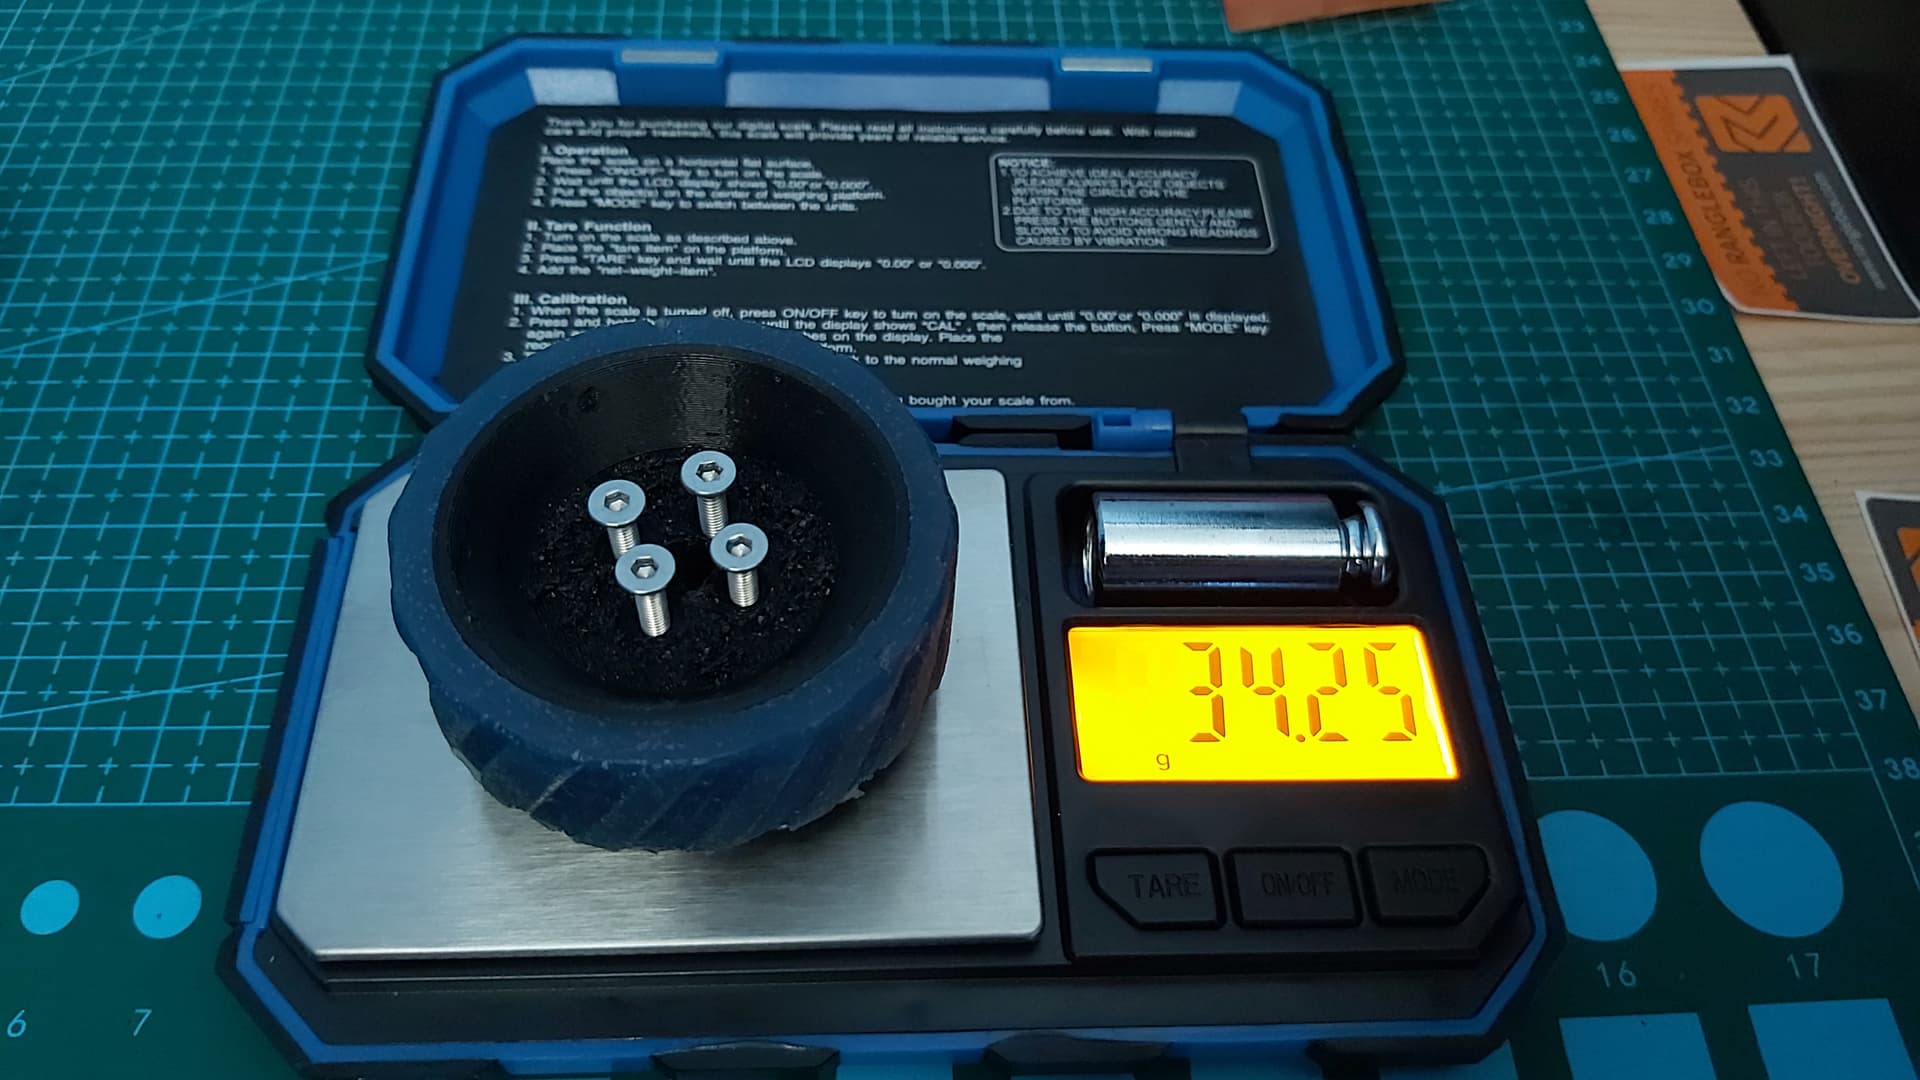
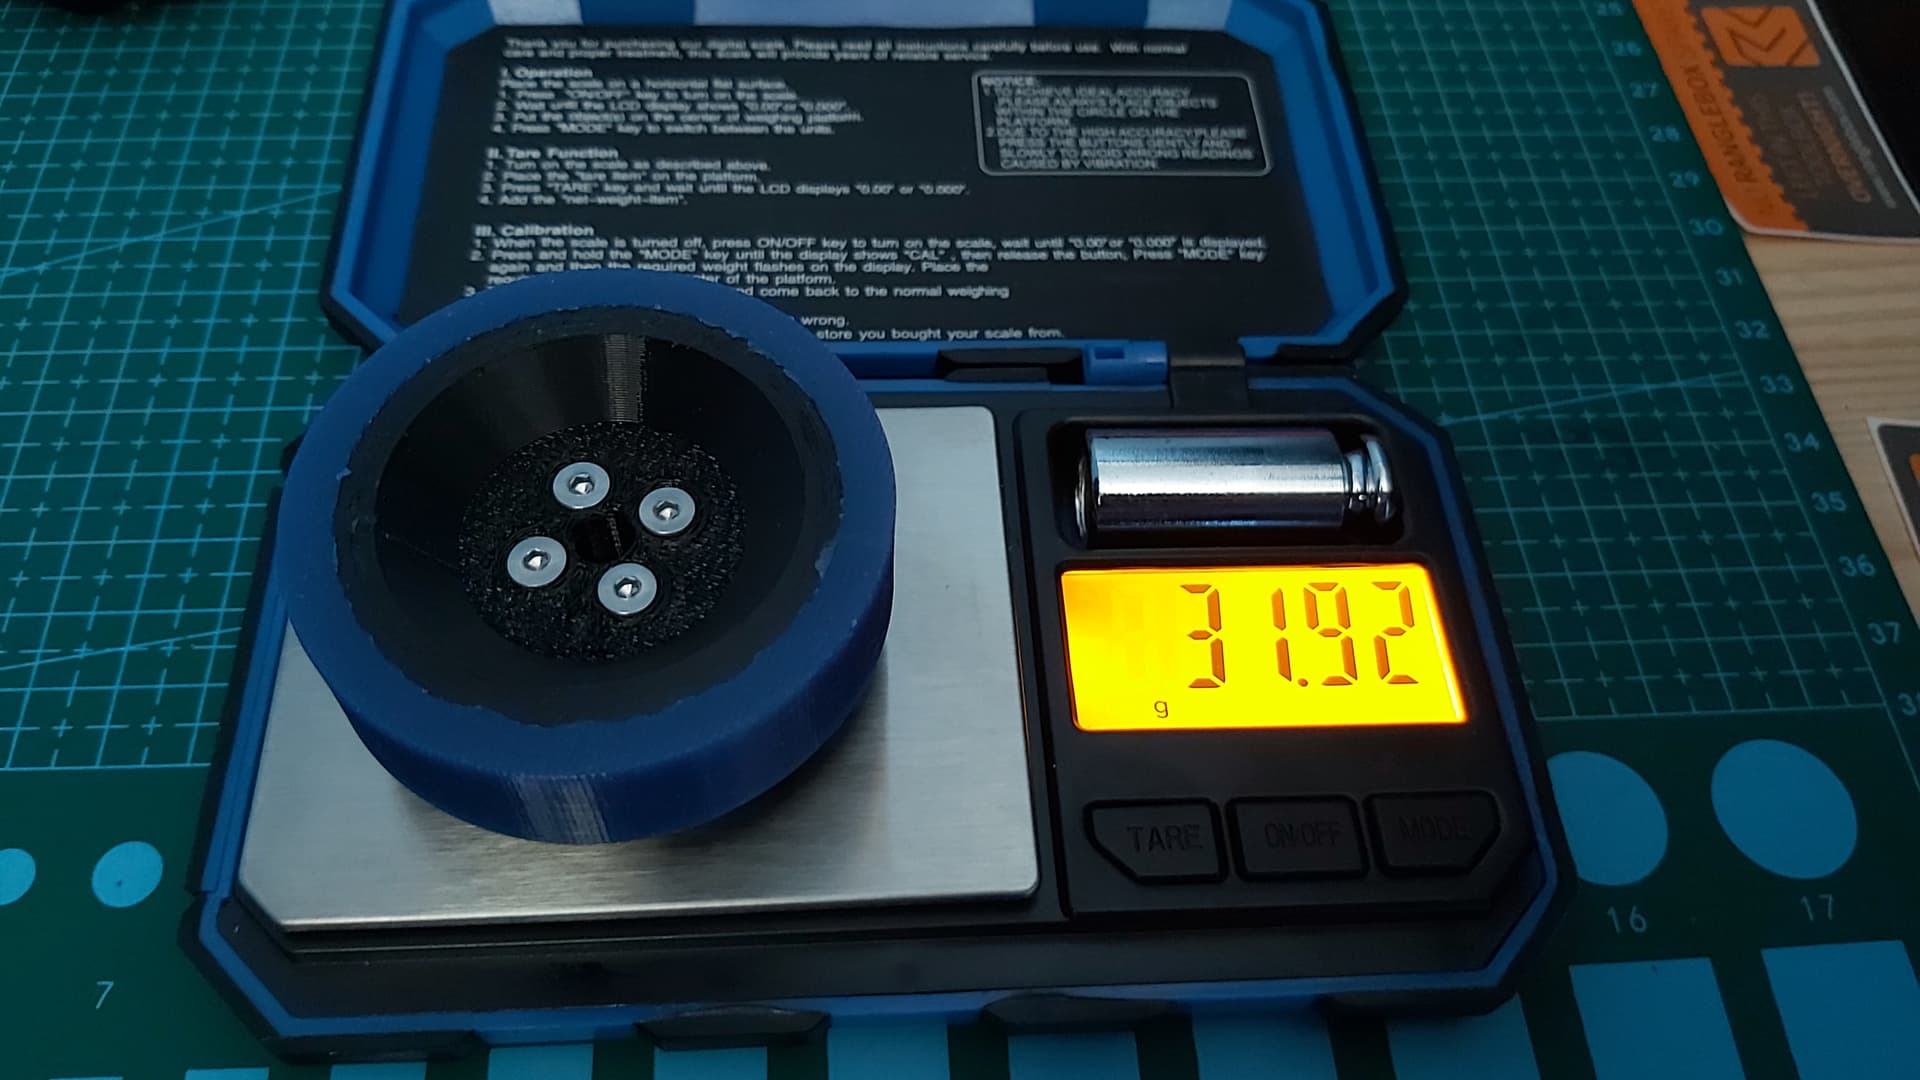
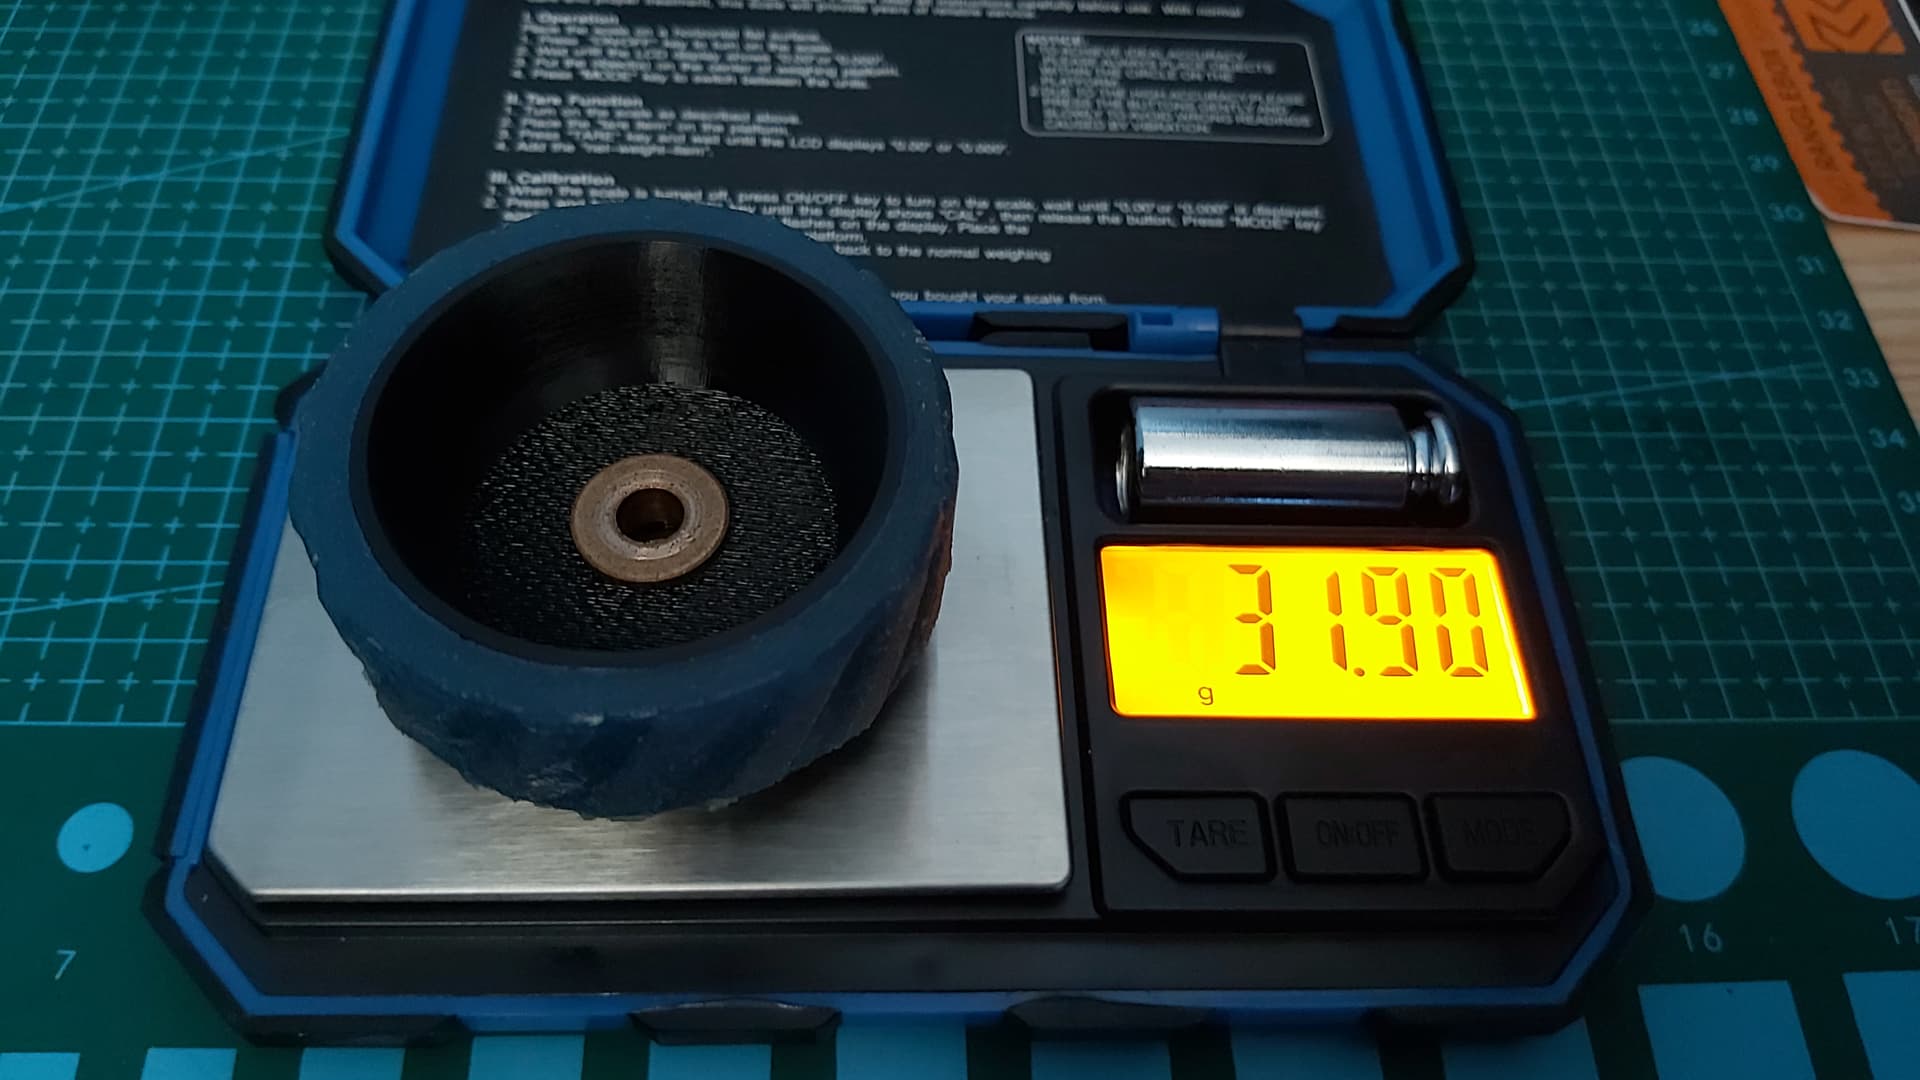
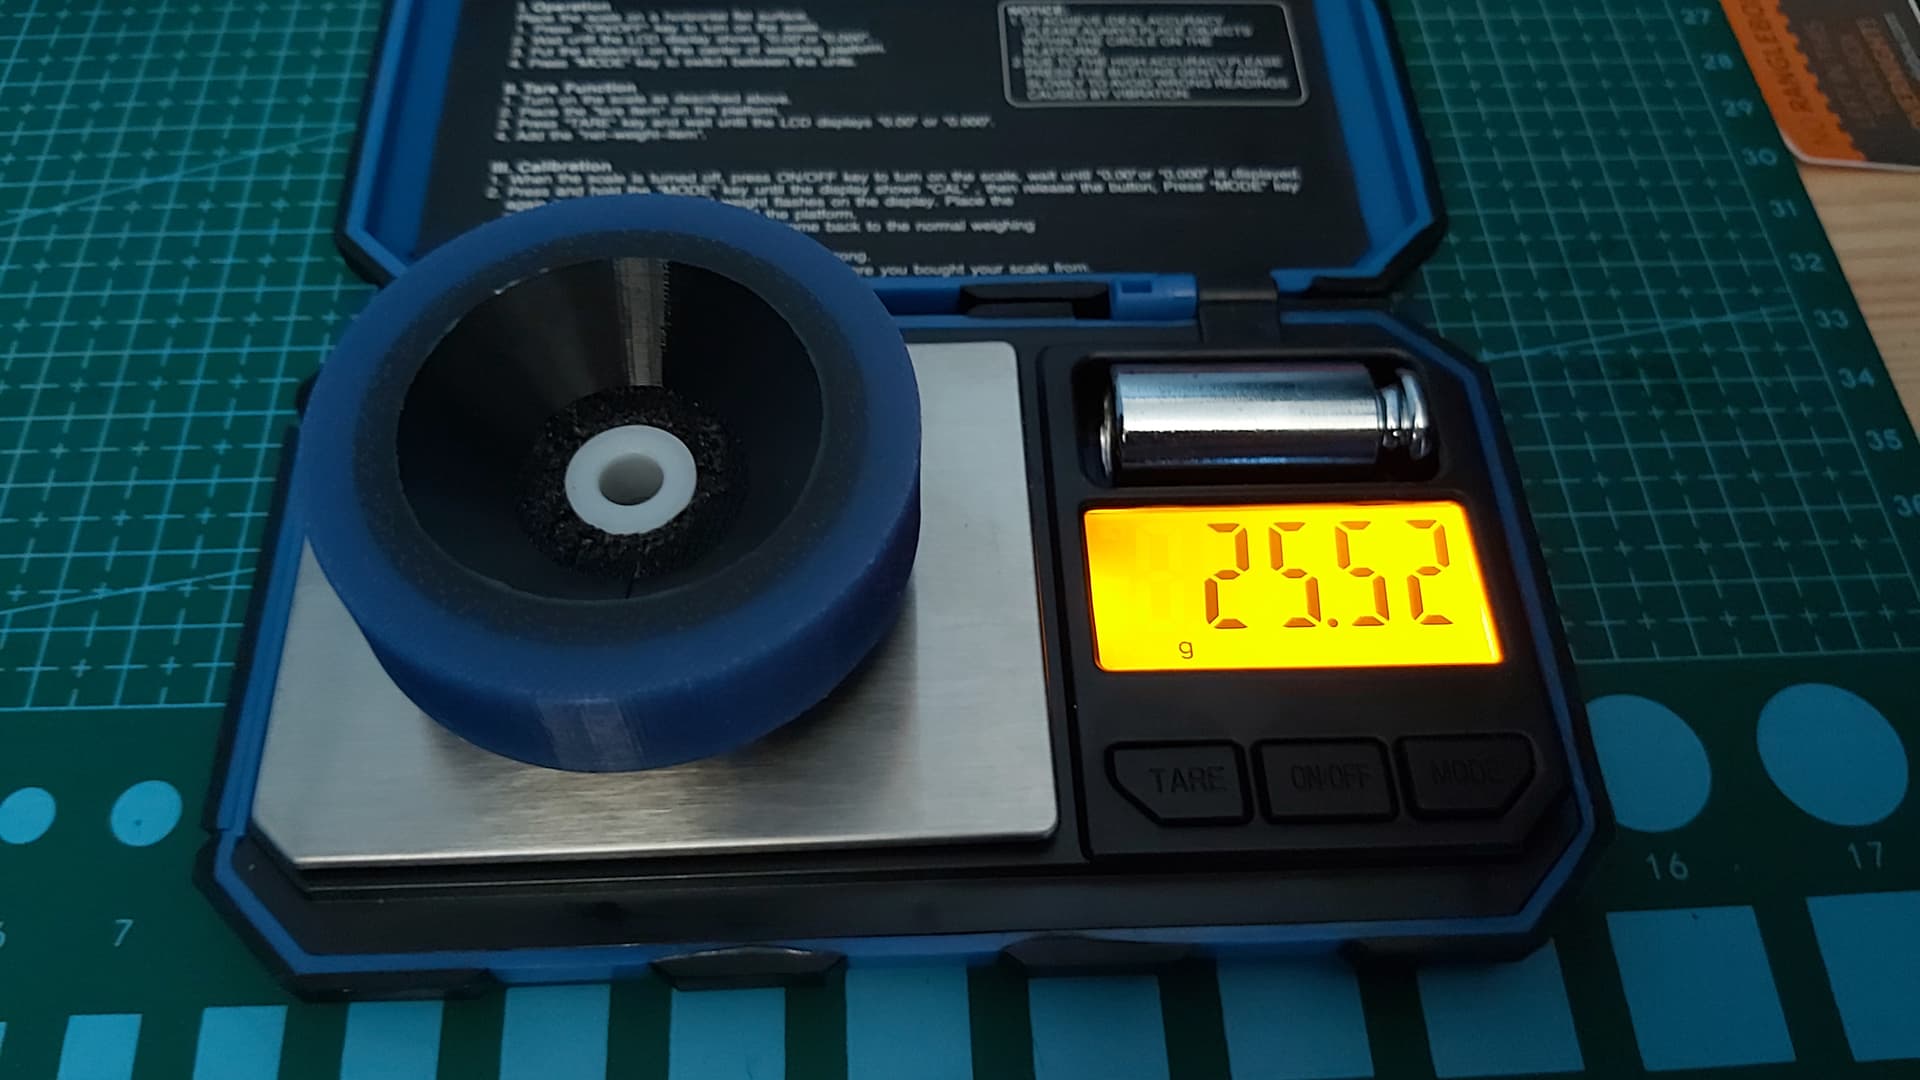
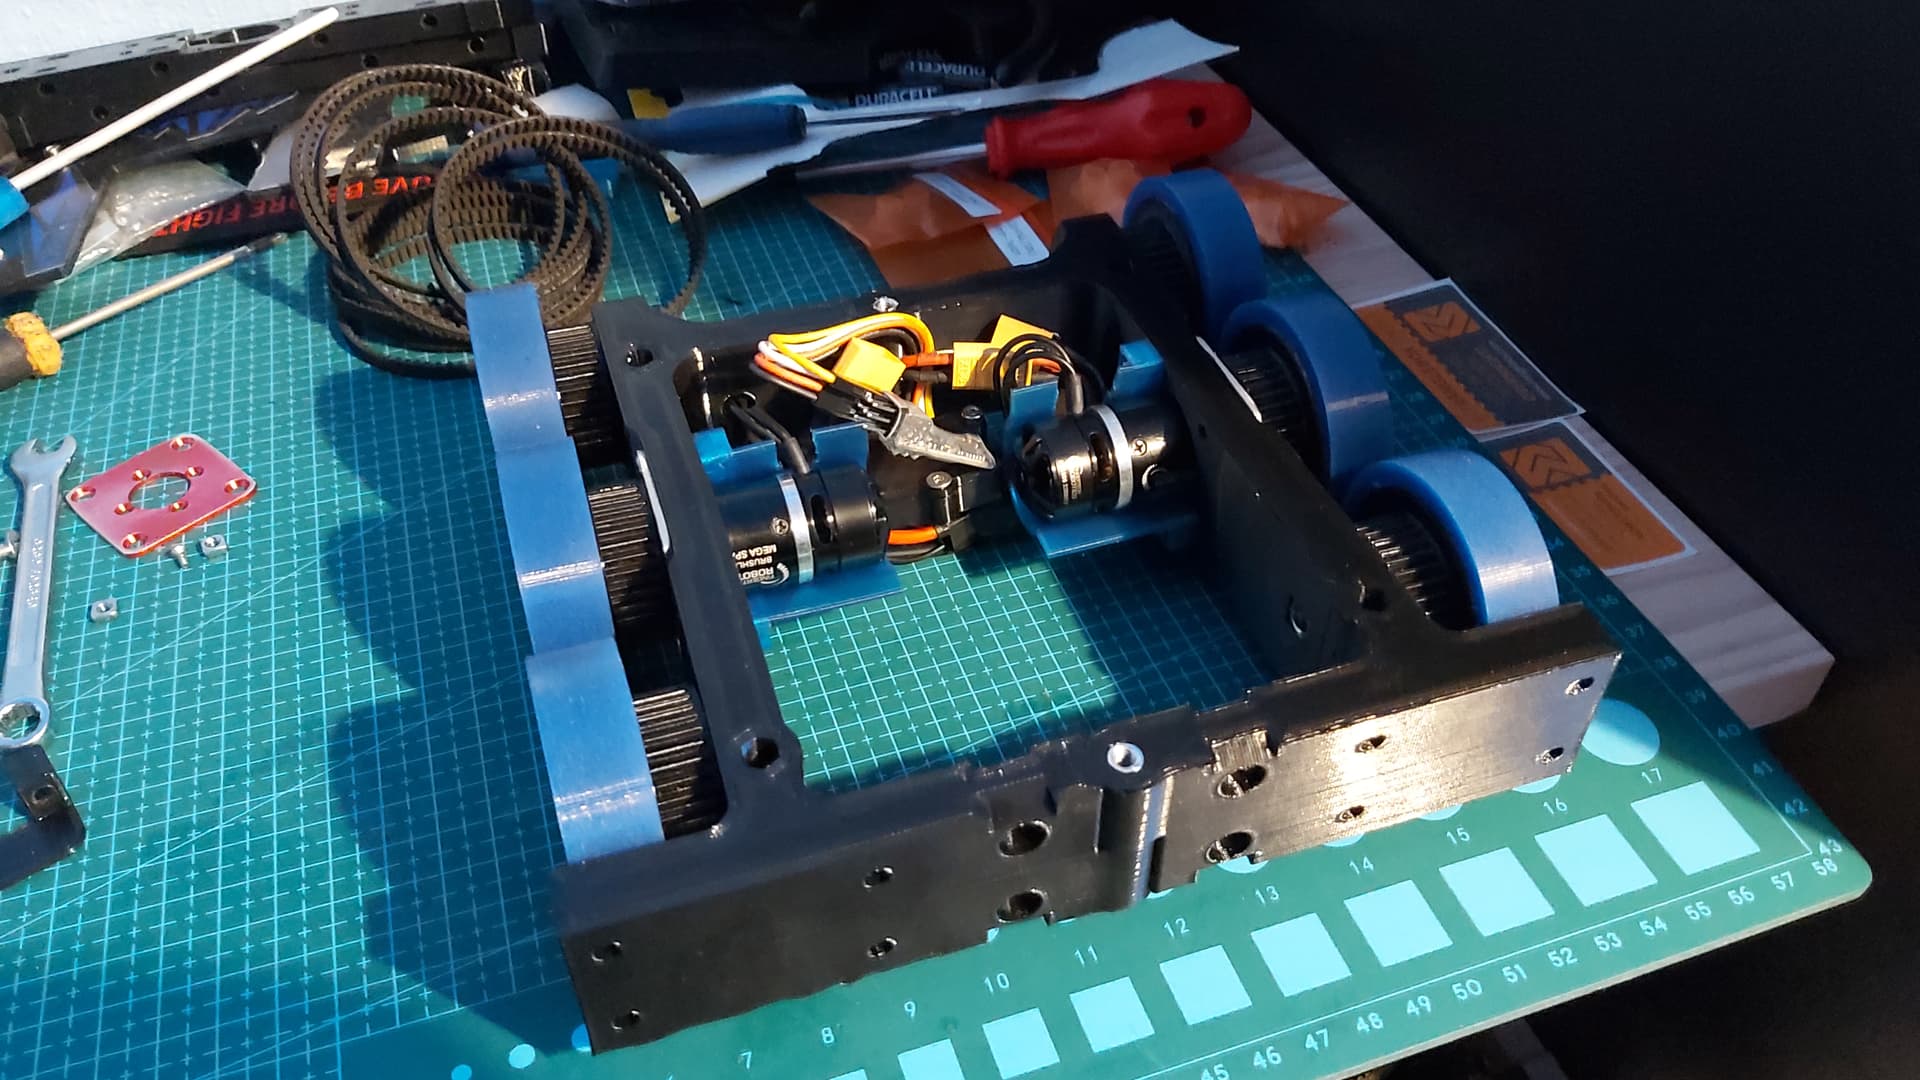
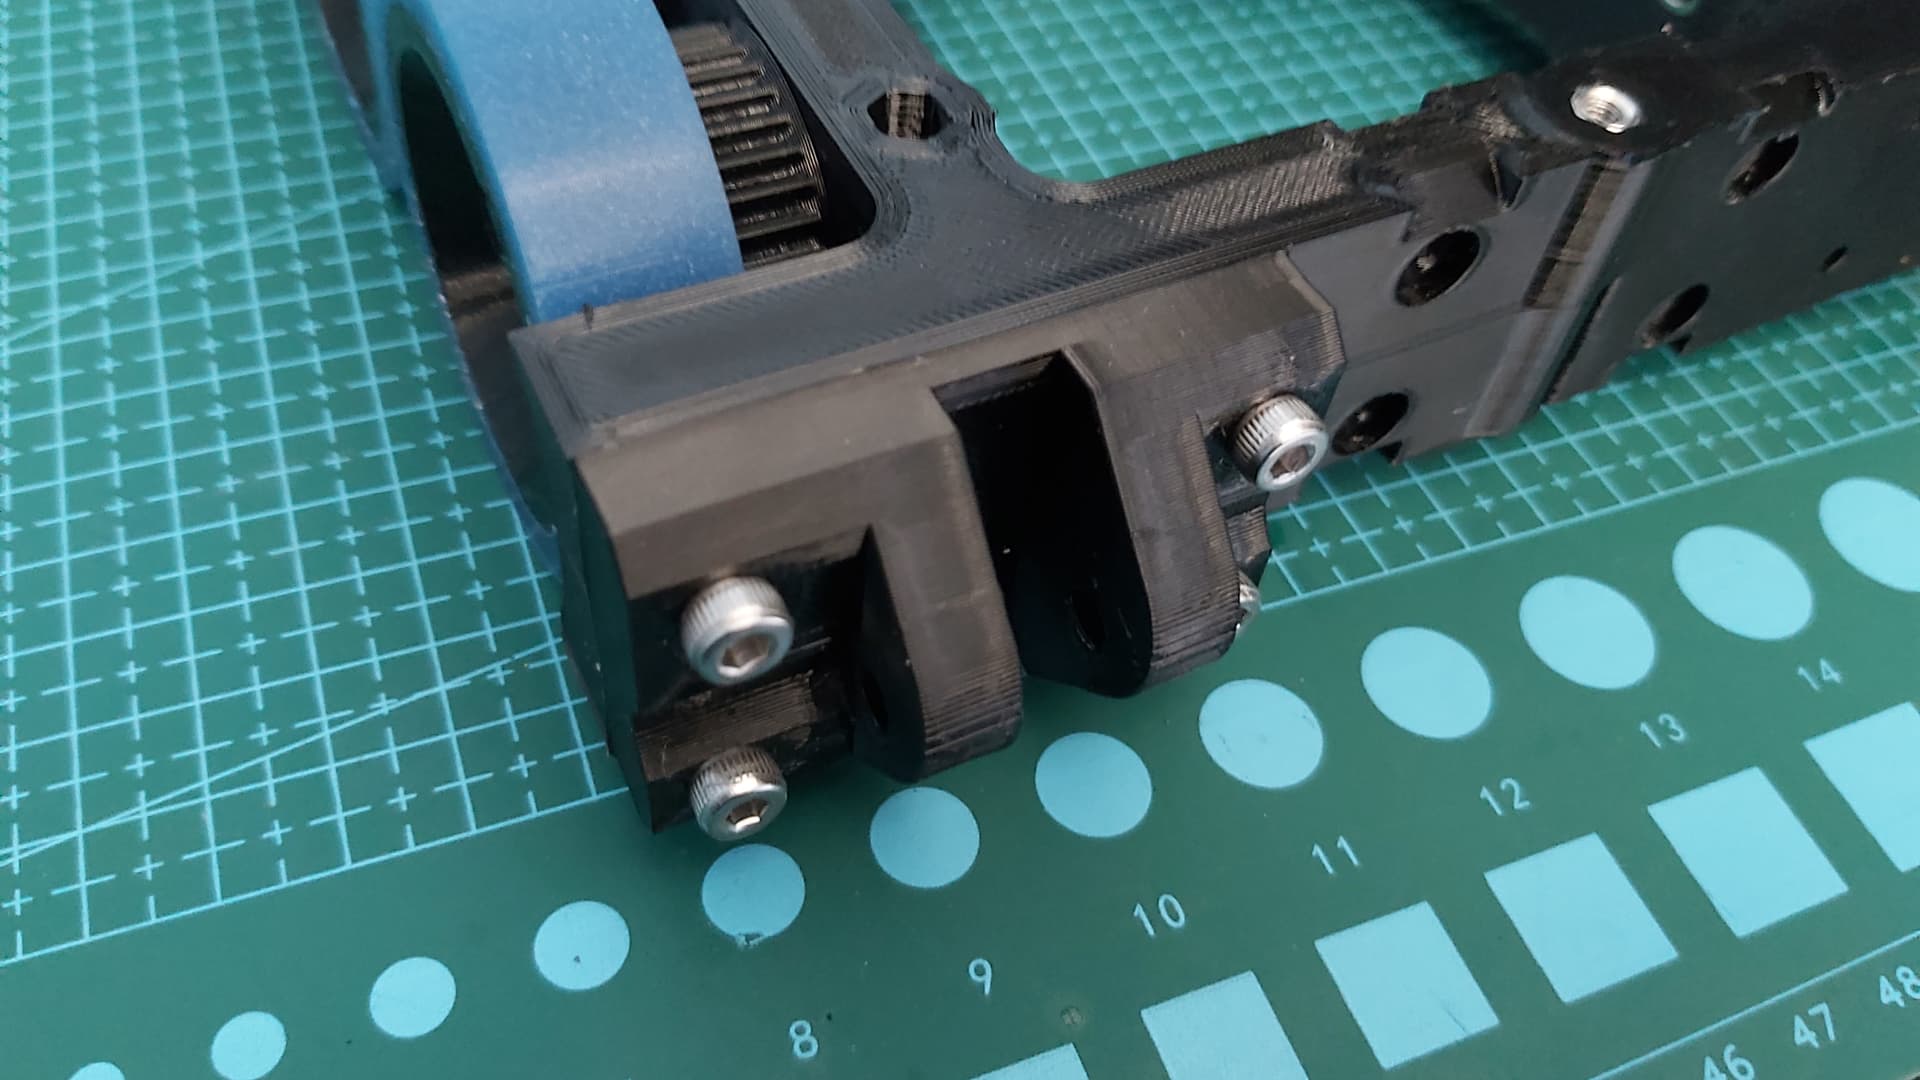
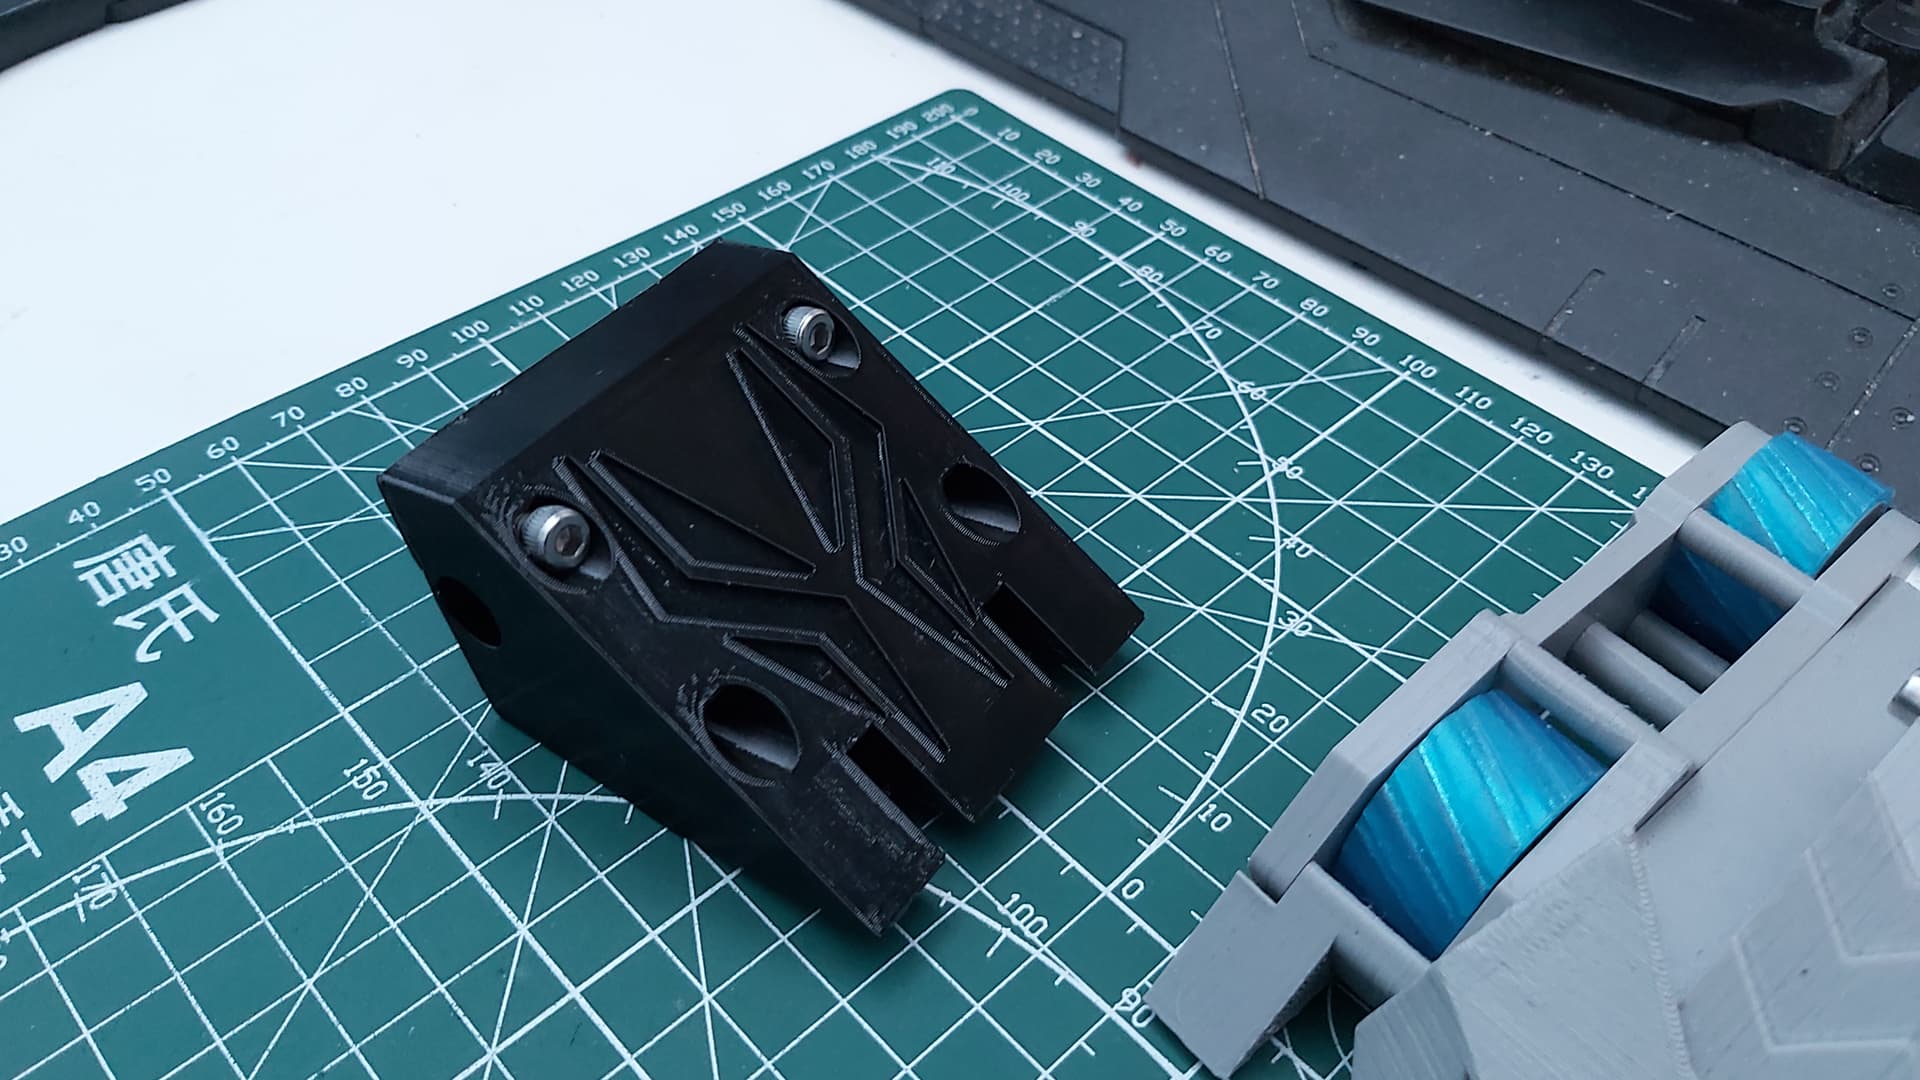
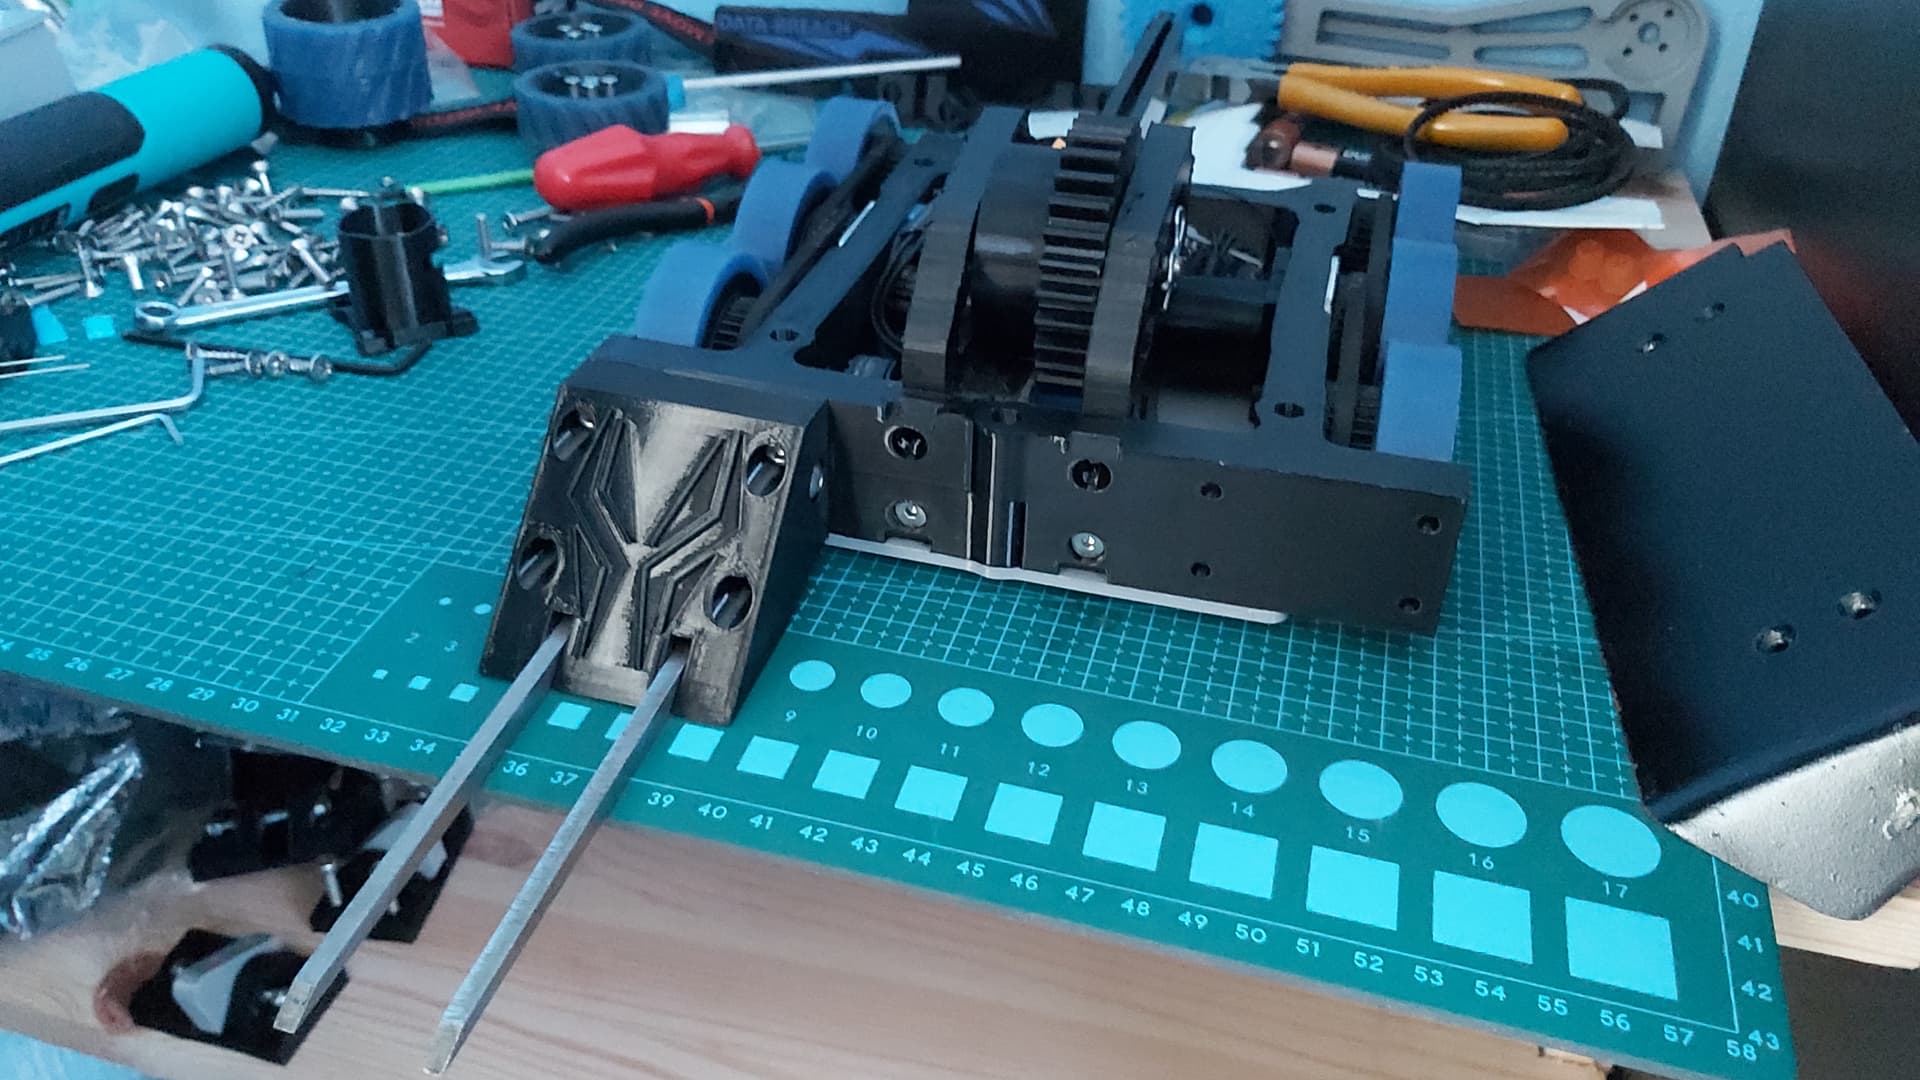
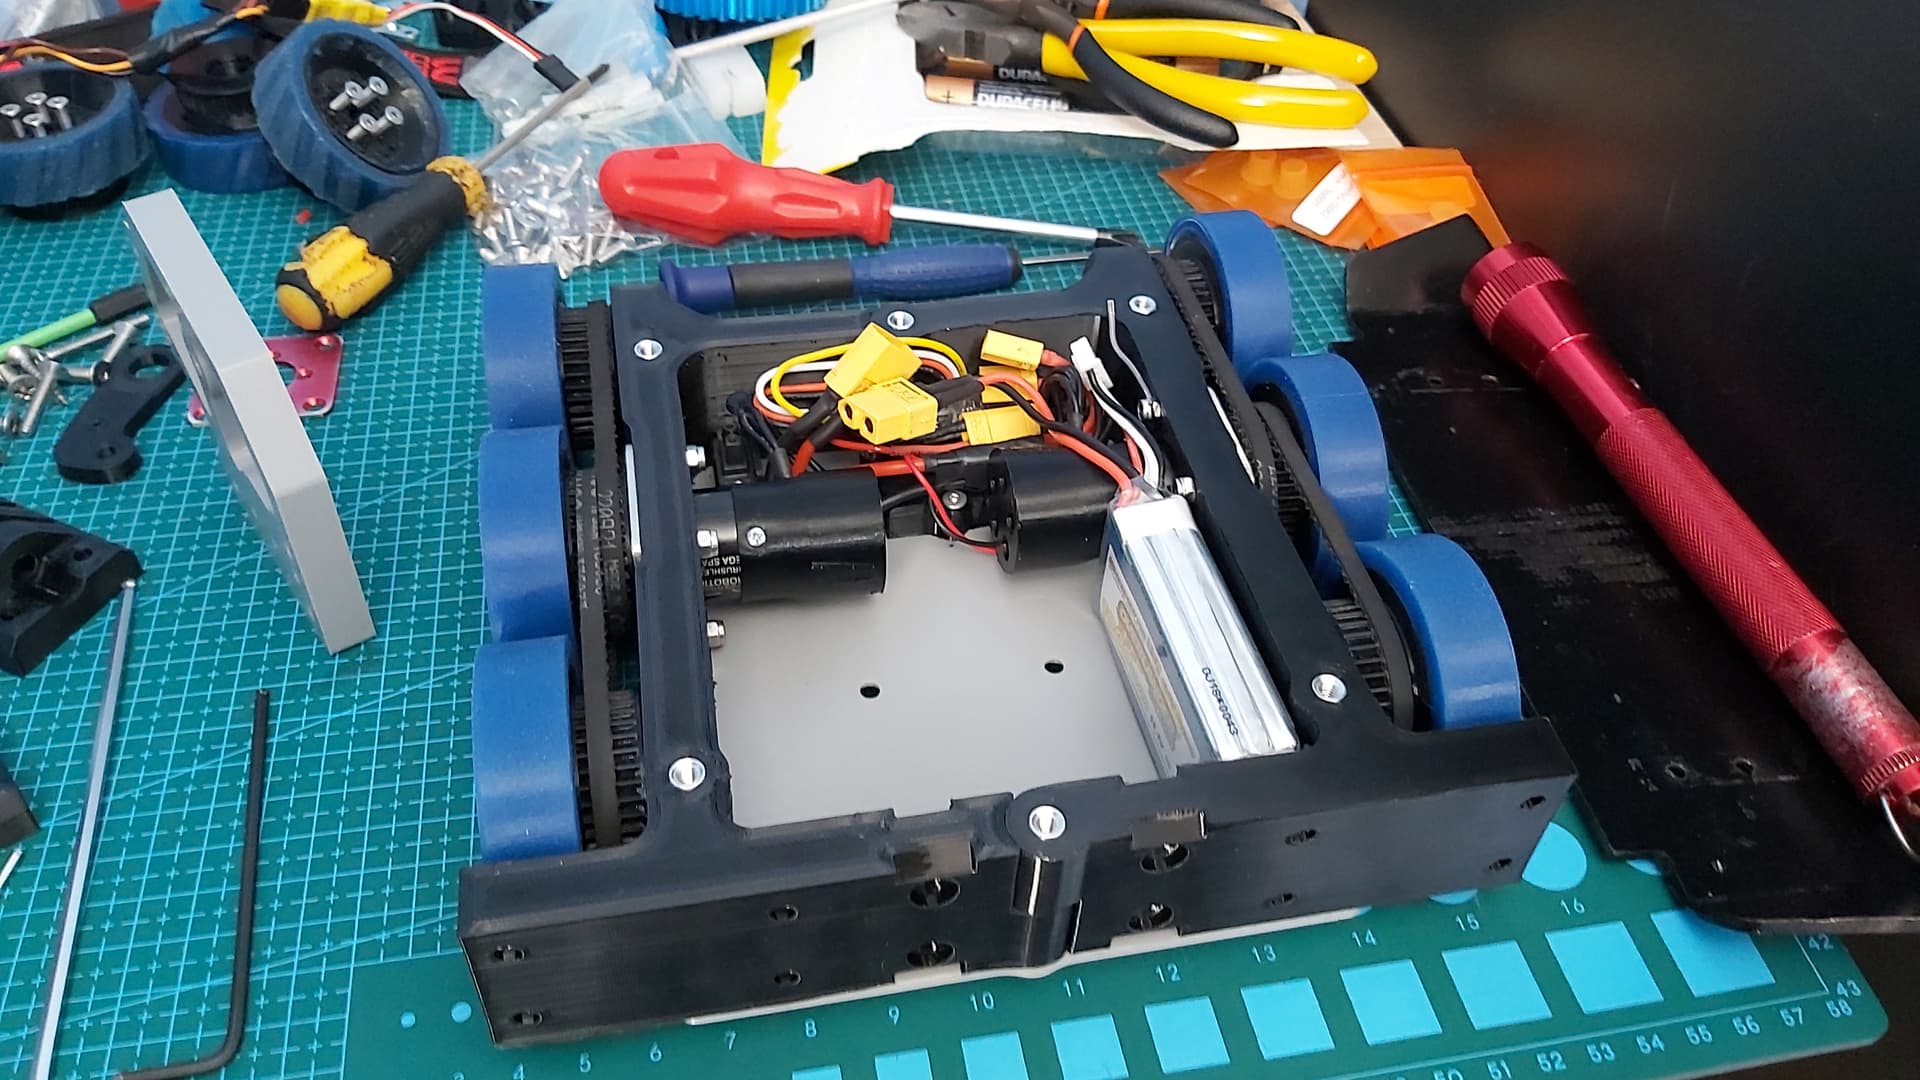
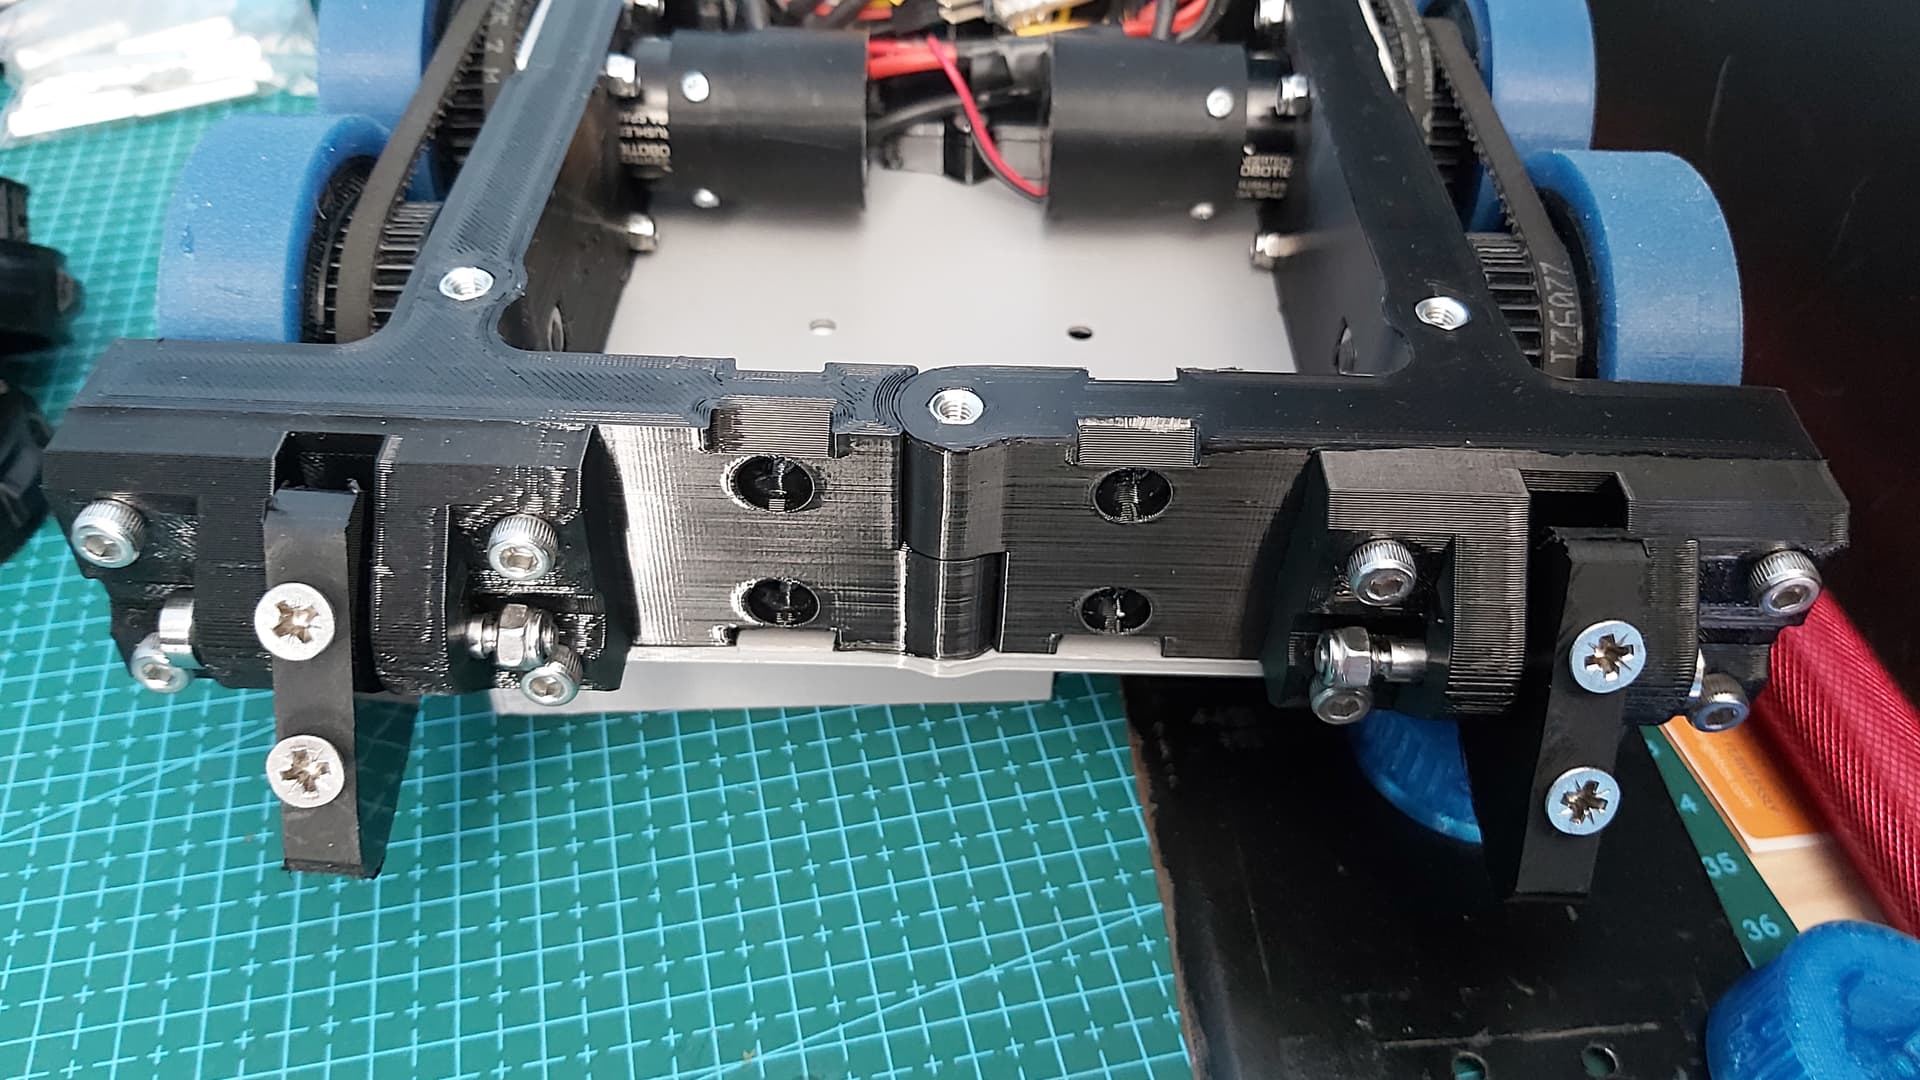
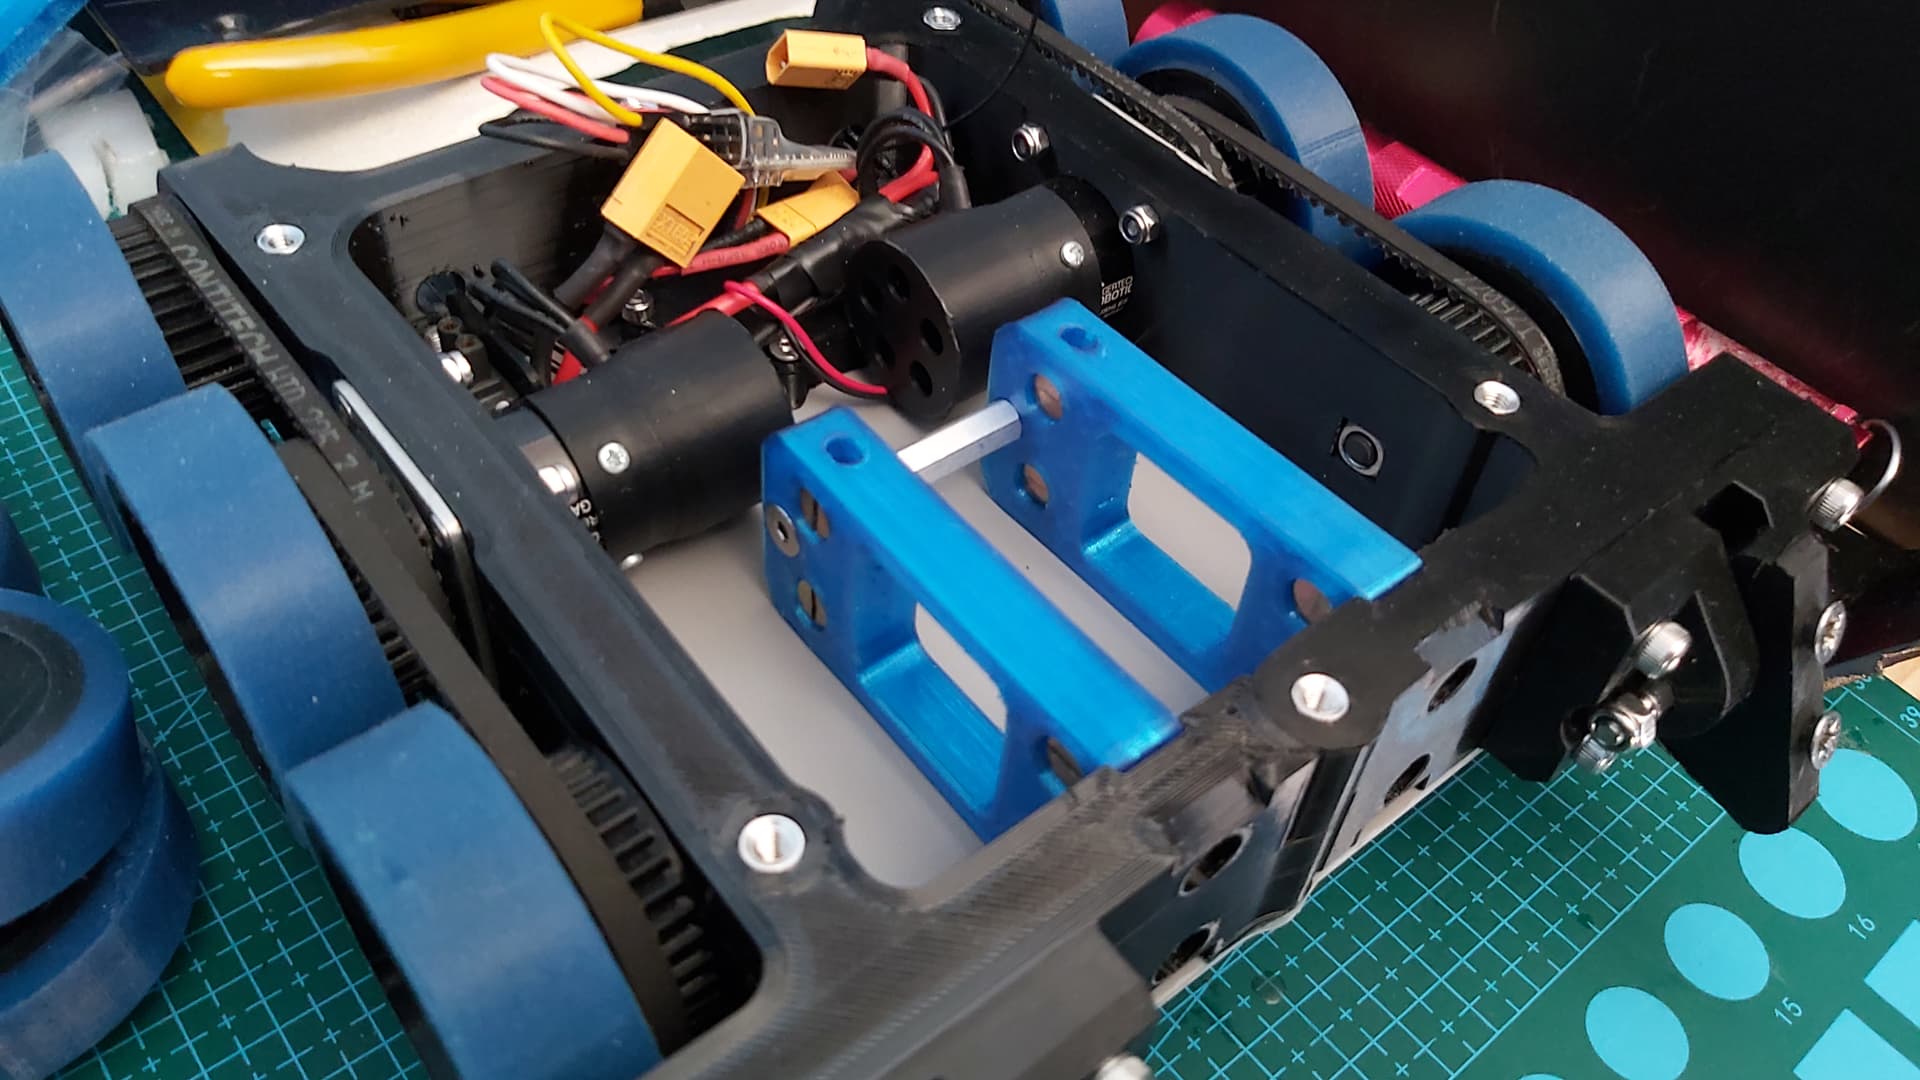
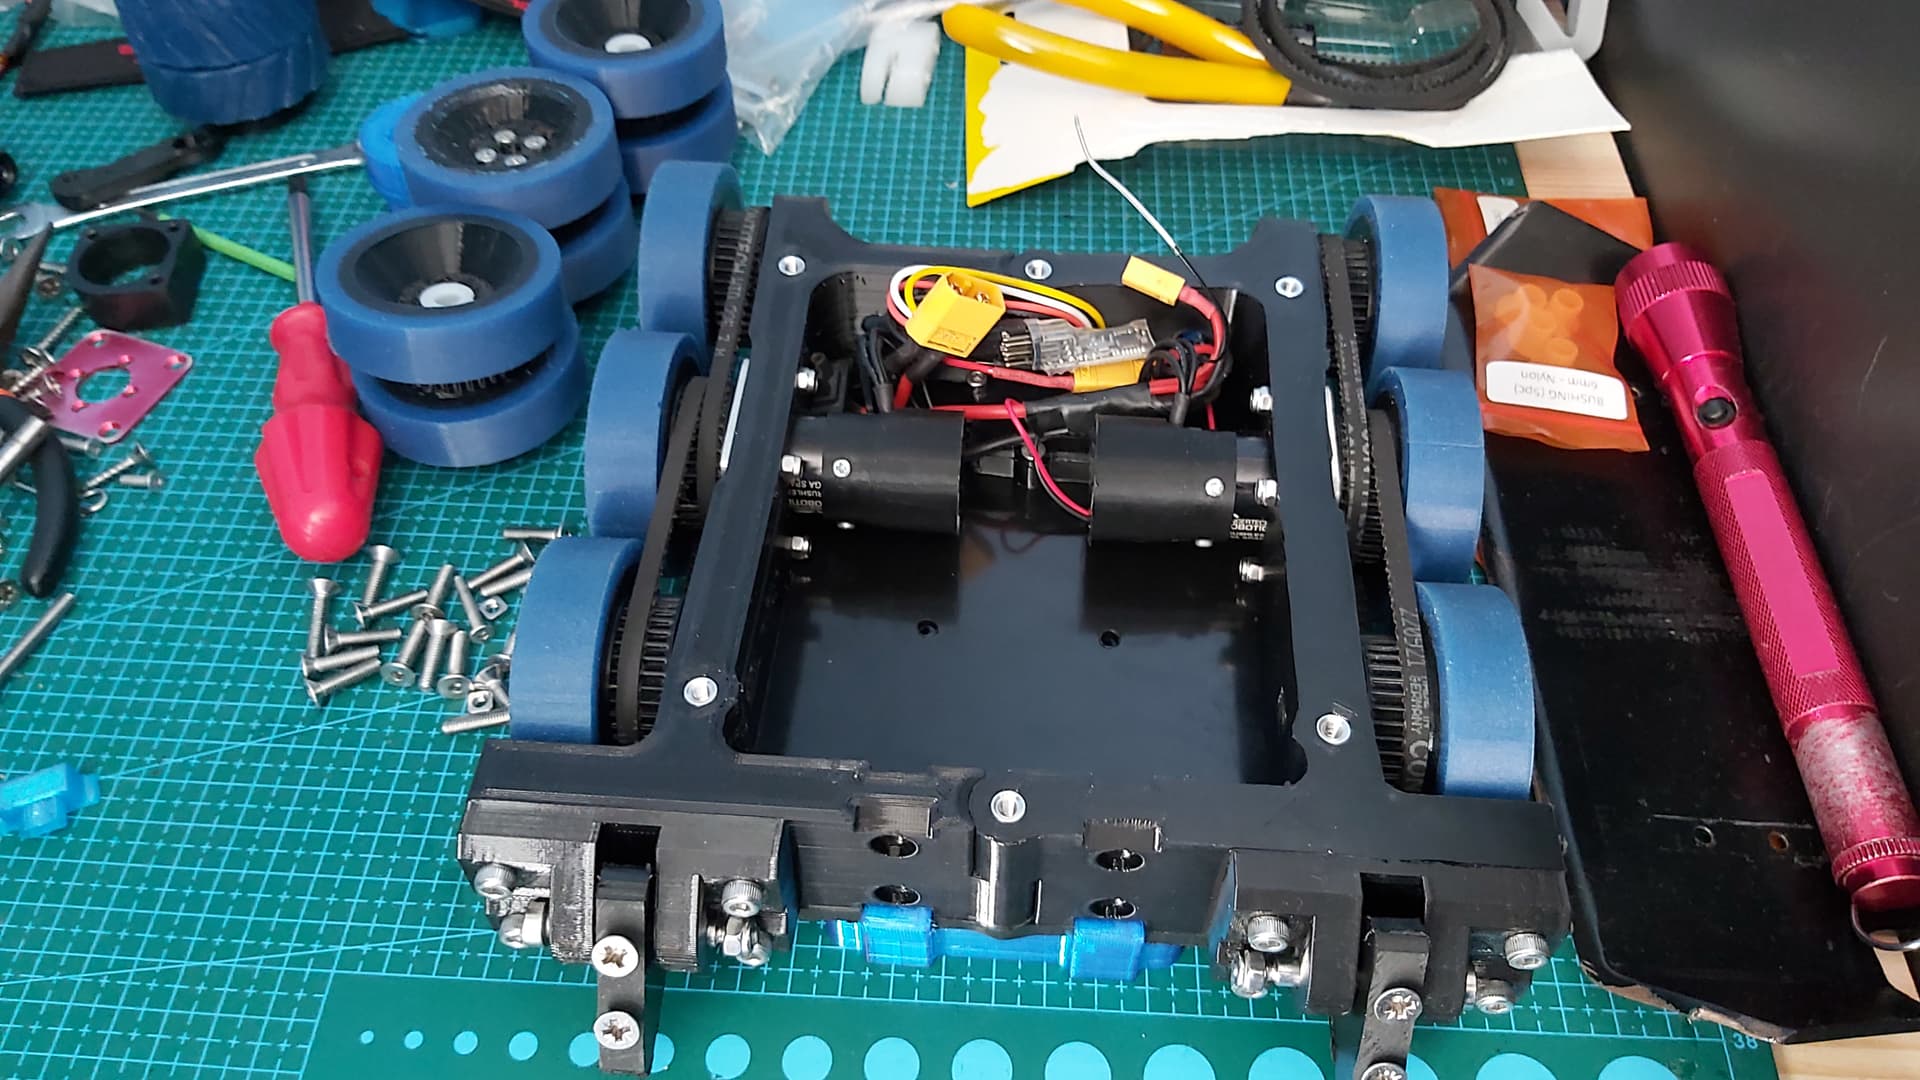
After removing the damaged wheels I had a look at the really bad rubbing on the chassis. During the discussion about my drive cutting out, Ellis suggested I angle the dead shafts outward by 1-2 degrees to counter the inward flexing the wheels were suffering to improve the drive and belt tension.

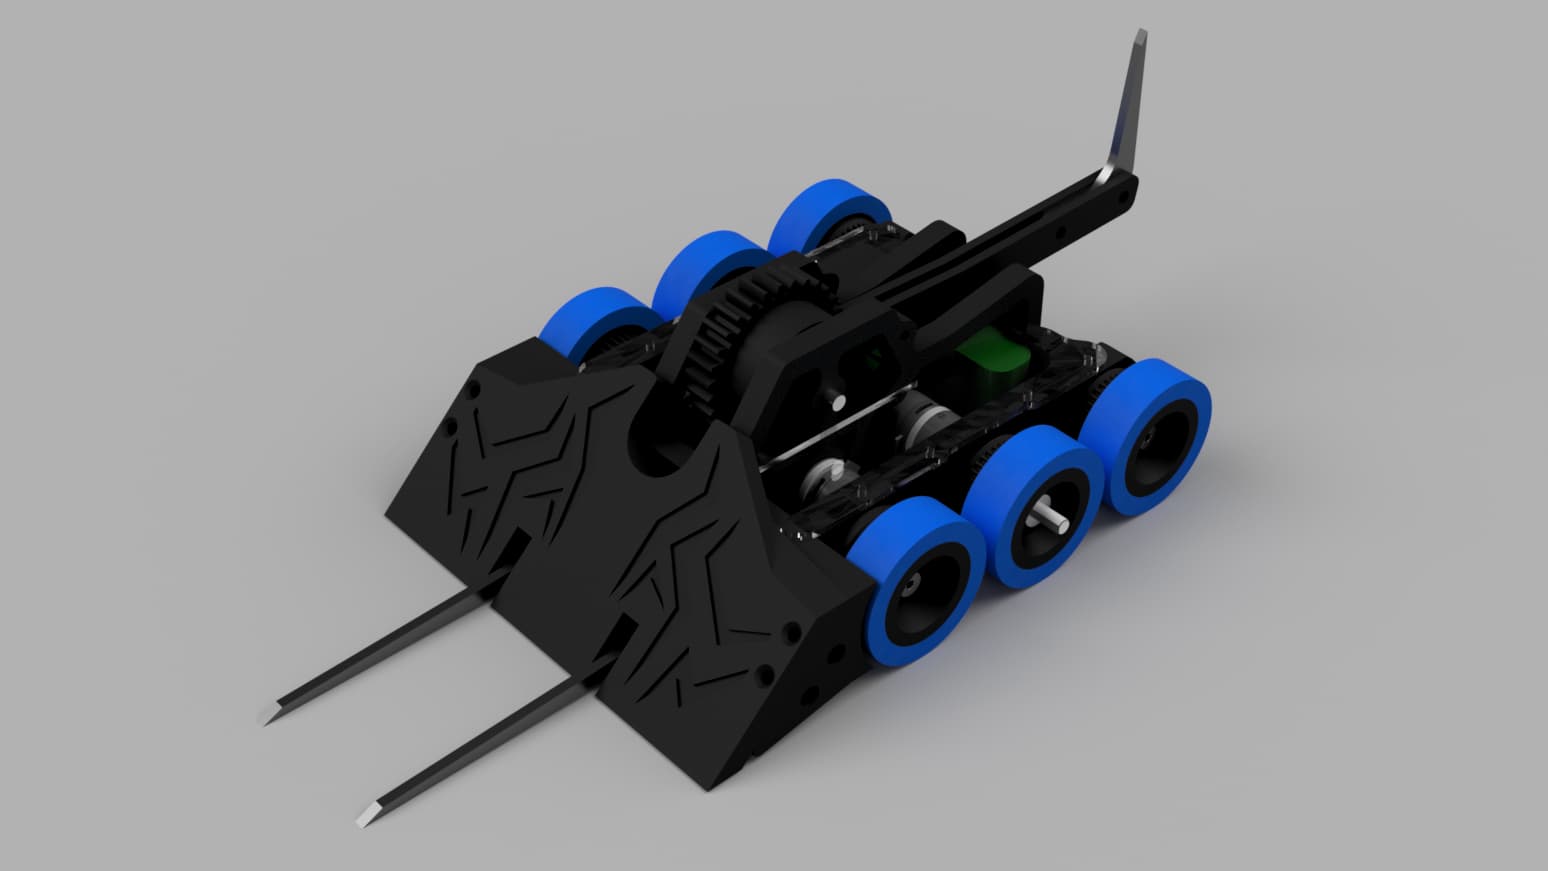
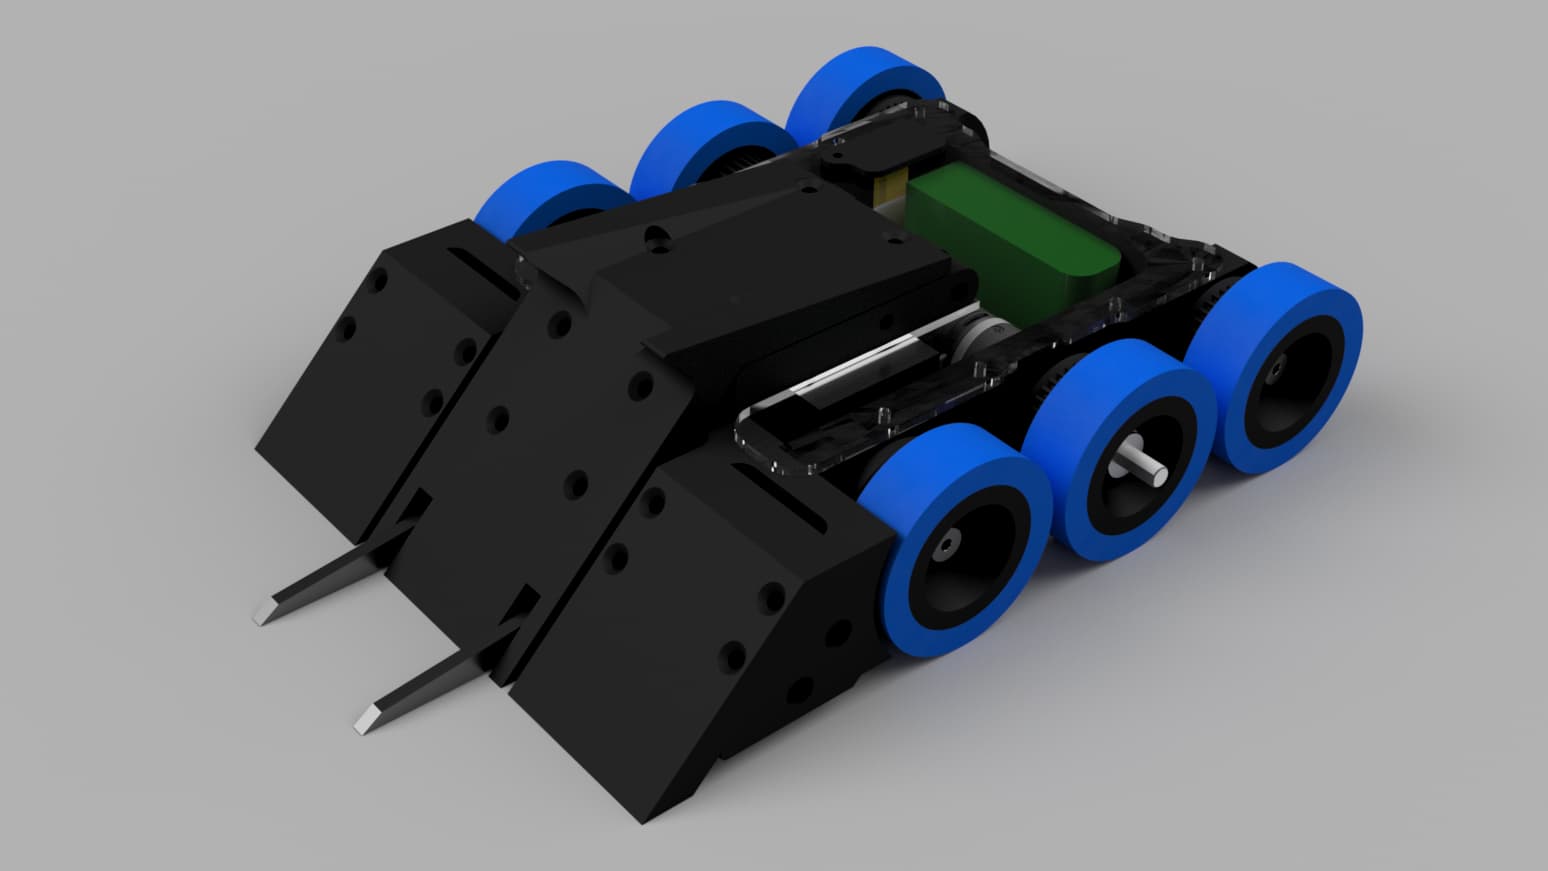
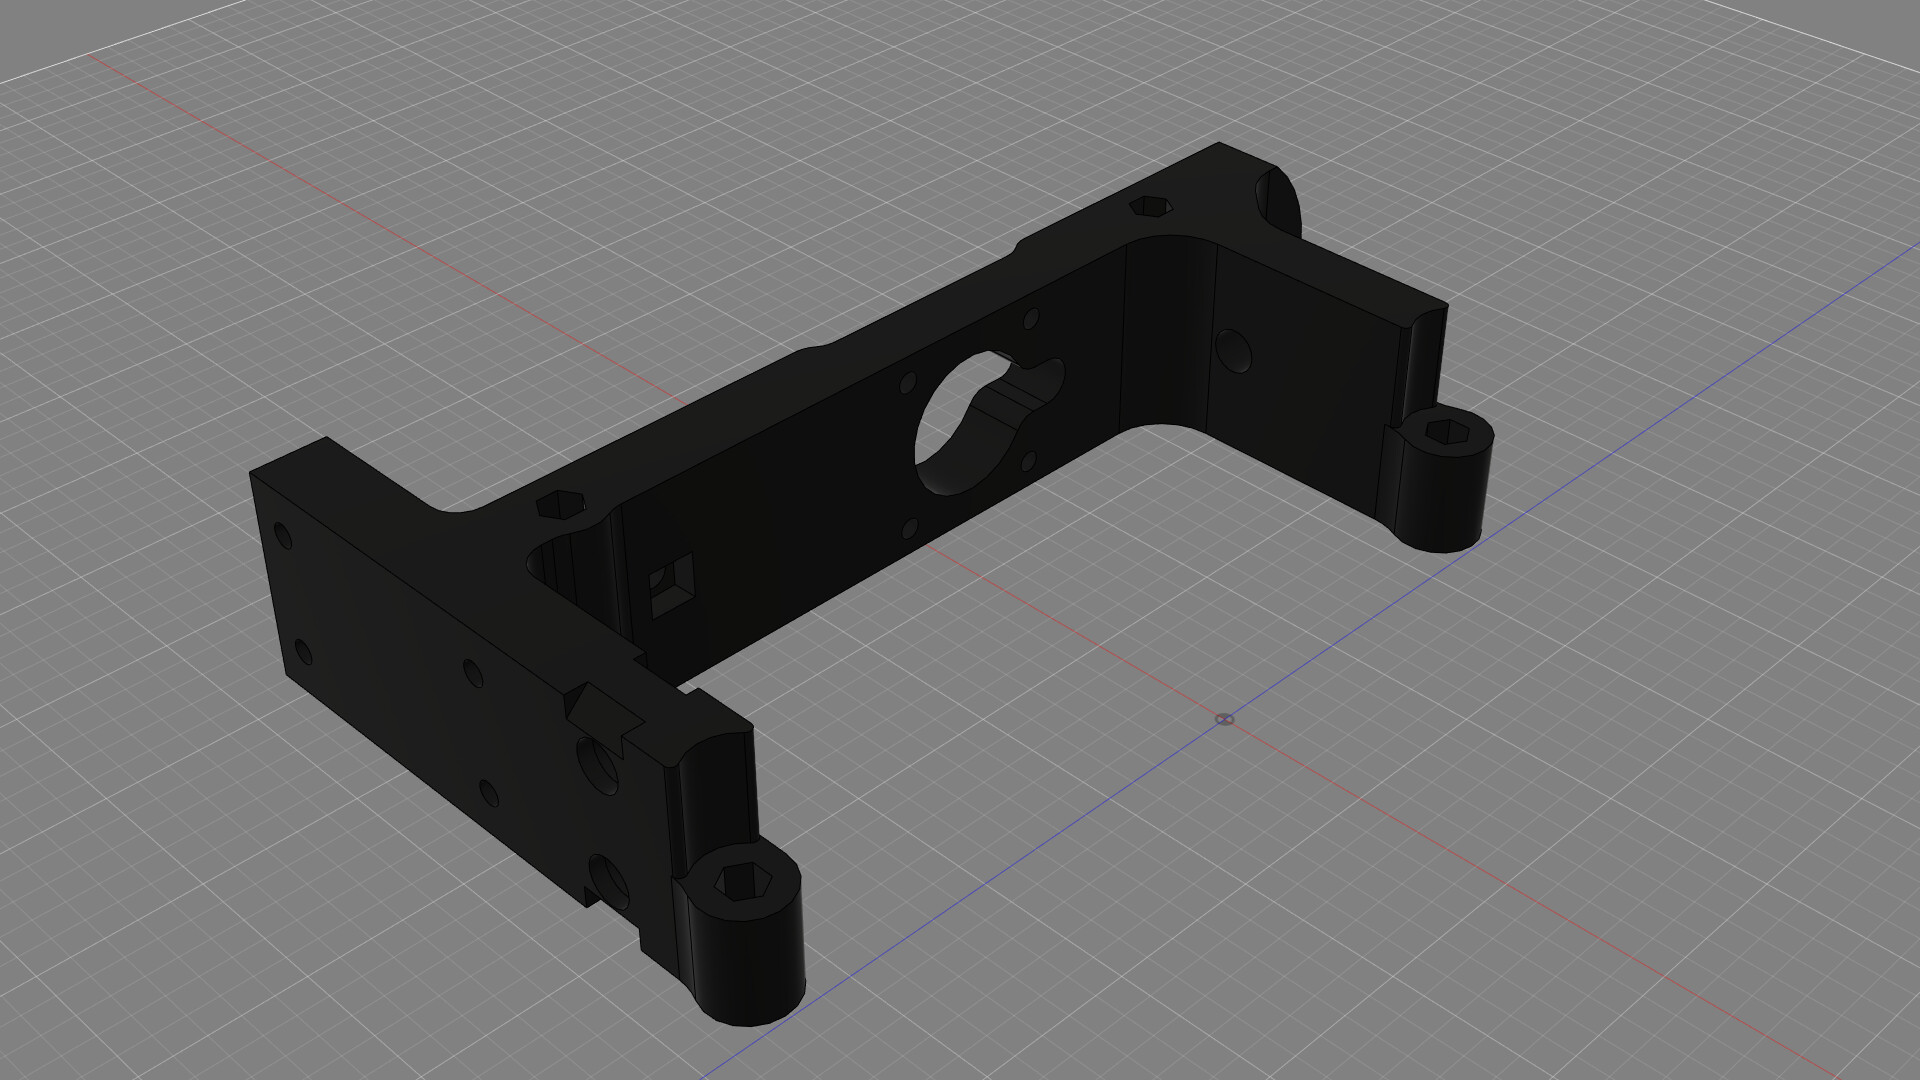
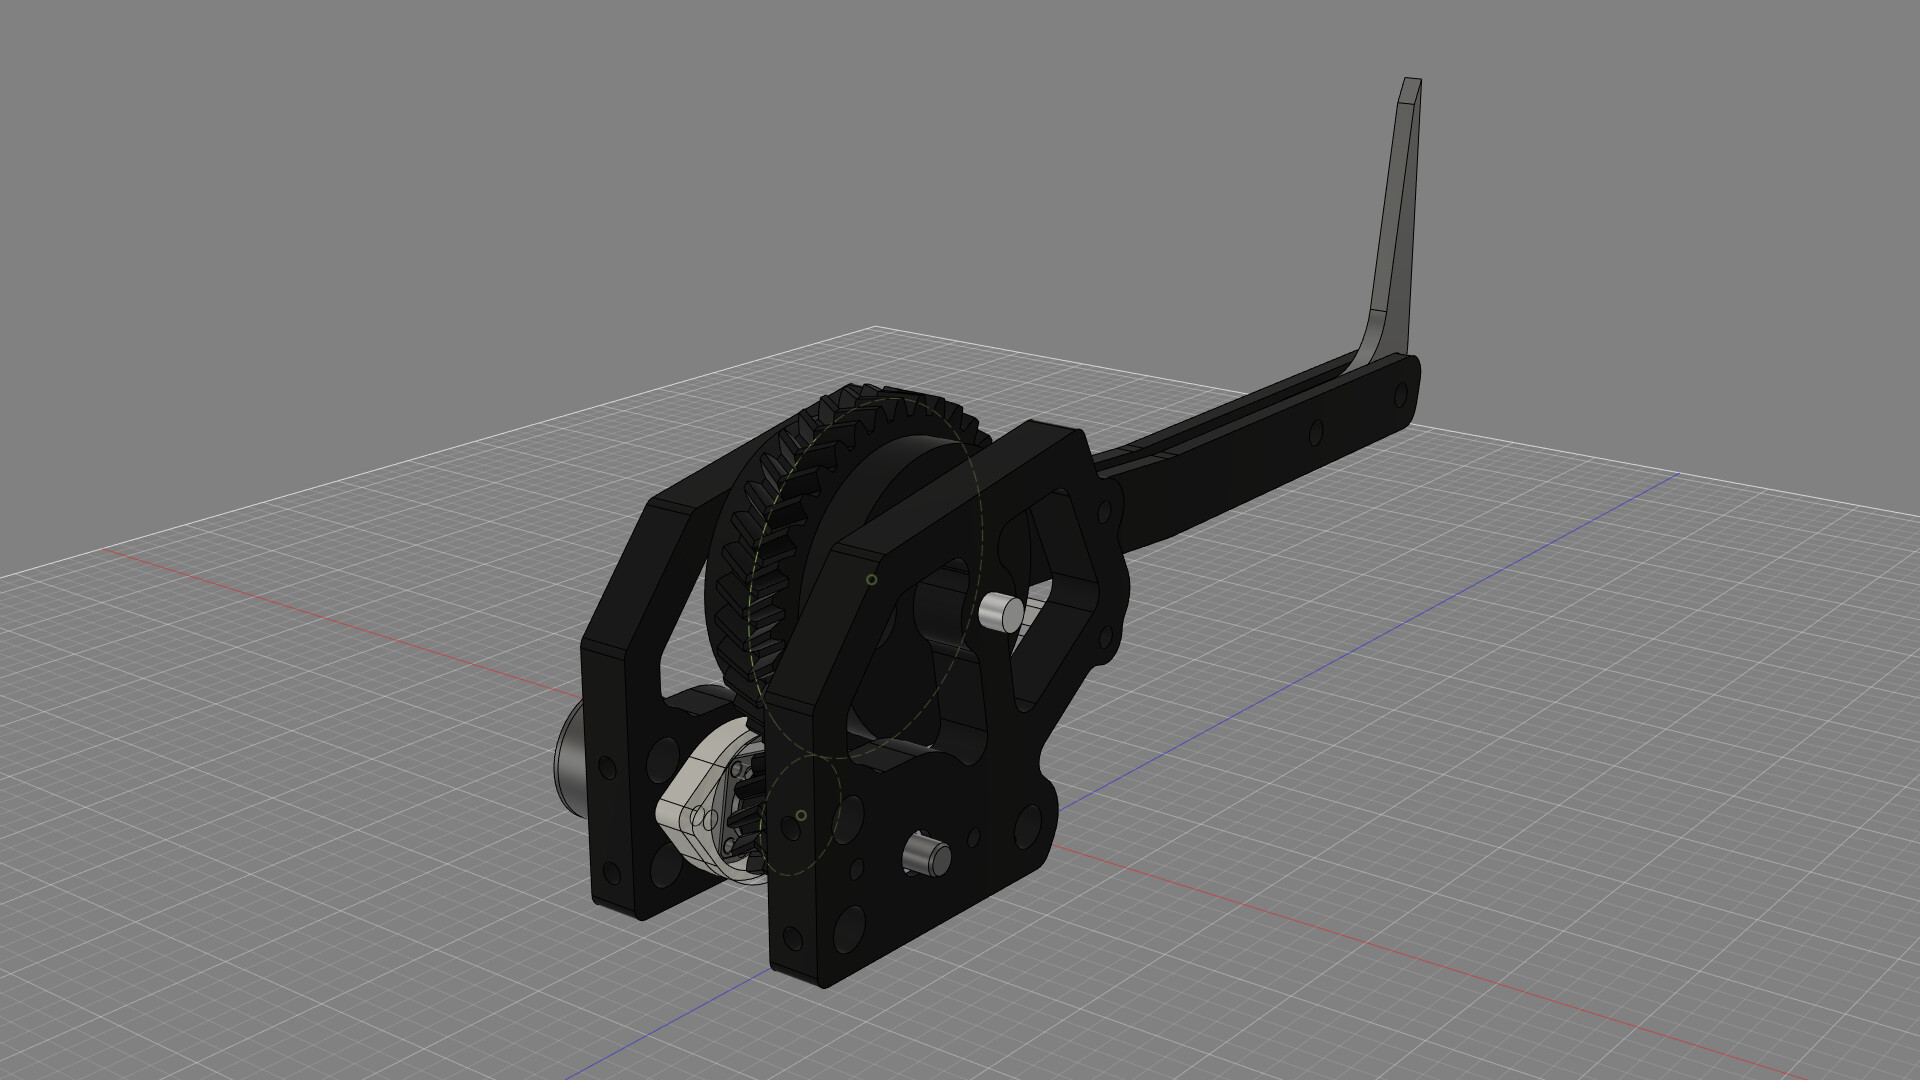
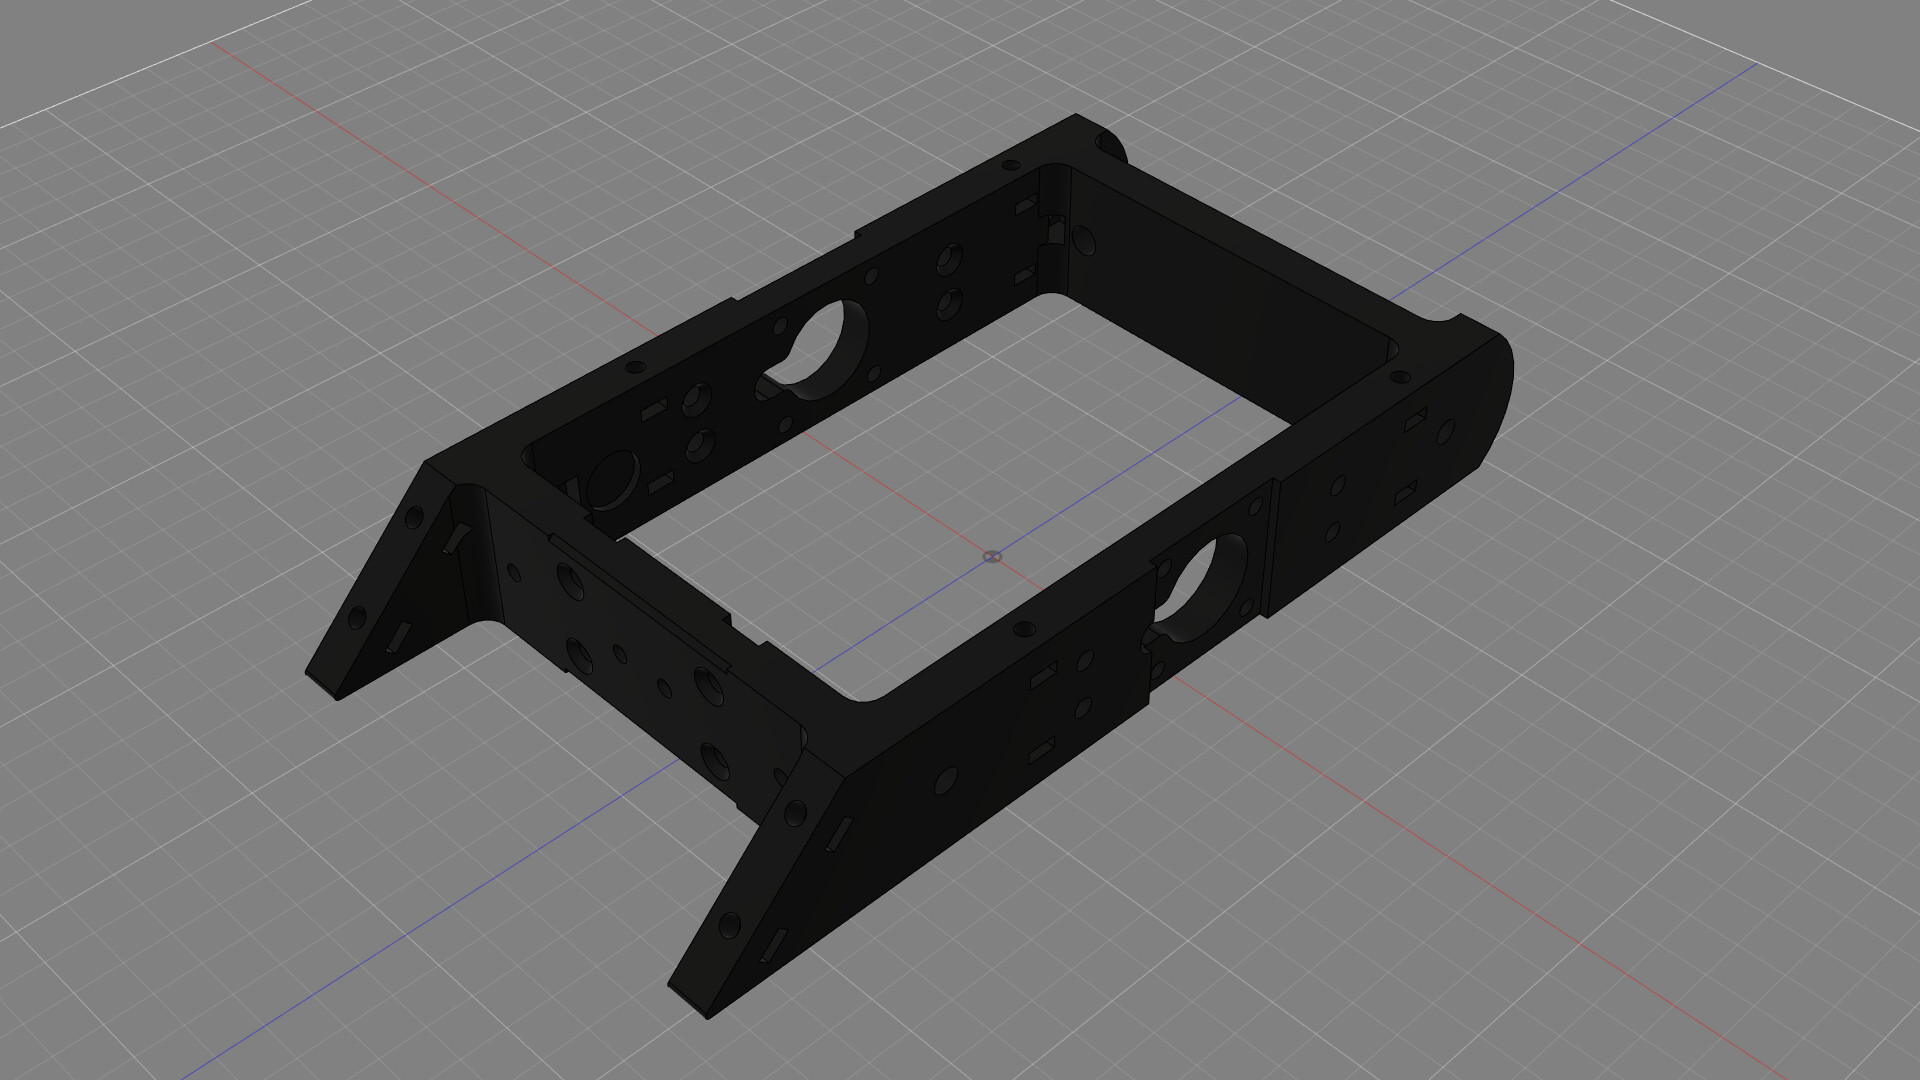
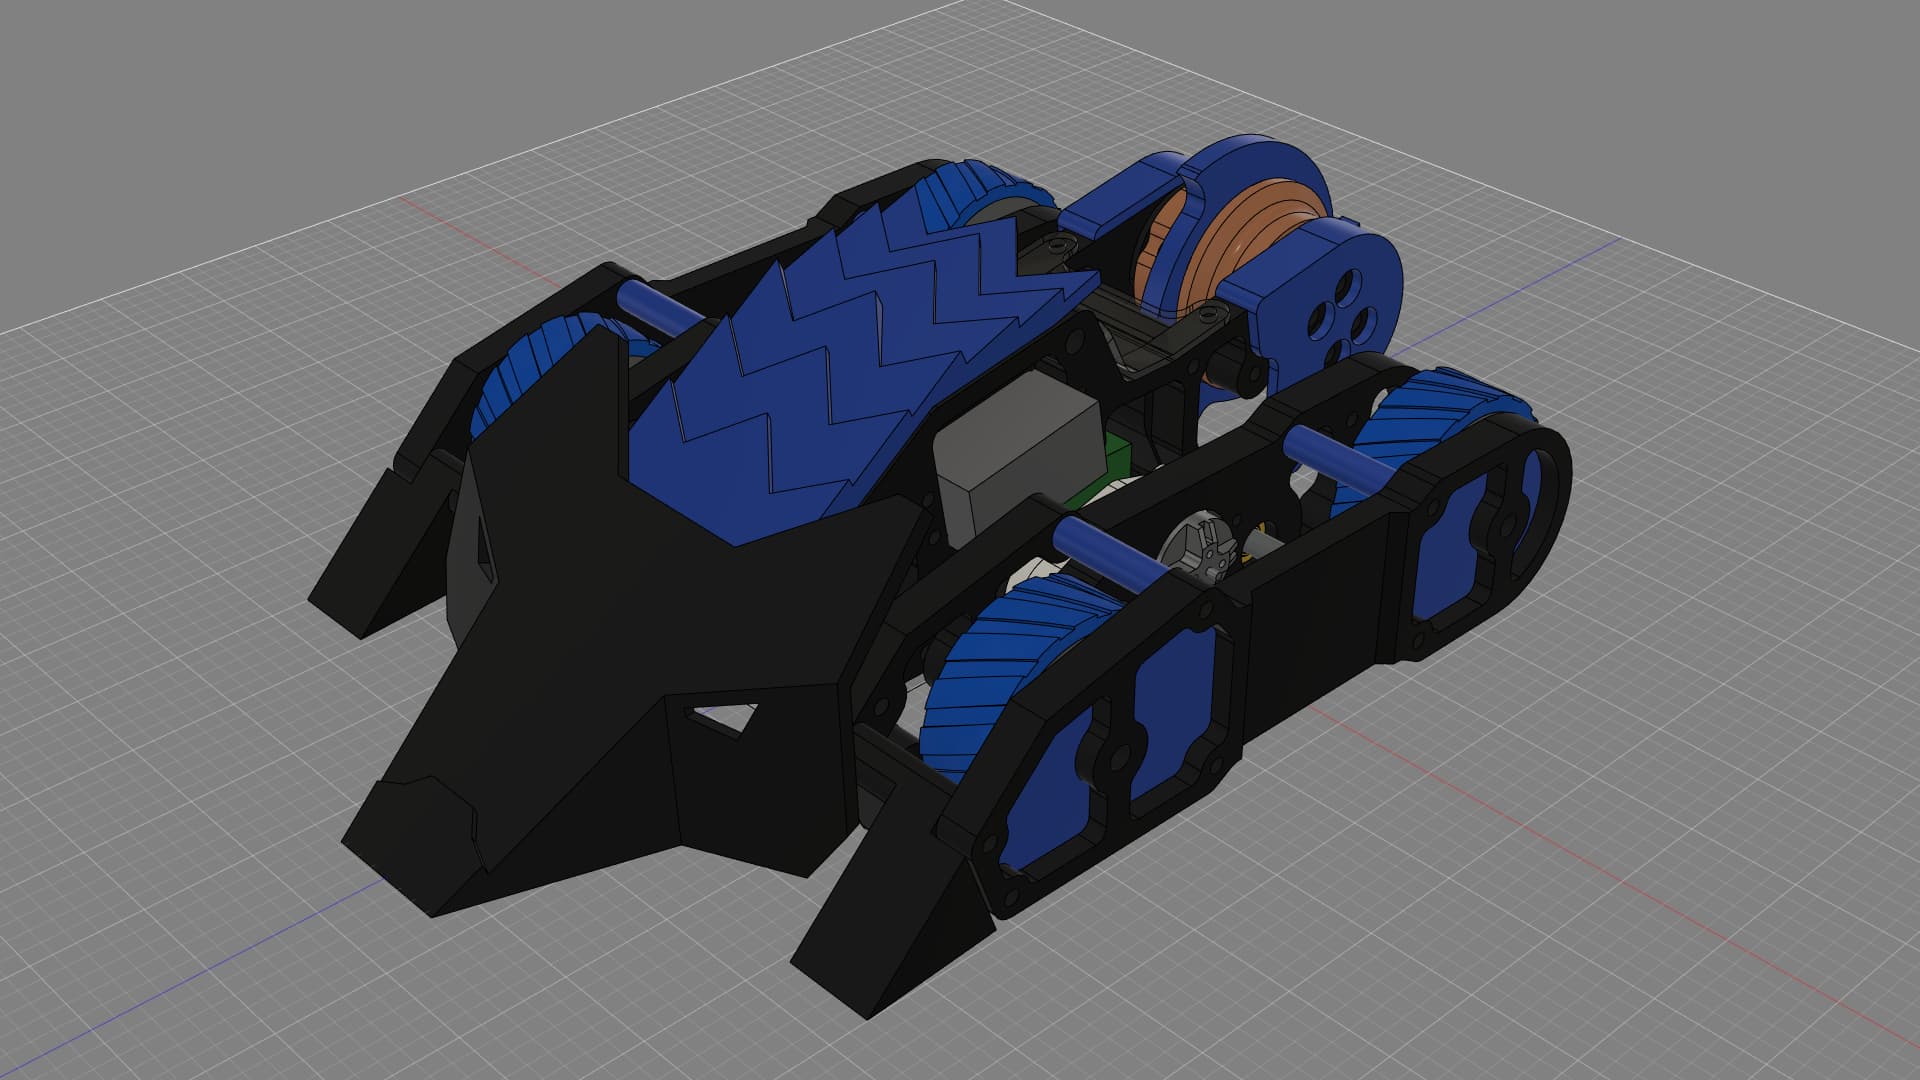
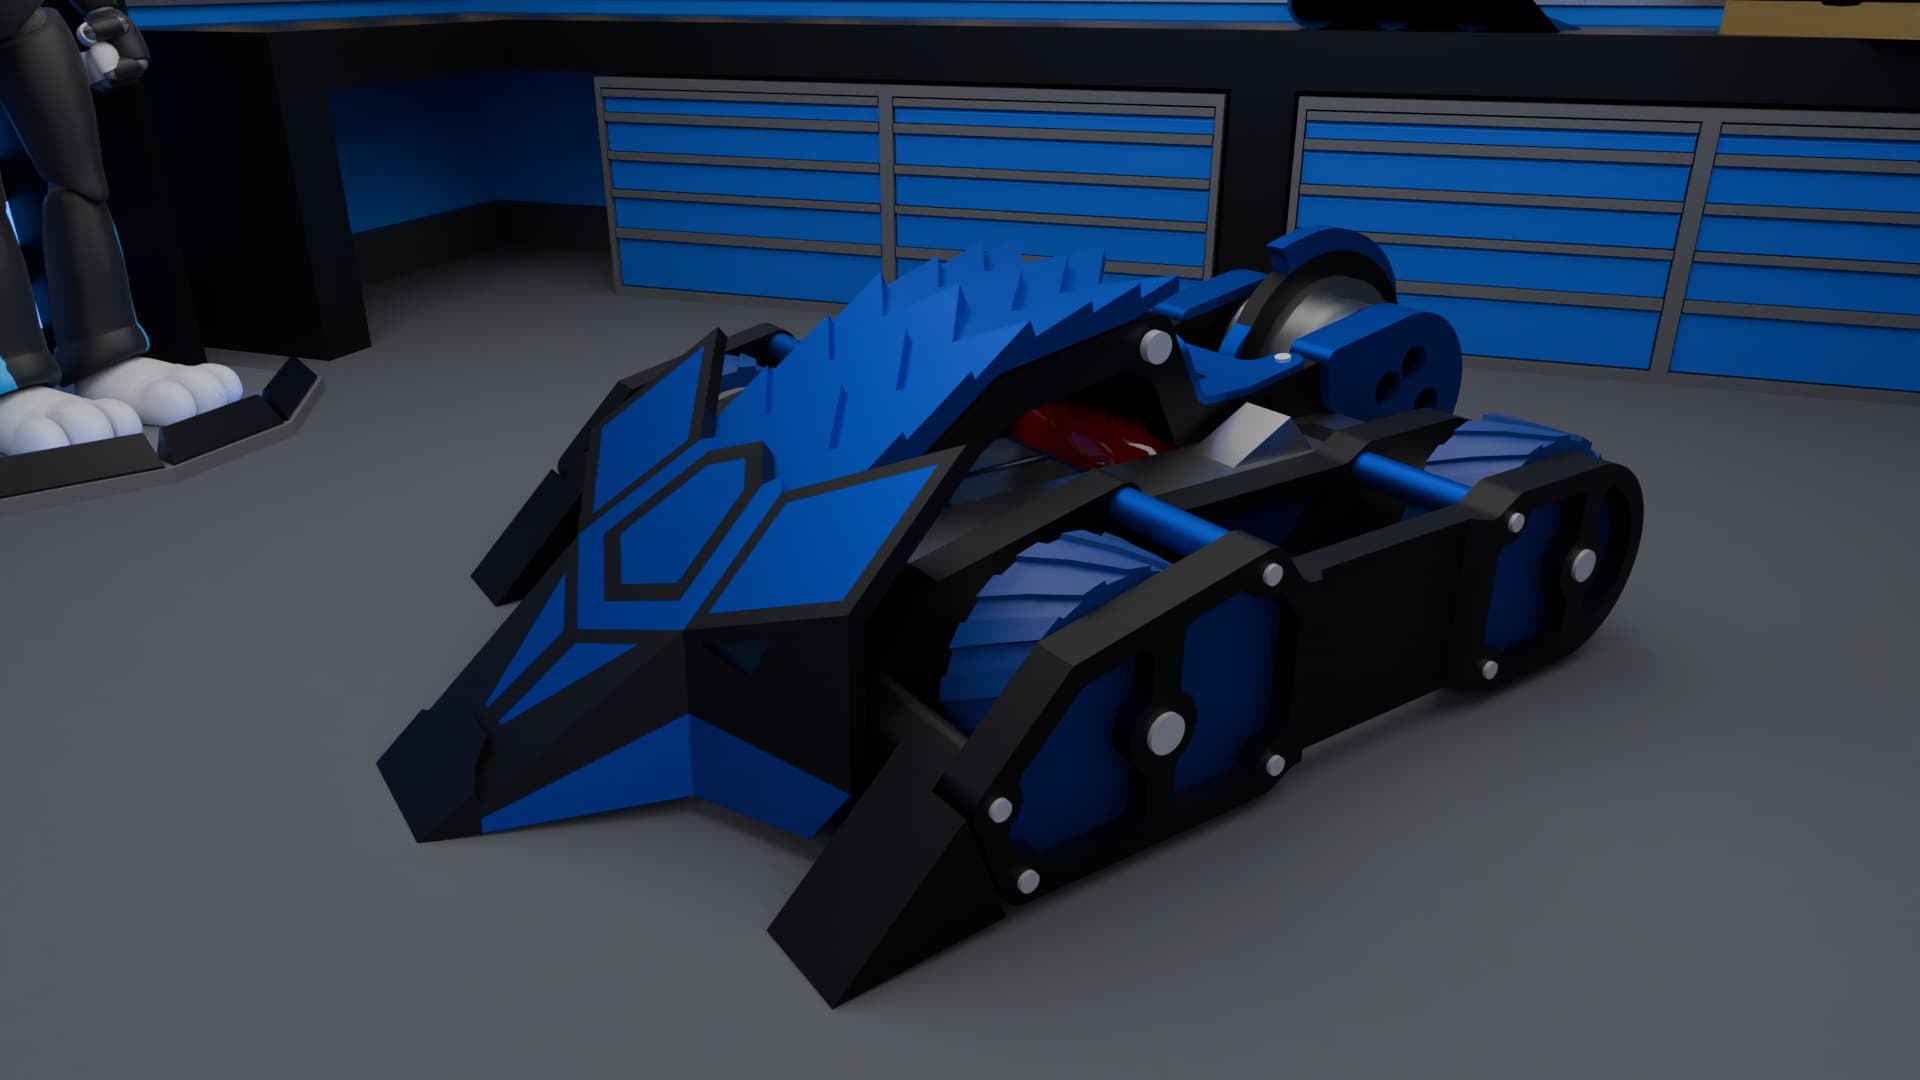
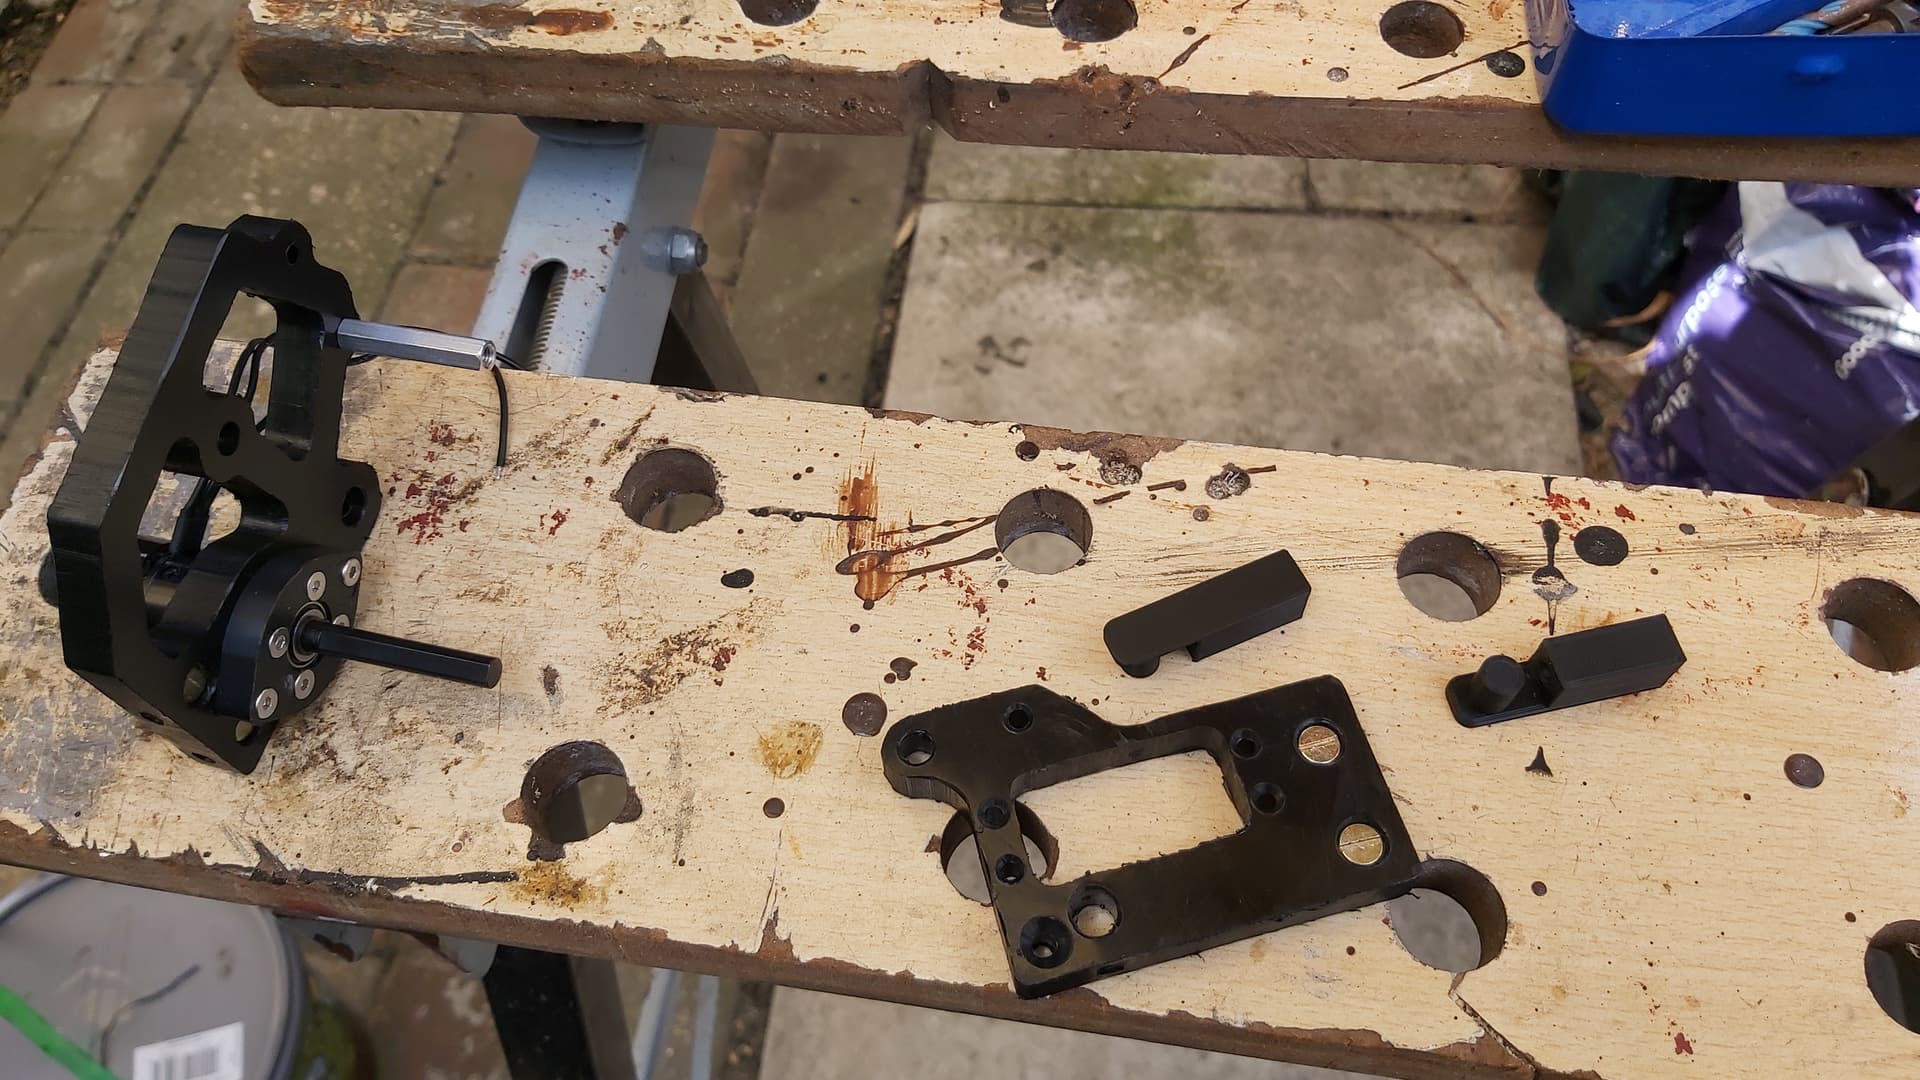
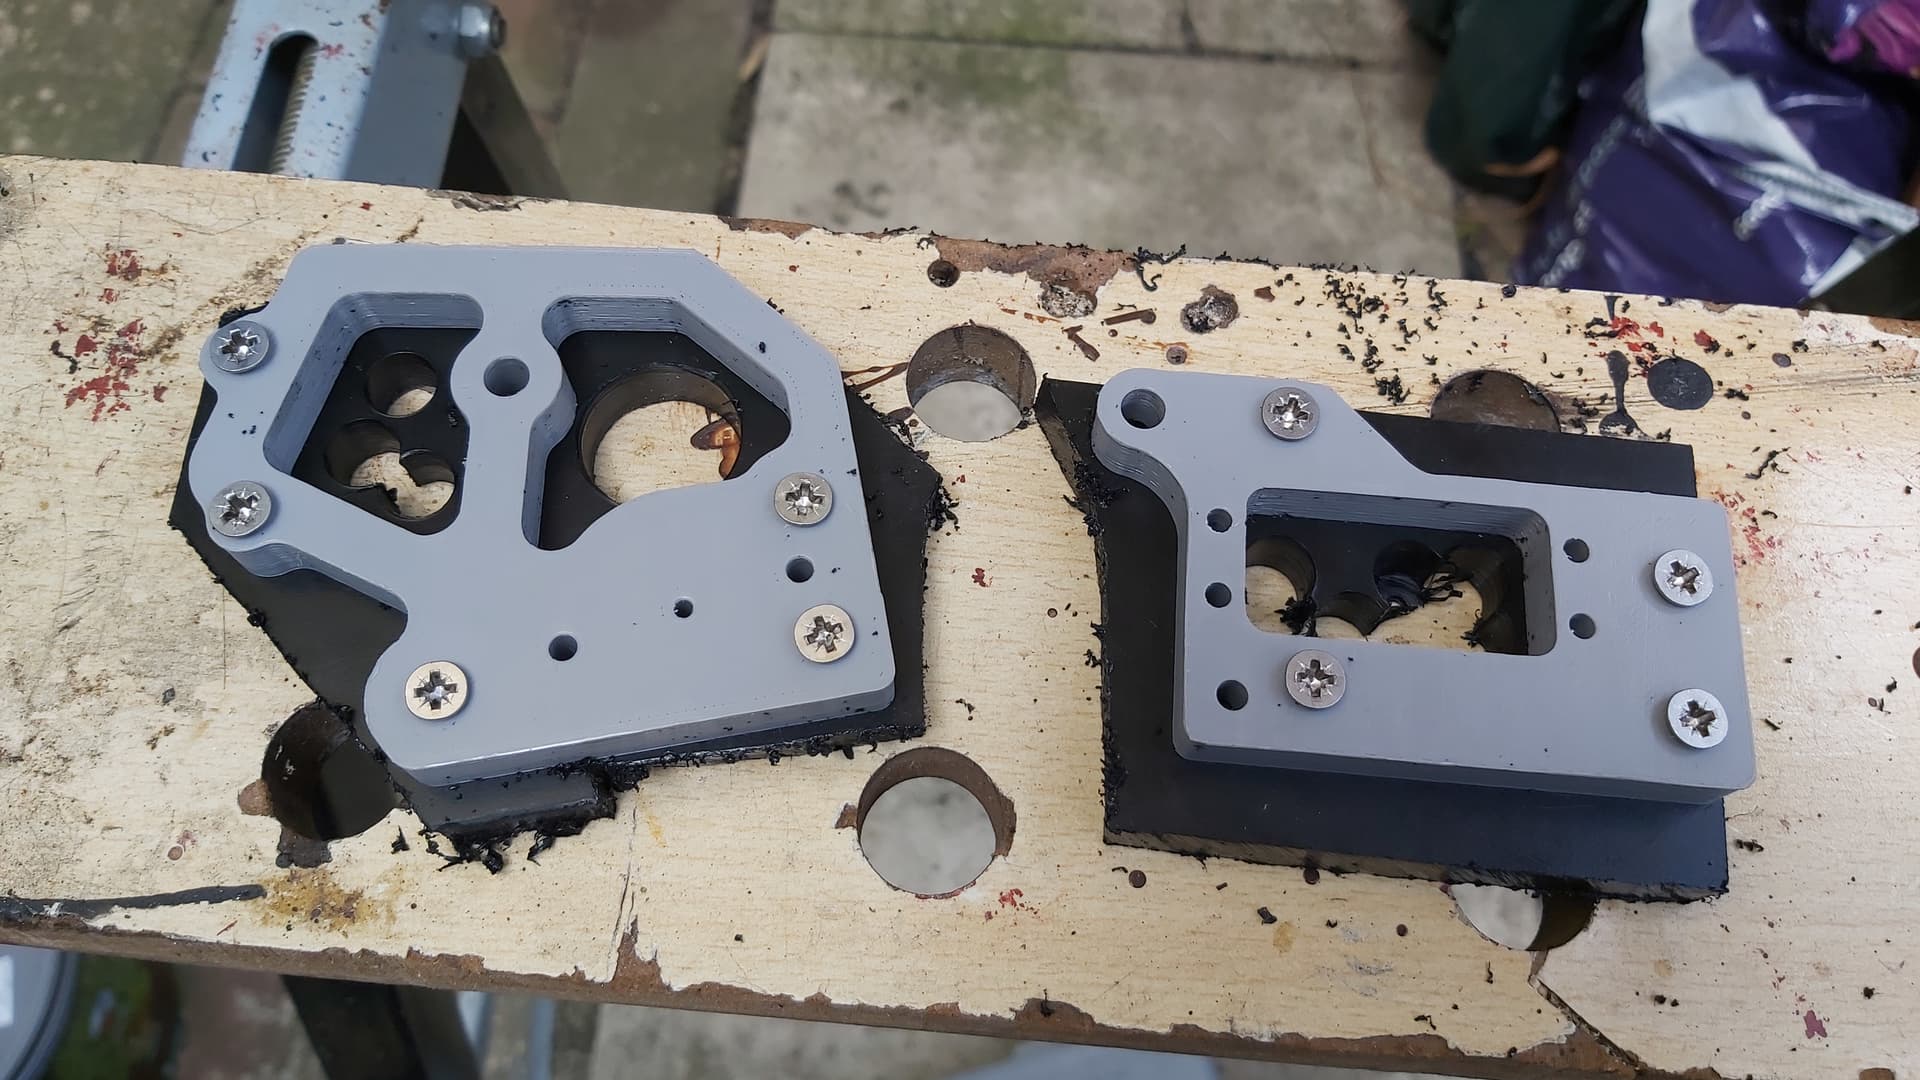
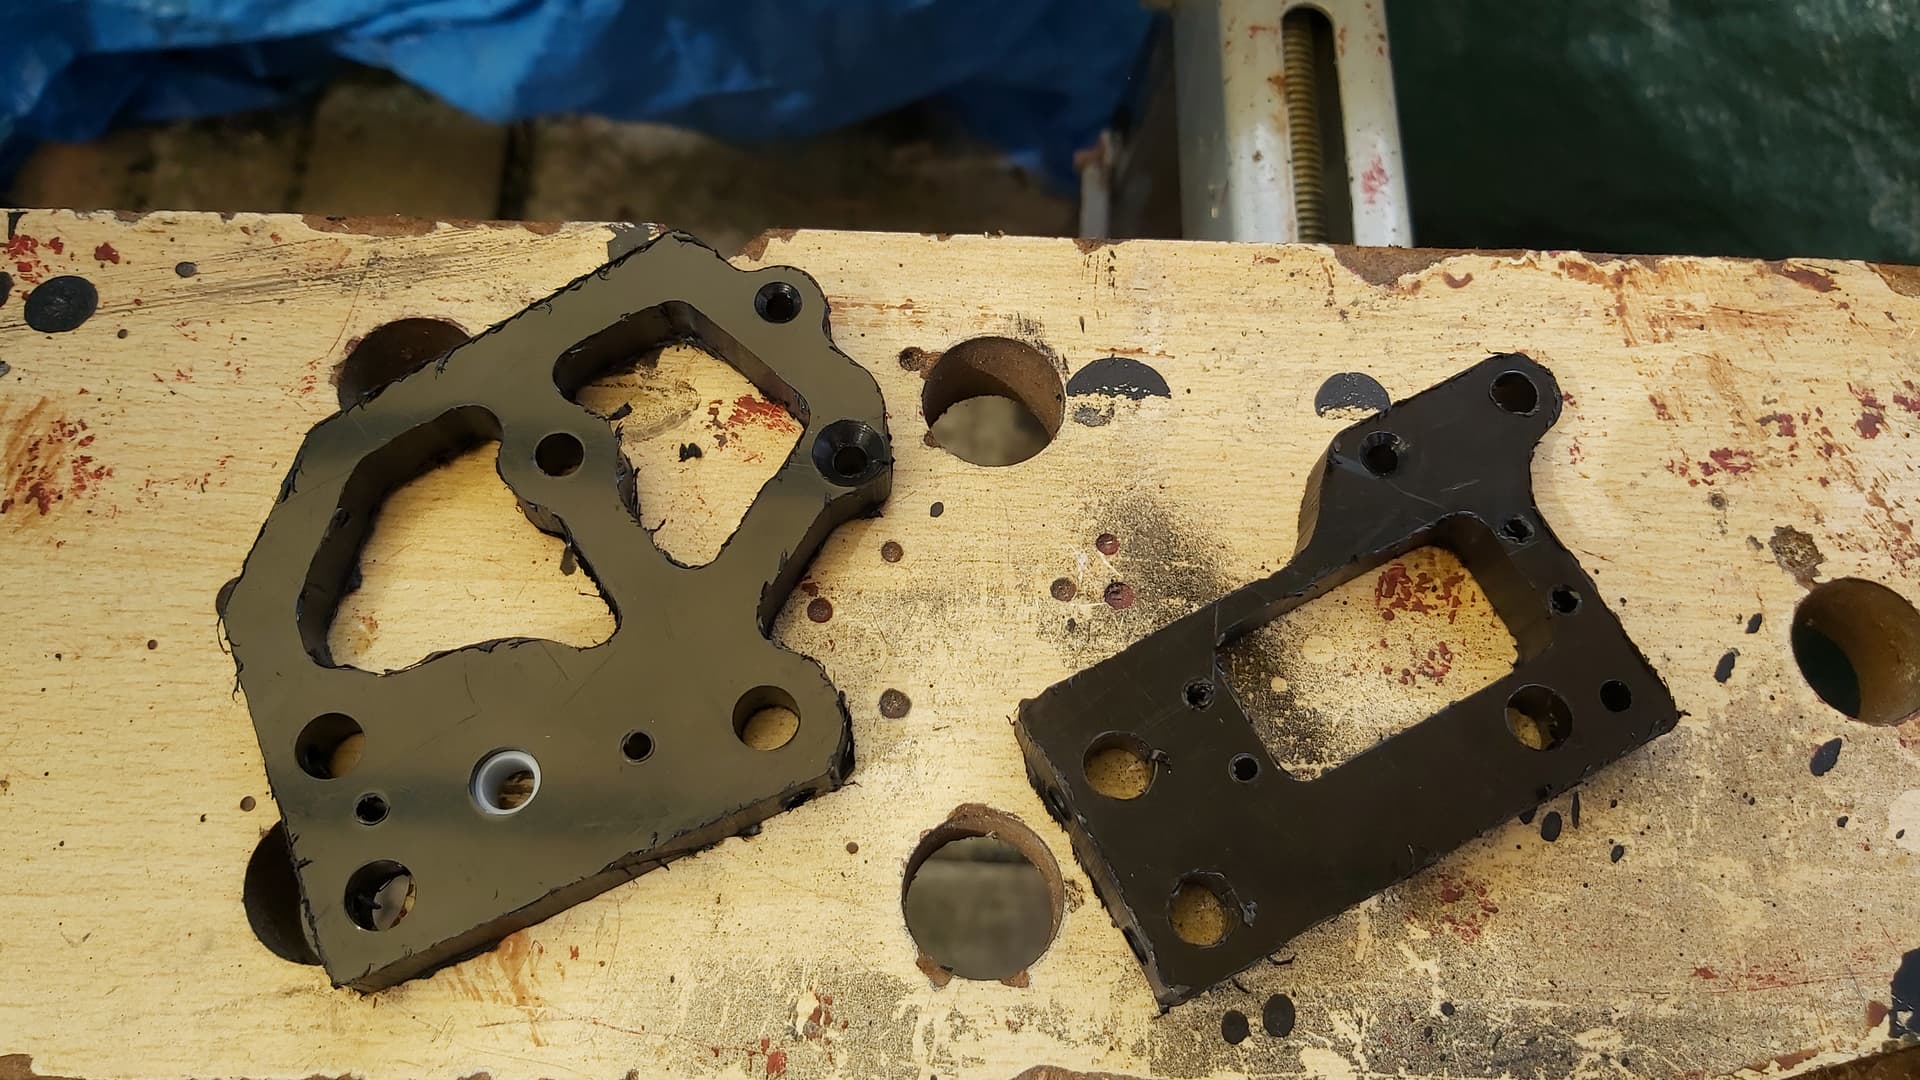
A shame DB failed to deliver. The weapons worked amazing even with the odd issue. The drive and chassis however are a letdown. I have thought through what needs to be done and have started to put it into the CAD for DB MK3.

Data Breach MK3! What have I got cooking up?

Well during May I had already gotten a list of things I wanted to fix from building MK2 the biggest issue was WEIGHT!!! MK2 was 100g heavier than MK1 and this meant some compromises.

So I started working on an MK3 CAD mostly focusing on saving weight.
Some of the early changes I looked at were:

  1. Reducing the amount of nuts and bolts used.
  2. Swap to nylon bushes over Olite ones. (Roughly 24-30g saved already)
  3. Thin out some of the HDPE parts (Stop going overkill on material thicknesses!)
  4. Attempt to make parts uniform (no right-side or left-side specific parts)

So with that, I quickly removed some excess bolts and nuts and modified the wheels to run on nylon bushings from RangleBox (the same day the nylon bushings were announced on the site) and the early versions of the wedges, sides, etc. They were made uniform. However post-event I now had more changes required.

  1. No side panels. The TPU wheels can handle the hits if I fail to keep my front-facing spinners.
  2. Make the chassis uniform with no indents for the top and base plates (will make printing it easier.)
  3. Reduce the wheelbase size ( having big air gaps between the wheels for non-existent side panel supports is wasted weight in the chassis.)

So far I’ve blocked out the main two setups. The chassis is now a chunkier U-shaped arrangement (the weight saved by making the bot shorter in length means the chassis can be thicker and still have enough weight to increase the number of walls.) The wheels have for now lost the fancy tread so the spares can go on either side when needed. The front of the bot will have interchangeable TPU fronts for different wedge and fork mounting arrangements.
So far the current refinements are looking to save around 100g in weight so we are closer to MK1 weight.

(Note the Polycarb tops are just for the benefit of the renders.)

In the last few days, I’ve been trying to diagnose the drive cut-out issue. While I failed to trigger a cut-out by bashing the chassis against stuff I did find that my Spektrum DX6i was able to trigger a cut-out if I pushed the stick into the corners. I swapped to my Flysky transmitter and receiver that I bought a while back for my antweights. The Flysky worked out better, no more cutouts by stick placement as for the impact-related ones well I’ll just have to hope soldering on the capacitors can fix that.

The first new hardware has arrived. Nylon bushings from Ranglebox to replace the Olite ones.

I’ve already CADed the revised wheels to fit these into. The inside hole for the bushings has been made smaller and longer to suit the new diameters and lengths

I’ve also tweaked the driving middle wheel so the hub sits in further so the grub screw better engages the flat face of the gearbox shaft. It also means I can add a hole so I can retighten the grub screws should they start coming loose without needing to remove the wheel fully.

The visual difference and the weight difference. The nylon bushings are 12 times lighter than the Olite ones. With 8 bushings for the drive and 3 bushings in the axe, that’s 33g. With the nylons, it’s only 2.75g.

So I’ve been hard at work on the CAD fleshing out aspects of the design since the last post about the early CAD. The chassis is smaller in length but slightly wider and chunkier but I opted to have the front be part of the chassis as I’ve redesigned the front and weapons to be a uniform bolt pattern. This helps shed some grams by removing the bolts and barrel nuts from the chassis. The TPU chassis will use hex spacers in place of capture square nuts to make the printing process easier and take some strain out of the TPU.

As you can see below I relocated the battery to an empty pocket next to the weapon modules this means I can shrink the back of the bot to reduce the generous space I had inside I am swapping to the dual Brushless drive ESC from Repeat Robotics to simplify the wiring now I’m running DB on the Flysky Transmitter…

Taking inspiration from Attitude Adjuster the chassis is made of two parts. It’s a single part that can be flipped for either side. This will mean I only need to replace on side of the chassis if it should get damaged. The chassis is now completely flat on top and bottom (no indents for panels) so the printer has an easier time (no huge supports.) The chassis height is only 1mm taller just so it’s exactly 35mm to match the hex spacers.

Using the current chassis I was able to test fit the battery in its new home (the space between the motor and the front of the bot is bigger on the new design.) The battery can fit standing up in the bot as is. (You can also see the deep friction groves the wheels caused on DB’s chassis)

As I already mentioned I revised the front and the weapons to have a uniform mounting pattern which can be undone without removing the wedgelets or front wheels for a speedier weapon swap.
The lifter is back to being the same width as the axe module but the lifter will still use the same Snappy/ Boom Zoom style lifter mech.

The wedgelets are no longer mirrored so I don’t need to print X amount for a single side now. The wedgelets also have fork mounts built in so I can have the forks spaced out more and depending on the setup can have between 2-4 forks installed. As you can see I’ve designed some short forks to assist the ground game for the lifter.

The axe module is more or less the same as before only some revised uprights to make them lighter, and tweaked motor placement so the battery can fit down the side easier.

A new setup, a ram bot setup that reuses the old 3mm hardox wedge from CSB: Echo. The wedge will be hinged so it can adjust to the floor. The Axe and Lifter modules do have anti-horizontal wedges but this is for when I just want to play the old-school break your fist with my face game.

The wedge as seen on CSB: Echo.

A little side-by-side with MK2 you can see the new design is smaller in size. Roughly 10mm shorter in length and width. Note the wheels on MK2 are narrower than when it went to Rapture last month because I’m hoping to use MK2 as a testbed for some of the planned improvements going into DB MK3. (That and I want to give MK2 a proper send-off before I build the new one.)

3 Likes

The Repeat Robotics Dual Brushless ESC had finally turned up (Thank you Royal Mail.)

I wired up the power cable then the motors and then fiddled with the transmitter settings to get the motors spinning correctly.

Afterwards, I revised the wire loom by removing the stand-alone BEC as it was no longer needed. These changes have freed up a lot of space which will help when installed into the more compact rear of DB MK3. I’ve designed a tpu case to help protect the ESC which I hope to print tomorrow.

The axe will have a few changes in the mech as part of the revamp. I’ve swapped to herringbone gears to spread out the strain on the gear teeth to increase the life of the weapon gears hopefully and I’ve also designed this new version to run on a Repeat Robotics Max V2 brushless motor due to its smaller length and more robust mounting setup. I plan to run this in DB MK2.5 before moving it into DB MK3.

Speaking of MK2.5 here is the revised chassis that’ll test out the dead shaft mounting solution. I’ve made changes to improve printing and also reduce the amount of bolts used.

The first new prints off the printer using up the last of my 3rd spool of black TPU. Good job I already bought a 4th one a few days ago.

First up was the TPU case for the dual ESC to help protect it.

At the moment the ESC just nests in the bottom of the robot, I might secure it to the base down the line.

The first pair of revised wheels. 2mm narrower, slightly chunkier and runs on the nylon bushings.

A quick test fit. These old PLA prototype bulkheads used the old wheel spacing I had in Data Breach MK1 and the belt tension is causing the PLA to bend where the motor is so it was a good thing I did reduce the wheel spacing on MK2 but it still highlights how much strain the chassis is under with the belt tension.

After I’ve printed the new wheels and the 2.5 chassis I can assess if the chassis bending continues if it does I might have to make structural support for the middle of the bot.

The printer is machine-gunning out prints at the moment. A full set of new wheels and moulds. You can see the revised middle wheels, the hub is farther in to clear the step of the D shaft which also means I can use shorter bolts.

I put an access hole so I can retighten the grub screws if they start to get loose.

6 new moulds, no fancy tread this time so the rubber is a little more solid and easier to clean after fights.

I’ve poured in the PU rubber. I used the same amount I used for the last set of wheels to understand how much rubber these new wheels need. I ended up with 9g left over so I reduced the mixture weight from 30g to 24g to not be so wasteful. Once I can demould them I’ll compare the weight difference. For this set, I’m attempting to use the spray mould release again to see if the surface quality improves over vascaline.

As we speak the first chassis part for DB MK3 is printing. At some point, I’ll print the 2.5 chassis unless I opt to just jump straight to MK3 instead.

1 Like

Big love to the upgrades and I don’t mean to distract but there seems to be a super funky foxic floating around your desk. It looks ace, what is it?

Oh, that is a mini PLA model of Hunter a fictional wolf-theme house robot I created for animations using a Beetleweight CAD as the model’s starting point.

The chassis part finished printing and oh oops the part warped because I didn’t enable the brim setting. While this part can’t be used on the final bot, it was still perfect to help gauge scale, how parts will fit and any issues that might need fixing in CAD. Happily, the warping was the only issue found. The chassis felt sturdy in all the solid sections, the motor hole being obviously slightly more flexible due to the lack of material.

I bolted on some of the old wheels and the axe module for a pretend build. I’m amazed at how compact this bot is going to be. But not too compact that nothing fits which is important. The 2-degree angle shift for the shafts looks to be working as desired will know for sure when the shorter belts arrive.

I’m waiting for the new belts and the hex spacers to arrive. I should hopefully have both halves of the chassis printed by that point.

Forbidden Candy! The new moulds and the spray-on mould release have produced the best set of wheels I’ve ever made even if the demolding leaves me with saw thumbs.

The m3 16mm bolts arrived to replace the 20mm ones and with those, I was able to compare the weight of the driving wheels. 2g lighter, it’s a small weight saving but a saving nonetheless.

The driven wheels ended up saving 6g each likely down to the lighter bushings. Nonetheless, I am happy to have beefed-up wheels that are still lighter than the previous versions.

As I had the small scales out I wanted to weigh the bulkhead to see how heavy it was compared to the slicer’s estimation. About 5g lighter.

The belts arrived a little sooner than expected so I used the scuffed bulkhead to test the belt tension and see how much flex the bulkhead had. The 2-degree angle on the shafts worked a treat the tension is spot on and the wheels are not being pulled into the bulkhead. The bulkhead has some flex around the motor area but when the front and back of the bulkhead are held in the correct position the flex is gone. Thicker condensed bulkhead ftw I guess.

Good progress was made. Two bulkheads printed which means a better pretend assembly. I’ve made some tweaks to the CAD, but nothing that would make these bulkheads unusable thankfully.

Printed the TPU mounts for the repurposed hardox wedge of CSB: Echo.

After printing a PLA prototype baseplate I bolted in the old axe module to see how it would look with the axe on. You can also see one of the PLA prototypes for the HDPE “hinges” the hardox wedge will bolt onto.

The first of the TPU wedges with built-in fork mounts, featuring indented decals to colour in with a paint pen.

Quick test fit, a good range of motion on the forks. I am also prototyping new motor covers. The plan is to get them printed in nylon as TPU is just too soft for what I need this time.

I had a little sort out of the wiring as a cable came loose from the ESC. (soldering wires onto pads is a pain) here you can see a PLA prototype motor cover I ended up not going with that design.

The 35mm long aluminium hex spacers finally turned up just in time to be fitted into the newly printed bulkheads with the small tweaks. I’ve printed some new motor covers in TPU. These mount onto the gearbox with some longer m2 bolts.

I took the chance to fit the forks onto the wedges and mount them to the bot to see how it looked.

The anti-HS ram bot setup was given a test fit. The wedge needs the top lip cut off with the grinder so the bot can happily run upside down.

I also checked my scrap HDPE, with this build, scrap 4, 5, 8 and 10mm HDPE will be used in this build. I just need to wait for the shed to be cleared out of my parent’s latest garden project supplies.