Well, it has been a while. 
With most of 2025 hyper-fixated on Corruption, I didn’t get much done for Data Breach. Partly because I was not happy with the design and kept trying new ideas until I found a design I was happy with.
Here are the design rejects:
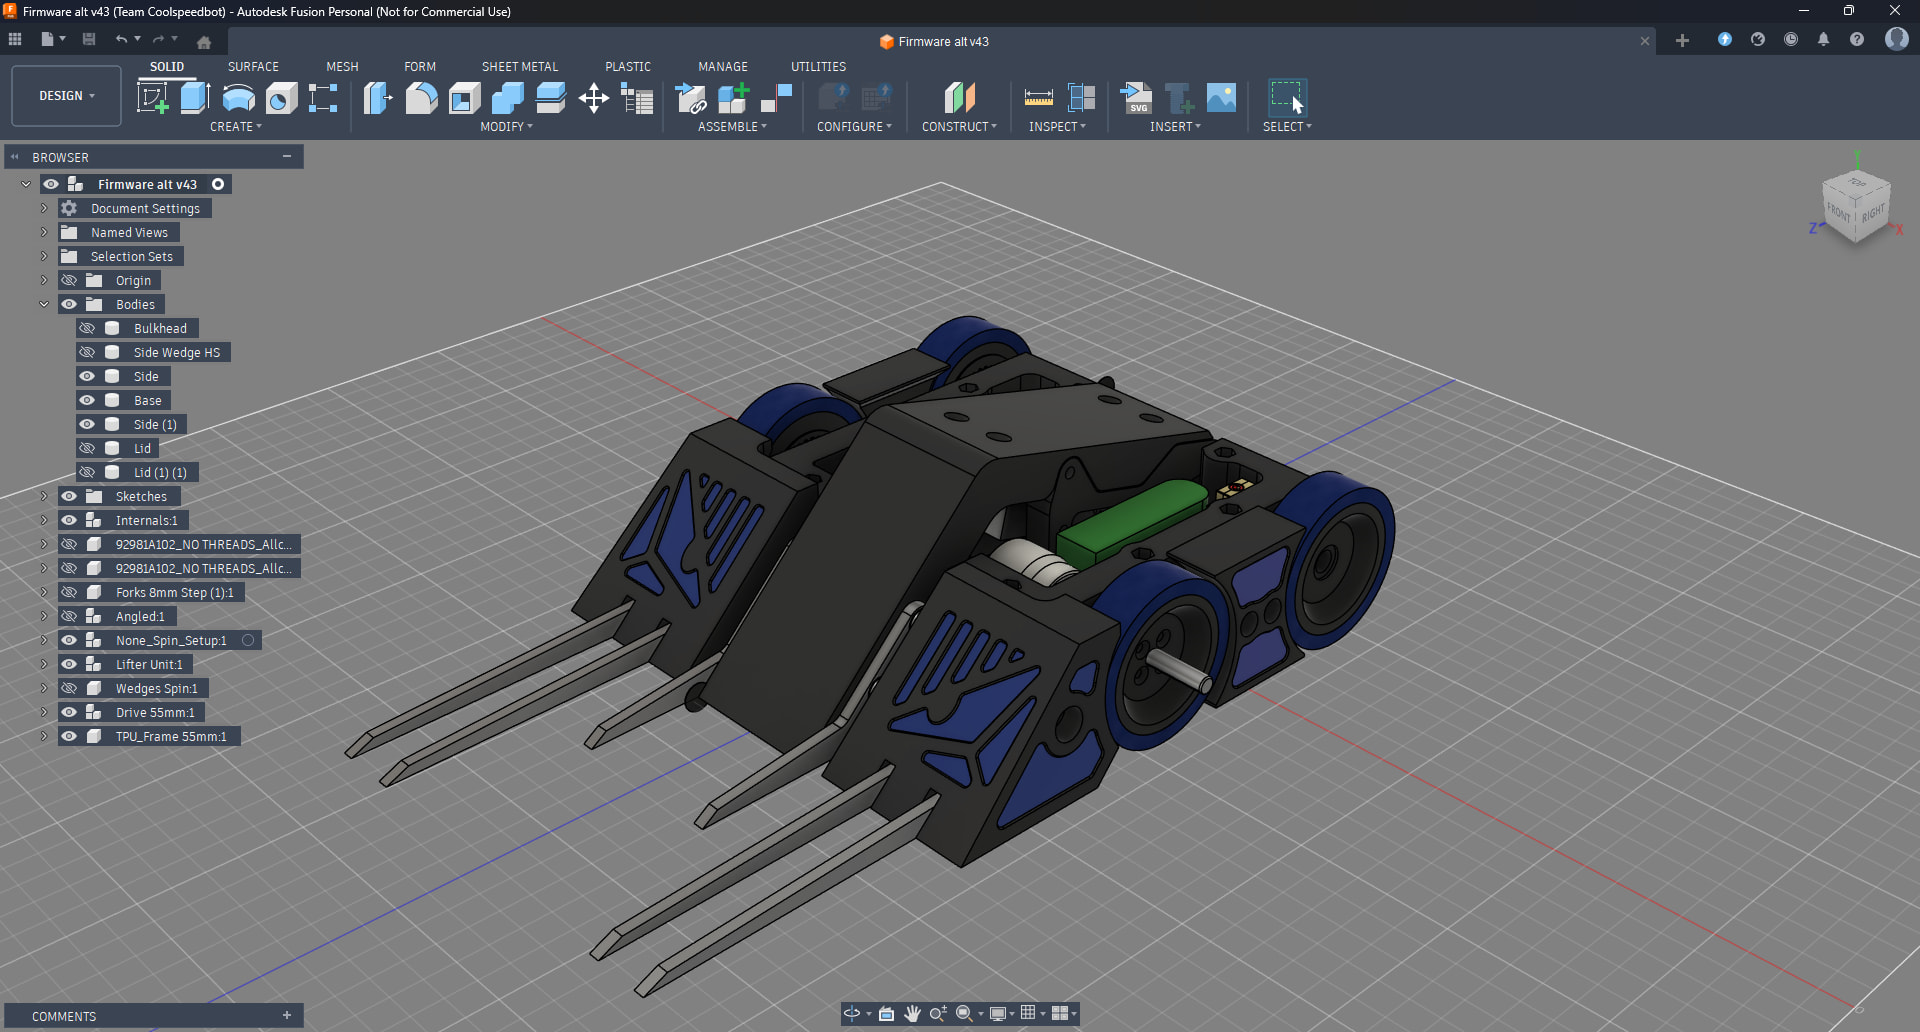
This is the design I was working on in the last post. I wasn’t happy with the side armour and theming, so I made tweaks which became reject number 2.
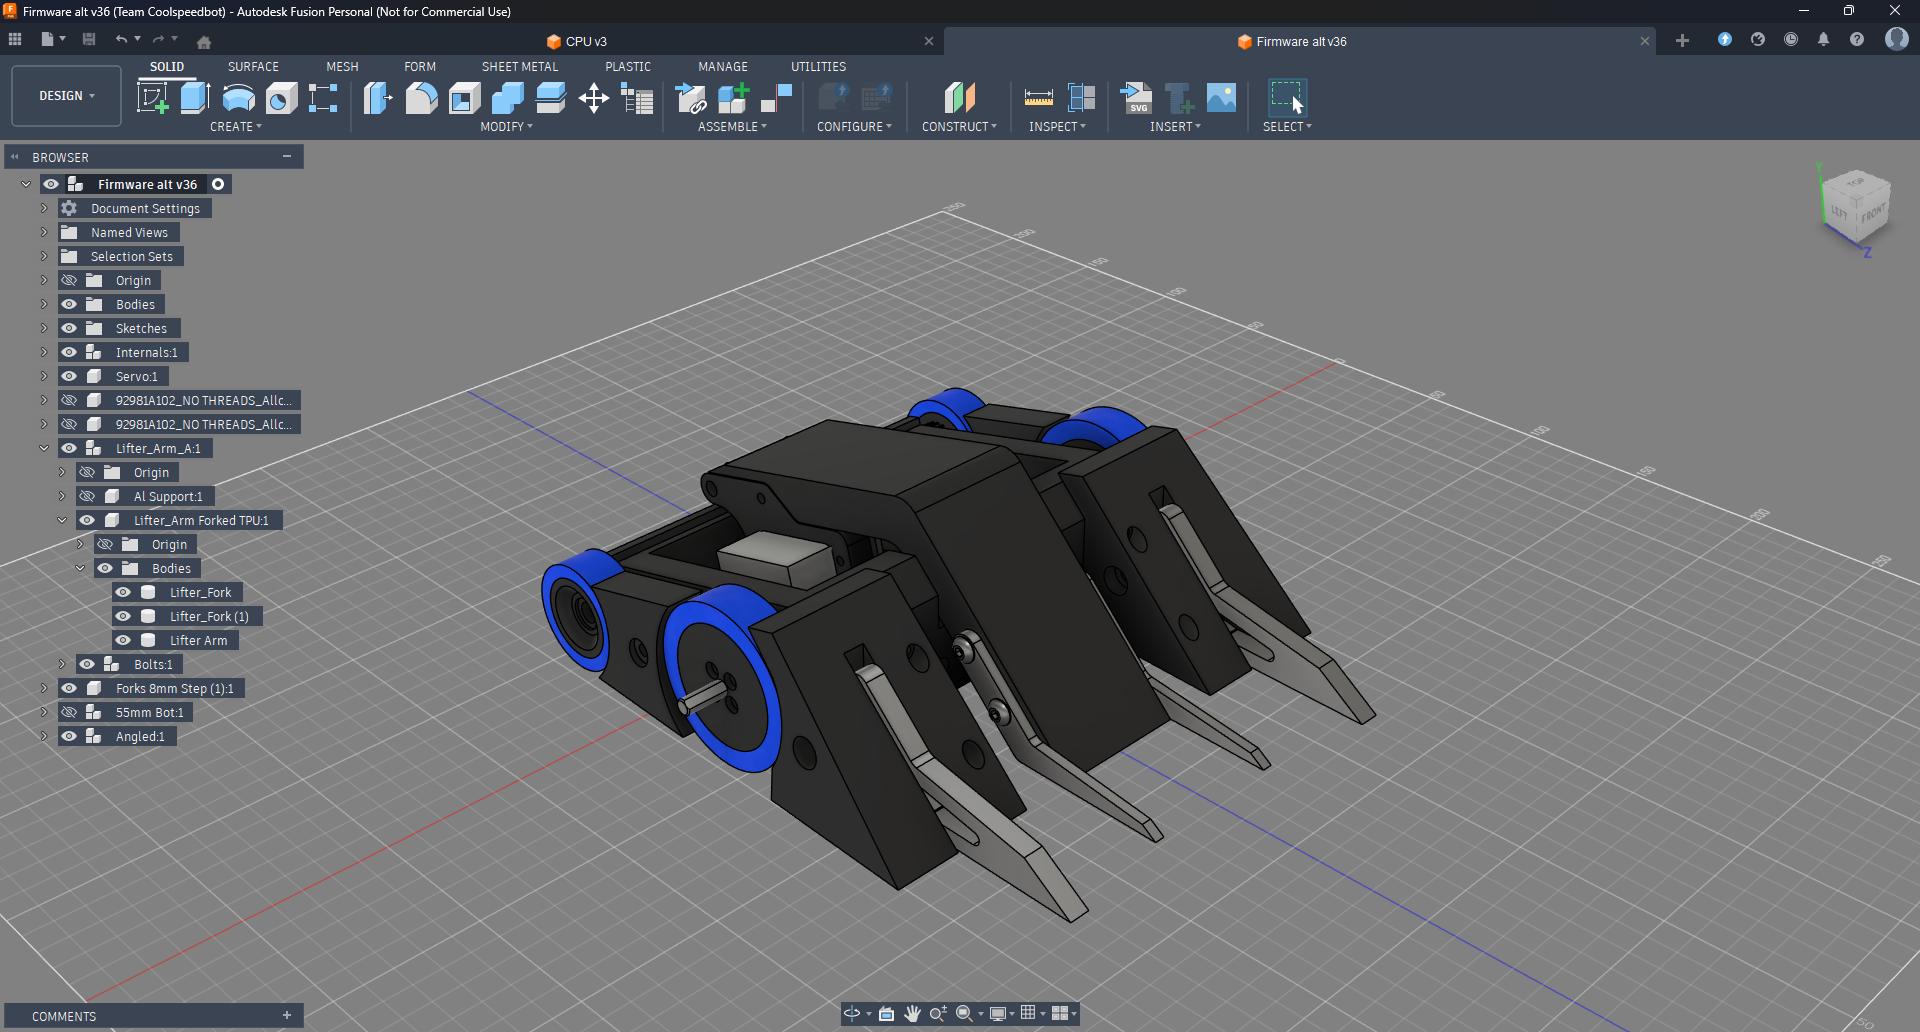
While the armour and theming were better and more in line with my desire to not be wasteful, hence splitting the wedge and side. But it quickly hit a brick wall, trying to just modify the MK3.2 design into 4WD was creating issues with clearance for parts. At this point, a fresh start was needed.
This design tried to copy elements from Corruption, but I wasn’t confident enough with this change, so I stopped there and tried a different idea.
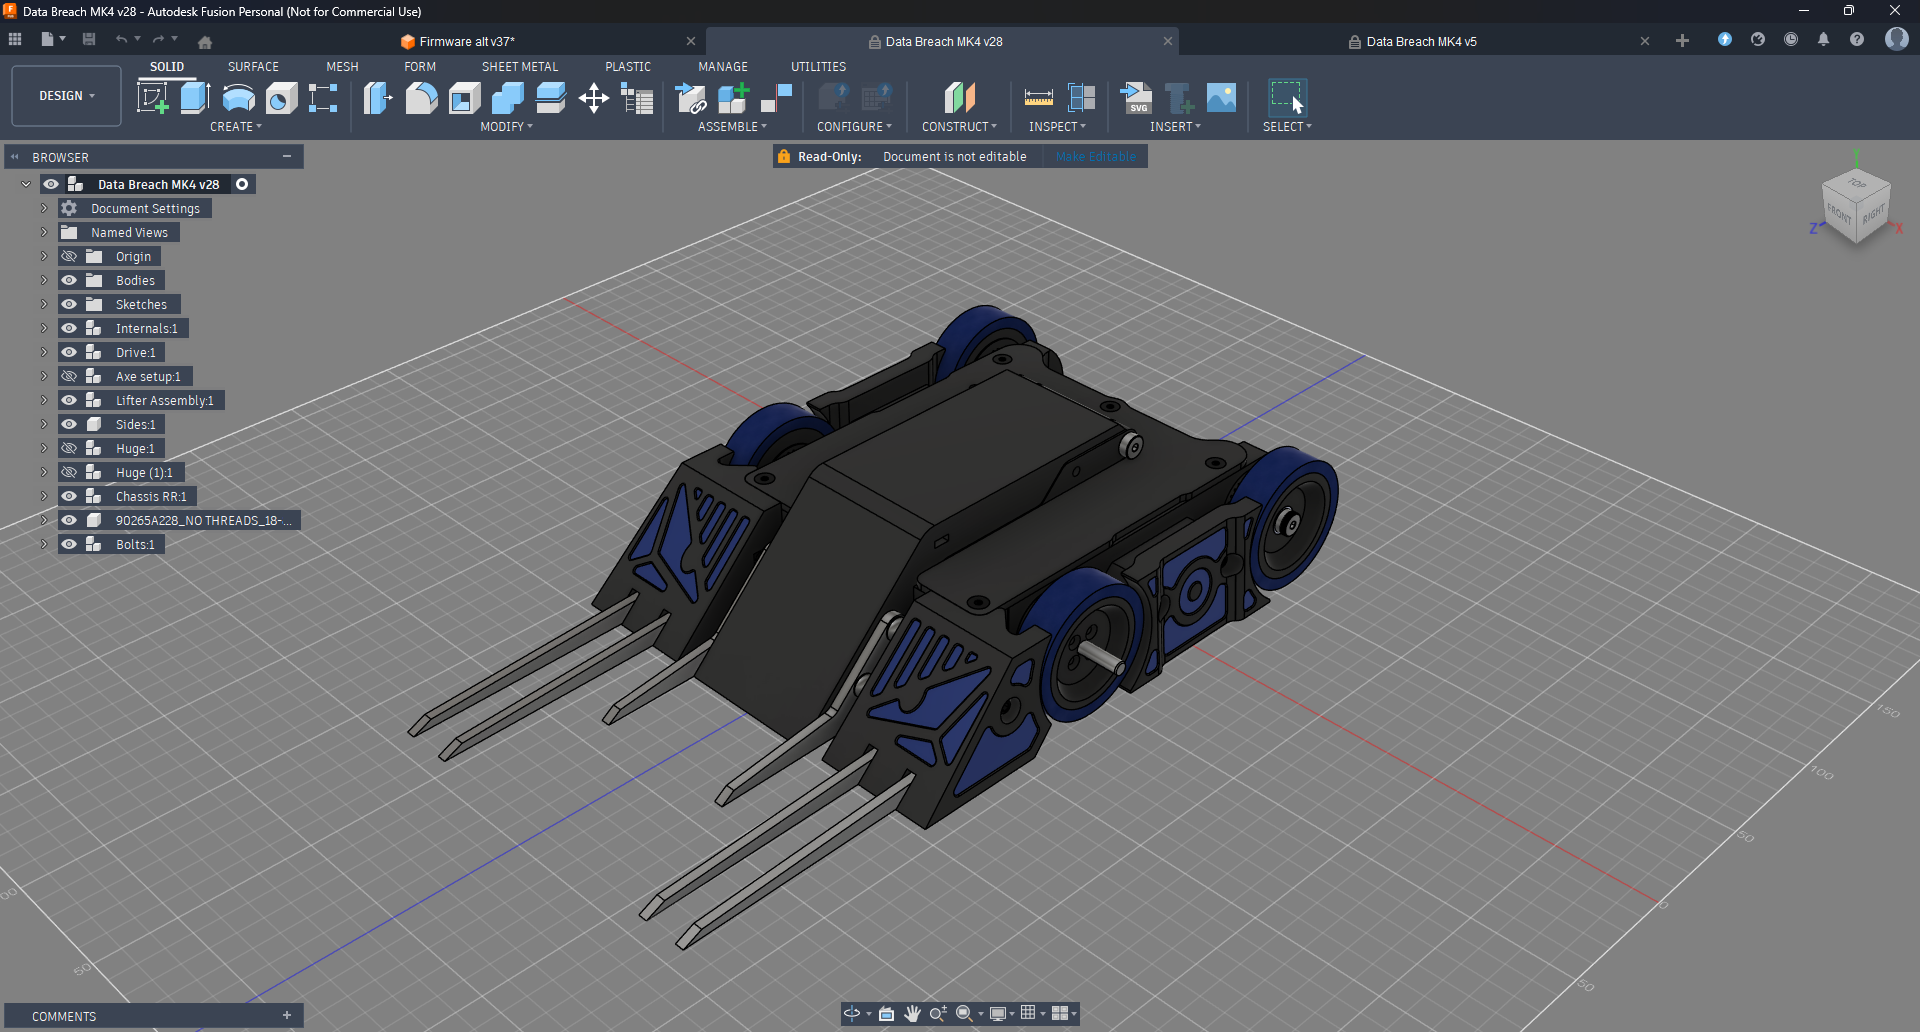
Big wheels and small wheels. While I wasn’t able to get the design to fit everything inside, I was able to convert it to what I ended up using.
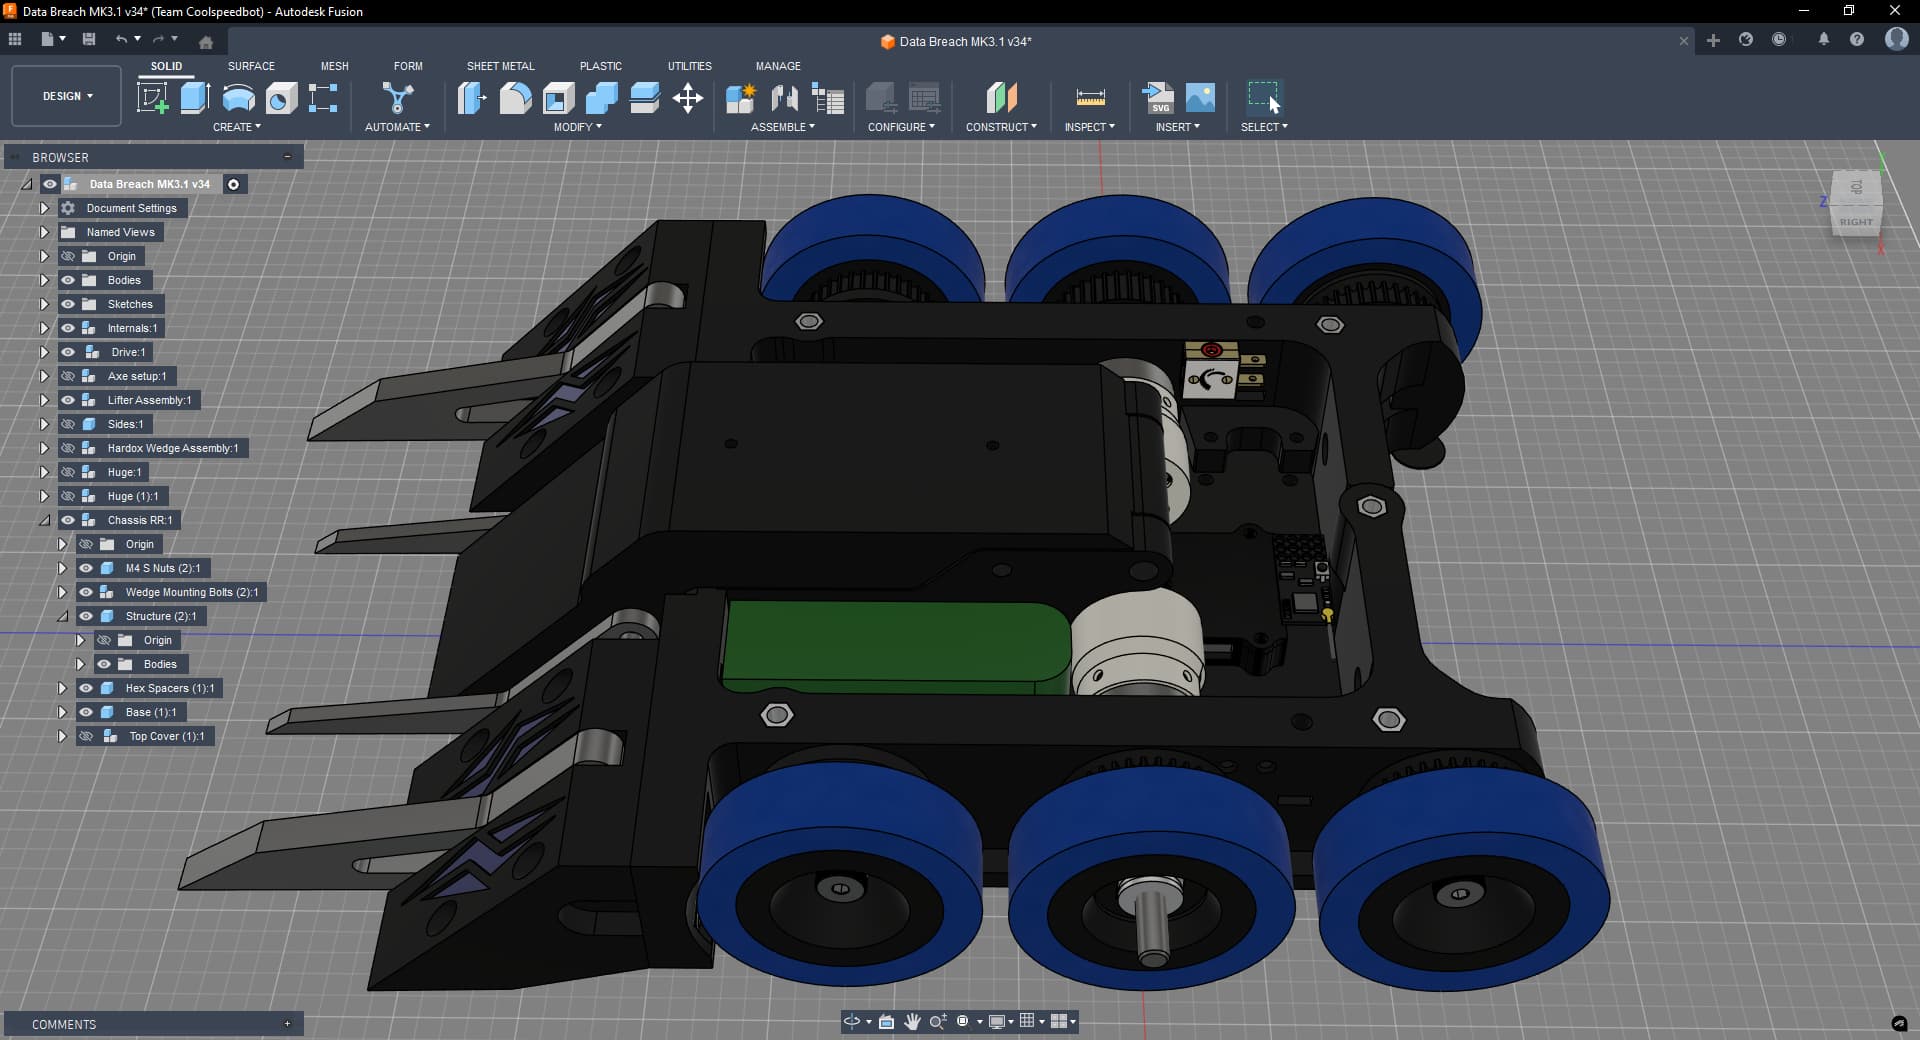
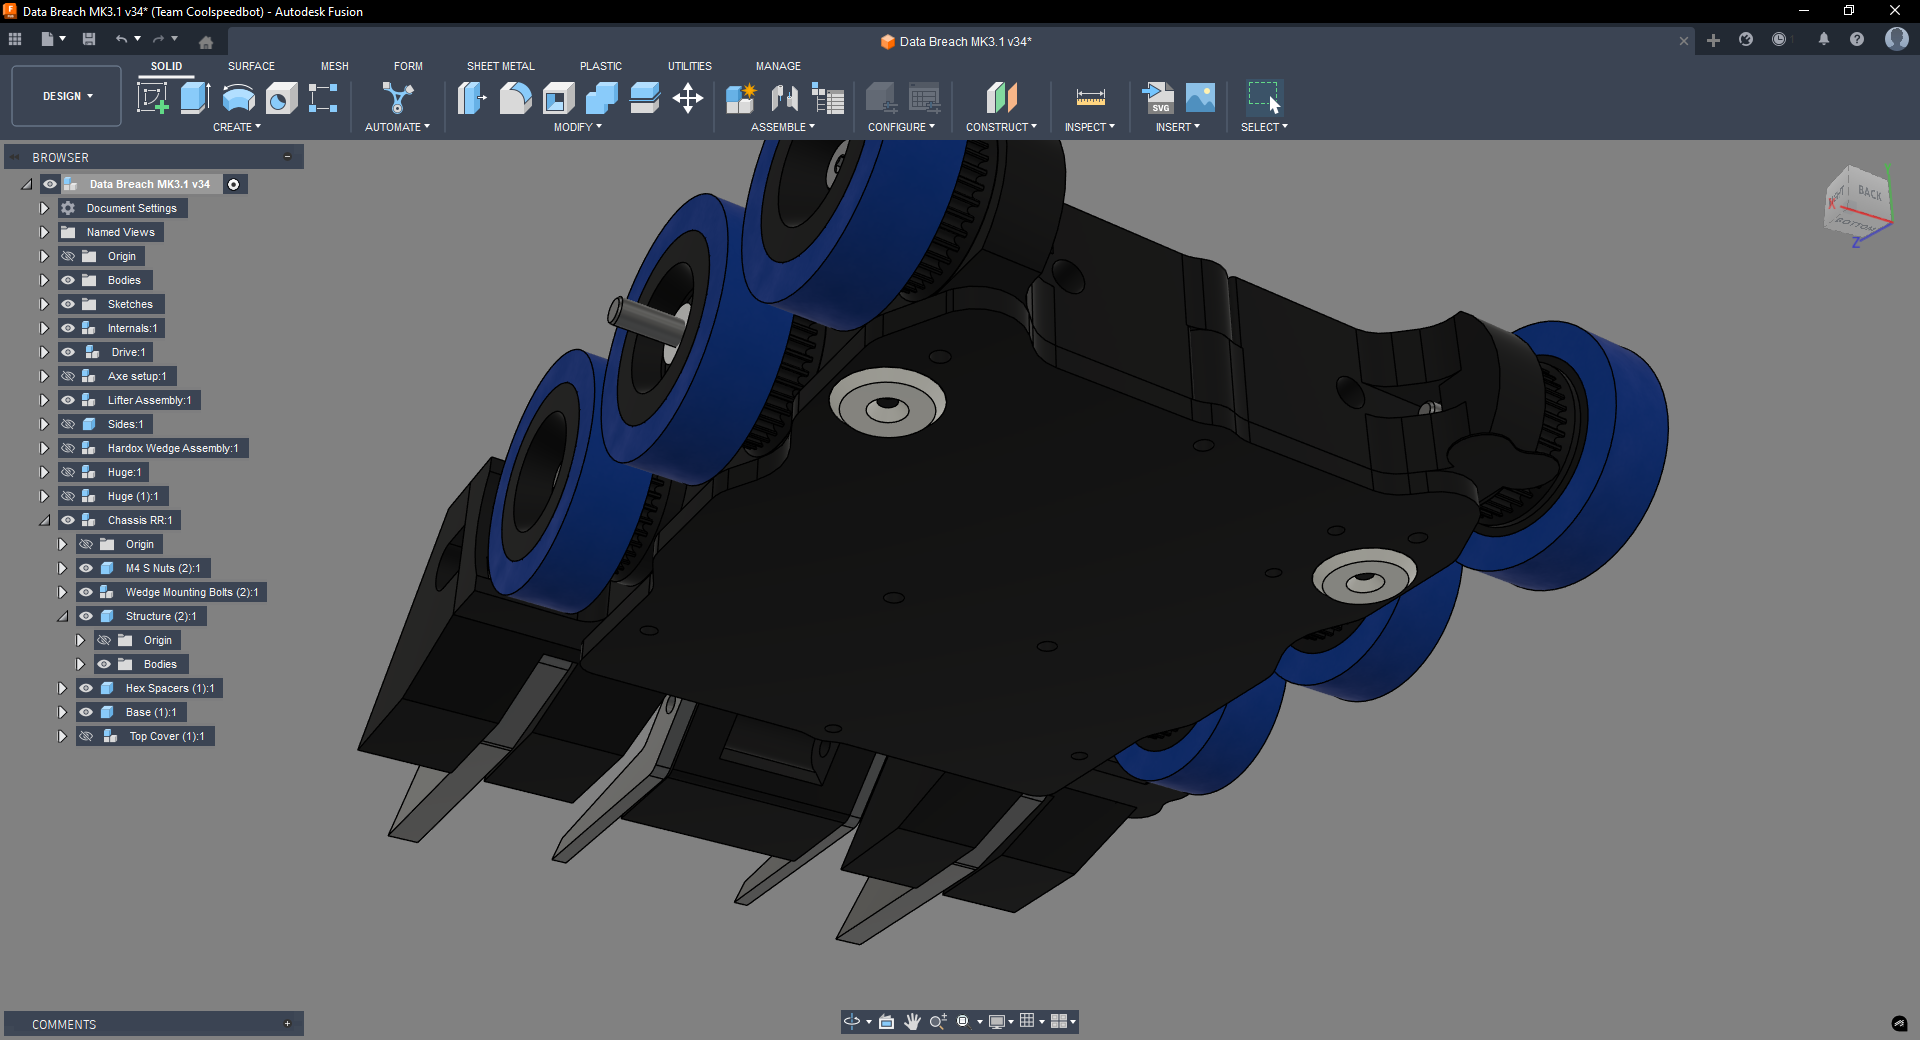
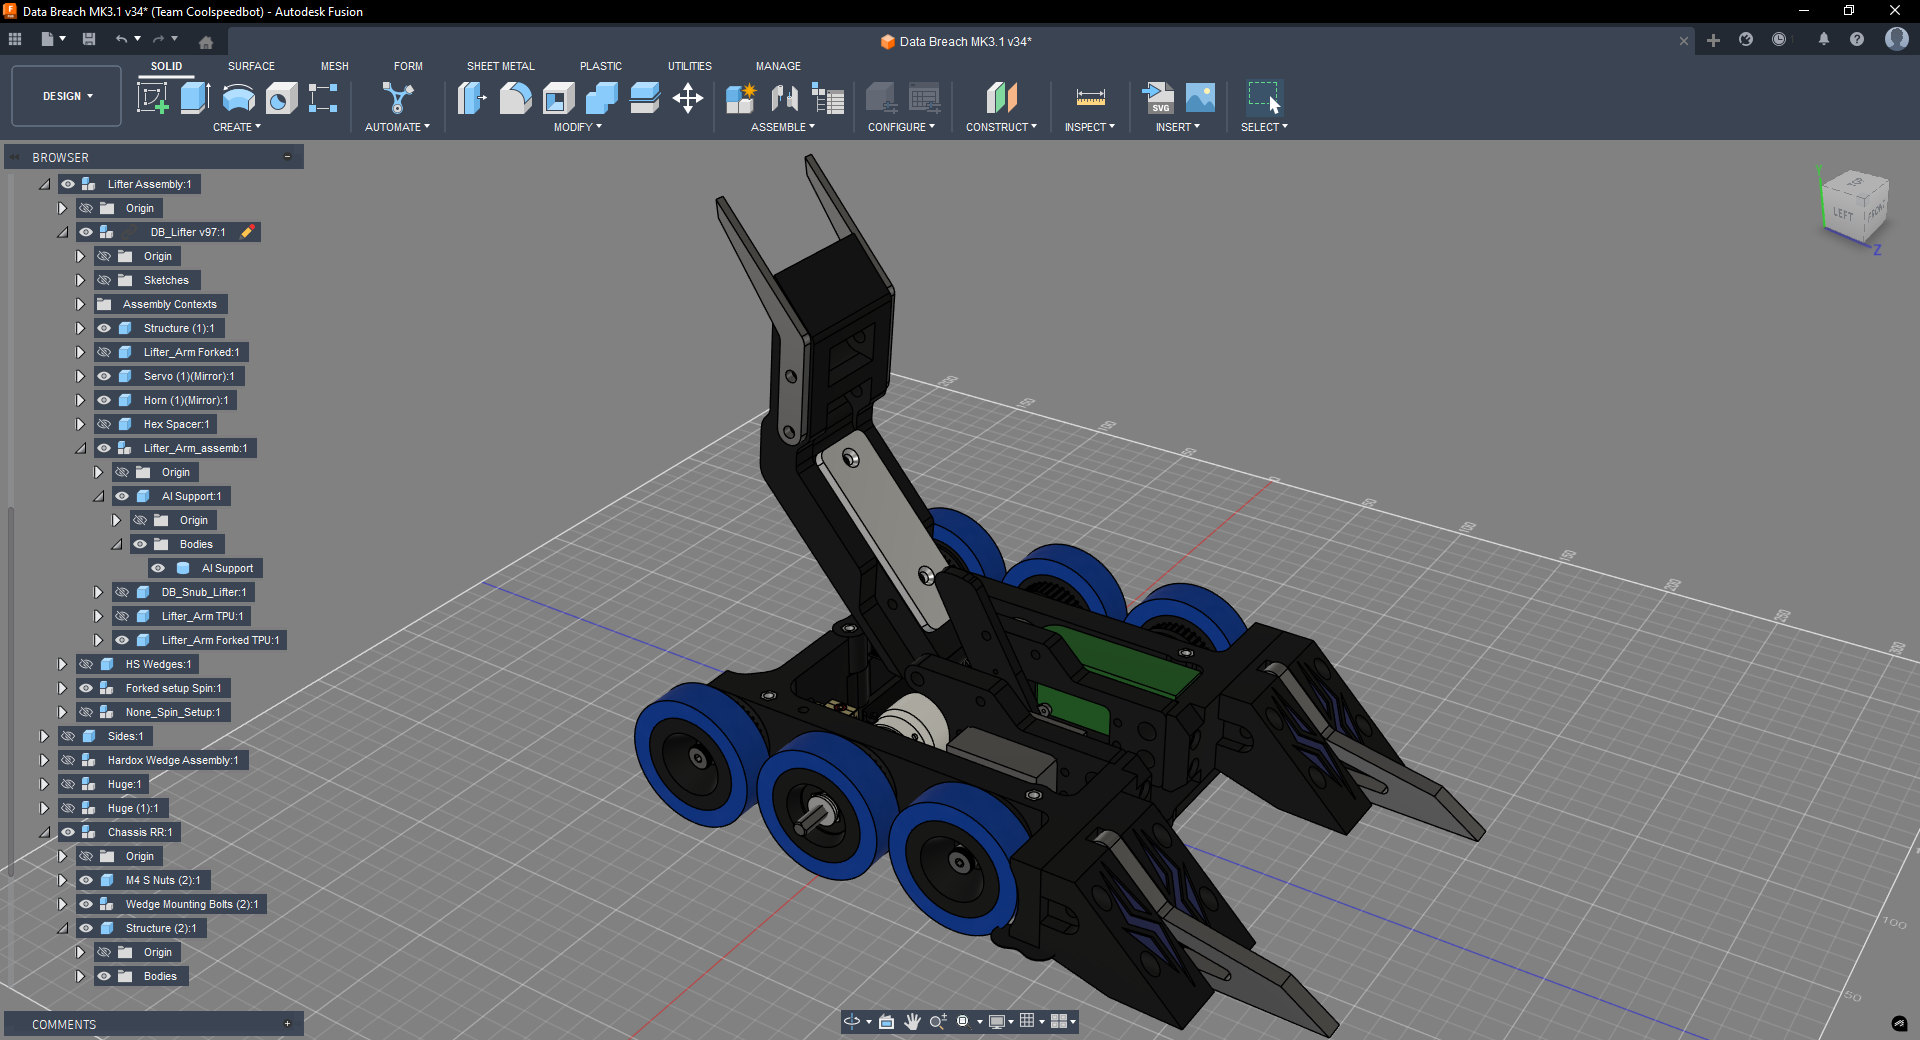
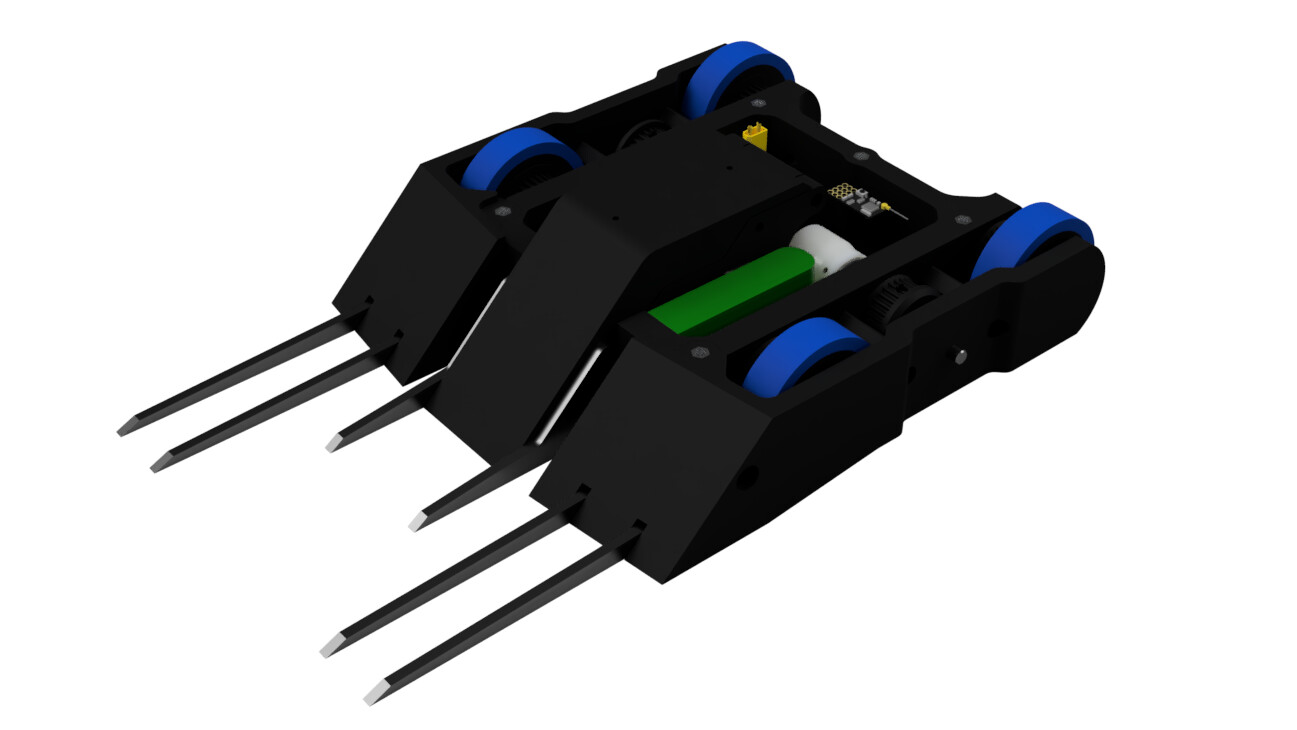
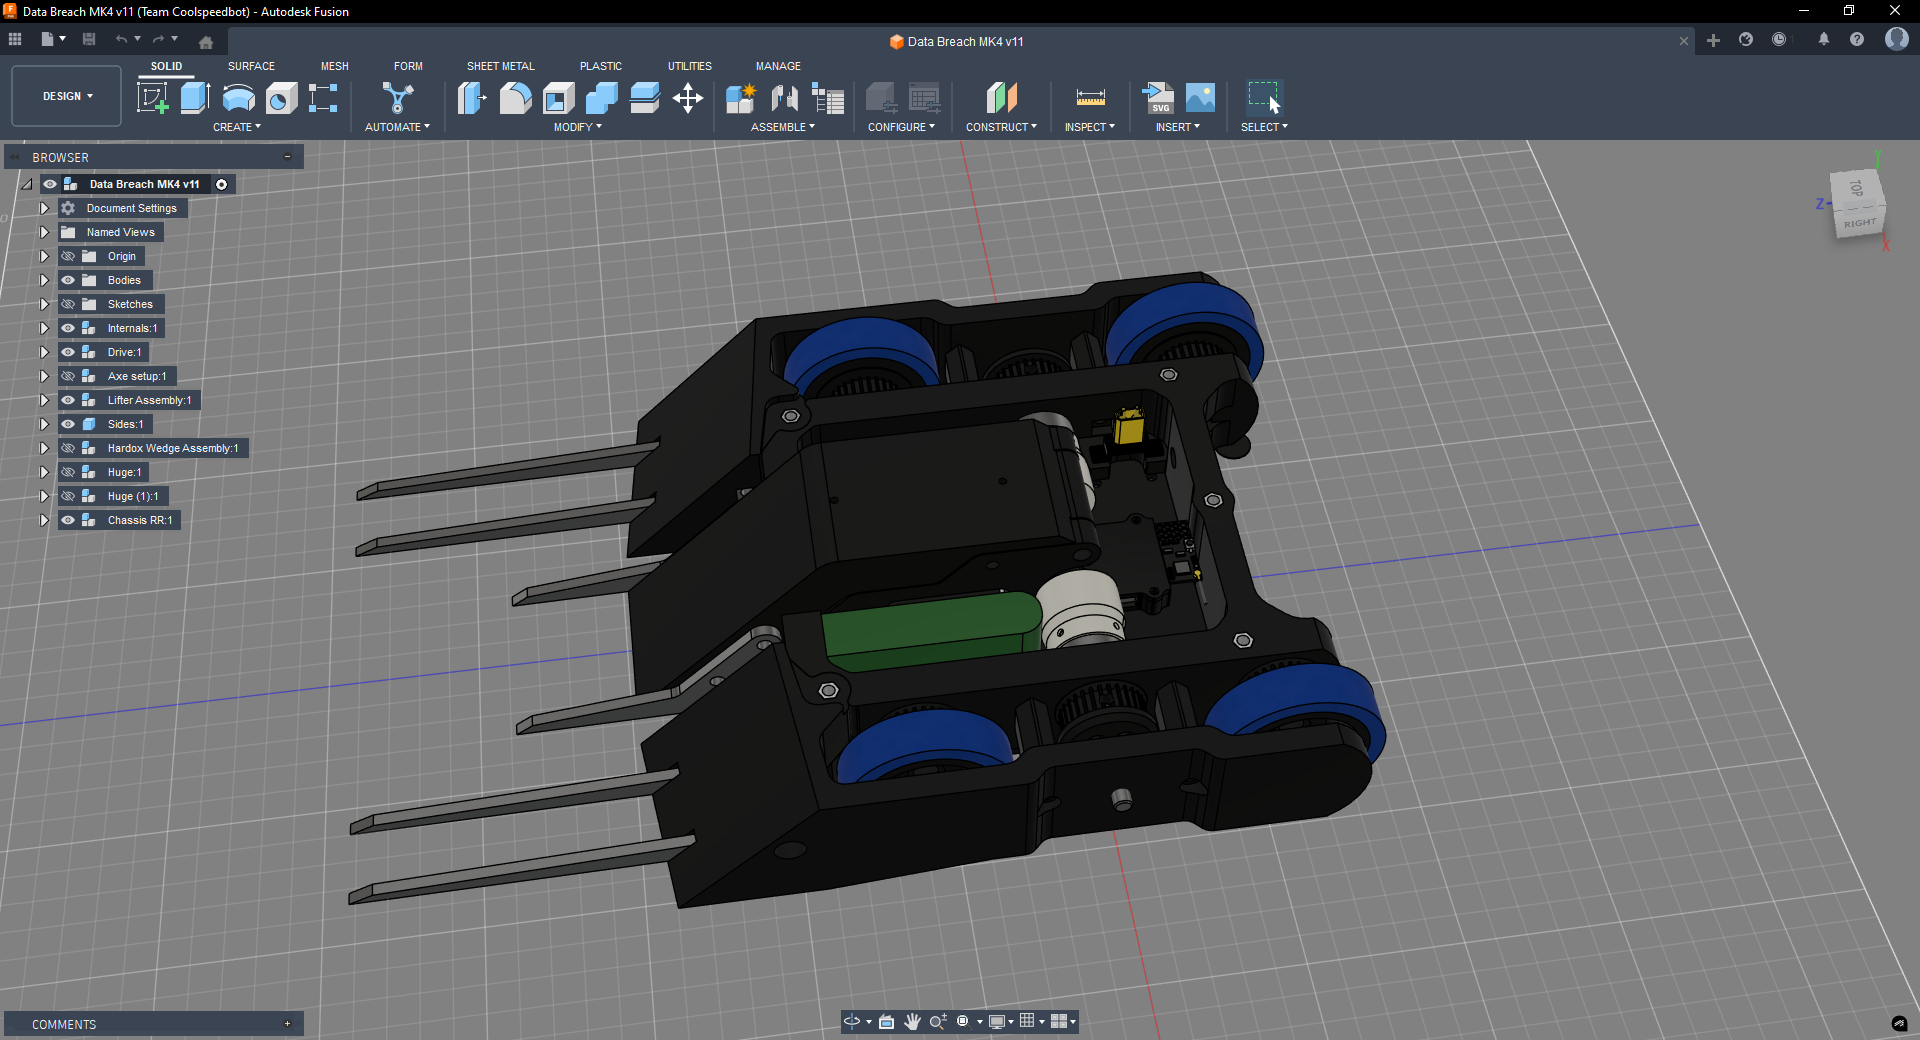
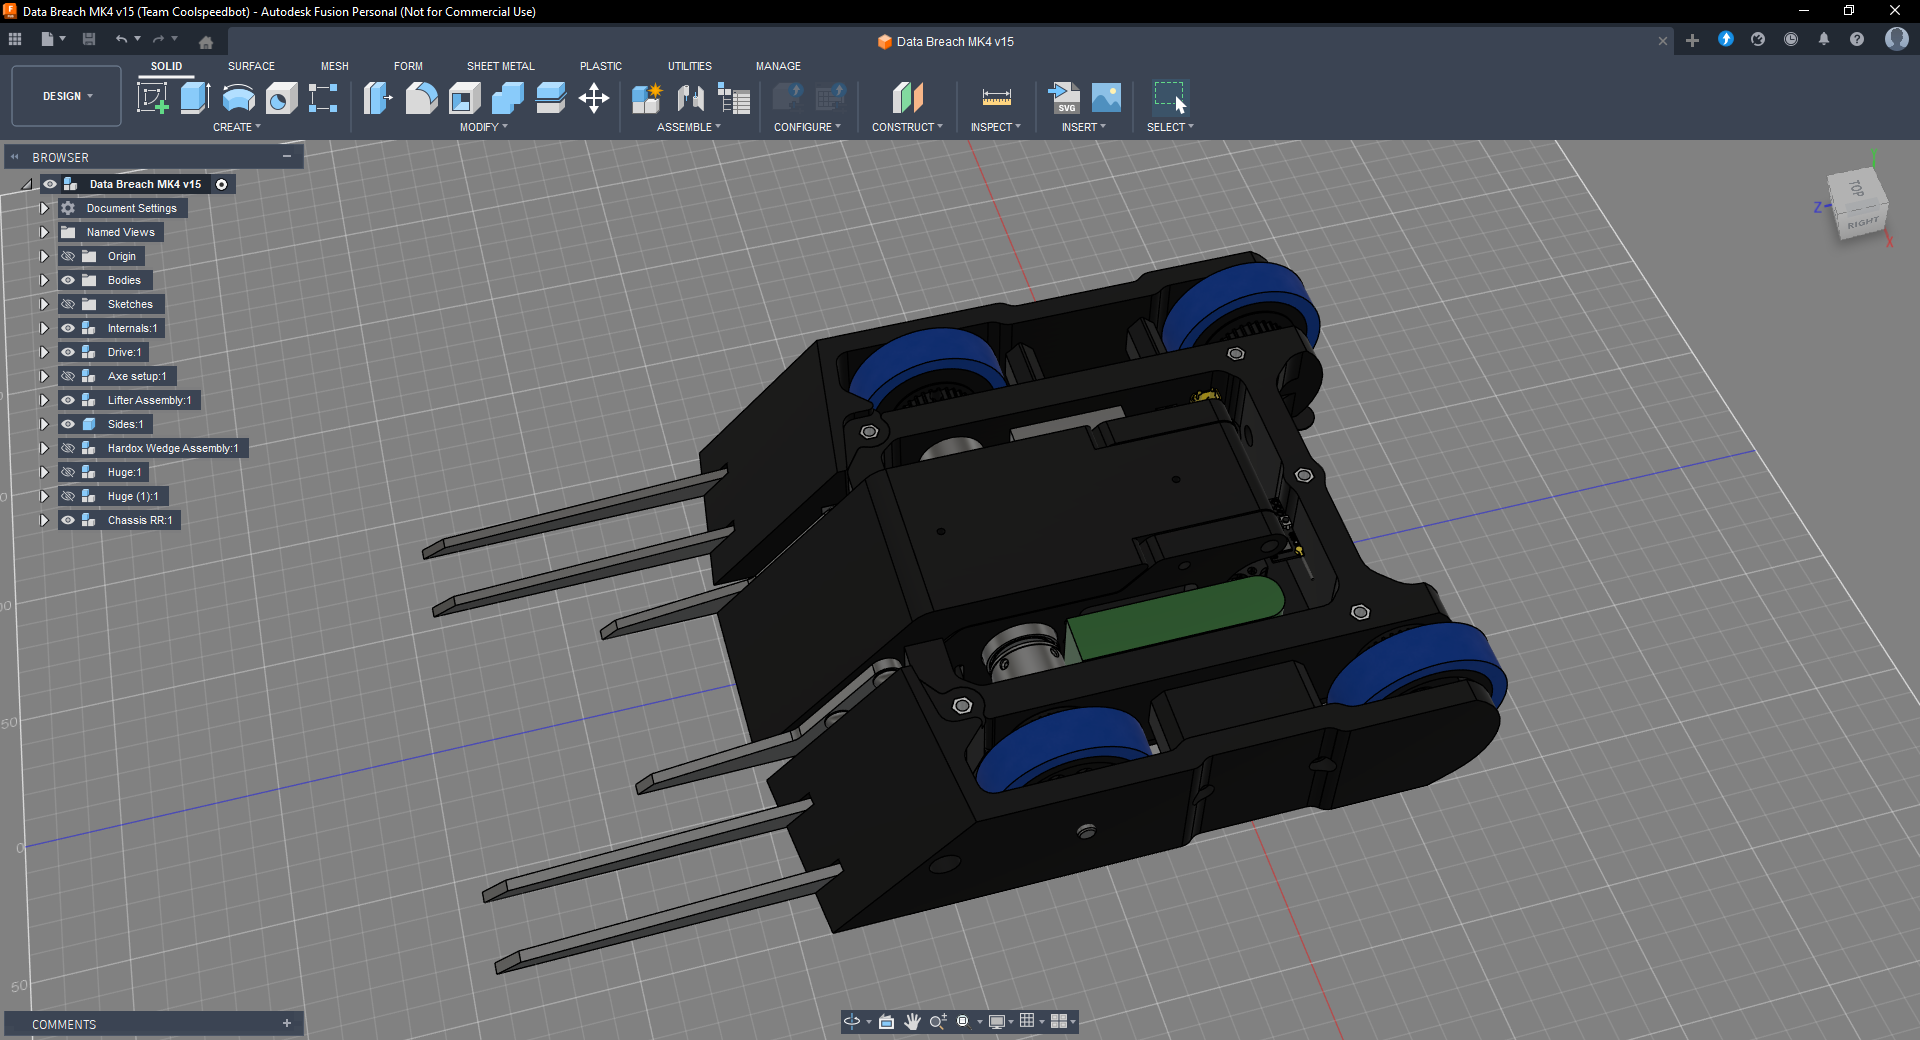
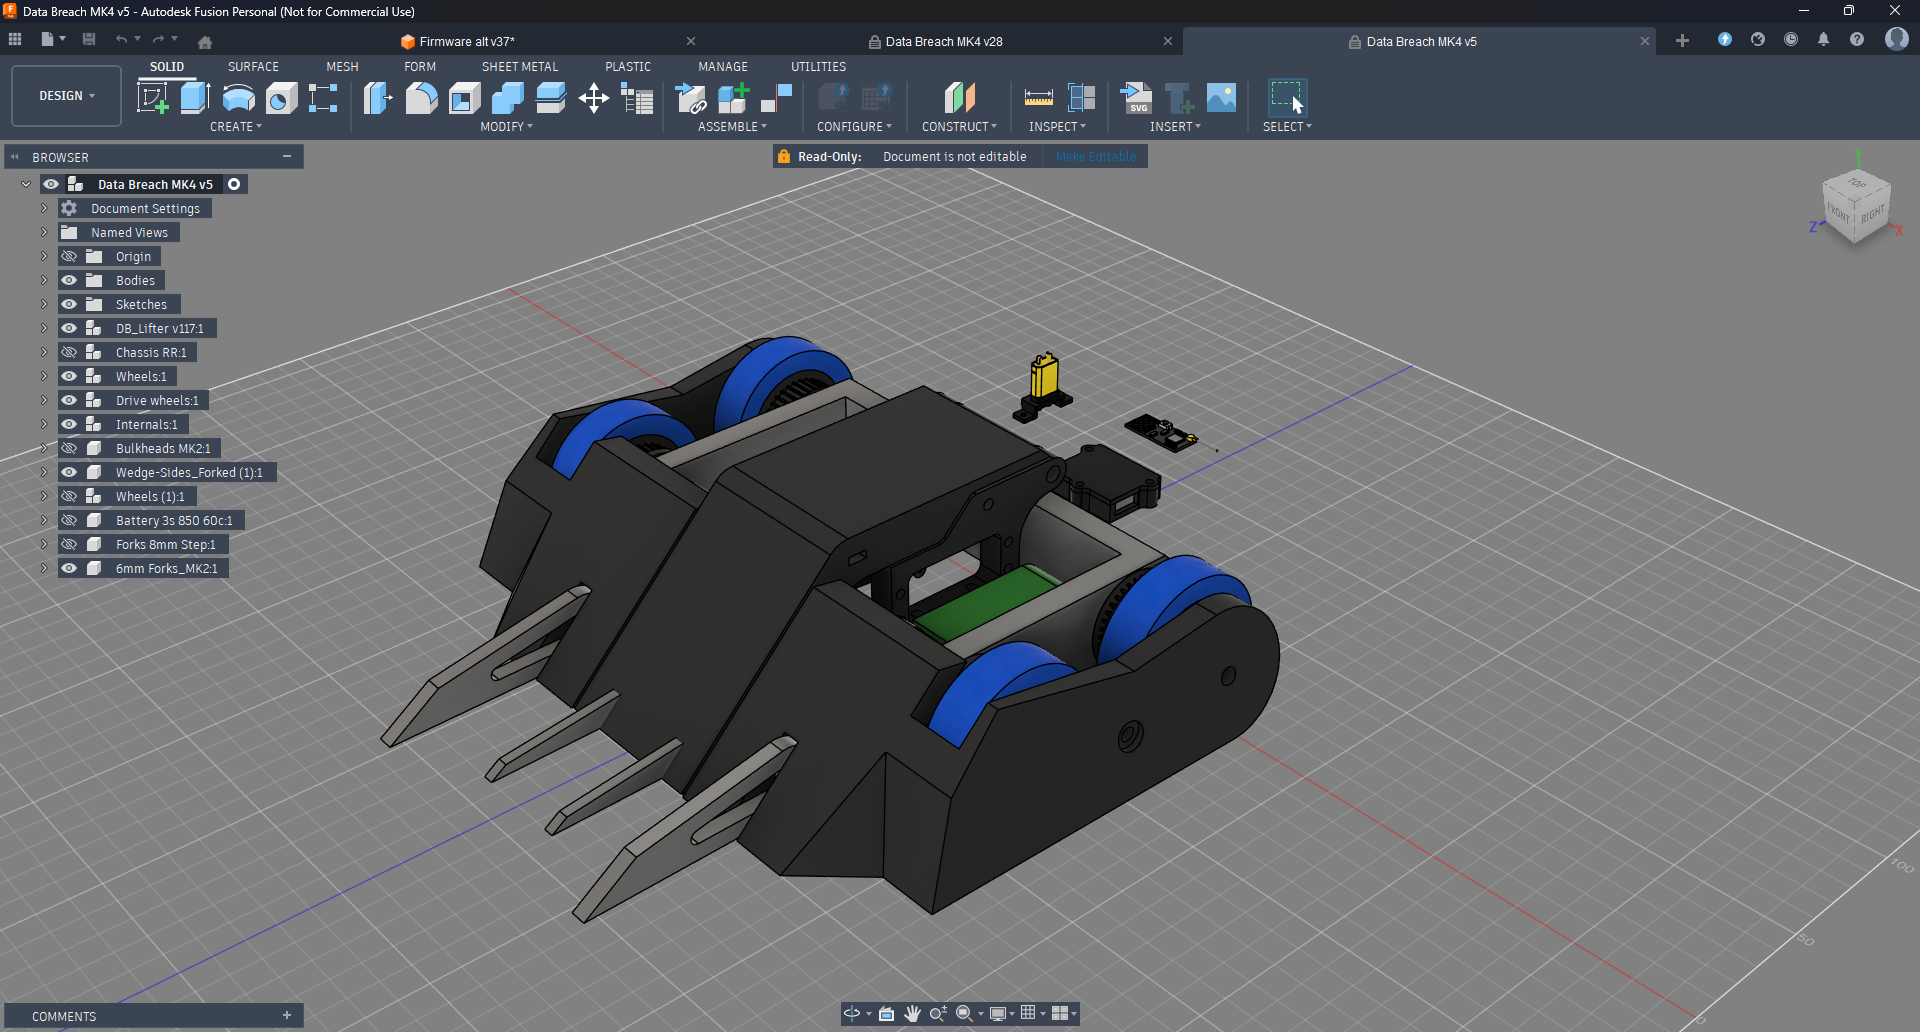
Taking elements from some of those designs, I settled on this: the wedge and side armour from the first design, the weapon from the fourth, mated to a brand new chassis. This screenshot was from 2 weeks ago; the design was tweaked after some test prints.
I managed to move the drive motors to the front wheels, move the weapon servo and the battery to the centre of the bot for better weight distribution. The wheels now run on smaller pulleys, so the belts can be protected by the side armour. The lifter arm now runs a diamond 70kg brushless servo for extra grunt. And I’ve swapped over to a power switch due to the compact inside of the bot. I also swapped out the 1000Mah batteries for the 850Mah ones I run in Corruption.
But enough talking about designs lets get to the building.
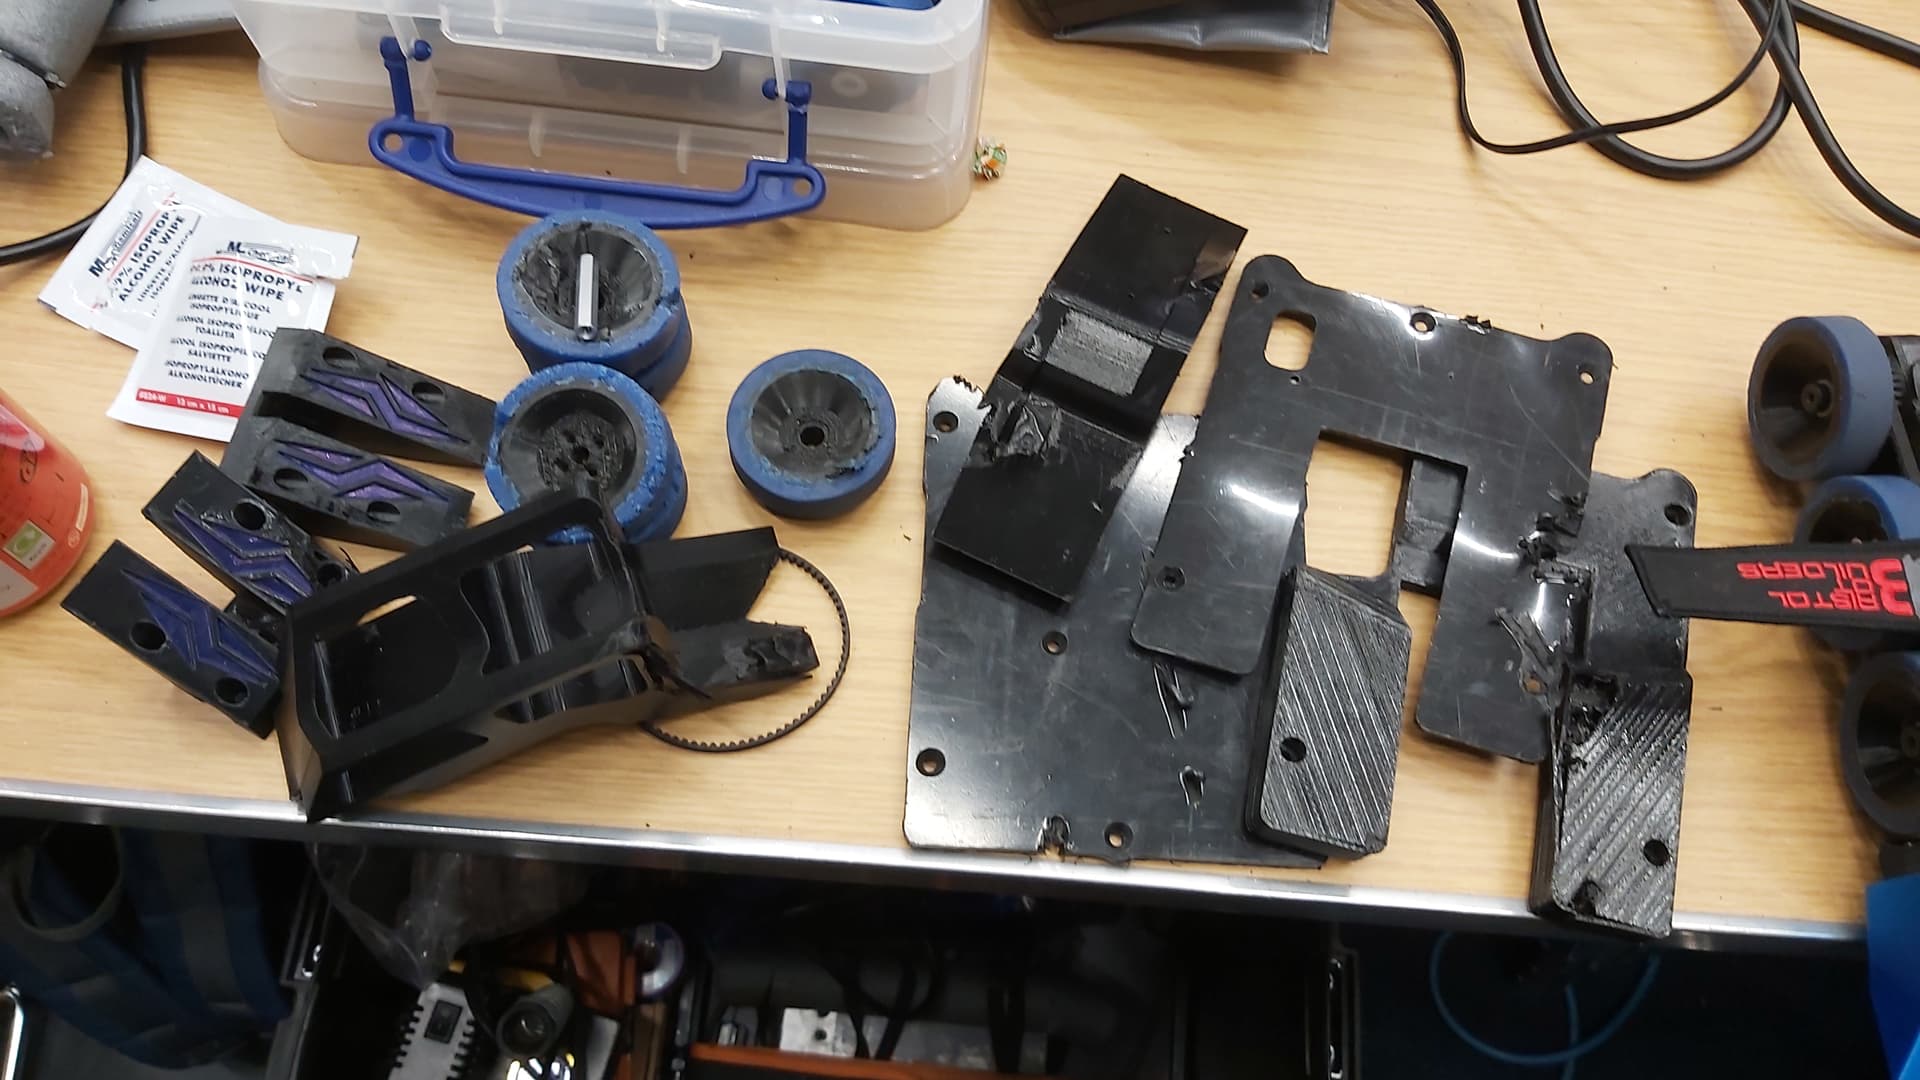
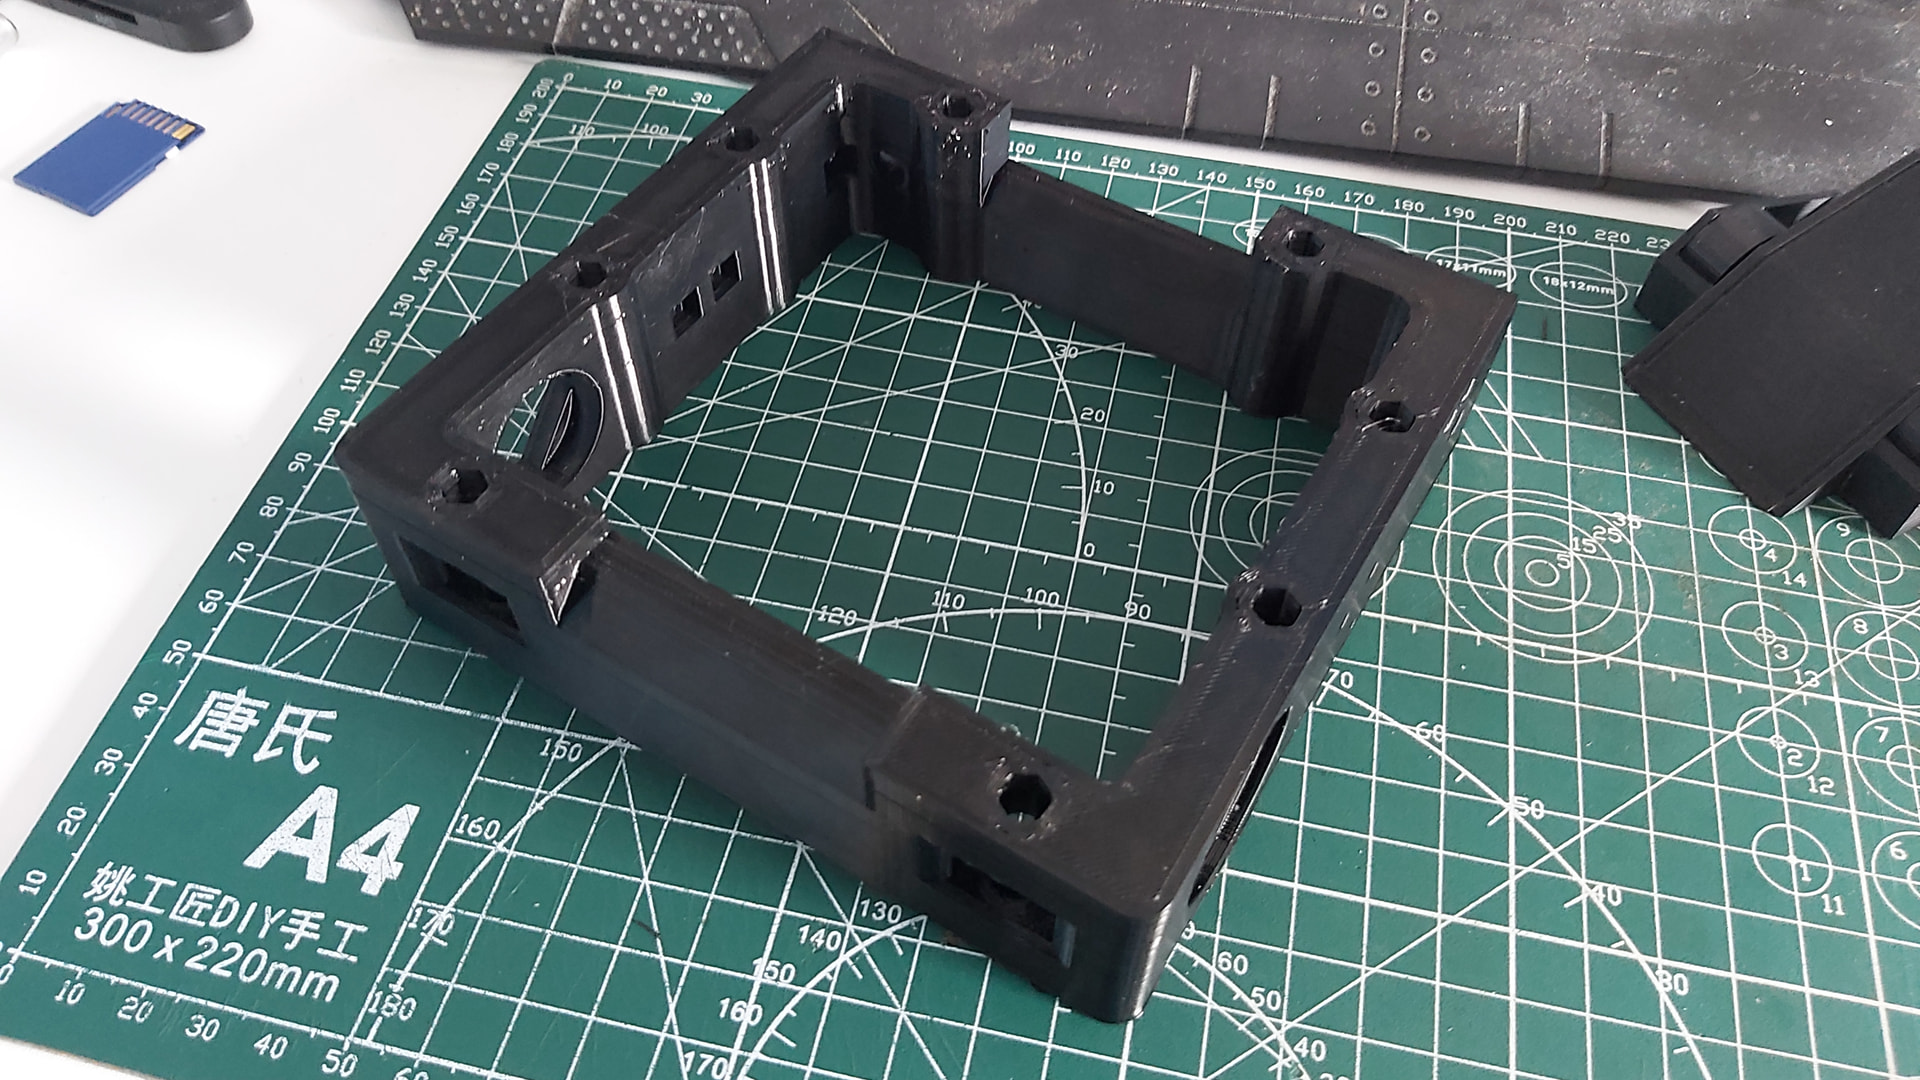
Here is the first version of the chassis. I found that it was not long enough to fit the battery. Thankfully, I was able to make the bot 7.5mm longer and printed a new version.
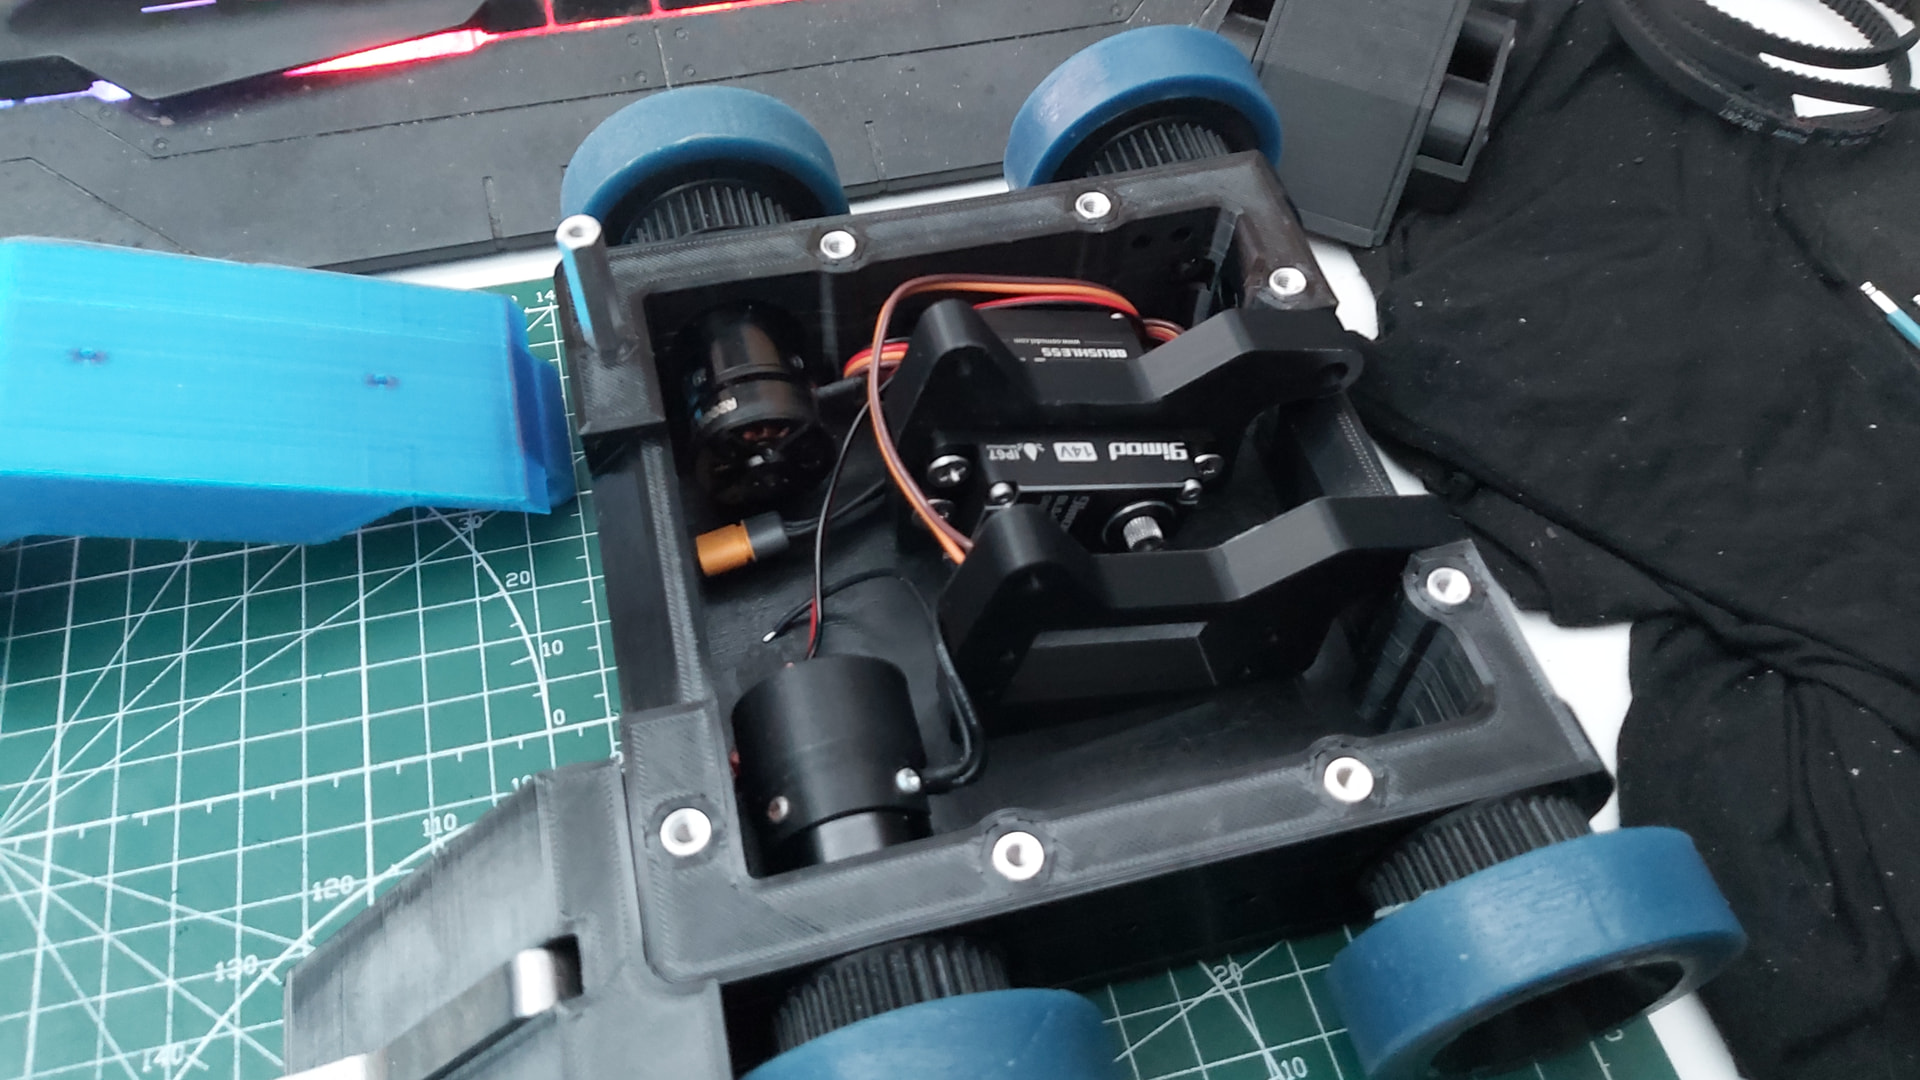
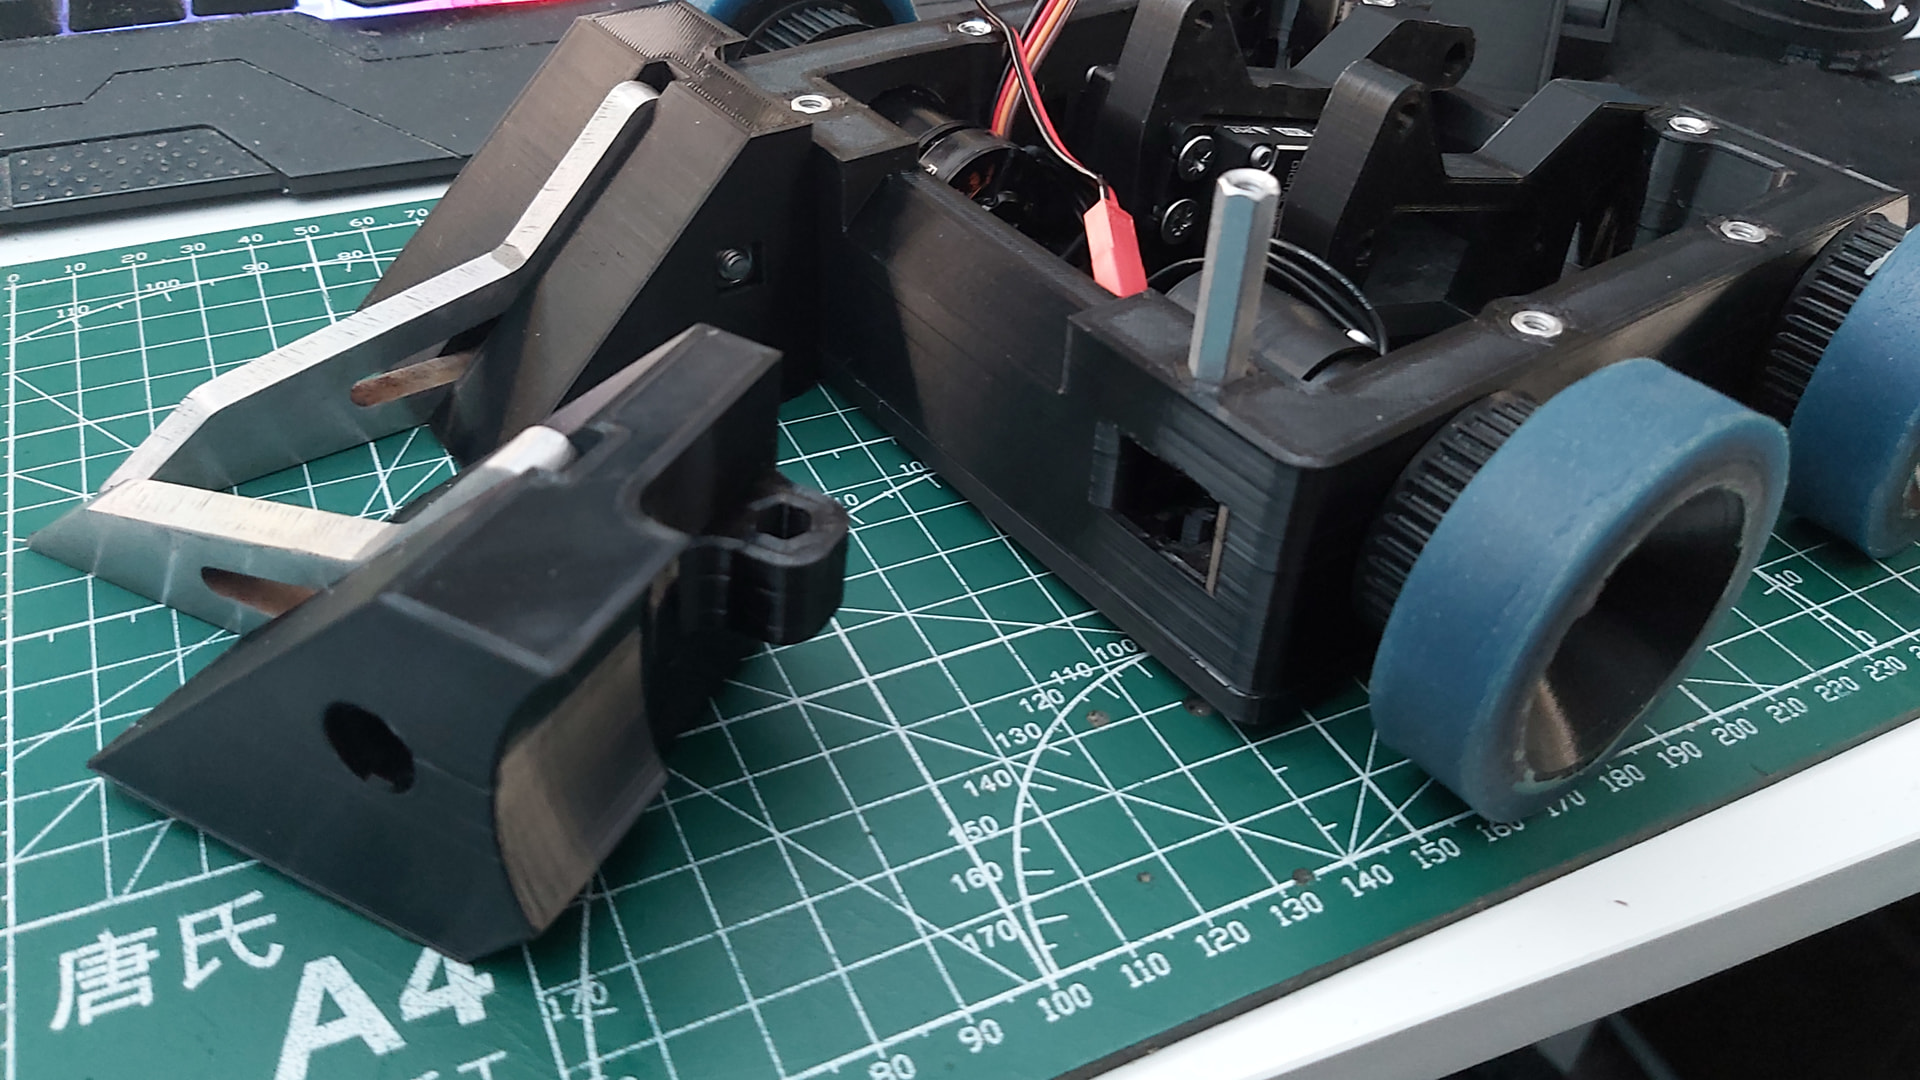
Test-fitting the first version of the weapon bulkheads with motors in place. I changed the angle of the weapon arm so the shaft of the arm can be removed without taking the whole unit out.
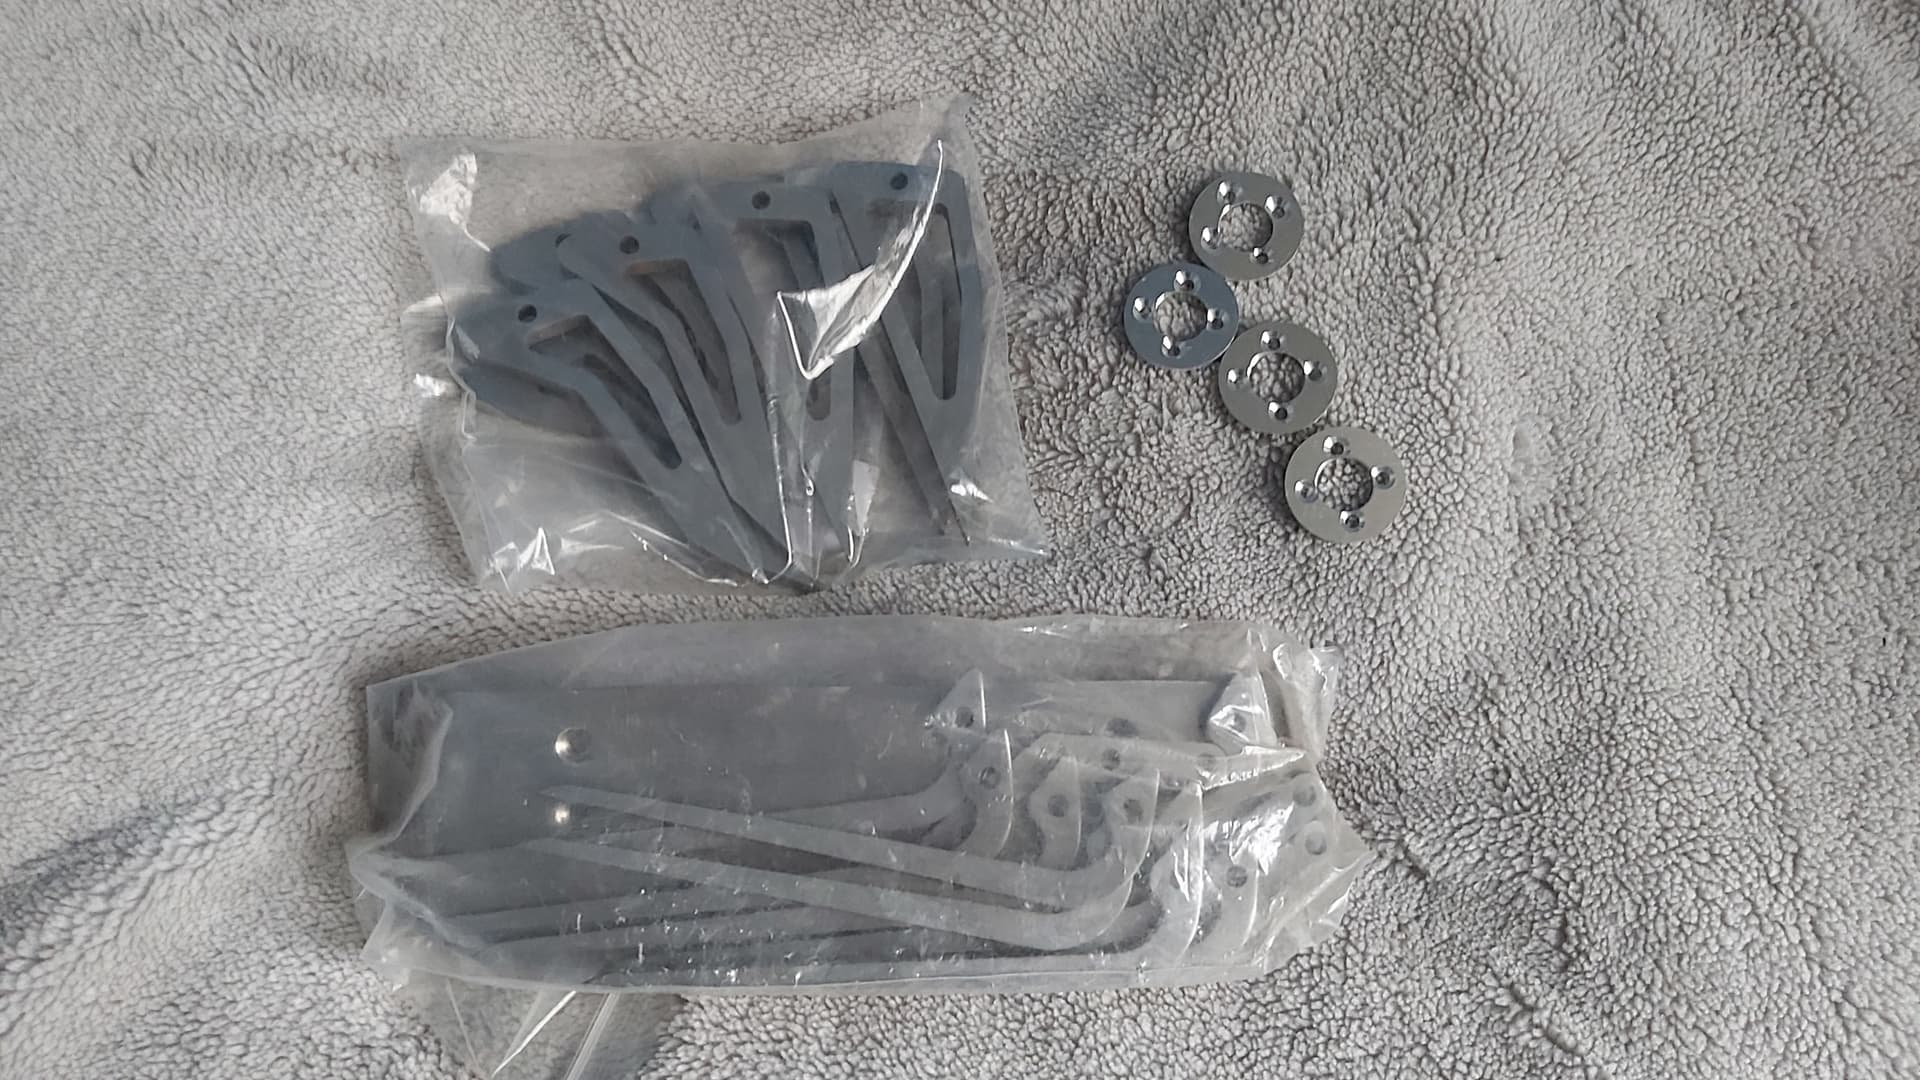
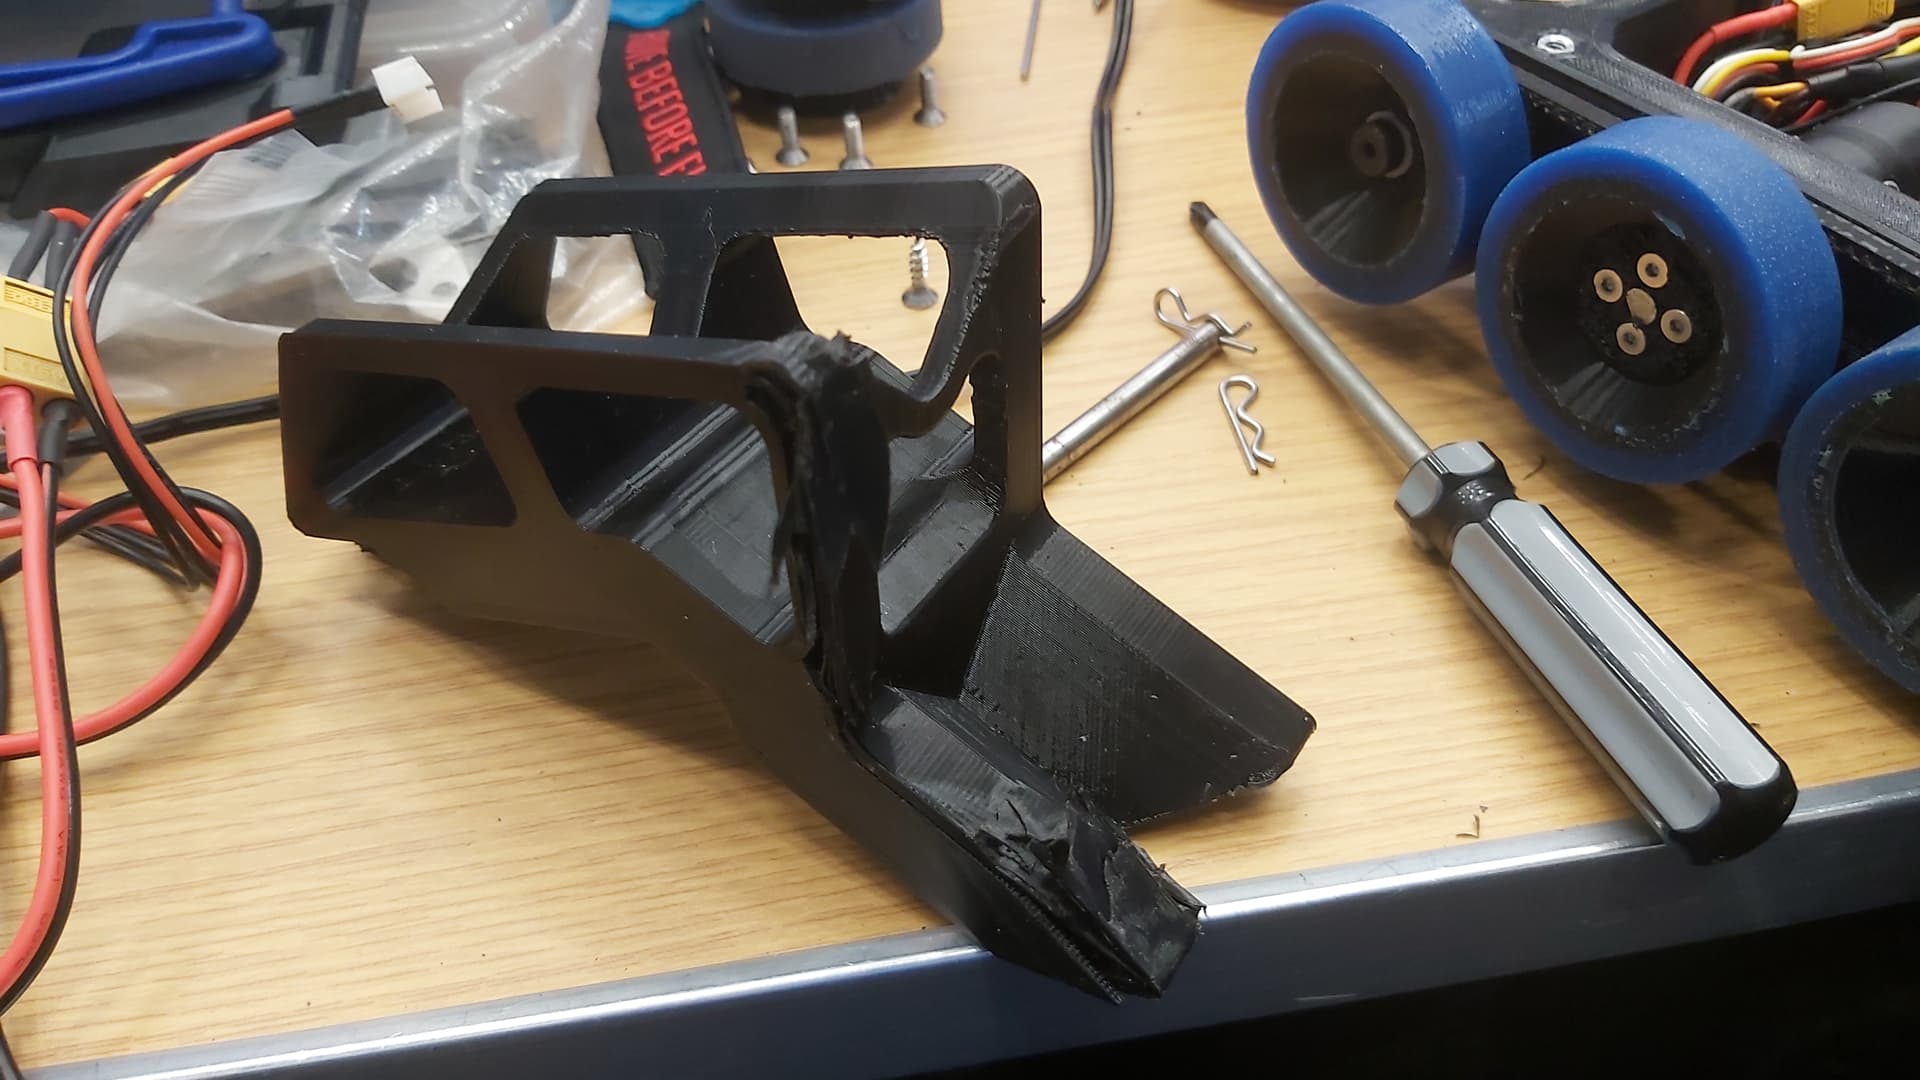
Here is the new wedge mounting solution, taking inspiration from Aero to use the front hex spacers to secure the wedges on.
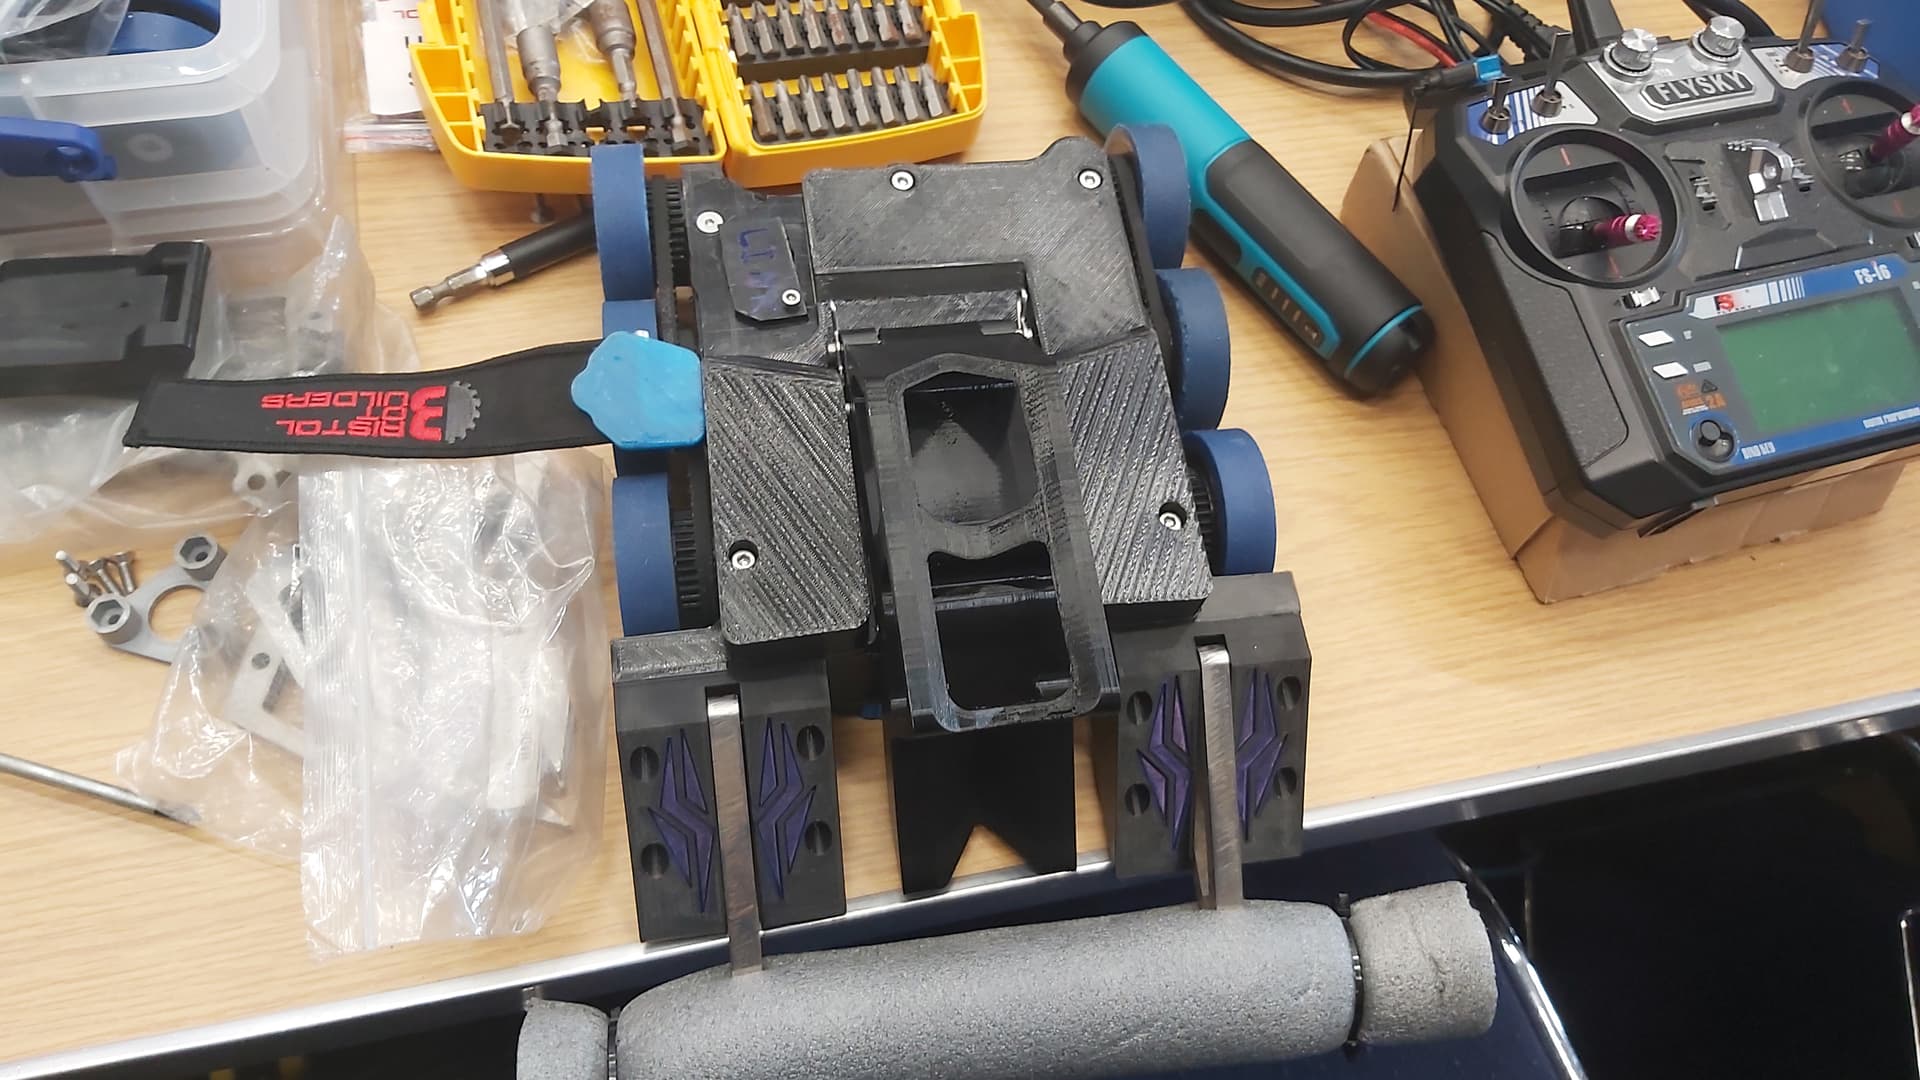
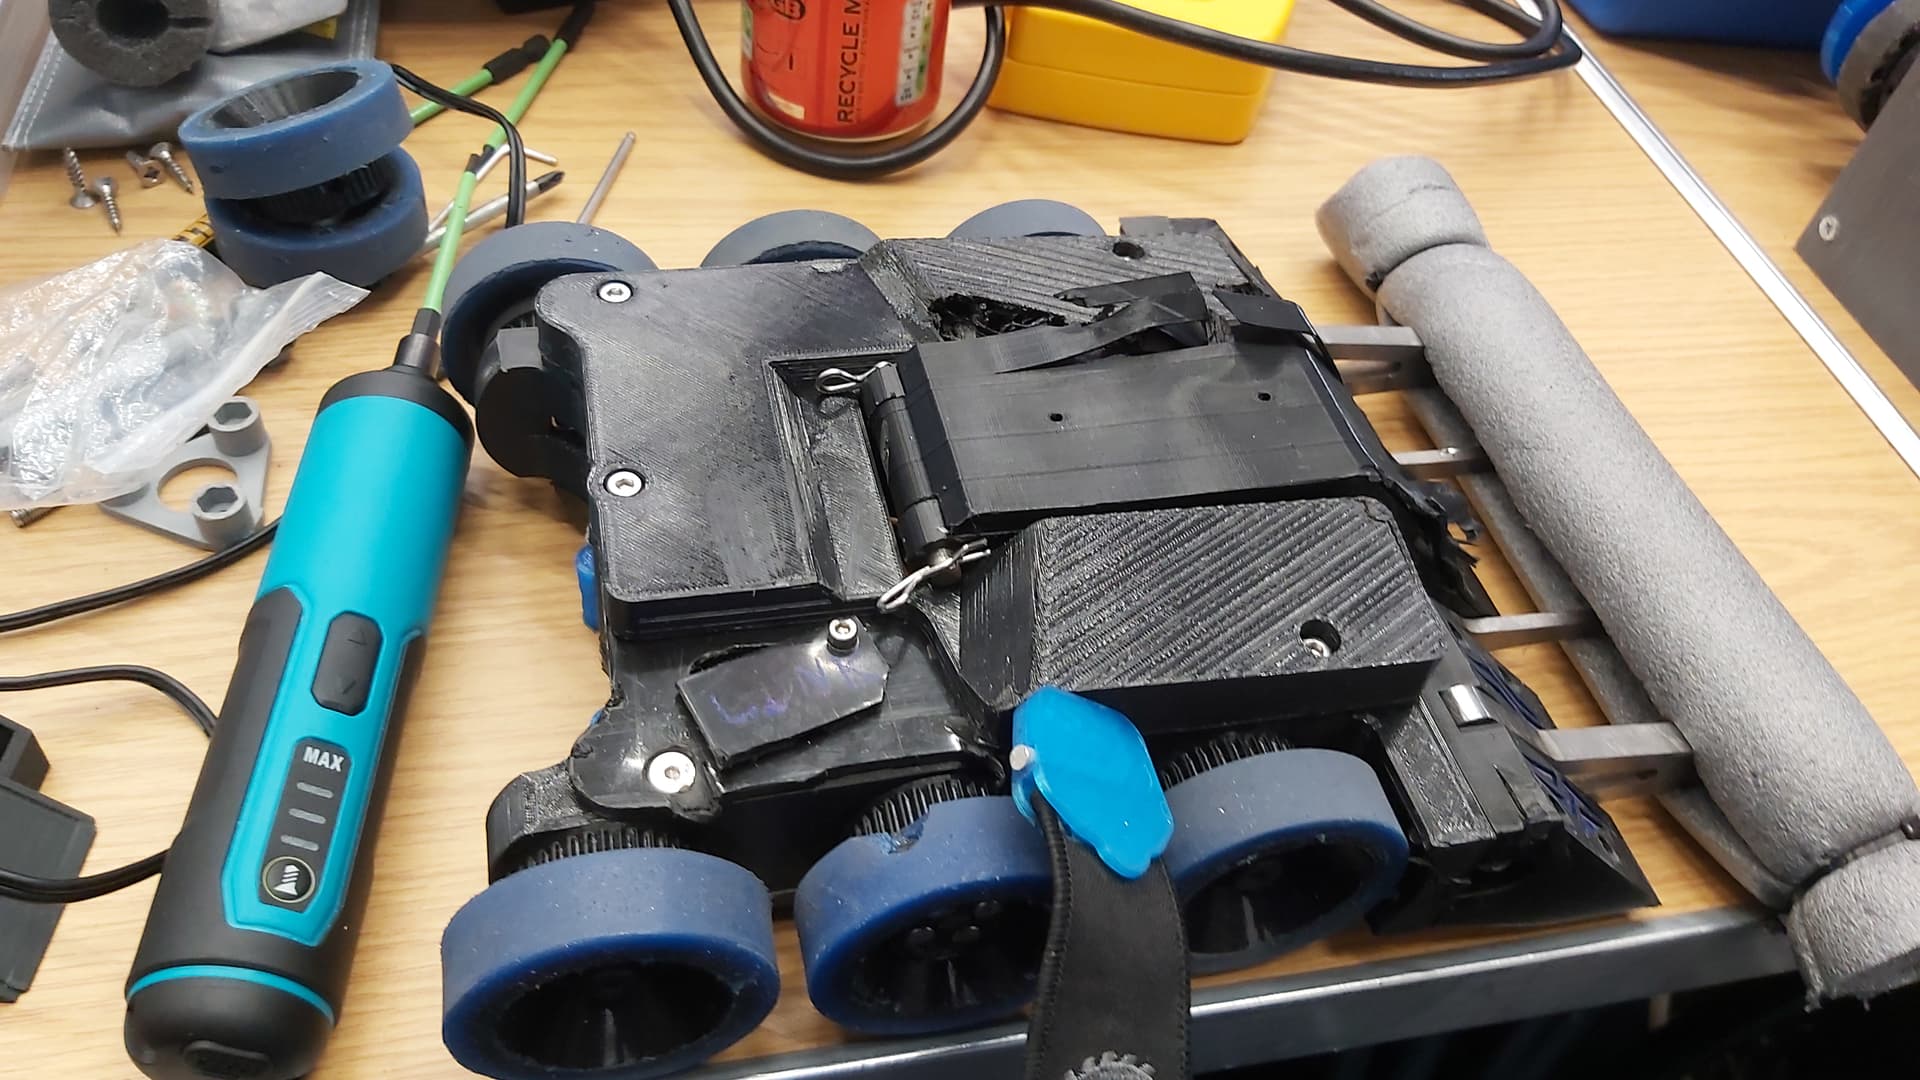
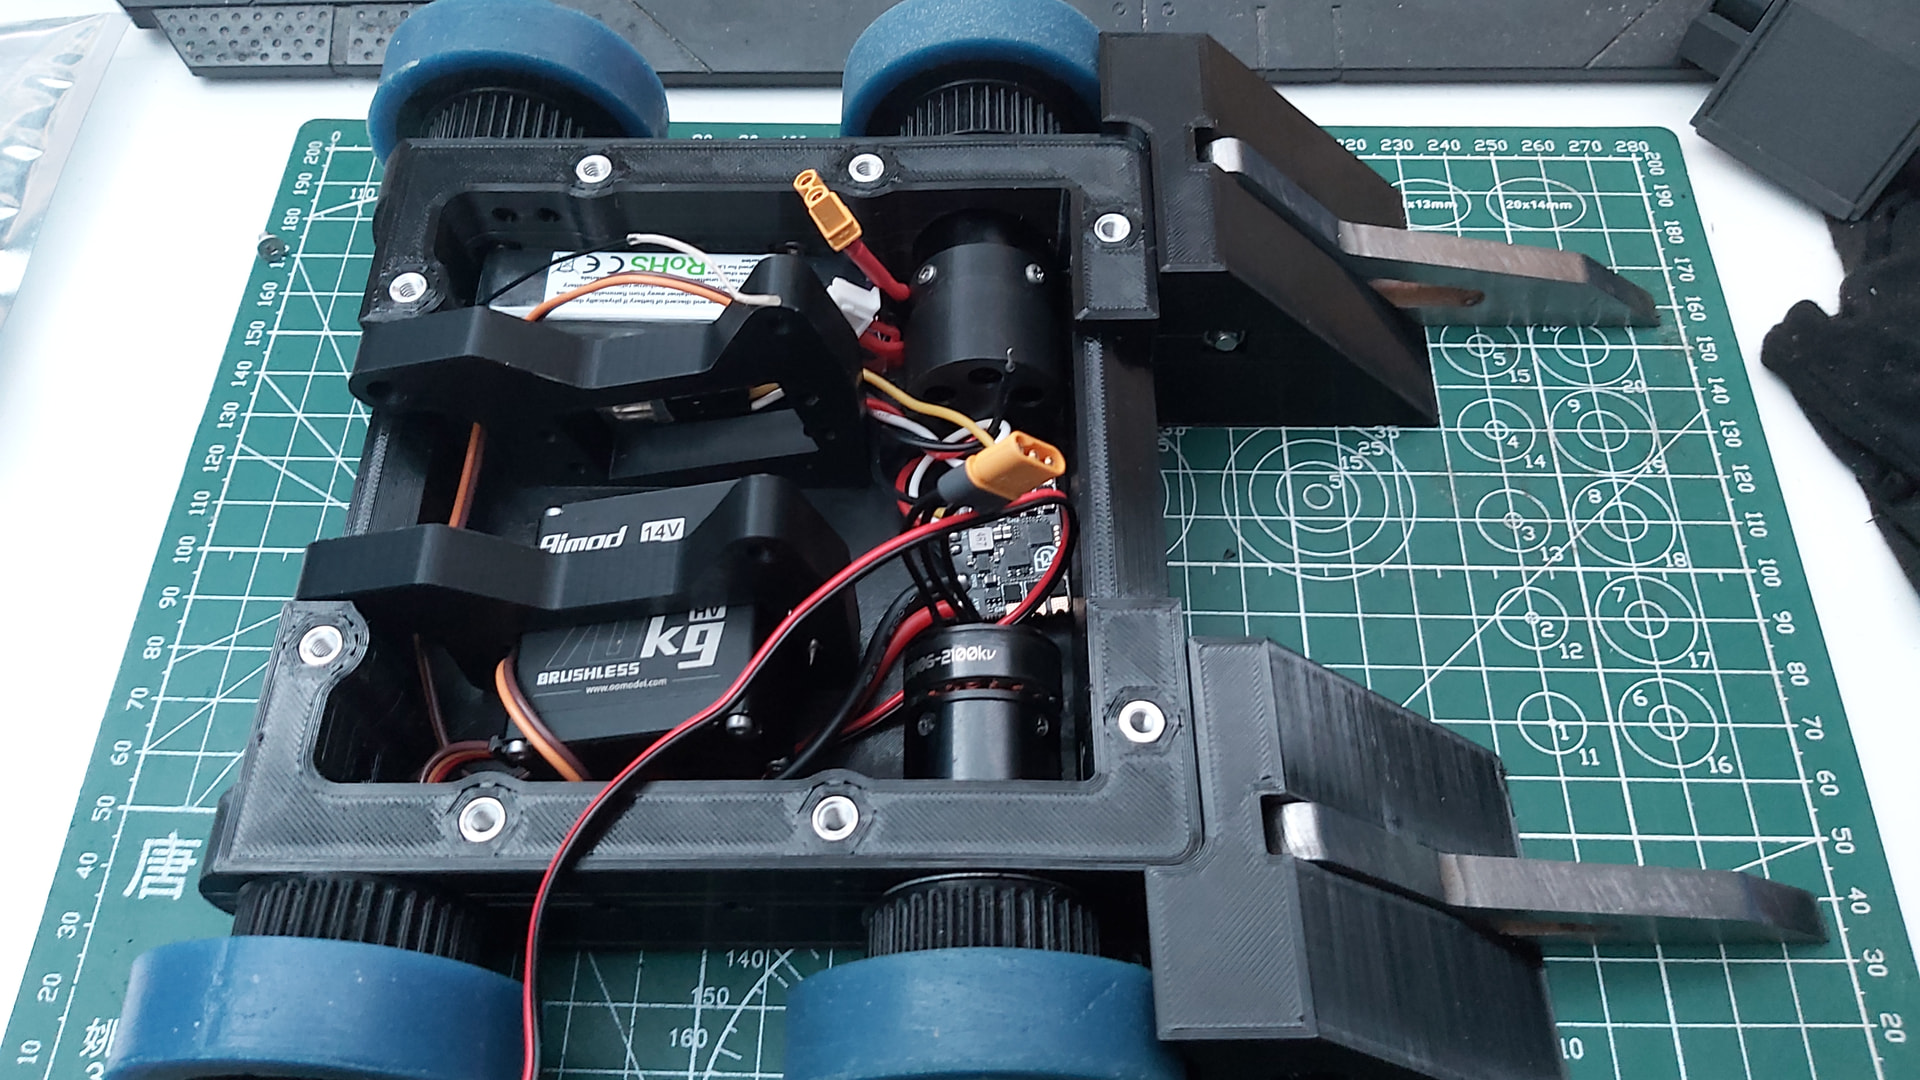
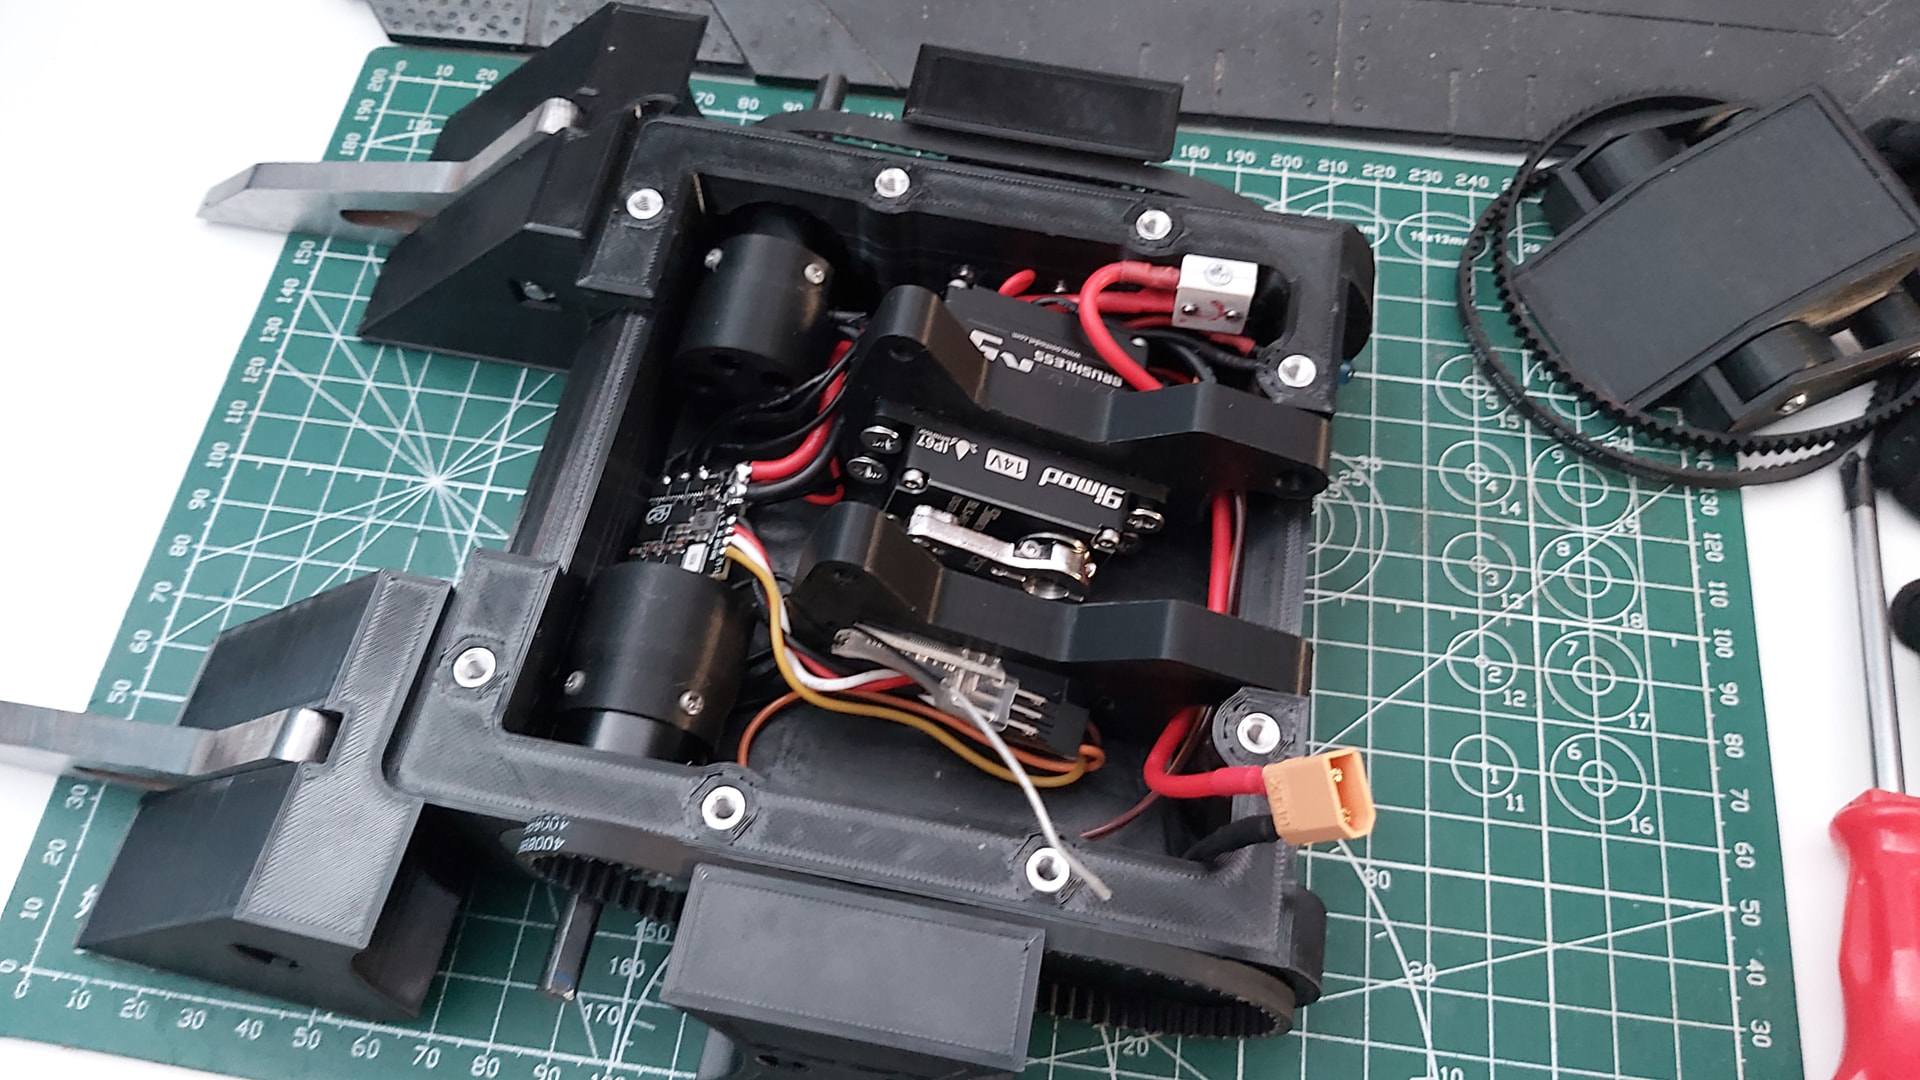
Mapping out the electronics and wire loom. It’s a snug fit inside.
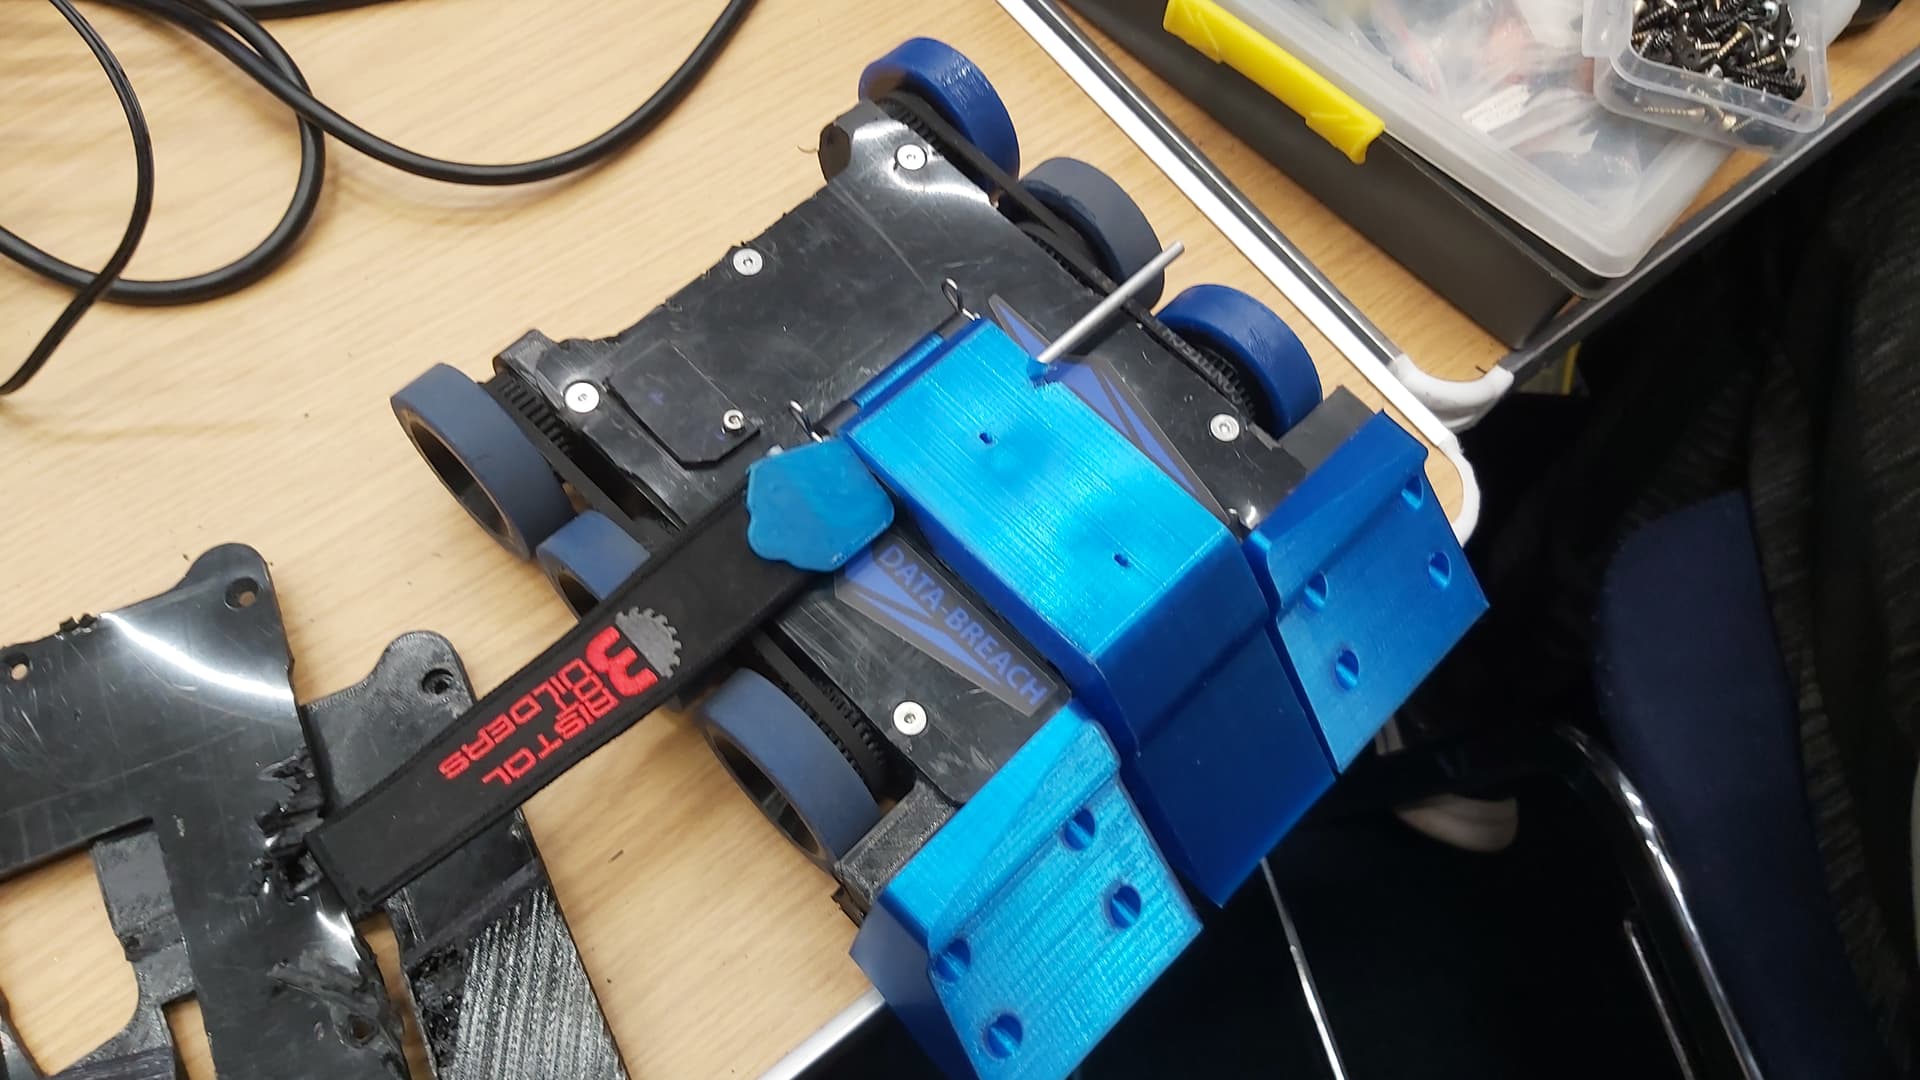
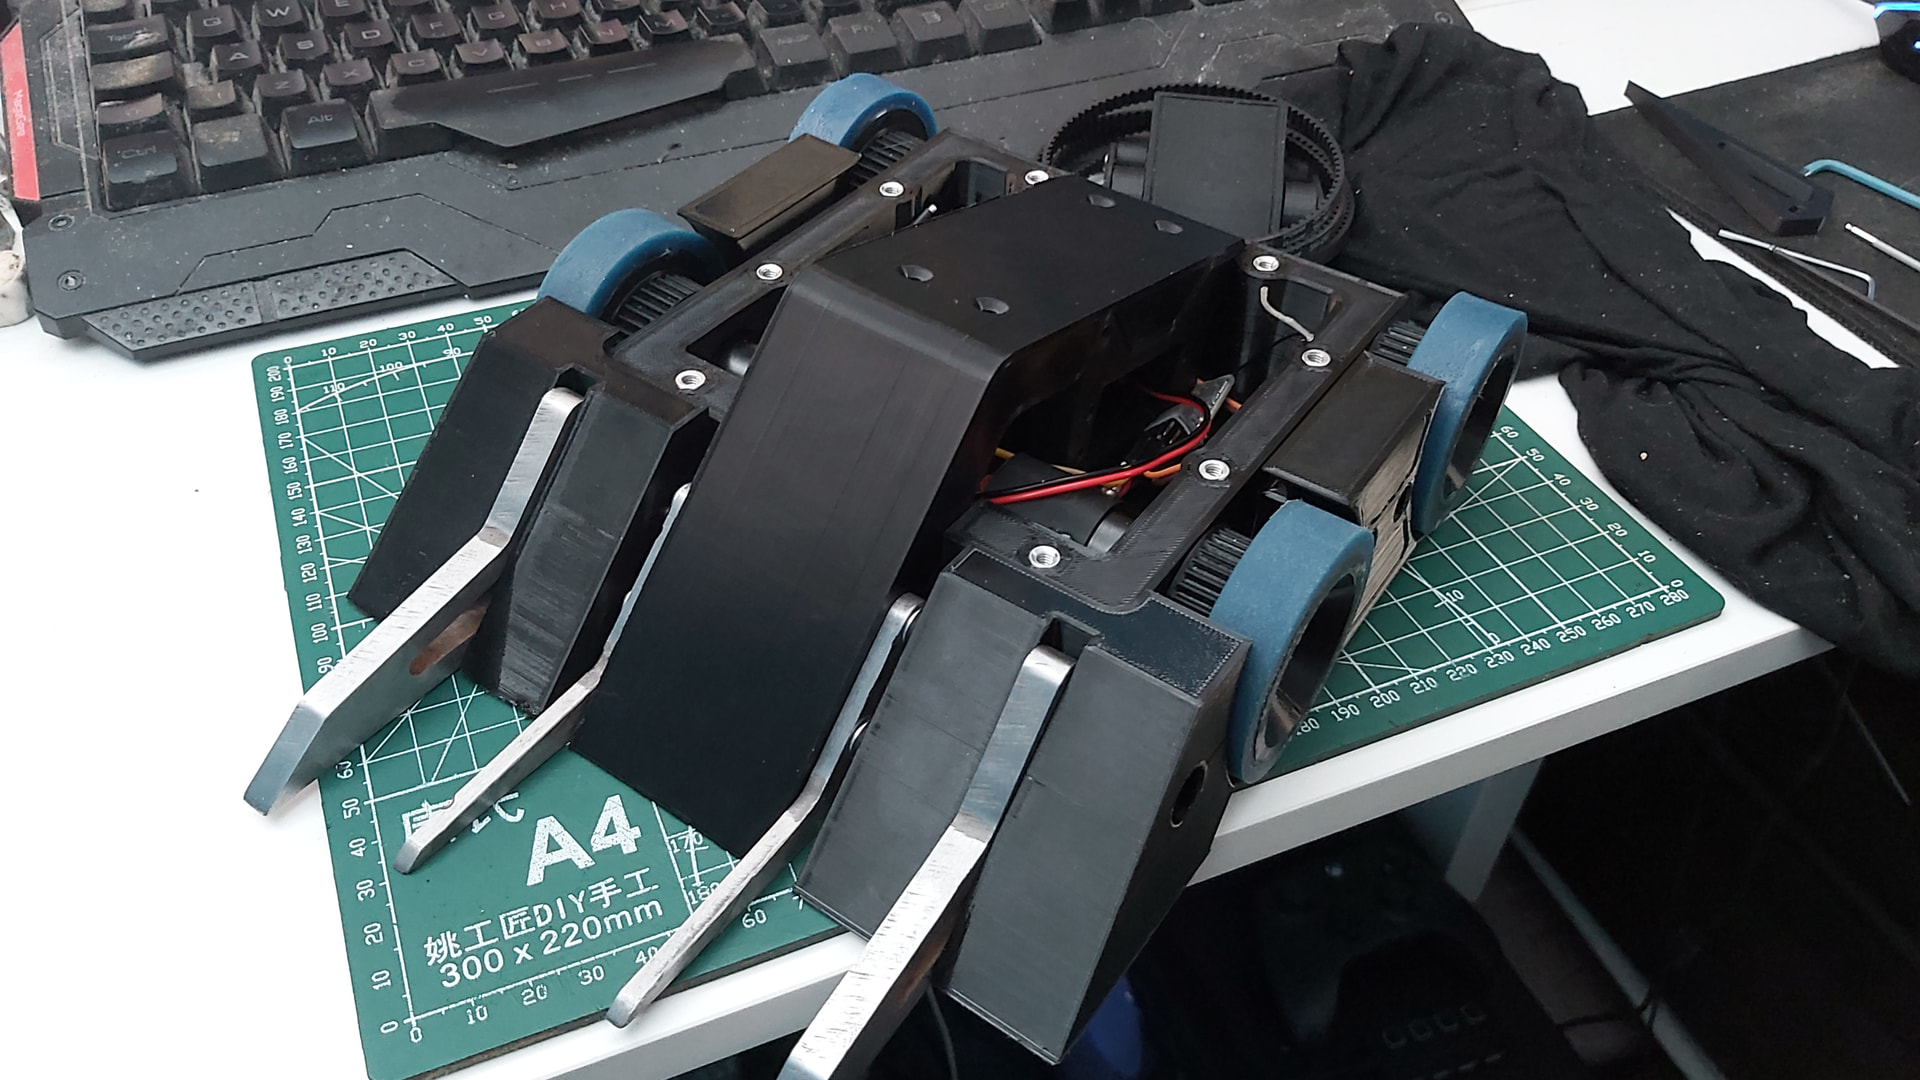
Even with the old wheels on as place holders, DB MK4 is looking great.
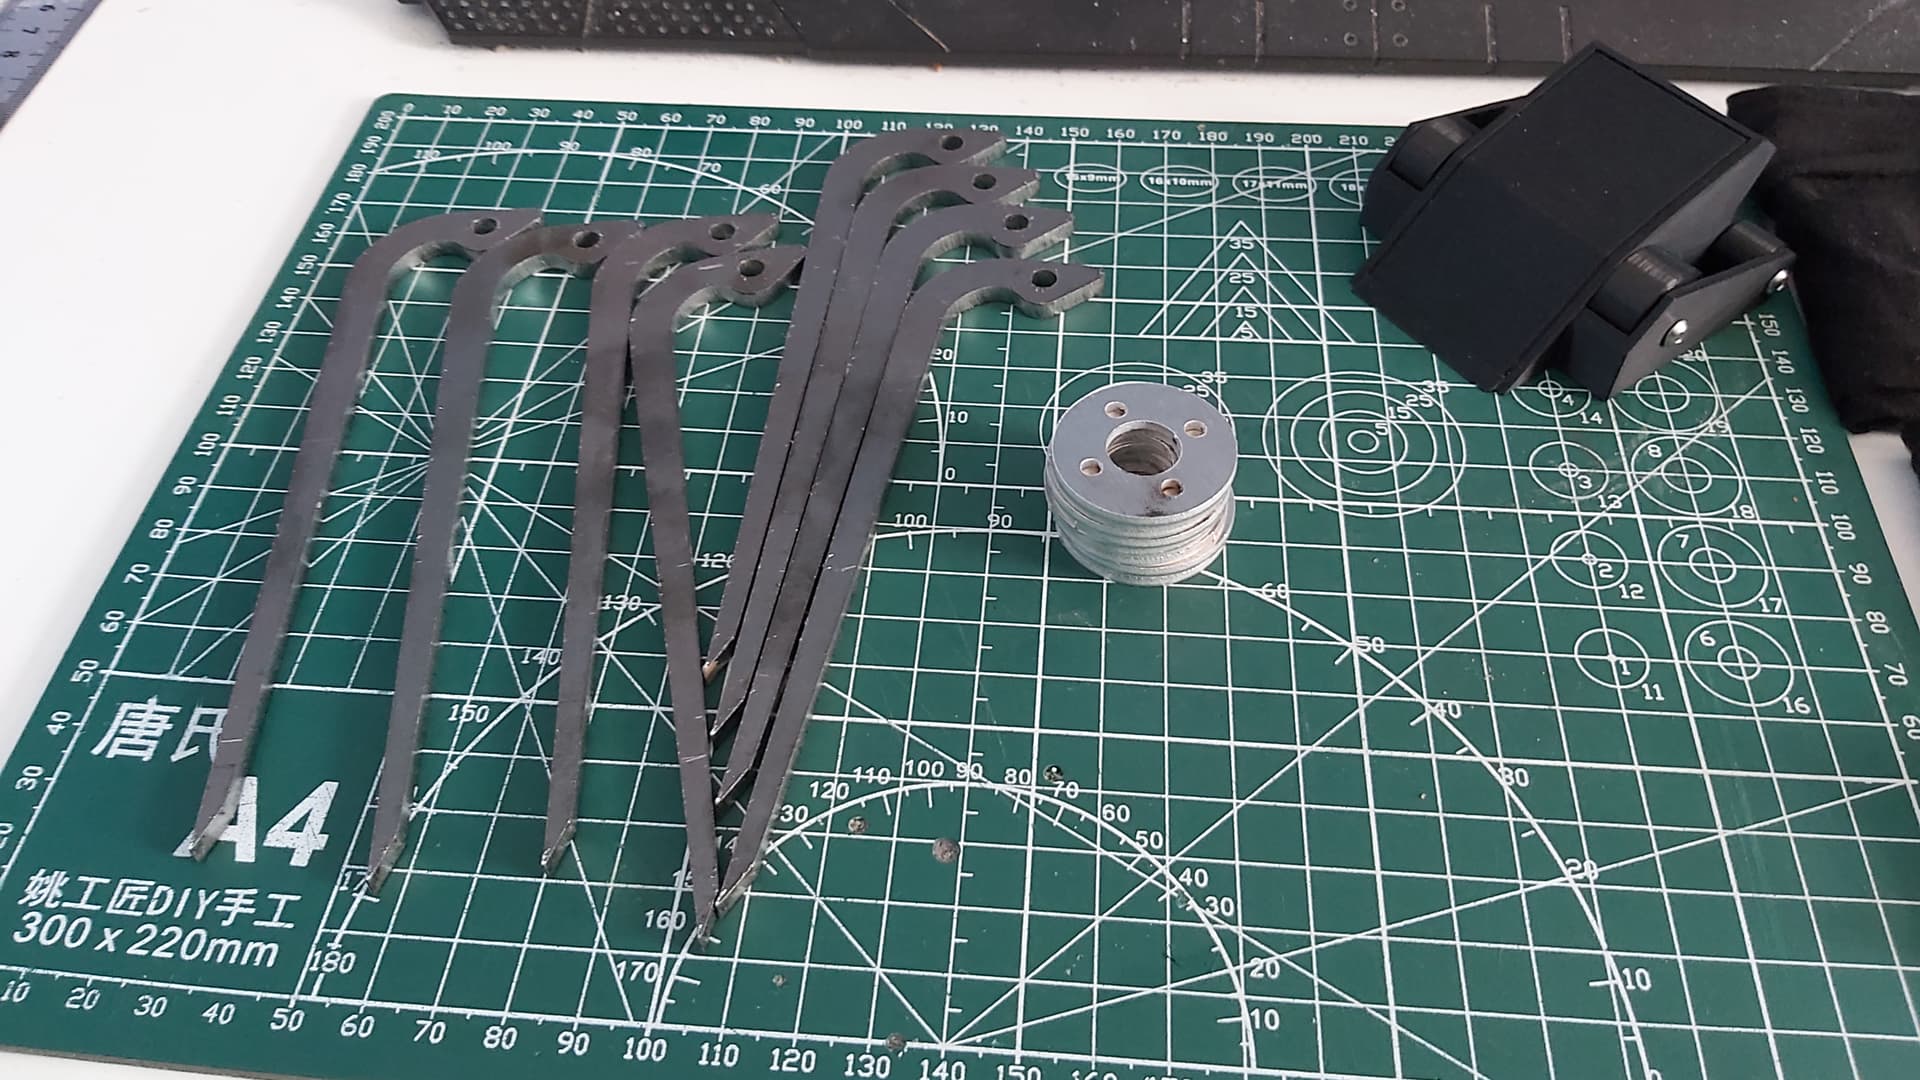
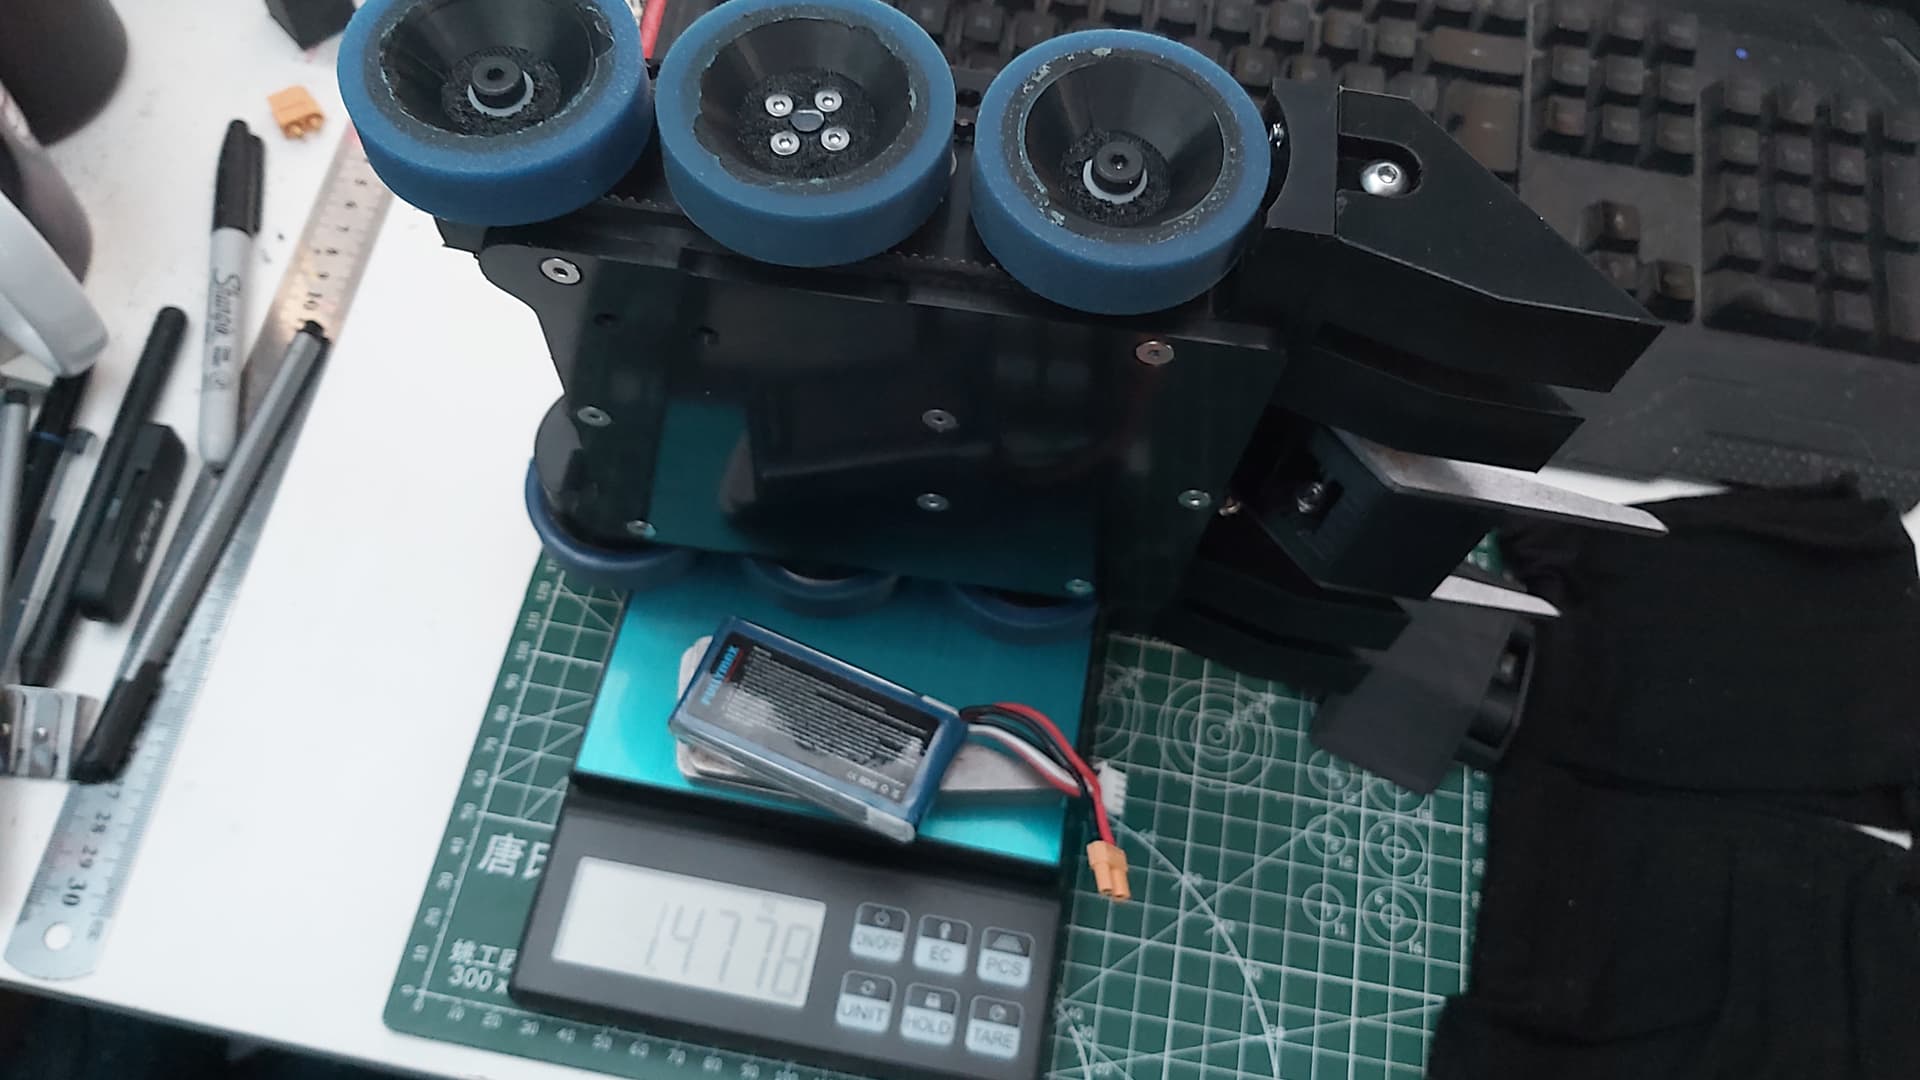
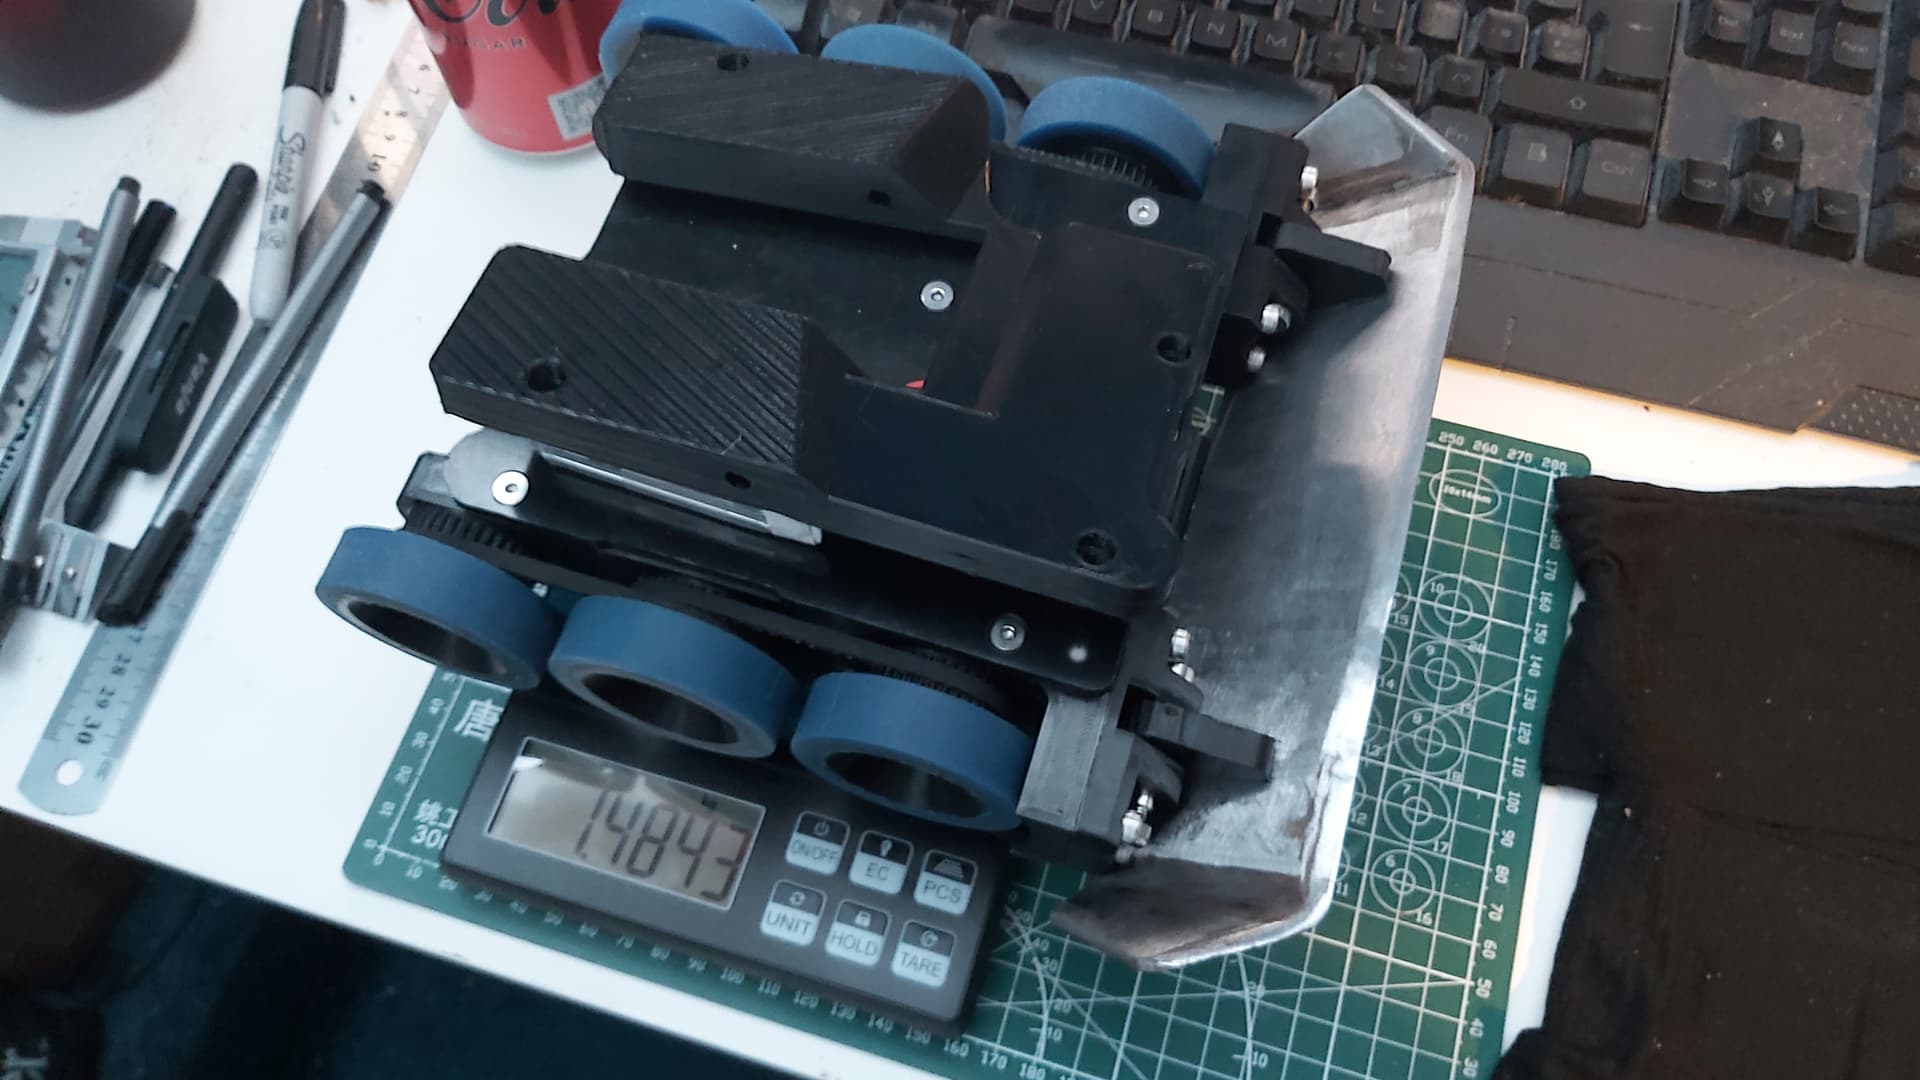
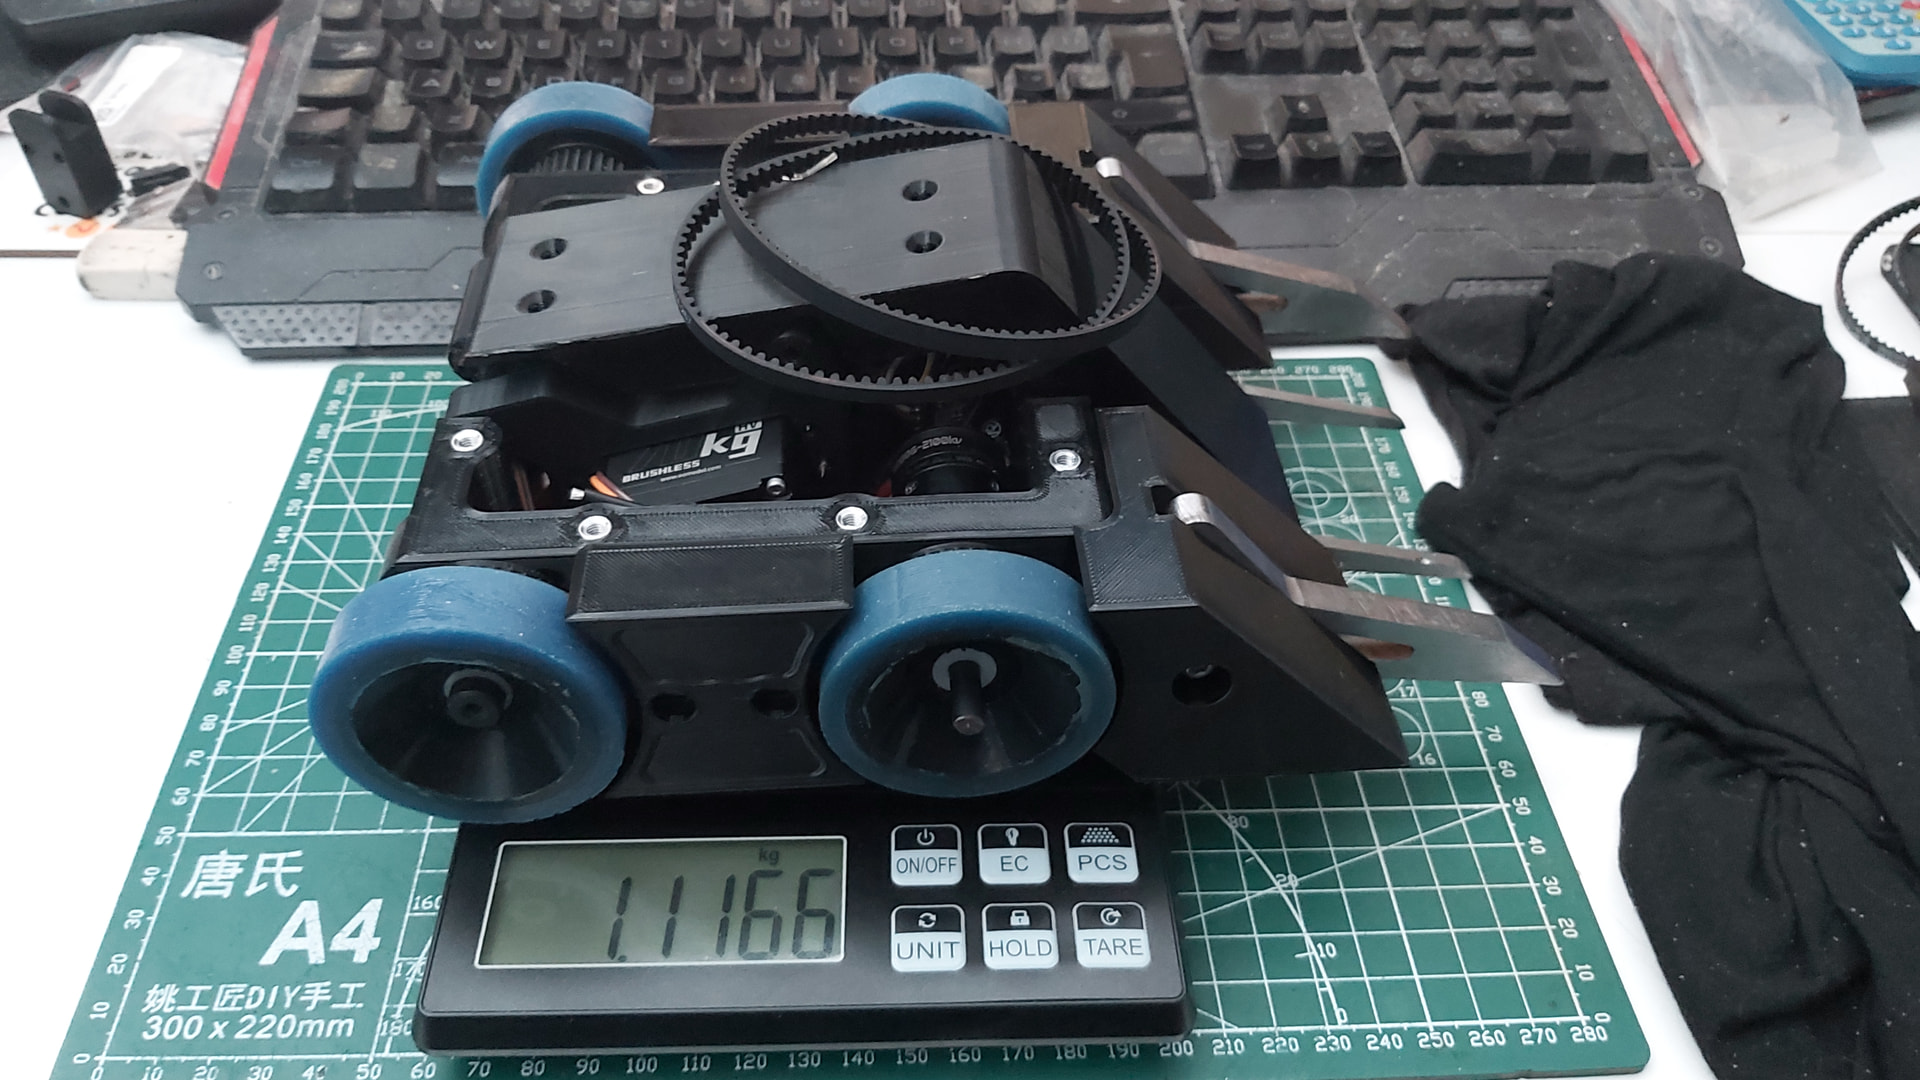
A quick weight check. The HDPE parts are just PLA prototypes, but I’m happy with the weight (with the heaviest forks on).
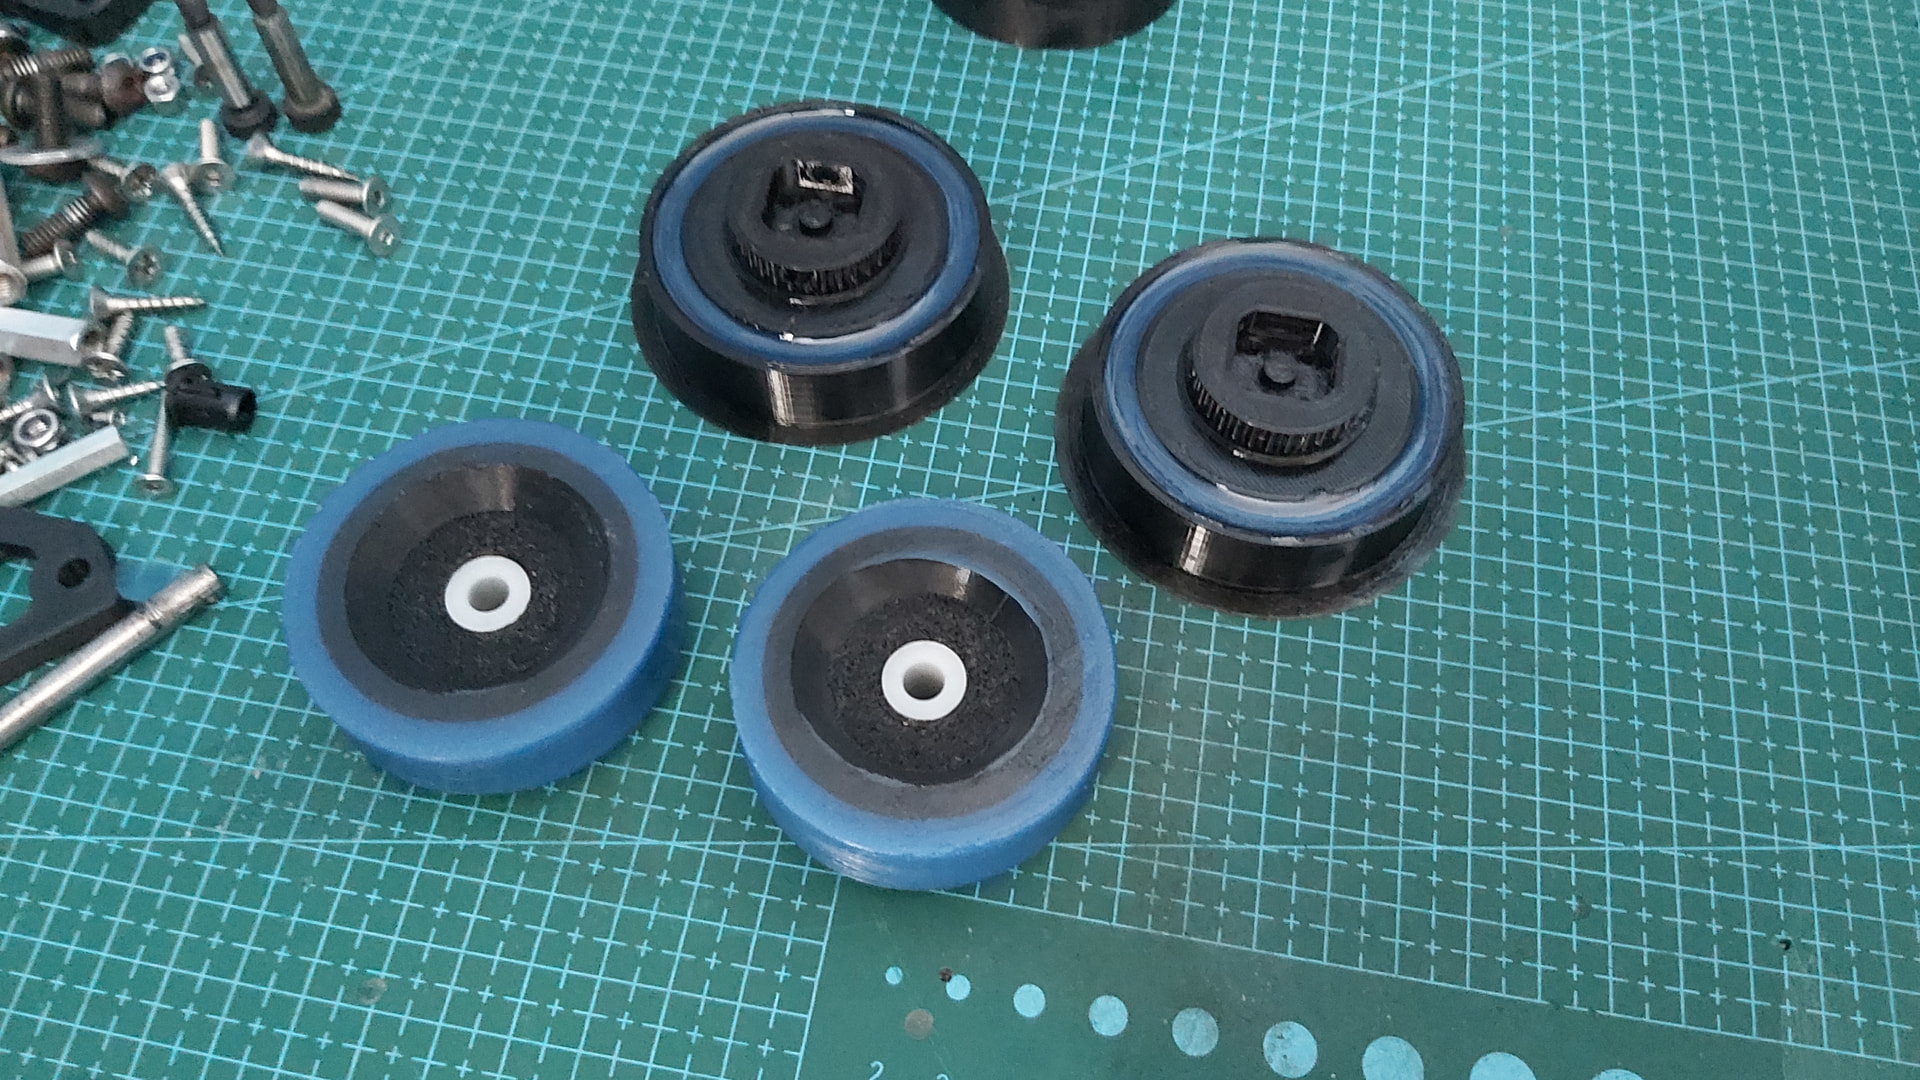
The MK4 wheels were printed and had what’s left of the 30A shore rubber cast onto them, just so I can burn through that and then get the 40A rubber.
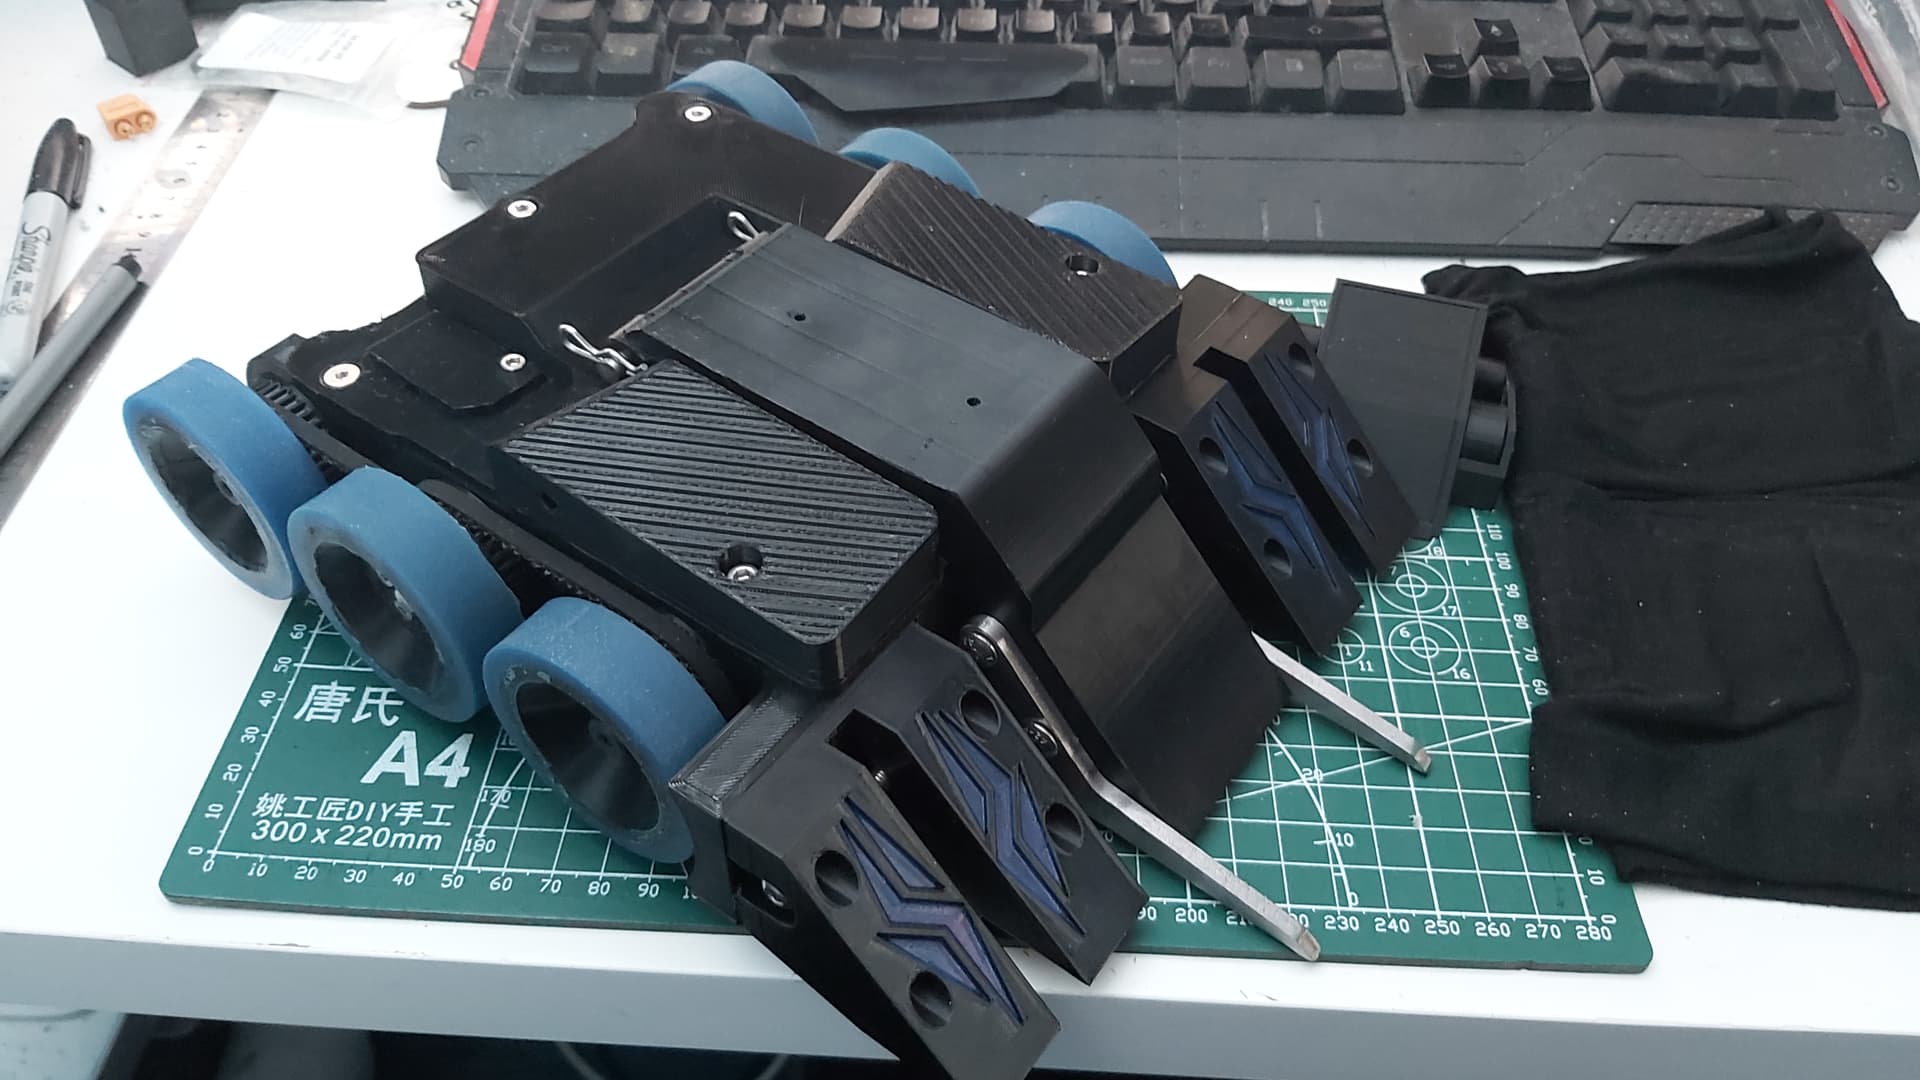
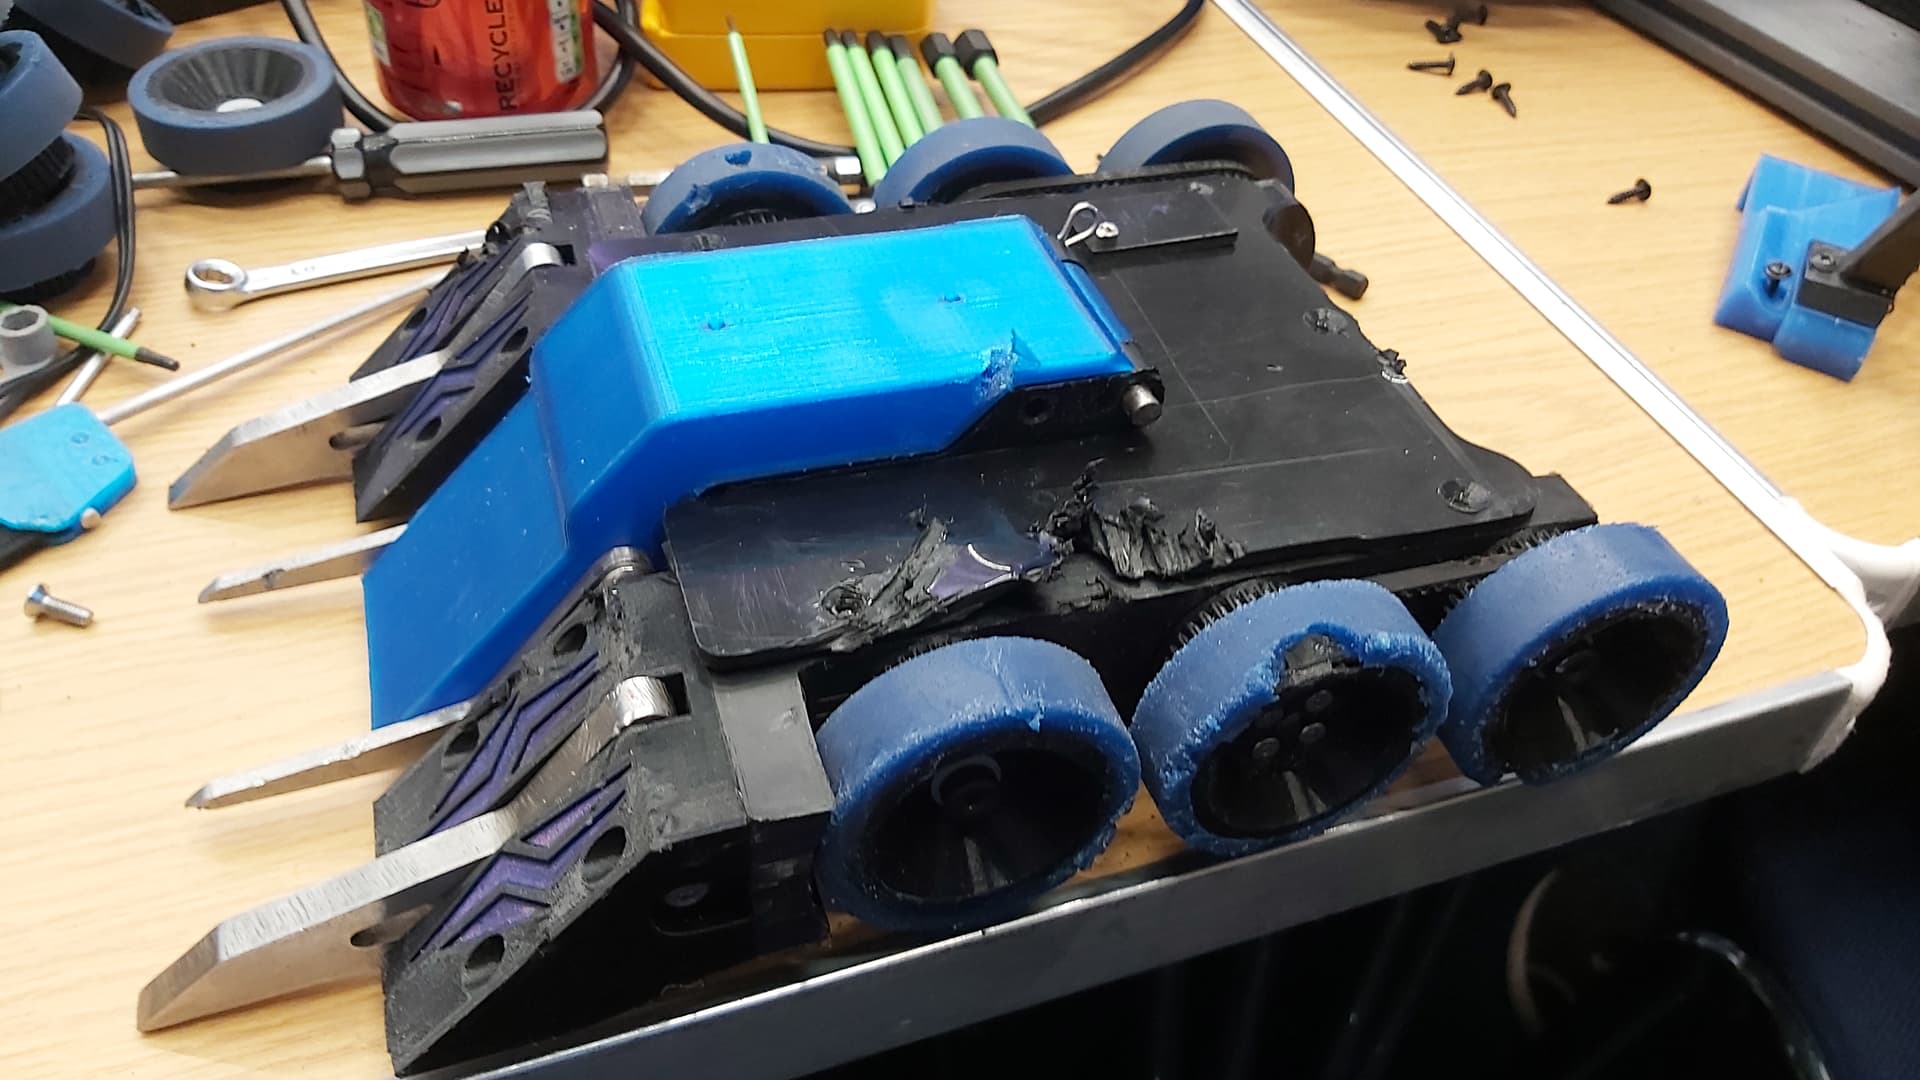
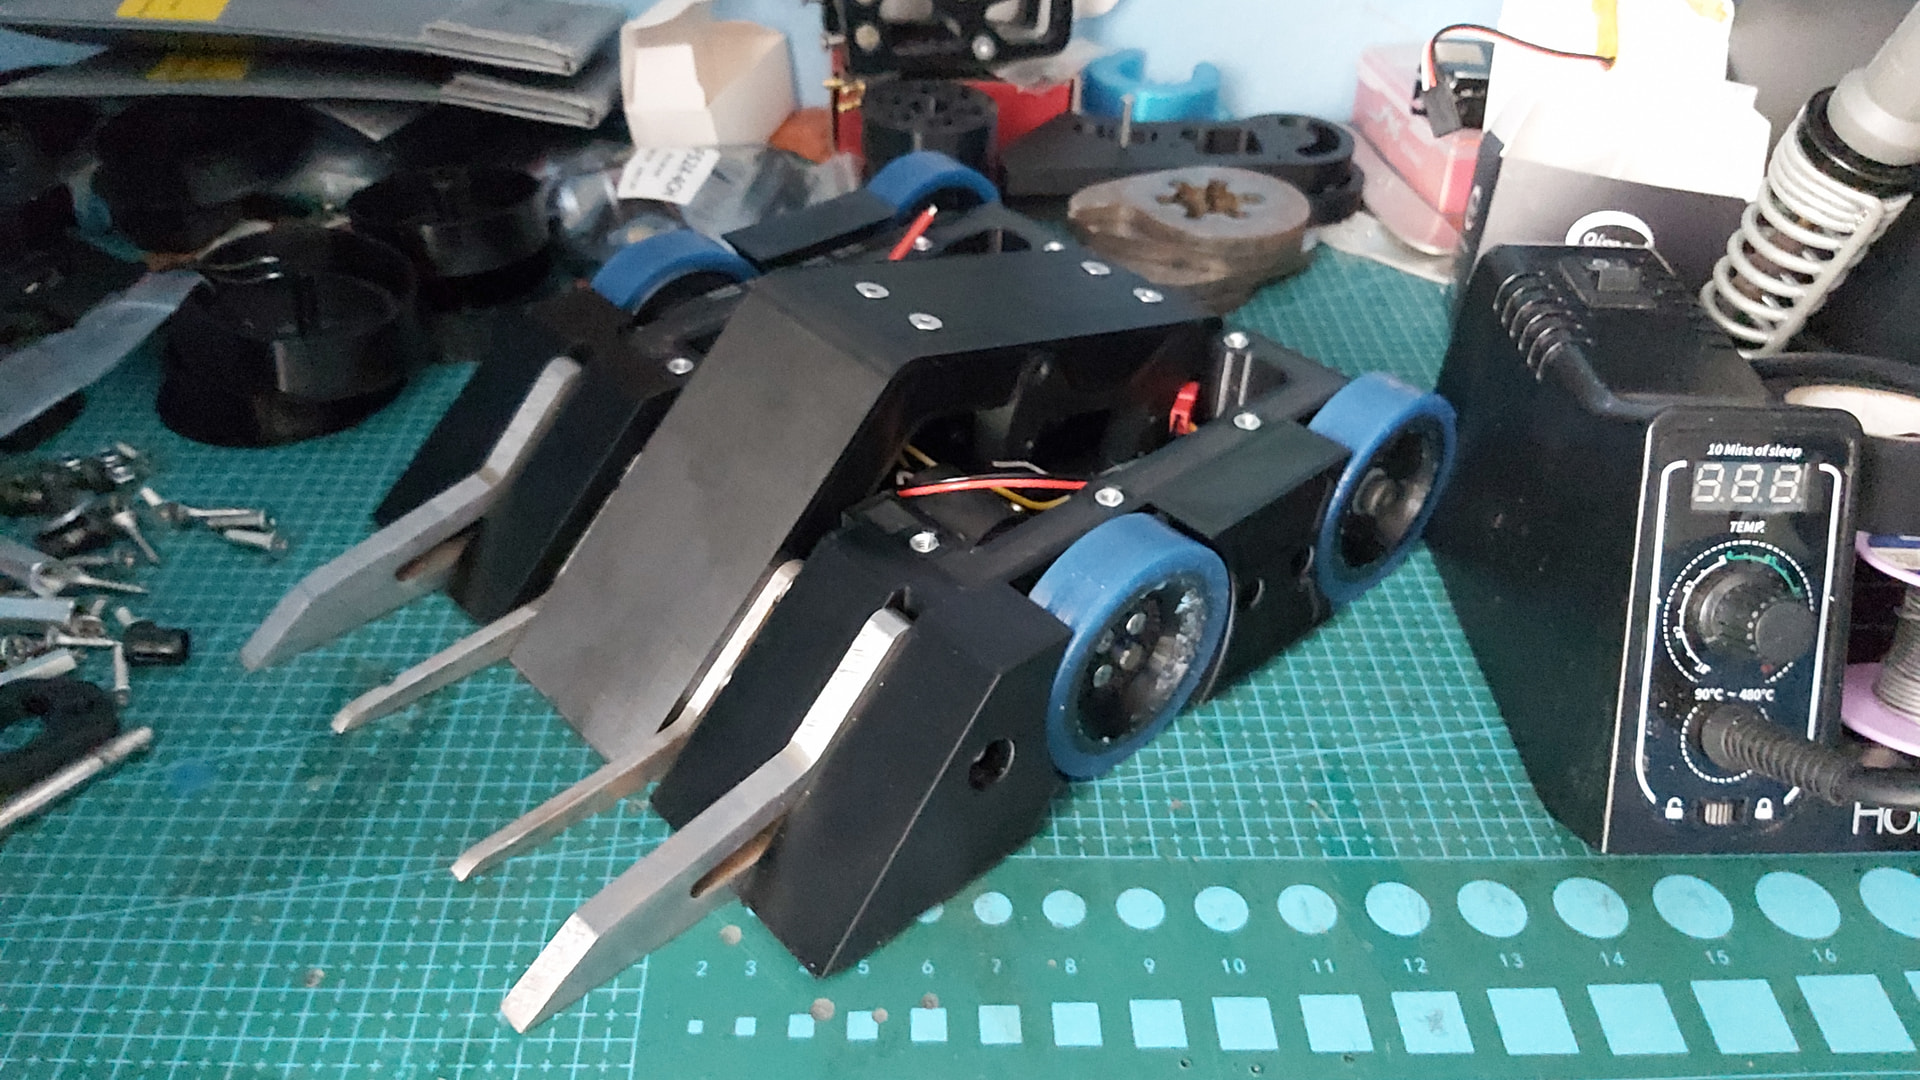
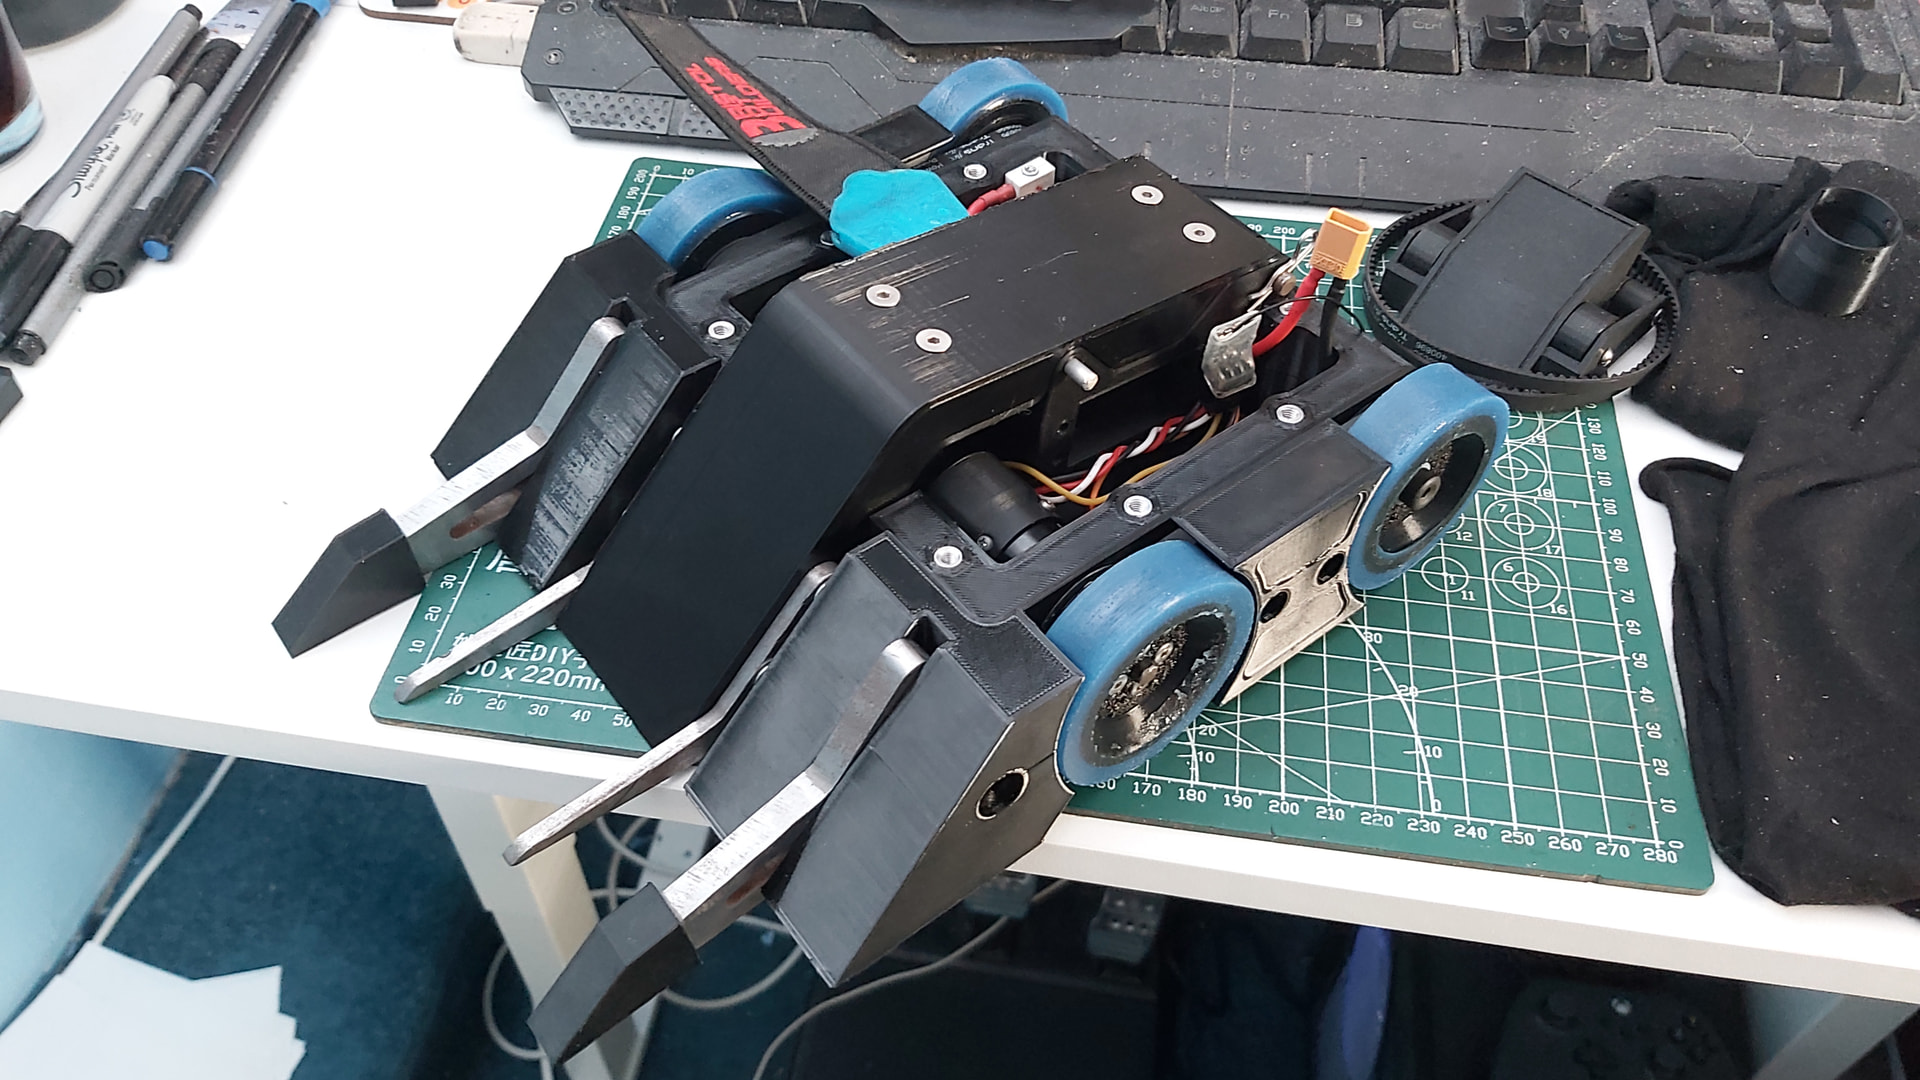
Quick picture with the new wheels on, really happy with how the 4WD looks (I know, I still miss the 6WD too). The first version of the lifter arm was printed (before the revision to the weapon was made).
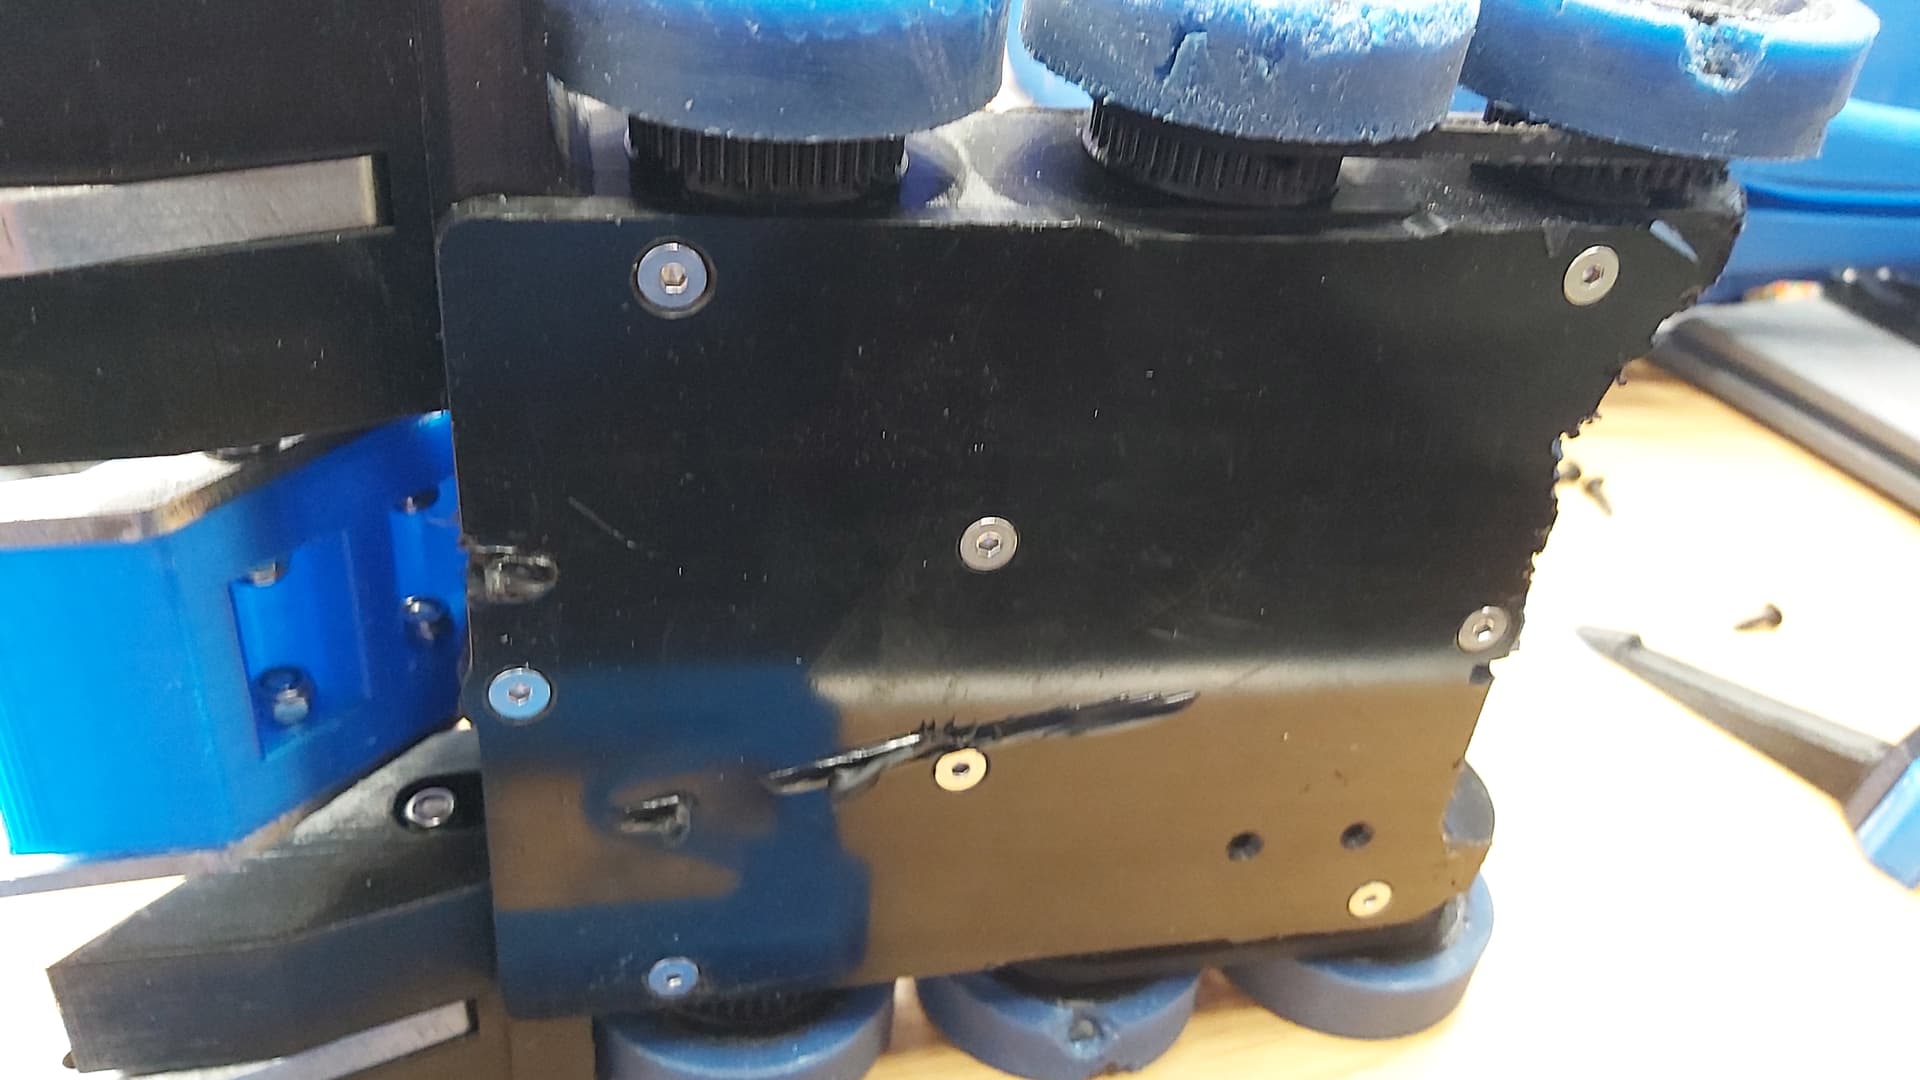
The wiring came together once the new power switch arrived. I then printed a new ESC cover for the Dual ESC and gave it a quick power up. All works. Here you can see the channels the belts feed through in the side armour.
The revised lifter was printed and assembled. It’s scary how fast this new build is coming together (after spending almost a year designing it). I set up the servo, and its range of rotation was pleasantly surprising. I didn’t need the servo extender. All I need to do is make the HDPE parts and the new Aluminium plate for under the lifter arm, and it would be arena-ready. (apart from needing the spares).