Hi guys.im about to start building my first antweight since ive come back to the hobby. I used to use very basic methodz of building my bots and they were never sny good (hot glue gun and melting ghe plastic together). I am not looking to get into 3d printing really and have got a couple of the A5 1.5mm polycarb sheets off the bbb store to make the chasis with. My question is: how do you guys go about joining the side and rear panels to the base?
If I had to join the panels to a base I would probably use a bent metal tab with holes drilled in it for screws to fit through, however I have never worked with polycarb before so that may not work as well as I think it might.
Polycarb can be bent cold, so you could do Pheonix’s tabs and bolts suggestion all in polycarb.
You could also use nutstrip. BBB sell some in M3 and M4 (https://shop.bristolbotbuilders.com/product/nutstrip/), or I designed some lighter 3D printed M2 ones (3D printed M2 nutstrip). I know you don’t want to get into printing yourself, but I’m sure you can find someone happy to print them for you. (I could if you’re willing to pay a few quid, but I don’t want to pressure you at all)
Another option would be to use small blocks of HDPE or tough wood, and fasten the polycarb to them with small wood screws
2 Likes
I had a similar question recently with my first antweight. Seal Of Approval uses bits of those plastic corners used to make wall corners look nicer. Drill holes in them and the panels and it works well. Wood could be used as well (as Jed said), but the screws might damage the wood in a way that if they come out they won’t go in again.
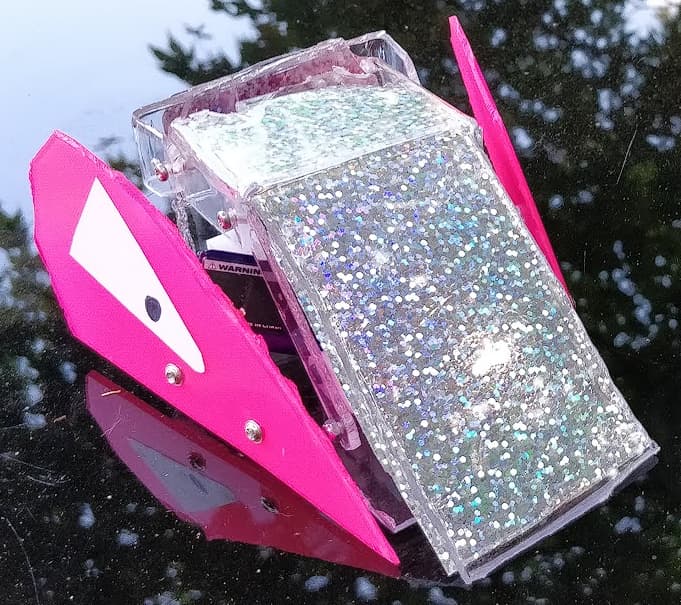
I always used to cold fold the poly to make brackets then screw some m2s through.
Not always the neatest solution (nut strip is great for this) but it worked (photo from early 2018)
Thanks guys. Ive bought a bit of 5mm hdpe to drill into im hoping to make some front armour out of it too.