More designs & prototypes!

Hello. I am back! I’ve been working on some new designs (Of which i accidentally deleted all except one of-whoops). I have plans for a horizontal spinner with two mounting plates and another long boy 2204 to slap on.
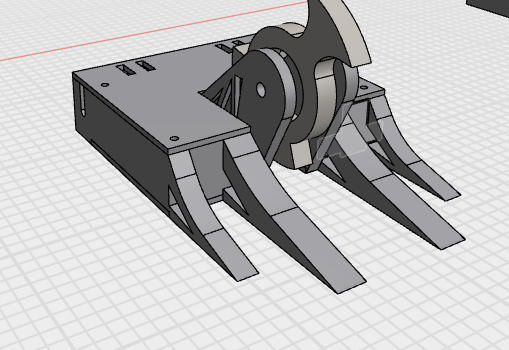
I’ll stop blabbering and give you some pics.


The concept

Main body, the fork bits are for supporting the top plate

I’ll explain later…

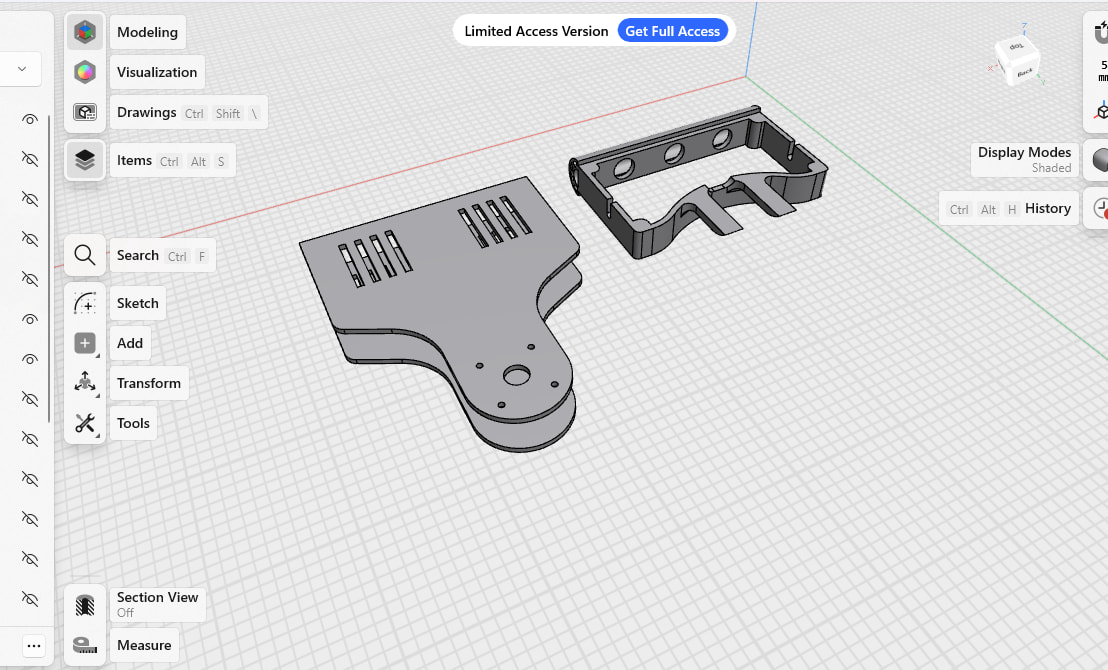
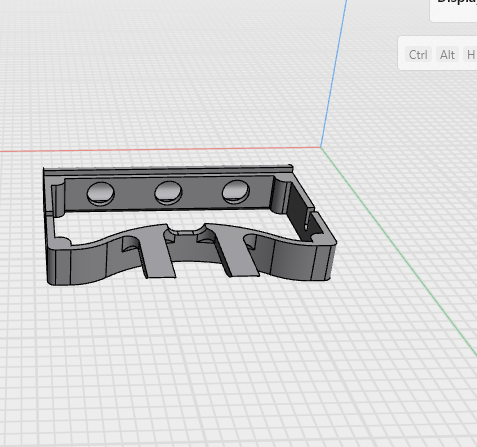
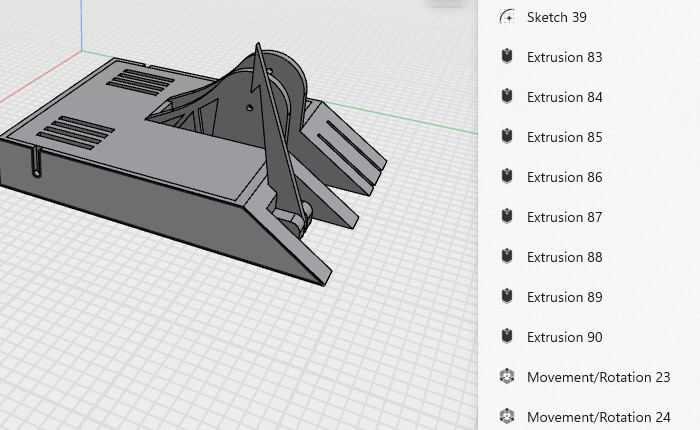
Right. The weird bit with holes at the backside of the bot is meant to be an impact absorbing type thing. If something hits it, it’ll just tear it a bit instead of ripping the main wall open and flinging the entire bot across the box. It’s basically a damper to take the sting out of a hit. If you know my wedge Nugget, he has one of those as well, but it’s less complicated and currently acting as a last resort (As it is being shielded by the 1mm polycarbonate.).

Meanwhile, i have another design for a big long vert with a single tooth spinner with a cute single fork.
like this:


The fork is over the 150mm rule, but it folds up, so at the start of each fight i’ll have to fold it up.

there is a little cutout to allow the fork to lean back into the front.

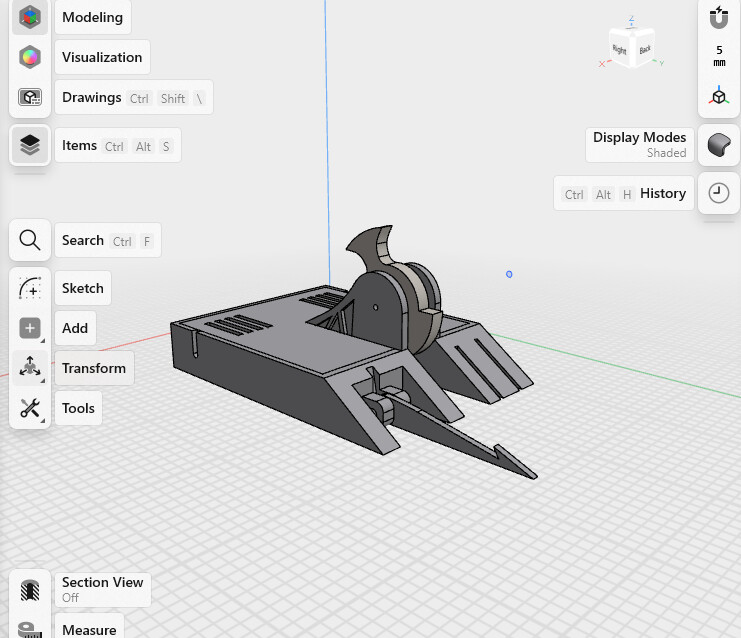
I will be putting my be1806 on this. I have also acquired a massive overlander 2822 (1200kv, 28g).
I have no idea what to put it on, if you have any ideas, please tell me!

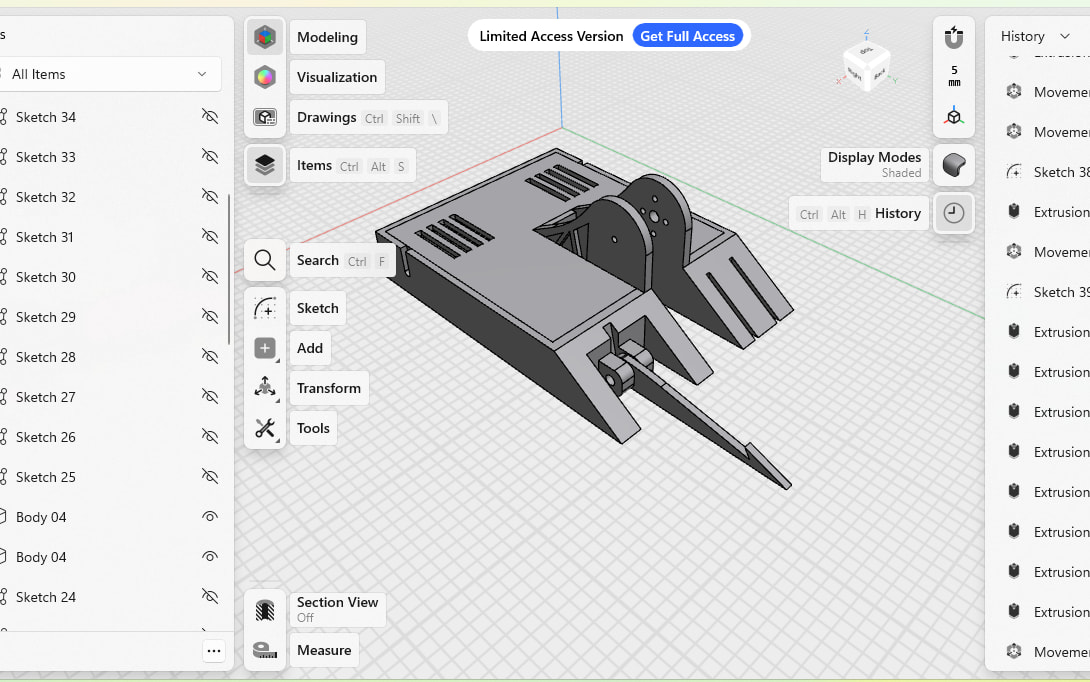
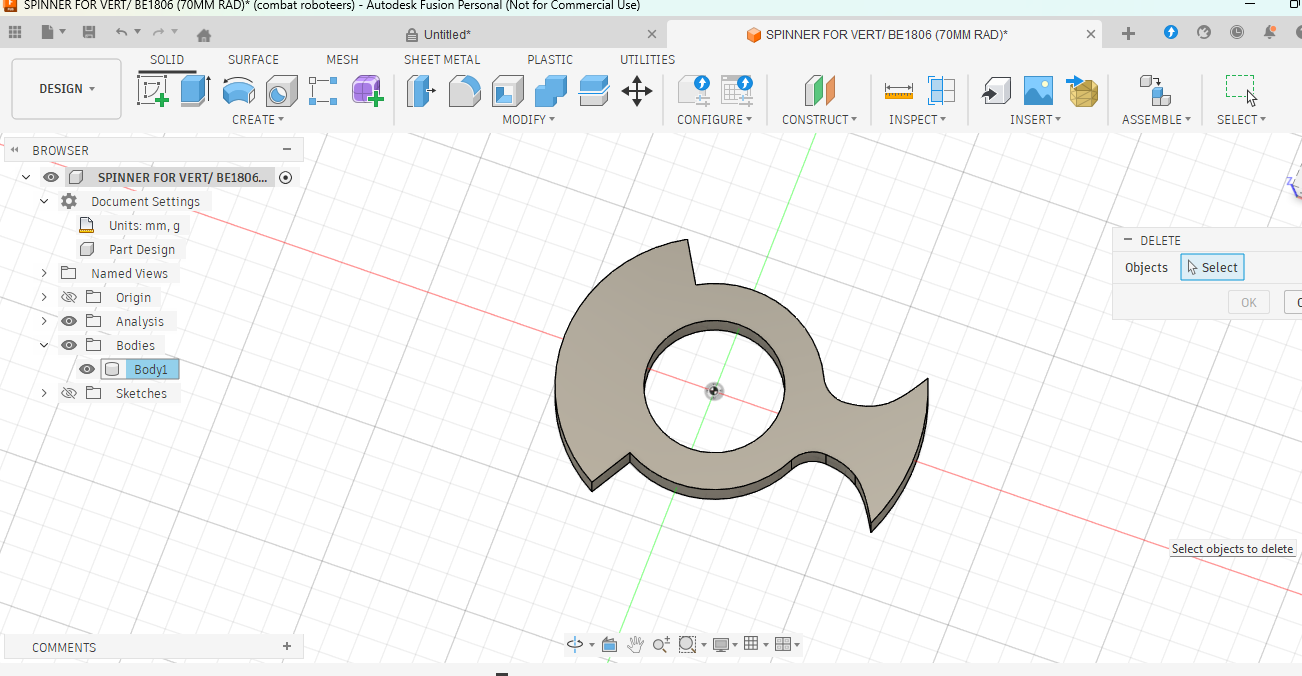
I have designed a new single tooth spinner with 70mm diameter to slap onto the be1806 using blessed epoxy. It took me a while to get used to fusion controls (i have used it before but ages of shapr3d modeling rubbed the controls outta my head). any advice would be appricieated.

oh, and is 43 grams too heavy (using s7 tool steel)? if it is, i’ll use titanium instead and thicken up the blade to 9mm (currently 4.5mm)

weapon imported into shapr3d

the chassis now has to be 35 grams ish. do you think that is doable? Please let me know.

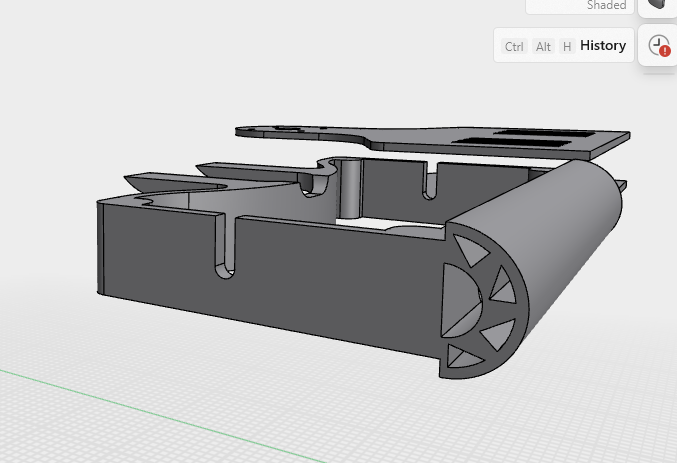
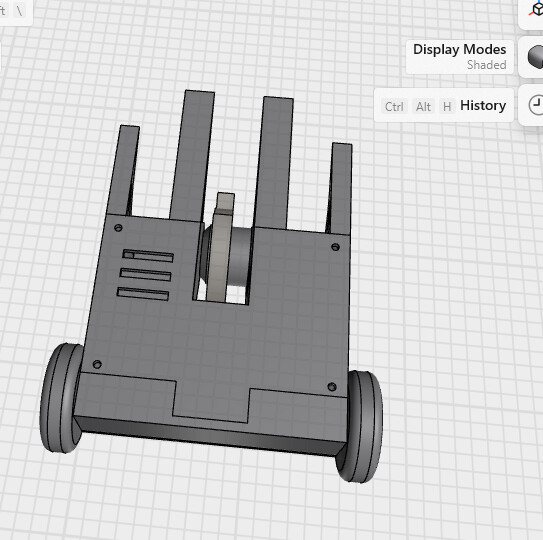
shaving all unnecessary areas and extra space off to give a tiny bot, only 71 by 85 by 48mm, excluding forks (to be added) and the weapon. Should be only around 30g!

This is how its going. is it good?


It looks big but is in reality quite small.

are you sure you’d be able to fit the lipo in there?

1 Like

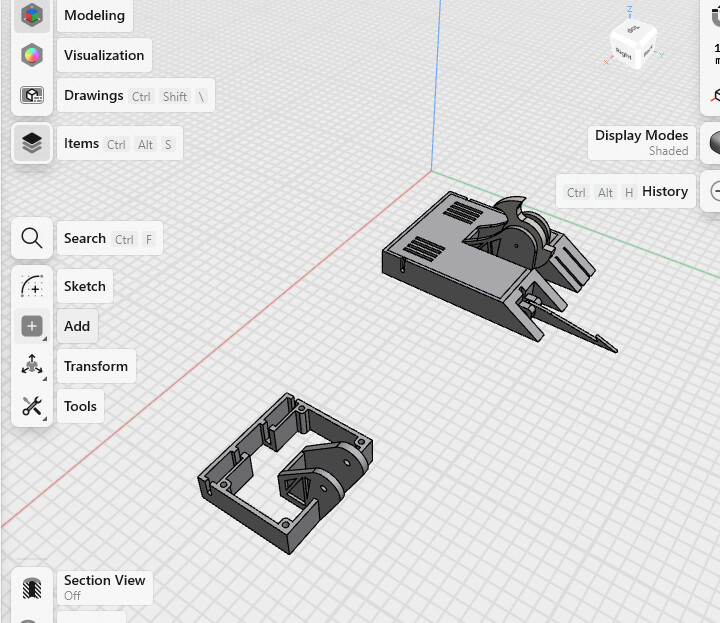
Good question! Yes, i have measured the dimensions. The lipo goes on one side of the bot (behind the forks on the left) and the malenki on the right. It should be a squeeze but with some room for wires to wiggle around, as i am trying to make this chassis under 40g.

Does anyone know a good spot to put a switch?

Bottom plate finished, the bits with cutouts/ vents is where the lipo will be (further protection will be added if weight allows)

currently printing in tpu 64d. If i can get my hands on PEBA then that would be pretty good for the final chassis

I have to pause in the middle of the print to slip in a bearing for the motor.

Devil’s advocate: what happens when you need to change a bearing? How does this improve over just fitting a bearing normally.

From a practical standpoint are you sure that you can print that with a bearing in place? That looks to me like the nozzle would clip it for sure.

1 Like

Do the vents have to be with the lipo? Seems a bit risky to have gaps in the chassis next to the lipo…

Could end in a bit of the magic smoke (lipo fire :face_with_peeking_eye:)

1 Like

fair enough… but there should be around 7g to play around with (hinting at adding extra 1mm polycarb layer)

And to be fair it is a weight thing, but now i think of it i should redesign it.