we’ve had no big dill, now we need
Hijinx? Yes
we’ve had no big dill, now we need
Hijinx? Yes
Hmmm I’ll think about it.
I am planning on building a spinner in the somewhat near future (most likely horizontal) So that could be a good idea!
Thanks Edwin
Hollis
Ok
Quick update,
It looks like I’ll be going to R&R tomorrow so if anyone else is going, see you there!
Also I might be going to January grocs. I’m thinking about entering no big dill into the full combat tournament. Is there anything anyone could reccomend to make the bot more spinner proof? I know tpu is an option that I will try but I was wondering if there was anything else as I don’t really have any experience fighting spinners.
Thanks all,
Hollis
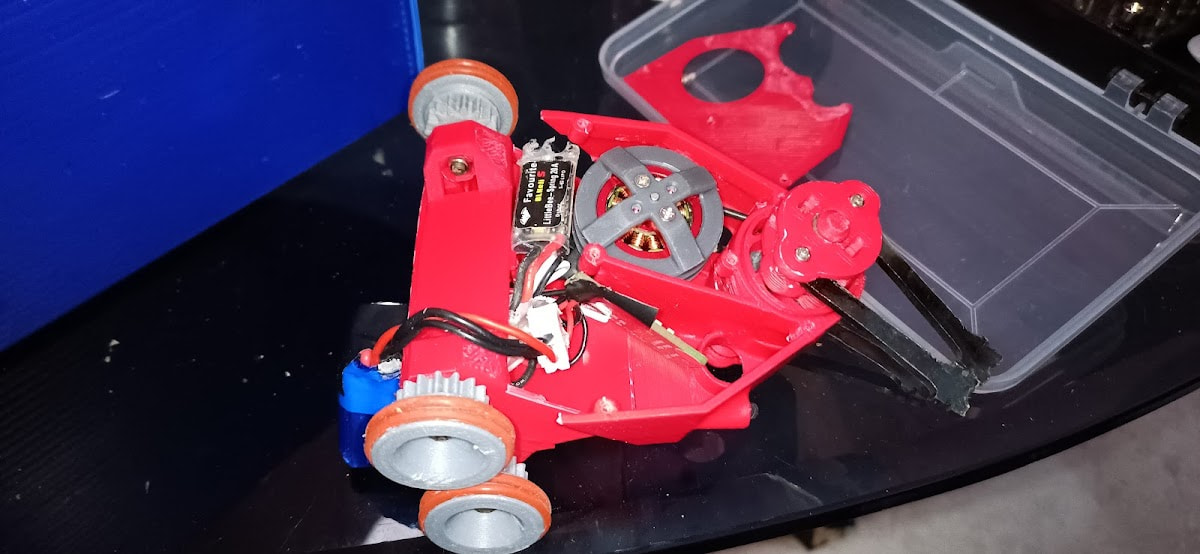
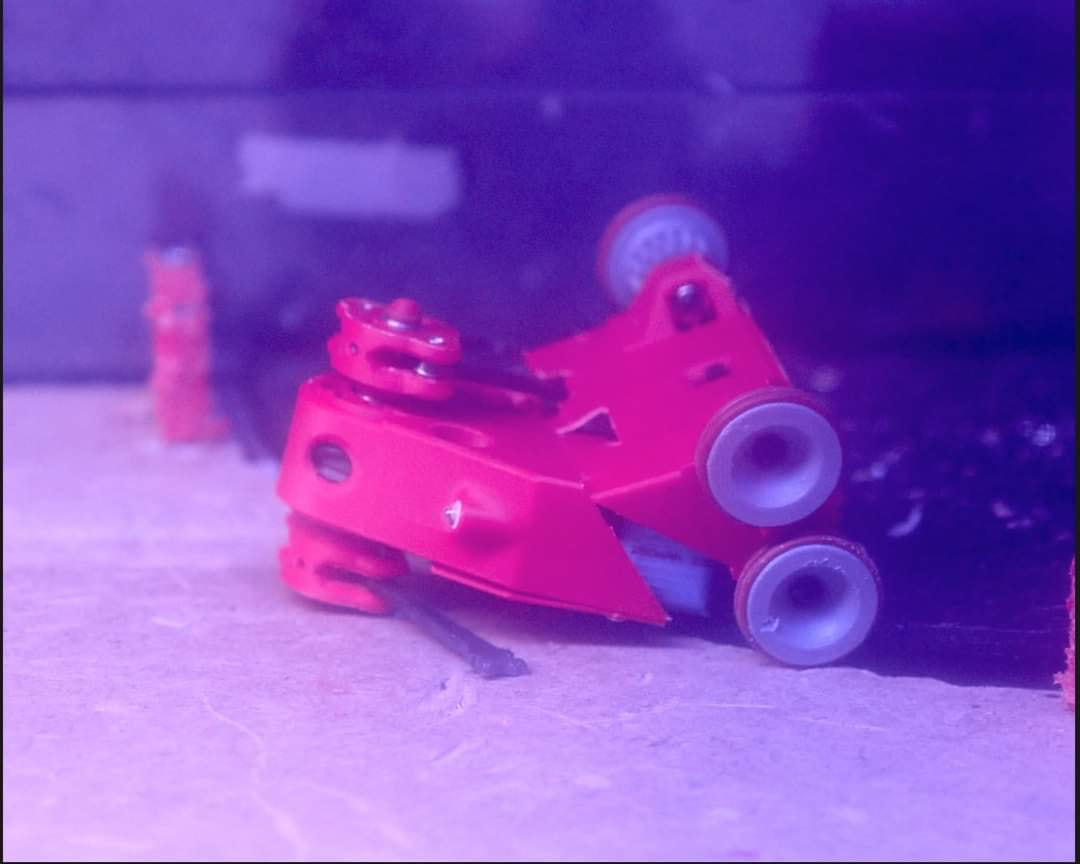
I would recommend having your wheelguards wrap the whole way around your wheels, it doesn’t matter if they are thin, all they have to do is prevent direct contact with the tyres which, in my experience, love to fully delaminate from the hub with any kind direct of cut or hit.
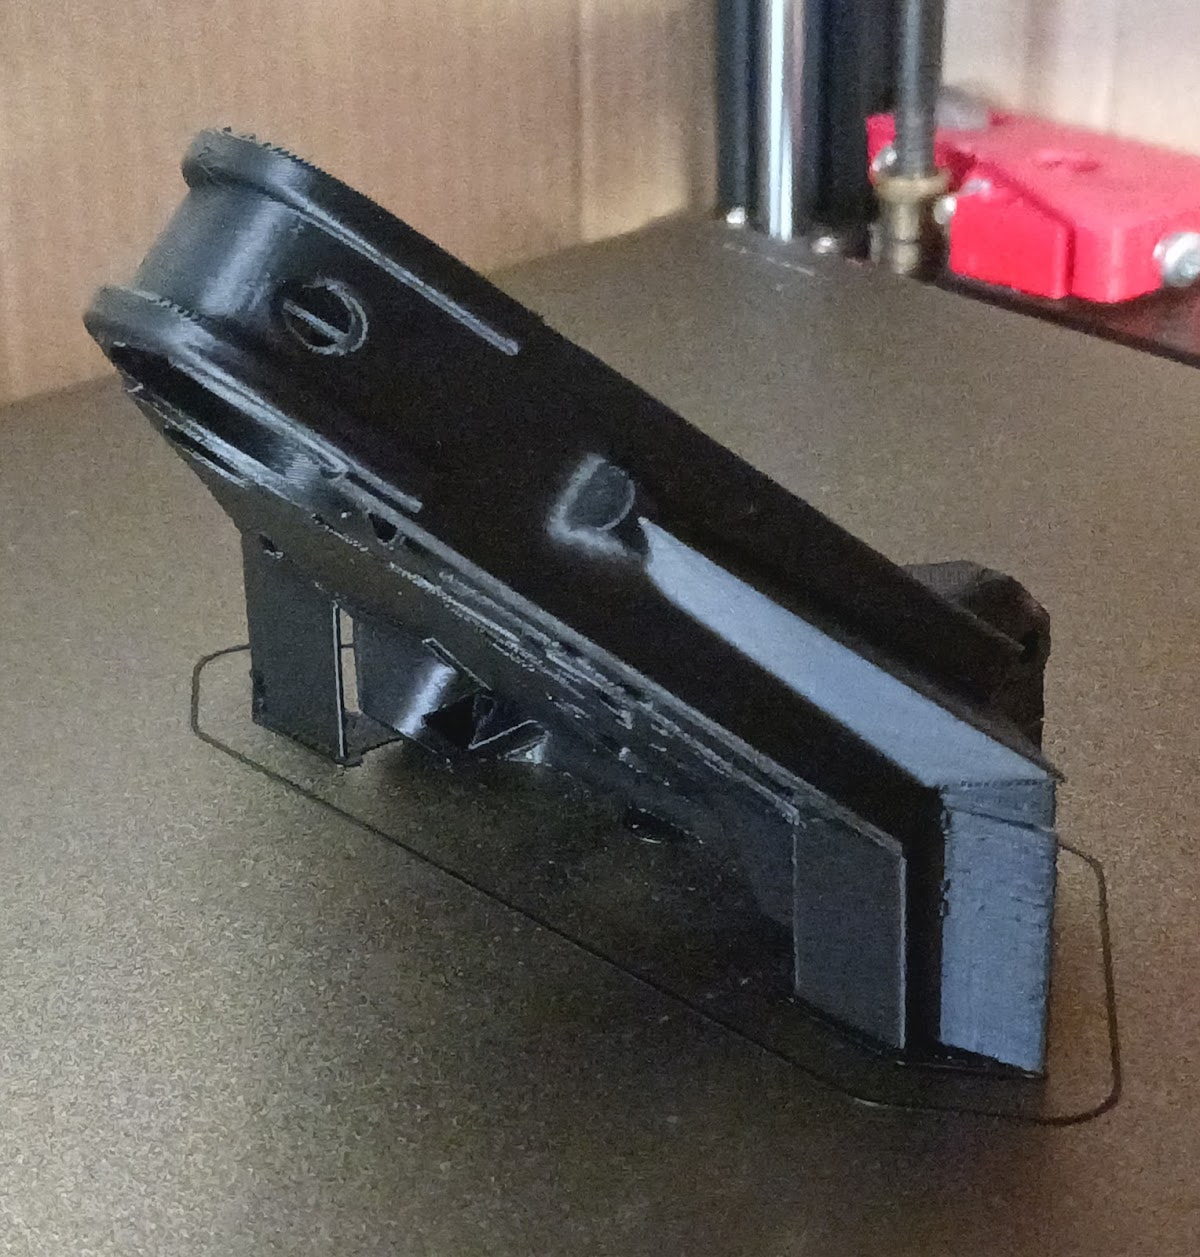
Adding chamfers/fillets to any corners will vastly increase strength by reducing stress concentrations (And also can make your bot look cooler) while not adding much weight. You should also take the orientation in which your 3d printed parts are printed, with the most likely areas for a (non TPU) 3d printed object, will be along the layer lines. For example, in the current orientation of your flipper, a powerful vert hit to its forks could shear the entire bottom off, depending on the material.
Overall, I second that TPU is stupidly strong, with the minor downside of flexibility, so I would recommend keeping your top plate a more rigid plastic.
So I think before grocs I will:
Add chamfers/fillets
Add better wheel guards
Add tpu on the front? But keep the top the same.
Also, what’s layer lines? (Sry but of a noob with 3D printing and that stuff)
Other than that I think I just might have to find out the hard way what needs improving.
Thanks phoenix.
3d printing works by printing the part layer by layer. Put simply, the nozzle melts the plastic in a pattern, then moves up a tiny amount, then does another pattern and so on until the object is printed.
If you look closely at a 3d printed object, you may be able to see search individual layer. Like the grain in a piece of wood, force applied in the right way can separate these layers, acting like a weak spot.
so a horizontal can theoretically split a robot between the print lines?
Yes, with the right conditions.
As mentioned if the layers haven’t bonded well enough any large impact or jolt could be enough to start splitting layers. Horizontal , vertical, whatever orientation it is hit and printed against
The rear armour on my axe bot once split when the chassis flexed too much, pulling the front and rear of the part in different directions, had I printed the part in a different orientation so that the force was parallel to the layer lines instead of perpendicular, it might not have broken.
I had to change the design of grievous to prevent it splitting on layer-lines.
I printed at 45 degrees, but this wasn’t as strong as printing it flat. and the result was chassis splits at 45 degrees.
one technique I’ve employed is having screws that hold the lid on also going perpendicular through the layer lines effectively re-enforcing the weakest part of the chassis with metal.
Do the print layer issues still matter when using tpu?
It matters with anything FDM. TPU is a lot better for it. When printed properly the layers join much more solidly than PLA and such. The elastic properties of the material will prevent fracturing along layer lines too.
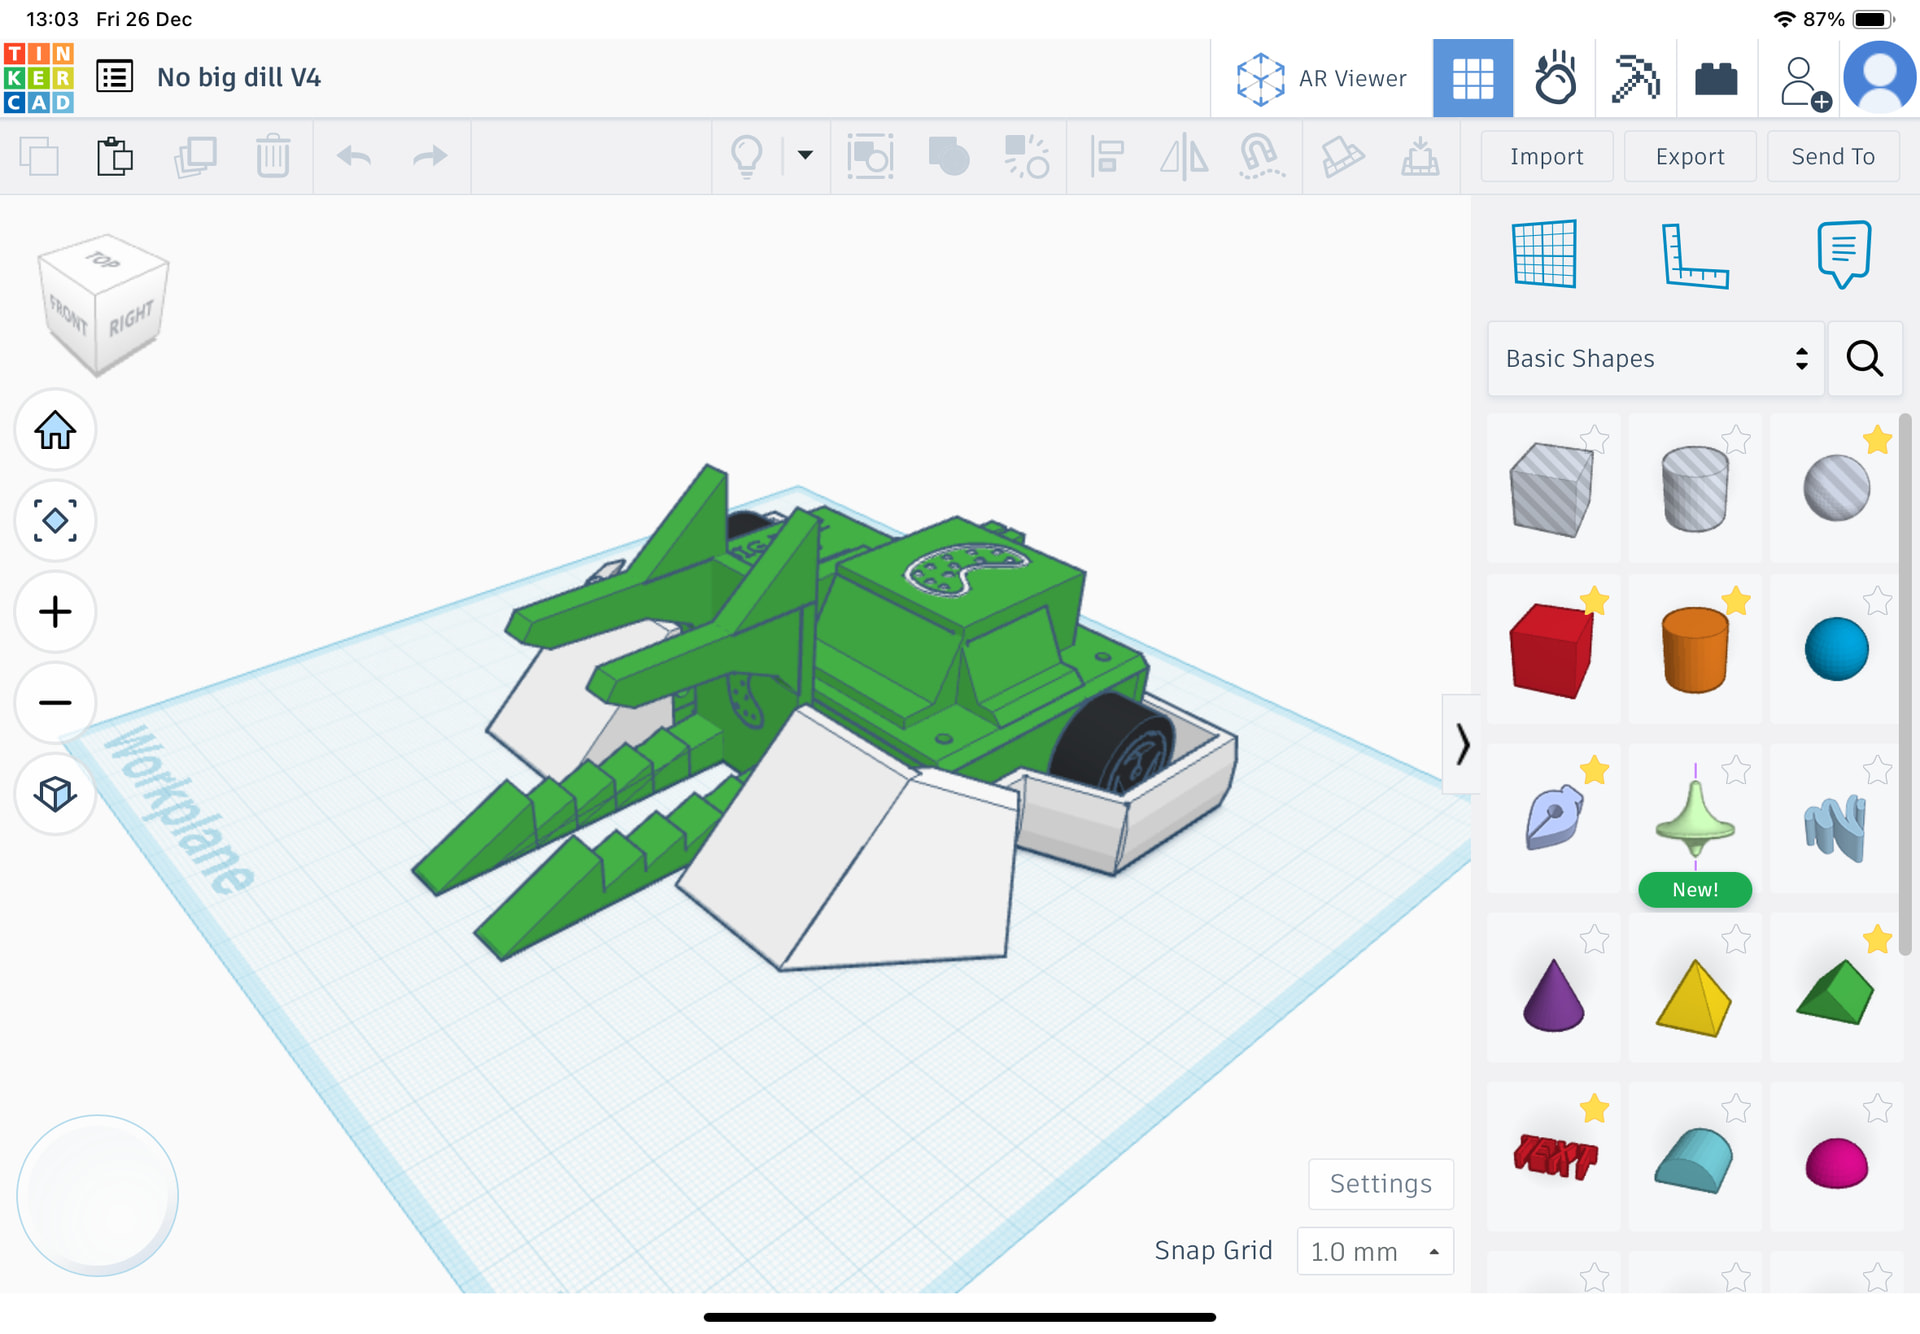
And no big dill V4 (I think) is underway!
It’s pretty much the same body, except the main changes are :
So yeah those are the main changes for V4
Please say something if you think something is wrong, won’t work, needs improving, or needs adding
Thanks all,
Hollis
The current total weight is estimated to be 145.g, around the same as v3 so there isn’t really a lot of room to add but I’m sure there is spots where I could make less heavy eg. Shorten wires more, less infill in certain spots that sort of thing.
sounds like solid iterative improvements. will be good to see how it continues to evolve! ![]()
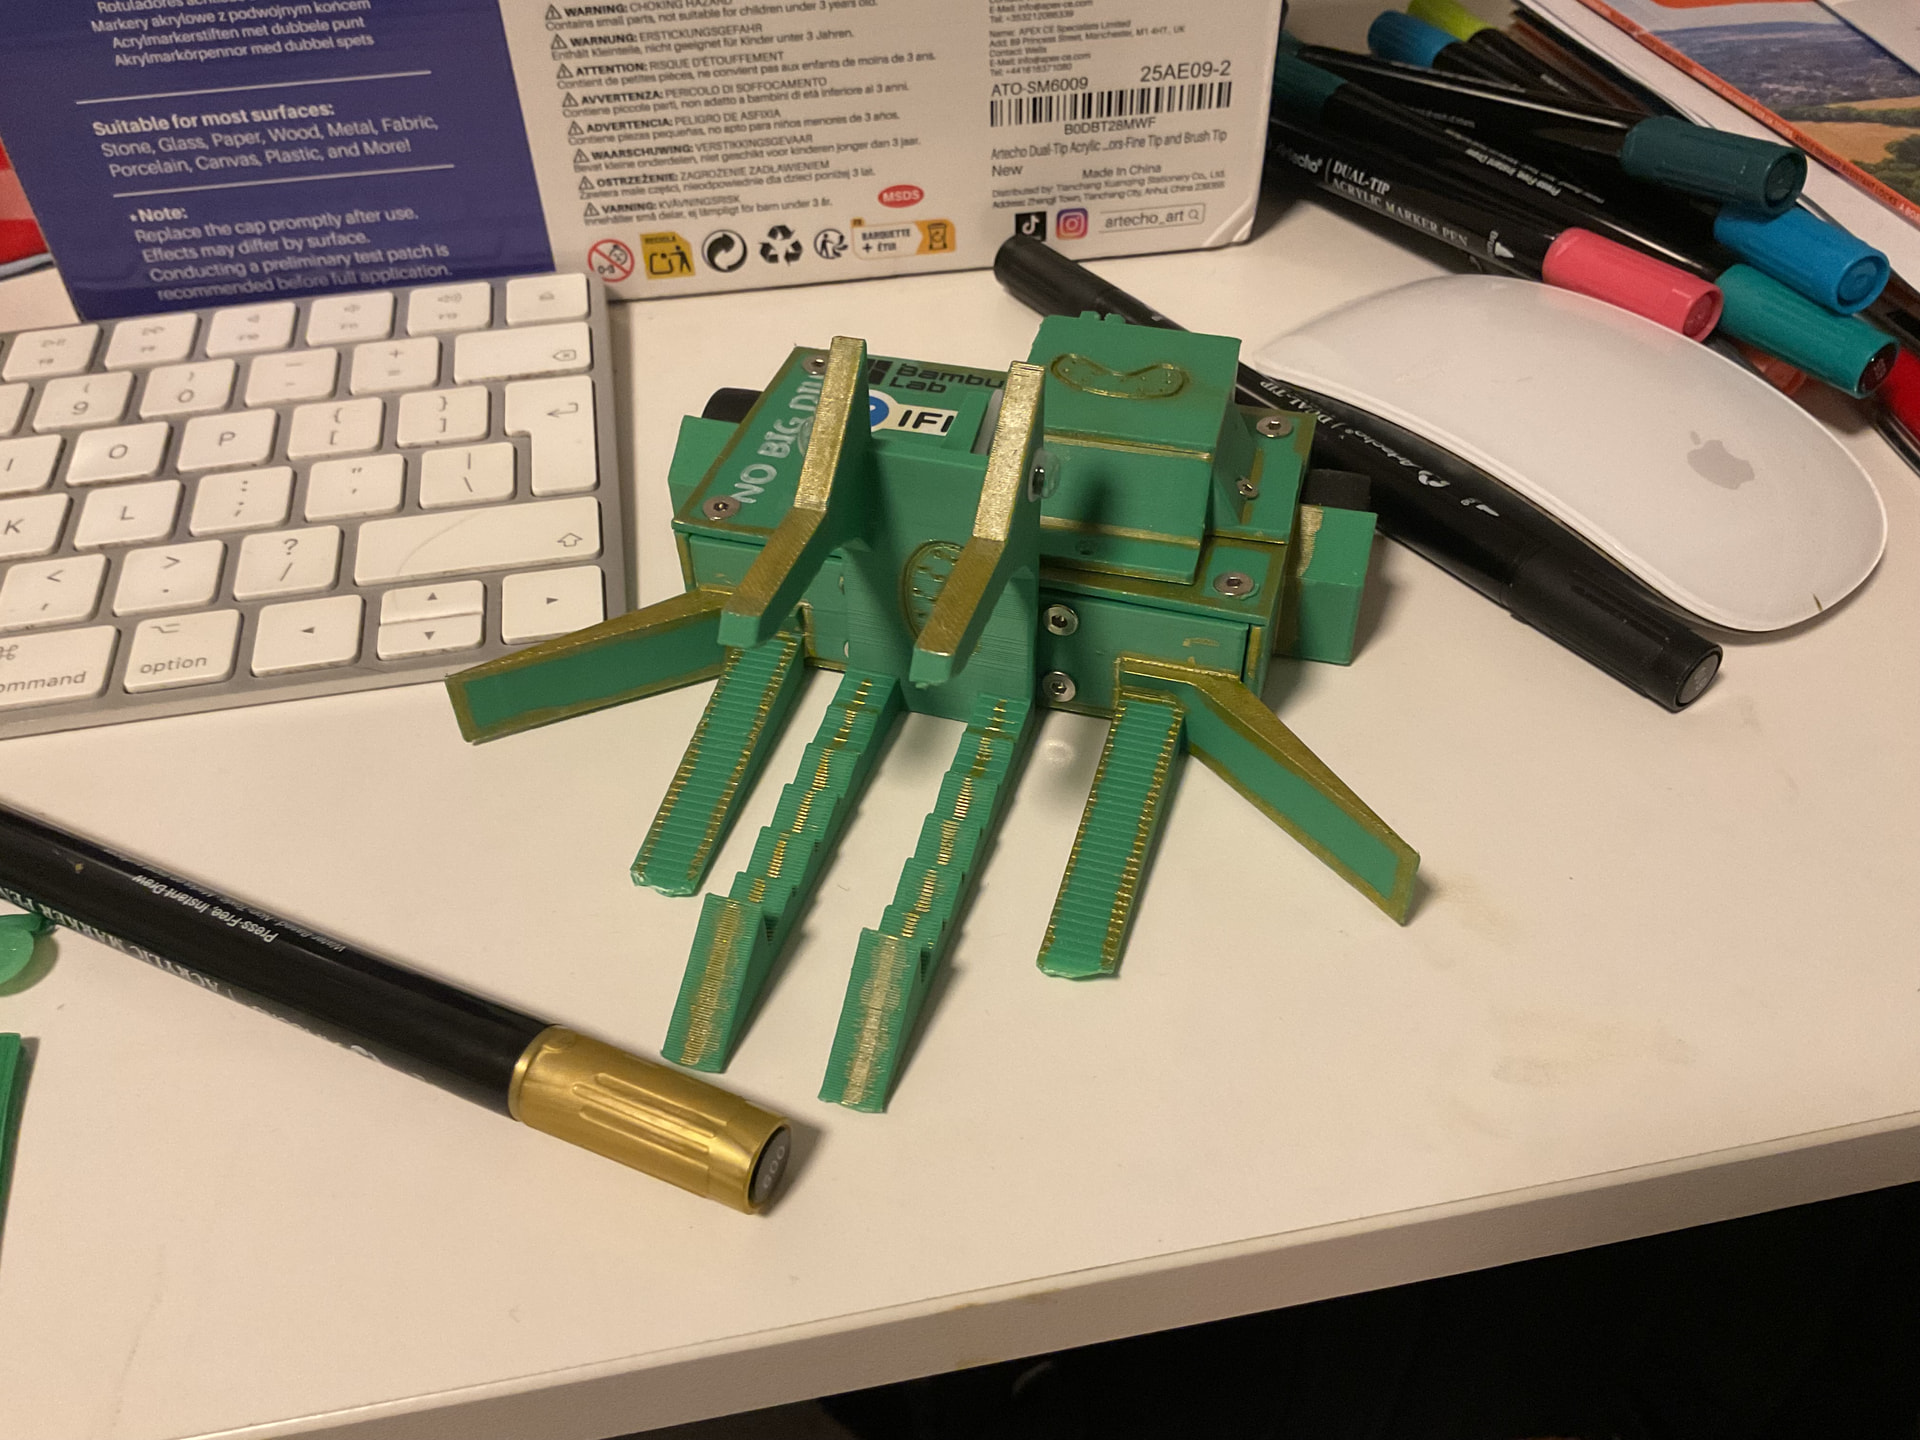
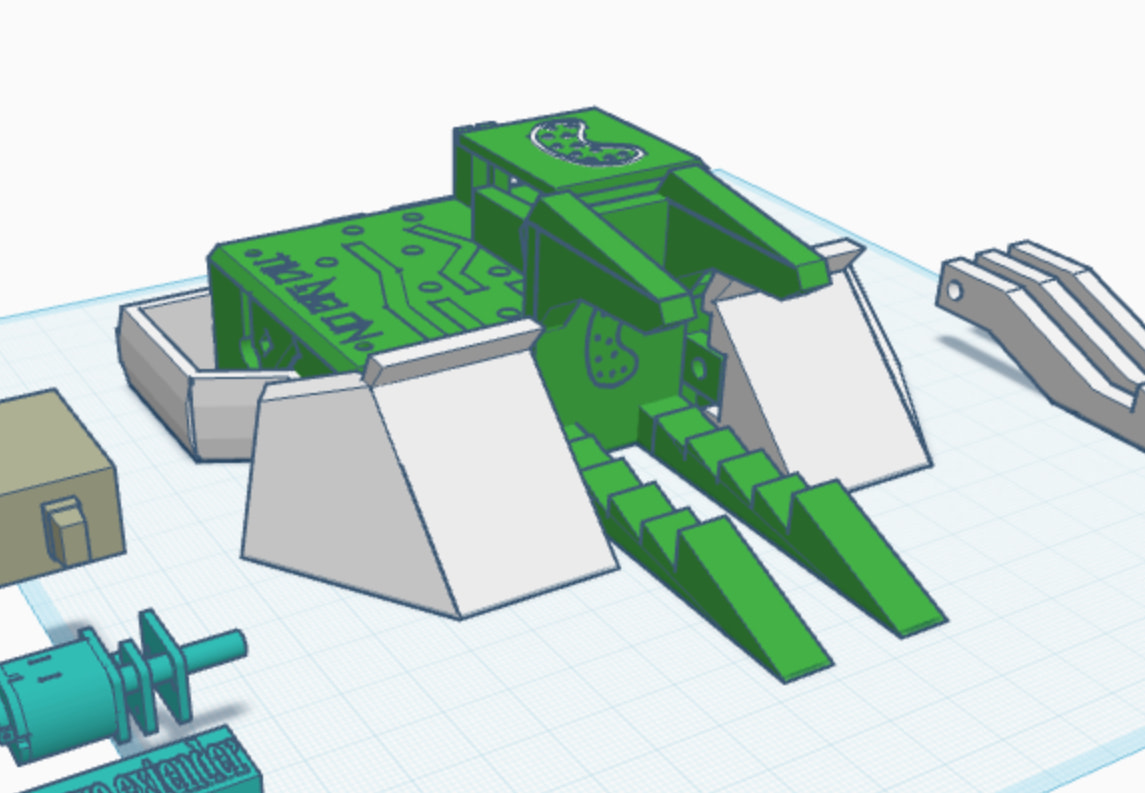
I have made a few little changes and have now started to print NBD V4 here is the final product:
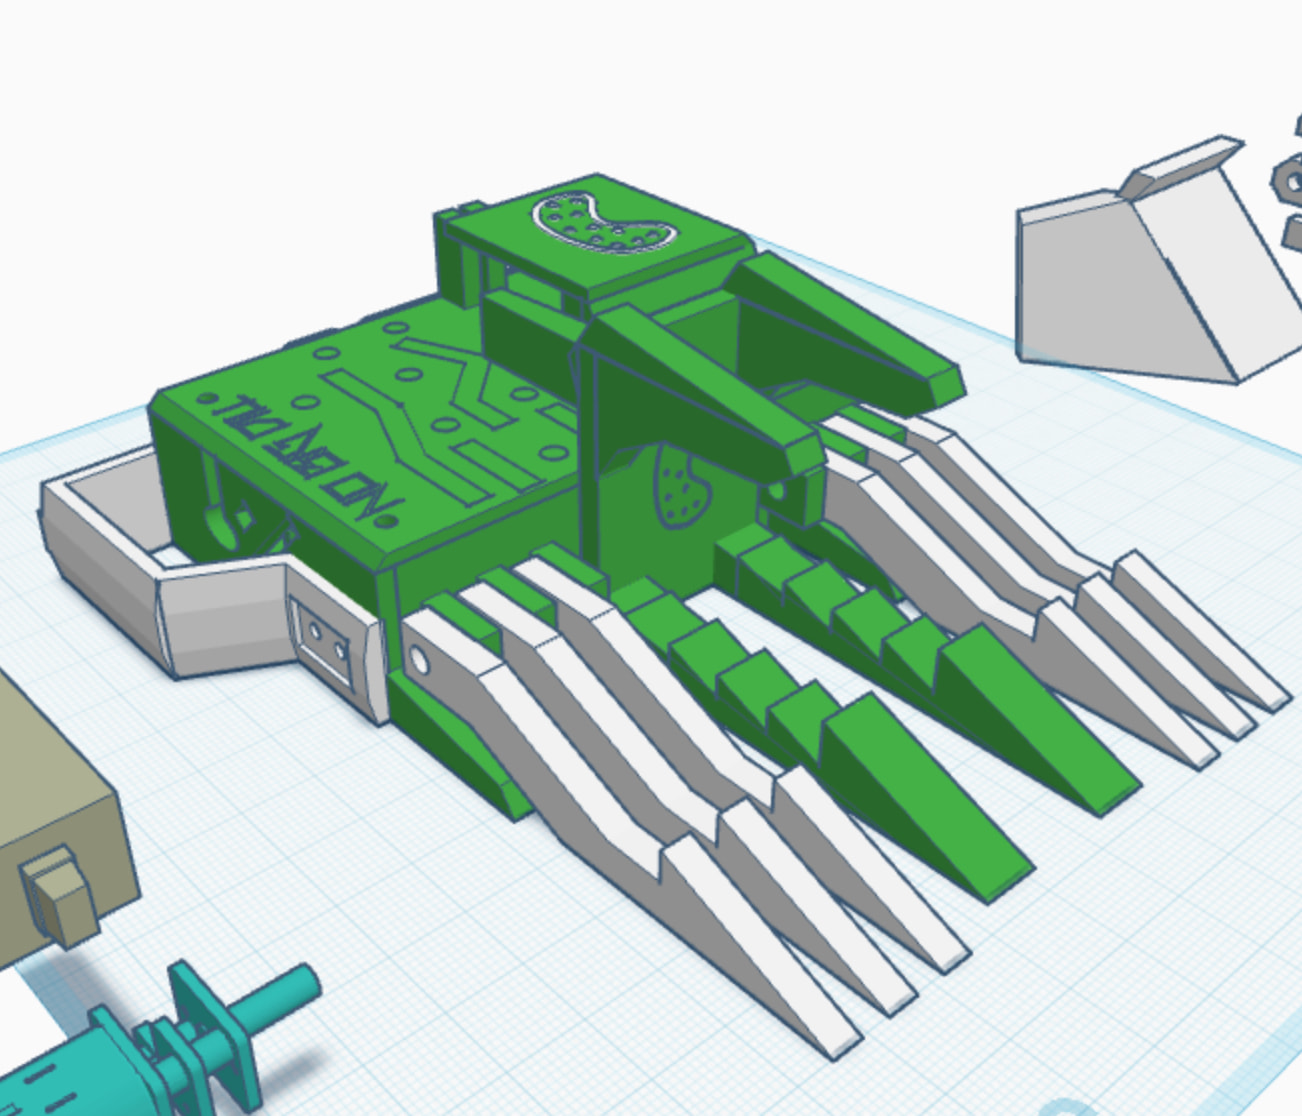
Forks (for verts, lifters, flippers and wedges) :
And wedges (for horizontals and hammersaws) :
Thanks all,
Hollis
You’ve definately picked up on the fork meta of today! looking really strong.
How are you mounting the front plates? nuts and long bolts?
Yep, both the forks and wedges are secured onto the chassis by some m3 30mm screws and bolts.
Thanks for the nice comments Ben!