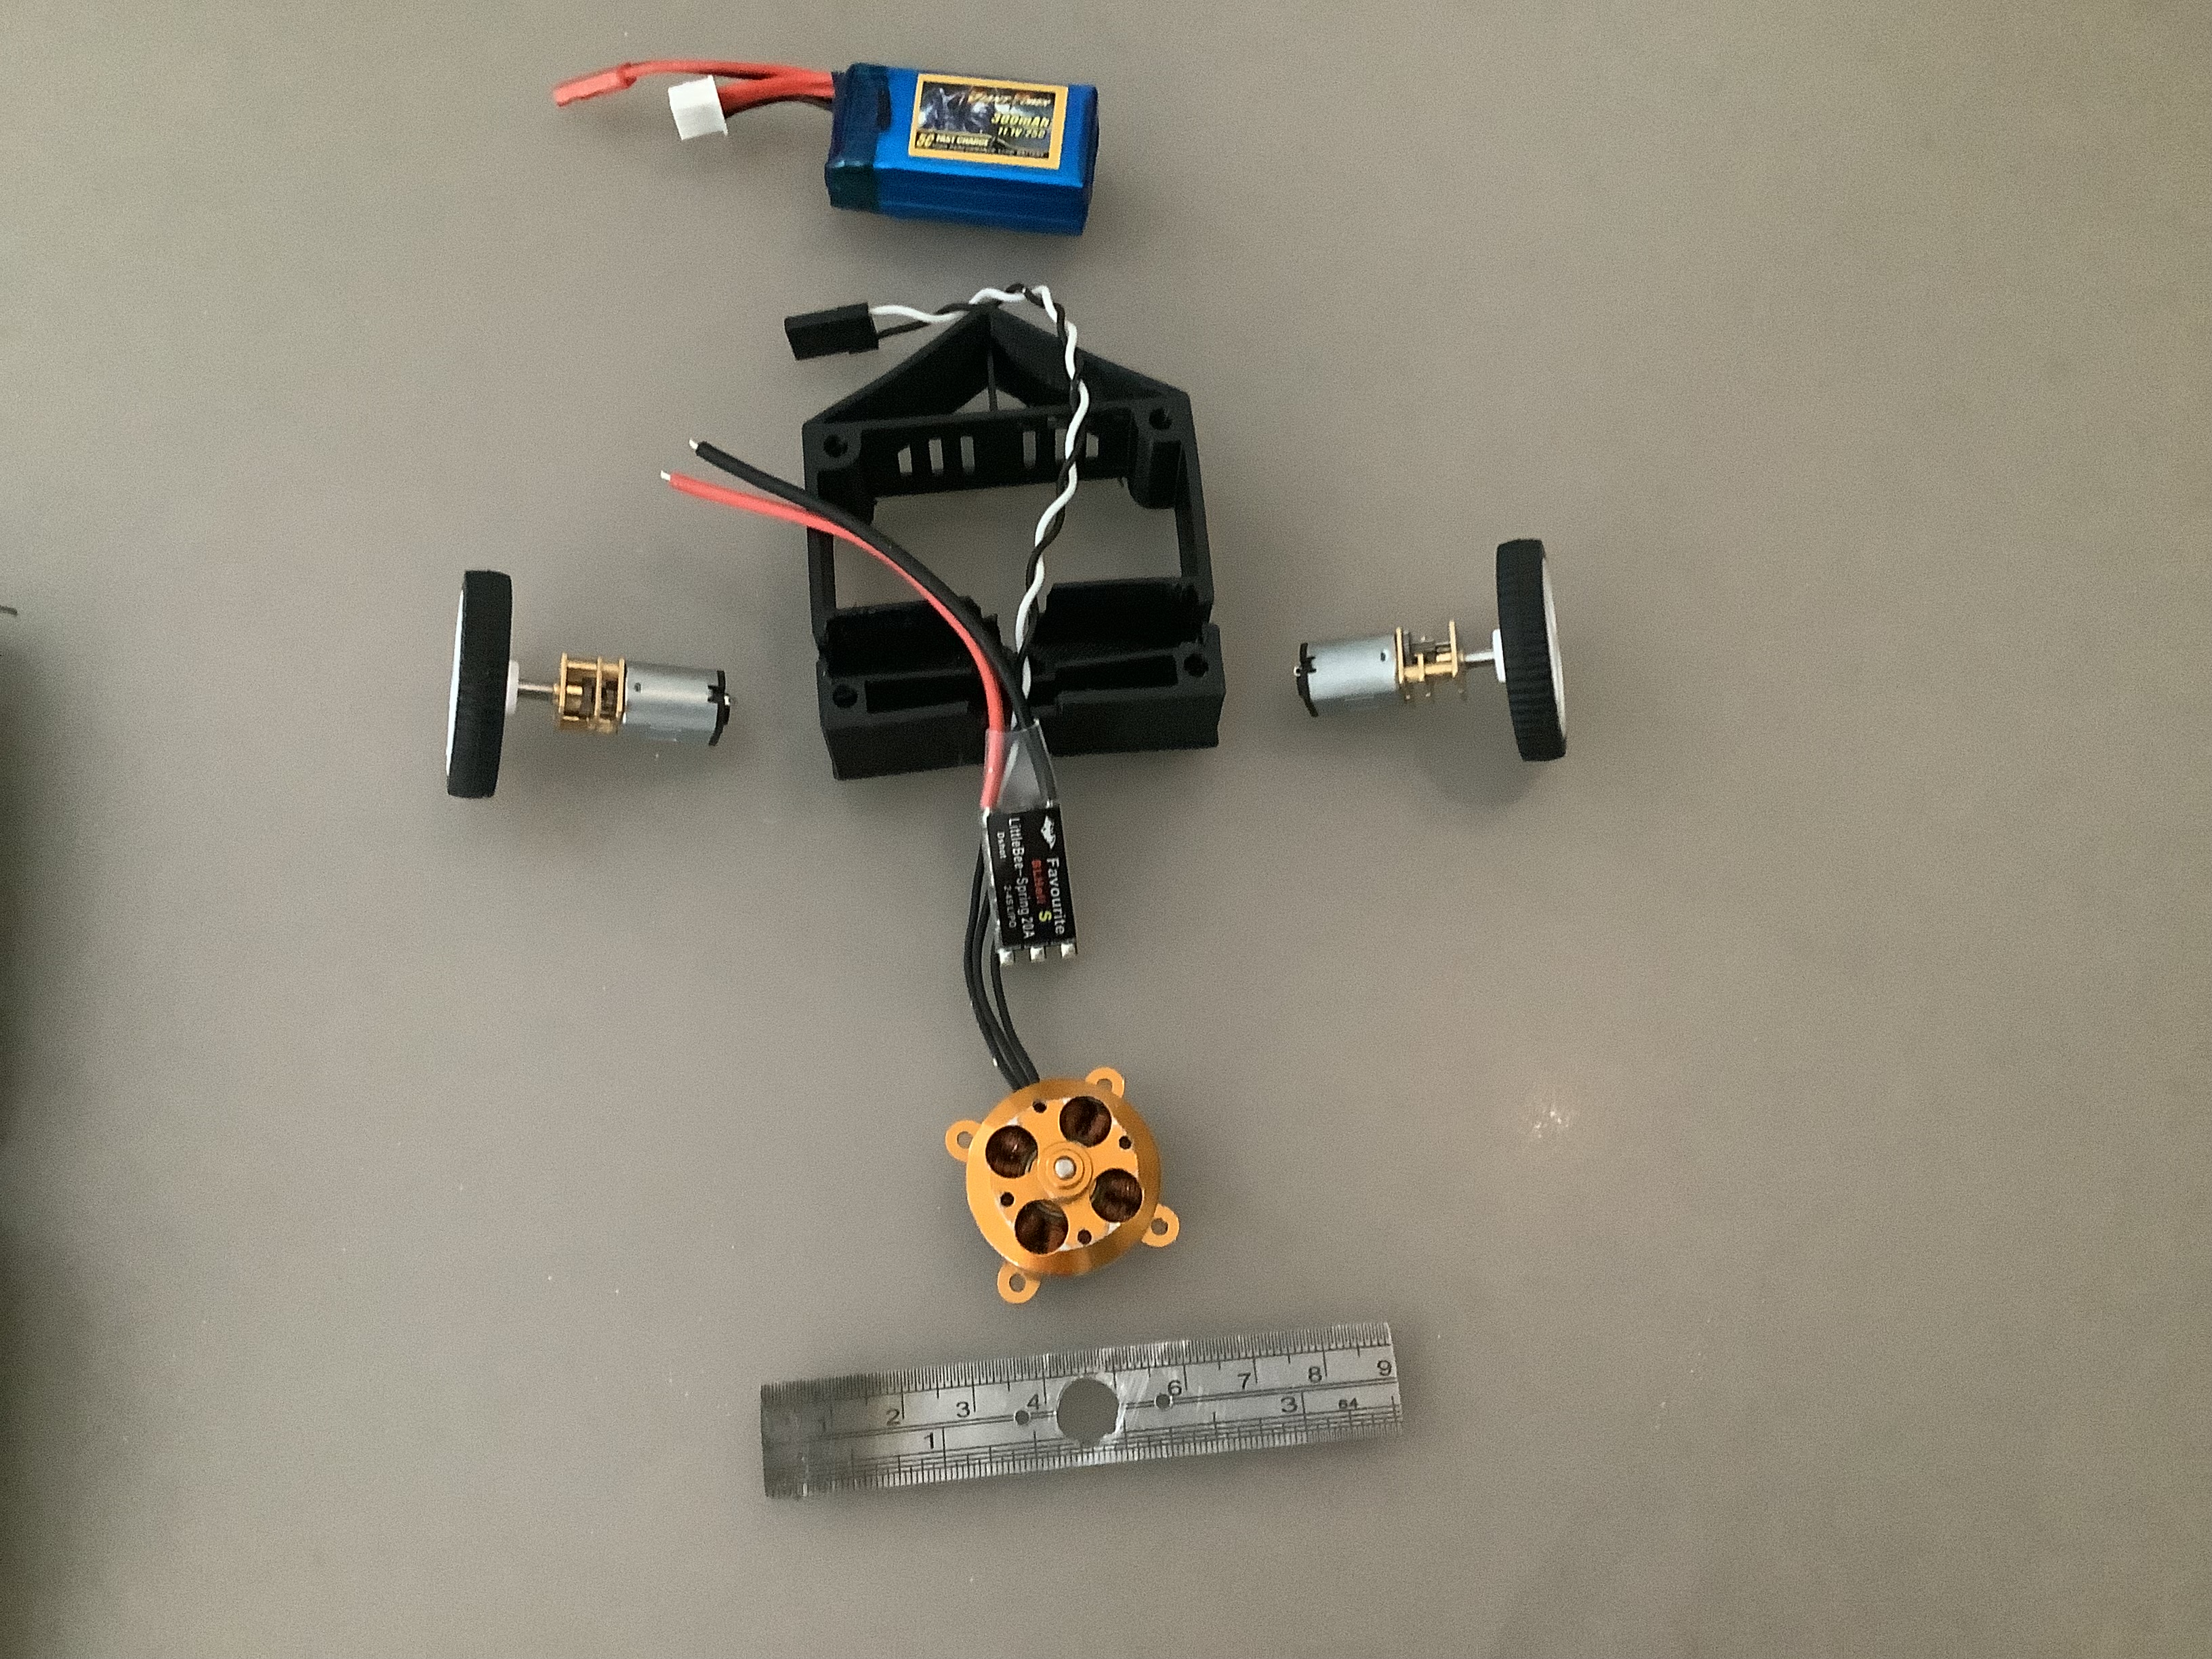
Hi all. I’m new to the bbb commmunity. Ive decided to make my (technically) second bot, TombPebble (copyright!!!). Its will hopefully be a sandwitch style config with 21mm m2 standoffs and a quite tombstone-sque type horizontal, with a 2204 motor and a nice fresh hardened steel ruler as the weapon. I kinda lack a malenki but i am sure i’ll get one of them soon. My ‘first’ bot was this sorry excuse of cardboard and taped electronics, mainly to test if it even worked, but i’m definetely not trying to make an excuse to hide the fact that i am in love with spinner bots ;). I’m probably using the weapon bar to hide my driving incapabilities from you guys, but that’s not important and lets get back to the topic.
The top and bottom plates are 3mm polycarb (NOT 3d printed) and the body will be cheap k8 tpu 64d printed on my sorry little bambu labs a1.
Tell me if this is a good idea, if the 3mm plates are kinda overkill and please give some advice, it would very much be appreciated. Also do not be suprised if I scrap this idea and abandon the page.
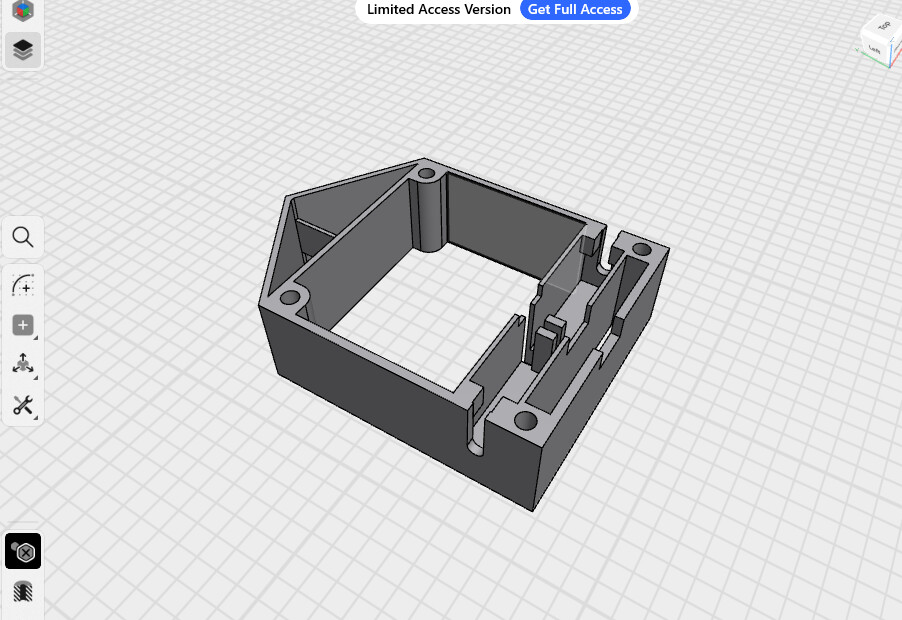
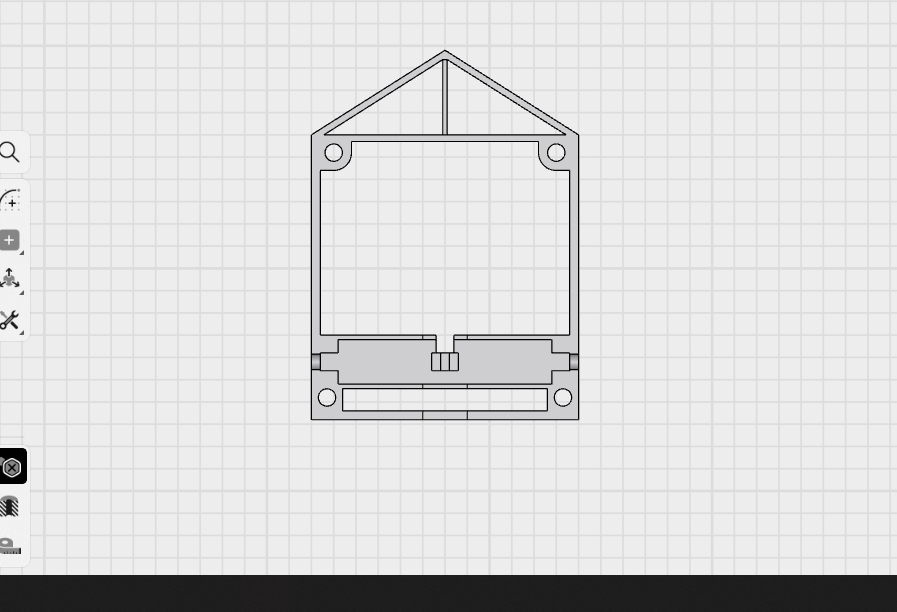
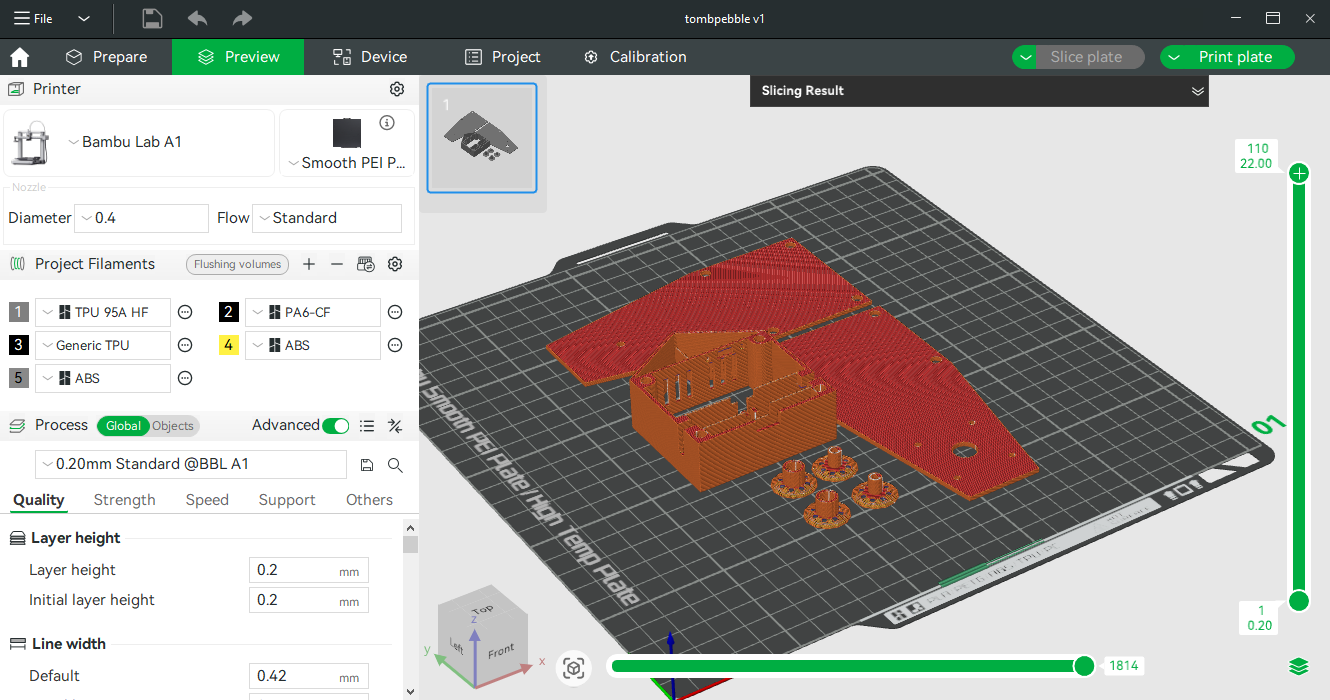
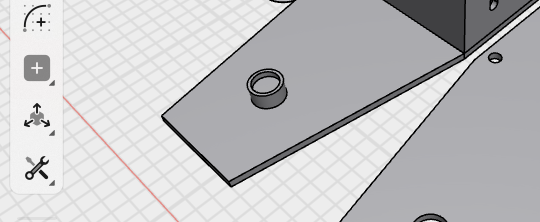
Cad so far -
I mean, the design looks solid and it’s got a great name. Be a shame to abandon it. I don’t see where the spinner’s supposed to go, which is a pretty important part. With the weight of a spinner you should be somewhat cautious on mass. 3mm is a bit overkill, maybe use 2mm and have a backup version with less side armour and more on top if you encounter a hammersaw.
Welcome! I think you might struggle for weight with 3mm polycarbonate top and bottom plates - a single 100x100x3mm piece weighs 36g alone! If you do some serious pocketing or drillium you might be able to make it work, but every hole you make gives the plastic another place for a crack to start.
You could go thinner, but polycarbonate is pretty flexy. How about G10 or carbon fibre? You can still work them with basic tools (outside, with a mask - the dust is nasty) but they’re much stiffer for a part of the same weight.
thanks. ive been thinking about 2mil plates as Alex said but thanks for the advice! Cf is a bit hard to work with and a tad expensive, but if I need alternatives to pc, I’ll most likely use cf nylon, and g10 is also a fiddly number.
Yeah, i’ll probably switch to the 2mm plates, ill see how it goes and if it dosent work i’ll beef it up to 2.5 or 3mm. About the weapon mount, the cad shown is just the body, the top and bottom plates will have A template that i’ll probably show soon. Thanks for the advice
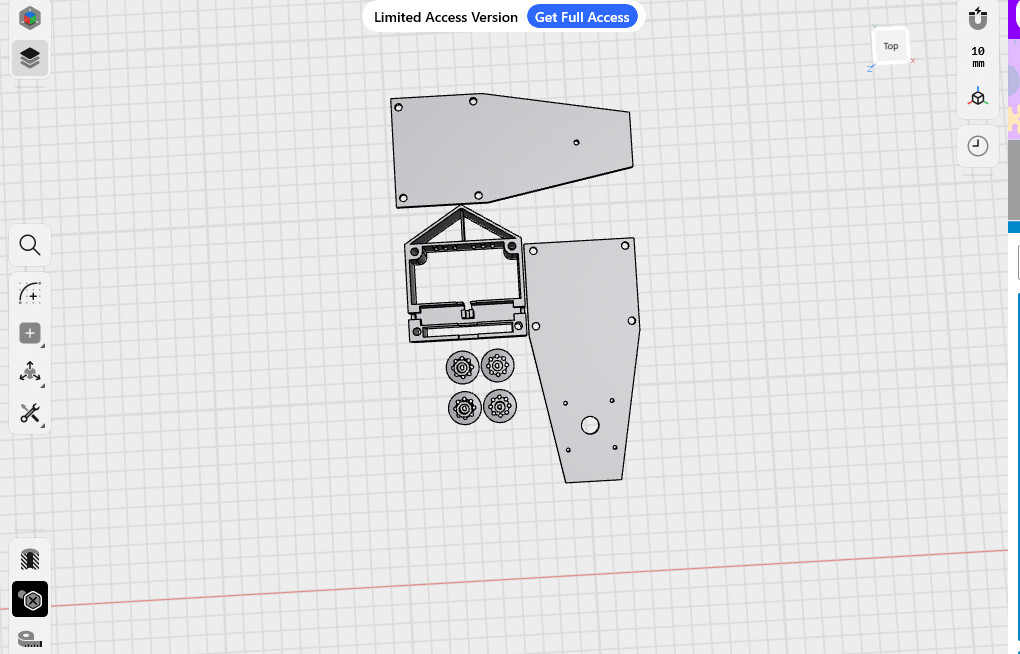
This thing could be a tad long. Oh dear. I might have to shorten the chassis a bit and/or cut off the little triangle bit that’s just there at the end, but I like it and I’ll probably make it a bit shorter. Cuz I’ll be going to (mainly) BBB events (like the Christmas meet) I’m not that worried about the 4 inch rule, as I think they have a 150mm one. Will give updates and more cad for your bored eyes to glance at.
the top panels, foam wheel hubs and the body (shortened to fit in the 150mm rule) are all done and dusted. Now it’s time to wait for the filament and esc to arrive and try and get my hands onto a malenki.
Right. Filament, esc and xtra print accessories have arrived! Patched up the printer, and she’s all ready to go. Currently spitting out the chassis, be back in around 4 hrs
UPDATE
im back. the print is done, just need some work with A soldering iron to melt off some little bits. the foam wheel hubs will get.A reprint, the shaft hole is too small, but i will send A pic soon.
The beauty of 3d printing right there, if something’s a little too small, just adjust it in the 3d software you’re using, reimport it, and you’re good to go.
My personal concern is the amount of flex you’re probably going to get when the weapon hits something, depending on what you’re making the top and bottom plates out of, it’s going to flex and bend like mad.
The plates will be carbon fibre, cf nylon or 2.5mm polycarbonate sheet, I’ll probably go with the cf nylon or the pc sheet, as cf itself is a tad tricky to work with. Thanks for the suggestions though
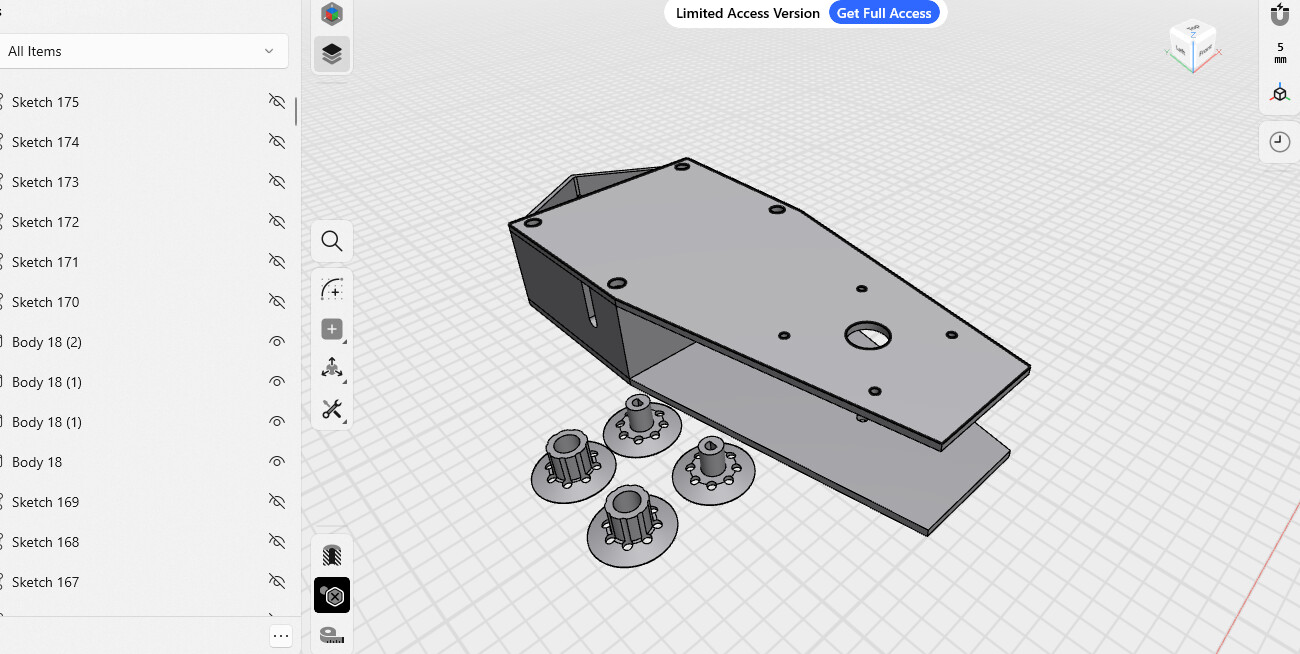
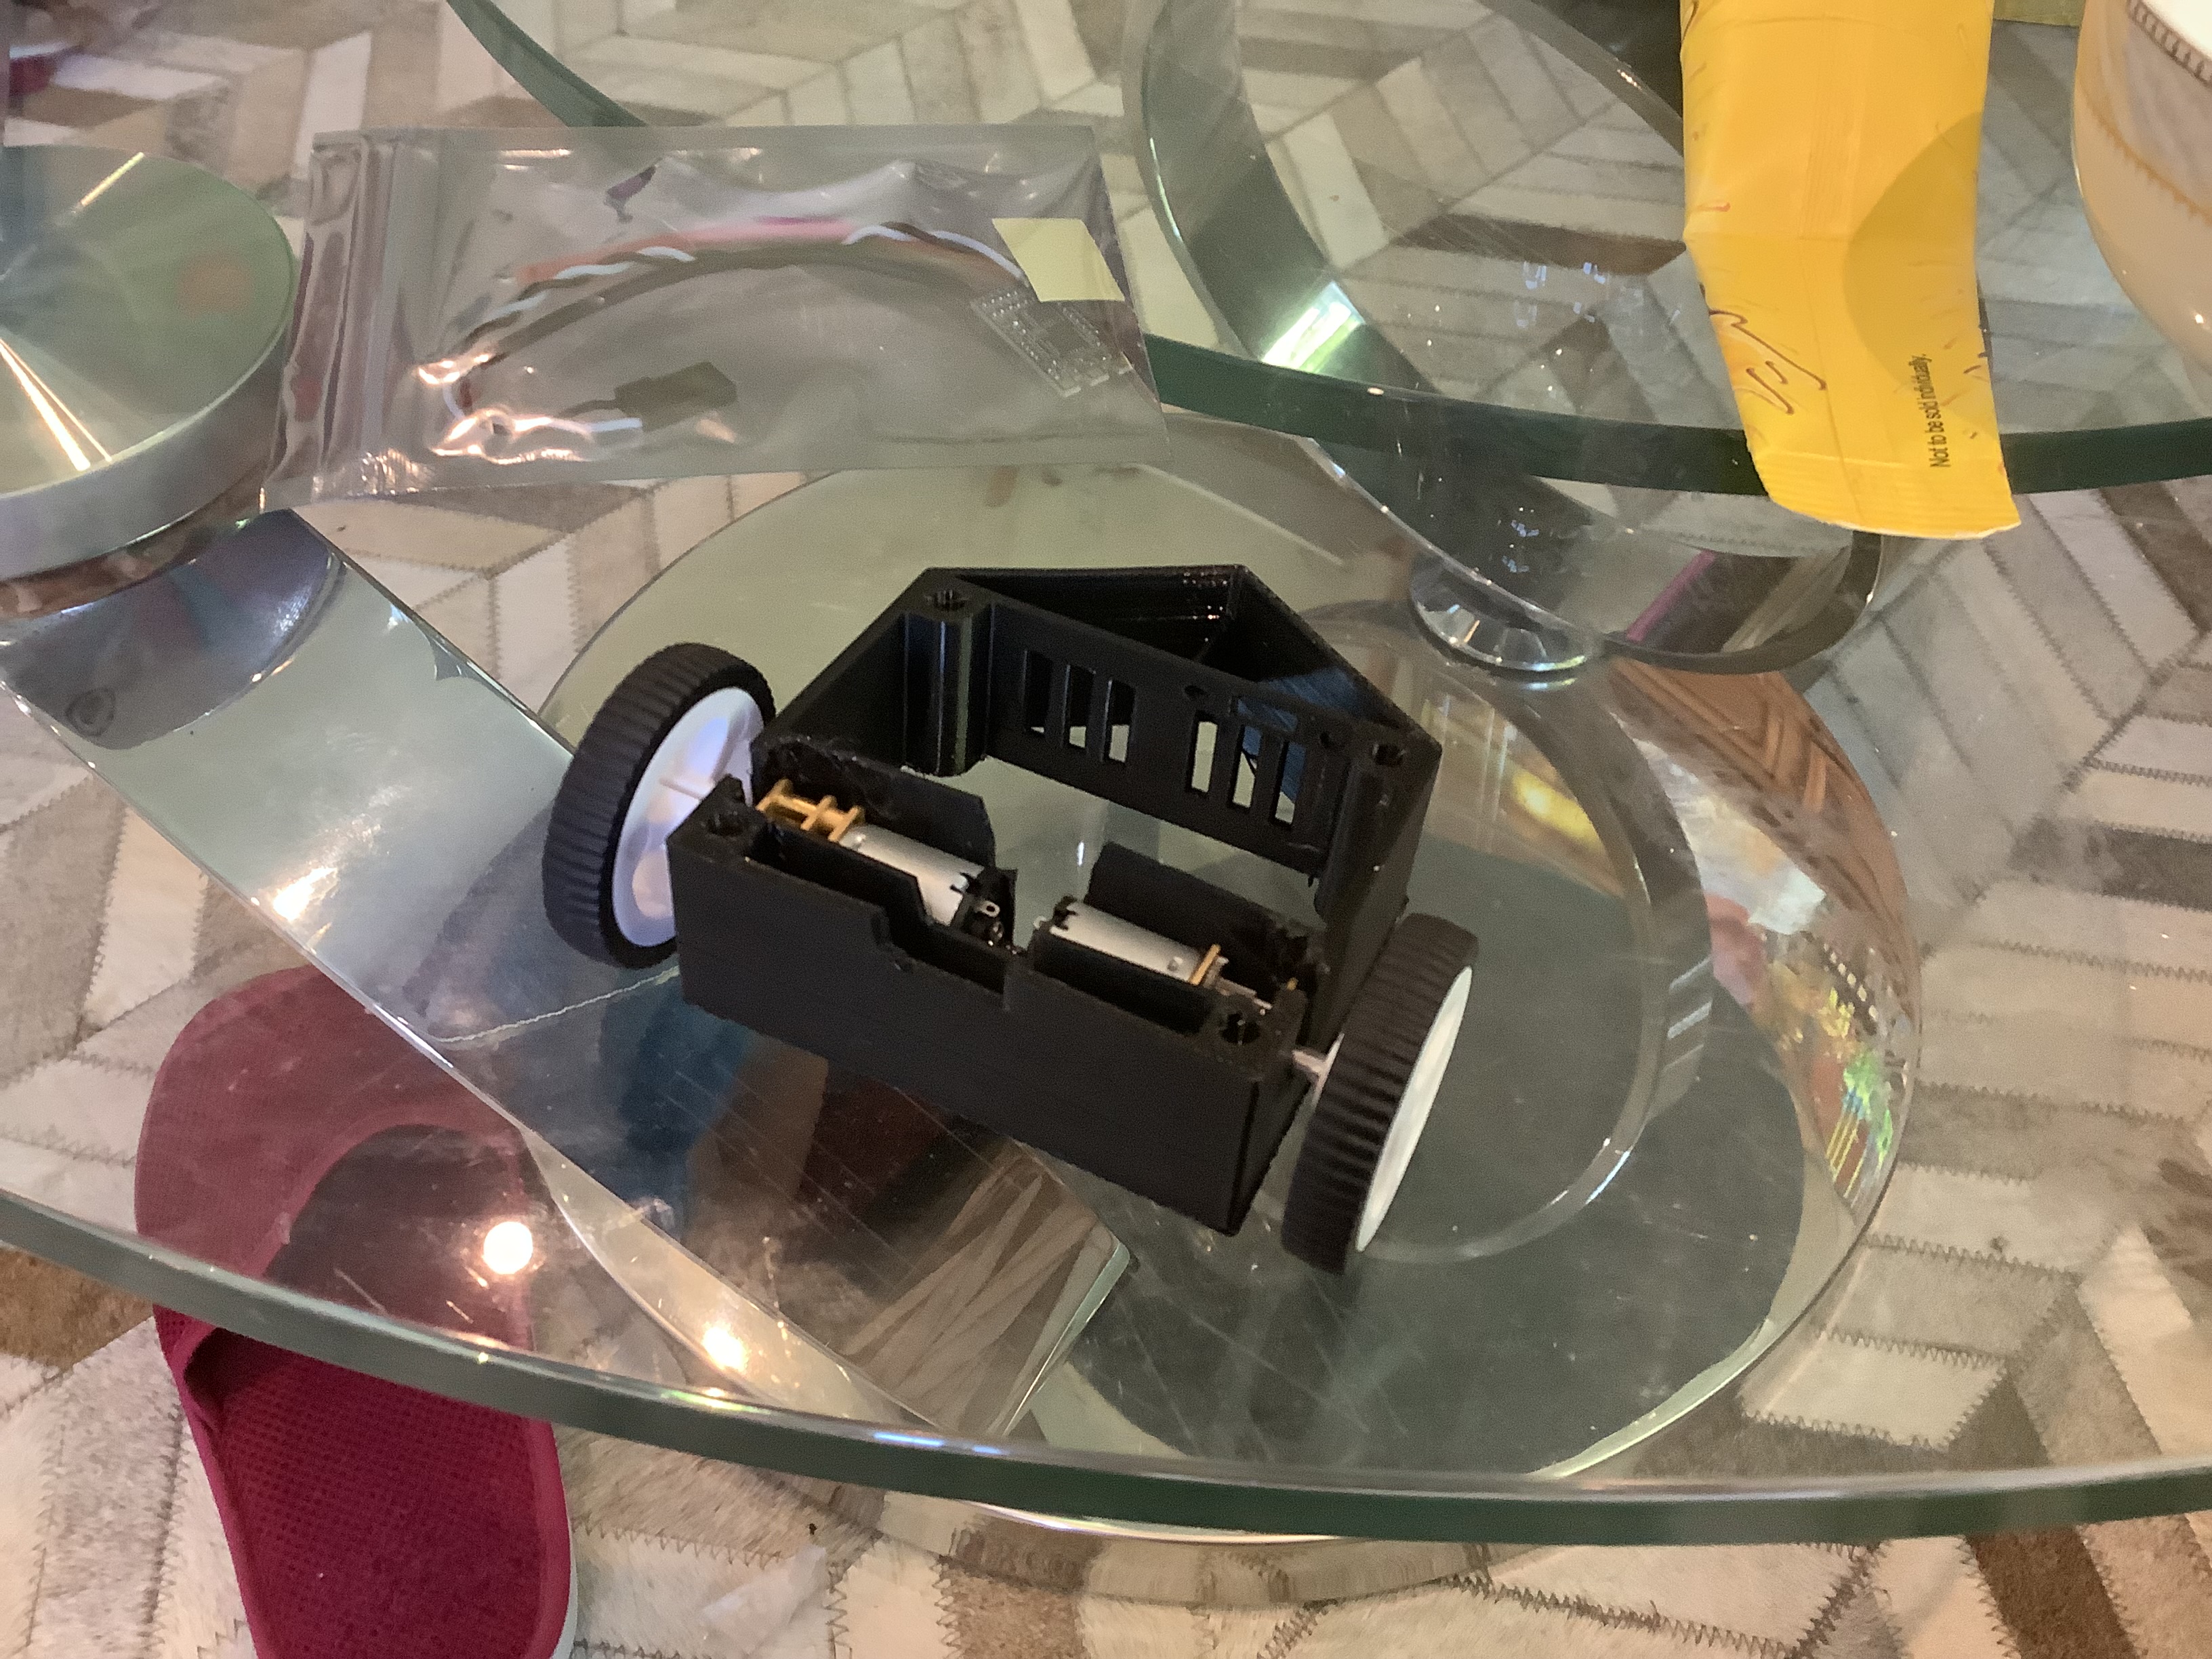
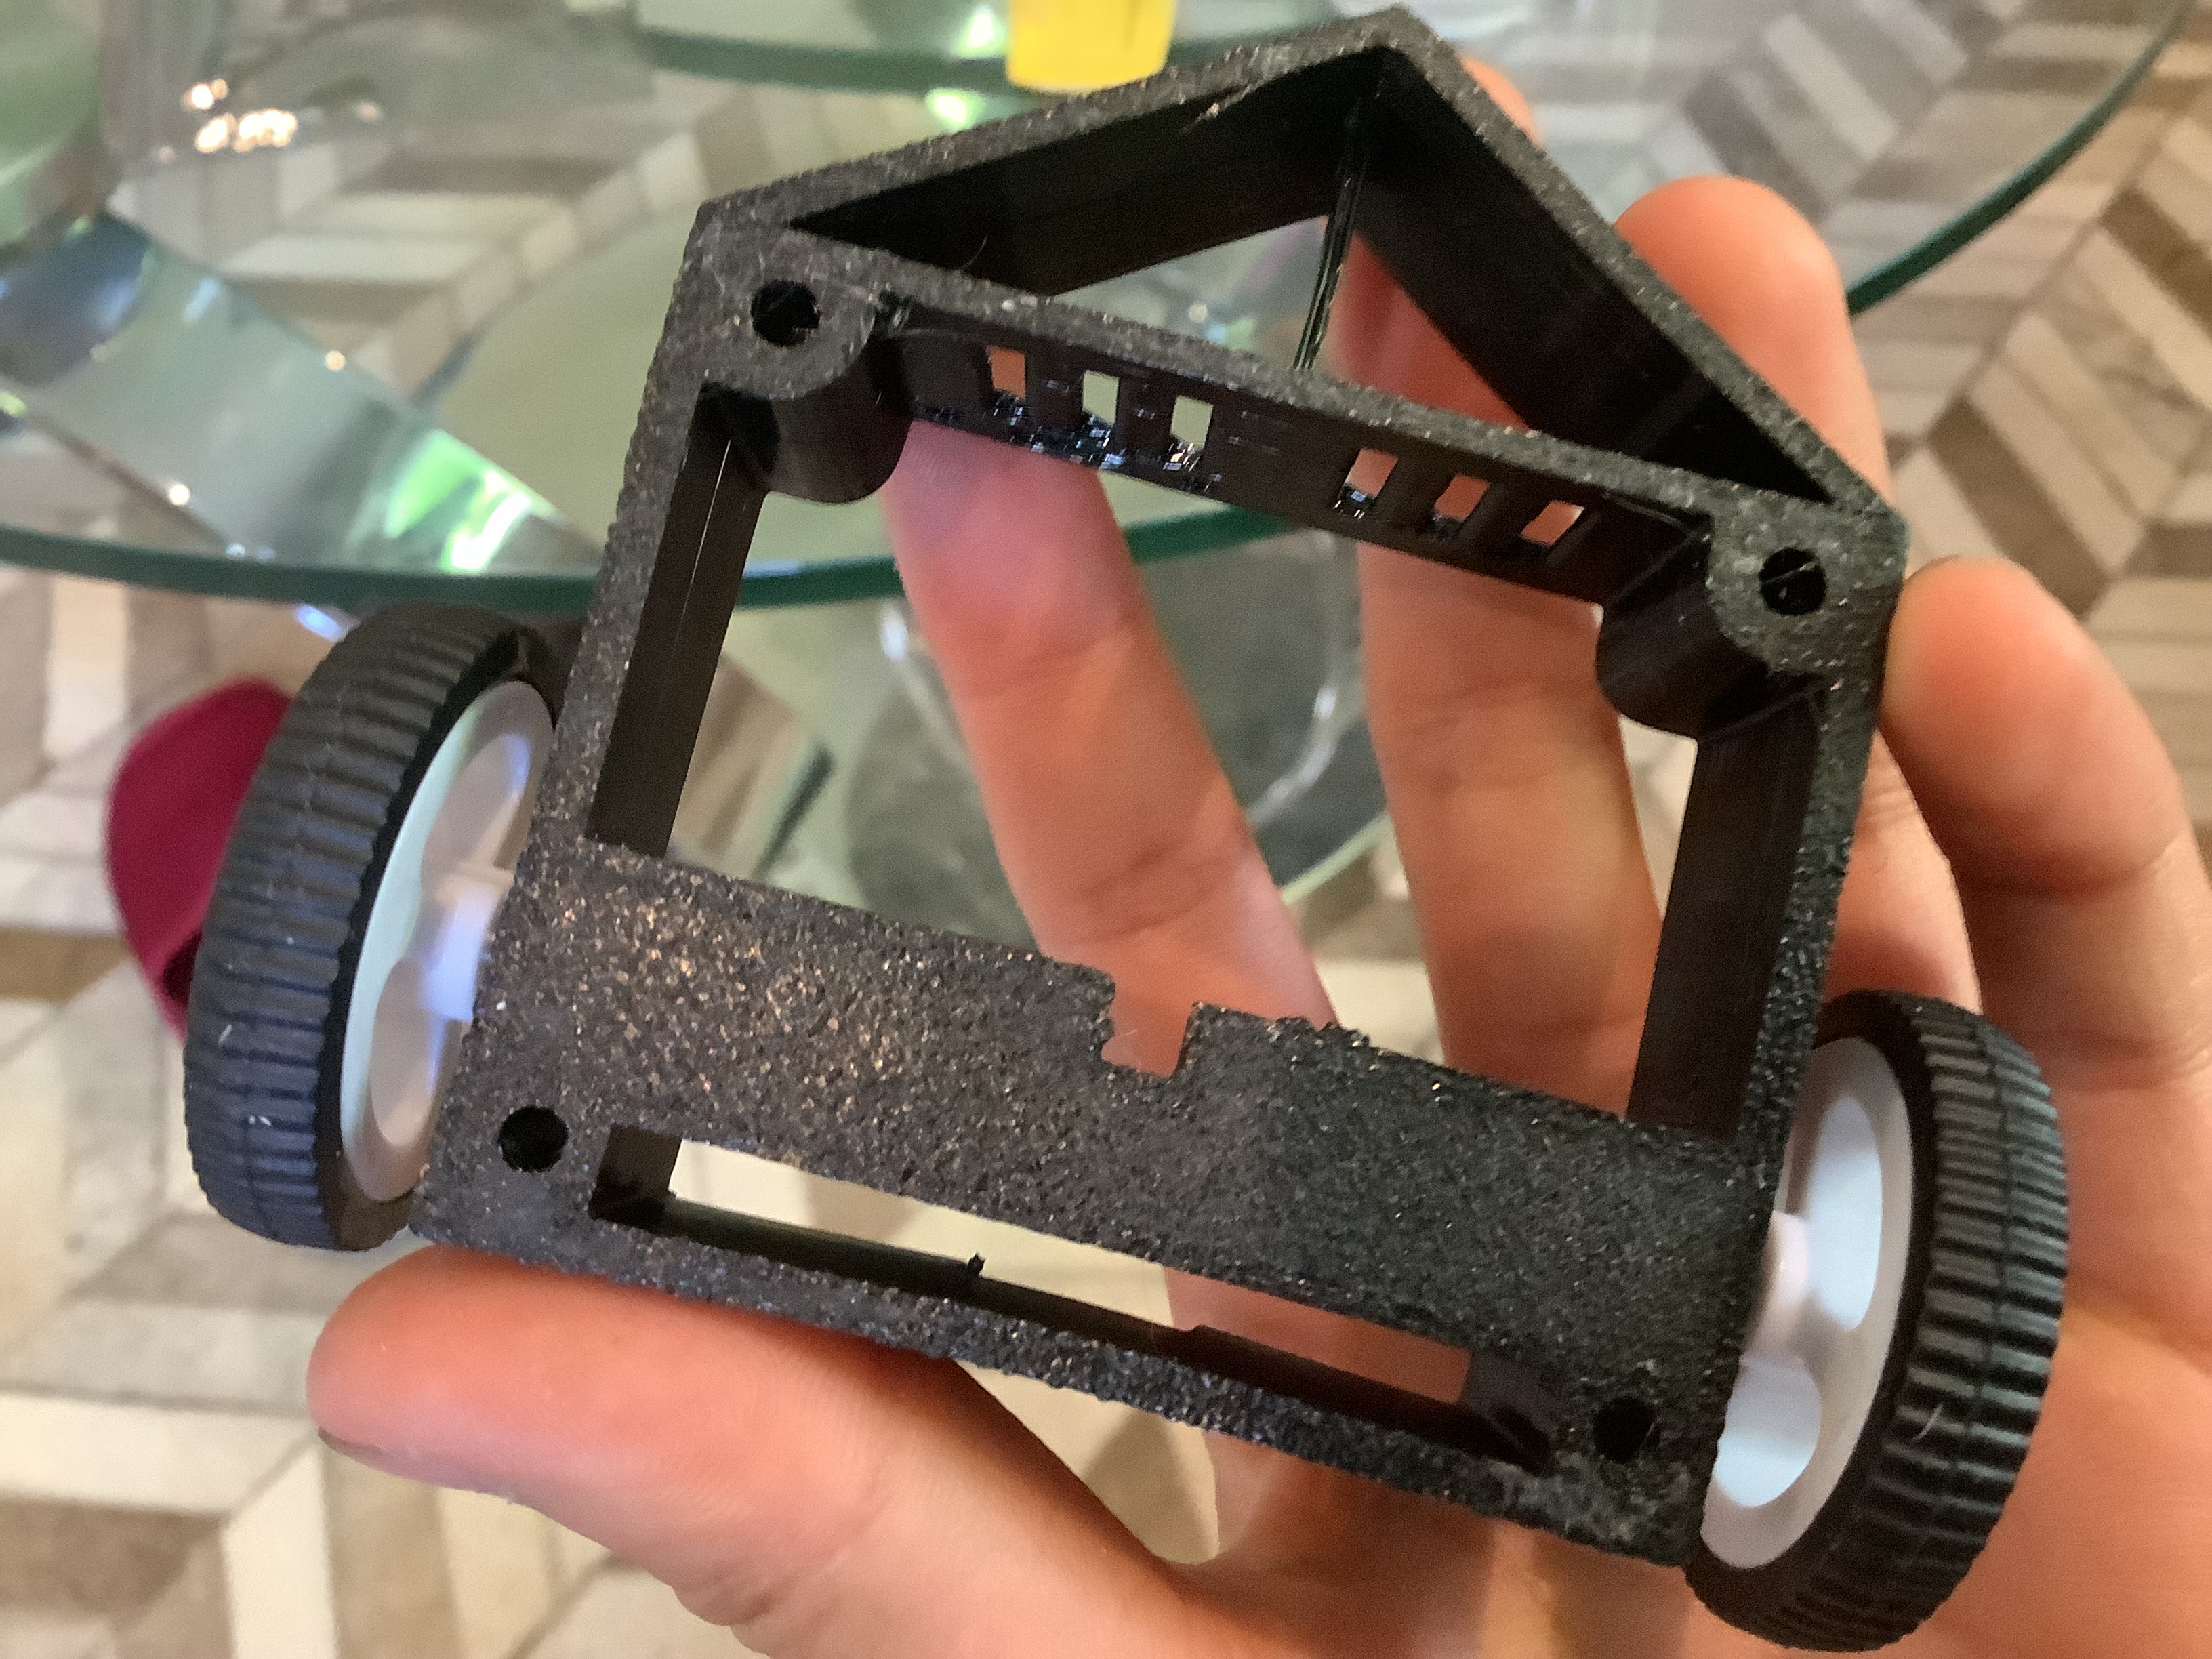
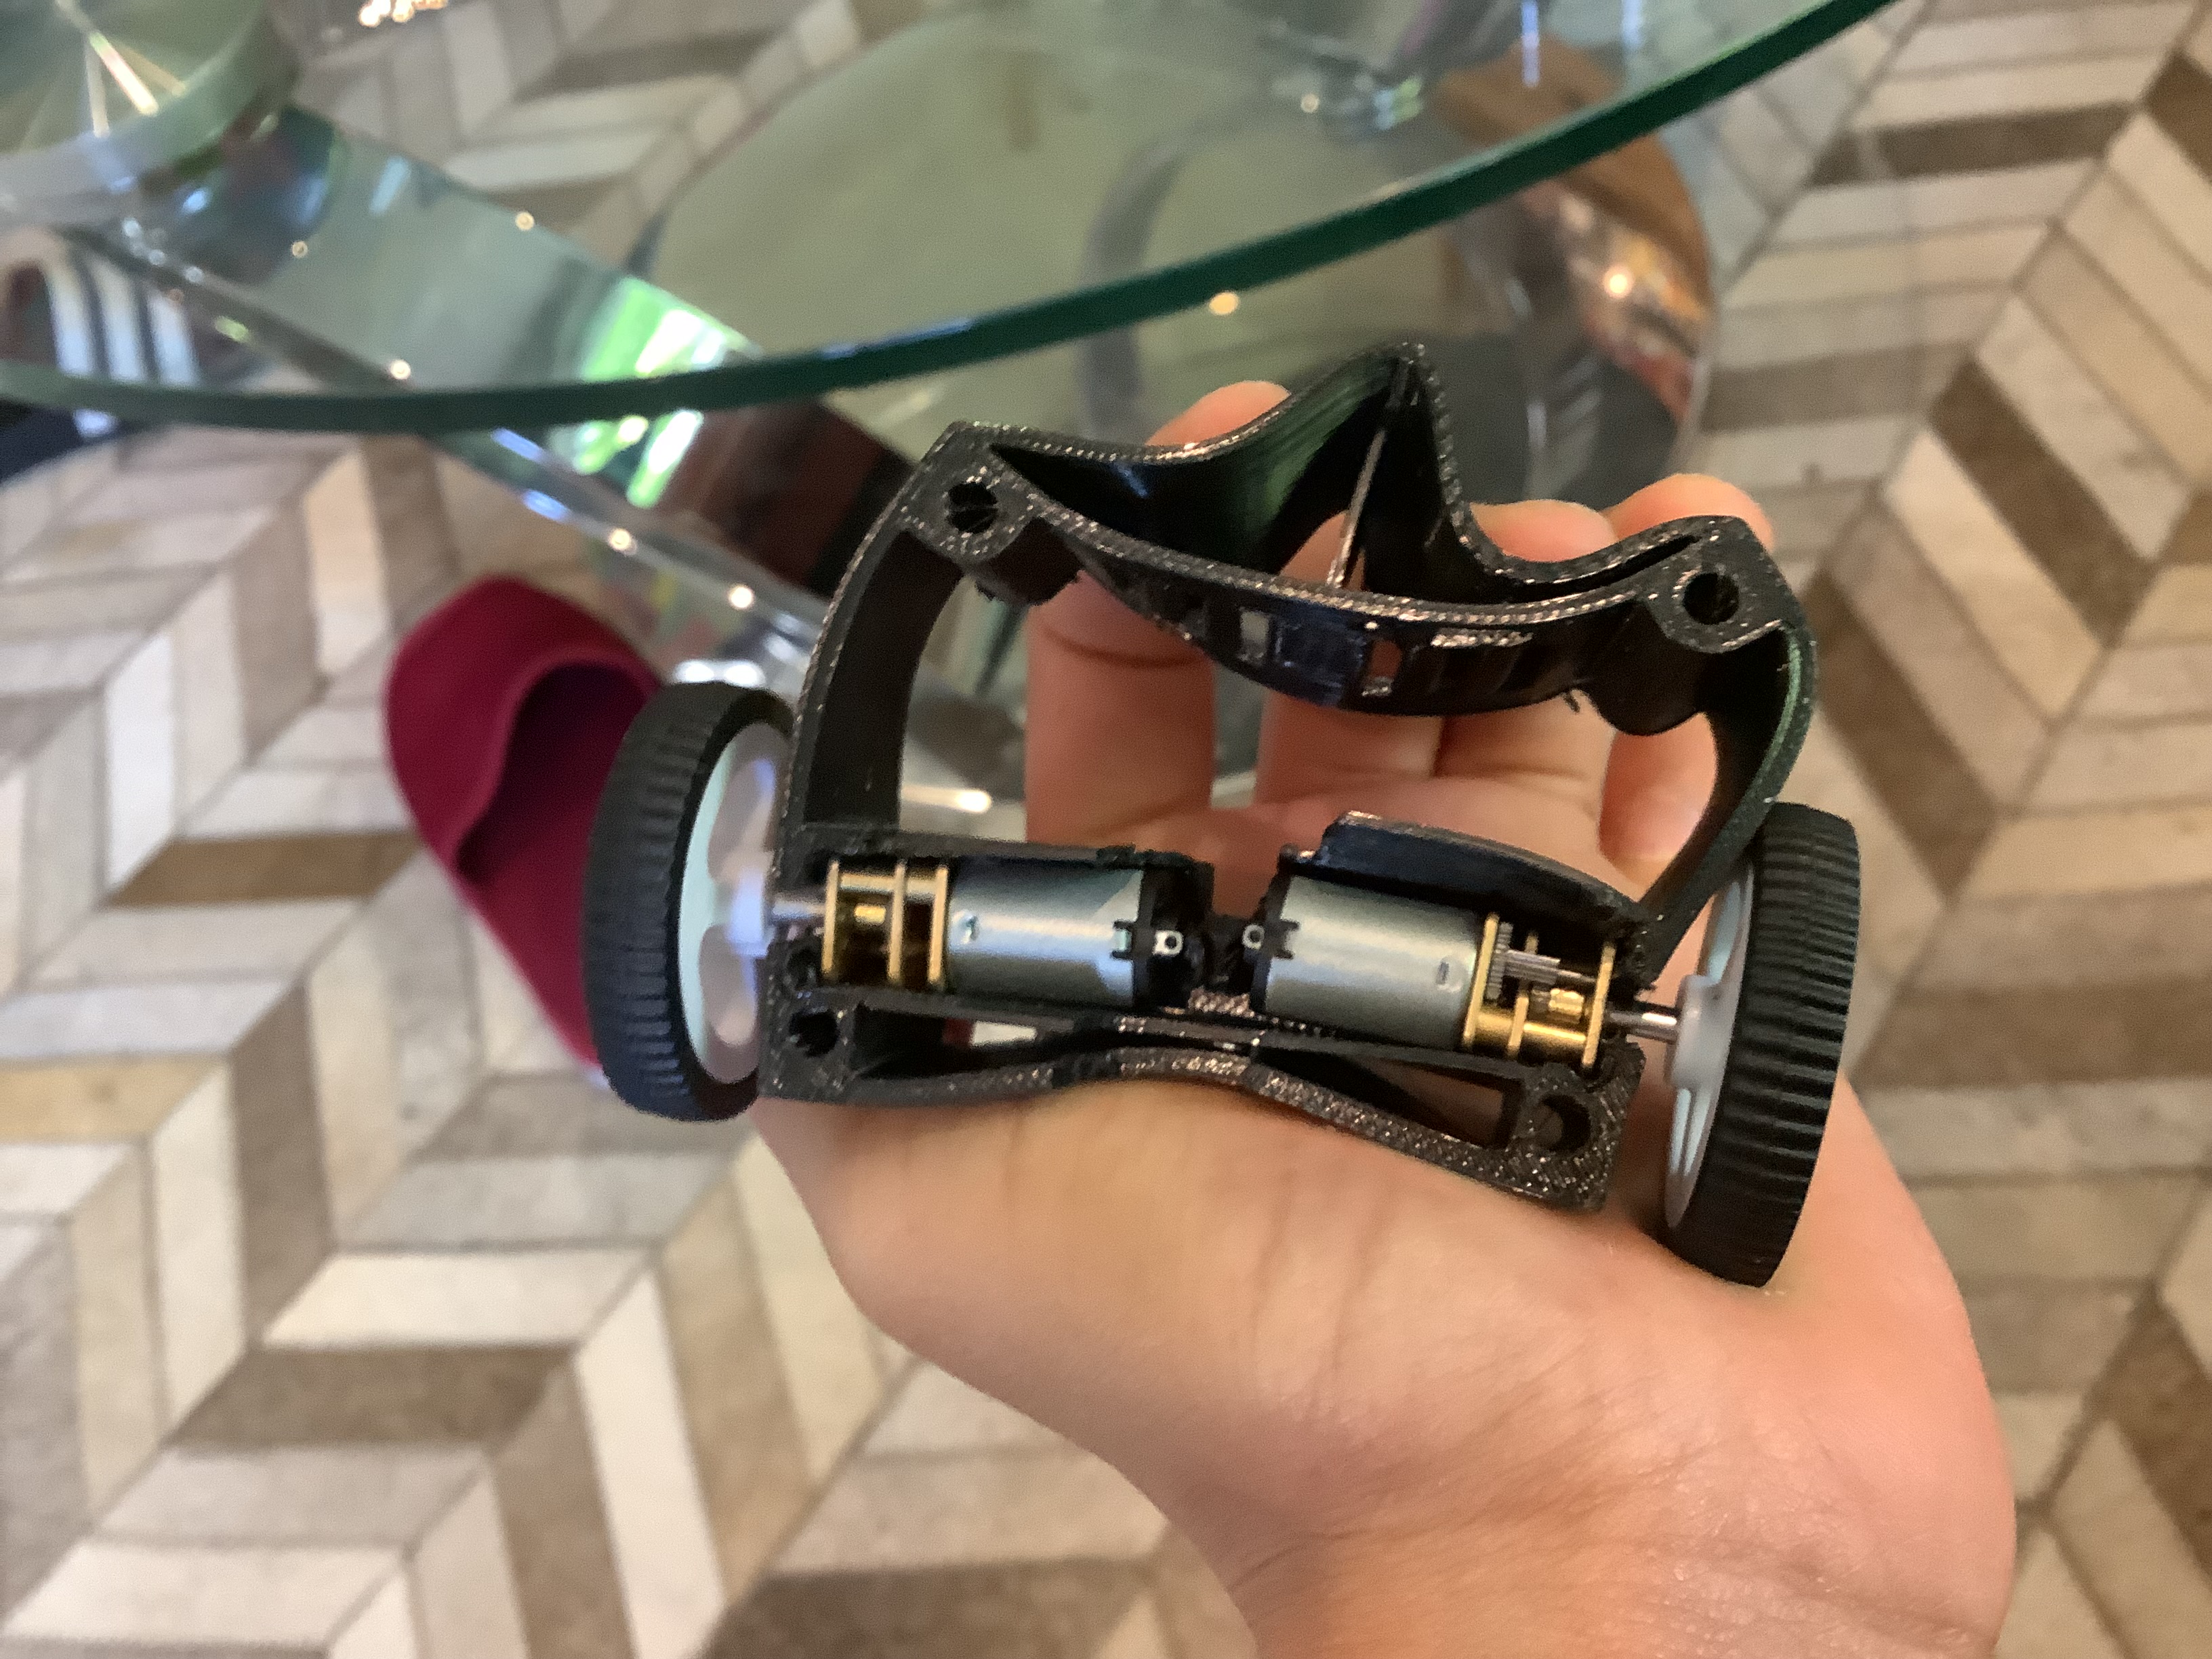
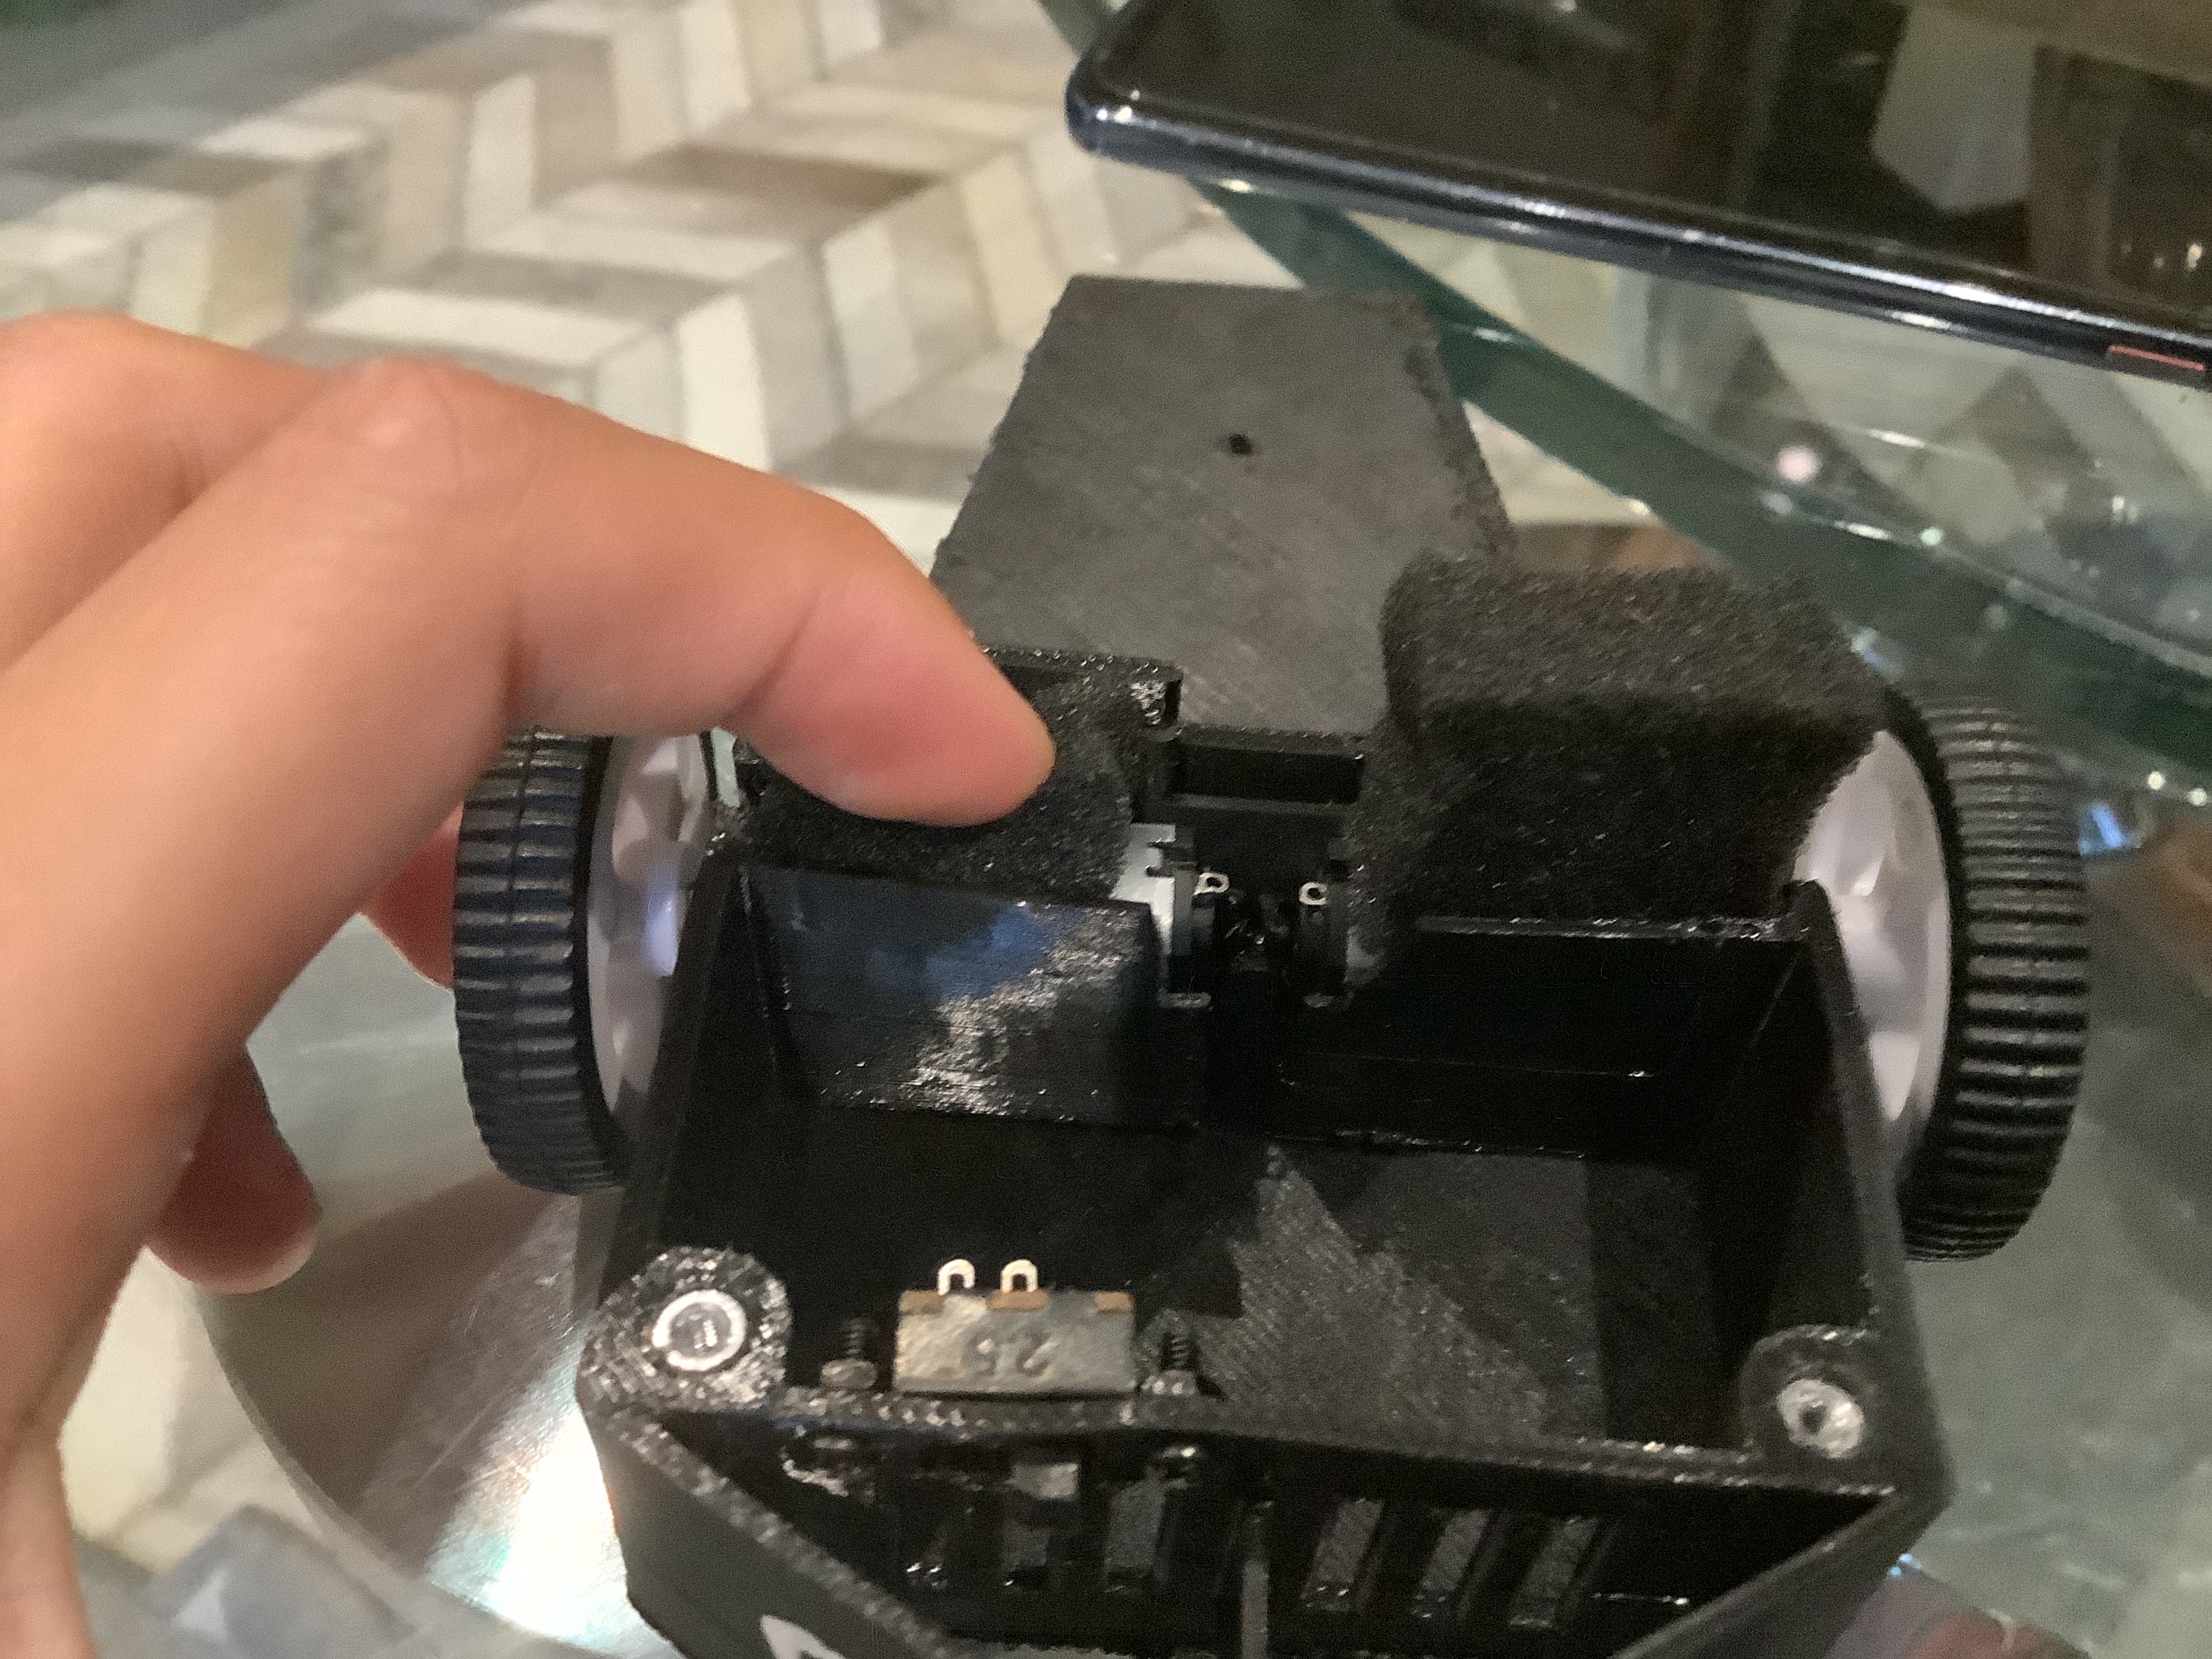
Ok! The print’s done and the top plates fit marvellously, and the motor only needs some little drill holes to fit in. Note that the messy cf nylon printing on the plates are ok for an a1 and a cheap 70c dryer. I ran a test fit with the motors and they snapped into place satisfyingly with a gentle click. I can throw the chassis around and it won’t break, so that’s a good sign…
Looking good, but that’s a lot of airgap between the motor and what I assume to be the bottom plate, so if that does inevitably breaks, that boy’s gonna be bouncing off it’s weapon haha.
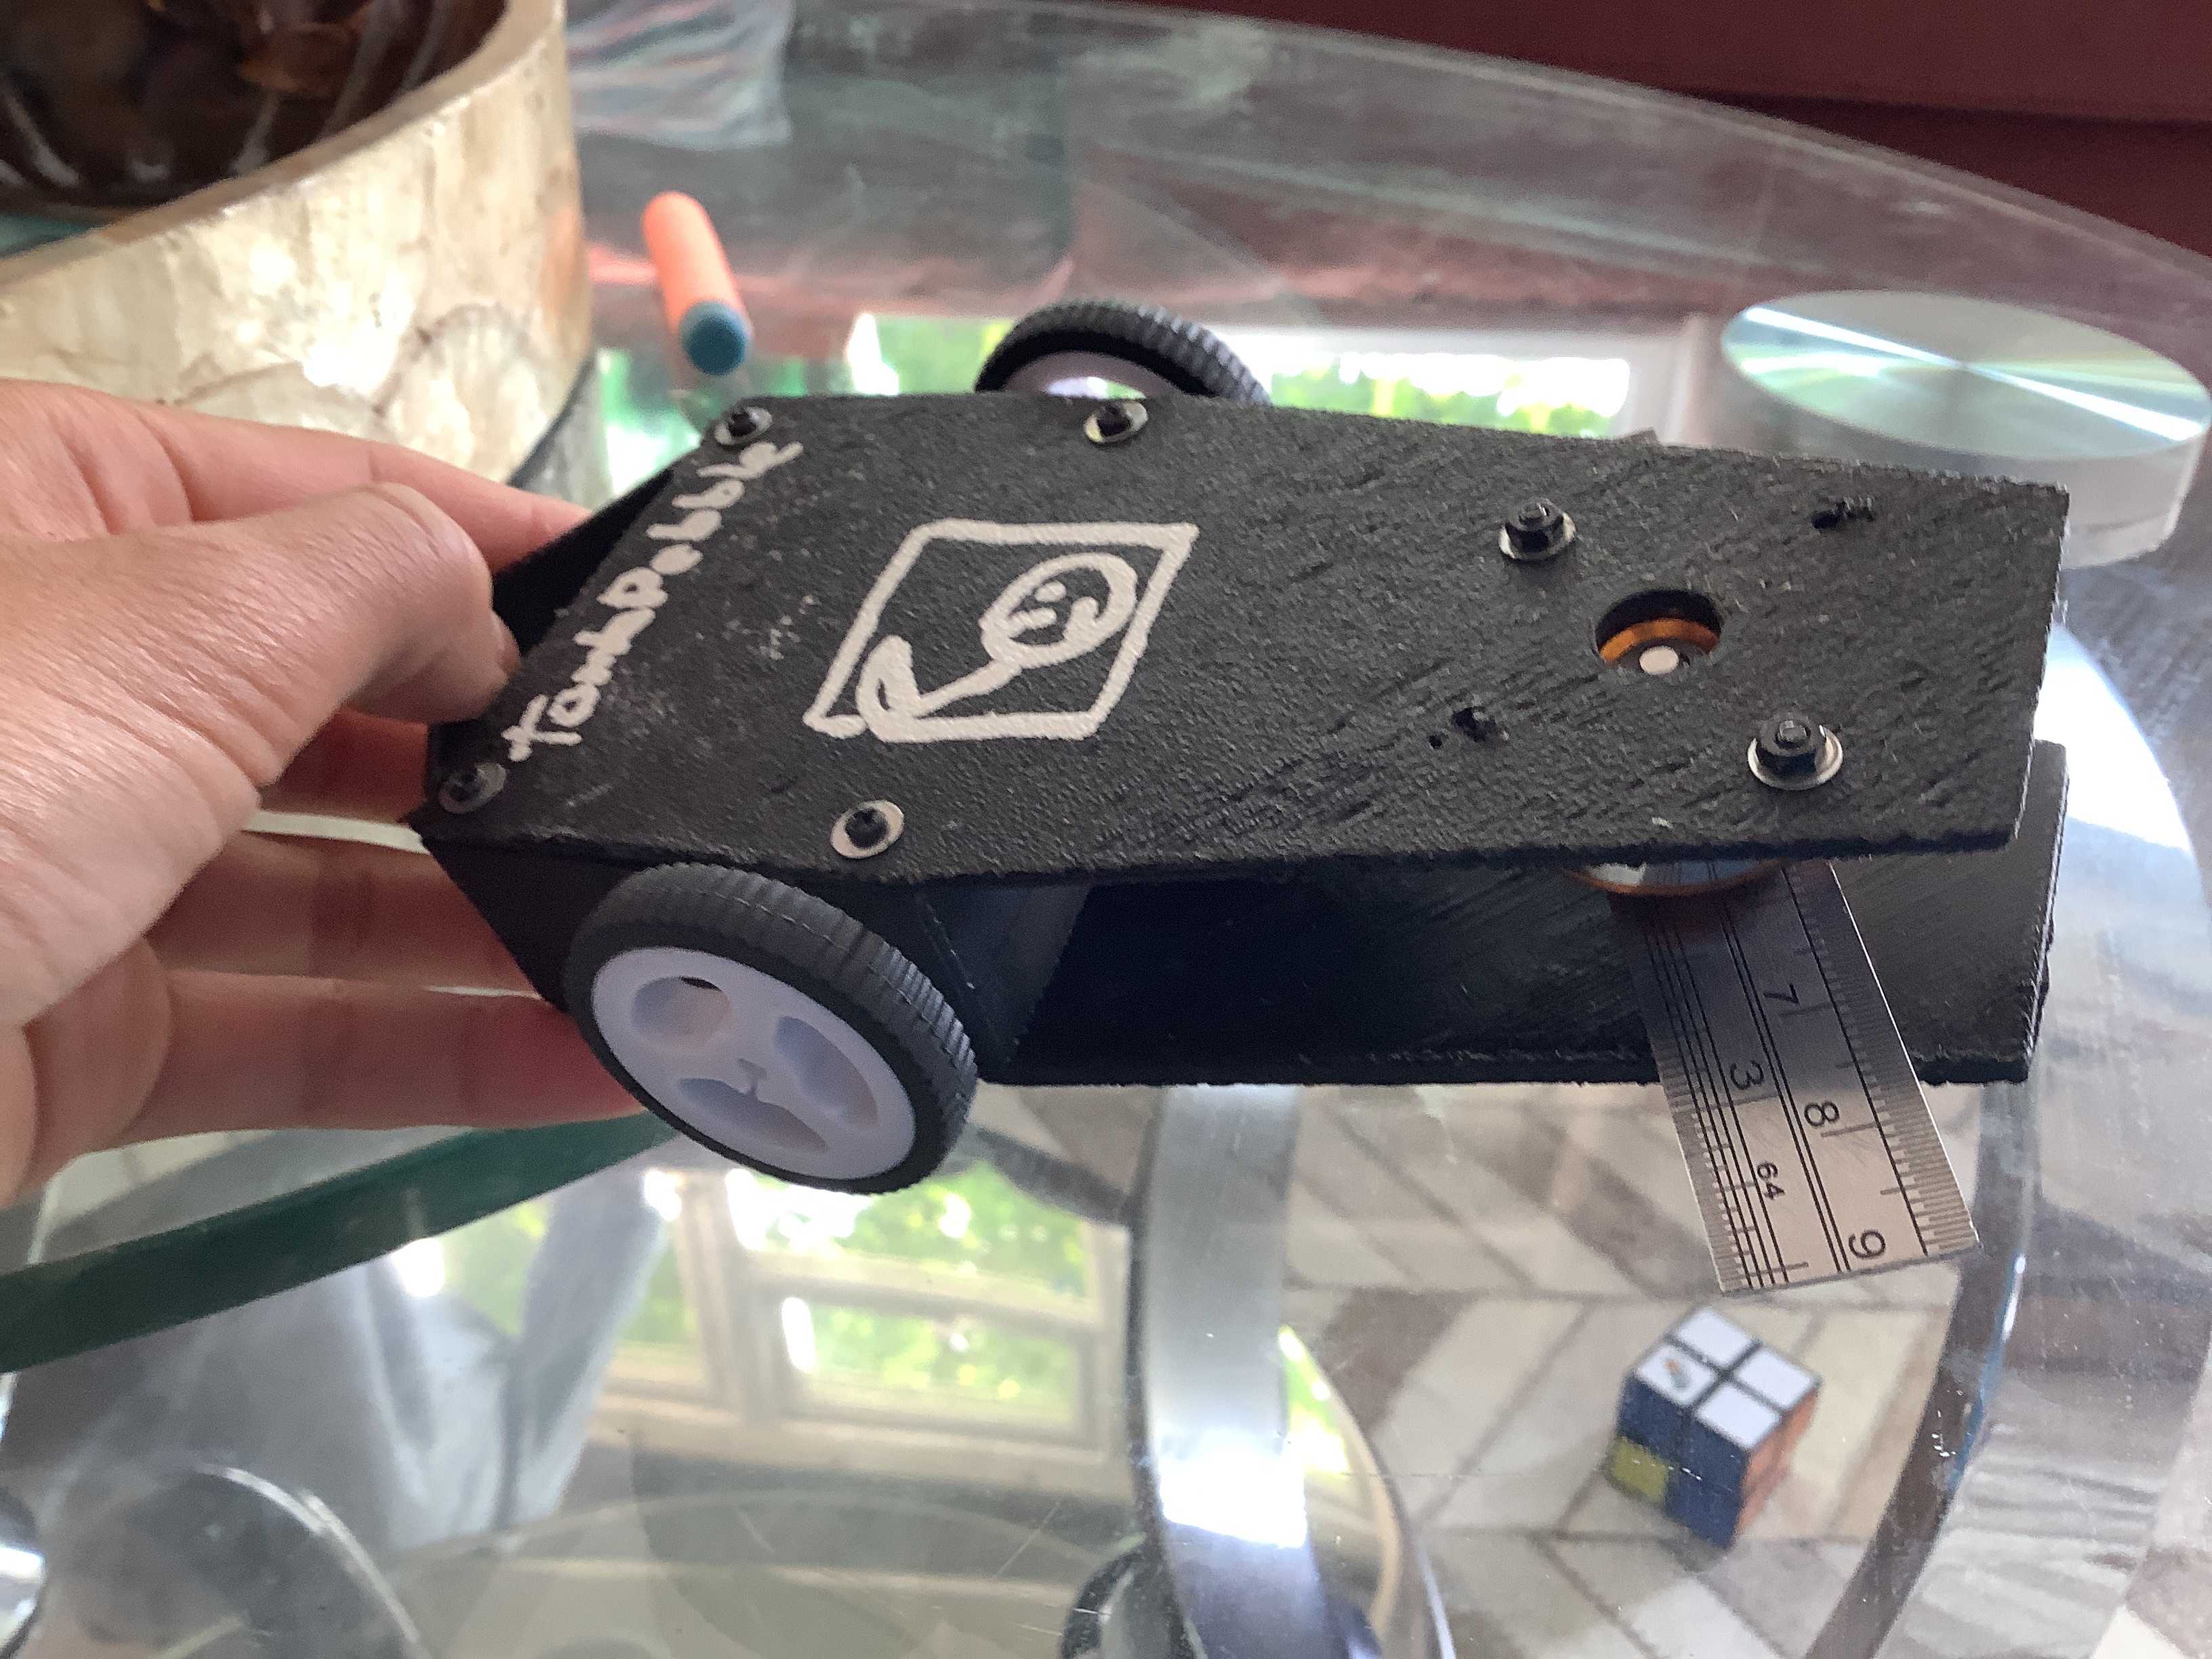
Question, how much does it way now that it’s assembled like this?
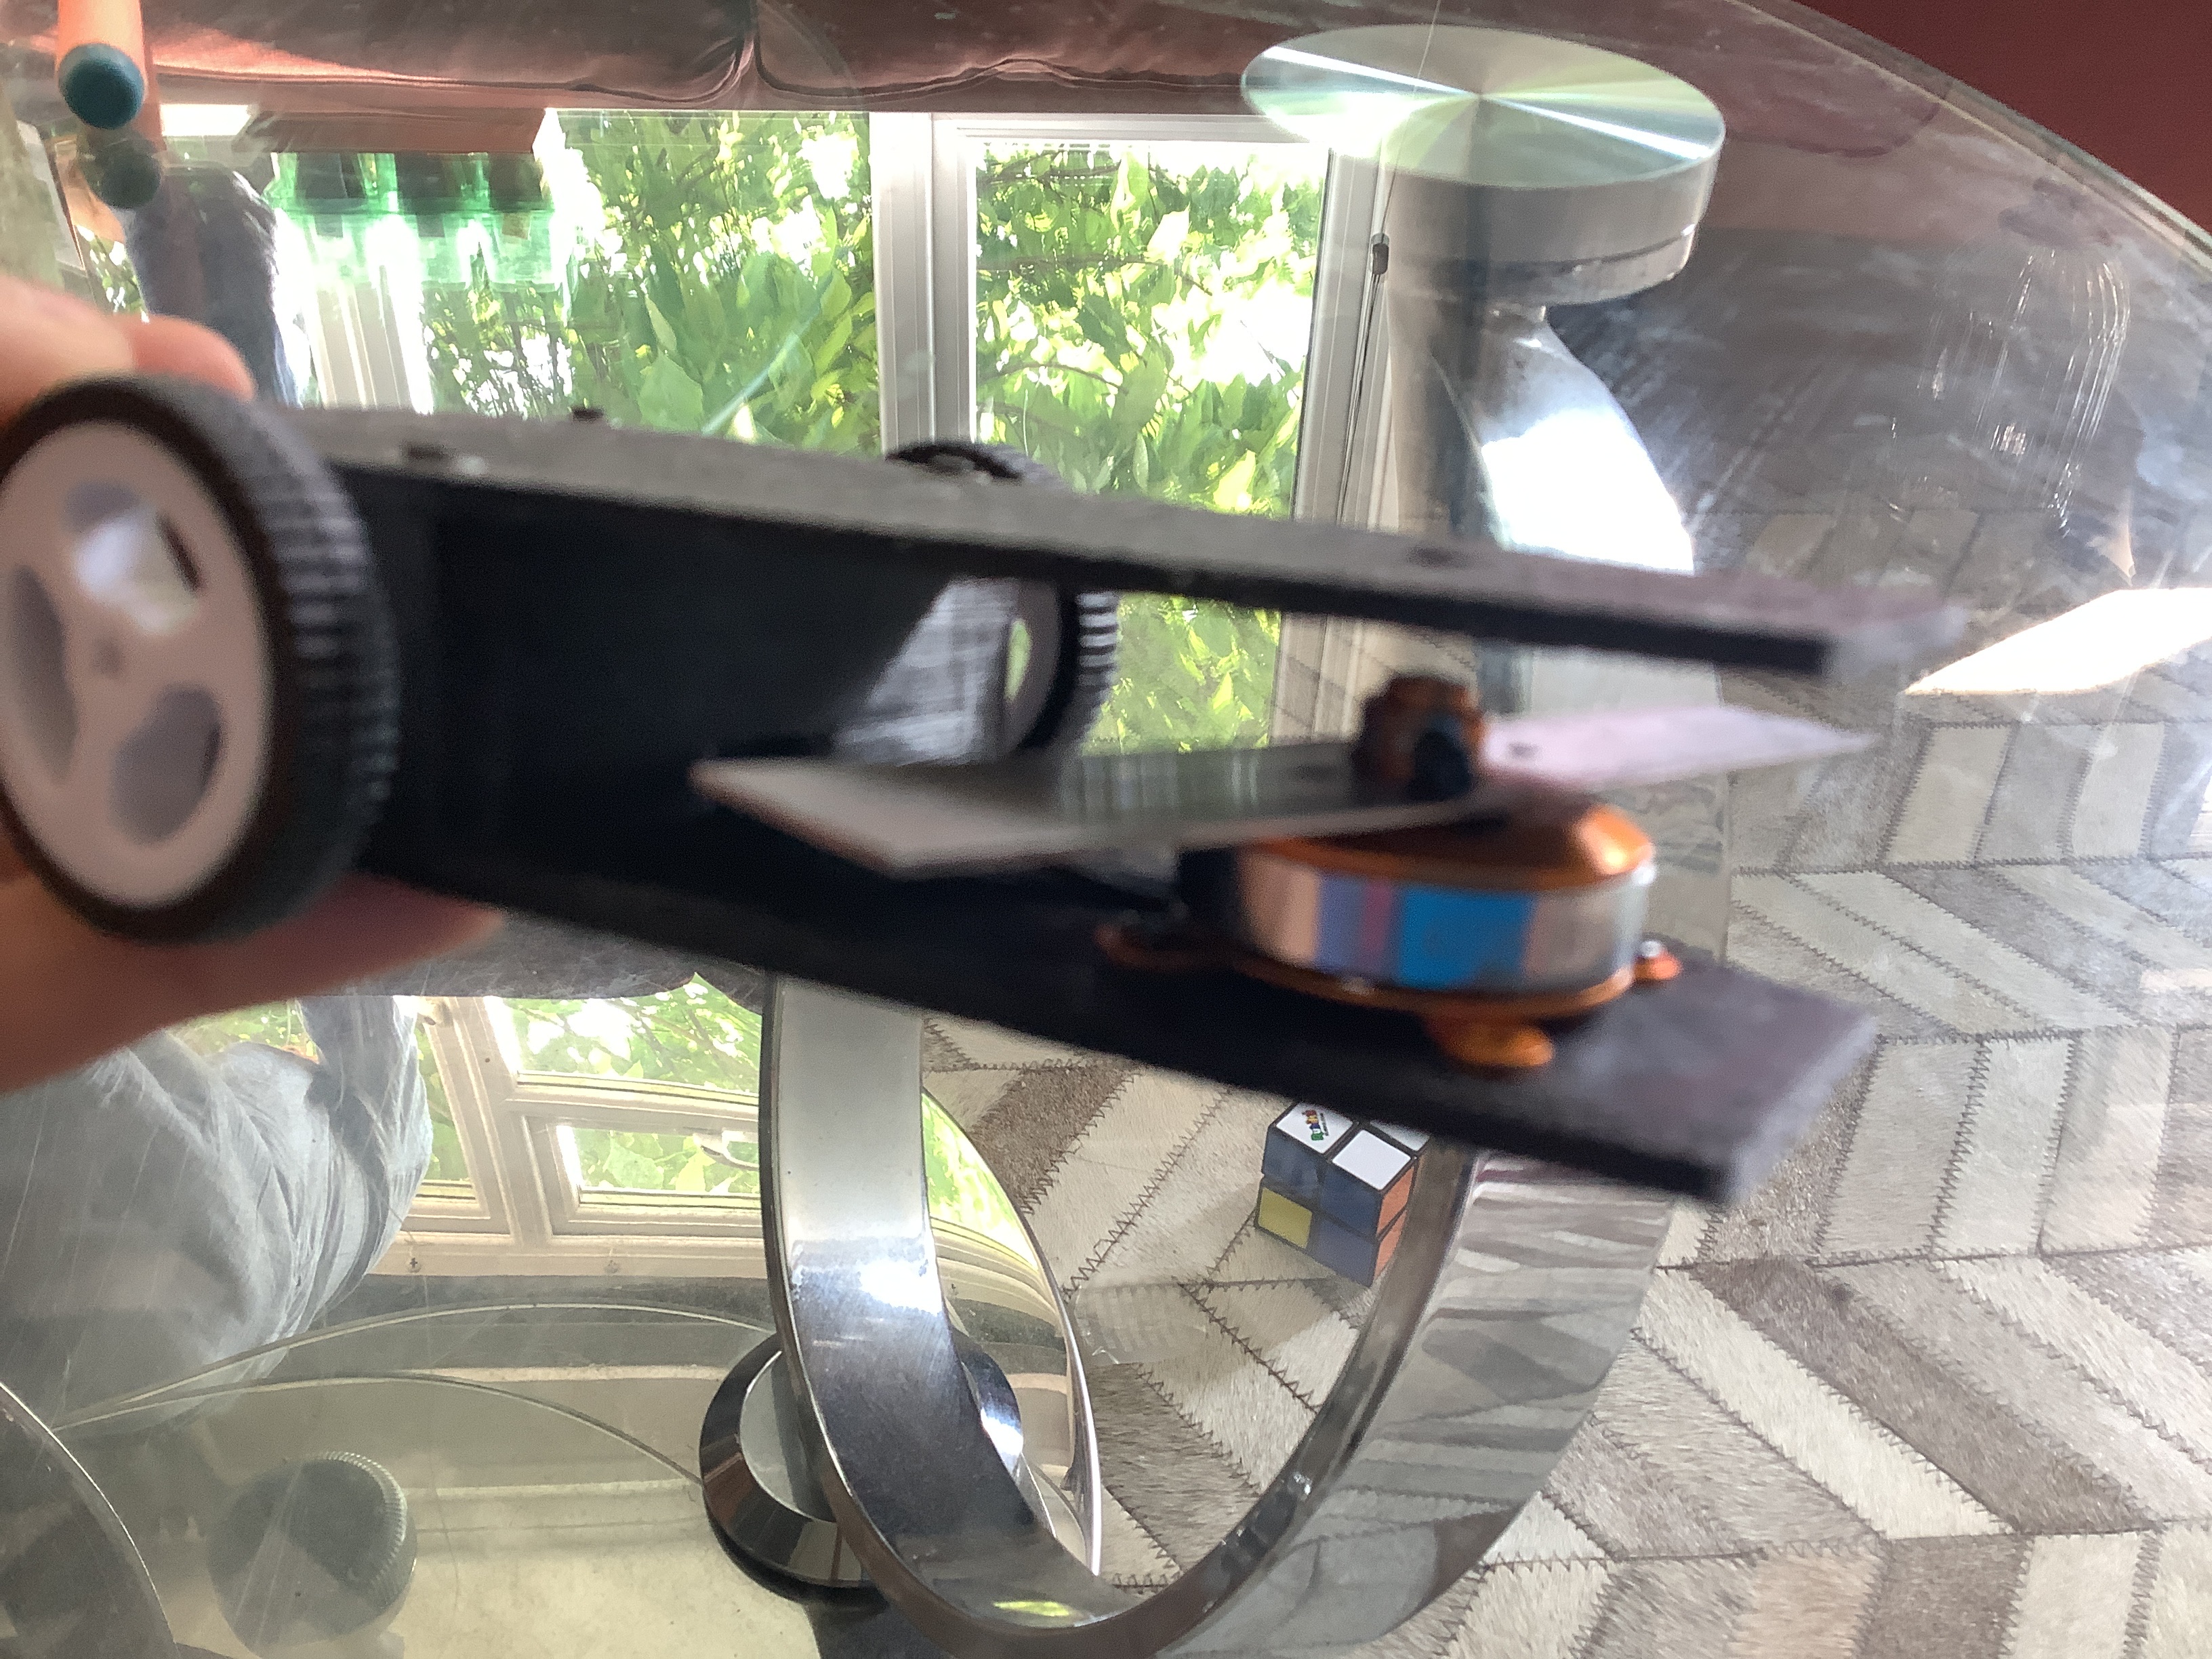
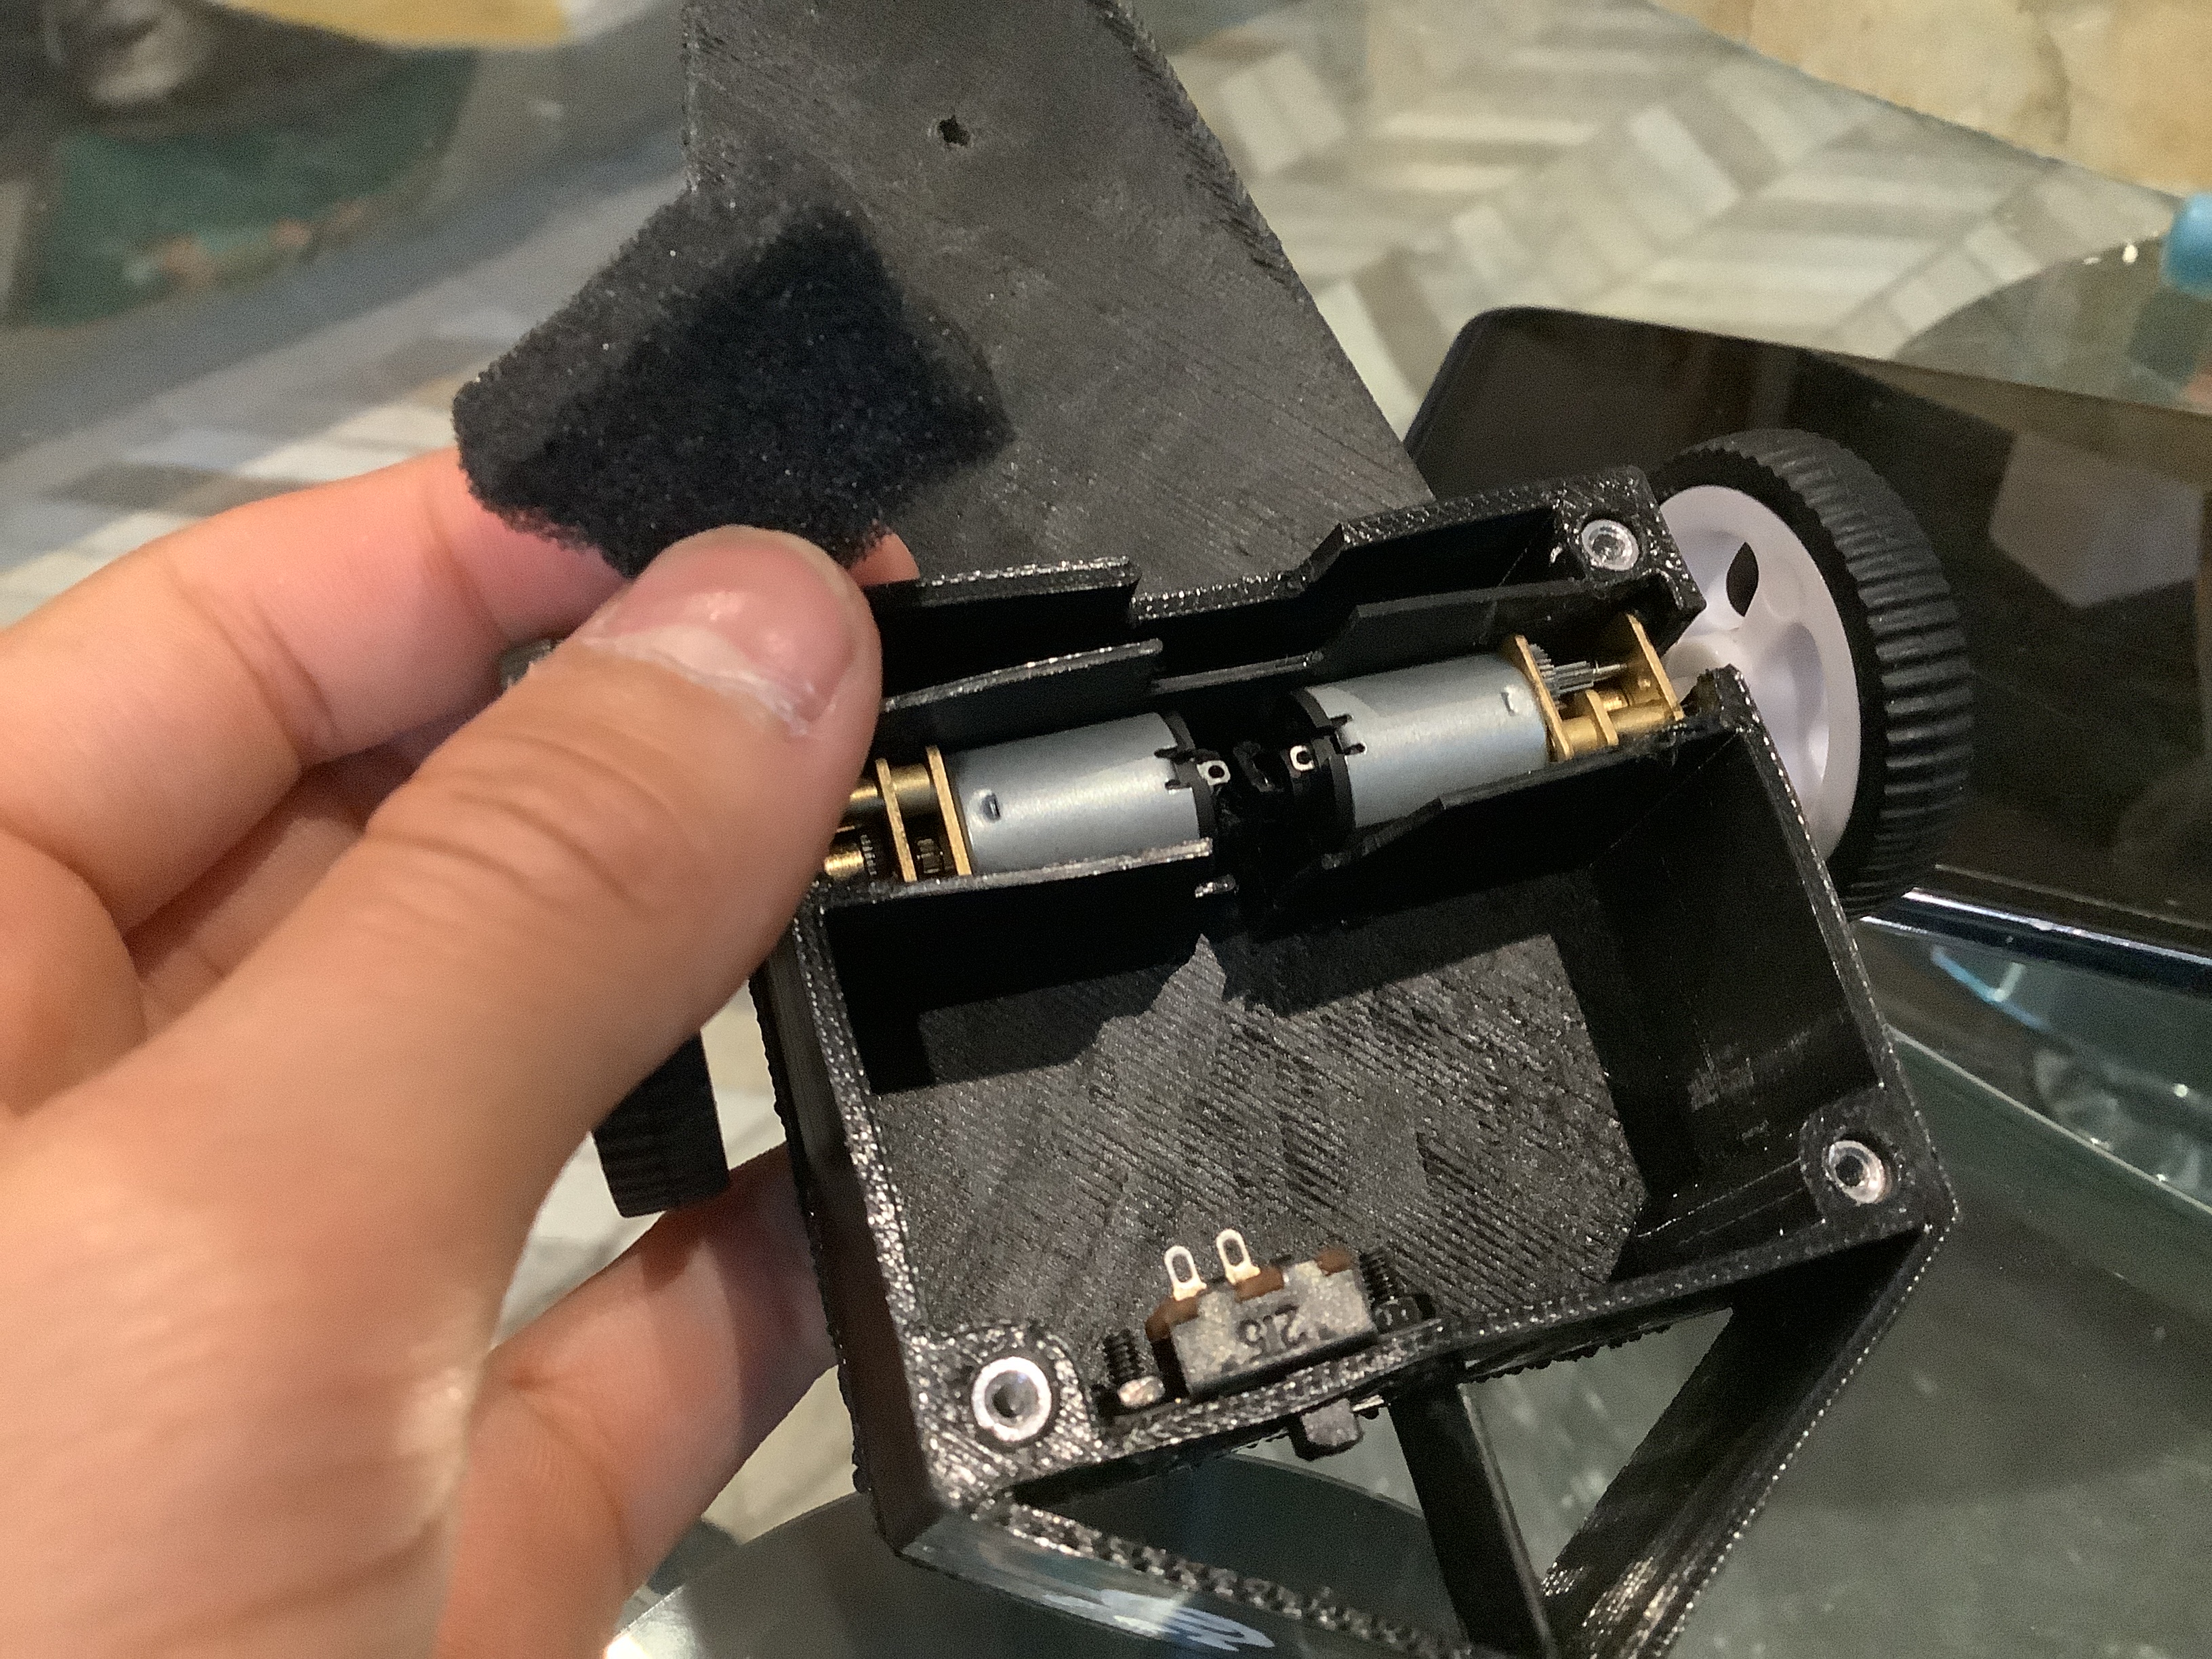
So now the assembly shown here is only the top and bottom plates, the body, the n20s, the bl motor and the wheels, i think they weigh around 90-ish grams, according to my slightly innacurate kitchen scales, which is ok, as the malenki will weigh nothing.
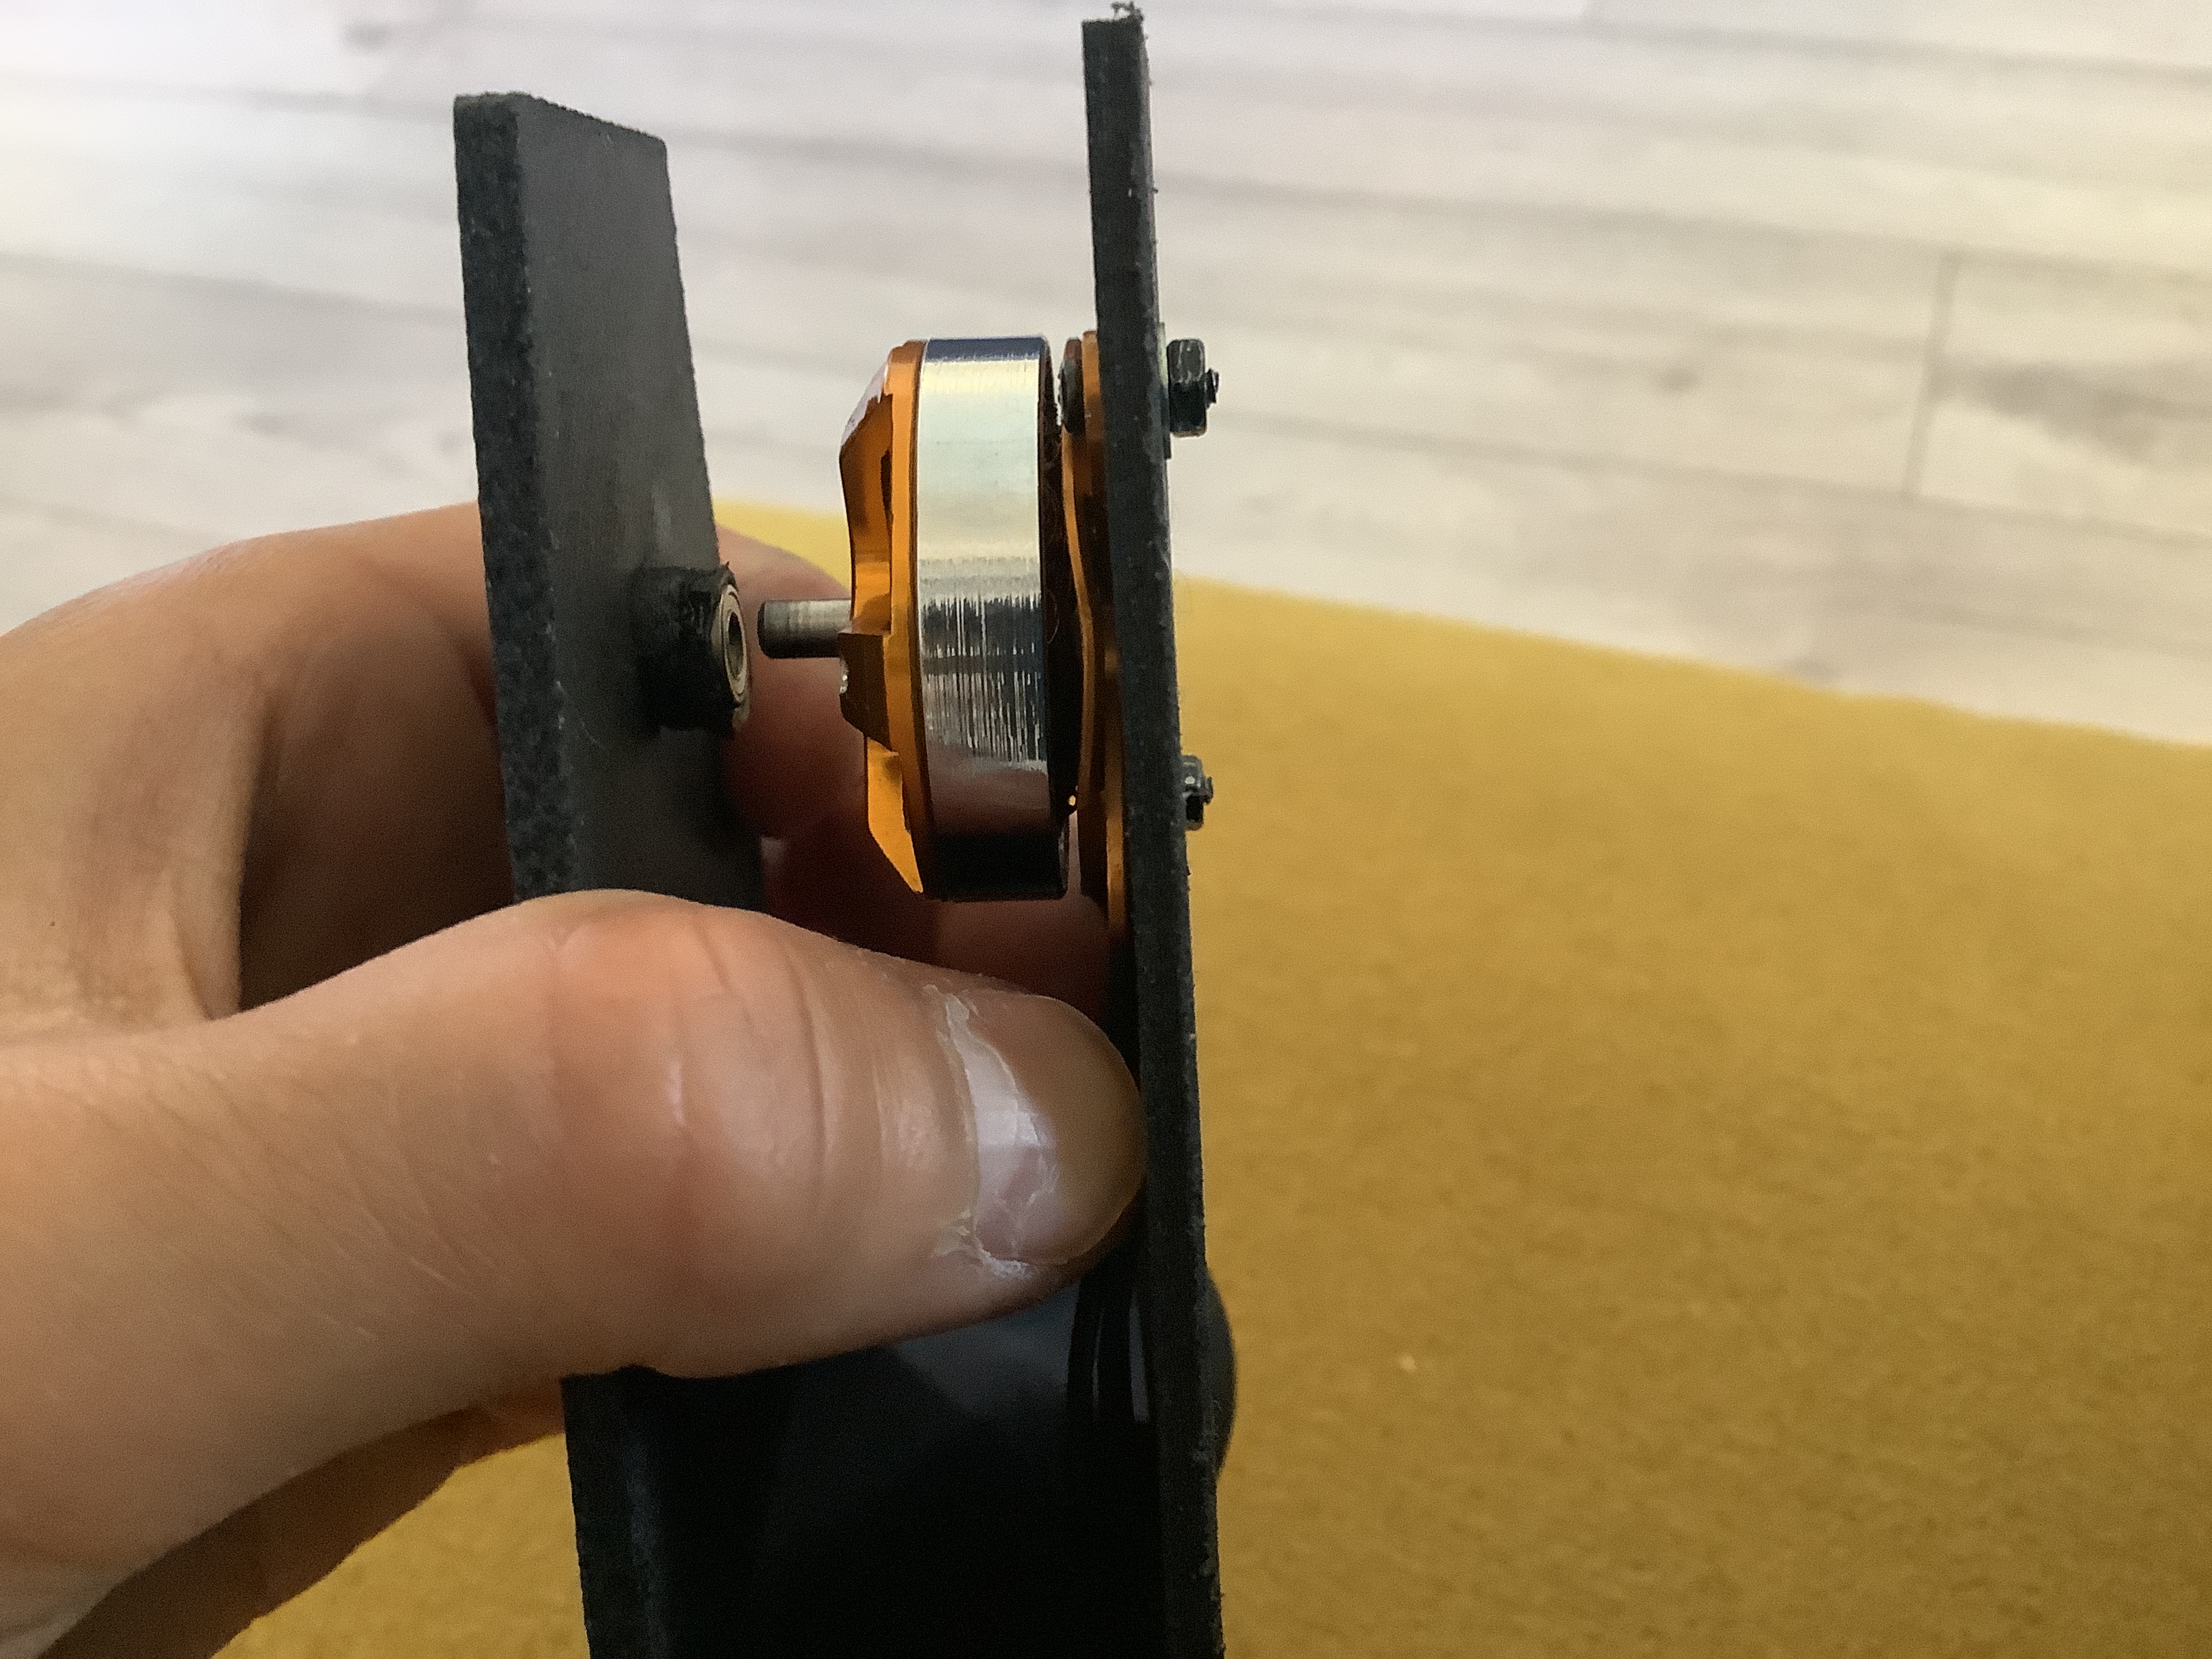
As for the gap, i will print a second version with a lump in the space to hold a 5mm bearing that supports the chunky top bit of the motor.
Instead of the little foam bits pressing the motors down, i’ll probably print some 95a replacements for a less jank hold down. The m2 screws holding practically everything toghether will do for now but i’ll beef them up if needed to m2.5 or m3
To be fair you might be better off pressing out the 3mm shaft from the motor and putting a longer one through the bulkheads, still with a flanged bearing and something for retention/spacing.
Ruler and that exact same motor is how I made my first brushless spinner about 15 years ago now. Can’t say it doesn’t work!
I have another version of the 2204 to slap on while the bearing and stuff for the one shown arrive, and i already have te bearing. I was more careful this time drilling the mounting holes so now the motor has no chips of stray metal in it.
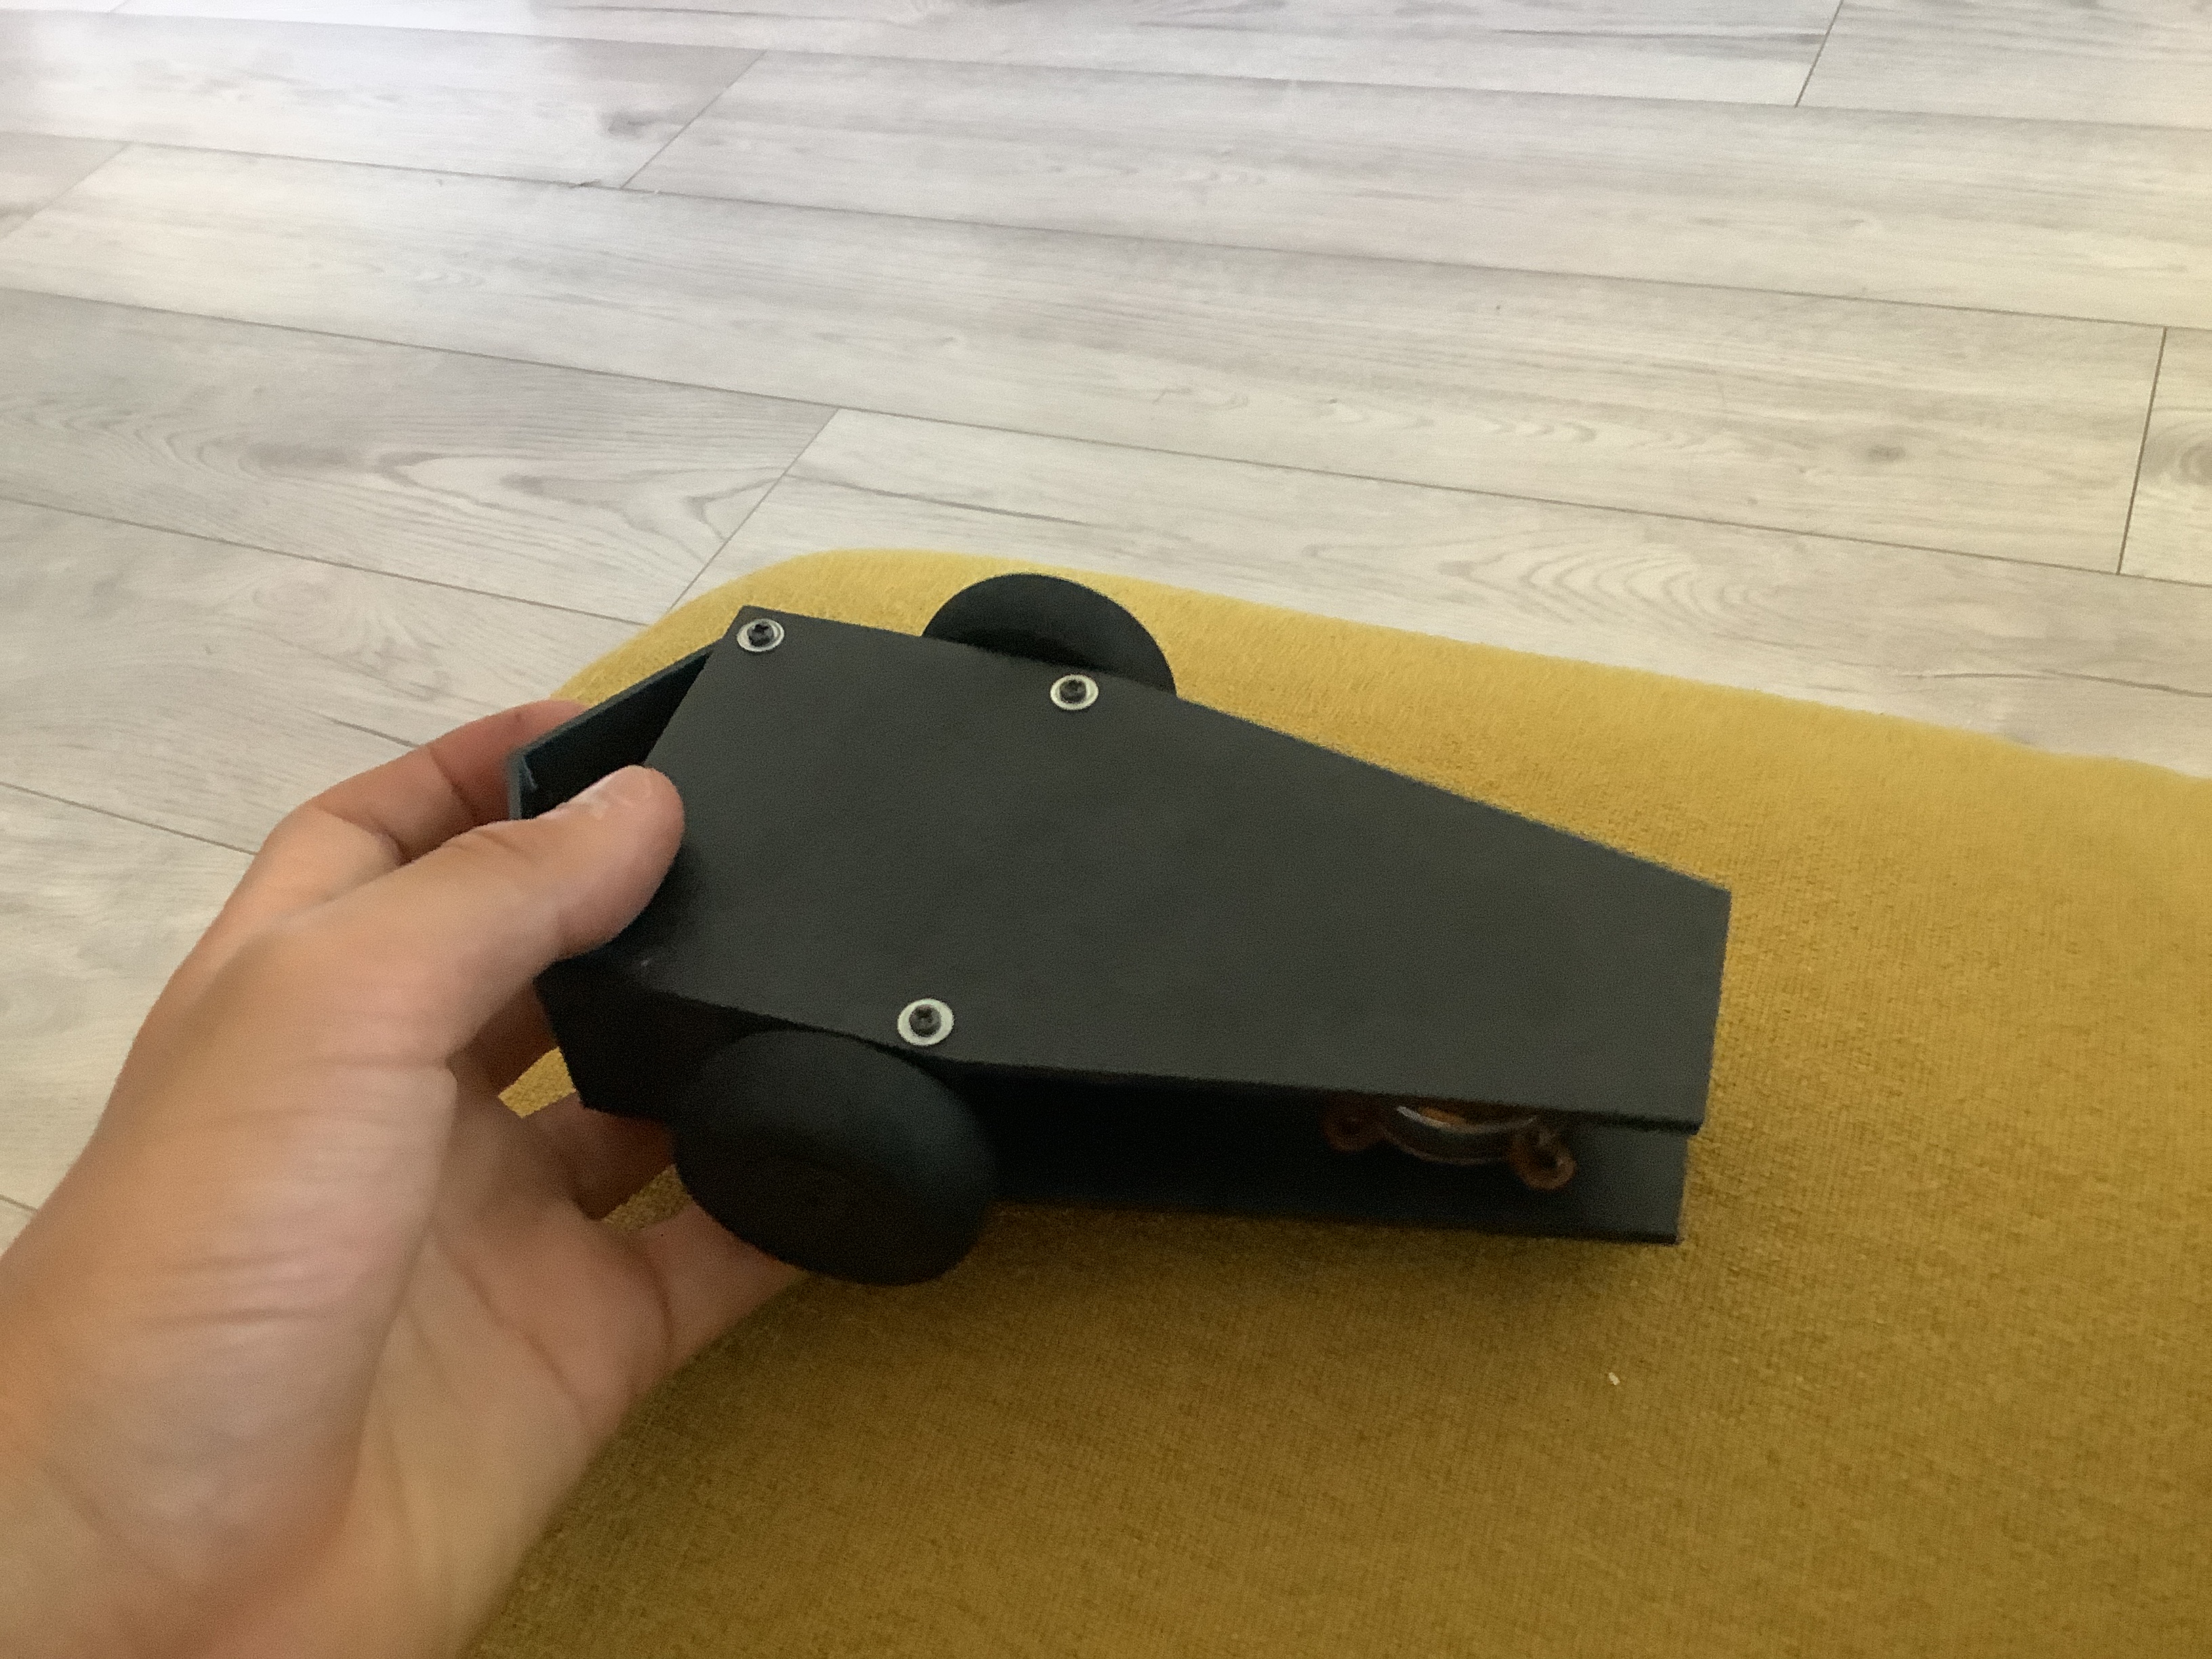
I finally got around to the tpu wheel hubs and boy do they look good. Just a little blast of heat gun on the shaft and they press fit like they met on tinder (not referring to a failed date). I printed two new chassis (you can never have too many spares) with updated bits so i dont need to pull out my red hot metl skewer to melt off bits. My malenki will be ordered soon (bday?!) so I am happy. My new less overkill 250mah 2s lipo has arrived, even though the 3s 300mah lipo will still make weight (I might use those for my wedge nugget, Don’t ask why i’d use them in a wedge instead of a spinner). Will send pics in a phone update
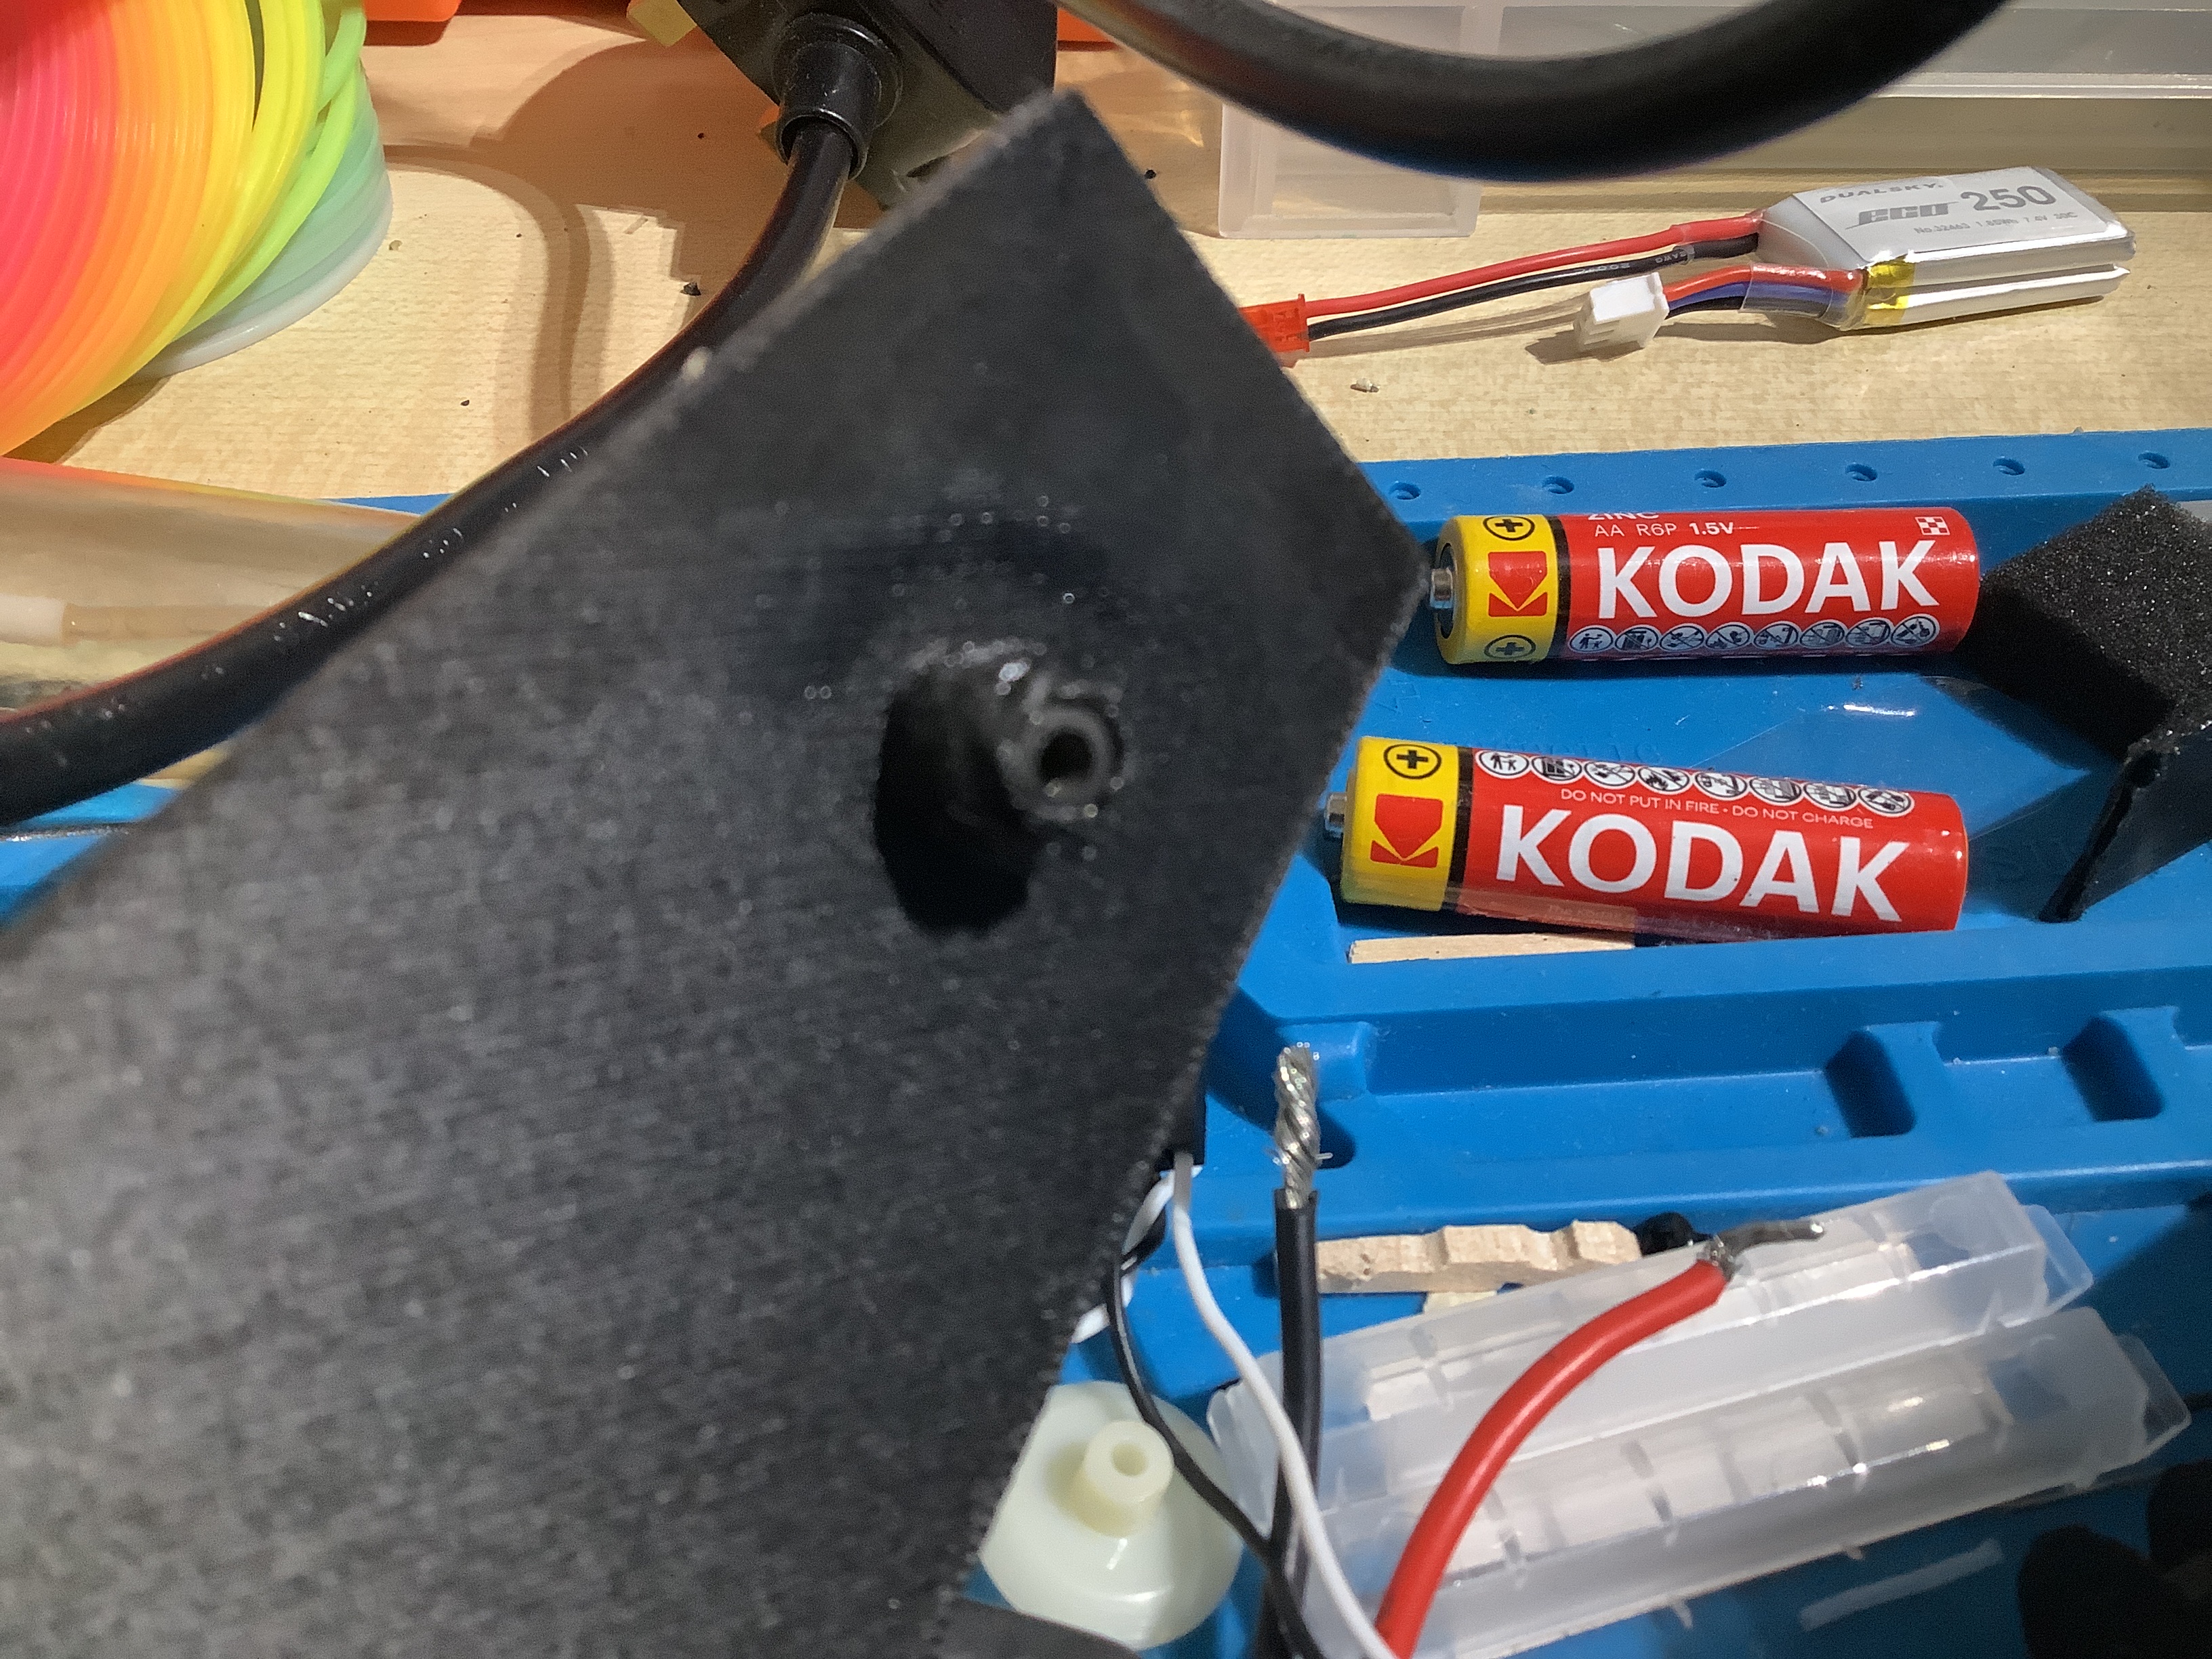
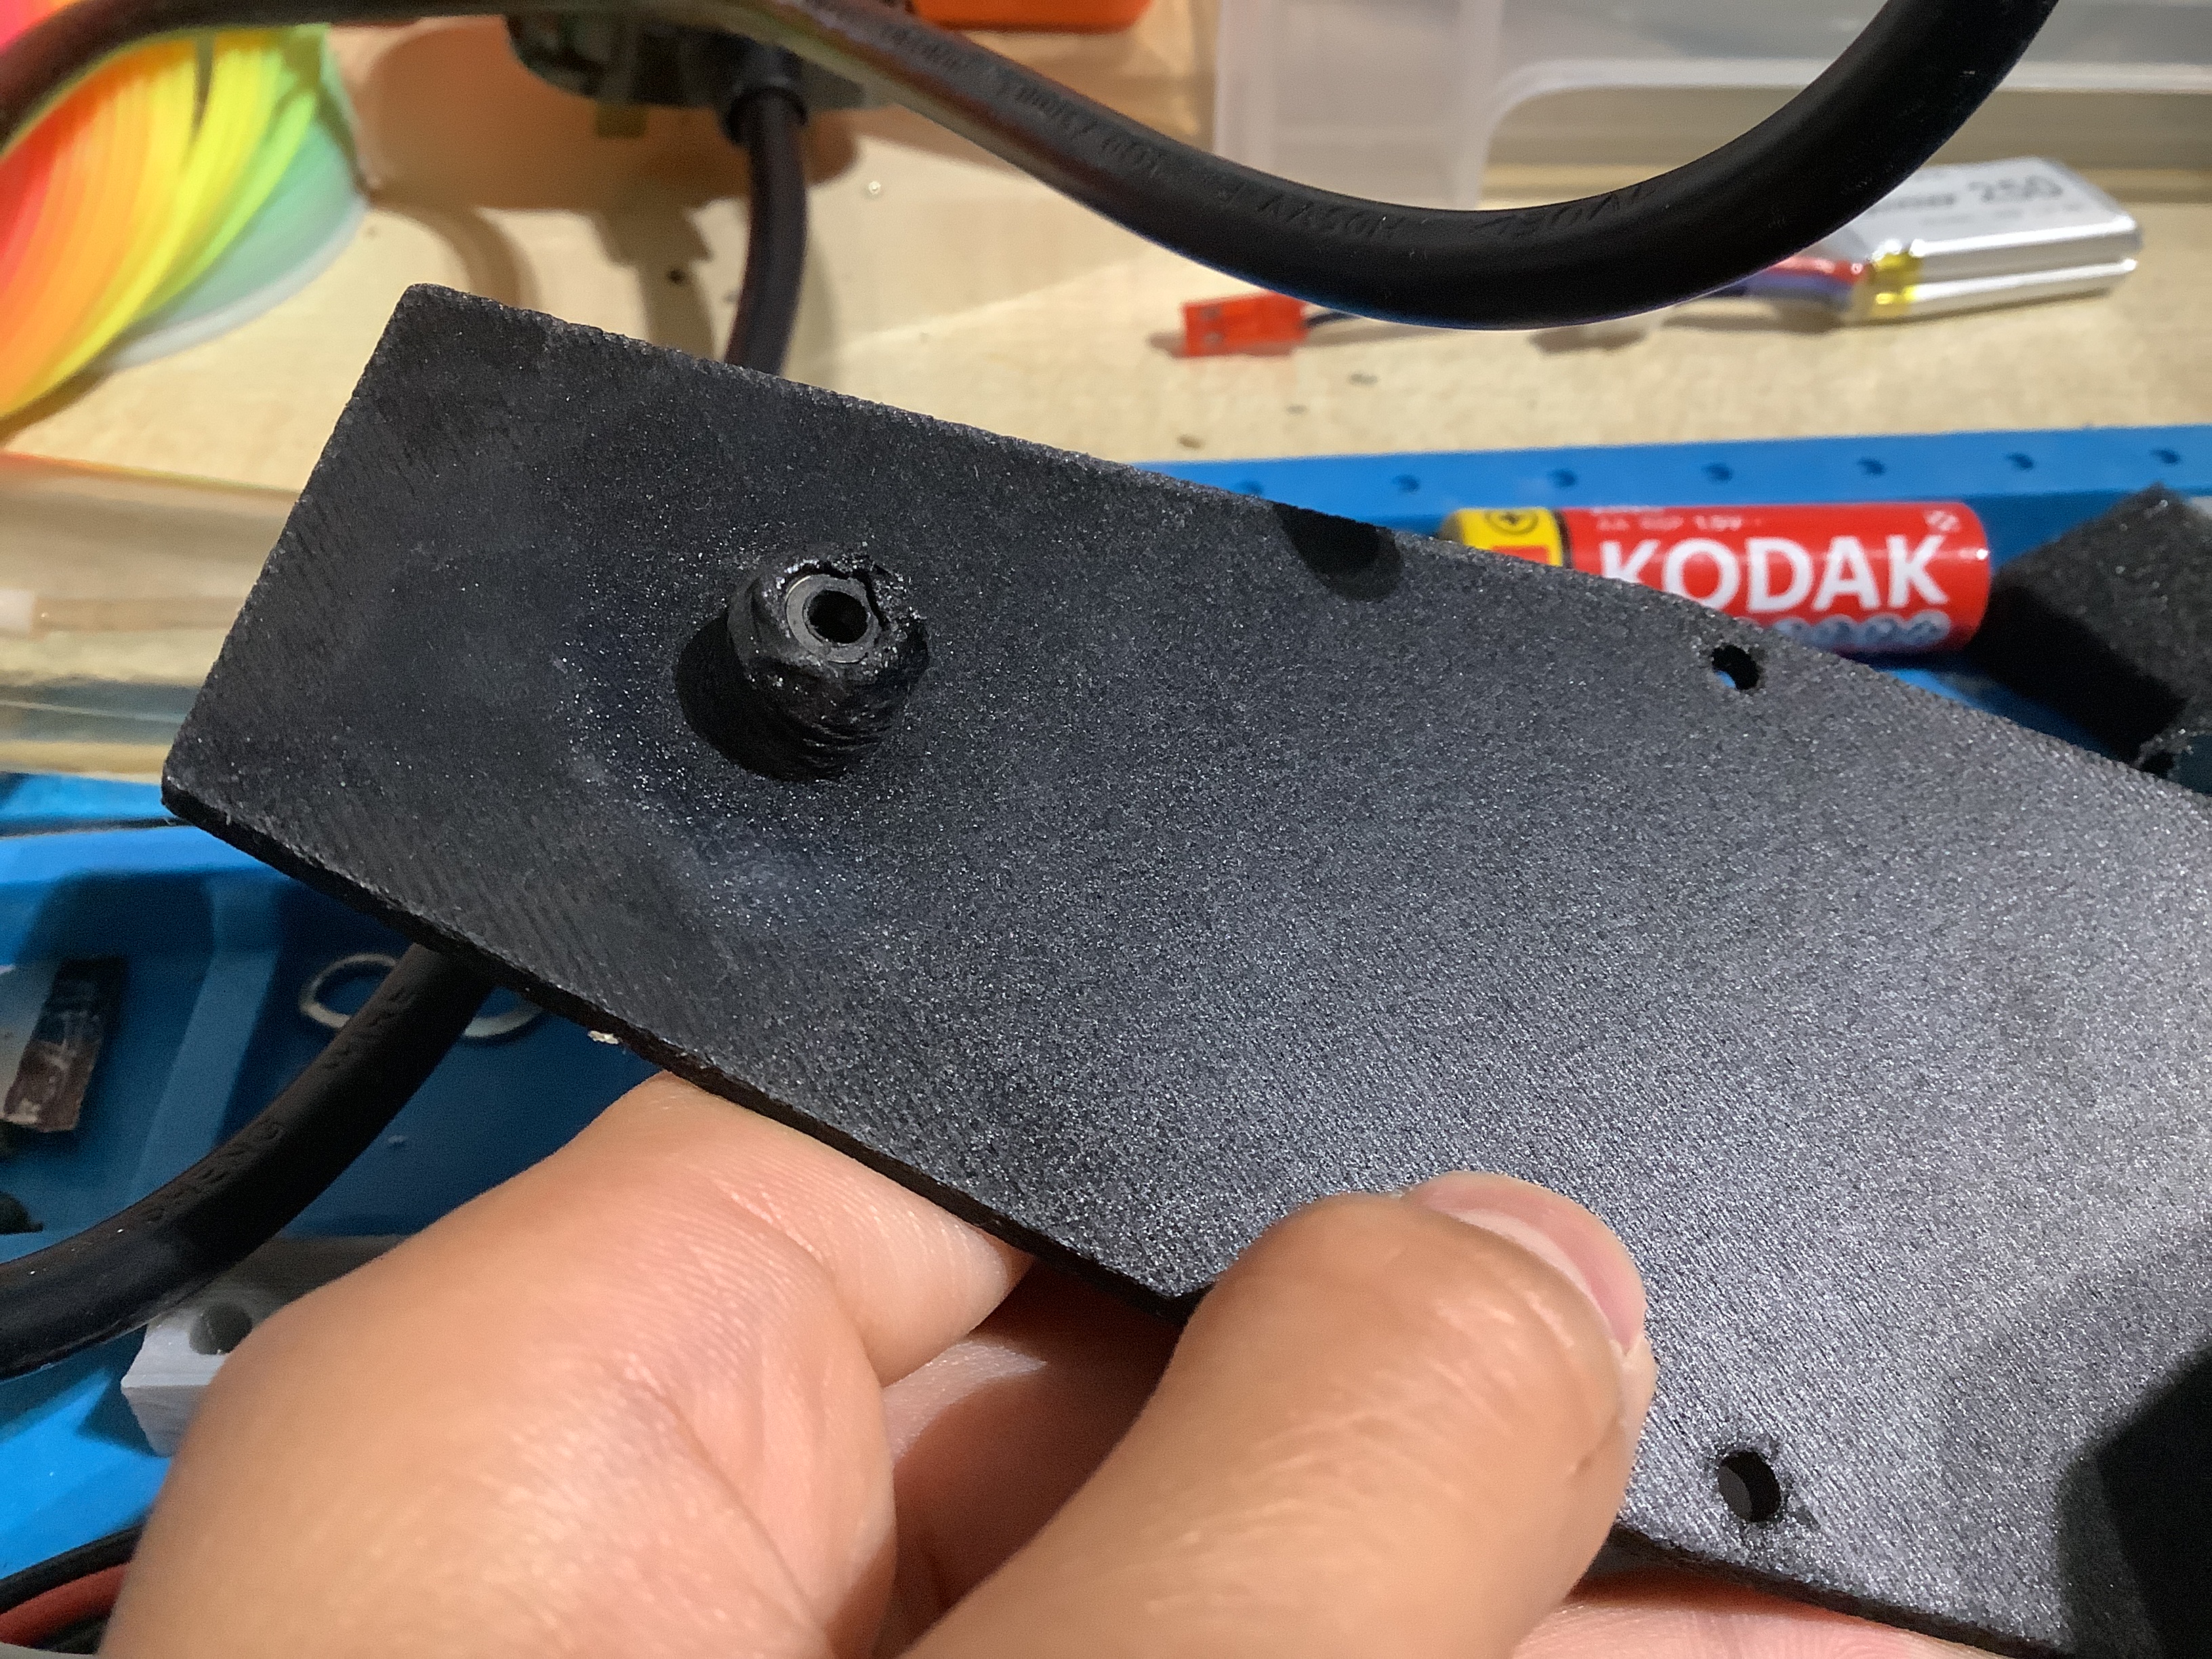
So now I’ve figured out a very jank solution to keep the big o’l bearings in place. I just waggled the bottom plate with the bearing over my hob and used some dessert forks to basically cover the bearing sides with molten plastic. This should be fine for now, as long as no one uses those forks for their pudding…
Right, summer holidayssss are upon us. Lots and LOTS of extra time to get things sorted for September! Malenki and MR30 are coming my way and I’ll pretty much be done as soon as they come, just in time for the most relaxing bit - SOLDERING THE DAMN THING!