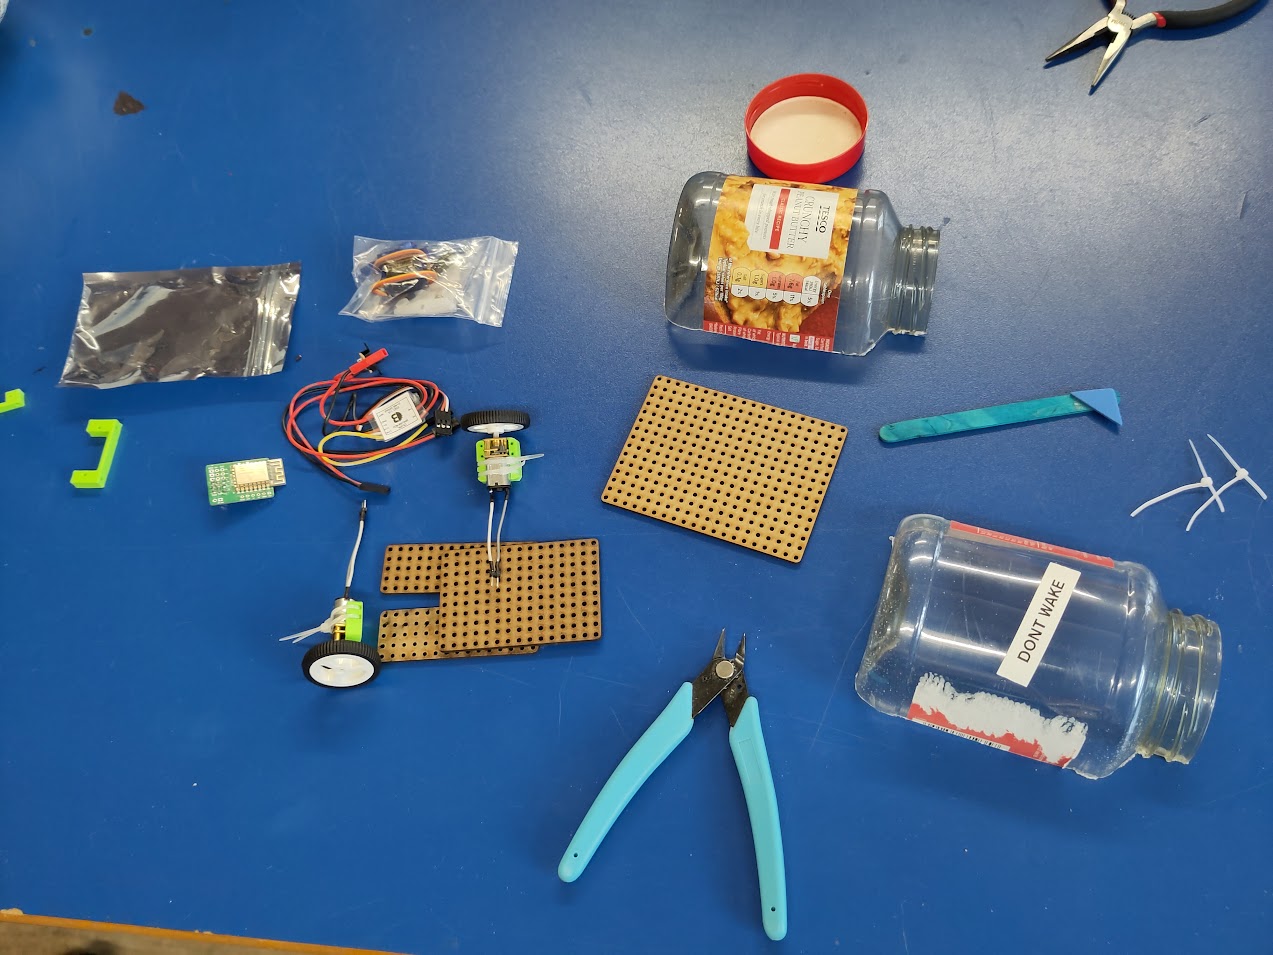
For the second year running my work have been nice enough to let me run a bodgebots style robot building workshop as a teambuilding. To keep things cheap the kit of parts is for a roughly antweight size robot, with a couple of N20s, a BBB dual ESC, and a servo.
I’m trying to come up with ideas for what to add next year so I thought I’d post in the hope of getting some feedback and/or inspiration. I’ll post the CAD files for all of it once I’ve figured out what I’m adding this time to avoid making two posts. ![]()
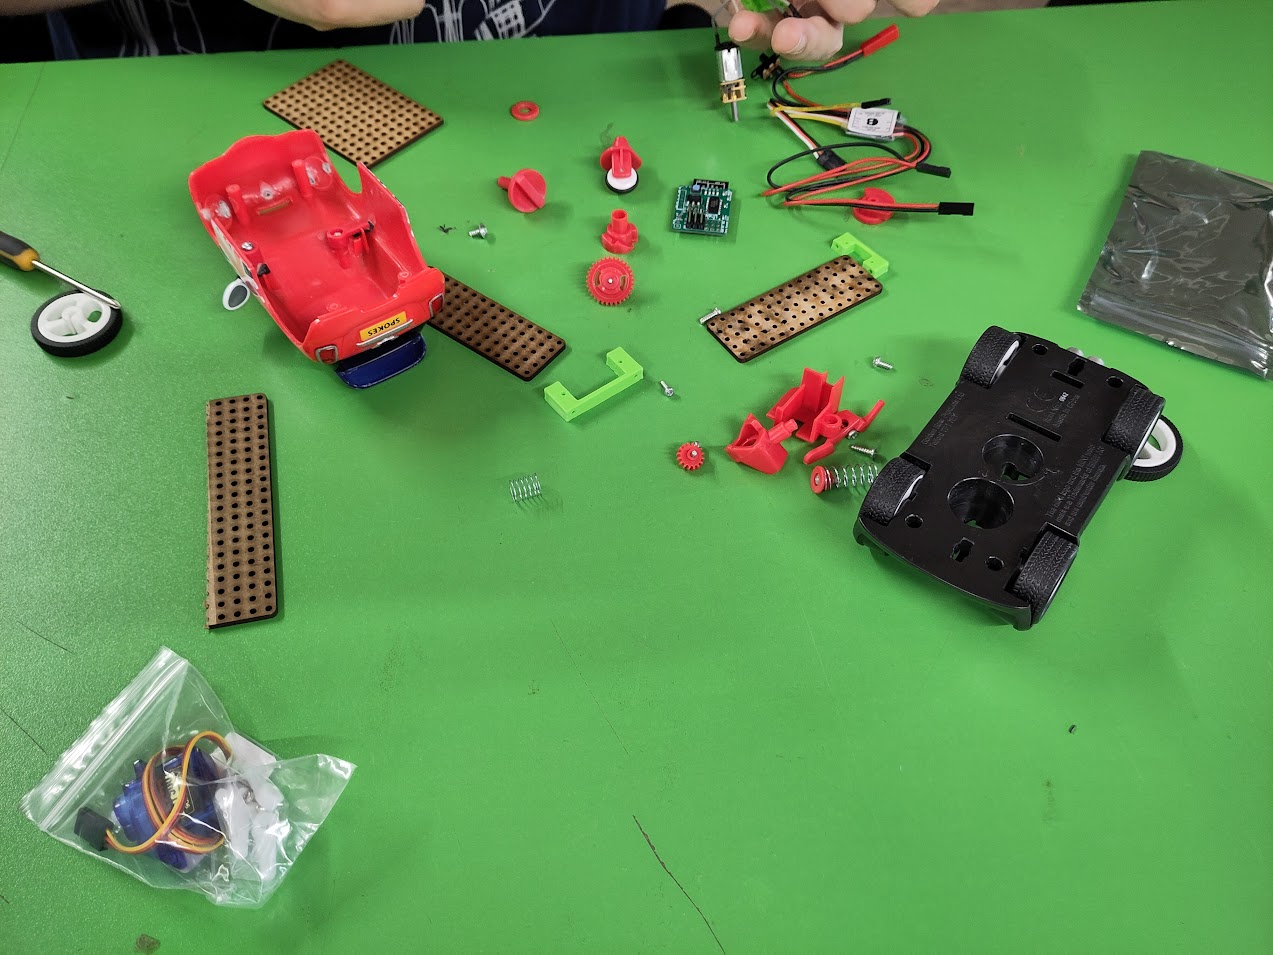
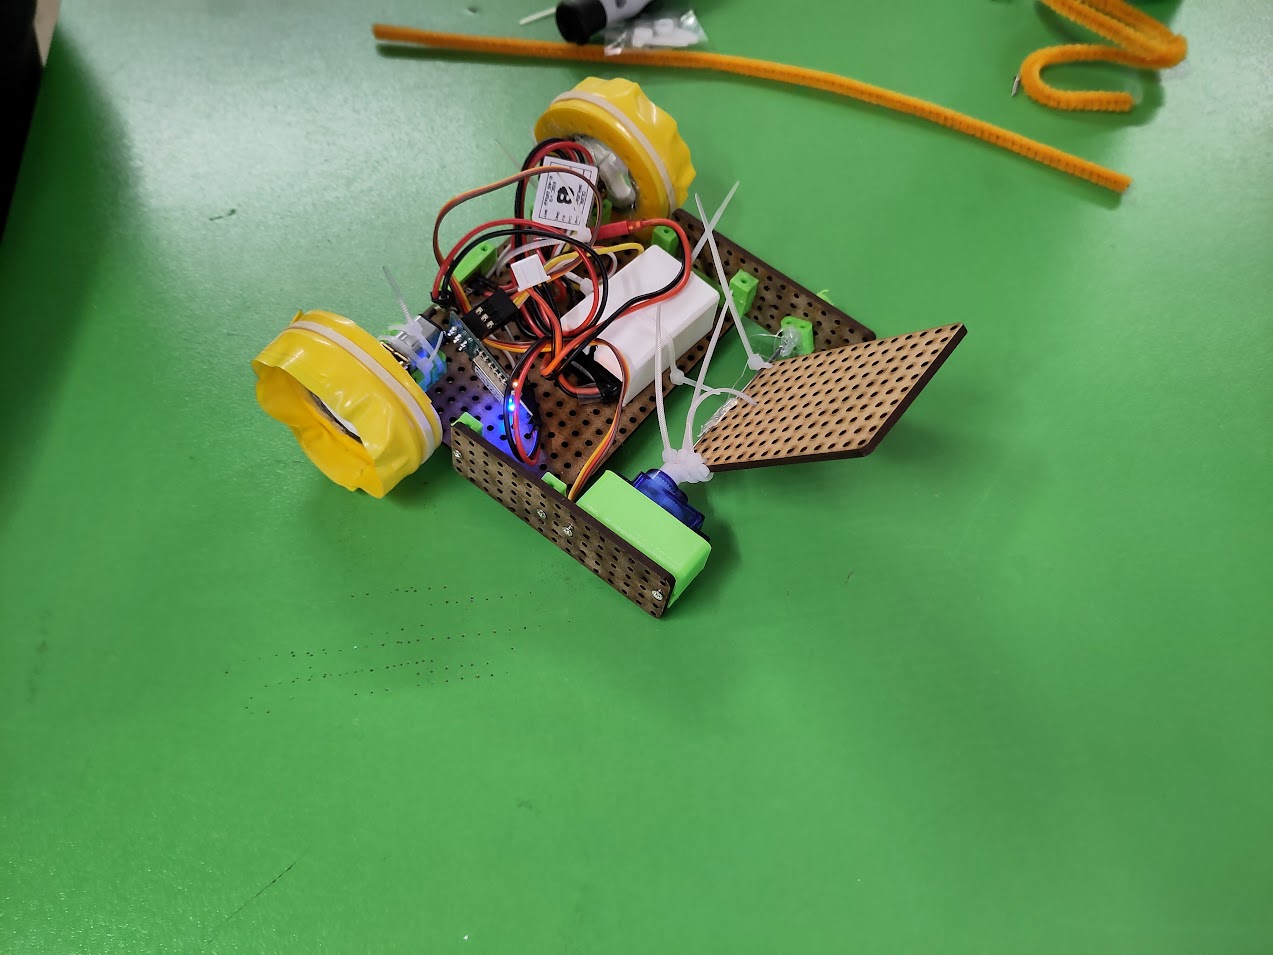
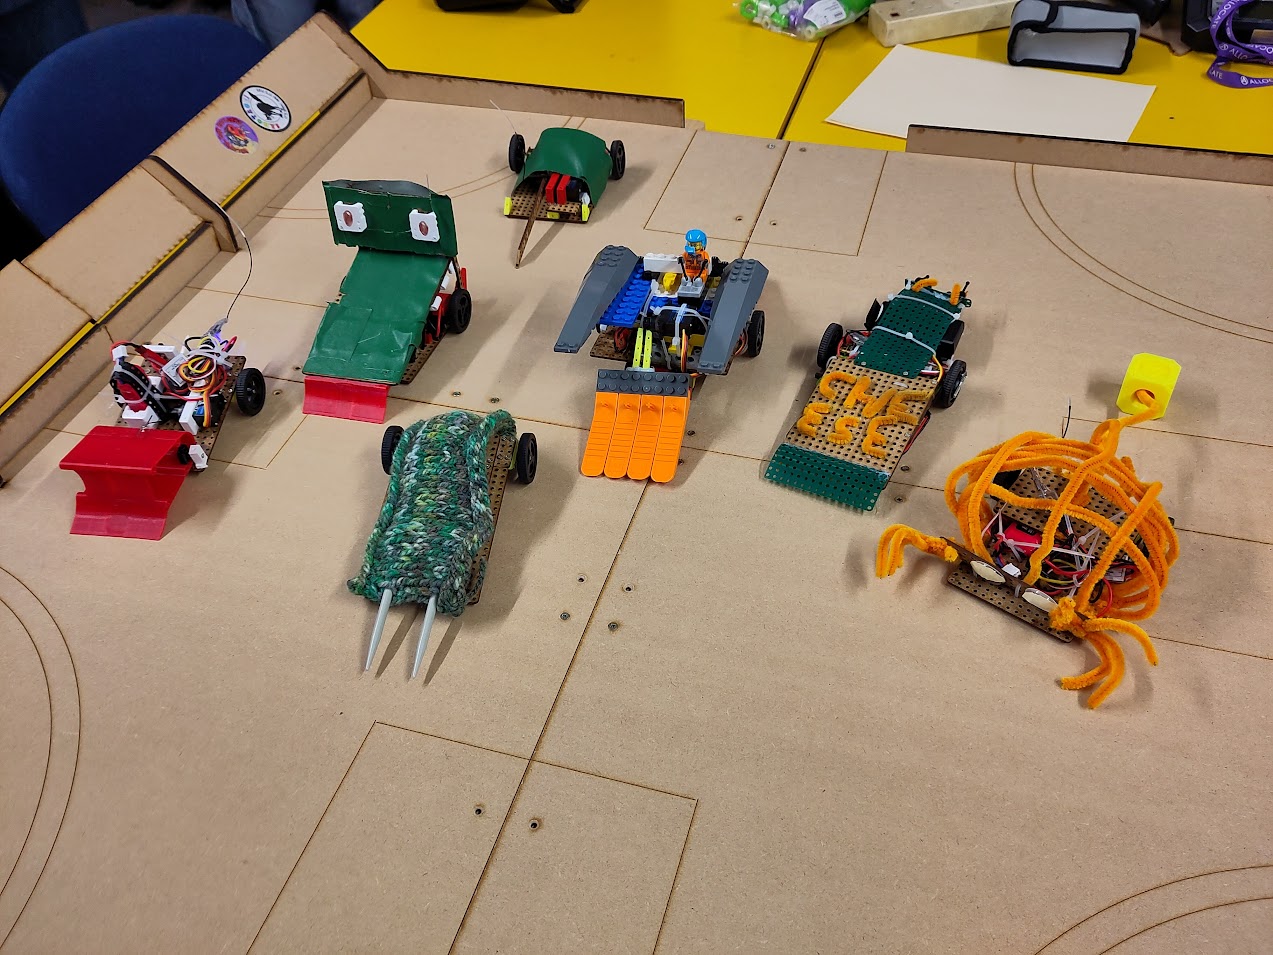
Last year I made a kit of parts that was designed to provide the basics, but deliberately non-prescriptive. I didn’t want to railroad anyone into making boring design choices and I was rewarded with people putting my motor mounts backwards to make wide stance robots and generally using the bits in unexpected ways.
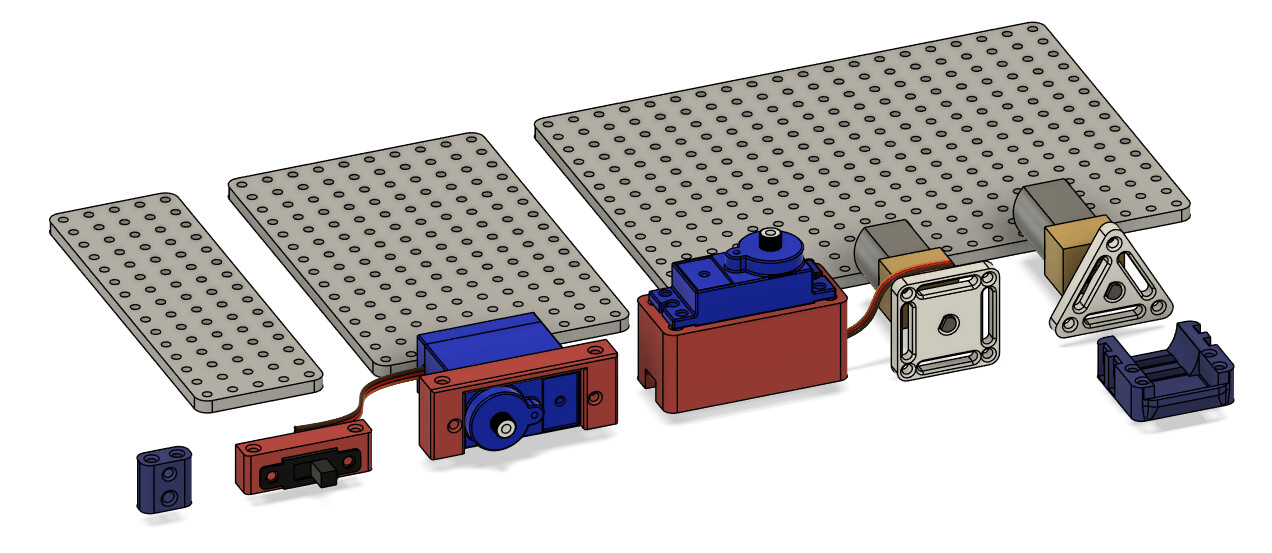
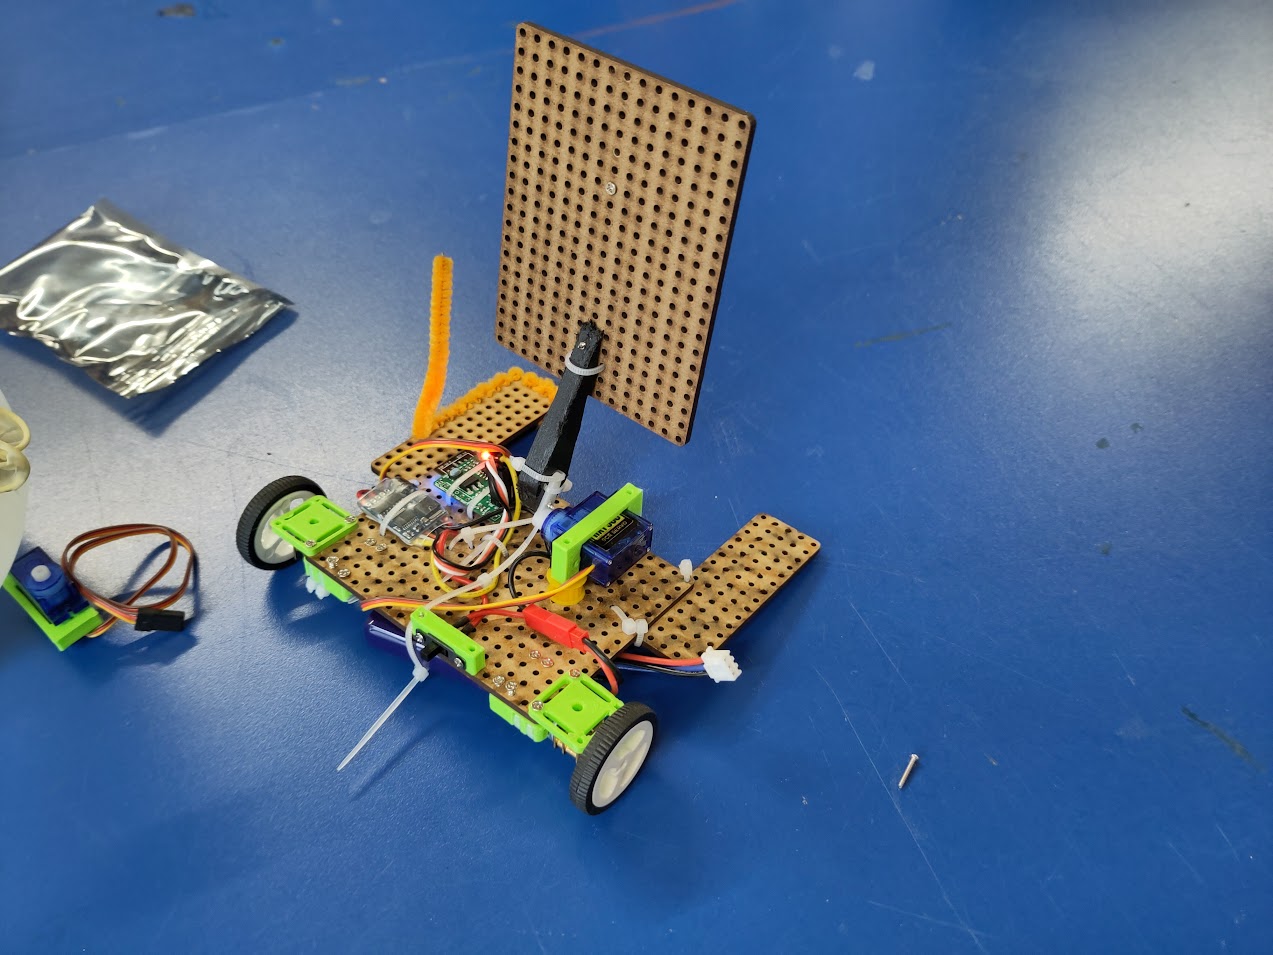
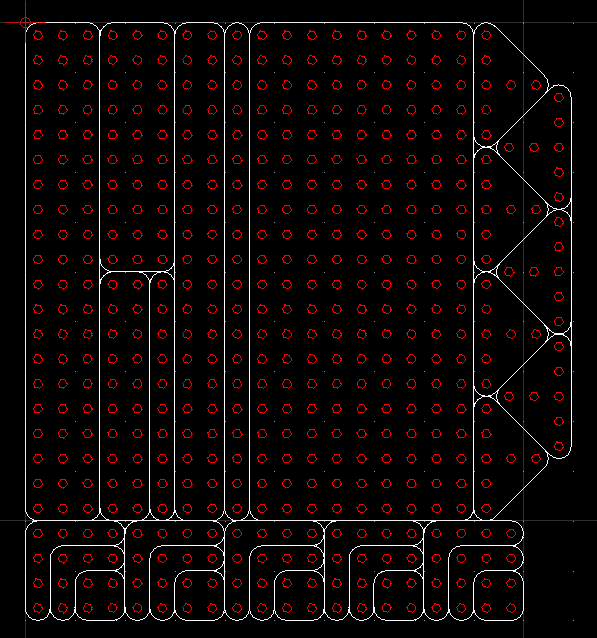
The kit has some 3mm laser cut MDF plates with 1.8mm holes that are designed to be used as a baseplate. Everyone got access to a big box of 2mm self tapping screws that thread nicely into the holes, or run reasonably nicely if you drill them out and they’re also a good size for threading small cable ties through.
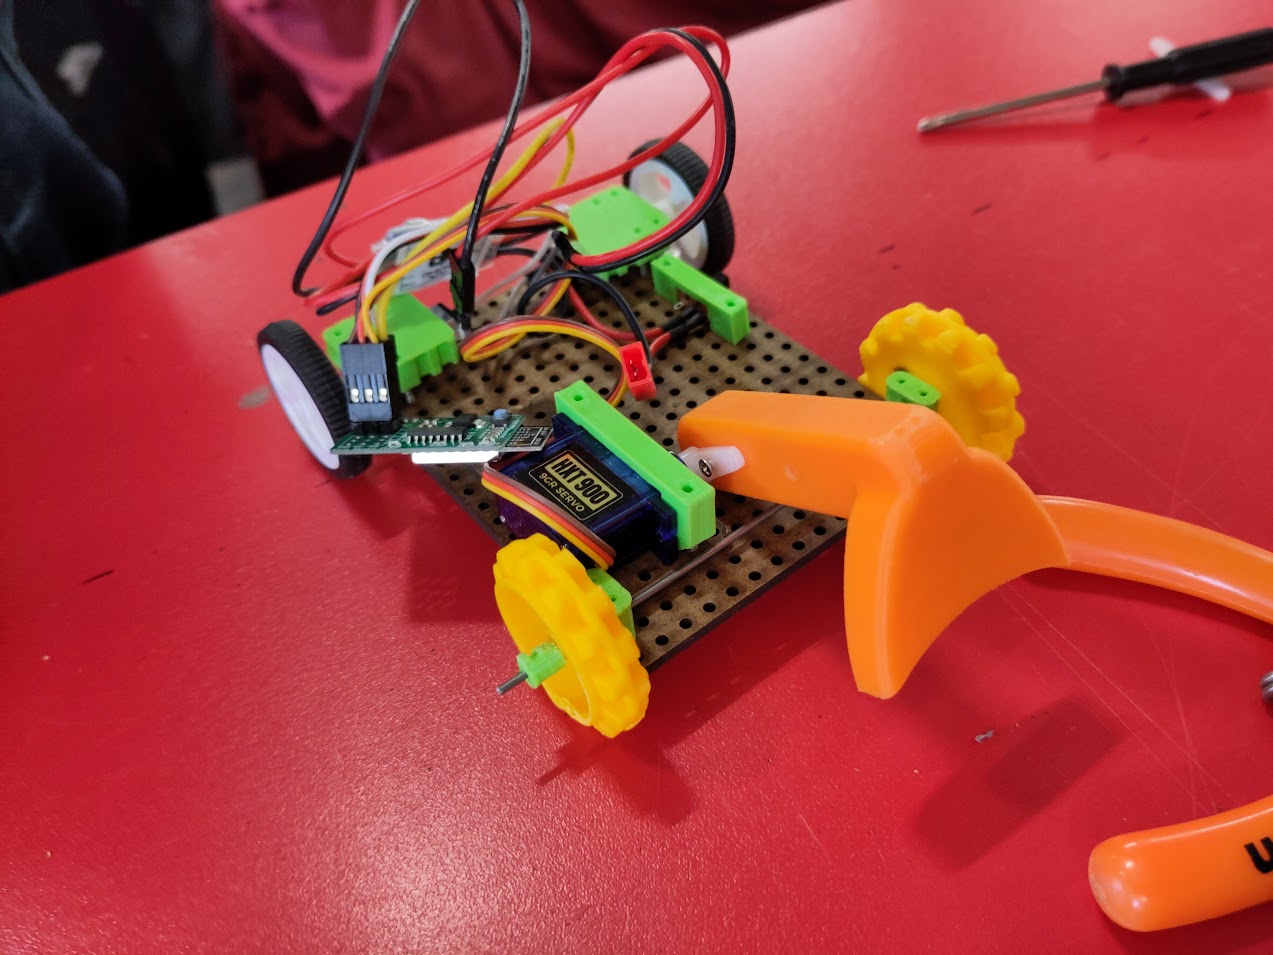
I was trying to encourage people to bring in broken toys and generally cobble stuff together from scrap plastic where possible so the block on the left was designed to give people a way to attach stuff conveniently at 90 degrees to the place. Much to my delight they also got used as trunion blocks for makeshift lifters and flippers. I also provided a bot of printed nutstrip for similar reasons.
Next up were some mounts for a switch, and for servos. These are fairly boring but useful. The servo mounts also got used a 90 degree brackets where people found it convenient.
I provided some 34mm antweight wheels, but I also printed some square and triangular hubs to fit the N20 motors provided. I was hoping people might cobble together more interesting wheel (or flapper) designs but this didn’t really happen (though one person’ built custom wheels by taping a bunch of stuff around a 34mm wheel).
Finally there was a motor mount designed to be screwed to something and have an N20 cable tied into it.
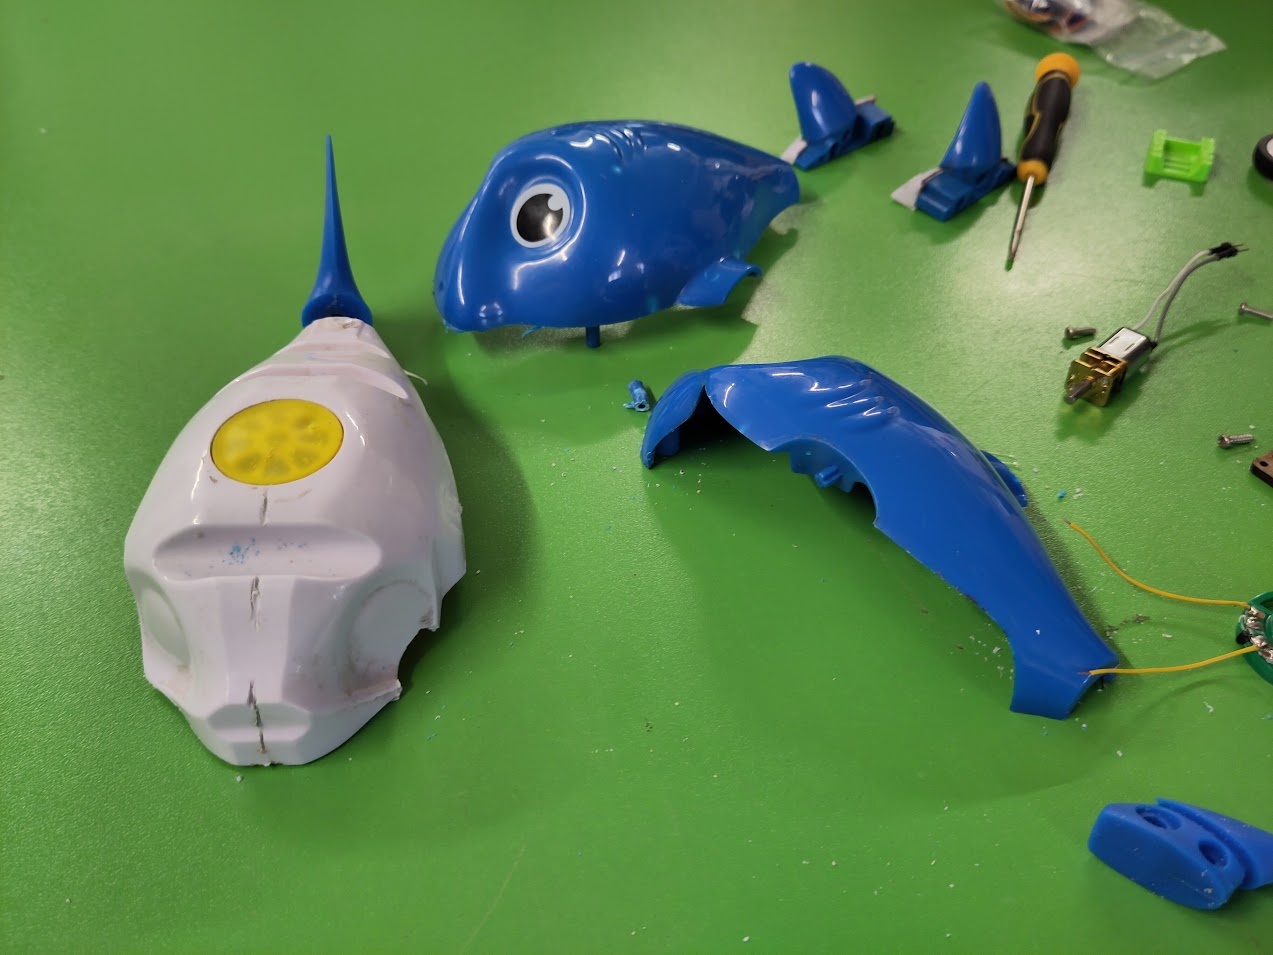
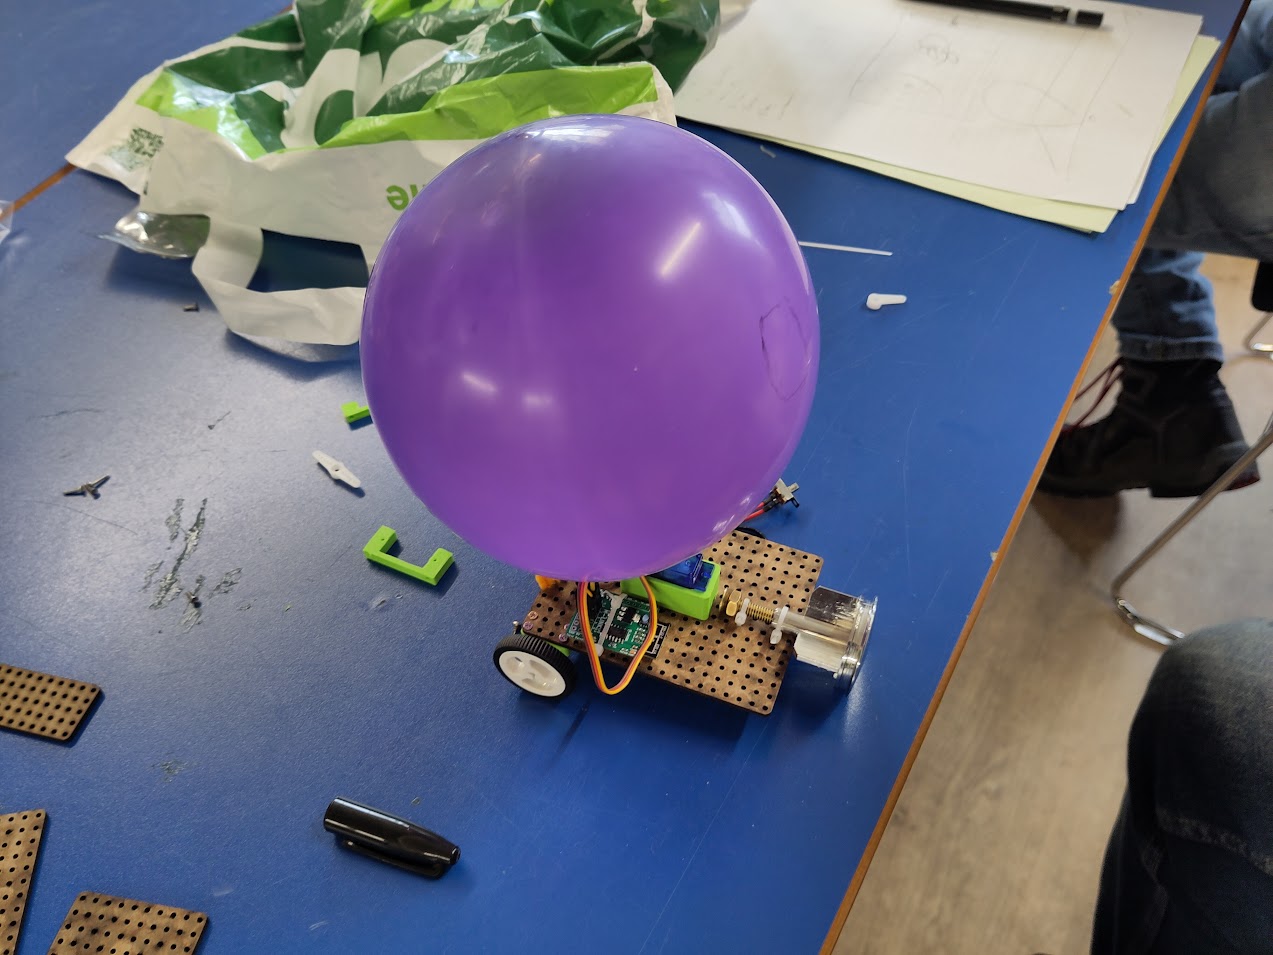
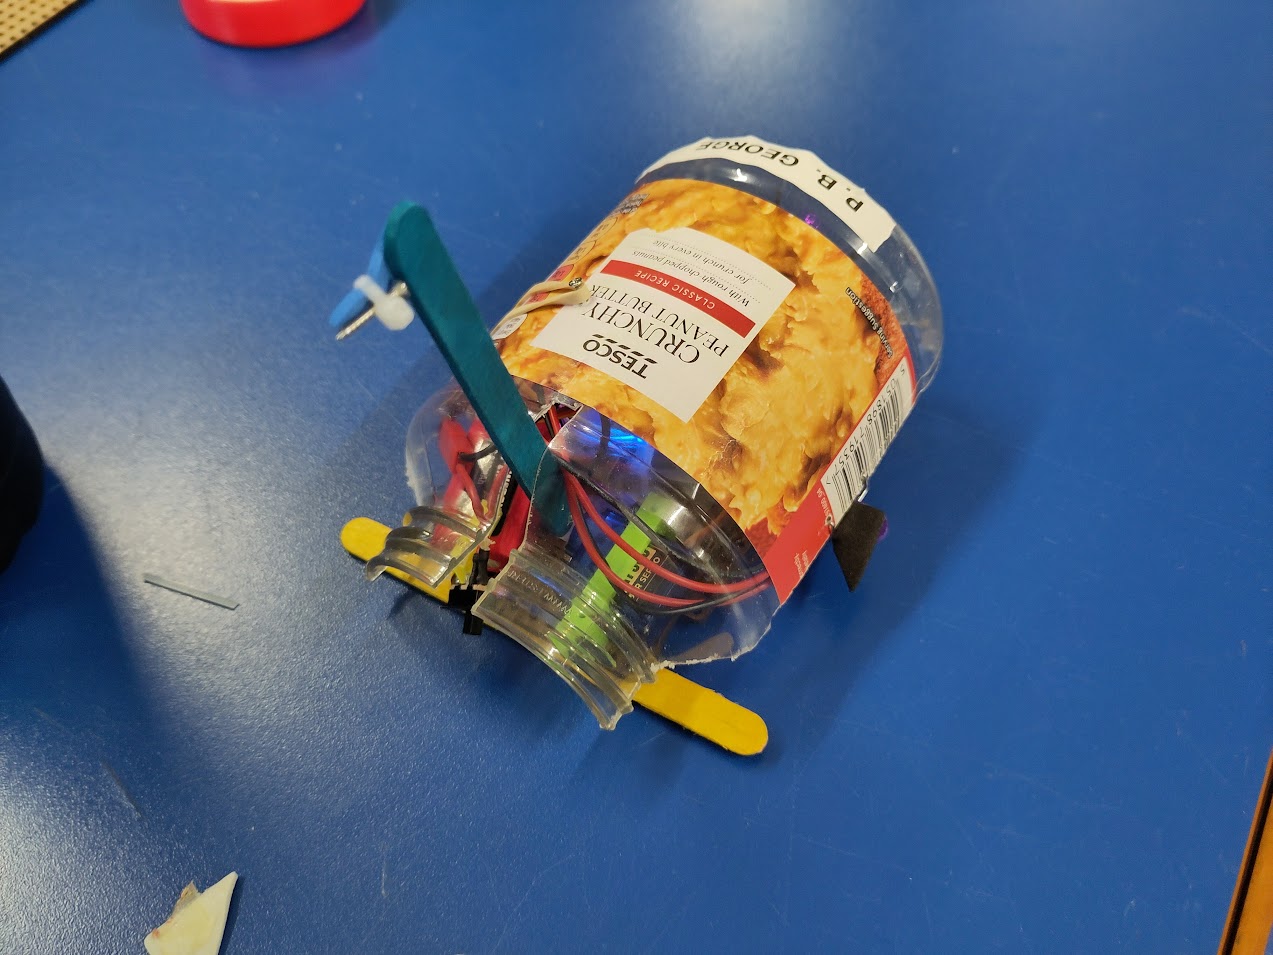
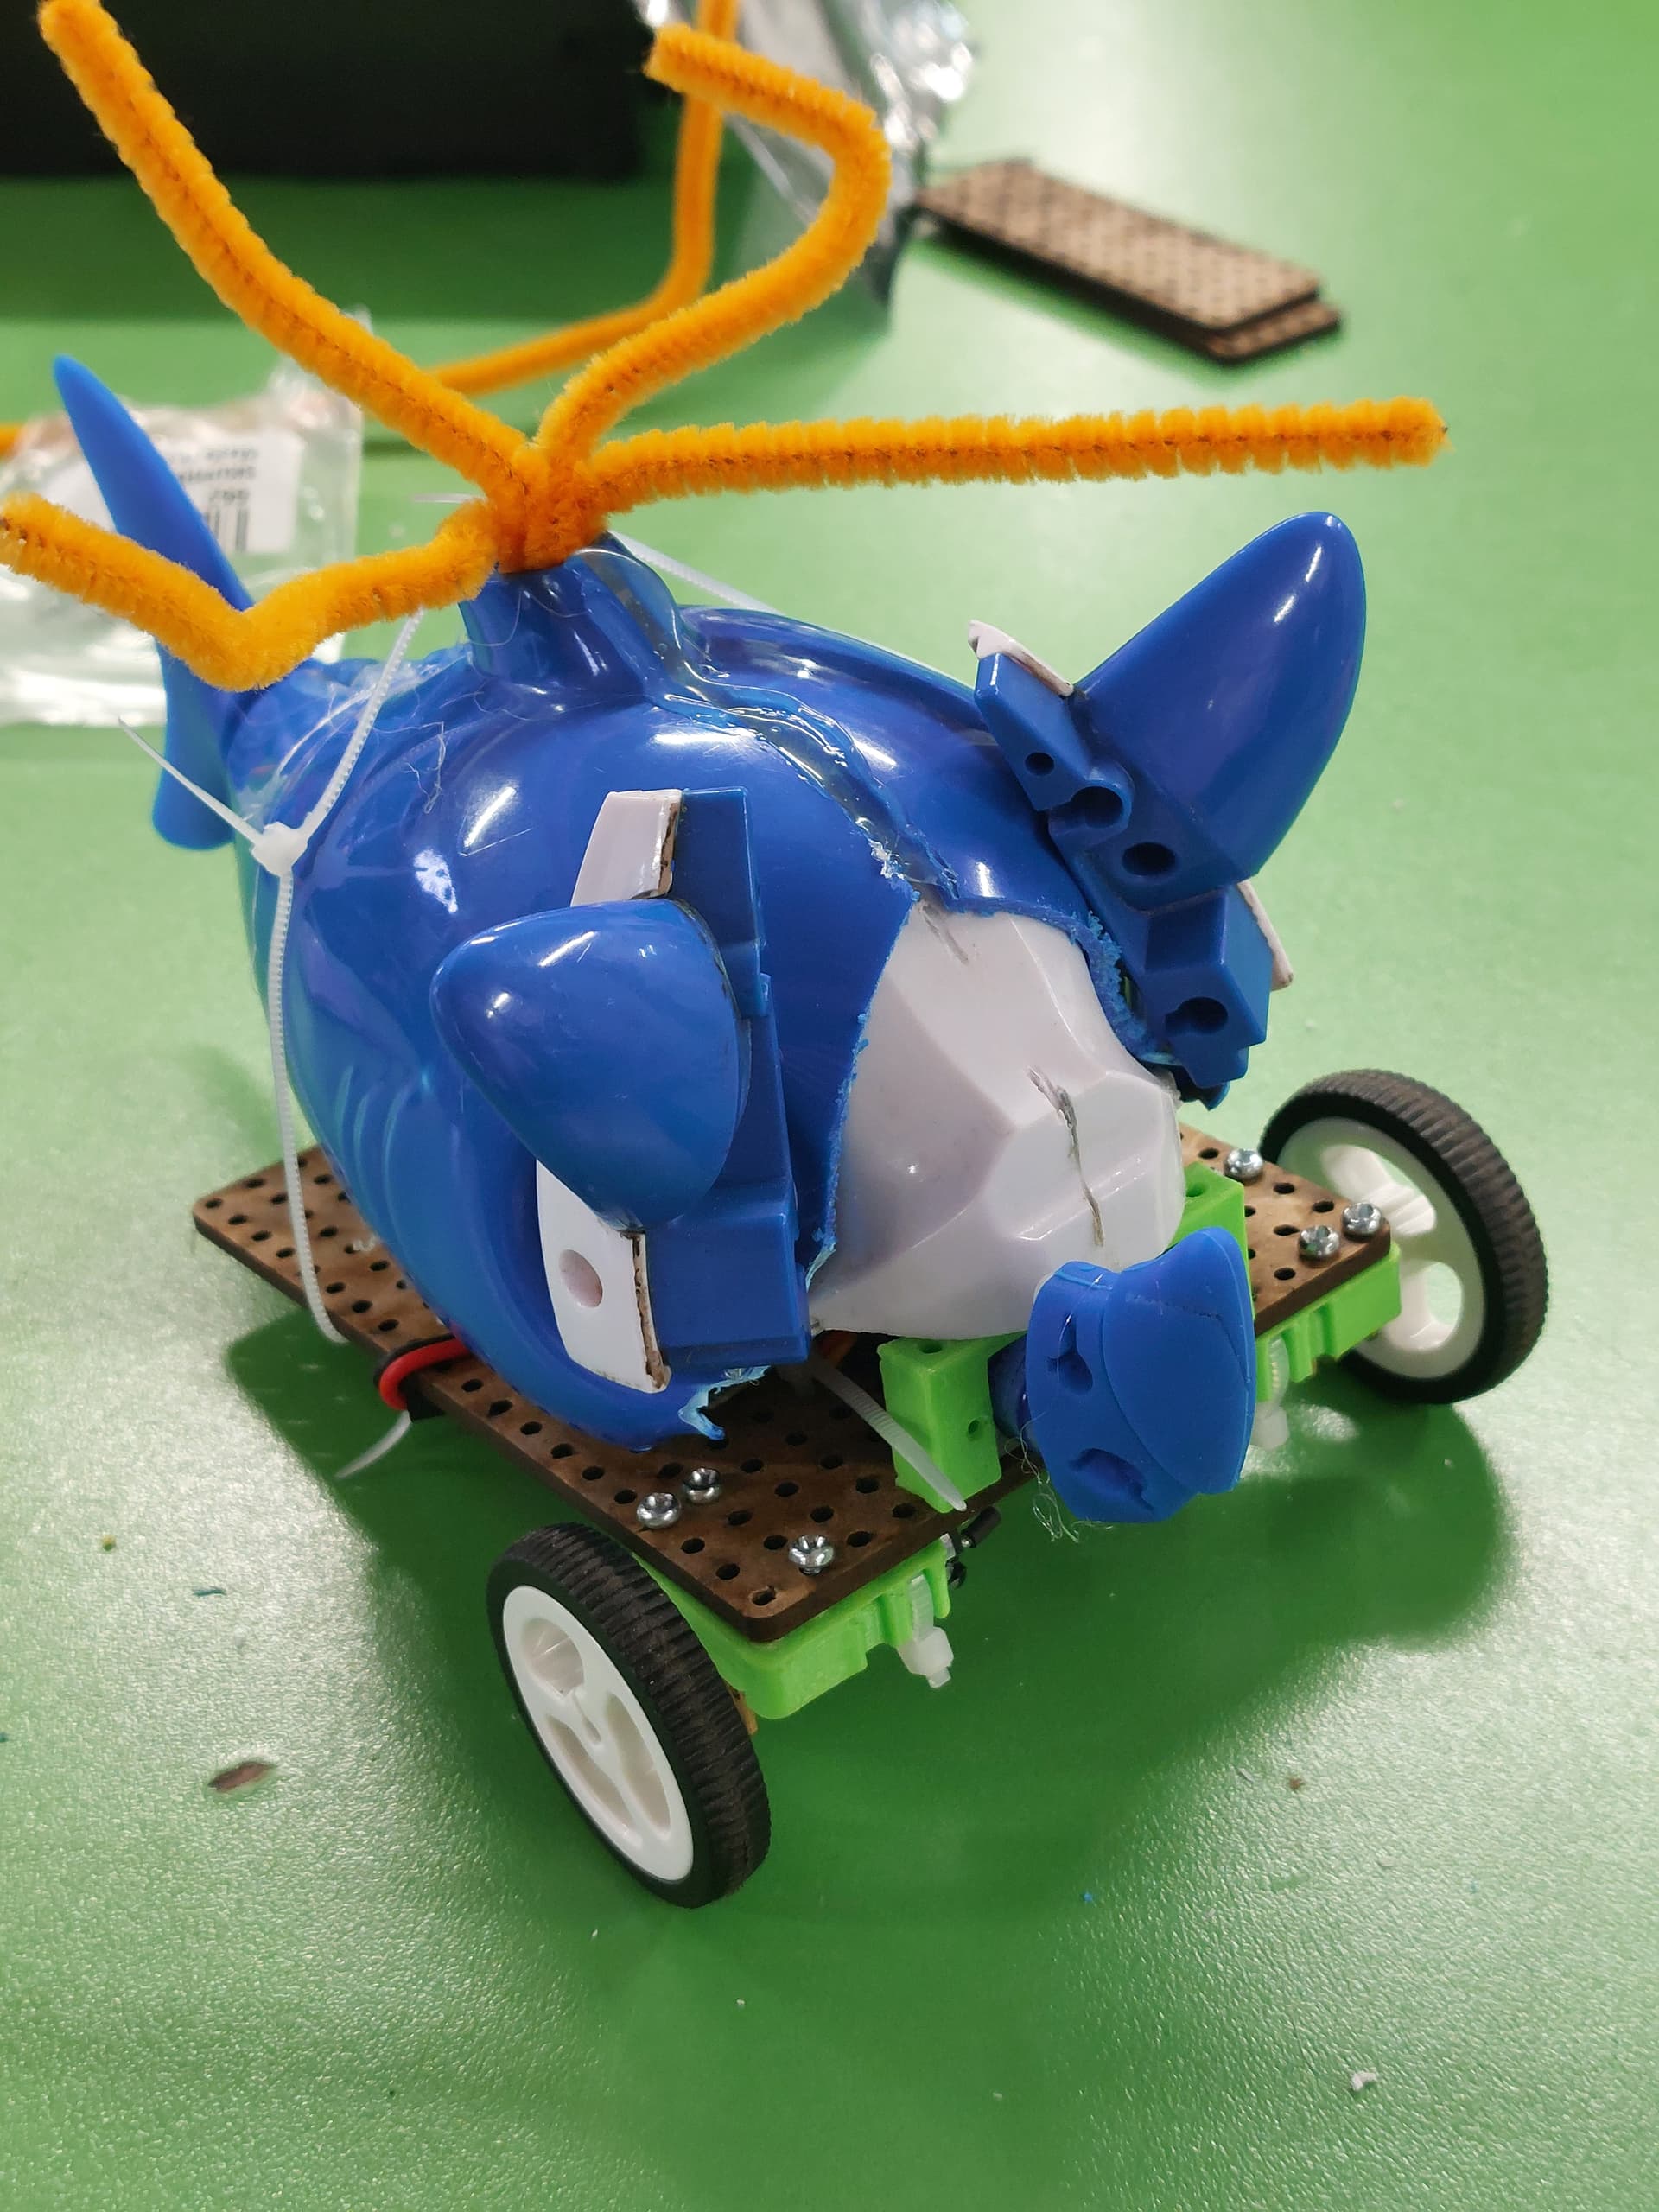
In addition to all of this I used it as an opportunity to let people loose on my box of failed/defunct 3D prints and see what happened.

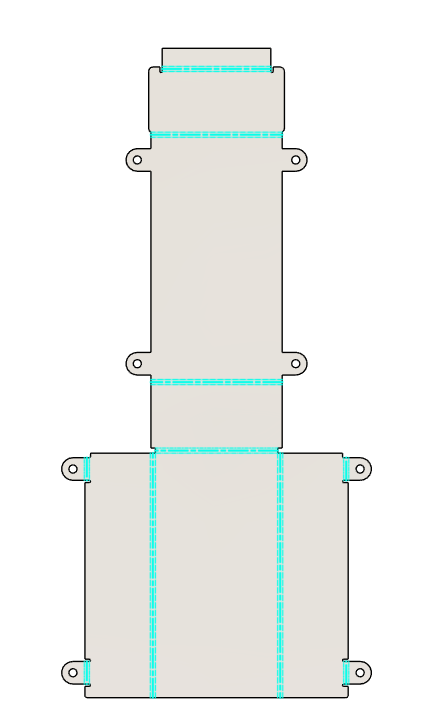
For this year’s workshop I’m doing largely the same thing, but I’ve got some 5mm polypropylene I’m planning on laser into flexible meccano style plates, strips, and gussets to try and encourage more organic designs. Along with these I’ll probably make some more 3D printed blocks these can be screwed to or around to create interesting 3D shapes.
I’d love to hear anyone’s thoughts or ideas on what sort of pieces might be worth adding to try and make things more flexible.
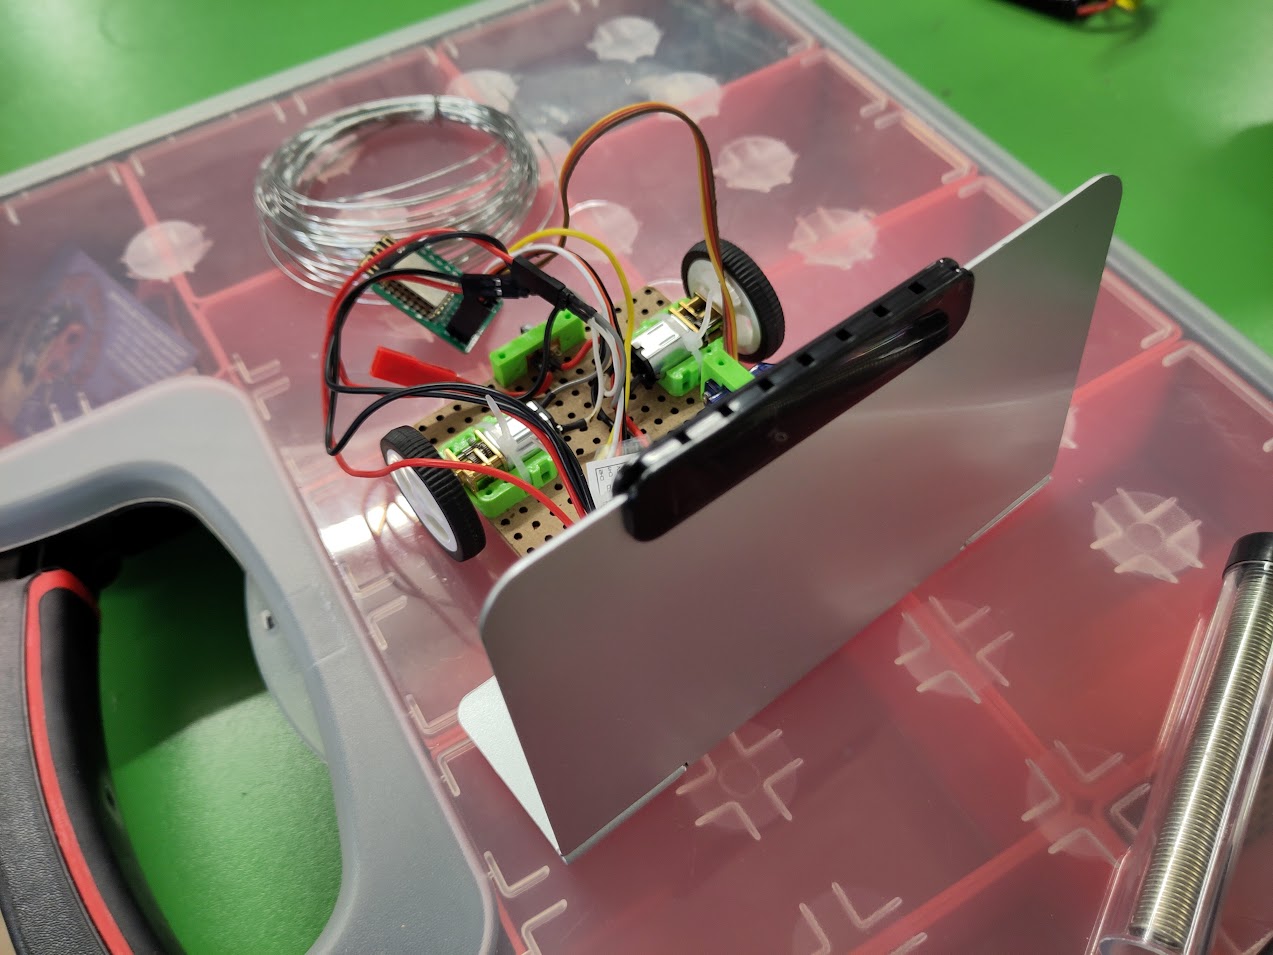
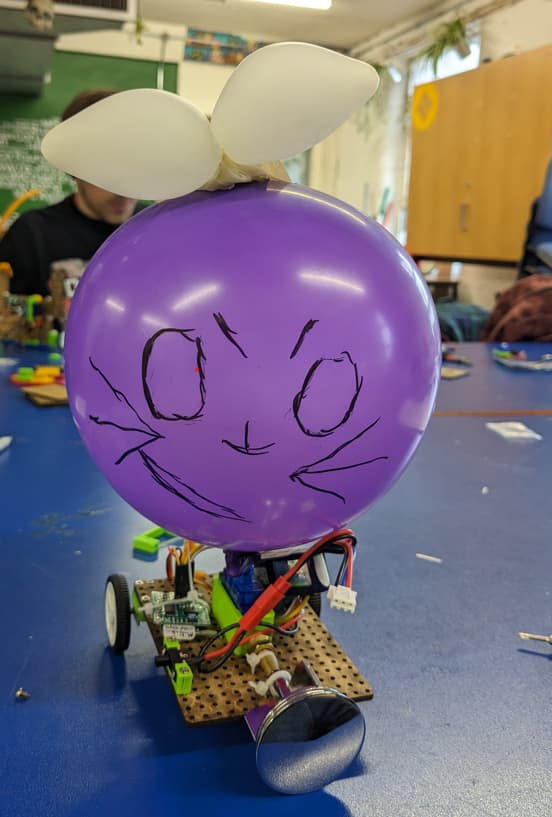
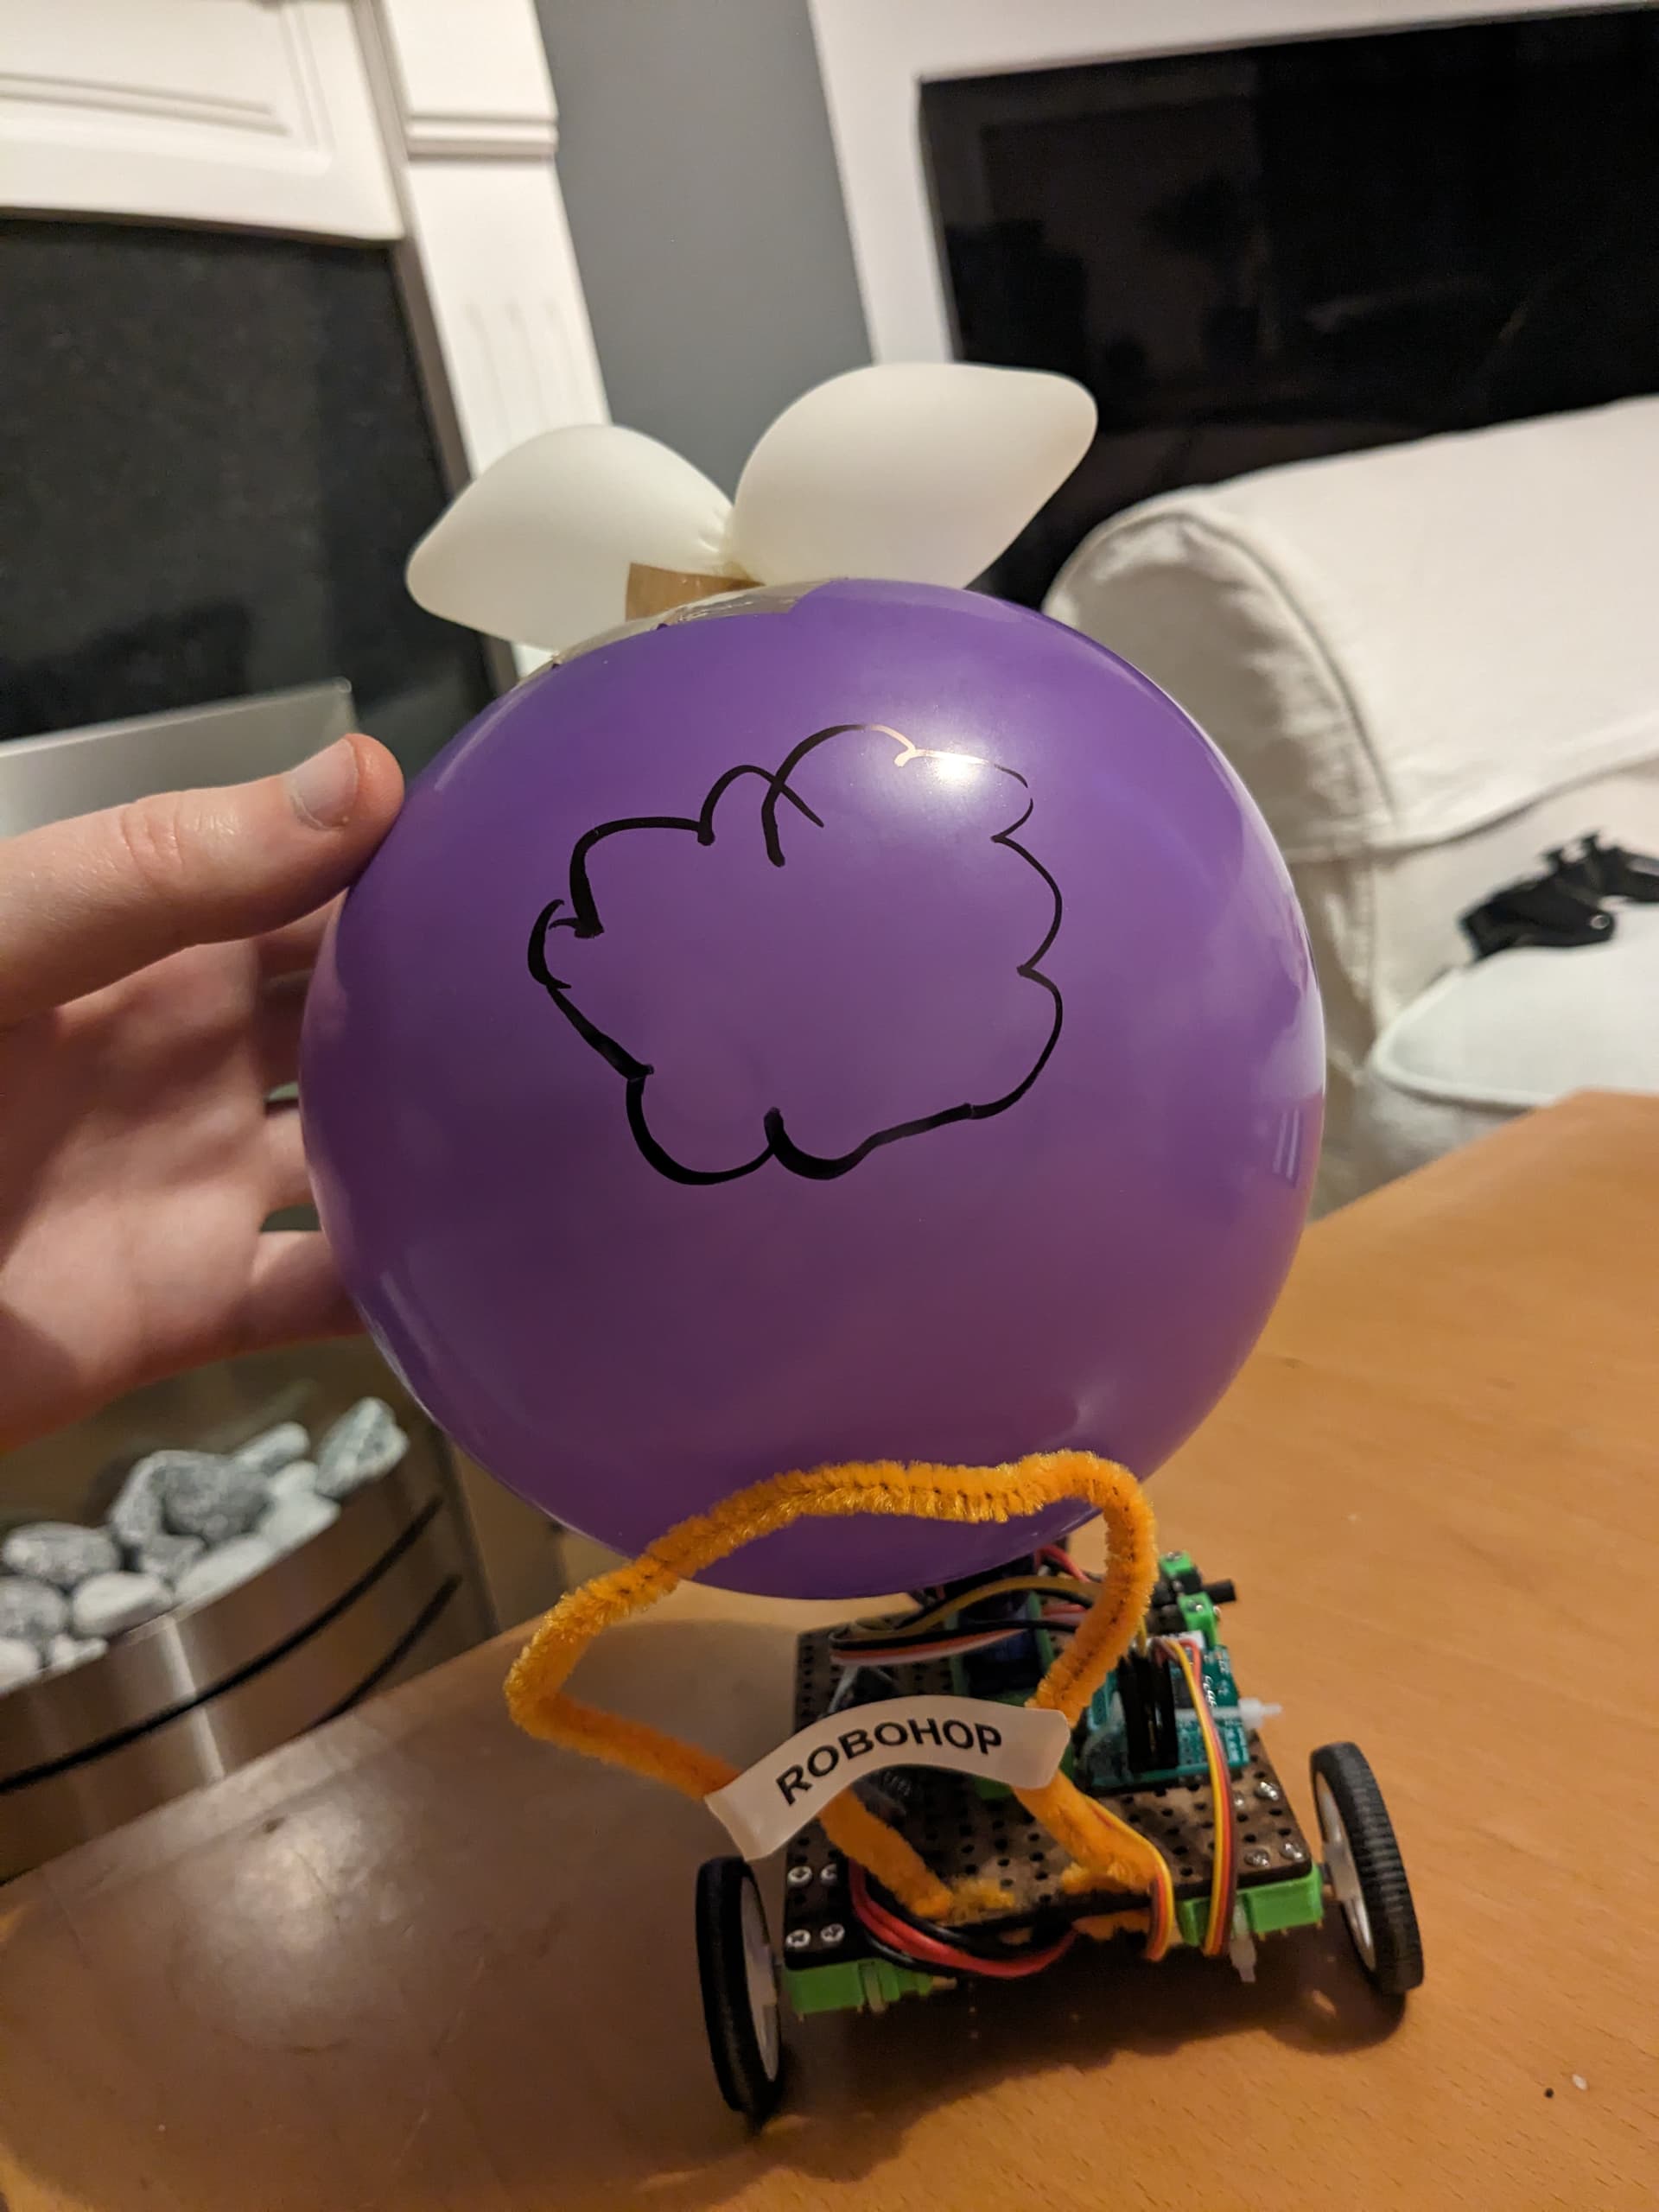
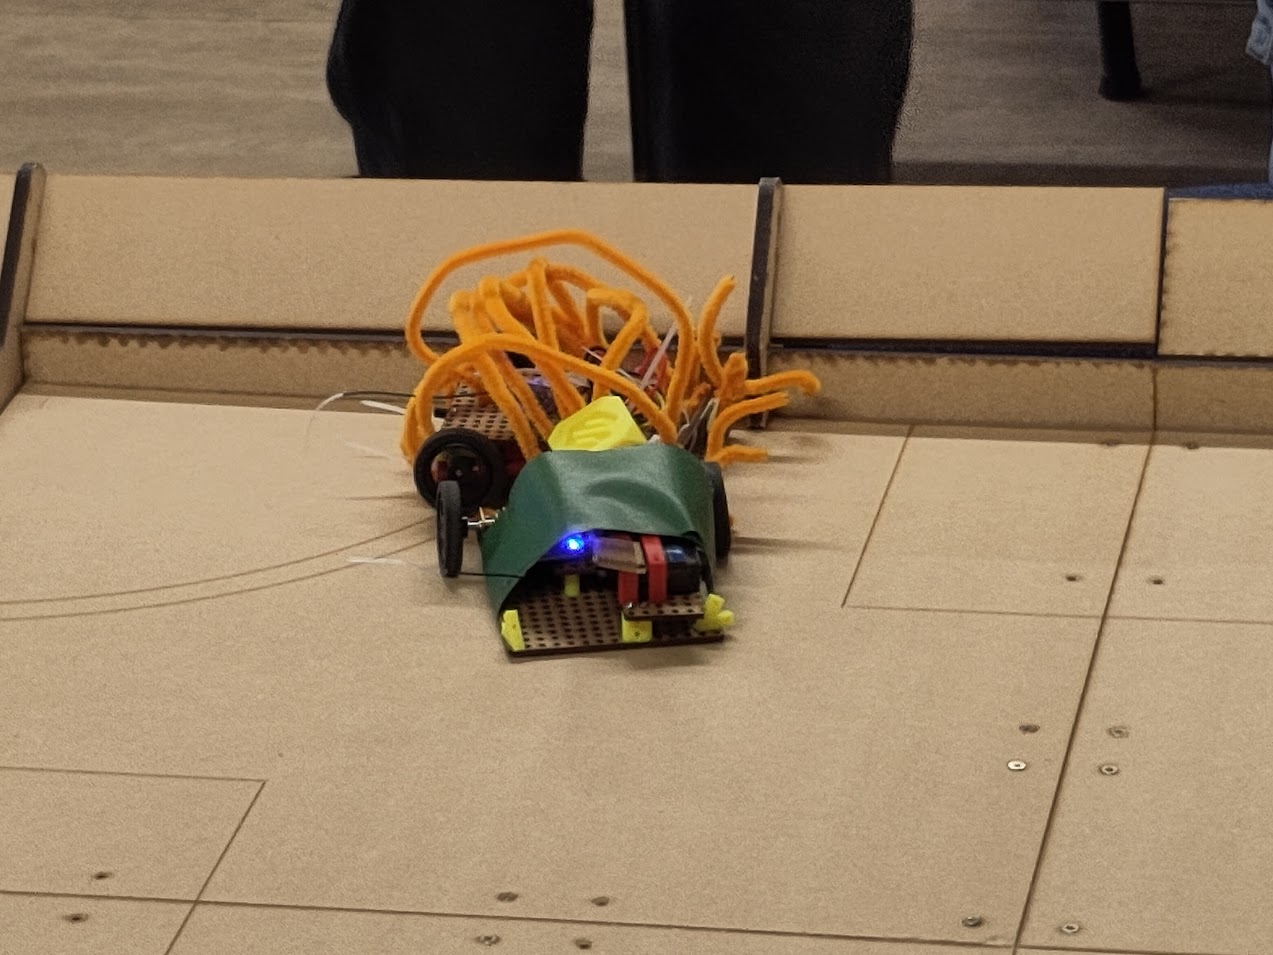
Looking back at the pictures of people’s builds I definitely need to find a way to encourage people to enclose things a bit more. ![]()